Coffee table
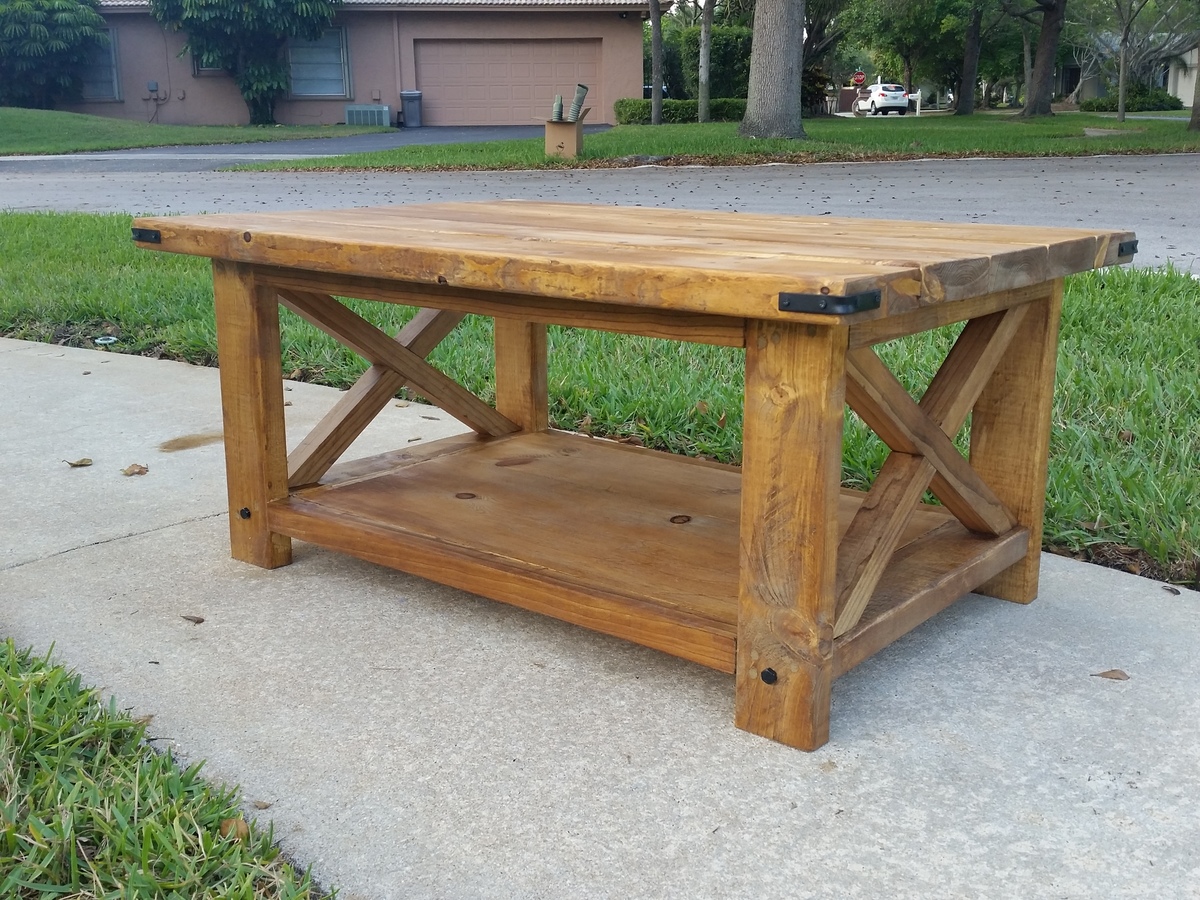
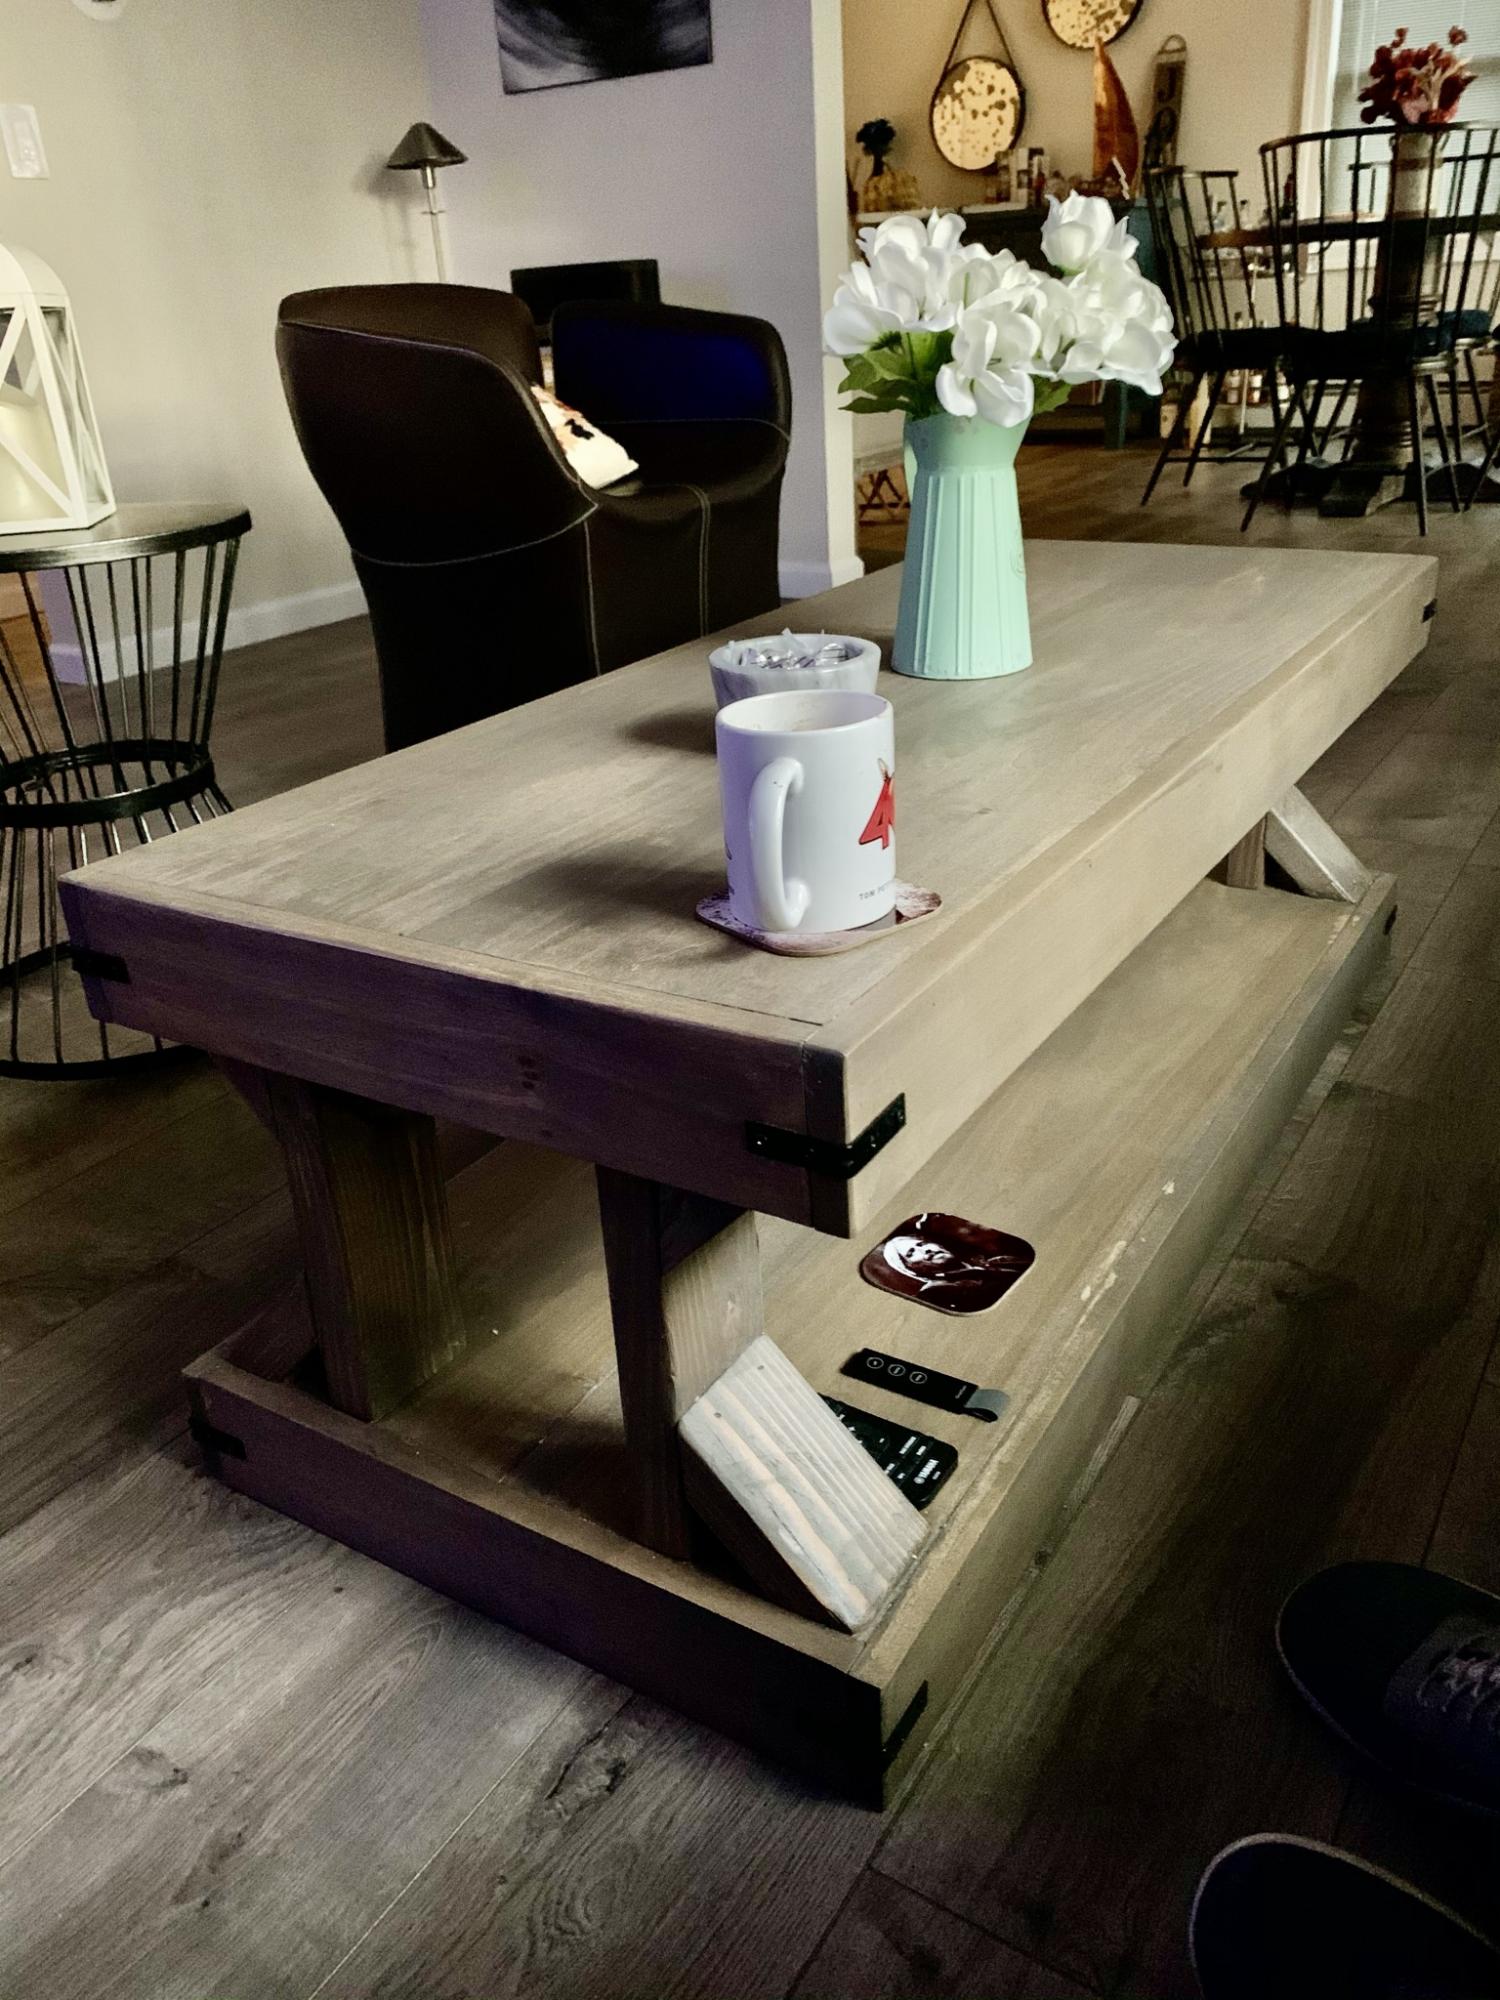
Thanks for the plans. Love the table

Thanks for the plans. Love the table
Great Plans! Thank you so much. My first go at a piece of "fine" furniture and I couldn't be happier with how it turned out.
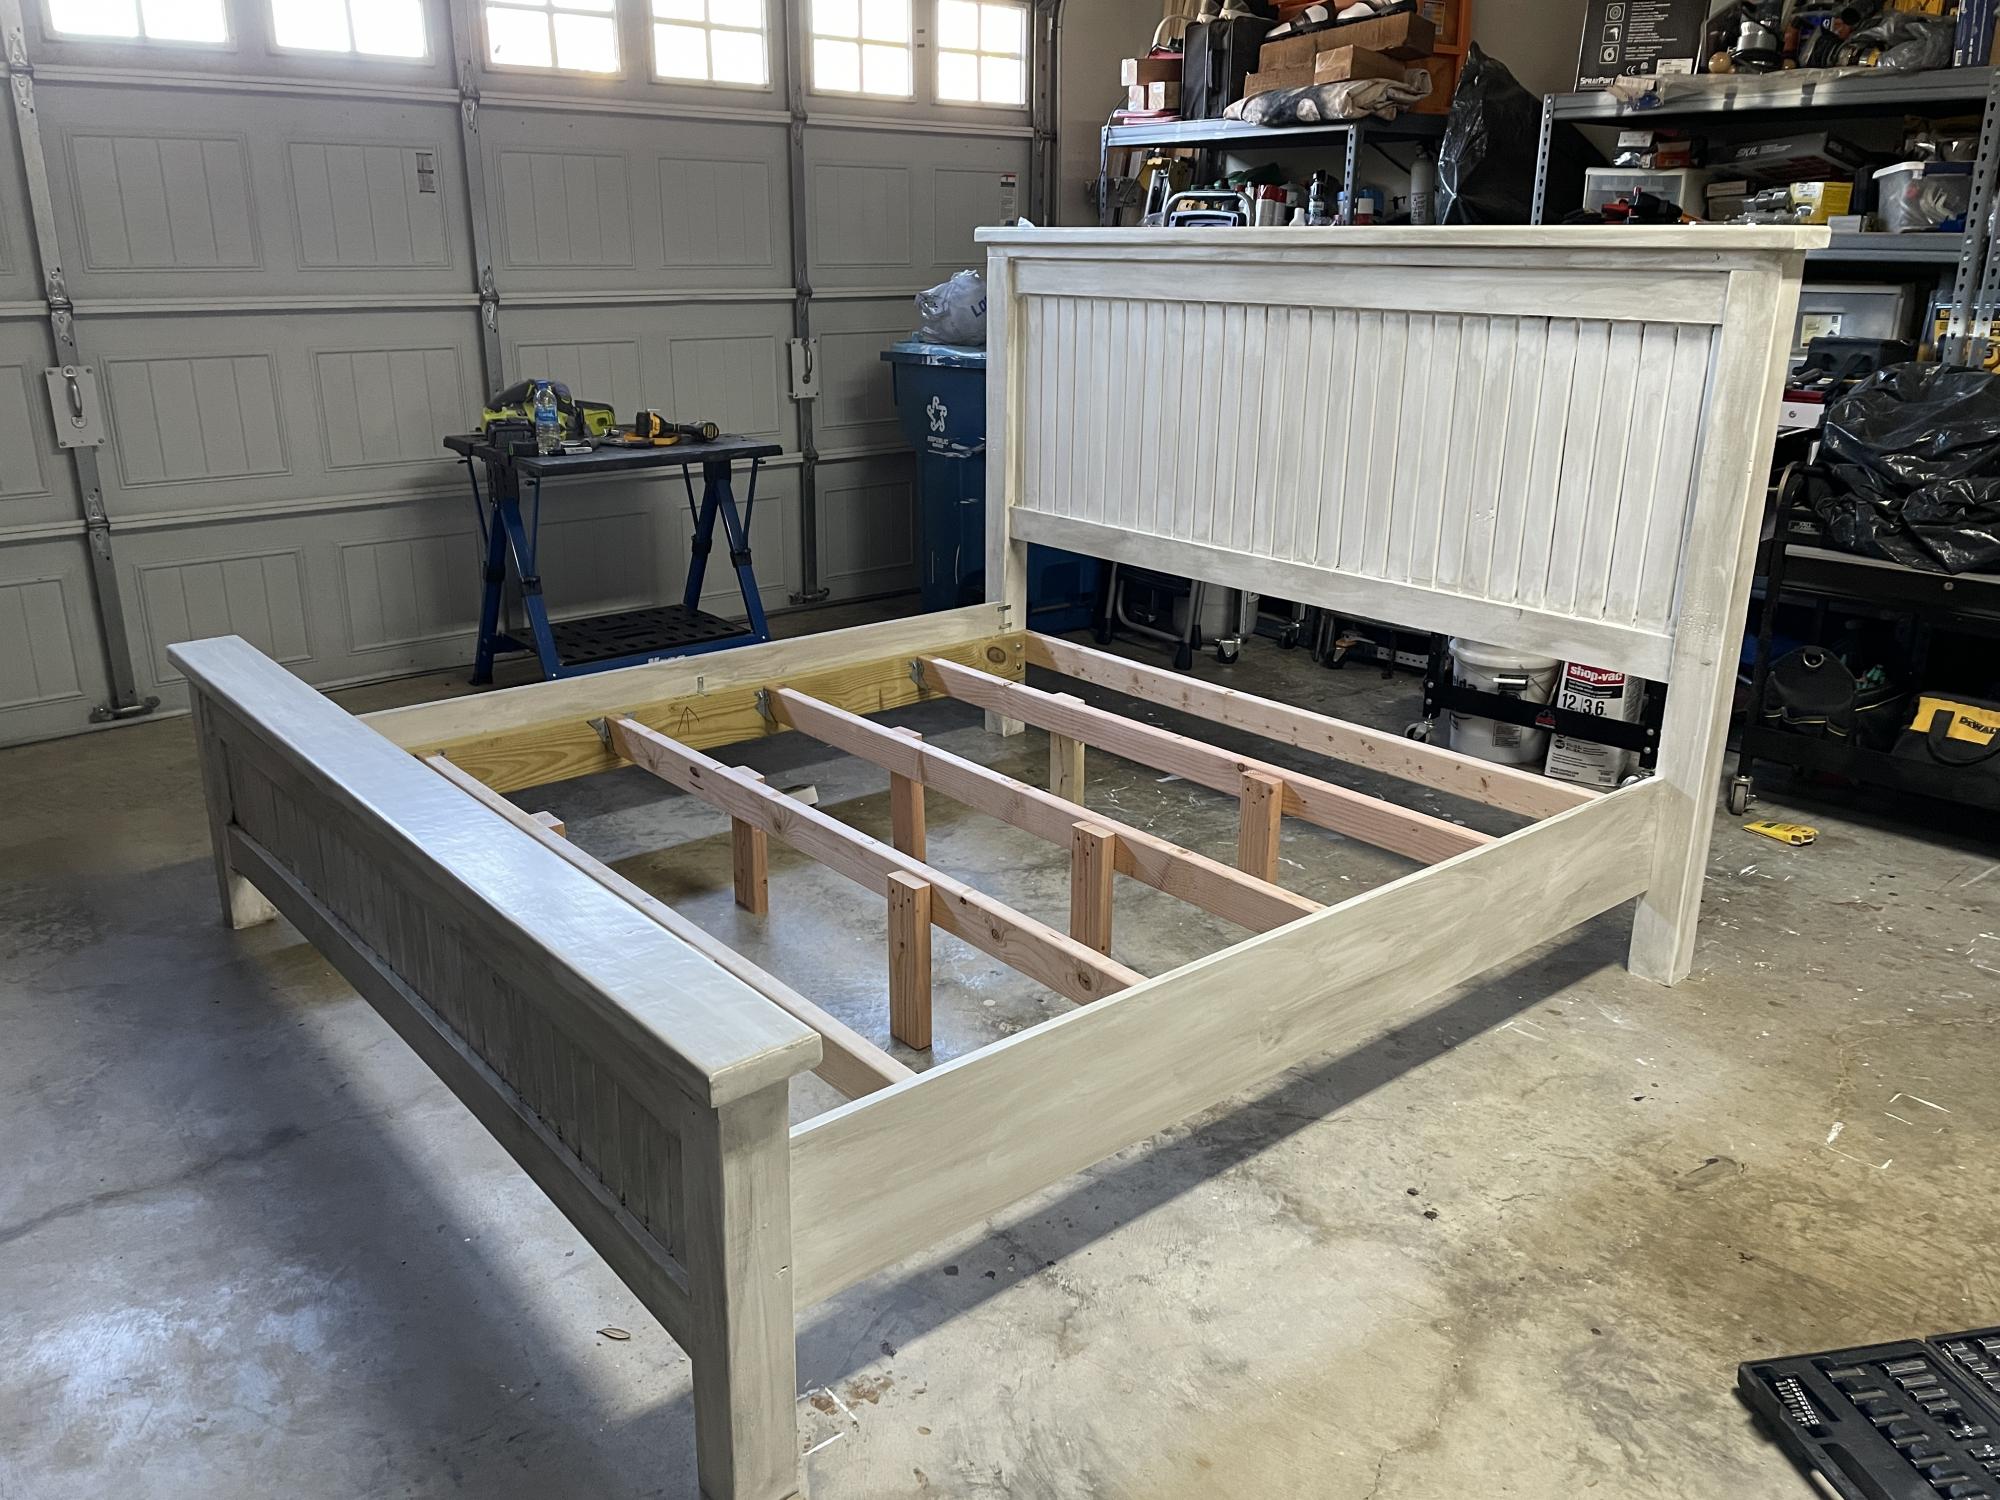
Used single V-Groove on the head and footboard.
Modified the bed slats to be easily removed
Modified the sideboards for easy removal.

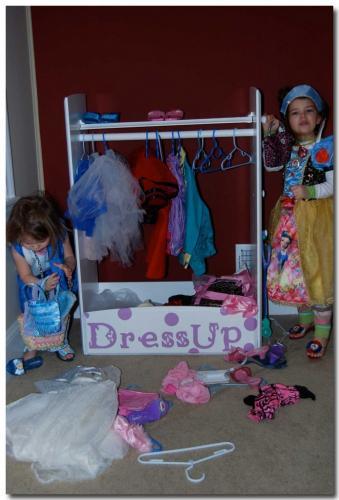
I used by kids baby armoire that was headed to the trash, and turned it into a dress-up center for my 3-year olds birthday gift. The best part is it was virtually free! The only thing I purchased was the pole. It was a lot of hit and miss, measuring, re-measuring, pulling nails out – but – it worked!! And it is awesome – and it only cost me a few bucks!!! As you can tell from the last pictures I took a lot of time getting it ready – and you can tell from the last picture it didn’t take them long to mess it up.
The best part was that the girls were so excited. Hayden – the birthday girl – looked at it with her eye’s wide open – walked slowly too it – looked at me and said “Mommy – It’s beautiful!” It was the sweetest most heart warming thing! I love that now my kids look at something and either ask me to make it – or did I make it.
Love for you to see all the before and after pictures over at my blog: http://mycreativeescapes.blogspot.com/2011/02/dress-up-center.html



Made from entryway console plans and got the concrete top idea from DIY Pete's web and found a cool way to faux finish top with concrete stain I bought at sherwin Williams. Used a buff color dye added to top when mixing concrete
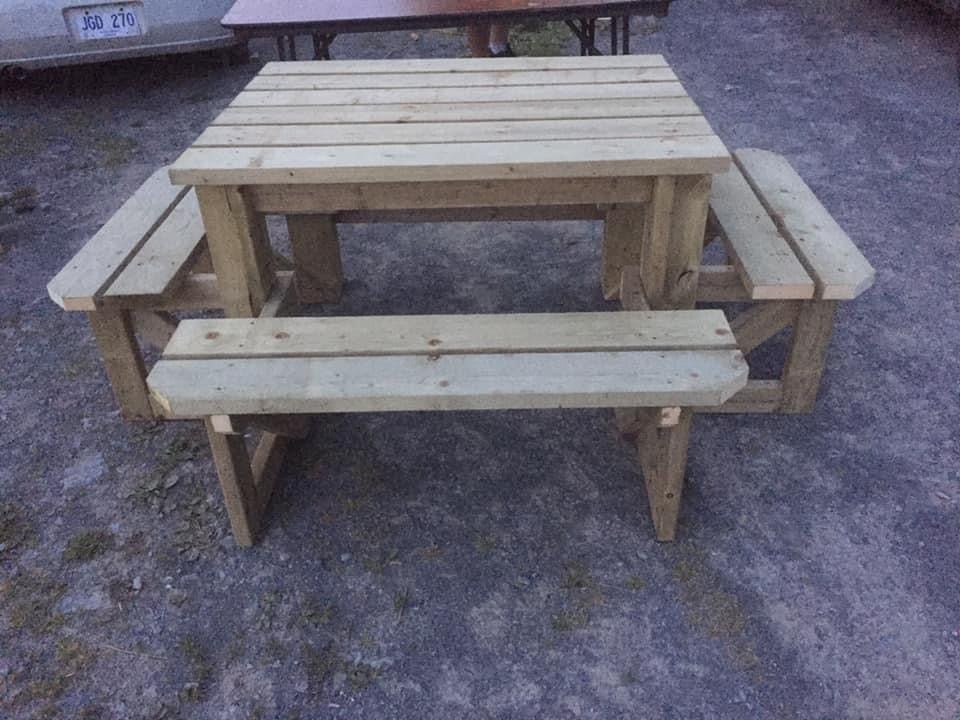
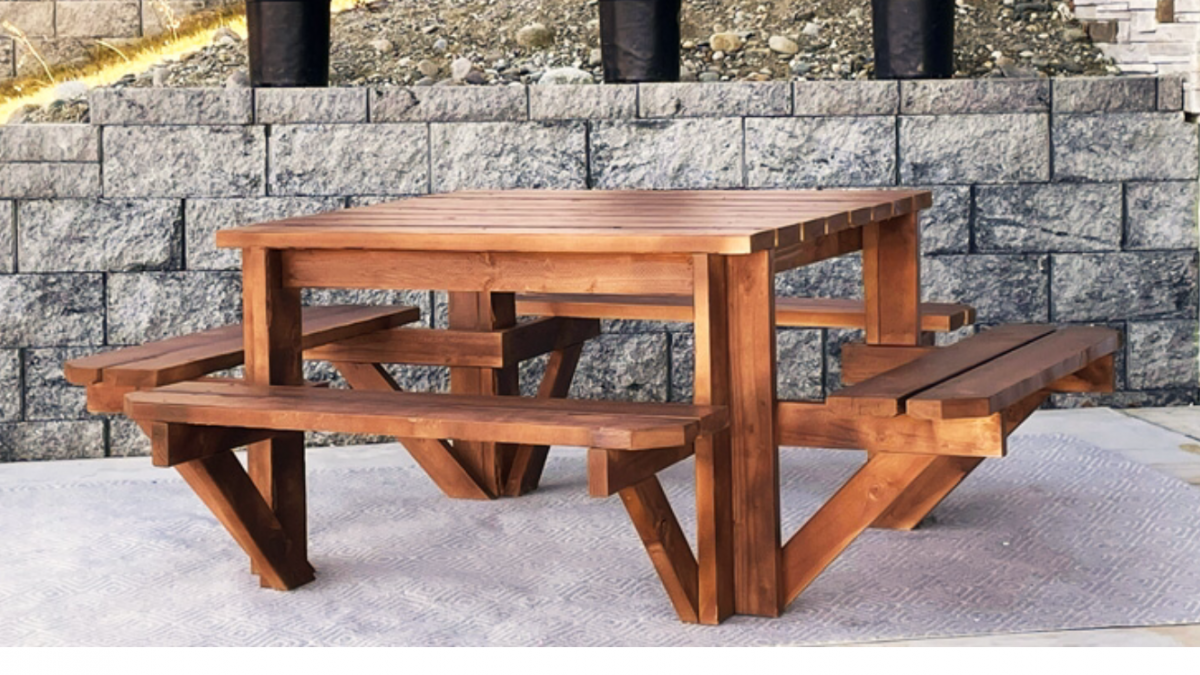
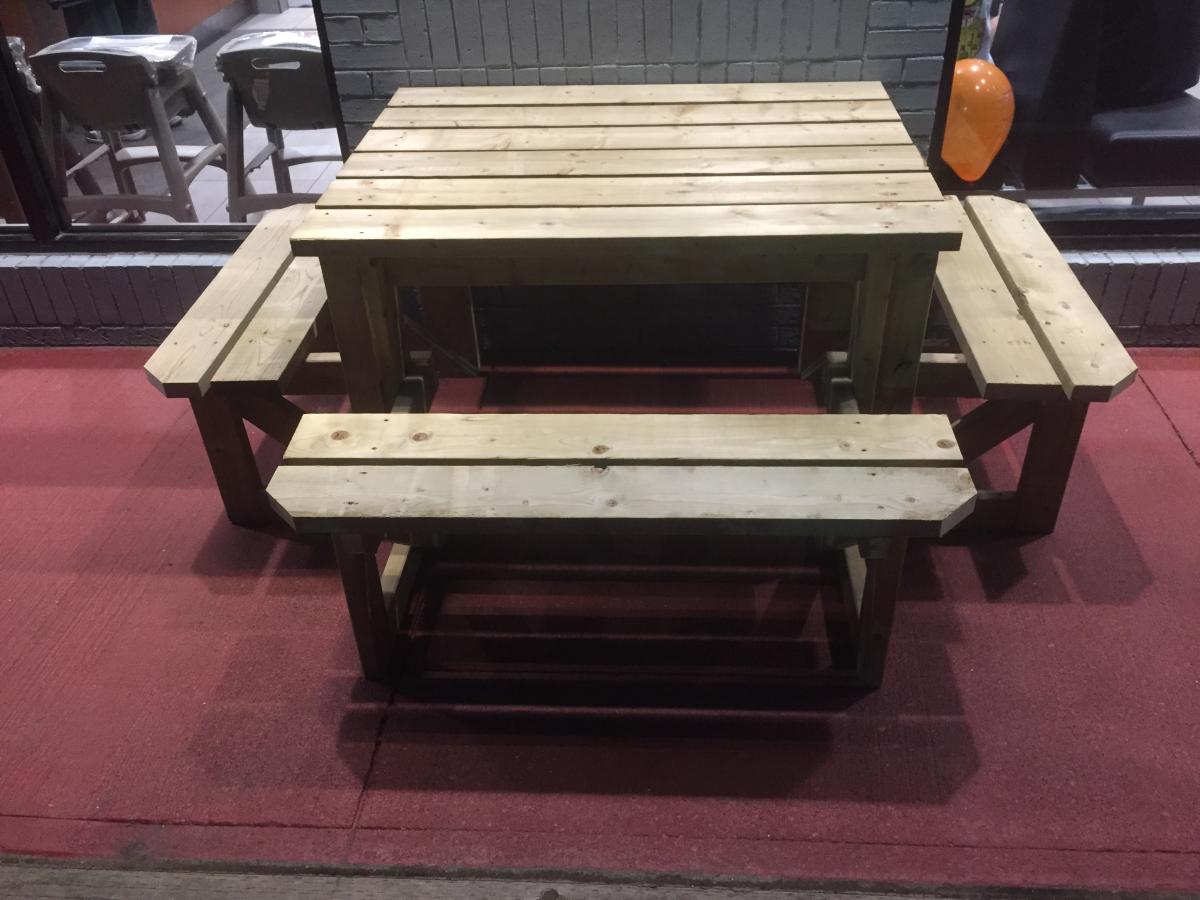
We built 2 of these tables for the McDonald’s in our area for the front of their building. With a few modifications to fit the space. We made the top of the table a foot smaller so it’s 3 x 4 feet. We also put extra bracing on the legs so the table would not tip over if one person was to sit on it. I love this table and will be making one for myself
When I was given a stack of MDF sheets from a friend, I knew this was the desk I wanted to build with it first! We recently moved into my husband's grandmother's house, and have been making some improvements. We took out the dark old built in, and I replaced it with three 4' long gallery shelves, and the Parson's Desk modified to 4' long. It fits perfectly in my space, and looks so chic and modern against our teal walls. It's the perfect craft nook and workspace! I added a mason jar pendant light I DIY'd from the IKEA bulb kit, and also sewed a reversible runner to match my handmade duvet cover. The fabric is Deer Valley, from Free Spirit. I also had the glass top from the original desk cut down at Lowe's for free, and it's a perfect fit.
This project was amazingly simple and fun, and I love the outcome!
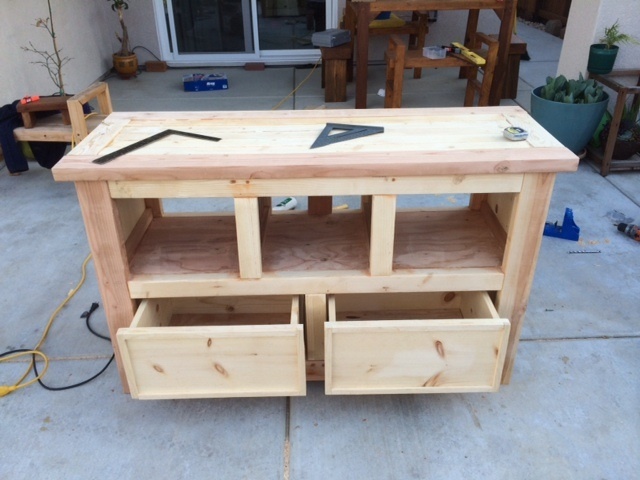
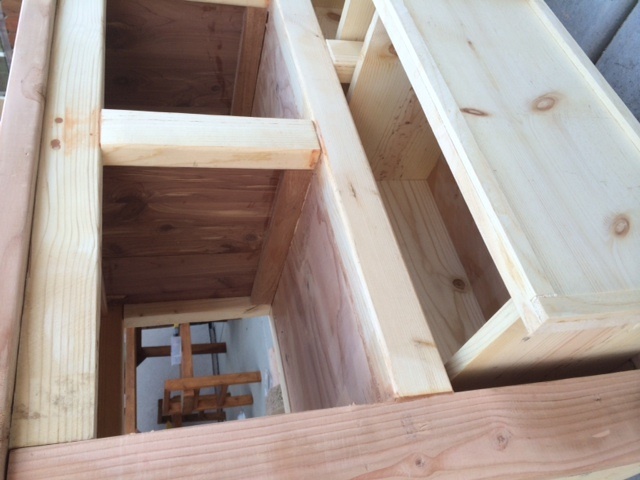
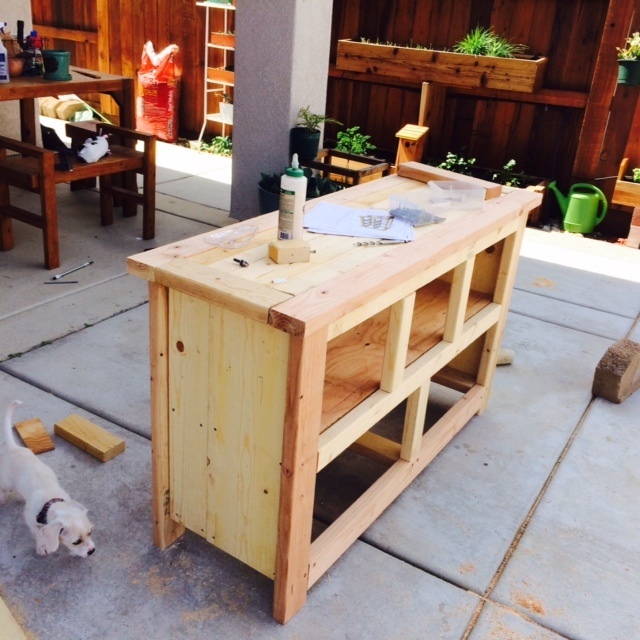
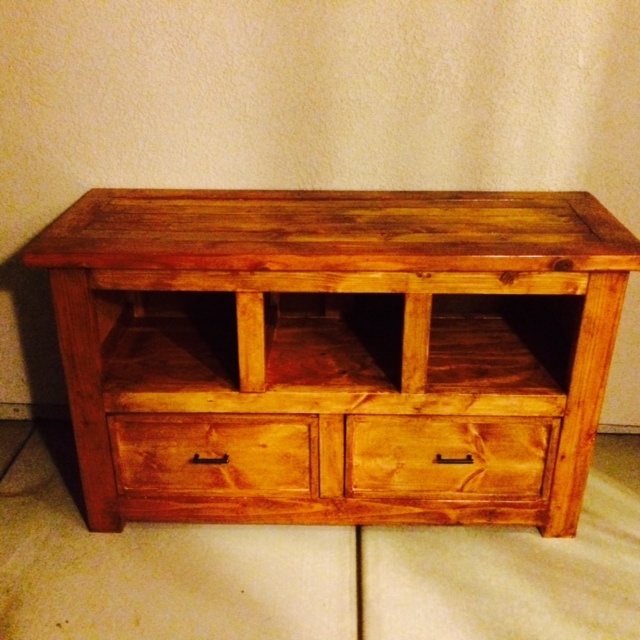
I've made mostly from 2x3 and 2x4. I made the drawer using scrap plywood I have laying around. The project is not finsihed. I will probably use watco danish oil through all wood.
Fri, 04/03/2015 - 16:47
This is beautiful and well made. Exactly what I need in my shop or even in my kitchen! It looks great!
Tue, 04/14/2015 - 07:25
It takes strong ppl to move this table though :) heavy and sturdy
Sat, 04/25/2015 - 16:15
I really like what you did here. When I first looked at it, I thought it would be a great piece for my little section of the garage I am calling my "shop".
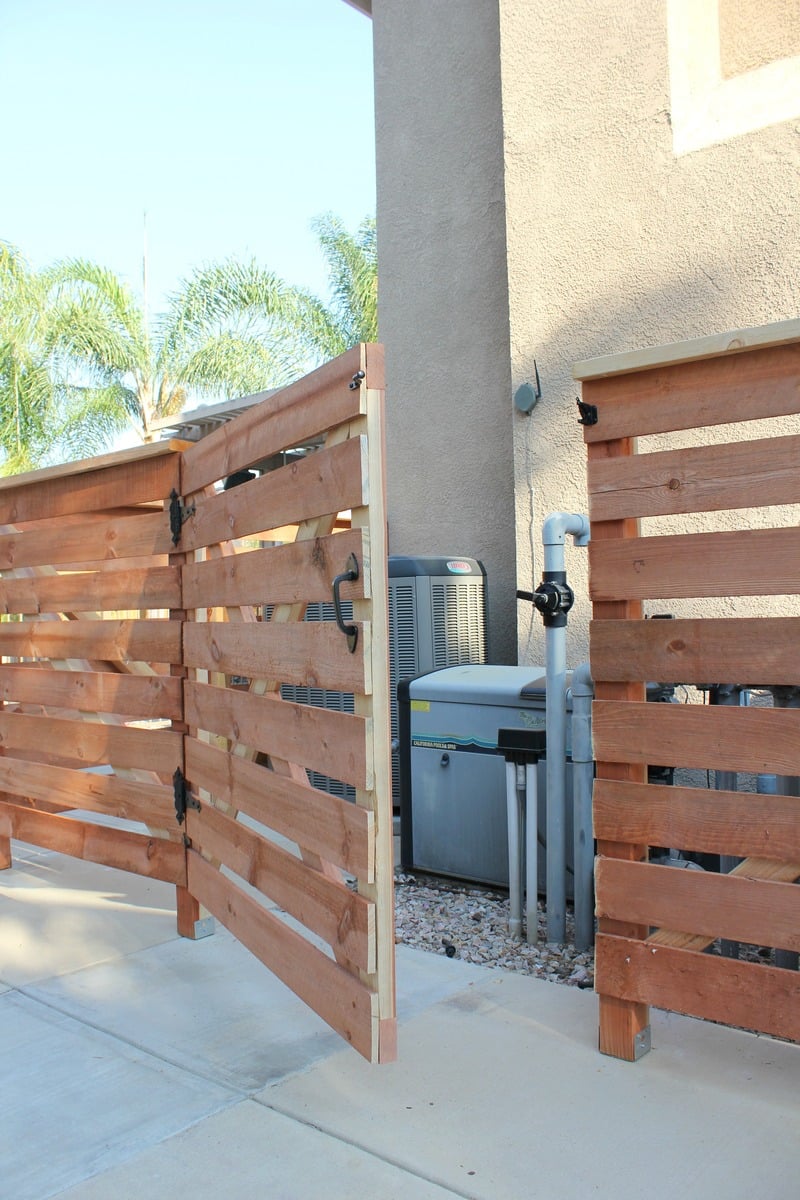
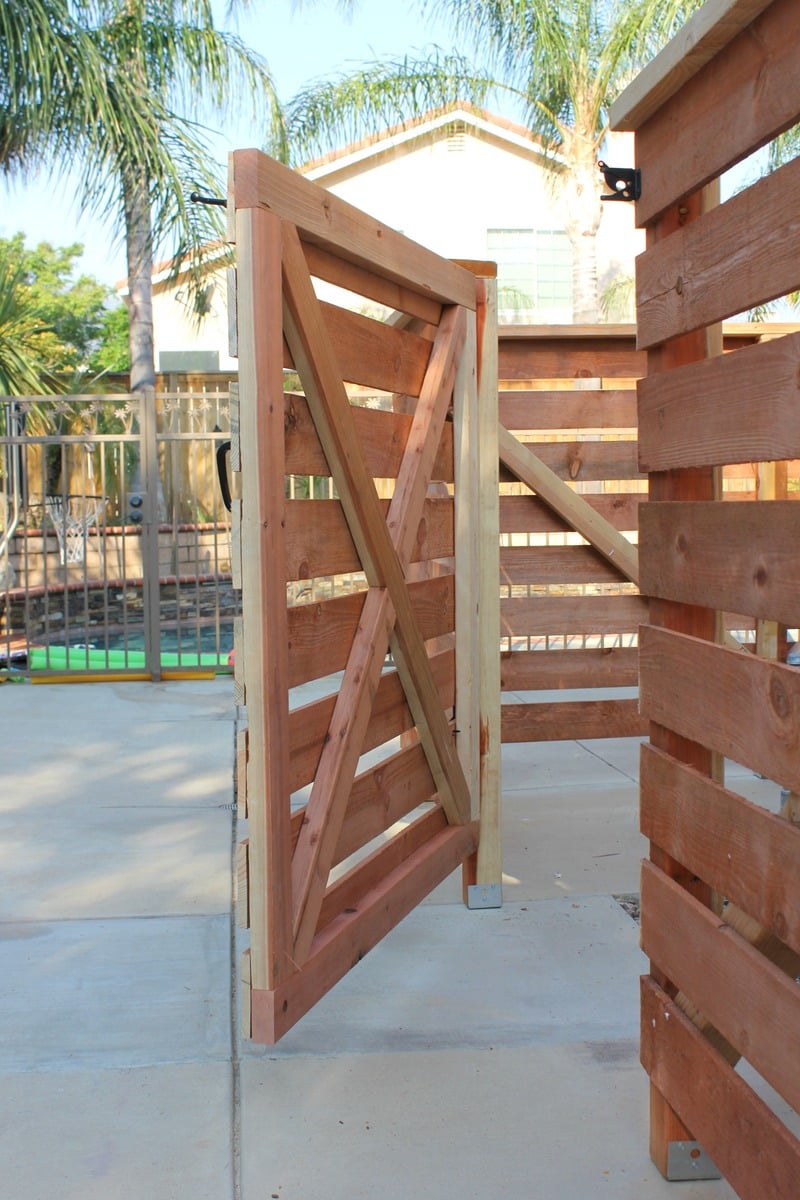
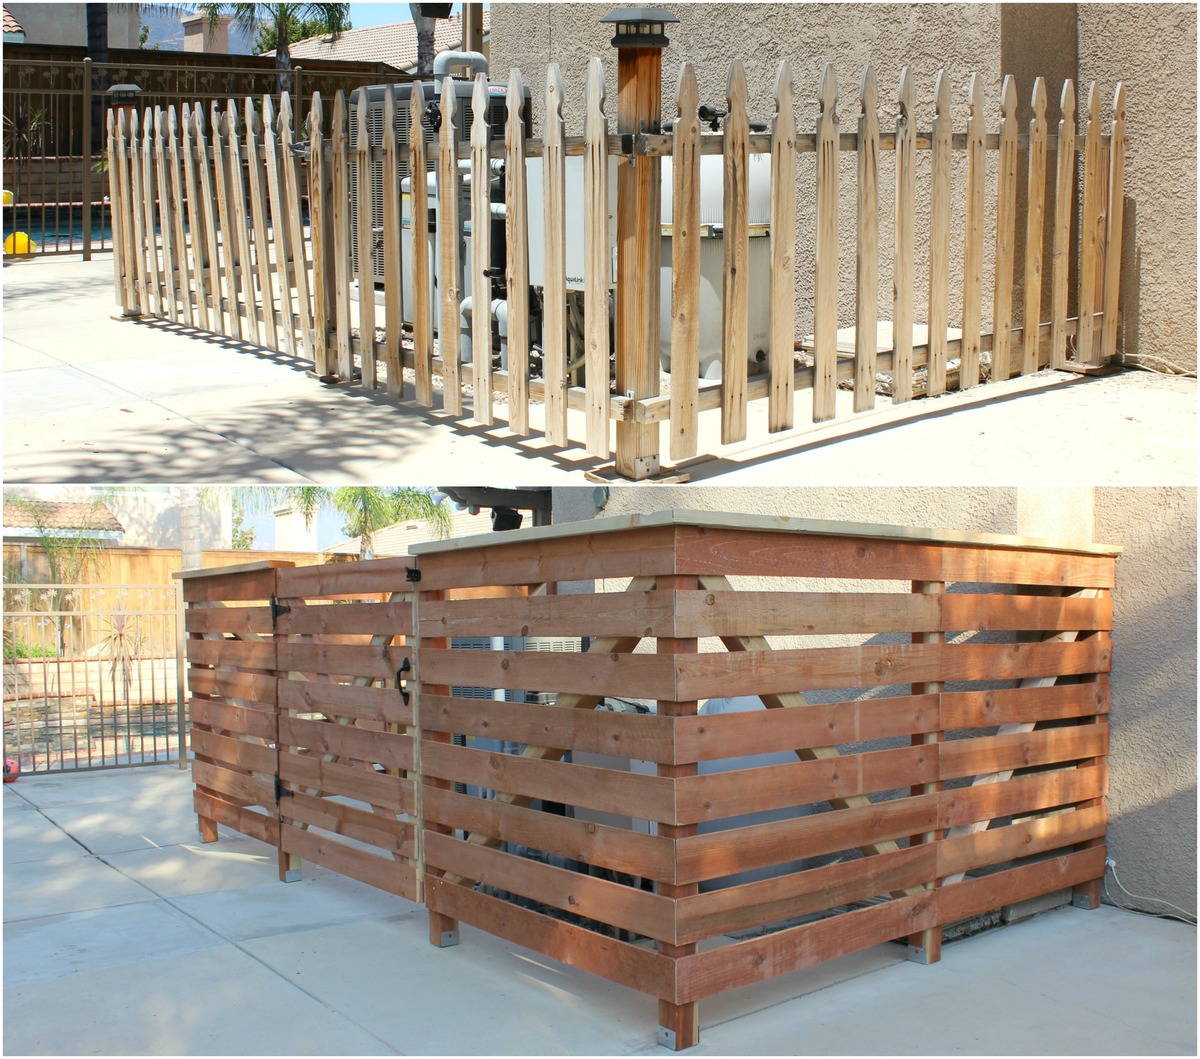
We love this fence refresh from the previous owner's solution to enclosing the pool equipment and a/c unit! It was the first time we fastened something to our house - drilling through stucco in the process. That was a big deal for us diy-ers! We made the frame out of 4x4's (which ended up being the most challenging part to the whole thing), applied the horizontal fencing boards and then used one of those $15 fence hardware kits - it was a great project that has made a huge difference in our backyard. Yay!
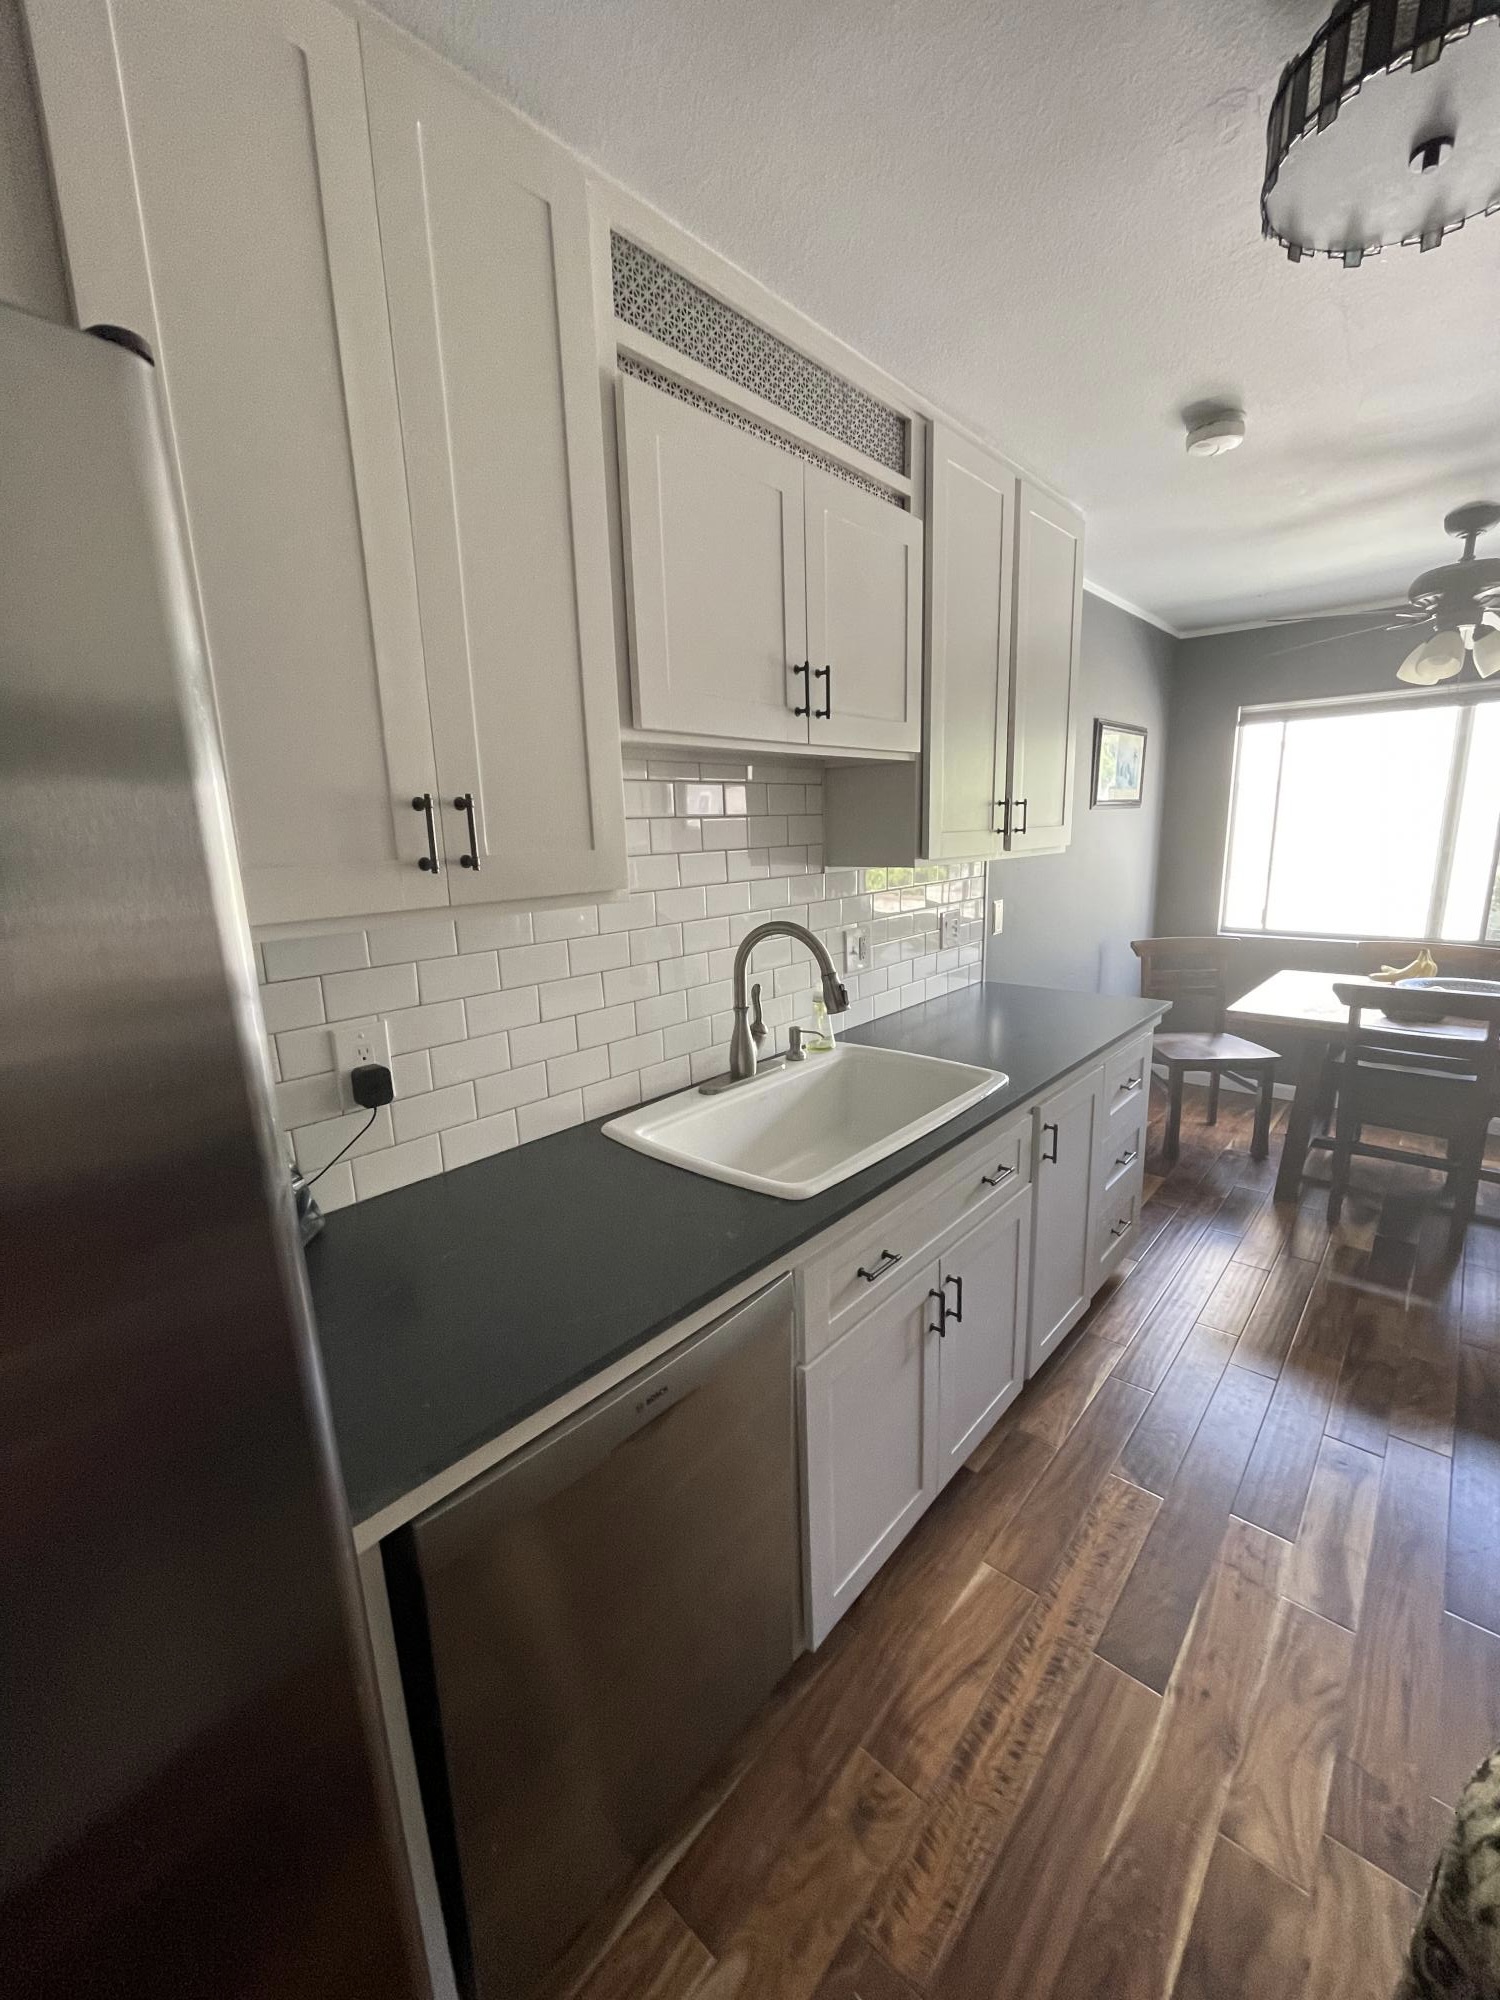
We decided to finally update our 35 year old kitchen. We rent so our landlord agreed to foot the bill for all the material. Ended up costing $6500 including Soapstone counters ($40 per slab remnant on OfferUp) hardwood floor ($60 leftover materials on Craigslist) and new Convection/air fryer range. Not too bad and I owe you a huge debt of gratitude for help making it all possible with your plans.
Tue, 11/07/2023 - 07:05
It looks great, it's exactly what you need for your kitchen.
With a couple of projects under our belts, my husband and I decided to tackle the Farmhouse Table. We shortened it to 6' to better fit our dining room, and also chose 1x6's instead of 2x6's to give it a lighter look. We also nixed the stretcher, and opted for 3x3 poplar table legs, that made the overall cost jump quite a bit. I absolutely love how it turned out, and the bench really fits well. It's stained and painted to match.
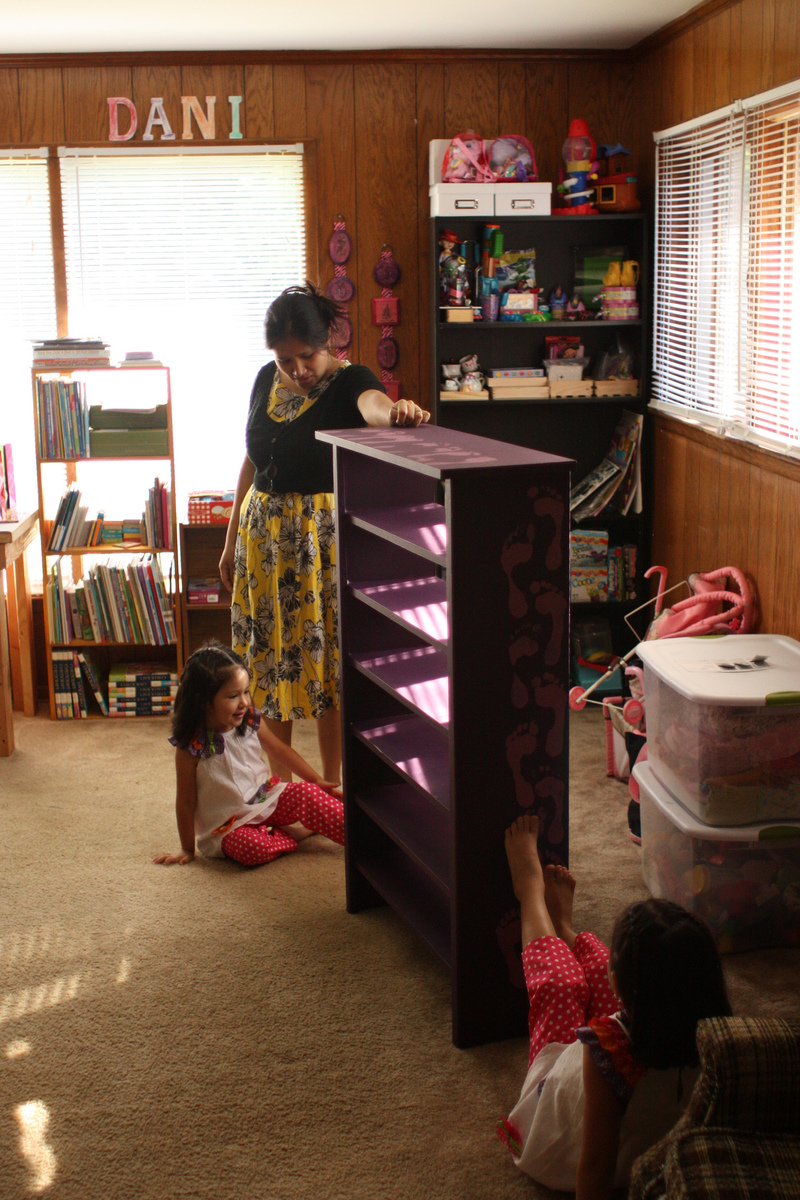
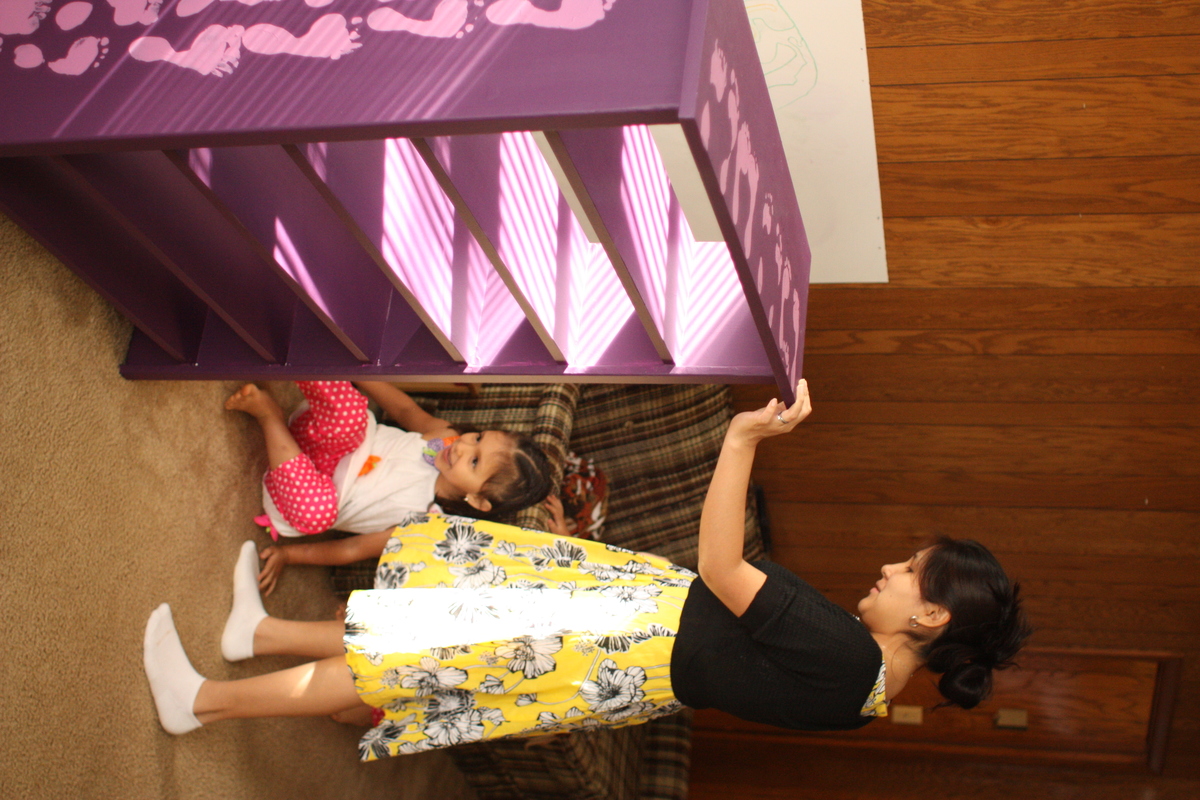
A pretty simple shoe rack. My wife wanted something to hold a LOT of shoes that could go in our garage by the door to the kitchen. Girls helped with the painting :)
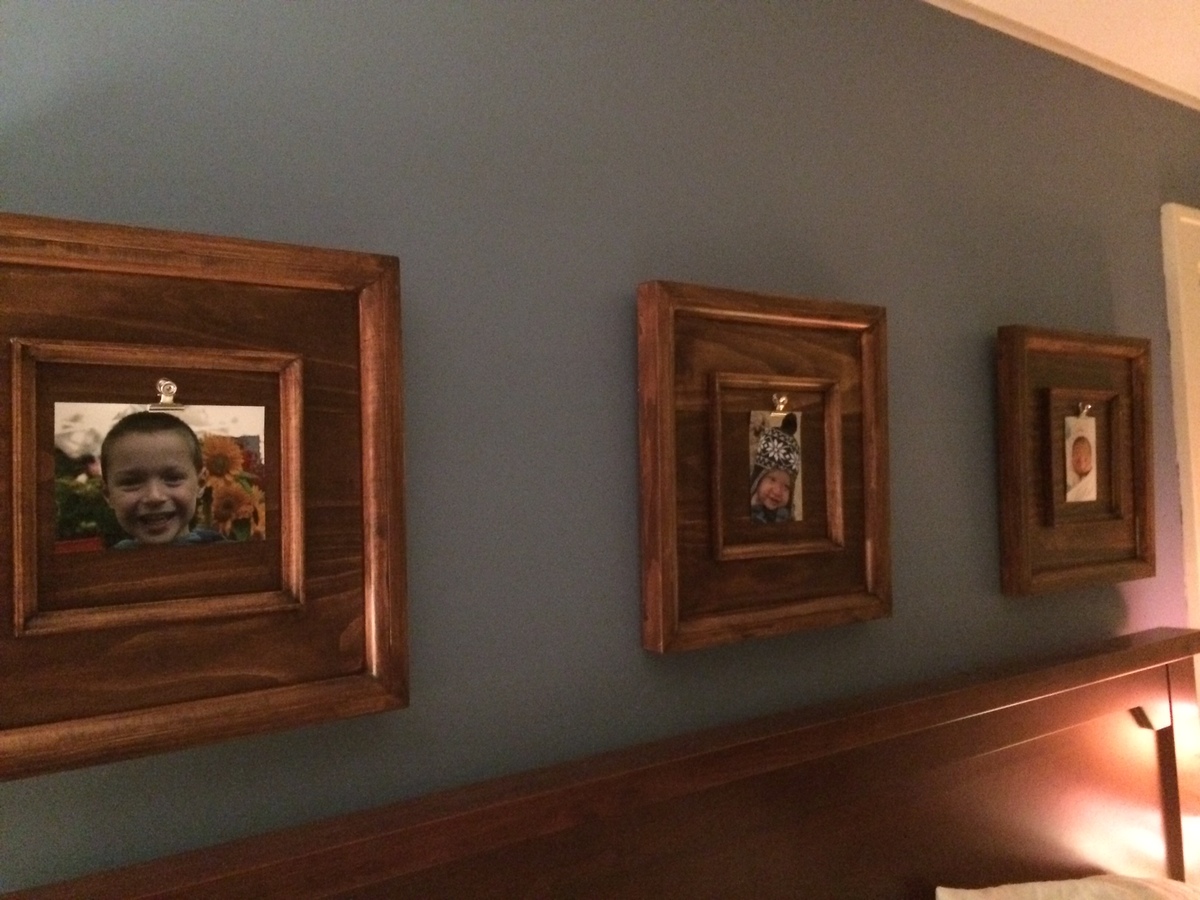
I made these from select Pine, they were super easy to do, look great and I love that I can change the pictures up easily.
These were a fun build and pretty easy to put together. Certainly need to pre-drill pilot holes or risk splitting your boards.
I contemplated putting a back rest on the chairs but didn't end up needing them due to close proximity to the walls. Having the cut-list on hand was super handy as I just set a stop on my miter saw and was able to cruise through the cuts quickly.
Most of my builds come from Ana White inspiration . Jobs simplified and cost effective. She is the absolute best . !
Mon, 10/04/2021 - 16:57
WOW! These are all great projects, thank you so much for taking the time to share!

Custom tower shelves with hanging space and four shelves.
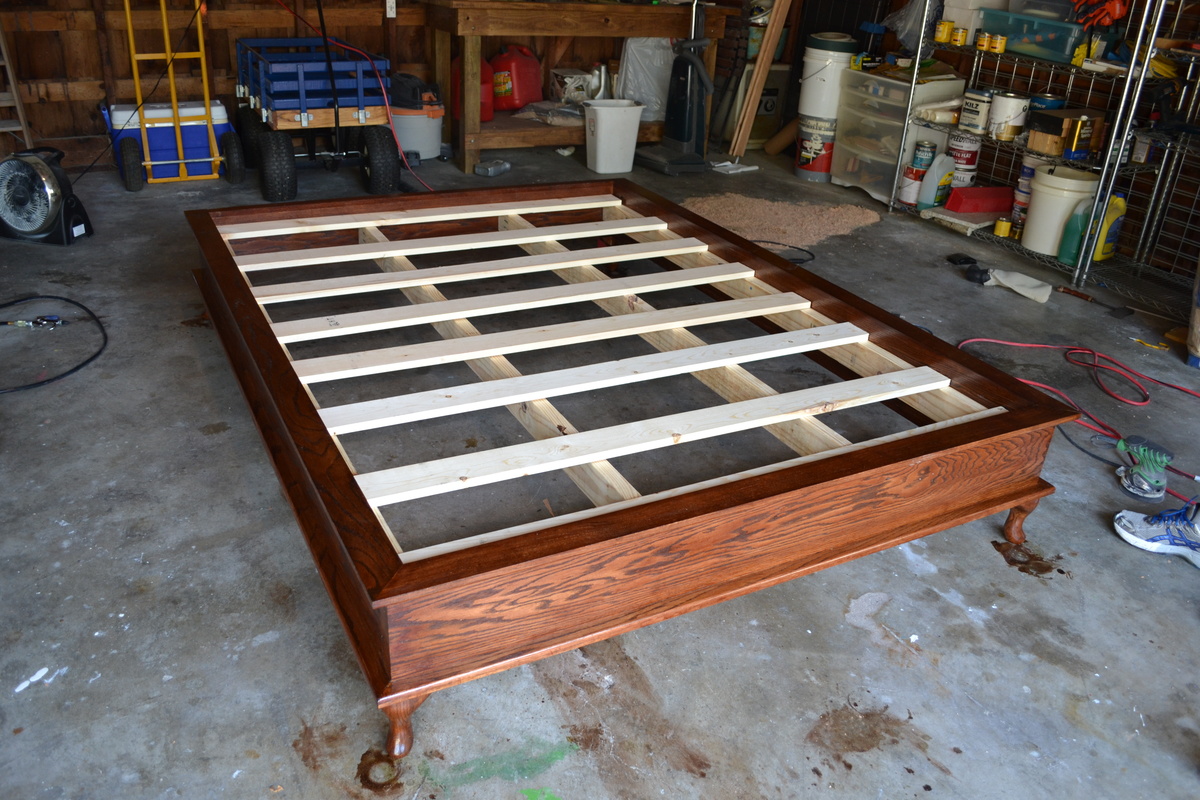
My husband was thrilled to build us a new bed - it meant he got to buy a Kreg Jig. Of course, he refused to buy plain ol' pine off the shelf at the Big Box stores and just HAD to buy the solid red oak from our local lumber yard. (So much for keeping the costs low. Oh well.) It's stunning and I love it. If it weren't for Ana's plans for this, we'd be settling for some hunk of junk off Craigslist or, worse, one of those furniture chains. For still roughly half the cost of something out of a store, this is a far superior bed frame and will last forever.
My hubby's no stranger to using power tools, but this still took him a few weekends due to life and letting the stain/finish set. He still has to attach the quarter-round, which he broke out the router to customize himself, but I was super impatient and told him to finish the base and put the trim on later. I'll try to remember to update this when that happens.
He also found the Queen Anne style legs off http://www.osbornewood.com/
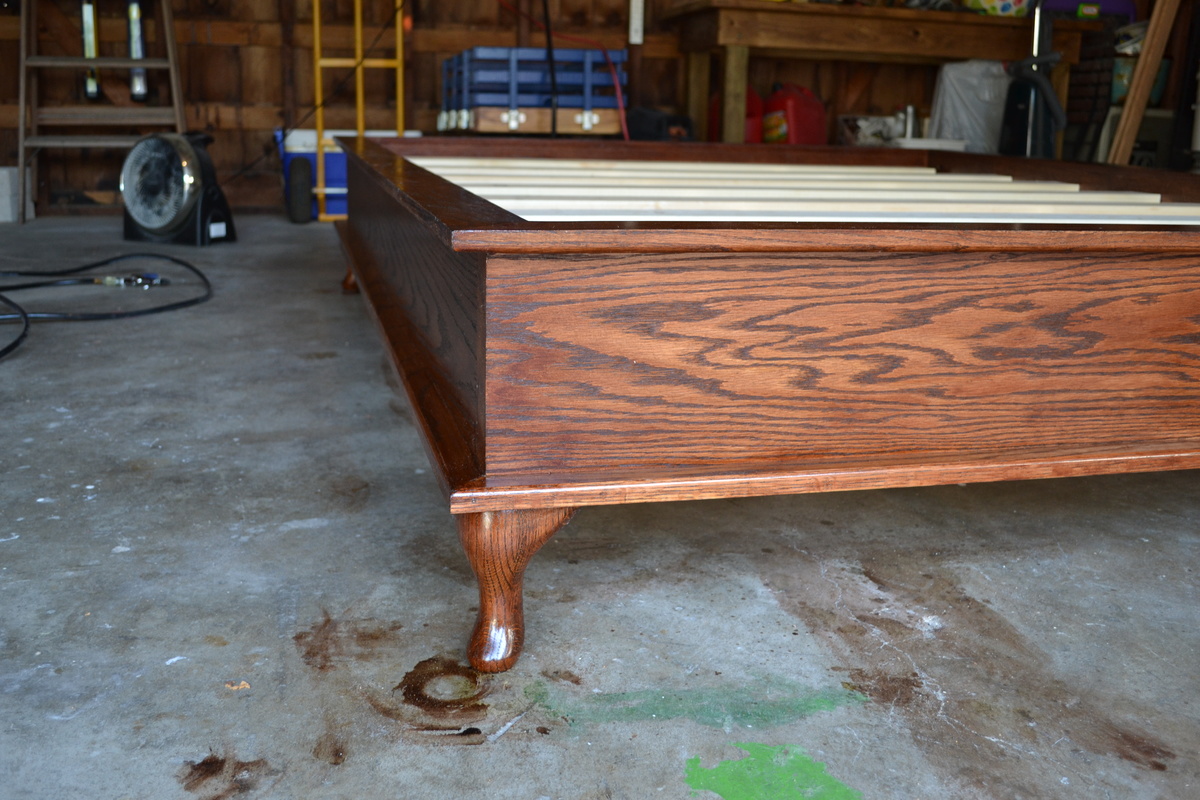
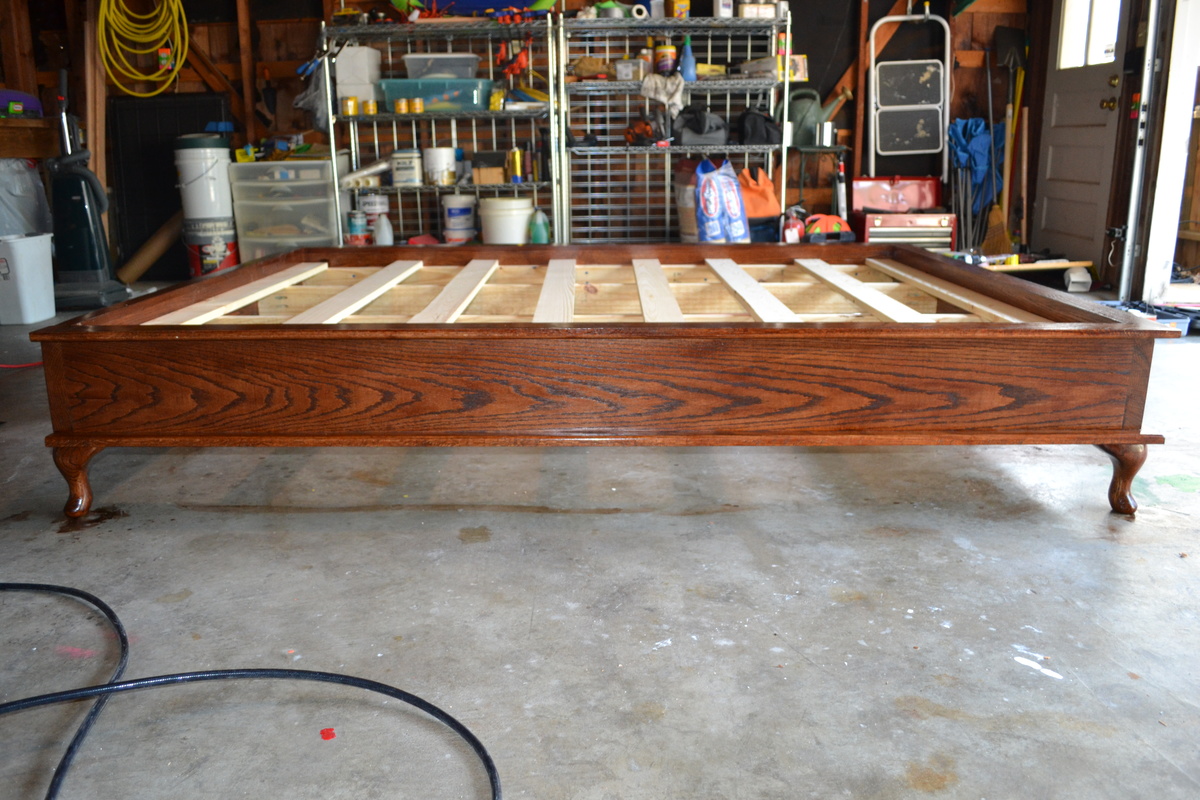
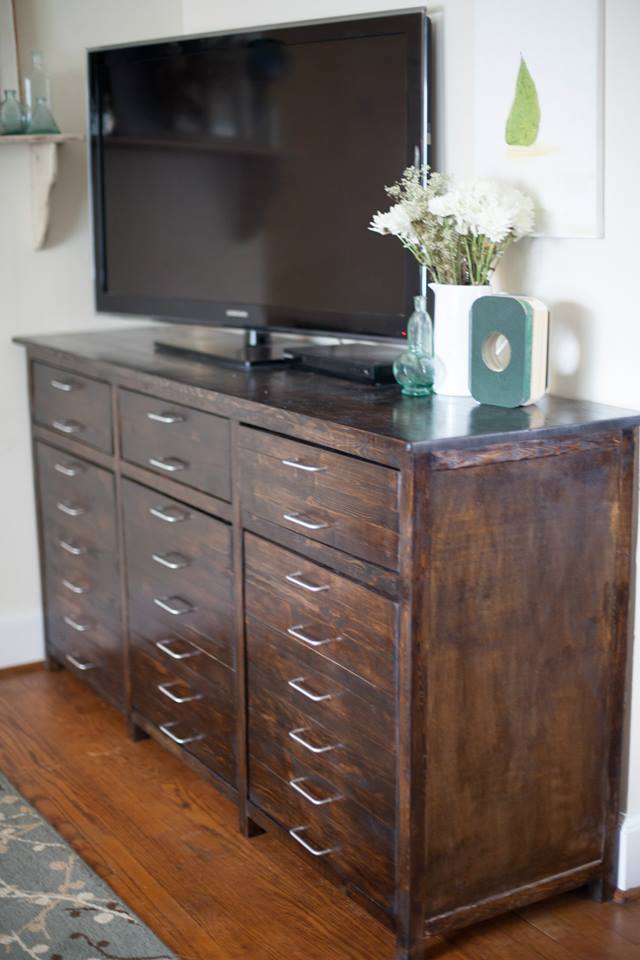
We made this and a dresser just like it. We wanted matching furniture.
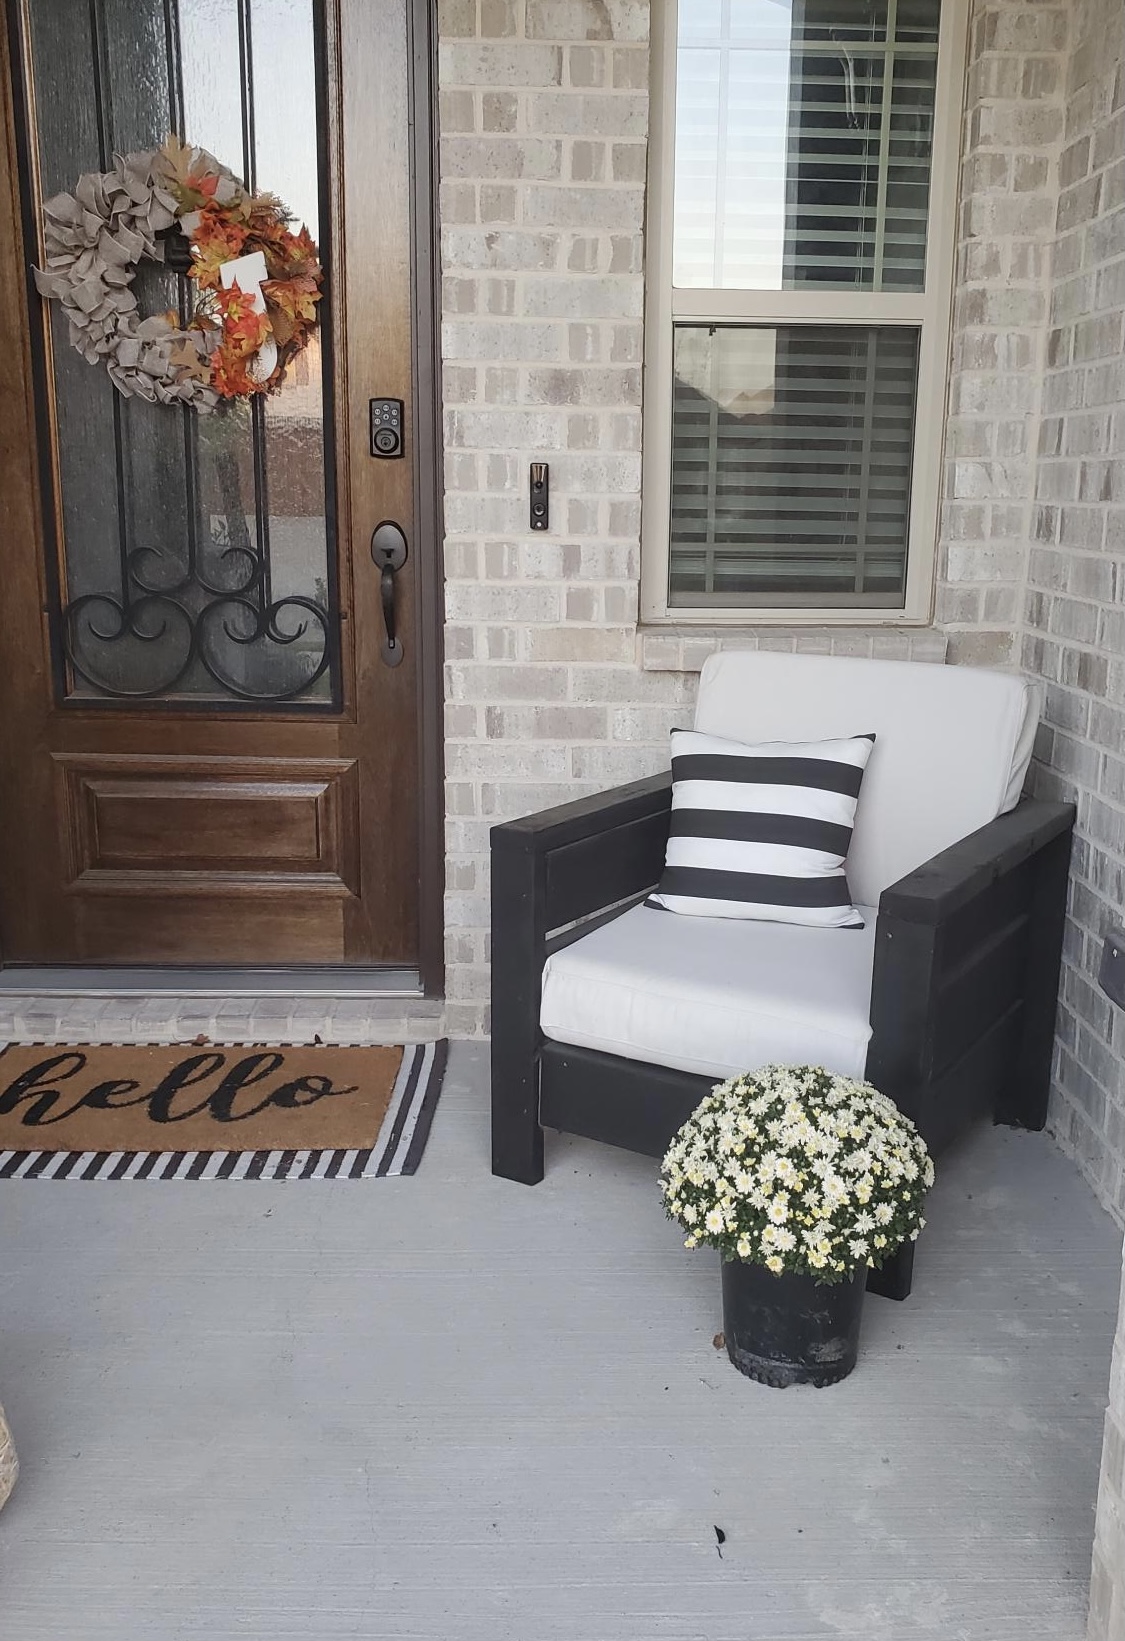
I chose to make the chair which came out great although the plans were only for one chair I thought it waa easy to do.
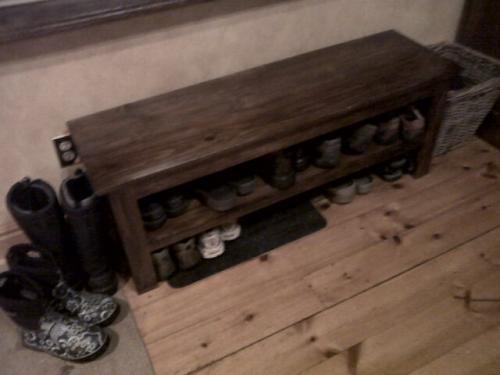
I've officially stopped stalking and started building! First project a modified spa bench. Still have to stain it, but it already makes the big pile of shoes by the door look neater! I'm a hands-on person and not afraid of power tools (got a band saw for my birthday!) but it's still a challenge building a piece of furniture. I've already learned lots of do's and don't do's for next time!
Thanx a bunch for your site, Ana! It definitely gets the mind plotting great projects to come!
Comments
Ana White
Mon, 03/30/2015 - 15:09
Looks awesome!
Looks awesome!