Old Door Cofee Table
This table was built out of an old 5 panel door and some scrap would that we had lying around. old hinges and knob came from a local antique store. To finish the door my wife crackled the top and clear coated it.
This table was built out of an old 5 panel door and some scrap would that we had lying around. old hinges and knob came from a local antique store. To finish the door my wife crackled the top and clear coated it.
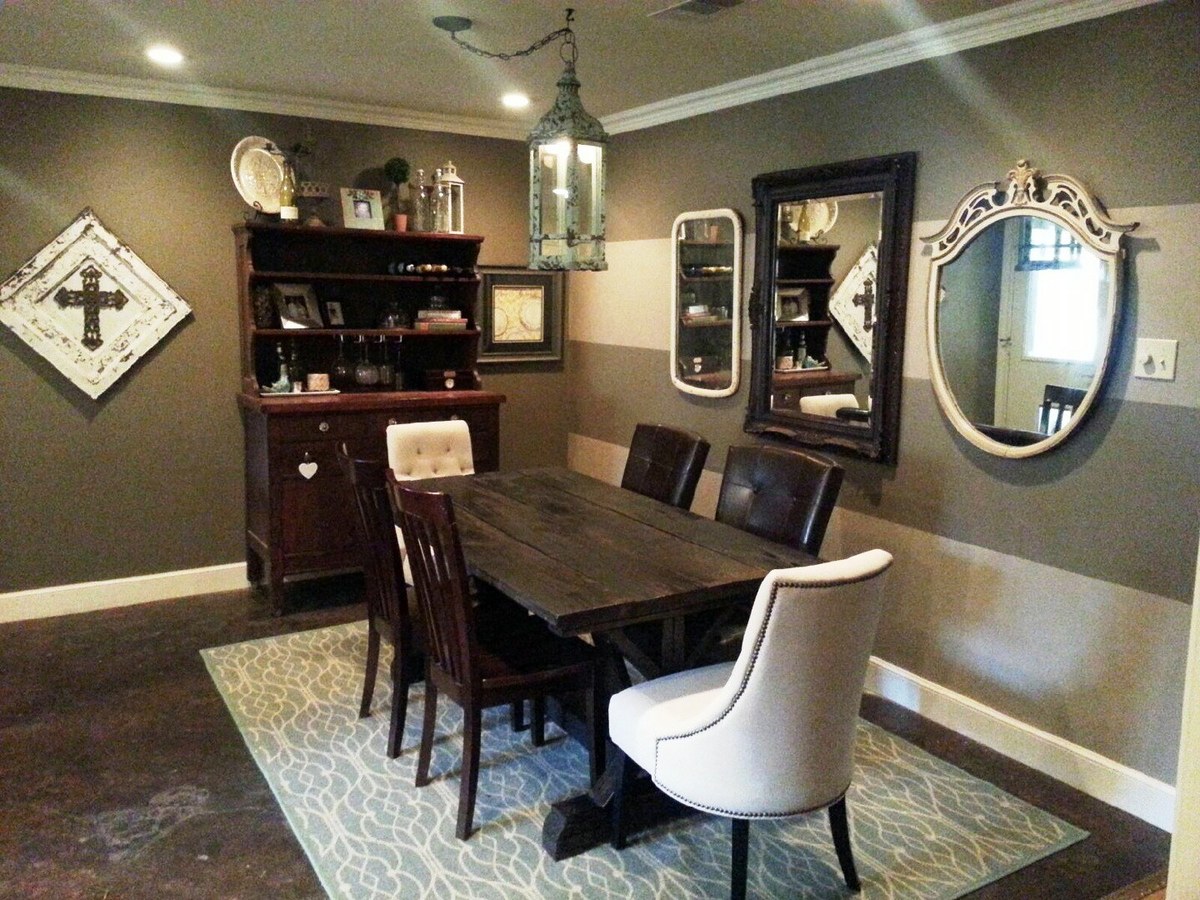
We were able to finish this table after work one afternoon and stain it the next day. (we have a 16 month old also, so you can do it! :) ) I wanted a similar style I had found at World Market that retailed for $700 we were able to complete this entire table for $100 including all hardware and stain. LOVE it so much and get SO many compliments on it. Thanks so much!
Shelby
The Dandy Lion
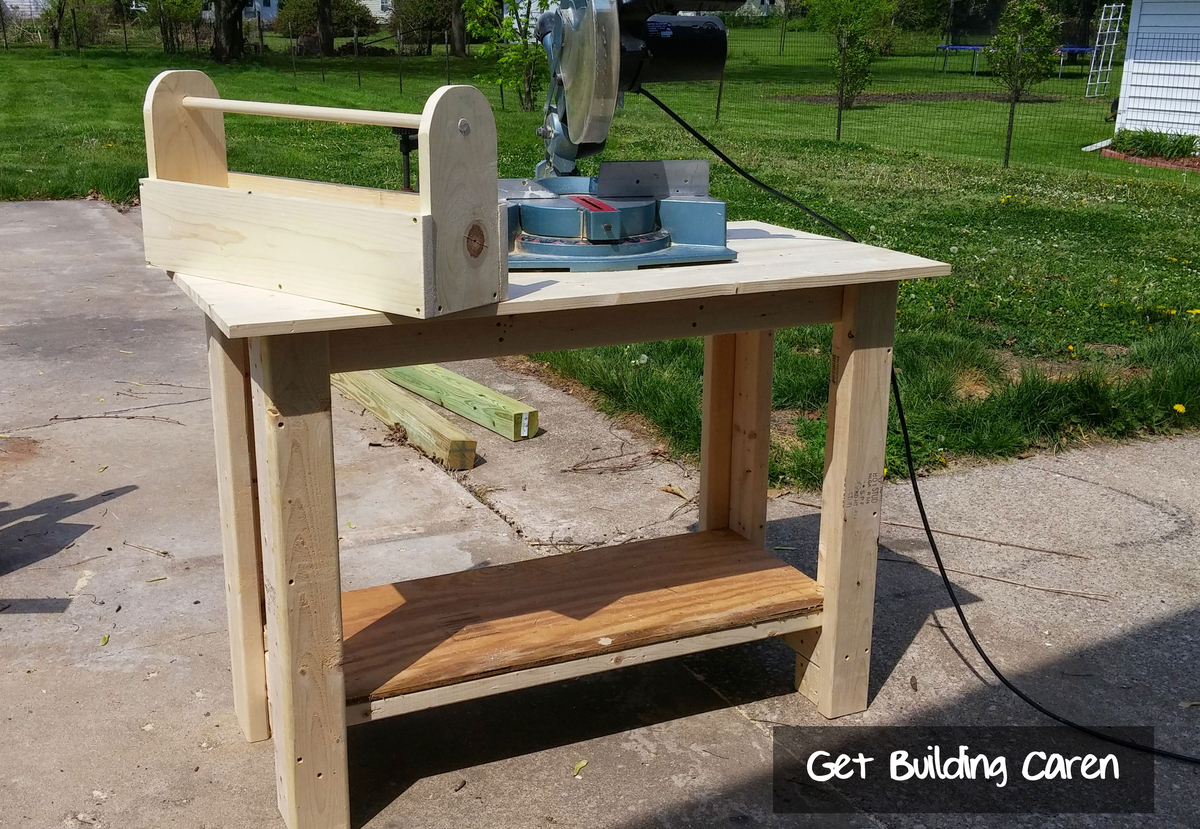
The first project I tackled from Ana White's wonderful plans was a building a sturdy work table for my miter saw that I bought at a garage sale for $25. I was using cinder blocks and plywood as a makeshift work table, and wanted an improvement on that as my first project. So, let the fun begin!
I started the project on Saturday after lunch, going to the lumber yard and picking up wood and screws for about $50. It's about the lumber limit I can haul in my Honda Civic, in the back seat, with the window open.
I followed the instructions, but found that the supports for the top were 13" not 12", and I had 3 2x4s left over (for future projects). I had some plywood in the shed, which I cut 16x40 to make a shelf. I only filled the screw holes on top with wood filler, so sawdust doesn't accumulate.
I finished the table before dinner time. The kids are getting me a bench vise for Mother's Day. Thanks kids!
On Sunday I started my second project, a tool box made out of a dowel and a 1x6 (see it on the ground in the second pic?). I cut the pieces first, then rounded the sides with the jig saw I bought at another garage sale for $3.
Everyone loves the toolbox! I plan on making one for my oldest son, and filling it with starter tools.

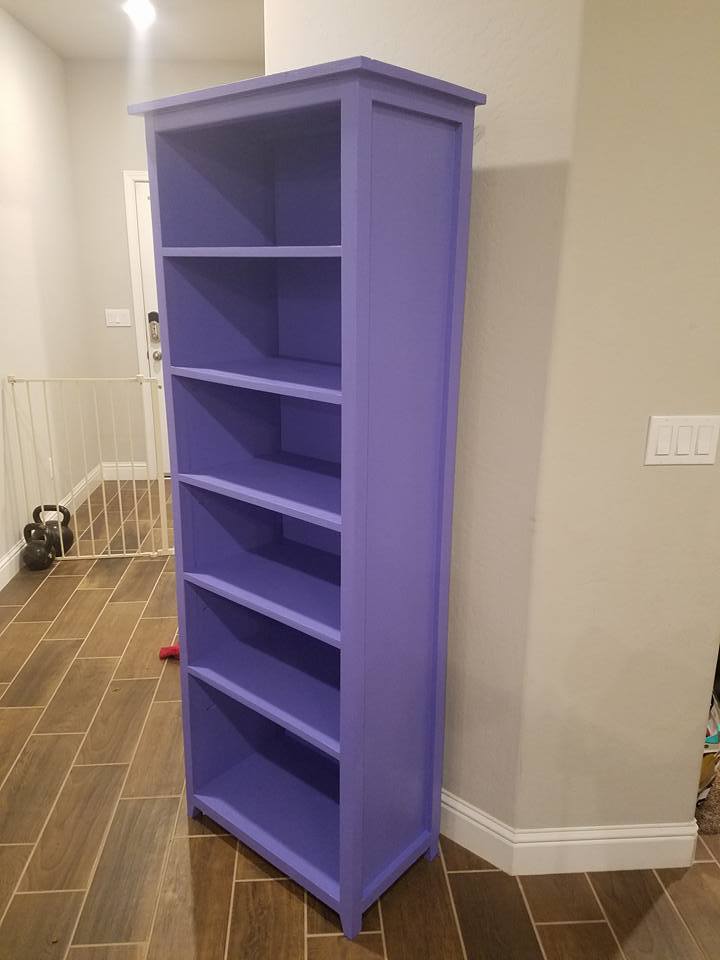
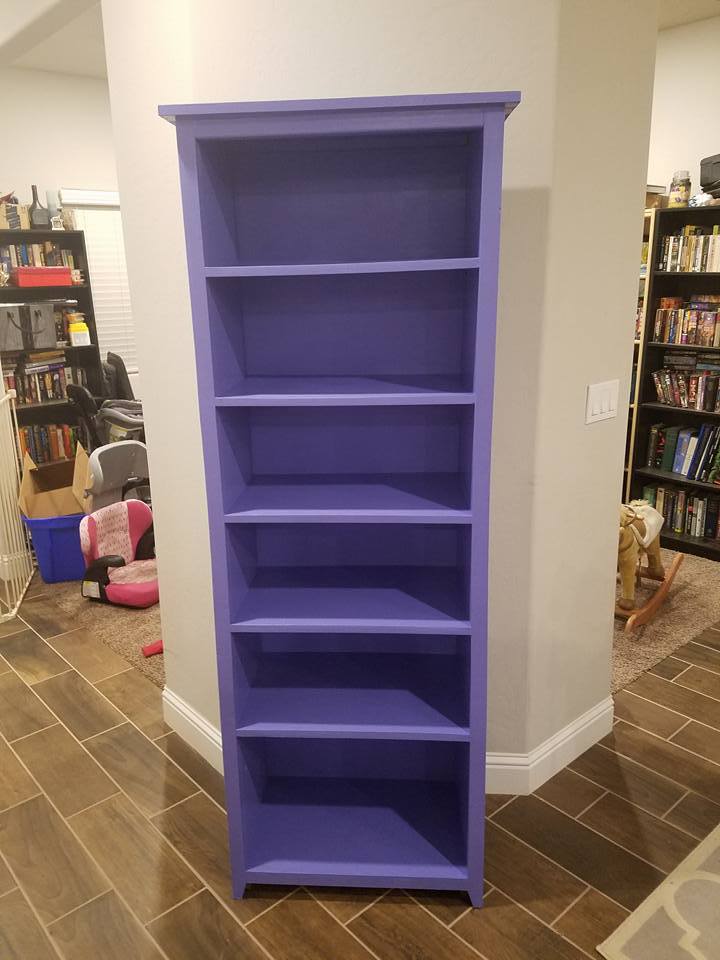
Built this to give my daughter more space for her books. She picked the color (she's 6), and my 9 yr old son helped paint it.
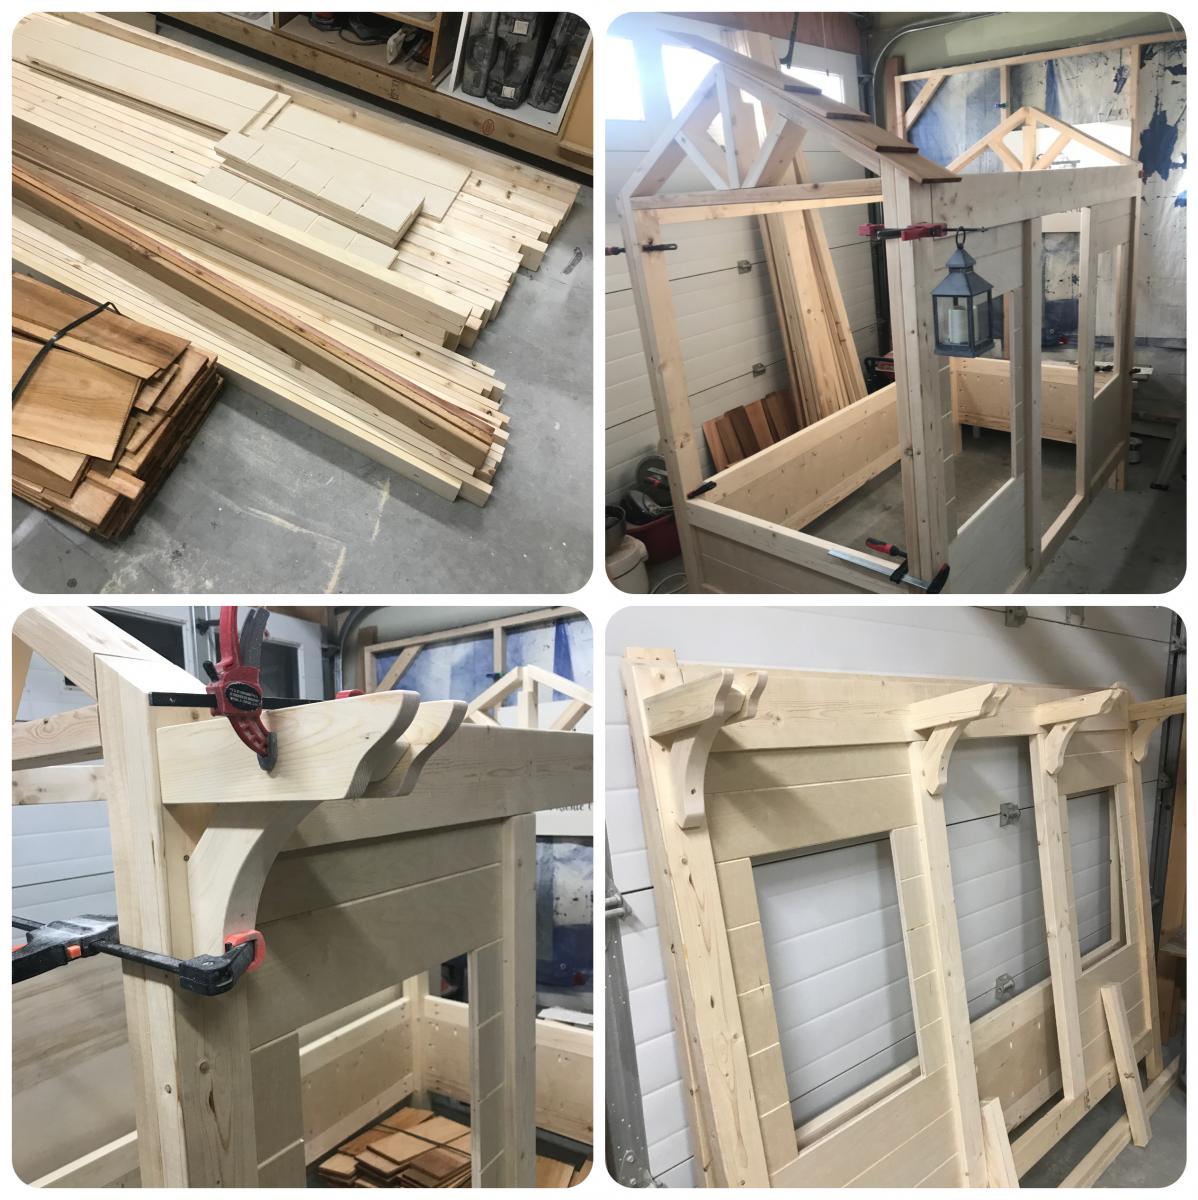
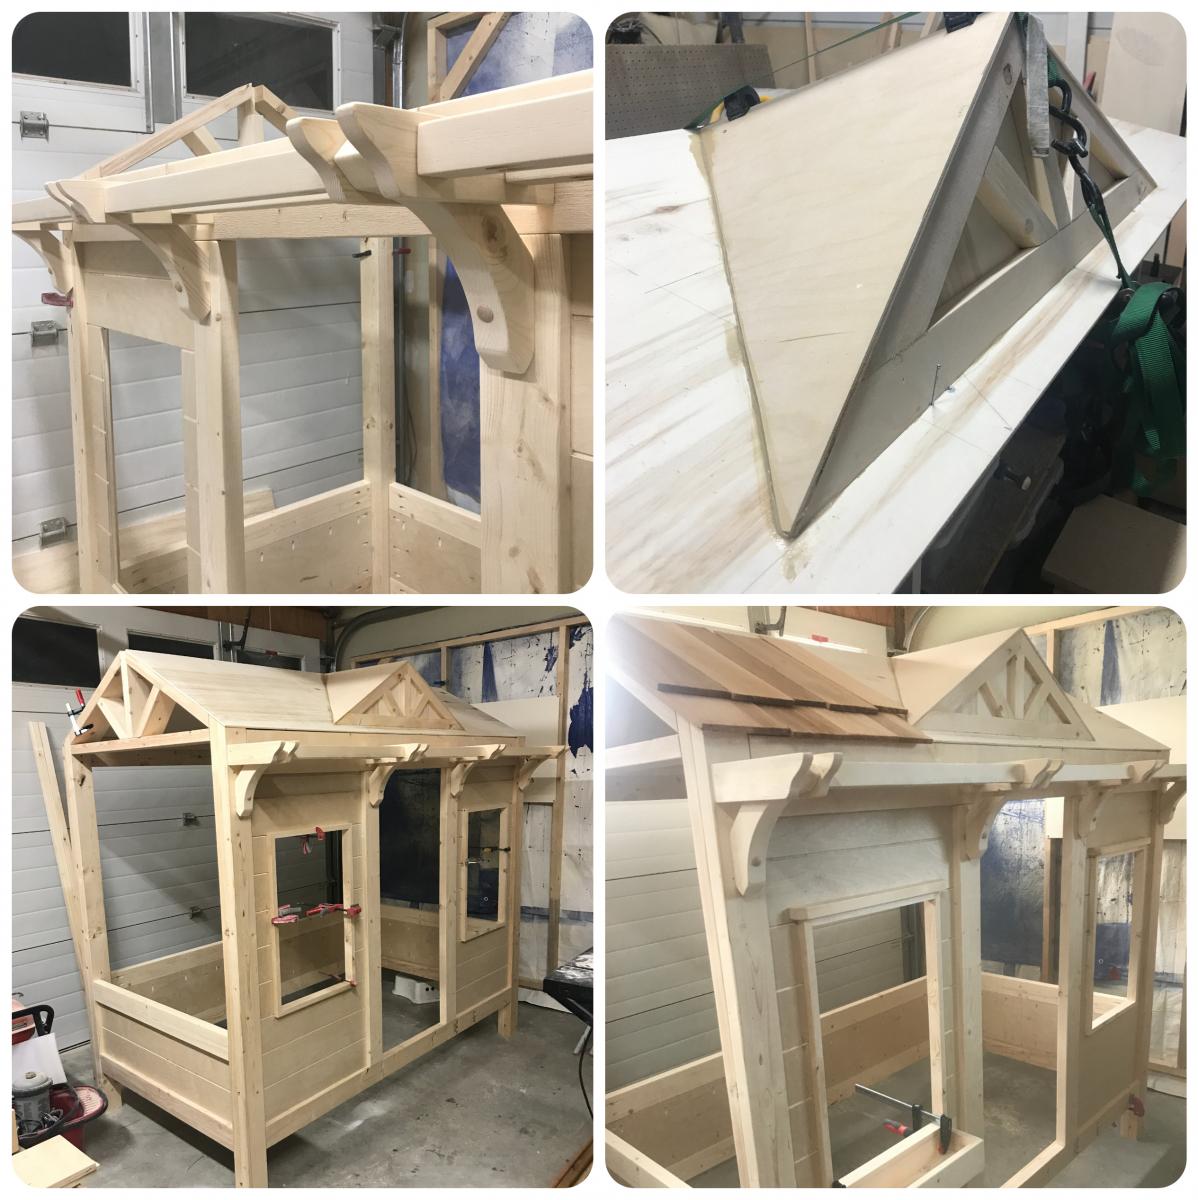
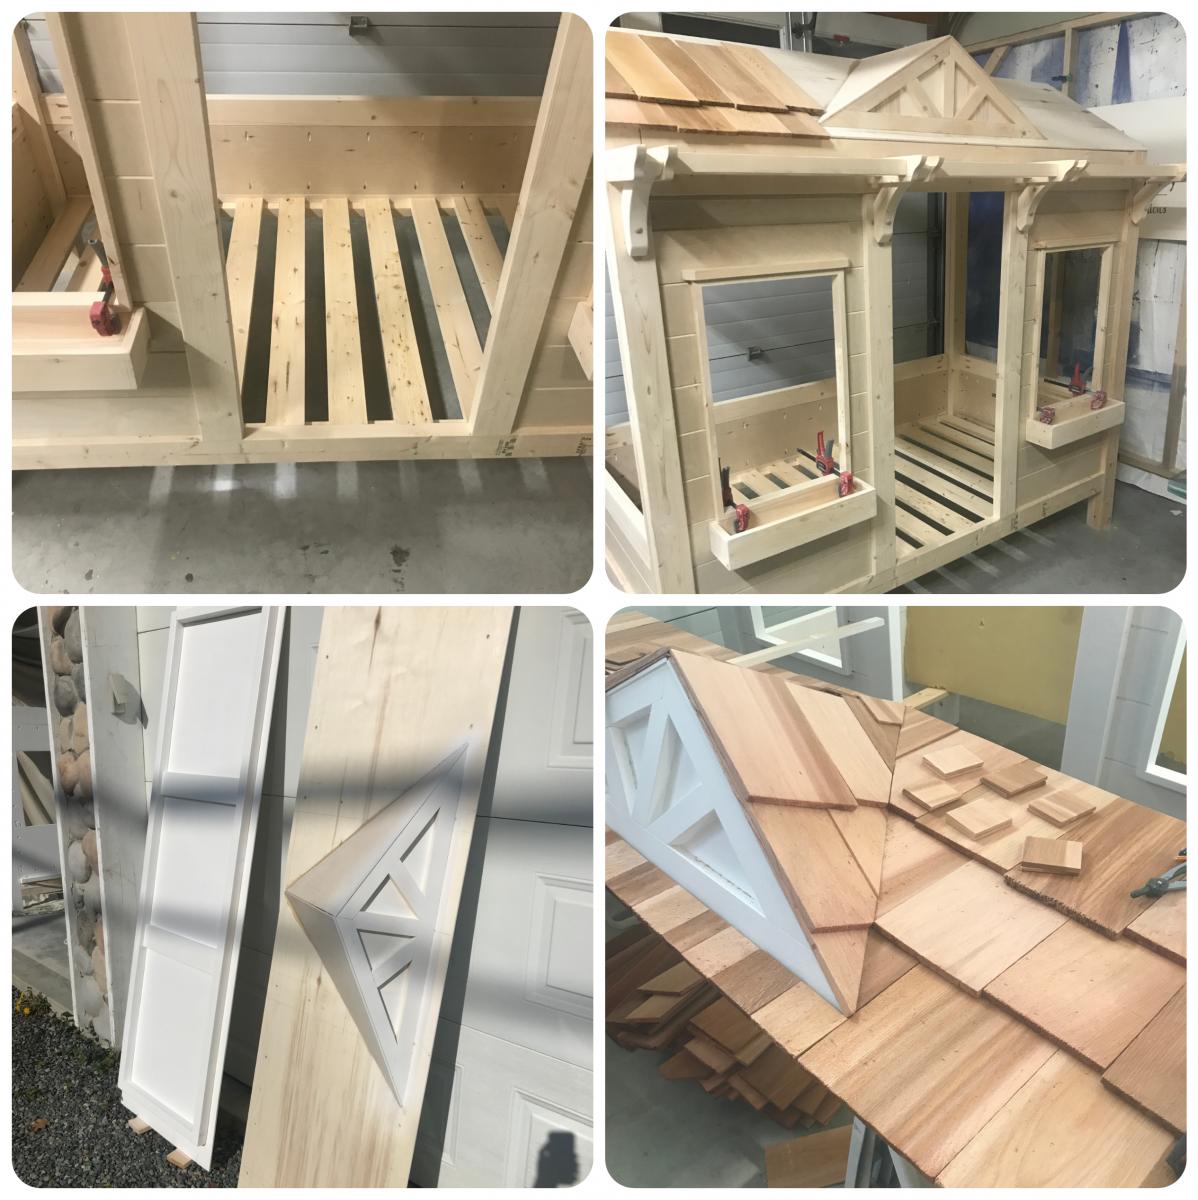
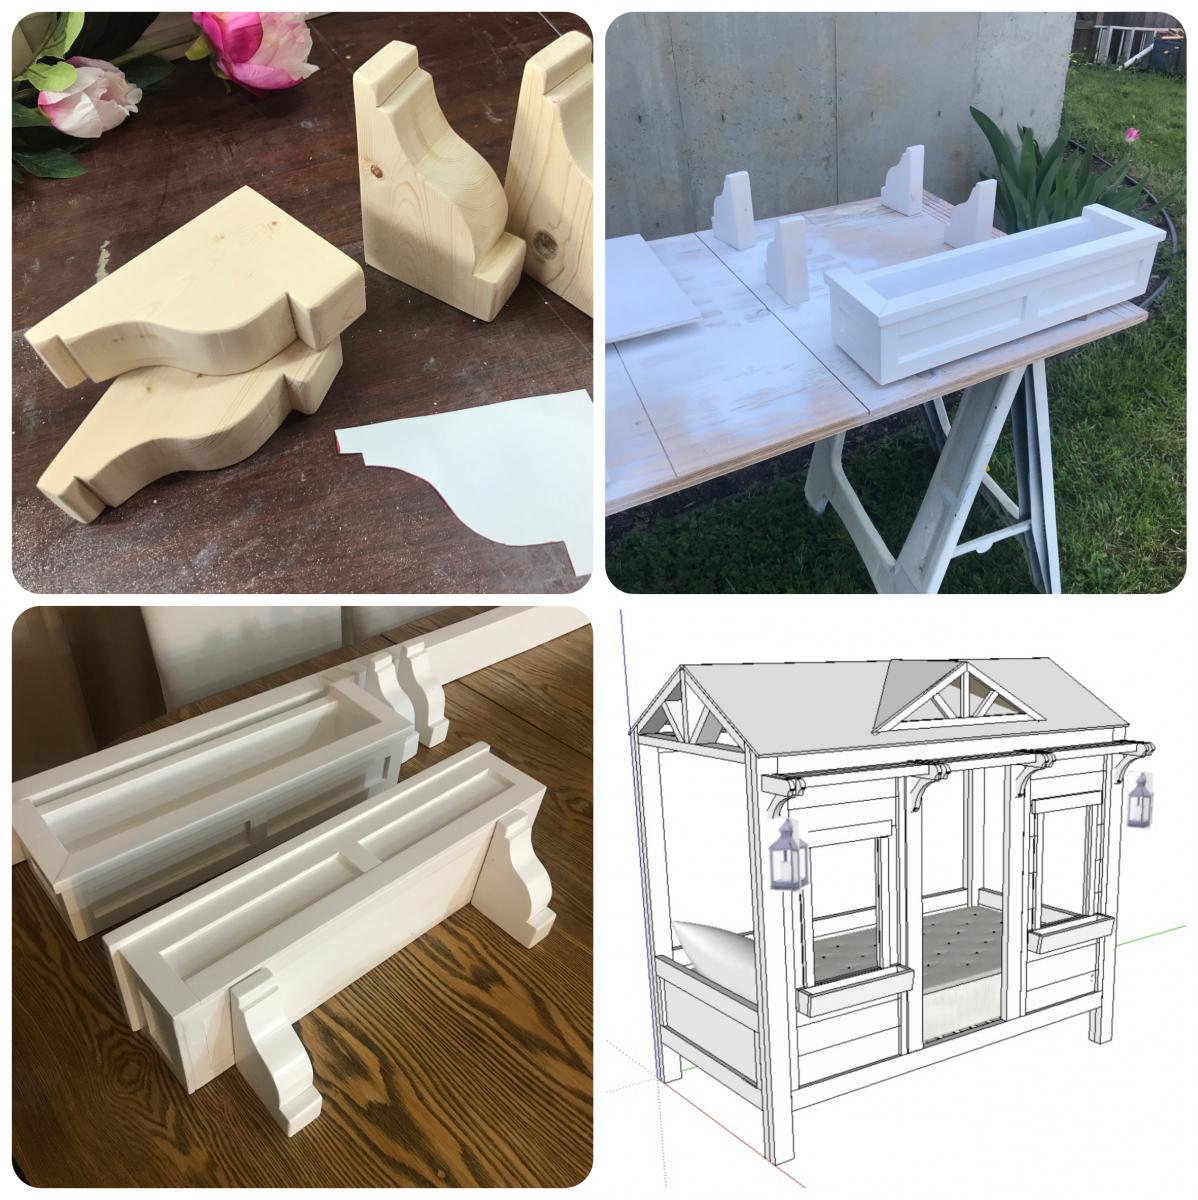
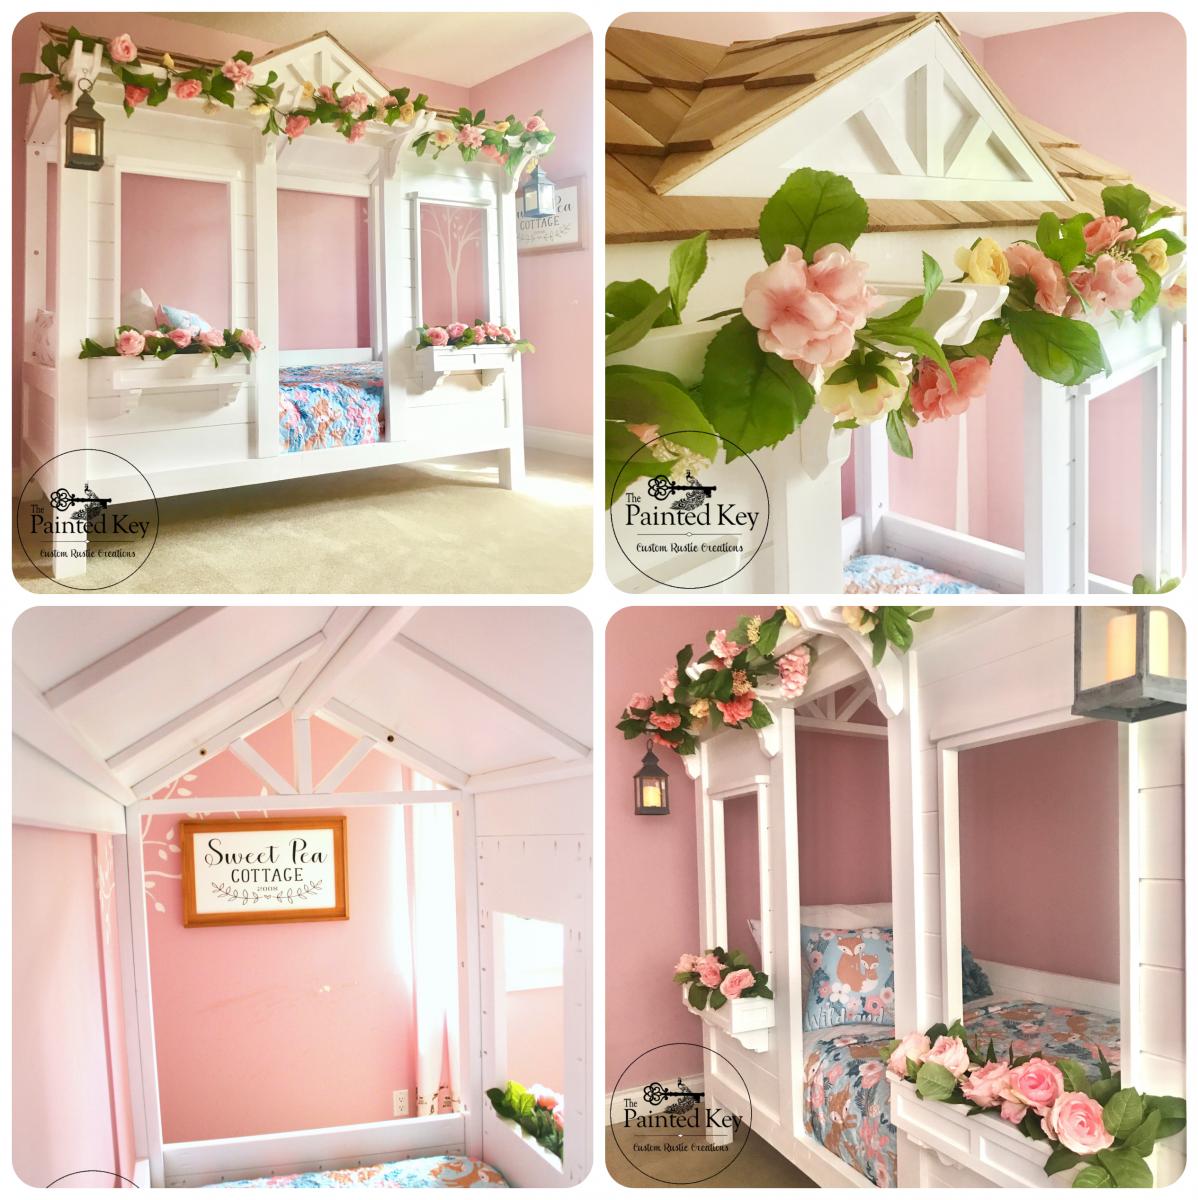
What's a mom to do when she can't choose between the cabin bed, the little cottage loft bed and the sweet pea garden bed? Head over to google sketchup and sketch up a set of plans incorporating favourite aspects of all three beds! This one had been in the planning stages for over a year and I’ve called it “Sweet Pea Cottage”. It took me about 3 months to build in my spare time and I couldn't be happier with how it turned out. Of course our daughter loves it as well! Who wouldn't want to sleep in their own little house bed! :) I used spruce and 3/4" purebond plywood for the main build. To give the plywood panels a planked look, I cut the front into various size rectangles so I could run them through my table saw using a 1/4" dado blade before assembling the pieces together with pocket holes. The roof panels and dormer are 1/4" plywood glued and screwed to a frame and then I used construction adhesive to adhere the dormer to the front roof panel as well as adhere the cedar shakes. Painted with Behr Pure Ultra White and topped with a satin polyacrylic. I left the cedar shakes raw but if I built it again, I think I would top them with some sort of flat or matt sealer as the rough texture makes dusting them a bit difficult. One of the first questions I get is "how difficult is it to make the bed?". Surprisingly it's not that hard. Because the bed is so open on each end and we have it set up in her room with access on three sides, it's easy to manoeuvre the mattress a bit to change the bedding.
Thu, 02/17/2022 - 08:15
I love this bed. I would like to make one for my Grand-daughter. Do you have plans for this cute bed? I just signed up today so I wasn't able to see the comment section. I'm sorry if this has already been asked.
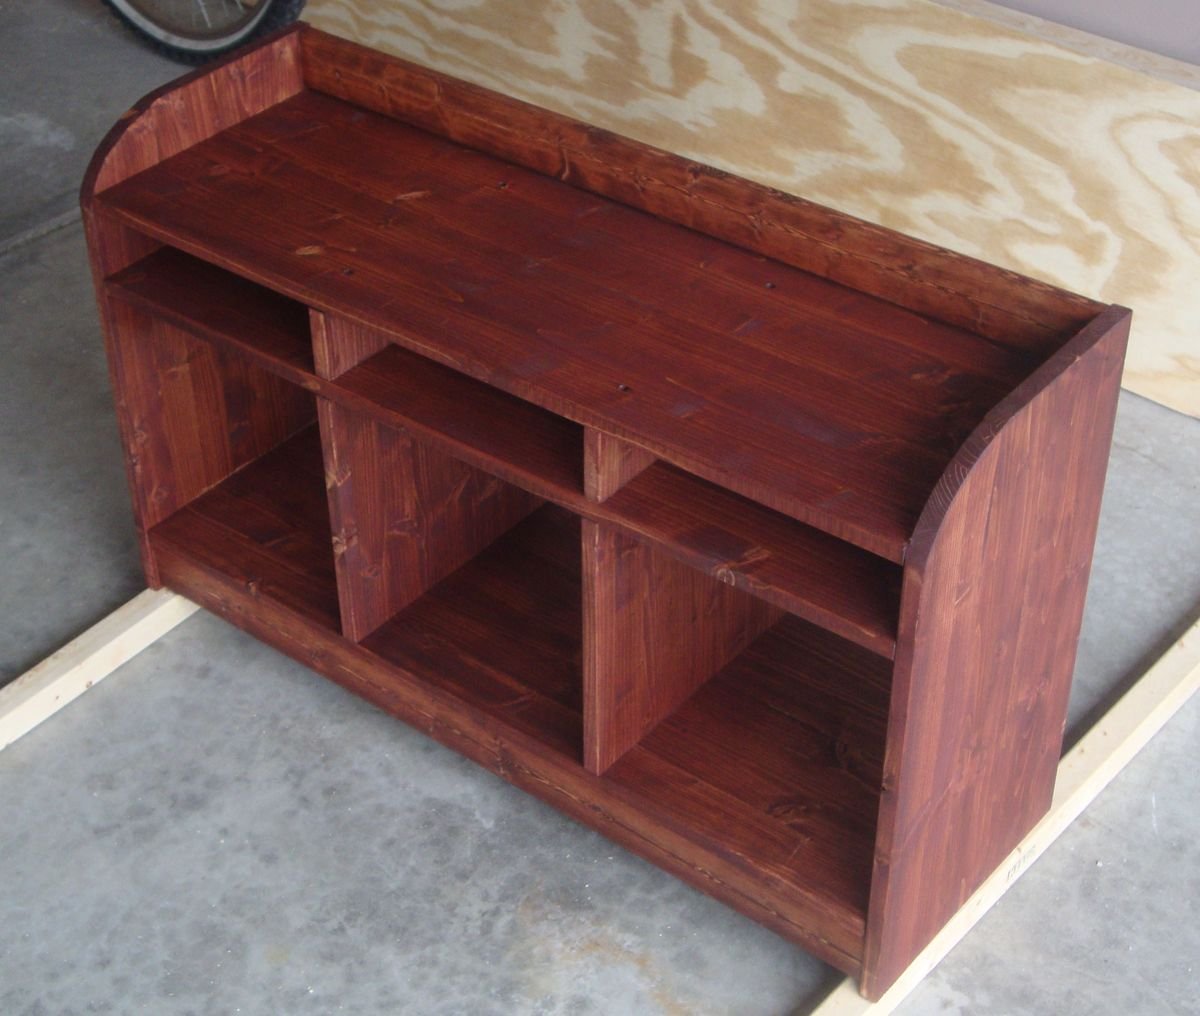
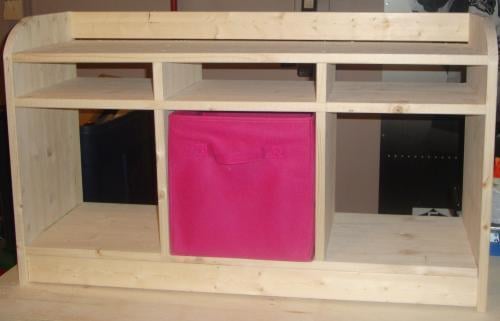
This was a very fun project to work on. One of my first ones, I chose this to replace the store bought cubby book shelf in my daughters room with something she can sit on as well as use for storage.
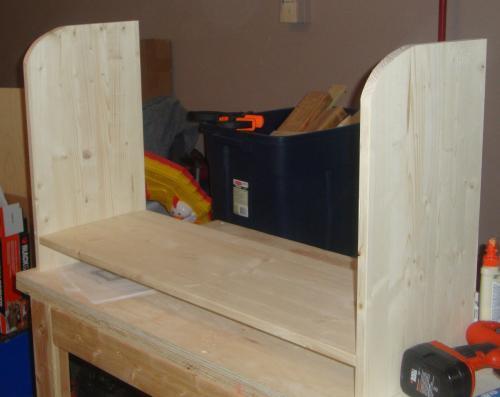
A big thanks to FSMumford for drawing this in Sketchup. I had to re-draw it to take into account metric wood dimensions and bed sizes here in NZ, and also to remove a foot or so from the length.
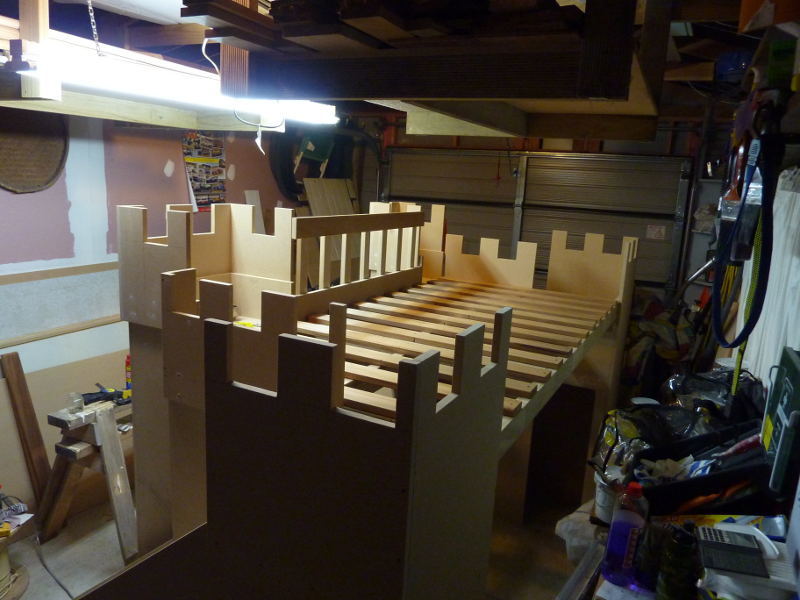
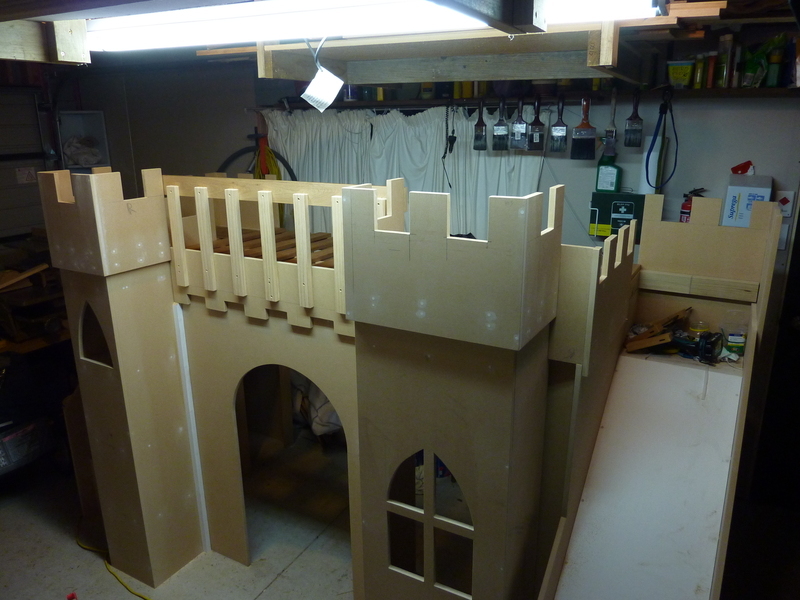
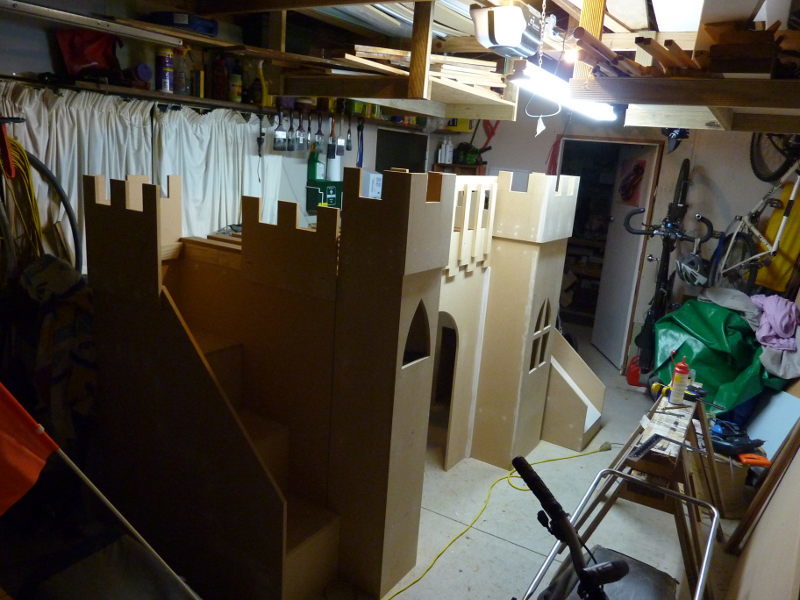
We just gave it to my daughter today, and already I need to make some modifications. I immediately put some vertical grab rails at the top of the steps and slide. The steps are too big for a toddler (she's 3 today) and I didn't take into account how thick a pillow top mattress is! I really needed to make the end guards higher. In fact, were I to make it again, I'd probably make the towers taller and lower the height of the bed by 8-12 inches. While this would lower interior room, it might make the steps a more reasonable height for a littlie. If you're building for a 5 or 6 year old, this may not be an issue. Also, it would make the angle of the slide shallower (it's a bit steep, I reckon). I used 7 sheets of 16mm MDF but if I'd laid them out like FSMumford did in her plans I would have used less. Our (one car) garage is too small and the whole build process, including painting, was a royal pain in the bum. Fun, but a pain. Speaking of painting, next time (riiiiight) I'd try to paint as much as possible before assembling. I built mine in modules but even so it's hard to get a nice coat of paint on the insides of things. Edges of MDF need to be painted and sanded at least twice to look nice. Don't underestimate the time needed to get a good finish - I spent a third of my build time finishing (mostly, again, due to limited space). A narrow foam roller is great for cutting in but doesn't seem to get enough paint on to cover well on larger areas. In places I have three coats and can still see my pencil marks. I used Dulux Aquanamel.
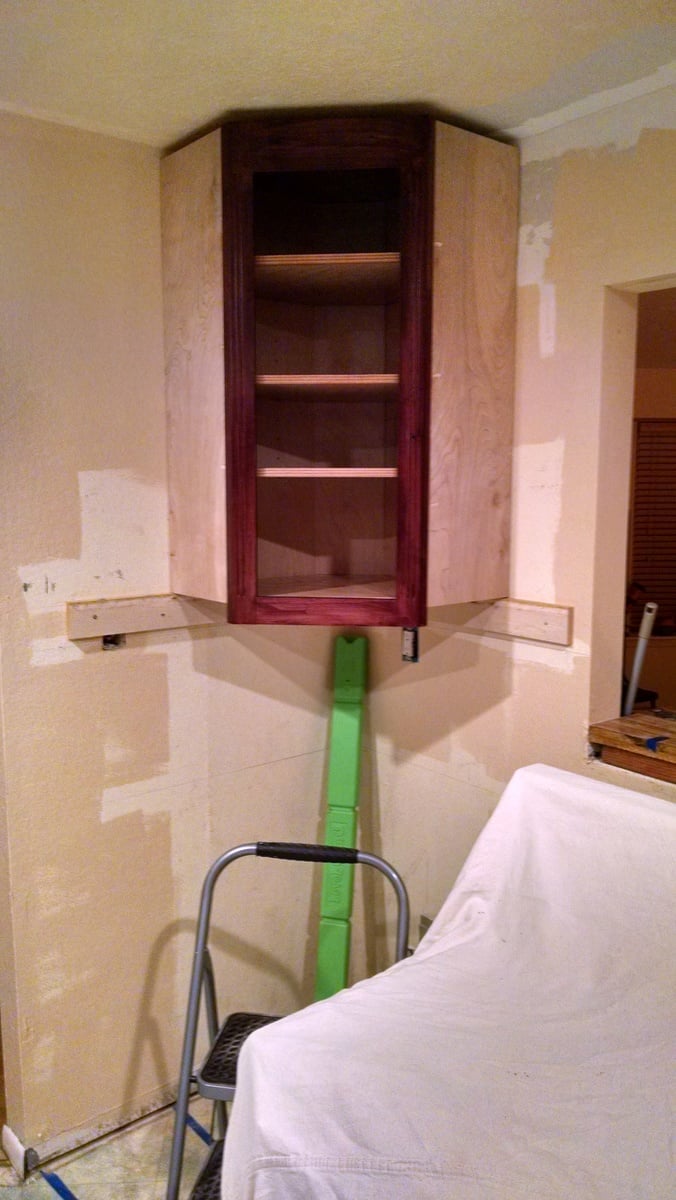
First cabinet in my kitchen remodel.
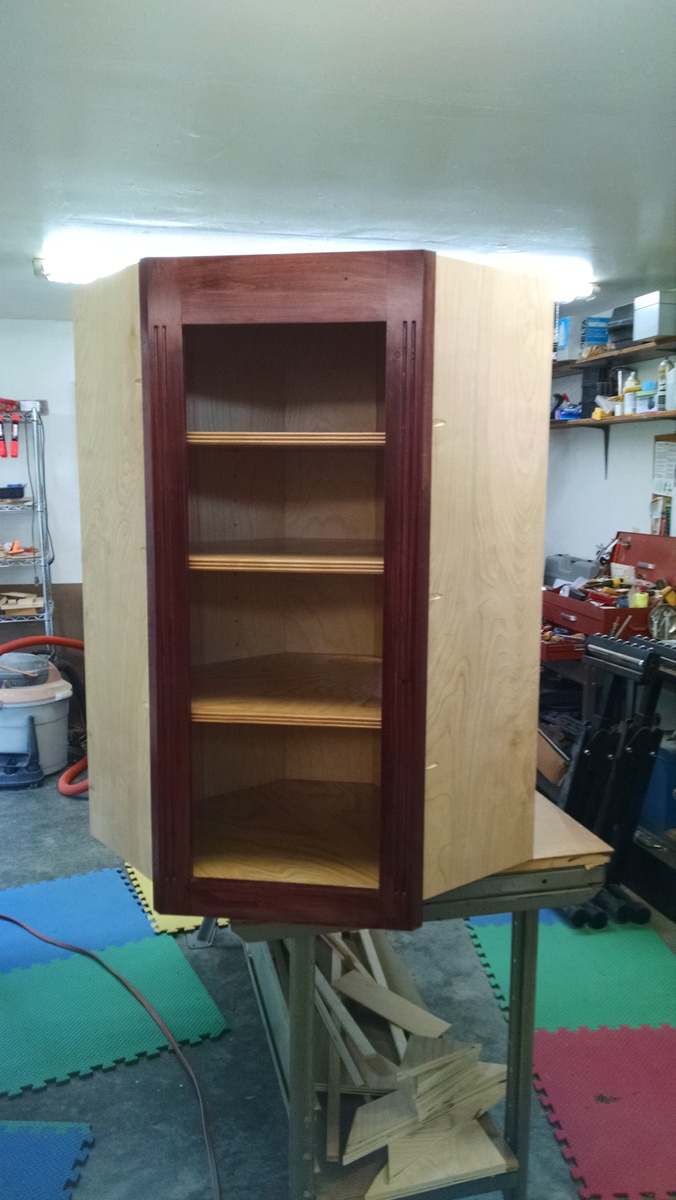
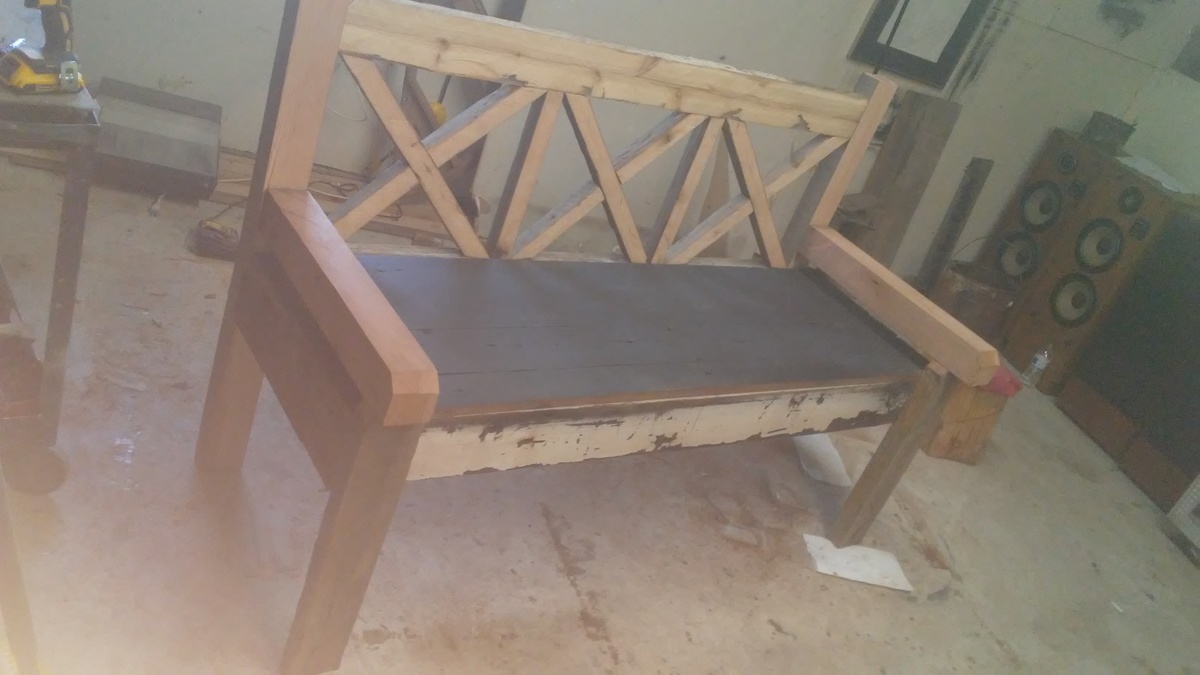
Im building these for a friend to sell at alameda county flea market. It takes me a couple day to do one if its on spare time
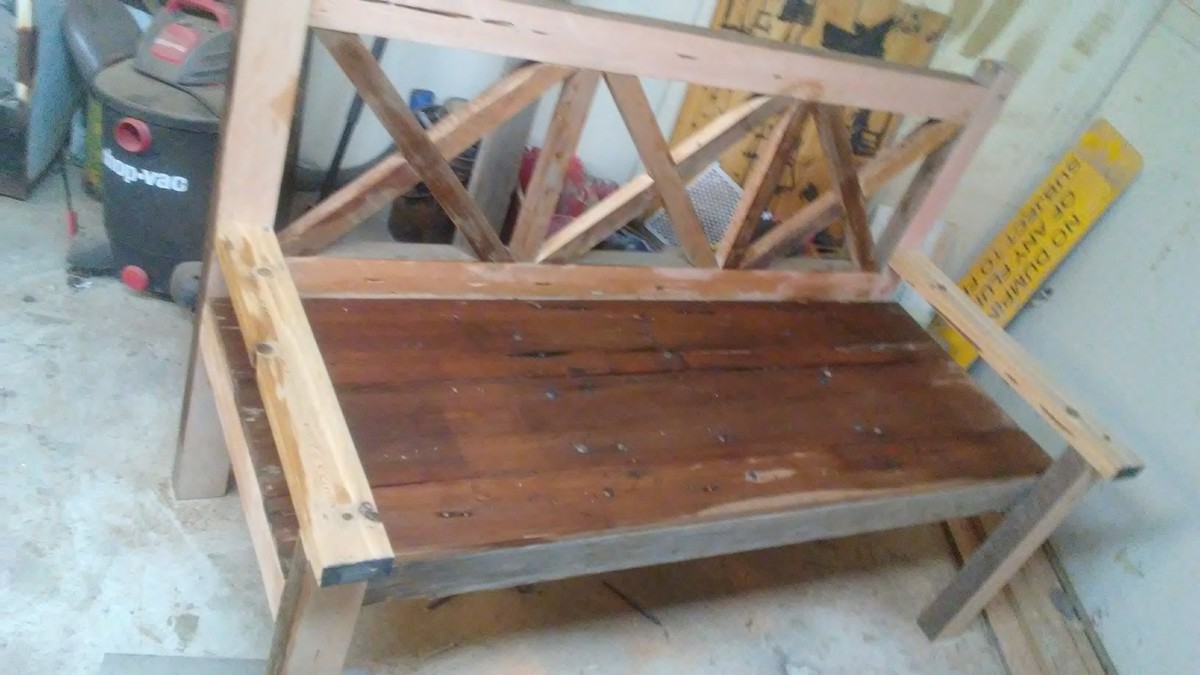
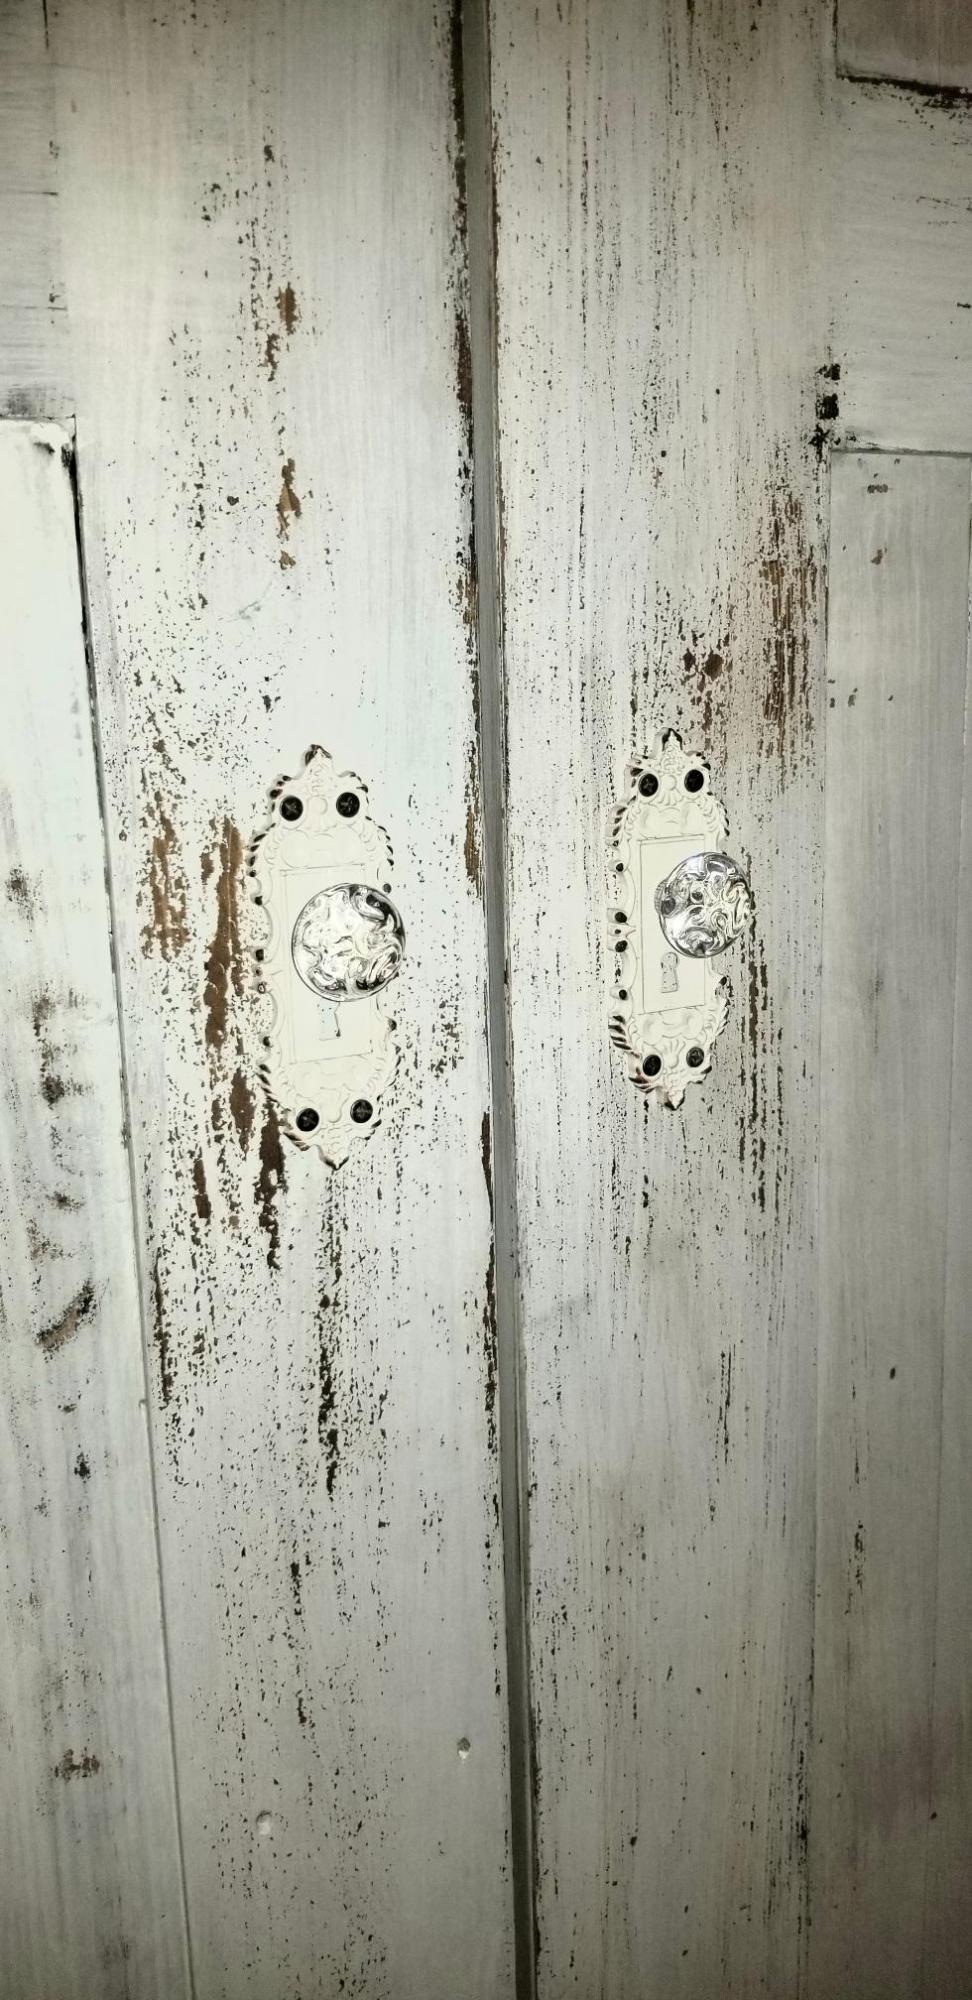
My client wanted a distressed paint look for these custom doors that I built . Not knowing how to do this I immediately looked for some tips from Ana White . I found a link on your page to do this using gel stain and milk paint . It worked very well , I had to do a couple trial and errors do get the exact desired effect we were looking for but in the end I would have been lost with out your tips .
Thanks Tony Curtis
FB @ Rockwood Designs Rustic Furniture
Instagram @ Rockwooddesigns_TonyCurtis
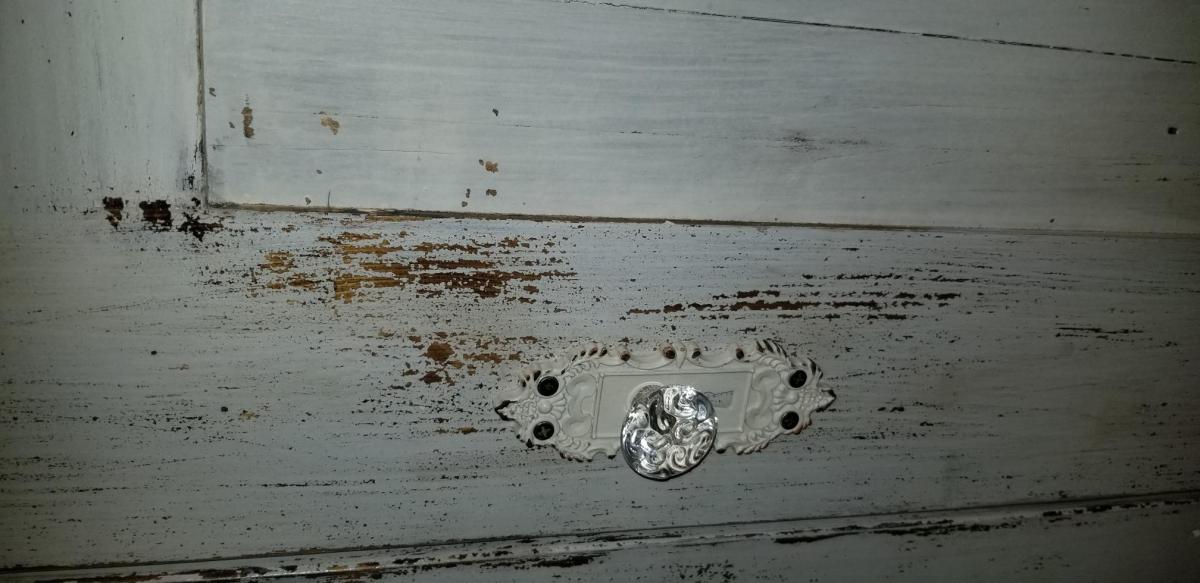
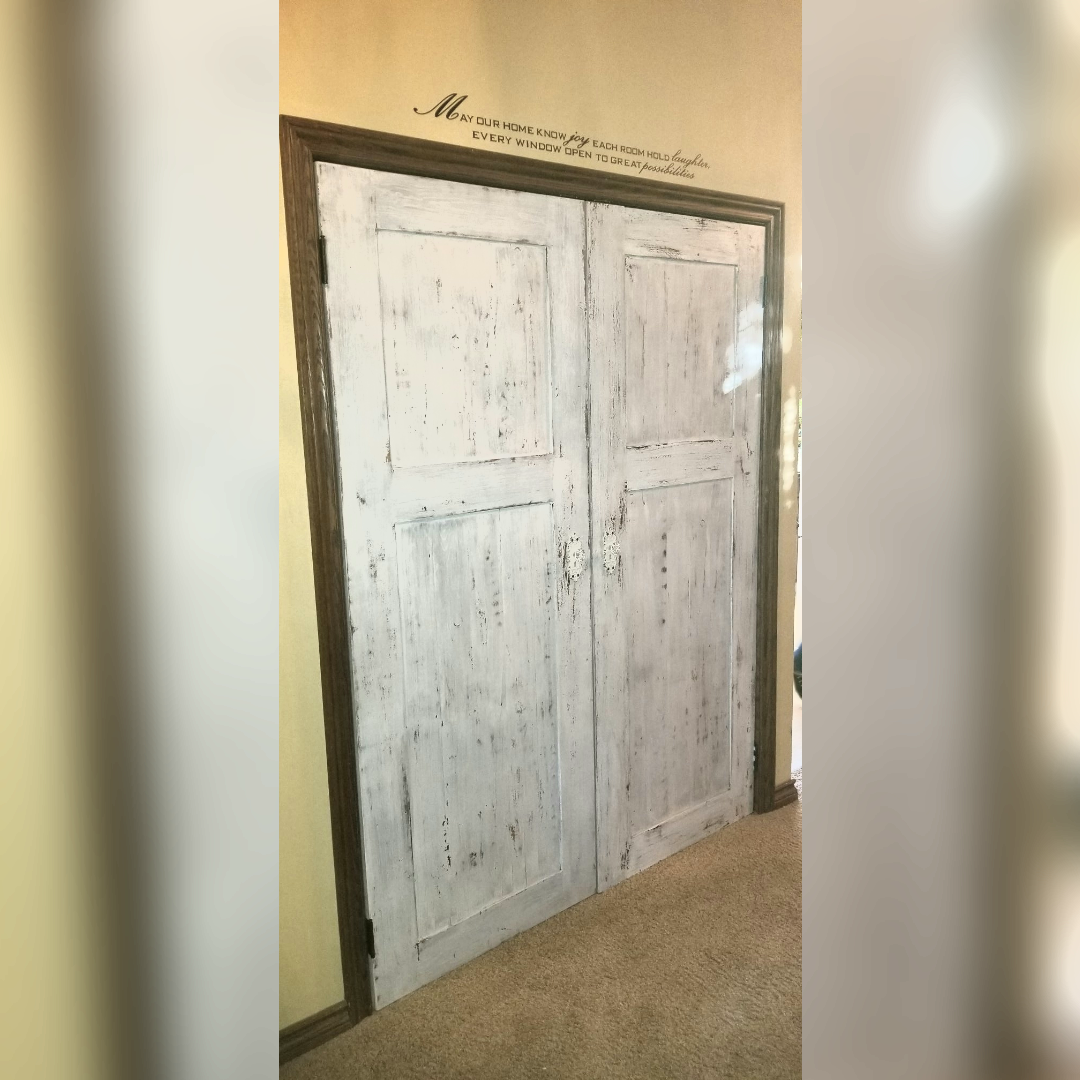
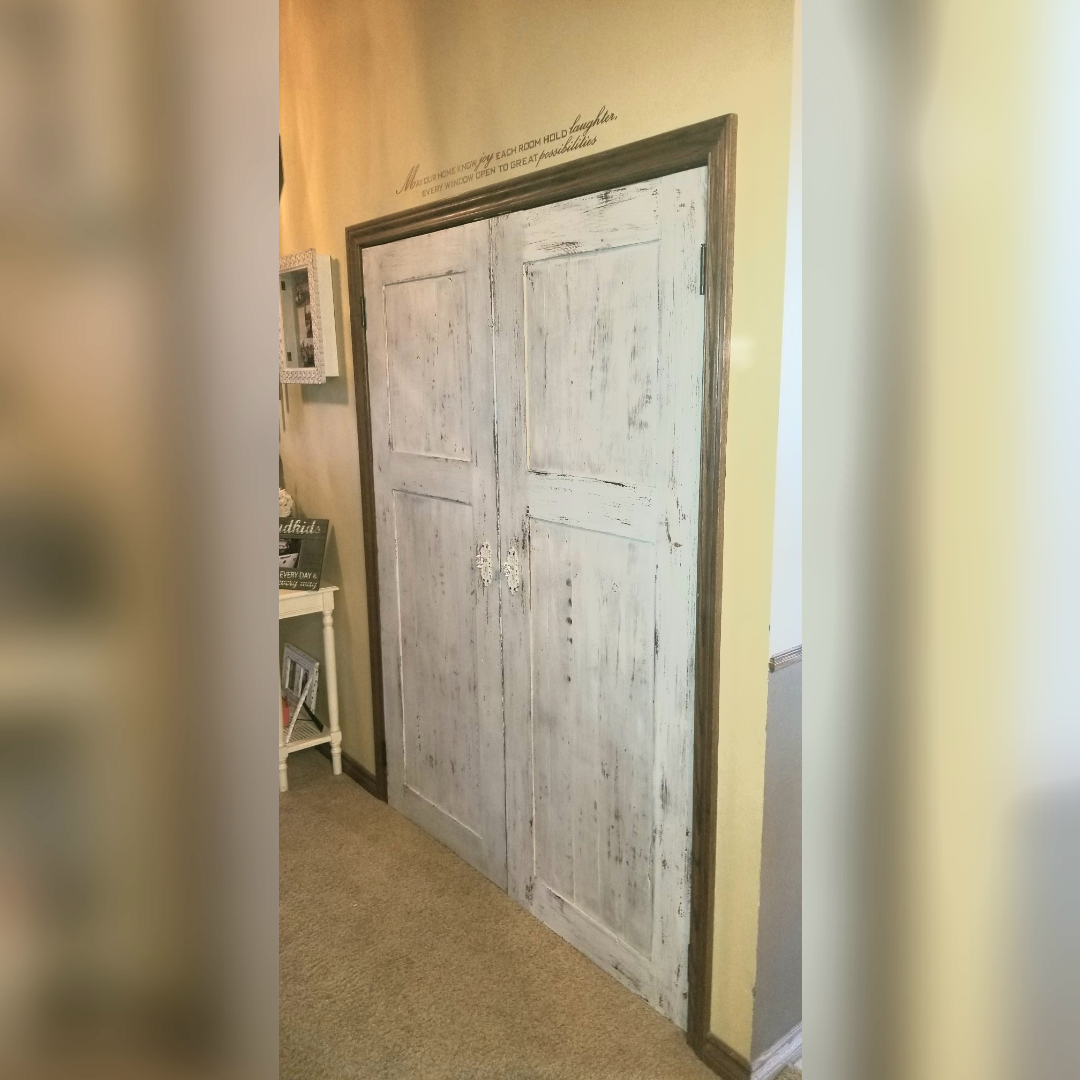
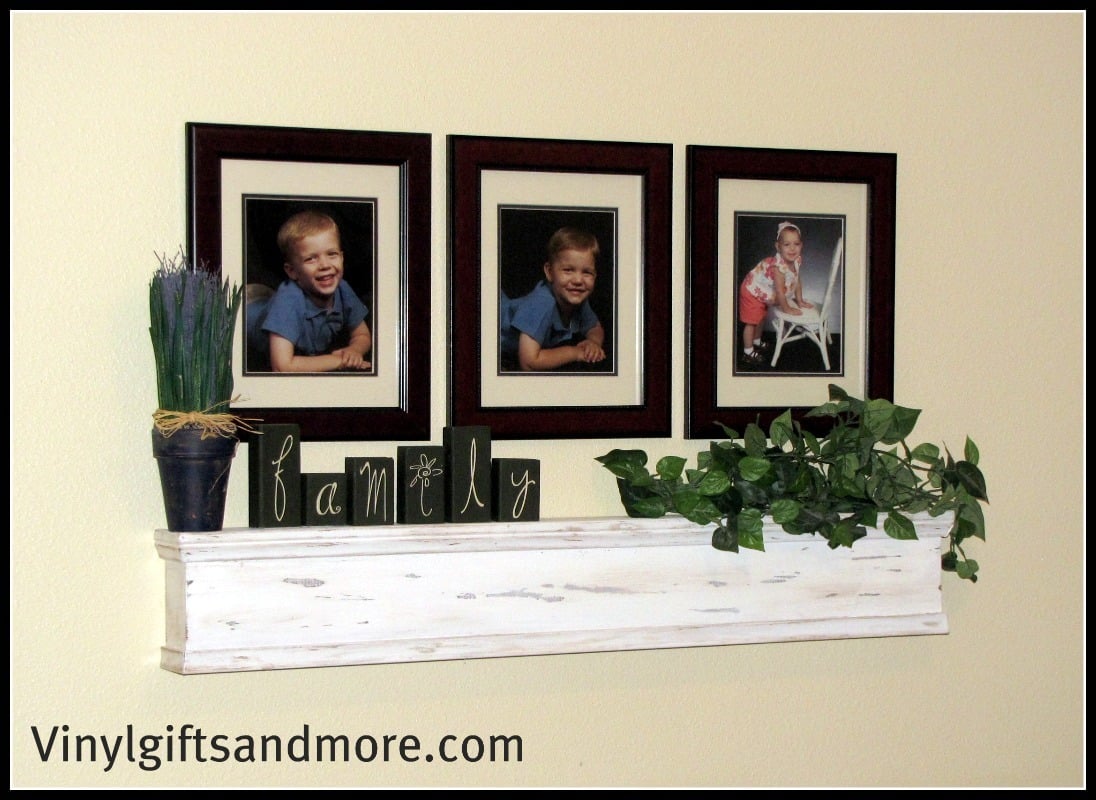
We just bought our first home a few months ago. It is taking me a long time to decorate, because I am more picky about what goes on my walls. I saw this shelf and I knew I had to build it. It was really simple to do. I even did it without my husband, and that is huge for me. I have step by step pictures on how to make this shelf on my blog.
supersaturdayldscrafts.blogspot.com
Ana's Barn Beam Ledges are very simular, but I turned them and added molding to the front.
wife and I call this our memory garden bench. our son passed away last year he was a SFC in the us army. we sit upon to remember all the good times.
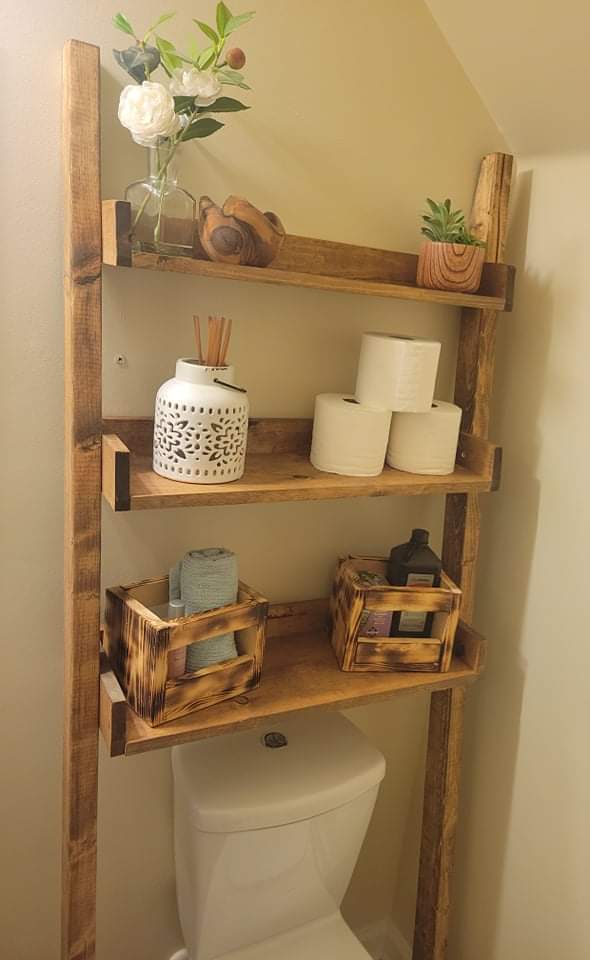
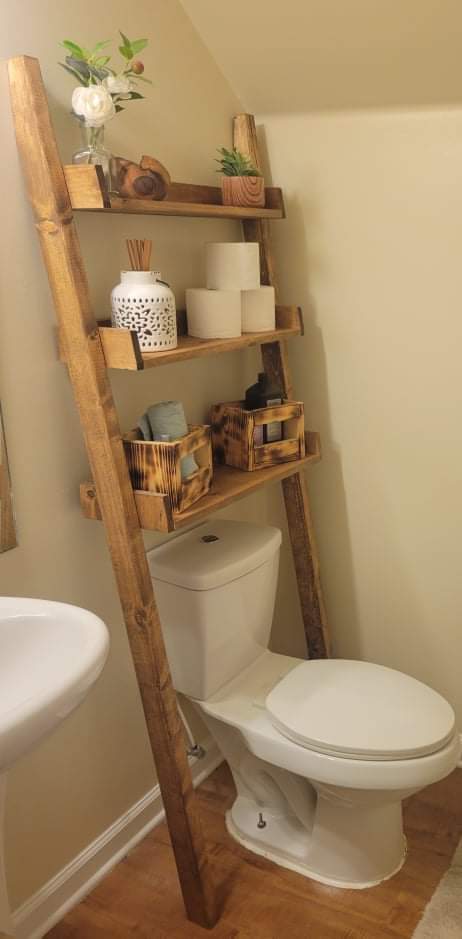
We had someone ask us to make one of these for them, and we couldn't resist making one for ourselves. Fun easy build and adds some style to our bathroom.
Minwax early American stain on the finish
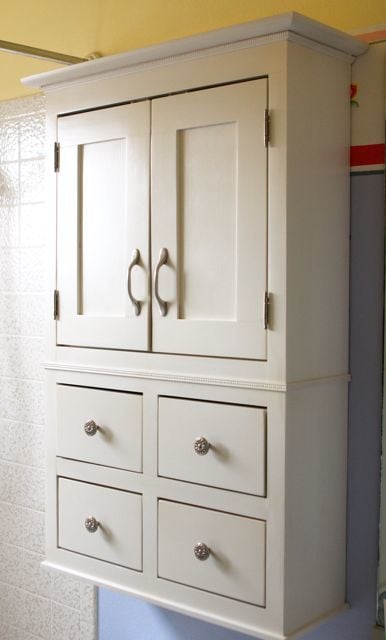
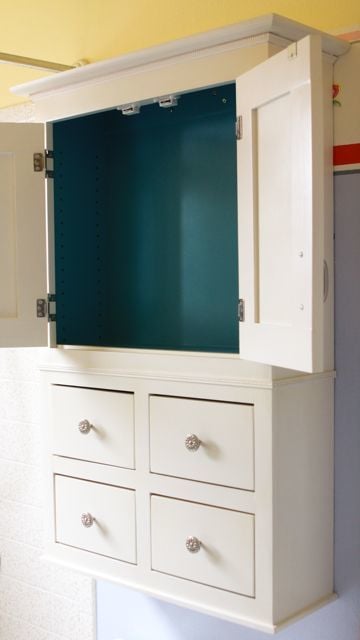
Overall measurements: 24x40. I followed the same basic steps as the nursery armoire, but on a much smaller scale and with a 1x3 added to the back for hanging the cabinet on the wall. I sketched this out on my own and built it to fit above the toilet in my girls' bathroom.
For the first time, I used my table saw to route a space for the 1/8" MDF cabinet backing and drawer bottoms. I will probably use the same method again, but the MDF has to be absolutely square for it to work.
Also a first for me, I used a shelving jig to drill perfectly spaced shelf pin holes on the inside of the cabinet. I love the jig and the accompanying drill bit (from Woodcraft -- orange and blue do not carry it) and I'm looking forward to using it a lot more in the future.
The white latex paint finish is covered in Krylon "crystal clear" spray, which is (sadly) not actually crystal clear. I really like its durability and ease of application (re-coat after only one minute!), but will only use it on darker colored projects in the future. I'll have to sand, paint again, and recoat with my old standby, Minwax Polycrylic, to get rid of the yellow tones in the "crystal clear" Krylon spray.
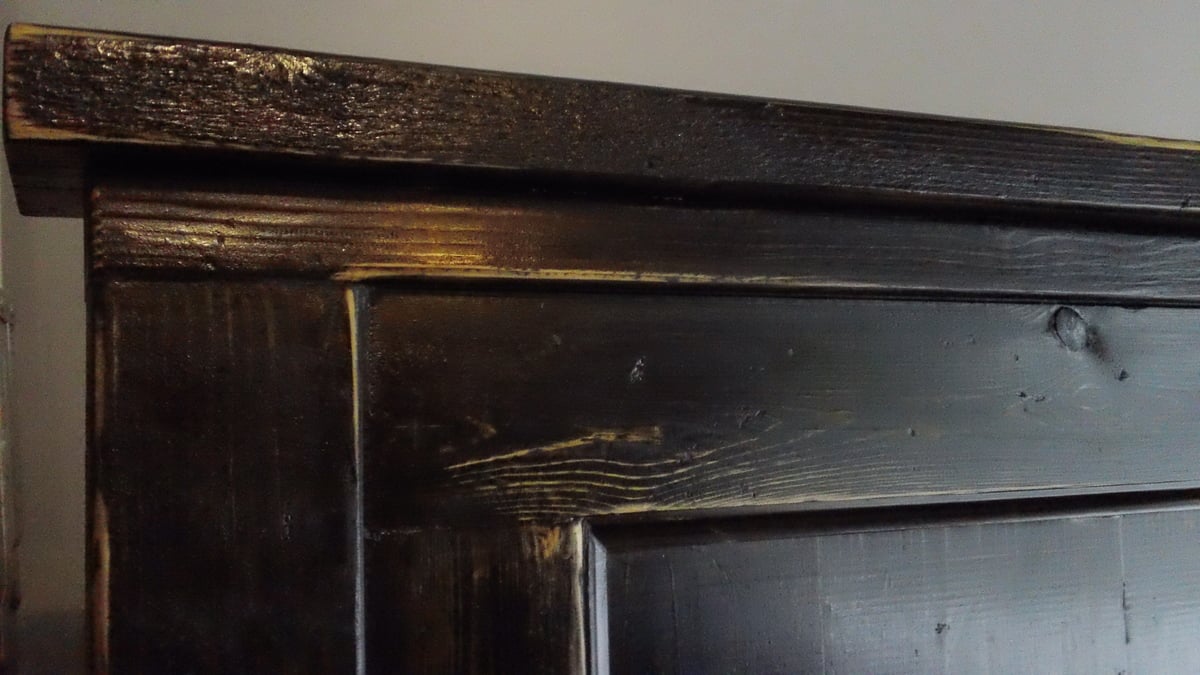
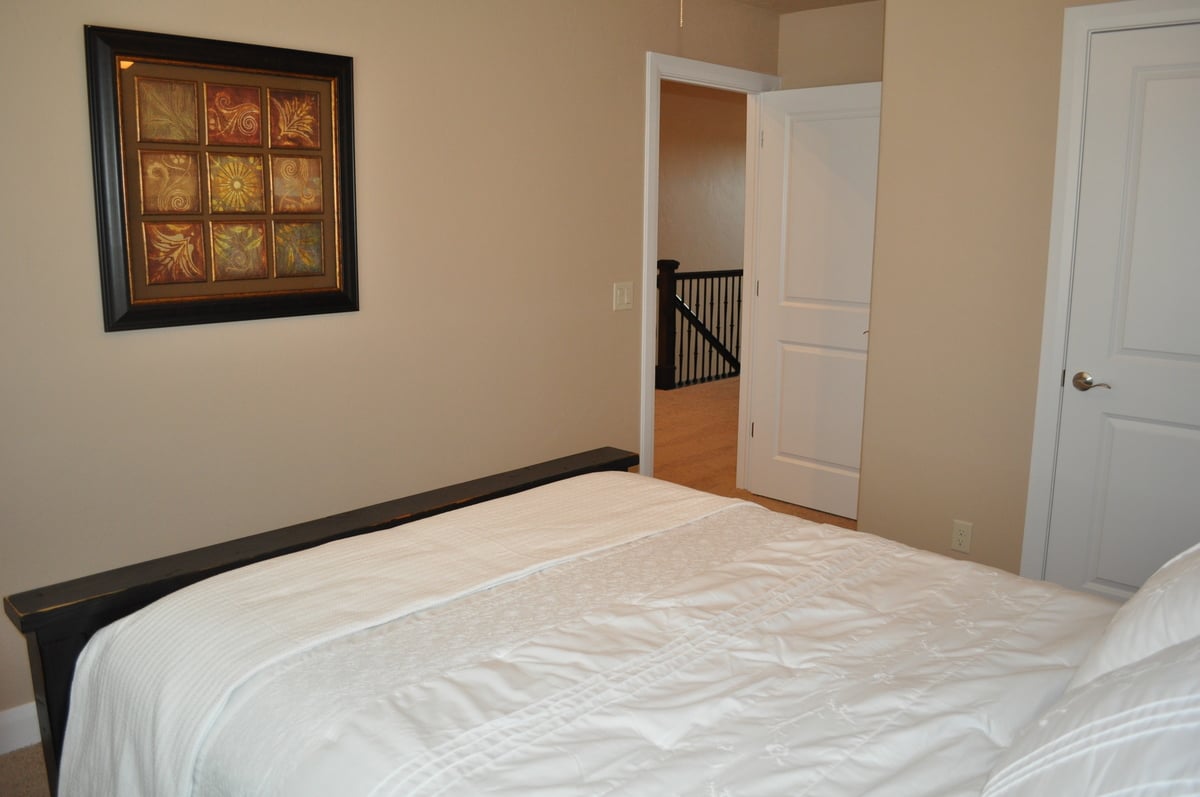
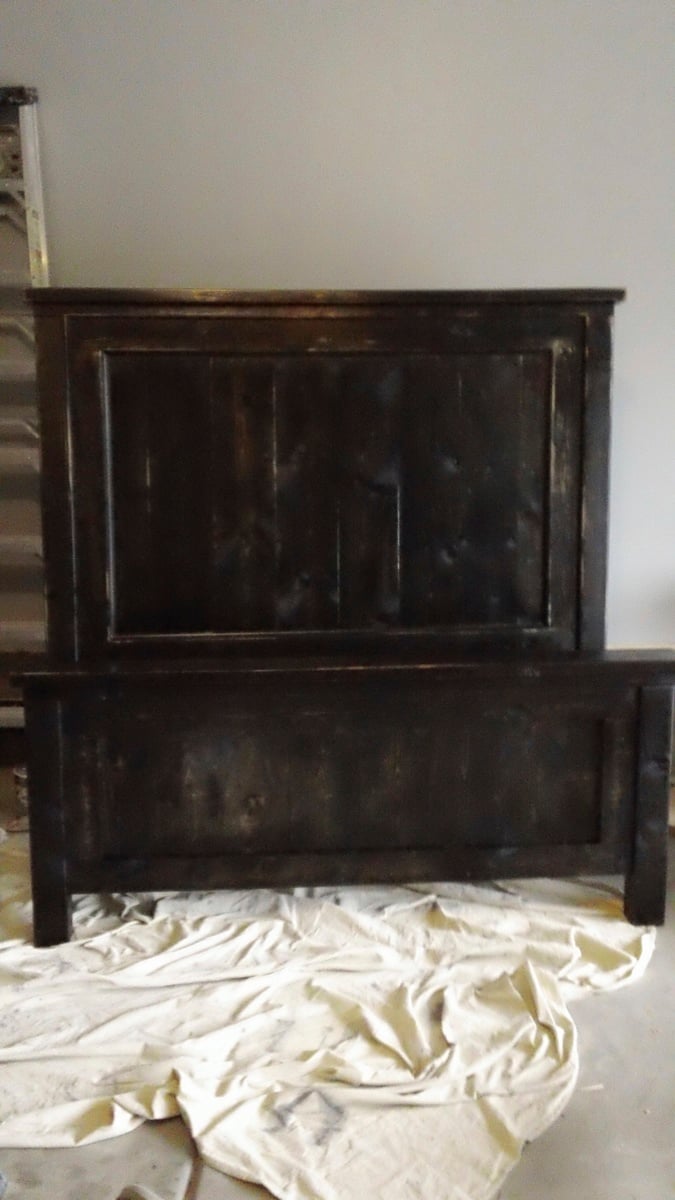
Modified Queen Farmhouse for a rental unit that we have. I changed the heights of the head/footboard to give it a taller look.
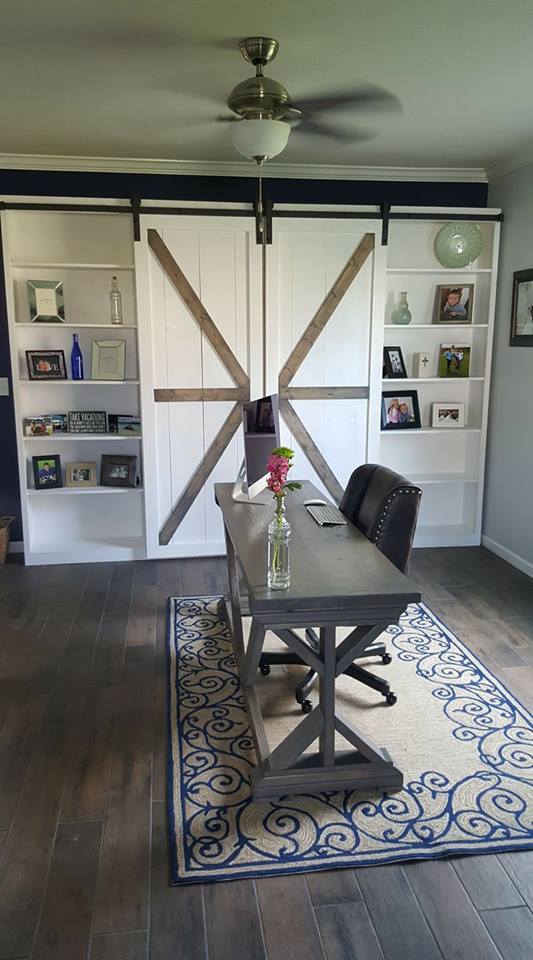
Some of my first builds... I built this wall unit with sliding barn doors and the desk in front of it.
By Kraig Faulkner
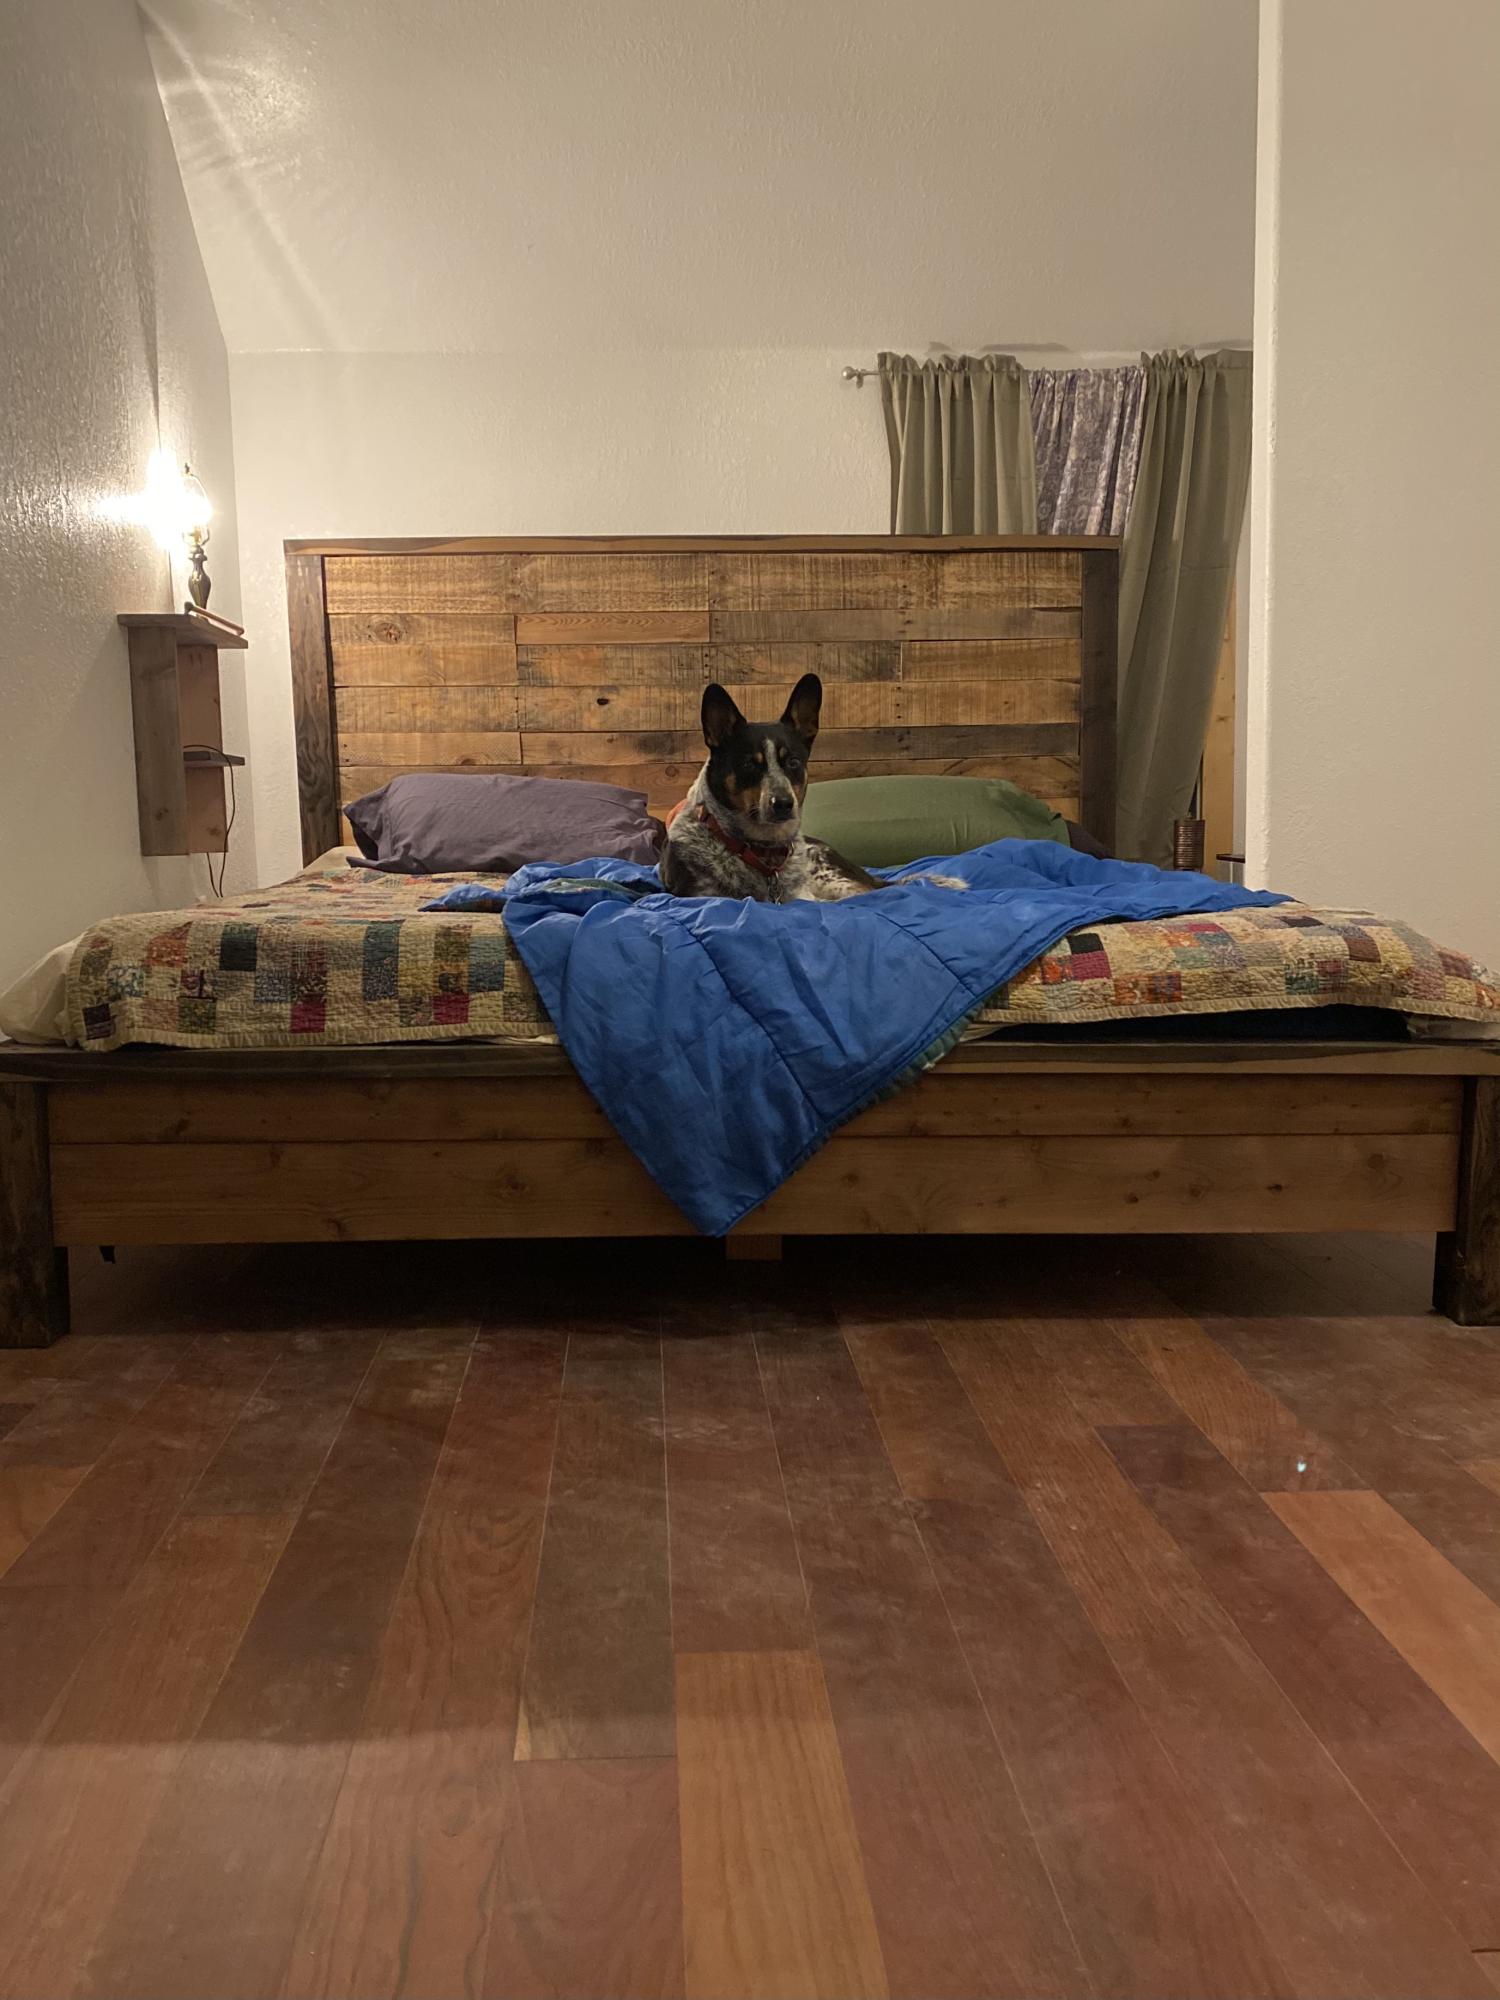
After living in a 19ft travel trailer and touring the country, moving every three months as a travel nurse, for four long years, it was awesome to build our bed frame!
I swapped out the 1x4s on the headboard with pallet wood, and finished the whole thing with 000 steel wool and vinegar stain.
Absolutely love it! And man! Do we sleep well now!!!
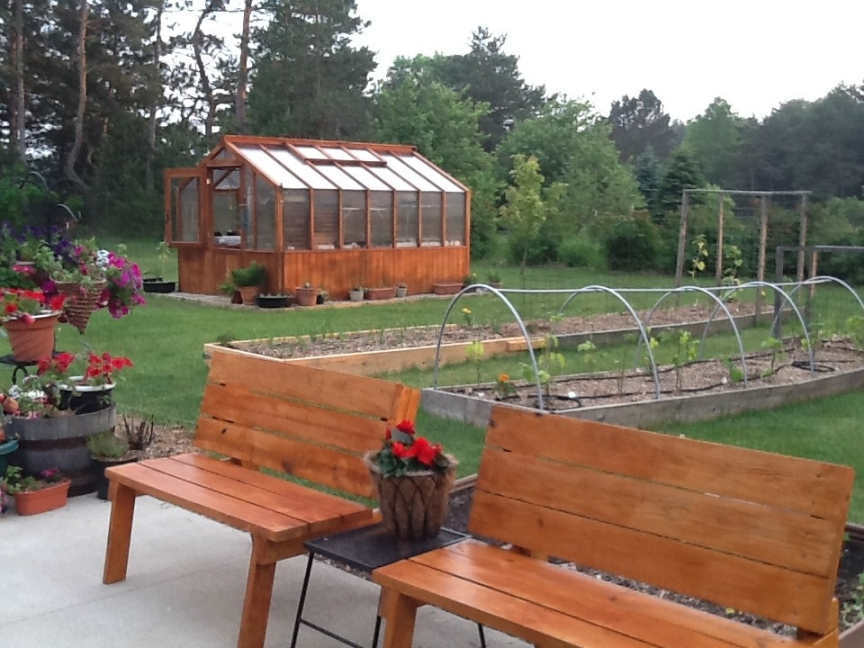
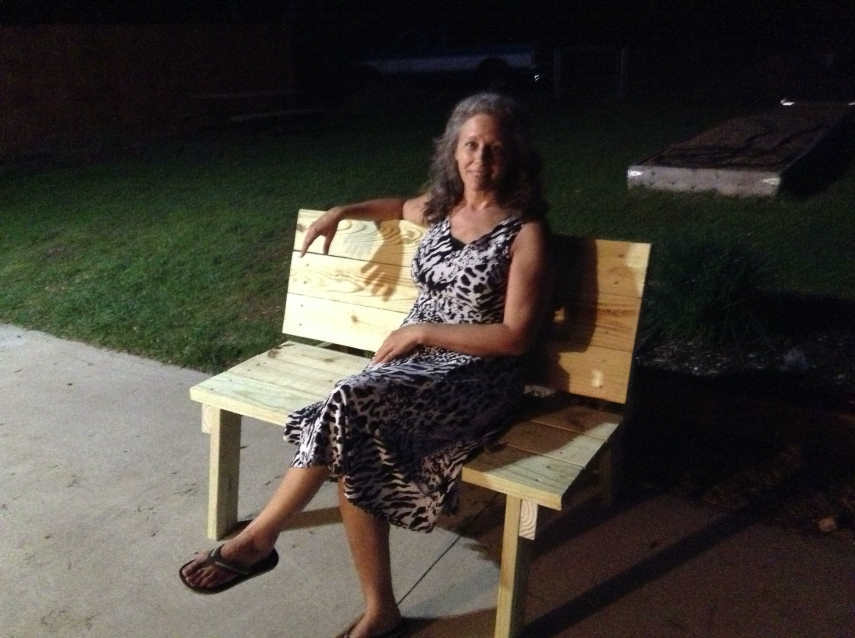
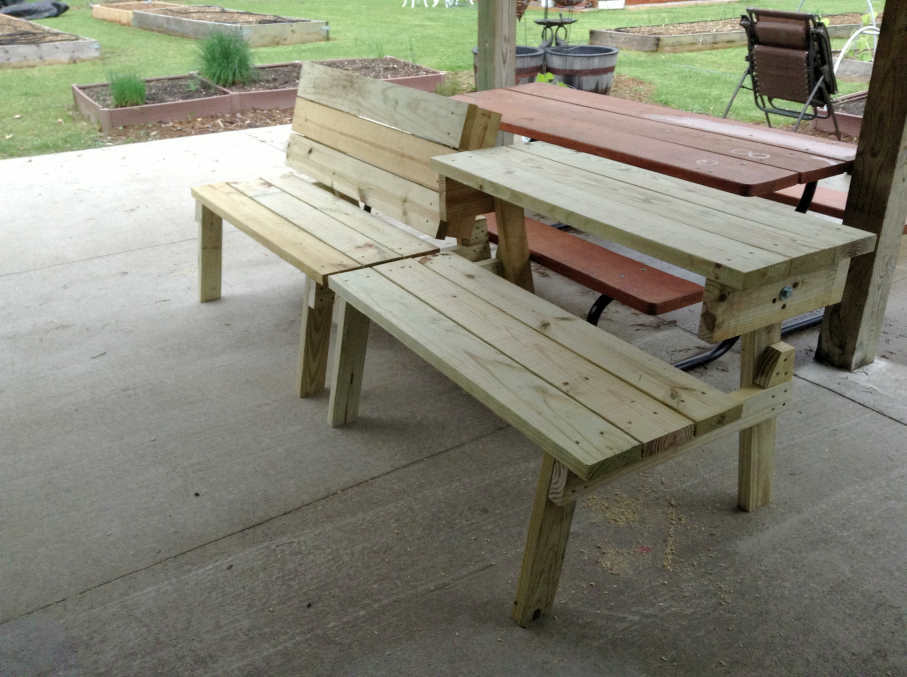
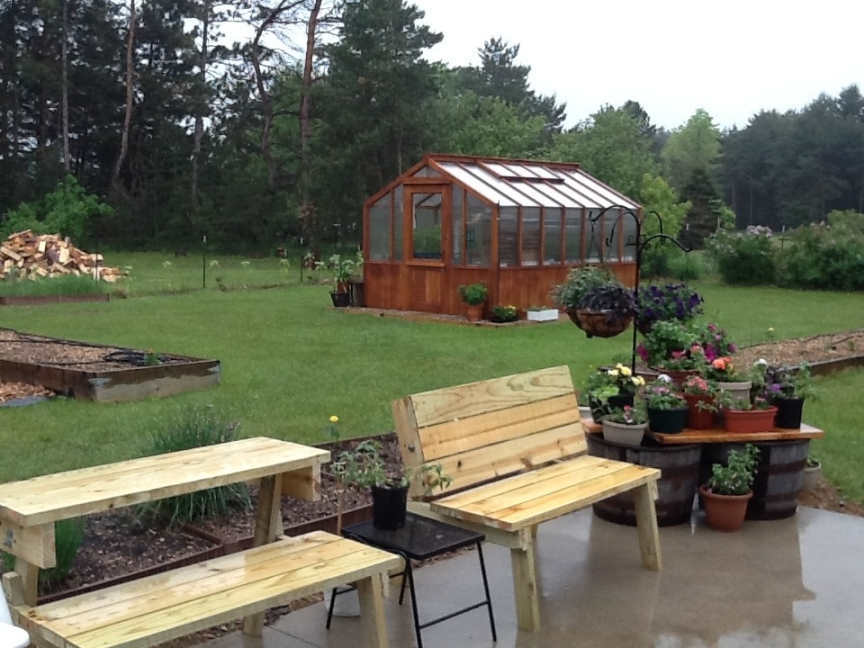
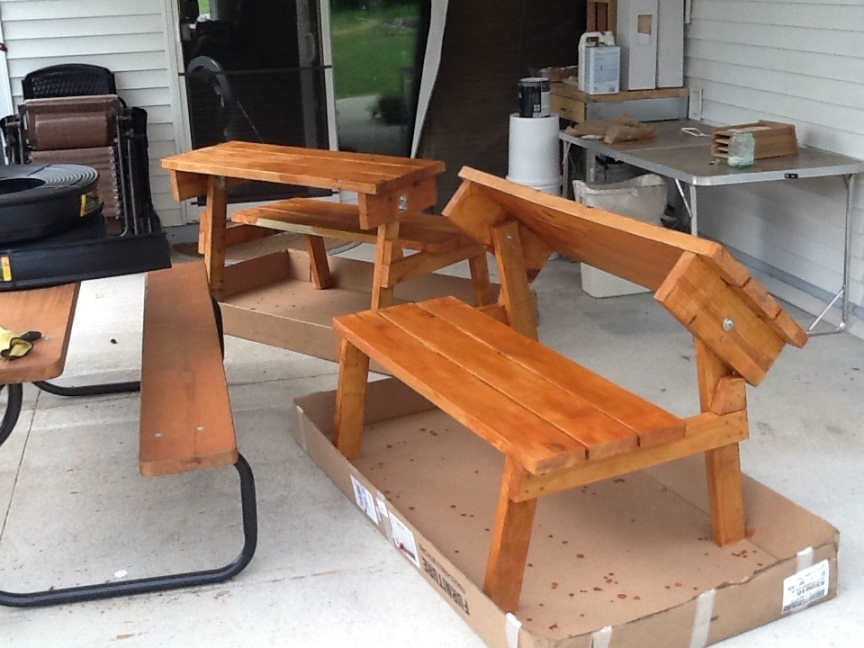
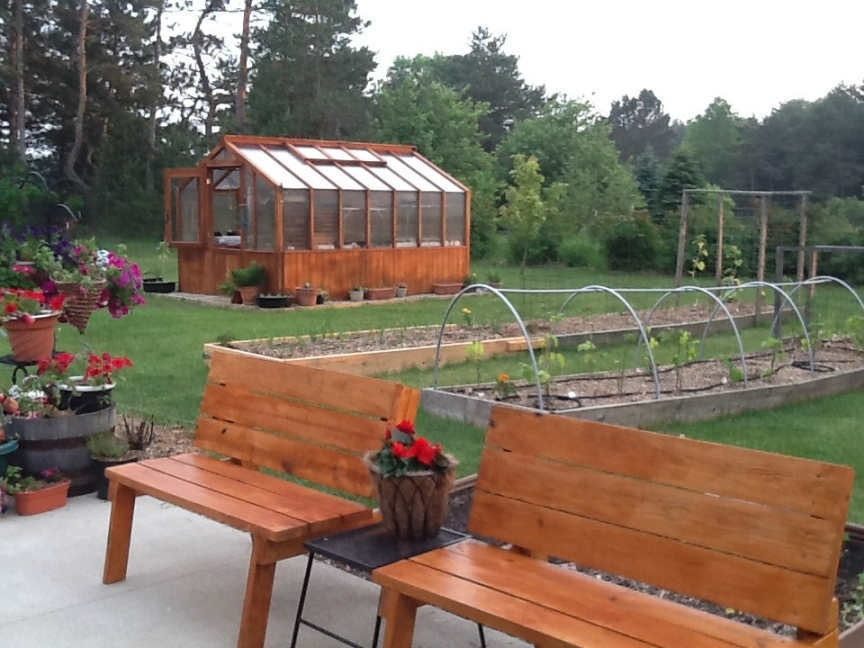
I saw a type of this for sale at Costco for $109 (for just ONE bench, not a pair). It' looked nice, and I almost bought it, but it had metal legs and trim and I wanted more of a natural look to go with my Cedar theme that I have going in my back yard garden/patio/greenhouse area. After seeing it in the store, I did an online search to see if I could find something a little more organic in nature... imagine my surprise when Ana's version of the bench/table came up! I looked over the plans and thought... well, I made the modified Farmhouse Table via her excellent instructions, I can surely do this! I did make a small change, I cut small pieces of wood to use as stops for the backs of the benches, instead of using holes and bolts to hold the backs at an angle that is comfortable. You can see this in the pictures, they are just beyond the back of the seat boards, on the leg supports. Thank you Ana! It was easy, quick, and they look SO good on my patio. I will be making more, maybe even selling a few because so many have asked me if I might :) I figure the cost was about $65 for both benches. A great deal and a fun project! Patrick really has to refrain himself from wanting to "help" me, but I am determined to do it myself... and low and behold! With Ana's generous free plans and inspiration, no problem!
Wed, 07/17/2013 - 13:11
Oh, great job!! I love it. The back stops for the bench is a great idea because those bolts are expensive! I'm going to do the same. Thank you for the idea!
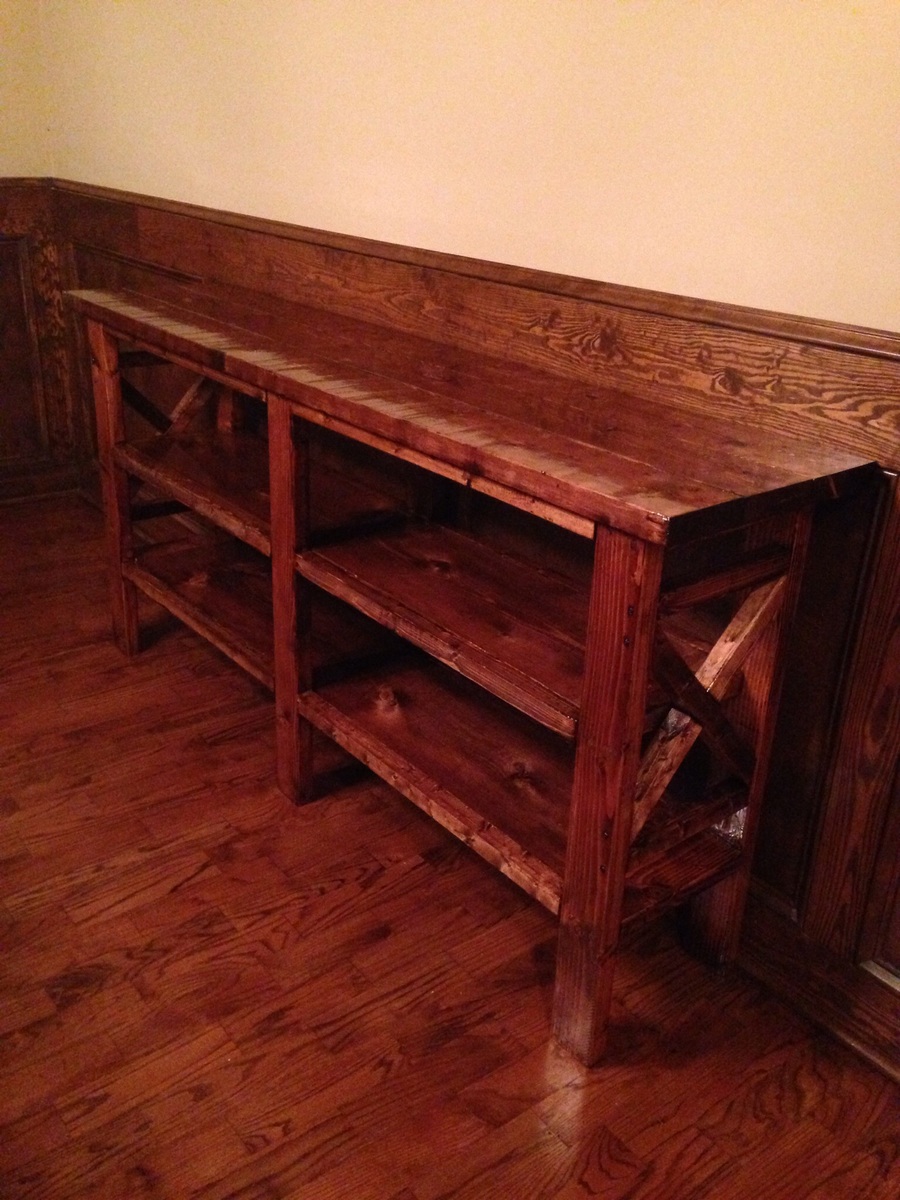
Built to go with my farm house table. It looks amazing.