Community Brag Posts

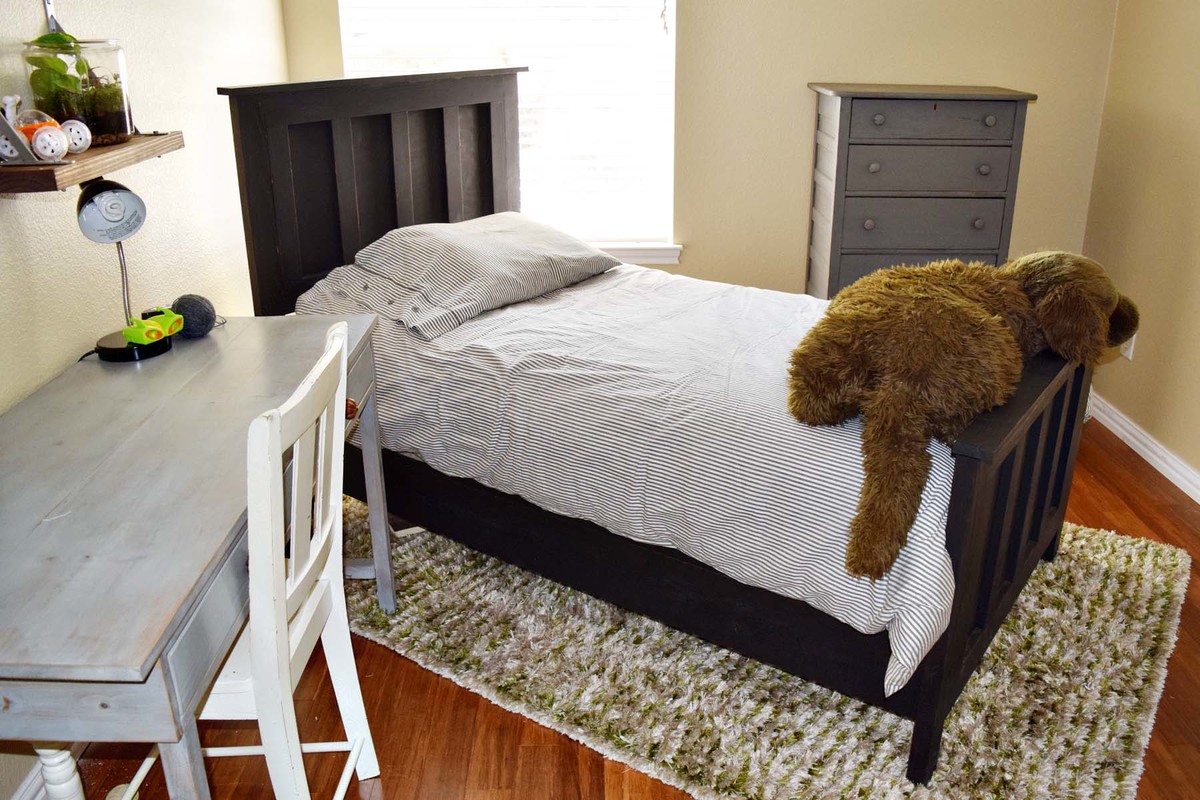
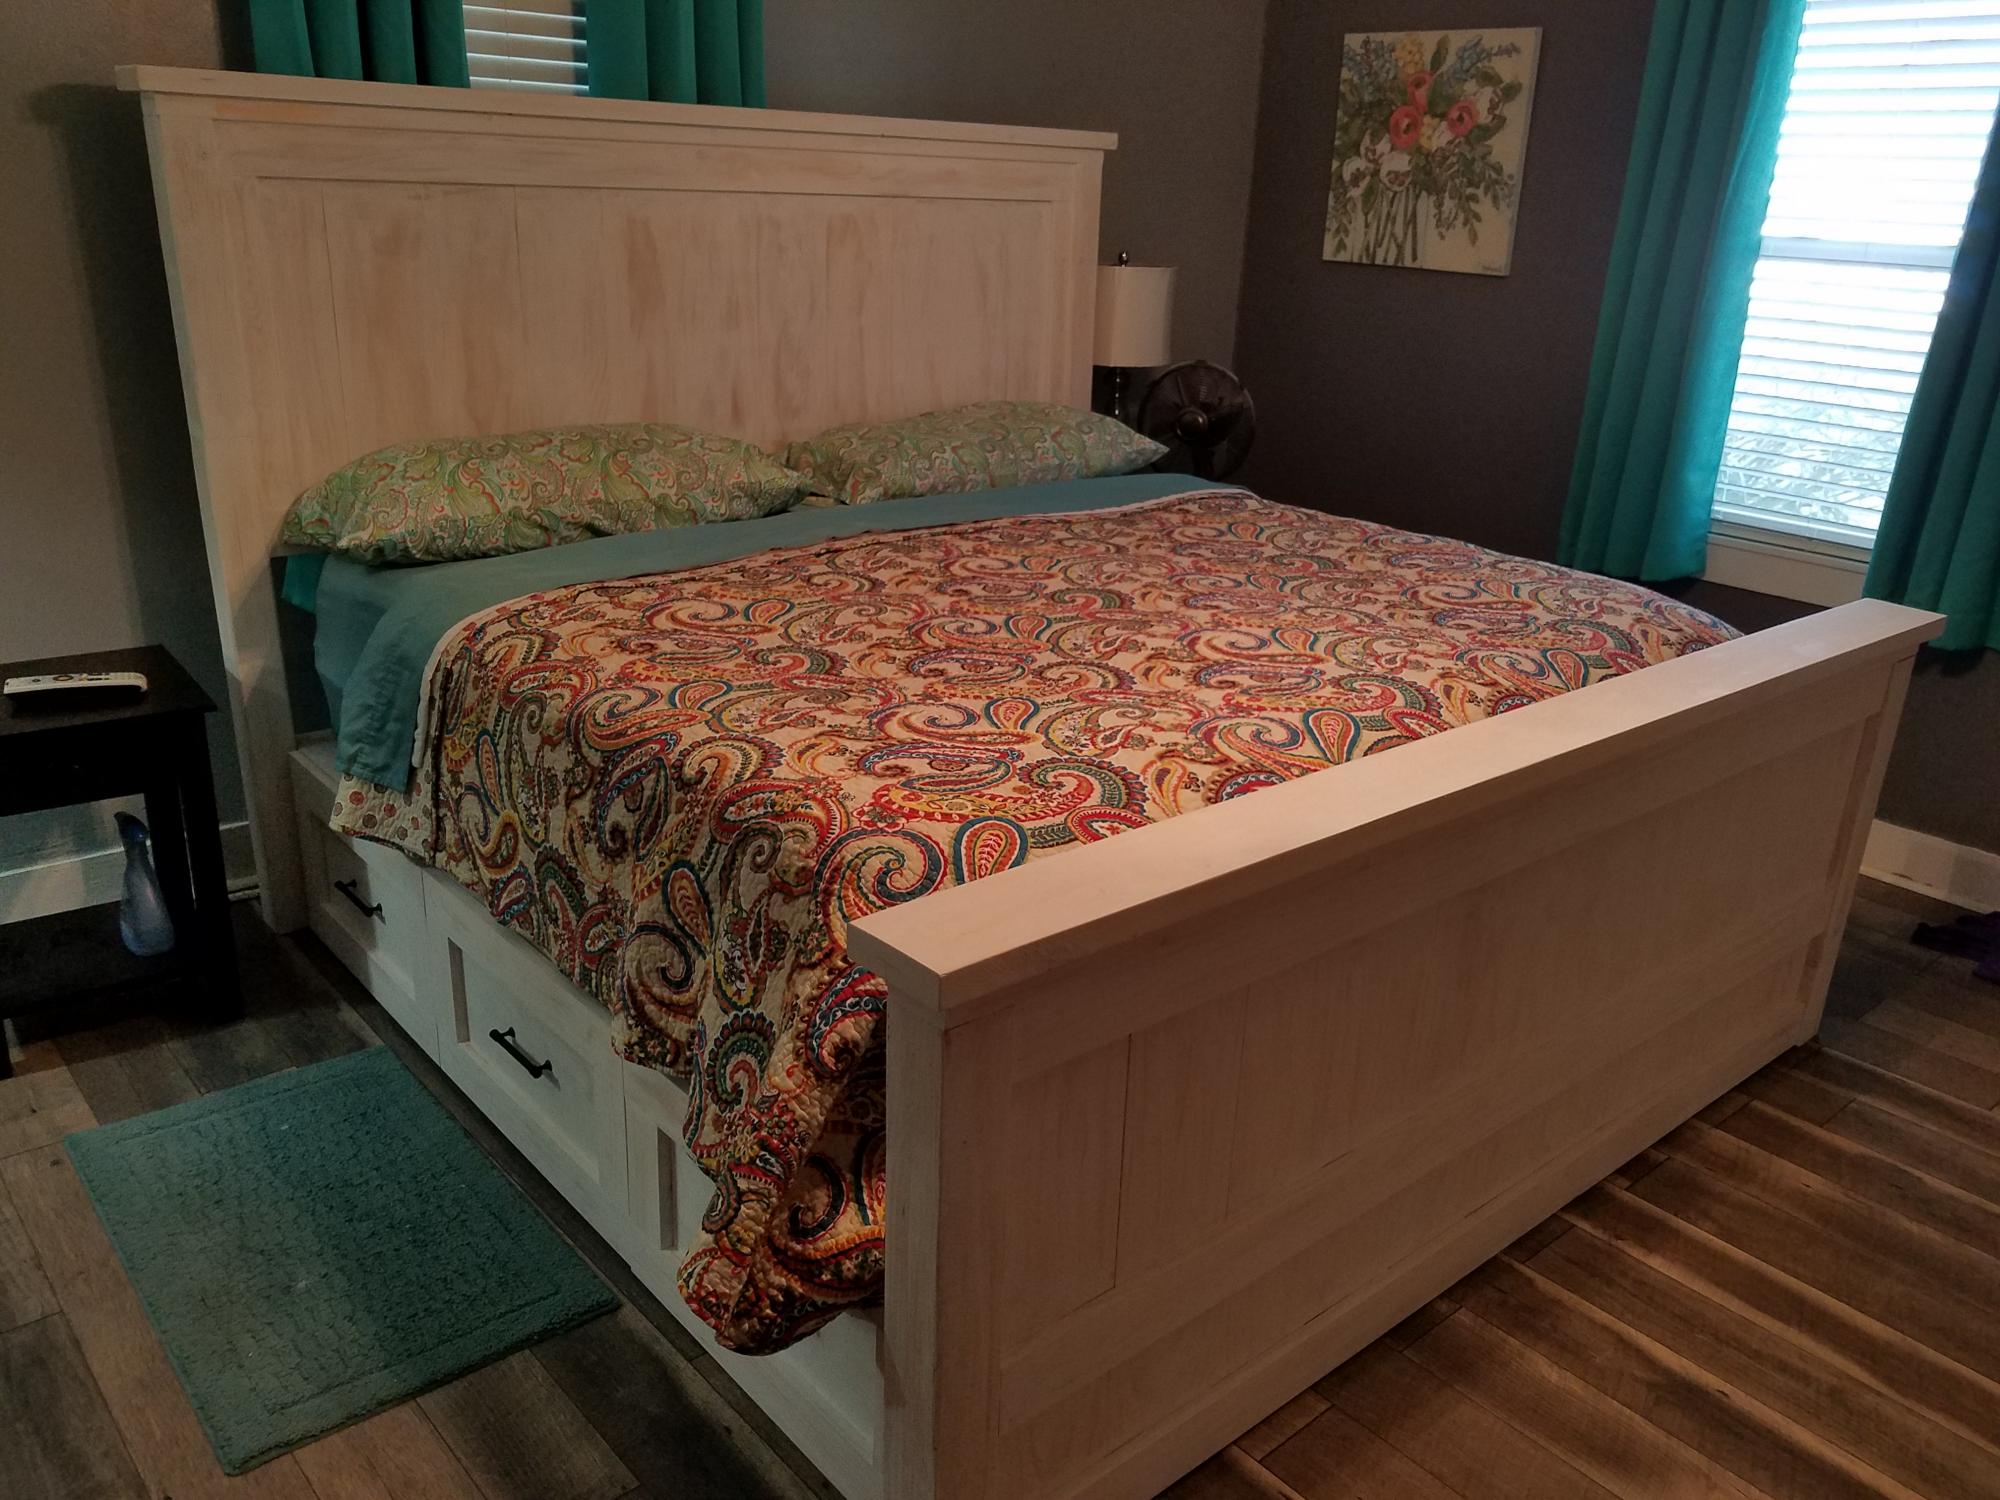
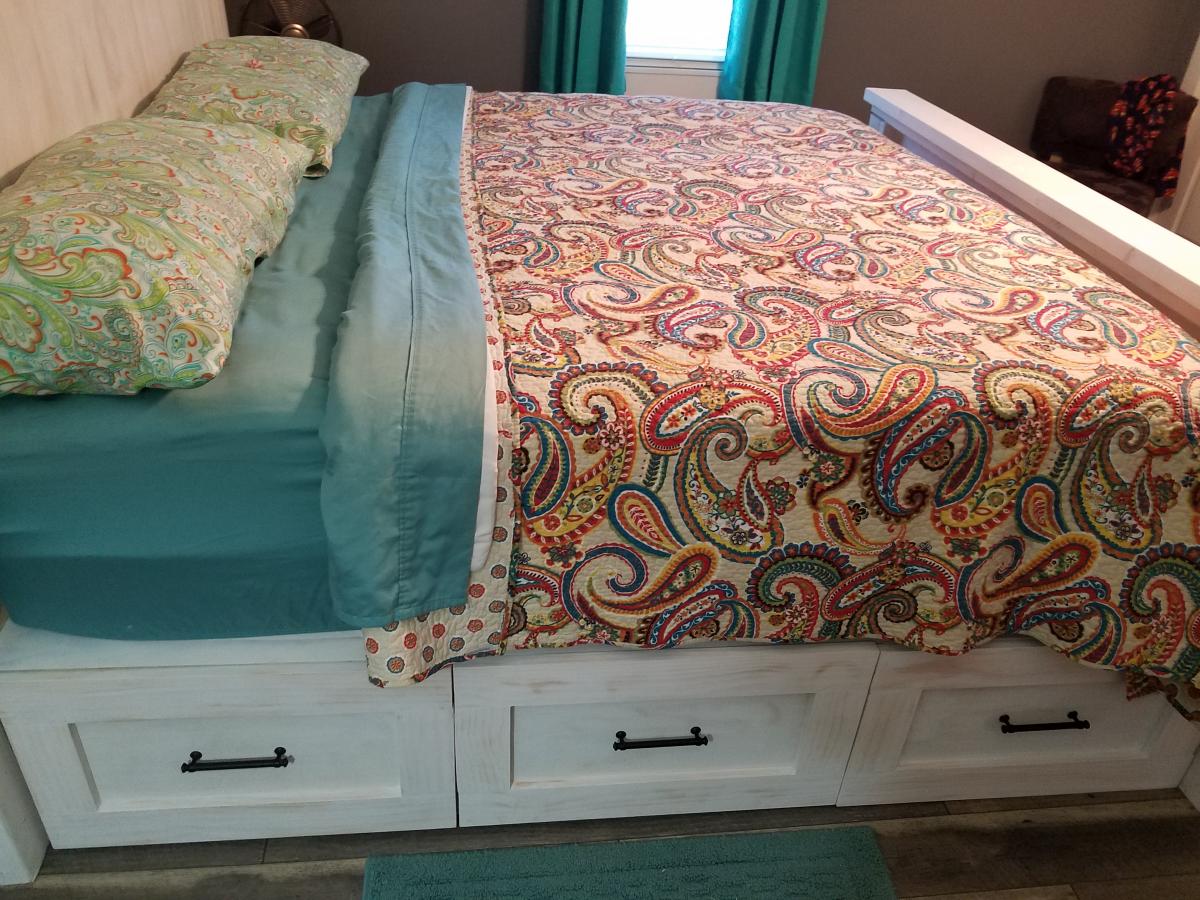
Farmhouse bed king

Submitted by Anonymous (not verified) on Wed, 01/09/2019 - 18:02

Such a fun project. This is the 5th piece my husband and I have completed by Ana White. This bed is by far my favorite piece of furniture in our home. So sturdy and only took a few hours (not including stain and poly). We have a love for knots, so we chose pieces of wood that had a lot of beautiful imperfections. We went very light on the stain, and it looks weathered with still some of the natural wood color shining through. We got our wood from our local Home Improvement store, and had minimal cutting to do. Neither of us are pro woodworkers by any means, and we completed this with ease.

Estimated Cost
$200
Estimated Time Investment
Day Project (6-9 Hours)
Finish Used
One thin coat of Rust-Oleum Weathered Gray then two coats of Minwax clear Polyurethane.
Recommended Skill Level
Beginner

Large Wood Pet Kennel End Table

Thanks for the plans!

Built from Plan(s)

Comments

Modified Cube Bookshelf

Submitted by liquidzoo on Fri, 08/26/2011 - 11:24

After building one 6 Cube Bookshelf (http://ana-white.com/2010/07/well-i-did-promise-you-i-would-work-on.html) so my wife would have somewhere to store toys for the kids, I decided to modify the plan to use in our bedroom.

I chose to put doors on it, and learned quite a bit. Rather than 6 standard cubes, I went with a single divider on each shelf. The back and the doors are both made from some Bead Board trim packages that I found for about $12 at my local big-box.

I added a 16" wide board on the top to create the look I wanted.

I also want to note that when you're working alone, some right-angle clamps are lifesavers! Makes it a lot easier to keep square and hold things together while you drill and screw everything together.

I chose some hardware that came close to what we already had in our bedroom. The hinges took me 4 different trips to get right (first was wrong type (did not want self-closing), second was wrong depth, third was wrong color).

Overall I'm very happy with it and so is my wife. We replaced a piece of furniture that was twice as wide and it's amazing how nice it is to not have to walk around it when walking through our bedroom.

Built from Plan(s)
Estimated Cost
$65
Estimated Time Investment
Day Project (6-9 Hours)
Finish Used
Top, door panels and back were stained using a satin cherry finish. Trim and main body was painted using an enamel black paint (1 coat is all it took with the enamel paint, Glidden Onyx Black using a Behr Enamel base)

After everything was dry and prior to assembly everything received 2 coats of Satin polyurethane.
Recommended Skill Level
Beginner

Storage/Coffee Table

Submitted by bvescovi on Wed, 09/18/2013 - 09:57

I am redesigning my family, which is really the children's playroom. I have decided to change it to a beach theme. I saw the project on this site and knew immediately it would be a perfect fit as a storage/coffee table. Within 5 minutes of me completing the box, my three year old started filling it up with toys.

I have to admit it is slightly tall for a coffee table, so I'm debating cutting off the legs. It would be easy enough to do without taking the entire project apart and it would make it the perfect height.

I did have to plan my build around my work schedule and the kids, so I did what Ana suggested and built a panel a day. I cut all the wood one day, then built a panel a day. The last day, I started putting the pieces together, put the bottom boards in and made the top.

Estimated Cost
$100
Estimated Time Investment
Day Project (6-9 Hours)
Finish Used
So far I have not finished the project. I haven't decided if I want to leave it and just Poly it or stain it with either sunbleached or weathered stain. It is a beach theme so either color stain would be great.
Recommended Skill Level
Starter Project

DIY Upholstered Bench

I just finished my first project with upholstery!  I built a bench following Ana's plans from a couple of 2x4s and used this gorgeous fabric from Minted.  Minted is November's sponsor for the Fab Furniture Flippin Contest.  The paint color is Behr's Island Aqua.  I used 3" thick upholstery foam (and WOW that stuff is super expensive).  I love diamond tufting and followed a tutorial from Addicted 2 Decorating.  


The bench is super compfy.  I love it and I love the bright cheery colors.  

Built from Plan(s)
Estimated Cost
100+
Estimated Time Investment
Day Project (6-9 Hours)
Finish Used
Behr Island Aqua
Recommended Skill Level
Beginner

Rustic X Kitchen Island - Double

Submitted by Anonymous (not verified) on Mon, 01/14/2019 - 01:54

I followed the plans except for the top, I used a 2x12, 2x4 and 2x12 pocket holes together.


Burnt the wood with a torch and stained over.

Thanks for the plans!


Questions? [email protected]

Built from Plan(s)
Estimated Cost
200$
Estimated Time Investment
Weekend Project (10-20 Hours)
Finish Used
Minwax provincial and topcoat polyurethane and mineral spirits 75/25 mix
Recommended Skill Level
Intermediate

Farmhouse Hall tree

Submitted by Anonymous (not verified) on Mon, 10/31/2022 - 14:53

Had fun making this one! Kept it rustic and added something other than white. Thanks for the great plan!

Built from Plan(s)

Comments

Numbered cubbies

Submitted by Kimberly W on Tue, 08/30/2011 - 09:49

I was so excited when I saw the plans for this and knew I had to make it. I love the way the wood looks with the numbers stained. It only took a couple of hours to get it exactly as I wanted. My kids love that they now have a place for all their crayons and school supplies.

Built from Plan(s)
Estimated Time Investment
An Hour or Two (0-2 Hours)
Recommended Skill Level
Beginner

double pedestal table

Submitted by Binda B on Fri, 09/20/2013 - 09:26

I think the hardest part of making this table was making it square. I think a tutorial video would be very beneficial. Took me a while to make due to life priorities, but it is finally done! Kids have already taken it over! My favorite part is letting them draw on it and make it theirs. Will be fun in the future to look back. We also wrote the date on it. I do think clamping is a must. I didn't do that at first and ended up taking the top apart and redueing it with clamps and glue.

I didn't want cracks that food could get into, and those 2x4's are rounded. So I ran those boards through a table saw to make sure they are flush with the 1x6's.

Built from Plan(s)
Estimated Cost
$150.00 for everything. the 1x6's were a higher quality pine. the rest was the cheaper pine.
Estimated Time Investment
Week Long Project (20 Hours or More)
Finish Used
Wood conditioner, american walnut by rustoleum, 4 coats of minwax semi gloss polyurethane. LOTS of sanding was done on the top of this table. Including steel wool.
Recommended Skill Level
Intermediate

Comments

TV Console

This TV console was made on request.  Its made from maple plywood and Pine top, trimmed with Small crown,  large chair rail  and base board moulding.  It has one media shelf a larger shelf for Pictures. The very bottom has two 18 inch drawers that are 5 1/4 inches deep for dvds or games.

Estimated Time Investment
Weekend Project (10-20 Hours)
Finish Used
Finish is Minwax Gunstock and cleared with Lacquer. 
Recommended Skill Level
Intermediate

Love this table!

Submitted by Anonymous (not verified) on Thu, 01/17/2019 - 14:37

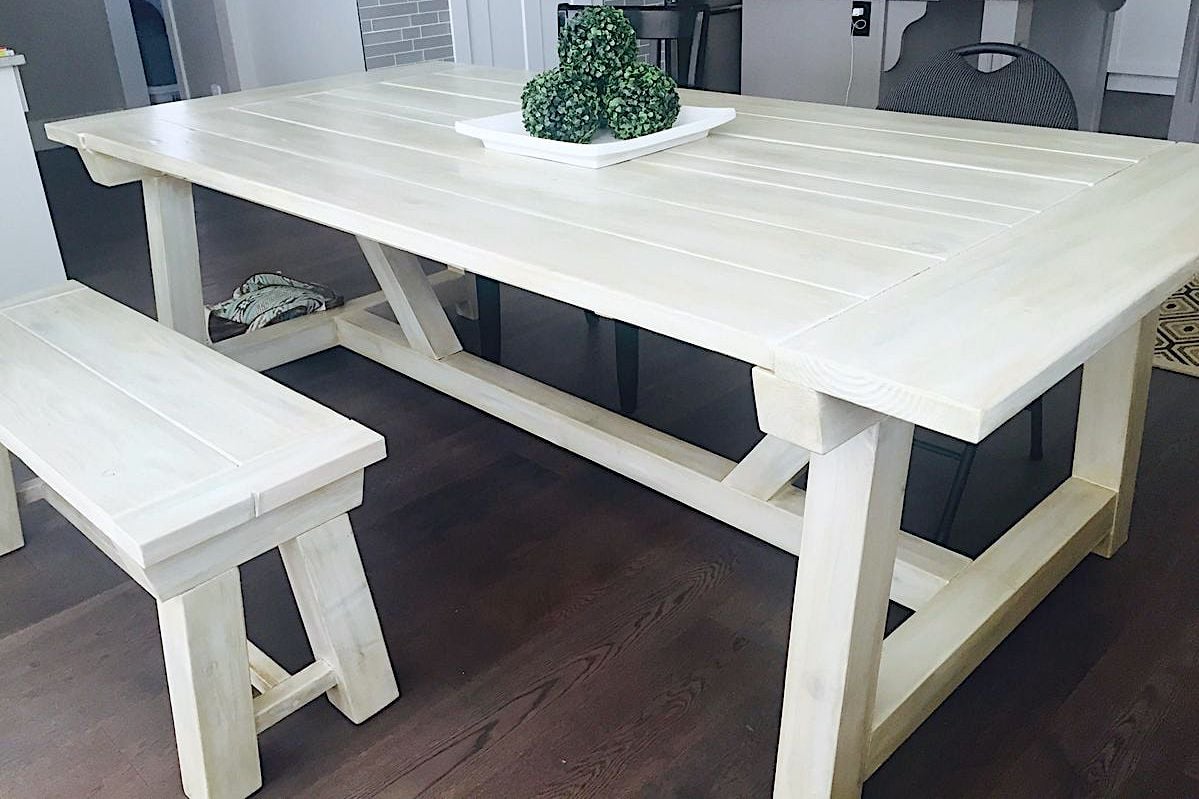
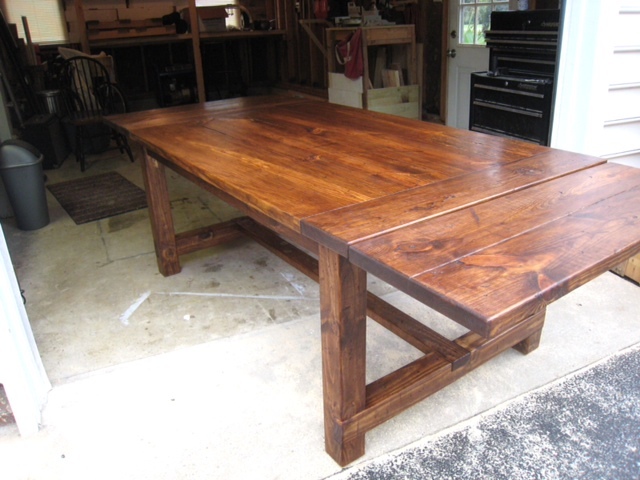
Fell in love with this table! Couldn't wait to build it. Found a great mill that had raw stock of a variety of woods. I chose White Ash  because if the hardness and beautiful grain. They planed it to 1-3/4" thickness. Modifed the width to 50" and turned the truss supports underneath to add extra support for the table top due to the weight of the White Ash. Finished with provincial stain and 6 coats of hand rubbed poly. Used wood bleach on the 4x4's to take the red tint out before staining. Worked great!

Estimated Time Investment
Week Long Project (20 Hours or More)
Recommended Skill Level
Intermediate

Picture Ledge for Cutting Board Display

Submitted by vendo on Fri, 11/18/2022 - 10:19

My sophomore daughter built a cutting board in woodworking class. She did a beautiful job, so I wanted to display it. Took me about 10 minutes to build this little shelf. Can be used on the counter, or attached to a wall or pantry shelf. I decided to attach to the side of my DIY freestanding pantry that I built using Ana's Shelf Help service. I'm happy the whole family is able to enjoy her beautiful cutting board and this makes it easy to use and put up when not in use. 

Built from Plan(s)

Book Nook Tent

I loved this plan as soon as I saw it. The only modification I made was I used a 4x16 8oz drop cloth up on over the center instead of curtains or fabric and painted the wood with orange gloss spray paint. The kids love it. I think we may make come doors and ties to make it cozier but they love it!

Built from Plan(s)
Estimated Cost
$40.00
Estimated Time Investment
Afternoon Project (3-6 Hours)
Finish Used
Rust-Oleum Painter’s Touch Multi-Purpose Paint Spray in Real Orange
Recommended Skill Level
Beginner

Comments

Anna Lawrence (not verified)

Mon, 09/05/2011 - 13:05

I think I am in love with the look of the drop cloth and spray paint. :)

What a fabulous replacement for the curtains... I know at our HD or L a huge cloth is $8 or $9 bucks, so that's a really economical choice.

Guest (not verified)

Wed, 09/28/2011 - 13:44

I love your tent! I am thinking of making one but want to get an idea of the area it will take up. Can you tell me how much space (l, w, h) it takes when assembled? Thanks!

CraigCaggiano (not verified)

Sat, 02/11/2012 - 08:21

If you want to make one to sell let me know!

Anthropologie Style Farmhouse Table

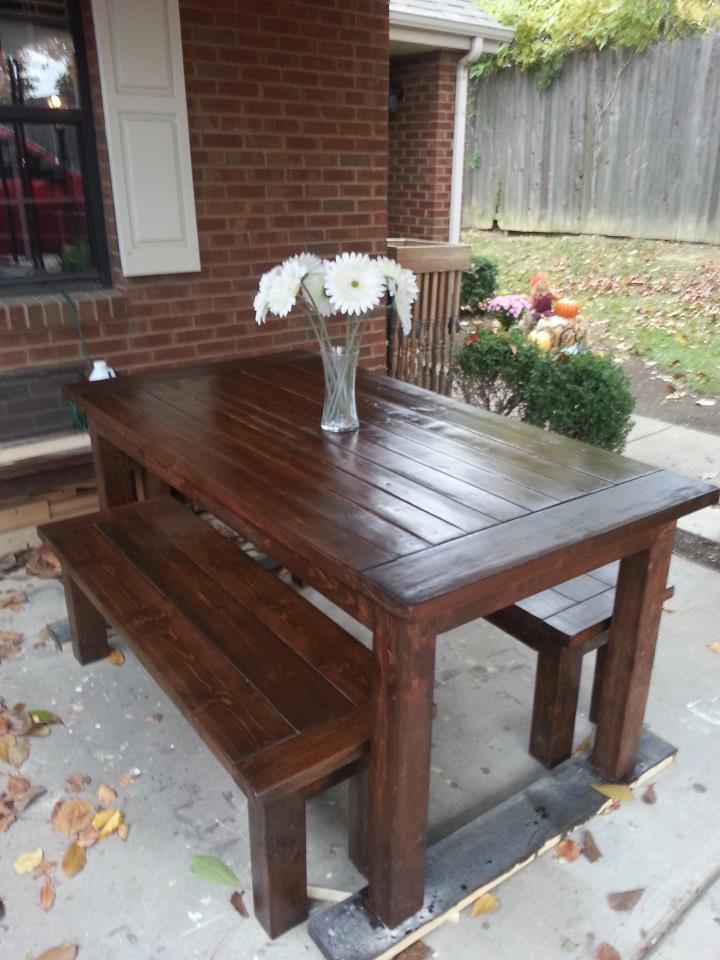
My husband built the table and benches and I applied the finish. It pretty much took us most of two weekends, but was well worth it. We learned that we should have used kiln dried wood for the table top, since ours warped pretty significantly. We will most likely replace the planks on top of the table in the near future. Also, the plans for the length of the bench don't allow for the benches to be pushed in under the table. The supports get in the way (make sure your measure!). I used Minwax Ebony stain and wiped it off quickly after applying it, so that the wood would show through. I also used a satin finish to keep true to the vintage look, yet give the table some protection from the elements.

Estimated Cost
140.00 for both the table and benches
Estimated Time Investment
Weekend Project (10-20 Hours)
Finish Used
Minwax - Ebony
Recommended Skill Level
Intermediate

1x2 Christmas Trees

Submitted by DebbieSC on Fri, 12/04/2015 - 08:51

I used 1x2 boards for this project. The smaller tree is the size according to plans (minus the coat rack). For the larger tree, I added 3.5 inches to each piece. 1/4 plywood on the back and used a stencil for the design. I love the way it turned out.

Built from Plan(s)
Estimated Cost
Less than $20.
Estimated Time Investment
Afternoon Project (3-6 Hours)
Finish Used
Minwax Early American
Recommended Skill Level
Beginner

Comments

Table for Generations to come

Submitted by Anonymous (not verified) on Tue, 01/22/2019 - 09:37

I used the basic plan as described on the website. I did differ on the tabletop and the legs. I used 3 slabs of 300+ year old cypress grown and milled locally here in Mississippi. I also kept the live edge on the outside boards. I bought my legs from 59Design. They were identical in everyway but about $15 cheaper per leg. :) 

Recommended Skill Level
Intermediate

Picture ledge

Submitted by Anonymous (not verified) on Wed, 11/30/2022 - 17:08

I used my router and router Ed the edges. Love this!!

Built from Plan(s)

Comments

Reclaimed Wood End Table

Submitted by sc4bship on Mon, 09/05/2011 - 17:49

I've taken quite a bit of time building this project. My goal was to use all material we had here so, I had to cut down 2x4's and 1x6 tongue and groove. I am proud of how this turned out, now to build it's match.

Estimated Cost
$0 all reclaimed wood and hardware
Estimated Time Investment
Week Long Project (20 Hours or More)
Recommended Skill Level
Intermediate

Comments

Cindy from Indiana (not verified)

Tue, 09/06/2011 - 09:45

Great job! I love how this table turned out - especially for the price! Really well done.

JongPogi

Sun, 01/20/2019 - 12:42

Hi, can you add details on how you achieved that finish when you get a chance? like colors of  the paint and how many coats.. thank you.

TV Stand

Submitted by gjohanson on Wed, 09/25/2013 - 13:40

I started with Michaela's Kitchen Island plan, but reduced the dimensions and material sizes. I used 2x2s for the legs and 1x3s for the rest of the project. Everything was kreg jigged together. This project would've taken less time but the drying time for the stains ate up work time! :)

Built from Plan(s)
Estimated Time Investment
Weekend Project (10-20 Hours)
Finish Used
I used espresso poly stain for the frame and Rustoleum's wood stain in American Walnut. 2 coats each and then sealed the tops with a poly sealer in clear gloss.
Recommended Skill Level
Beginner

Rustic rolling kitchen island

My version of the rustic rolling kitchen island. Really can't do the x's yet. It's all leftover wood and counter top. I use my other one similar to this as a coffee station.

Estimated Cost
This was leftover wood. Might run around 50.00.
Estimated Time Investment
Afternoon Project (3-6 Hours)
Finish Used
Min wax espresso.
Recommended Skill Level
Beginner

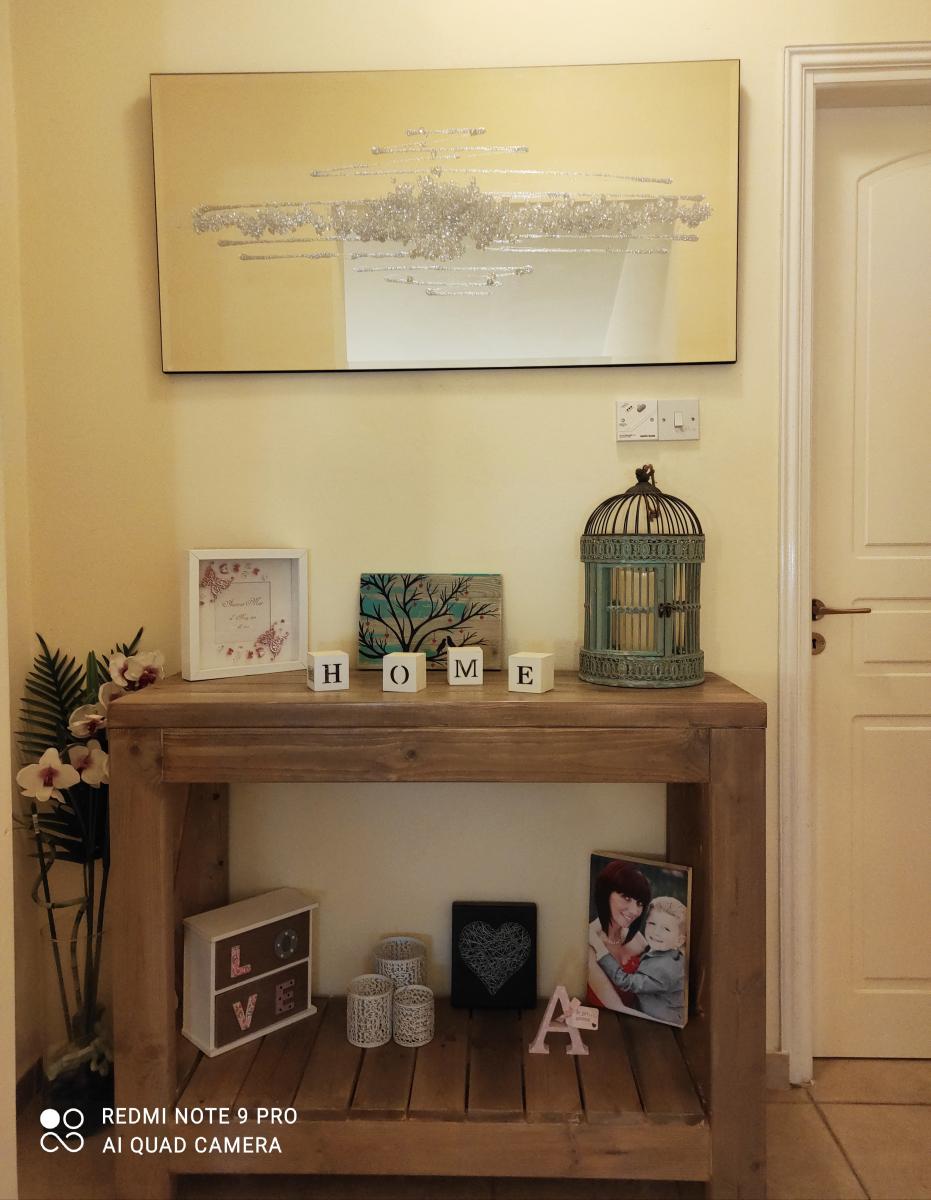
X Console Table

Submitted by Anonymous (not verified) on Mon, 01/28/2019 - 08:10

Easy to follow instructions.  Thanks!!

Estimated Cost
$60
Estimated Time Investment
Day Project (6-9 Hours)
Recommended Skill Level
Intermediate