bench with storage chest
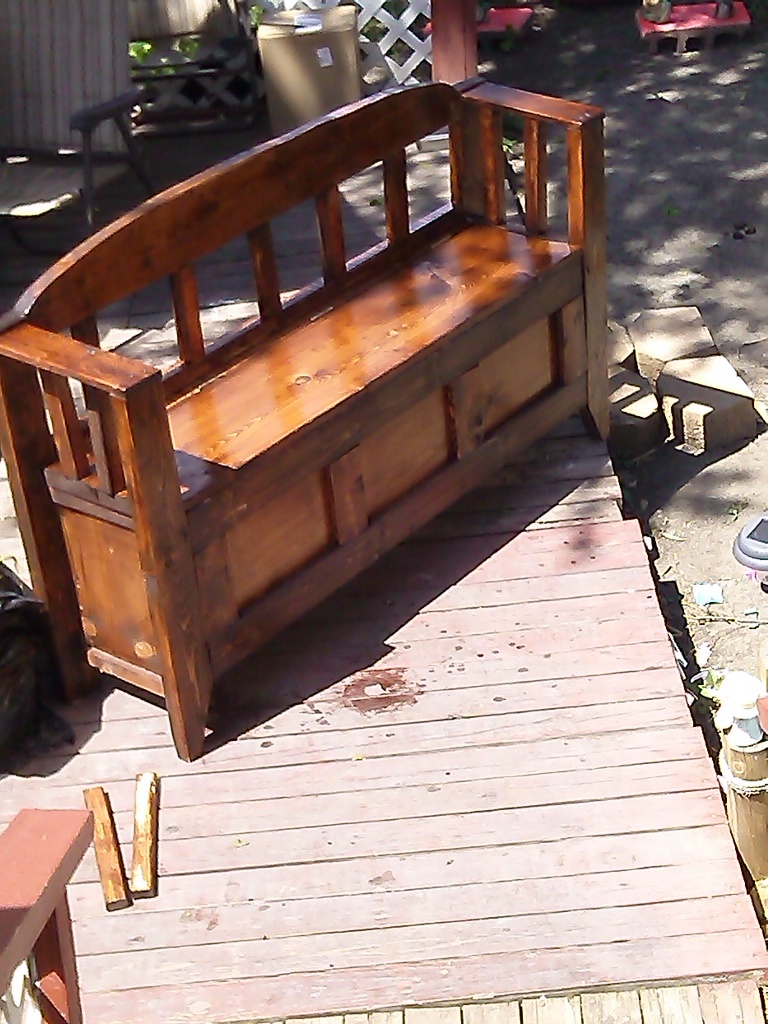
wanted a storage chest but didn't want just a chest so saw this in a picture then did my own measurements for what i wanted

wanted a storage chest but didn't want just a chest so saw this in a picture then did my own measurements for what i wanted
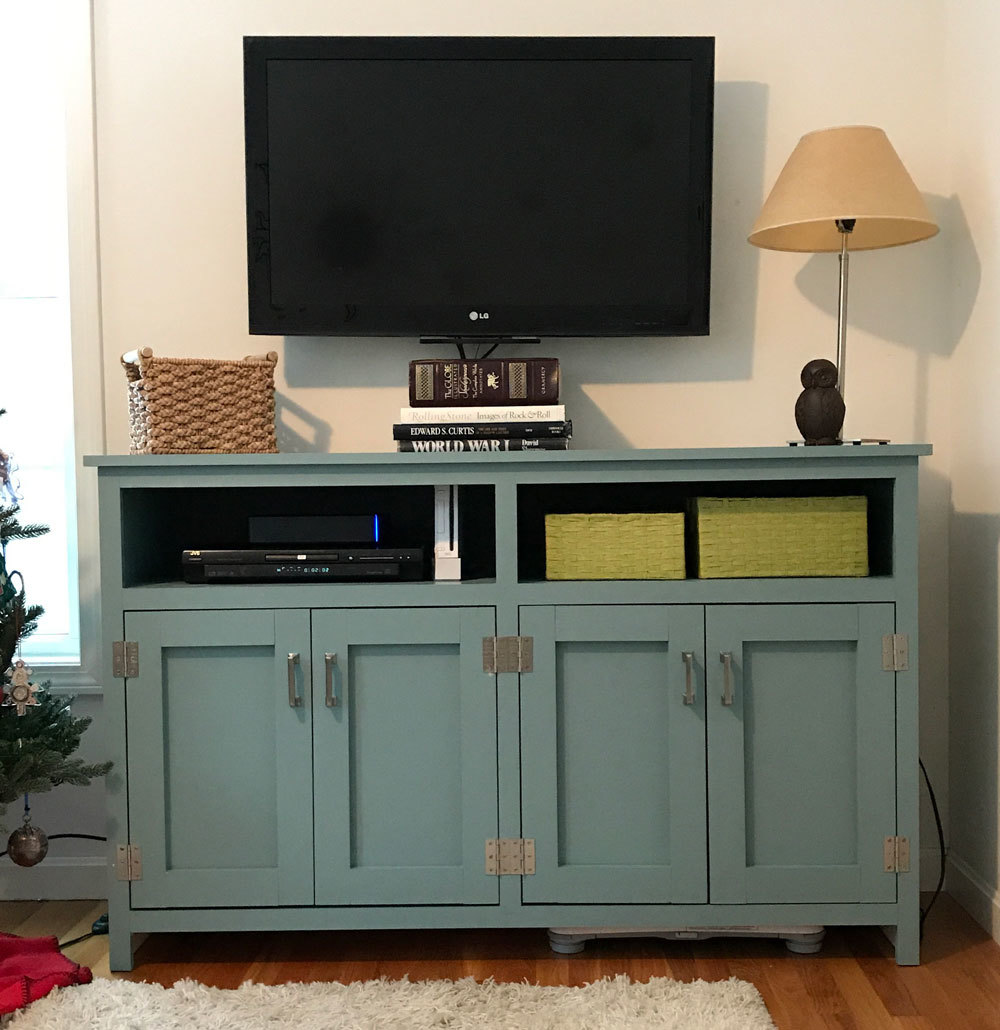
This was my third project, and the first one with doors (boy do I have some great opportunity for growth there!). I left off the bottom trim because I wanted a slightly more contemporary look. Thanks for this plan, Ana. It was the perfect size for this space. Things I learned doing this project: next time cut an extra 1x4 to tack in to do the doors, hinges require math, be sure to get the kind of wood filler that dries—not wood putty (sigh), I need a workbench.
Fri, 12/22/2017 - 09:52
Looks great, love the open bottom! Can't wait to see the workbench!
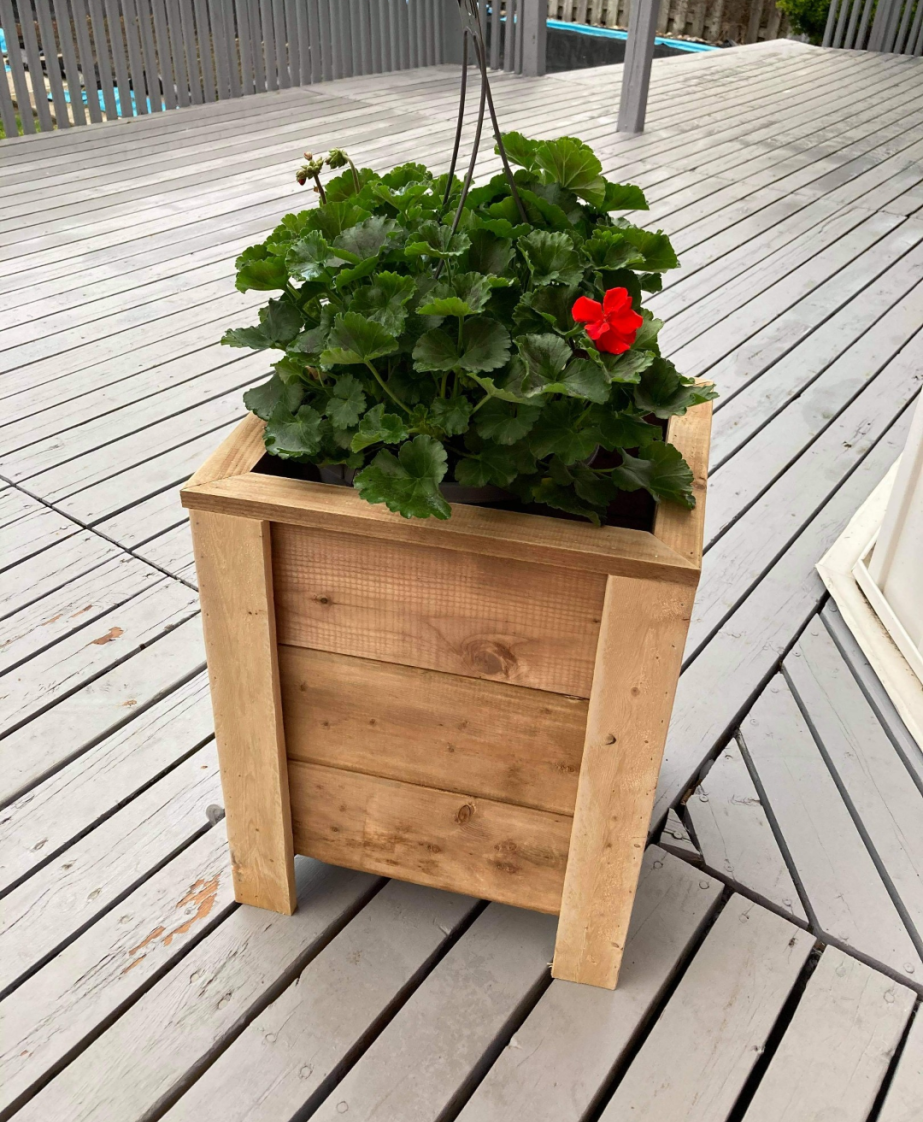
Loved how these plans were so easy to follow and certainly appreciate the accompanying video.
Tue, 12/21/2021 - 10:20
Thank you for sharing, love the raw look and the build is fantastic!
This past Christmas I built the dollhouse bookcase for my 3 year old daughter. I built mine out of plywood and made a few modifications. I routed dados for the shelves. I also added a pine face frame to cover the plywood edges. The back is beaded paneling. I painted it in the same princess pink colors that are in her bedroom. The final touch was adding a chimney and stuffing a Santa into it. She loved it! You can check out the full story on my blog http://www.homefront-dsr.blogspot.com/
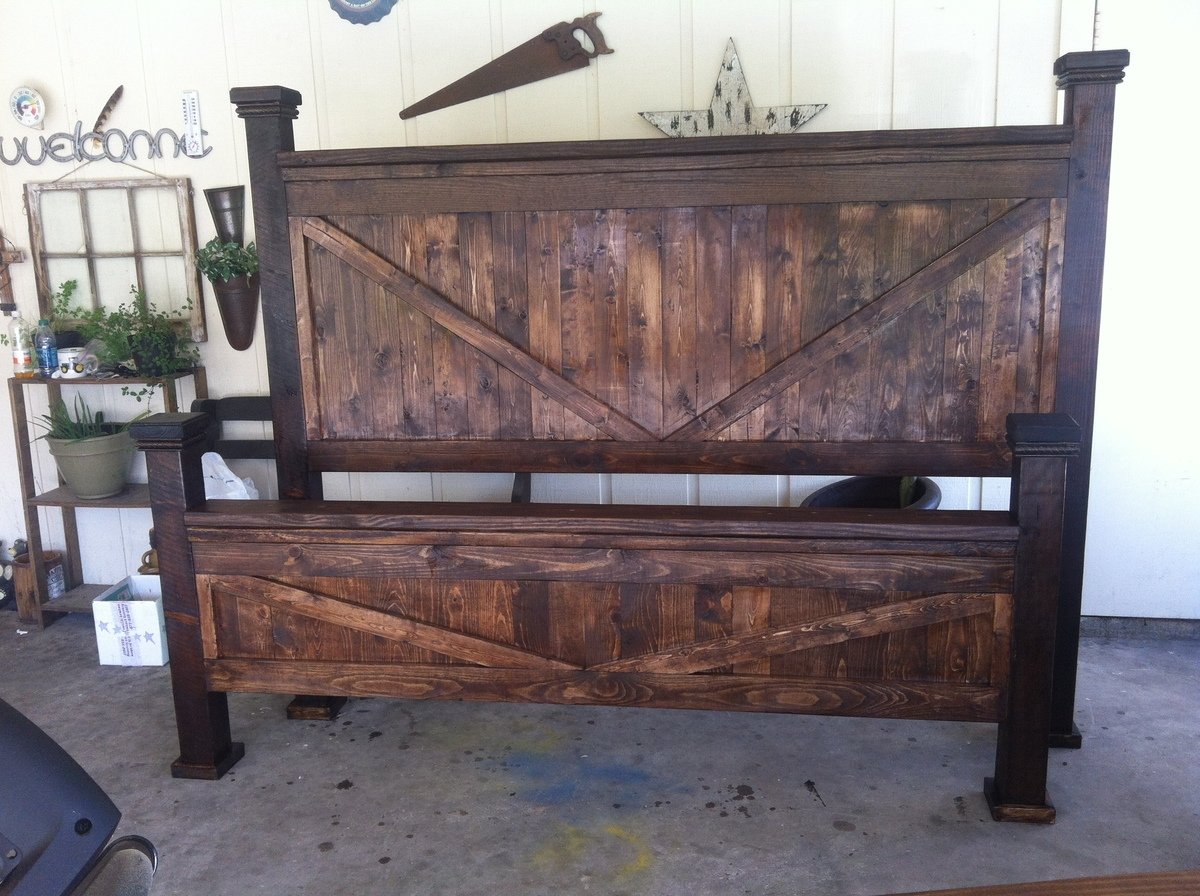
I used the farm house plans for this bed but I made my 4x4 taller because I wanted the post affect, I also added the" \/ " because I wanted a "rustic look. I used 2 different stains to get the old barn wood look. I had a great time making this bed and LOVE it Thanks for the ideas.
I build the x-desk with drawer with slight change in length and height to fit it for Kids. I also took pictures as I was building the project and converted them into a time lapse video of 2 minutes. Hope you enjoy it. https://youtu.be/KcrF2zqKudQ
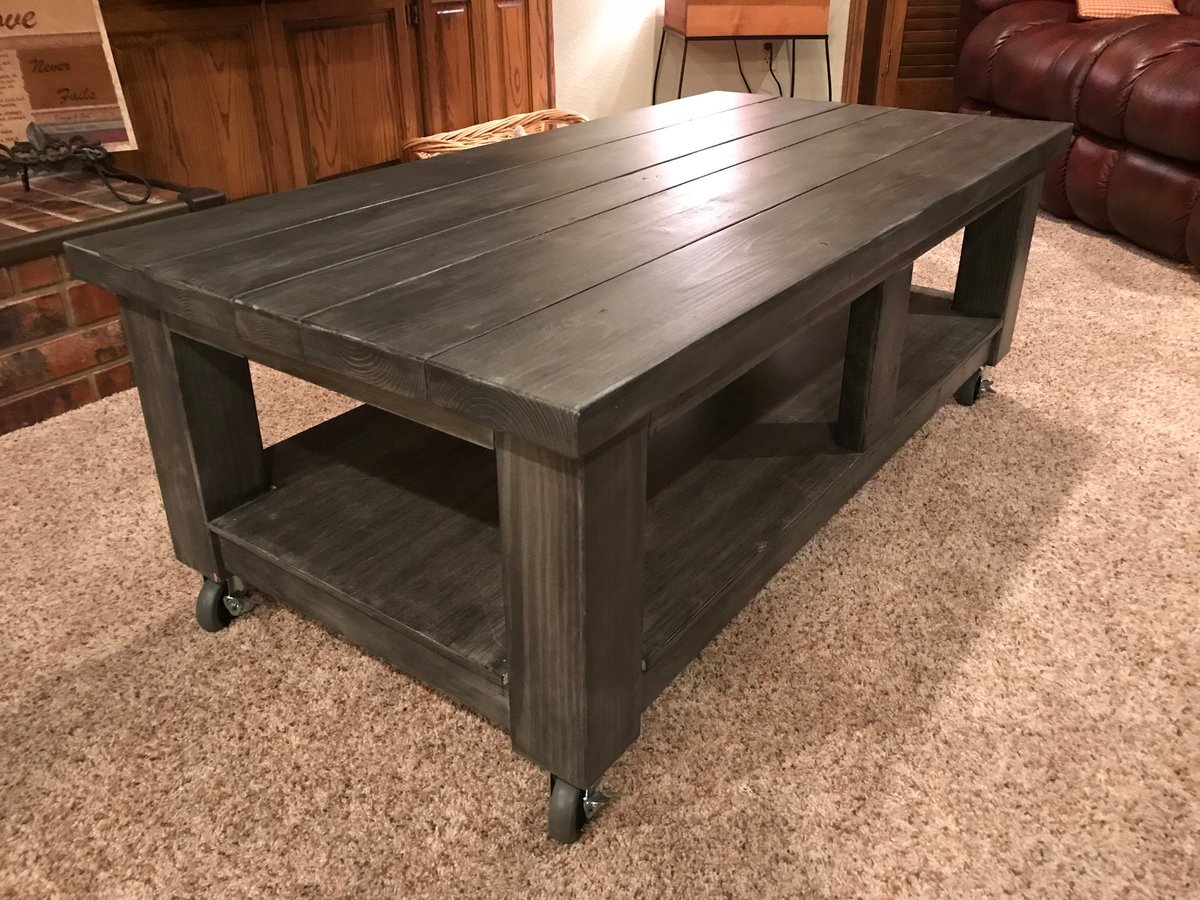
My daughter asked me to build this for her for Christmas but wanted it to have a gray weathered look to match some of her existing furniture that I had built. Very enjoyable build! Thanks Ana!
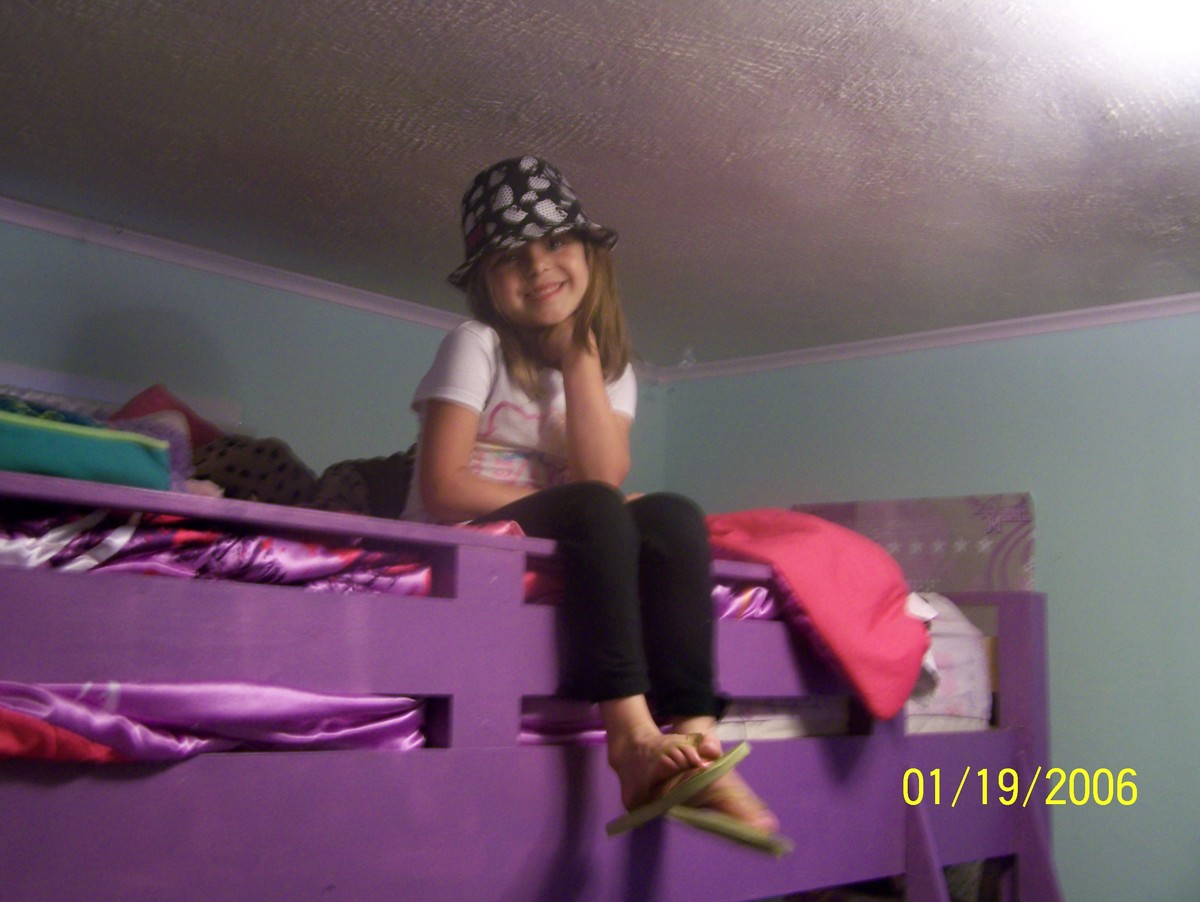
All the scratching of my head, calls for help to my brother and ill timed mistakes were all worth it when her little face lit up with a smile.
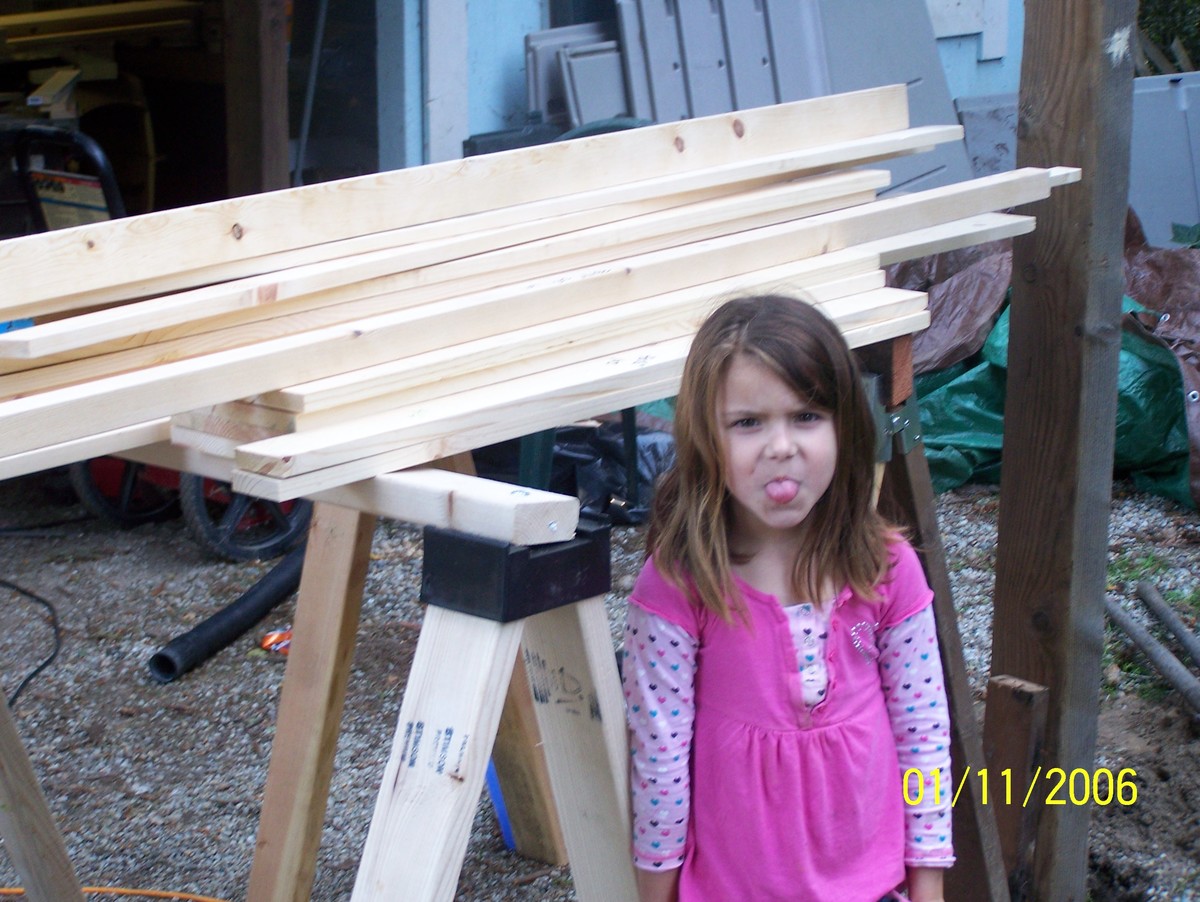

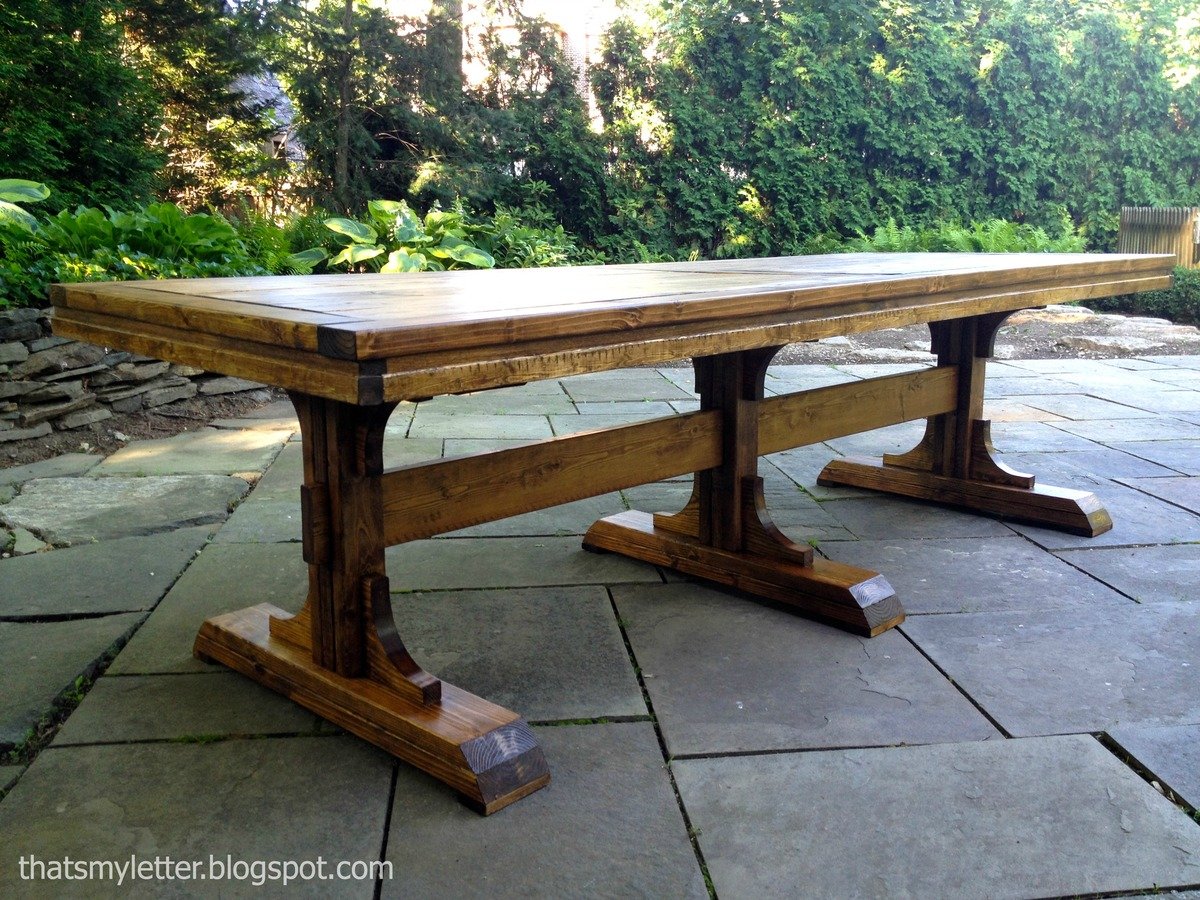
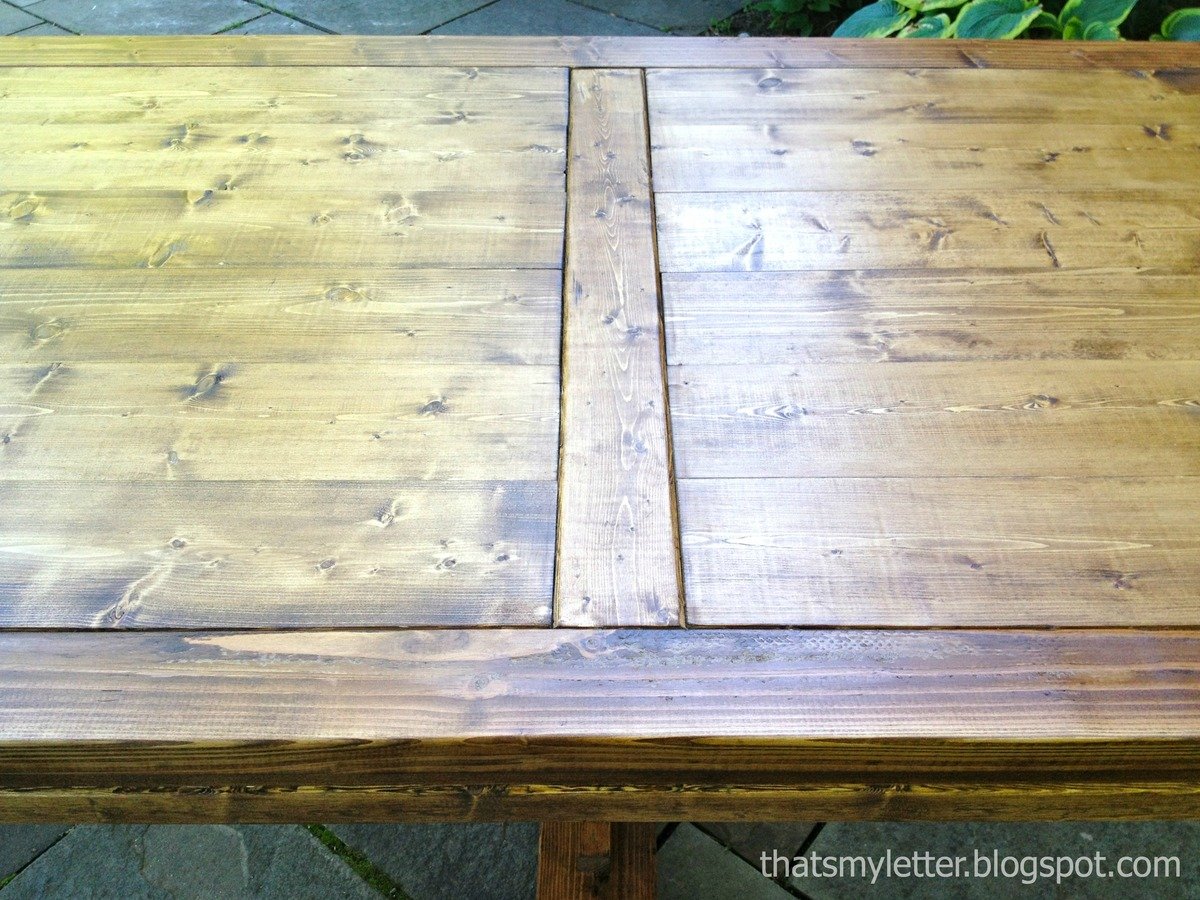
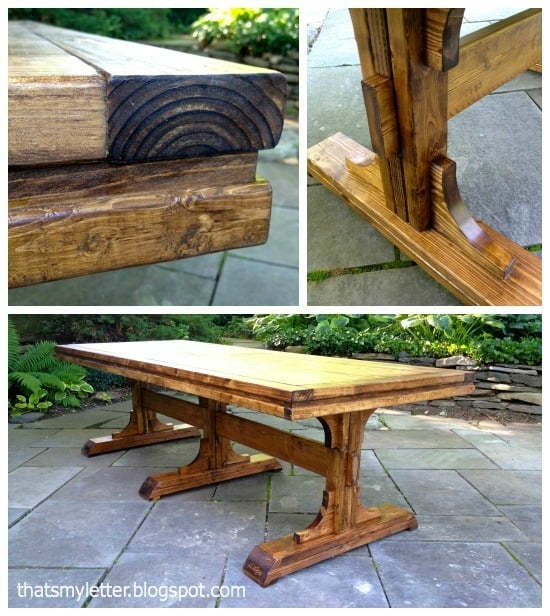
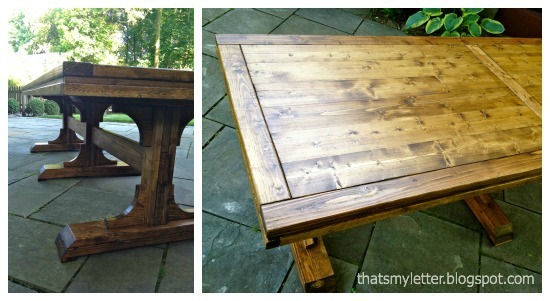
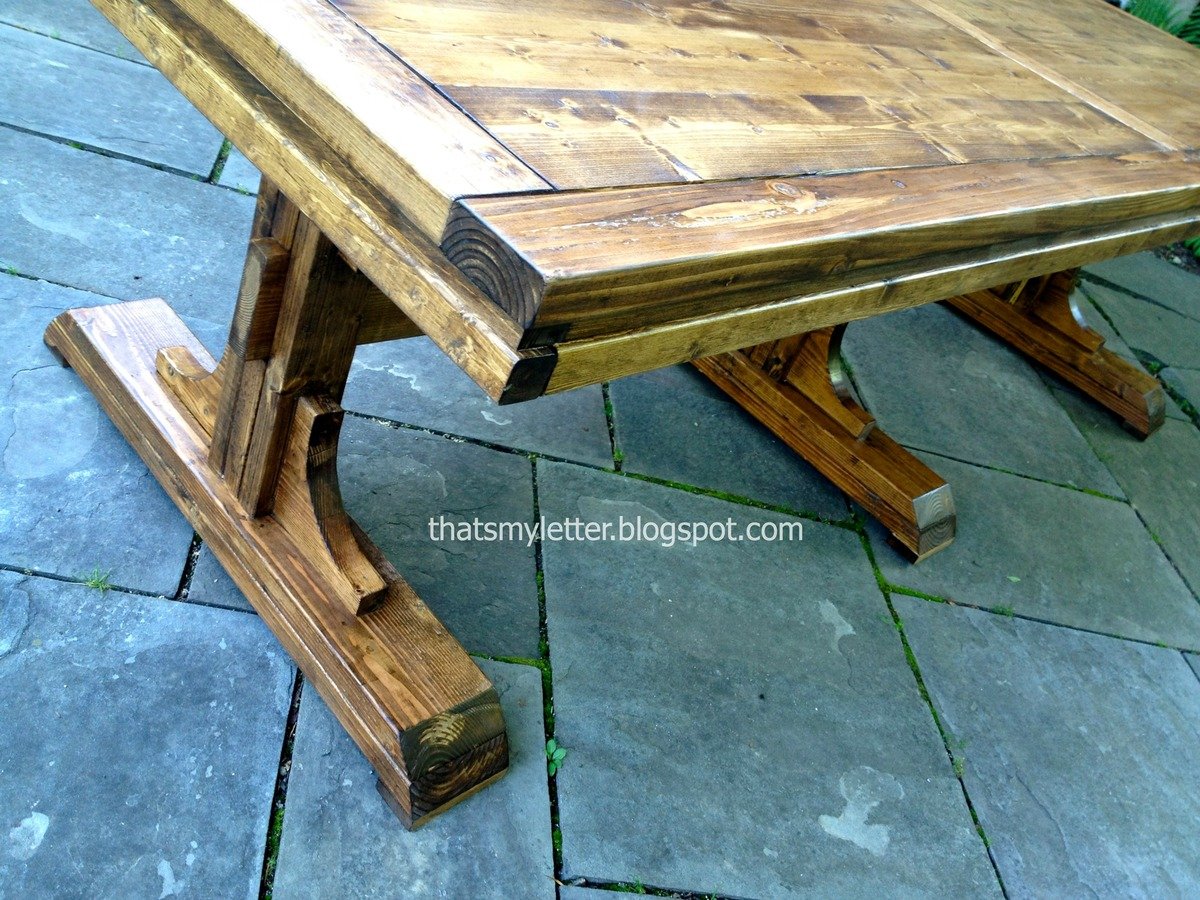
This table is enormous at 106" long made from pine boards and fir studs. A very easy build considering the final outcome, totally doable by any DIYer.
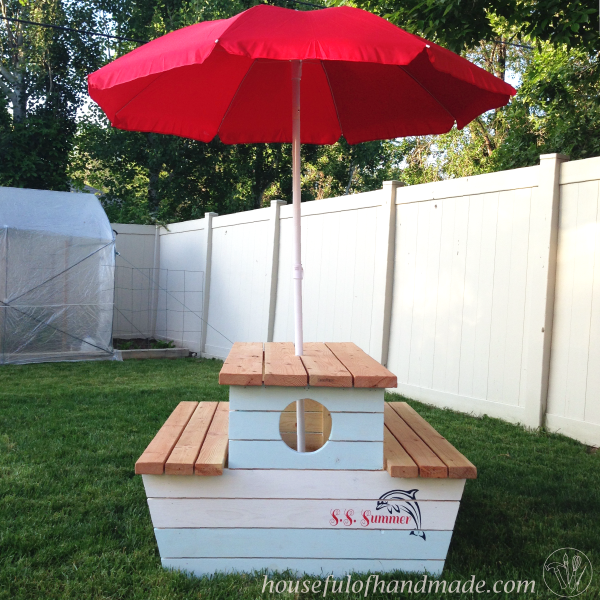
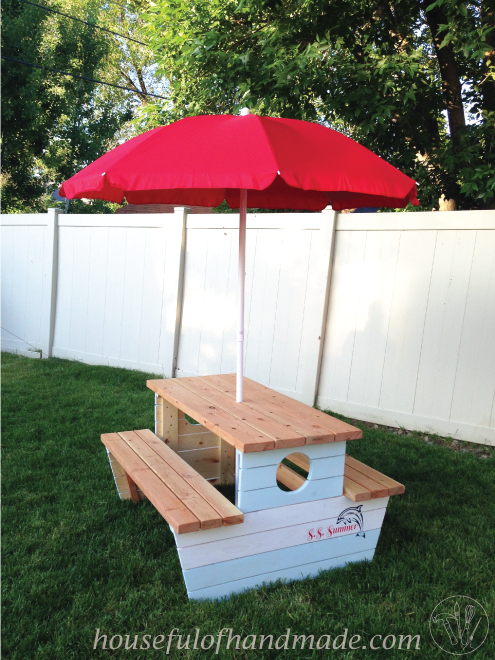
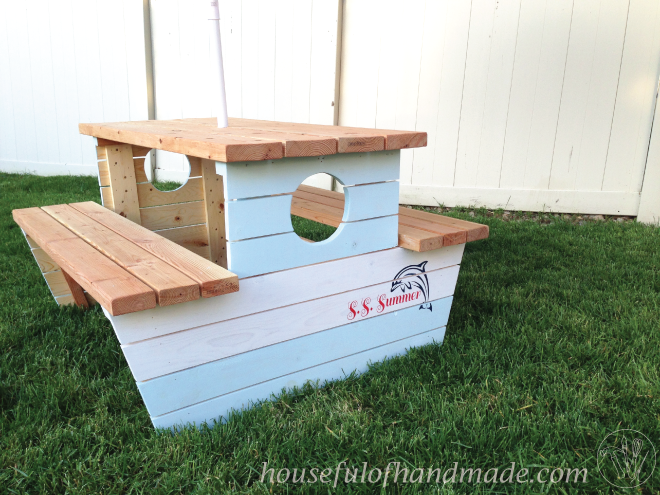
I needed a picnic table for my kids to enjoy summer meals outside and when I saw the plans for the Pirate Picnic Table, I knew we needed it! But it was made for toddlers and my kids are 4 and 6 so it wouldn't work for us for very long. I decided to combine the plans for the Pirate Picnic Table and the Picnic Table for bigger kids. I turned out awesome! And then I finished it off with a nautical paint job to look like a bit of the beach was left in the backyard.
Thu, 06/04/2015 - 09:50
That's excellent! I wish I would have thought of something like that when my kids were younger.
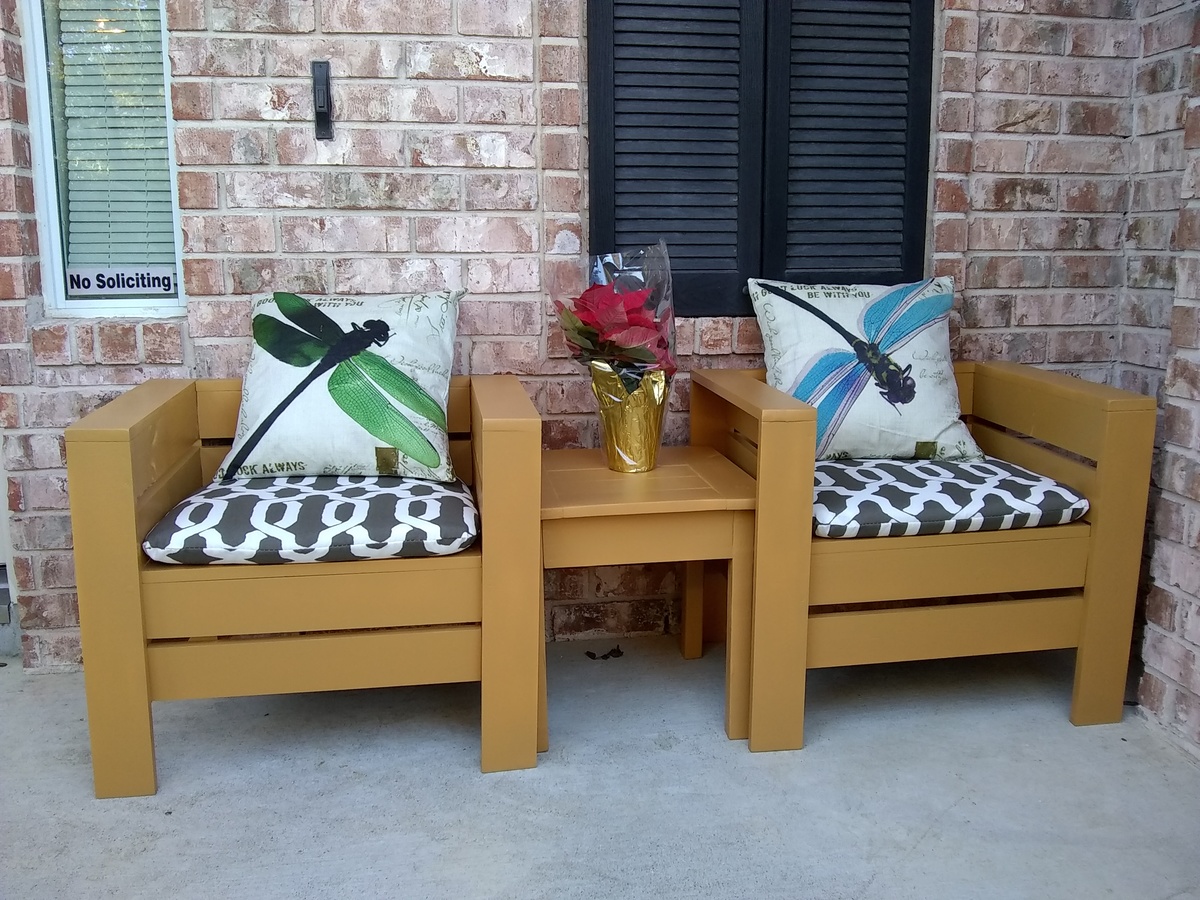
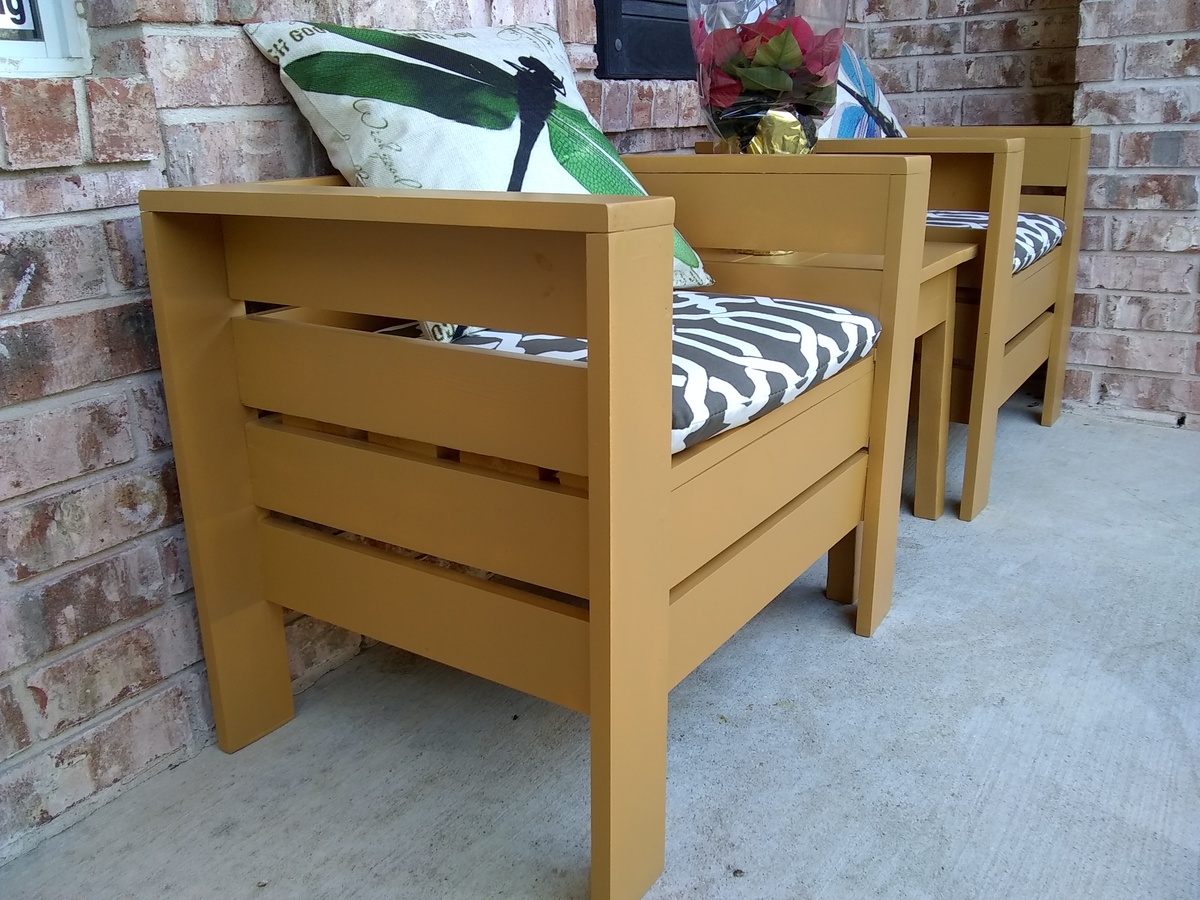
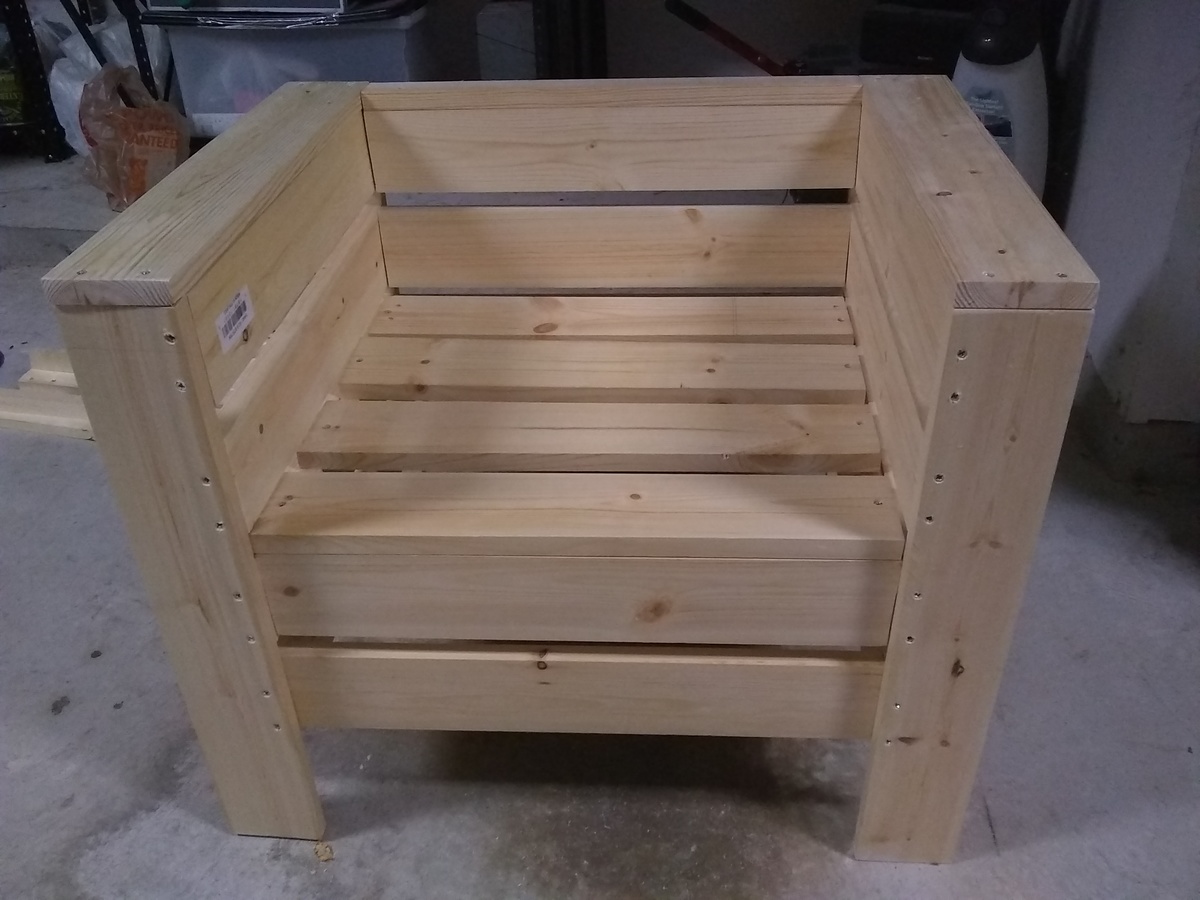
I needed chairs that would fit on my narrow front porch. This plan was great because I was able to resize it to 20x20. I used 1x4s that I already had and some wood glue. They turned out solid. I made the tryde table with left over wood. That one is 17.5x17.5. Super happy with the results. We are doing the garage shelves right now. I have a list of other things I want to make thanks to Ana's wonderful website.
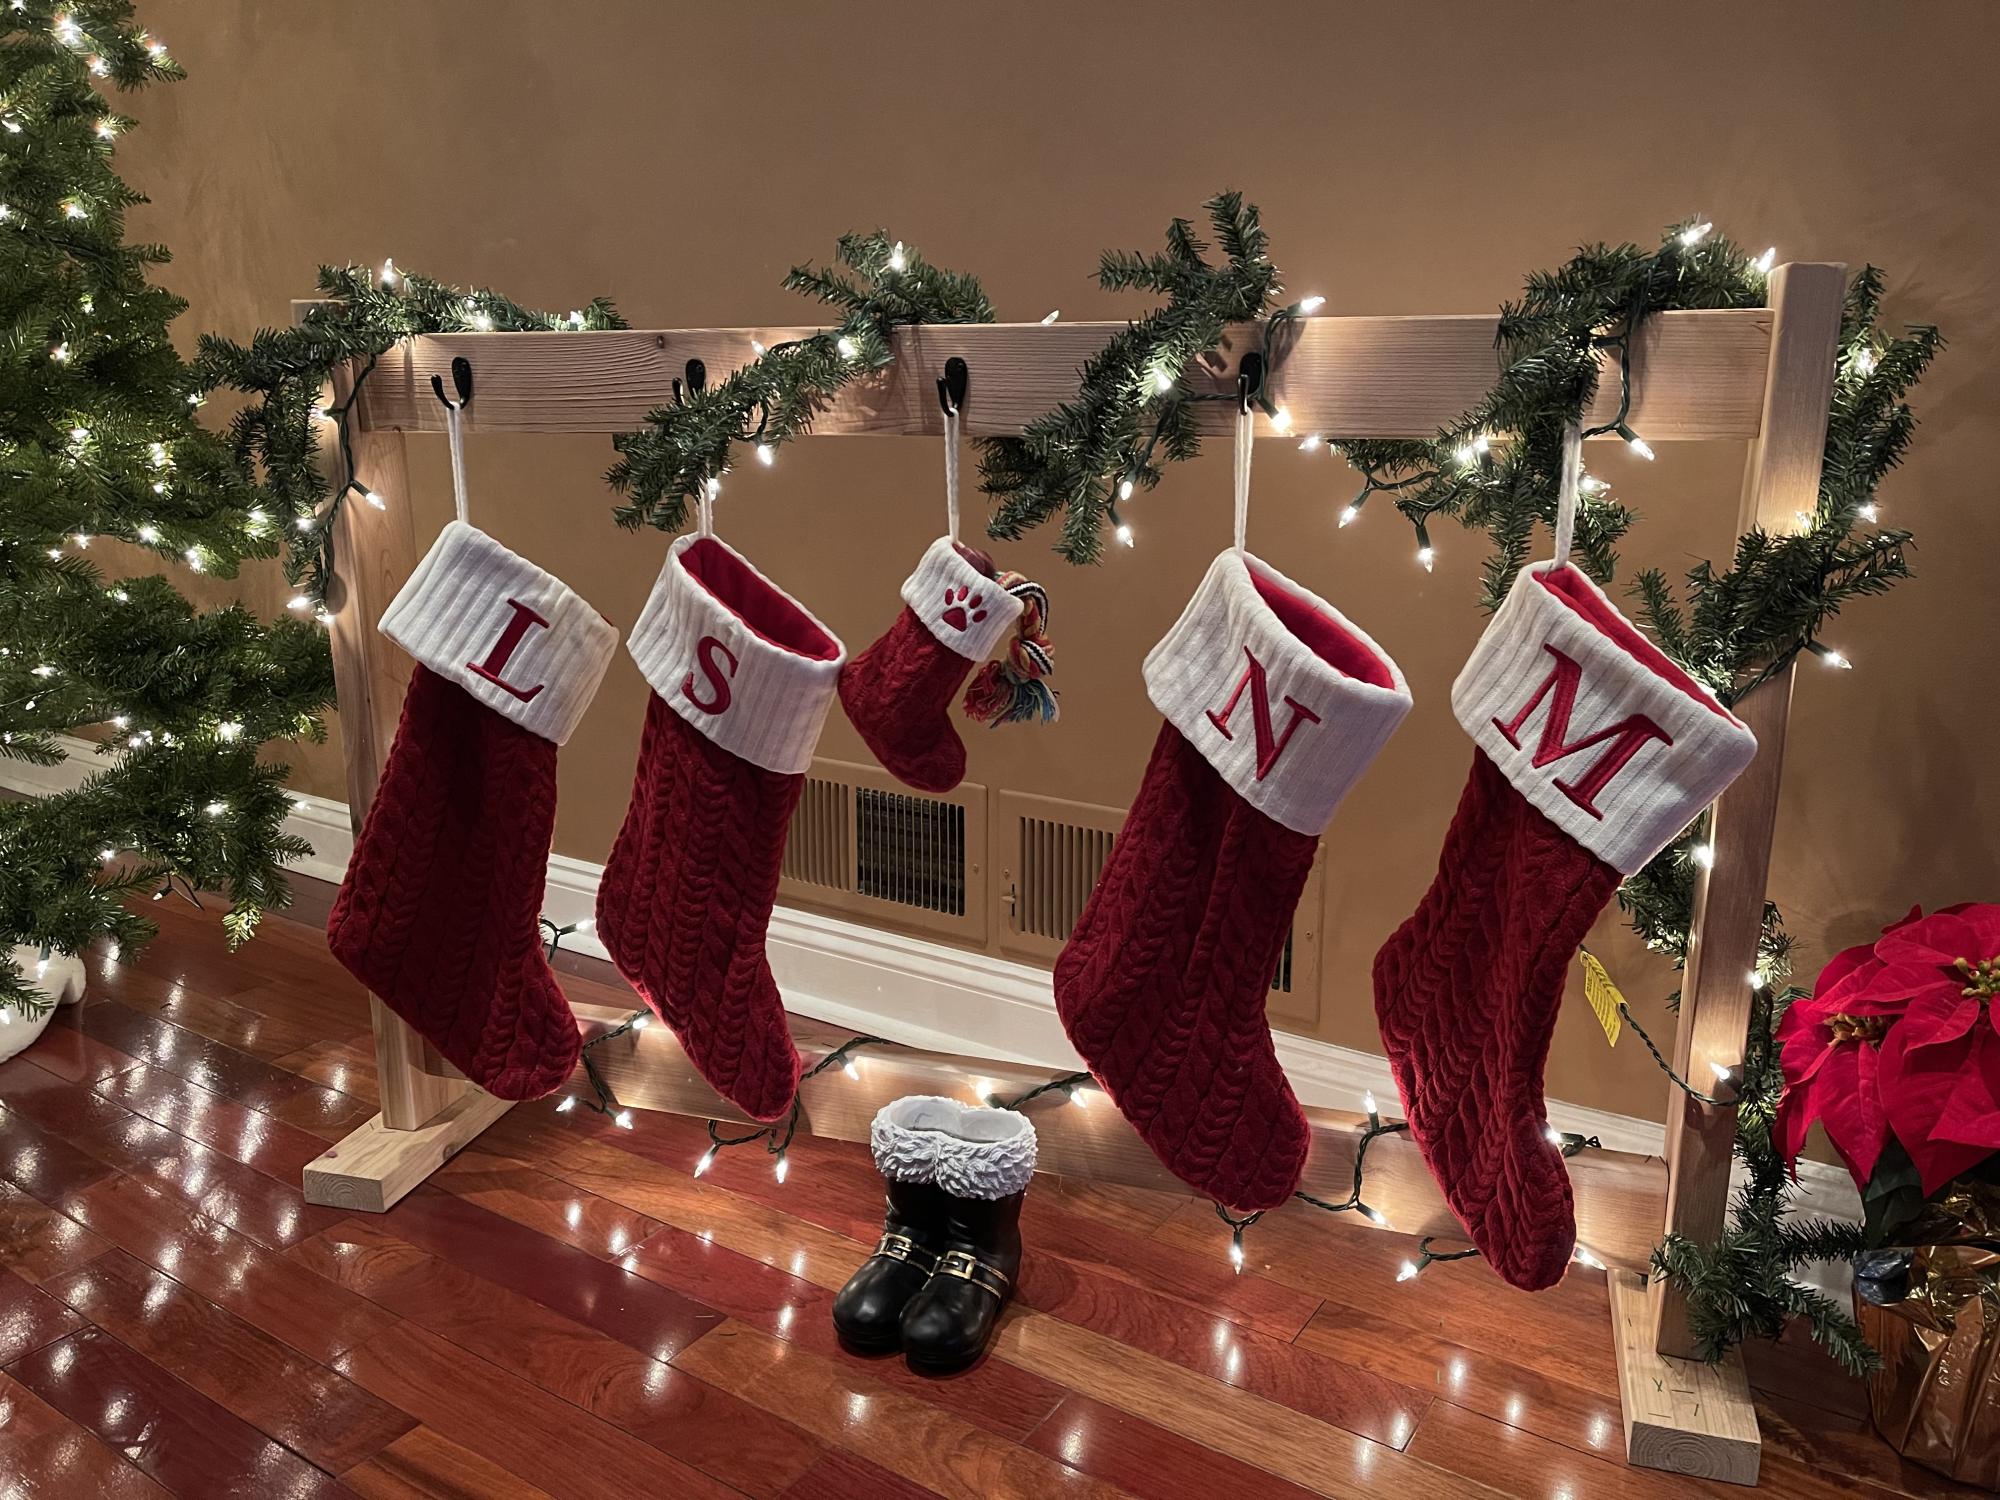
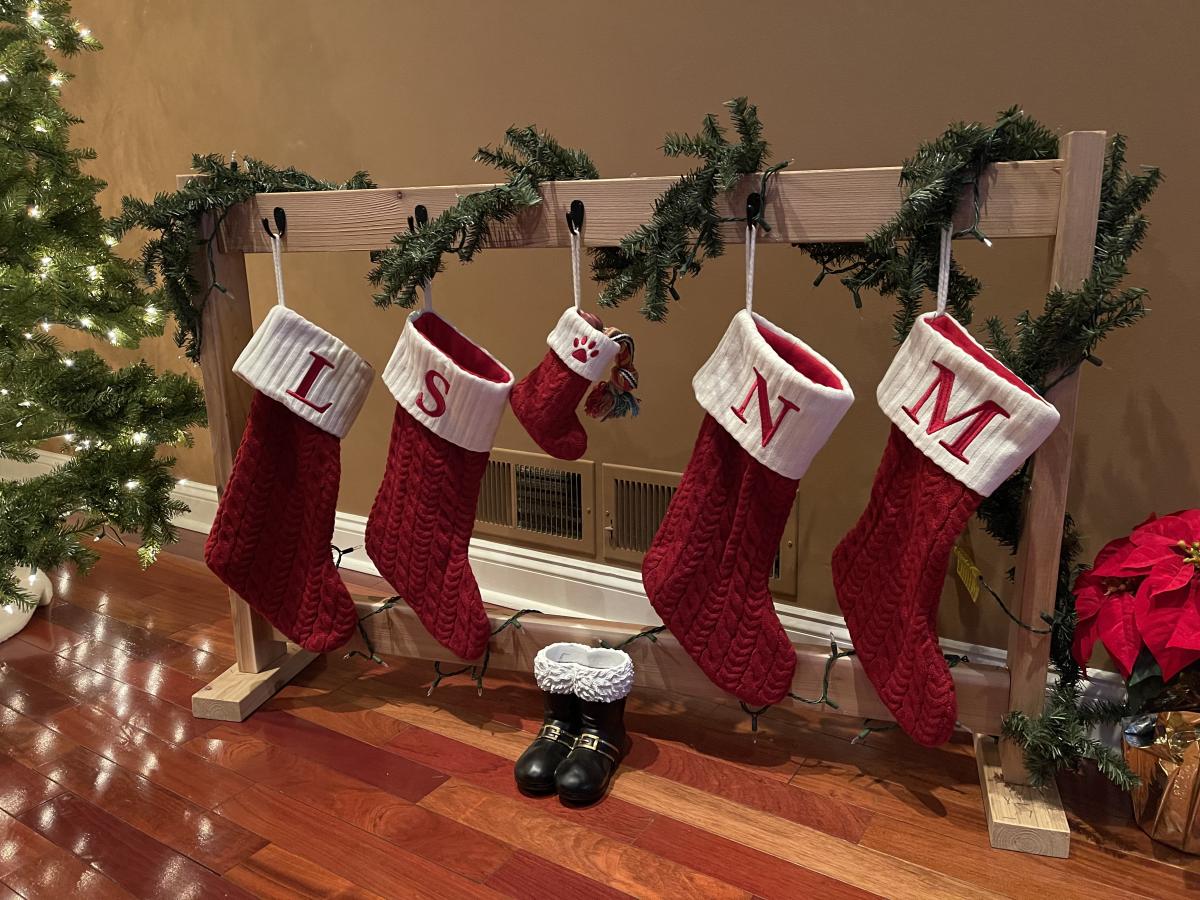
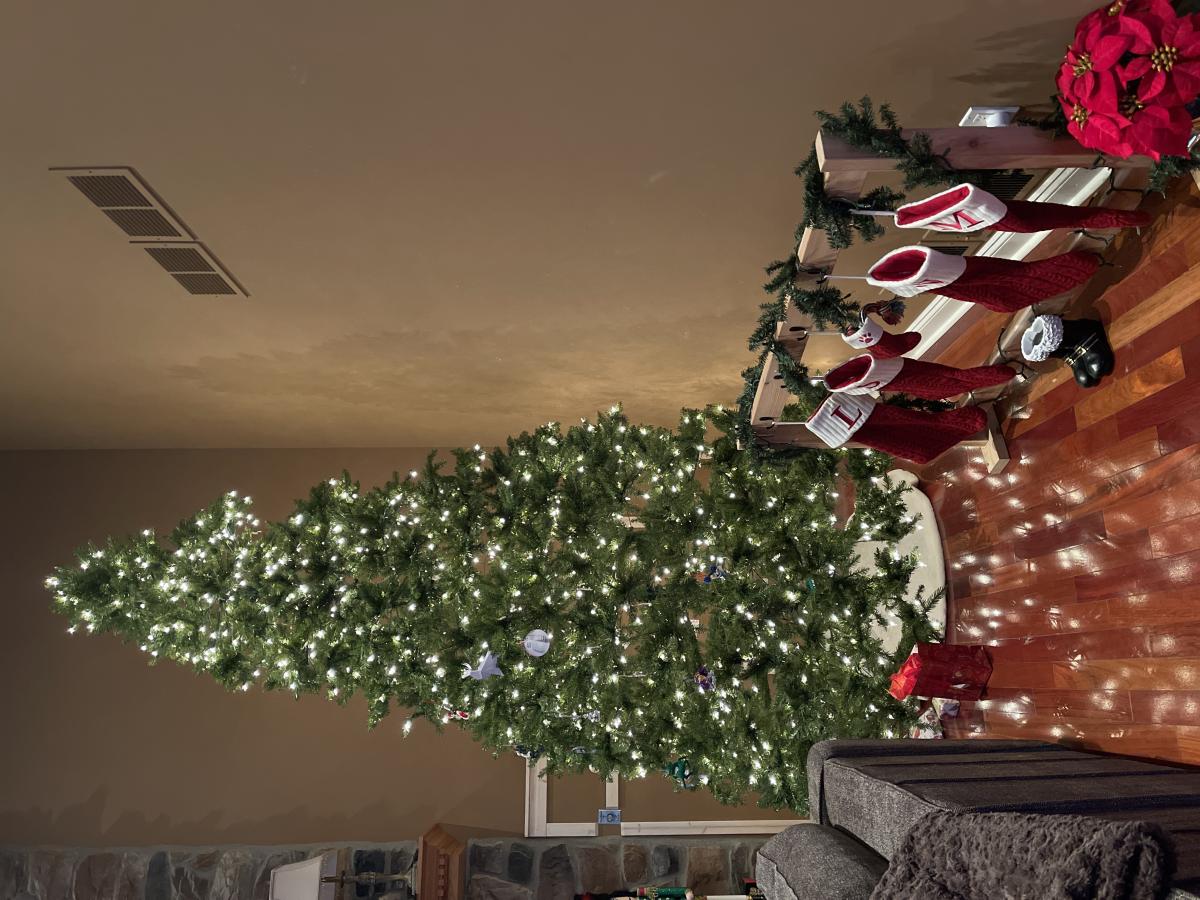
Thanks Ana! I made this Christmas stocking stand based on your plans. My family loved it!
Sun, 12/26/2021 - 13:47
Very festive, love the natural look! Thank you for sharing:)
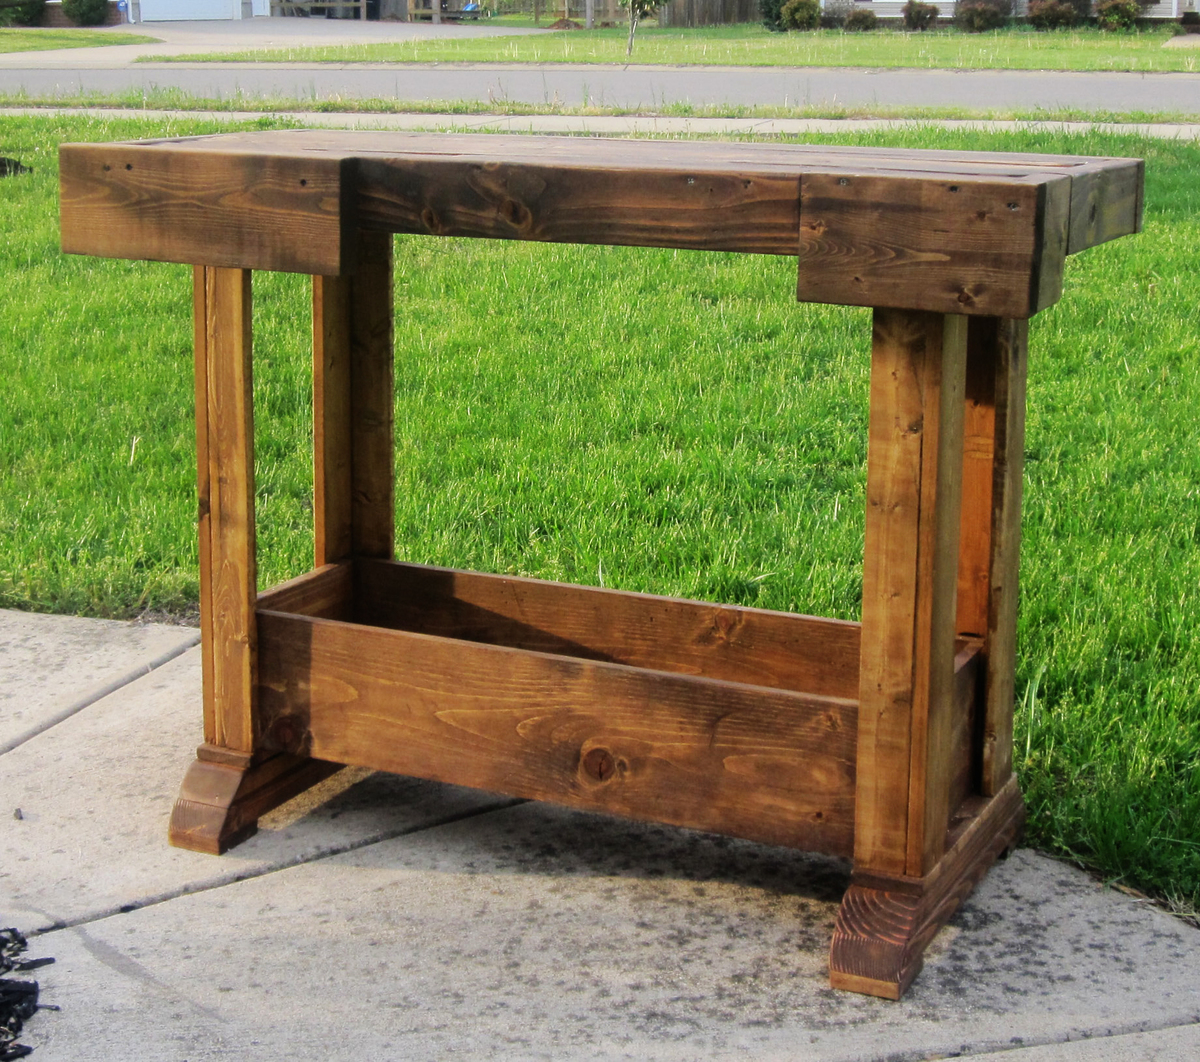
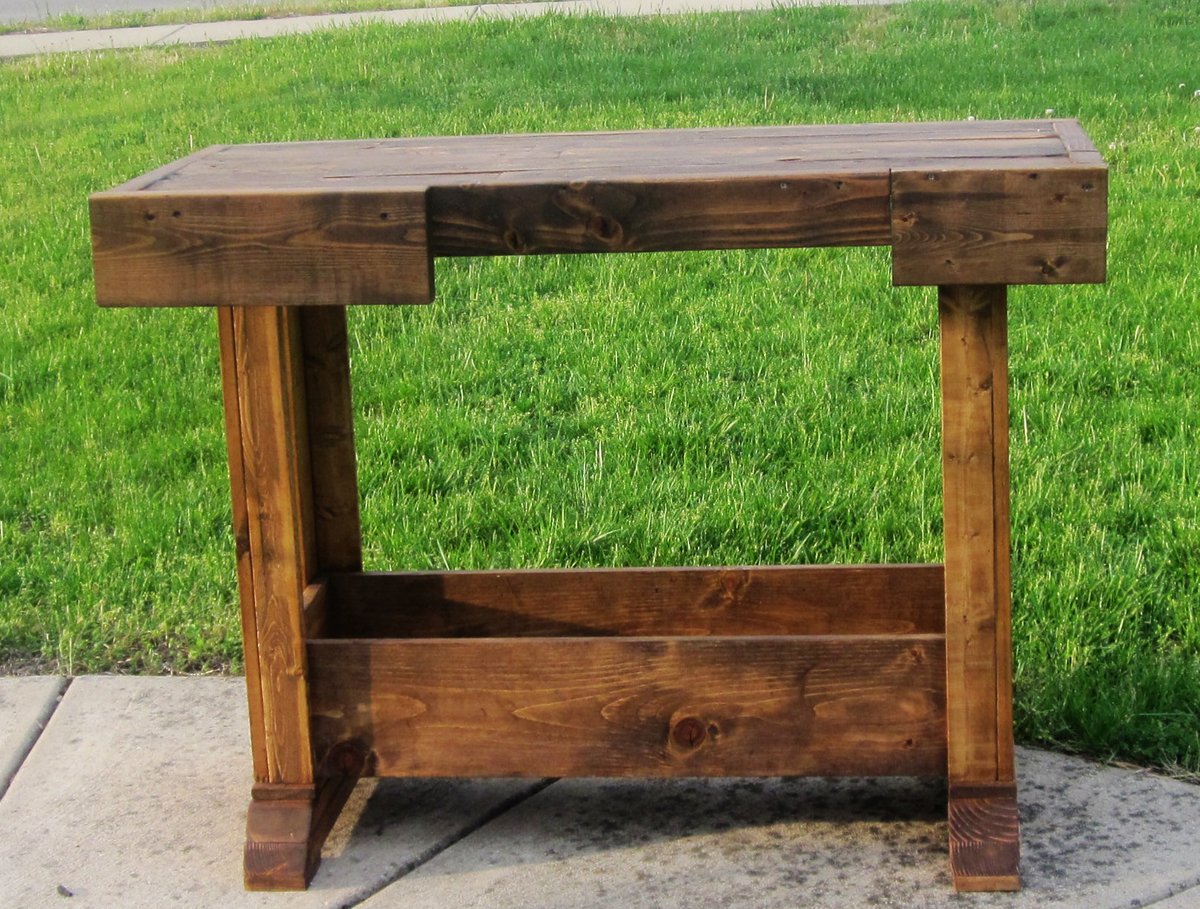
This was an easy project although it took us 3 weekends to get it finished. My son loves to help now but it slows down the process. We used wood we already had and reclaimed oak to make this table.
We had to resize the table to fit our entryway. The table design was 64” long and we made ours 48” in length. It was easy to do the math, the cuts for length were 75% of the original size. For example, the table top trim piece calls for a 64” cut, take 64 x 75% and you get 48. So that cut piece would be 48” instead of 64”. We kept all other measurements the same, both width and height. The only other change we made was in bottom shelf, it calls for a 1x12 and we already had a 2x12.
I am still looking for a metal piece(towel holder) to go on the front of the table.
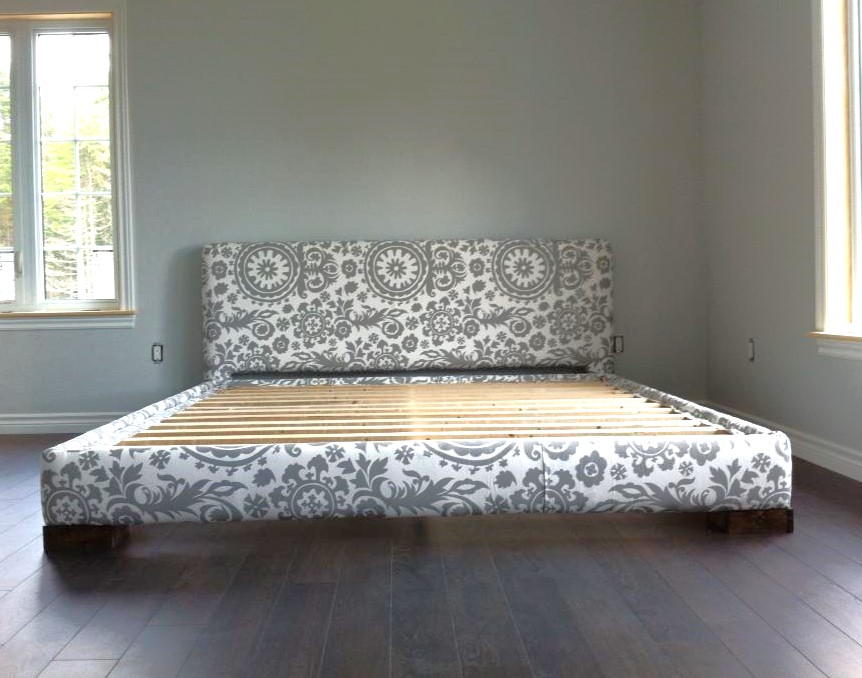
I used the plans from Ana excepted converted the measurements to fit a King. Our mattress comes in on July 3 so I'm praying that it fits! This was our first project and we cannot wait to do more!!
Tue, 06/25/2013 - 14:52
Thanks so much! I purchased it from fabric.com. I actually ordered a bunch of swatches first before I chose :)
Fri, 06/28/2013 - 17:51
That's really awesome! Well done! The Suzani print fabric was a nice choice :)
Tue, 04/13/2021 - 21:40
This is very cool! What size & type lumber did you use for the slats?
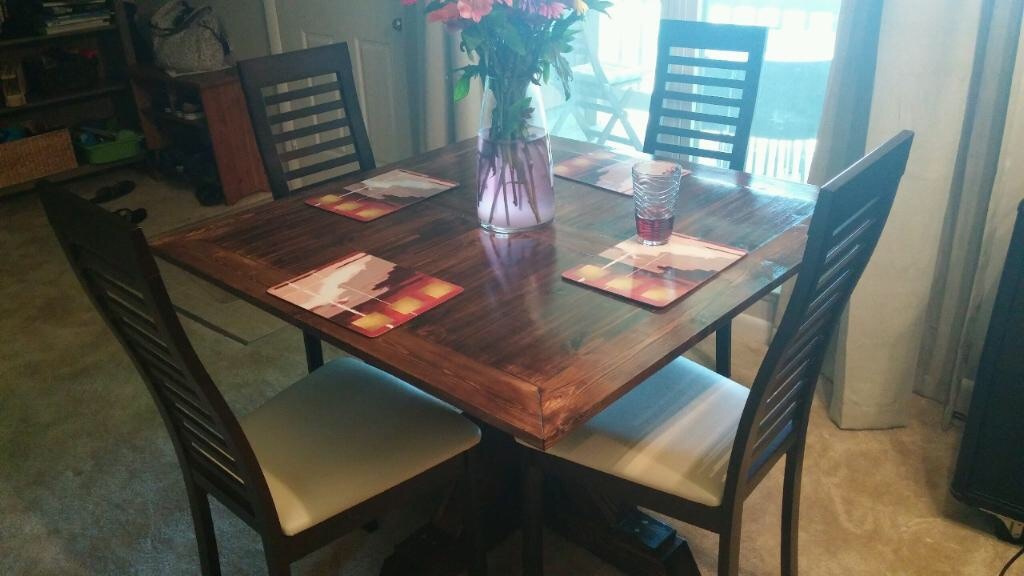
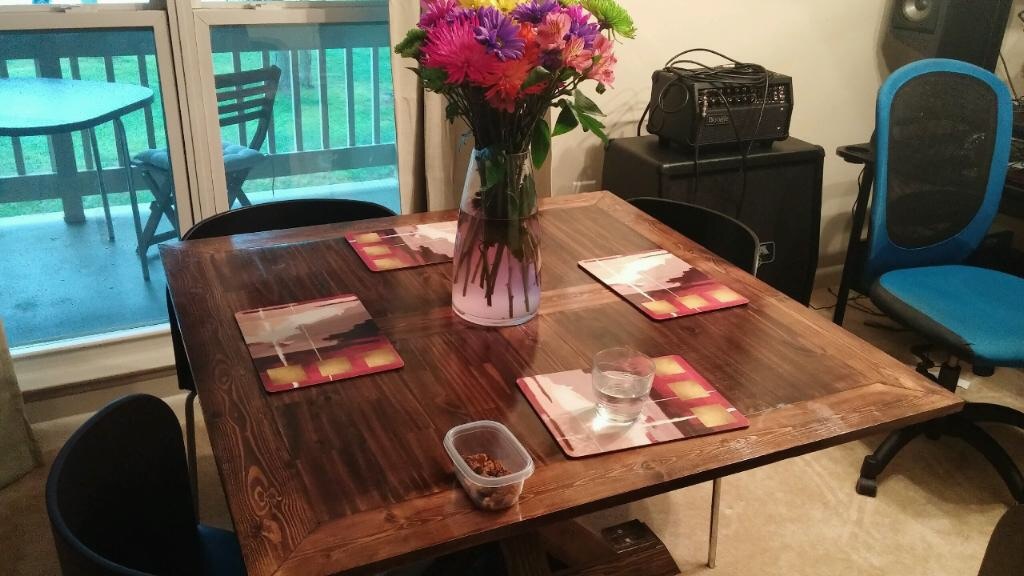
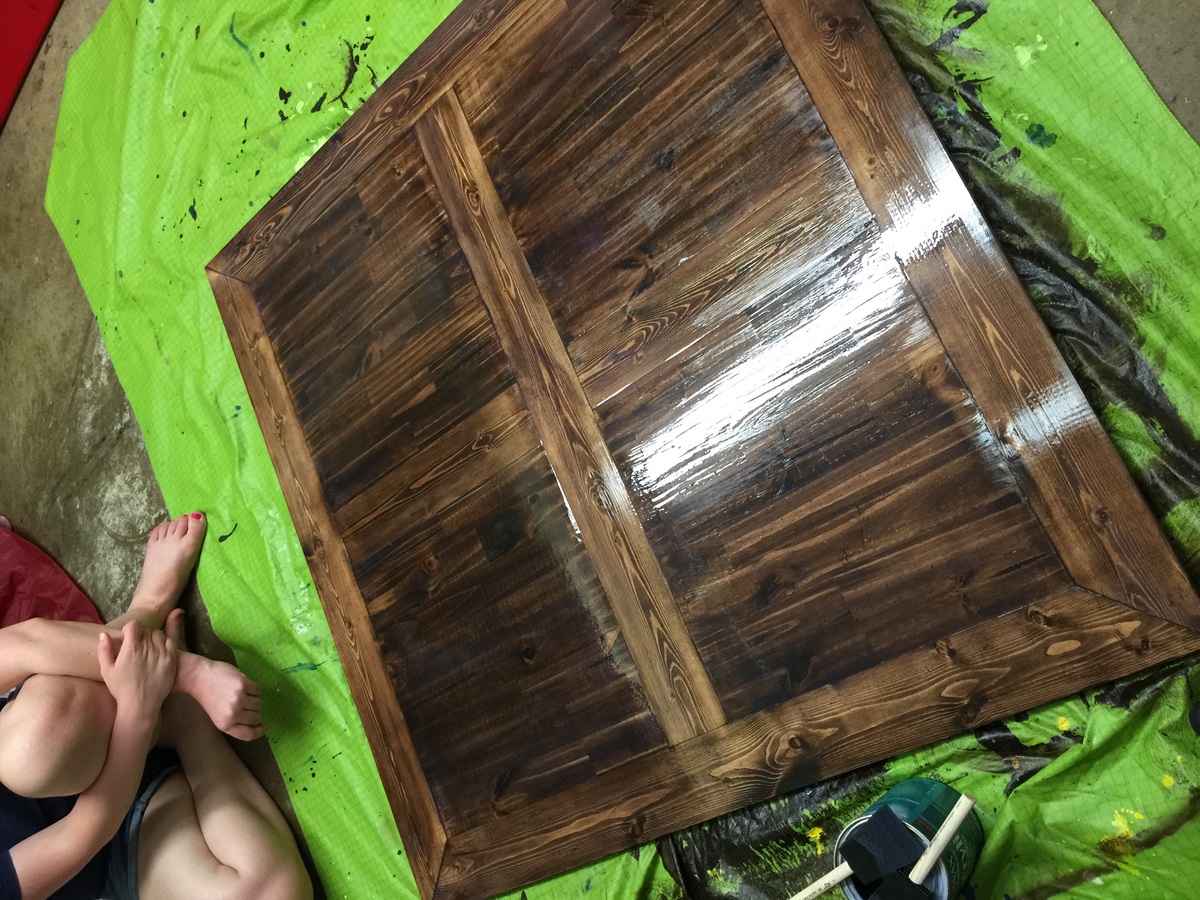
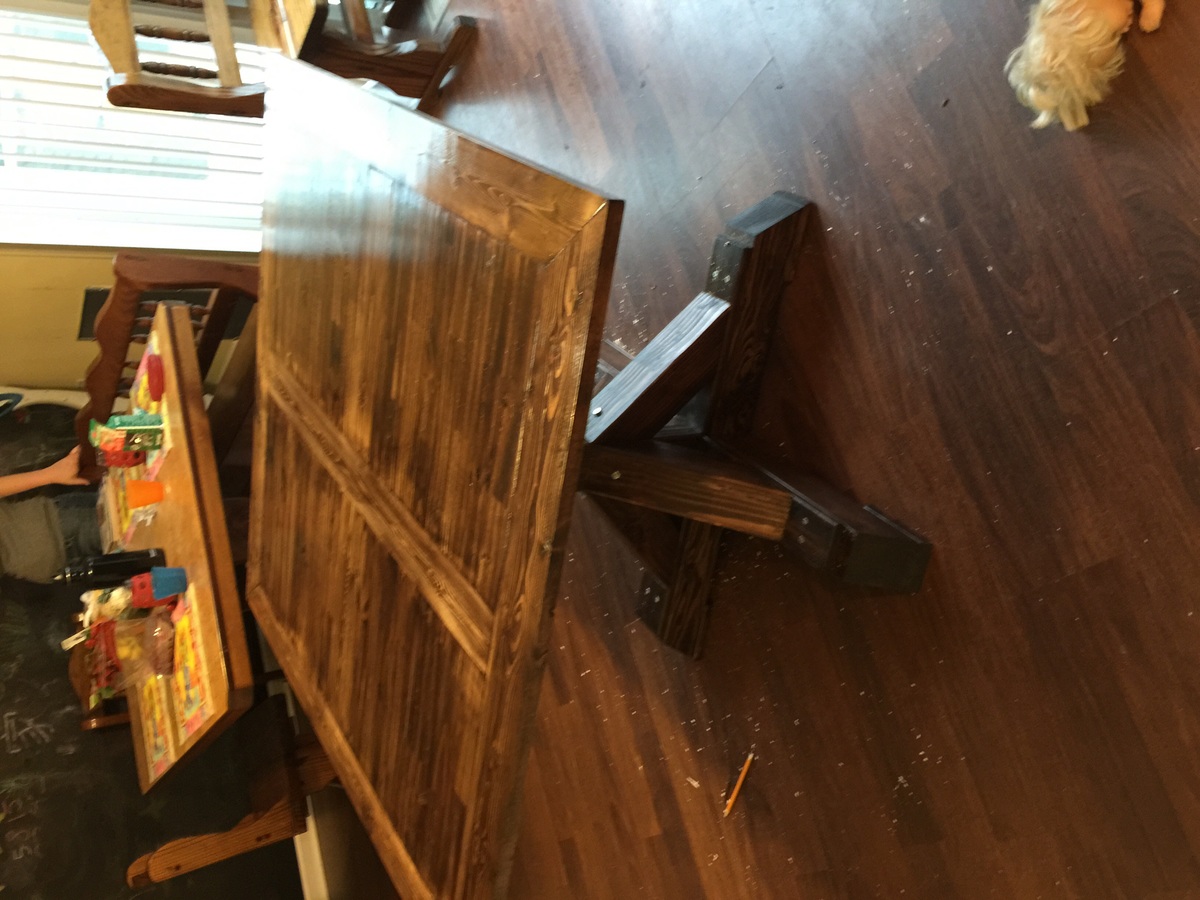
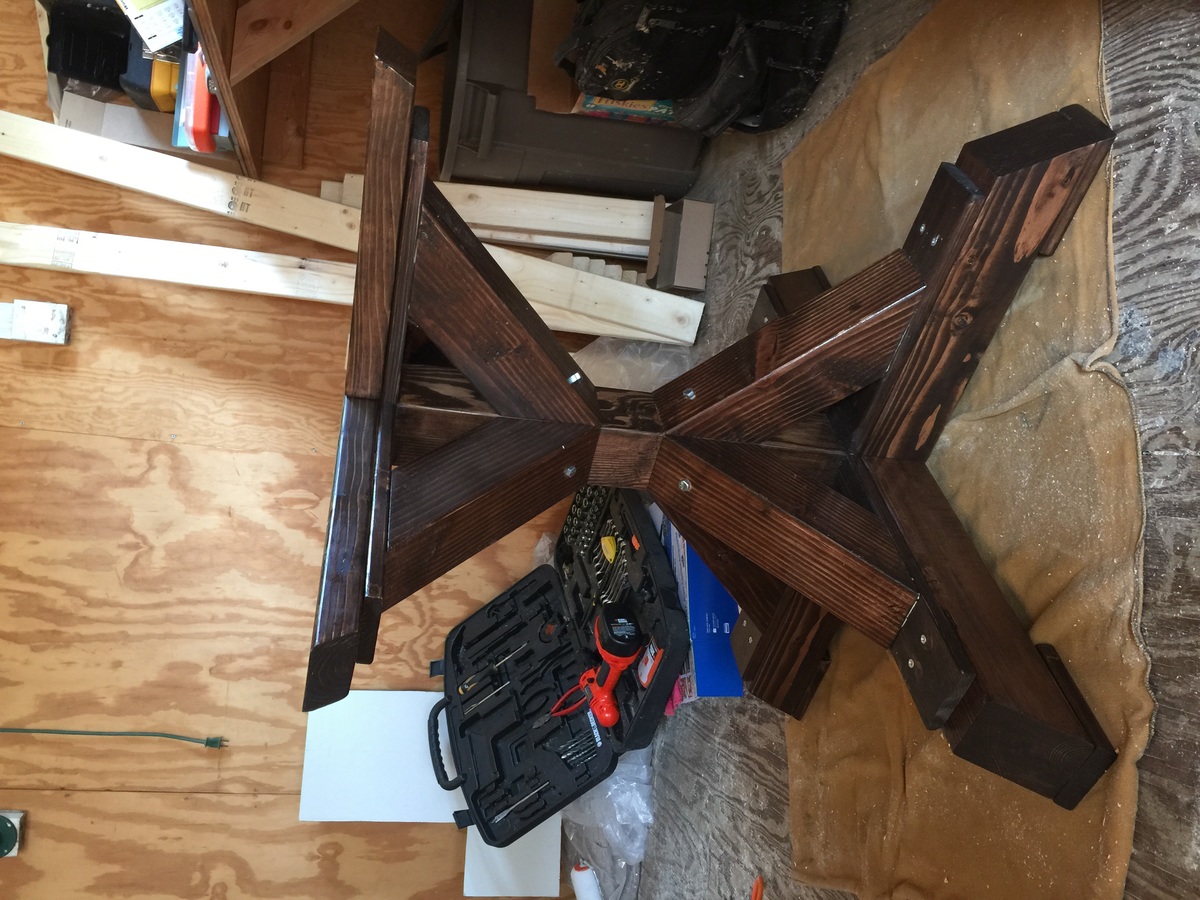
Made from the square x table breakfast nook plans and then altered the table top a bit.

I used the Barnwood Frame as a base for this project. Instead of all 1x2's, I used 1x3's for the interior frame and 1x2's for the exterior and stained each with a different shade. This was my first real try at this project and allowed me to use my own frame, matte, picture from start to finish. It took me a bit longer than normal due to some silly mistakes and the decision to build a jig for the miters. Normally, this would cost ~$150 to have someone else do it, but this ended up being ~$30 (wood, double matte, print).
For mothers day I made this for my wife. First ever attempt at any wood working. It was downsized from your plans that was double this size. I only made half for an unusual space. So appreciative to find a place with great plans.
Sun, 12/26/2021 - 17:31
That is amazing, thank you for sharing! I absolutely love the finish choice~
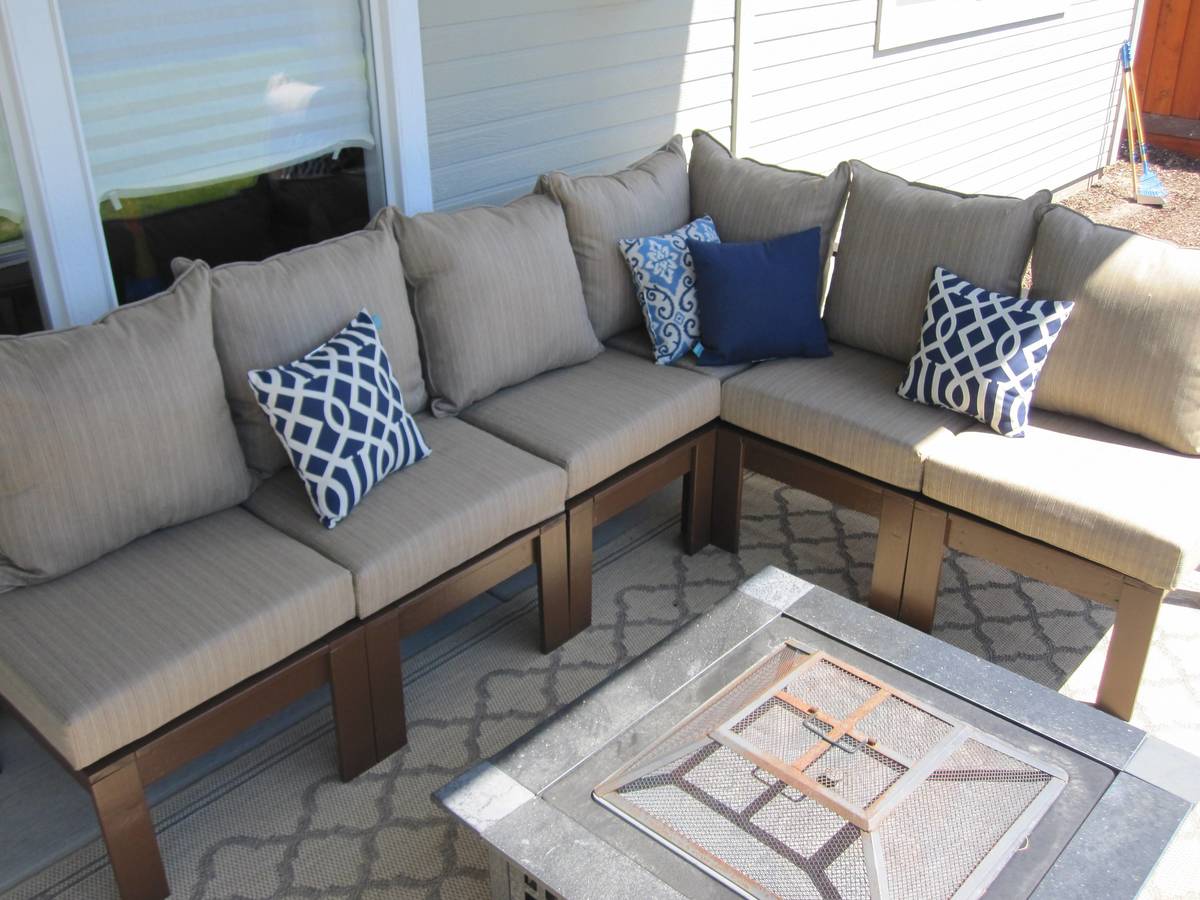
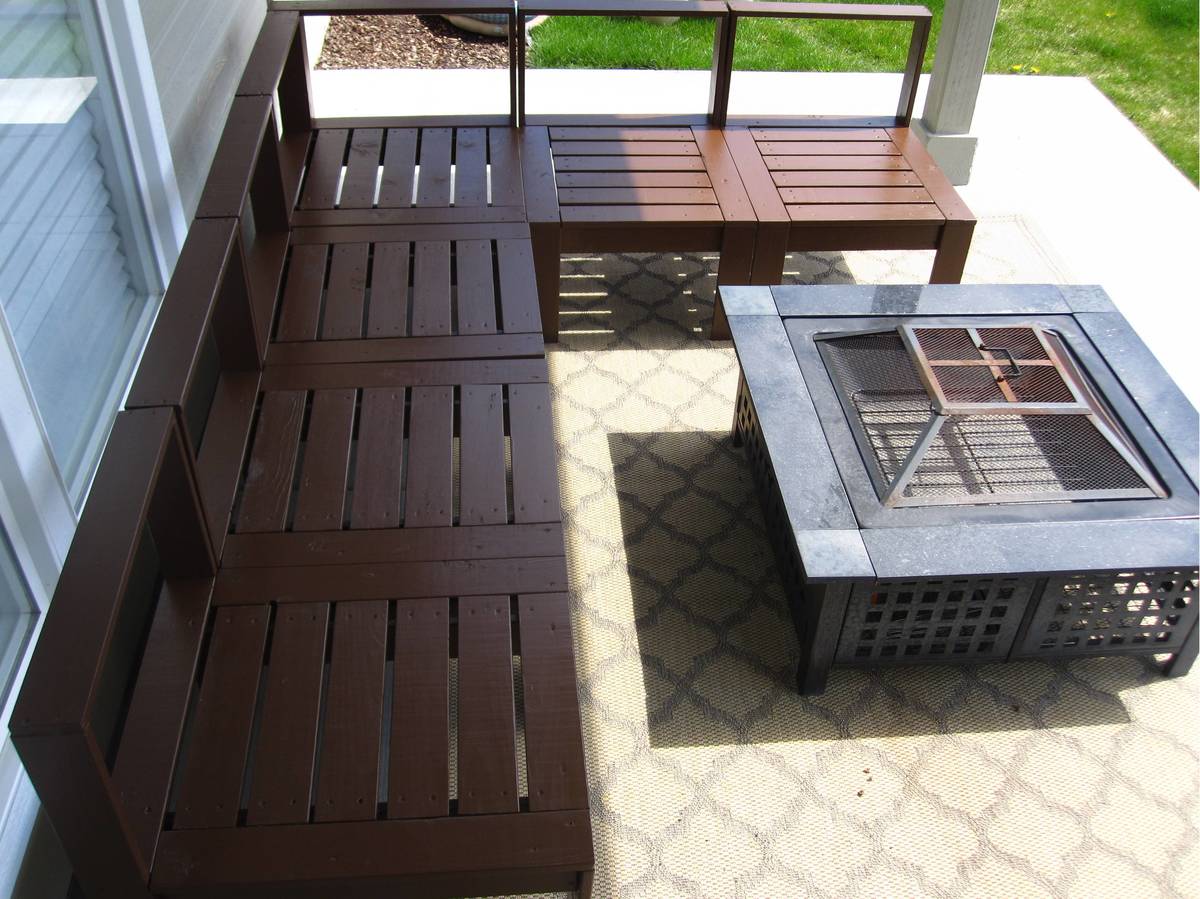
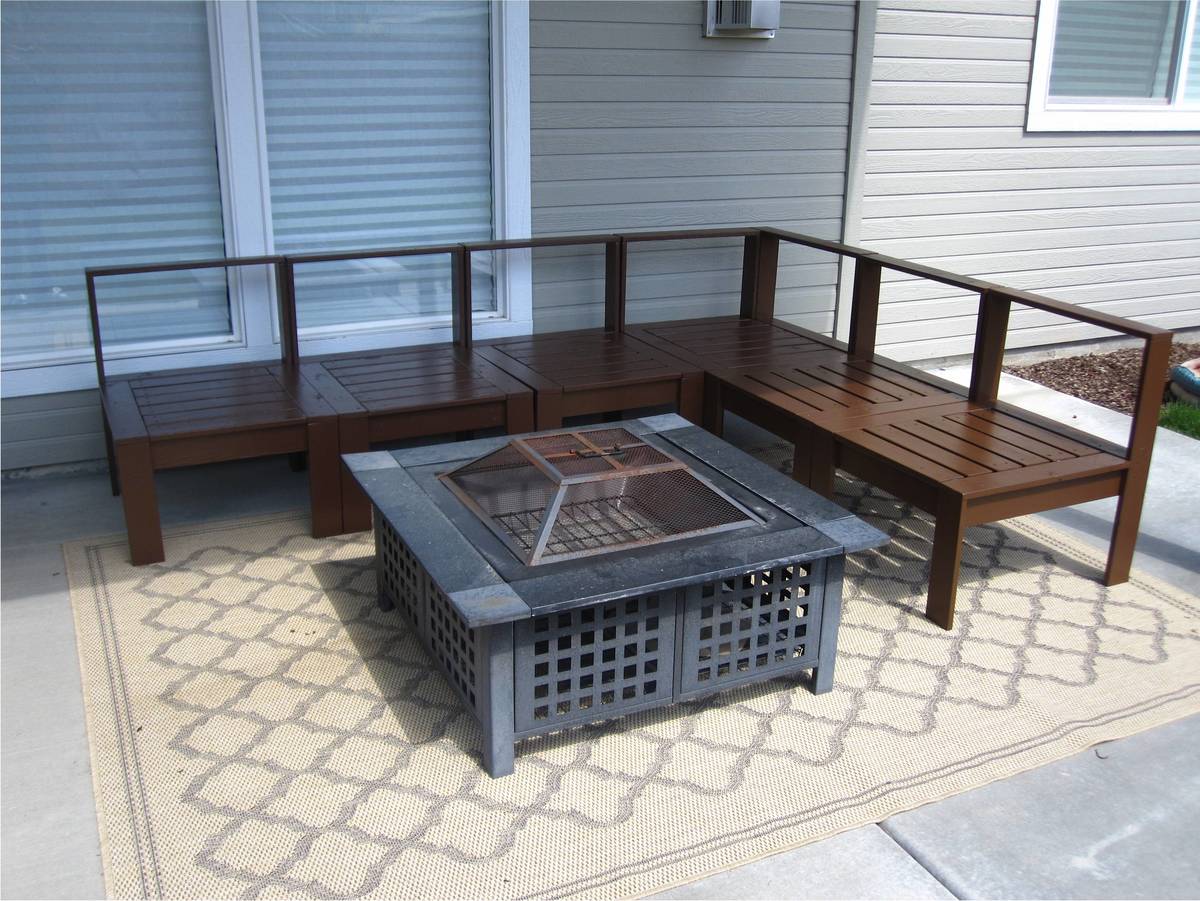
We needed furniture for our back patio and as I was searching for plans online, I stumbled across Ana-white.com. I was so excited to show my husband who built this in a day. I had thought that I would sew the cushions myself but after a few failed attempts at sewing box cushions with piping, I decided to buy the cushions. Buying them is actually a LOT cheaper as foam is very expensive in this size. I bought our cushions and back pillows from Walmart and the accent pillows from Target.
Cost: $355-cushions
$115-Wood
$25-Primer
$20-Paint
Made from reclaimed 1 X8 boards.
Nailed to 1 X 4 Boards on the back.
This was a very simple project to put together with nails and wood glue.
This took about 3 hours and most of the time spent was on carving the initials and painting.

I had quite a few 42" pieces of select pine left from the triple bunkbeds I made for grandkids and they needed a space for 3 of them and mom or dad to read bedtime stories so I decided to use the no longer needed crib mattress and build a daybed using that mattress as the cushion. I built it to incorporate a storage area underneath as in a small room every inch matters! My daughter-in-law decorated it with pillows for extra comfort when they are snuggled in for bedtime stories. Very easy build from leftover wood I had.


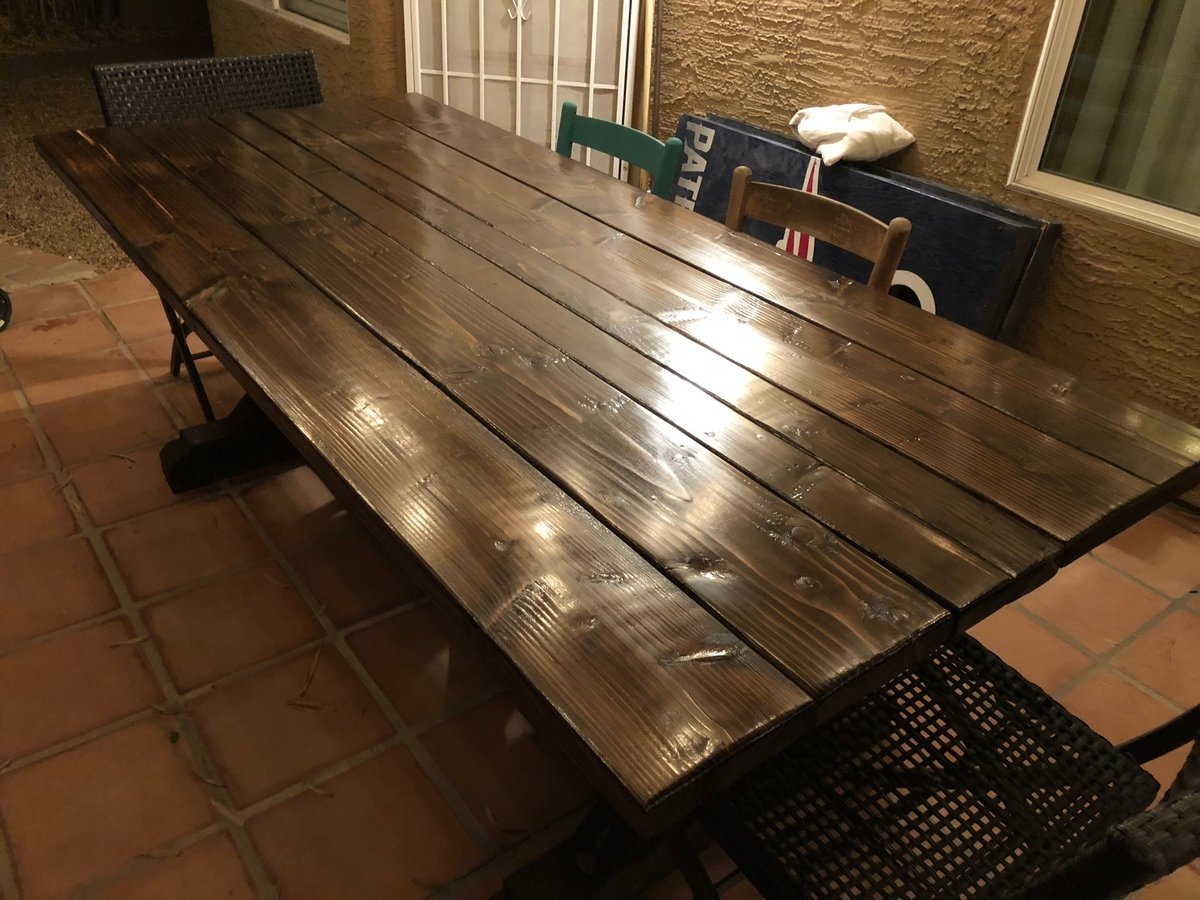
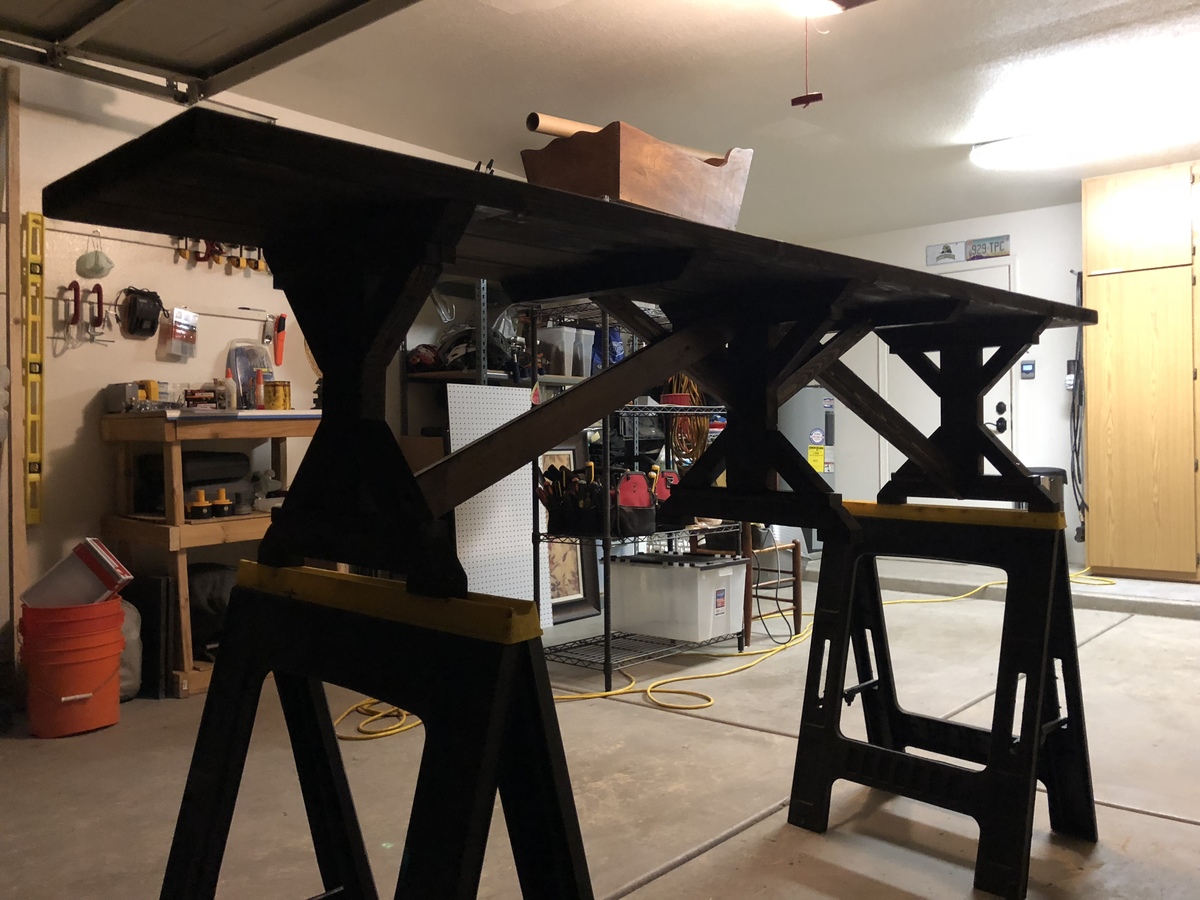
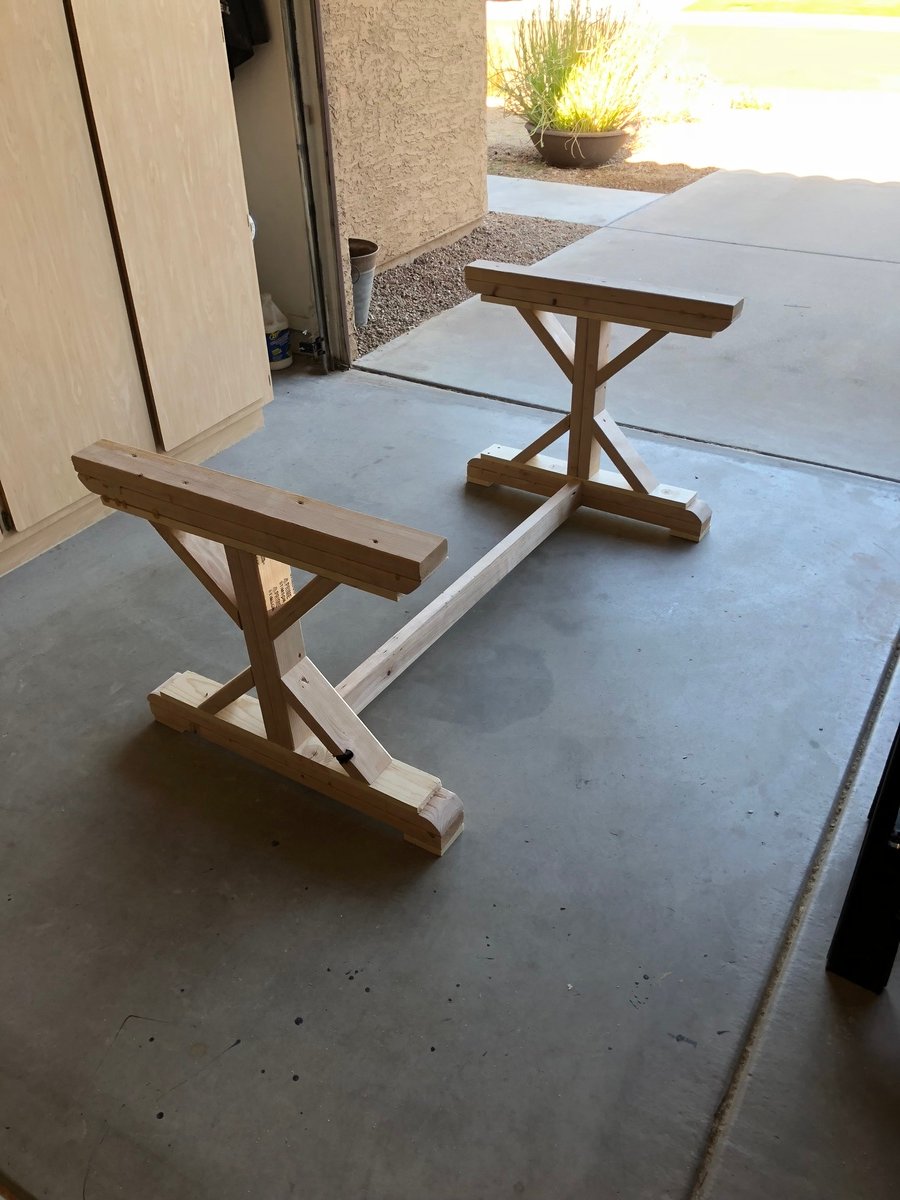
7’ long table using 4 2x8’s on top with 2 2x4’s in the middle. The bench is also 7’ long. I changed up the bottom on the bench to make it super sturdy (added angle braces).
Comments
Smokeydog
Sun, 05/31/2015 - 17:15
Looks very nice!
Looks very nice!
wvtim1968
Sun, 06/07/2015 - 15:41
thank you
thank you
nekeroom58
Tue, 09/22/2020 - 09:44
Do you have the plans for…
Do you have the plans for this