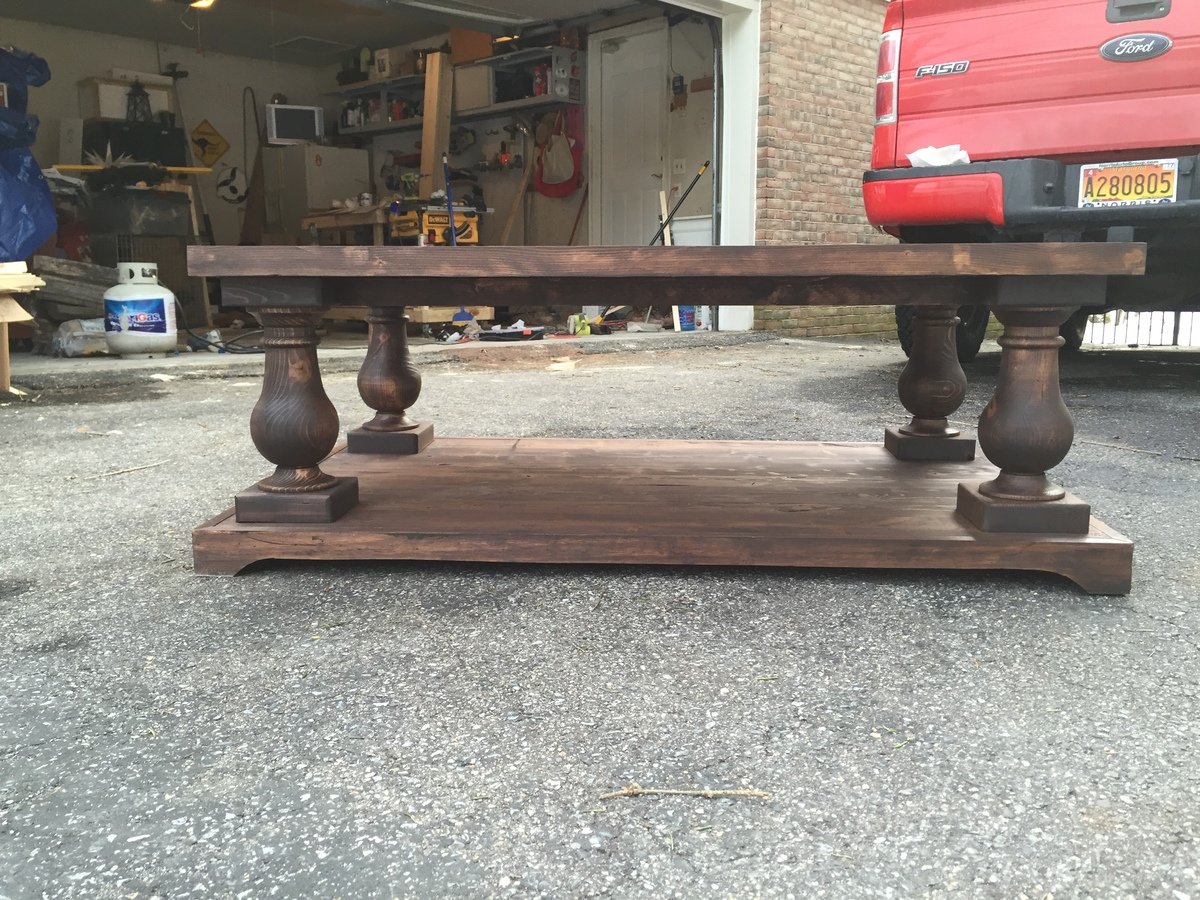
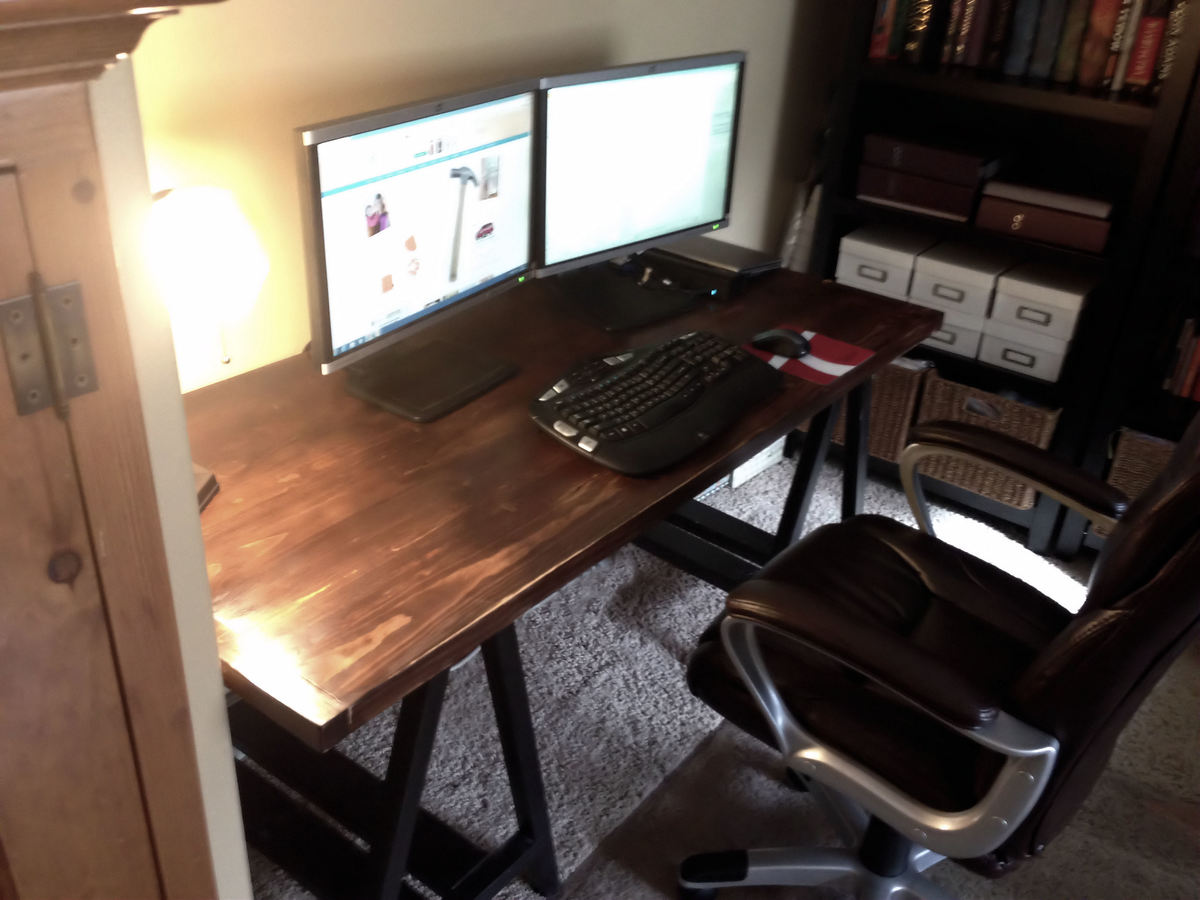
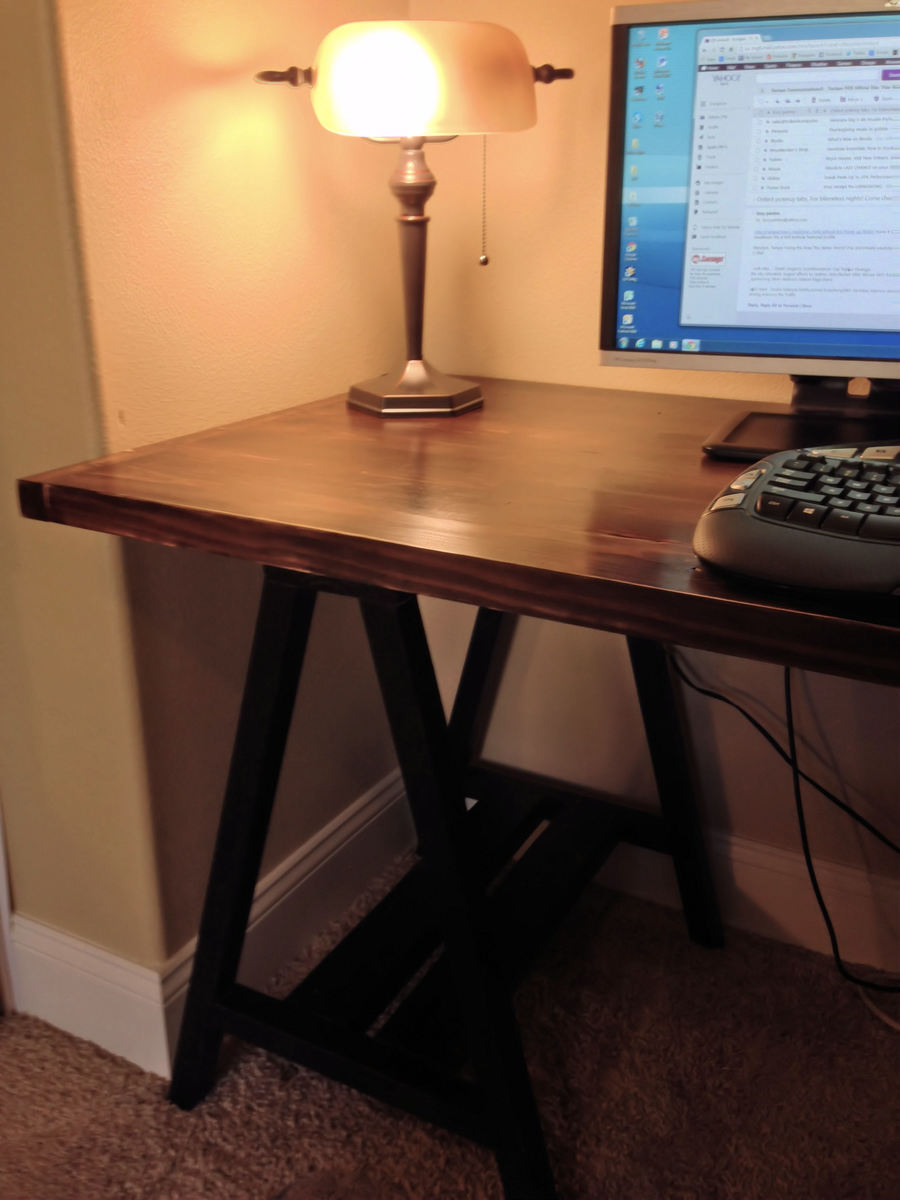
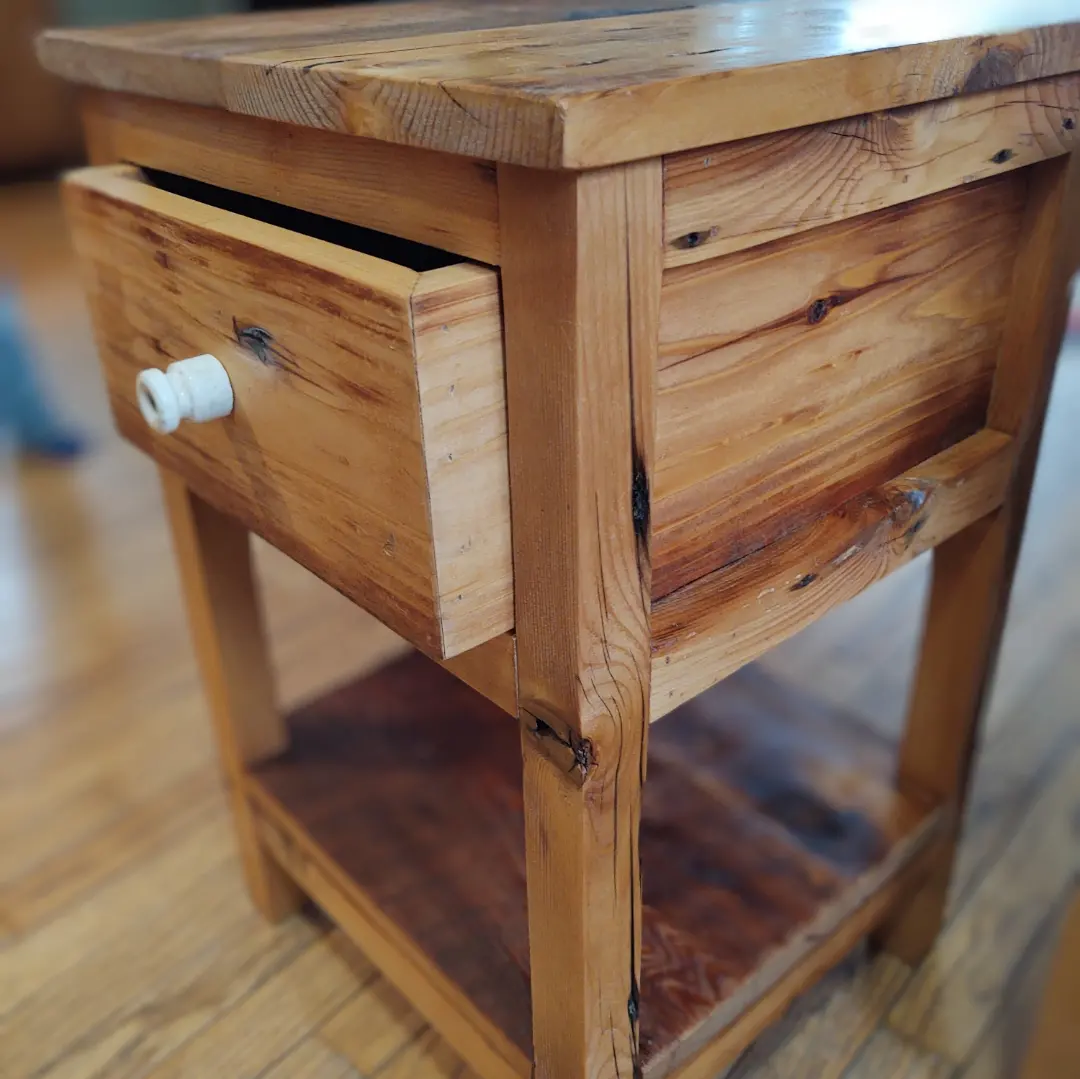
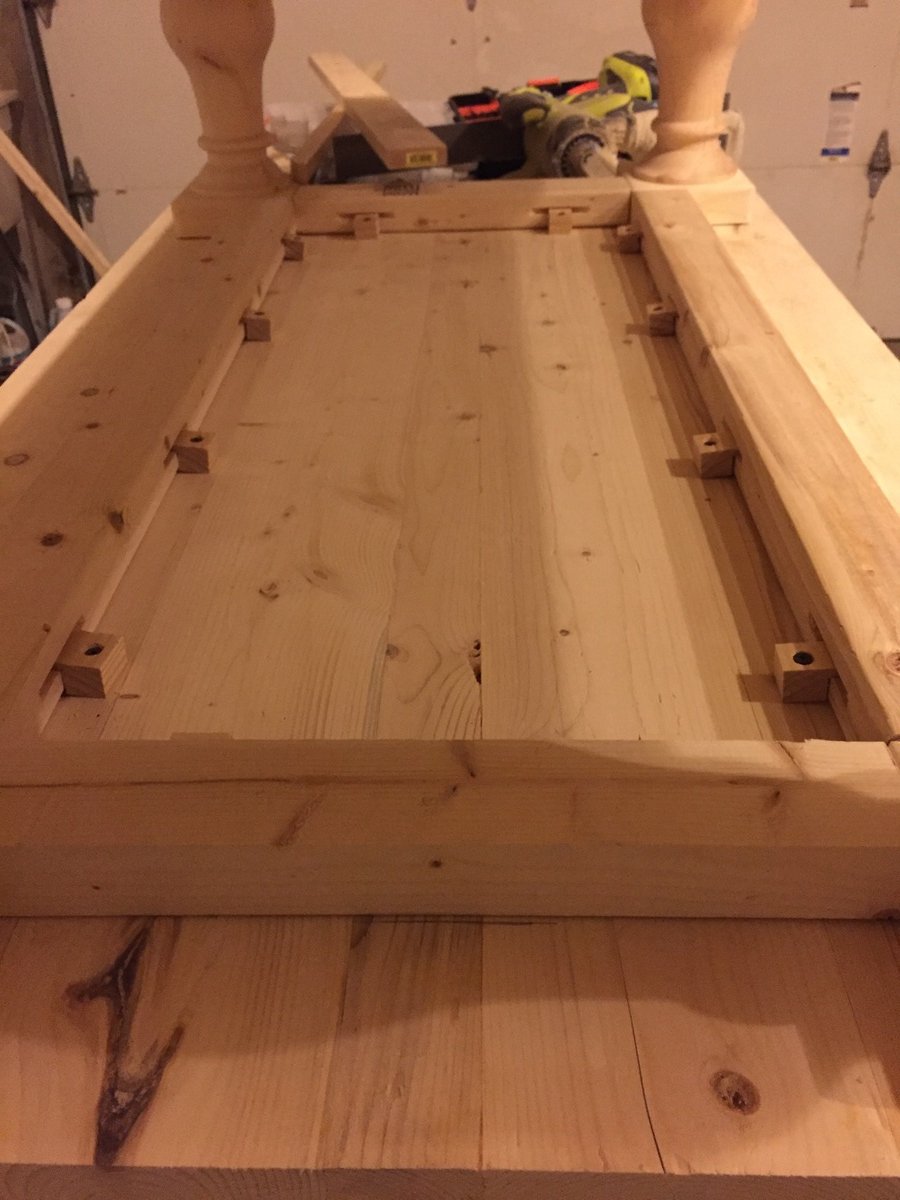
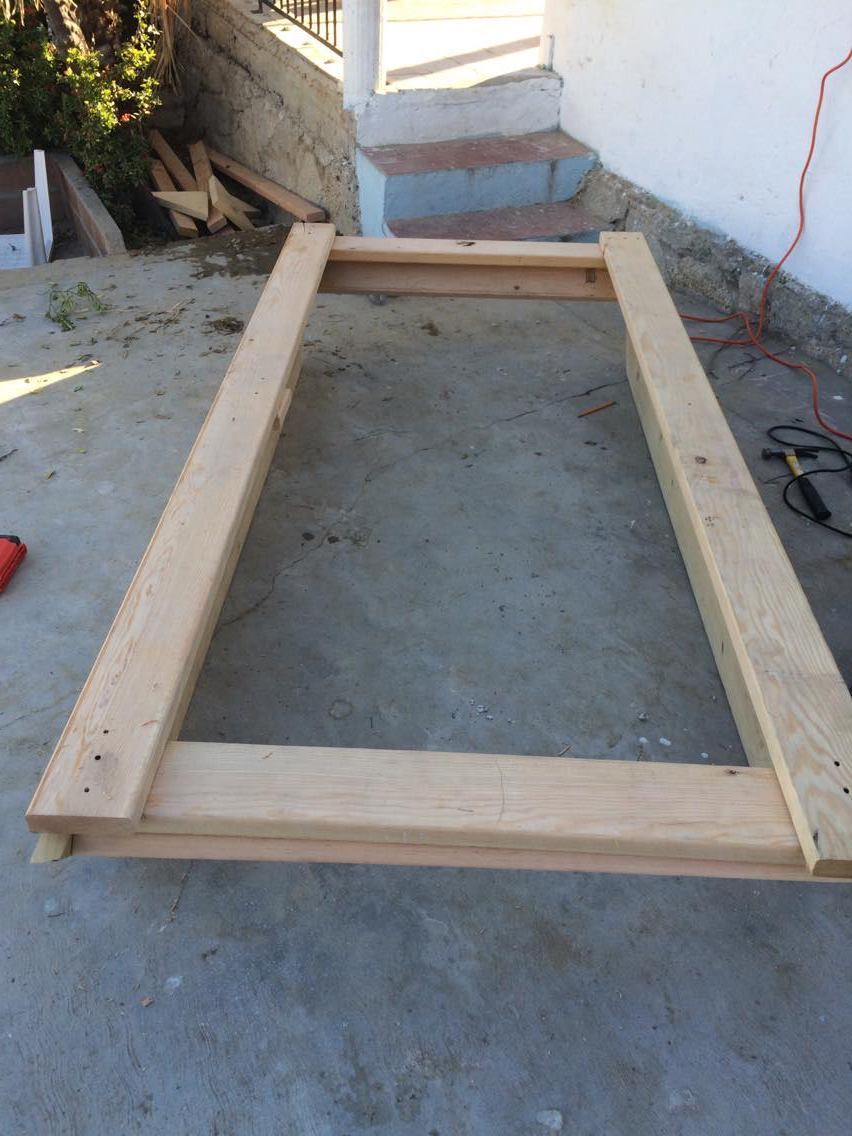
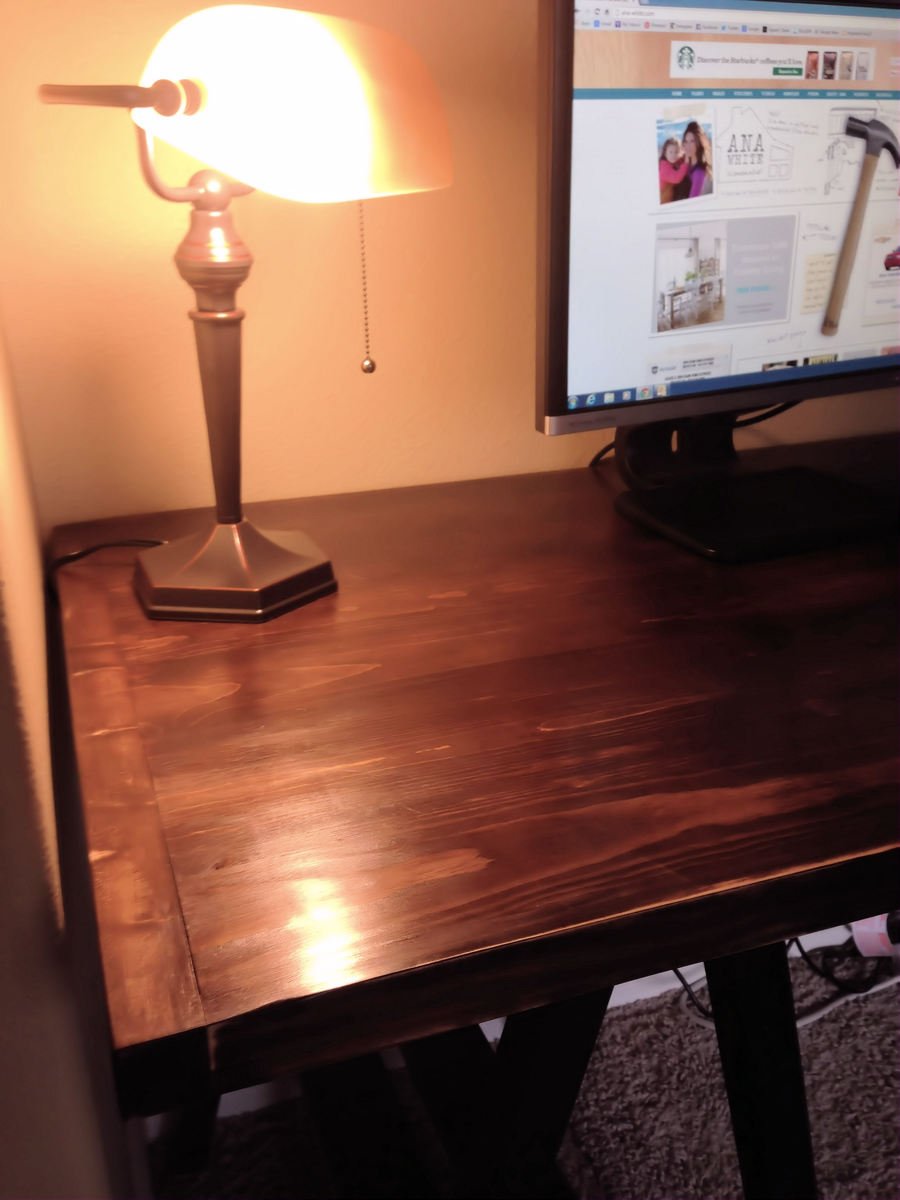
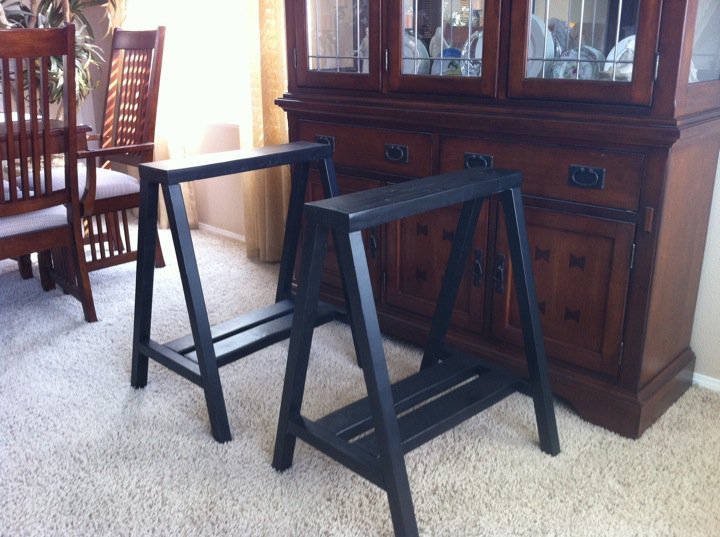
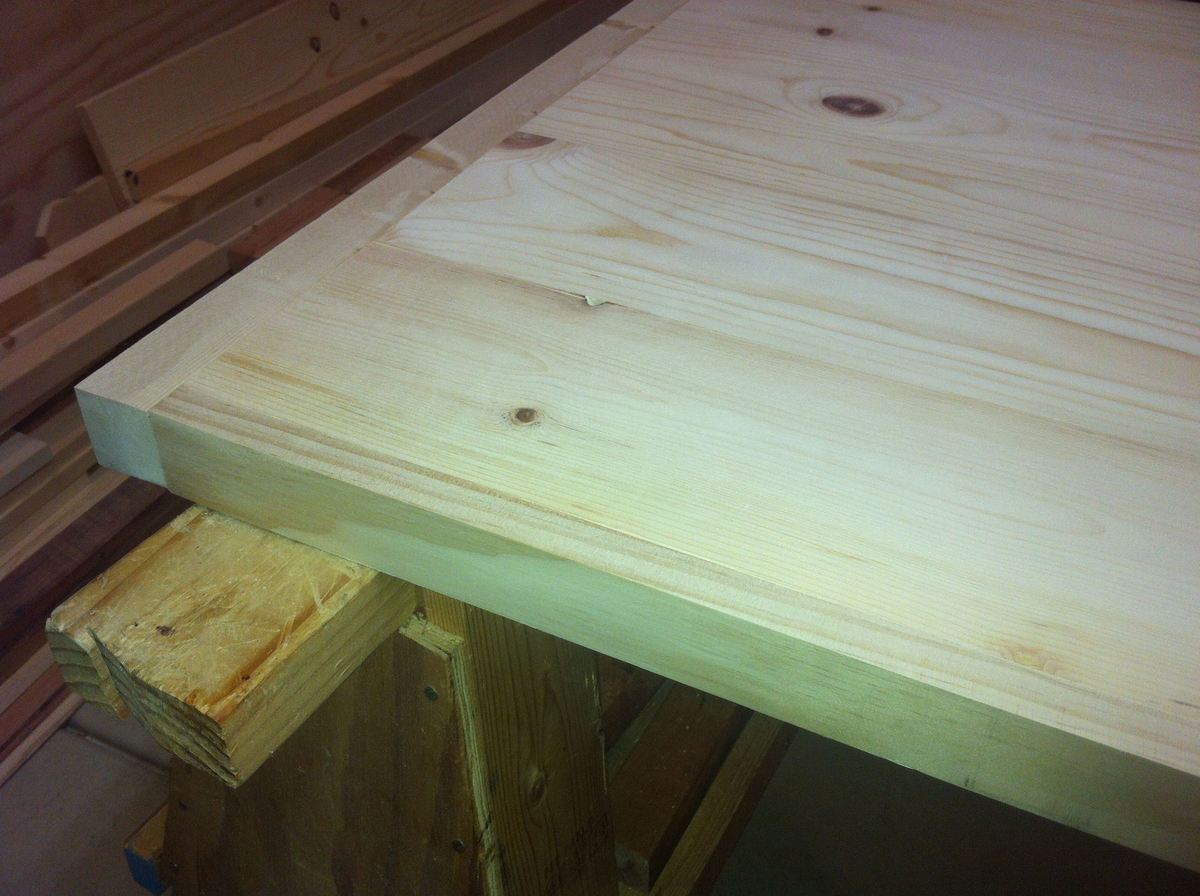
Great Backyard Adirondack Chairs
Easy to build! Finally finished them with spar varnish. Made the side table out of scrap wood. Love the chairs!
I used Cedar balusters instead of furring strips.
love love this project !!!
Overall, this was a simple build, easy for anyone familiar with woodworking. I built this for my sister-in-law and her boyfriend. It started as the standard king size headboard plan, however she really liked the look of my basement ceiling and requested if I could add something similar to the design. The rustic horizontal planks and herringbone pattern were added to the front and back allowing her to flip the head board to suit her interior design style without needed to buy a new headboard. The added texture of the rough cut tongue and groove pine was just what she was looking for. The original build only took a few hours. The herringbone pattern took the longest. Let me know what you think of my twist on this already beautiful project!
Required Skill Level: Beginner
Tags:
Easy project no crazy cuts or tools needed. I did change a few things on the build. I changed the top from a 1x12 to a 2x12 to match the rest of my builds. And honestly it just looks and feels better! The trim is 1×3’s but I changed the middle shelf trim to a 1×2. Add the shelf 7.5 inches up from the bottom.
Easy, fun and inexpensive headboard!
Thanks for the easy to follow plans for this corner cupboard. I enjoyed making this as much as I enjoyed making your adirondack chairs. Your drawings couldn't have been any better. Very easy to follow. Keep on posting more plans!!
RW Church
This was my first build and I am so happy with how it turned out! The plans from Jen Woodhouse were extremely easy to follow and I would definitely recommend this project to others!
This was challenging, but that made finishing it, so much greater. Ana's plans are so easy to follow.
I saw the plan posted on this site and had to bulid this for my grandson Paulie. The whole build took one day from start to fininsh. I didn't have to spend much for the project since I already had most of the material on hand. I used a tabel saw, Jig saw, and Miter saw to make all my cuts as directed by the plans. I found the project plans to be very simple to follow. I can't wait to see the look on my grandsons face when he sees this on Christmas day.
Respectfully,
Rich
This project took a lot longer than anticipated. I had the entire bed built when it somehow fell over on its own and broke into pieces. It was at that moment that I decided when I rebuilt the bed that I would not use MDF. I used 3/4 ply for the back and I ripped a 1x8 for the top of the head board and foot board. I also used 3/4" half round to cover my semi noticeable saw marks from ripping the board. I didn't have a metal gram for the bed so I made rails out of 2x8"s and ripped a 2x4 in half to make the ledge for the slats. For this bed I placed 3/4 sheeting down instead of slats and set the mattress on that. I also had to fill in the holes from the crown with triangular fillers for the foot board since it would be seen.
I had so much trouble deciding what to do with this HUGE closet in my breezeway. Previously it had just one bar across the top and ugly sliding doors. I loved Ana's design, but made several changes. Since my closet was super deep (32") I extended the depth of her design to about 25". I also staggered the rods for longer coats, and one that my 8 year old can actually reach to hang her stuff up! I changed the shelf design up a little bit too! Her instructions are super easy to change to your specifications. I did end up spending about $350 on this project, but keep in mind I was using 3 - 1x8's for each shelf instead of 1x4s.
We built a bunkie-style shabin for our off-grid vacation home. We wanted to keep it under 100 sq ft so we wouldn't have to worry about planning permission. This tiny shabin is 8ft x 12 ft with an 8ft x 7ft loft. It's perfect for our family of 4!
The whole thing (roof and all) cost around $6000 to build and we finished it in about 2 weeks. Phew! It was the perfect project for the summer.
In reply to Tiny House by michellewg76
Thu, 11/05/2020 - 11:40
Thanks! I'm pretty darn proud of it. :-)
I just wanted to share the loft bed I built for my daughter based on the plans available here. I added a desk, painted an existing chair I had built to match and included pink LED lights around the inside of the bed. Thanks for everyone sharing their ideas, plans and pics..!
Fri, 08/14/2015 - 21:39
Awesome! Do you have plans up for the desk area? I would like to incorporate that similar style. Thank you.
My wife and I decided to build this with the same intent as Ana, to use as a changing table for our baby due in January 2015. We haven't built the topper yet but we're thrilled with the console table!
We did a lot of research on lumber before purchasing and ended up going through a local lumberyard, Gilcrest-Jewett for all but the pine 1x's which were purchased from lowes since the lumberyard didn't stock them in as many varying lengths and would have to mill them all from 1x4's. We used white birch purebond plywood. I understand Home Depot also carries this brand and may have been a little cheaper but the lumberyard cut all the pieces. Since we don't have a truck, hauling two 4x8' sheets of plywood wasn't an option and they can be super accurate with their wall saw. Totally worth it.
The instructions for the doors say to use glue and nails but we took it a step further and secured each board to the one before it using pocket holes, in addition to the glue. We then covered the pocket holes with the 1x3's, securing with 1 1/4" finish nails.
This was our first experience with edge banding and it really makes everything look so much more professional. If I were to give any tips, I would say to put it on the fronts of the shelf before putting the 1x2" frame in place so you can hide it, and also that I found it to be easier to use my sheet sander to get the edges off instead of a razor blade as the instructions suggest.
This was also our first experience with doors. I found that paint sticks work well to achieve that perfect gap around the edges. I should have measured and not assumed but we ended up having to add a piece in the middle of the two doors because the 1x3's (typically 2 1/2" wide) were just under 1/8" too narrow. Make sure you measure those boards before putting it all together.
In the end, we're thrilled with how this turned out. It's a real solid piece of furniture that's made to last. We actually looked at this piece at a West Elm and the floor model felt flimsy and thrown together. Great plans, thanks Ana!
Tue, 10/07/2014 - 09:59
What a beautiful build! Thanks for such clear, concise descriptions (and pictures) of how you built it.
Sliding barn door kitchen island with planked siding. 48L x 30W x 36H
Rustic X desk but finished with a propane torch and wipe-on poly.
My son loves to be in the shop with me. For Christmas I thought he would really like his own workbench with some tools that he sees me use. He really gravitates toward the clamps and my drill. I lucked out and found a fun drill that he really enjoys... "just like Daddy's!" I hope it serves him well for years to come.
The frame is joined with glue and screws. The screw holes are filled with contrasting dowels and cut flush. The top is 2 pieces of 3/4" birch laminated together. I rounded over all the edges with 1/4" roundover bit in the laminate router. The top is attached with pocket screws.
We are on a tight budget so this was built total from scrap lumber from when we removed a wall in our house and a few other scraps. So the dimensions didn't turn out exactly right but that was my fault. Thanks for sharing your plans. My girl is going to love it!
Thank you for your plans. Love this! I made a few errors and would make a few changes if I were to do it again... I would make the dowels higher from the shelves (I think I made a mistake). I would also try to place the dowels closer to the front of the unit to give deeper shelf space - bigger space containers would benefit from deeper storage. But it's a great improvement over the commercial options. Combined with motion sensor LED lights, the pantry is much improved! Thanks again!
Thants for the inspiration We love it.