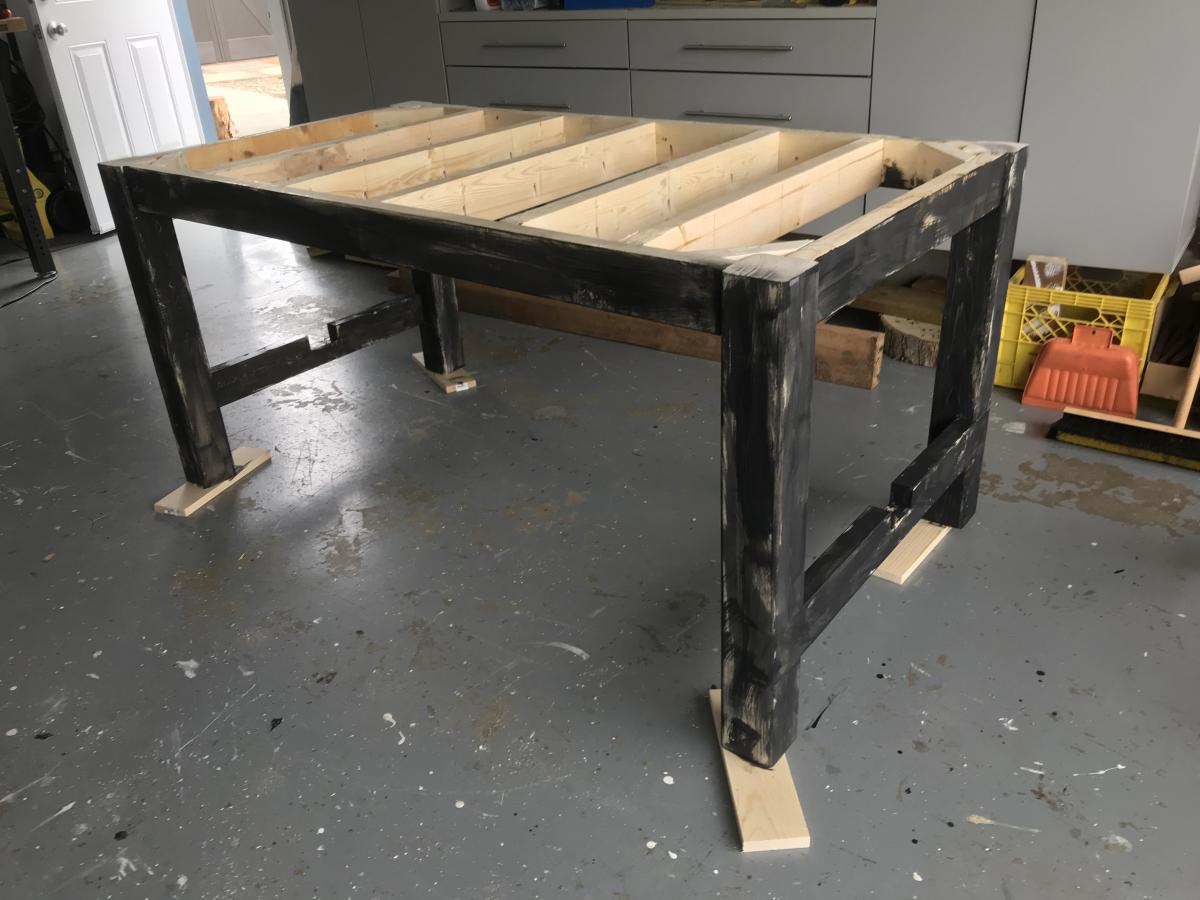
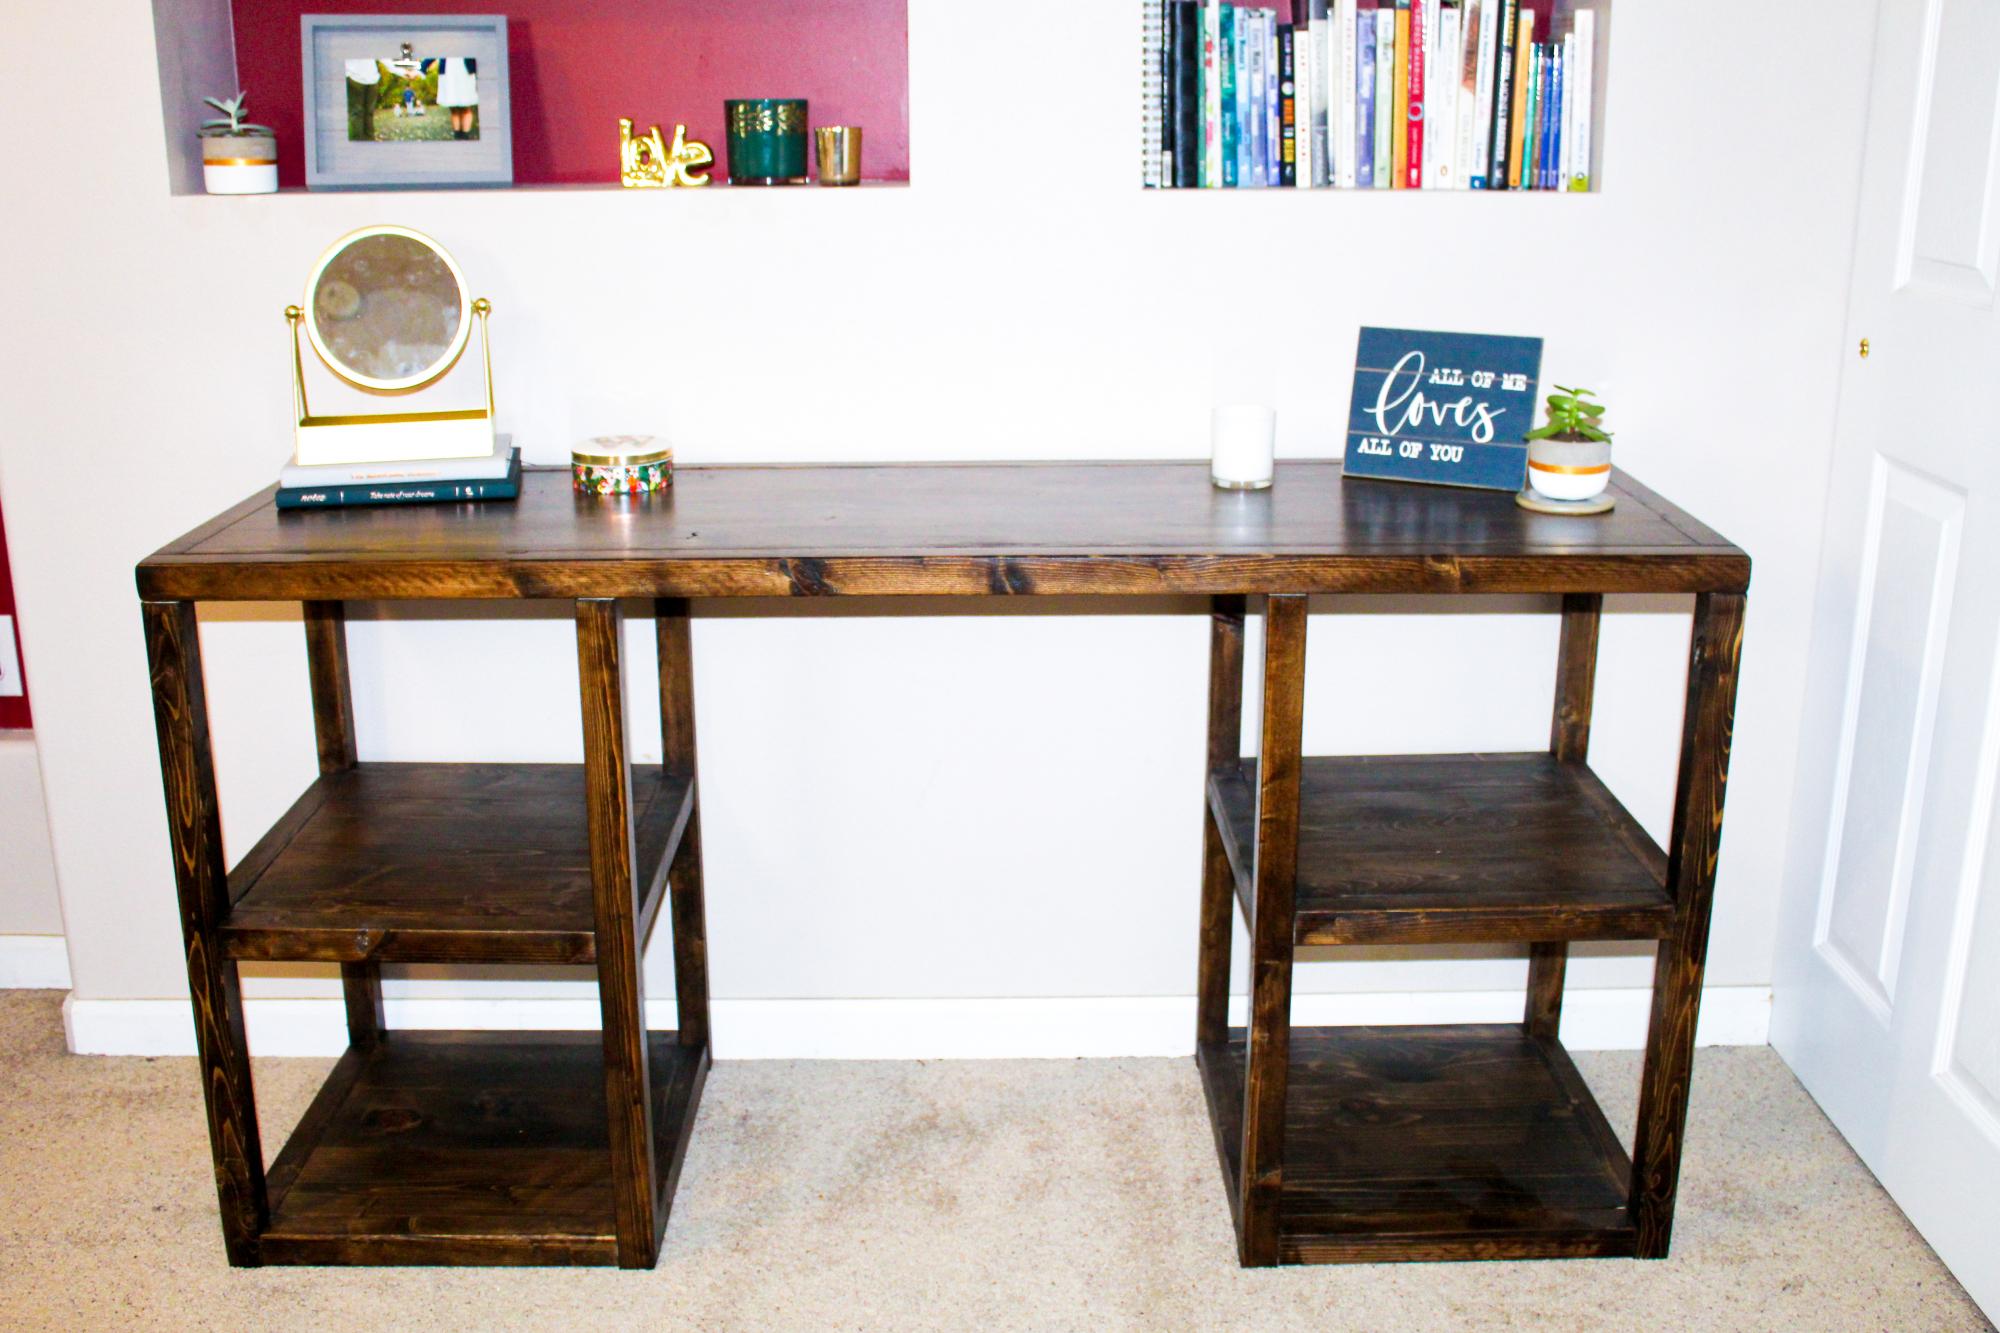
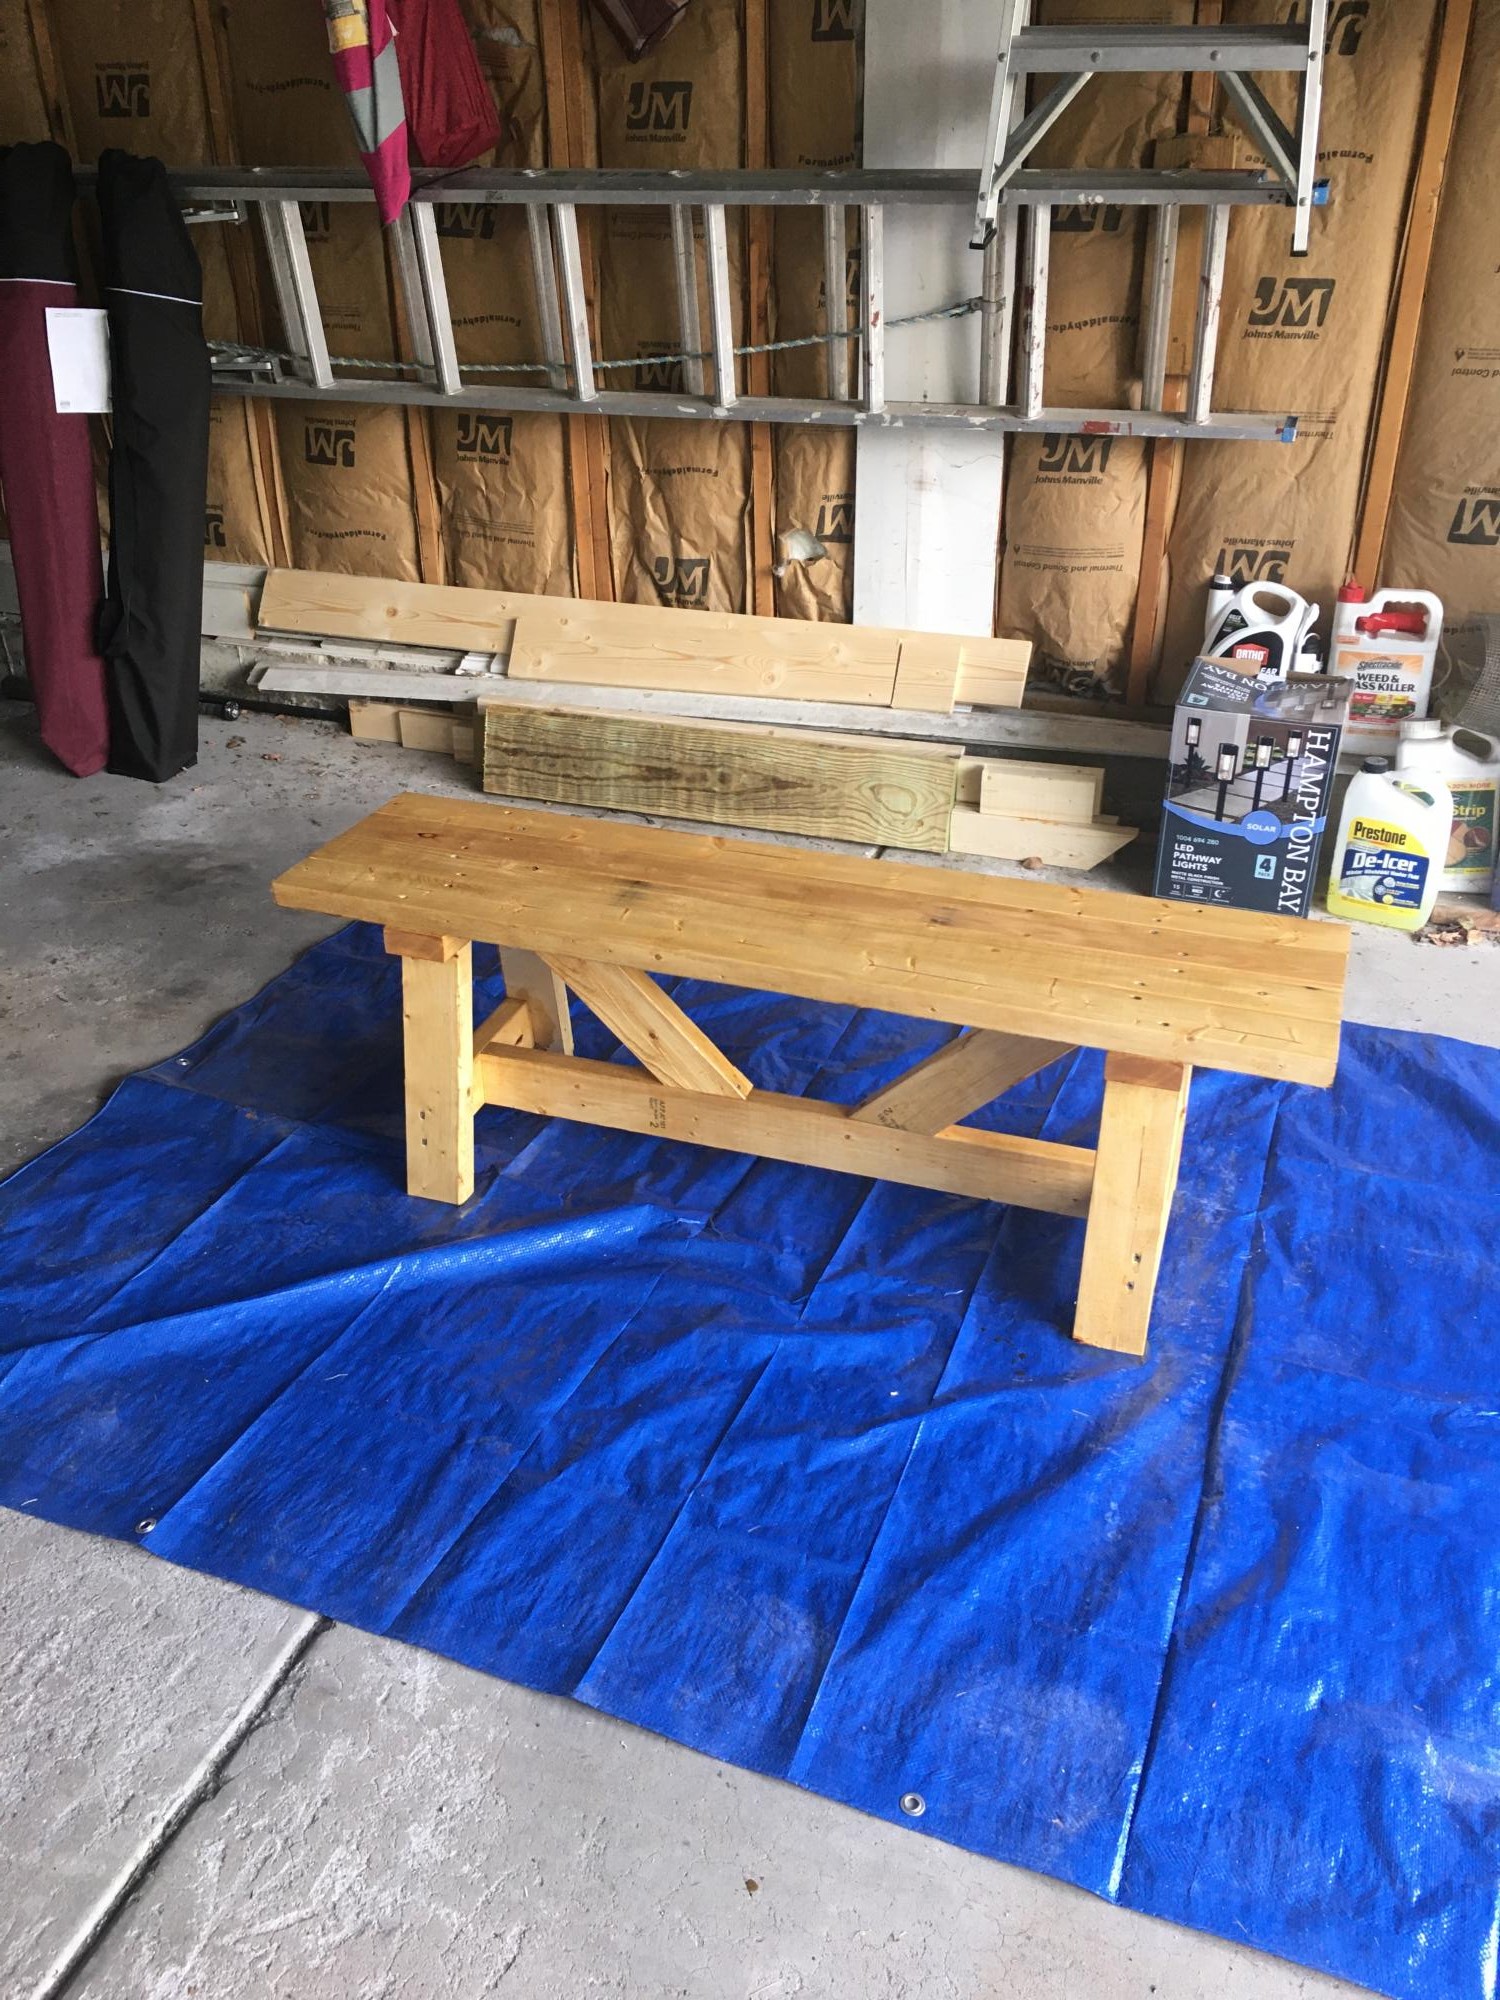
Our first DIY a beautiful Farmhouse Table
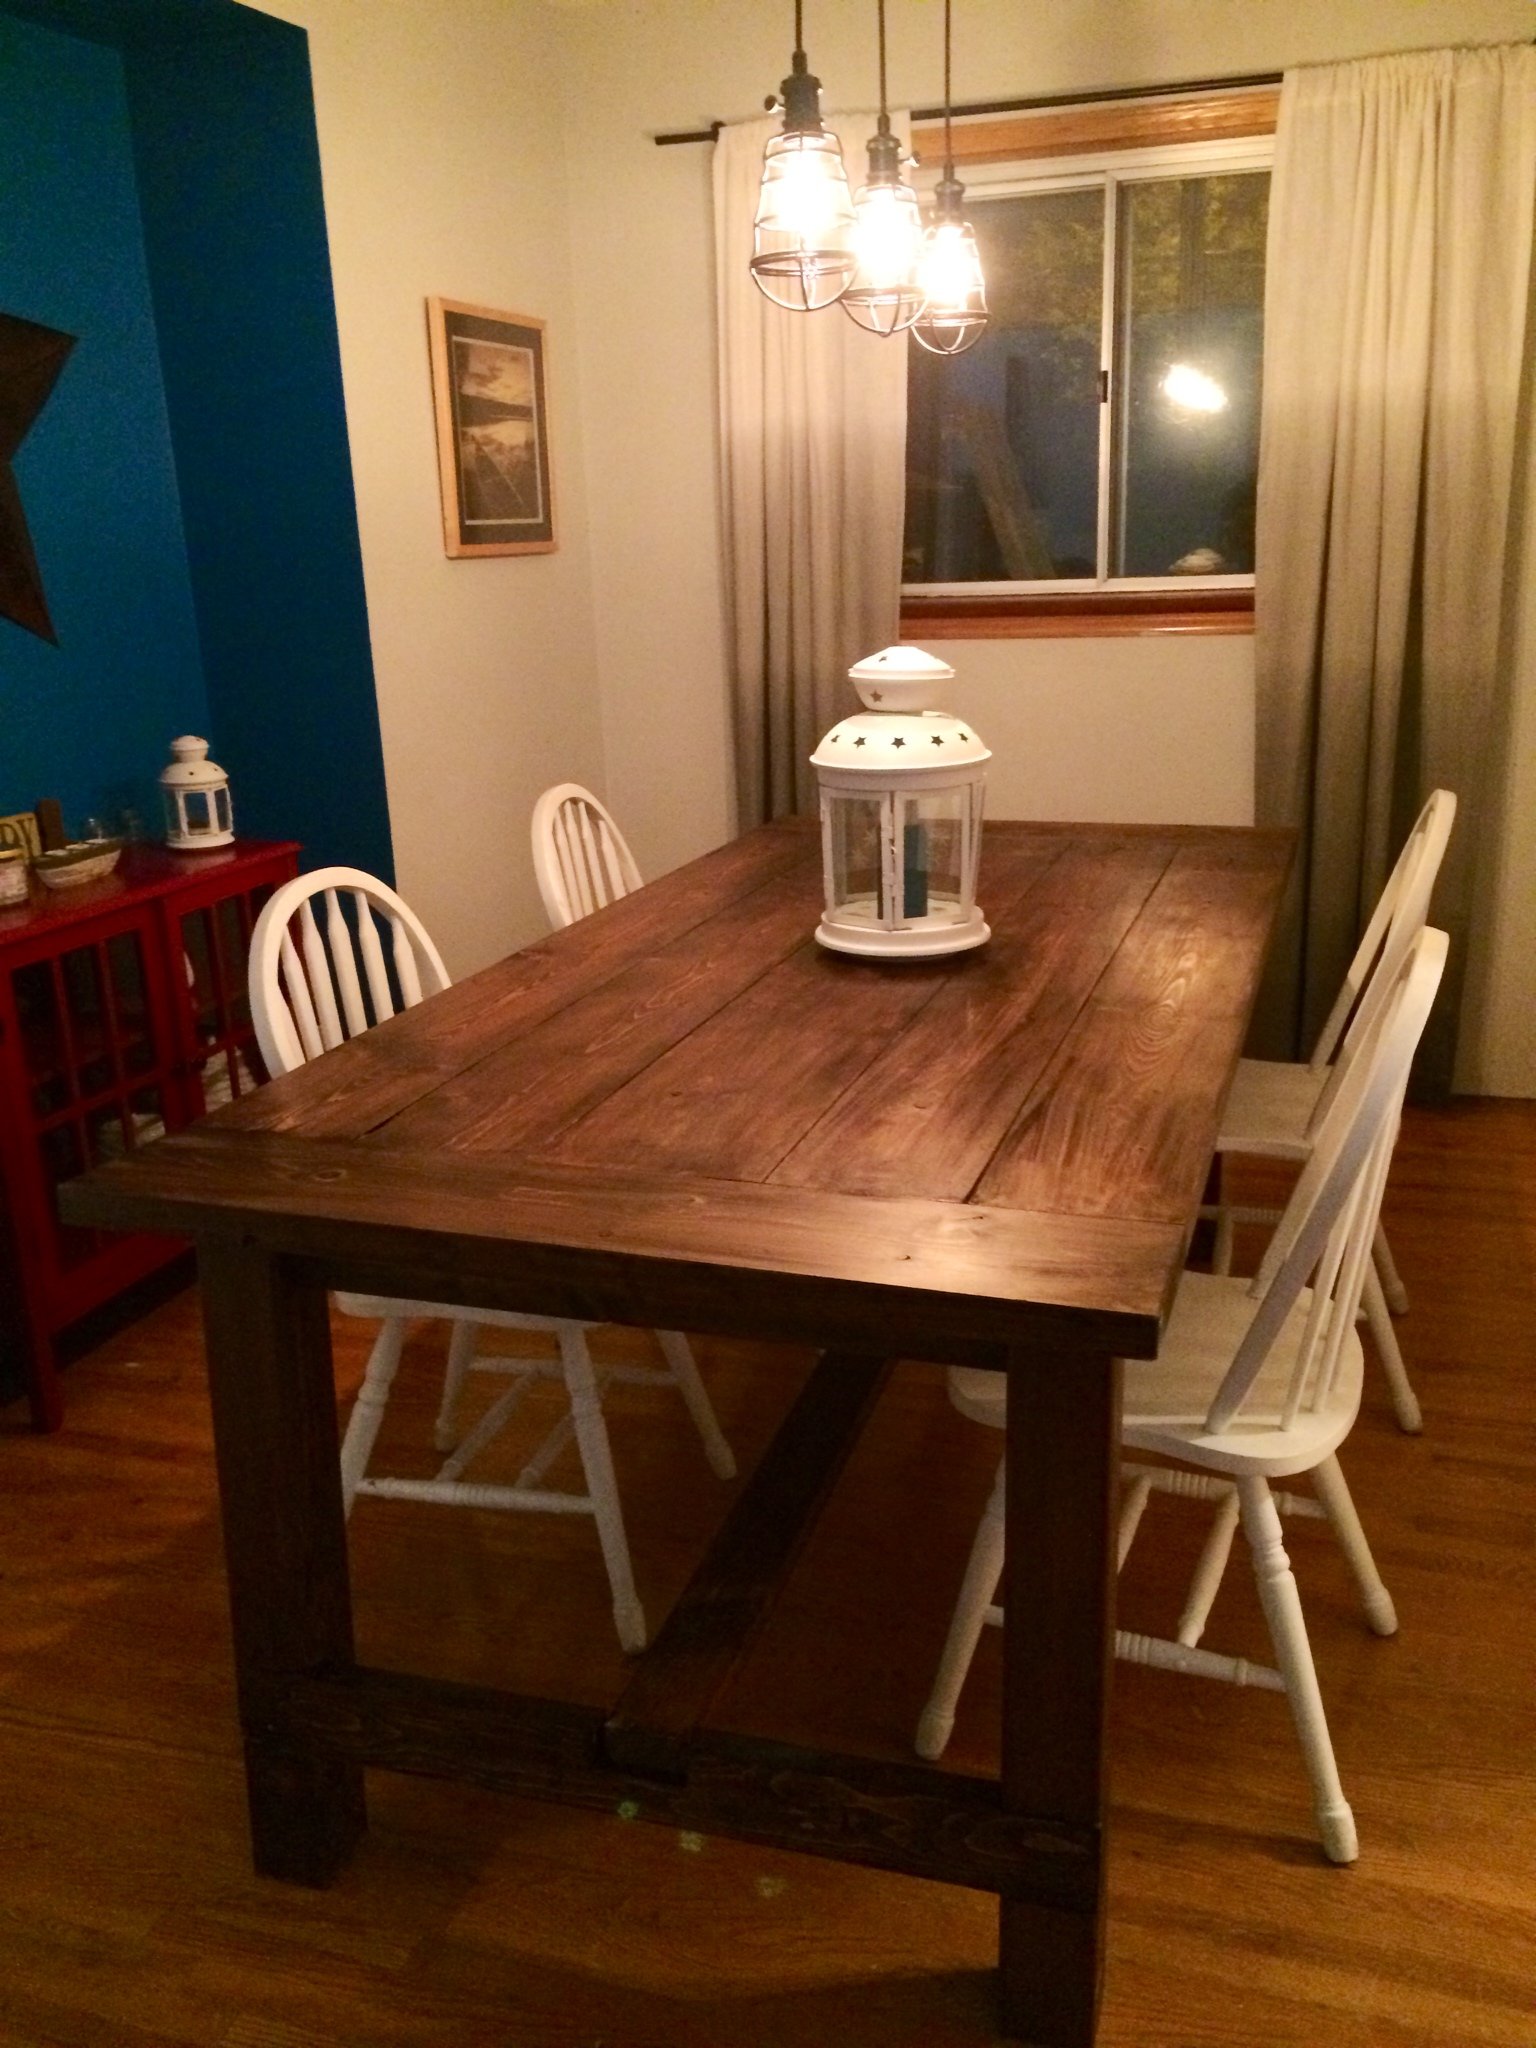
Our first DIY project and although we were a little nervous getting started I couldn''t be happier with how it turned out! It's exactly like all the tables I loved in stores and magazines and the plan made it so easy! It's hard to believe we did it ourselves. To anyone who is nervous about getting started don't be! I recommend you read the whole plan start to finish before you start and the brag posts are awesome for trouble shooting.
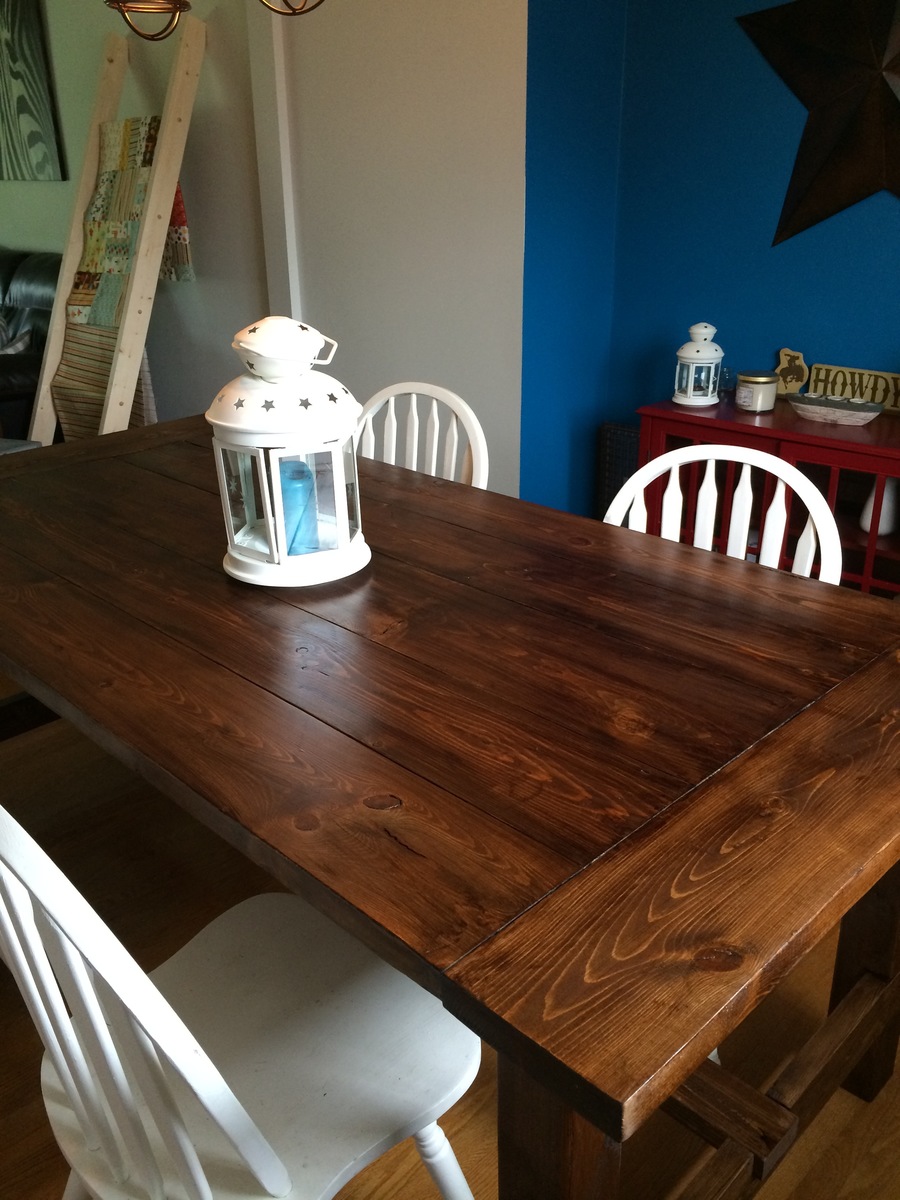
A few recommendations I have would be to sand down condition and put a single coat of stain on before building. I found it difficult to get stain in the cracks between the table top boards. I would also cut the notches out on the base of the table based on the size of the board not the measurements on the plan to make sure you get a snug fit. We have a few gaps which I can live with but would change if we do it again. I also learned the hard way DO NOT use wood filler. Even if it says it's stainable it's all lies! Mix together wood glue and saw dust. The wood filler did not absorb stain so we had to sand down the entire table top again and start over.
Overall the plan was easy to follow and produced a beautiful table that I can't wait to entertain with!


Comments
ehays216
Mon, 07/28/2014 - 06:38
great job!
Beautiful table, I love the way your finish mixture came out and want to try that on my next project! Thanks for sharing the details!