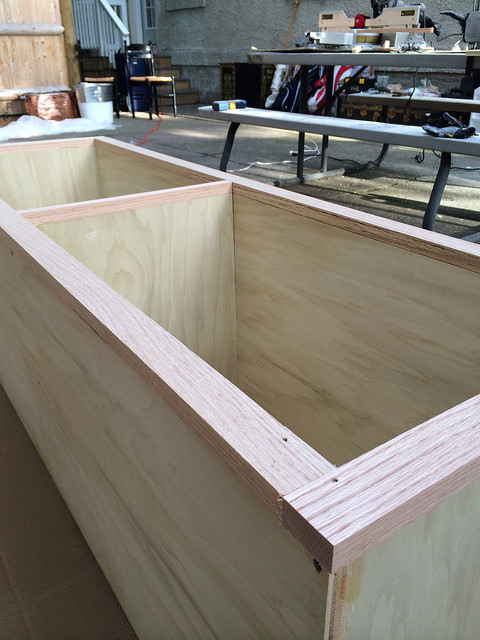
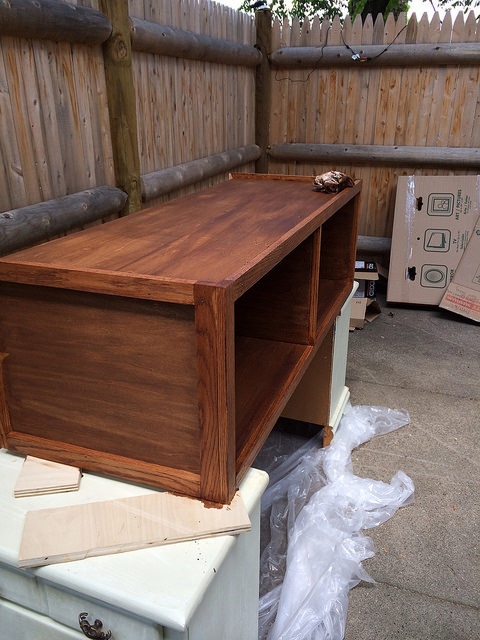
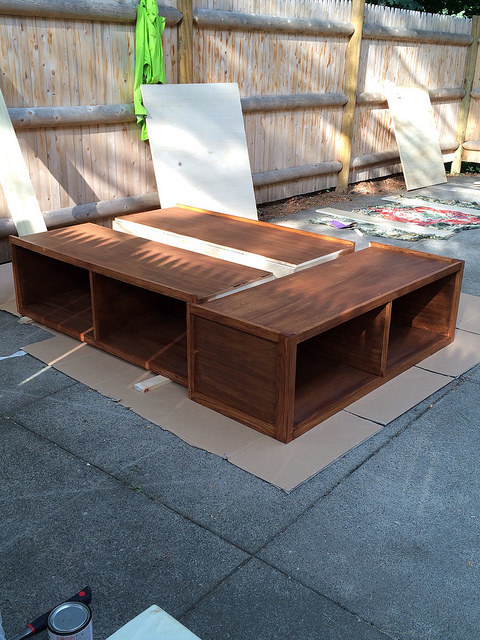
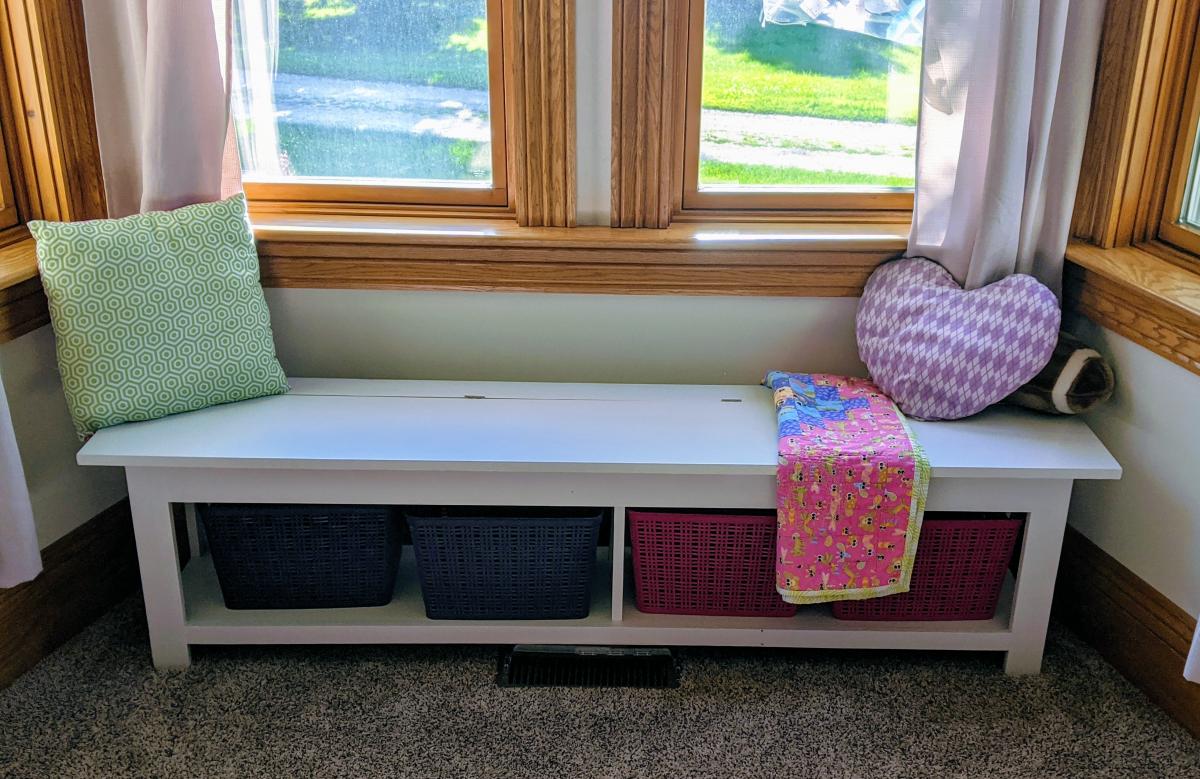
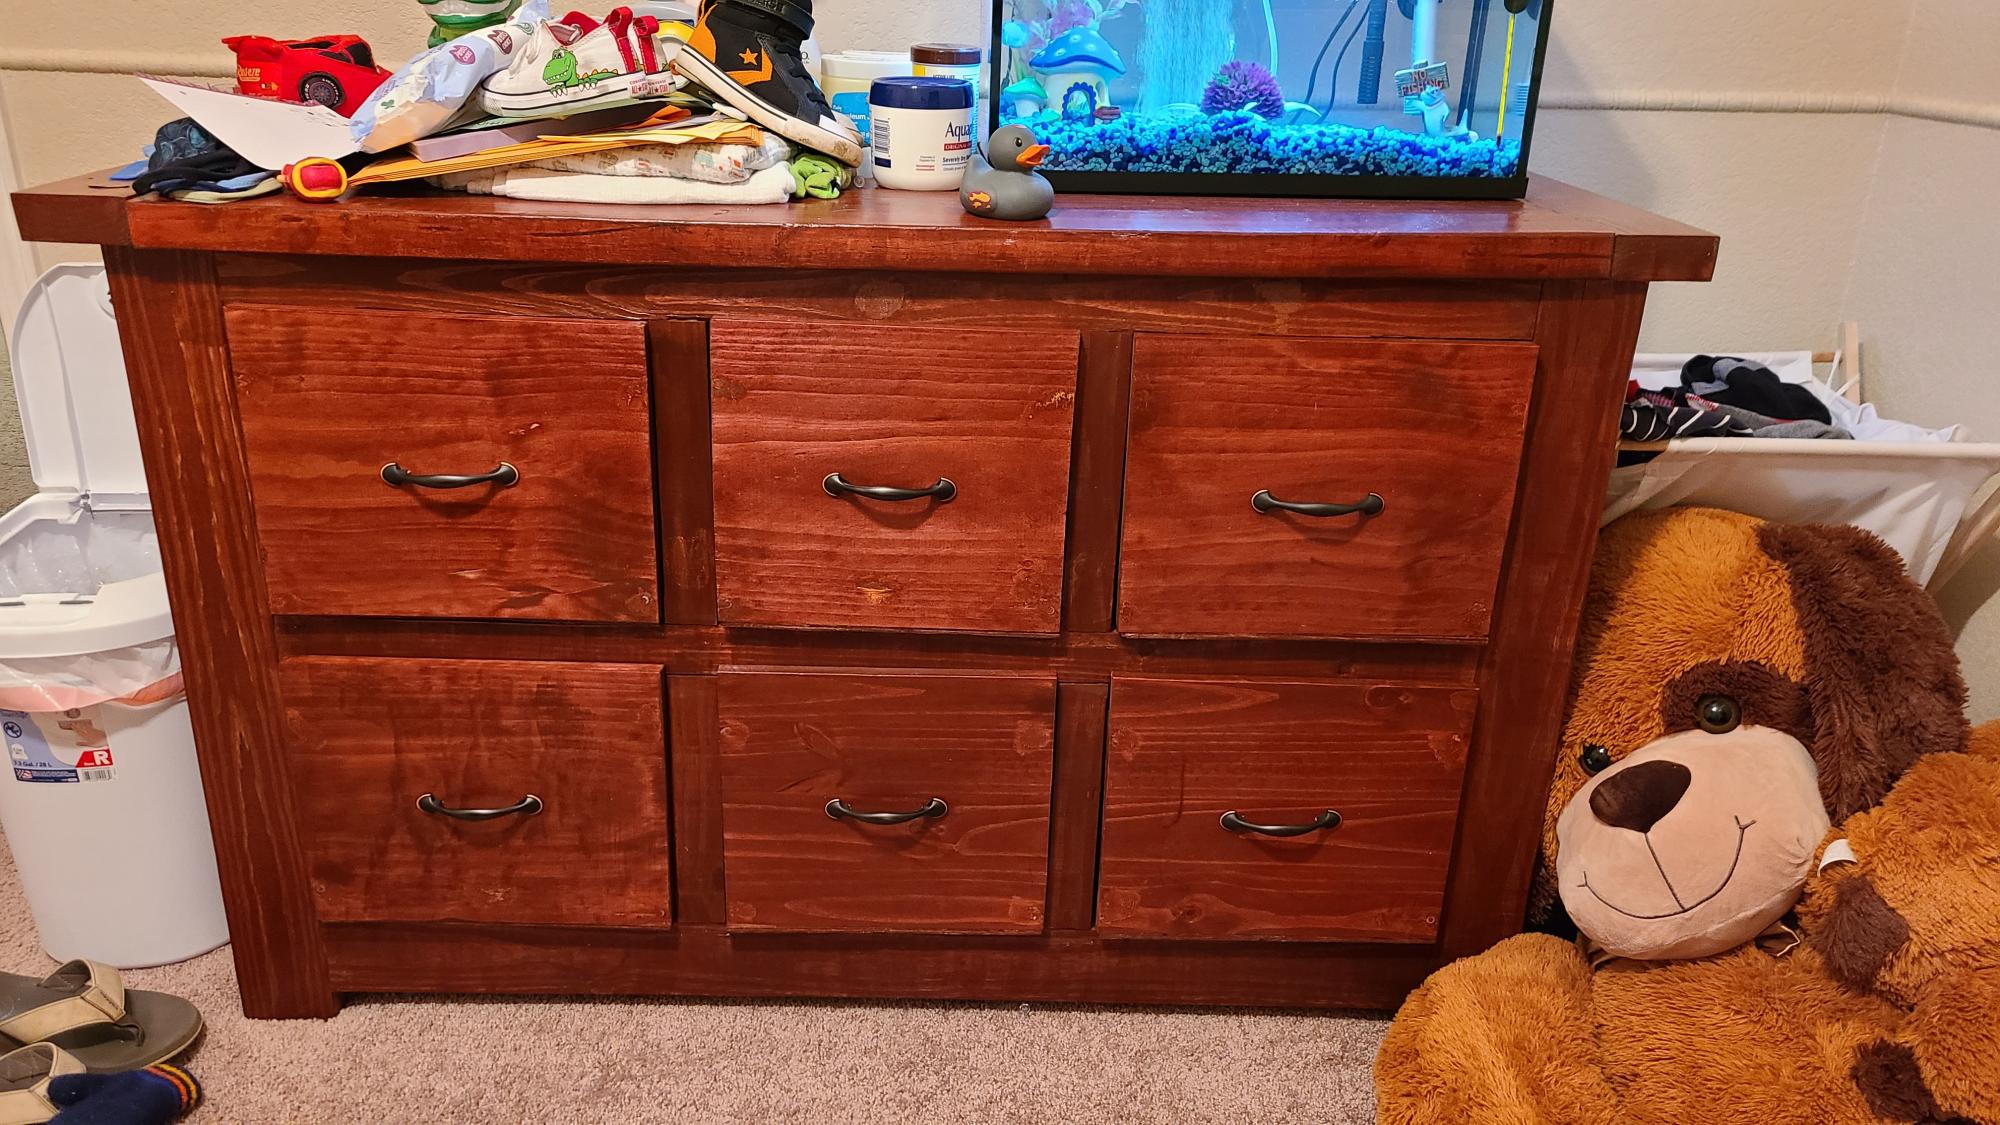
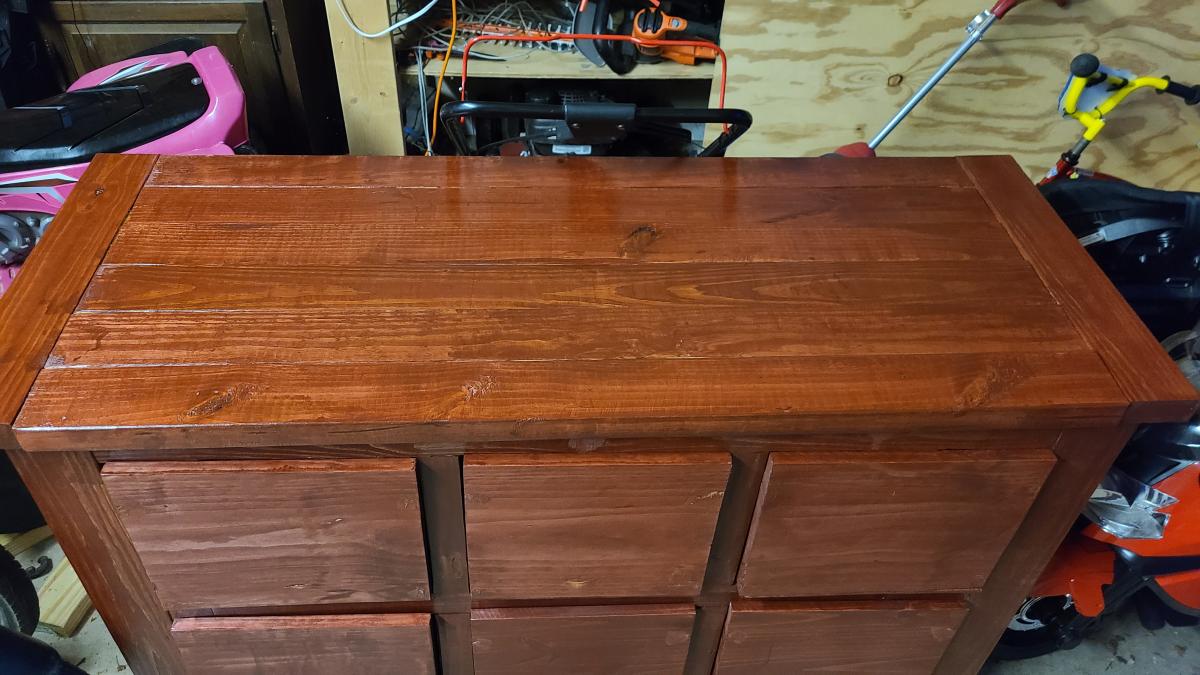
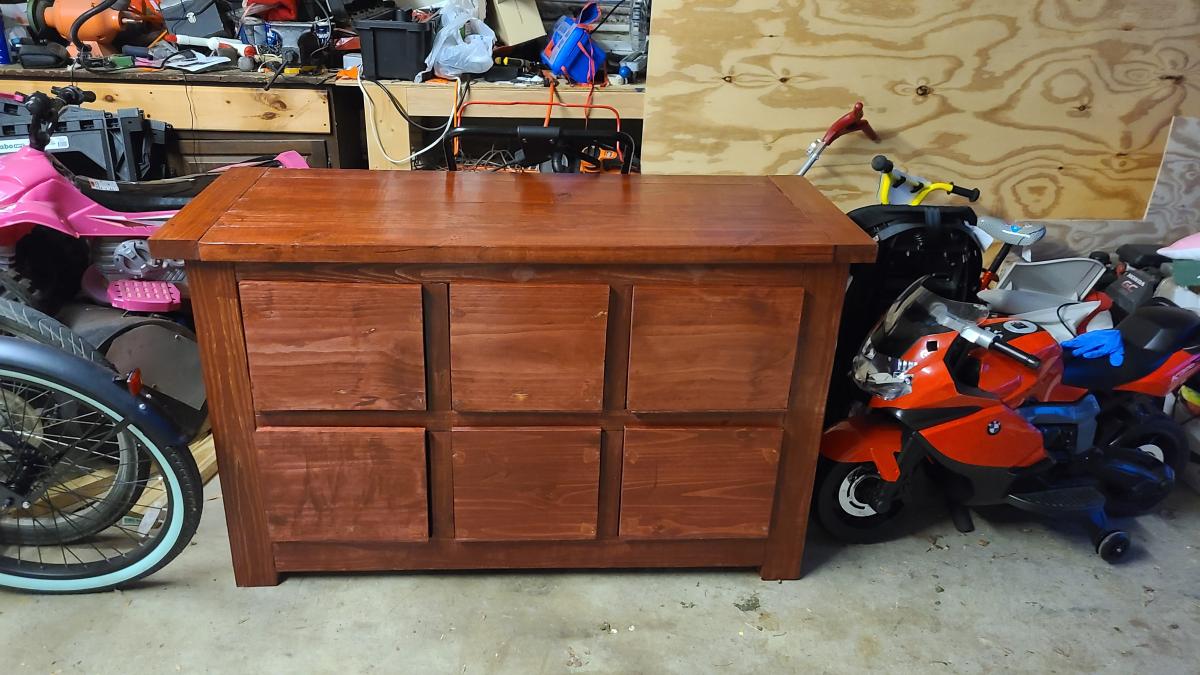
Laundry Basket Tower
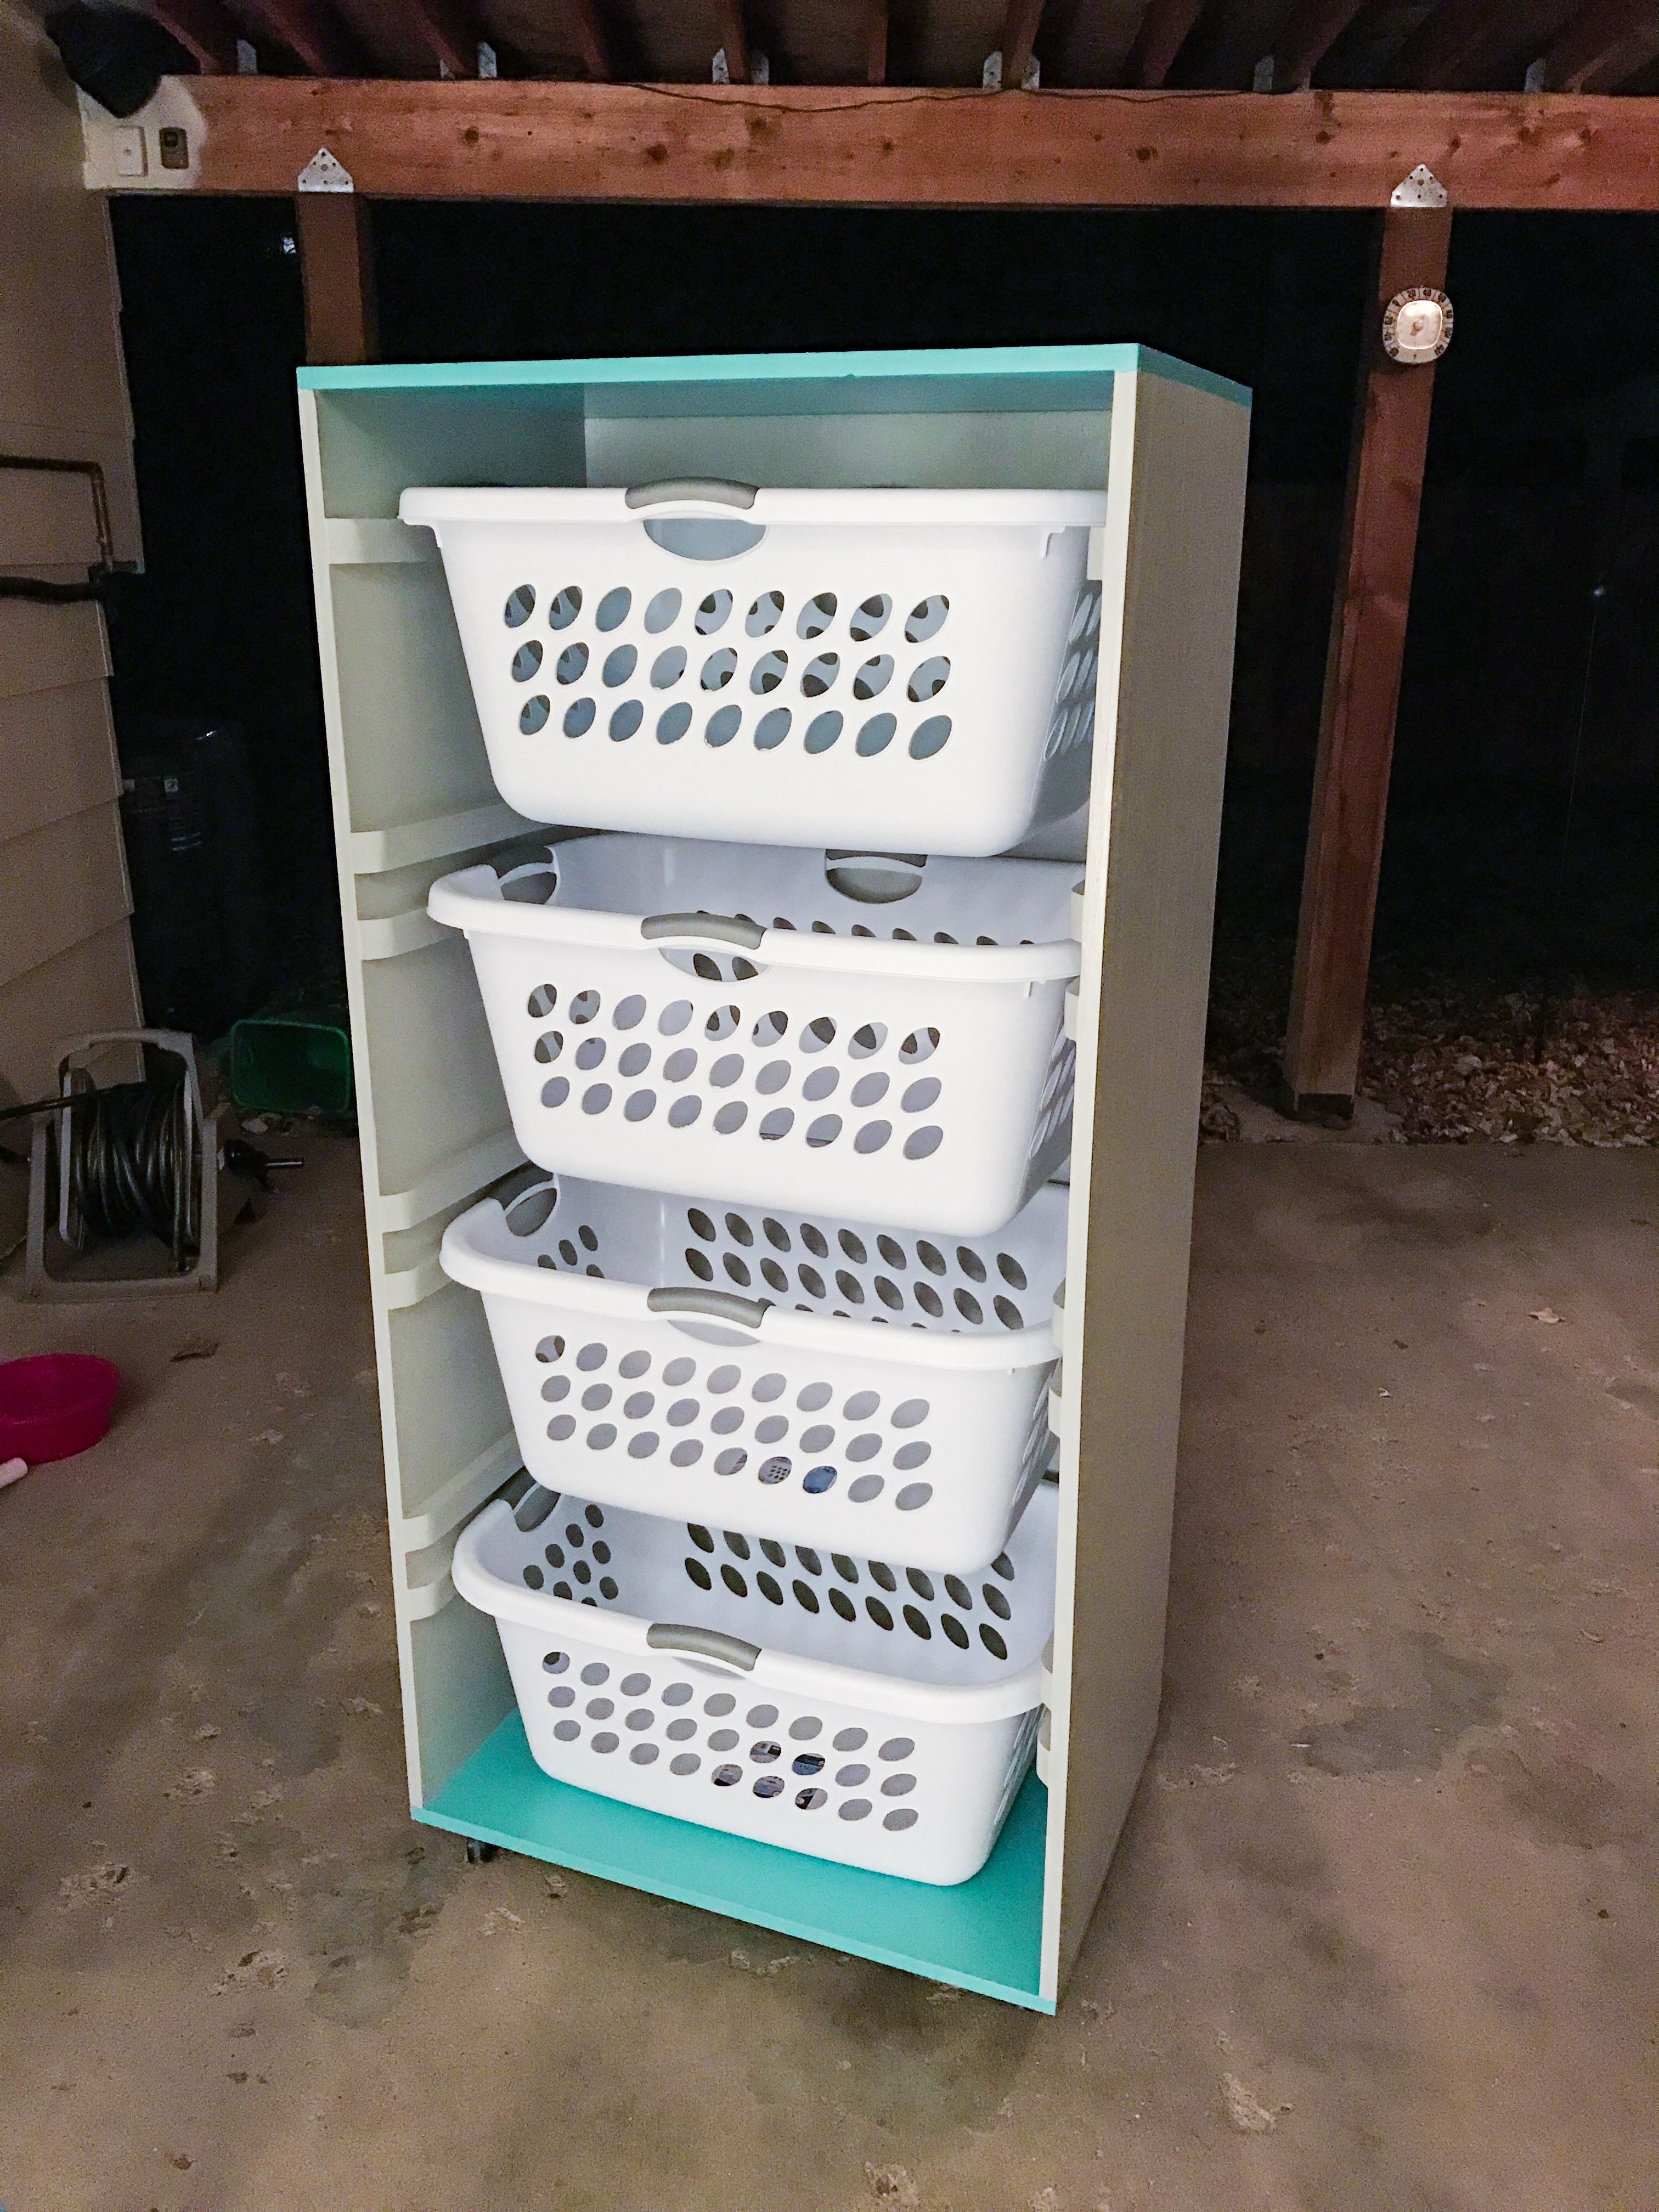
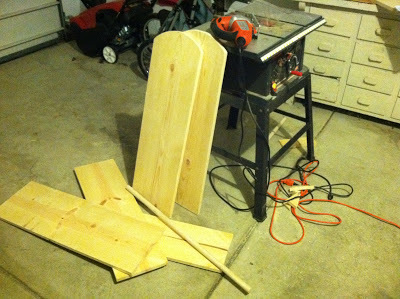
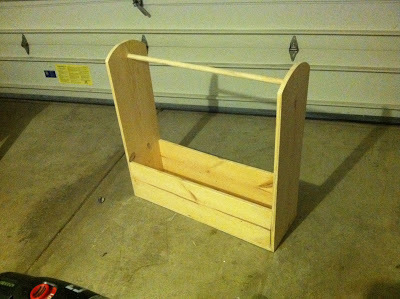
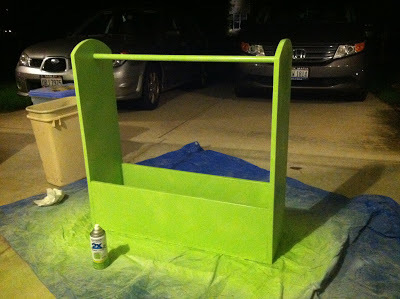
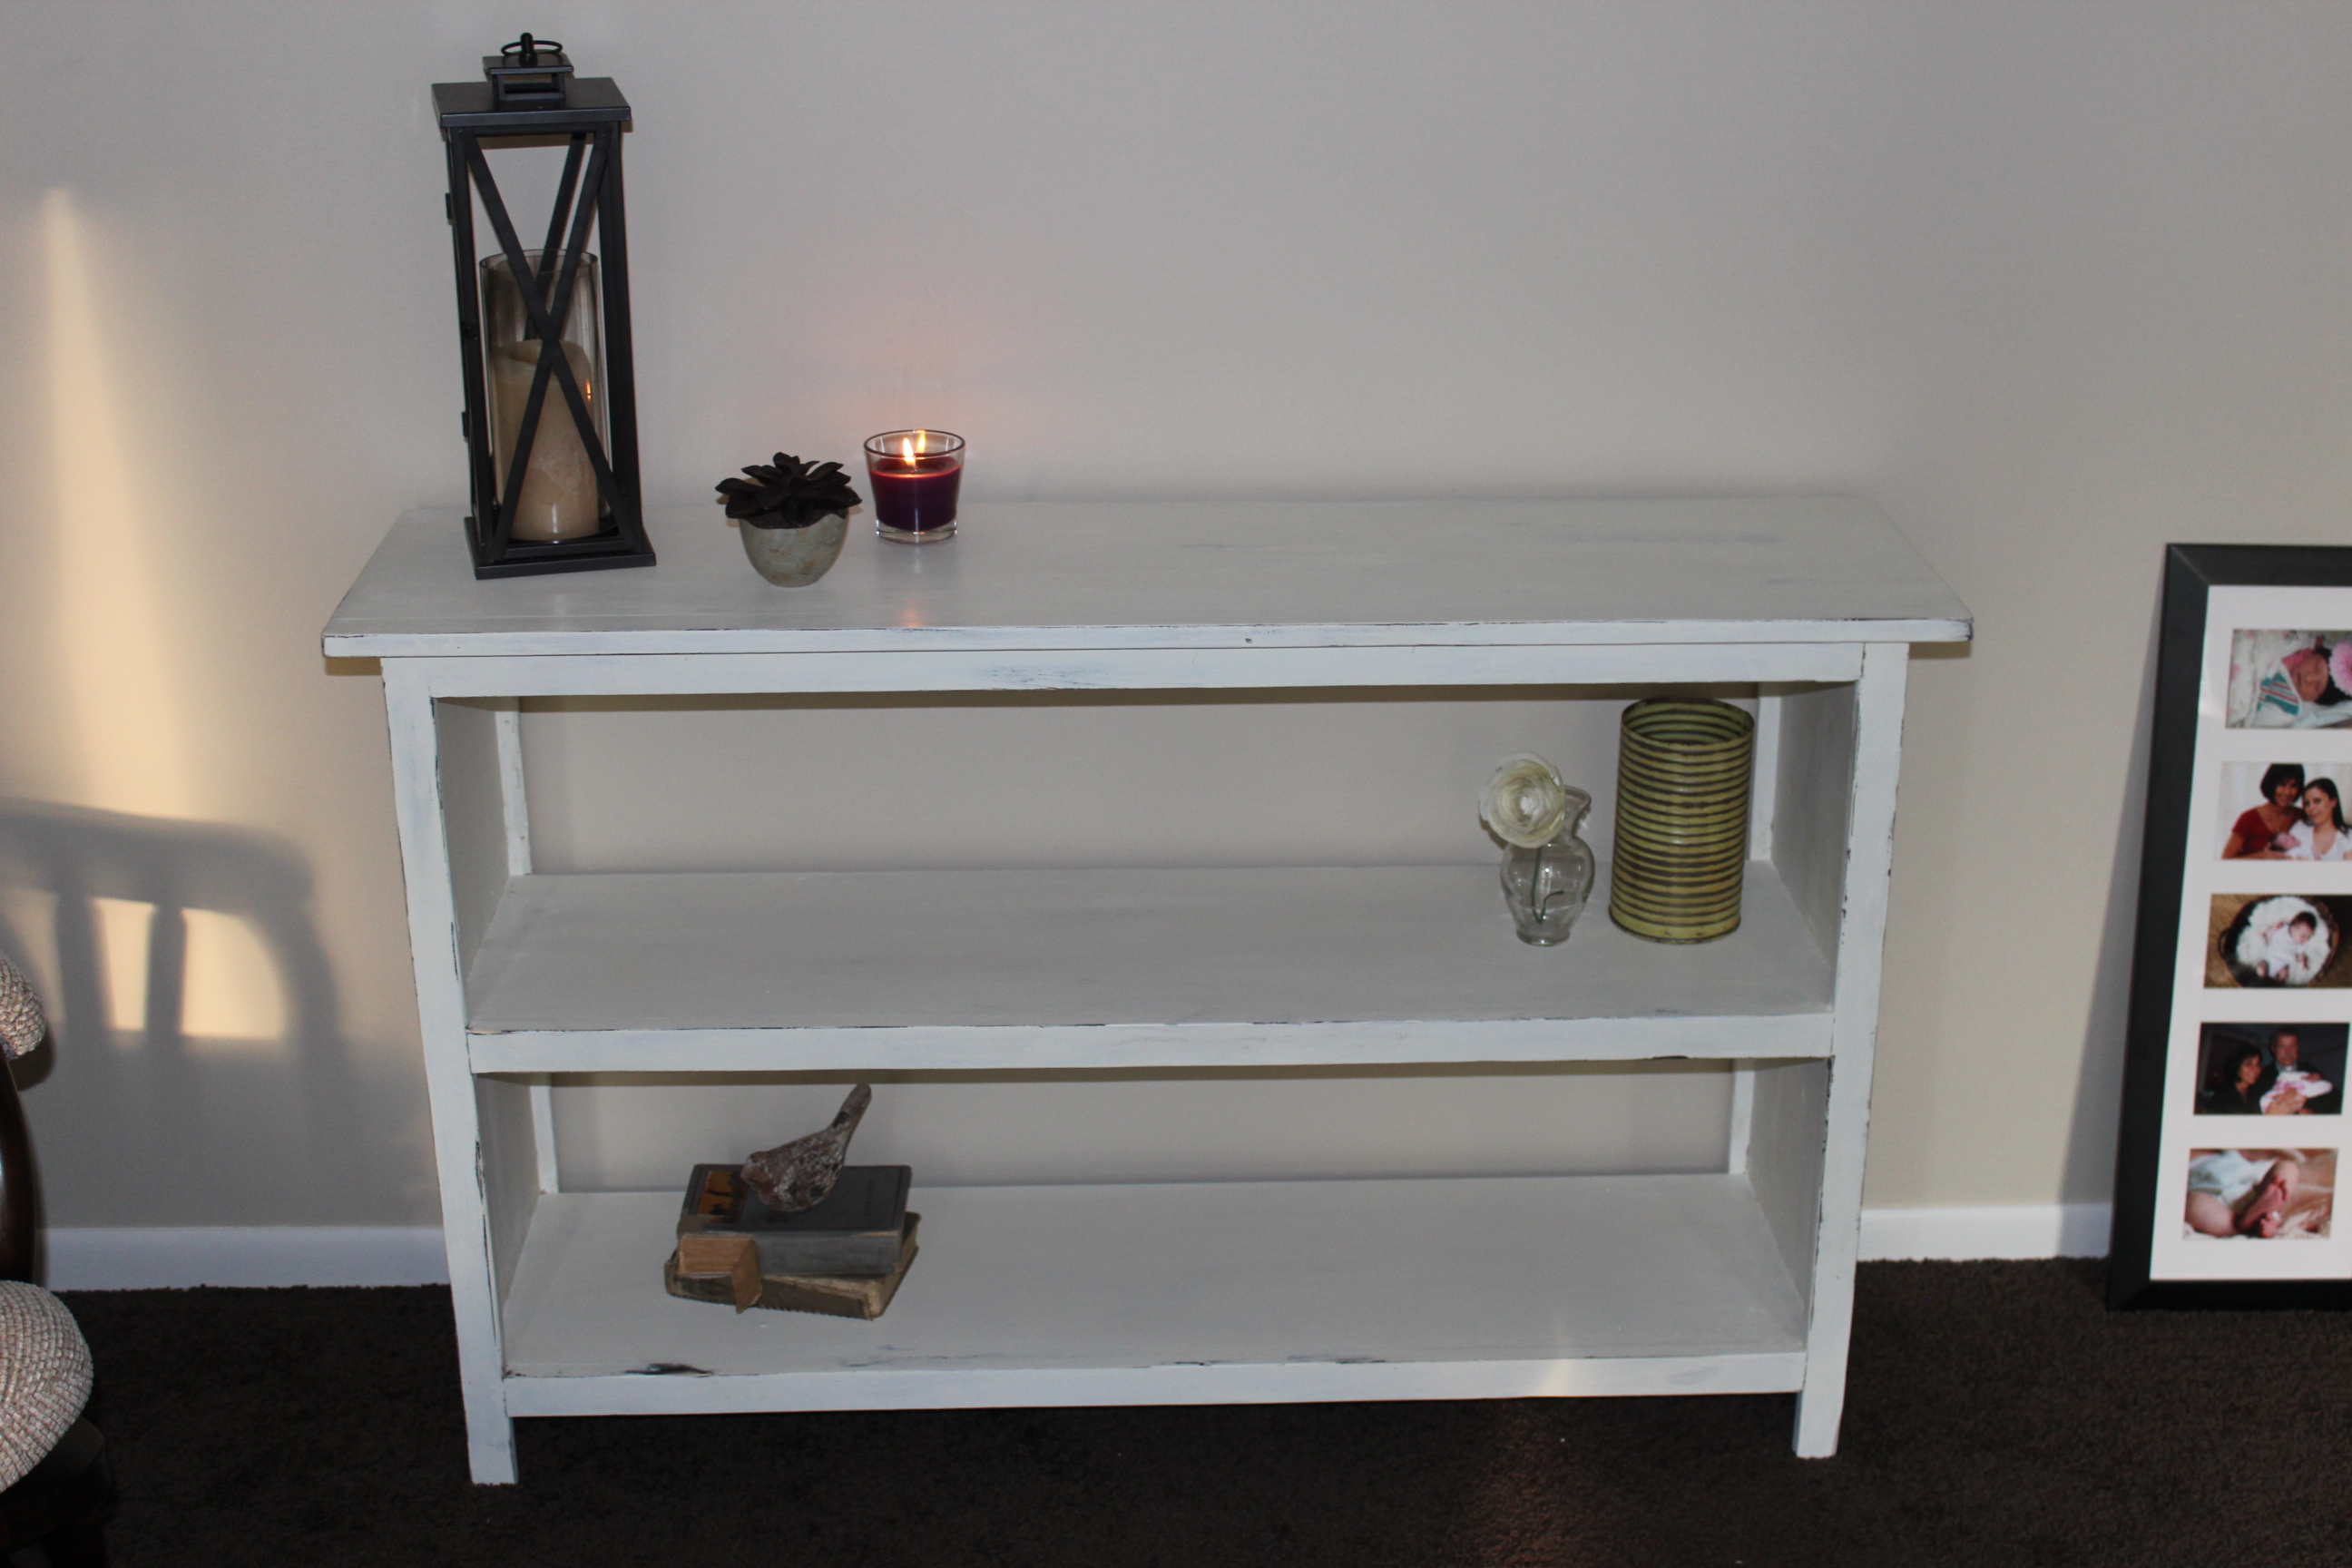
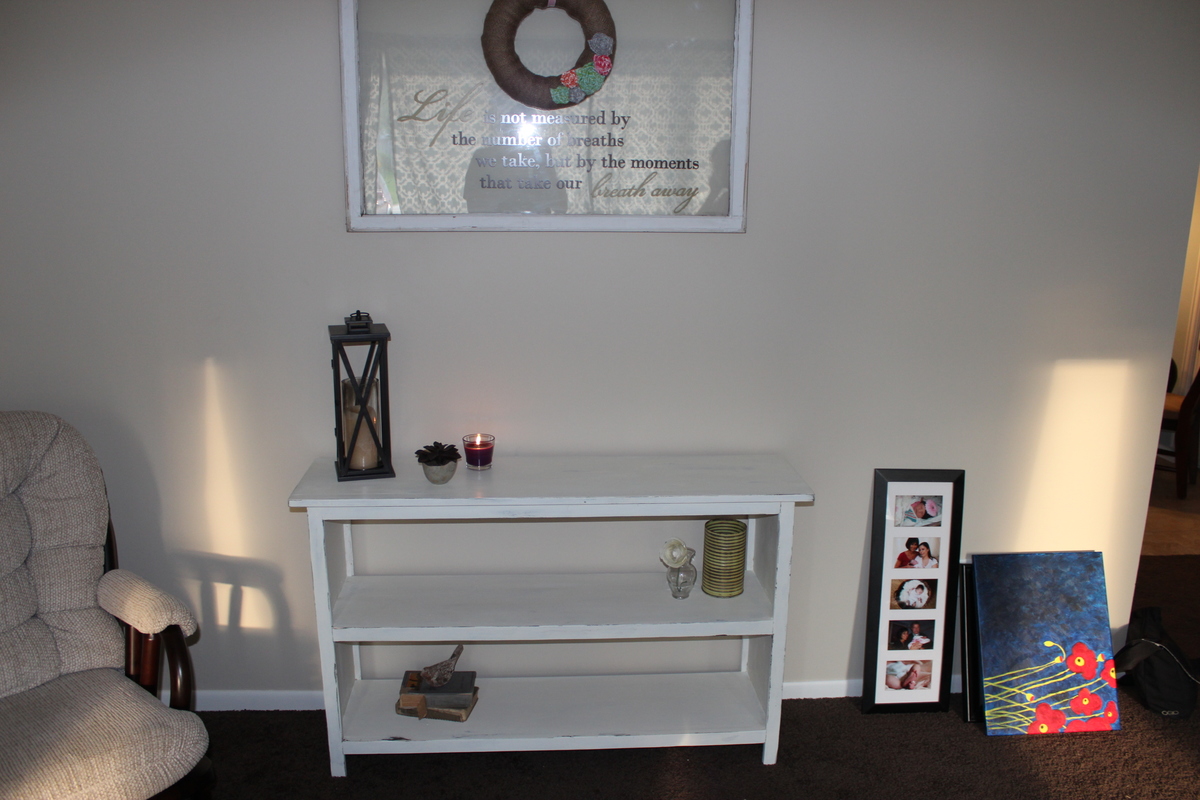
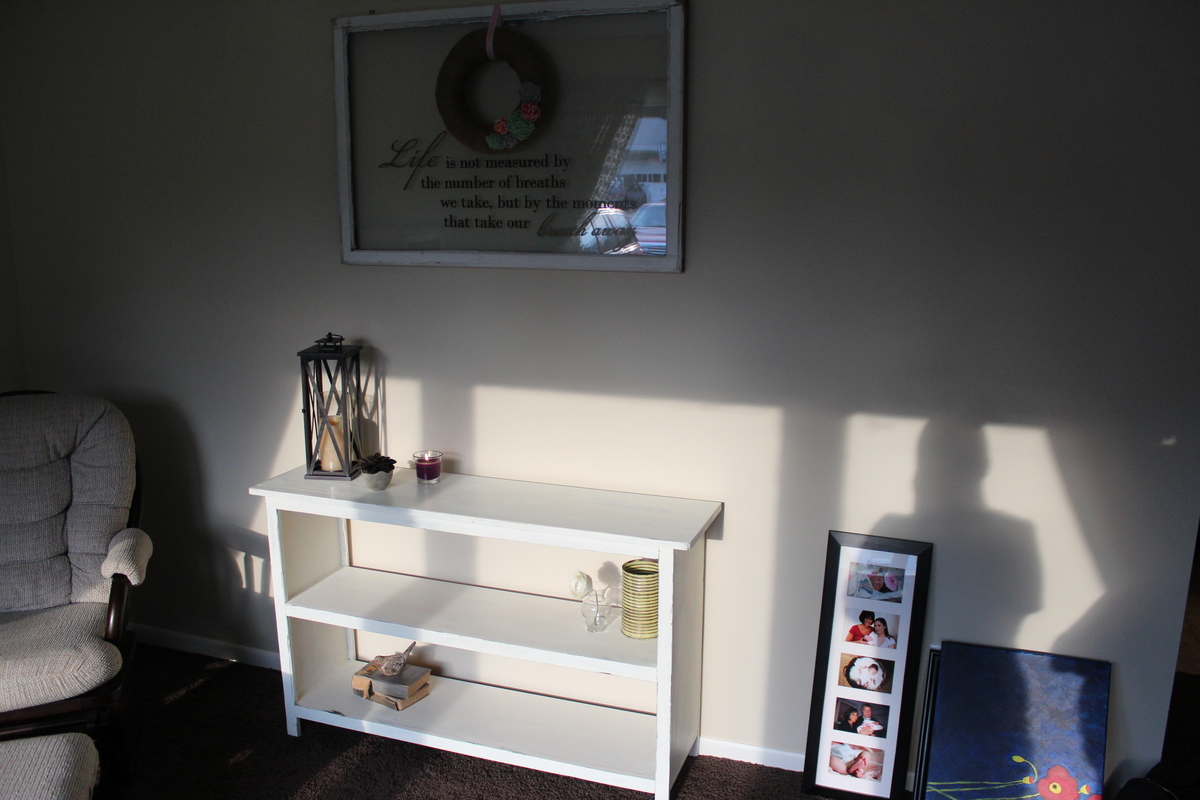
I built this for our laundry sorting needs using the Brook 4 tall and lengthwise plan. I modified the plan to take the baskets width wise, added a little more distance between baskets, and added guide rails above each basket (except the top one) to allow them to be partial pulled out without flipping out. I also beveled and slightly rounded the front of the guide rails just for looks. I think it turned out pretty good for my first woodworking project.
Built from Plan(s)
Estimated Time Investment
Weekend Project (10-20 Hours)
Recommended Skill Level
Beginner