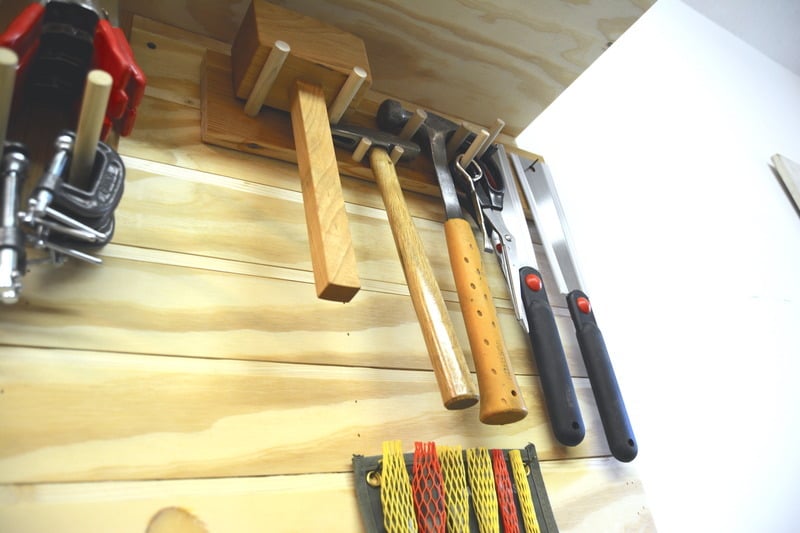
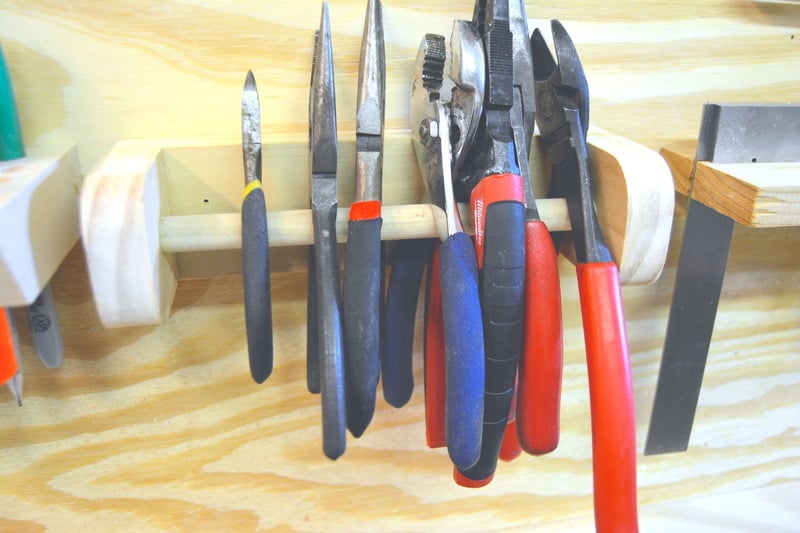
Slat Tool Wall // John Heisz Design
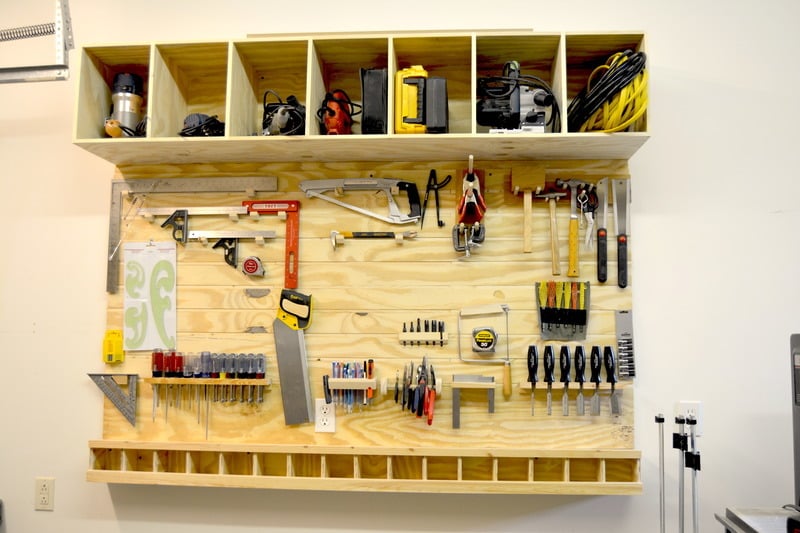
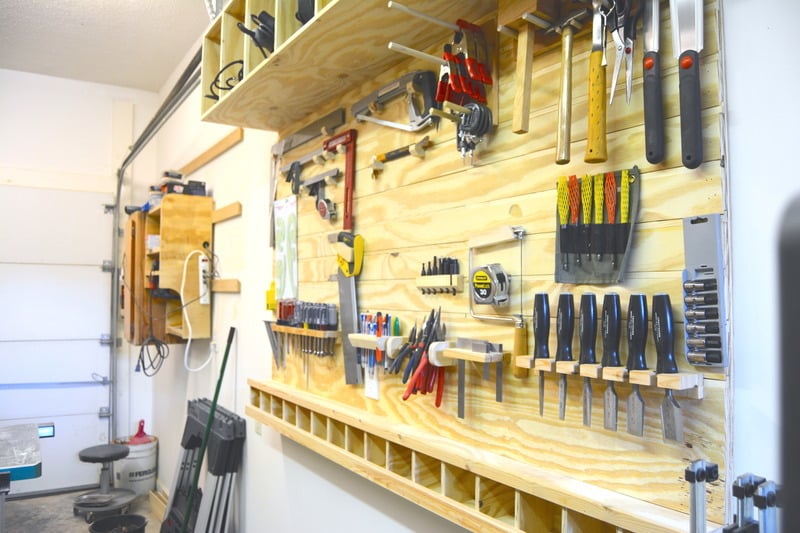
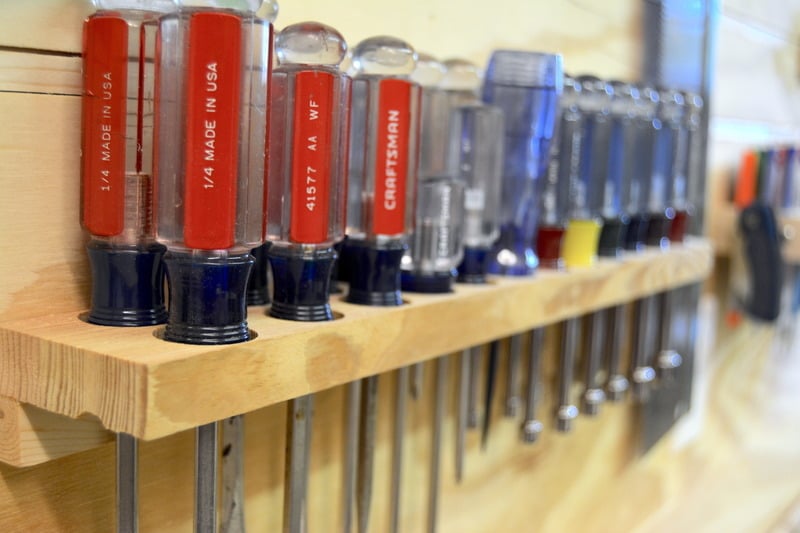
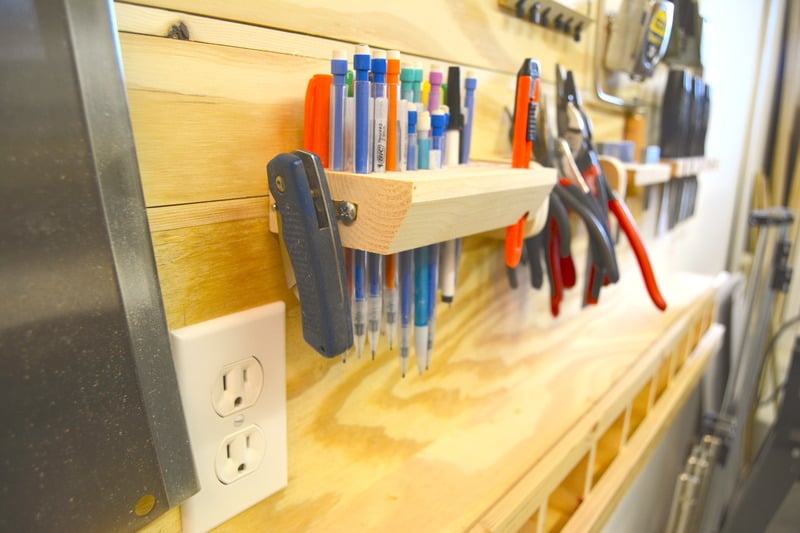
This weeks project was a slat tool wall to organize all my most used hand tools. I wanted a way to have everything in reach and also easy to organize and keep track of. This is John Heisz original design and I decided to build one for my shop. Here is a link to his site with a full tutorial including measurements- http://www.ibuildit.ca/Workshop%20Projects/tool-board-1.html.
I also have a couple videos of my process here- https://www.youtube.com/watch?v=qNz_a_vKAqY
Estimated Cost
150
Estimated Time Investment
Weekend Project (10-20 Hours)
Recommended Skill Level
Intermediate


Comments
Ana White Admin
Sat, 07/18/2015 - 09:19
Wonderful!
Nothing beats being organized! Look fantastic, thanks for sharing!
LaneBrosFurniture
Sat, 07/18/2015 - 09:49
Your exactly right! Thanks
Your exactly right! Thanks Ana