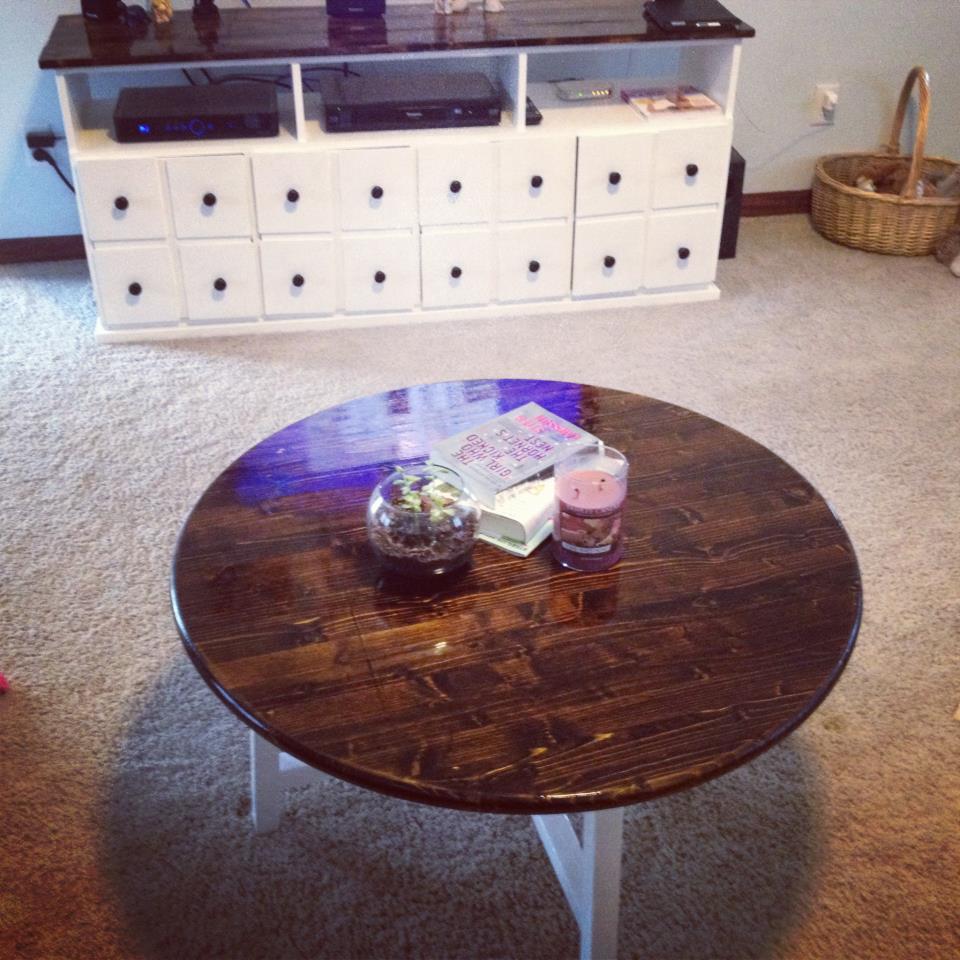
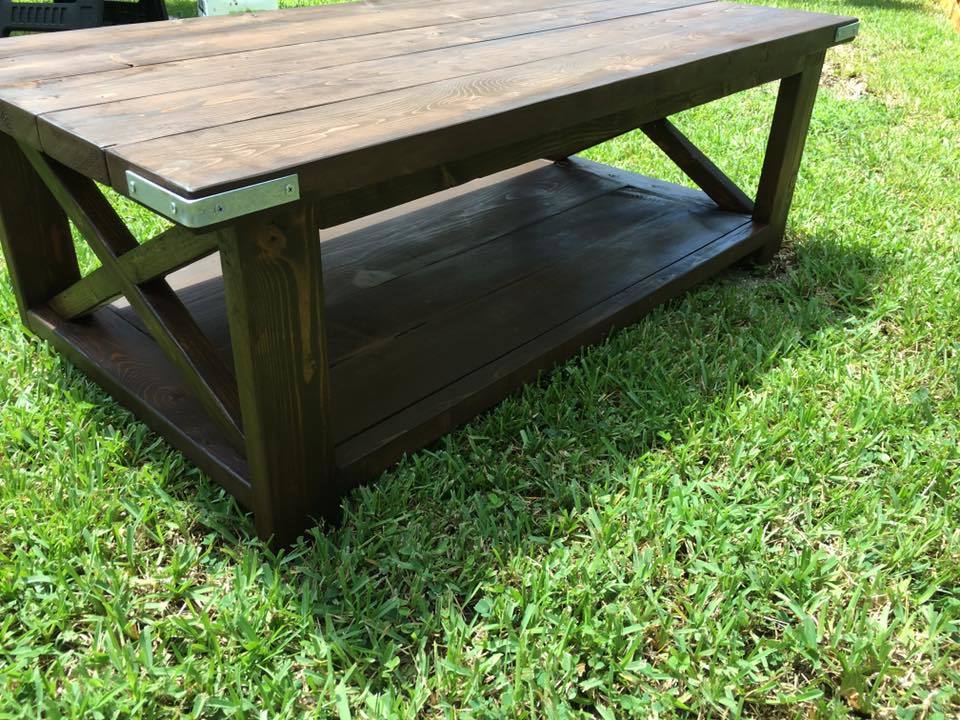
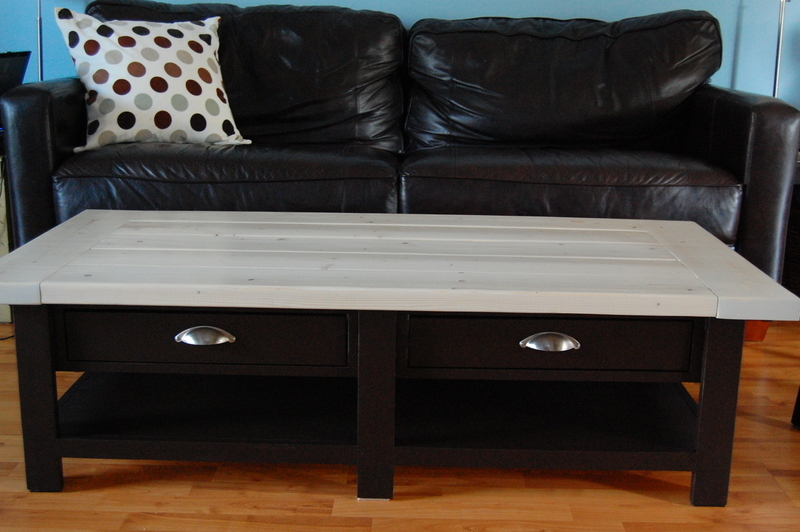
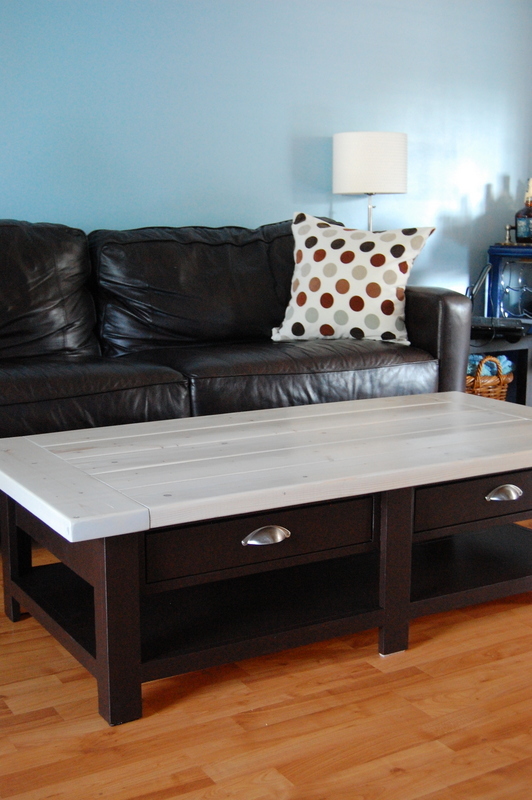
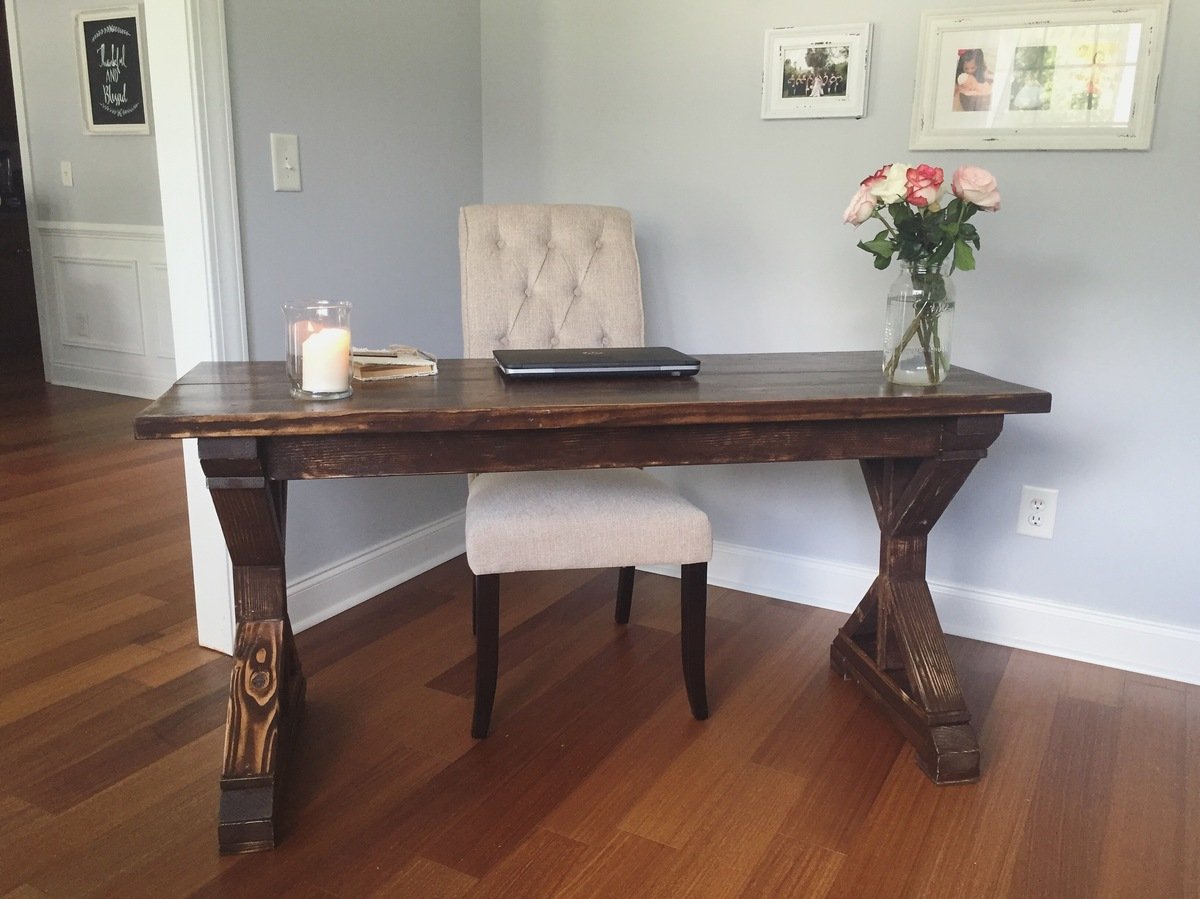
Round X Base Coffee Table
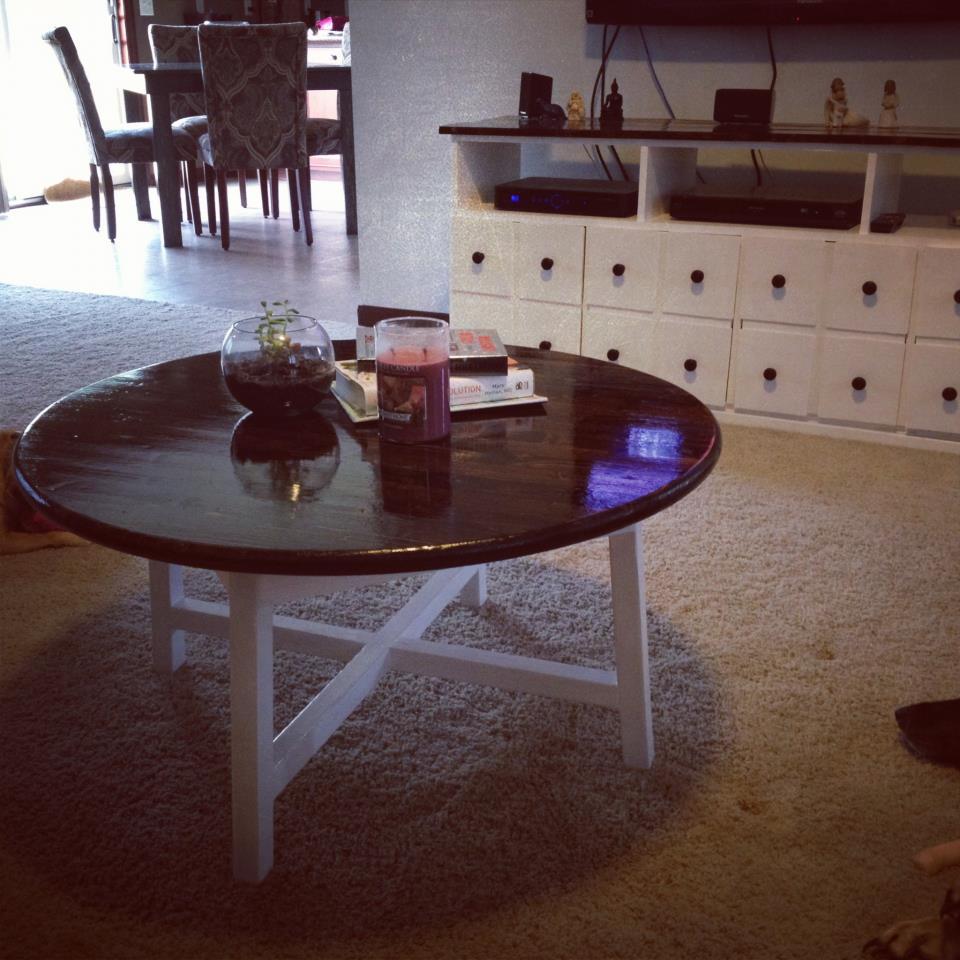
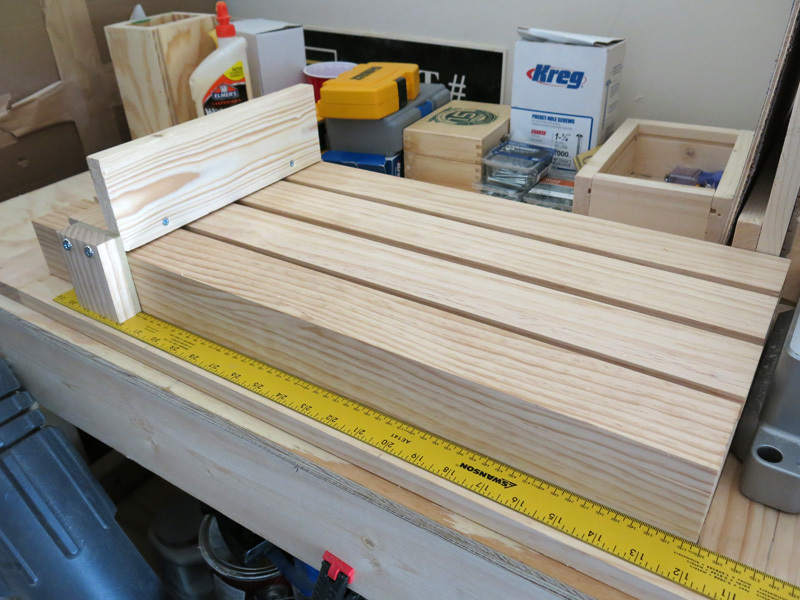
I modified this design to fit the specifications I wanted for a coffee table. I think it worked out perfectly for what I wanted. I made the base completely out of scrap I had laying around, and I bought a 36" round top from my local Lowe's store.

Built from Plan(s)
Estimated Cost
$50
Estimated Time Investment
Afternoon Project (3-6 Hours)
Finish Used
The base is behr white gloss paint and the top is walnut stain with gloss poly.
Recommended Skill Level
Intermediate


Comments
silver202
Tue, 01/05/2016 - 17:31
nice design
do you think i could get the modified peramiters from you? It looks amazing and i really like this table design but its too big for what im looking for. Do you think you could help me out?