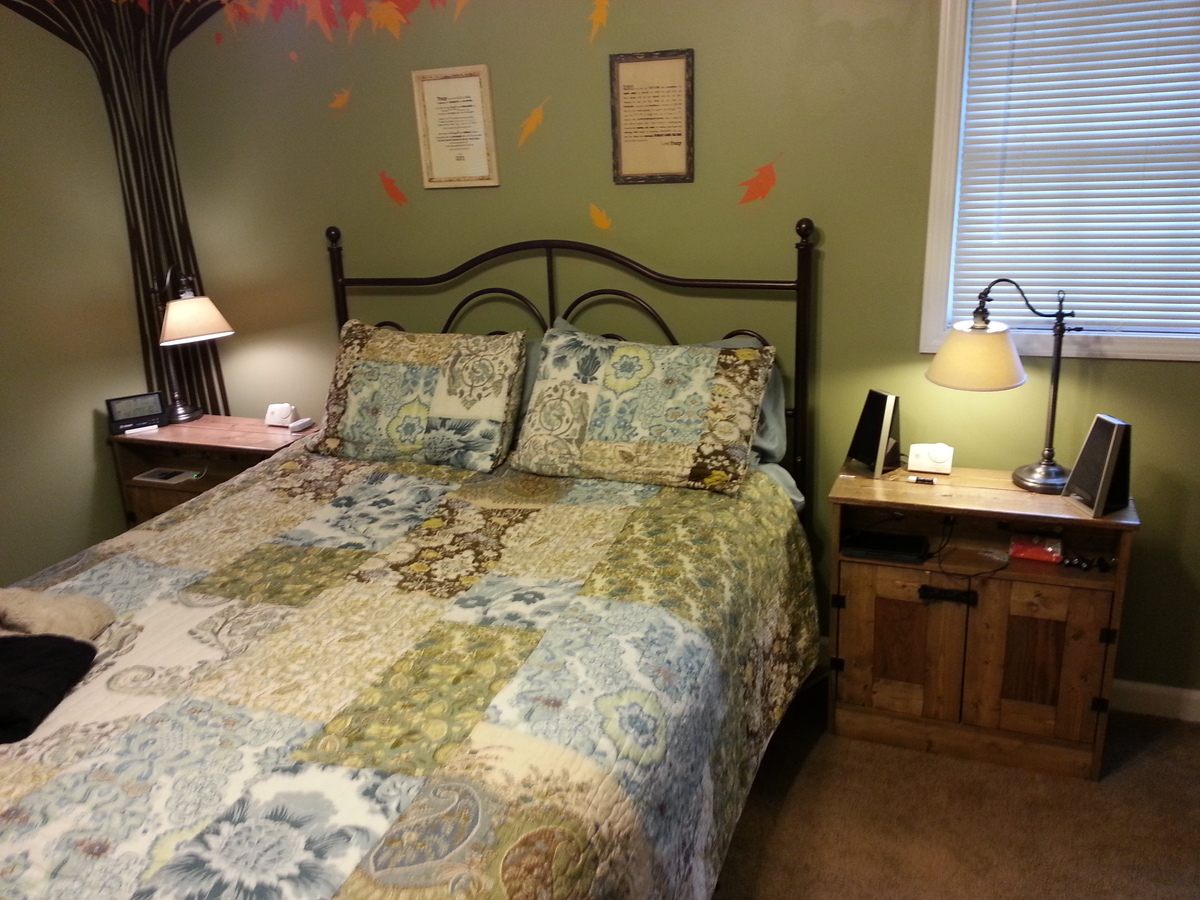
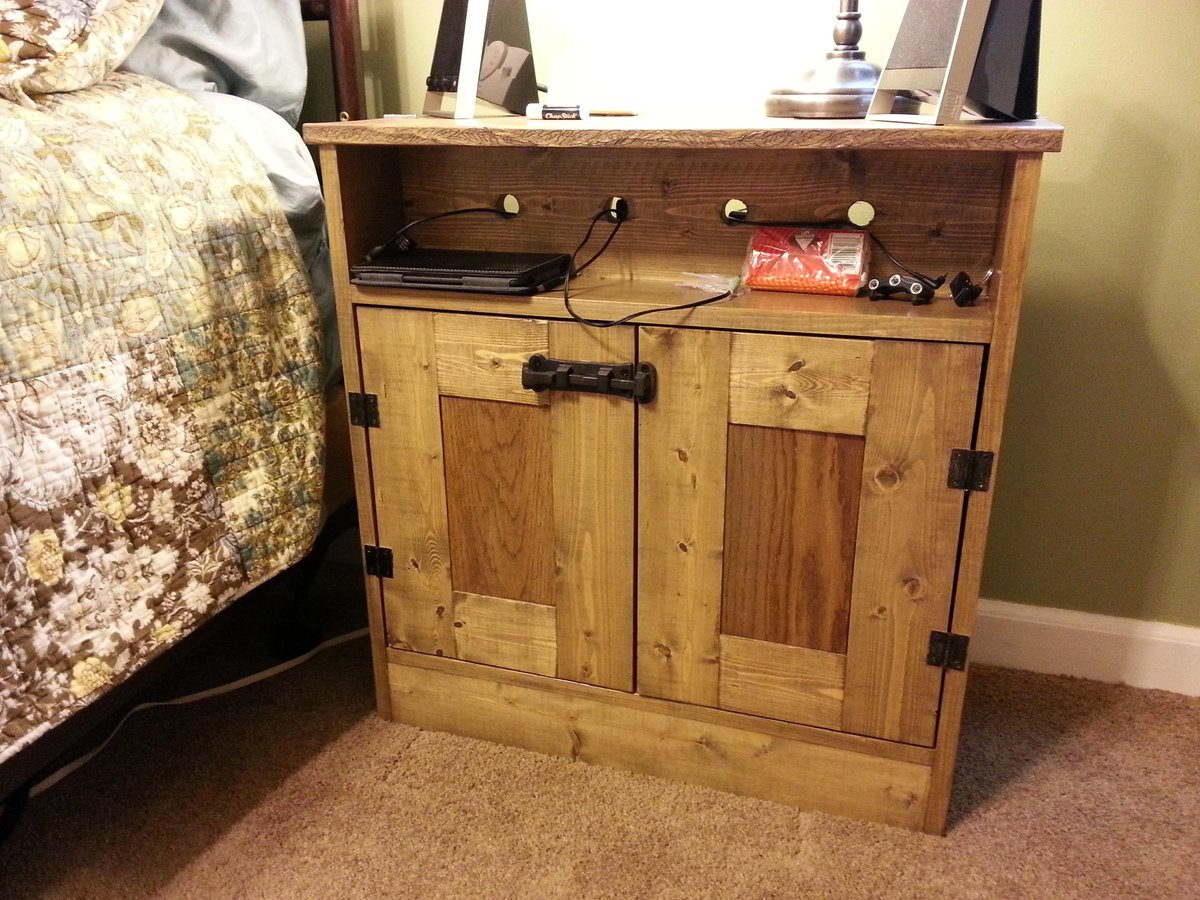
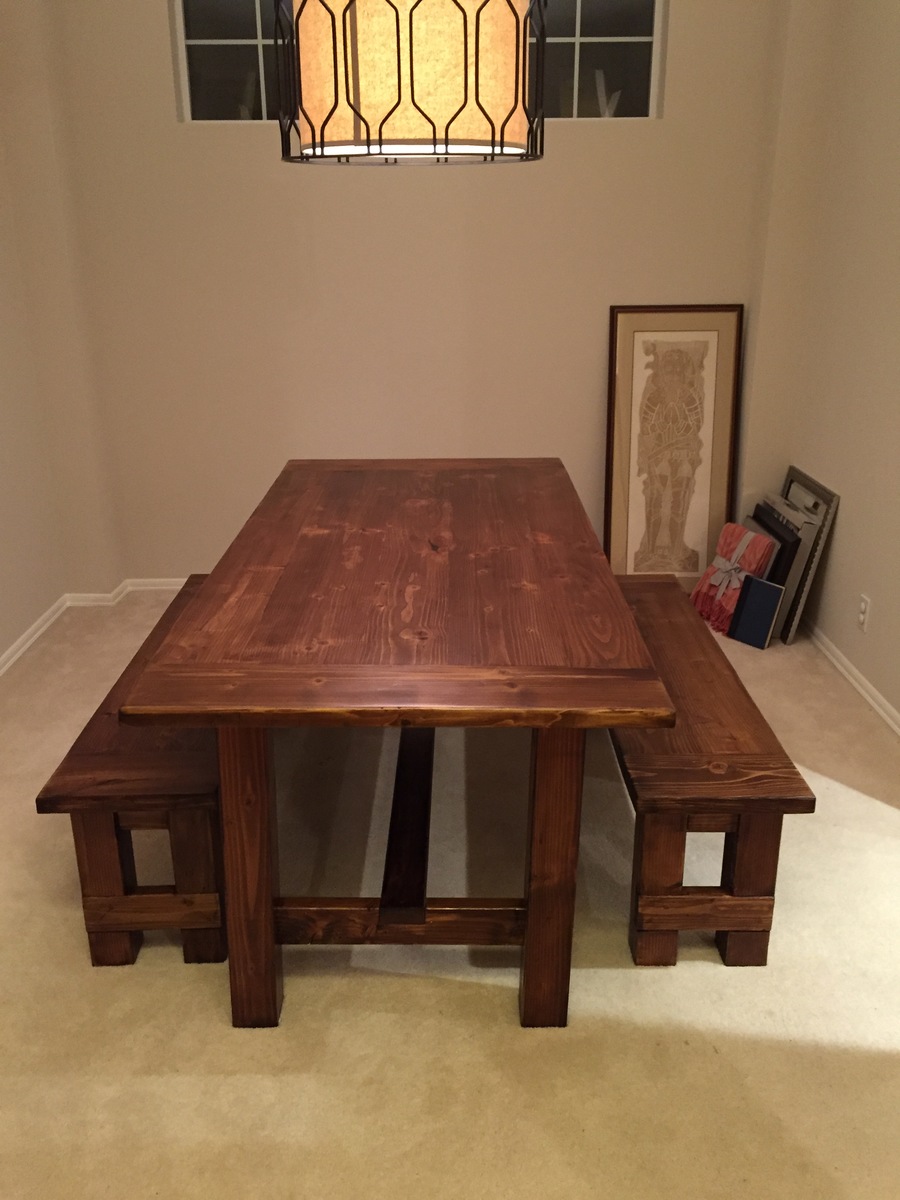
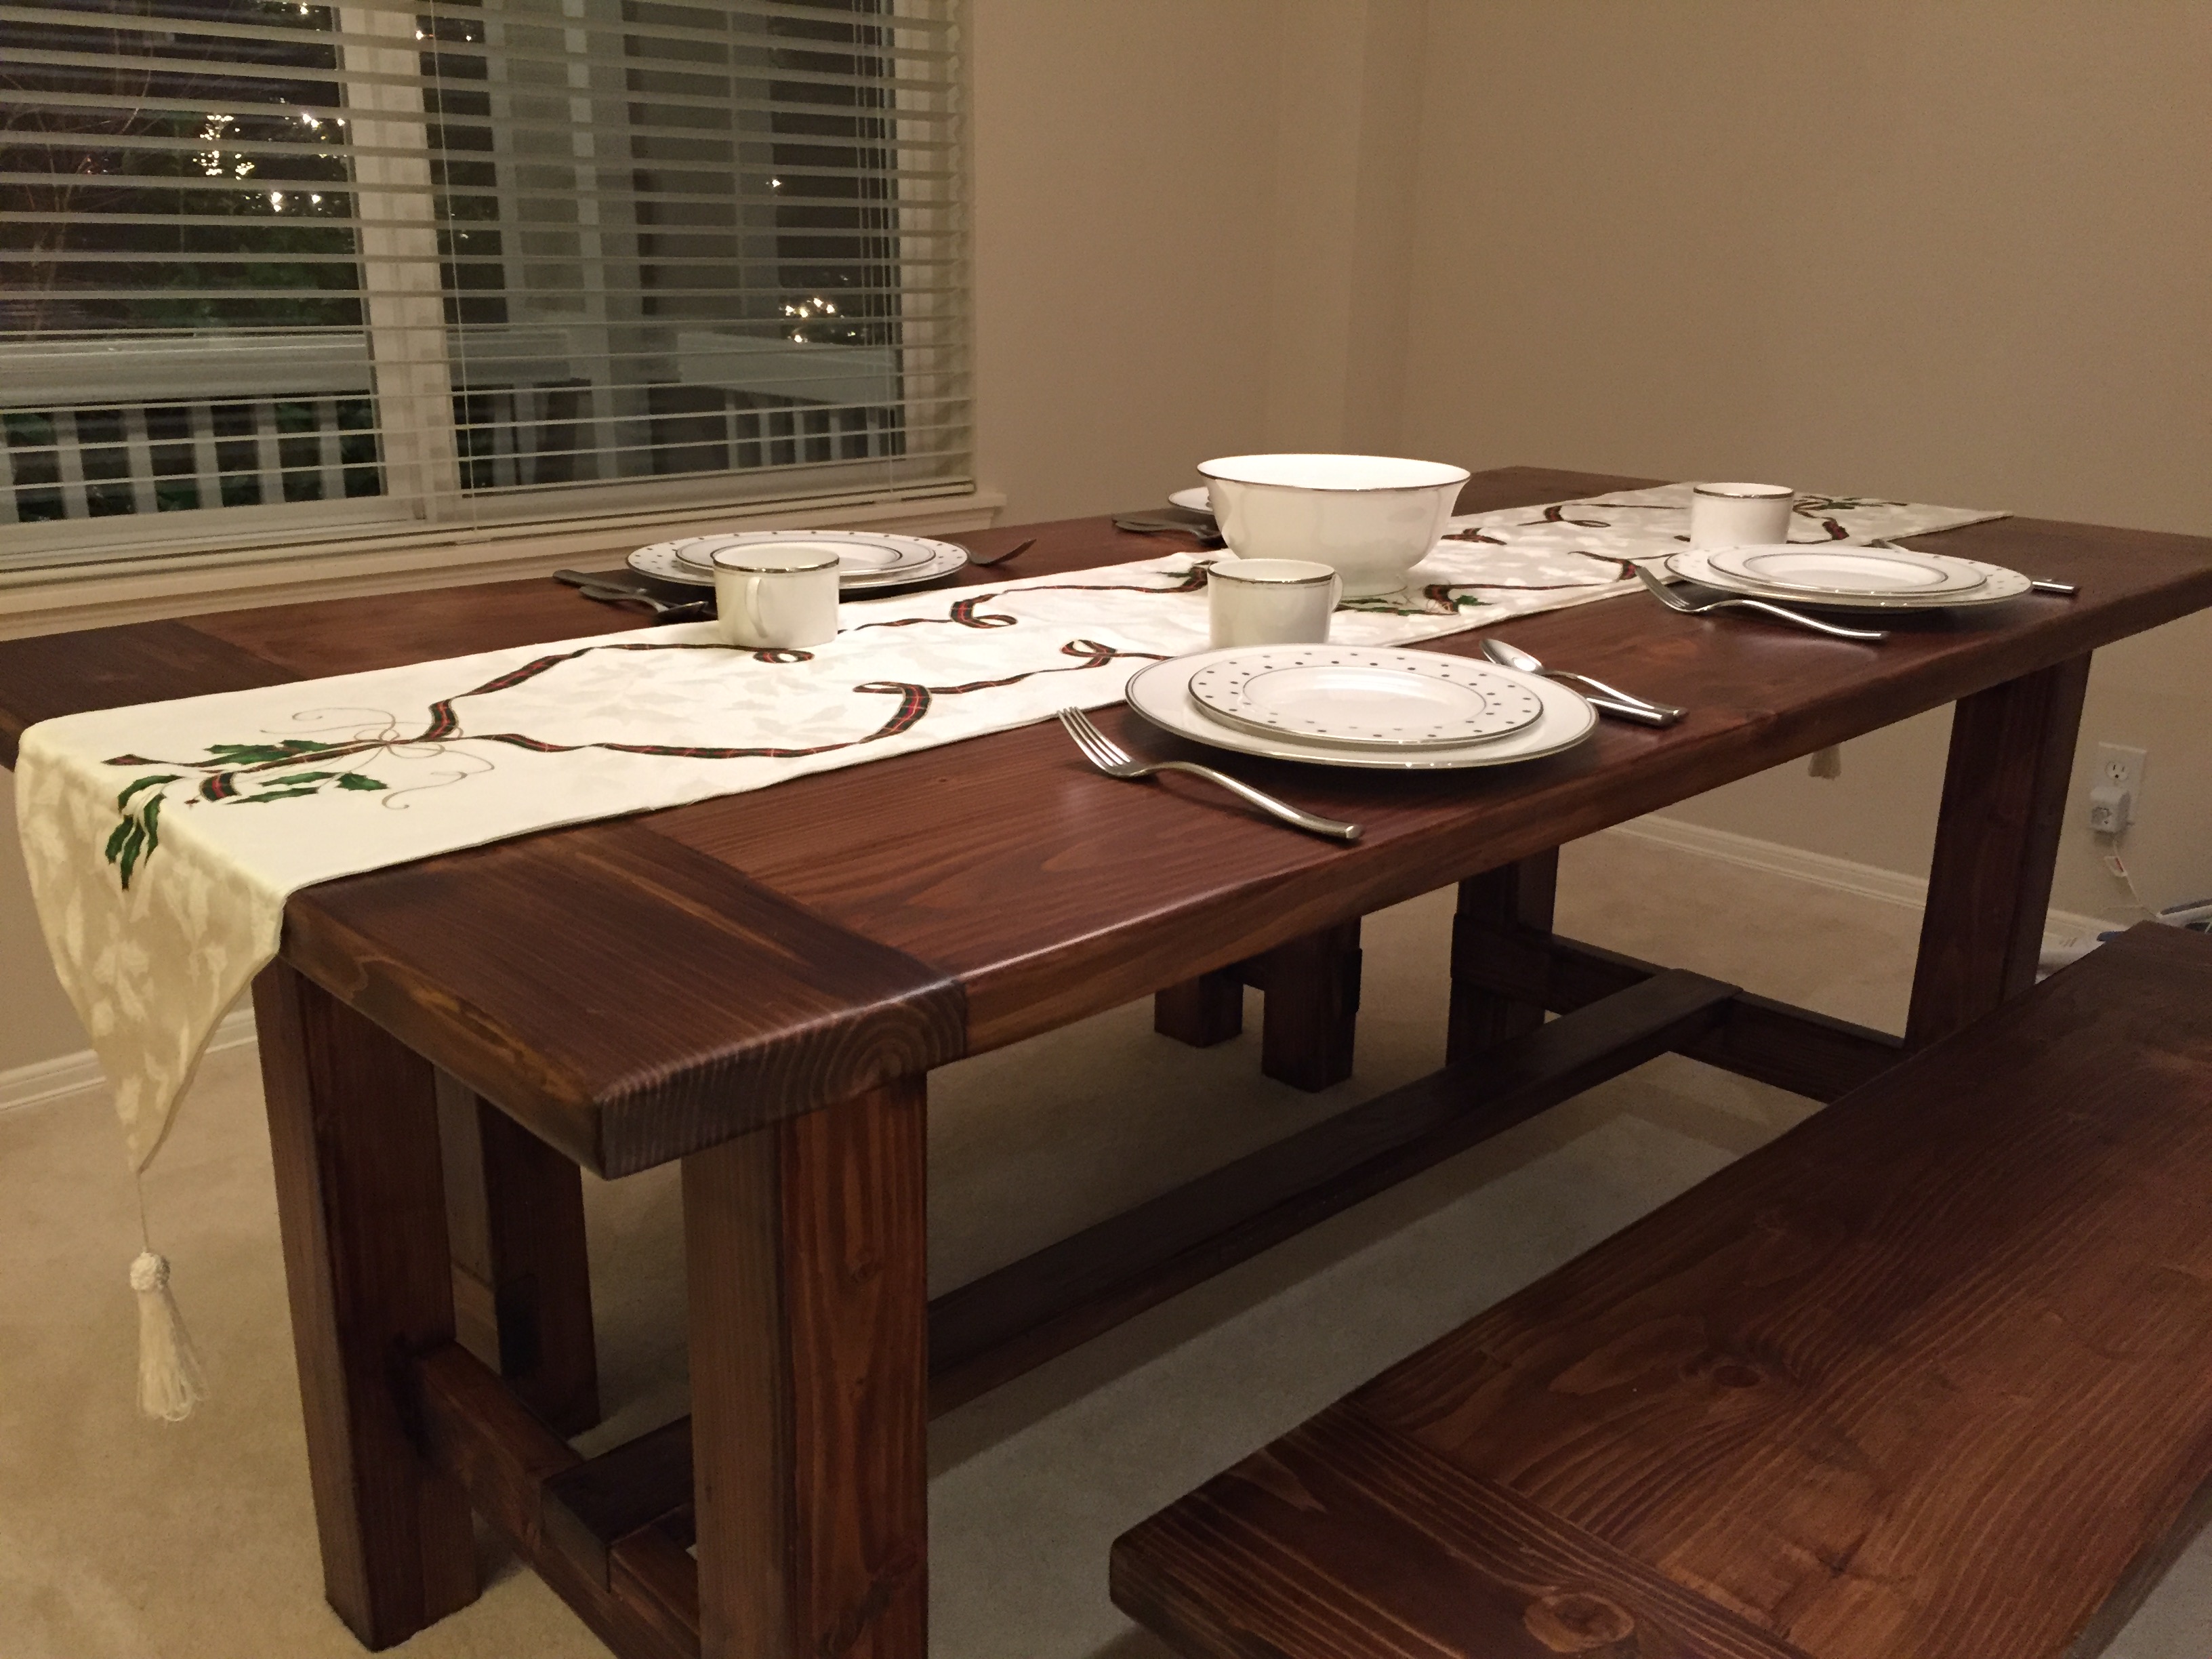
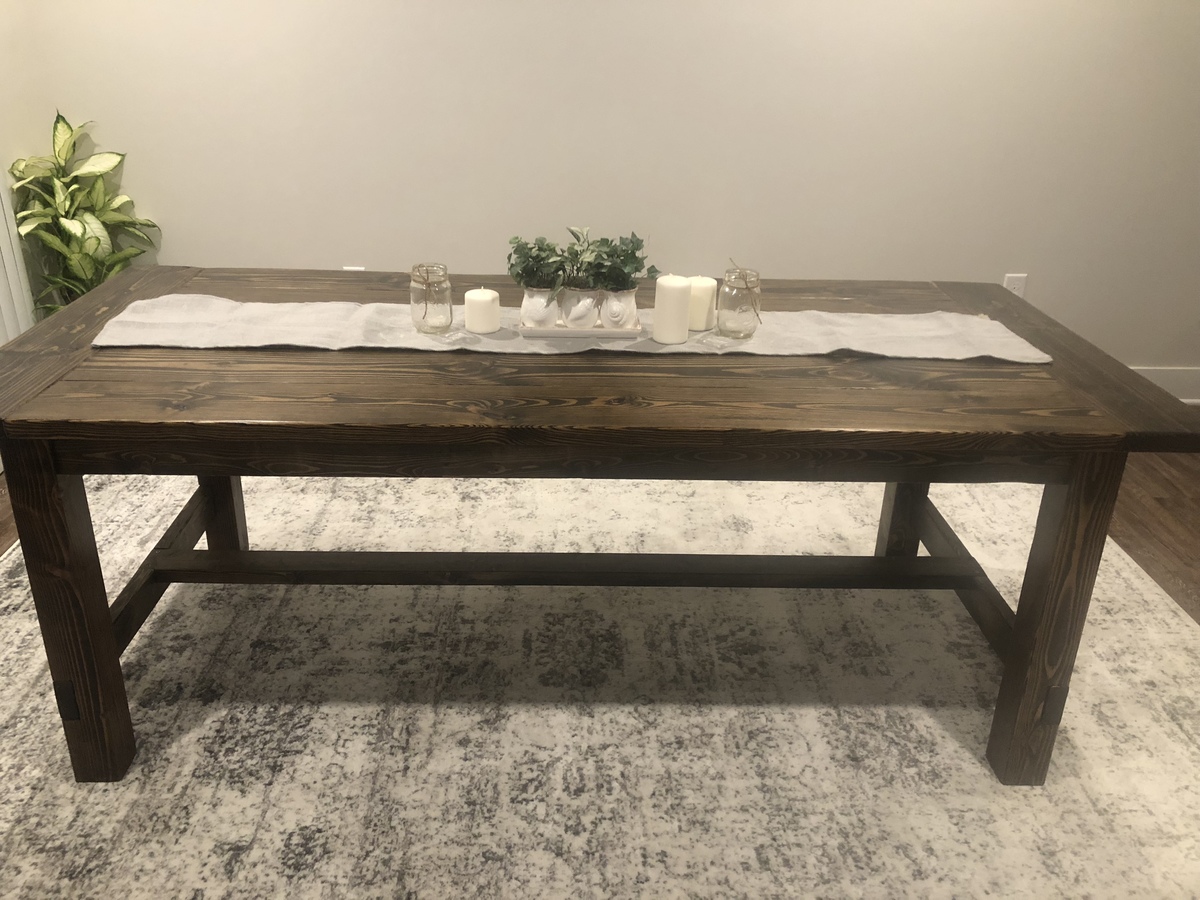
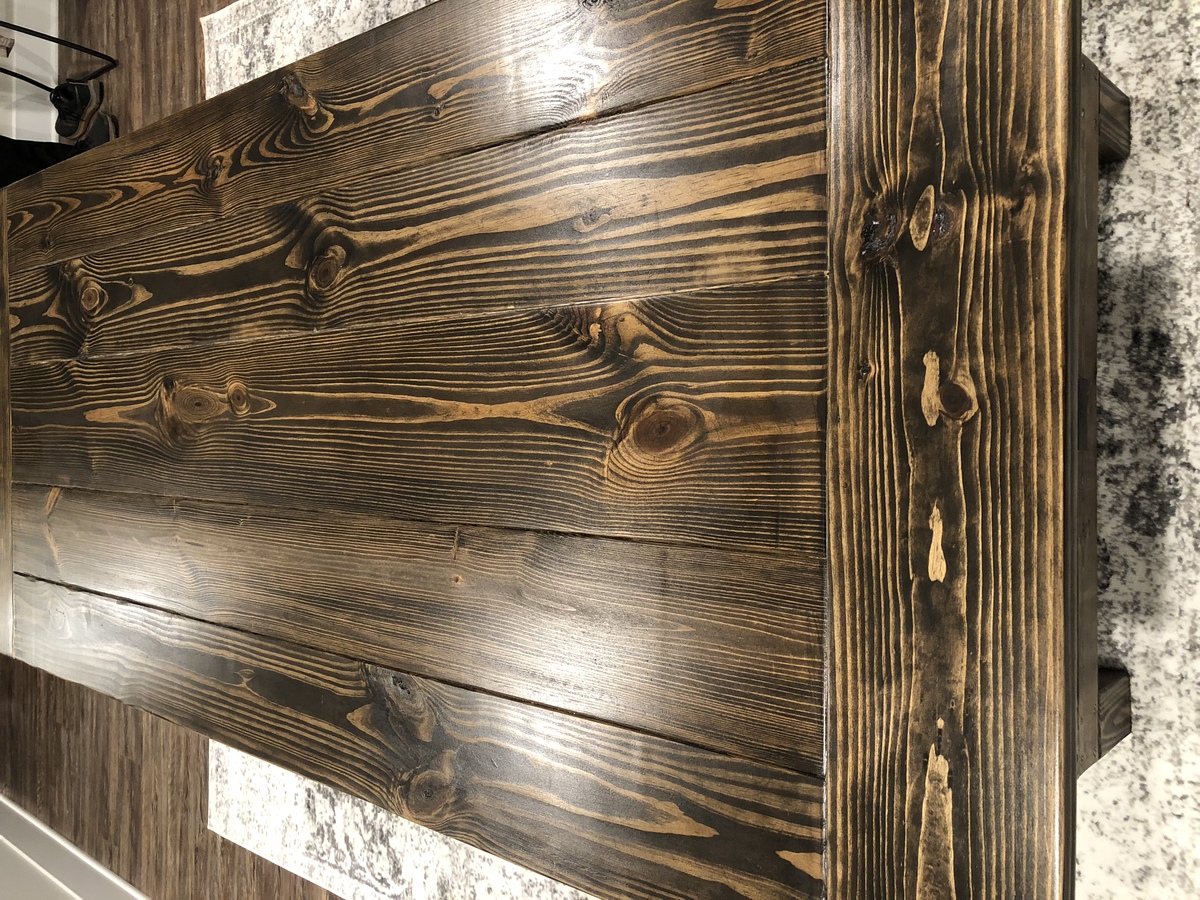
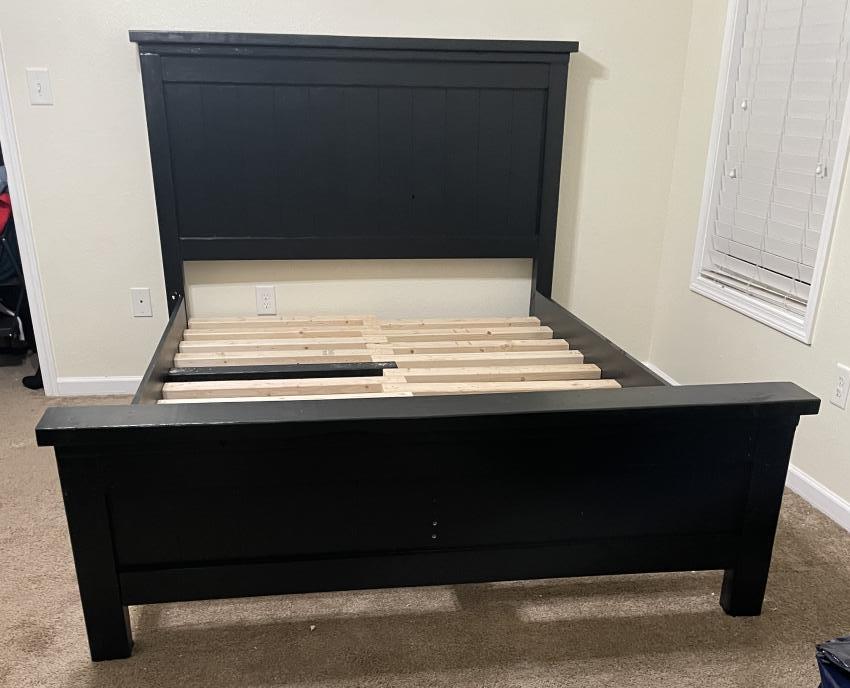
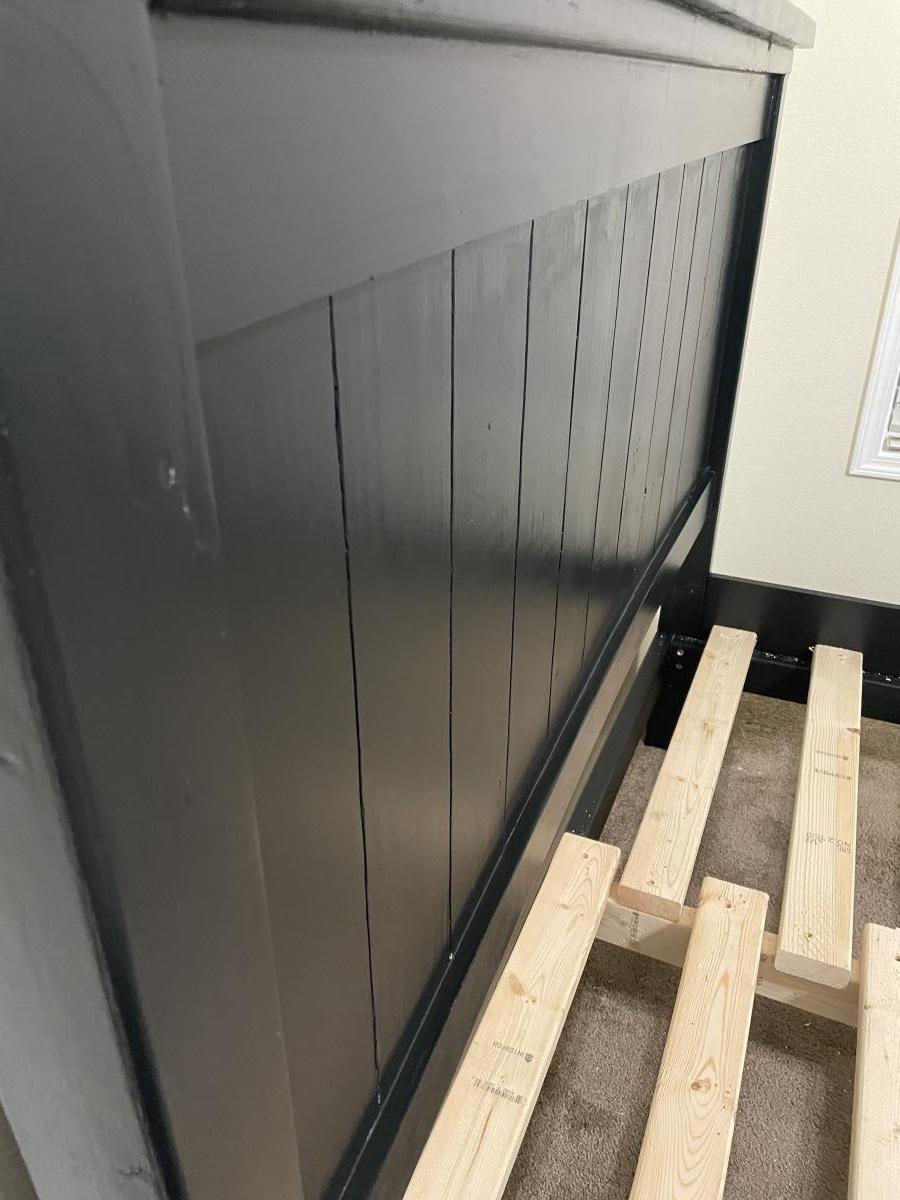
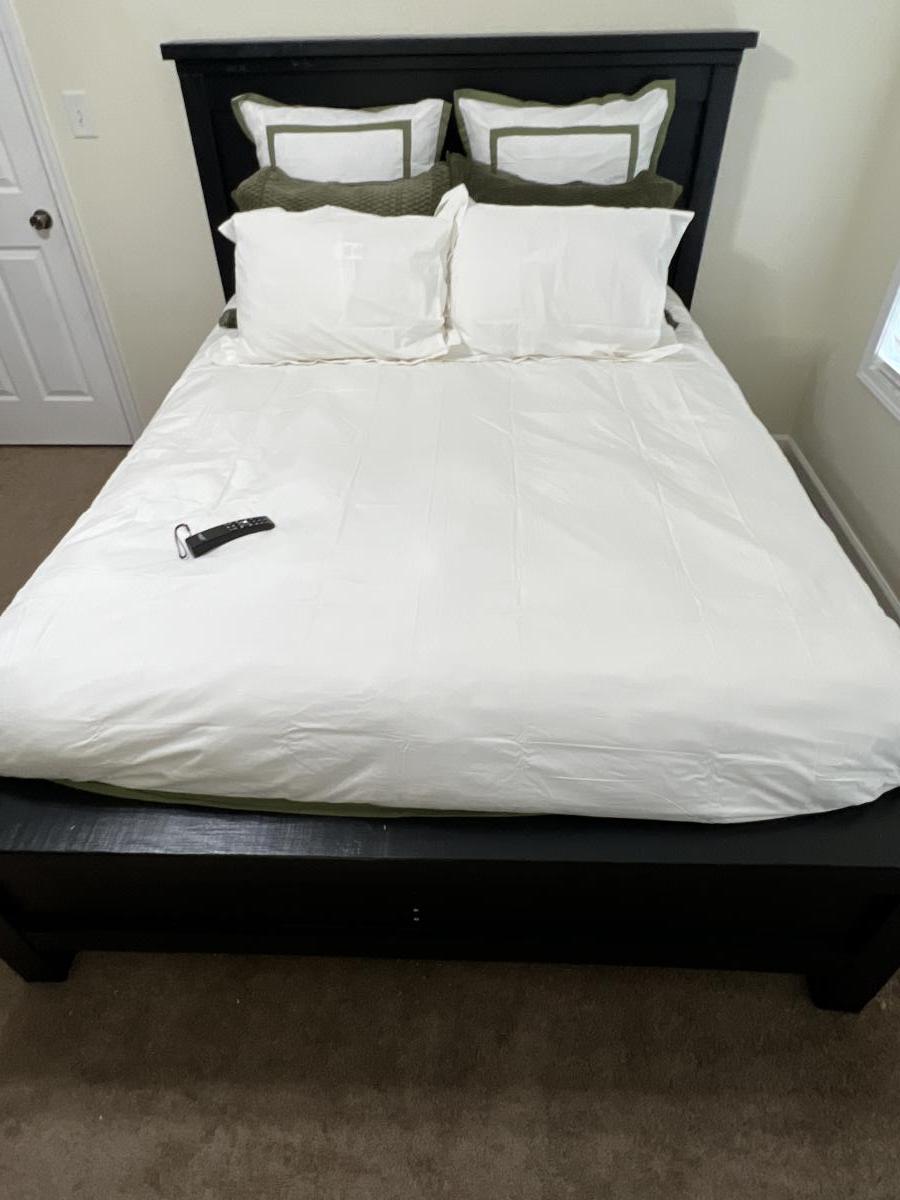
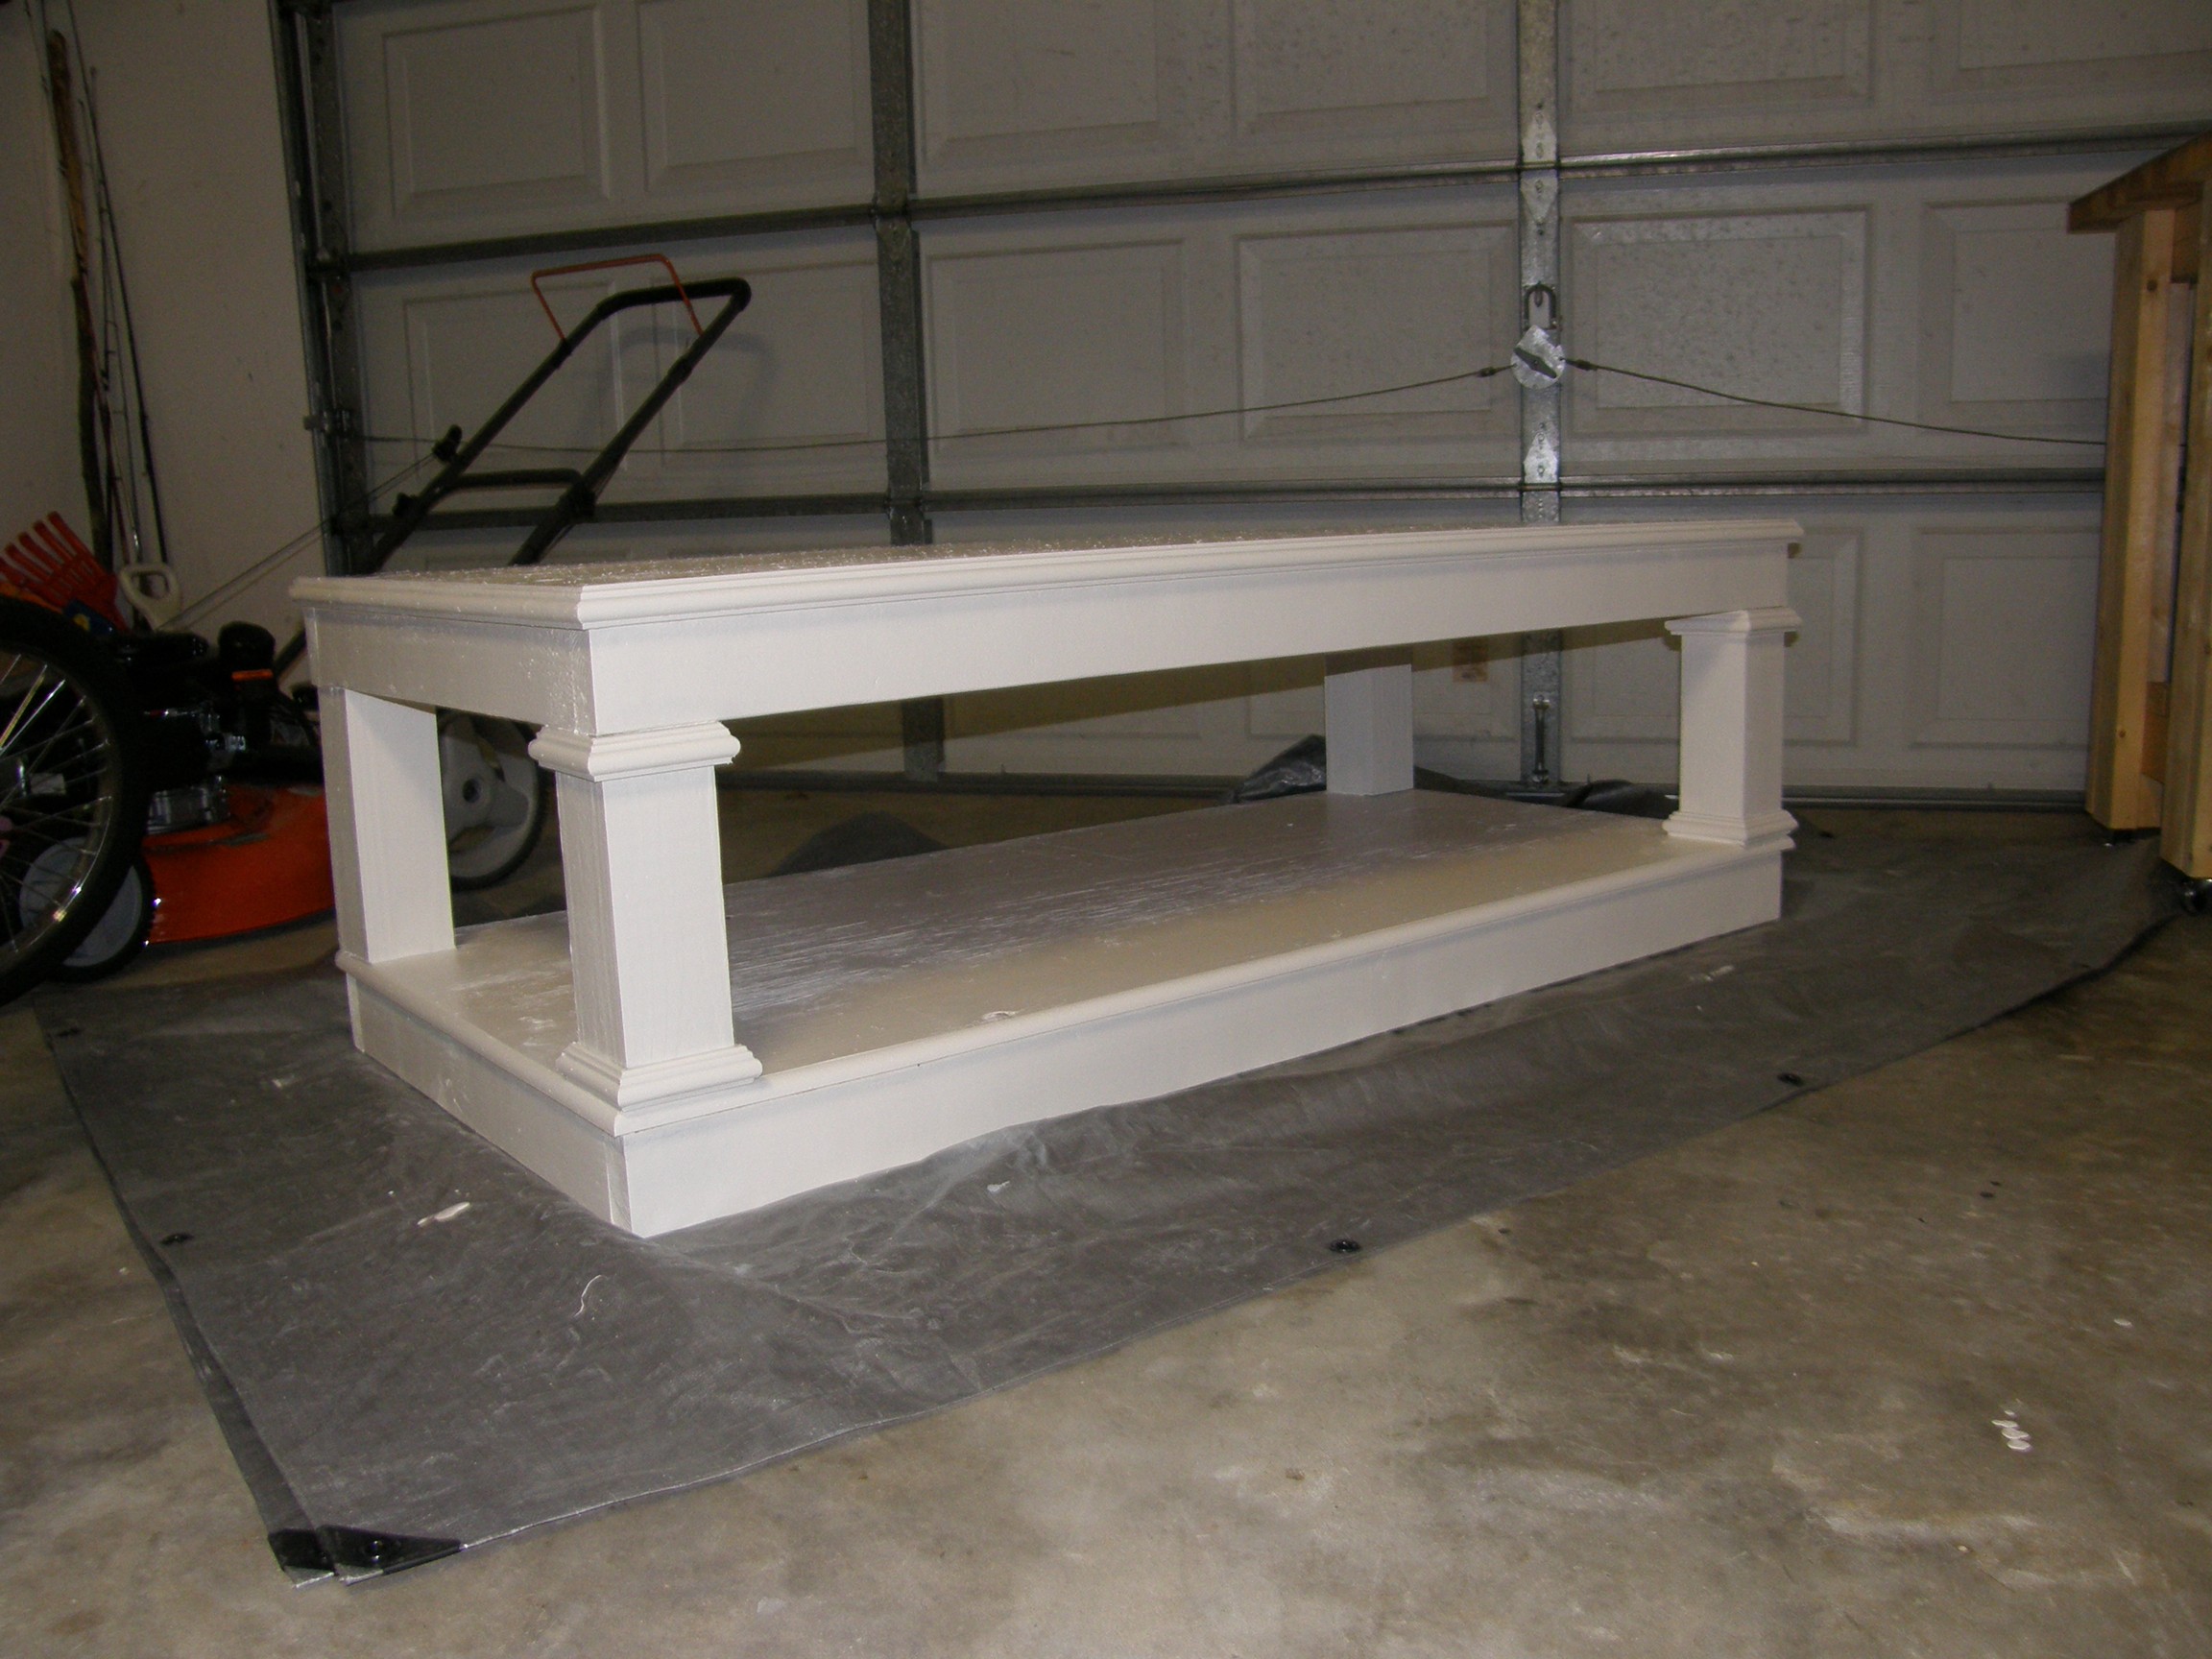
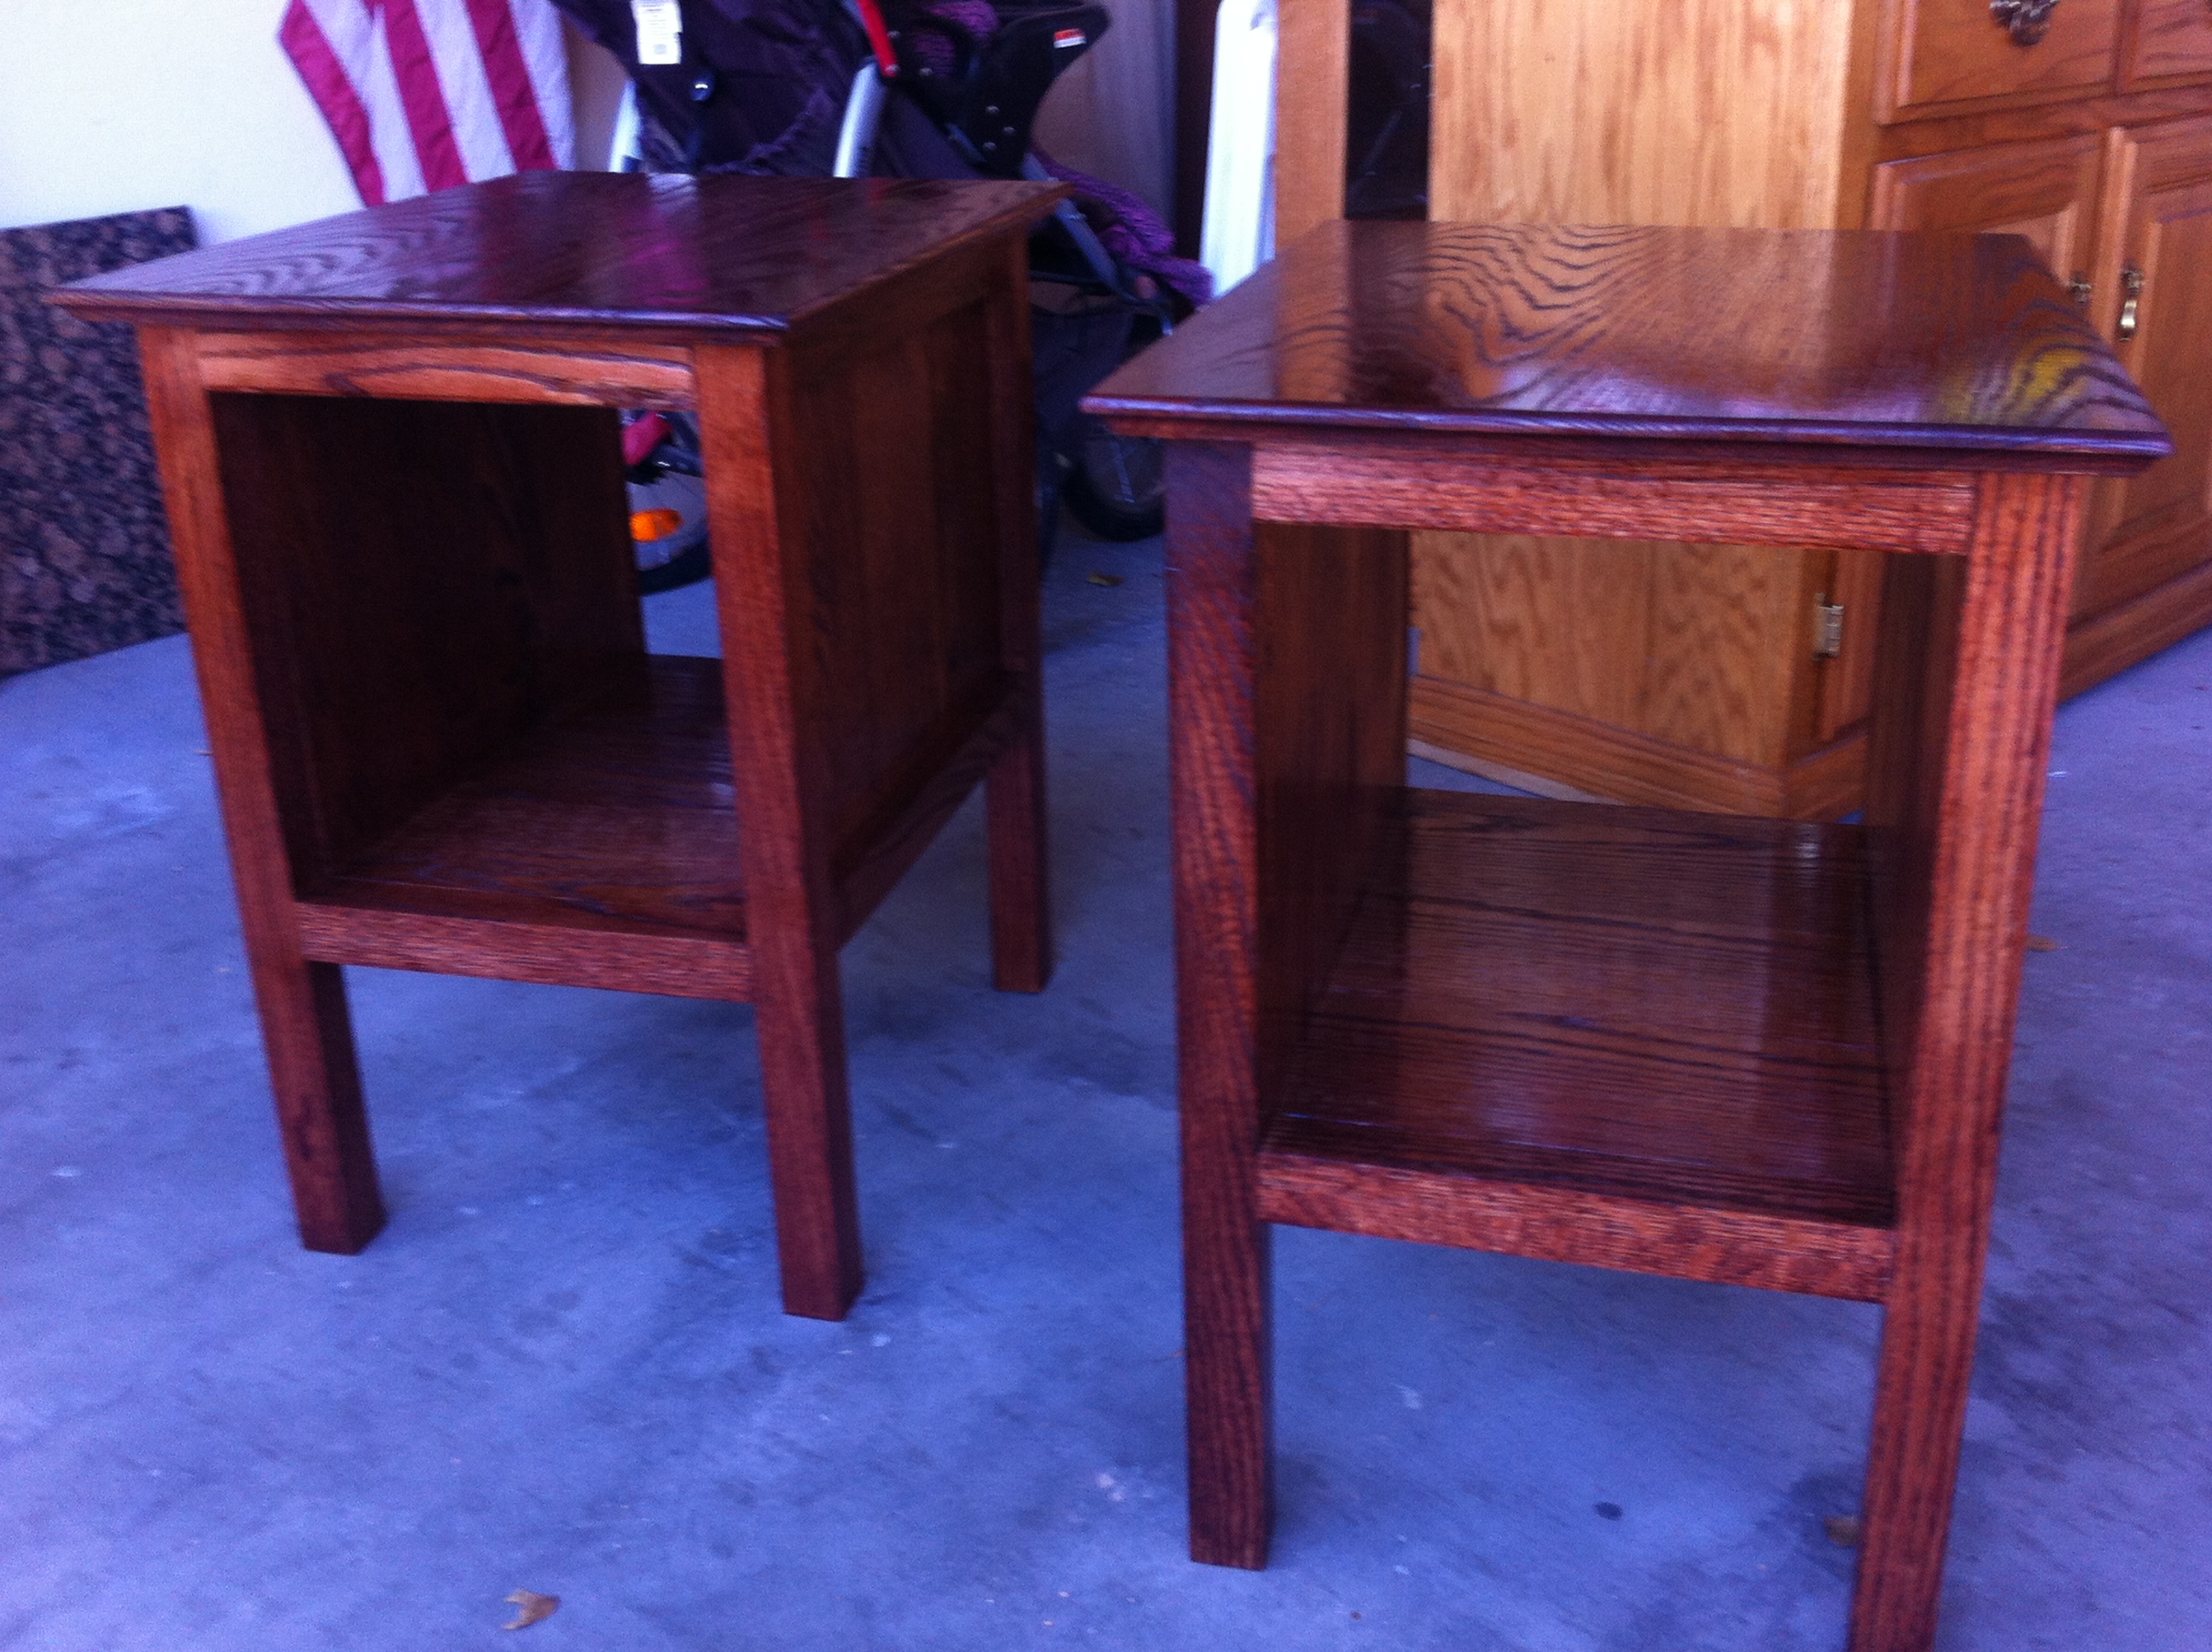
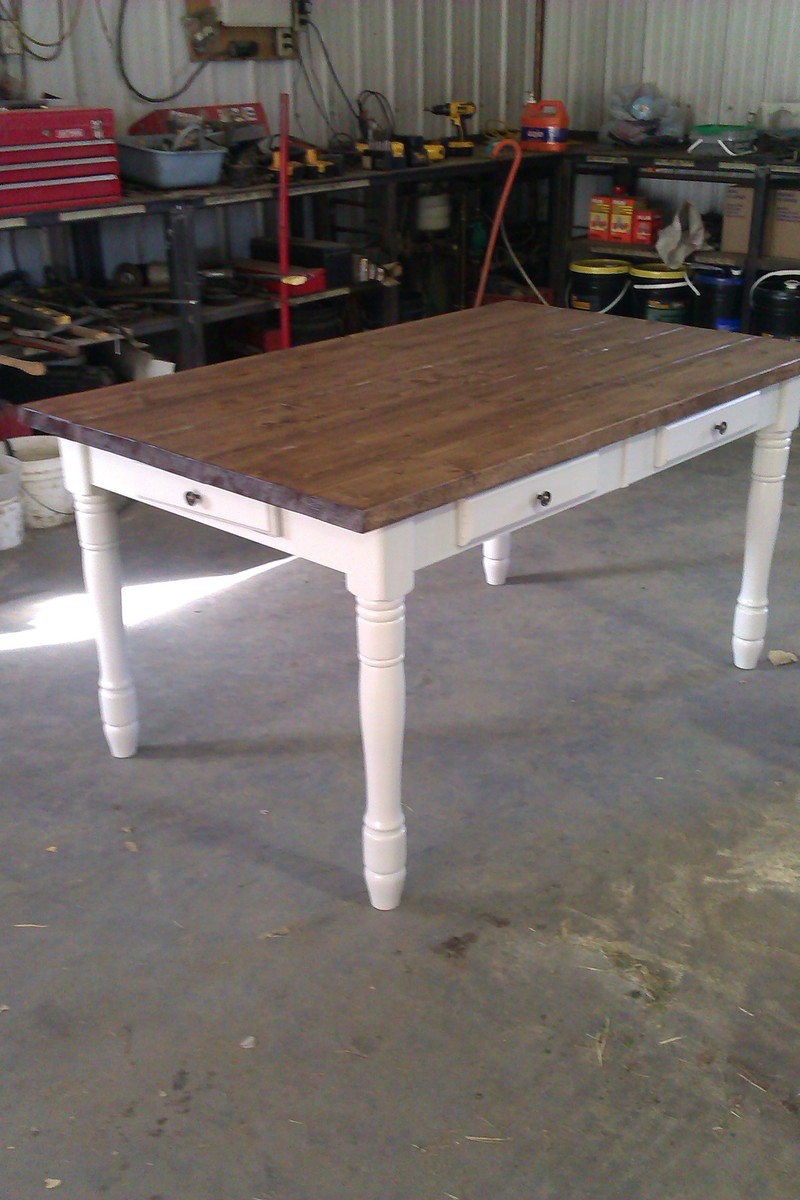
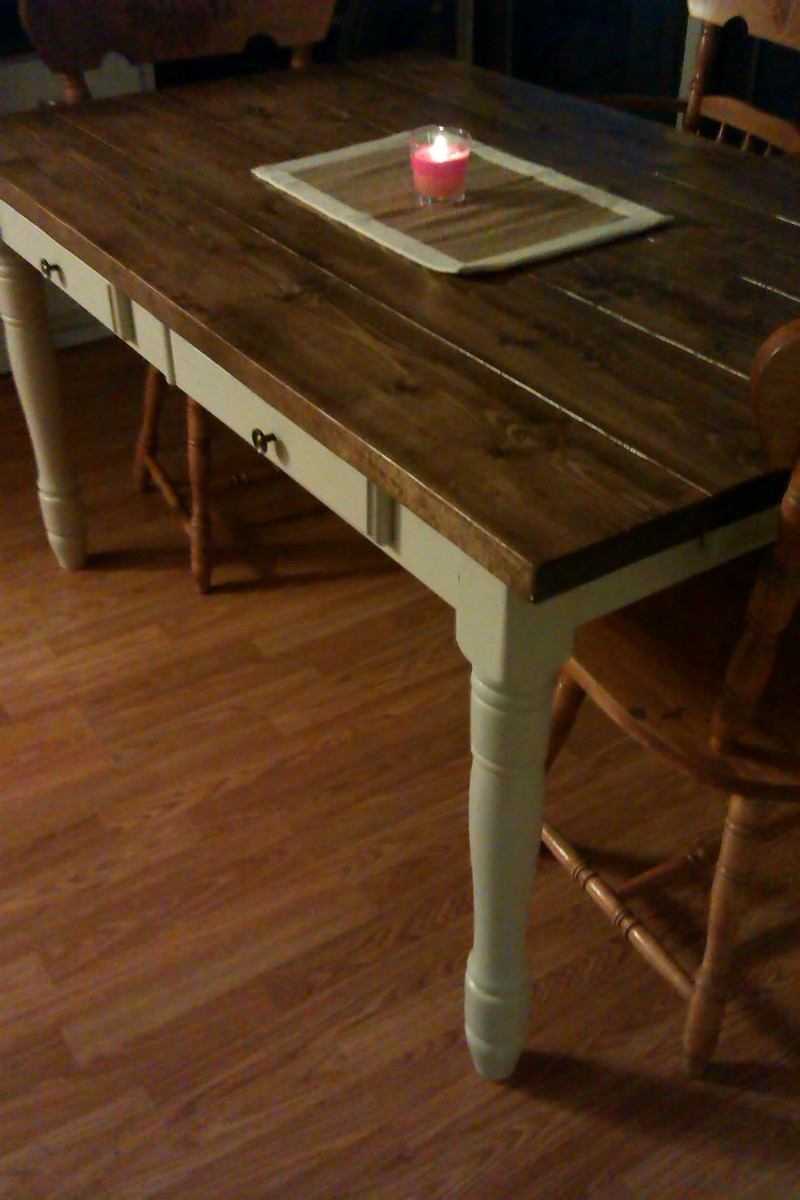
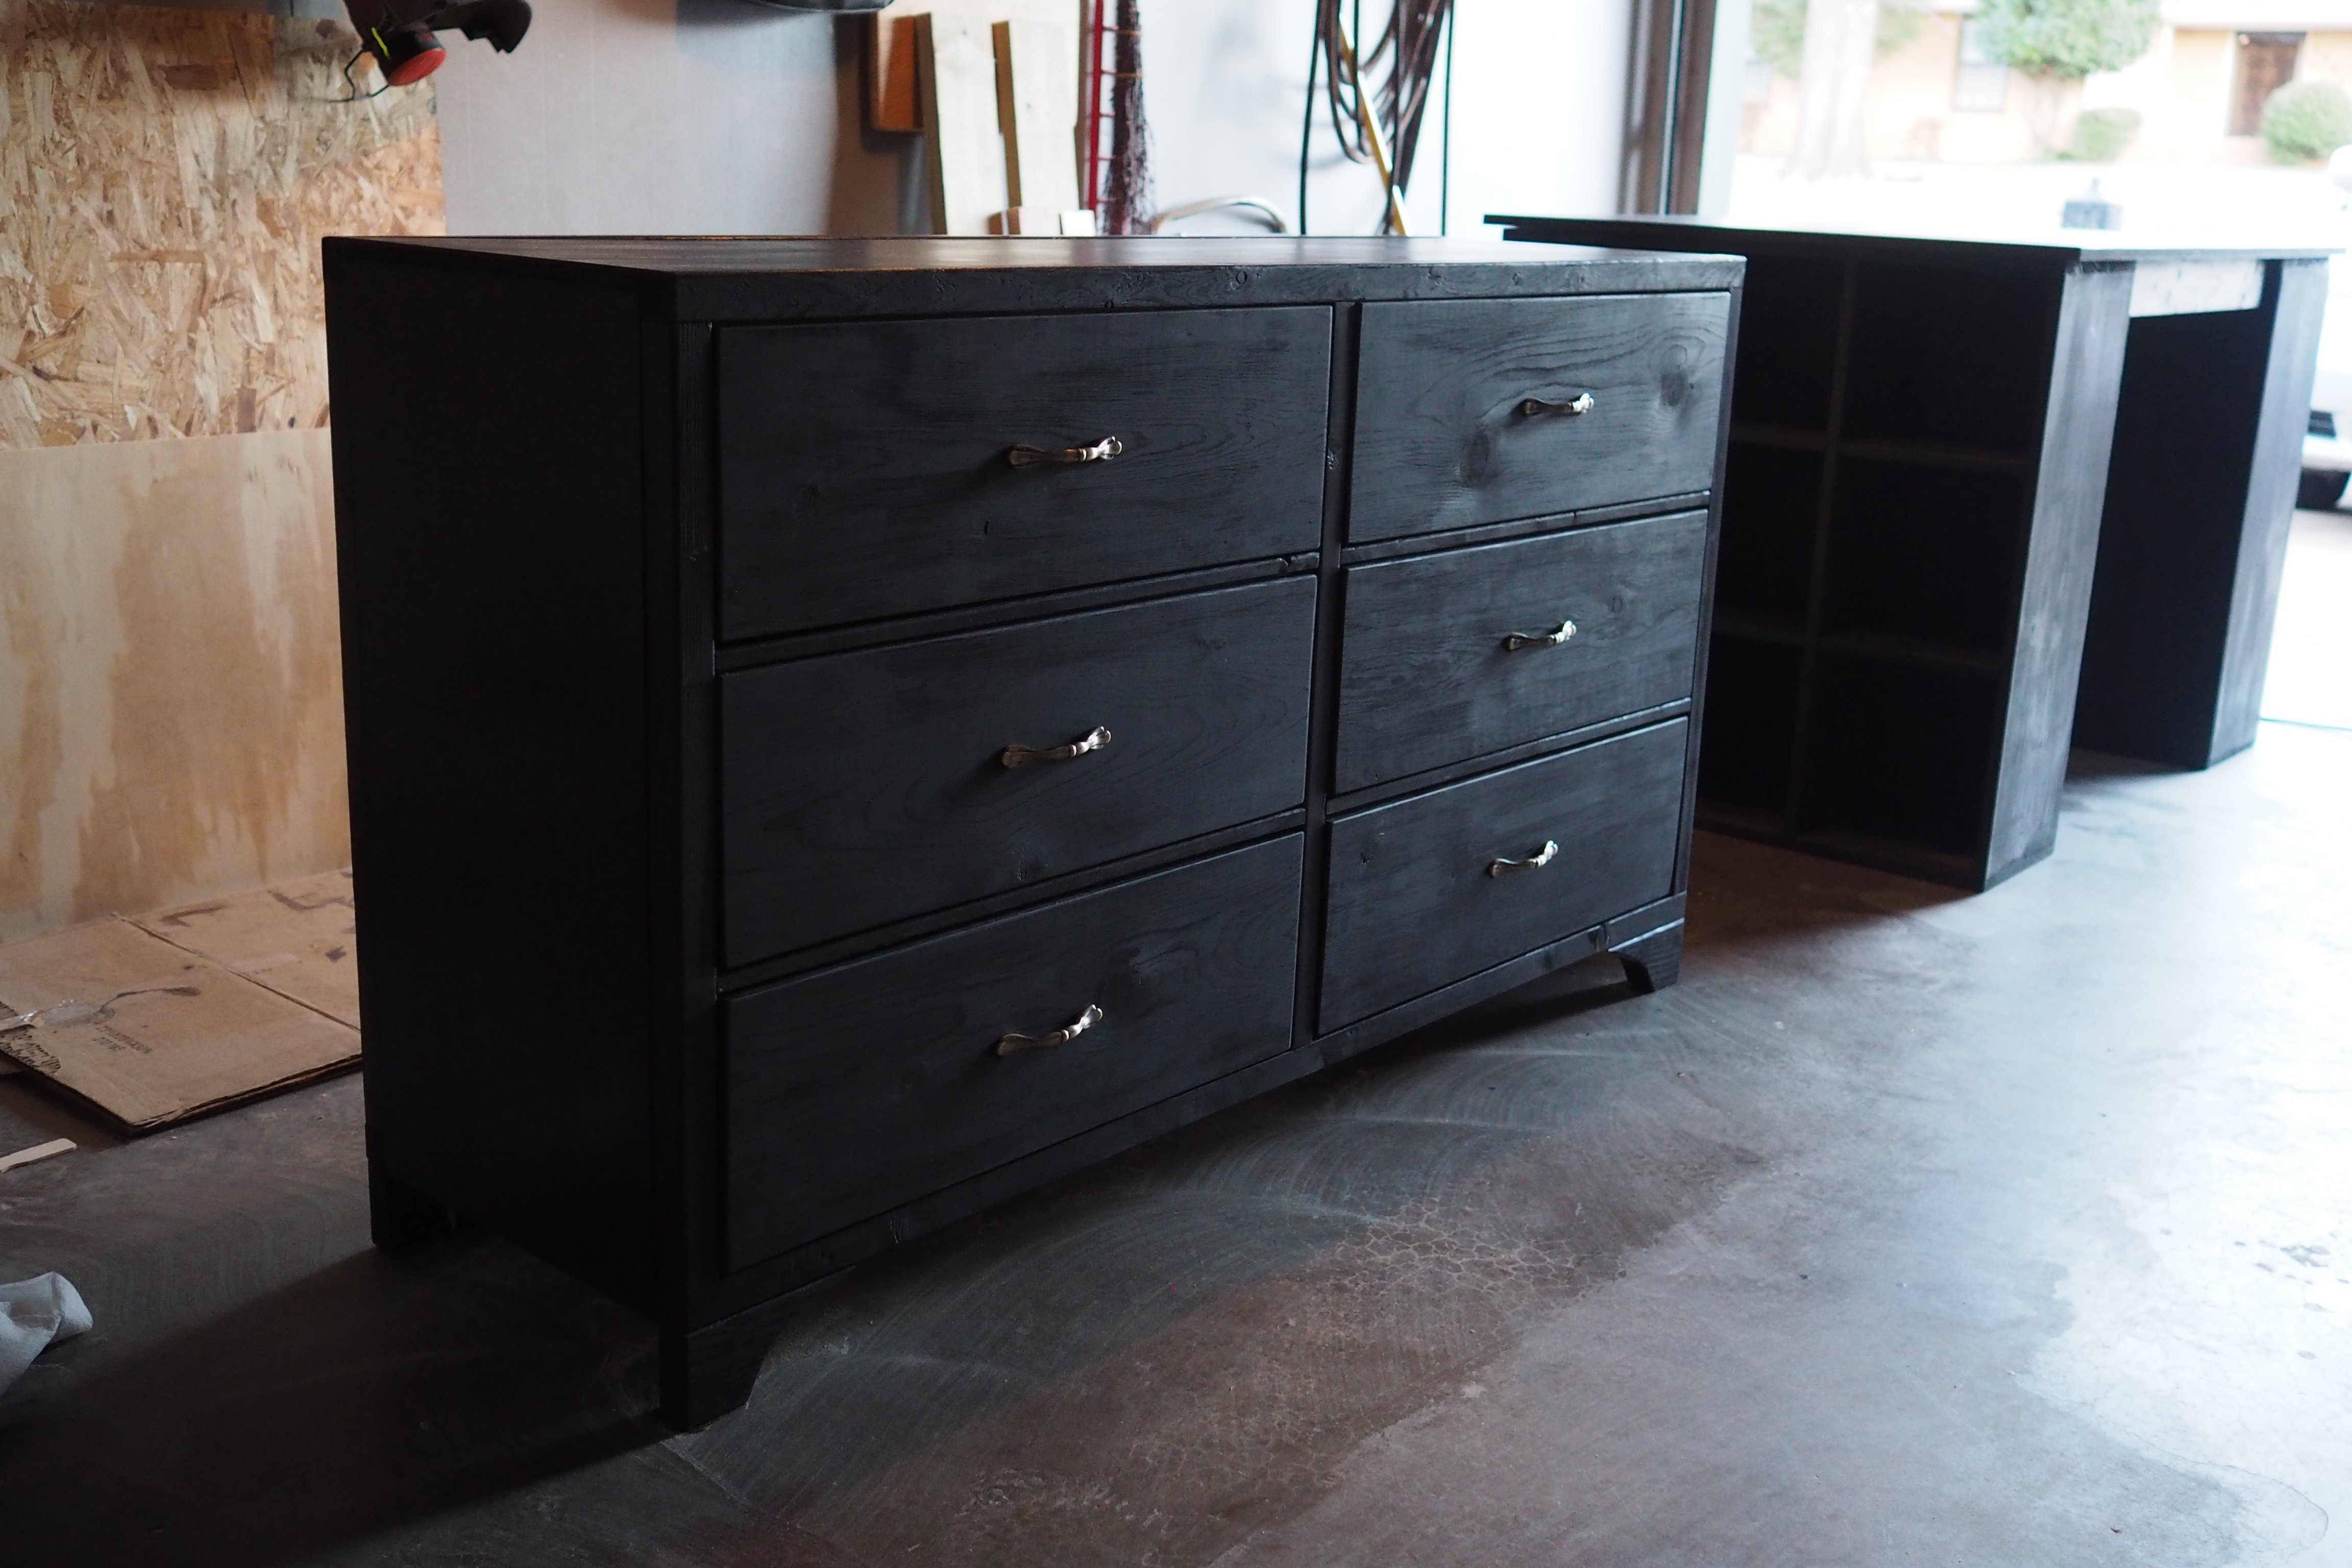
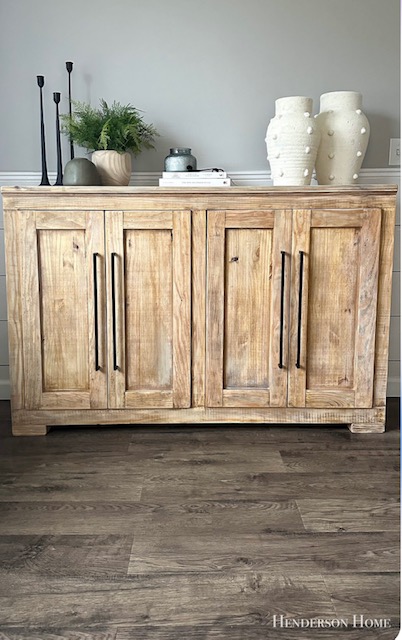
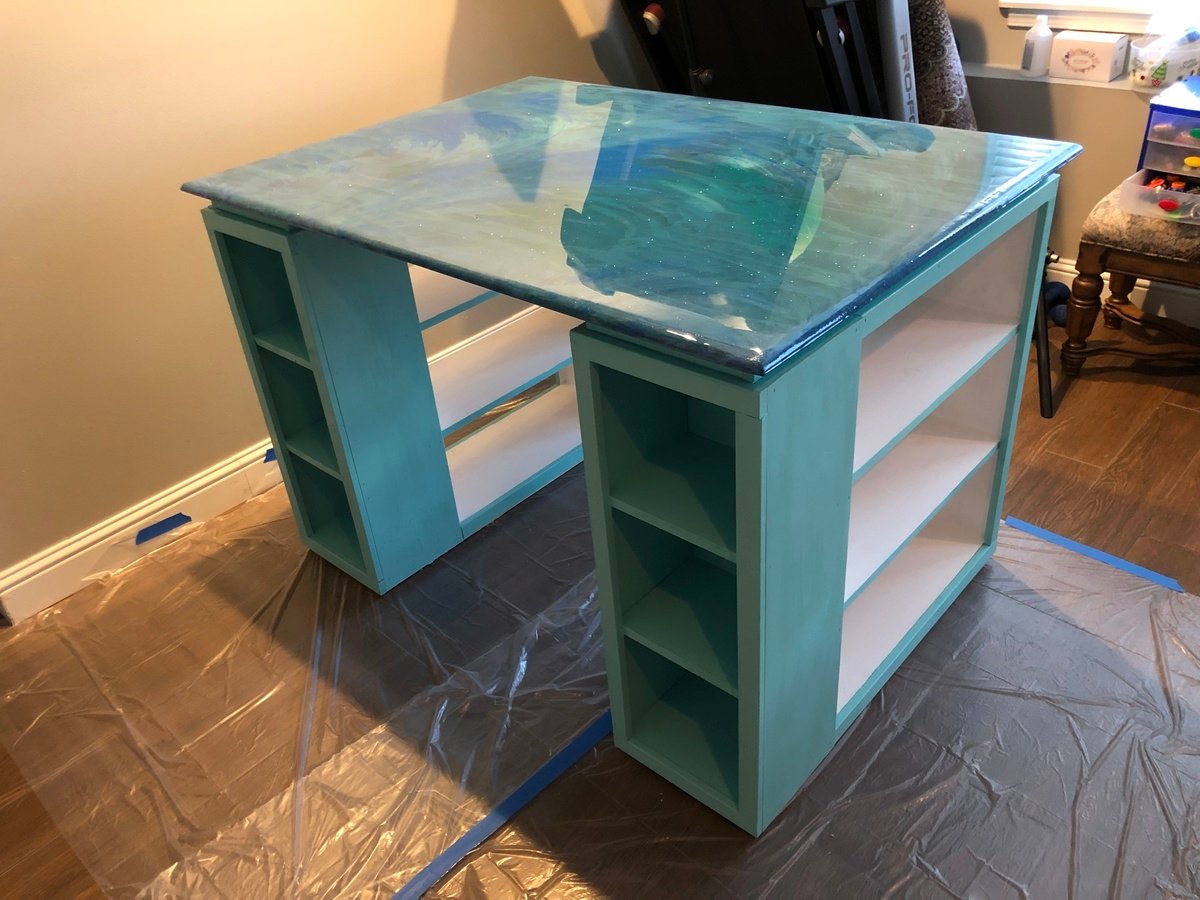
our modified version of printers sideboard
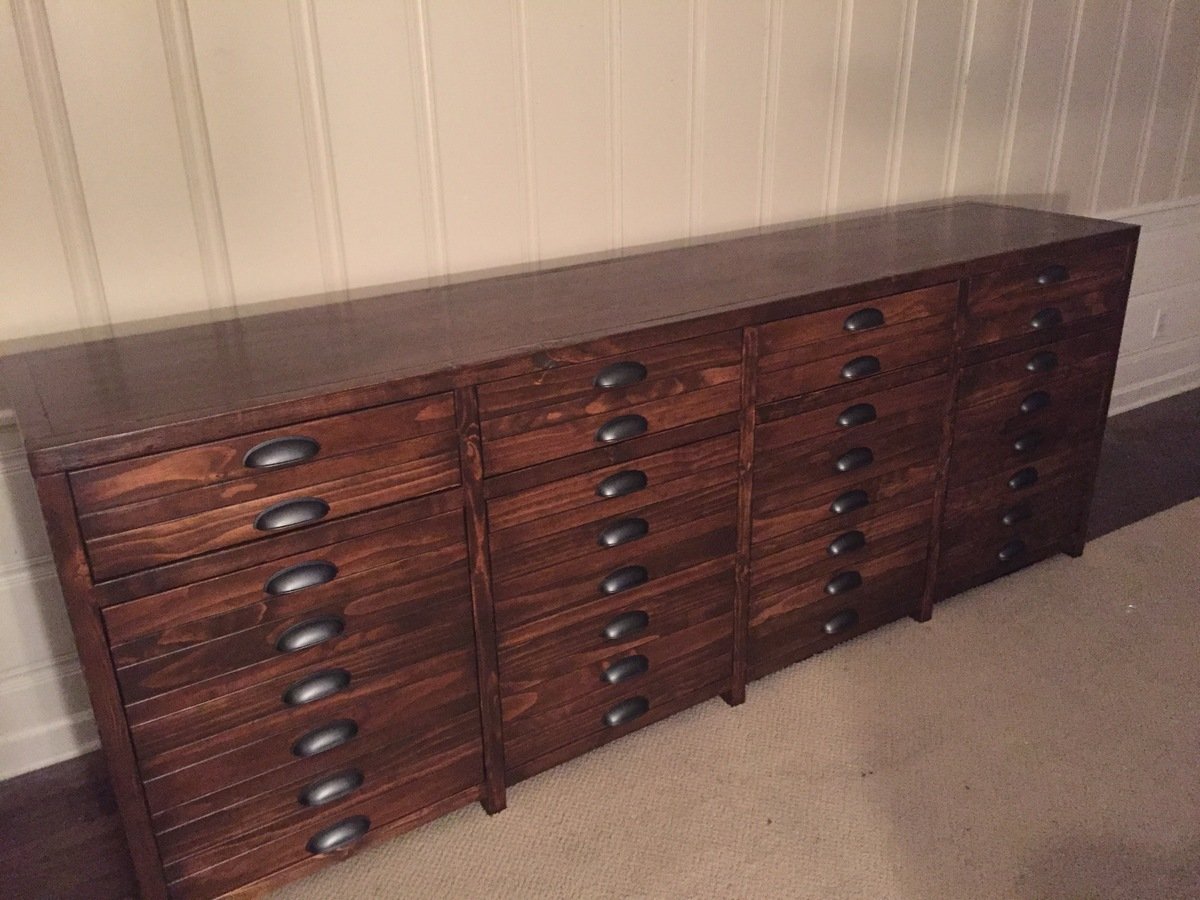
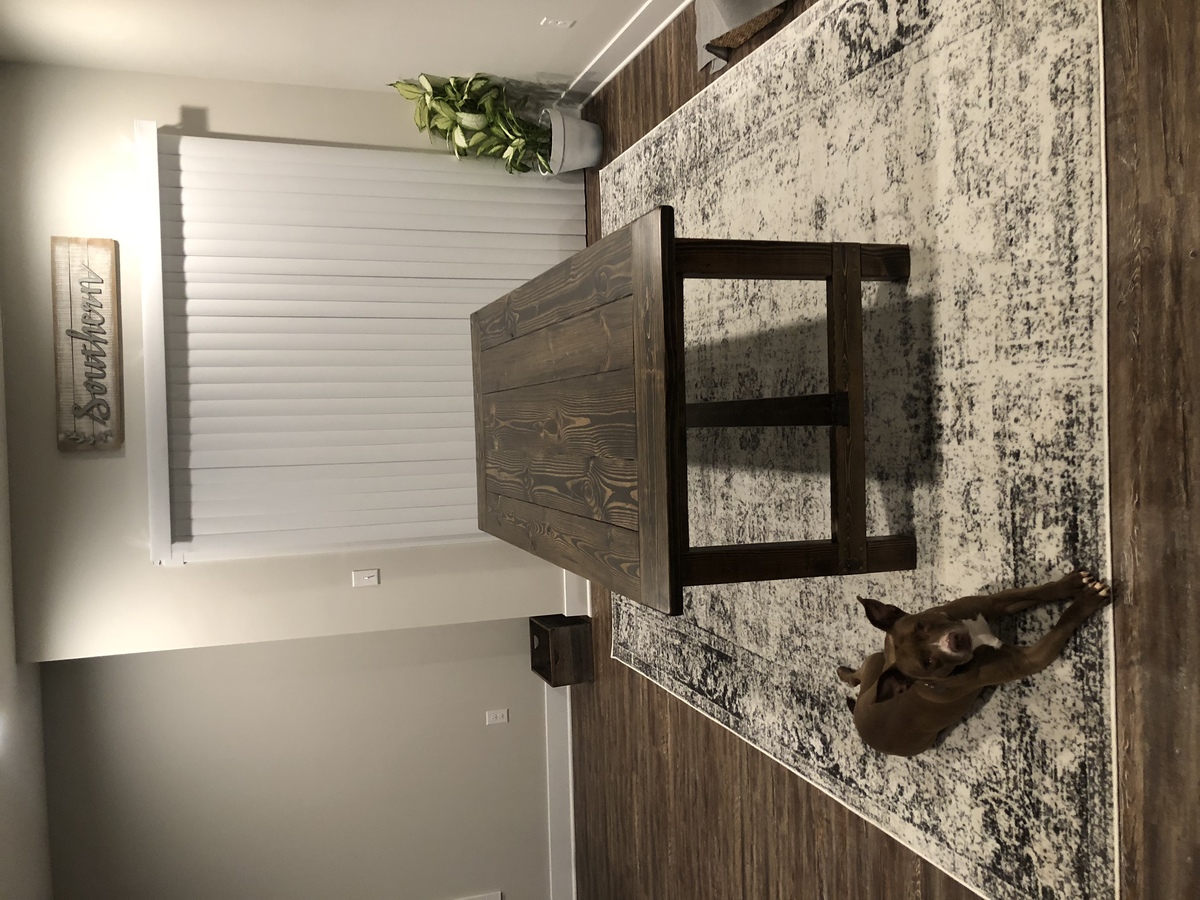
we took Ana's plans and modified them to fit our space. I ended up routing the edges of the 1x3 and 1x2s for the door and drawer fronts to give more definition between the boards to help with the illusion of seperate drawers. I absolutely love how this turned out!
Built from Plan(s)
Estimated Cost
400 including hardware
Estimated Time Investment
Week Long Project (20 Hours or More)
Finish Used
General finishes antique walnut gel stain and high performance top coat
Recommended Skill Level
Intermediate


Comments
handmadewithash
Mon, 12/21/2015 - 15:20
this looks great! That's a
this looks great! That's a neat idea about routing the edges. I started this project a year ago, but I've picked it up again. Where did you purchase your pulls from? I'm having the hardest time decided which ones to go with.