Community Brag Posts

Walnut Sideboard Variation
Submitted by DanGuyver on Mon, 02/02/2015 - 17:08

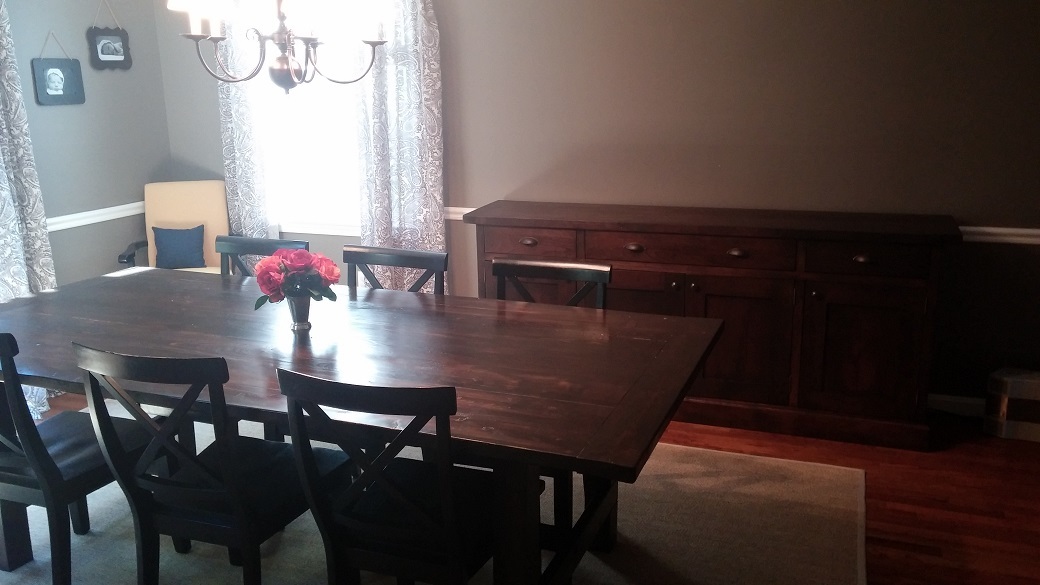
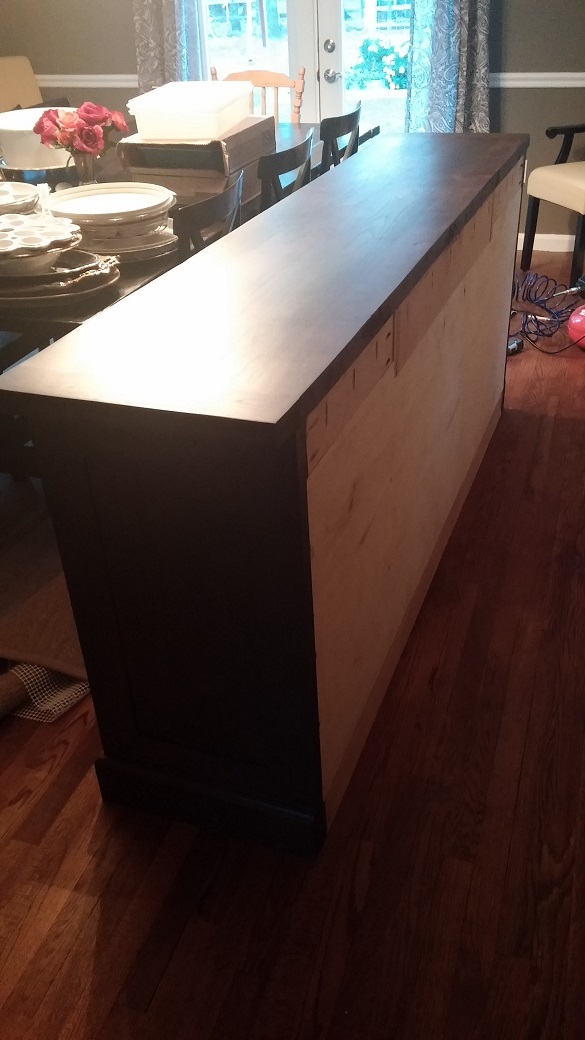
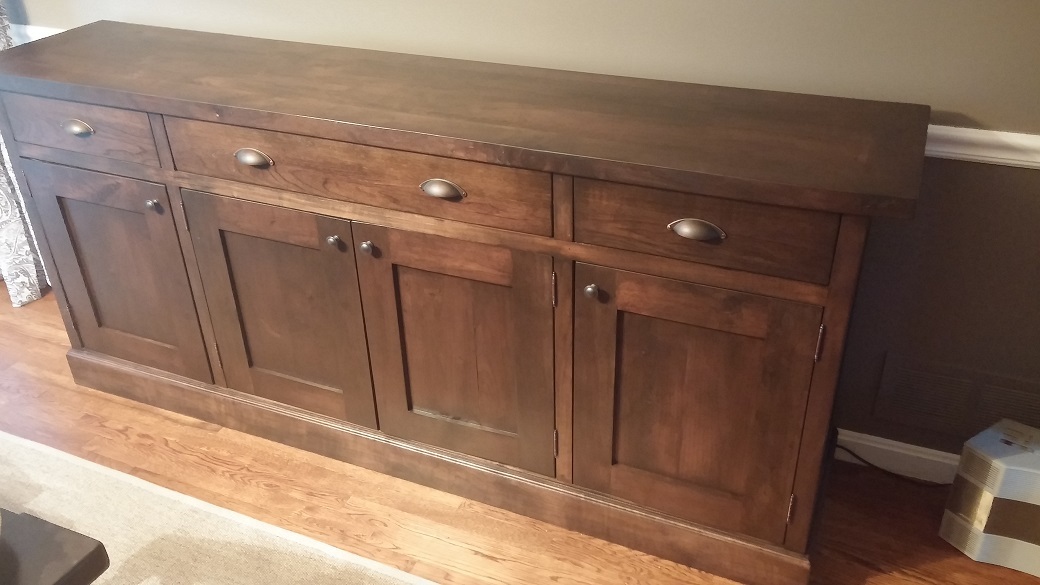
This project was a labor of love for sure.  It took me an hour here, an hour there over the course of several months before I finally finished it.  I have never felt so proud of something I built, and I truly could not have done it without the plans written up on this site!  Thank you so very much for the service you provide with your free plans!  

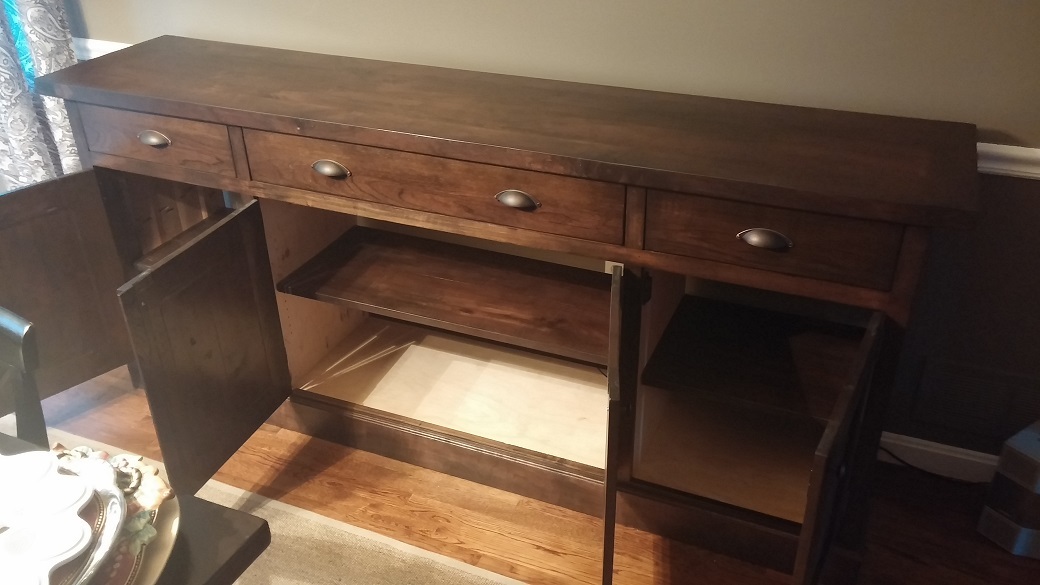
I started with rough-cut American walnut from a guy's basement.  It had been stored for over 50 years in a nice dry climate.  After planing it, running it through a jointer, and trimming off the crooked parts with my table saw, I was able to get everything to line up pretty well.   I will say the drawers sure gave me a run for my money!  Those are so difficult to get perfect! 

The stain I used is a Kona stain from Varathane.  I truly couldn't be more pleased with how it turned out.
Built from Plan(s)
Estimated Cost
$400
Finish Used
Varathane Kona
Recommended Skill Level
Intermediate

Comments

JoanneS

Mon, 02/02/2015 - 18:10

This walnut sideboard has real Wow factor! Absolutely love! The finish looks awesome, and I'm so impressed with all the work you put into making the old walnut boards ready for building. It's an Instant Heirloom!

DanGuyver

Wed, 02/04/2015 - 06:14

Thanks for the comments! I should also mention, that table was the "Rustic Farmhouse" from this site as well. And since that picture was taken I have built two more pieces from this site. I found a source for rough-cut oak lumber, and also managed to win an auction for a huge stack of maple that is currently drying in my basement. Hopefully I'll have many more projects coming soon. =)
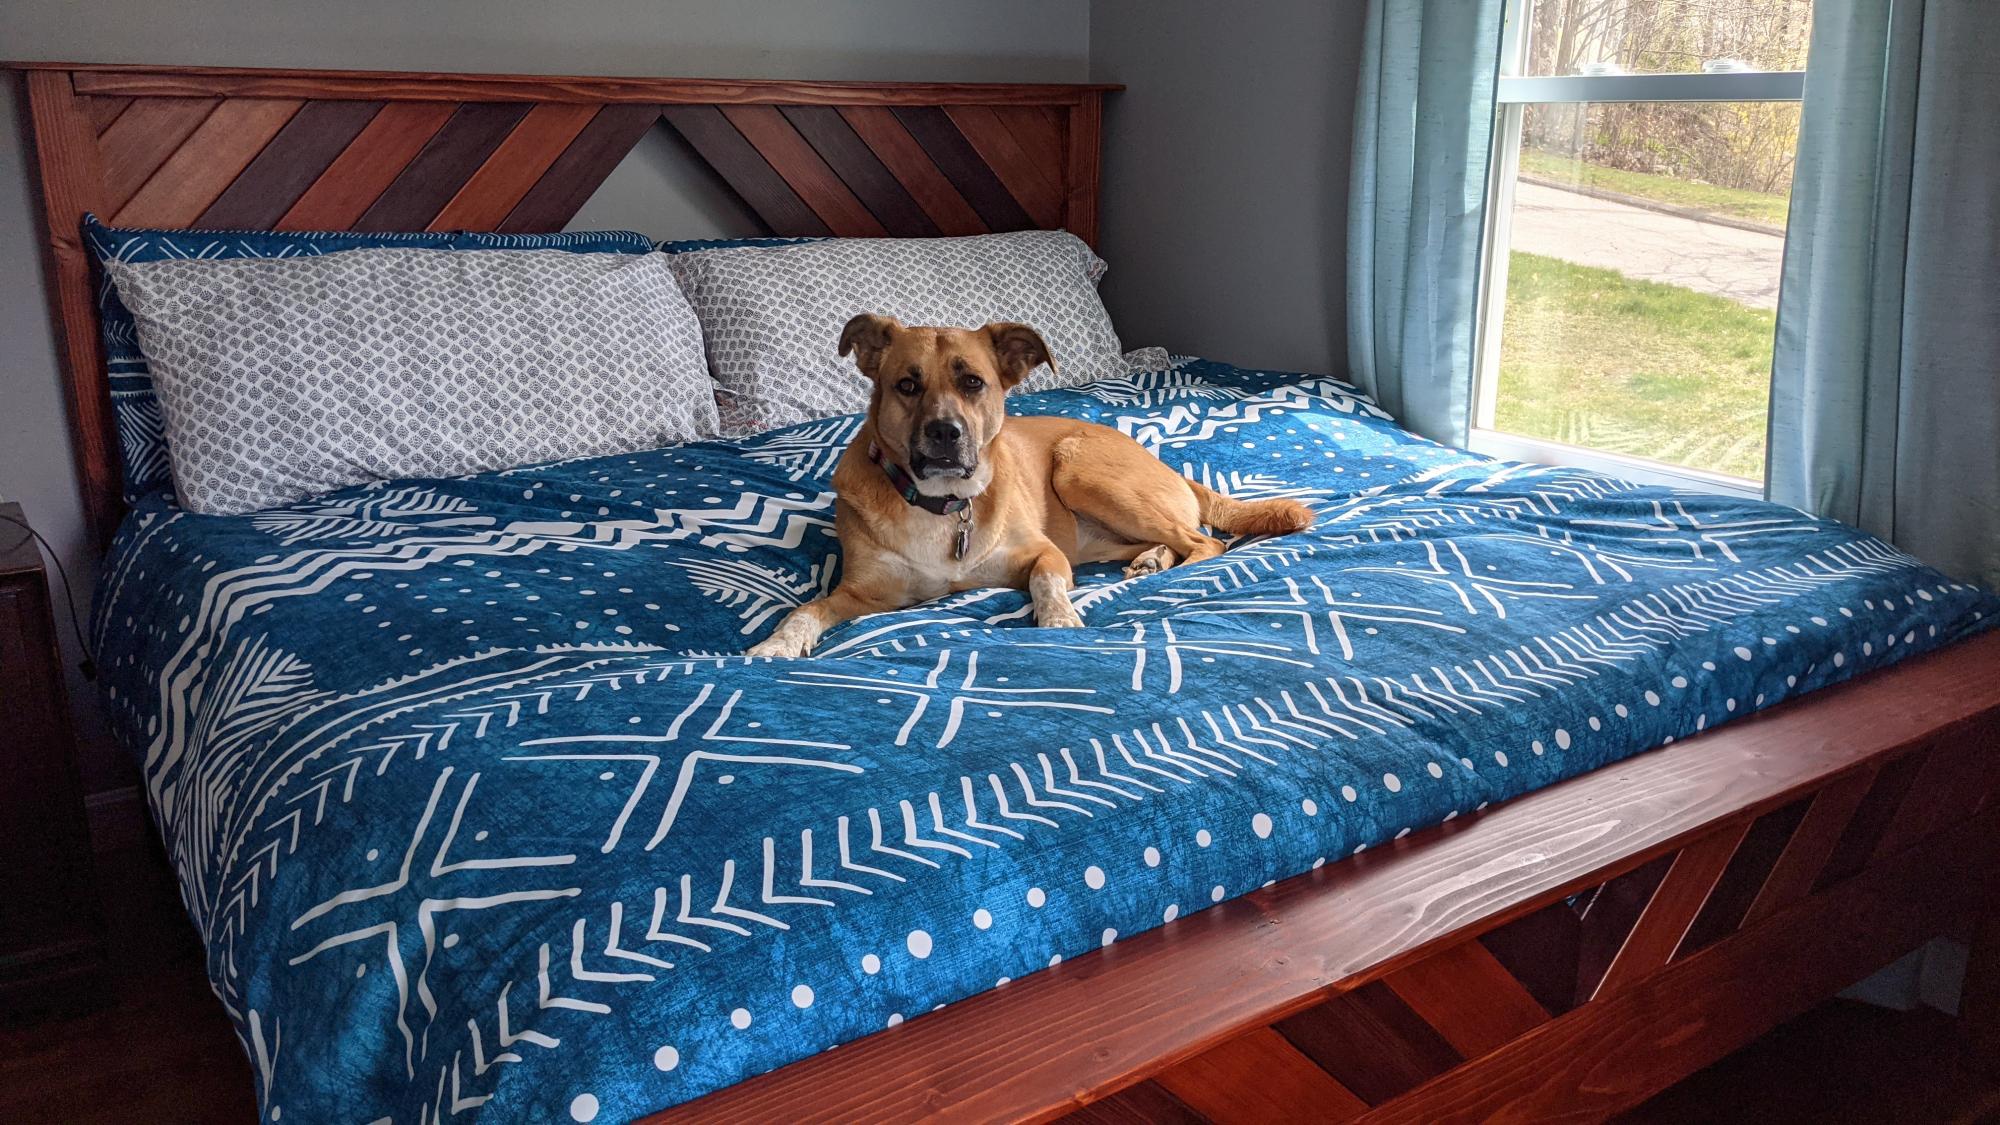
Cali King Modified Head/Foot Boards

Submitted by Anonymous (not verified) on Mon, 05/01/2017 - 09:20

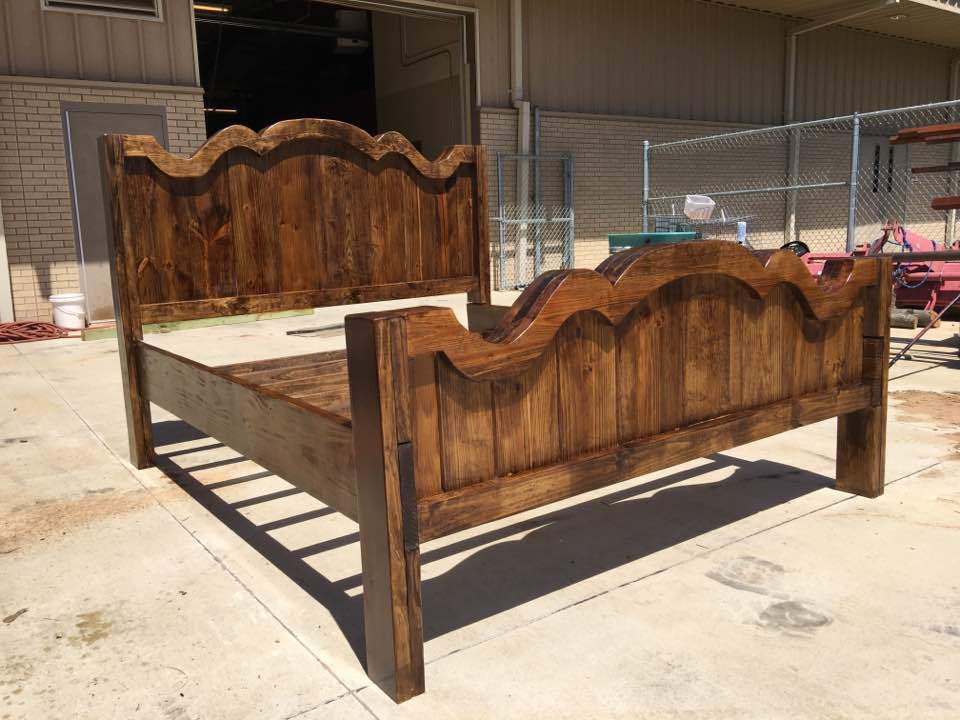
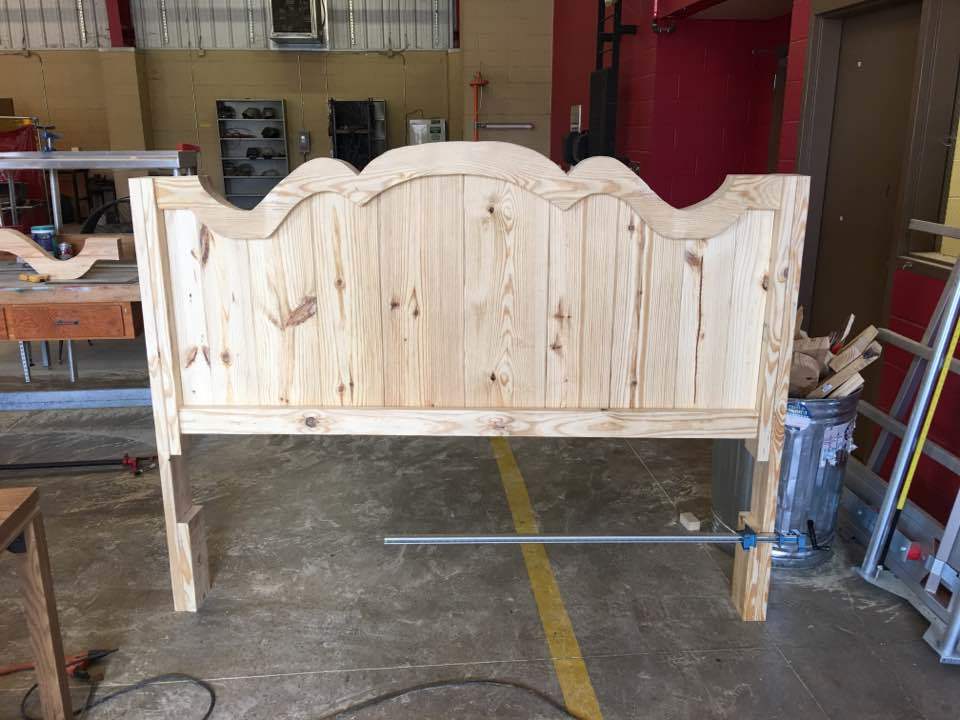
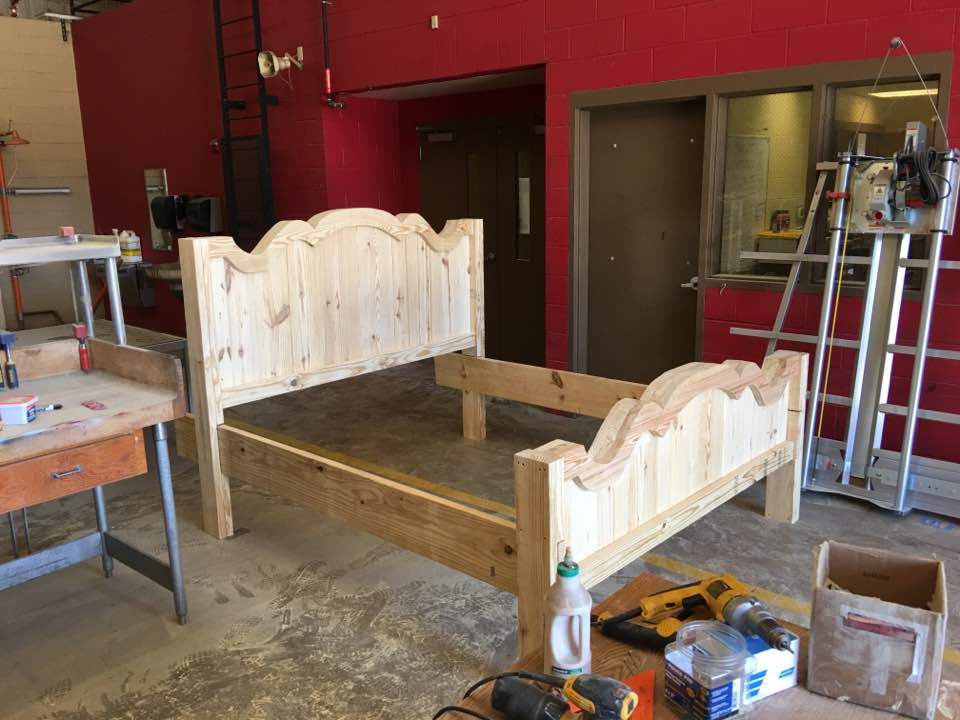
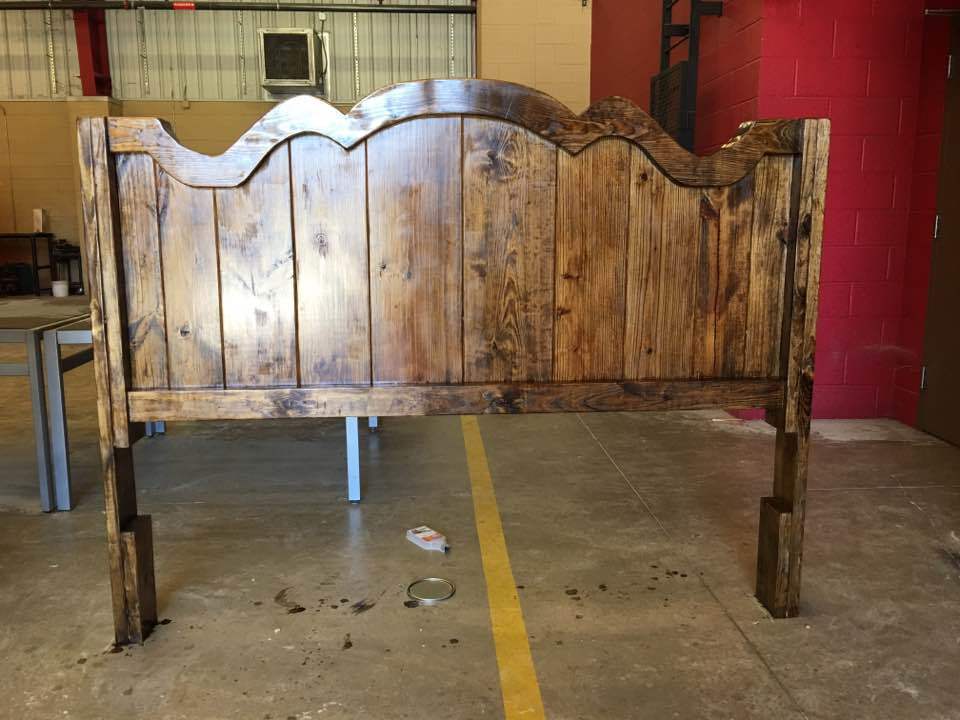
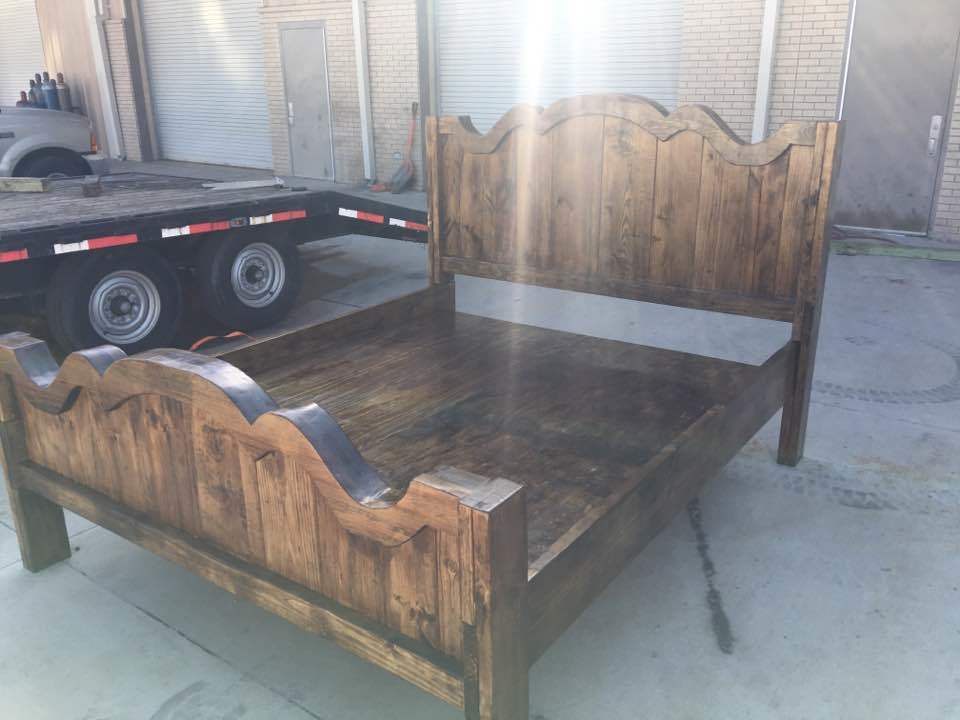
After showing my wife the plans, she did not like that flat top so I did some drawings until she liked what I had. I Modified the plans so that we could get what we liked. I used all 2" lumber instead of 1" because I wanted it to be nice and heavy. Raised the base of the side rails by 3" so that there would be more ground clearance, and used plywood under the slats so that we didnt need to use a box spring. I think it came out well.

Estimated Cost
$300
Estimated Time Investment
Weekend Project (10-20 Hours)
Finish Used
1 Coat of Minwax Provincial Stain
1 Coat of Spar Varnish Satin
Recommended Skill Level
Intermediate

Modified King Farmhouse Bed

Submitted by Anonymous (not verified) on Tue, 04/20/2021 - 15:31

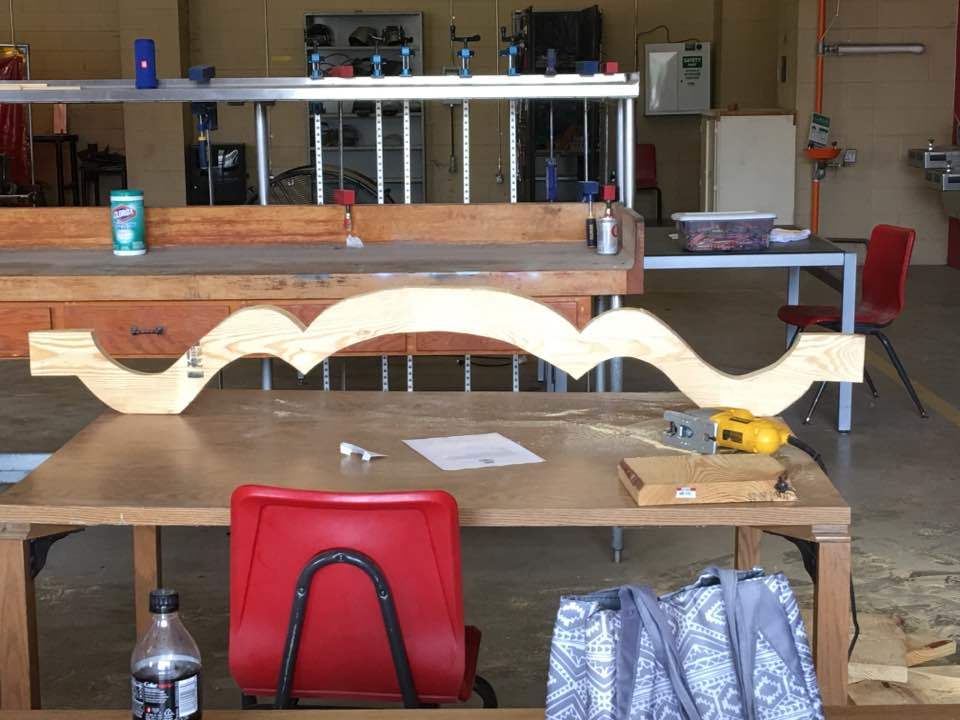
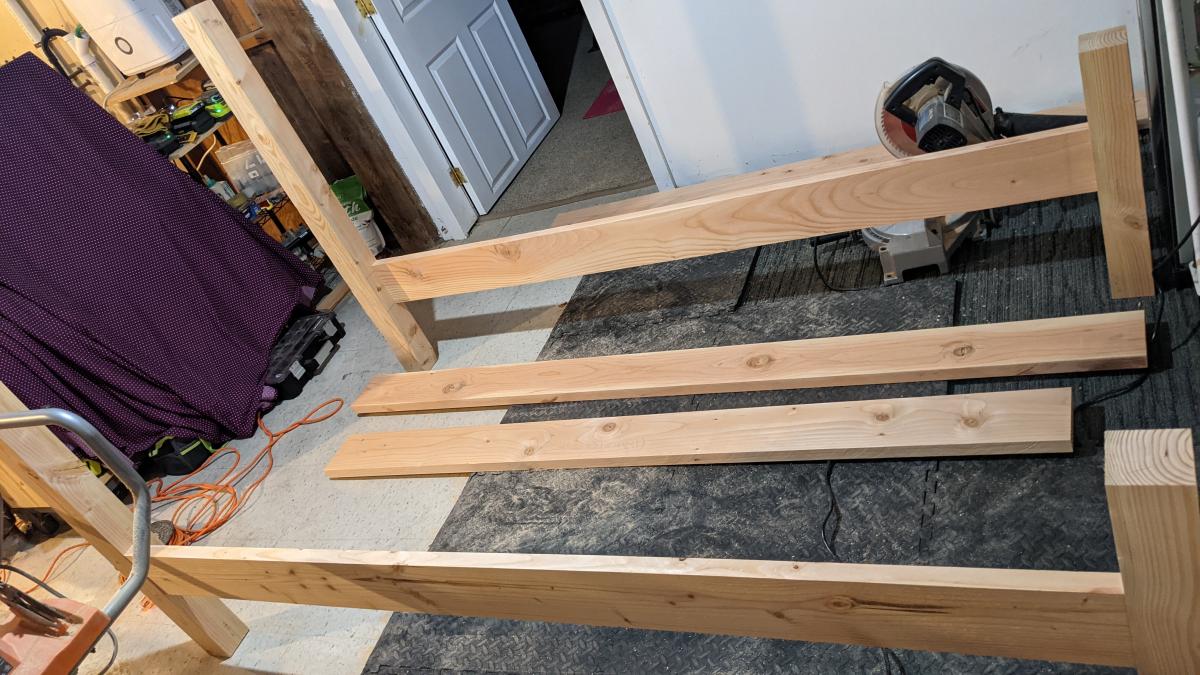
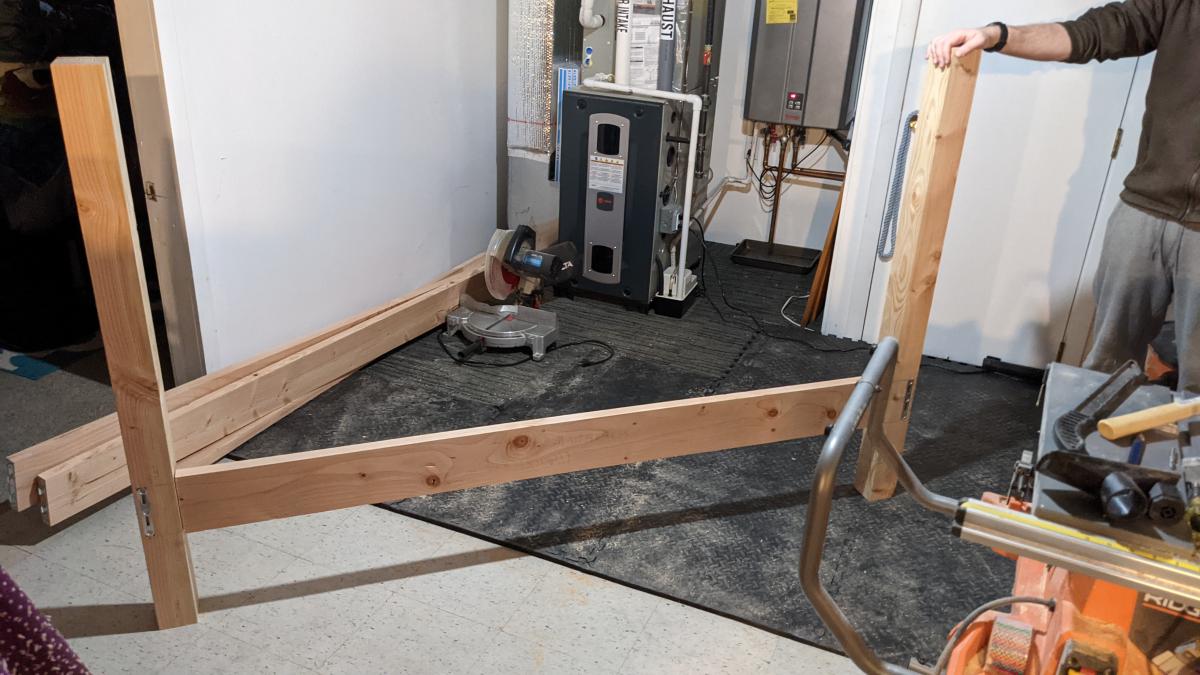
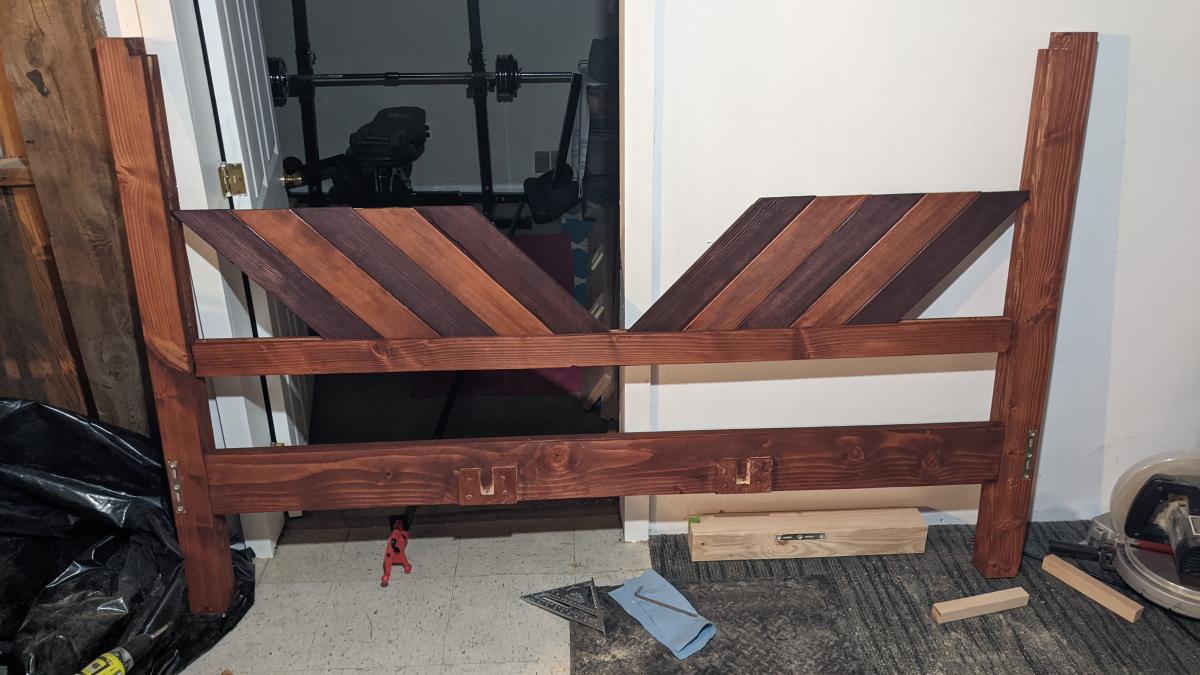
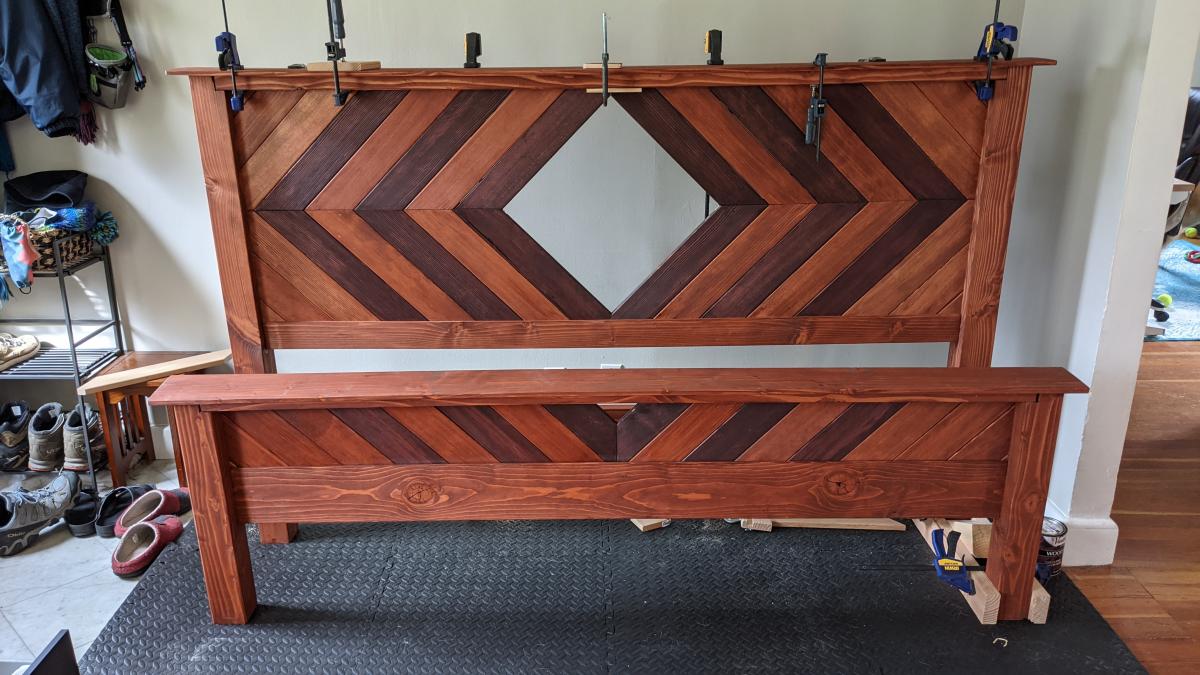
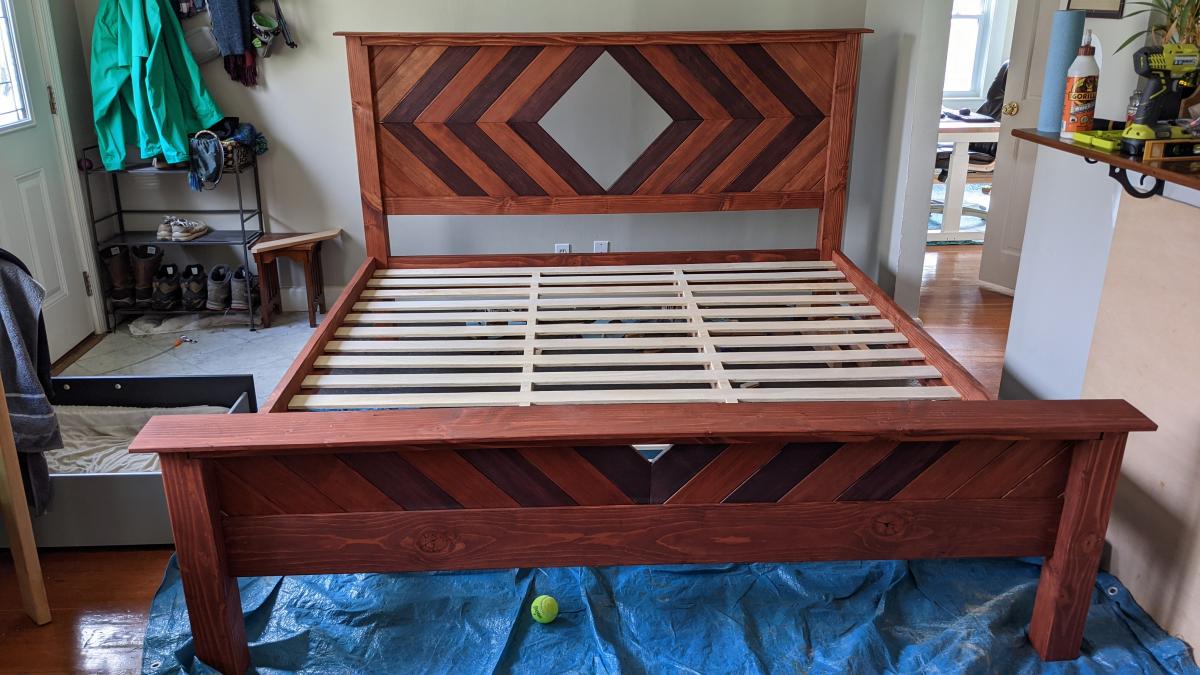
We ended up deviating more than we were originally intending from the Farmhouse Bed plans. We started off planning to modify so that it was able to be disassembled (used metal brackets and to fit storage drawers at the foot of the bed. The my finance got a router, so we ended up with a lot of mortise and tenon and tongue and groove joints, and a fancier headboard. I LOVE the end result but we were definitely in over our heads at times!

Estimated Cost
400
Estimated Time Investment
Week Long Project (20 Hours or More)
Finish Used
Traditional Cherry and Black Cherry Oil Stain, Black Tea as Wood Conditioner and Poly Finish
Recommended Skill Level
Intermediate

Comments

Sienna's loft bed!

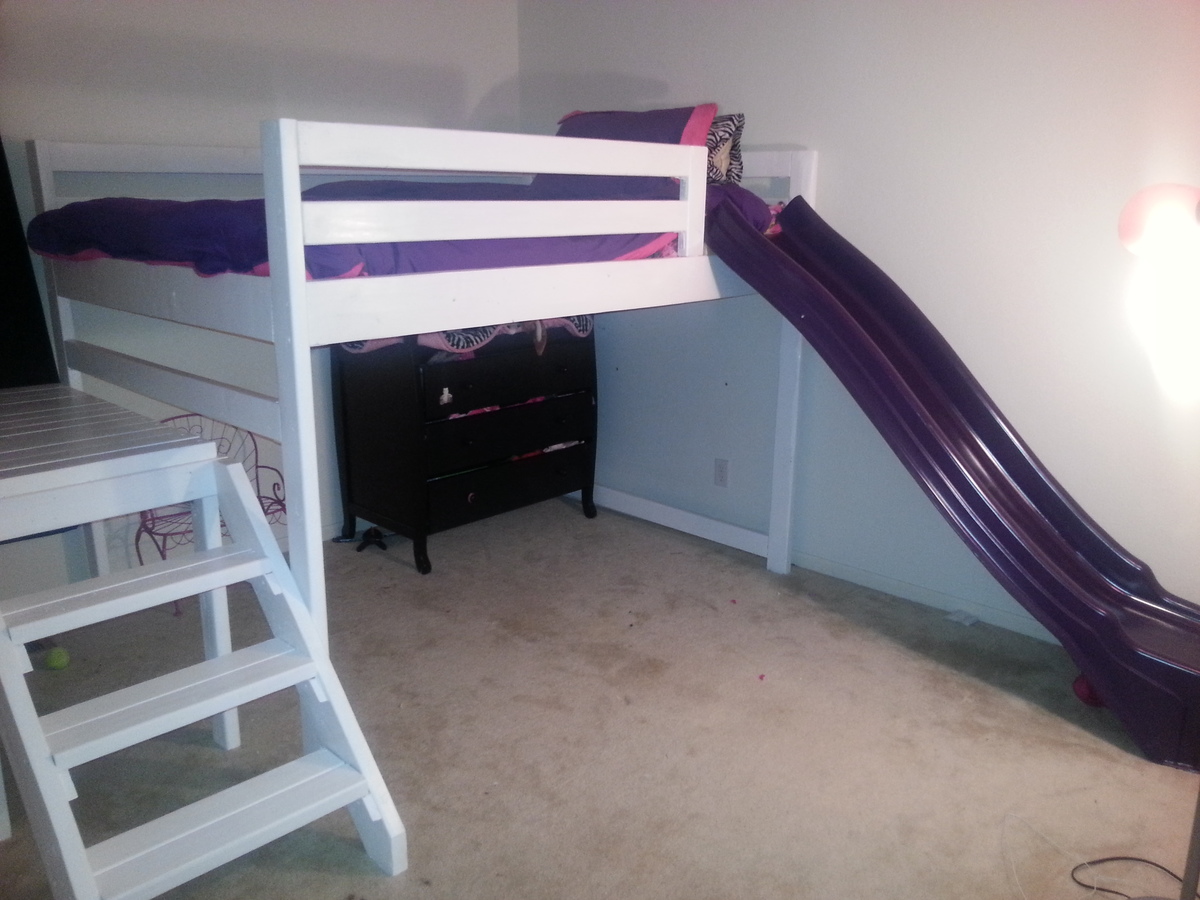
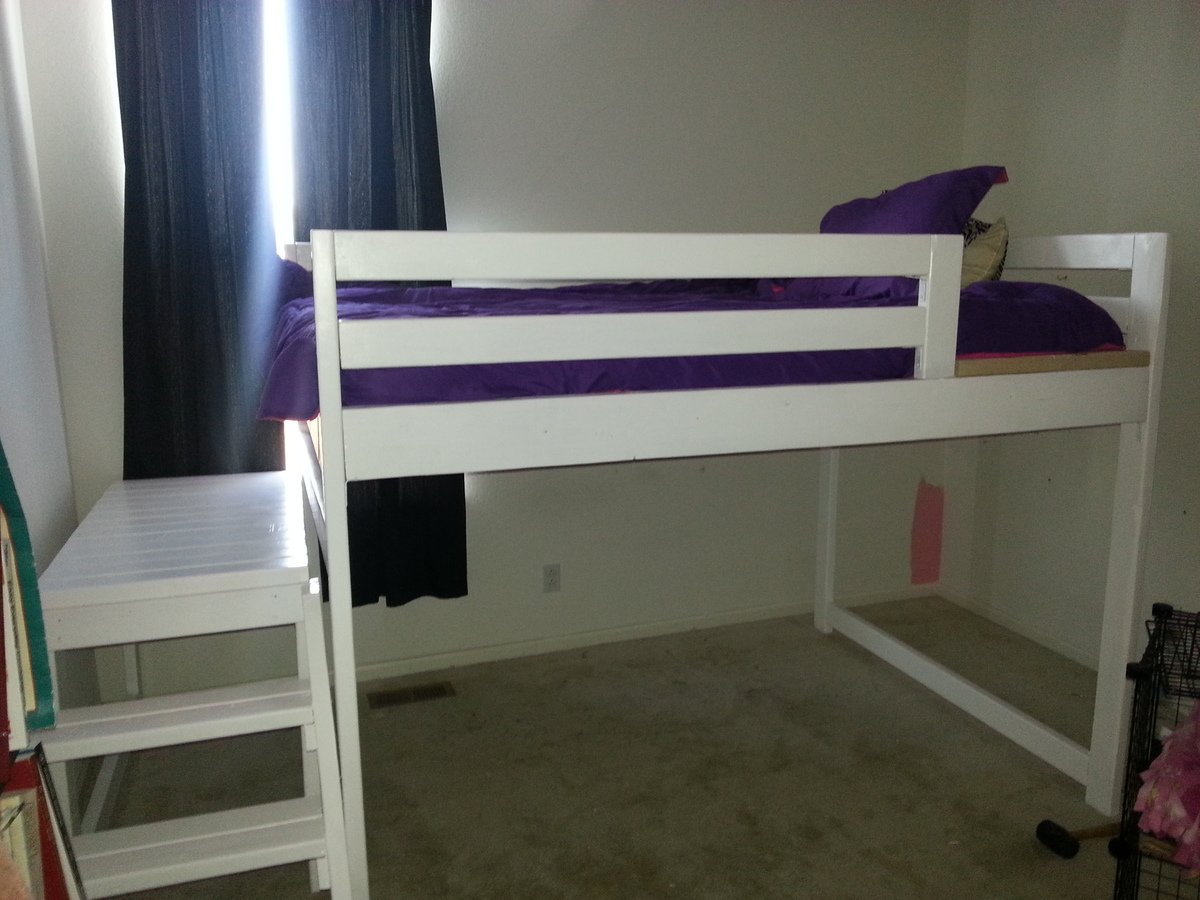
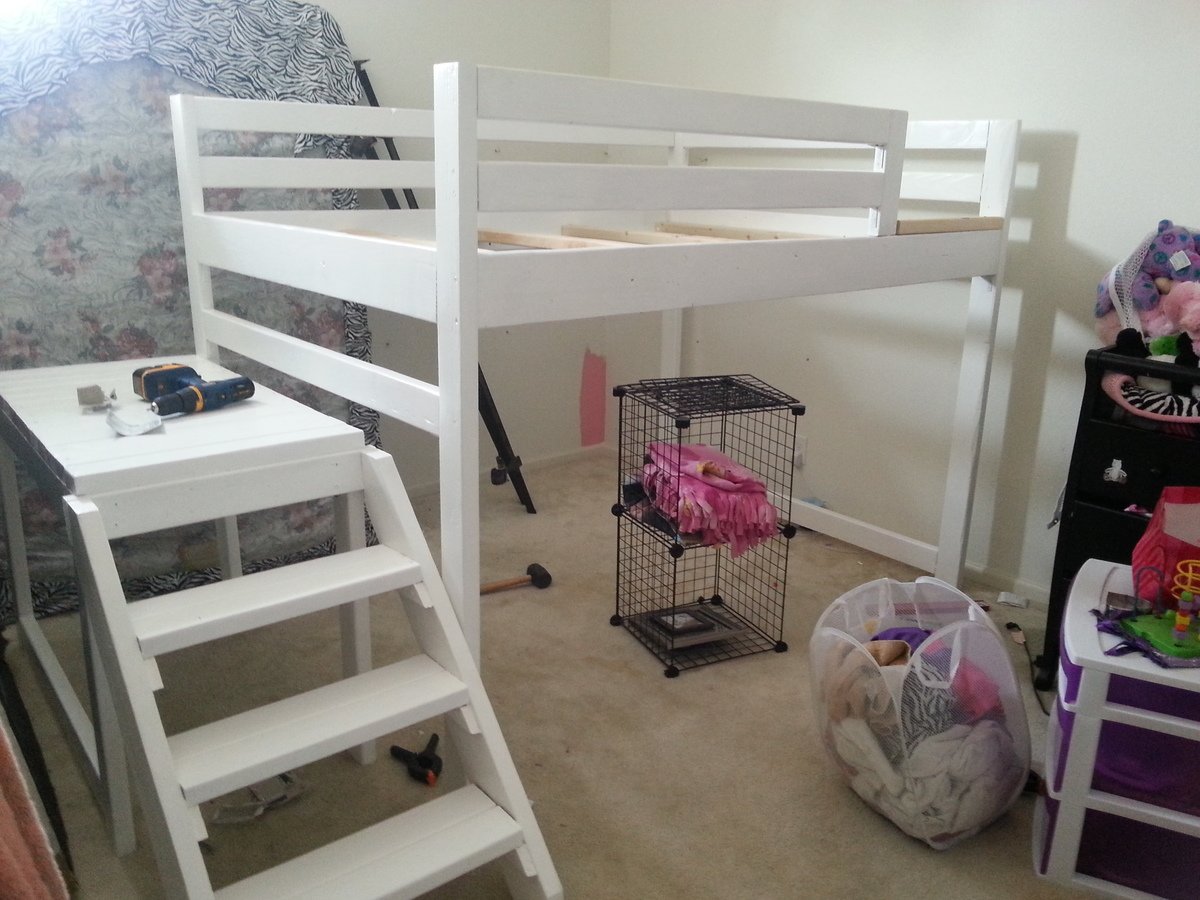
I started with the Camp style loft bed, and modified it. Since we had a full sized bed, we knew that we needed it to be wider. Also, we knew we wanted a slide, since baby girl LOVES slides. We found one on CraigsList that was too long, but we cut it down and found a way to attach it. We also aren't very good carpenters (yet), so we had some issues with our stairs being wider then our platform, and had to add an extra piece. Overall, this project took us 3 weekends and a few nights after work. Also, we were using the plans which suggested it would only cost around $50, wasn't quite the case with us...I am pretty sure we spent over $200, but we didn't really have paint, sandpaper, the slide, etc. So that is pretty all-encompassing. Very happy with our results, and We cannot wait for the baby girl to see the outcome!

Estimated Cost
250
Estimated Time Investment
Week Long Project (20 Hours or More)
Finish Used
white latex paint.
Recommended Skill Level
Starter Project

Comments

Handy Shanny

Tue, 09/01/2015 - 04:16

Looks great!  Could you please explain how you cut down and attached the slide?  Has it held up with use?  We are planning to do the same thing.  Thanks!

Traditional Wood Toddler Bed

Submitted by pde00311 on Fri, 02/06/2015 - 09:11

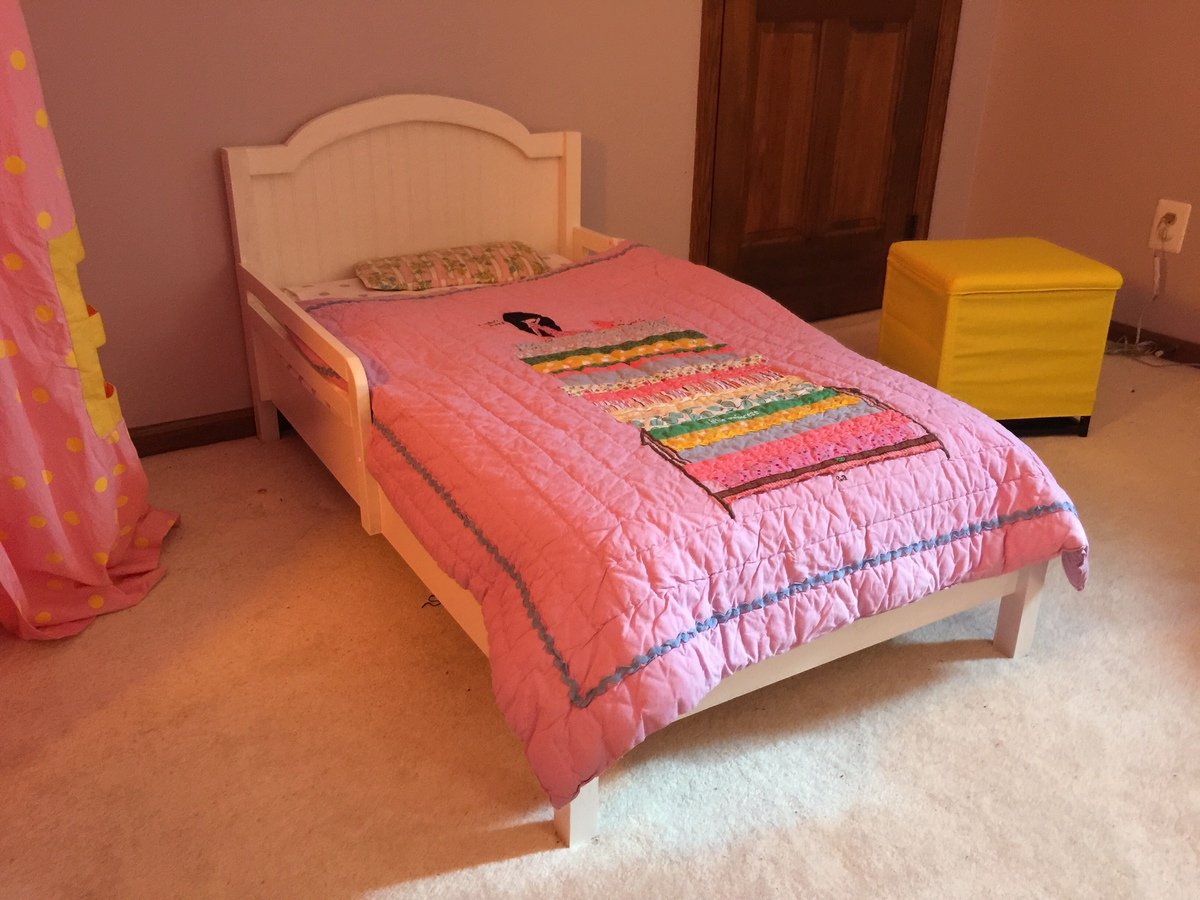
With another baby on the way in a few months, we decided to move our 2+ year old daughter across the hall into her first big girl room. I built big sister the Kendal Extra Wide Dresser, Traditional Wood Toddler Bed, Letter A Shelf and a Dollhouse Bookcase and matched the colors with her new comforter, lamps and princess canopy tent from the Land of Nod outlet.

A lot of people have done some pretty cool modifications to this project, but at the end of the day, we decided to follow the plan verbatim and build the Pottery Barn design. This build was super easy. Probably spent most of the project time sanding over and over in order to ensure that it was splinter-free, smooth, and safe for our princess. I do note that the side rails in the project design are somewhat low after you put the mattress down. However, this was really only a concern during the first few weeks. Although our daughter somehow was able fall to the floor during the first night (without incident--she did not even wake up--thank god for carpet), after she became accustomed to the bed, the lower side rails actually work rather well. Our daughter, a insanely crazy sleeper, usually wedges herself against the side rails at different parts of the night. She might hang a limb or two over the rails, but never through the rails, and she never falls off the bed.

Built from Plan(s)
Estimated Cost
$40
Estimated Time Investment
Day Project (6-9 Hours)
Finish Used
Behr white fur paint
Recommended Skill Level
Starter Project

Birdhouse Plans from Scrap Wood

Submitted by thediyplan on Mon, 04/26/2021 - 14:45

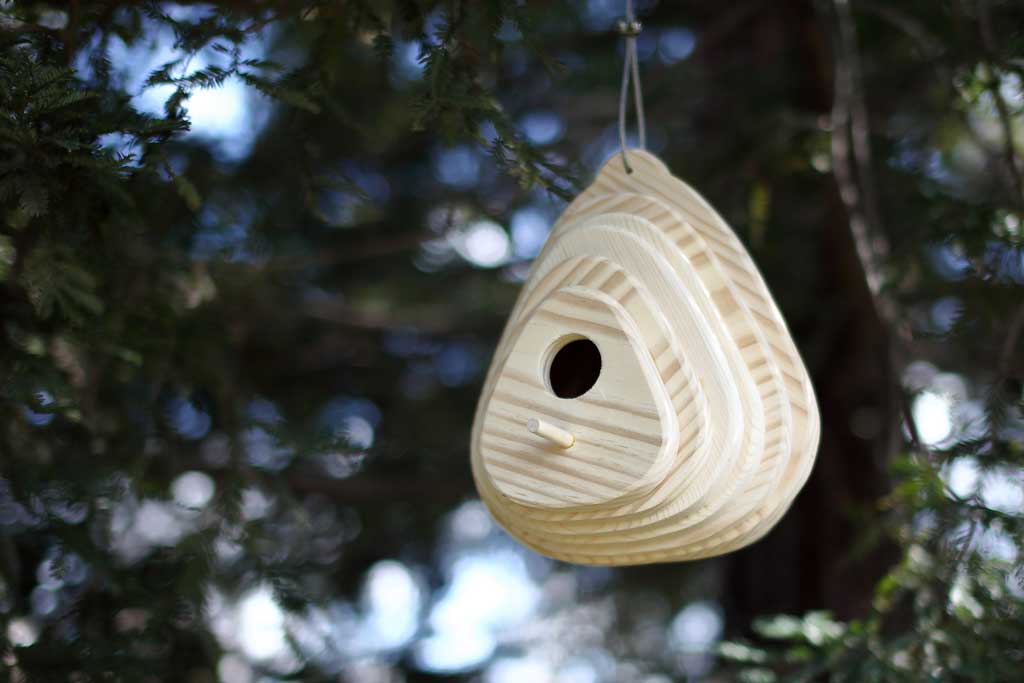
Having a home for your feathered friends will encourage the birds to keep visiting your backyard. If you have a garden, you want to attract birds to establish a healthy balance. Birds consume thousands of insects, especially in the spring when they’re feeding their young. To help support this environment, I’m made DIY Birdhouse Plans from scrap wood. If you have scrap wood laying around, you could easily build this birdhouse for your backyard.

A simple bird nest box with correct dimensions will help a mother bird with a reliable place to live in and raise her young. This helps mother nature to keep the cycle of life in order.

See my website for additional pictures and how I've built it, THeDIYPlan.com

Estimated Cost
$25
Estimated Time Investment
Afternoon Project (3-6 Hours)
Recommended Skill Level
Intermediate

Book shelves

Submitted by Marisol on Wed, 03/27/2013 - 15:55

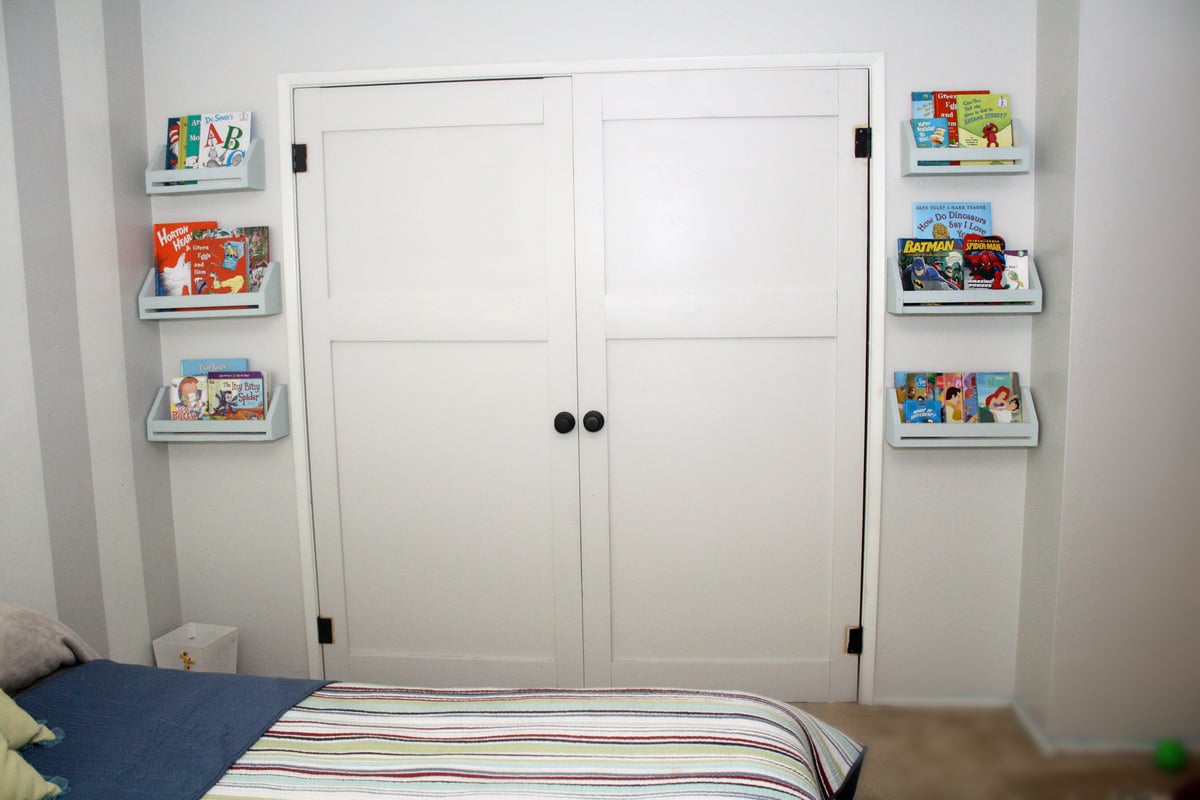
I have had these for a while but never finished with the painting, the most dreadful part...but found some chalk paint that I love, and will always use chalk paint to finish all my projects now.

Built from Plan(s)
Estimated Cost
free- scrap material
Estimated Time Investment
Afternoon Project (3-6 Hours)
Finish Used
I used Annie Sloan Duck Egg and made my own white chalk paint with a recipe found online that worked great with Paris Plaster, water and flar behr paint, I only got a tester for $3, plaster $6. Annie Sloan $65.
Recommended Skill Level
Starter Project

Comments

Floating Shelves

I modified the size to fit my dining room and I am so pleased with the results!

Estimated Cost
$25.00
Estimated Time Investment
Afternoon Project (3-6 Hours)
Finish Used
I dinged up and scratched the boards, sanded then brushed on black latex pain that I thinned with water and immediately wiped it off.
Recommended Skill Level
Intermediate

Comments

Two-tone open wardrobe

Submitted by Anonymous (not verified) on Mon, 05/08/2017 - 08:06

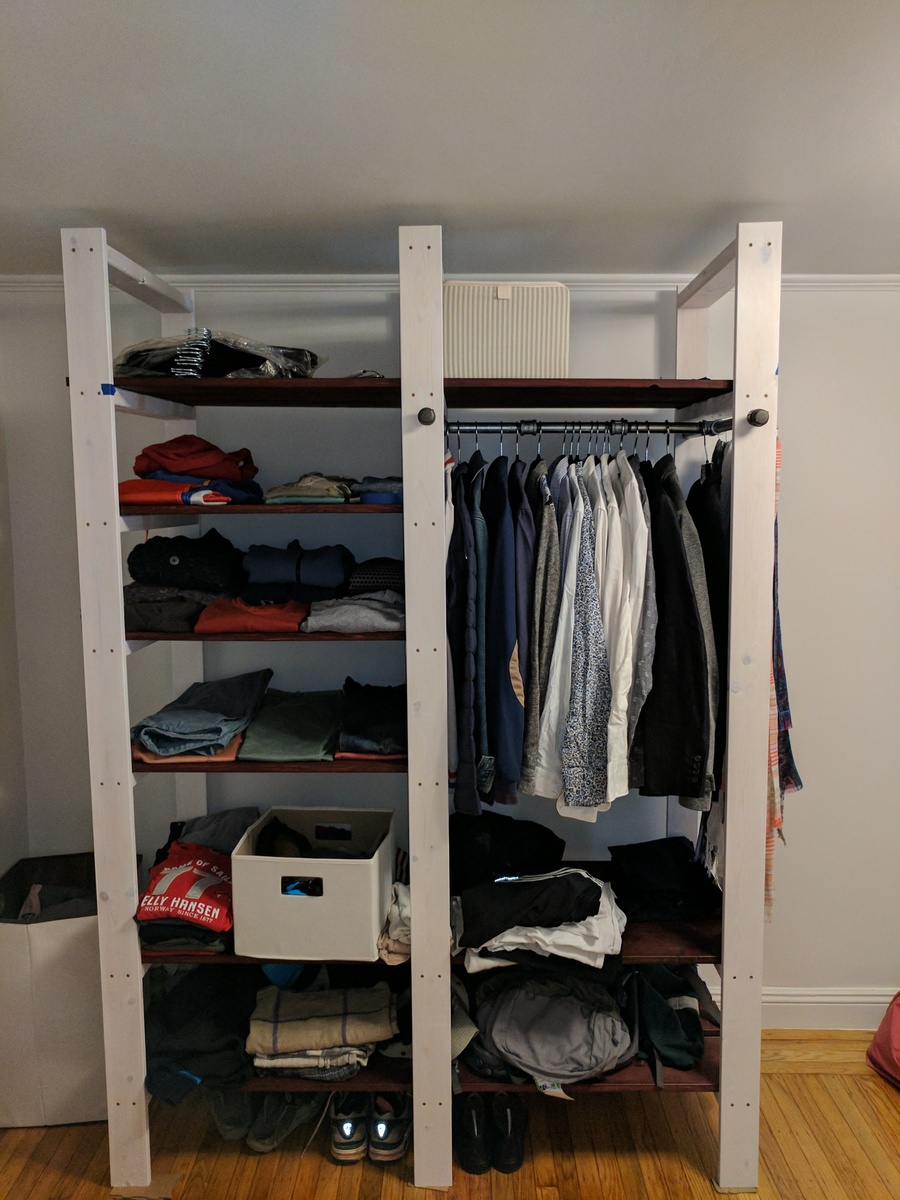
I couldn't find any wardrobe that I was really happy with - and then I stumbled upon Ana's design, and I loved it! I went for two different colors (white for the supports and rosewood for the shelves) to give it more presence. Dimensions are 60" wide X 22" deep x 86" tall 

Built from Plan(s)
Estimated Cost
$300
Estimated Time Investment
Weekend Project (10-20 Hours)
Finish Used
General finishes rosewood stain (for dark wood, it gives a red hue) and whitewash.
Recommended Skill Level
Starter Project

Modern Adirondack Chairs

Submitted by frmoody on Mon, 05/03/2021 - 17:35

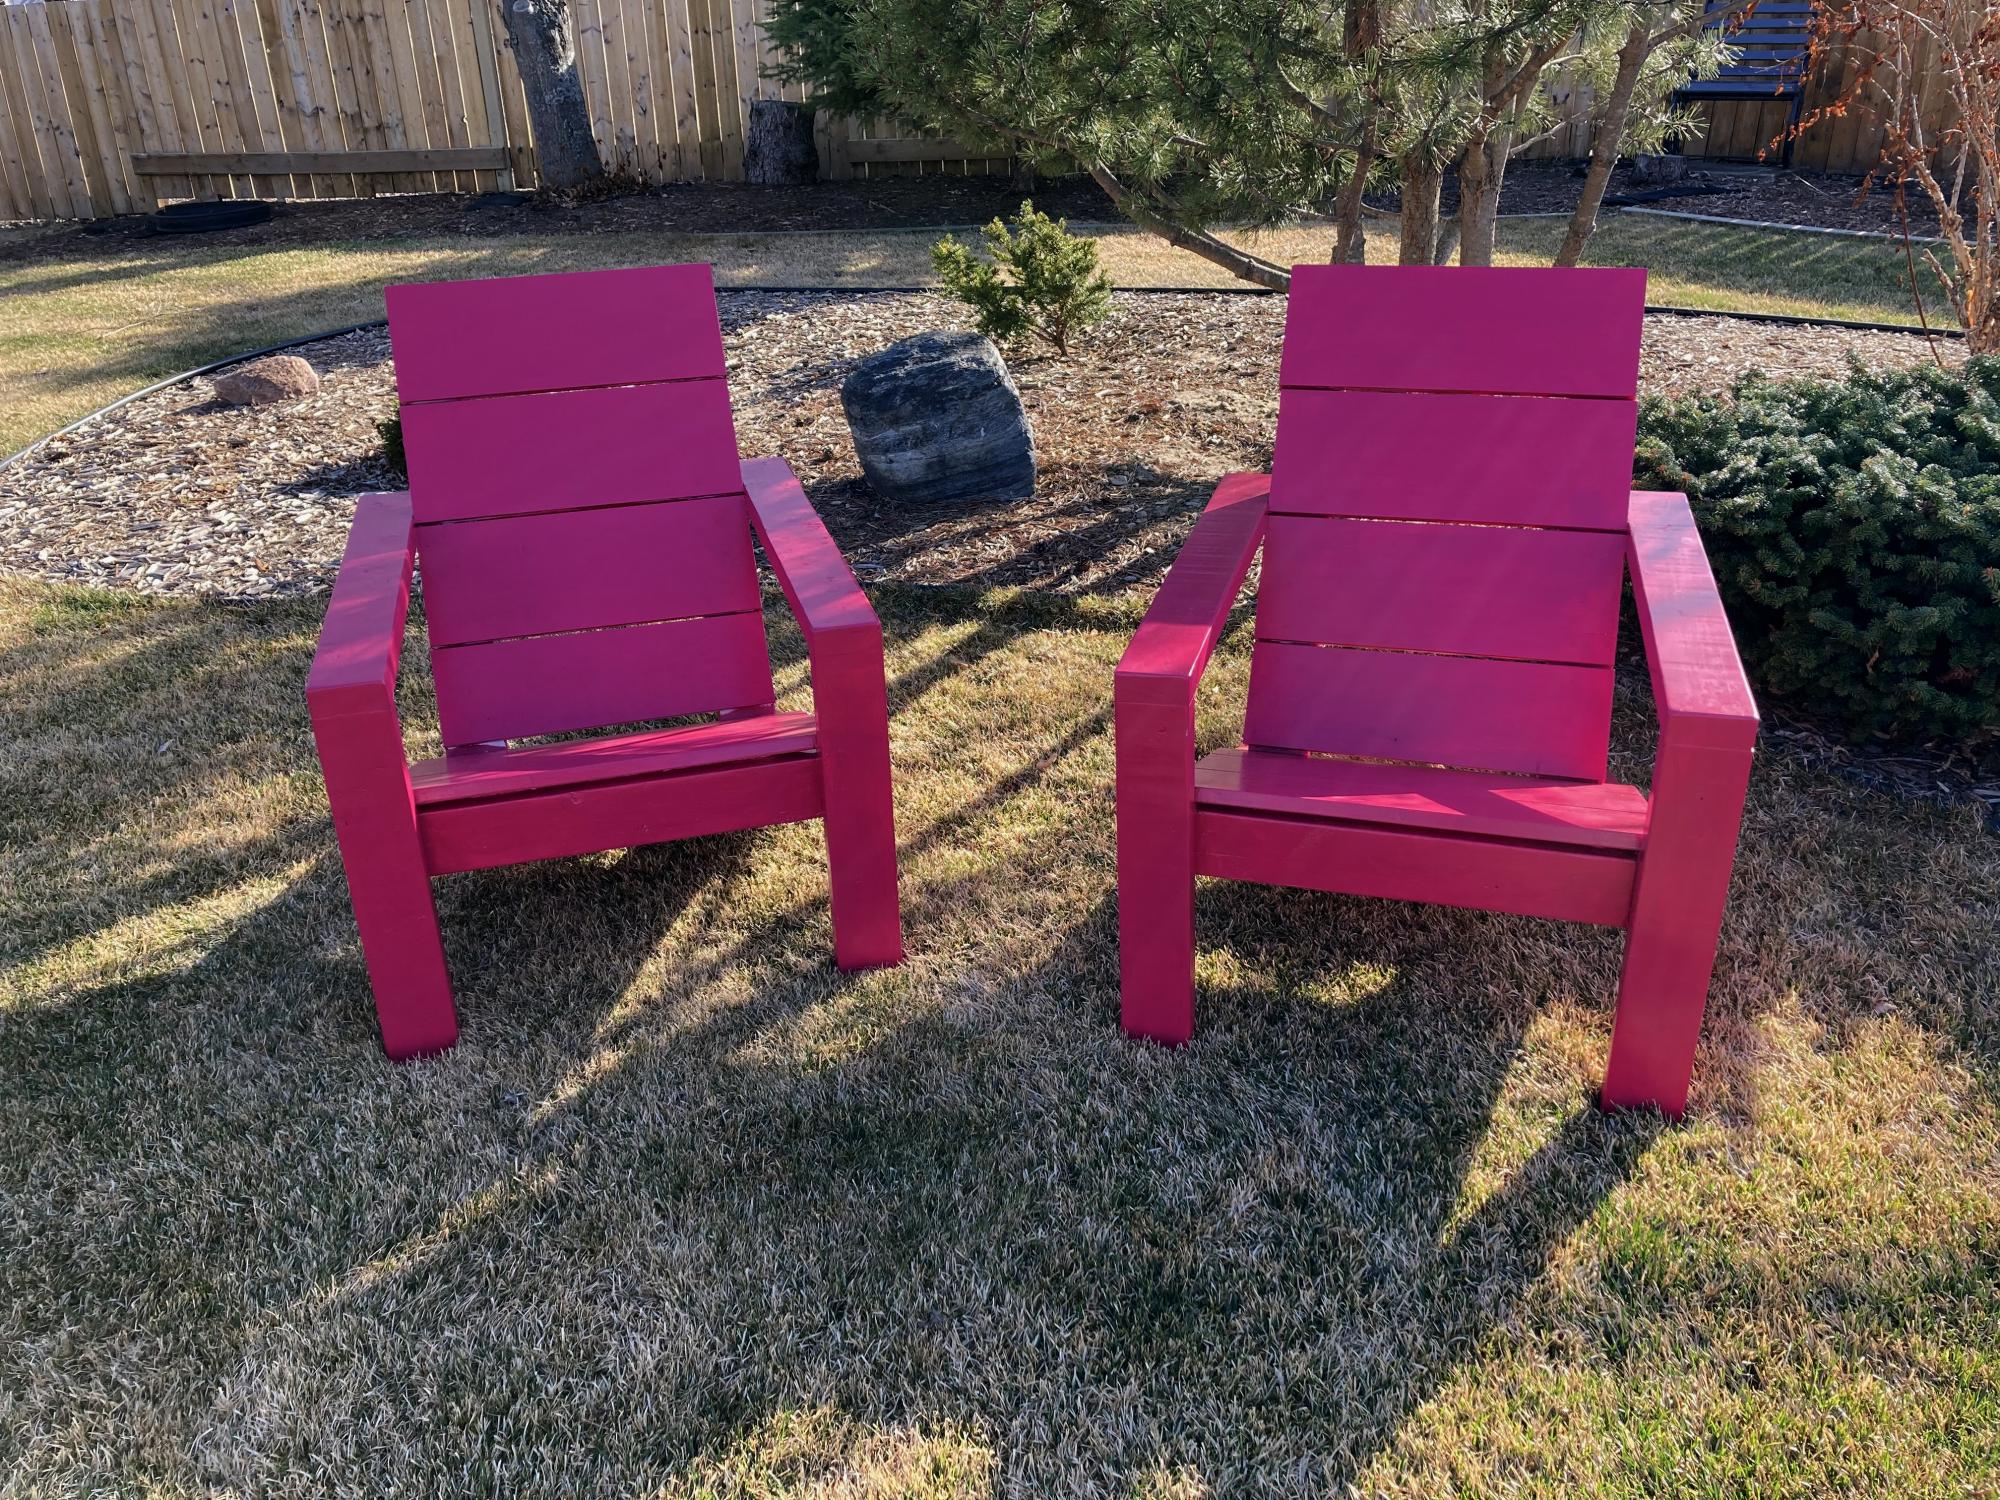
This was a nice simple build. The only problem where I live (near Edmonton, Alberta) is that the price of lumber has gone crazy. I think it is the same everywhere. 2 x 4's are running about $8.50 (CAD) each. I can see myself building a few more of these as the neighbours like them. Chose to go with a funky magenta colour to add some colour to the backyard. Very comfortable to sit in but I think I will add some cushions. I should have taken Ana's advice and painted the boards (especially back and seat) first. Once assembled I had to go in with a small brush to get the sides.

Estimated Cost
$40 each
Estimated Time Investment
Day Project (6-9 Hours)
Finish Used
Exterior semi gloss paint.
Recommended Skill Level
Beginner

Comments

Apothecary Console

Submitted by bhanabh on Sat, 03/30/2013 - 21:09

My Apothecary Console

Built from Plan(s)
Estimated Cost
$250
Estimated Time Investment
Weekend Project (10-20 Hours)
Finish Used
Olympic Latex Paint for MDF , color - antique white, cherry colored wood Stain and gloss for pine.
Recommended Skill Level
Starter Project

Thanks Sausha!

This was very easy to do. The hardest part was creating the miter edges for the trim and having them line up nicely. I would consider the trim a must, I just felt it made the project look finished. I had a difficult time finding *cute* baskets to fit underneath... It measures 10" and will fit a standard laundry basket but I was going for a different look. I picked these up on sale at office max, not exactly what they were intended for but they work great and keep the laundry room nice and tidy. Happy building!!

Estimated Cost
$100
Estimated Time Investment
Afternoon Project (3-6 Hours)
Finish Used
I sanded and primed and used an espresso paint to finish. I don't have the exact paint color but it was Behr custom in satin enamel. It would be easy to find at home depot. It's on the end cap :)
Recommended Skill Level
Starter Project

Truss beam table and benches

Submitted by Anonymous (not verified) on Thu, 05/11/2017 - 10:39

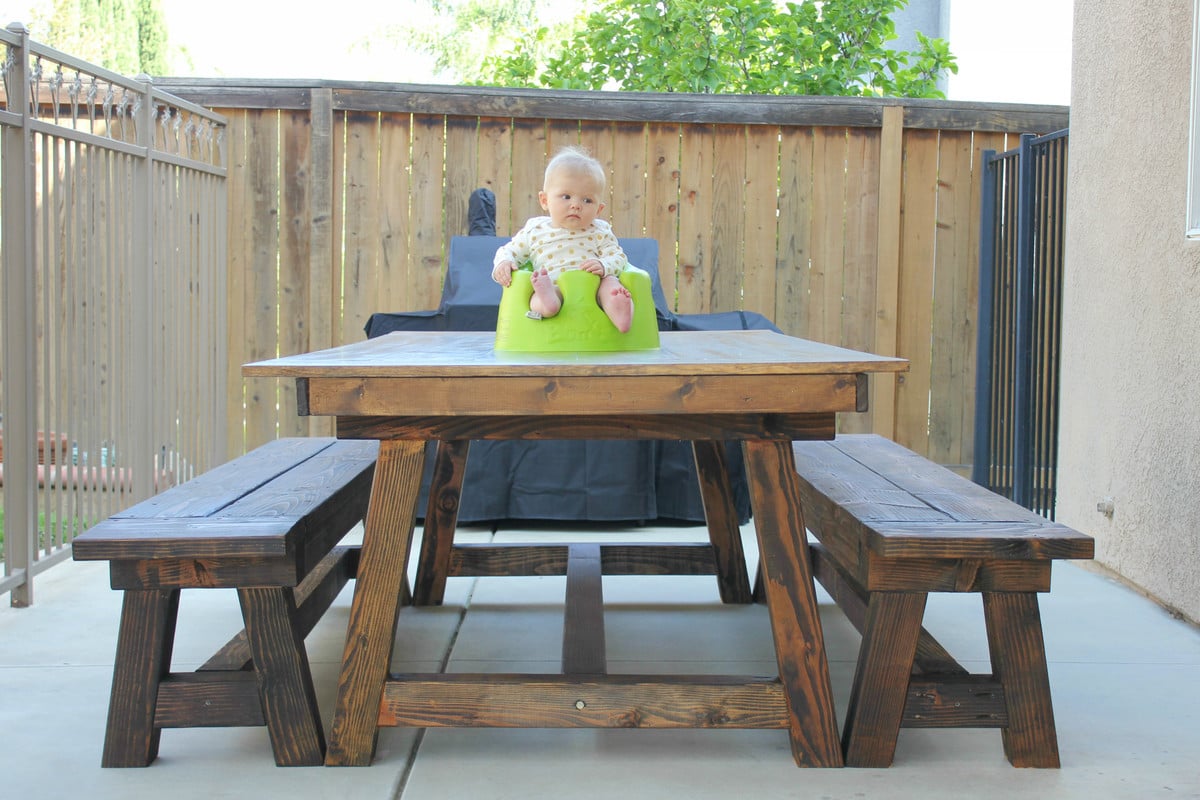
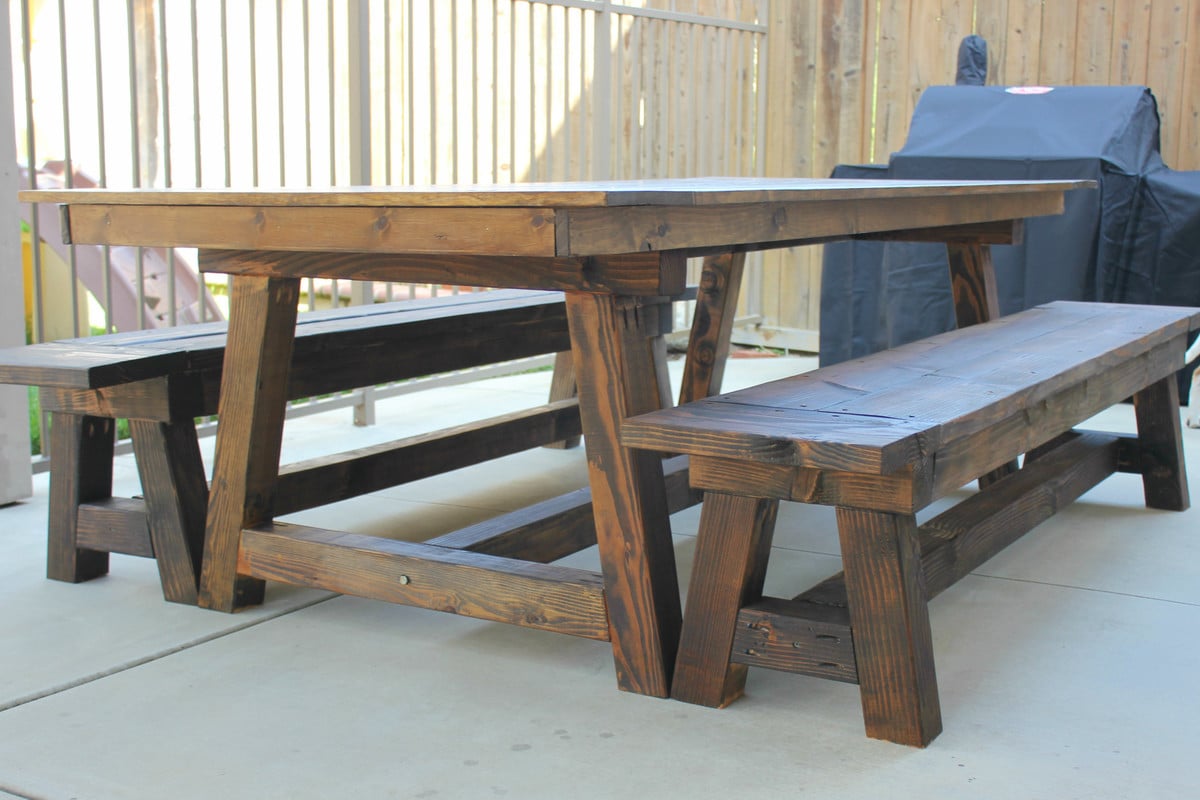
We added Ana's truss beam base to an already-existing table top that we had DIY'd years ago (our very first project!). We made the benches per her plans as well and now we all just love it! The whole thing is big, sturdy and beautiful. The only thing we didn't do were those two pretty beams that come down in the center - my hubby liked how simple it looked without it :) Loved this project! (And love how my three kids crawl all over it! Memories!)

Built from Plan(s)
Estimated Cost
$100
Estimated Time Investment
Weekend Project (10-20 Hours)
Finish Used
Rustoleum Dark Walnut stain and then a weather proofing varnish
Recommended Skill Level
Intermediate

Bella's Backyard

Submitted by ebuffy99 on Tue, 04/02/2013 - 14:48

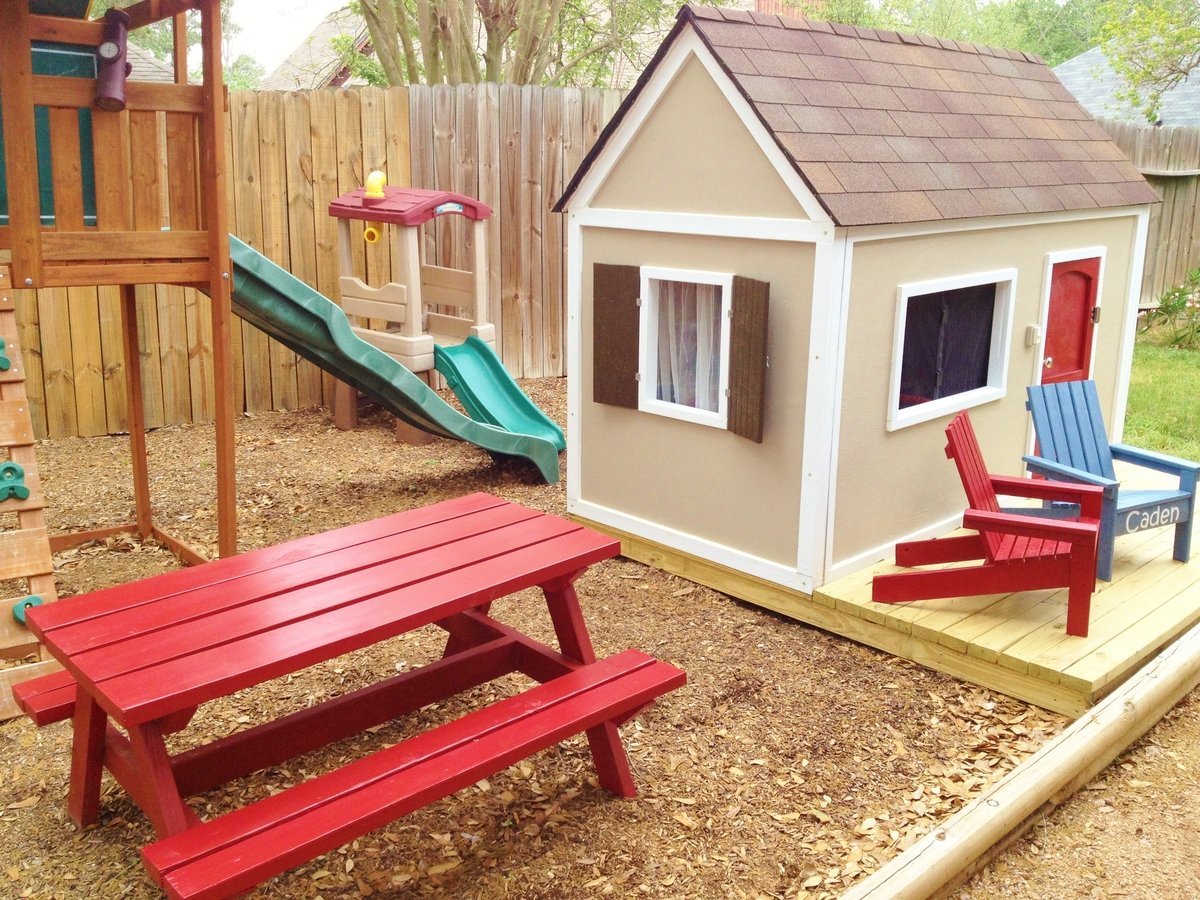
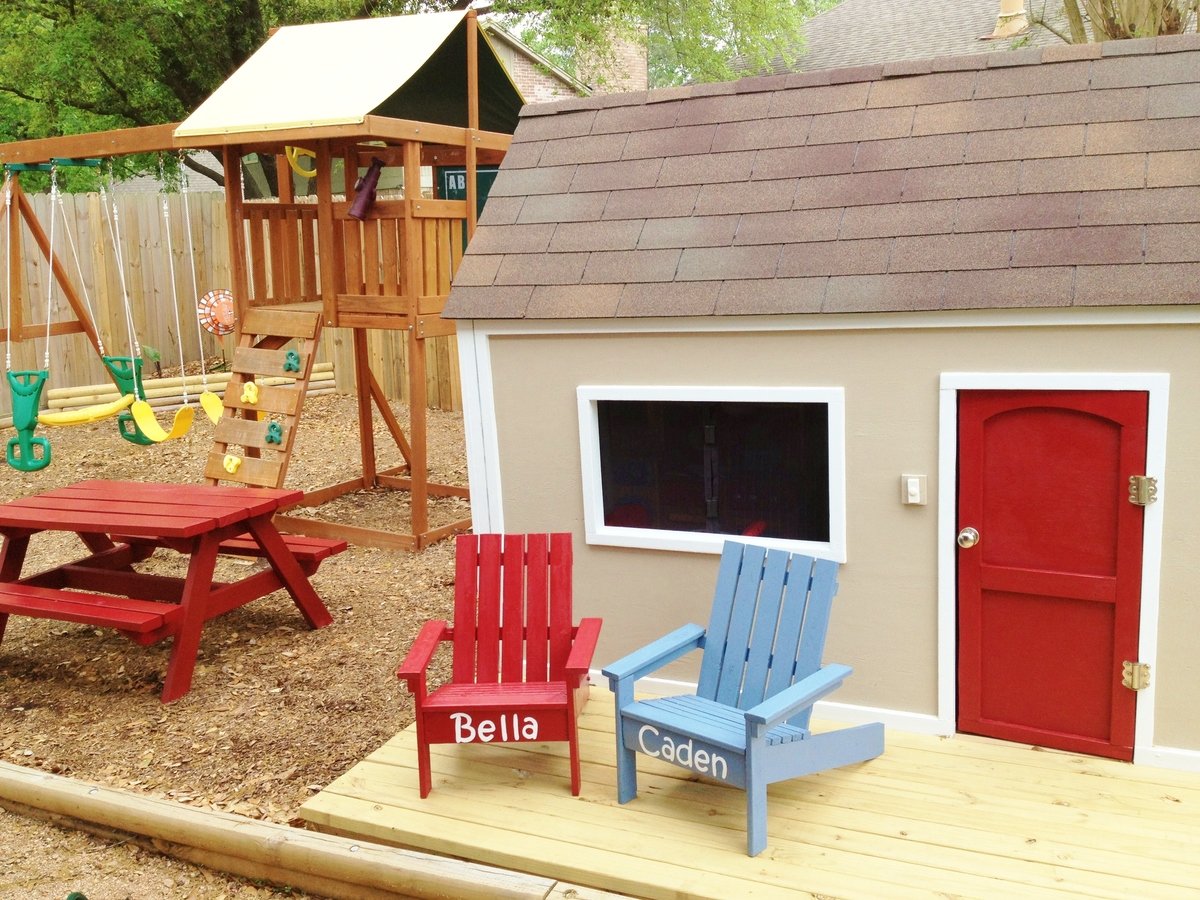
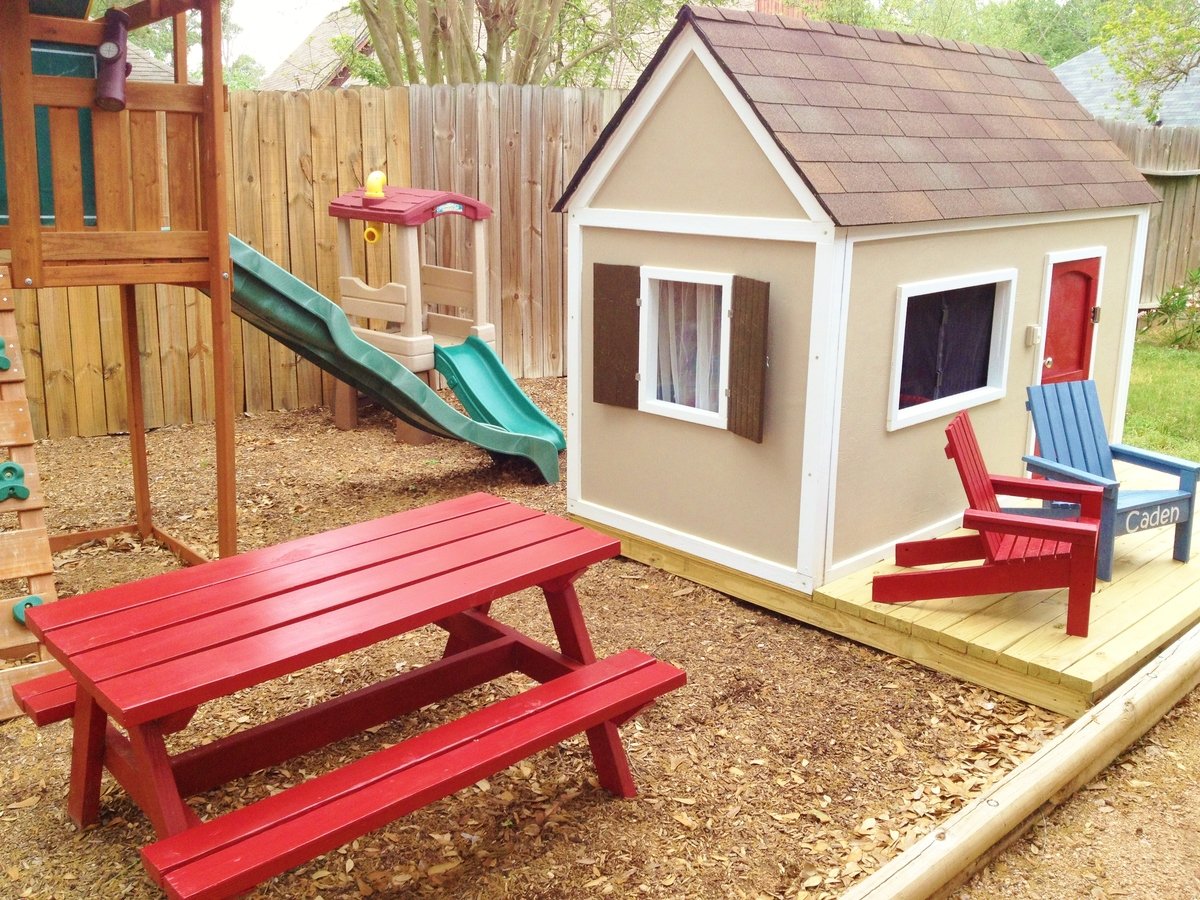
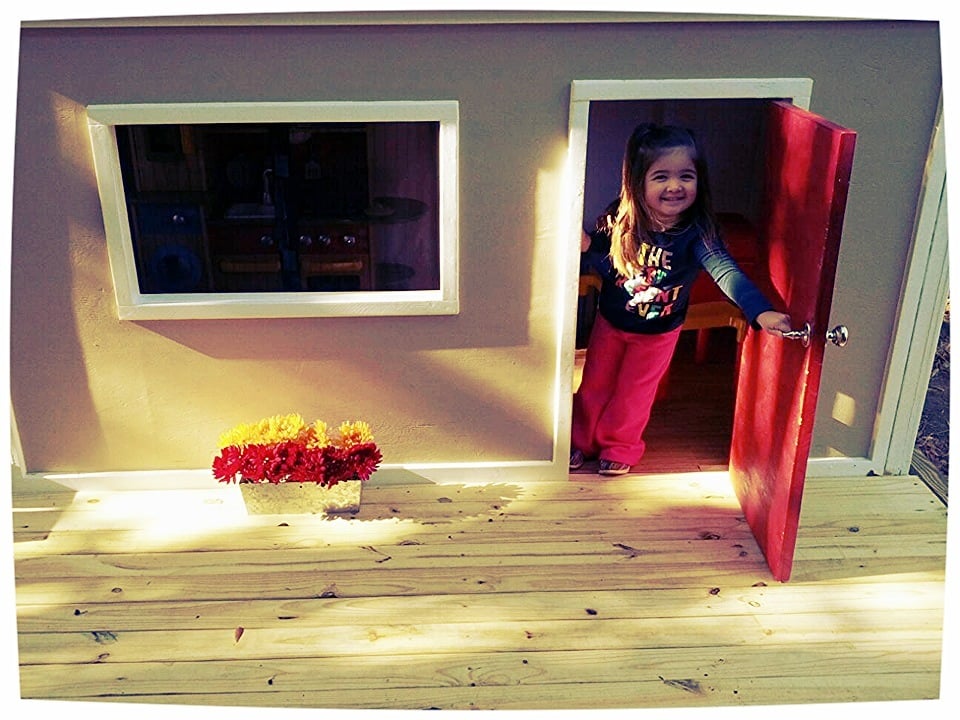
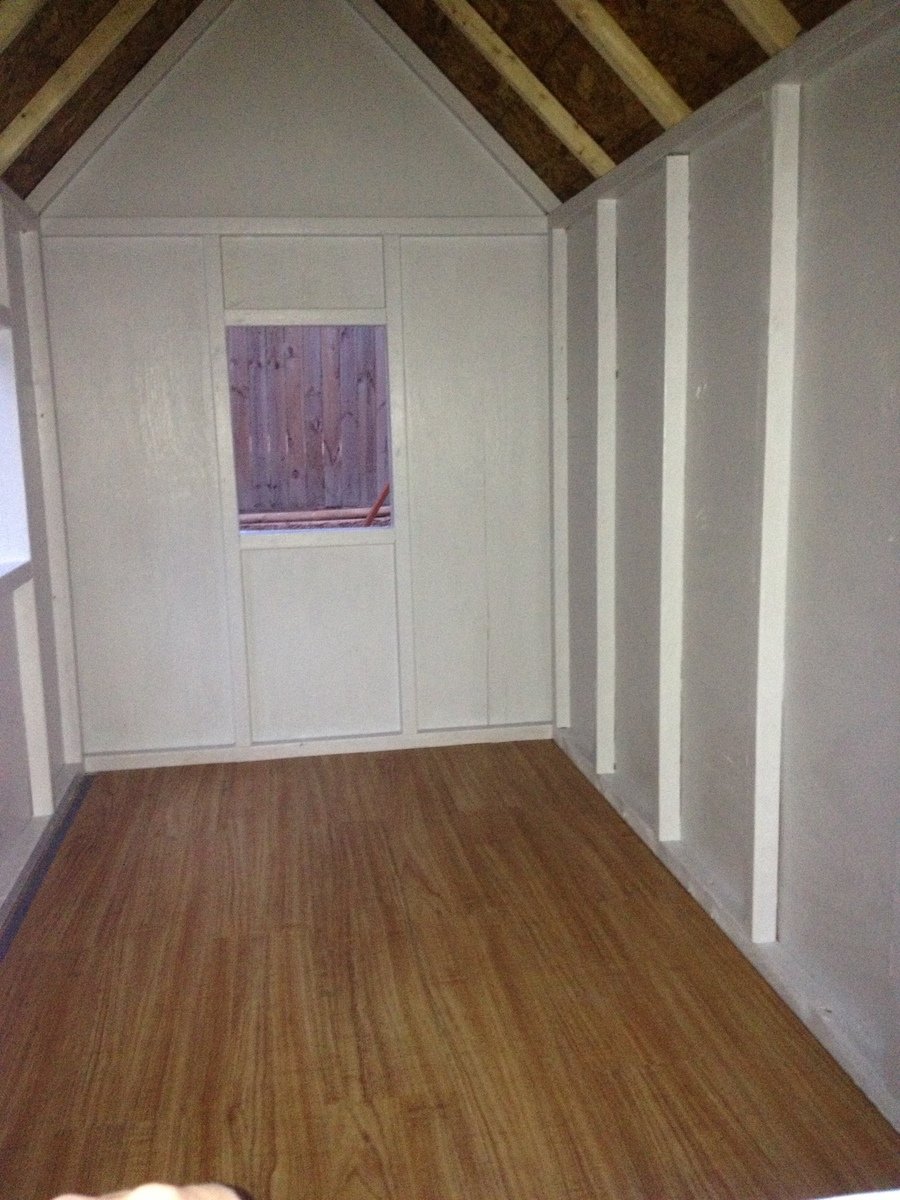
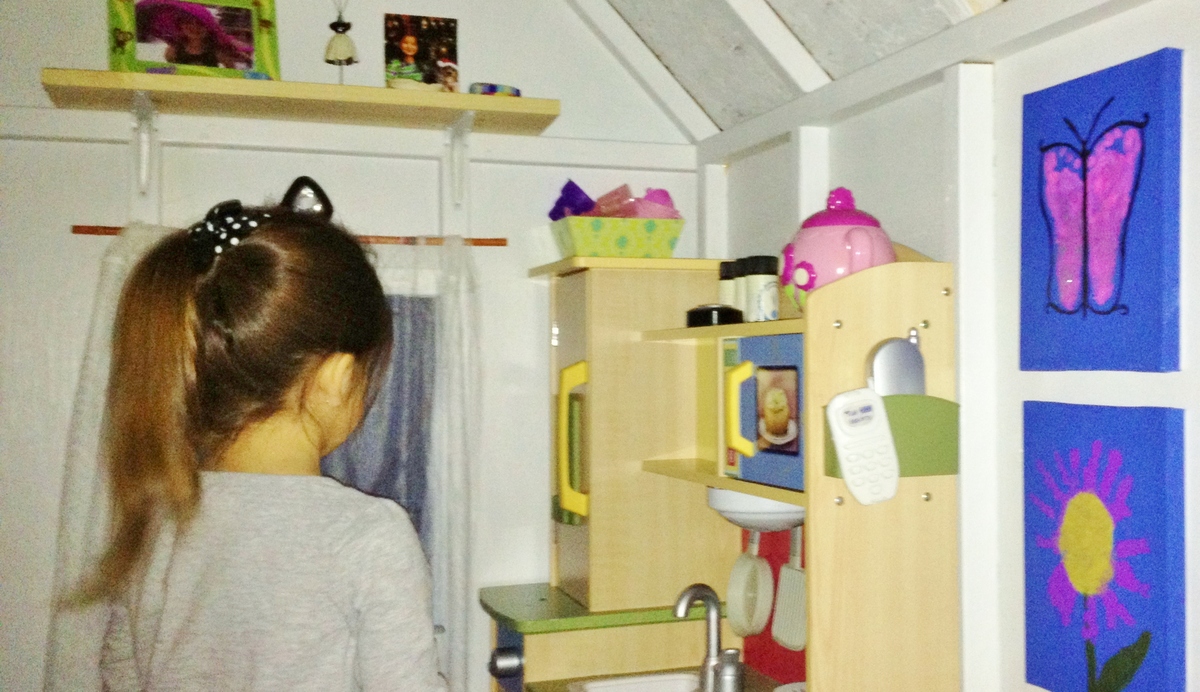
My first project ever was the red picnic table about a year ago and have built many more as housewarming/kid's bday gifts. This Christmas, instead of buying my daughter more toys, I decided to build her a playhouse. Not only was it a very special gift for her but also freed up space in my house being able to put her play kitchen, table, and other toys in it. The small changes we made were the size of the deck to better fit our available space and the shutters (made out of scrap 1x2s and hinged to close with a hook and eye). We put down 3/4" treated plywood as the base and then used 1 box of vinyl plank flooring that looks like wood to hold up to the Texas humidity. I eventually want to make accordion-like shutters for the front window but have up a bug curtain (used for regular size doorways and closes together with magnets) that I cut in half to fit. We have bad mosquitoes here in Texas! I also added a wireless doorbell.

Estimated Cost
$500
Estimated Time Investment
Week Long Project (20 Hours or More)
Recommended Skill Level
Advanced

Comments

spiceylg

Wed, 04/03/2013 - 04:58

You did an amazing job! Lucky little girl. Looks so cozy inside and out!

Seasonal And Holiday

Lily-Mae's Dresser

Submitted by Charles R on Sat, 02/14/2015 - 20:02

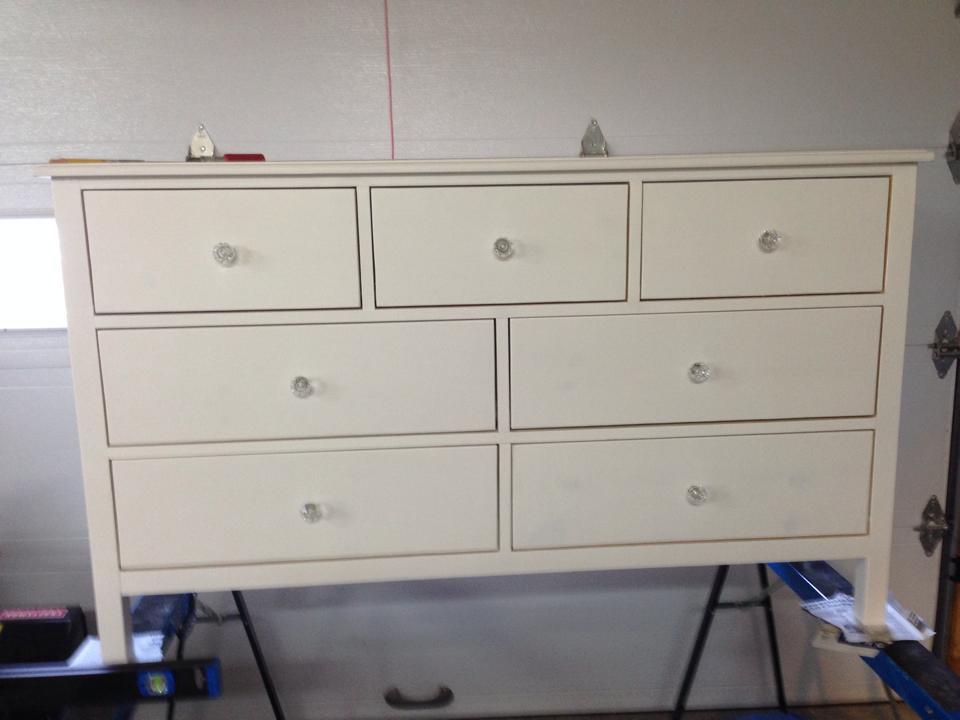
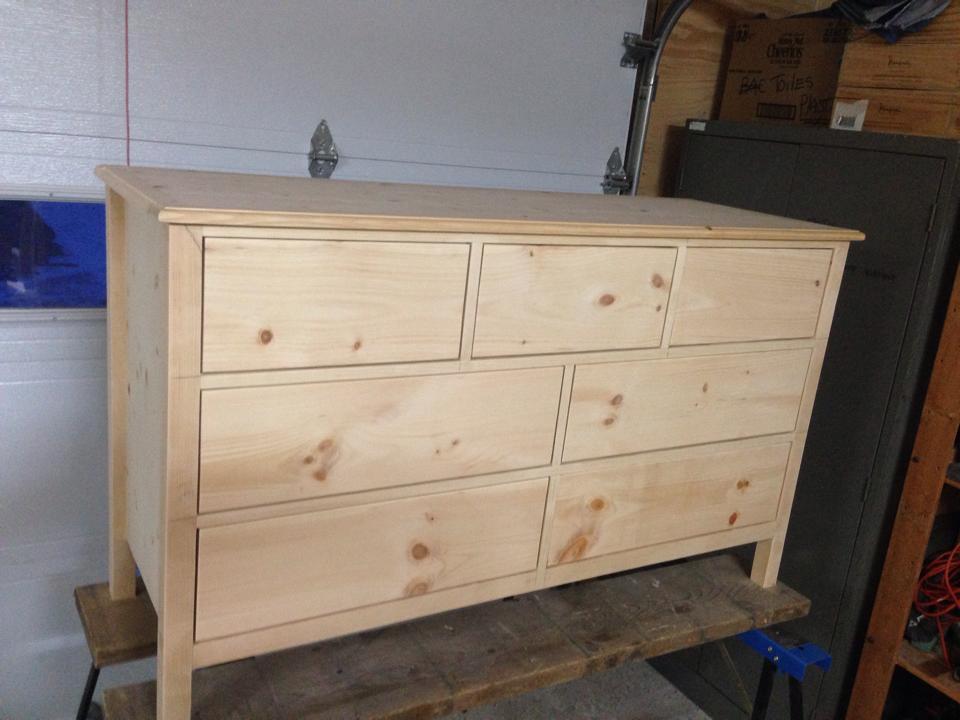
Made from pine wood painted white as my girlfriend wanted ;)


Built from Plan(s)
Estimated Cost
200 - 240
Estimated Time Investment
Week Long Project (20 Hours or More)
Finish Used
Primer + semi-gloss white paint
Recommended Skill Level
Intermediate

Comments

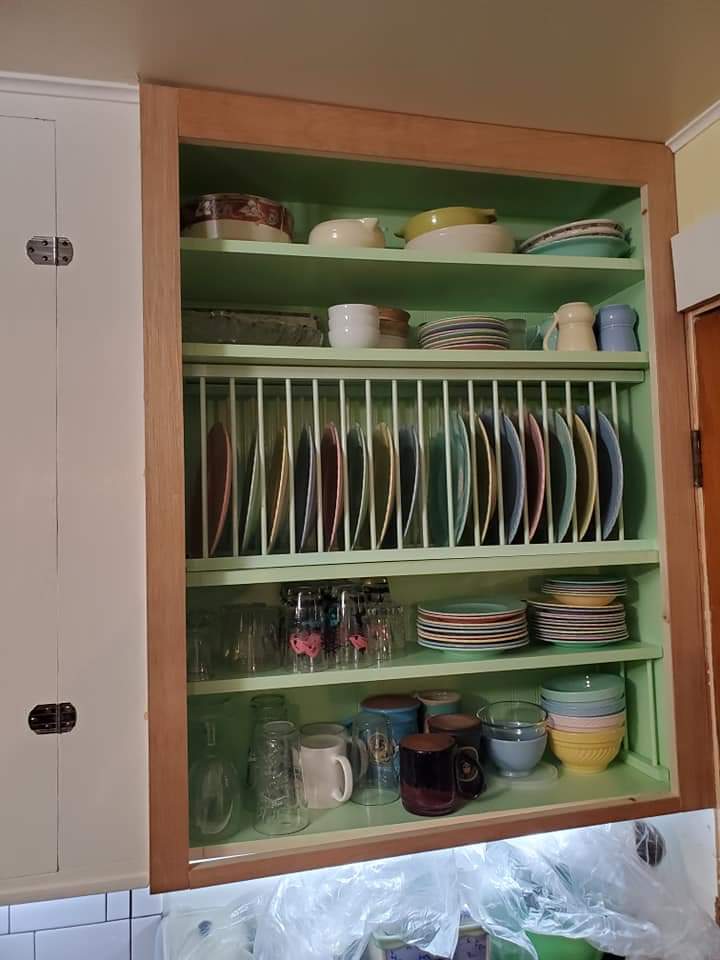
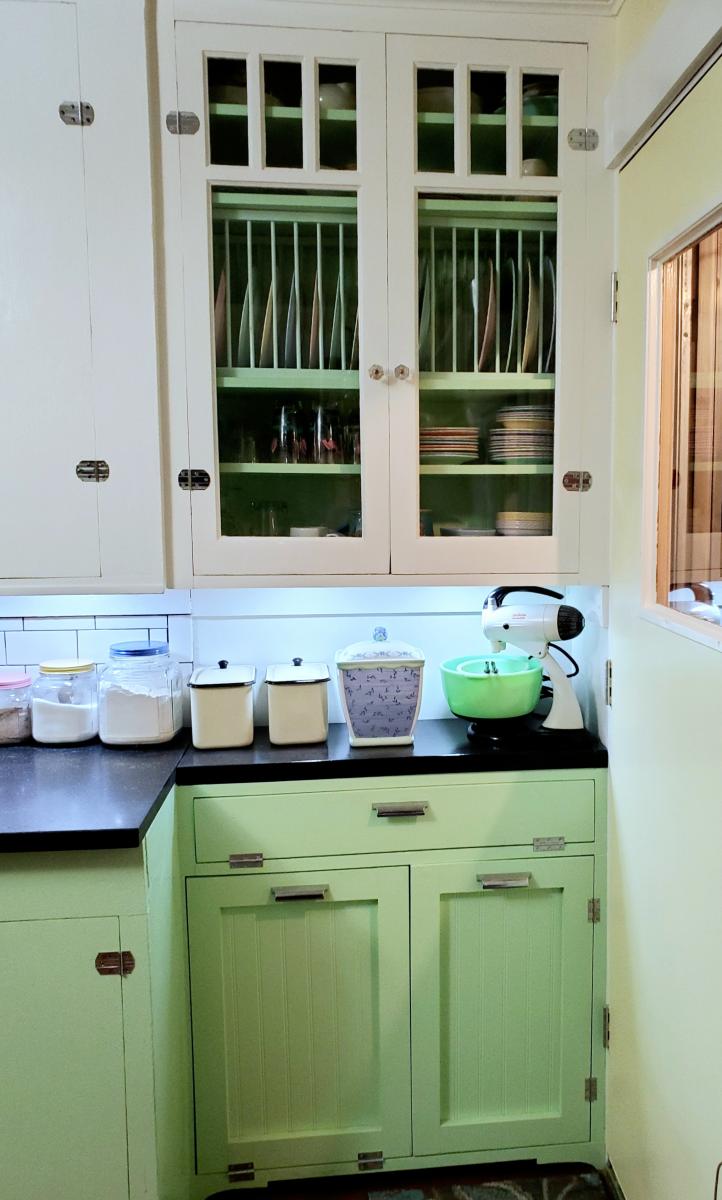
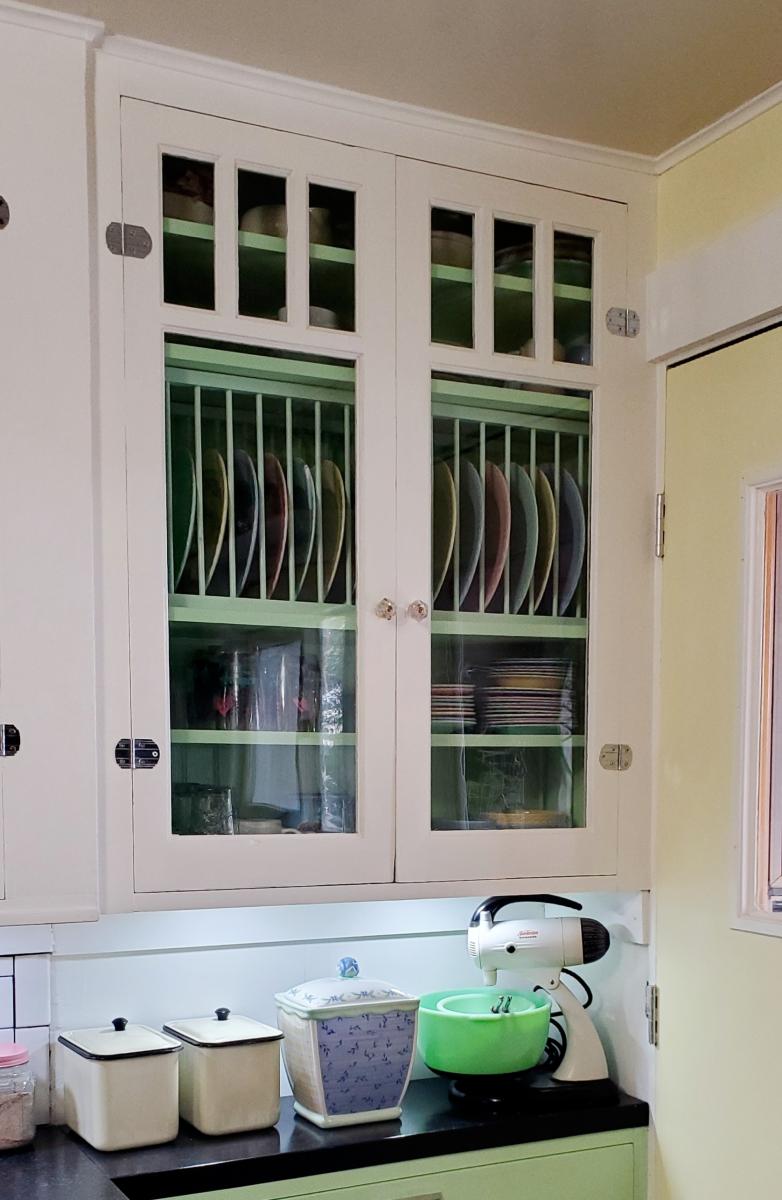
Kitchen cabinet project using ShelfHelp

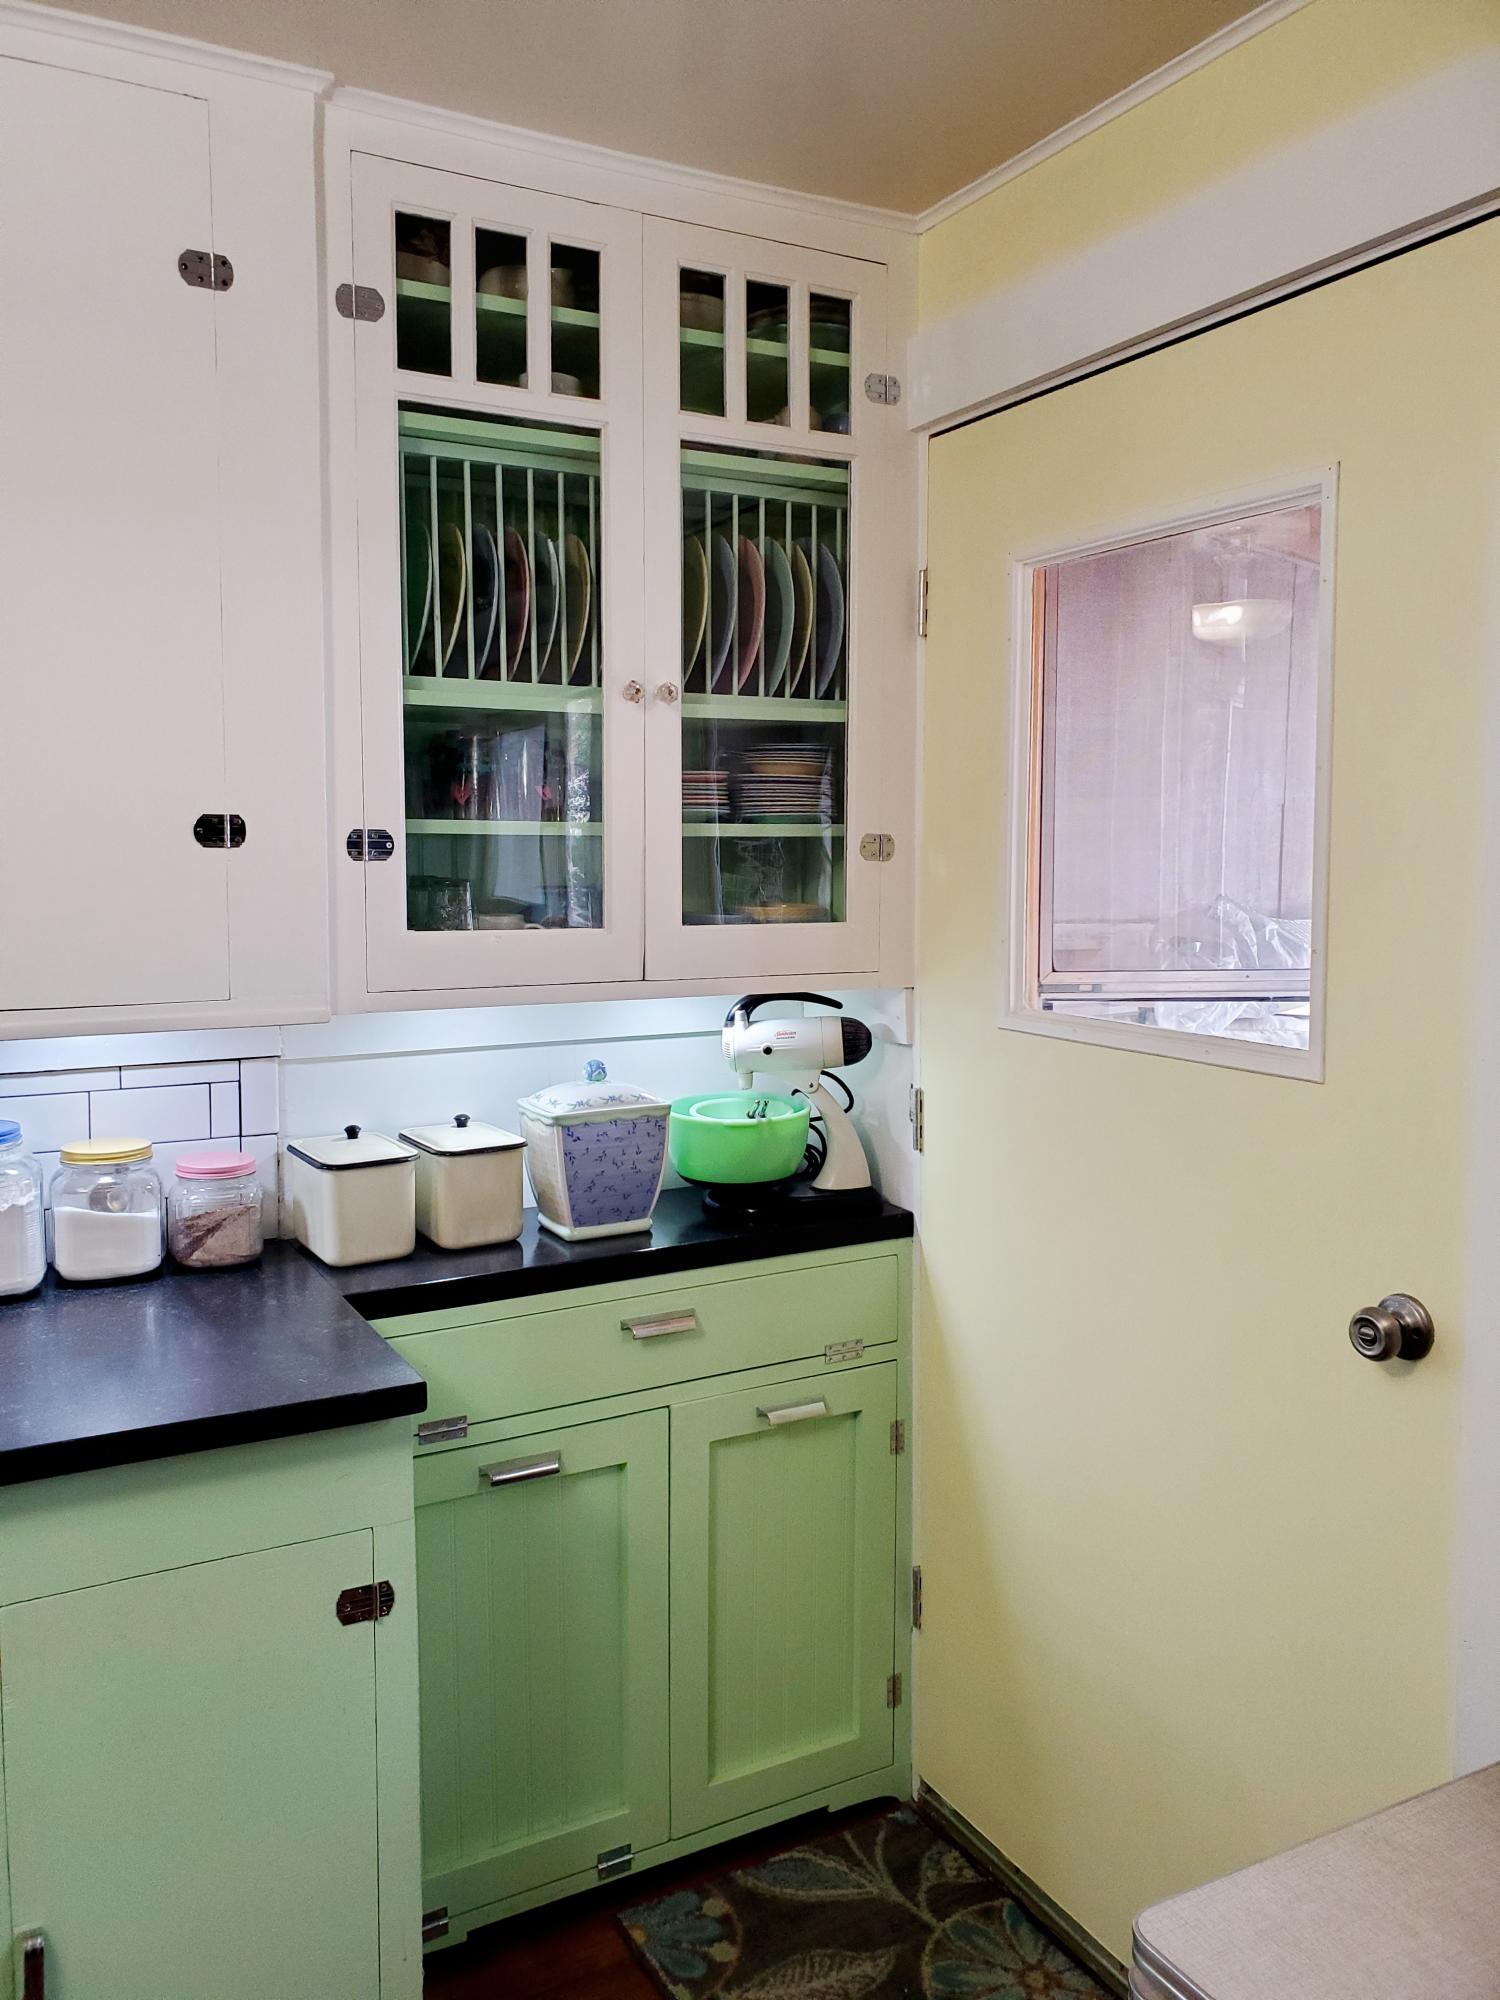
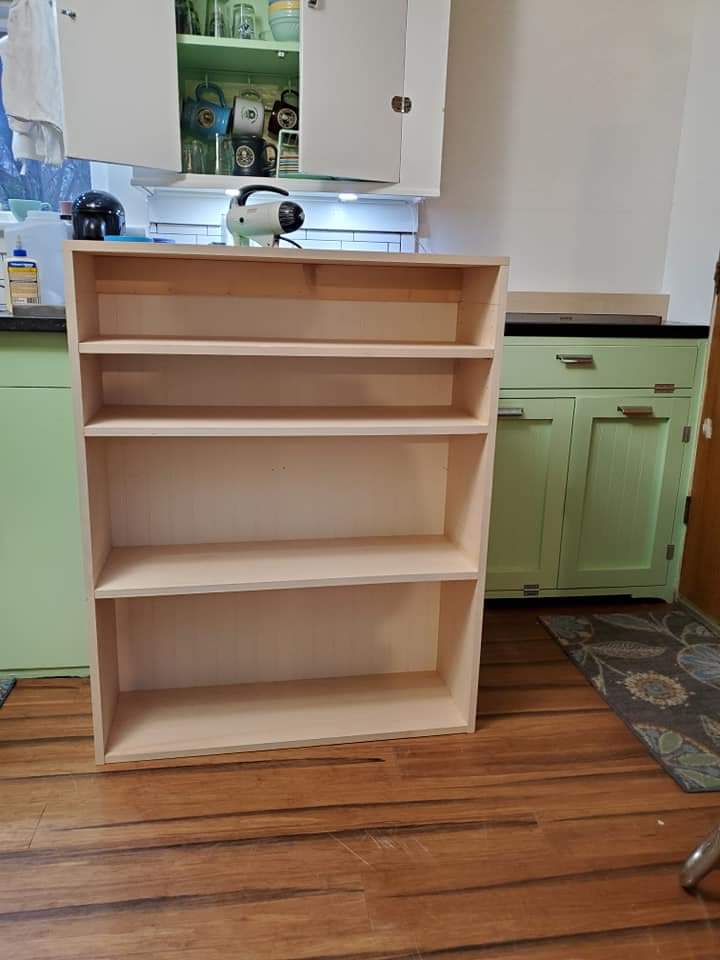
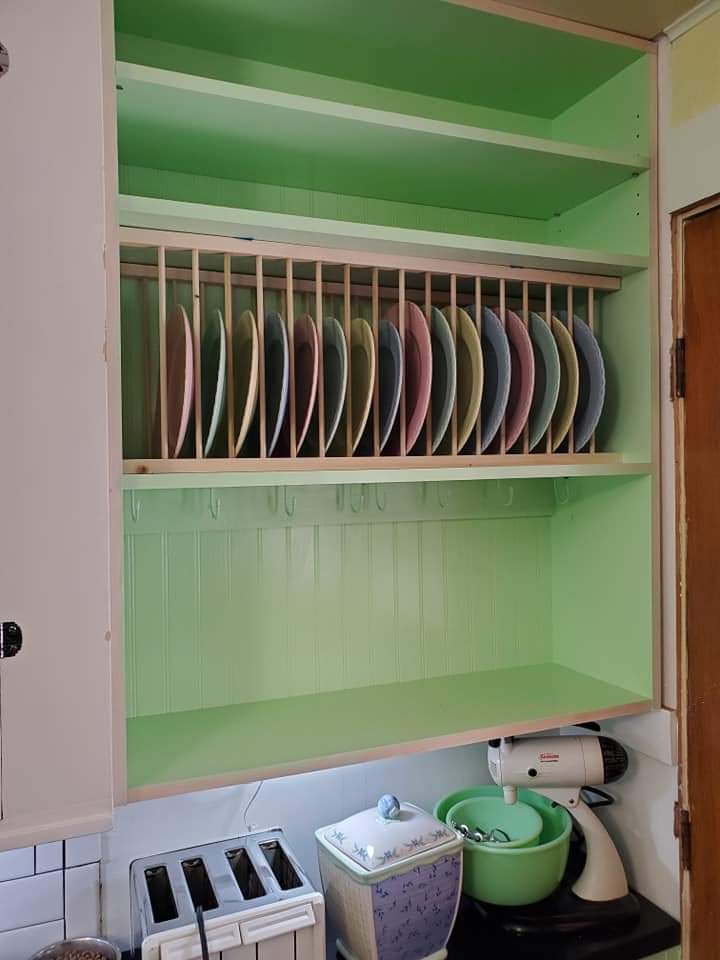
I had an area in my kitchen I wanted to add cabinets to and get rid of the open shelves. I built the lower cabinet from the Tilt Out Garbage Cabinet plans with my own modifications. I ordered the upper cabinet carcass from ShelfHelp, to create a cabinet to showcase my vintage dinnerware I inherited from my Mom. The cabinet went together great! I built a vertical plate rack and another free standing rack for the interior of the cabinet. Added a beadboard back and salvaged antique cabinet doors. Now the back corner is a functional area of the kitchen and fits in perfectly with the original 1937 cabinets. I can't say enough good things about ShelfHelp! Great quality, hassle free ordering, fast shipping and a reasonable price. I will definitely be using Shelf Help again!

Estimated Cost
$500 counting the antique doors
Estimated Time Investment
Week Long Project (20 Hours or More)
Finish Used
Upper cabinet: Benjamin Moore paint Mountain Peak White in semi gloss. Cabinet interior and lower cabinet: Clark & Kensington Garden Gnome in semi gloss.
Recommended Skill Level
Beginner

Comments

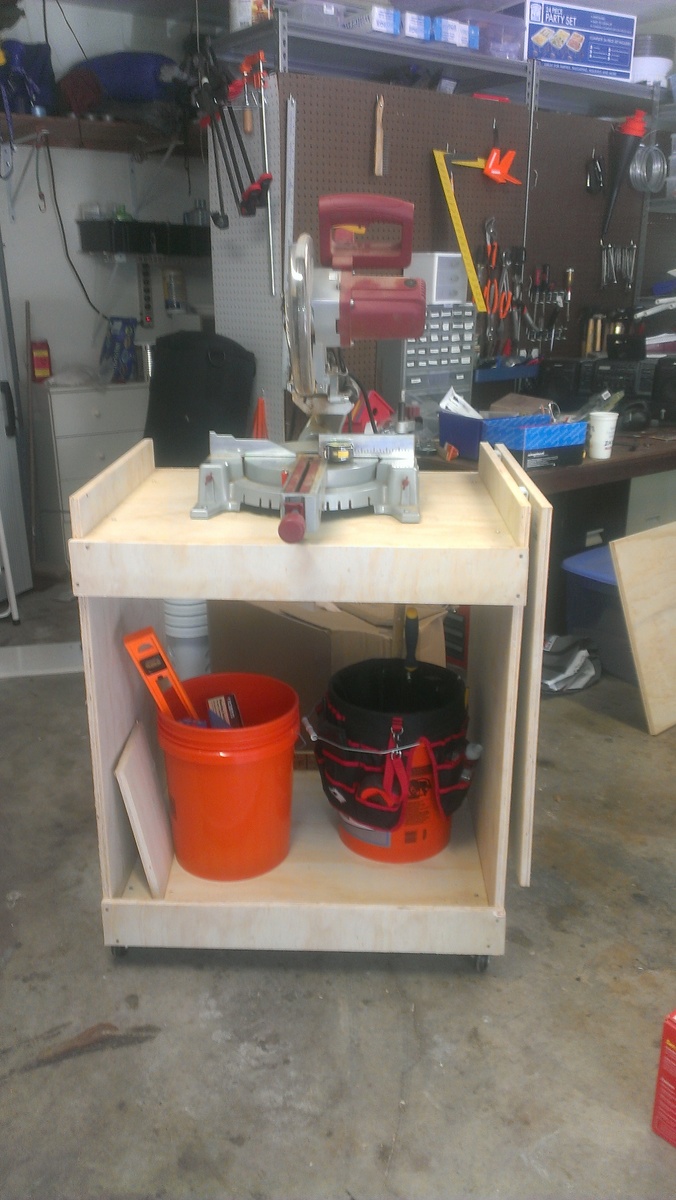
Miter Saw Cart named Dolley

I made the miter saw cart today. It took me about 2.5 hrs, but I was going slow and taking lots of breaks.

Built from Plan(s)
Estimated Time Investment
An Hour or Two (0-2 Hours)
Recommended Skill Level
Starter Project

Comments

Tailgate Bench

Submitted by Anonymous (not verified) on Wed, 05/17/2017 - 18:02

I used the plans for the outdoor sofa and just changed the measurements to fit the tailgate back. 

Estimated Time Investment
Weekend Project (10-20 Hours)
Finish Used
Miniwax Espresso
Recommended Skill Level
Beginner