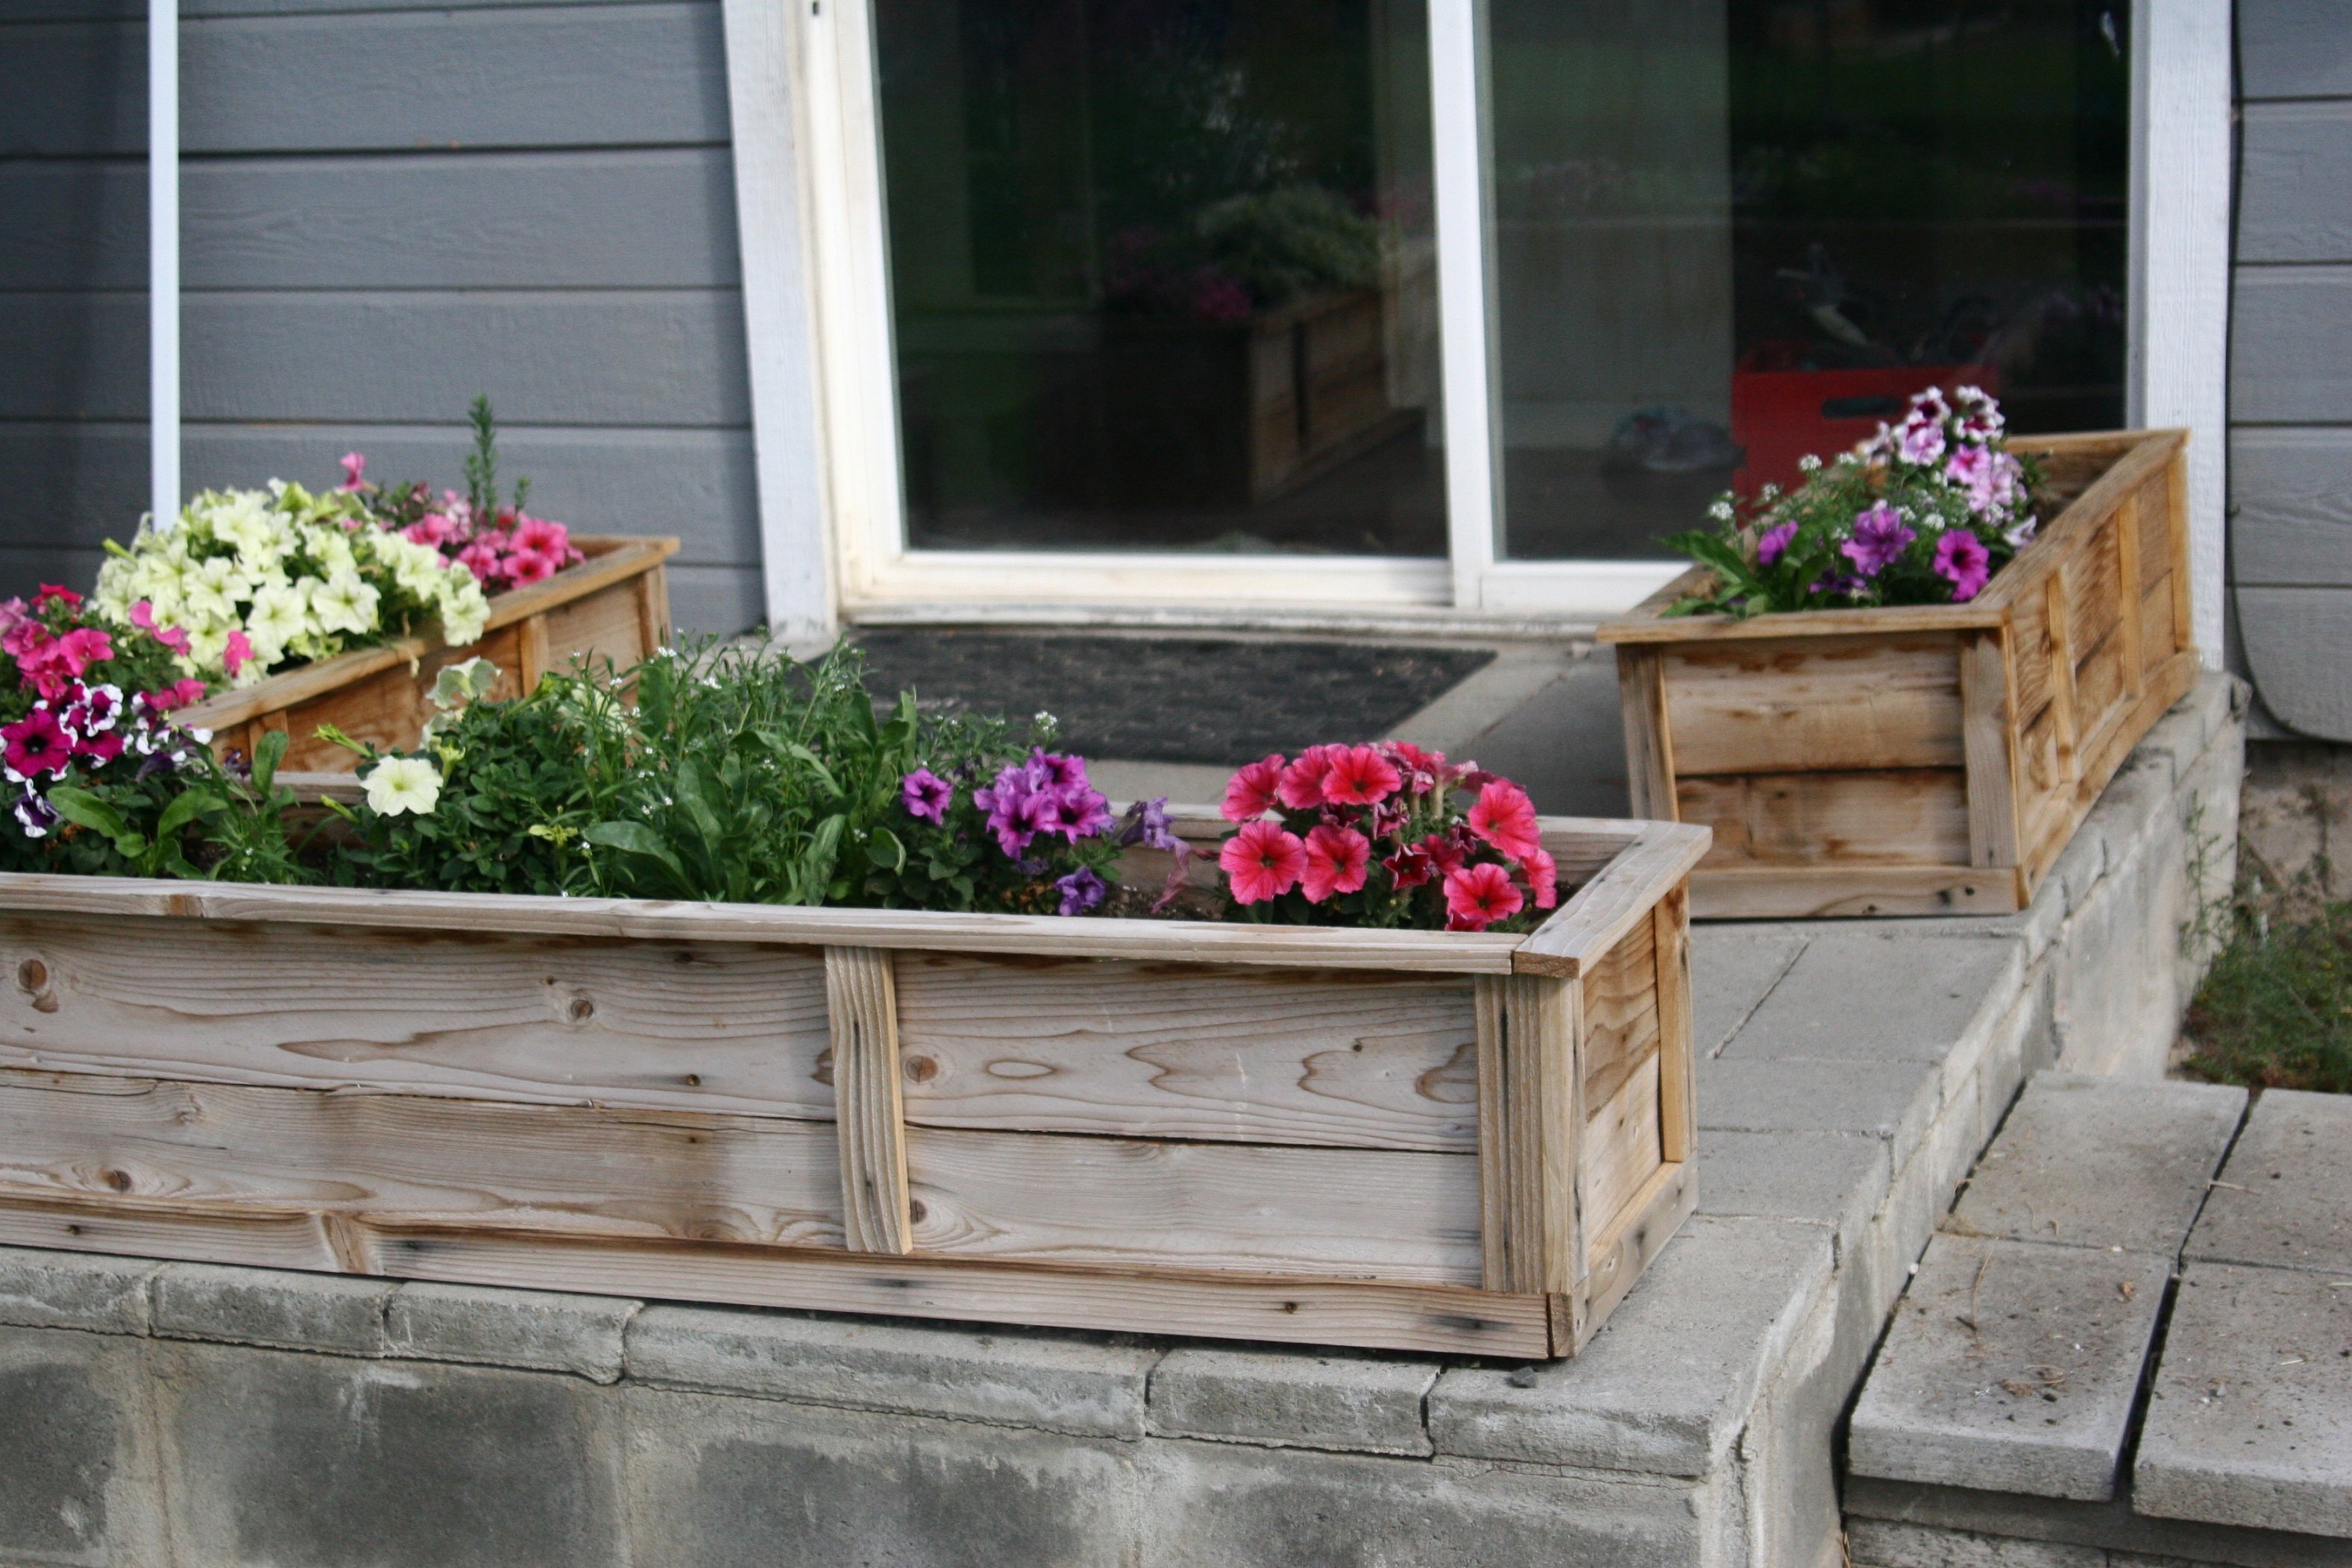
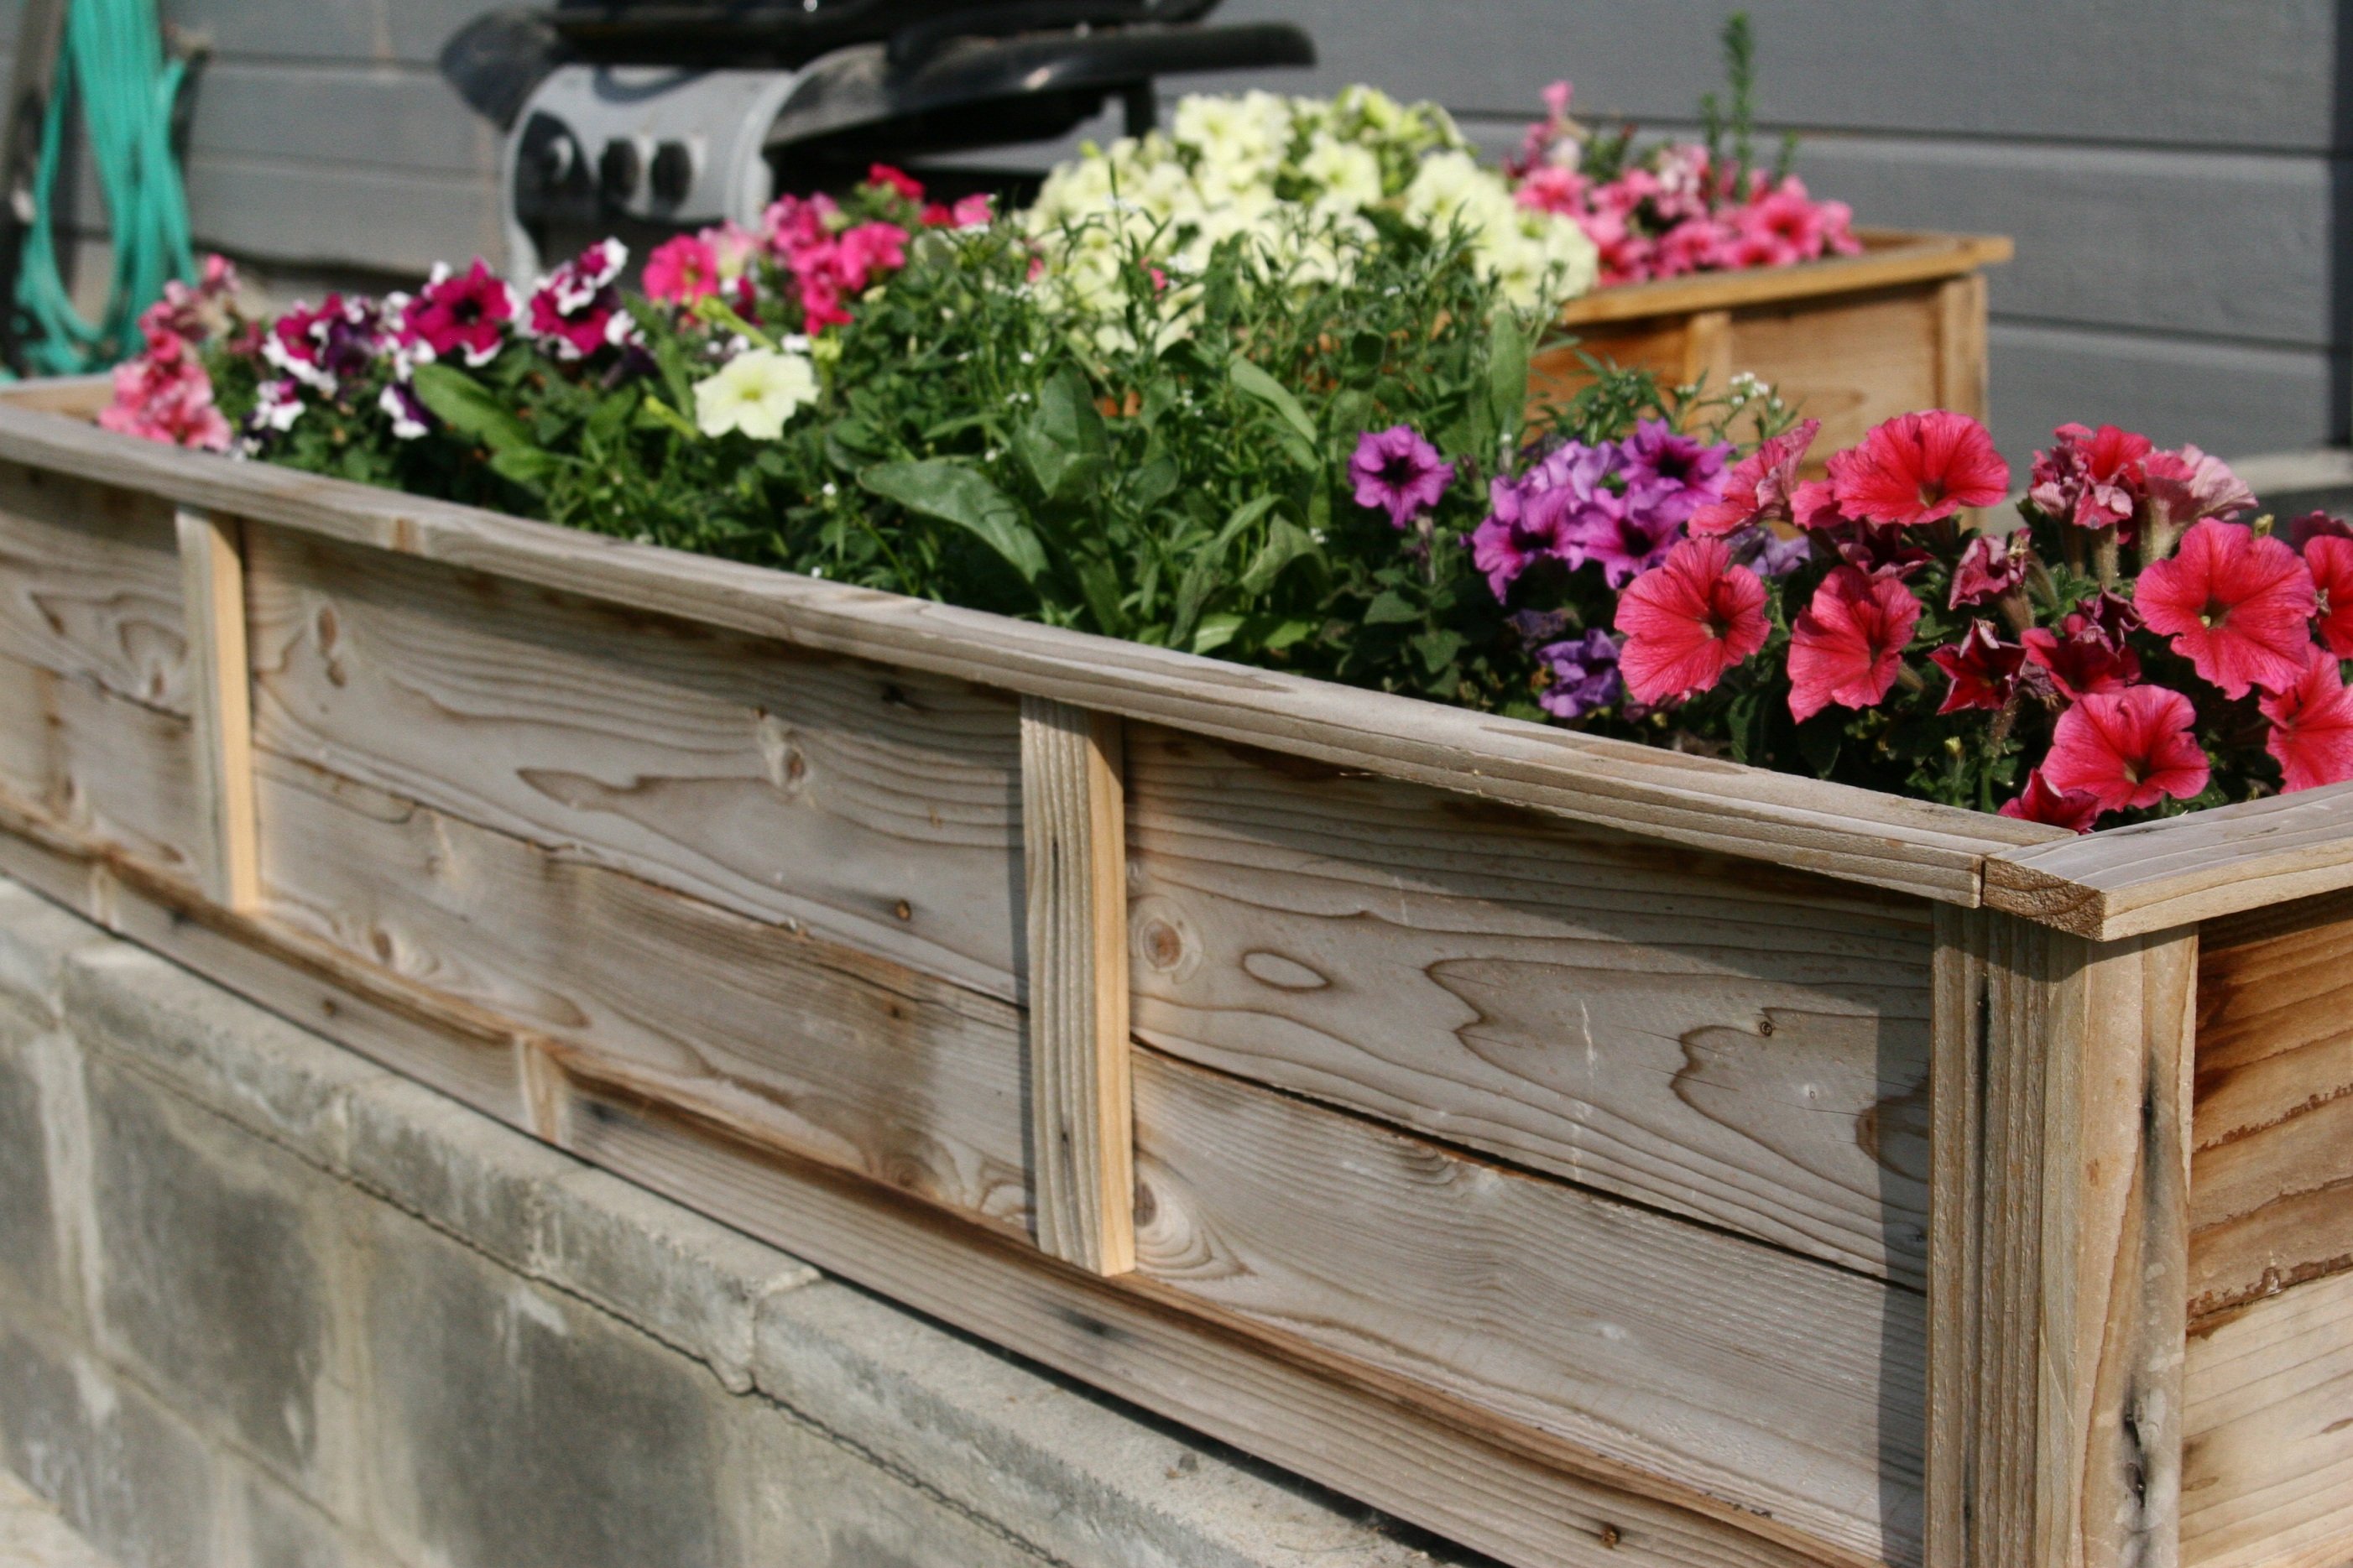
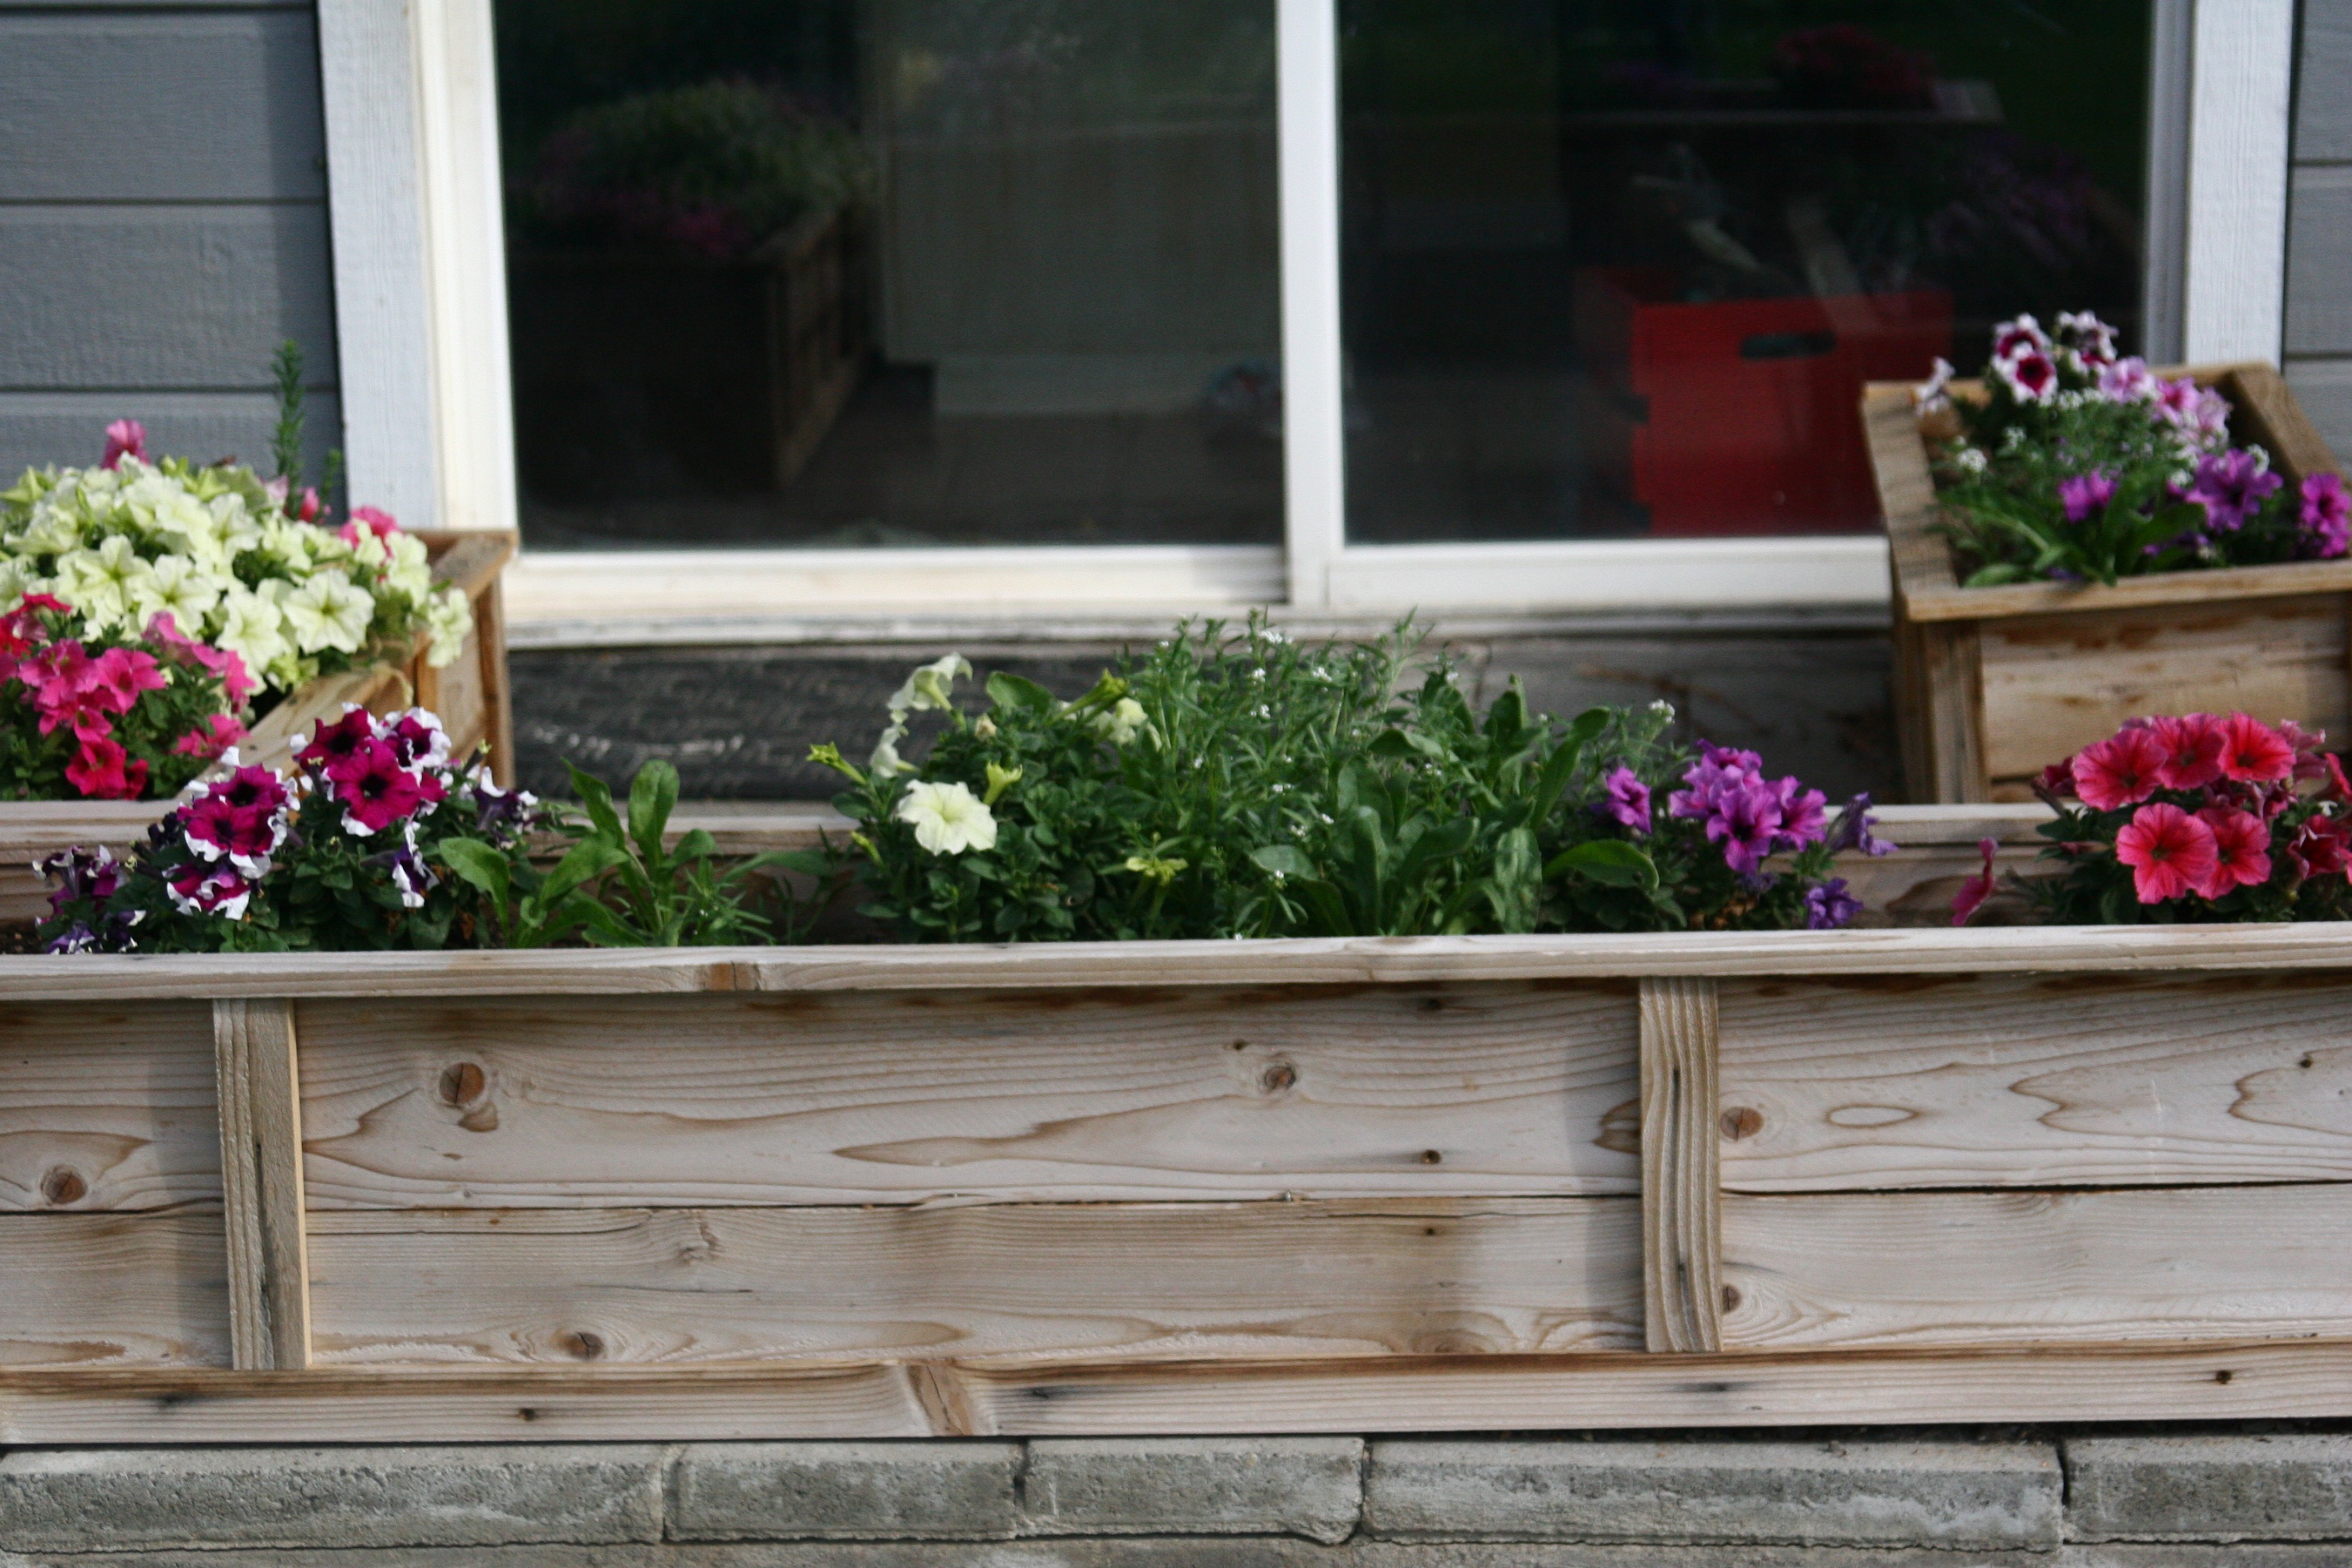
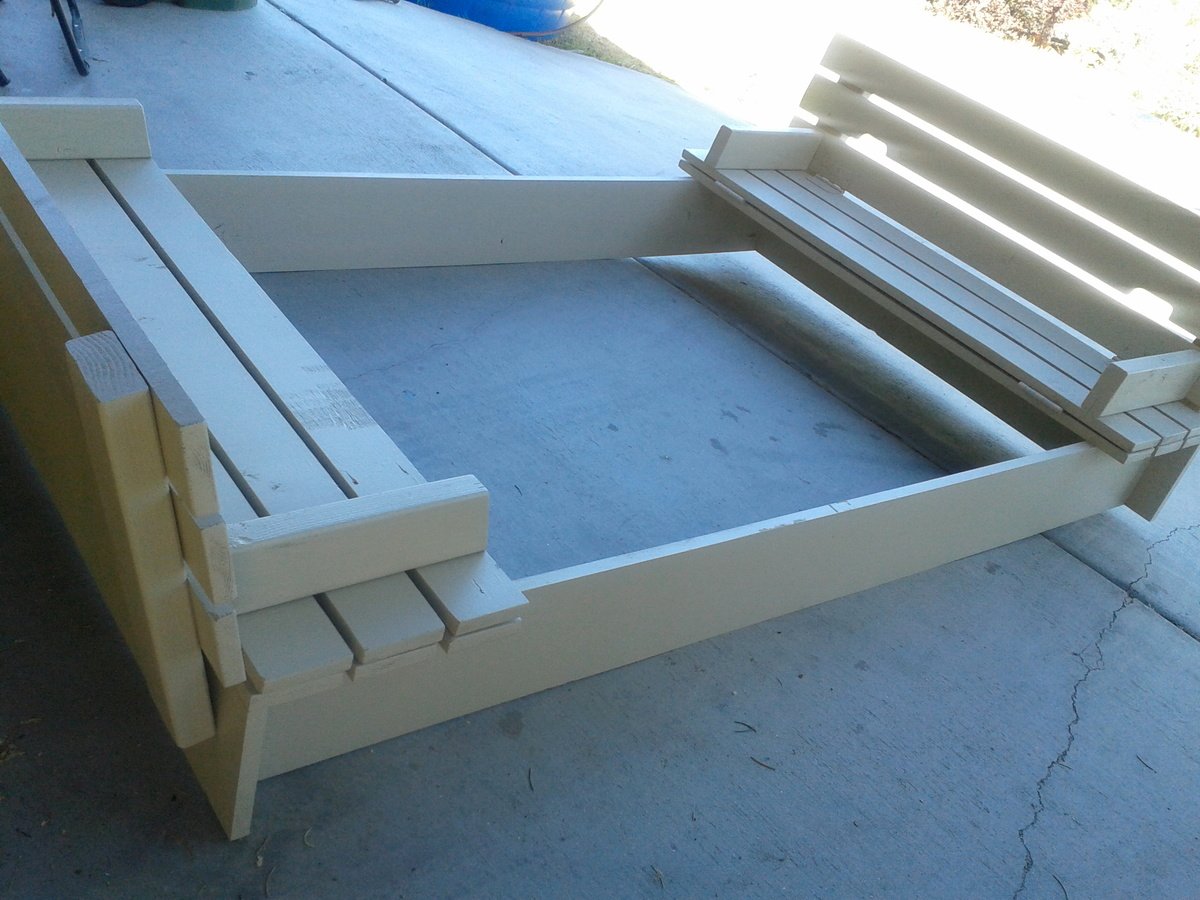
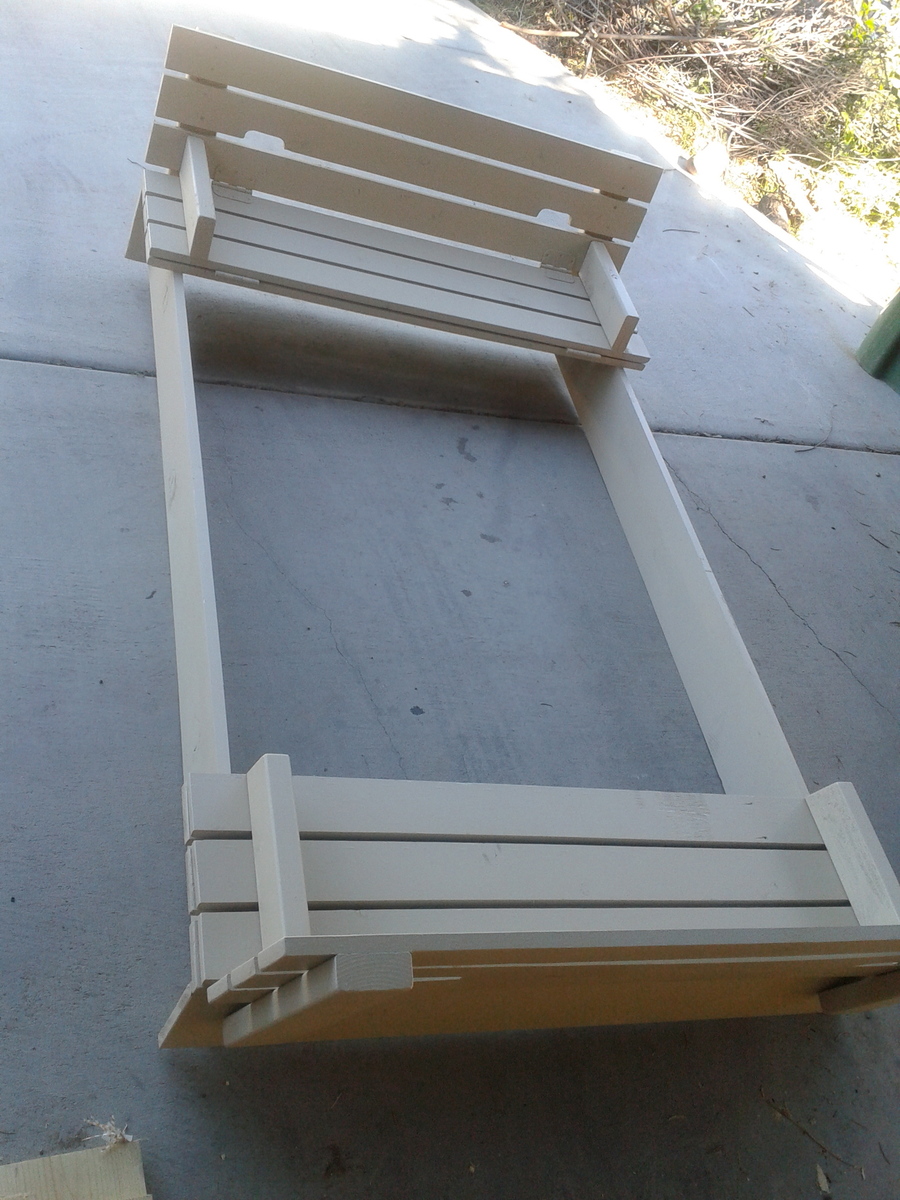
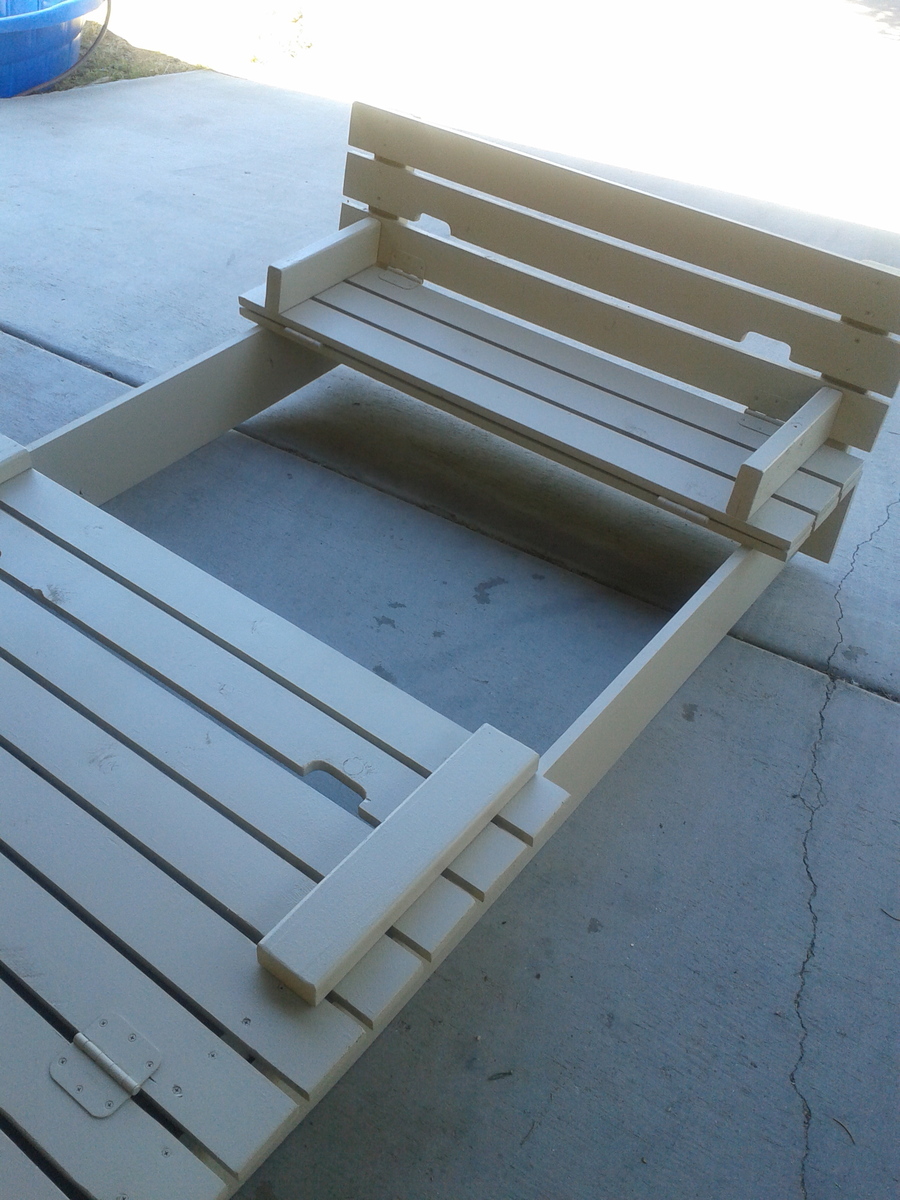
Raised flower planter beds
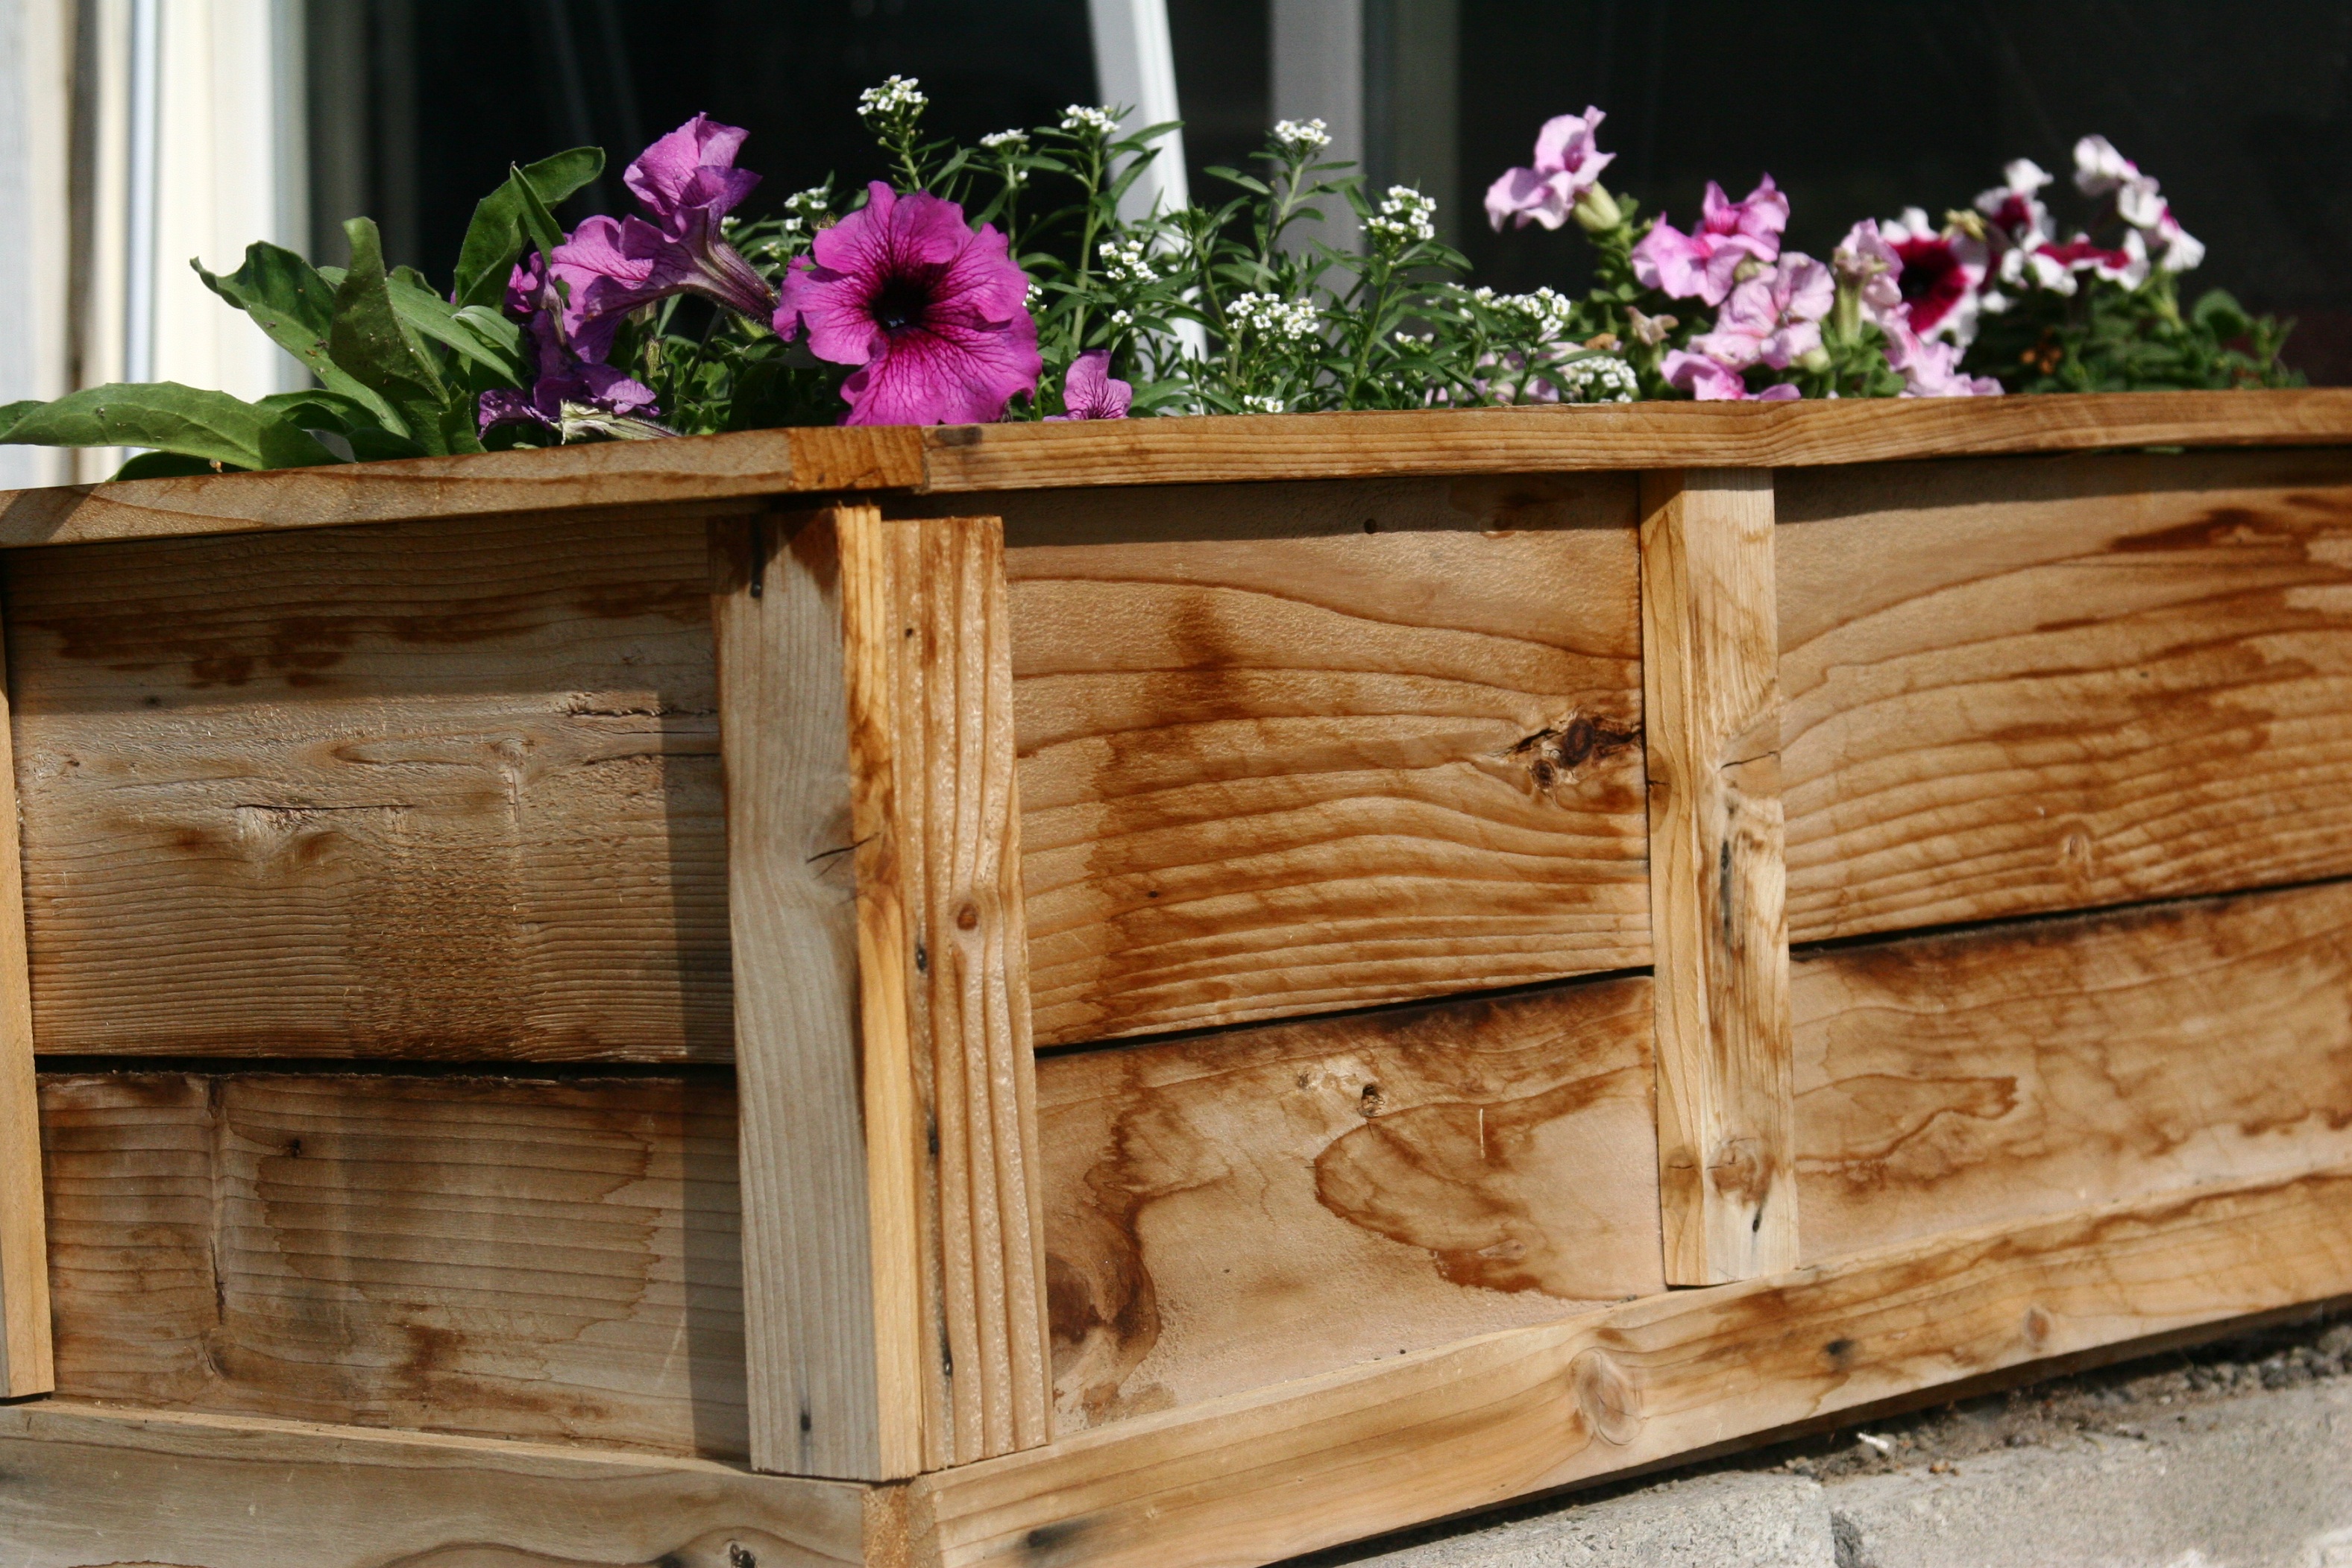
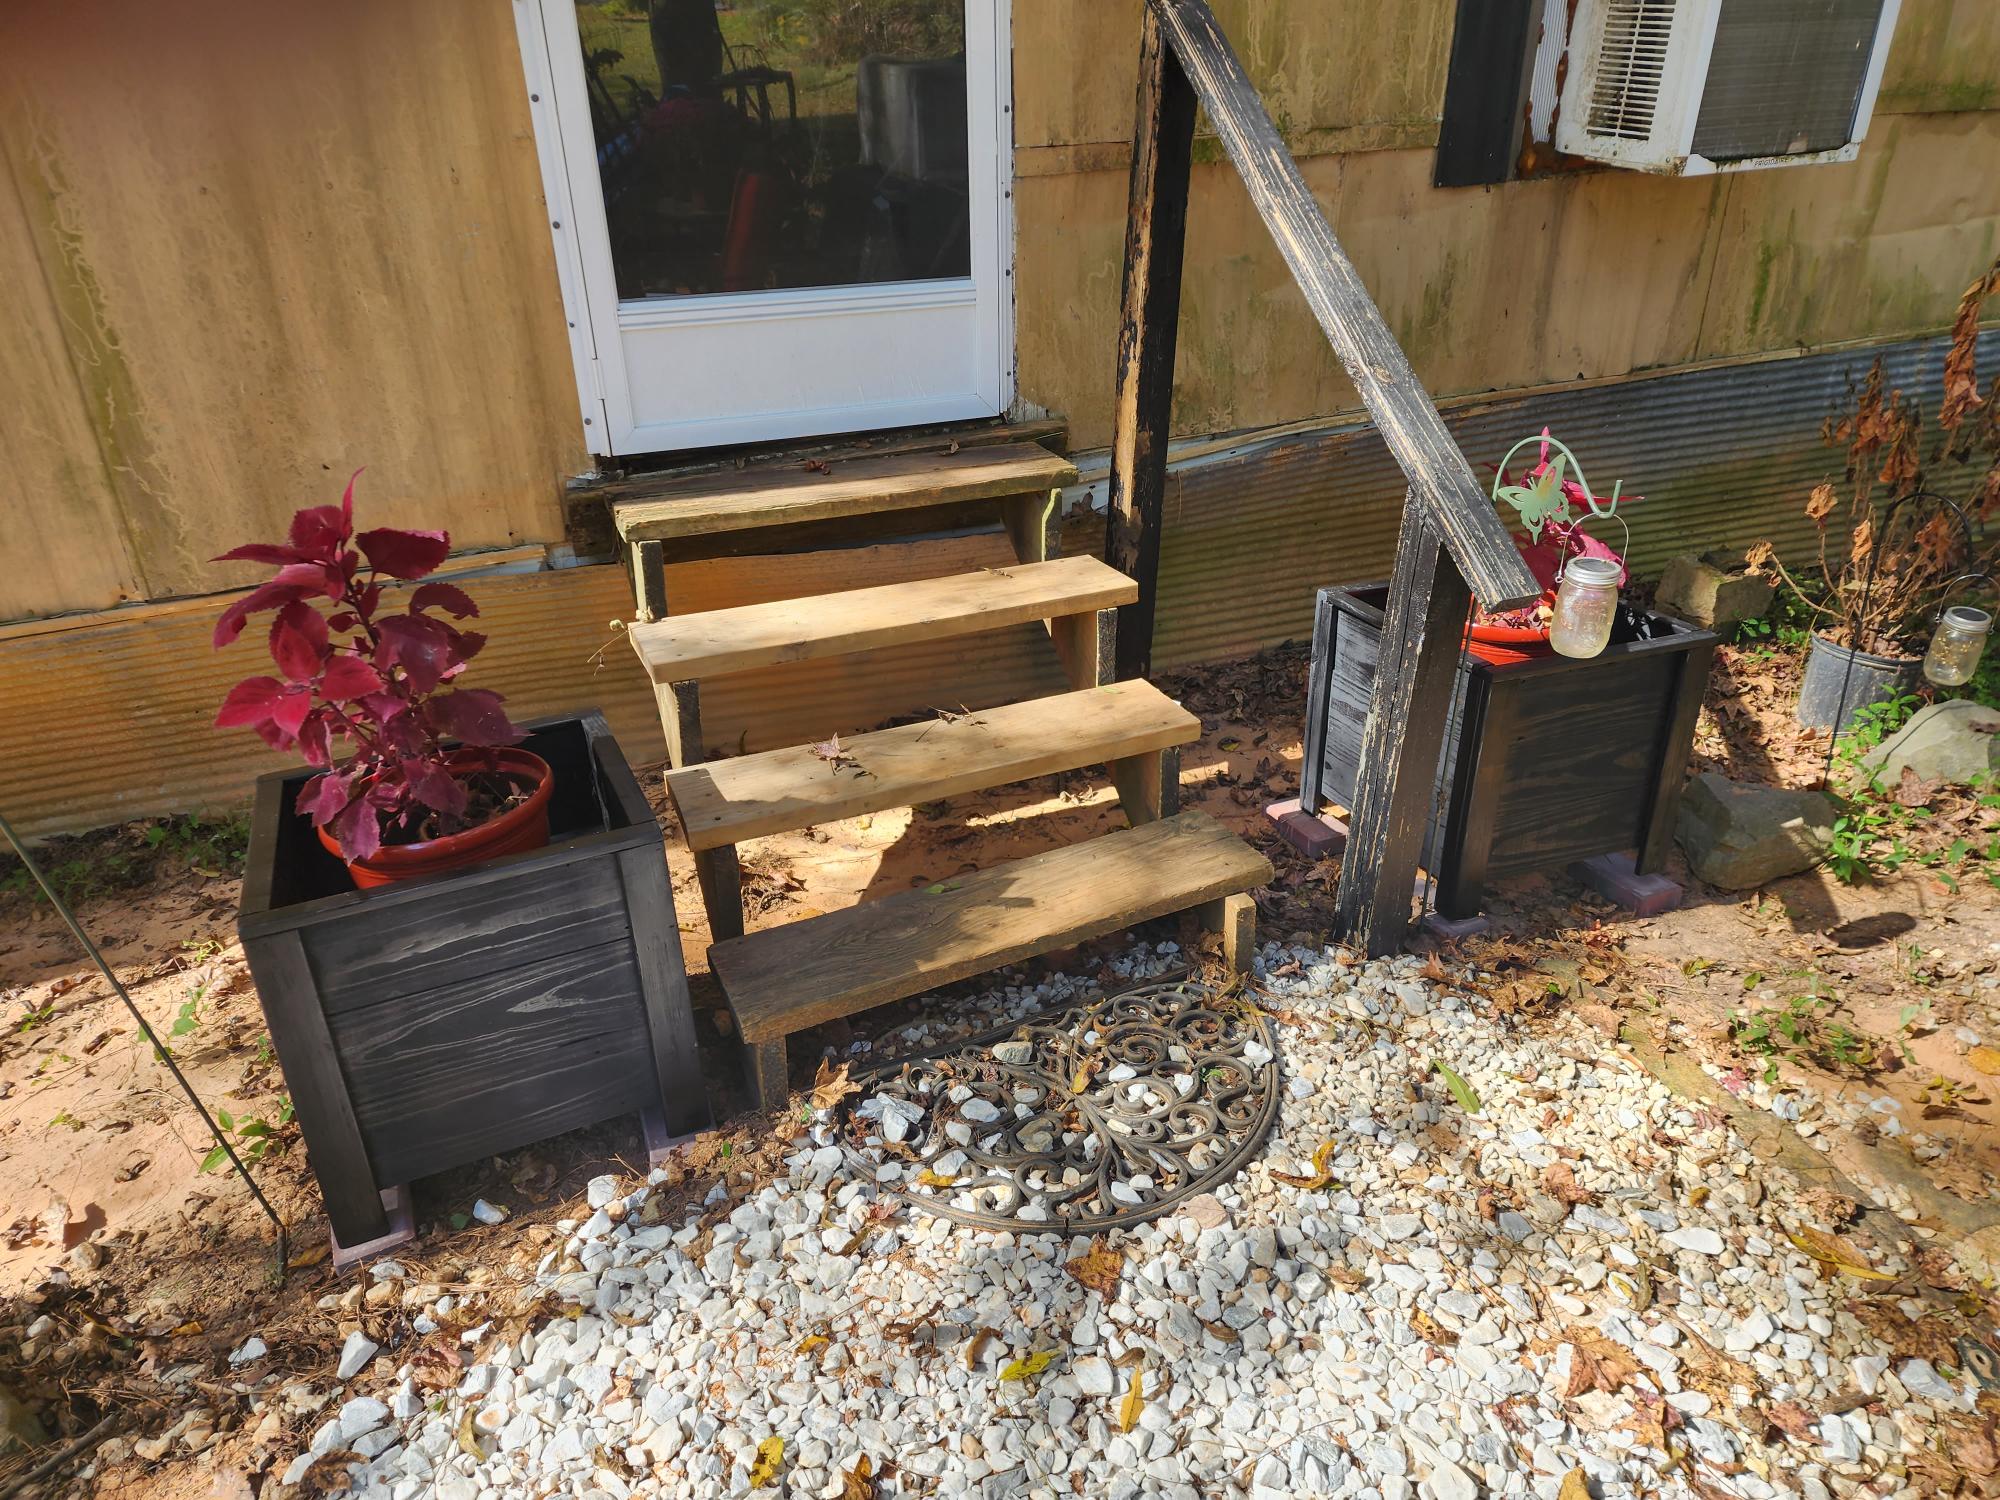
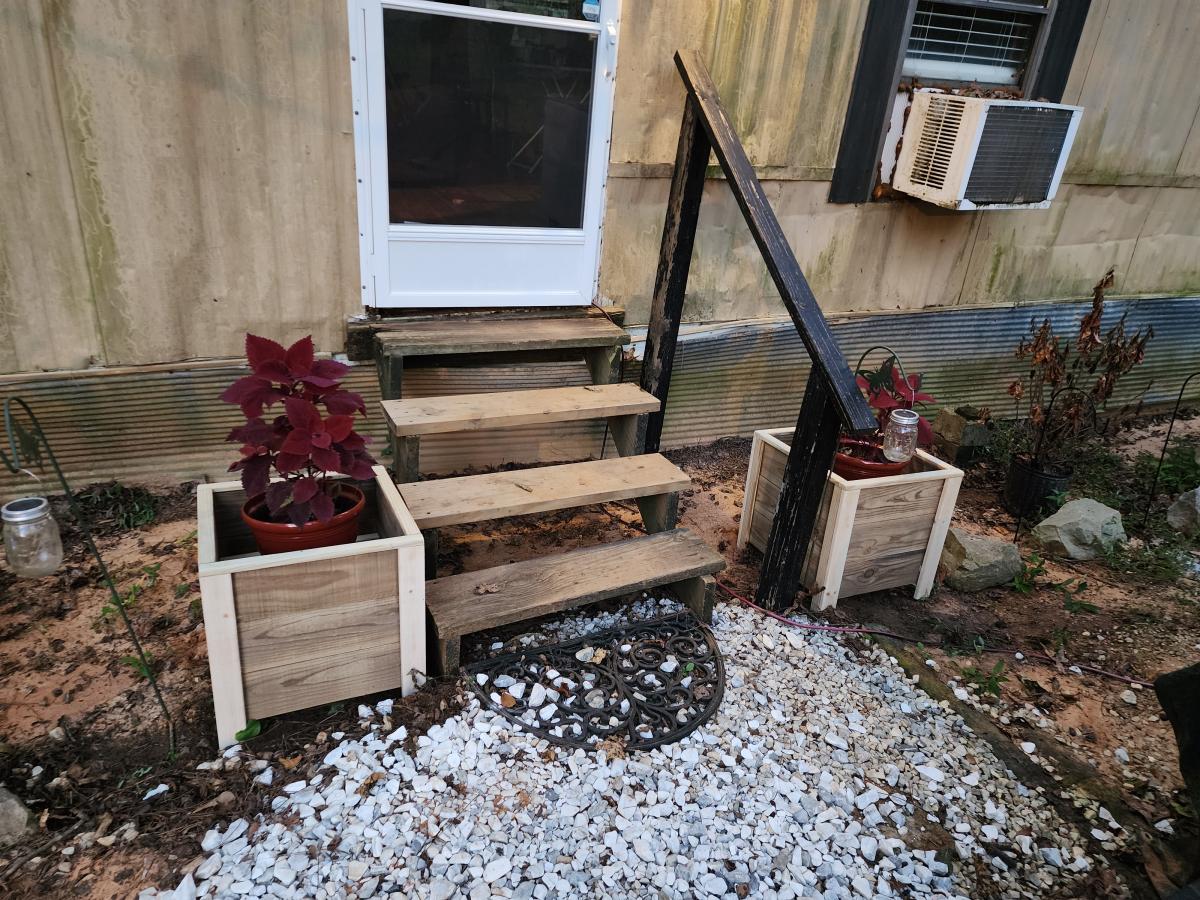
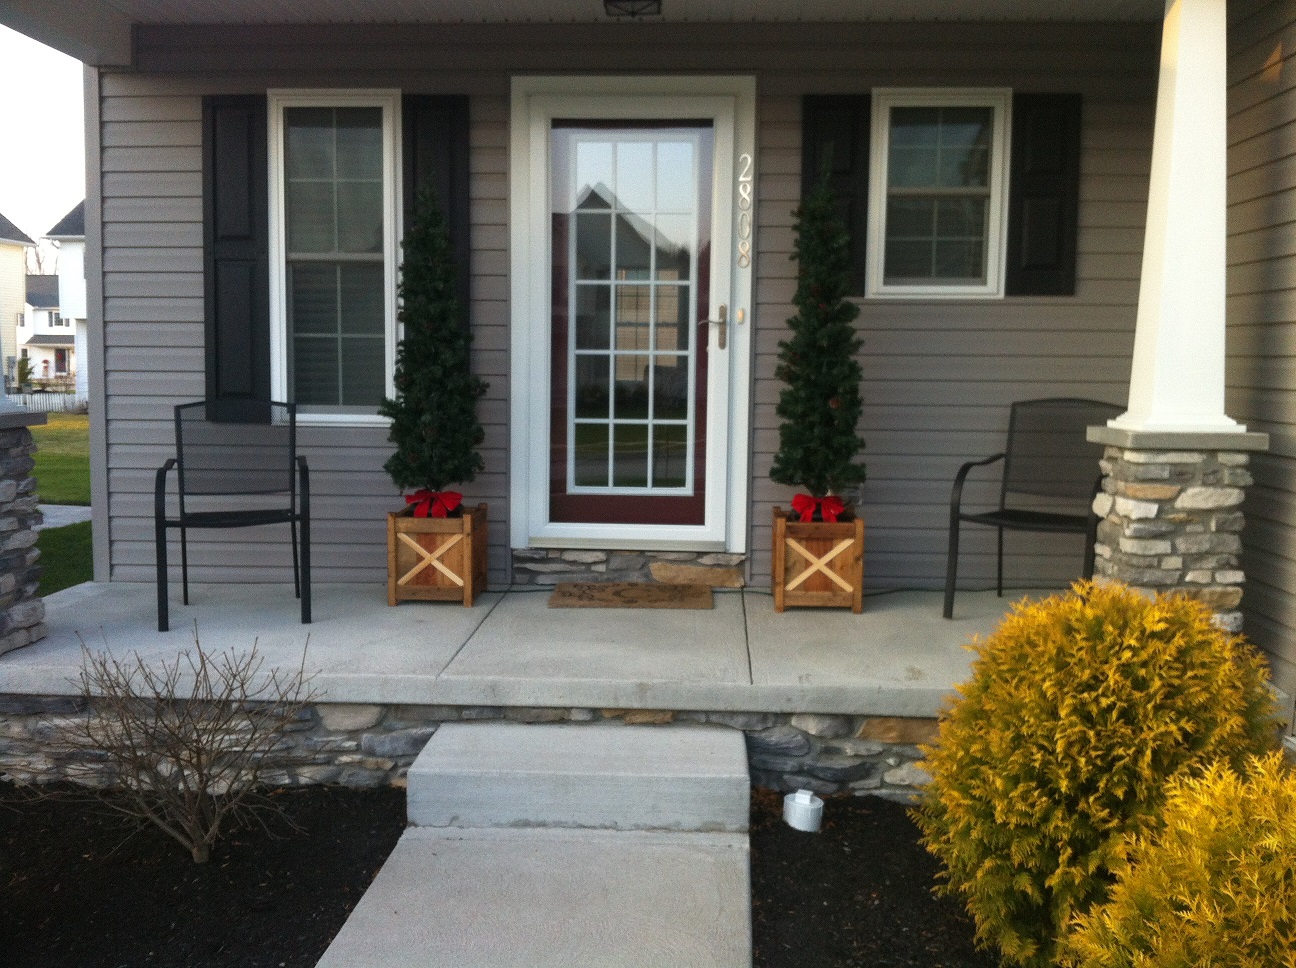
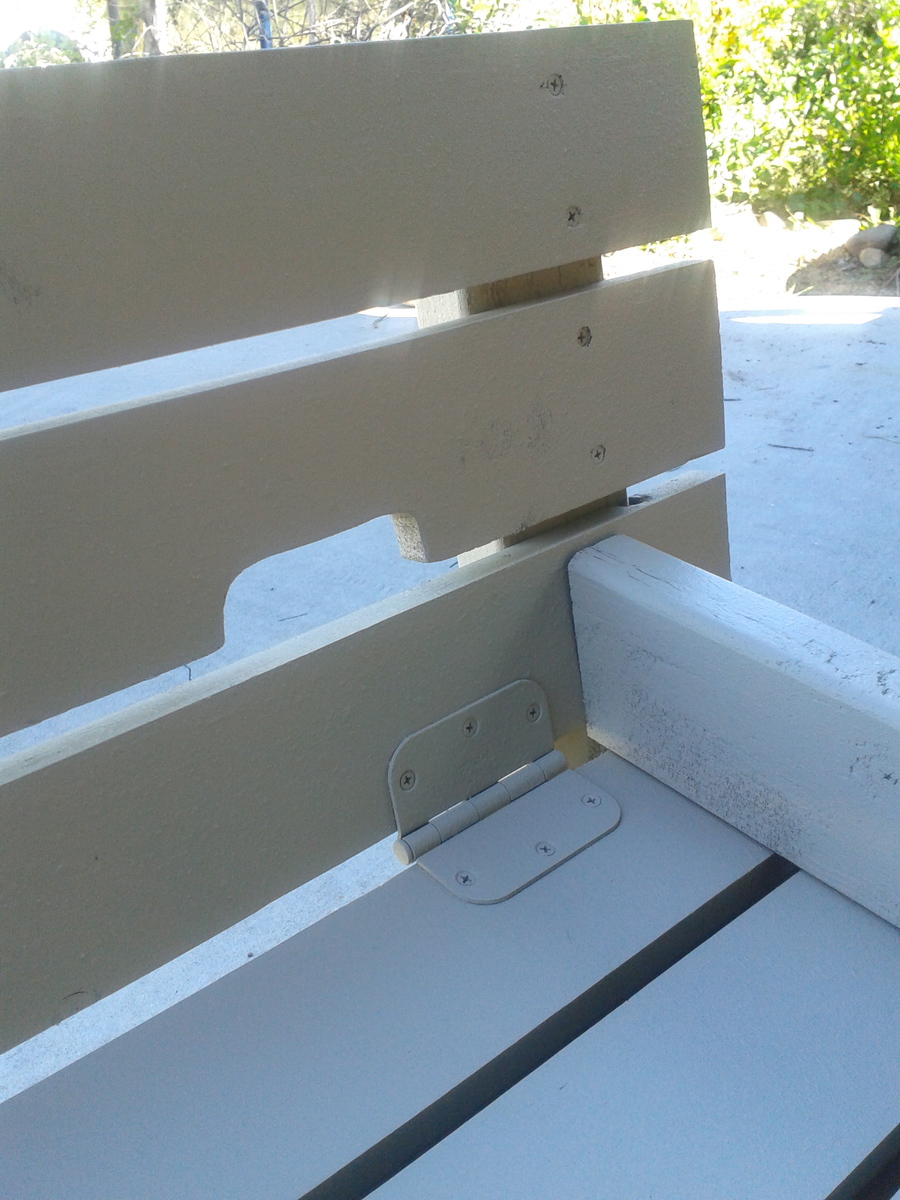
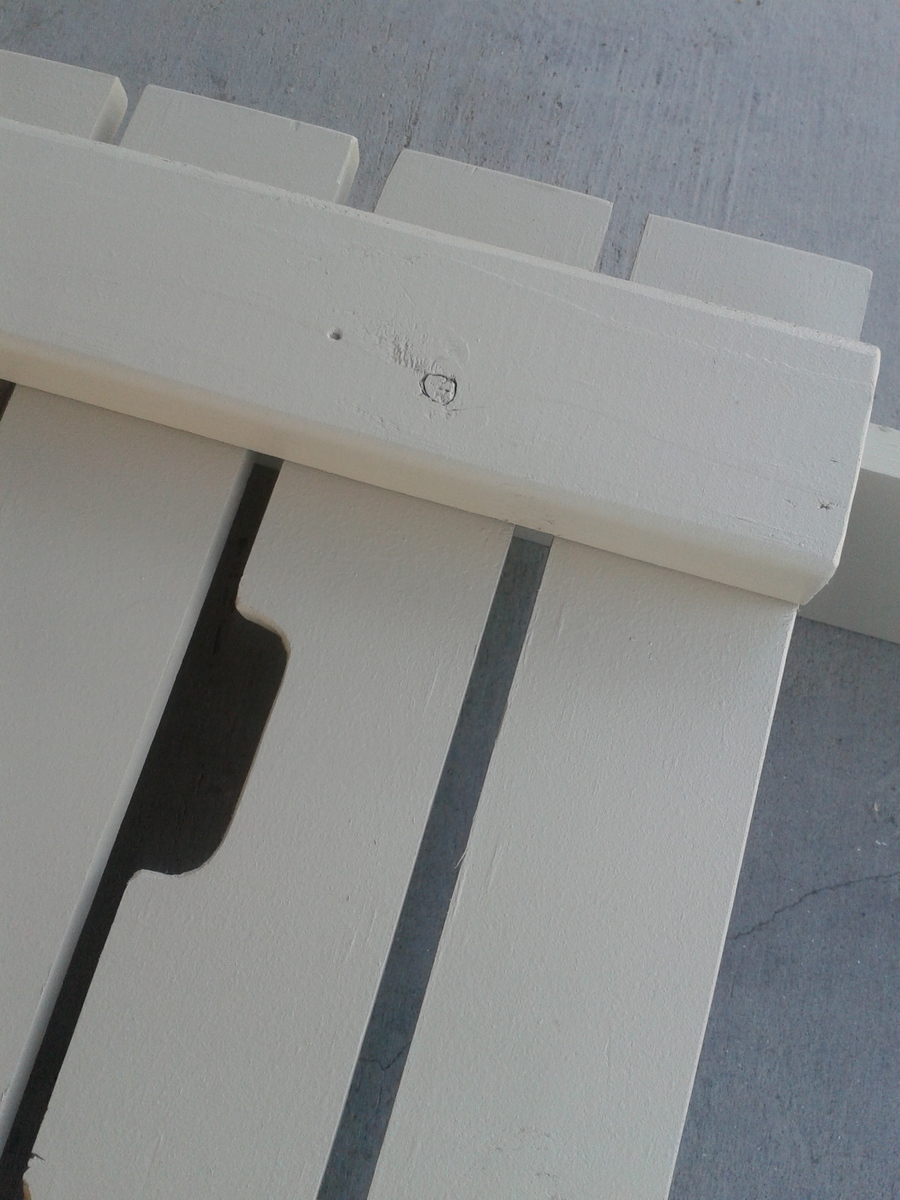
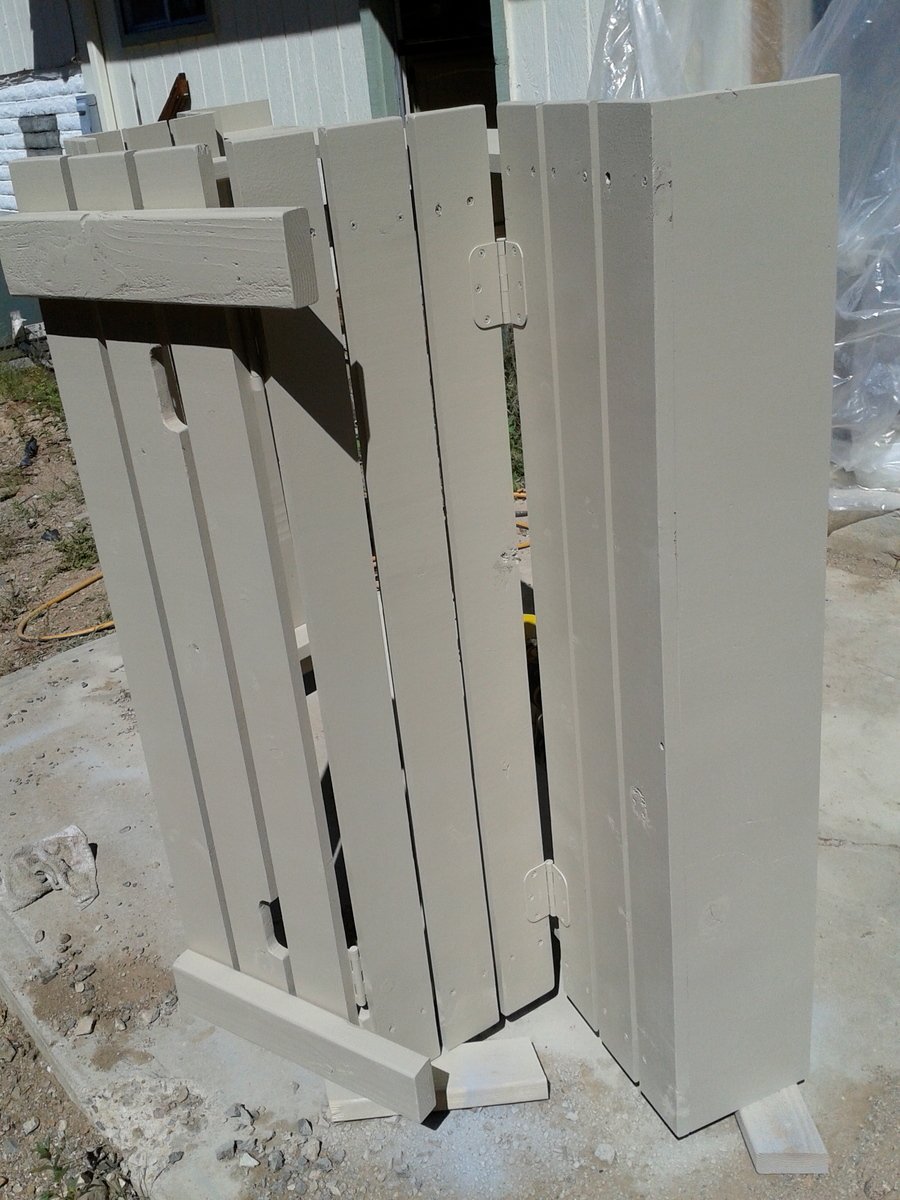
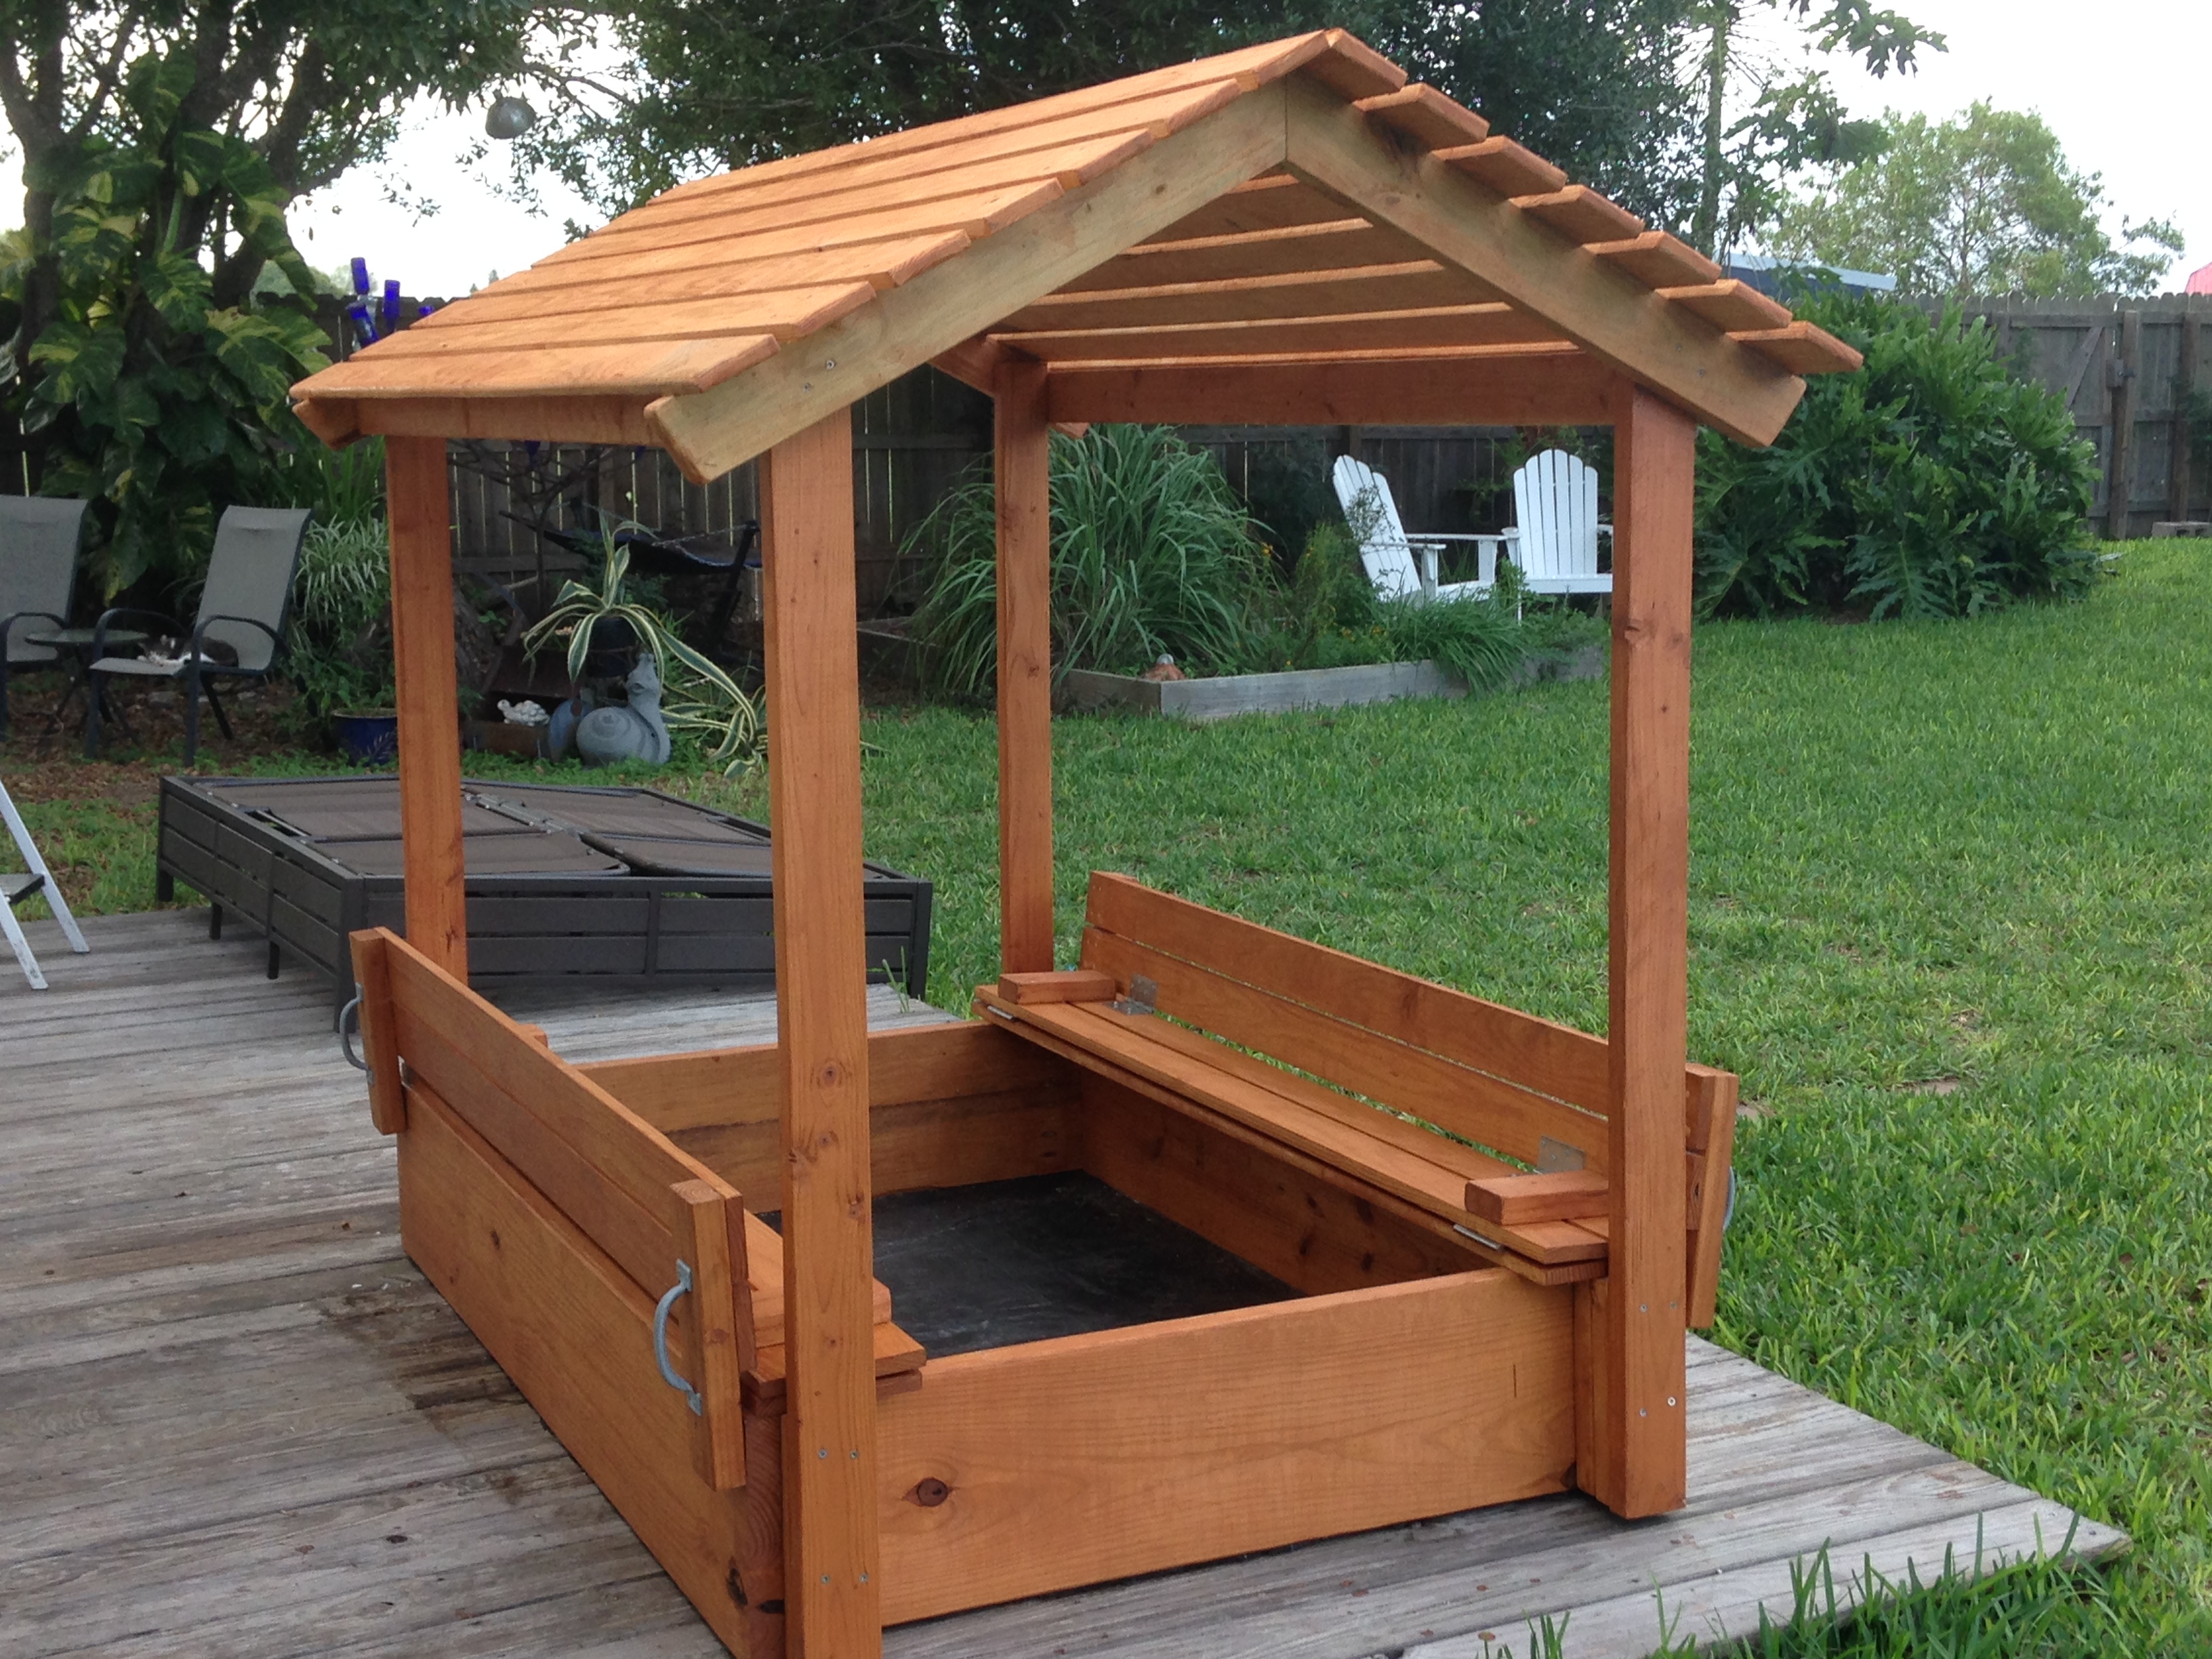
We bought a house with a death trap for a back step. Until we get to re-doing the entire back patio area I needed a temporary solution to keeping the kids from toddling off the back 'ledge'. I modified Ana's plans to make a nice border around the step so kids can't fall off when they are coming and going from the backyard. We had left over cedar fence slats from when we did our fence last spring...PERFECT and FREE!!!!!
Built from Plan(s)
Estimated Cost
Free!!!!
Estimated Time Investment
An Hour or Two (0-2 Hours)
Recommended Skill Level
Beginner


Comments
Sandie
Fri, 08/26/2011 - 14:56
Good idea
This is a really good idea - much better than spending $ on a banister or rail that you will need to remove later! Good parenting, too!