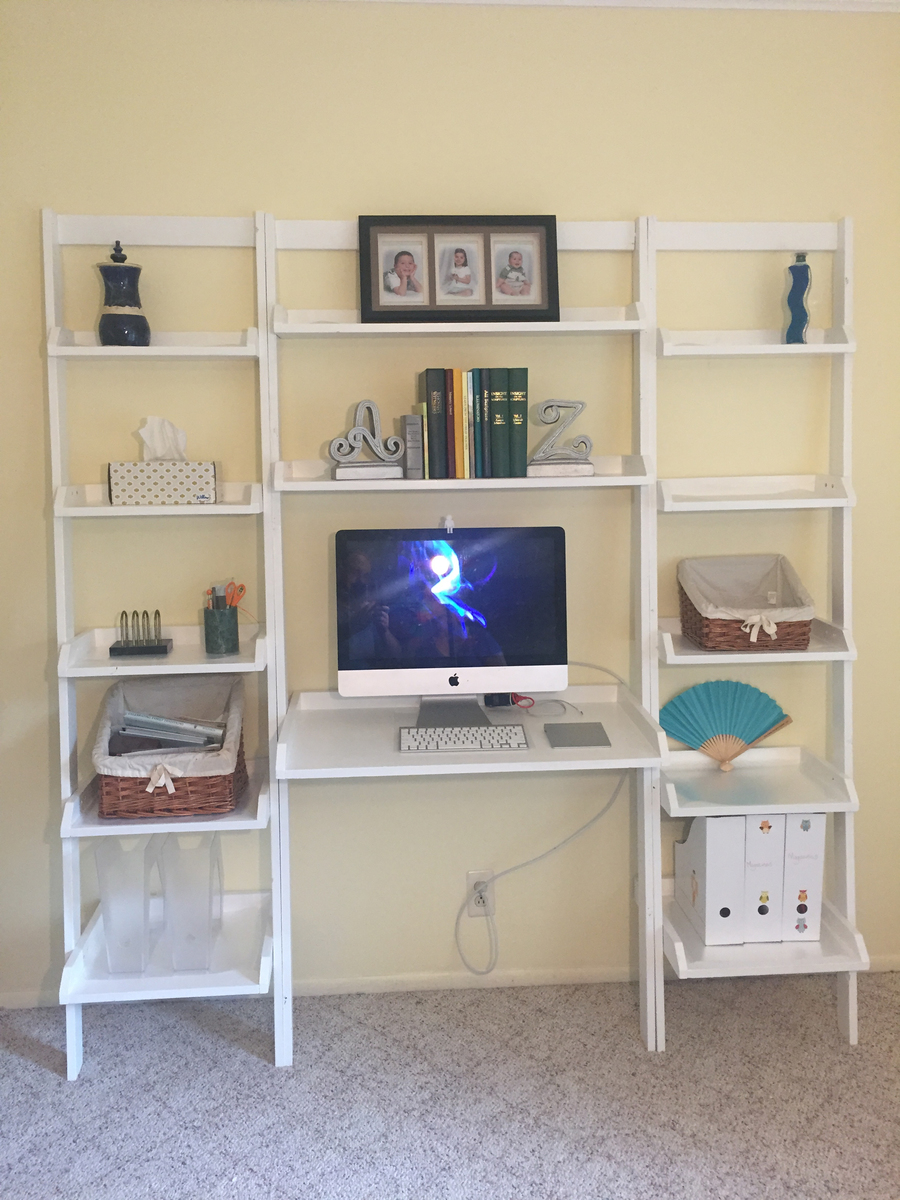
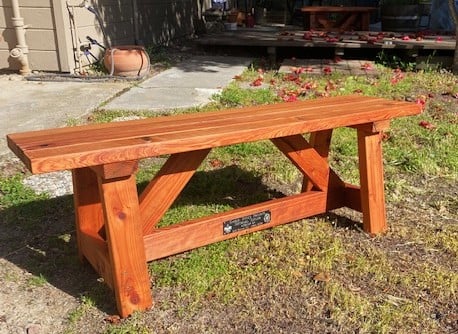
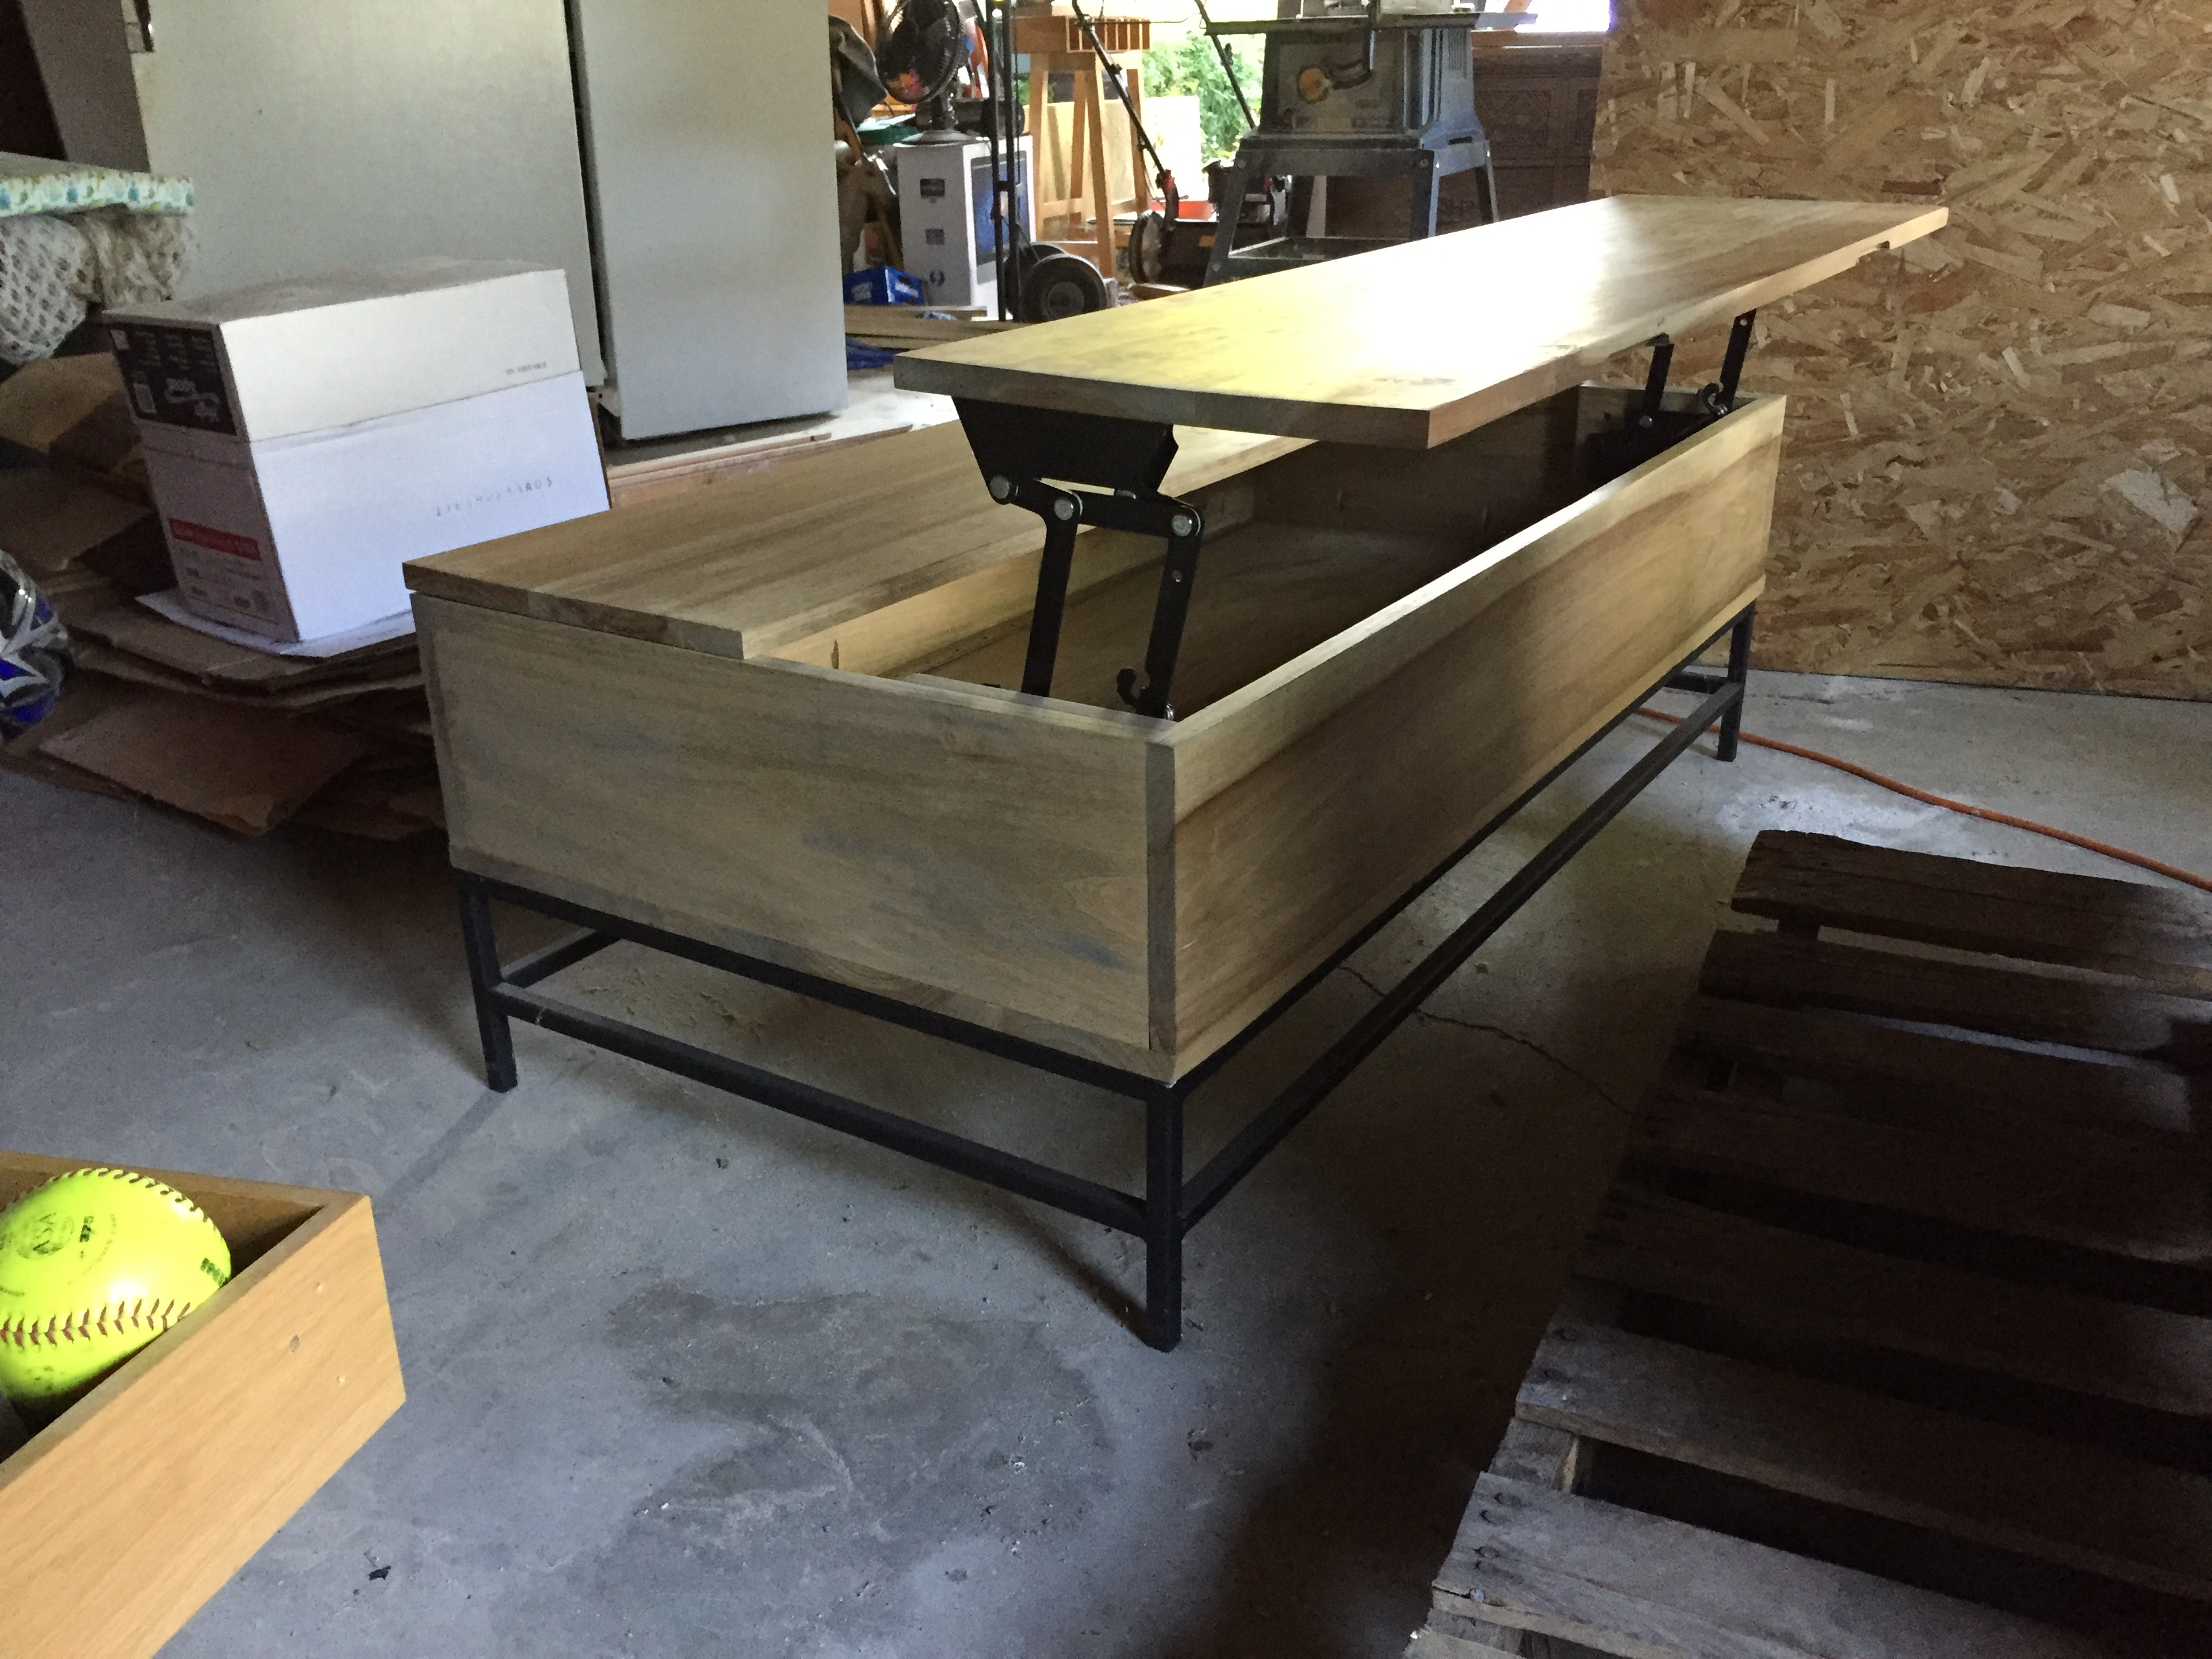
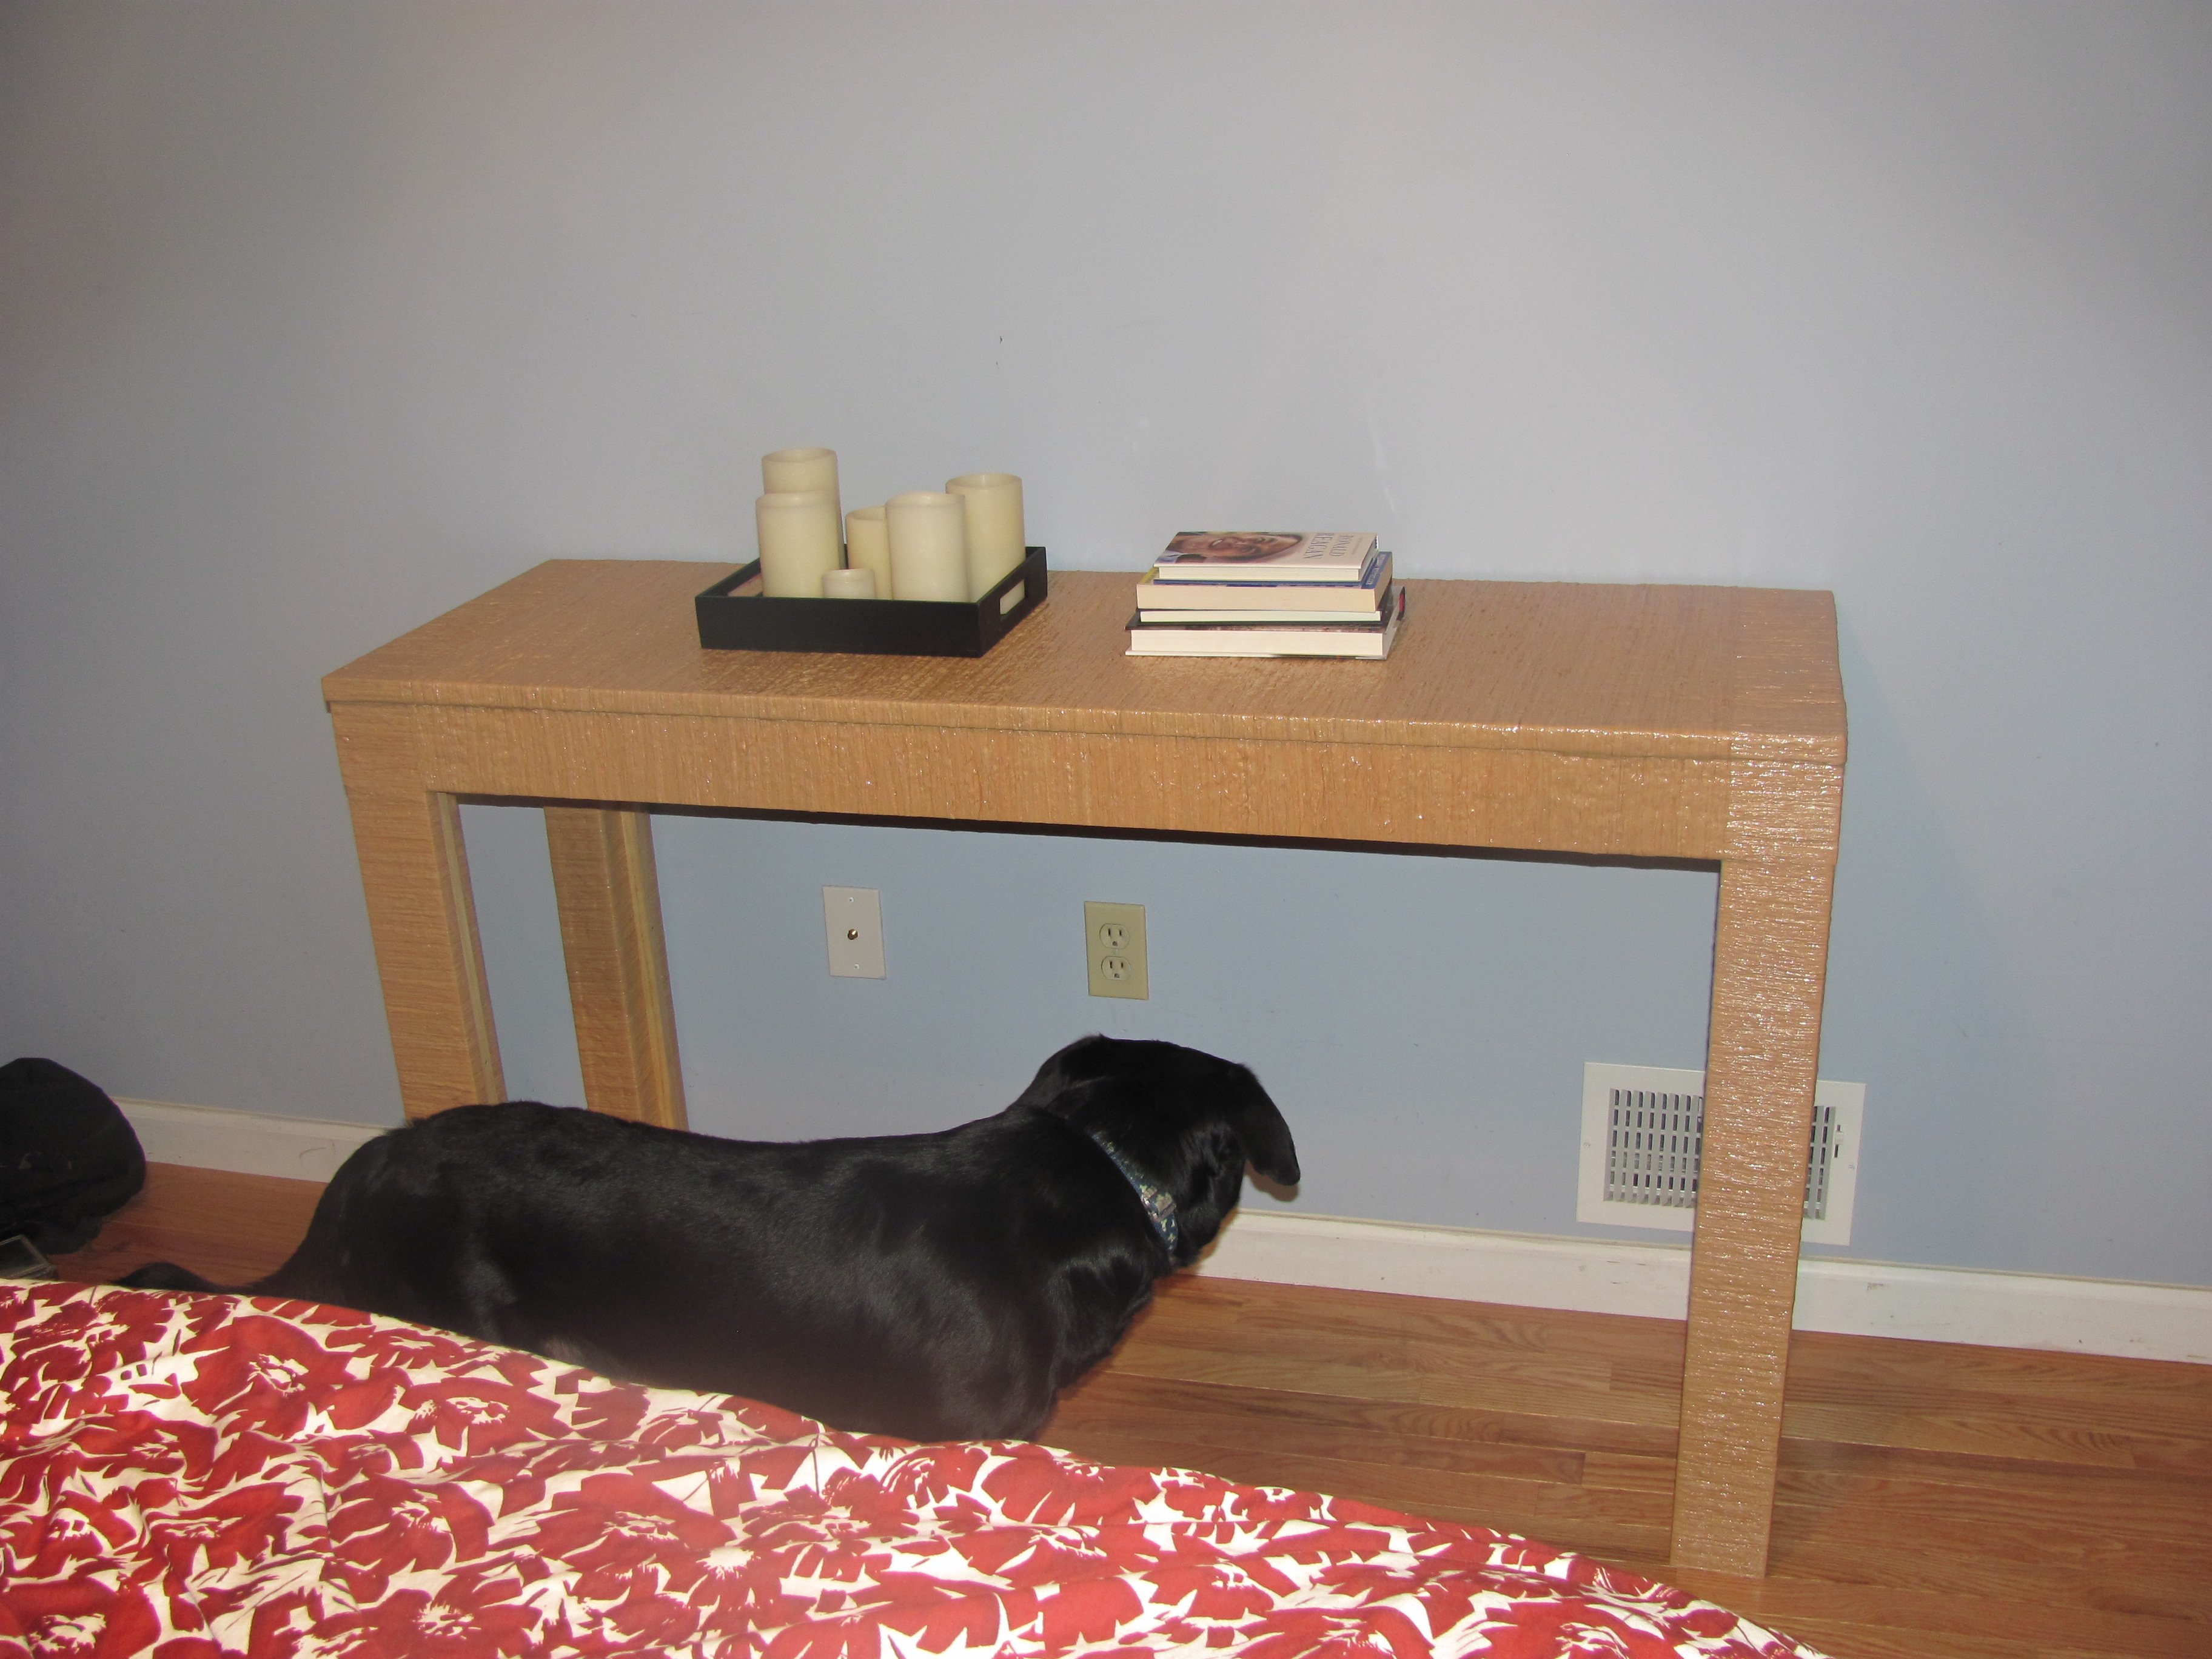
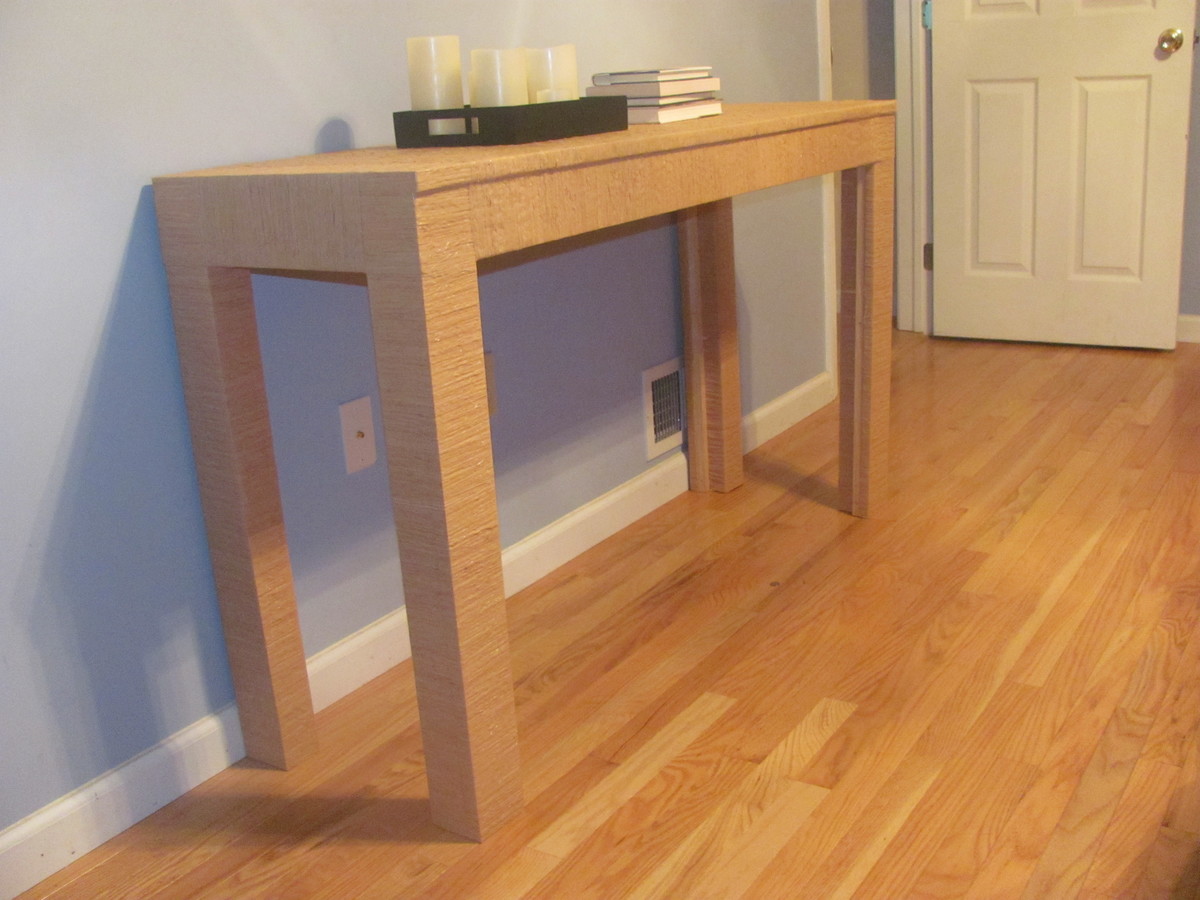
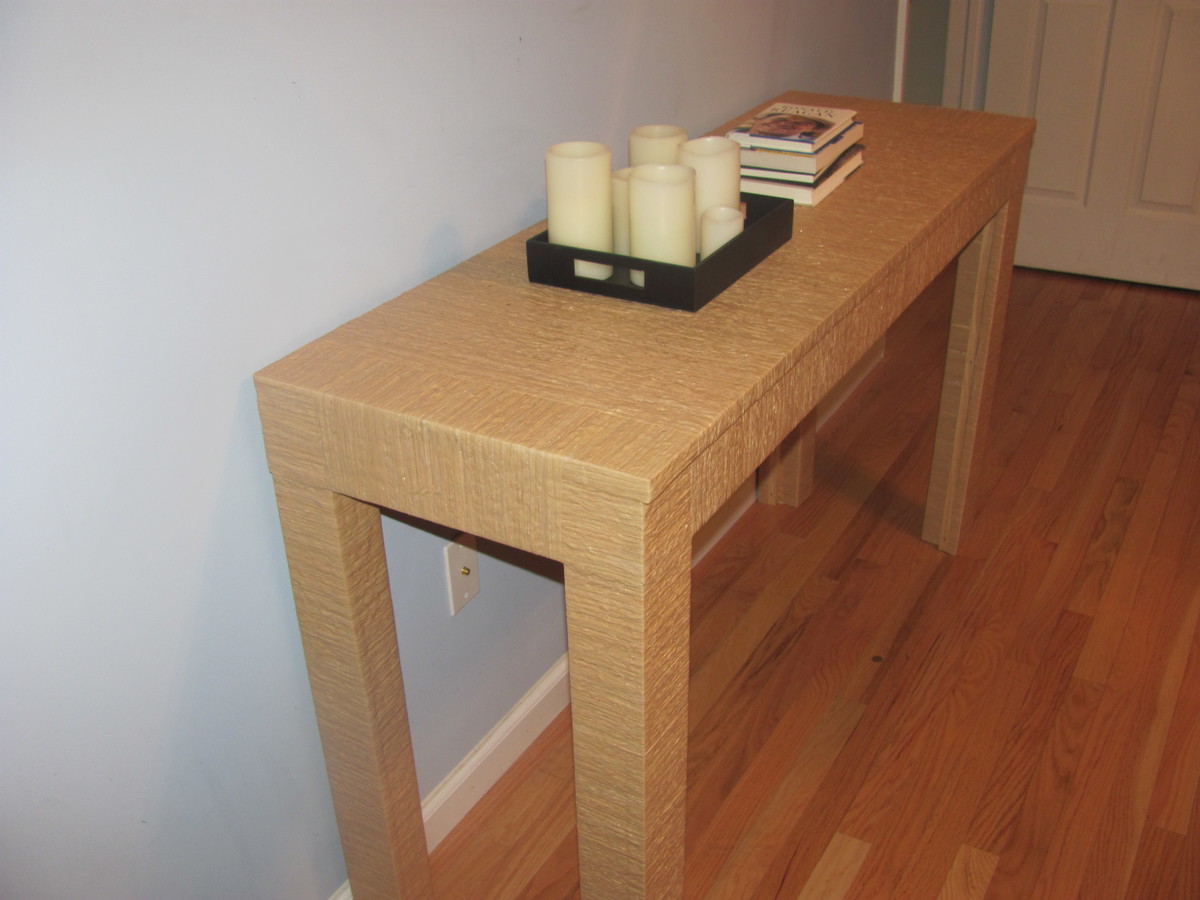
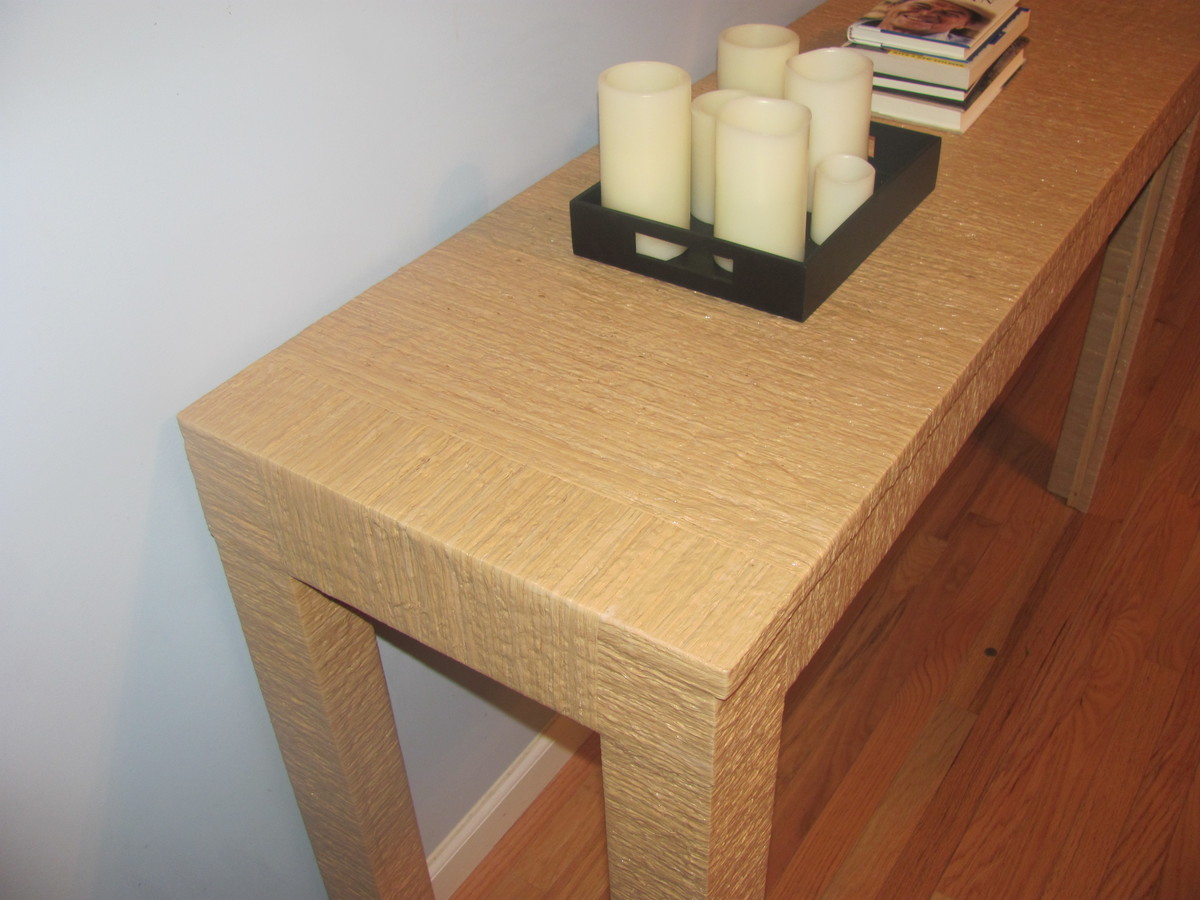
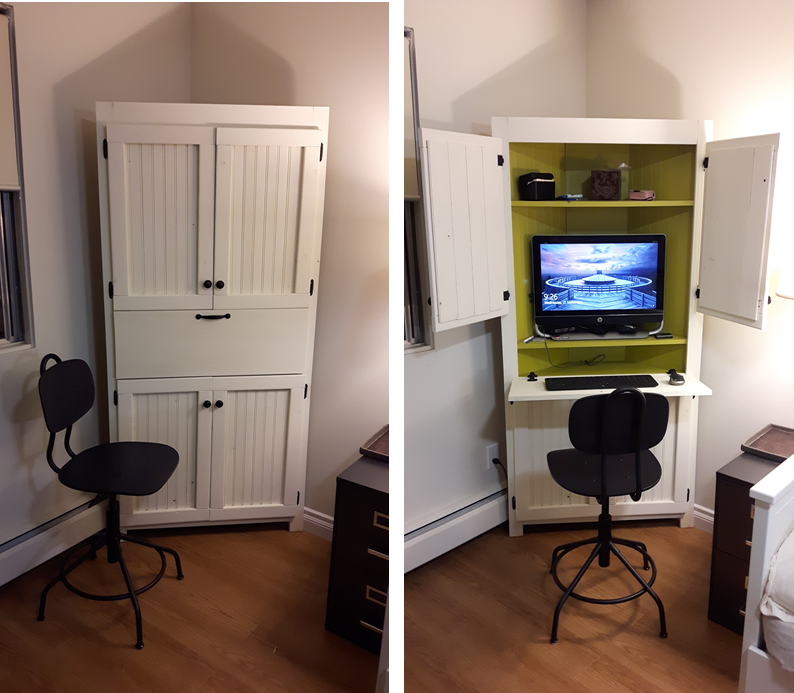
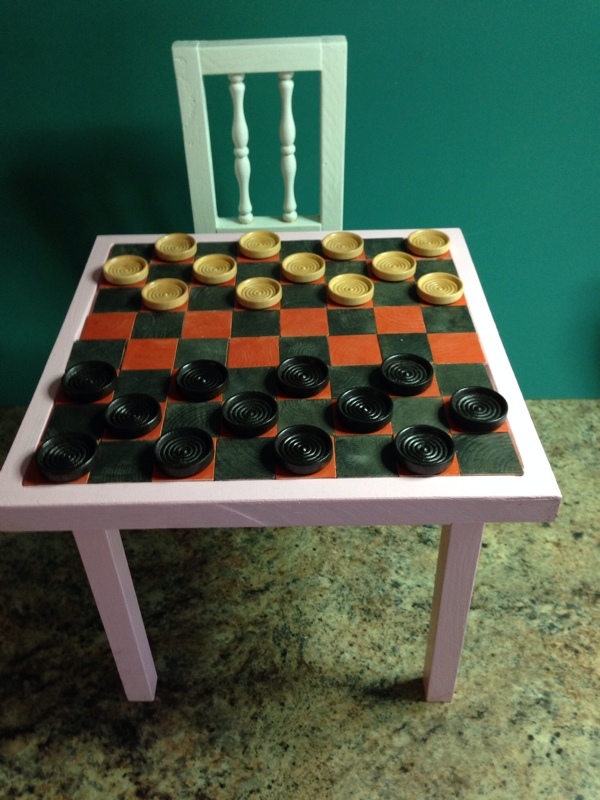
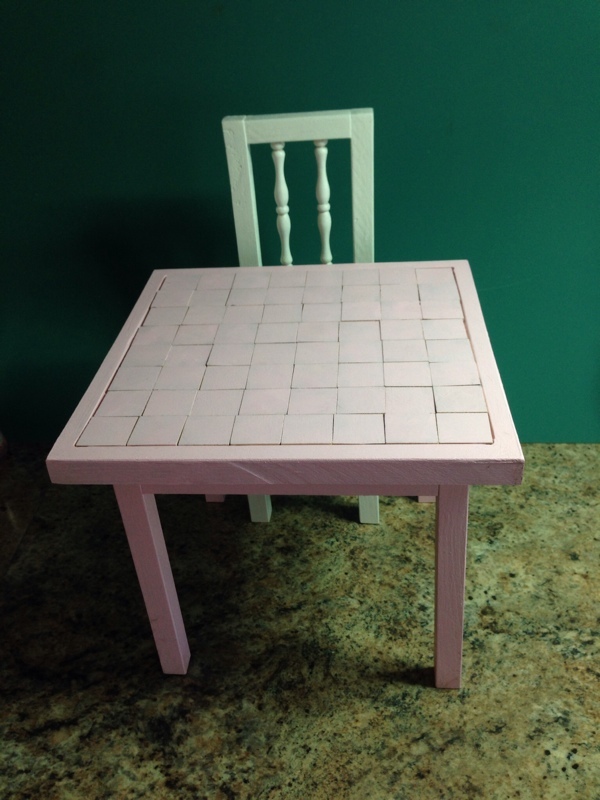
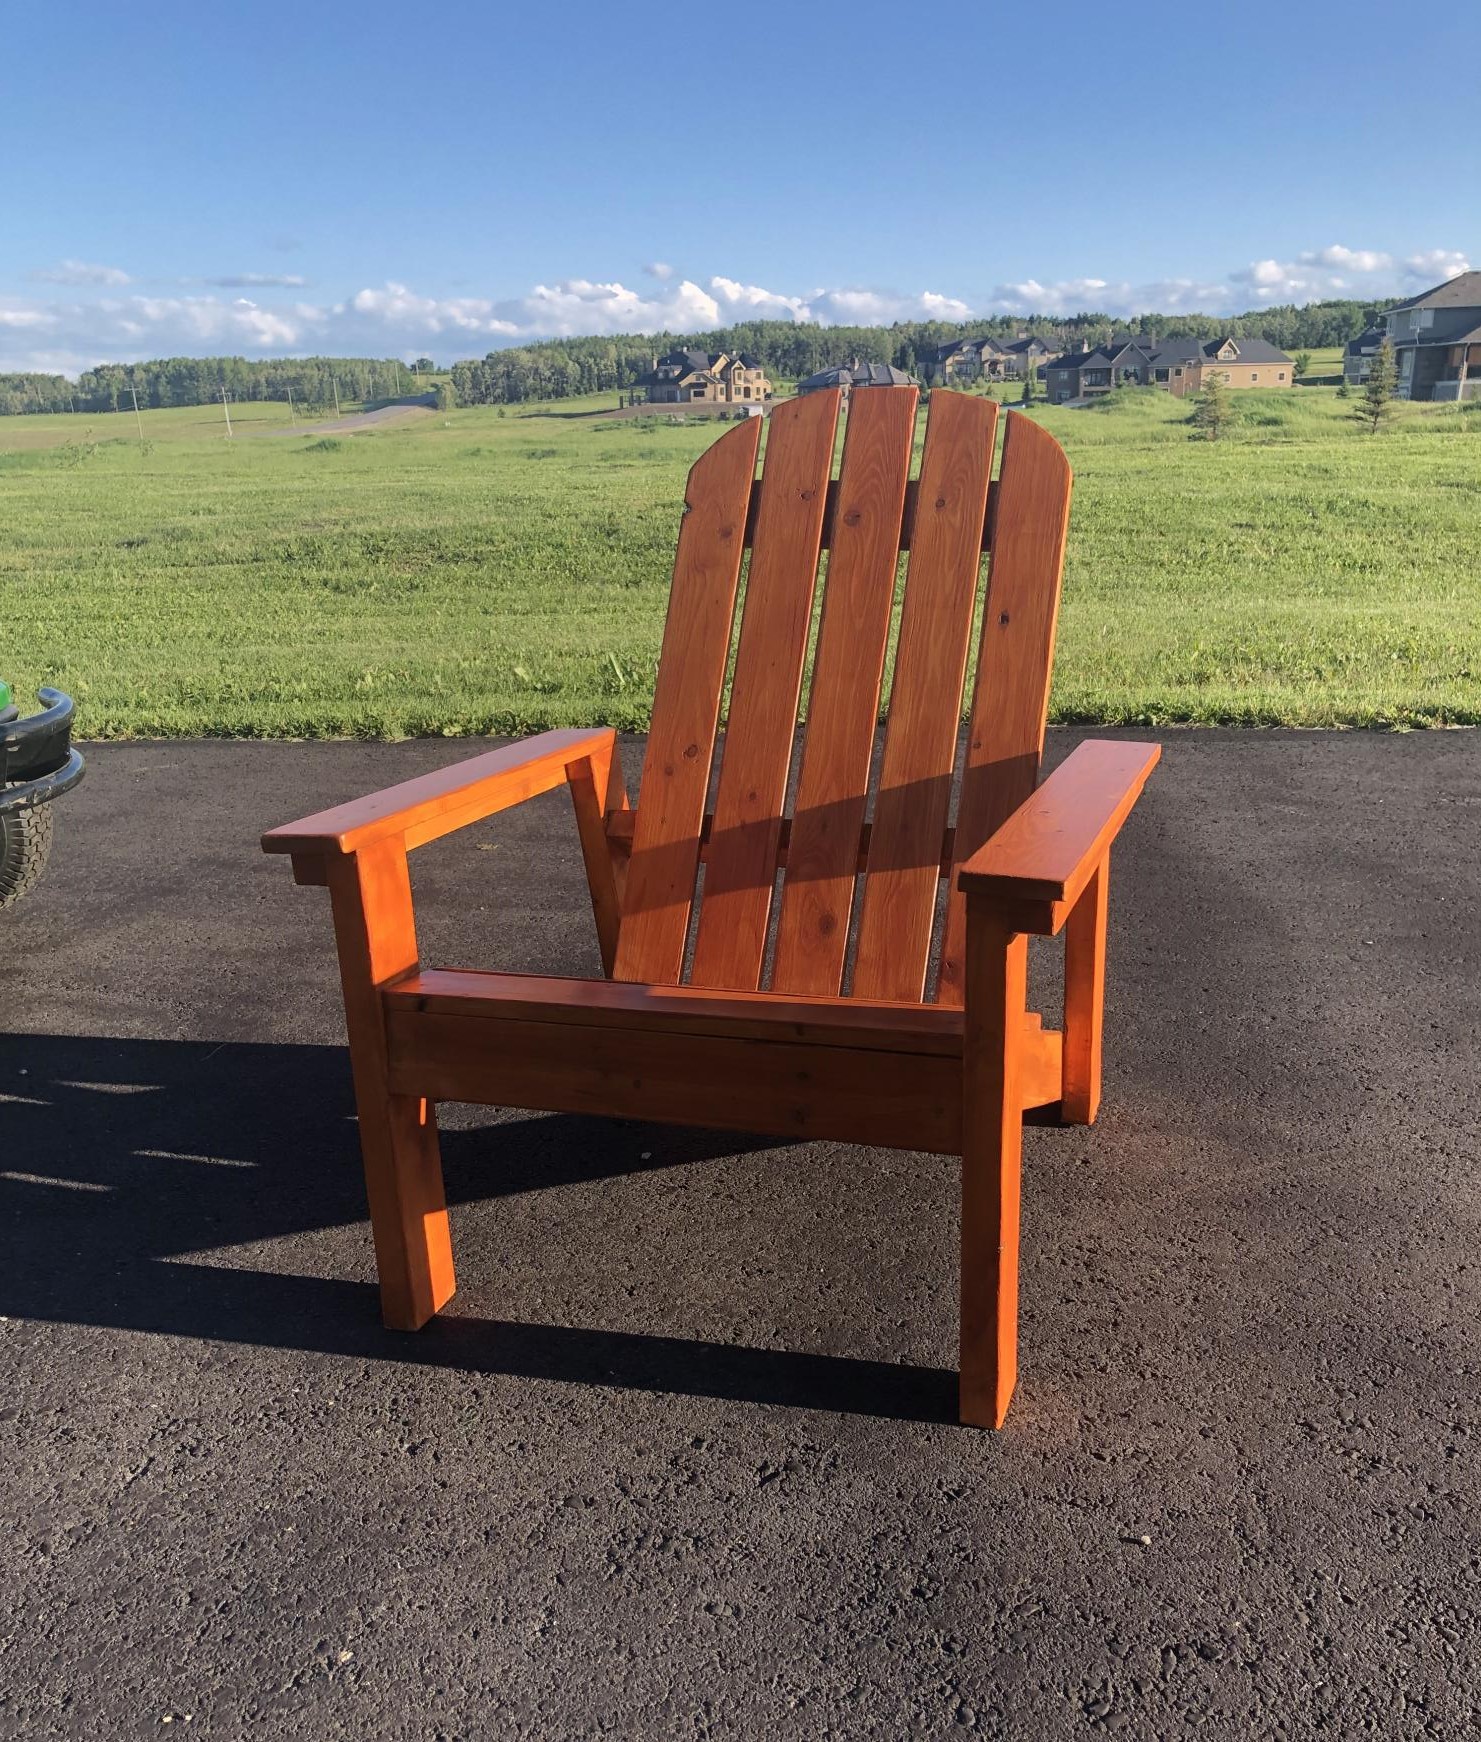
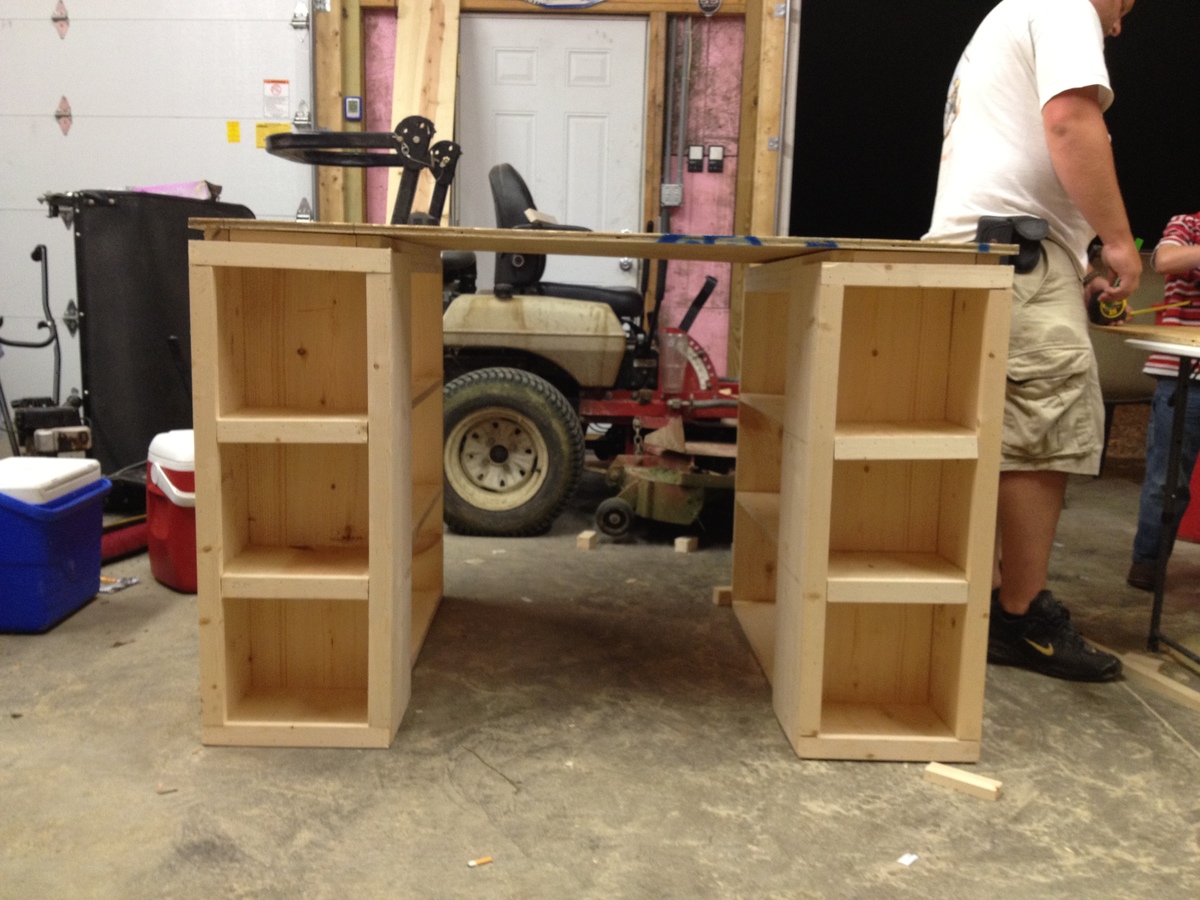
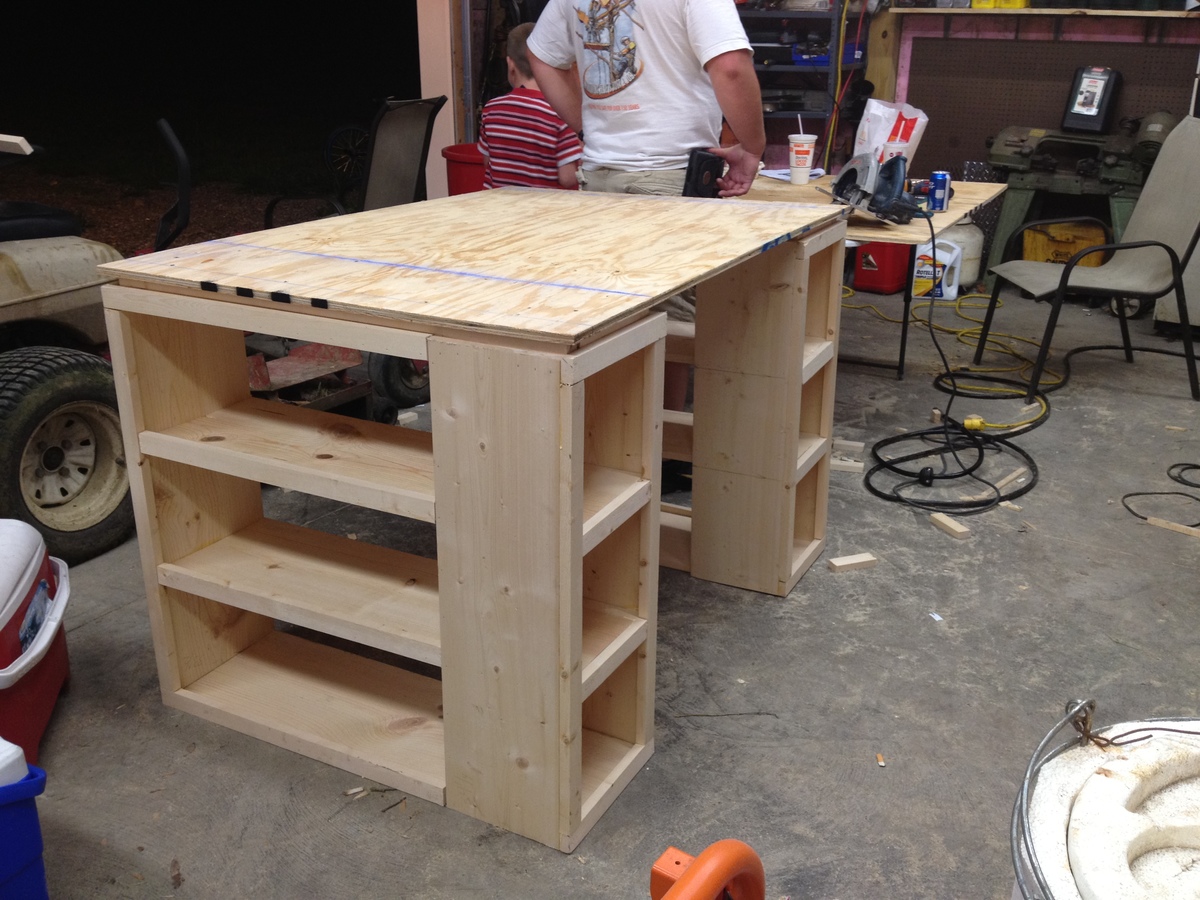
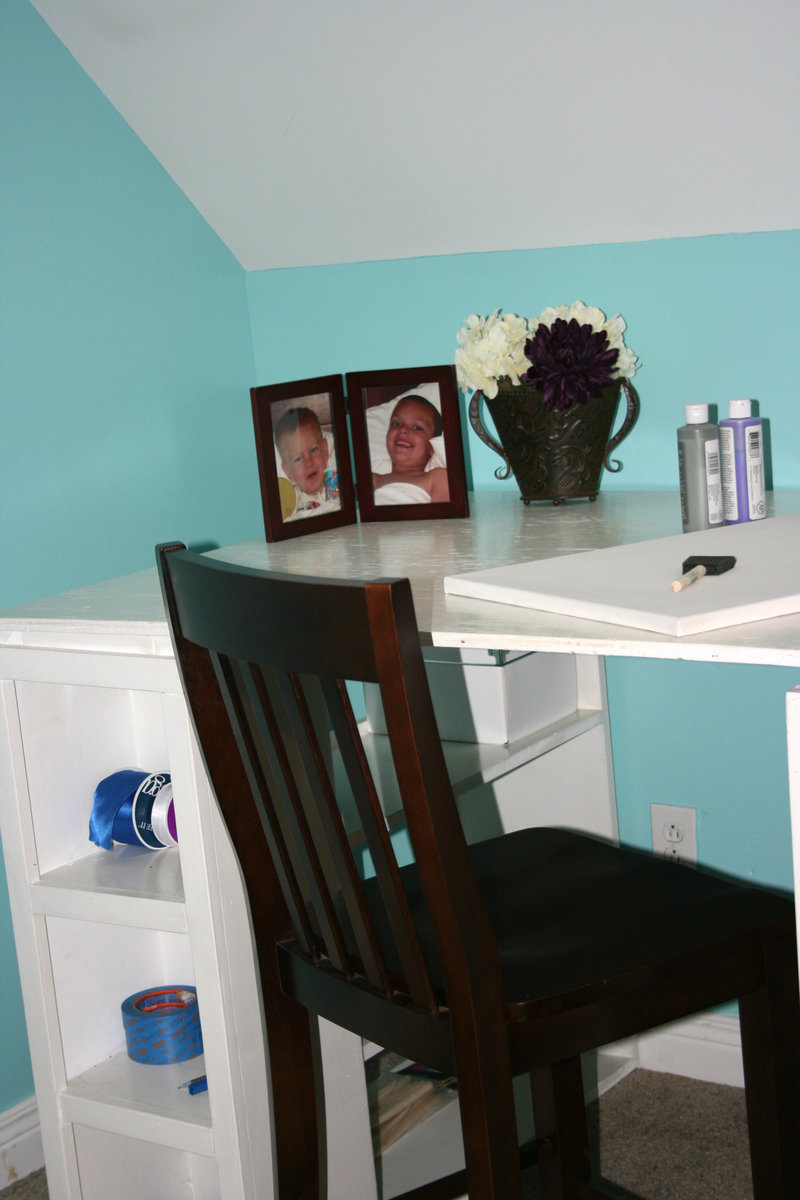
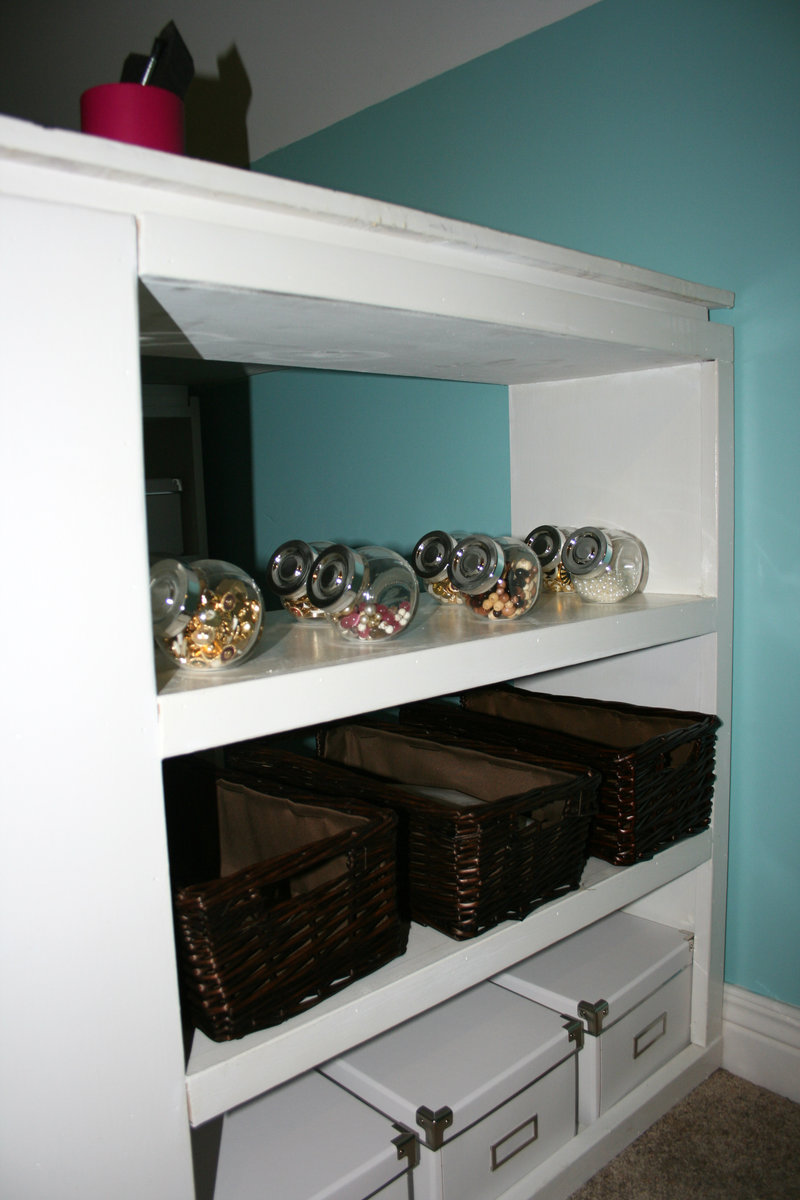
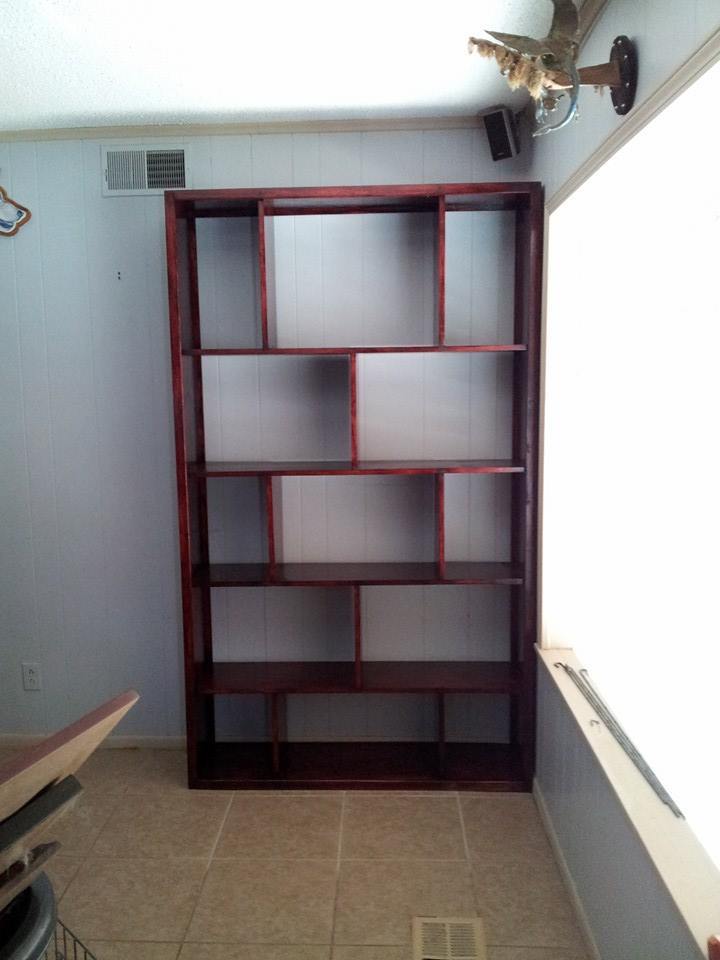
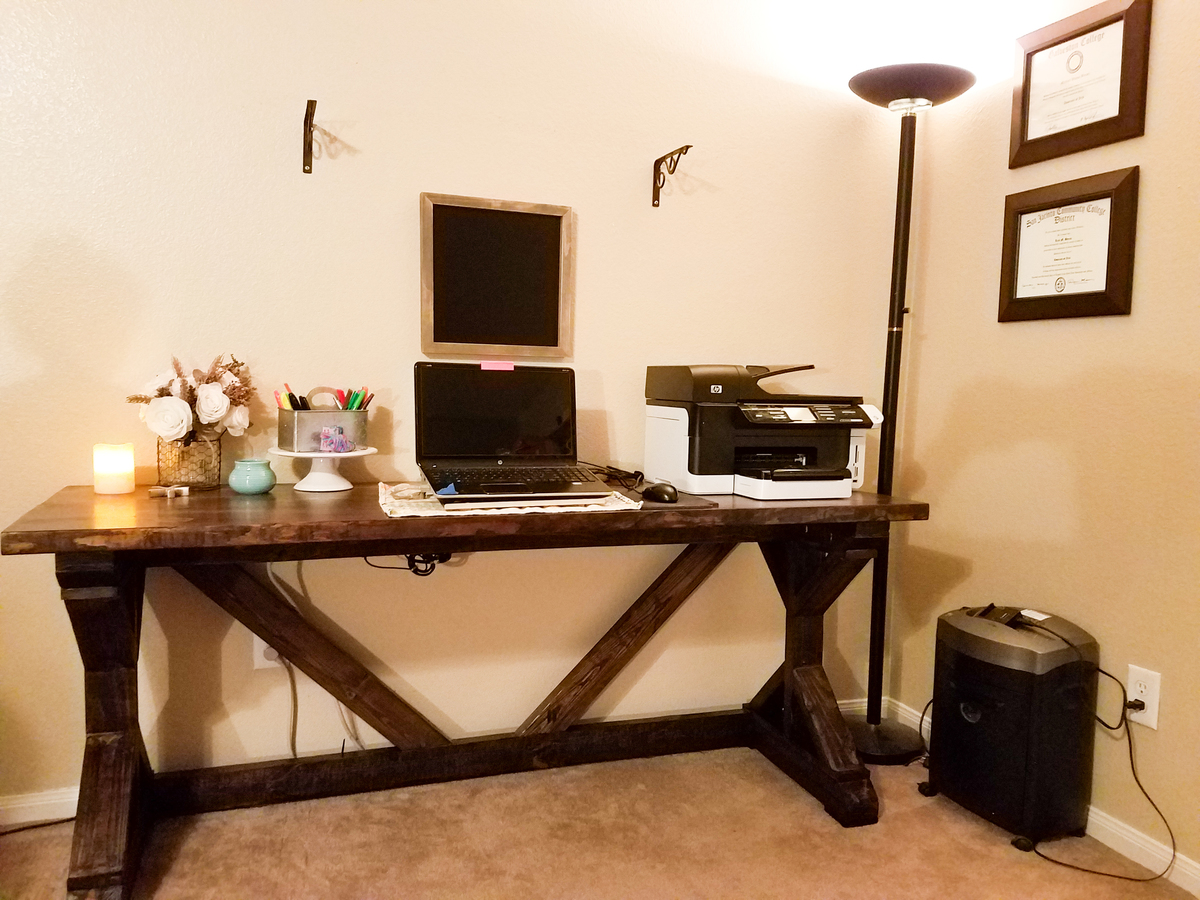
Our Leaning Wall Desk
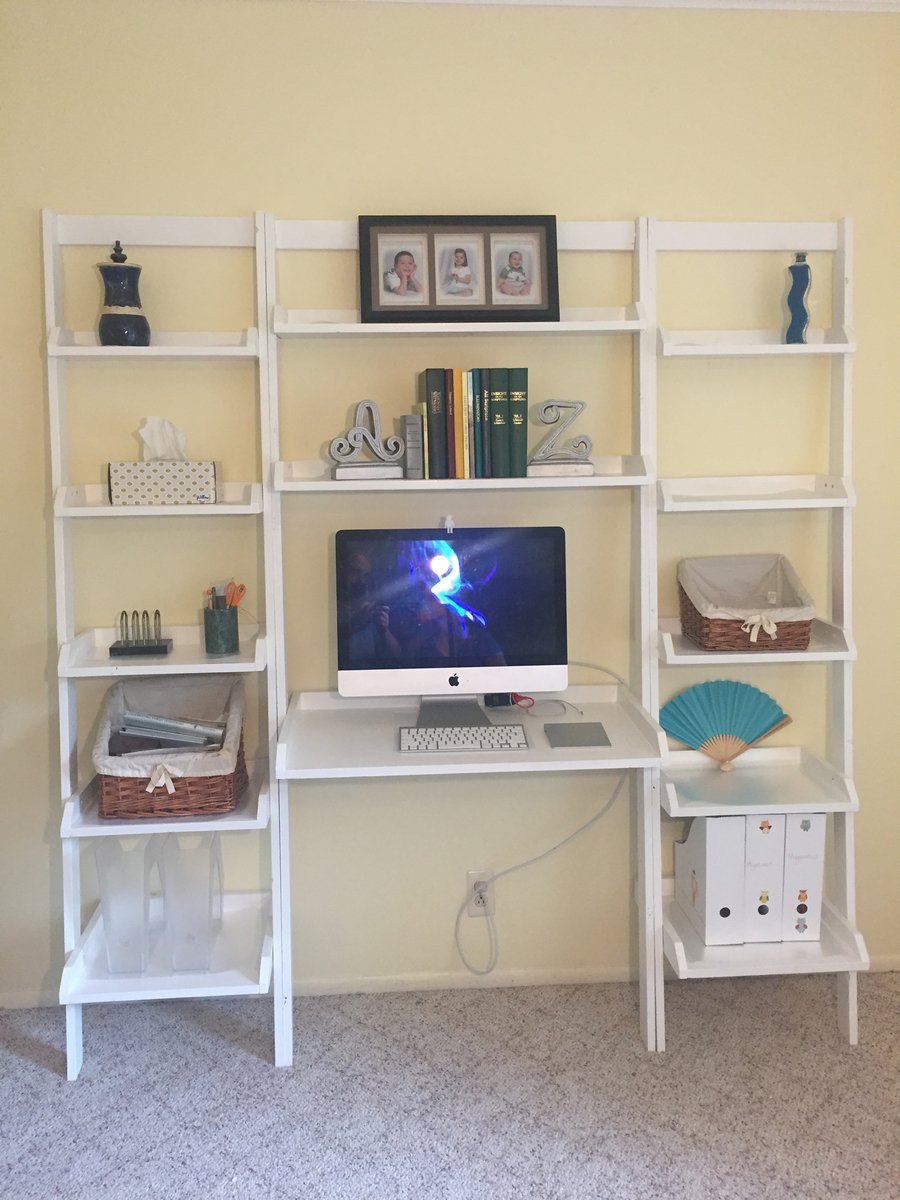
I followed your plans, with the exception of the computer desk. I mede it just a bit deeper, 1.5" or so. If I were to do this again, I think I'd go a little deeper still, maybe. Anyway, great design.
Built from Plan(s)
Estimated Time Investment
Day Project (6-9 Hours)
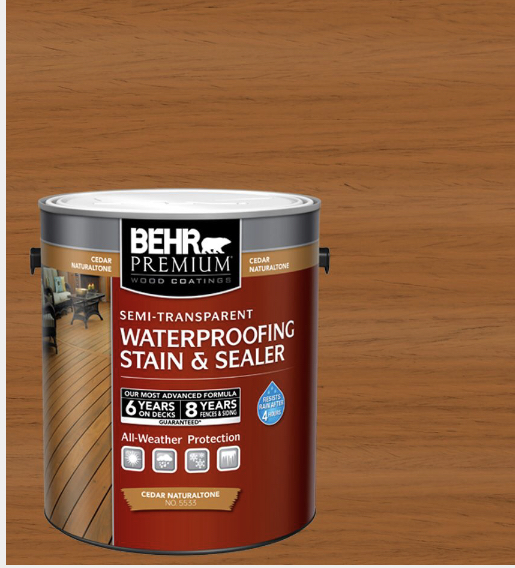
Finish Used
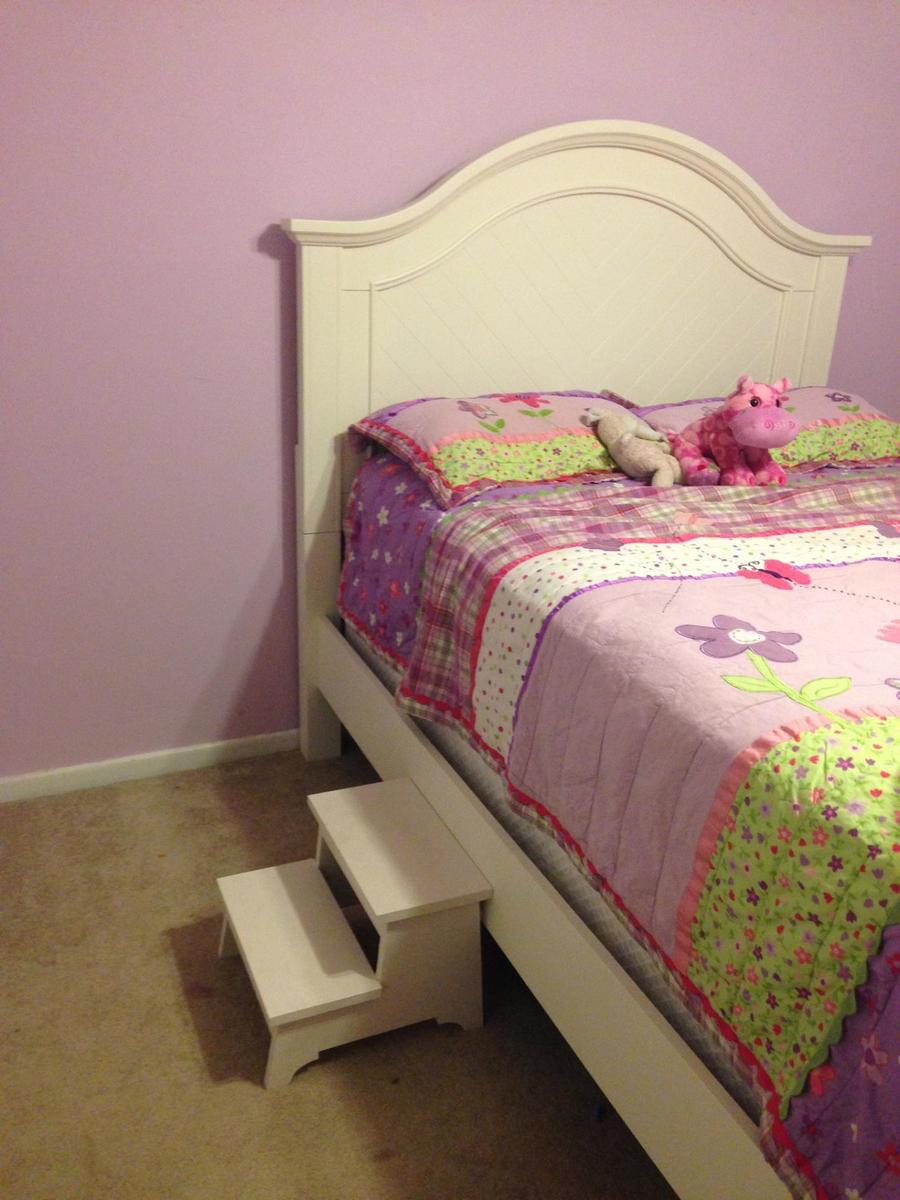
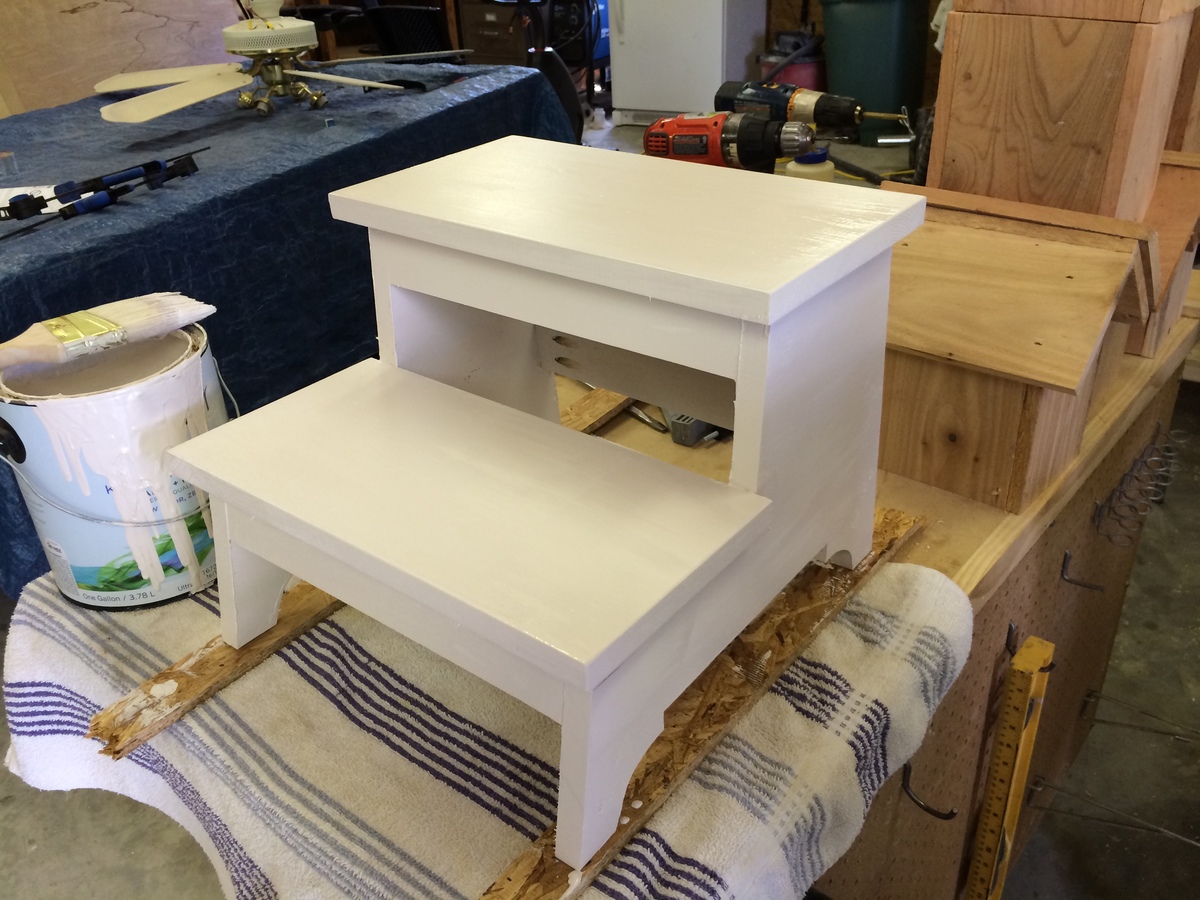
White latex paint
Recommended Skill Level
Starter Project


