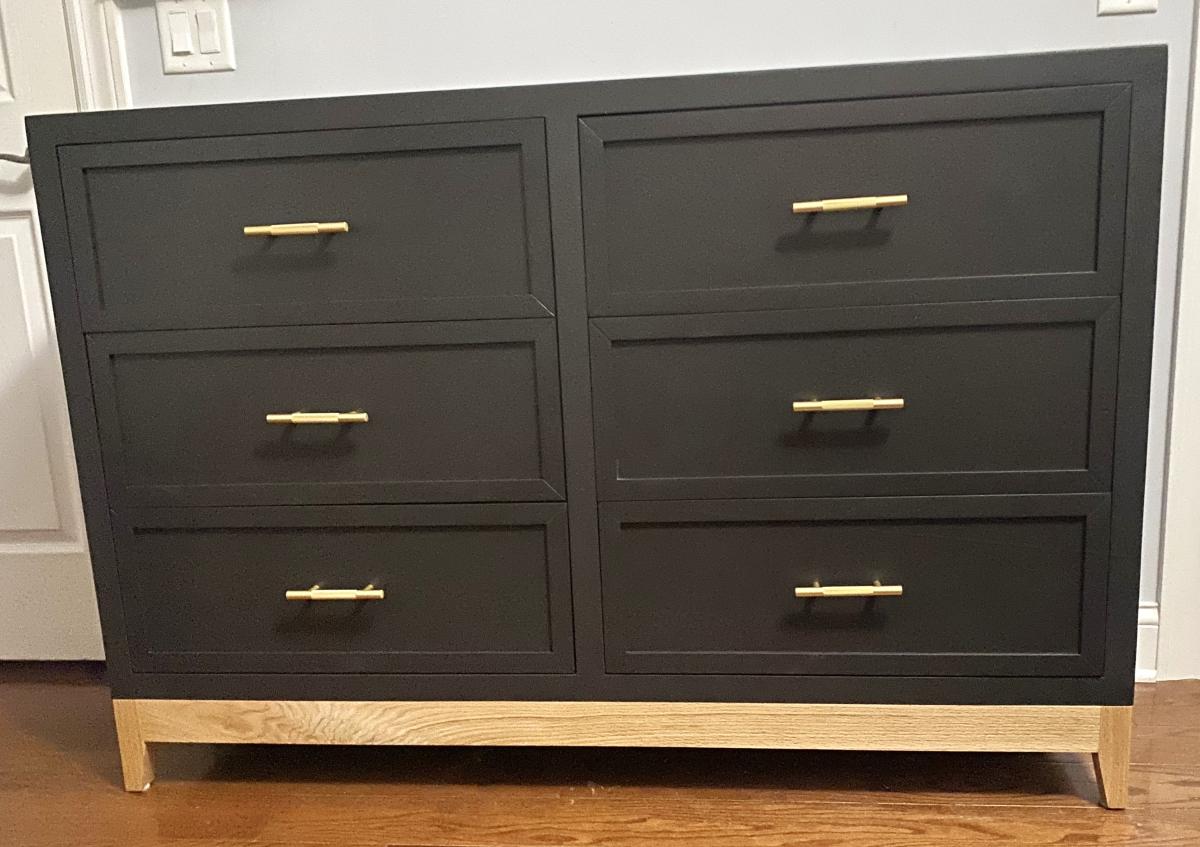
Modern Base Dresser
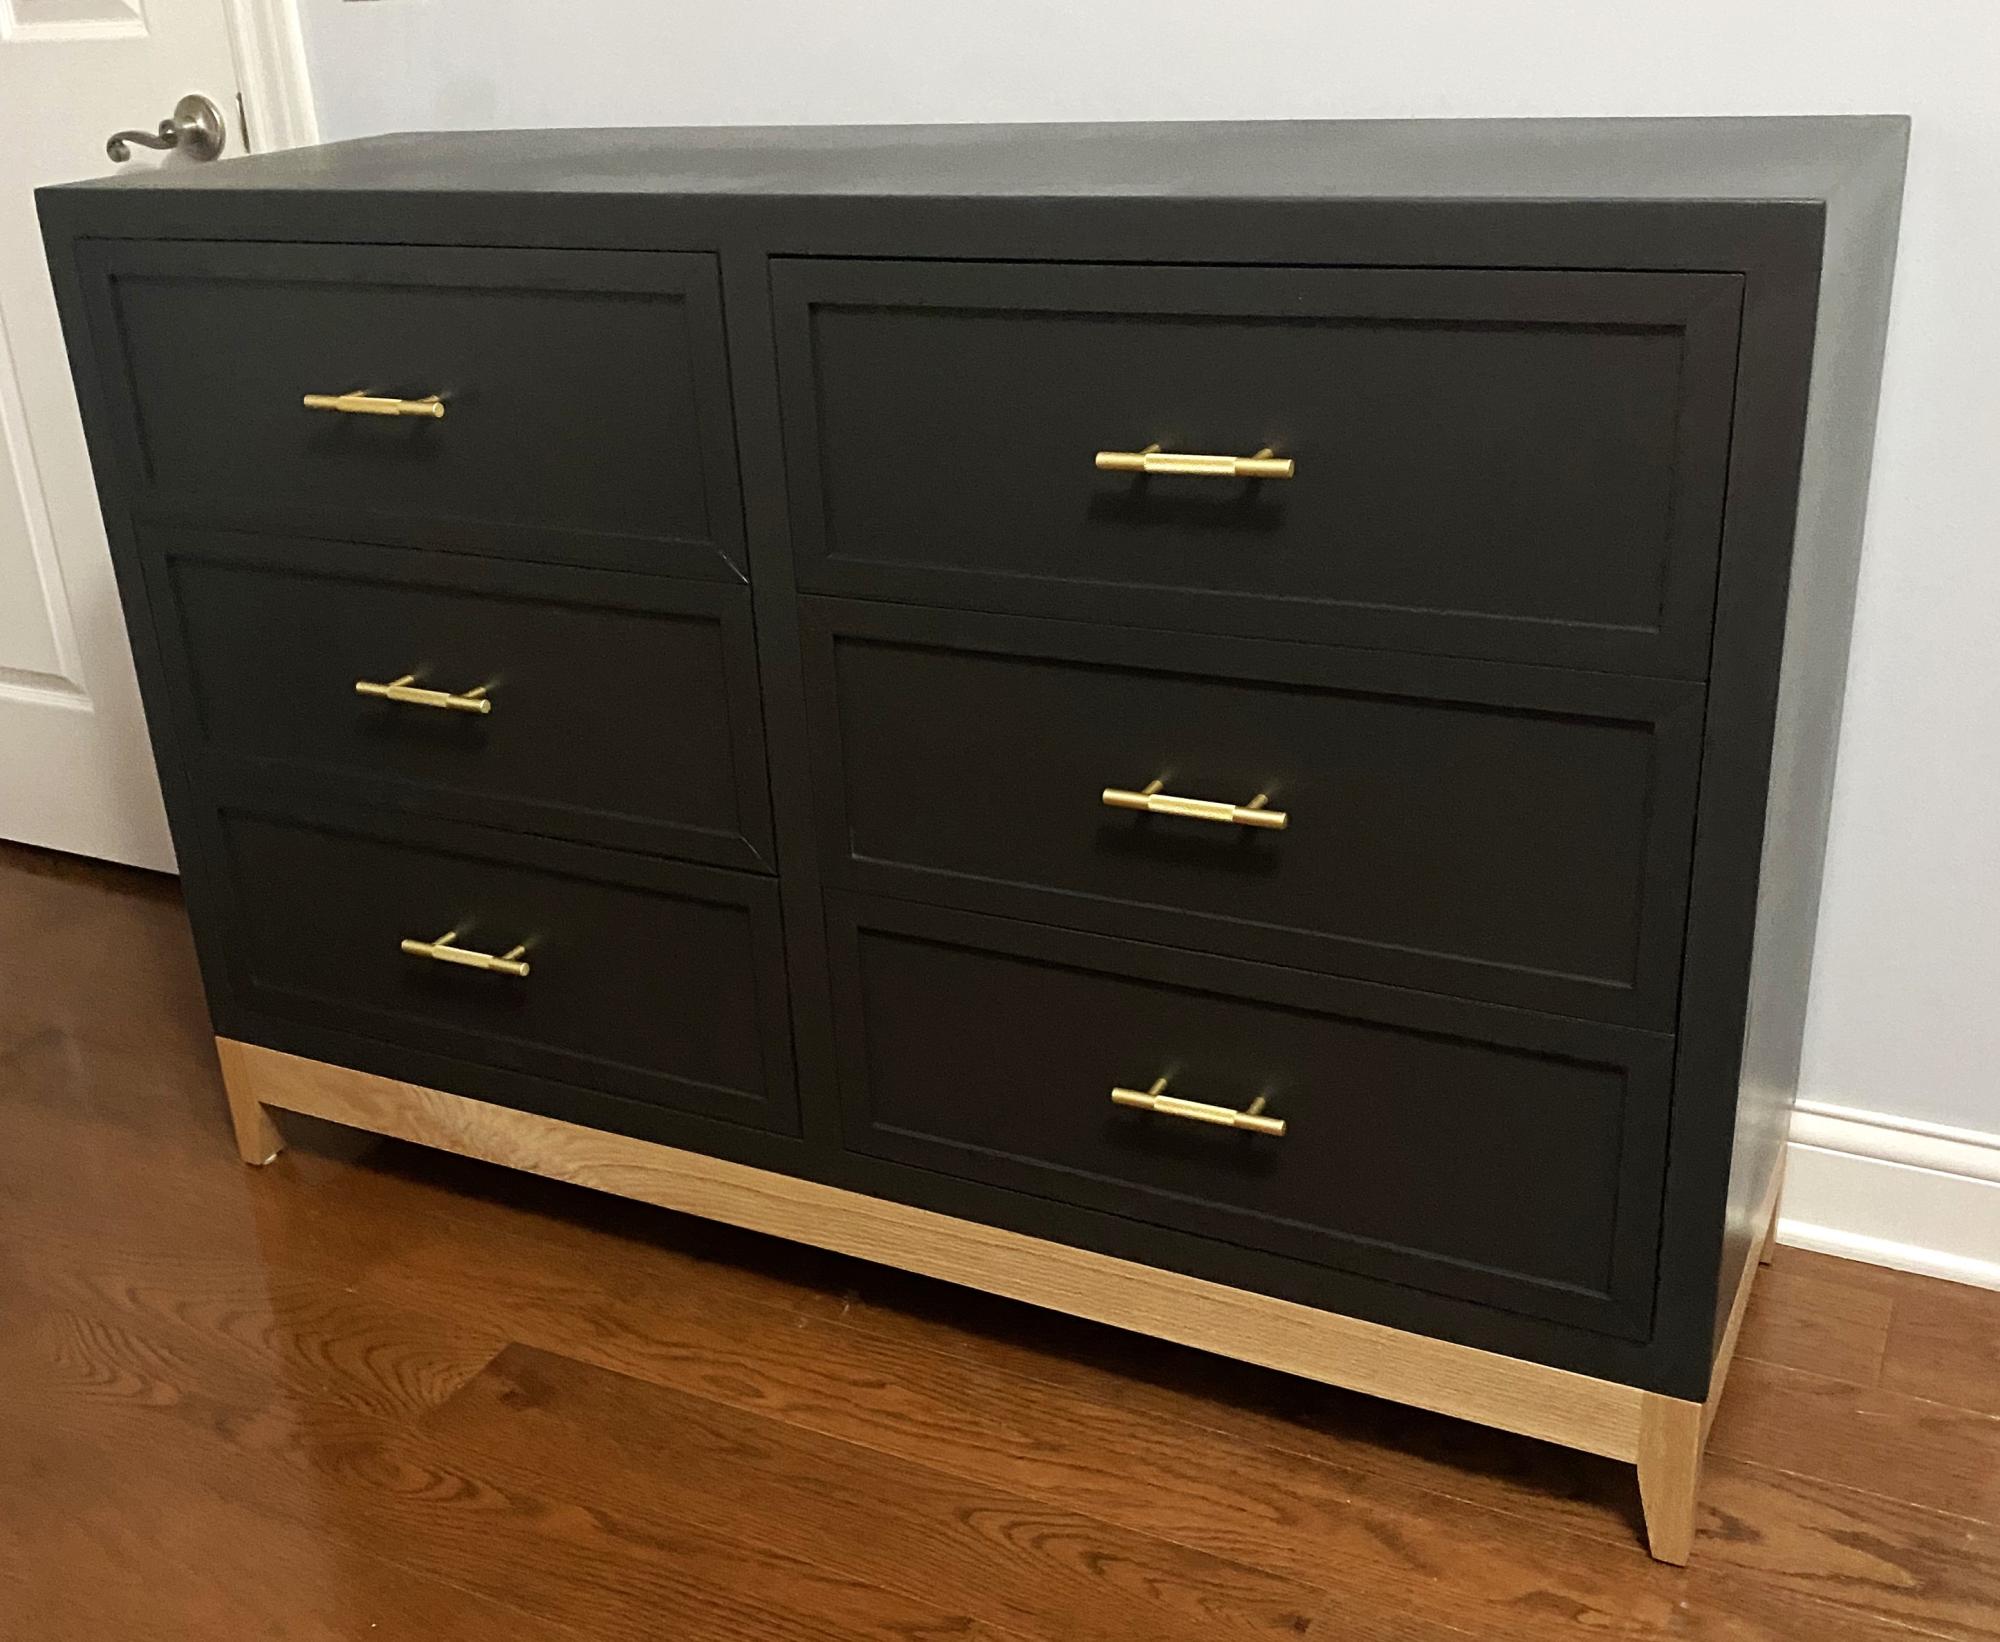
Built this dresser for my daughter’s room and added a modern base!
Kristen Kobeszko
Built from Plan(s)
Built this dresser for my daughter’s room and added a modern base!
Kristen Kobeszko
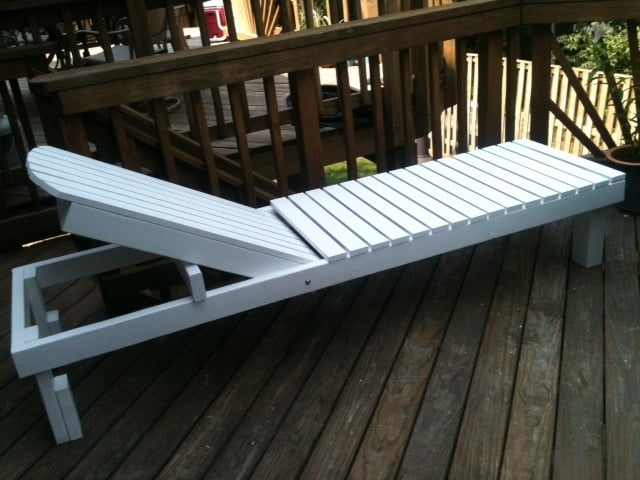
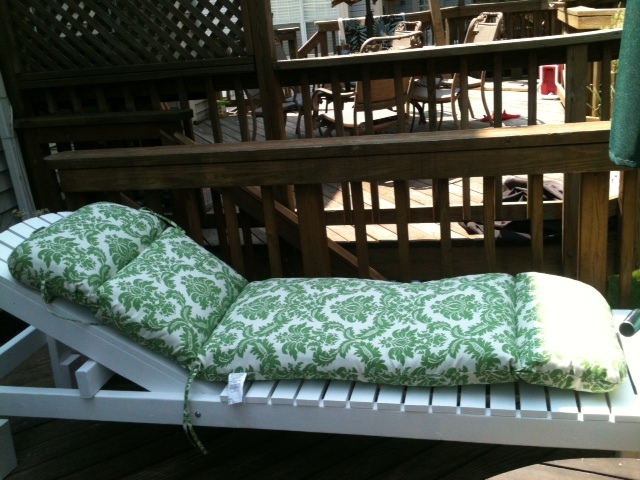
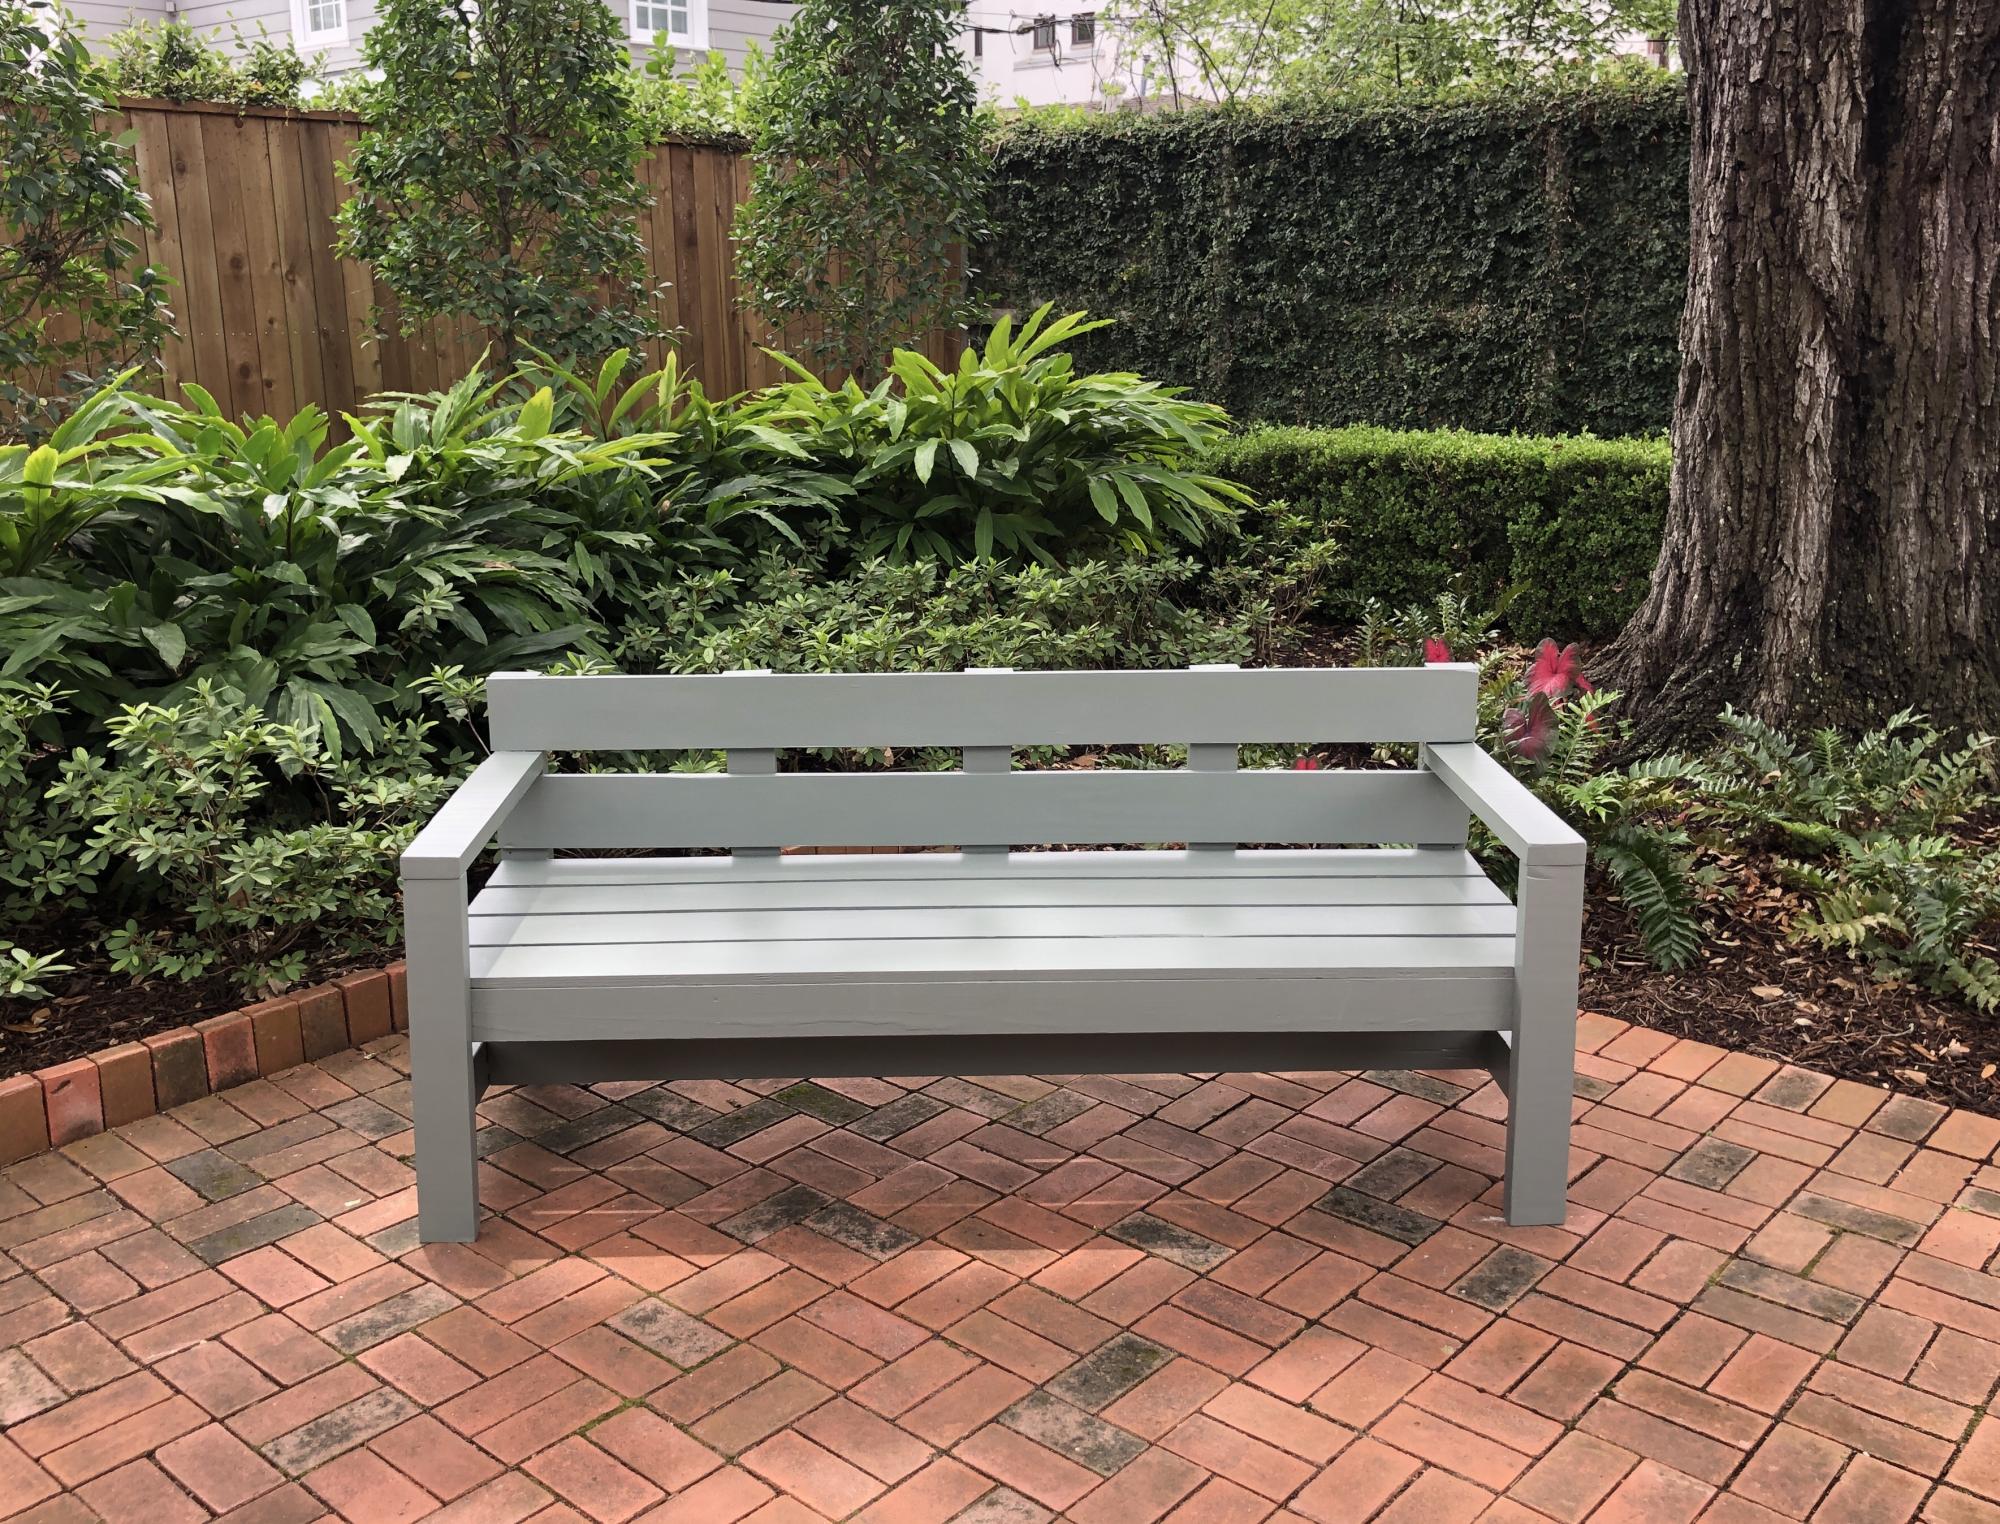
This cost me $55 for wood (pine), nails, and bolts. Additional $7 in paint. It's very sturdy and very comfy with a lounge chair cushion (Walmart had a great price--cheaper than I would have spent to make one myself). This will also serve as bench seating for my deck (I love multi-use furniture). Thanks Brook and Ana for this great plan!
Fri, 05/20/2016 - 11:32
I have my lounge completed except for the slots. It looks great and I am very happy with the results. But, in looking at your finished photos, I notice the 2 X 4 in the horizontal slot is not seated into the space completely. And, melbooker's photo shows the board sitting on top of the rail. So, I'm a bit confused about cutting in the slots. Any advice would be very helpful! Thanks
Very fun! And easy and now all my friends want one.
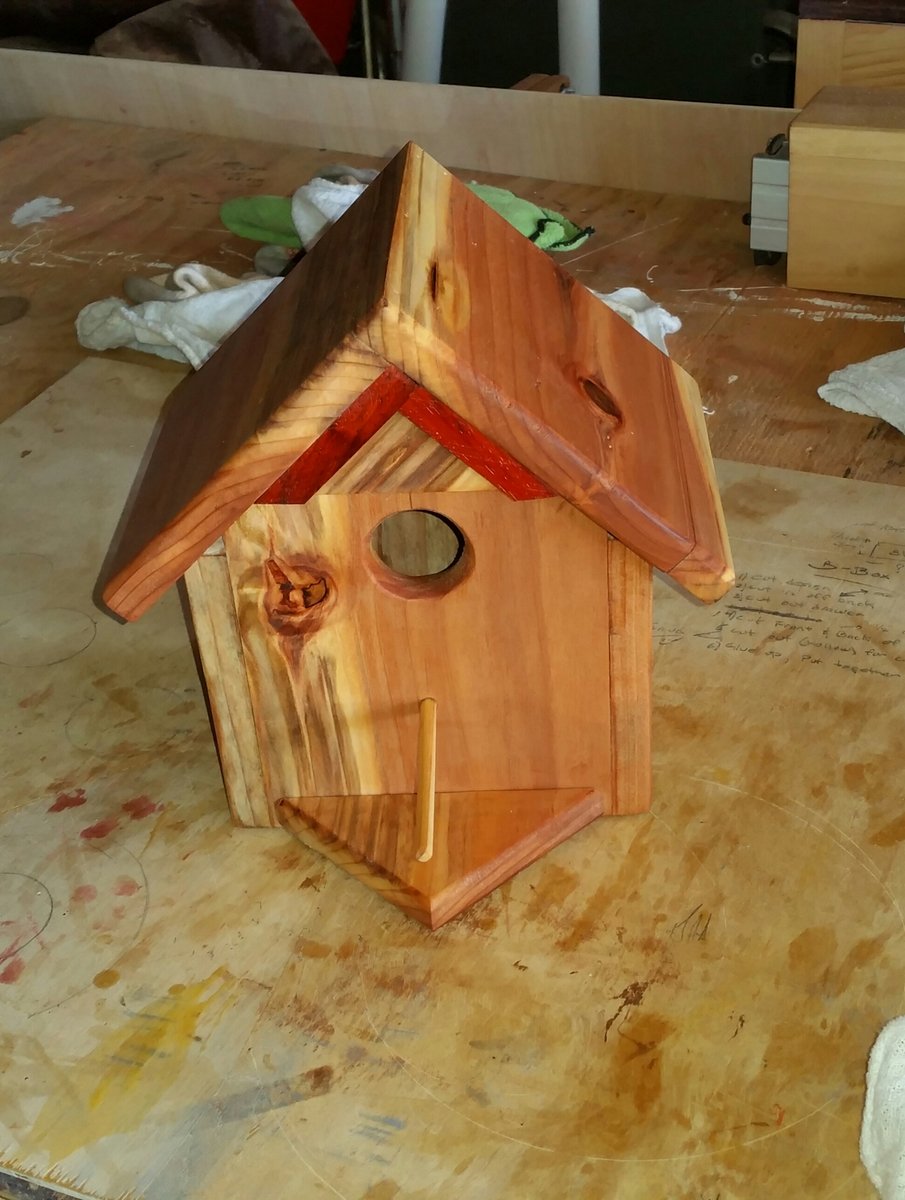
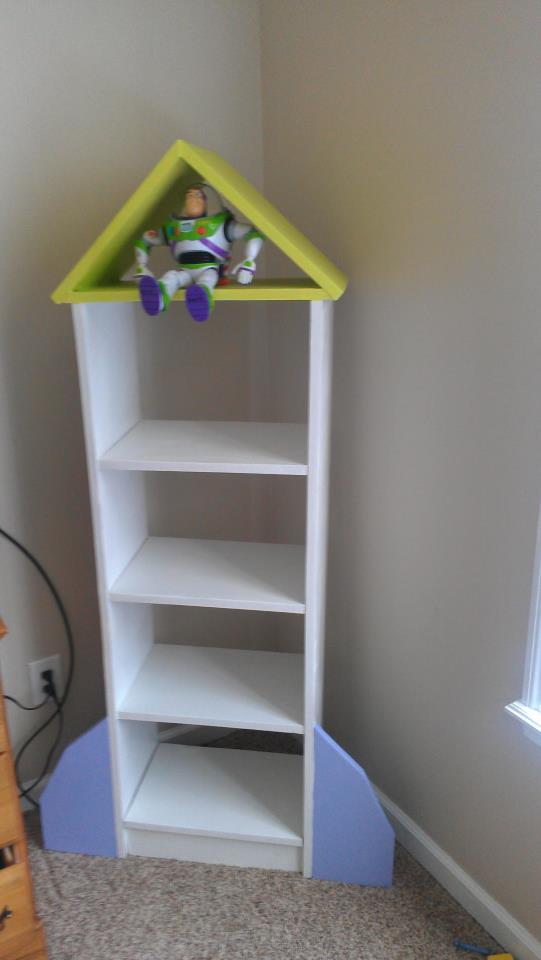
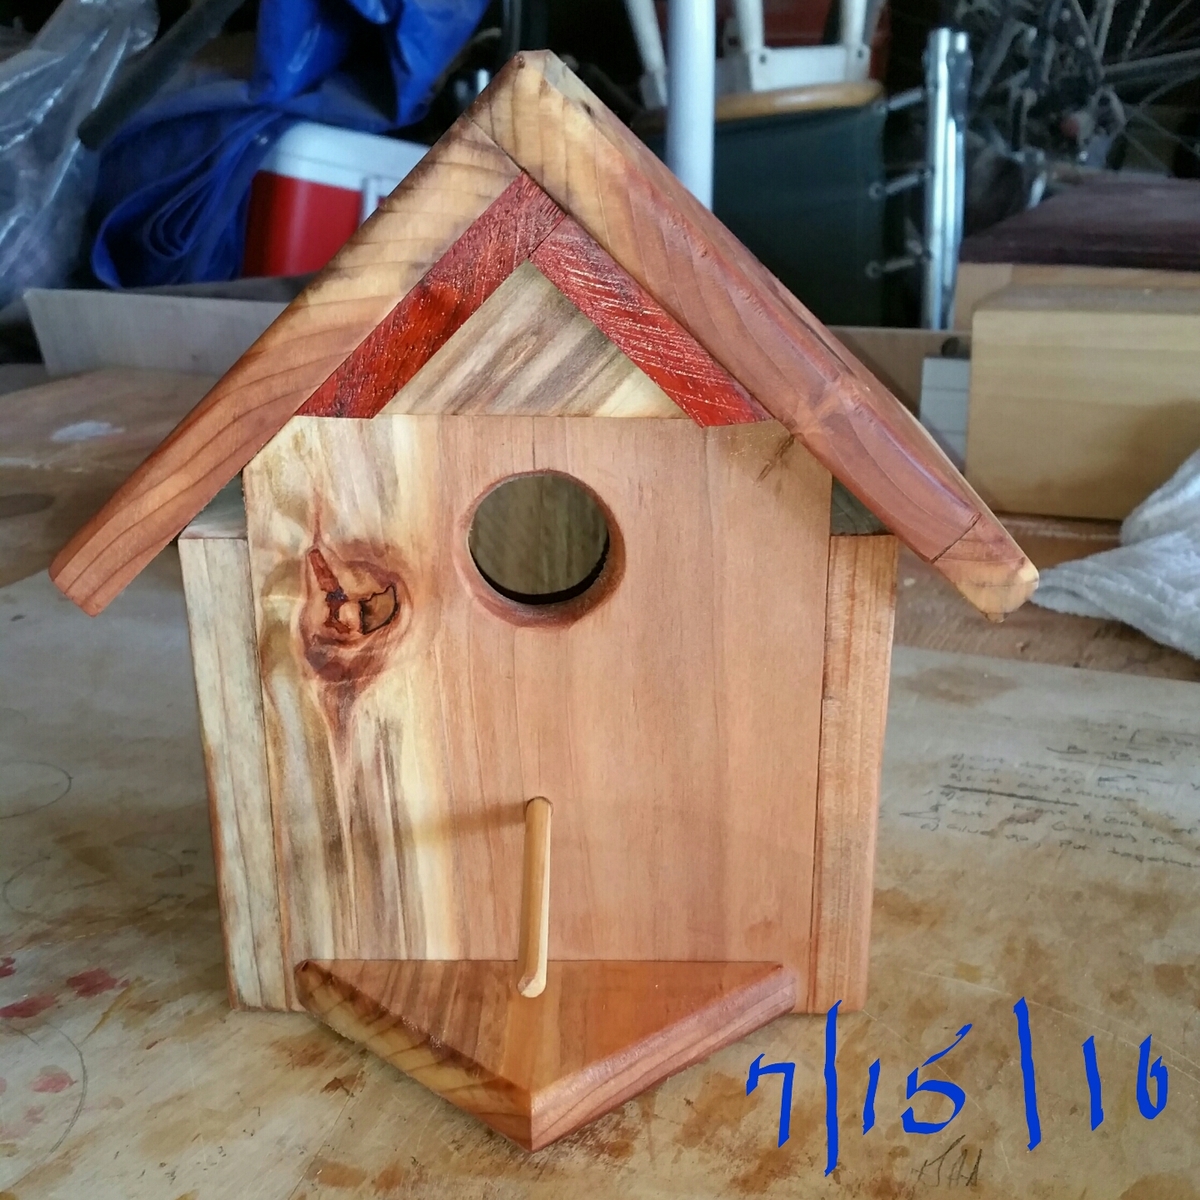
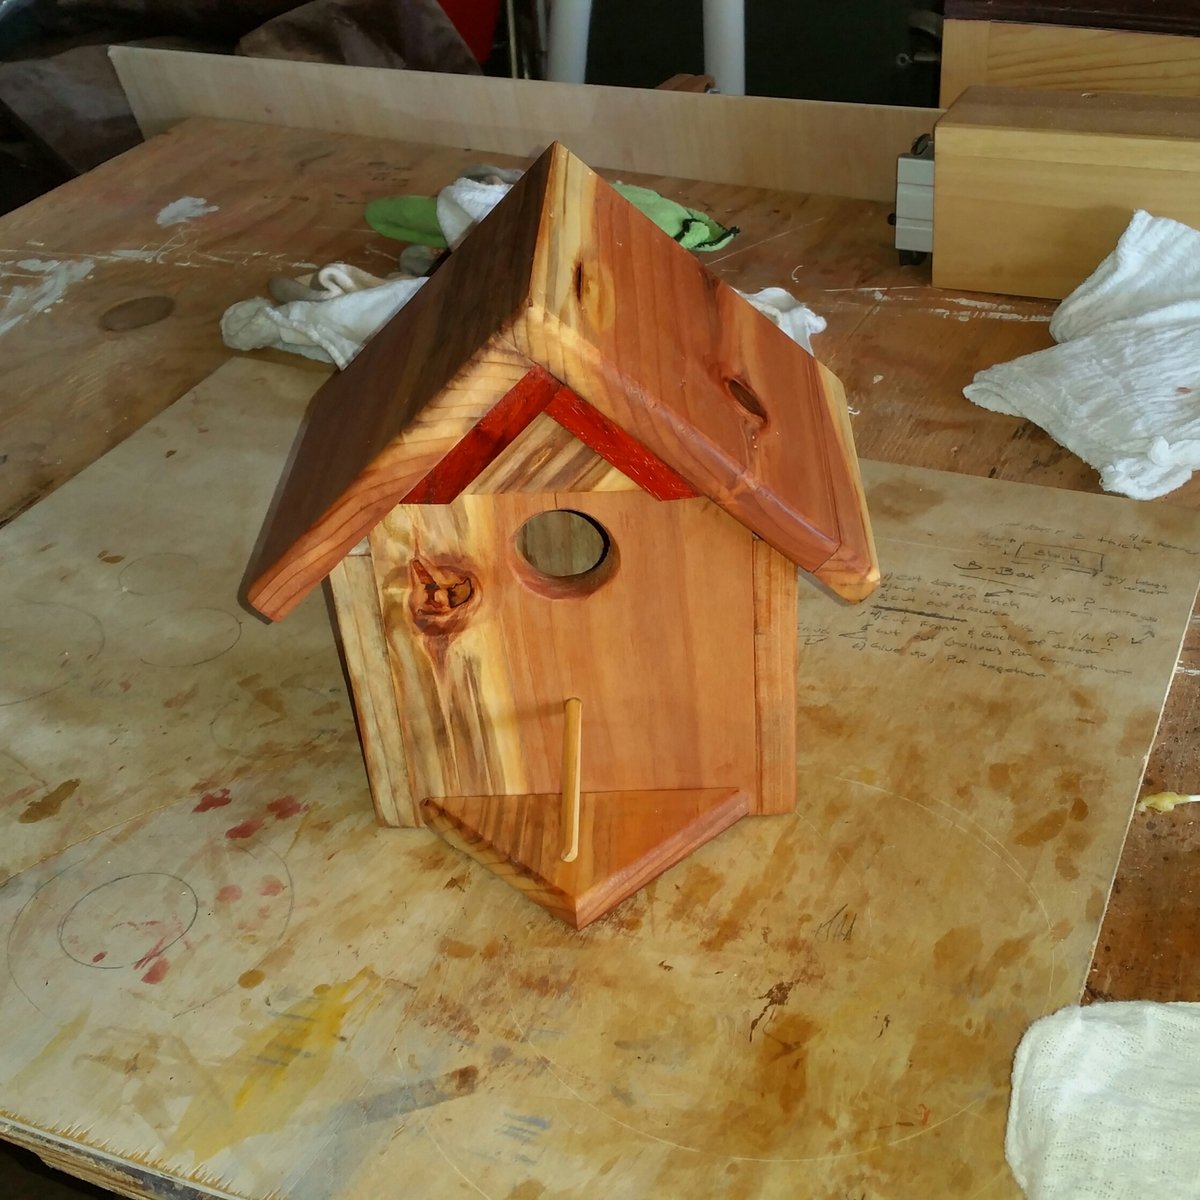
First bird house..!
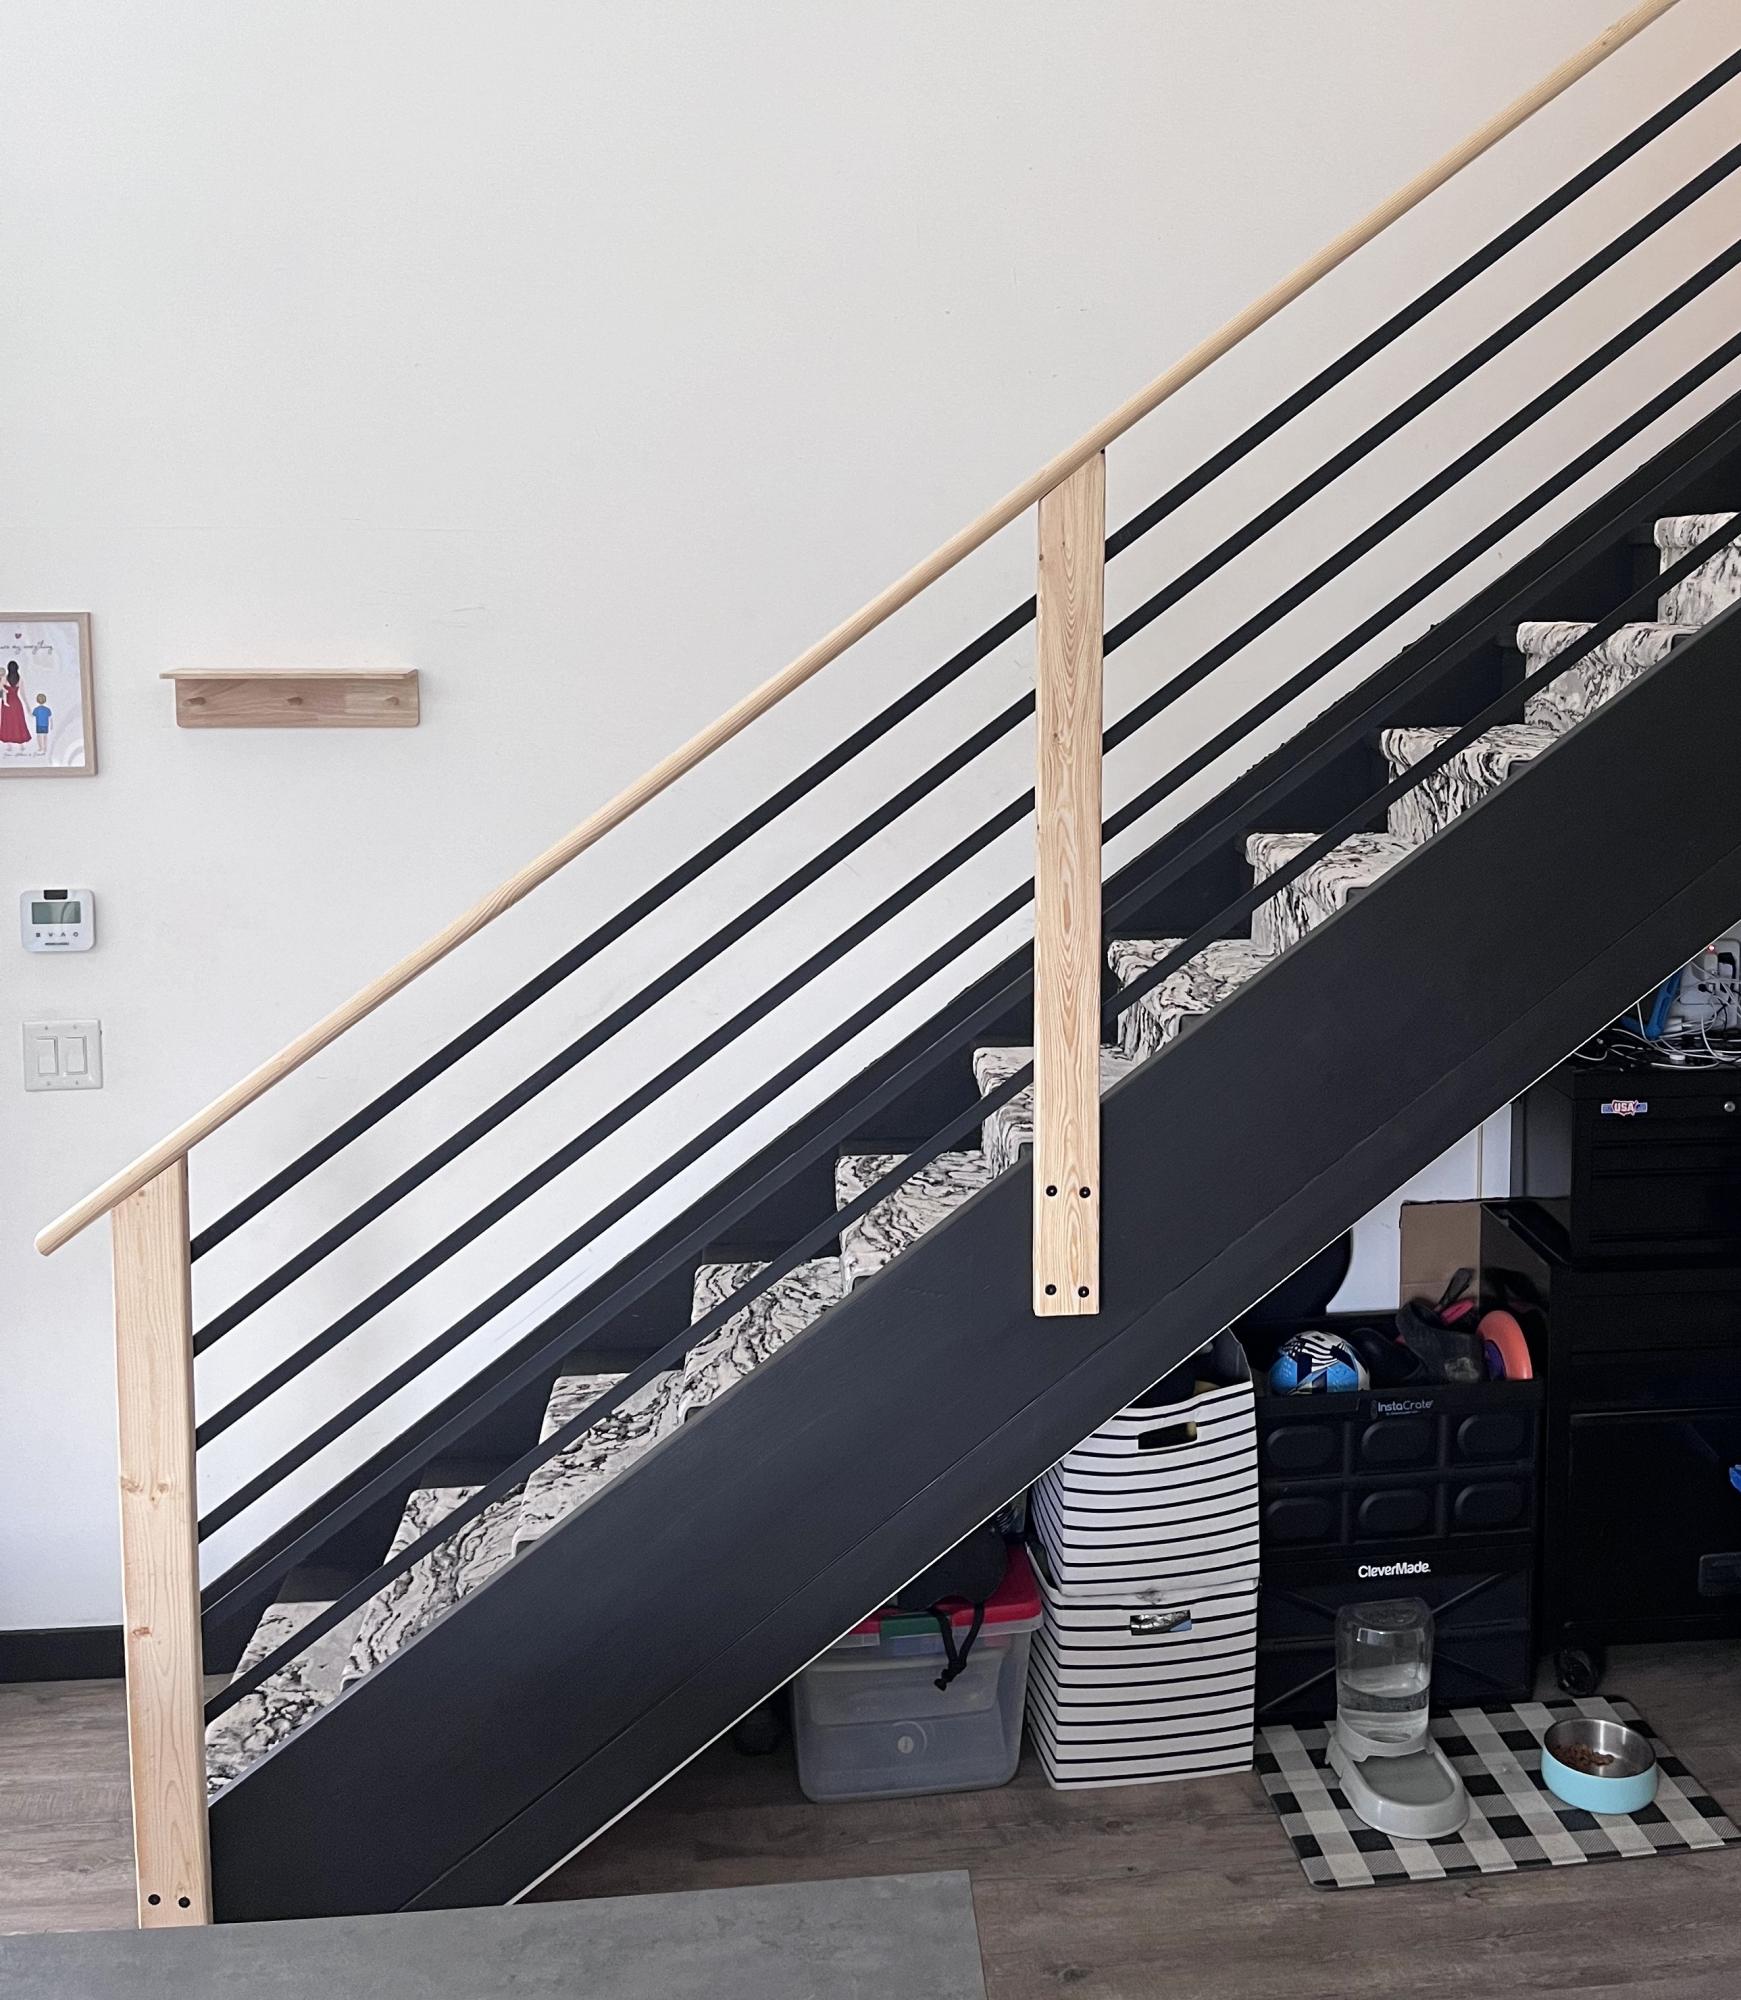
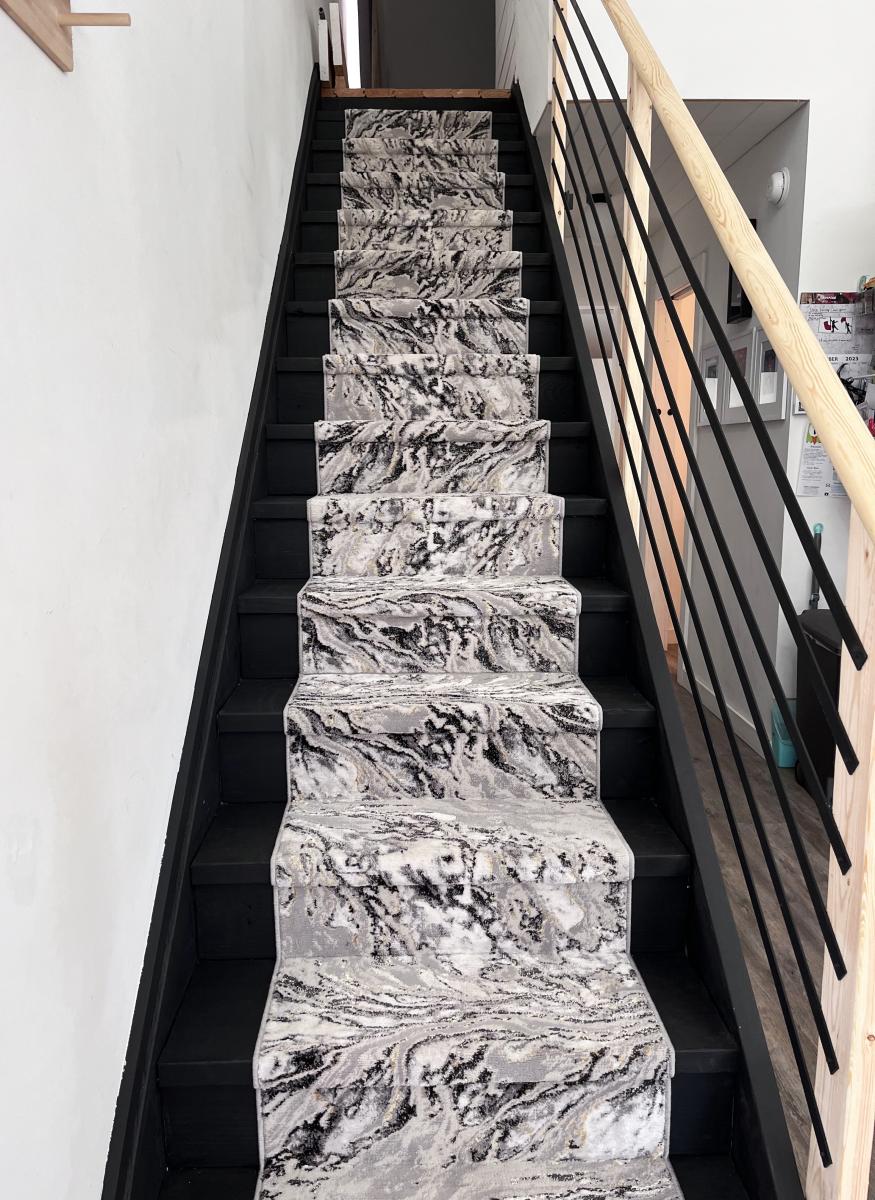
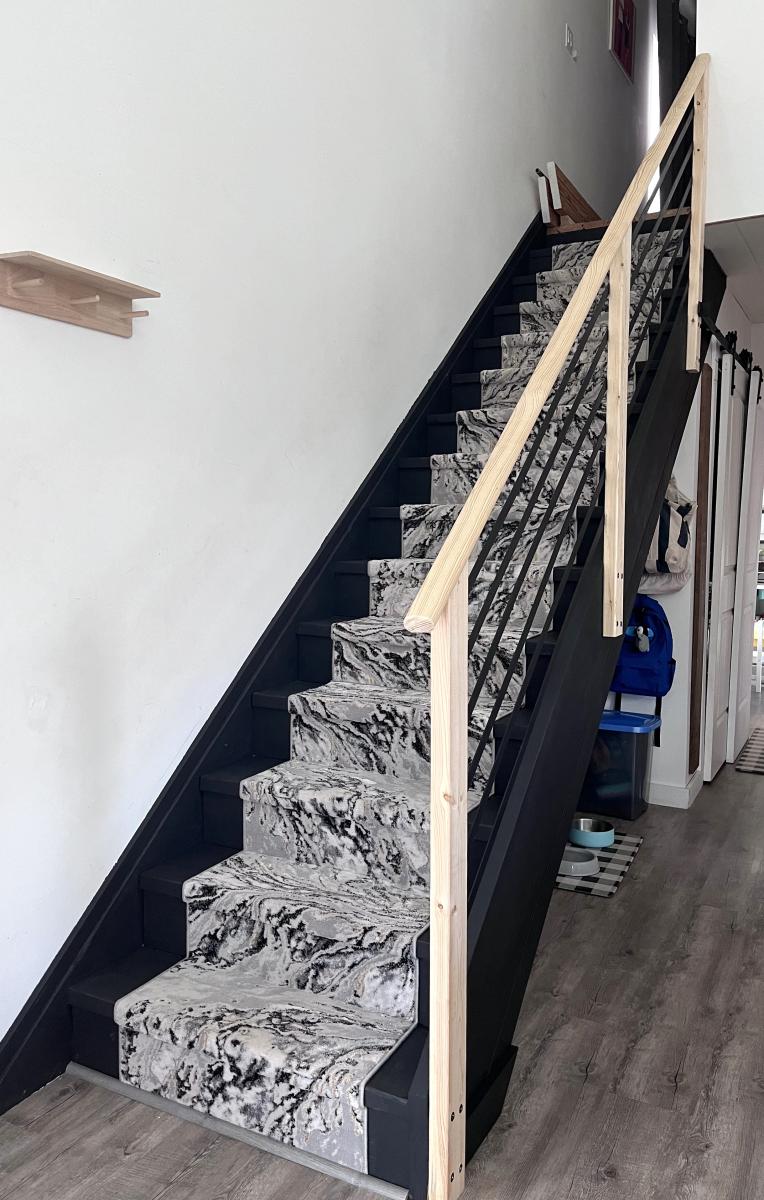
We built our house 5 years ago and I’ve disliked our stairs since then. They were never finished and were big and bulky compared to the rest of the house. These plans were the perfect fit. We switched the top 2x4 for an actual handrail, purchased from a big box store. We used pocket holes to install it and I couldn’t be happier. It’s now my favorite thing in the house. We plan on adding a loft and will use these plans for the railing.
@livingsmallerintheholler
This is my first EVER project, but I have already made several more!! I love this site and the new found confidence I have to make things for my home! Keep the plans coming!!!
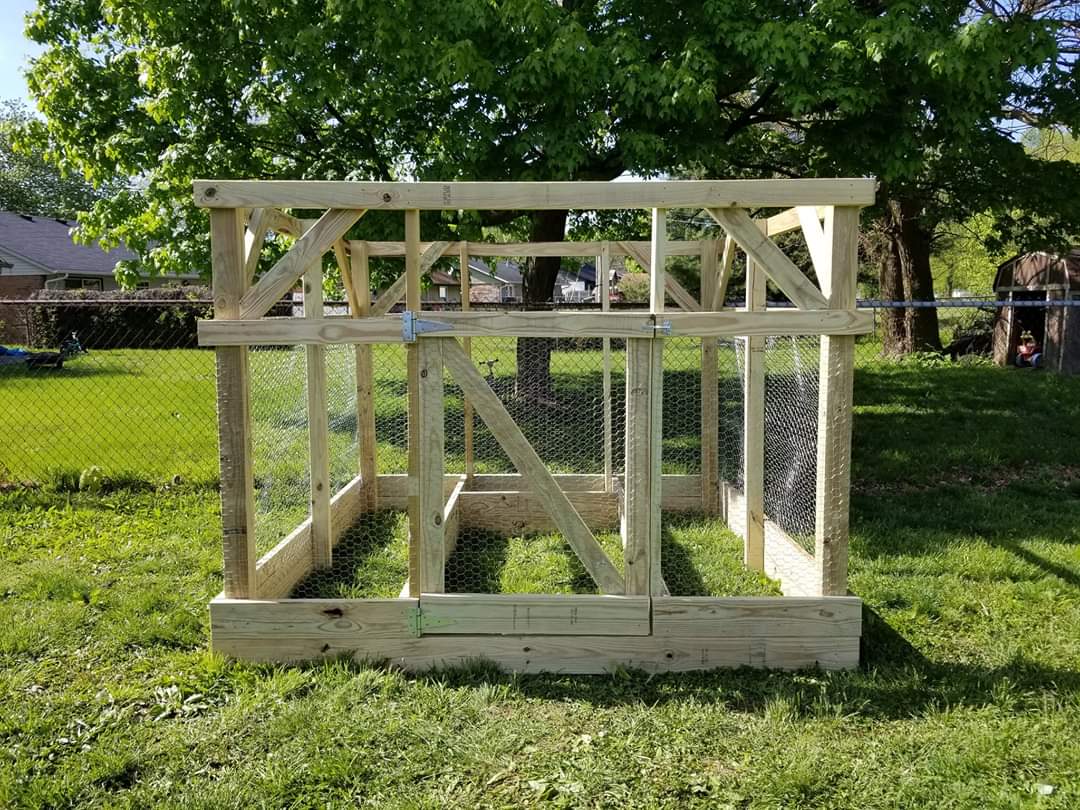
We decided that we wanted a raised garden and found the plans here on Ana's site that we really liked. The plans were really easy to follow and it only took about a day and half for our kids and myself to build for my wife. Only issue I had was the door... that is getting it square but I figured it our later after looking at it long enough. The two 2 x 4's the door sits in between were not level. So I have got to adjust them and the door in the coming days to correct it. Other than that we absolutely love it! Thank you for providing the plans to all these projects. This is the second thing that I have made from this site. I will be making another post later on regarding the other project! I might add I have never done anything like this ever and honestly I think it turned out great :-)
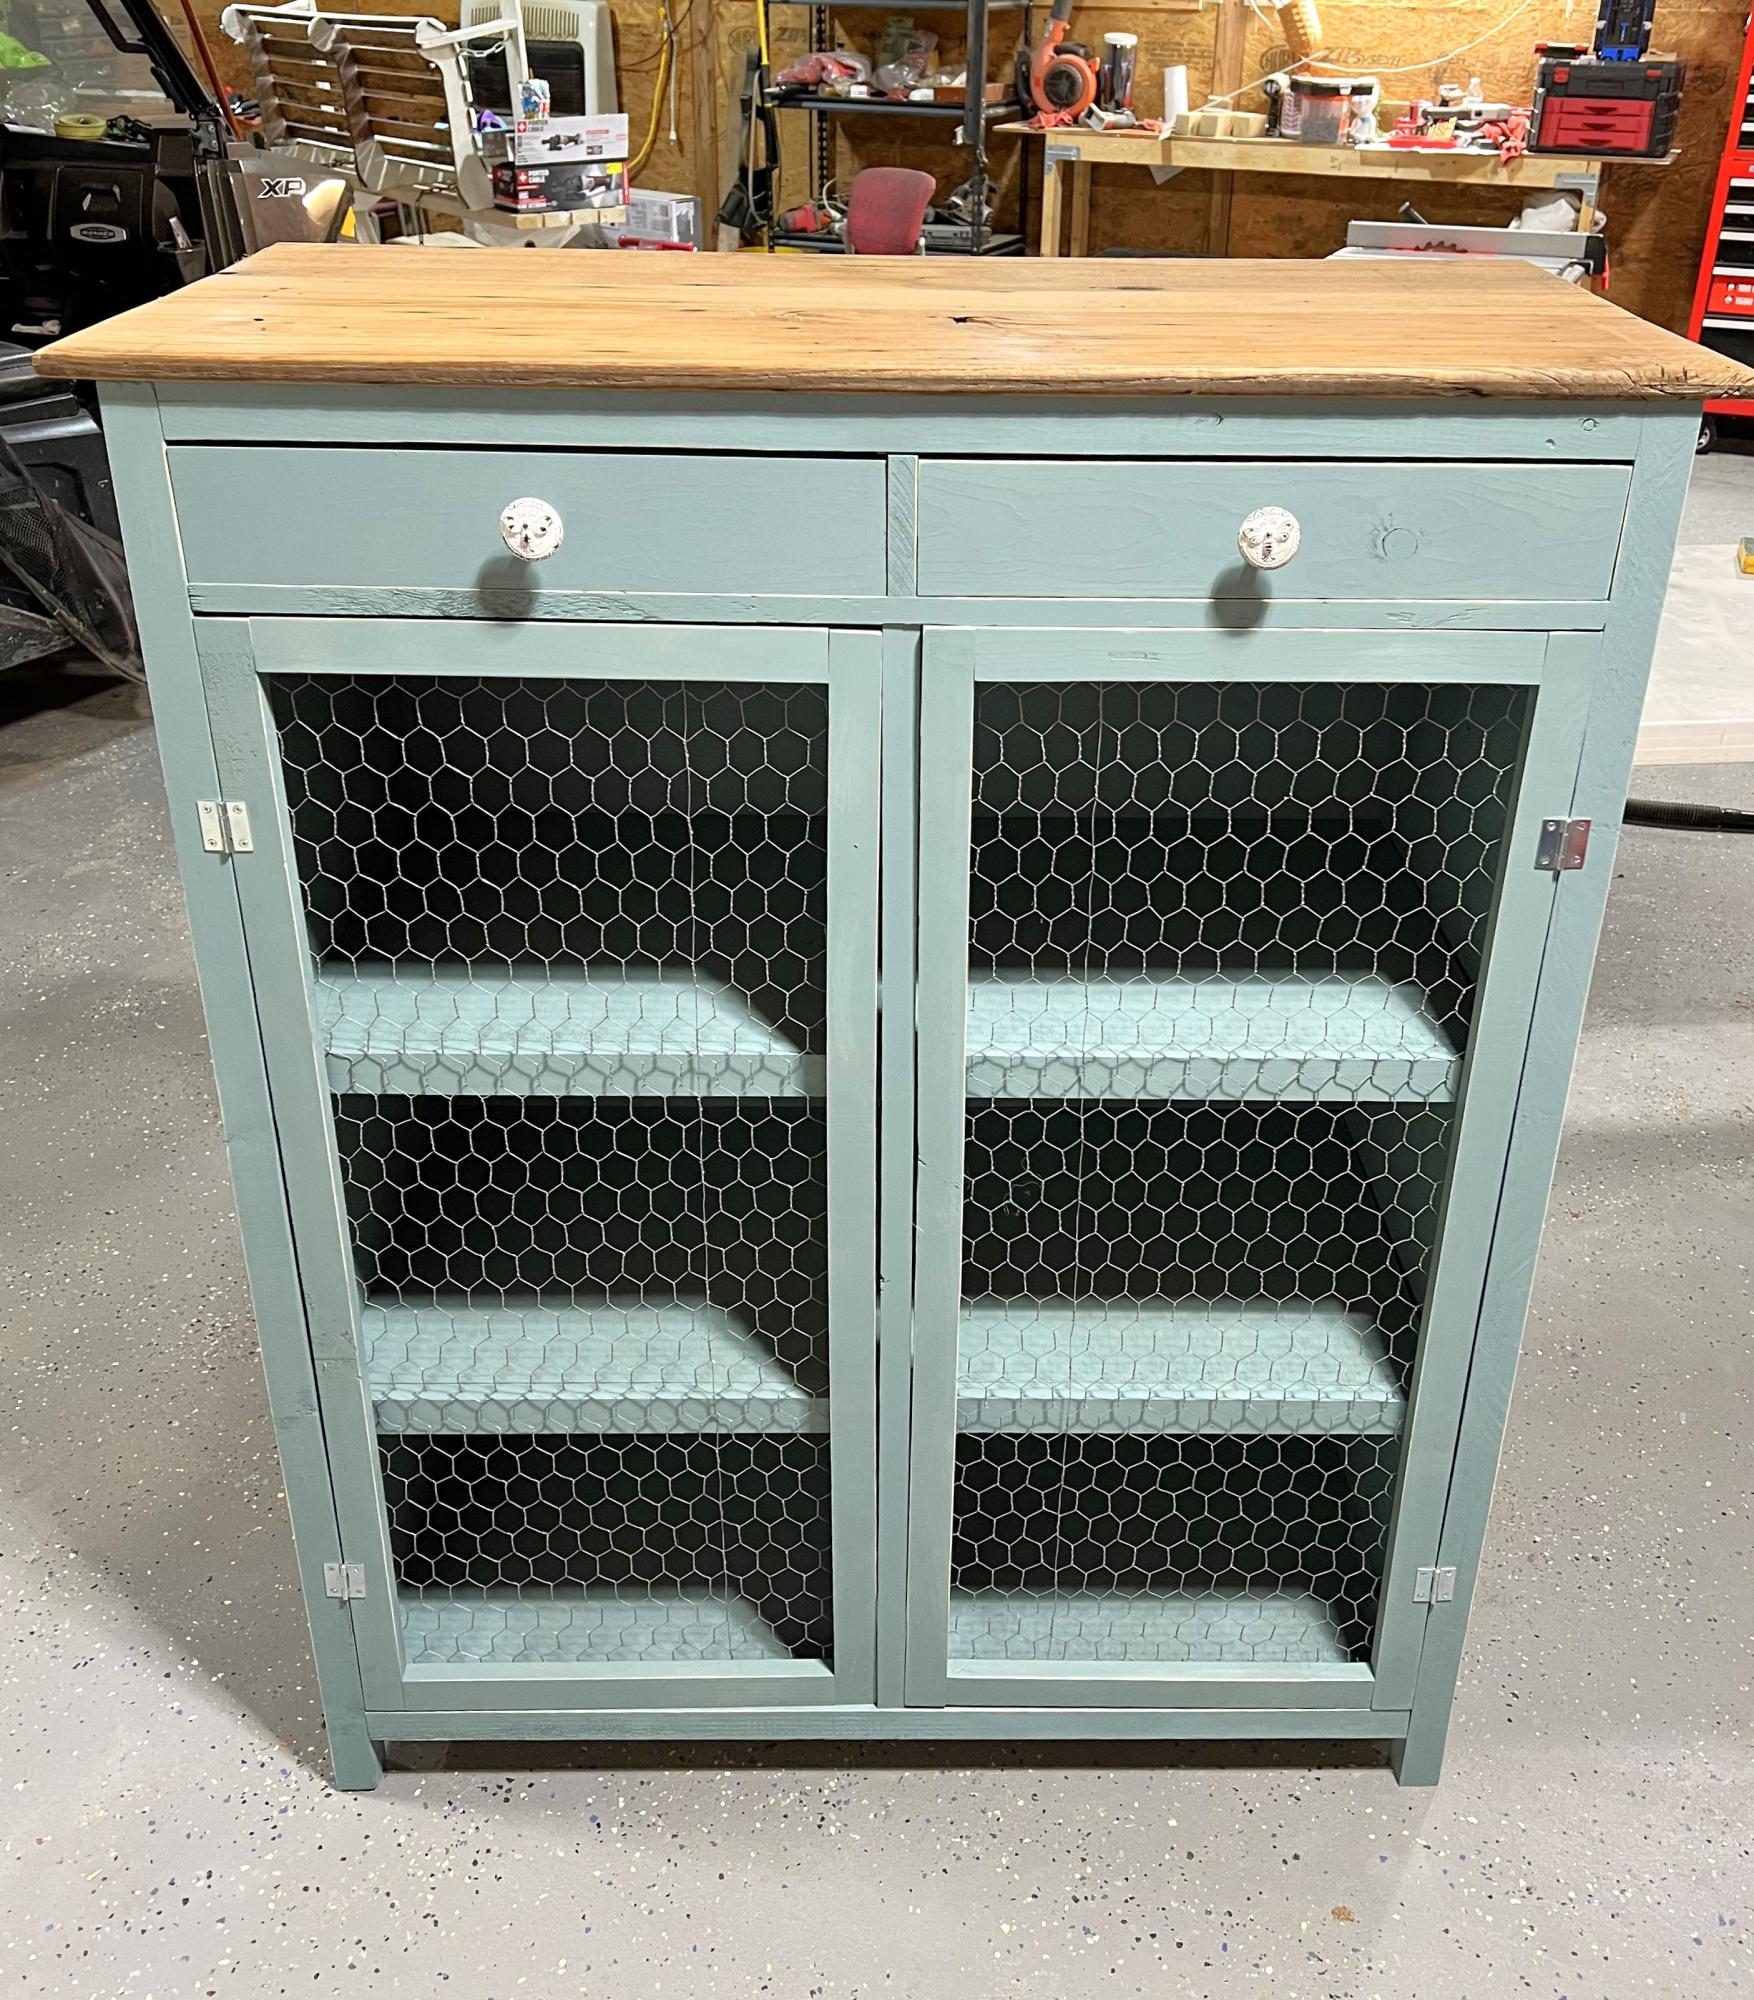
My husband and I built the Hemnes Linen Cabinet for our daughter and it turned out beautifully! Thanks for the plan, Ana.
Cheryl
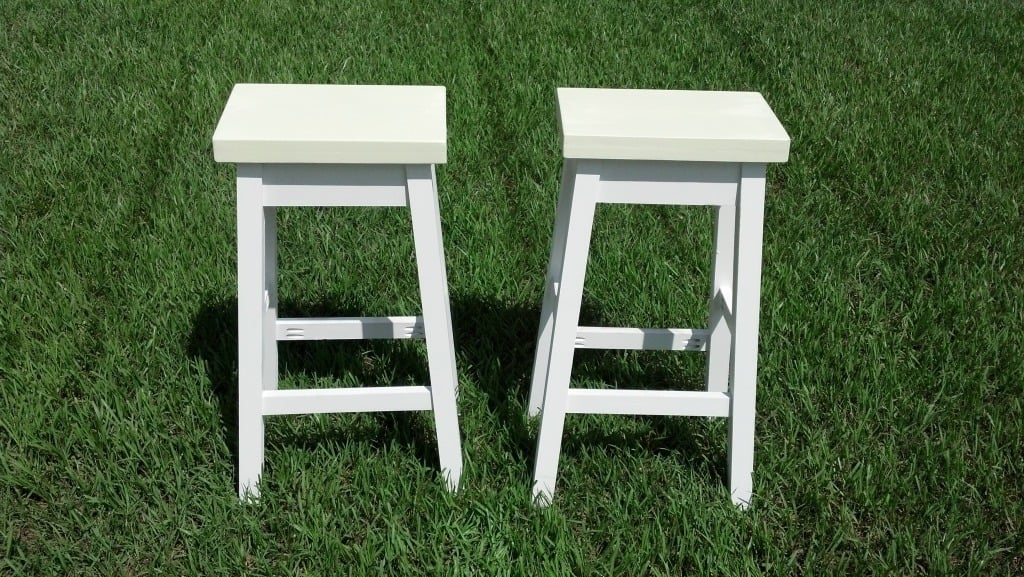
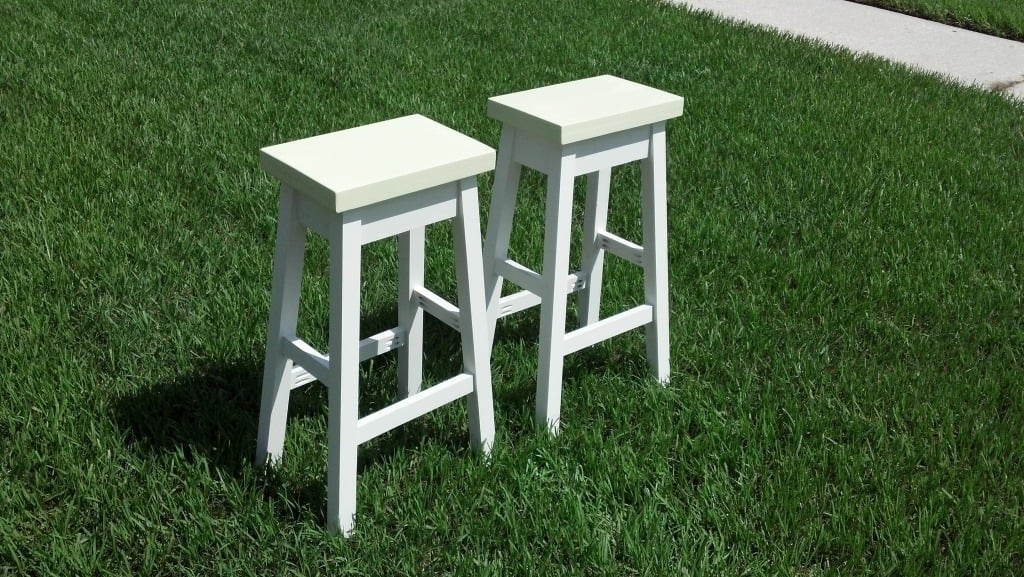
My wife and I needed bar stools for the kitchen and could not find ones we liked. Also, finding ones that were the height we wanted was a challenge. So, after seeing the plans for the Simplest Stool we decided to make them. It was really quite simple with the plans given. Even the angle cuts were not that bad. Thanks for the plans for this awesome stool.
Wed, 01/02/2013 - 10:37
Hi there
My wife loves your design so guess I'll be donning the old tool belt soon .......!
Are there any plans of these to get me going?
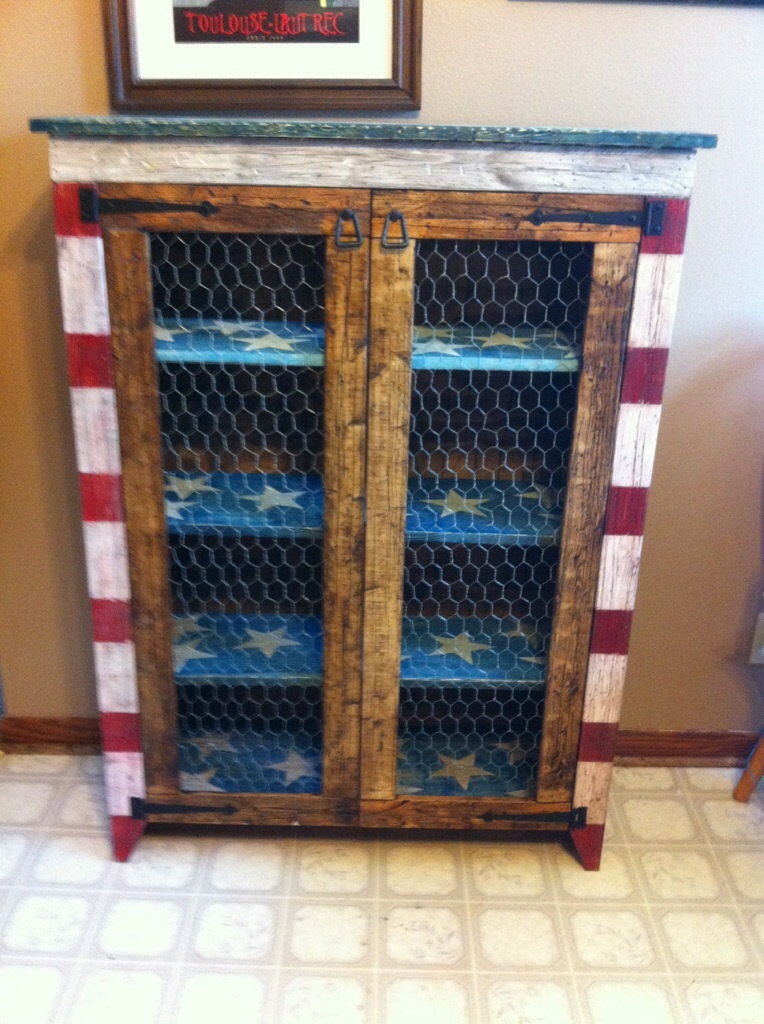
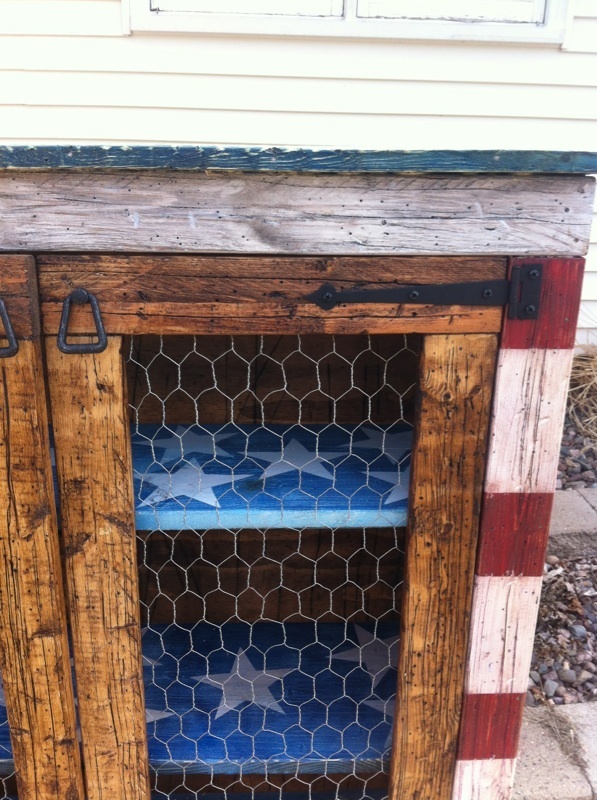
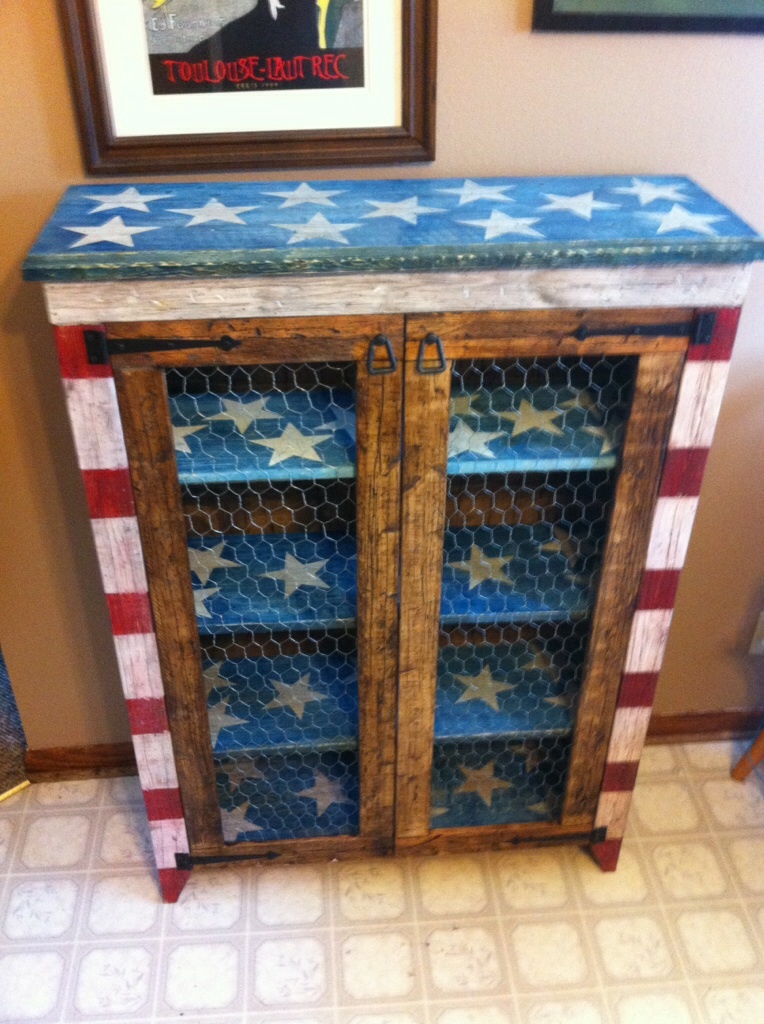
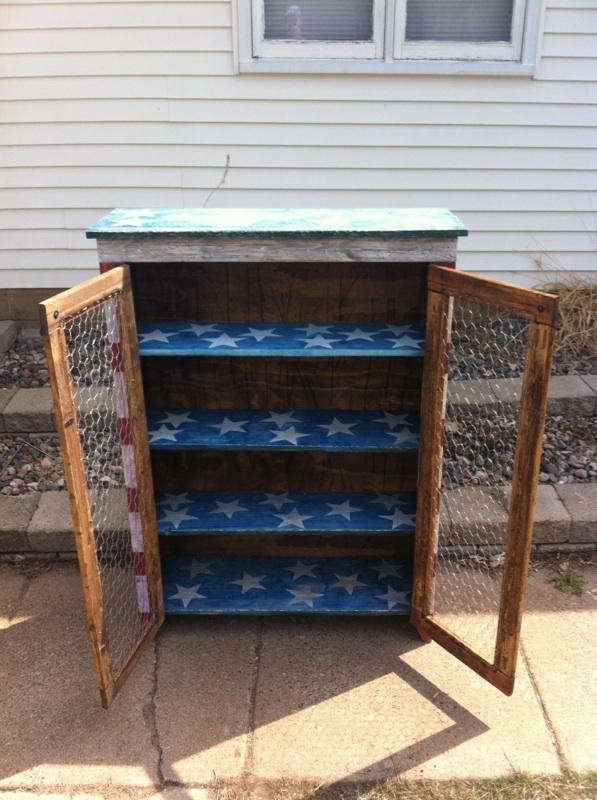
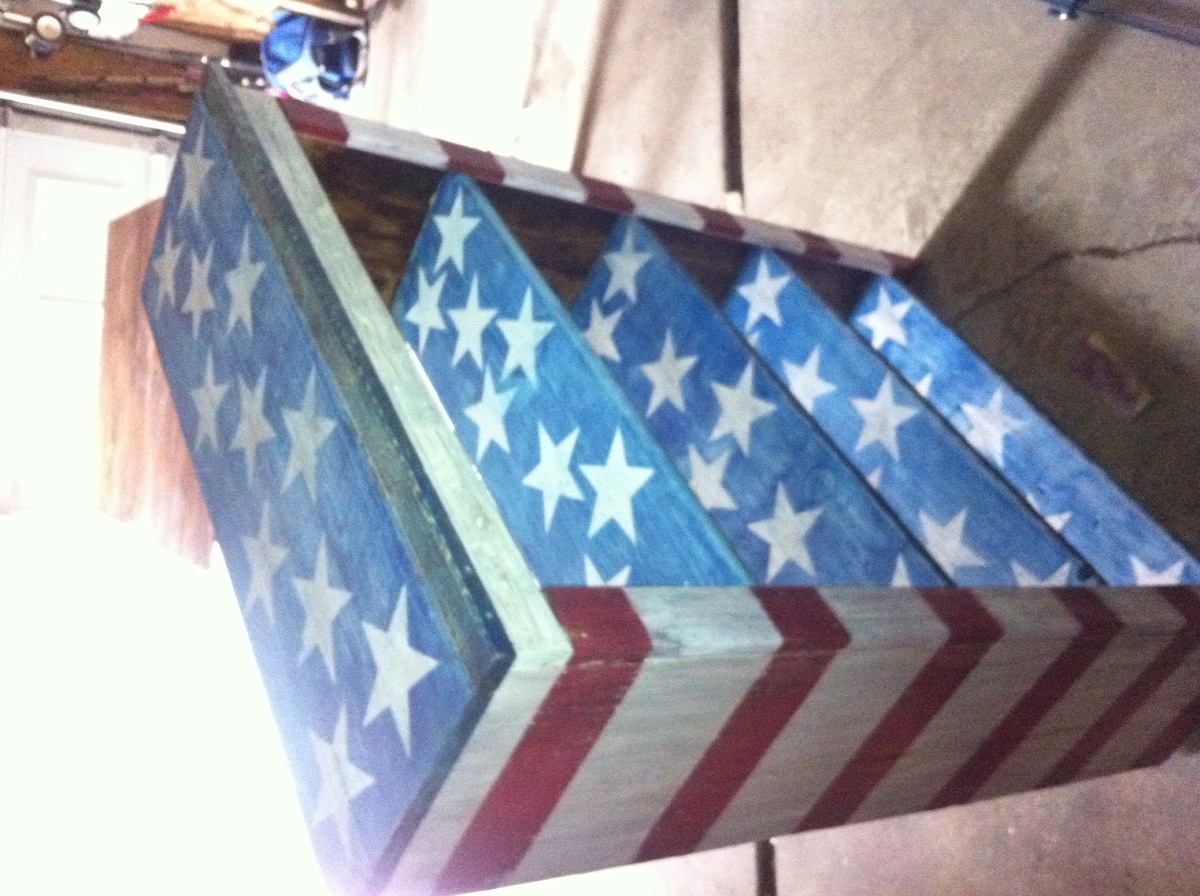
My patriotic pie safe
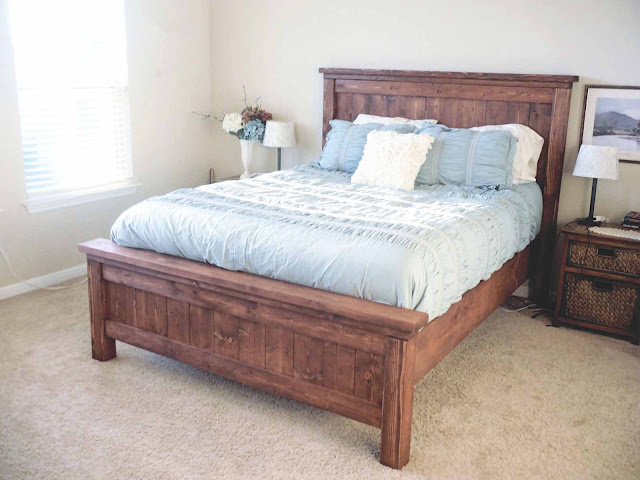
This bed is even more beautiful in person. I'm so pleased with it and the clear plans that Ana writes up. See my blog for a few more pictures.

Built for my son's room!
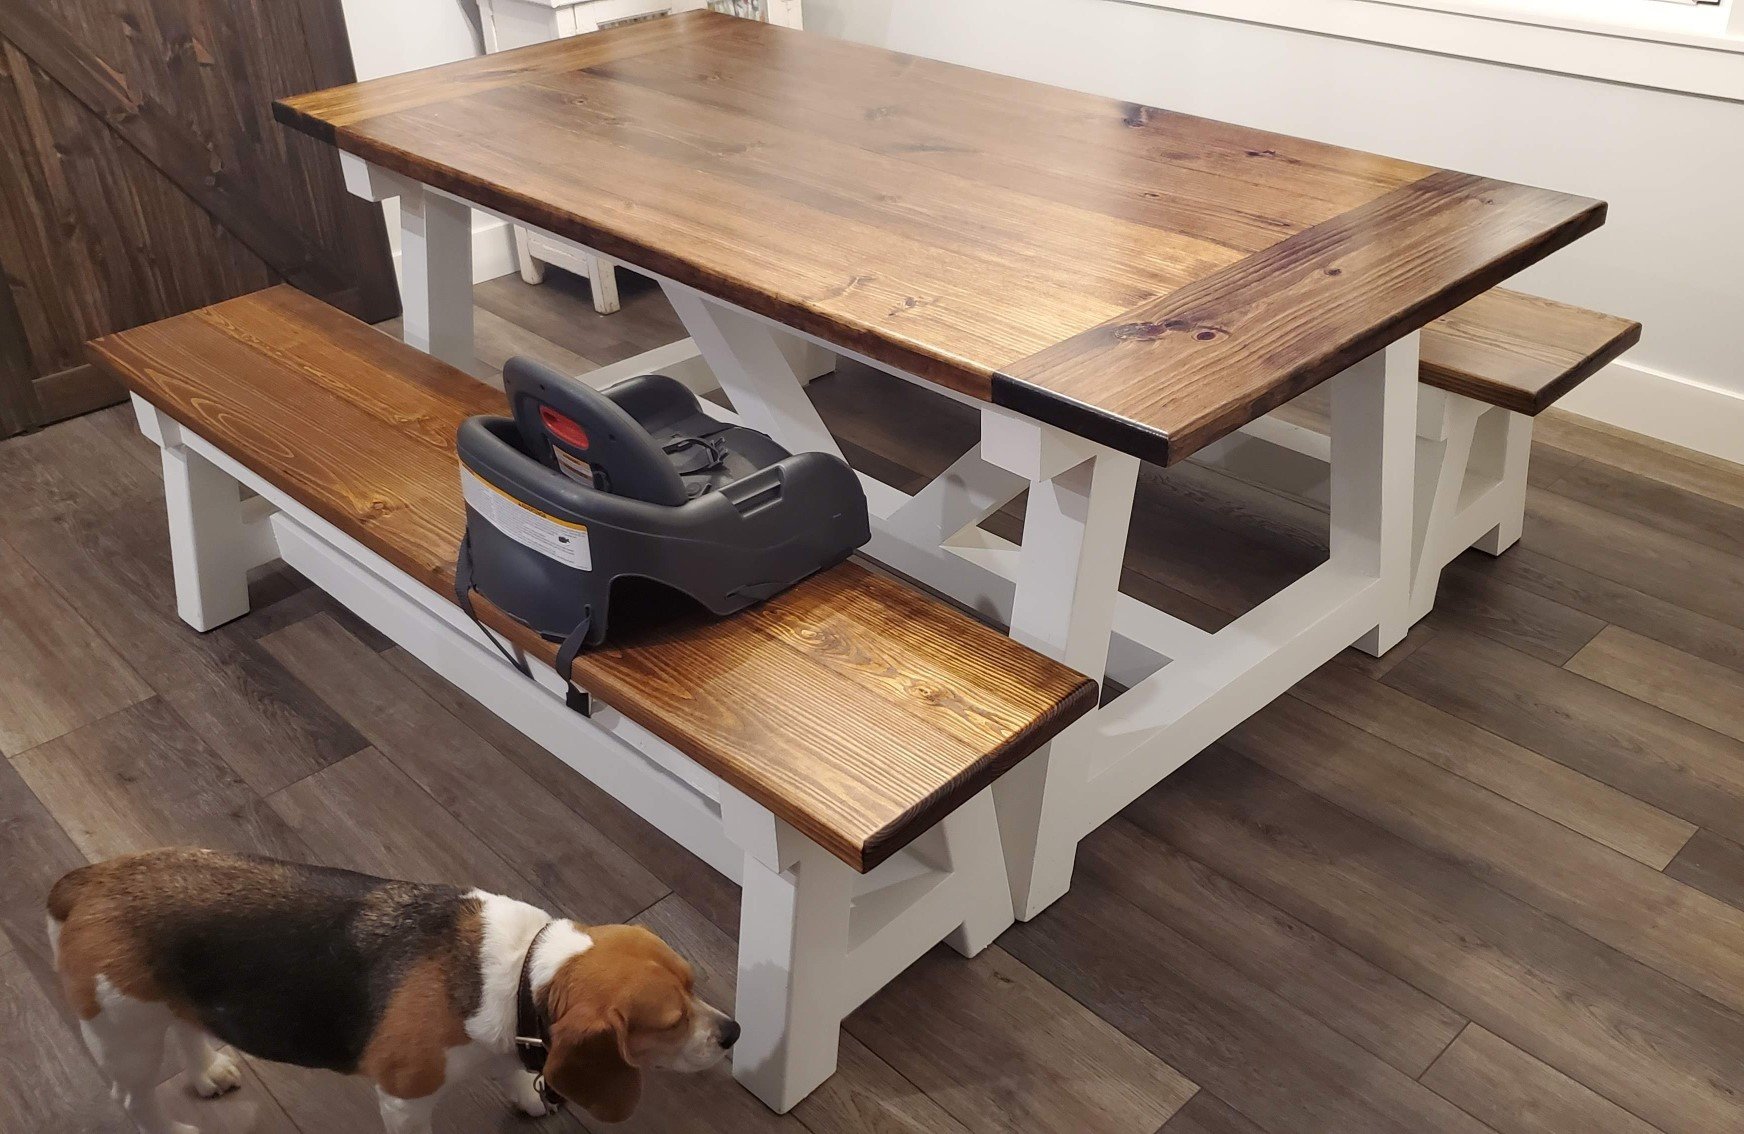
Built this table and bench for my son and his wife's new home. Made from southern yellow pine.
Pat Sprunk
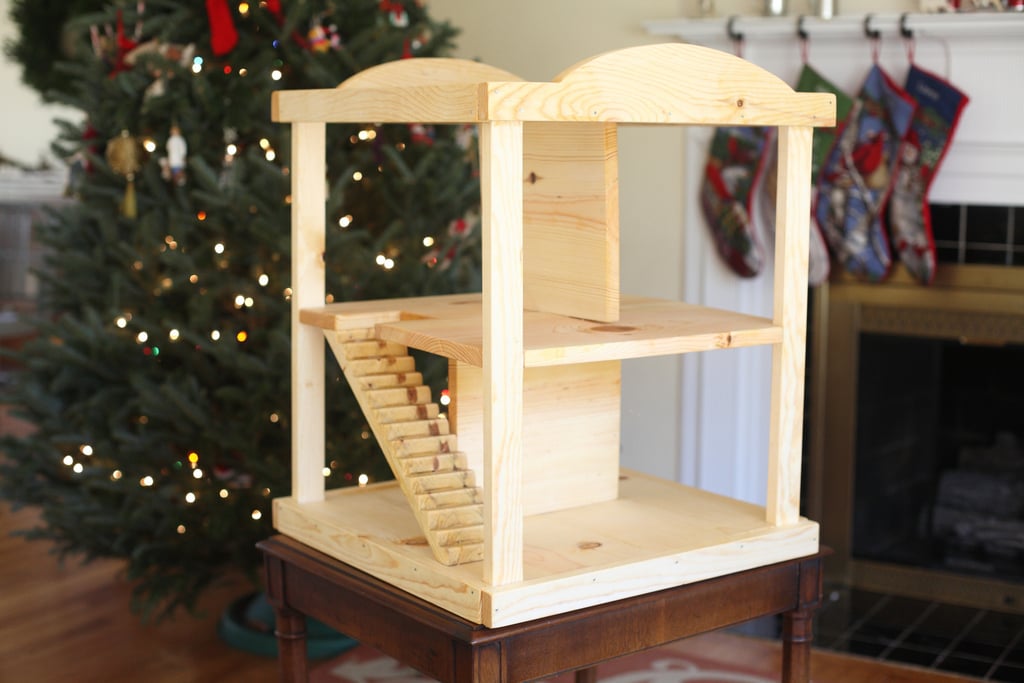
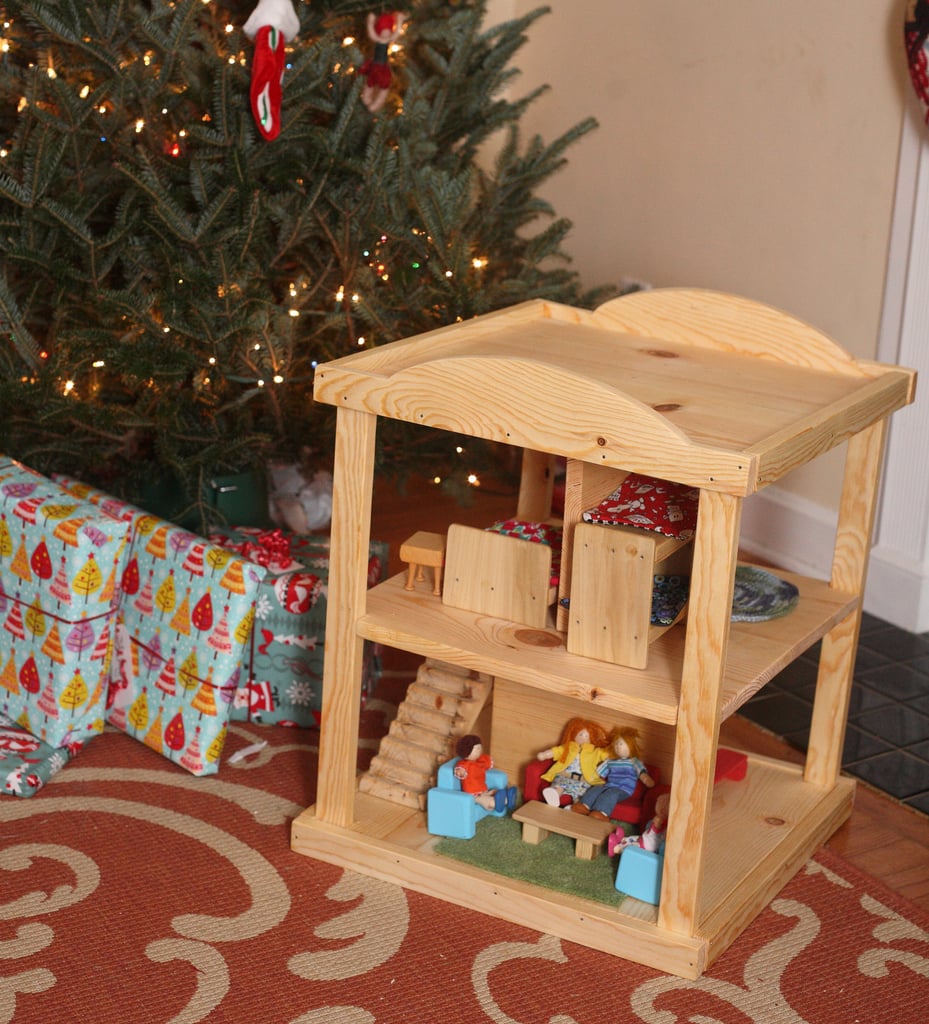
I combined my favorite elements from three of Ana's dollhouse plans to make this dollhouse for my kids. My favorite part is the stairs, which I cut from a 2x4 with a miter saw. I made this project from start to finish in one day while the grandparents took the kids, and it was ready for Christmas morning! I made simple furniture for it, too, which you can see in the second picture.
Wed, 02/11/2015 - 06:35
Is there any way you could email me the plans you used for the furniture? or just individual pictures of the furniture? [email protected] (you may wanna copy and paste that people always get it wrong, haha).
I LOVE THIS
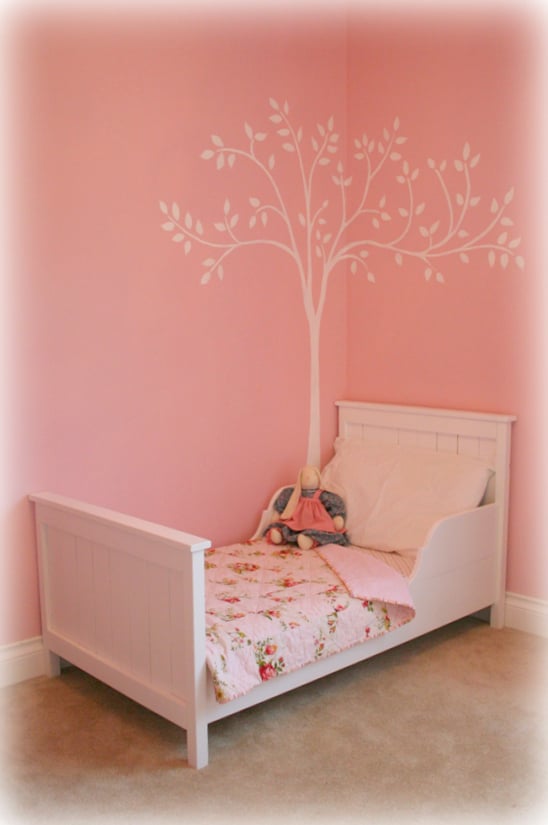
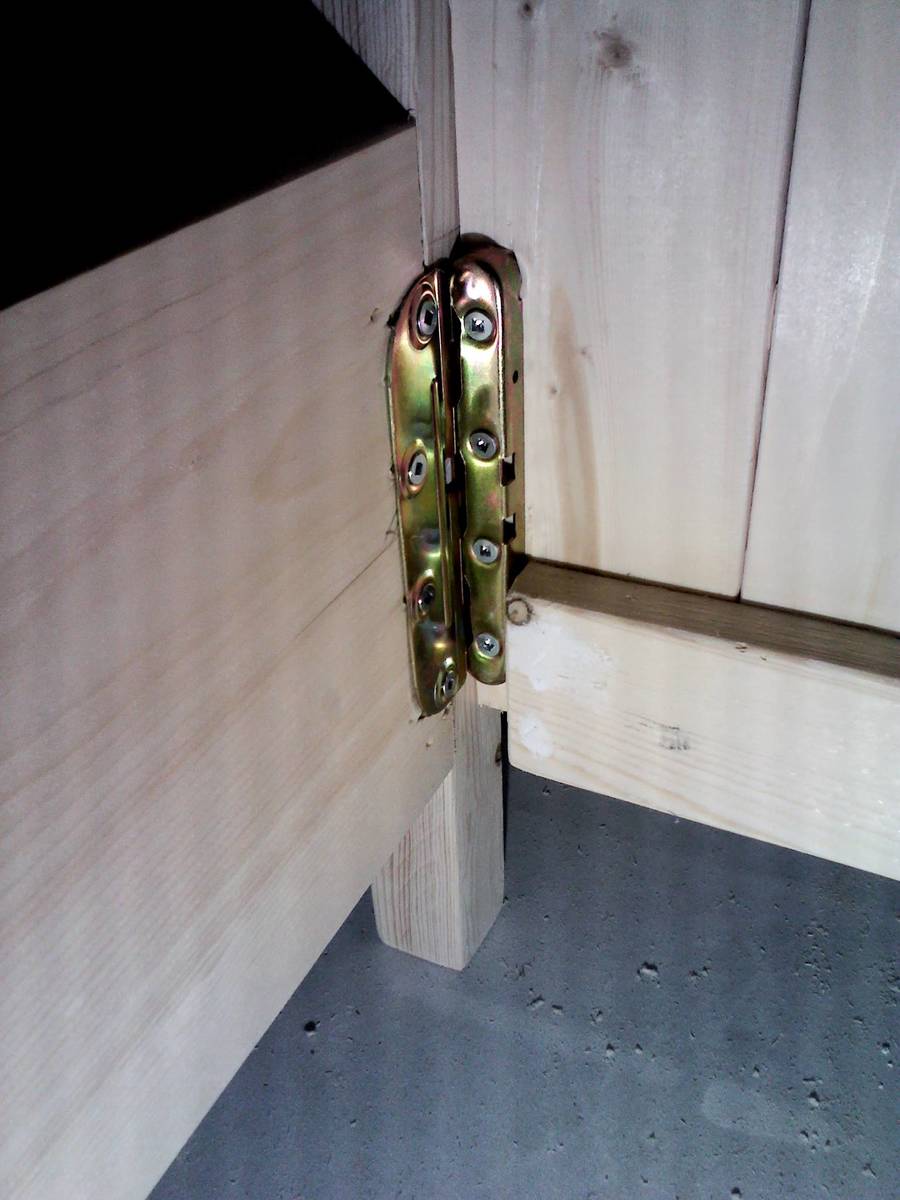
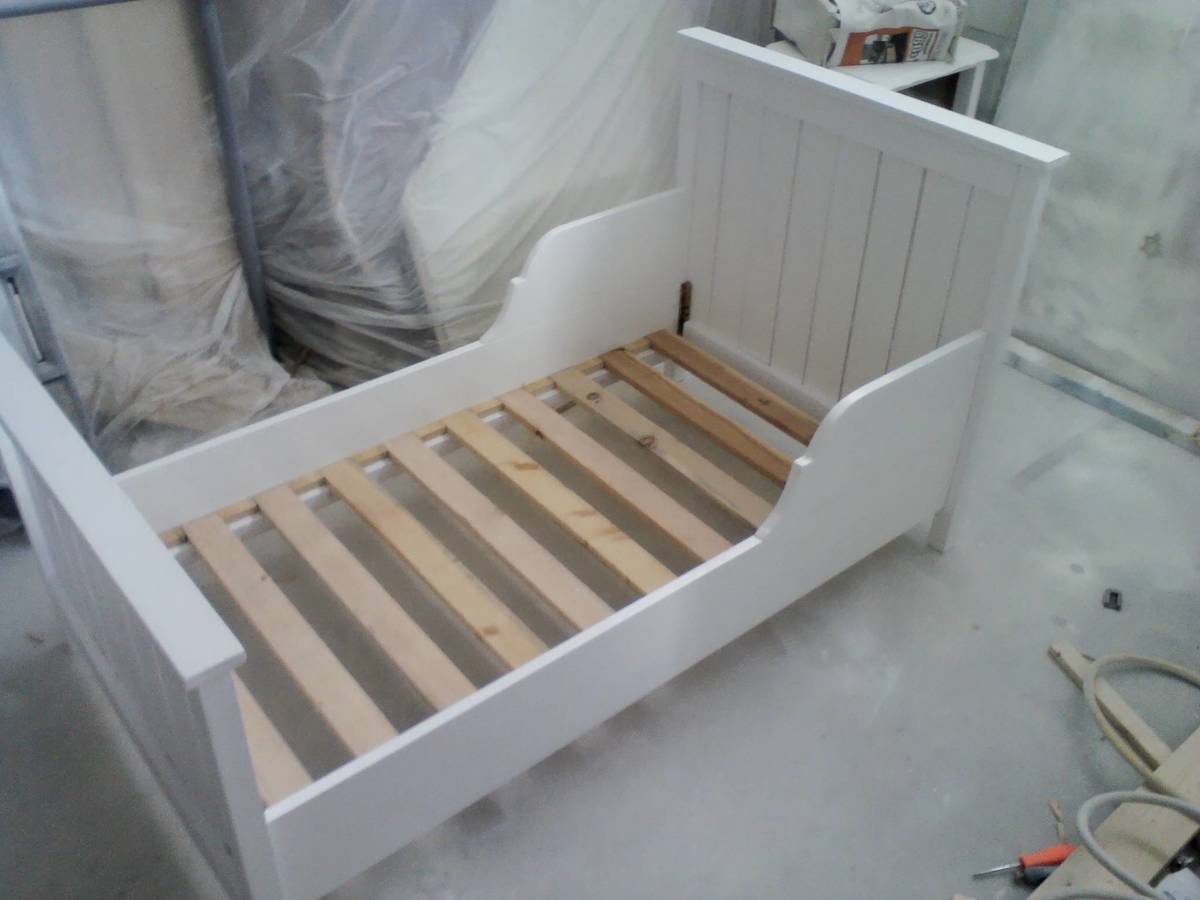
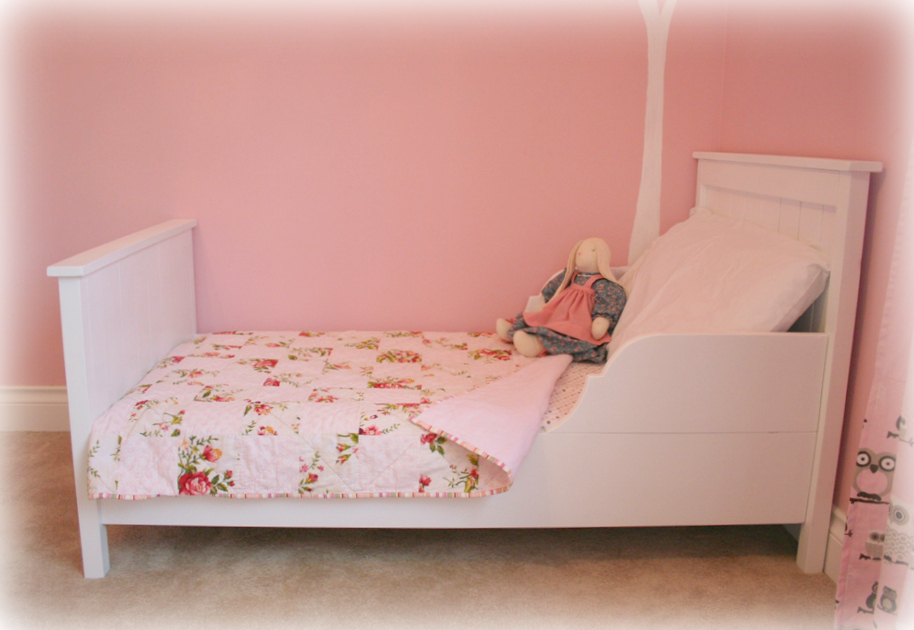
I fell in love with the Farmhouse Toddler bed, but decided to stray a little from the plan and made a couple changes. I chose to use 2x2 lumber for the legs and purchased mortise-free bedlocks from Lee Valley Tools so I could disassemble the bed to make moving it easier.
I lengthened the height of the headboard so it was flush with the bottom of the bed and also lowered the entire bed so it's only 4-1/2" off the ground.
Rather than attach the wood mattress slats, I cut and nailed small wood "spacers" that the slats sit between. This keeps the slats from shifting, but makes them quick and easy to remove to disassemble the bed.
I loved the look of the curved rails on the Lydia Toddler bed but extended them a bit further than the original plan.
The mattress we have was a different size than the orignal plan was based off, so I ended up using all 1x4 lumber and then just trimmed off about half an inch on each side before attaching to the legs with pocket hold screws.
I'm thrilled with this little bed and so far our daughter seems to enjoy it as well.

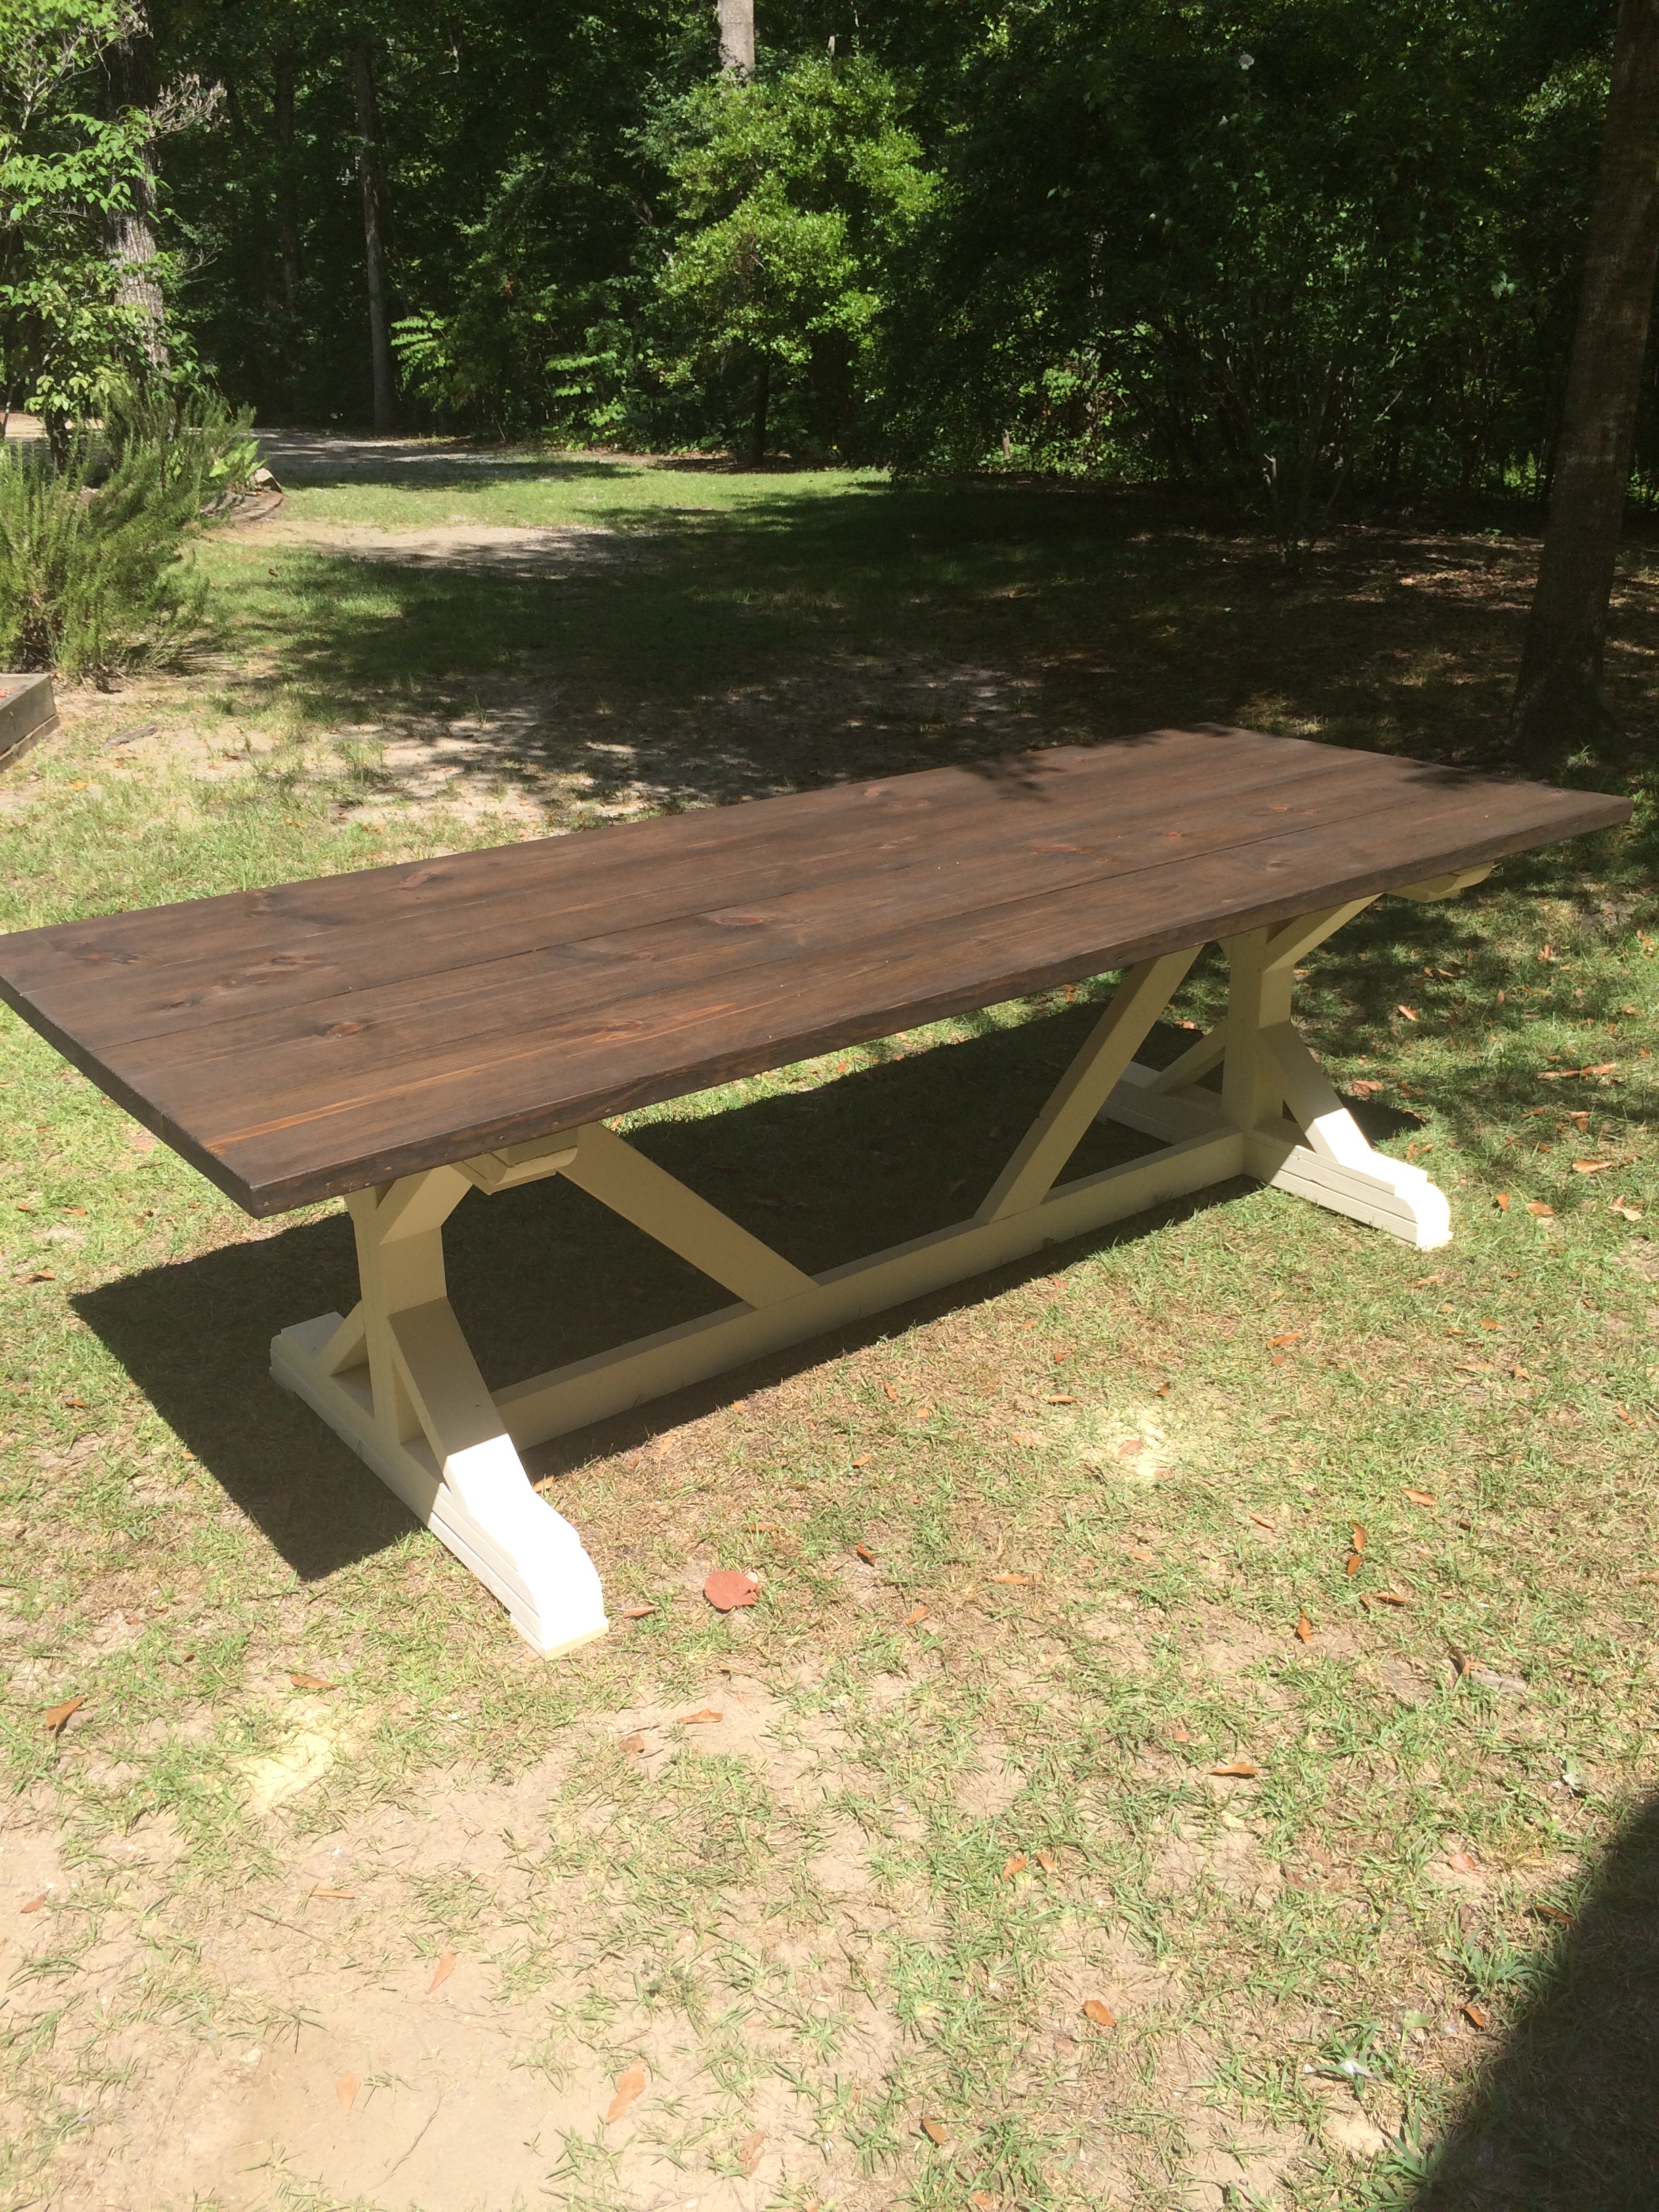
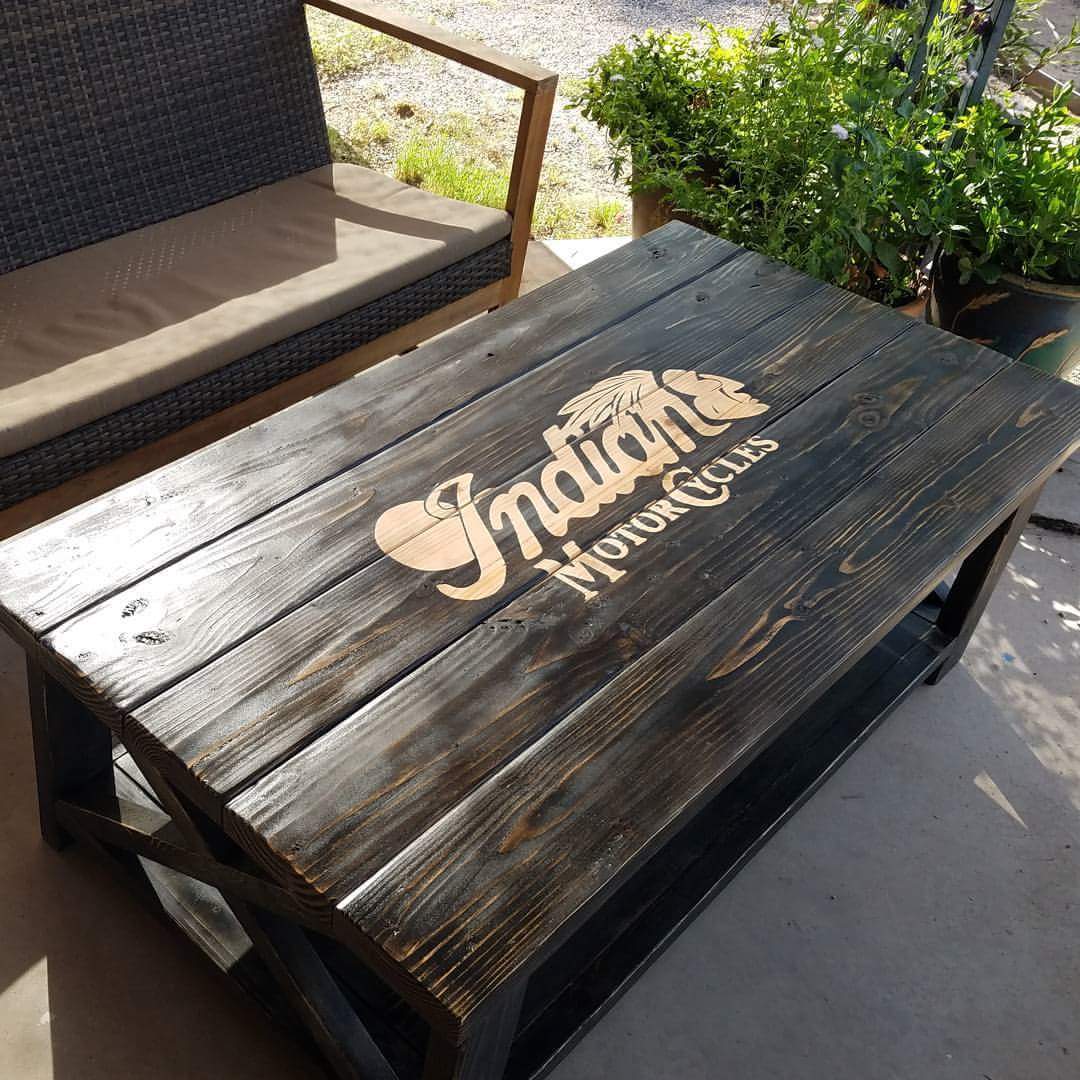
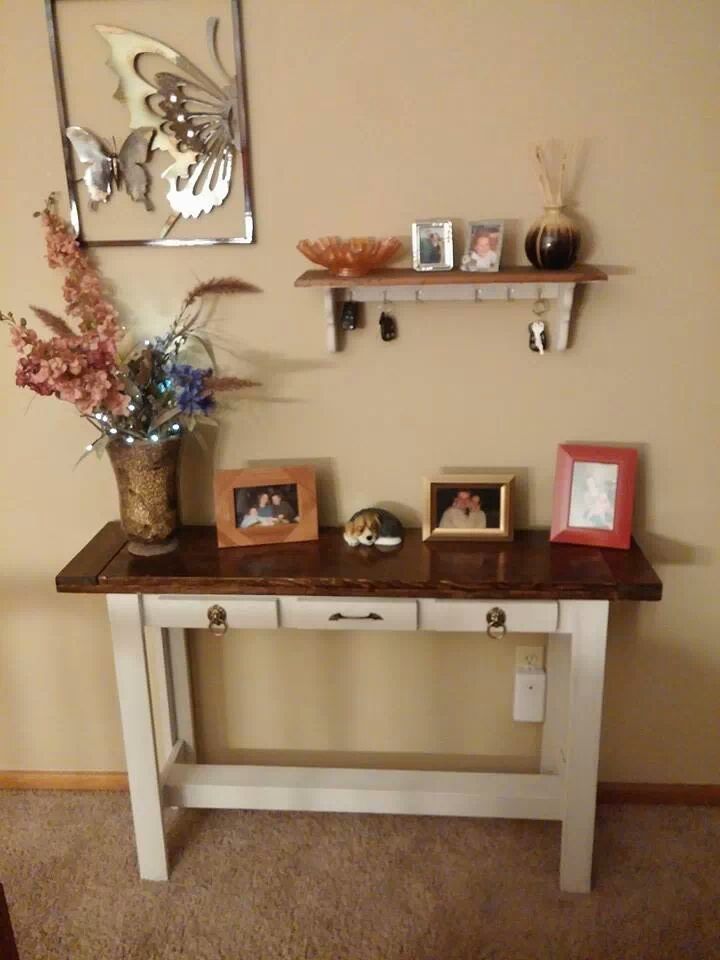
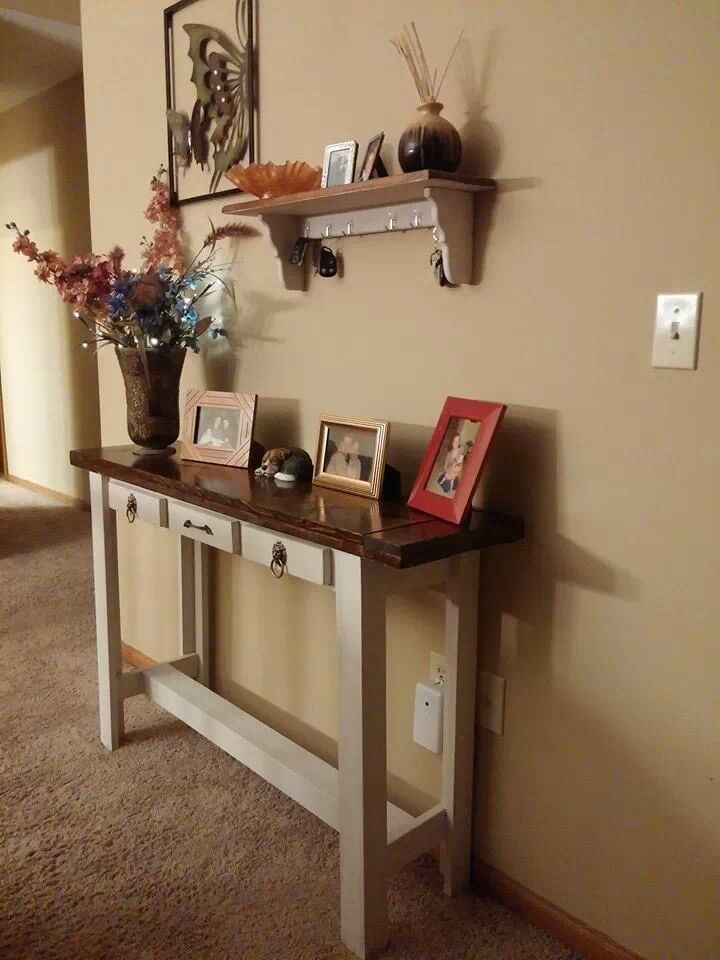
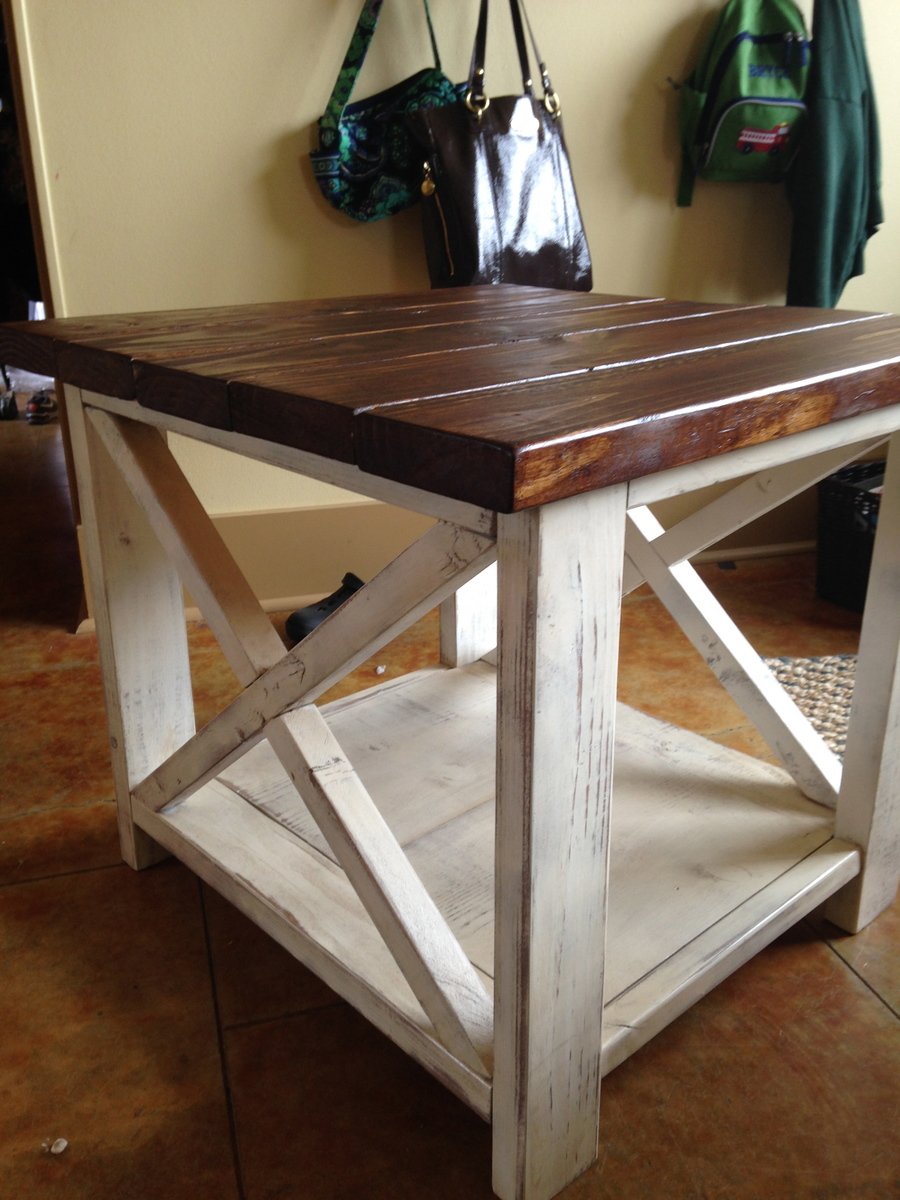
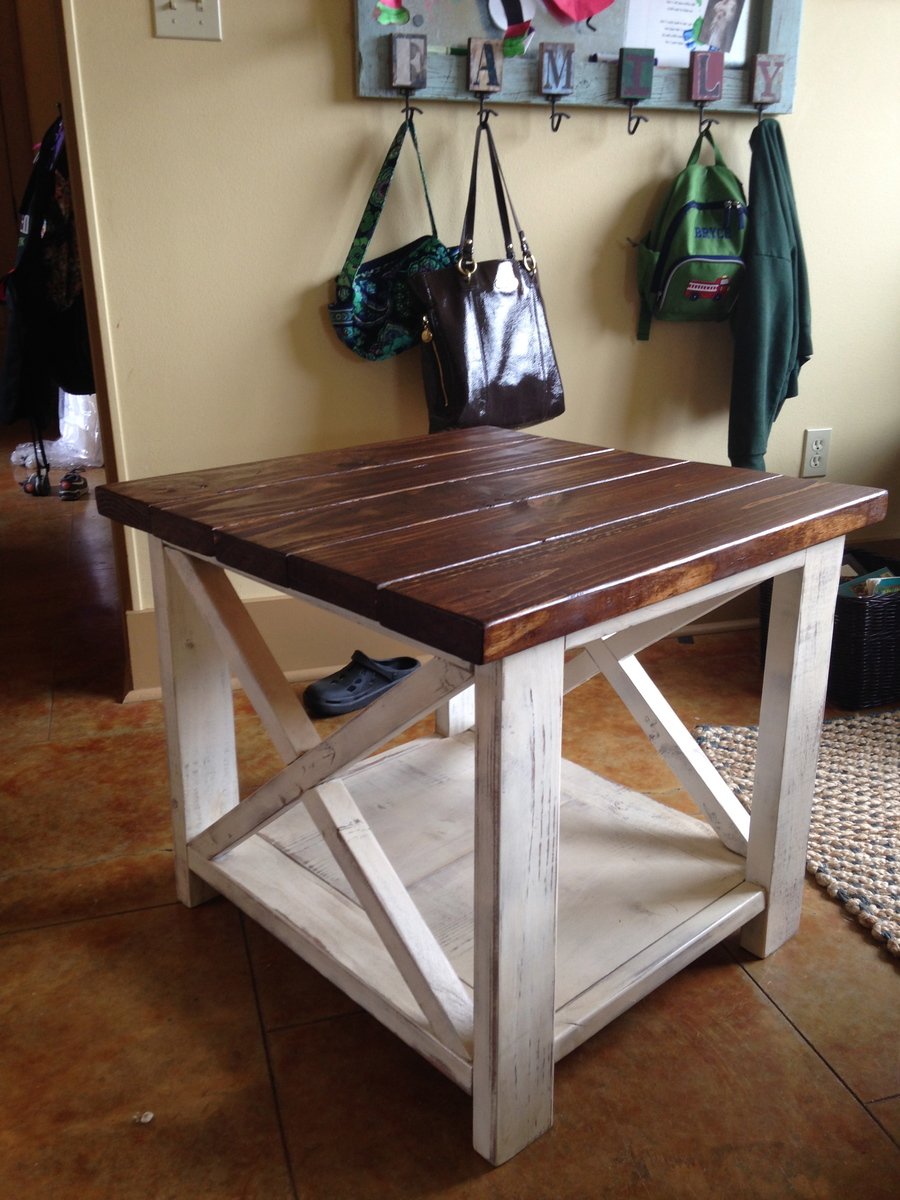
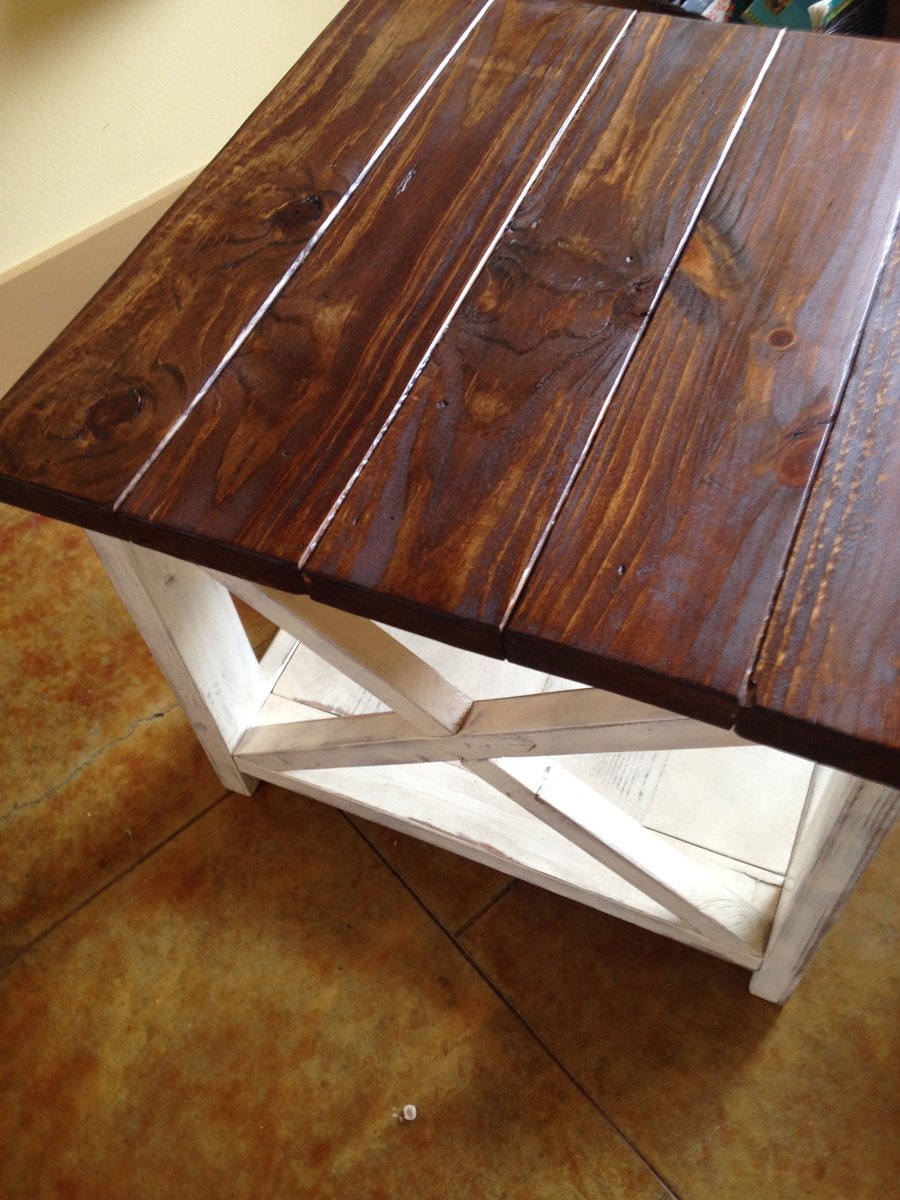
This was a fun one to build. I love how it turned out. Most importantly this wife loved it! I used the miter saw to create a curved love on the feet, this was really easy to do just took a couple practice boards then I had it. I dont remember how much I had in the money I had in the wood but I was a lot cheaper to build rather than buy.
Table top stain is Espresso
BAse paint is some cream color I dont remember sorry.
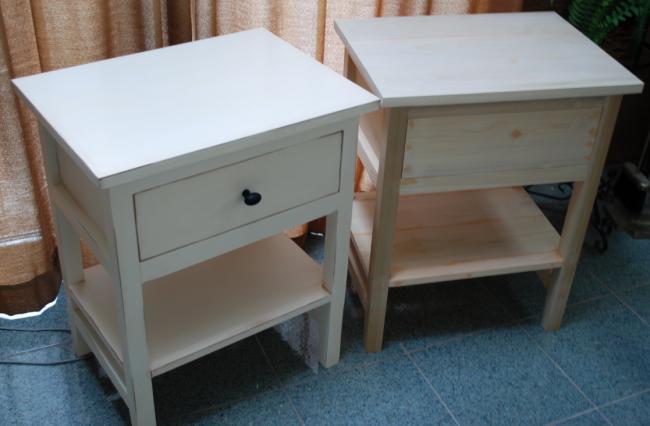
This was one of my first projects. I just used a circular saw but a mitre saw would be better. I’ll look for one soon. It was rewarding, fun and we love how it looks on our back patio.
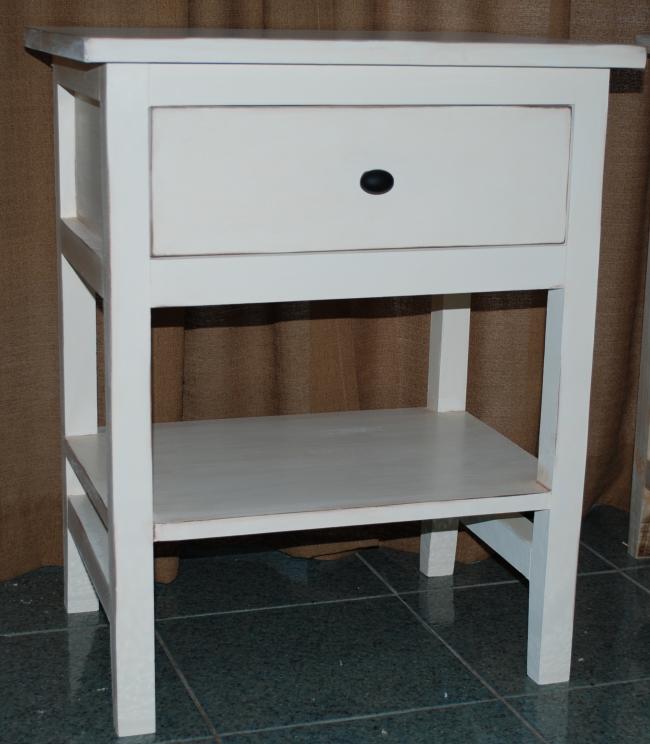
Took 2 weekends to build 2 of them, they have a gently distressed finish.
Mon, 07/09/2012 - 16:00
I really like the farmhouse style furnature and the finish you used turned out really good.
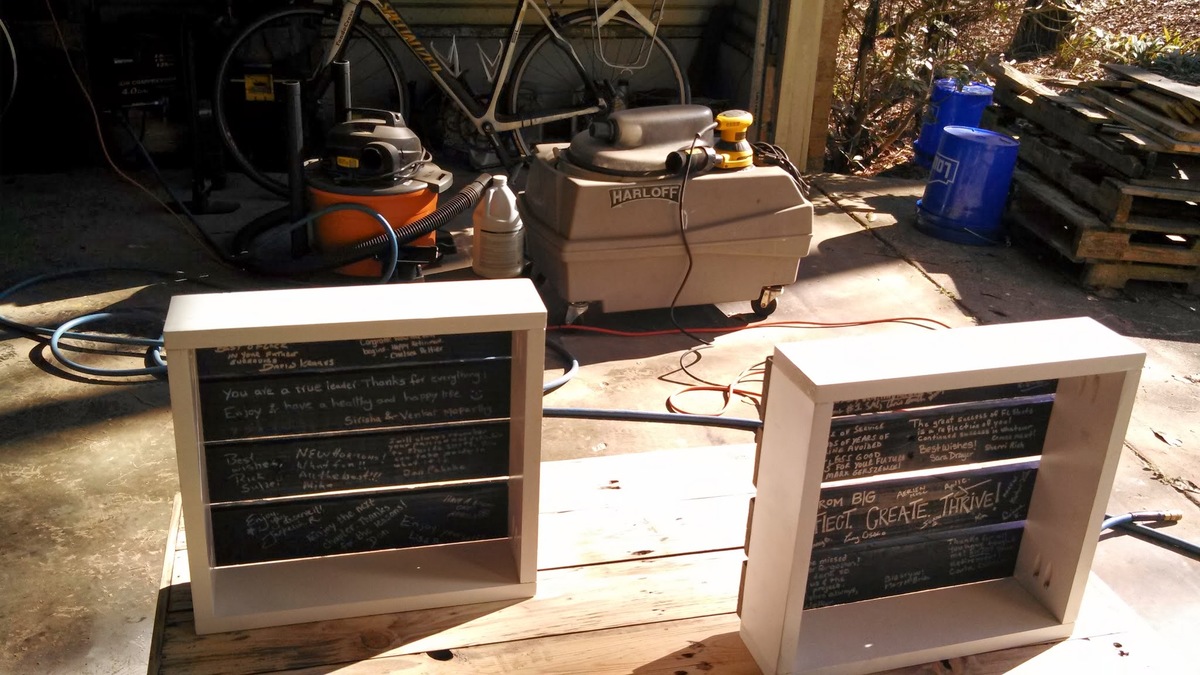
With inspiration from Ana’s Little Crates, I prepared crates frames and slats separately so employees of a retiree may write on the slats. Once the writing was complete the slats were attached to the frames and presented as a personalized gift with examples of hanging or tabletop use.
Thanks