Community Brag Posts

Loft Bed

Submitted by Medickep on Sat, 10/03/2015 - 13:34

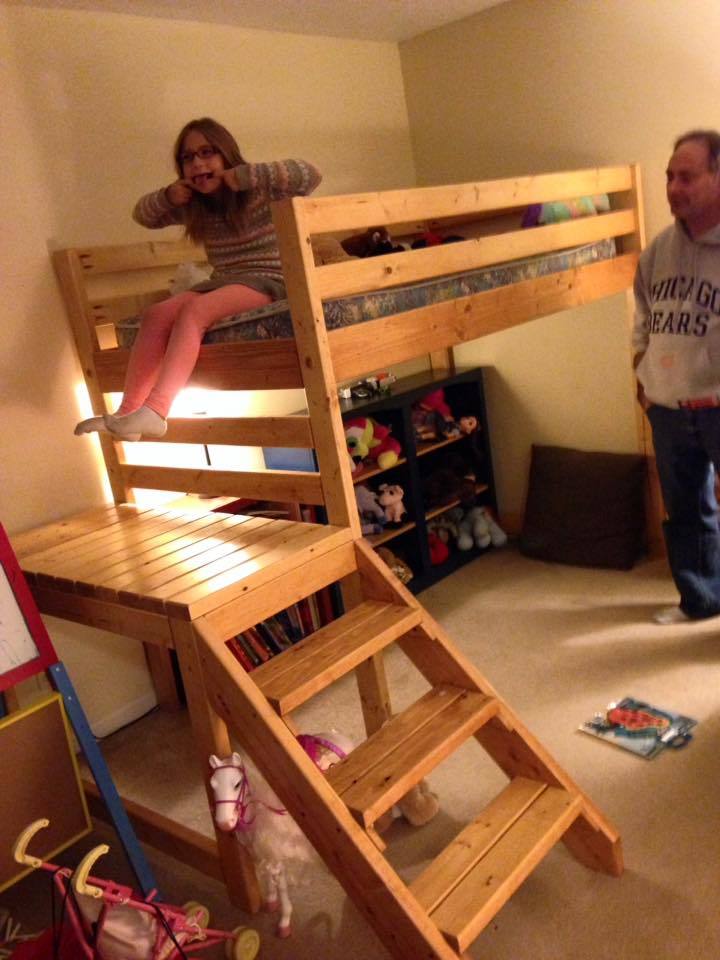
I built this loft bed for my neighbor's daughter.  It has a lot of space for storage and the book shelves with desk really add a lot of stabilty.  I added some supports to the back rail as it moved to much for me and made the ladder out of 2x material as it kept costs down and seemed stronger.  Neighbor wanted the ladded straight up and down so I connected it to the lower bookshel too!  Would not recommend cutting pieces in advance on this one!  I also used plywood for the shelves and trimmed them out as it was cheaper!
Estimated Cost
300 +/-
Estimated Time Investment
Weekend Project (10-20 Hours)
Finish Used
Up to the neighbor this time!!
Recommended Skill Level
Intermediate

Comments

LanMan20

Mon, 10/05/2015 - 14:39

Good job!  I am toying around with building something similar from scratch.  A few questions if you don't mind: 

1. Given the sturdiness, I am guessing it is fairly heavy.  Could two people move it?  

2. By chance, is it modular for easy breakdown and transport (upstairs)?  

3. Are there any plans available (materials listing, cuts, etc.)?  

Thanks for posting and keep up the great work.  I am sure your neighbor will be pleased!

Medickep

Tue, 10/13/2015 - 15:03

Hopefully you have not been waiting long! I do not get notified for some reason to remarks any longer!

Yes, it's very sturdy, especially with the addition of the book shelves and desk.  Itt is designed to come apart with a few screws, so going up stairs is not an issue.  I got it from the following plans. 


http://ana-white.com/2010/05/furniture-plans-loft-bed.html

http://ana-white.com/2010/06/plans/what-goes-under-loft-bed-how-about-big-bookcase

http://ana-white.com/2010/06/loft-bed-small-bookcase-and-desk


I do not recommend cutting everything in advance.  Build as you go if you want everything to fit perfectly!!

Black and White Beam Table

Submitted by Landers15 on Tue, 01/15/2019 - 12:38

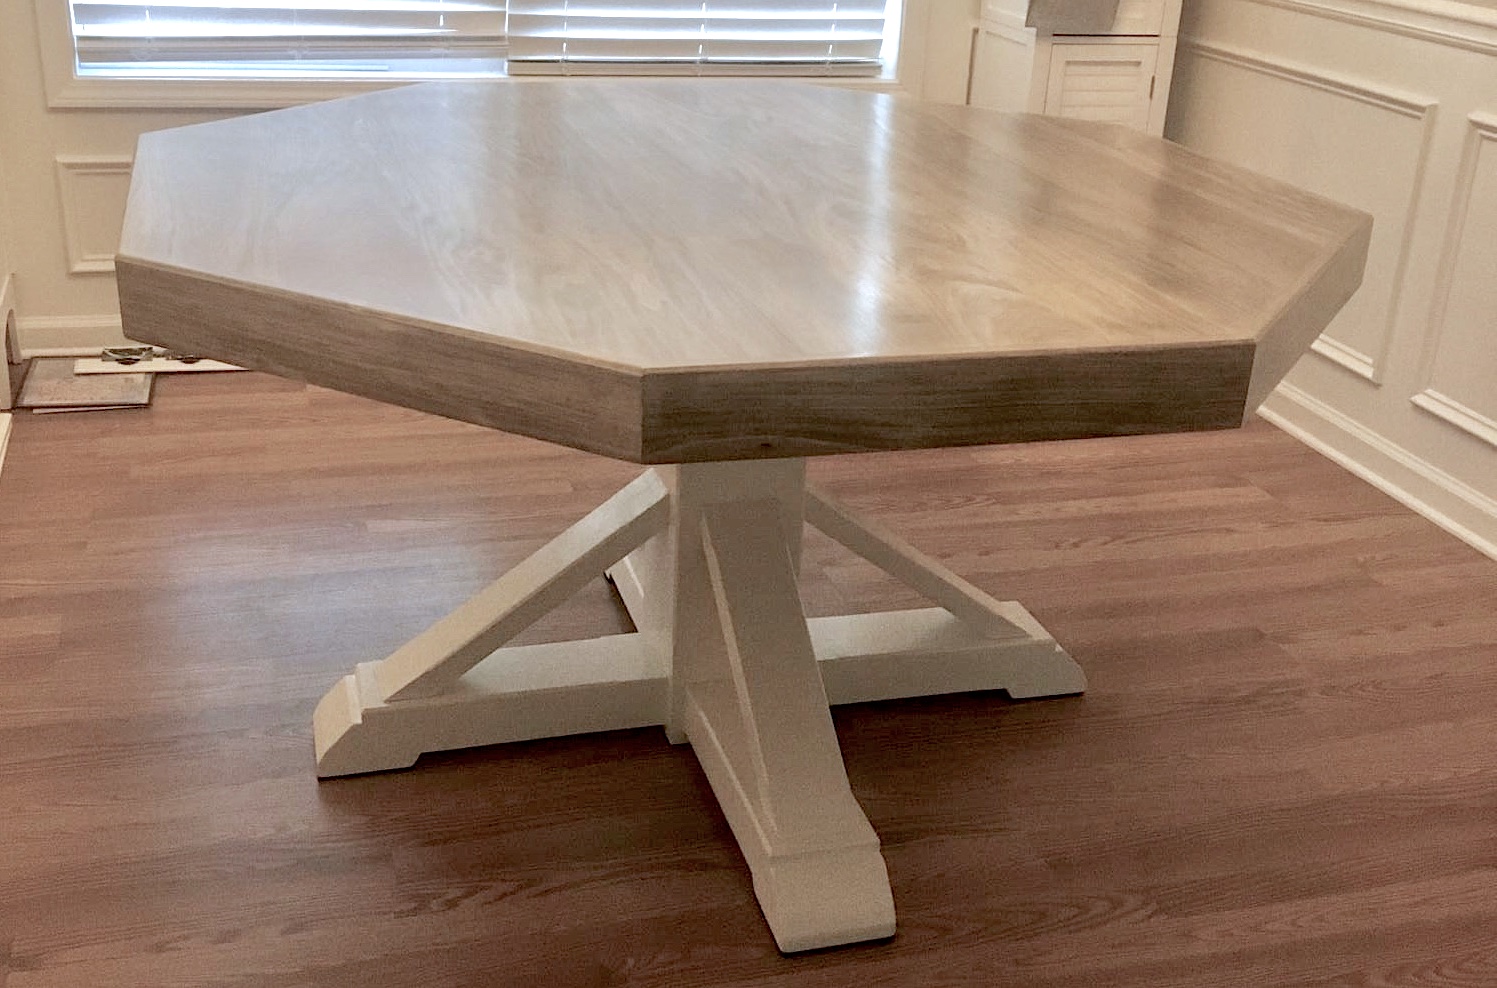
I have to shorten the design up a bit to fit my dinning room. I also did Epoxy Resin on top to give it the glass like appearance.


So ebony stain on white pedistole with an Epoxy Resin finish.


Built from Plan(s)
Estimated Cost
Lumber $80
Stain/paint/aprasives $30
1 gal Epoxy Resin $80
Estimated Time Investment
Week Long Project (20 Hours or More)
Finish Used
White paint, ebony stain,and an Epoxy Resin Finish, which took 5 days alone.
Recommended Skill Level
Intermediate

Farm House Bed w/Drawers

Used the farm house bed plans from here with a few modifications.  Instead of plywood for the headboard and footboard, I used tongue and grove 1x6 planks.  I used edge glued spruce planks from Lowes for the drawer fronts and I invested a bit more on the drawer slides and opted for the full opening type.  Also, rather than 3 large drawers on either side, I opted to put 2 smaller drawers in the center.  I felt the shallower drawers would be more useful for smaller items (socks and underwear).  I also used a 3/4" molding to hid the ends of the plywood drawer boxes.  The weathered finish was created using a video I found on YouTube (https://www.youtube.com/watch?v=k7Via9Lz4Pw).  My upgrades increased the overall price, but it was still under $600 and should last a lifetime.

Estimated Cost
$600
Estimated Time Investment
Week Long Project (20 Hours or More)
Finish Used
Multiple products - follow YouTube tutorial. https://www.youtube.com/watch?v=k7Via9Lz4Pw
Recommended Skill Level
Intermediate

Tree Shelf

Submitted by Stasia on Fri, 12/11/2015 - 17:56

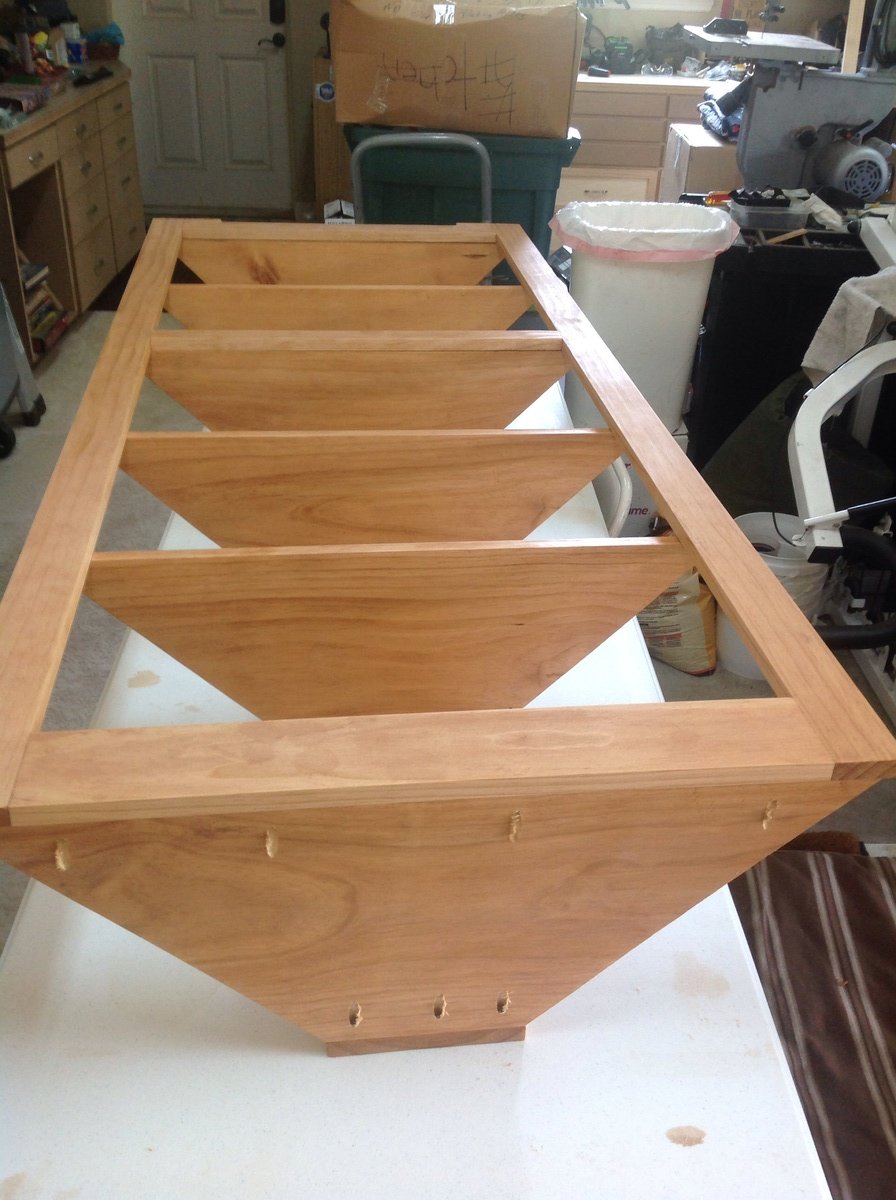
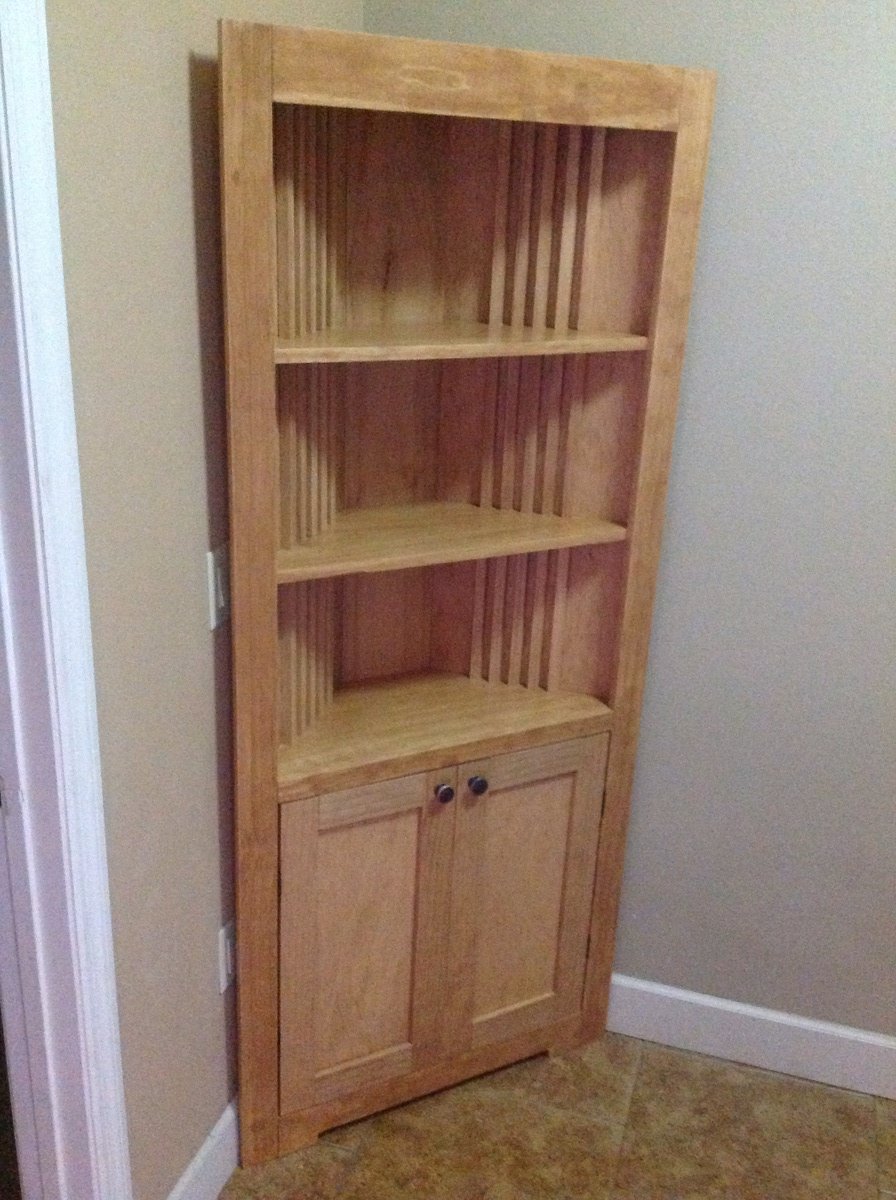
We loved making this project, I even learned how to work with angles.

Built from Plan(s)
Estimated Time Investment
An Hour or Two (0-2 Hours)
Finish Used
Minwax Dark Walnut
Recommended Skill Level
Beginner

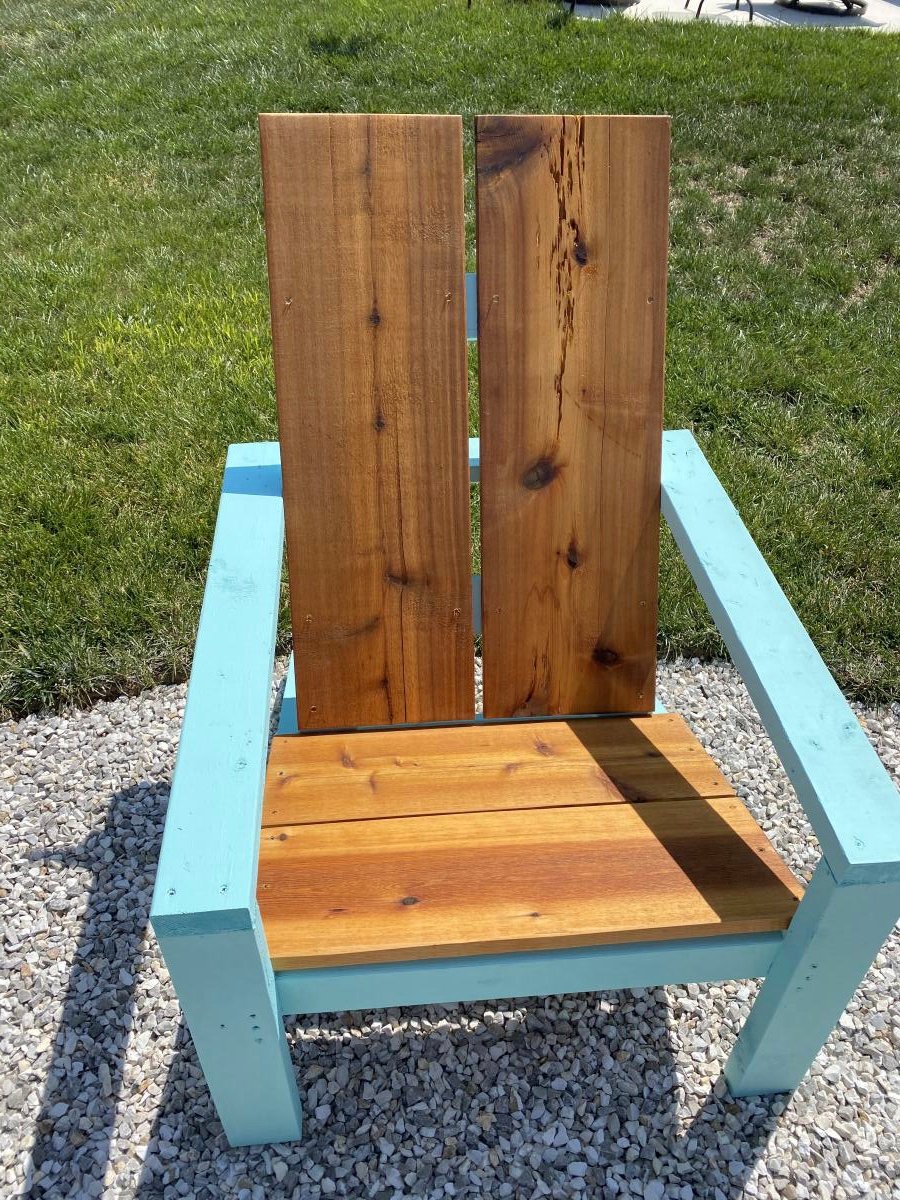
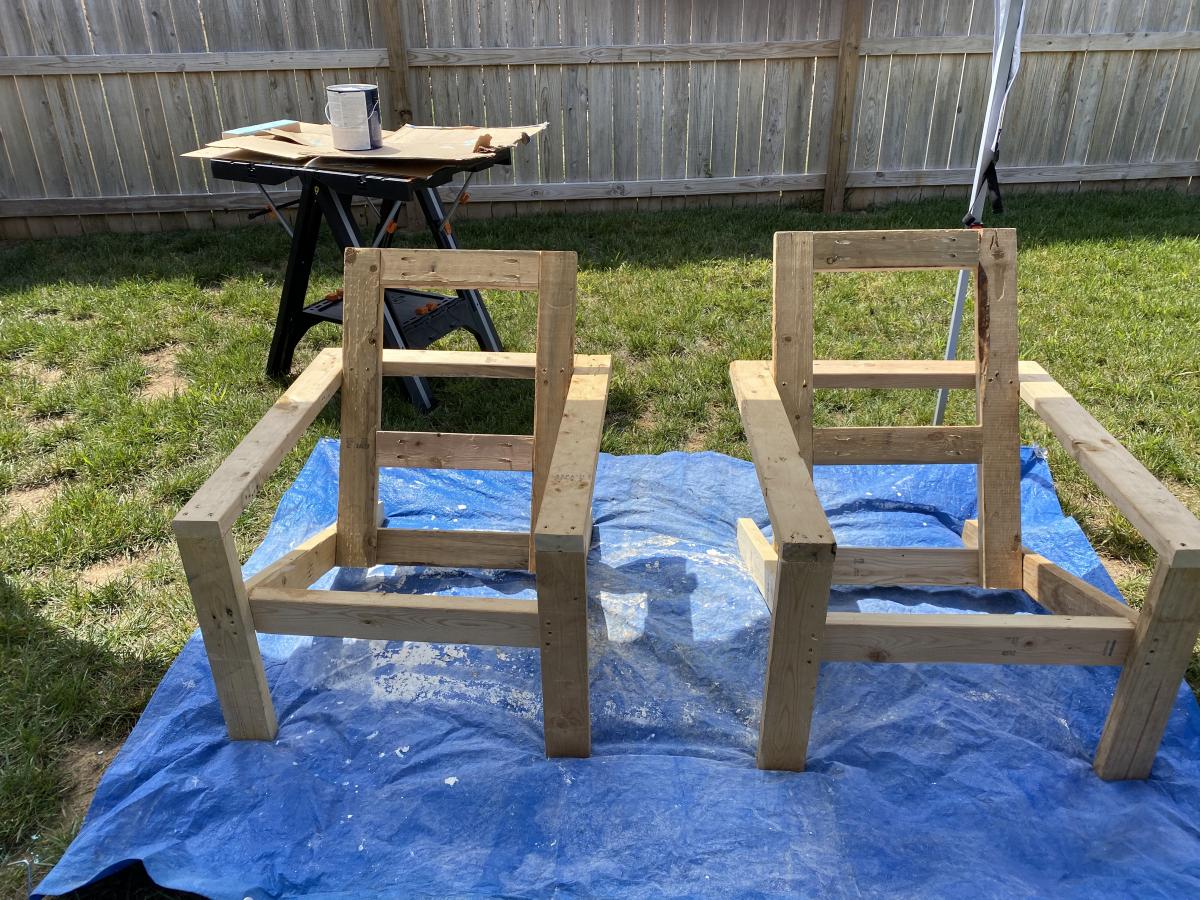
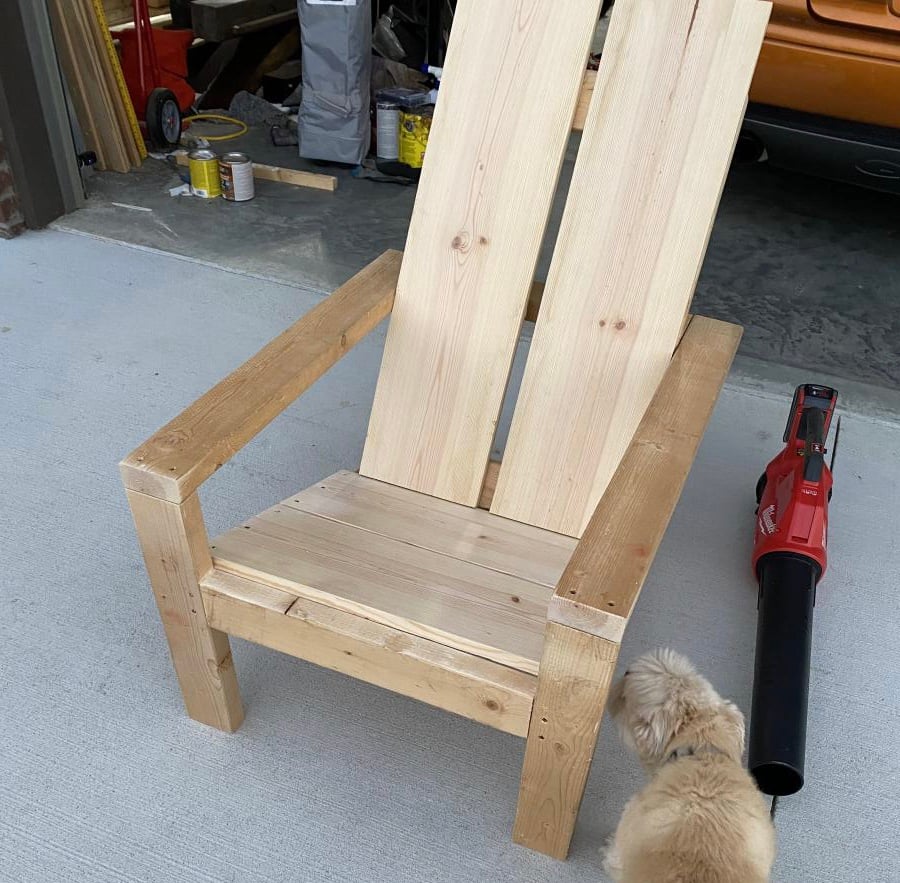
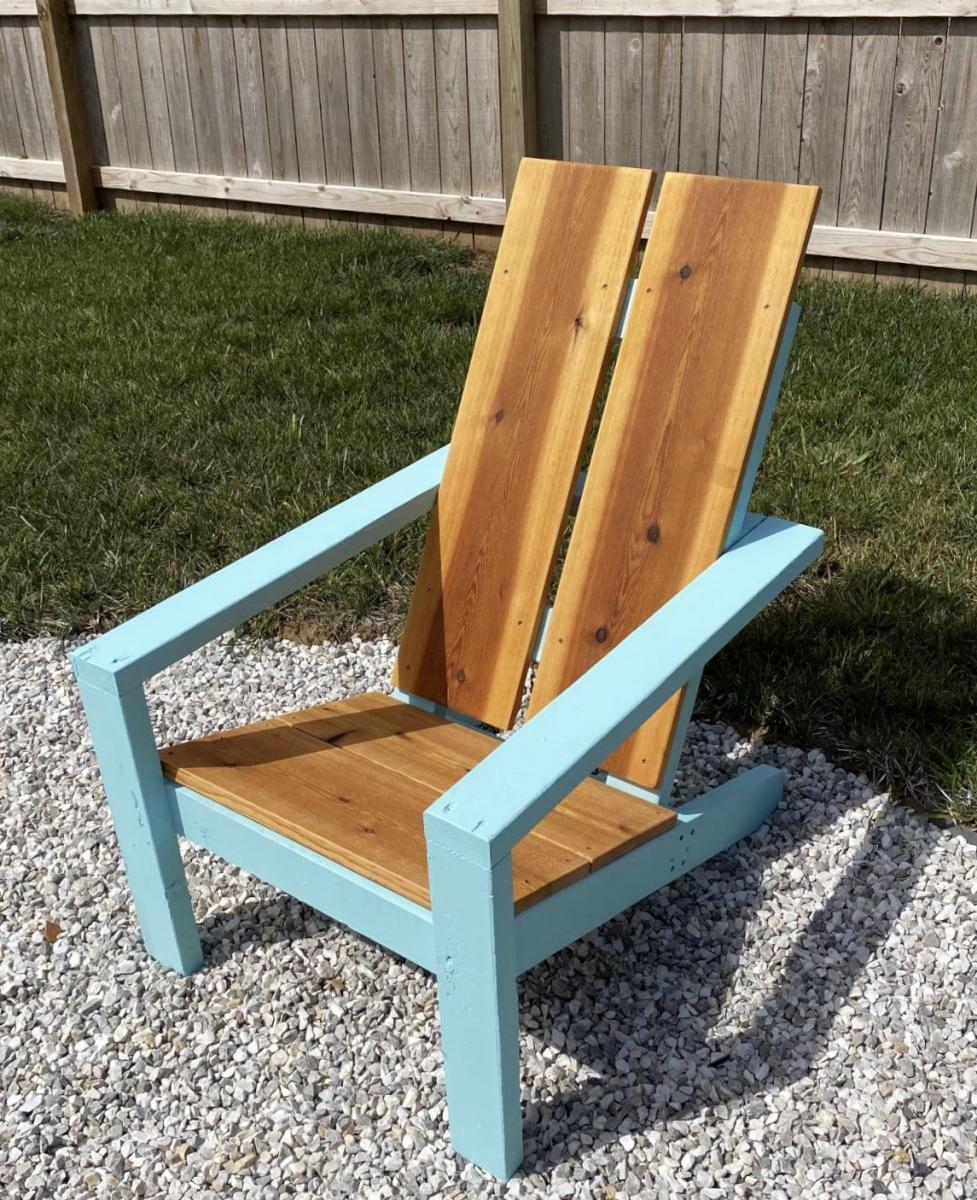
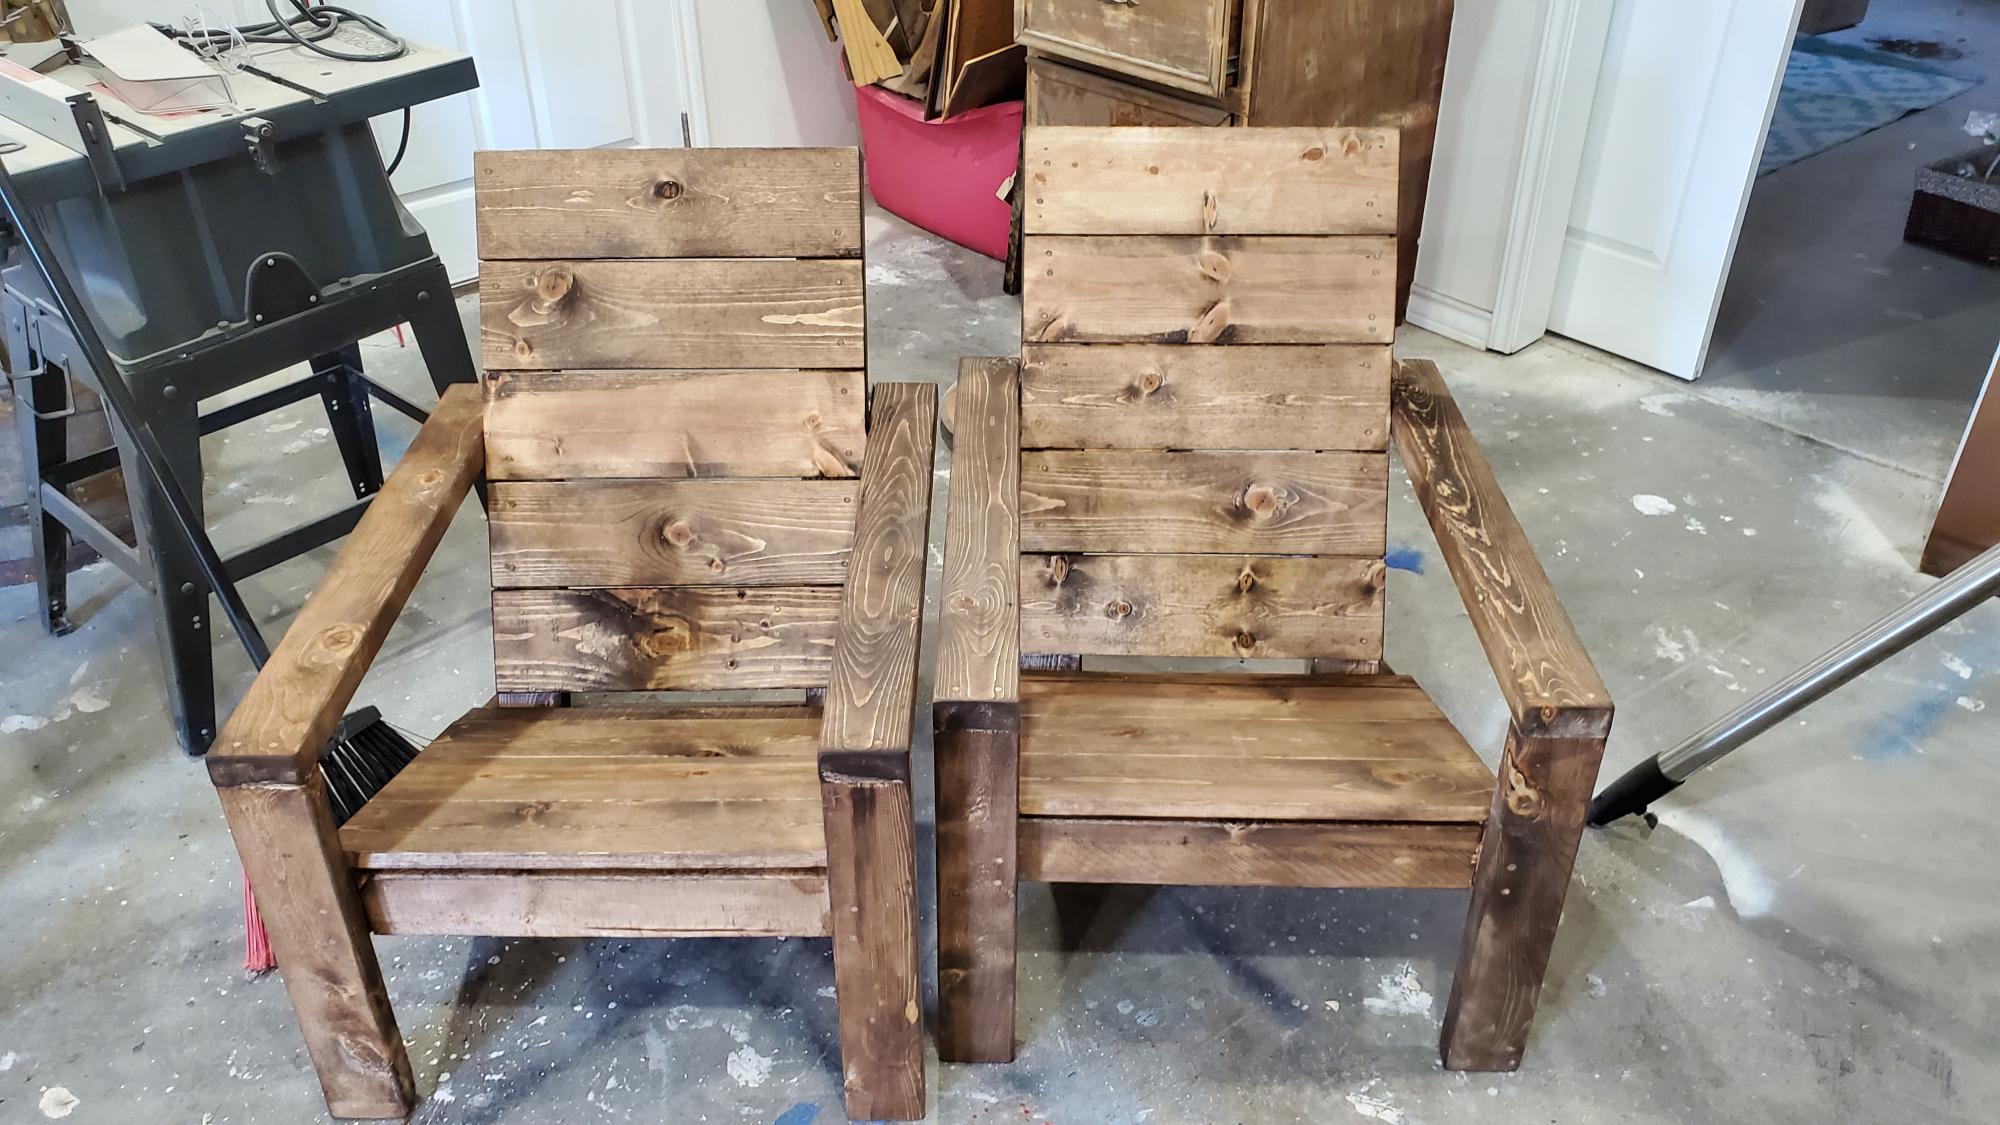
Modern Outdoor 2x Chairs

Submitted by Anonymous (not verified) on Fri, 02/01/2019 - 20:48

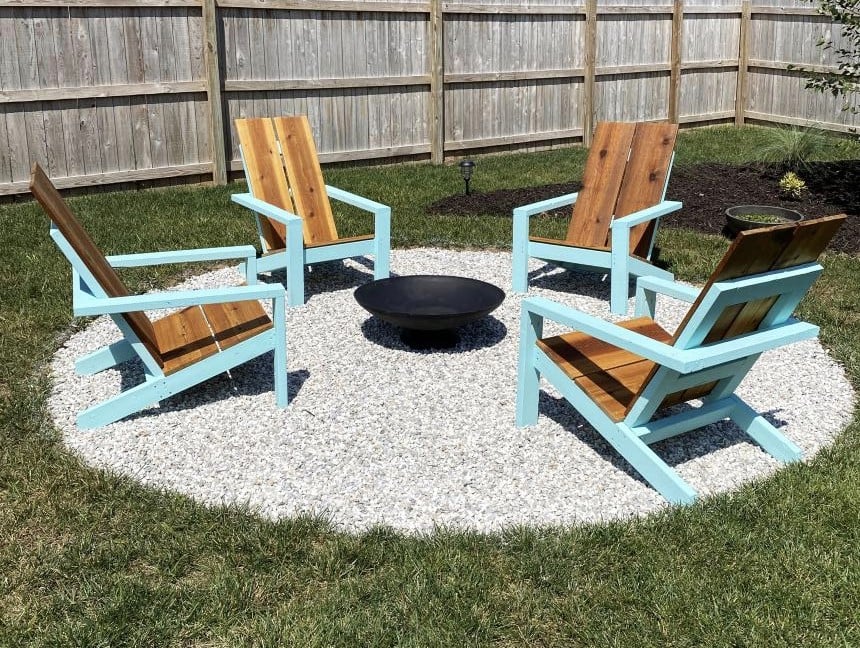
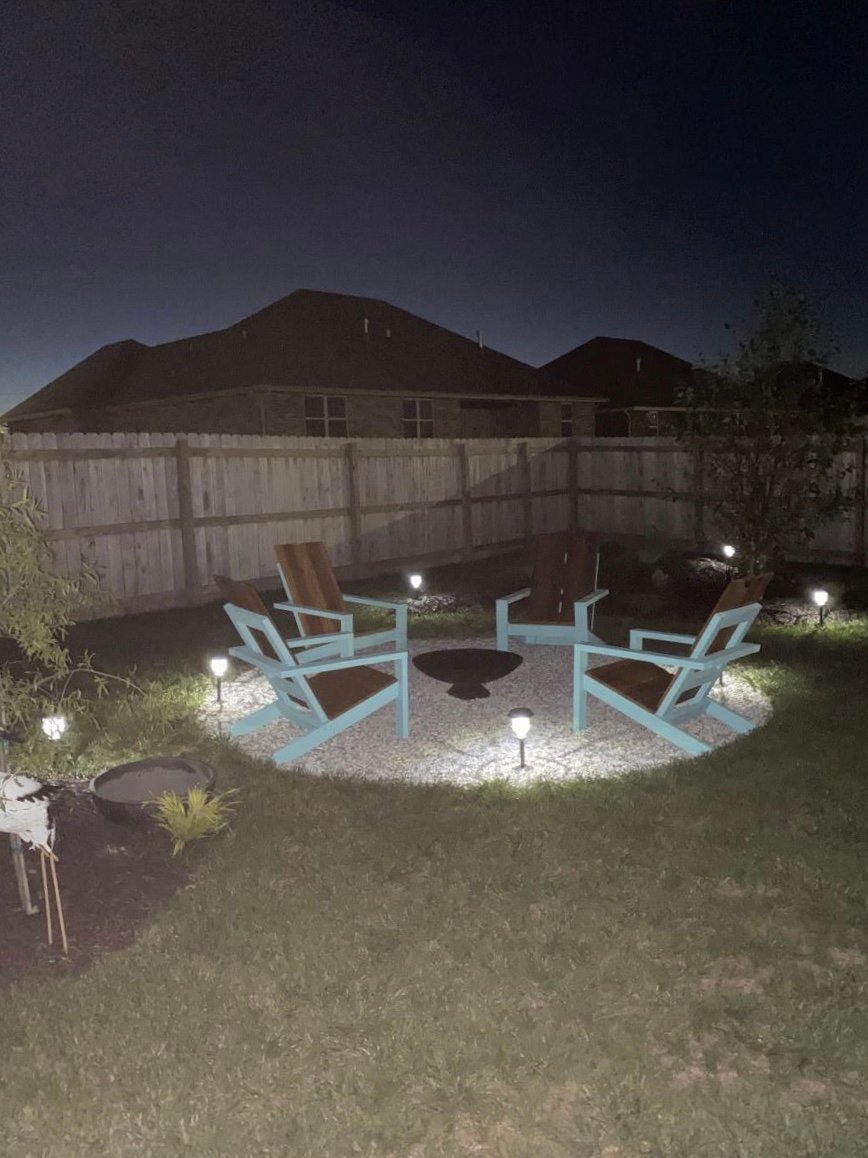
What a fast, fun, and FUNCTIONAL project!  I did lower the seat height, as I think it allows you to sink into them a bit more -- especially with the cushions I had for them (which BTW, were on sale at Lowe's for $14.99/each.. normally like $60, I think).  Thanks ANA, for making yet another project such a breeze!

Estimated Cost
IDK.. I had all the wood laying around already.
Estimated Time Investment
Afternoon Project (3-6 Hours)
Finish Used
semi transparent deck stain in chocolate
Recommended Skill Level
Beginner

Markham Workbench Console and Rustic Hutch

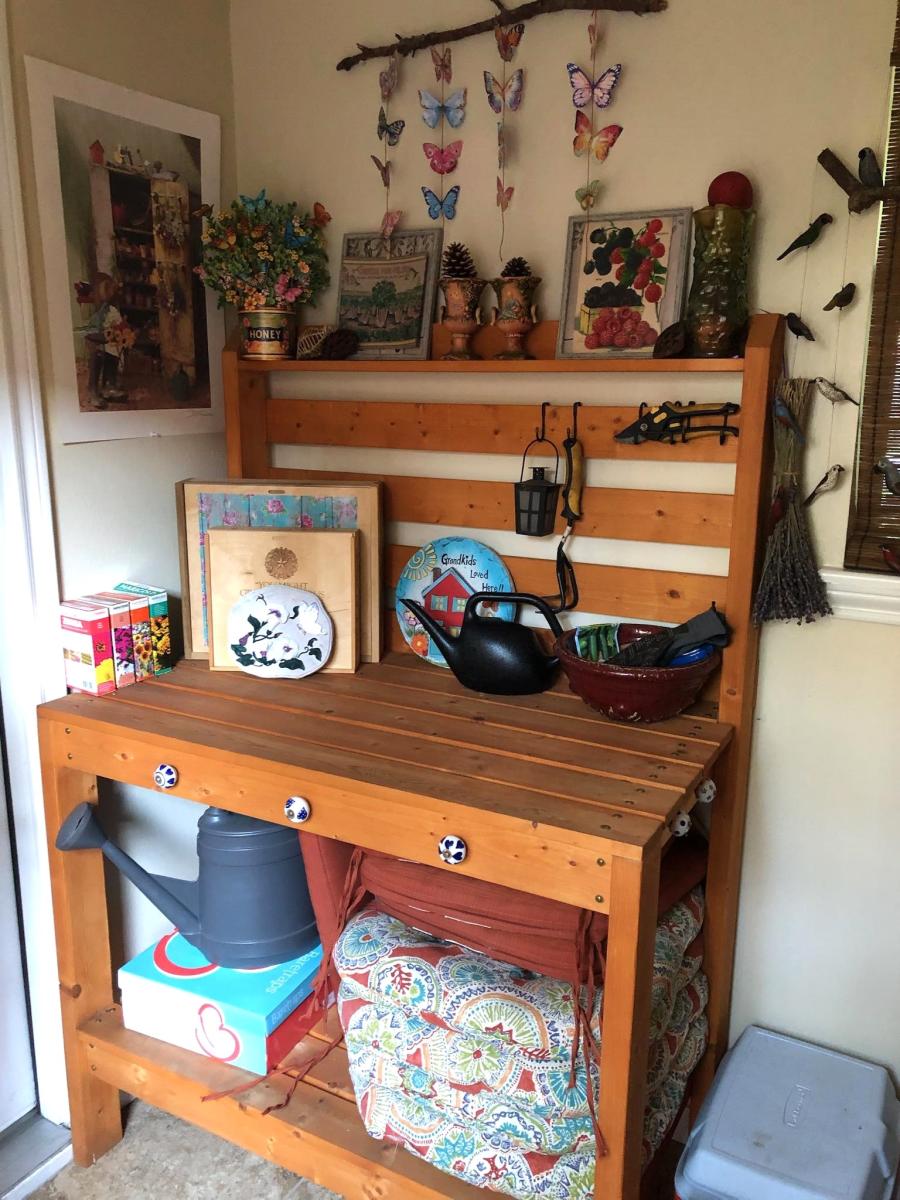
I first saw this workbench and hutch on Ana's website, but didn't commit to the project until I saw them in person, as part of a model home that had been decorated by local Pottery Barn design services. I was sold. I built this for roughly $1900.00 less than PB charges. It was an easy weekend build for a guy with less than one years' experience in this arena.

Estimated Cost
150.00
Estimated Time Investment
Weekend Project (10-20 Hours)
Finish Used
Before I applied stain, I had my two youngest sons whack away (under my supervision, of course) at the piece with a hammer, hatchet, and chain to give it a distressed look. I took a page from Ana's playbook and used Minwax Early American with a Minwax oil-modifed water-based gloss polyeurethane topcoat. I moved the towel bar to the other end of the facade in order to reduce the depth of the piece and added a stationary bottle opener to the other side. Also, I added four lag screws toward the juncture of the legs and feet (a la PB's version), but these were purely cosmetic. All visible hardware was spray-painted with Rustoleum's textured black spray paint. Finally, I carved a heart with "A+A" inside one of the hutch cubbies to add a truly personalized element to the piece. I plan to build another for my father to use as a functional workbench. By far my favorite build (my wife kind of loves it, too). One last thing - if you don't have a Kreg jig, get one. Now. This was my first build using one and I cannot overstate its worth. Trust me.
Recommended Skill Level
Beginner

Comments

kmatt55

Thu, 09/15/2011 - 16:20

Nice dude! I just finished my console last weekend. Was it worth it making the matching hutch? I haven't decided if I'll do it yet.....Great job though.

anthony alejandre (not verified)

Thu, 09/22/2011 - 11:23

Absolutely. It's minimal time investment, and it really seems to finish the piece off. I went with seven 1x6's (instead of a plywood backing) to give the hutch a planked look.

Jennifer Babjak (not verified)

Sat, 09/17/2011 - 15:19

Very very nice. This has been on my build list for way toooo long. It is beautiful and inspiring! Thanks!!!

gsumarcinko

Fri, 02/24/2012 - 05:43

Great job! I'm starting this same project and just purchased the kreg jig system but I'm stuck on assembling the table legs using pocket holes. I don't want to have visible pocket holes, could you give a quick description on how you assembled the legs and attached them to the feet using pocket holes? Thanks!

Guest (not verified)

Wed, 02/29/2012 - 10:34

Where did you find the cool towel bar?! I am trying to get my boyfriend to make me one of these, but i am having the hardest time finding a towel bar like that online? I appreciate your help!!!
Jenna

Cornhole Boards with Custom Initials

Submitted by Anonymous (not verified) on Thu, 01/05/2023 - 06:25

Thank you for helping me make my first set of cornhole boards! Super easy steps to follow and I love how they turned out!!!

Comments

Seasonal And Holiday

Double Loft Bed

I saw the idea for this bed on Pinterest originally. It linked to a blog that had the step by step plan (http://www.thehandmadehome.net/2011/08/how-to-build-a-loft/). However, I would have never even approached the idea or project without a few of Ana's plans under my belt first. I have gained so much confidence in my building on this site, and will always be a HUGE fan here :) Thank you Ana for all the fantastic plans you continue to share!

I still want to finish out and make the under bed area more fun and creative with curtains and such, but we LOVE having the full floor in the room for our play area. My boys absolutely love their bed!!

Estimated Cost
Less than $150 (a little higher than usual because of where I live)
Estimated Time Investment
Afternoon Project (3-6 Hours)
Finish Used
The hardest part about this project was lifting the bed platform up onto the legs in order to secure them in place. We built it with very little room to spare against the wall, and it made it very tricky to get up into place with some of the window frames and such. Be sure to have friendly neighbors or friends helping out when you get to that part, and lift with your legs...not your back ;)
Recommended Skill Level
Intermediate

Comments

sgilly

Wed, 10/02/2013 - 13:07

I'll bet the boys are thrilled with this. It's great to have that extra play room!
I am curious, though, how the center of the loft bed is supported.

In reply to by sgilly

exuma_momma

Wed, 10/02/2013 - 18:38

Hey Sue, I went and found the old link to the plans for this and added it to the brag post. Or here it is also: http://www.thehandmadehome.net/2011/08/how-to-build-a-loft/ Underneath is a bunch of 2x4's spaced to support the platform, but the big 2x8's are the main strength. They are monsters! We've had a bunch of kids and adults up there for story time, and never once has it felt unstable or wobbly. Hopefully the link will help. It has way more photos that I have here.

bhoppy

Thu, 10/03/2013 - 16:24

Reminds me of the bed my dad made for my sis and I when we were little:-) SO sweet!

Ramholmes

Thu, 07/28/2016 - 15:47

I am going to attempt to make this bed in a couple of weeks for my daughters. The handmade home directions only show the rope ladder. We want to make the ladder similar to your pictures above. Could you tell me how you made yours please and thank you?

Storage Coffee table

Submitted by jlbarahona on Sun, 01/01/2012 - 19:56

After a not so subtle hint, my husband embarked on his first furniture build to give me my dream coffee table! (He is in construction by trade- this is not a beginner project!). It came out beautifully and we LOVE all the drawers and storage! He found a few errors on the plan, first of all in the price- ours cost us a bit over $200 with some of the wood given to us by my dad- slides alone cost about $40. He also had to add shims so that the drawers fit with the slides. You may be able to change the dimensions of the drawers slightly so they fit without the shims. We are happy with it, and excited to move on to the next project in our home!

Estimated Cost
$20-300
Estimated Time Investment
Weekend Project (10-20 Hours)
Finish Used
Walnut stain with poly topcoats; my husband used a conditioner first and then did 2 coats of walnut stain, leaving the second sit for at least 10 minutes before wiping off to get the dark stain.
Recommended Skill Level
Intermediate

Comments

chelseylcary (not verified)

Tue, 02/28/2012 - 17:48

i love this, i intend this to be my next project after i am done with this job... i think i will only do the 2 bottom drawers tho.

jkf1983

Thu, 03/01/2012 - 08:59

Nice job! It looks great! I'm actually going to be build this for my wife and was wondering what kind of plywood you used for the top to go along with the poplar? Did you use 3/4 Birch plywood? I think I'm going to use the General finishes Java Gel stain for the finish too. Thanks!

monkeyshiners (not verified)

Fri, 10/05/2012 - 17:59

ACK! sorry, thought I would get notified if someone posted... IDK if you already finished yours or not, but my husband thinks it is maple plywood, but we aren't sure. after seeing some other projects with the gel stain you mentioned I will definitely have to get some of it for future projects, cause i love the look of it! Good luck, i hope you post photos of yours! If you have any other questions, post them on my blog post here http://monkeyshiners.blogspot.com/2012/01/my-christmas-gift-storage-cof… and i will get an email about it to respond asap. :)

Reclaimed-Wood Headboard, Queen

Submitted by brookita12 on Tue, 01/03/2012 - 20:38

Wow, there are some really ugly headboards out there. I was intending to re-do one from craigslist but saw this plan and knew it had to be built! This was our first major woodworking project, and I think it turned out pretty good! And especially for only $45! It was a very easy build with accurate instructions/measurements! Great for beginners!

Estimated Cost
$45
Estimated Time Investment
Afternoon Project (3-6 Hours)
Finish Used
Paint: Lowe's Valspar "Du Jour" White
Recommended Skill Level
Beginner

Comments

claydowling

Sun, 01/08/2012 - 07:00

That's a wonderfully polished piece for something with the word "reclaimed" in the title, especially since it's your first. Looking forward to what you'll be doing a year from now if the first effort is this good.

Samantha Alvidrez (not verified)

Mon, 01/23/2012 - 20:32

Could you send me the plans? I would love to try this as my first project for my daughters room.

smard913 (not verified)

Sun, 06/03/2012 - 15:53

I am new to Pinterest and Ana White, so is there any chance I could get plans for this emailed to me or sent to me at Pinterest?

pamdurey (not verified)

Fri, 06/29/2012 - 11:51

Hi, thanks for post and great idea!
Just bought new house and want to do whole house quite scandinavian style.
Loved headboard idea and would love plans and any other ideas.
Thanks

Kristen M (not verified)

Fri, 07/13/2012 - 16:29

To get the plans, all you have to do is click on the link next to spot up above that says "from plans" and they will pop up.

Seasonal And Holiday

Farmhouse Table

Submitted by mtlkvm on Tue, 11/26/2013 - 13:00

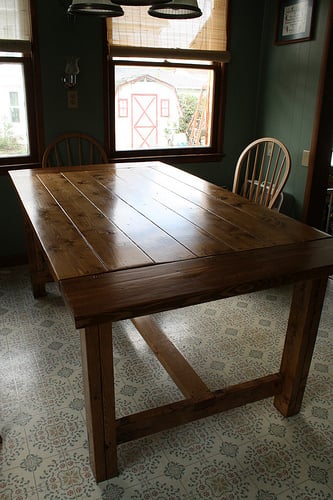
I loved doing this project and the table came out awesome. But recently with the cold weather Ive noticed splits in some of the wood. Also where the beadboards meet the table top there is shrinkage...any idea how to fix it. I used non treated lumber from lowes.

Estimated Time Investment
Weekend Project (10-20 Hours)
Recommended Skill Level
Starter Project

Comments

jay678

Tue, 11/26/2013 - 18:49

The moisture content in big box 2xx lumber is relatively high, which is why it's mainly used for framing. Letting the lumber dry and acclimate is the best way to limit movement. Also, if you just screwed the top to the apron without allowing for movement, you will have splits as you're experiencing. It's best to use z-clips, or if you use pocket holes make sure you elongate the holes. As far as fixing the gaps, I'm not sure of a good way that will last.

DIY Dollhouse for American Girl Dolls

Submitted by Anonymous (not verified) on Fri, 02/12/2016 - 12:11

Using Ana's three-storey dollhouse as a foundation, I amended the measurements to create a narrower dollhouse (36" wide) to fit our space.

Estimated Cost
This dollhouse - using MDF and 1 x 6" boards for the roof, came in at $100 Canadian. (Less wood since my plan was both narrower and didn't include the centre dividers. Remember when buying castors to choose ones that will hold at least 150lbs - this sucker is heavy!
Estimated Time Investment
Day Project (6-9 Hours)
Finish Used
I used some small mis-tint containers from our local Home Depot which came in at $1 per container. The flooring is peel-and-stick tile which range in price from about $0.60 to $1.34 each.
Recommended Skill Level
Beginner

Privacy planter

Submitted by Anonymous (not verified) on Sun, 06/04/2023 - 16:11

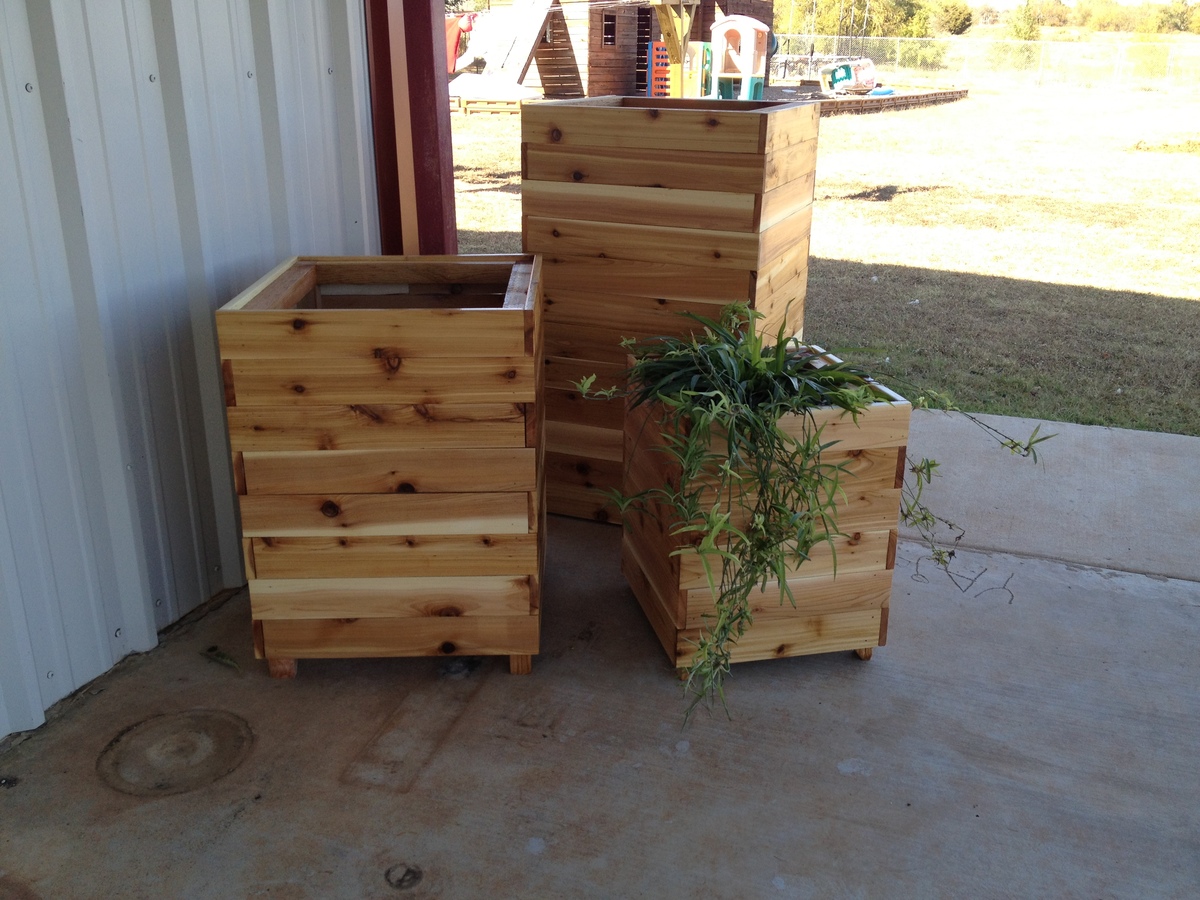
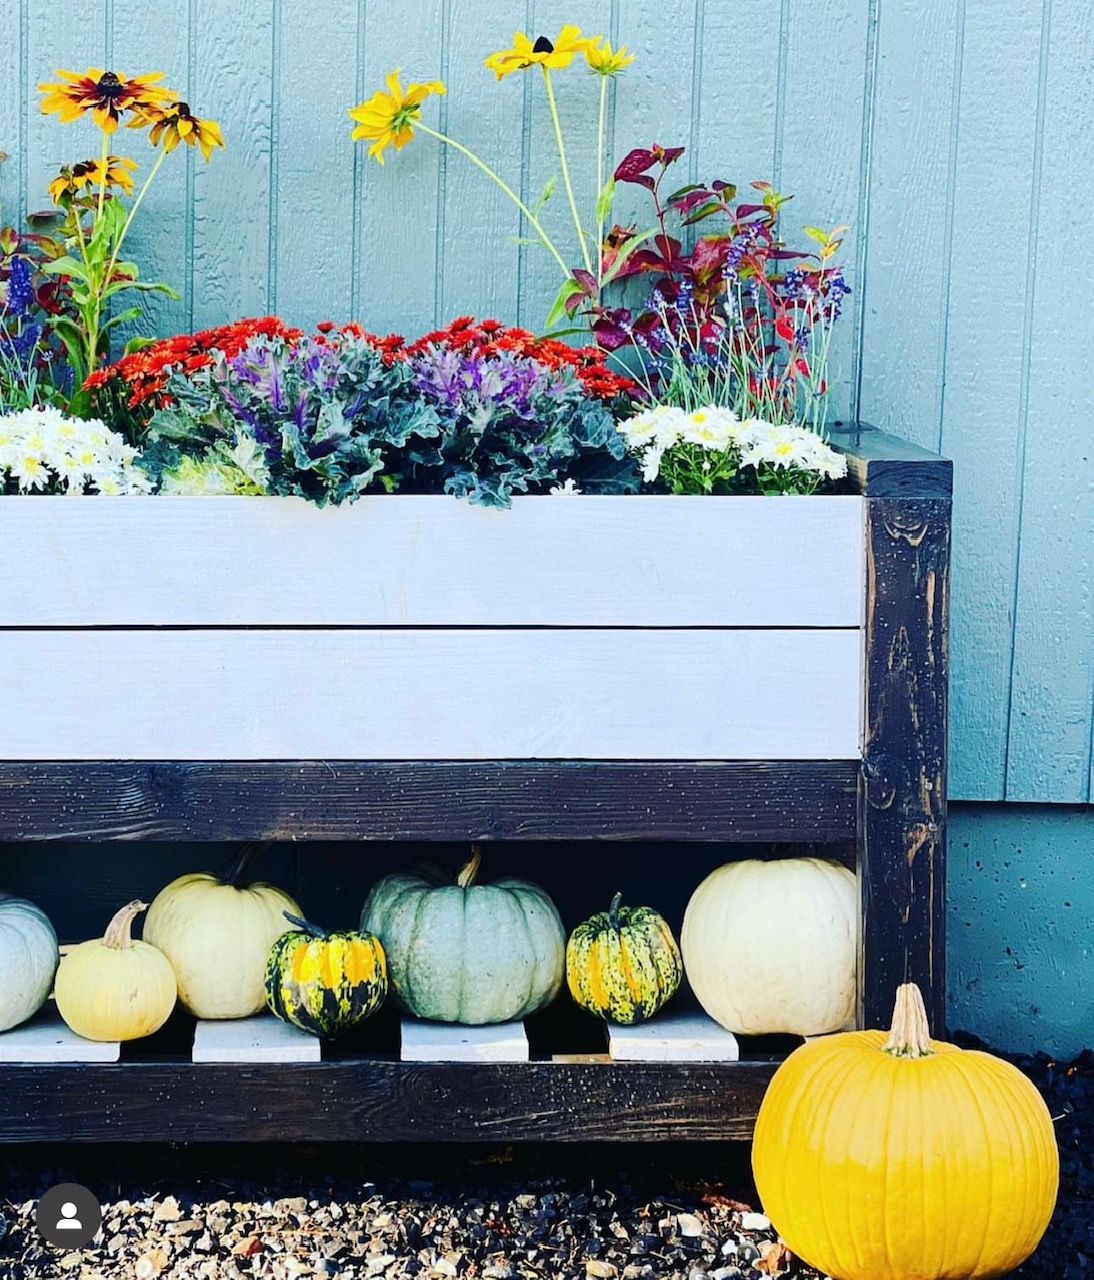
It's a take off of your privacy fence planter. But I added water to make it a water wall also.

Built from Plan(s)

Comments

Seasonal And Holiday

In Drawer Knife Block Includes Steak Knife Storage

I watched your video and modified mine to take up less space by using 1 x material instead of 2X material, and I cut a notch in the top to allow steak knives to store on top.  Once a cut a notch, then I used my table saw to create the space where the steak knife blades fit. 


From there, lots of sanding and gluing. I made the plywood base about 1/4” shorter than the depth of my drawer so it could be easily placed inside my drawers that don’t fully extend out. 


I finished it with pre-stain conditioner, stain, and then an oil/beeswax blend (used for cuttting boards) applied with 0000 steel wool for a super smooth, satiny finish. 

Angie 

Built from Plan(s)

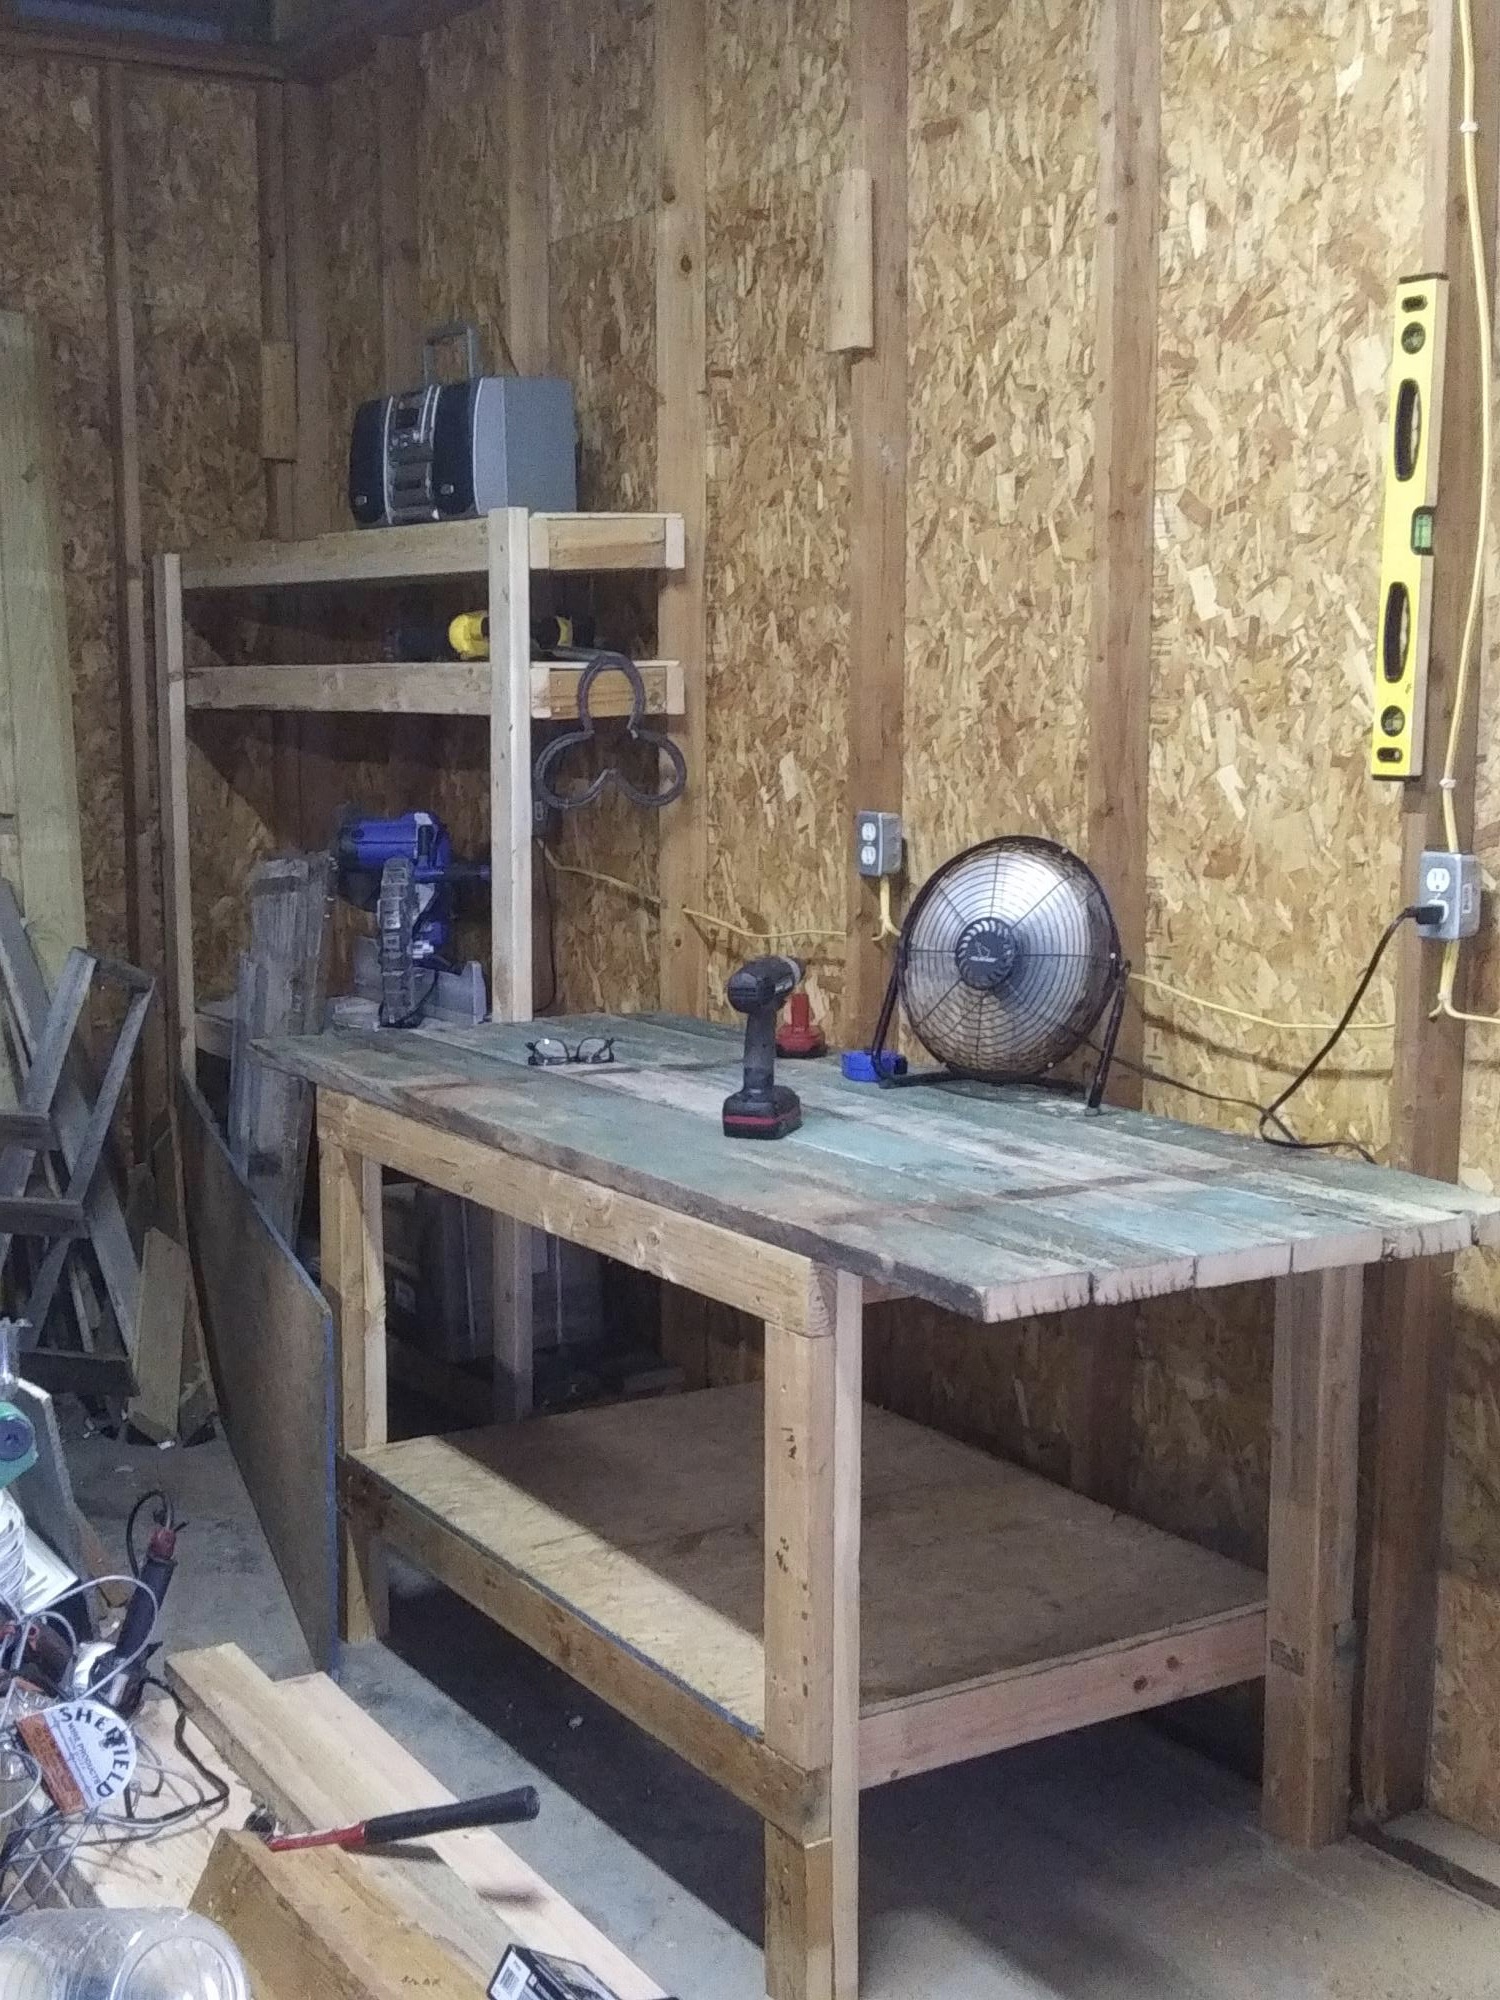
Folding Workbench

Submitted by MrsCordz on Fri, 10/11/2019 - 07:47

We chose this project because we have a small garage and space is at a premium.  The dimensions of this build fit well in our limited space and allowed us to organize items such as paint, stain, screws and nails into one central location. I chose 2x4's on the sides to give it a more stable feel. Our garage and parking lot are all sloped and with the 2x4's this prevented the twisting. It feels solid and the wheels are smooth. We picked everything up at Home Depot. The screws that came with the hinges are to long and my husband used the Dremel to grind them down. You could just buy shorter screws.  This is one of my firsts builds and I've definitely learned a lot of lessons along the way. Measure, measure, then measure again before you cut a piece and use a level surface to make level pieces. Overall, everyone in my family played a part in helping me build this piece and so I love it and will cherish this piece and the memories always. Thanks Ana for all your fun videos, sharing your life with your family, and providing resources like this plan to us for free. I'm thankful for my son who bought me a compound miter saw for Mother's Day and other family for buying me a Ryobi circular saw. I'm truly blessed and loved. Thanks

Built from Plan(s)
Estimated Cost
120
Estimated Time Investment
Weekend Project (10-20 Hours)
Finish Used
I'm leaving it in the raw due to the nature of the piece. I may put a clear coat on it later.
Recommended Skill Level
Beginner

Comments

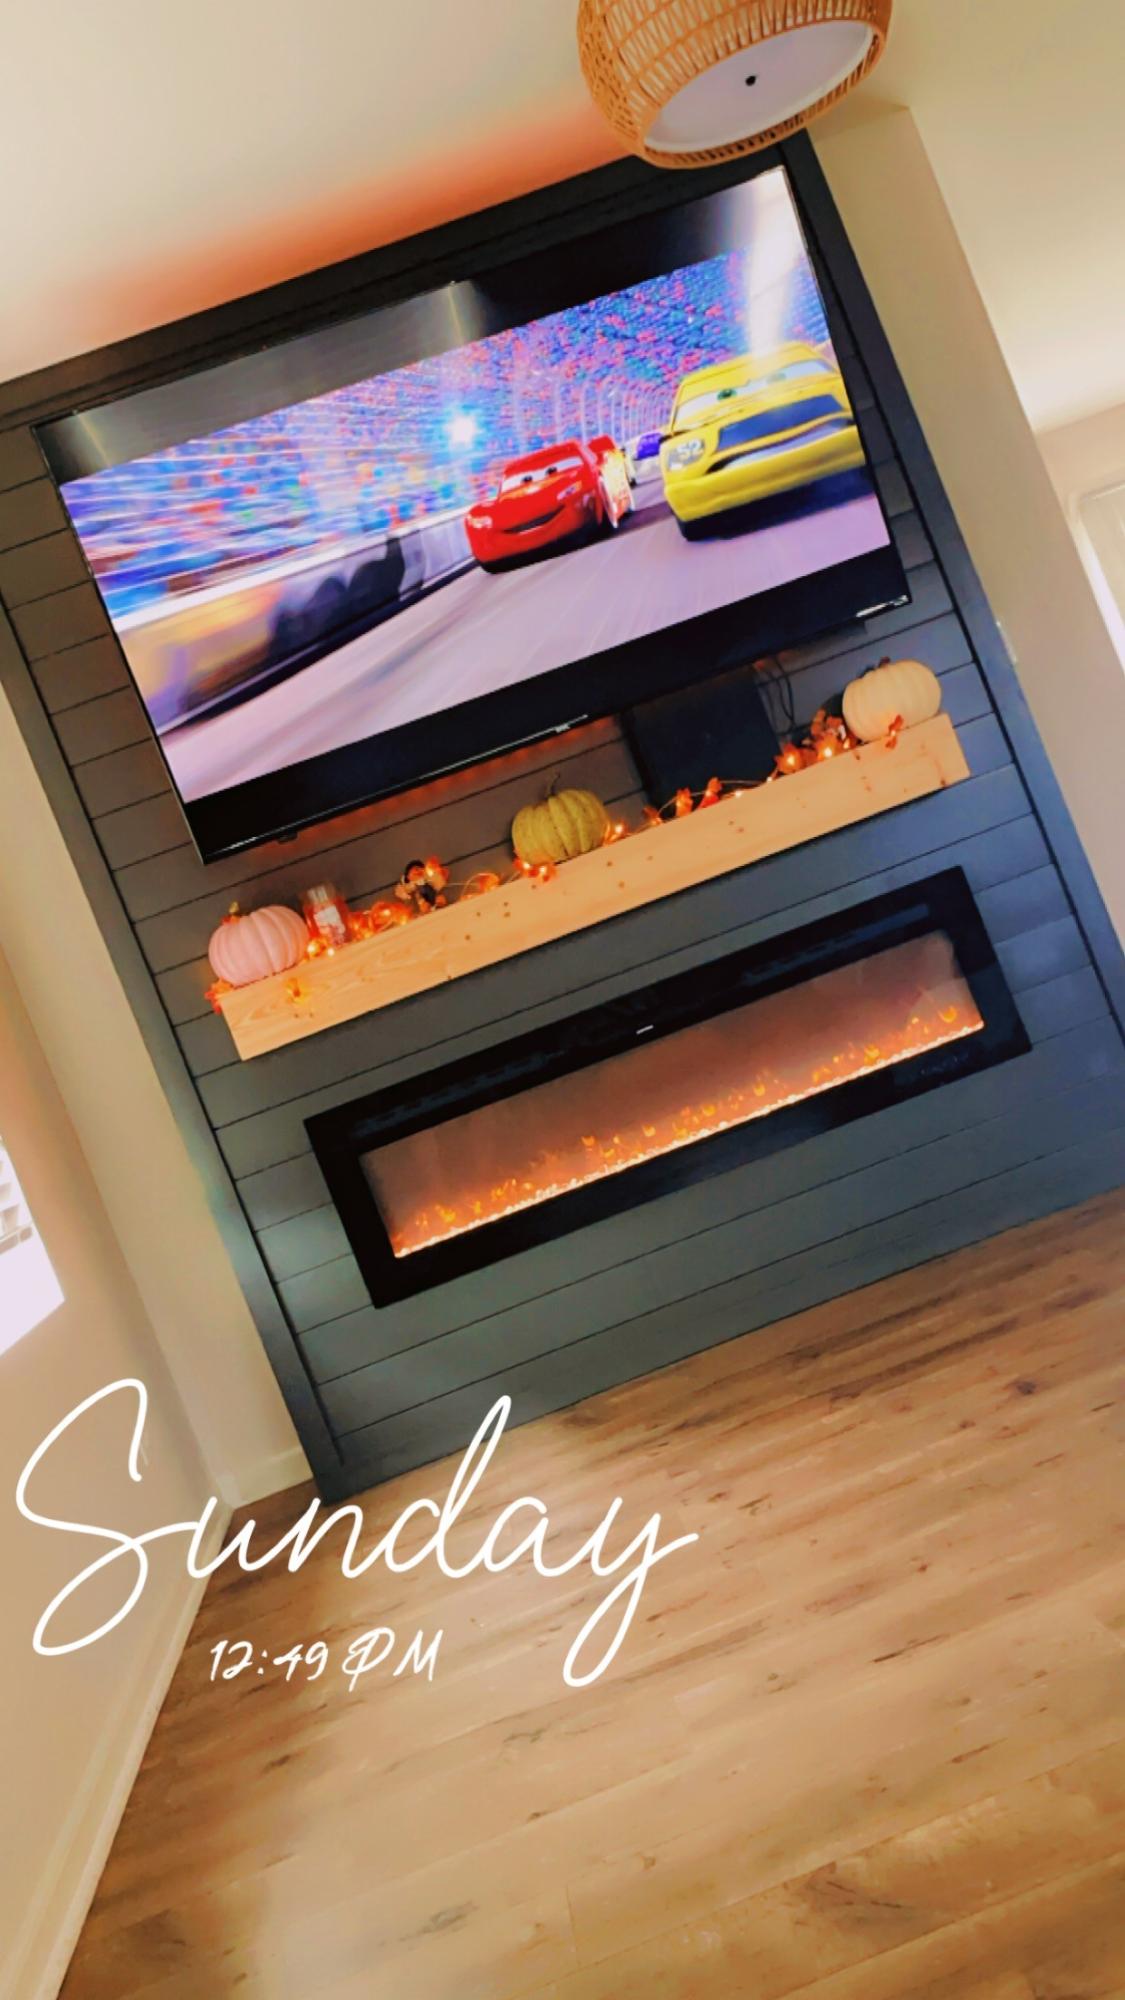
Free- Standing Faux Mantle

Submitted by Anonymous (not verified) on Sun, 12/15/2019 - 19:25

I added a 1x12 as a base so that it could be free-standing, in case we ever want to move it to a different spot. I also added an insert by gluing slices of tree branches to a piece of plywood . This was a fun, quick and easy project, even for a relative beginner. I love the character it adds to this room!

Special Family Bench

Submitted by Anonymous (not verified) on Wed, 08/30/2023 - 09:52

Made my wife a Ana White DIY porch bench for our 10 year wedding anniversary. Had a custom plaque made: Sarah’s Bench.

Looks beauty on our front porch.

Jesse Micak, Ontario, Canada 

Built from Plan(s)

Comments

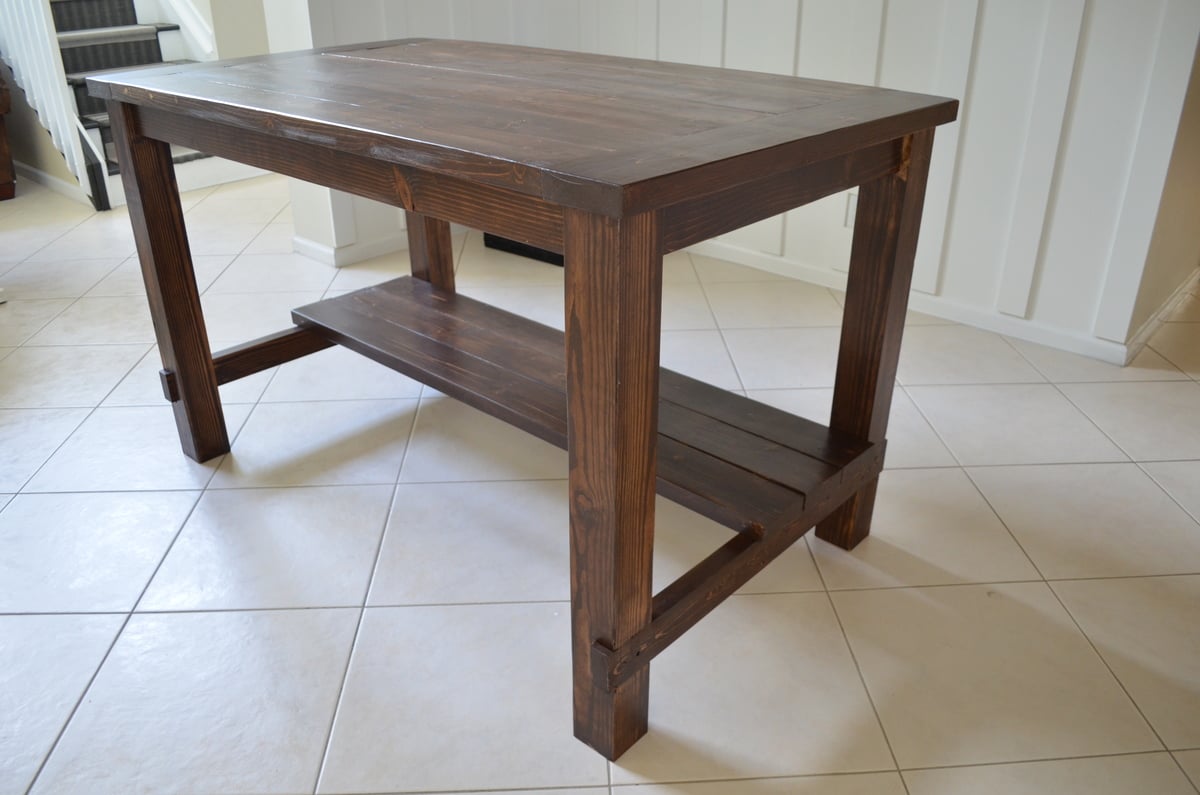
Truss Table

I have been wanted to build this table for over a year and finally had the time for it. The plans made the cuts very simple.

Built from Plan(s)
Estimated Time Investment
Weekend Project (10-20 Hours)
Finish Used
Watco Danish Oil - Natural
Recommended Skill Level
Intermediate

Comments