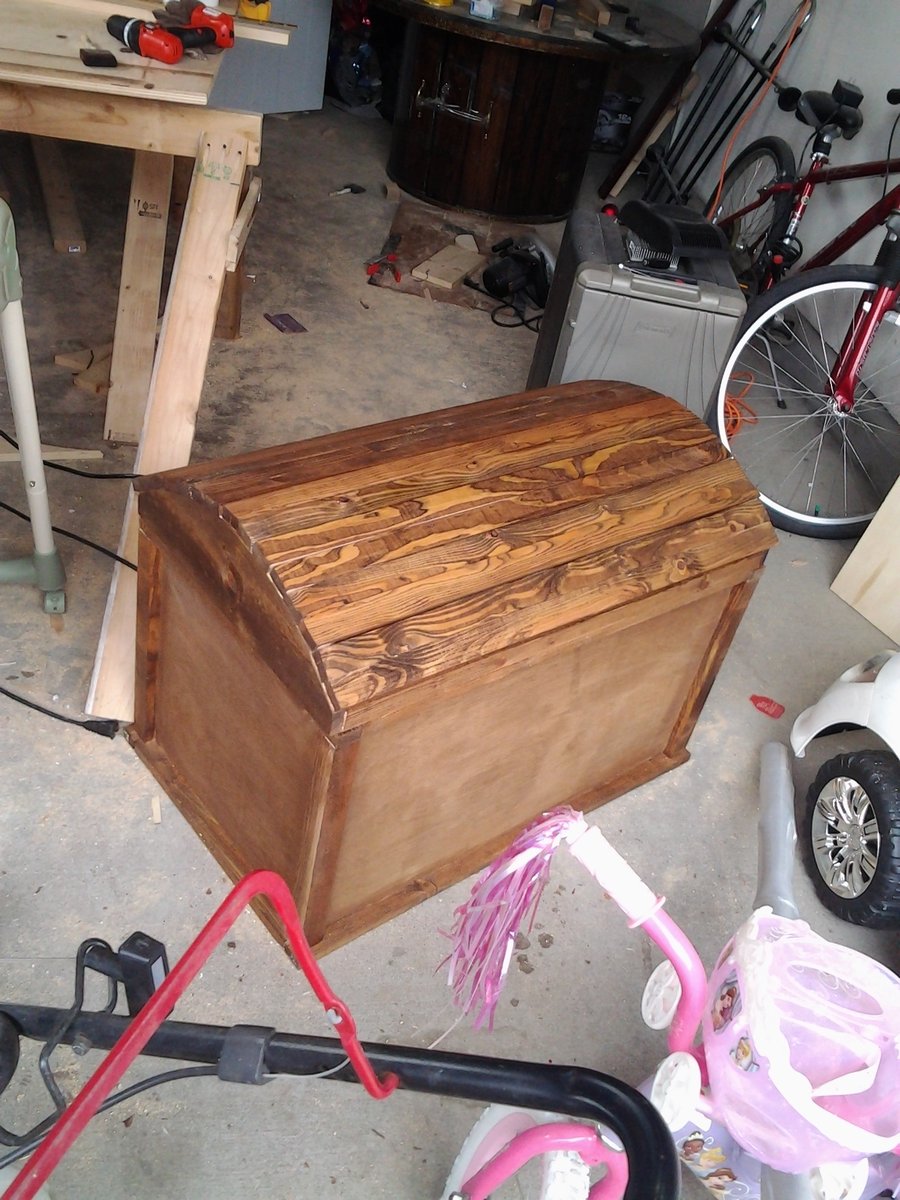
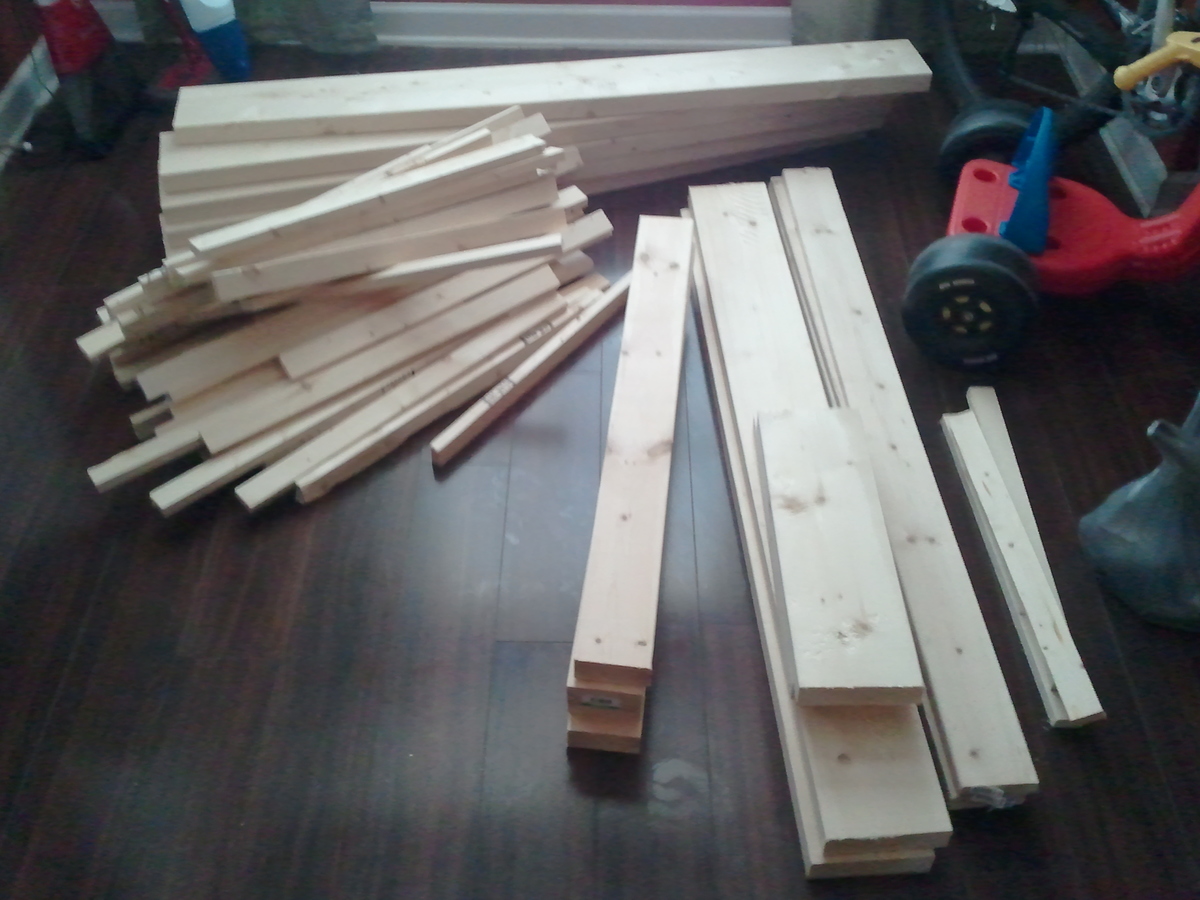
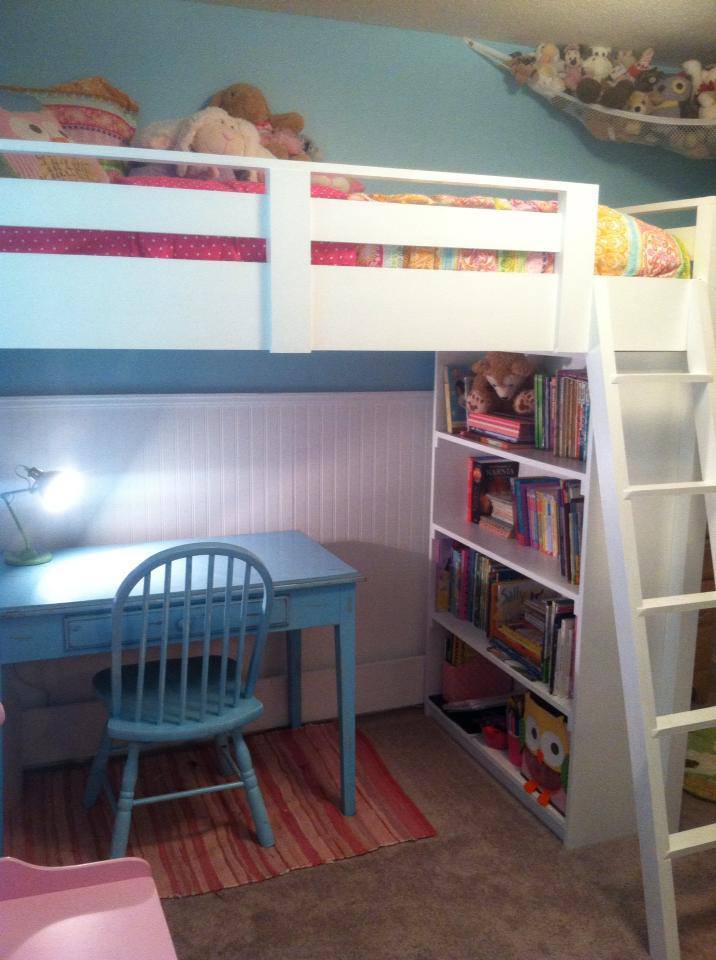
2x4 little car, work in progress
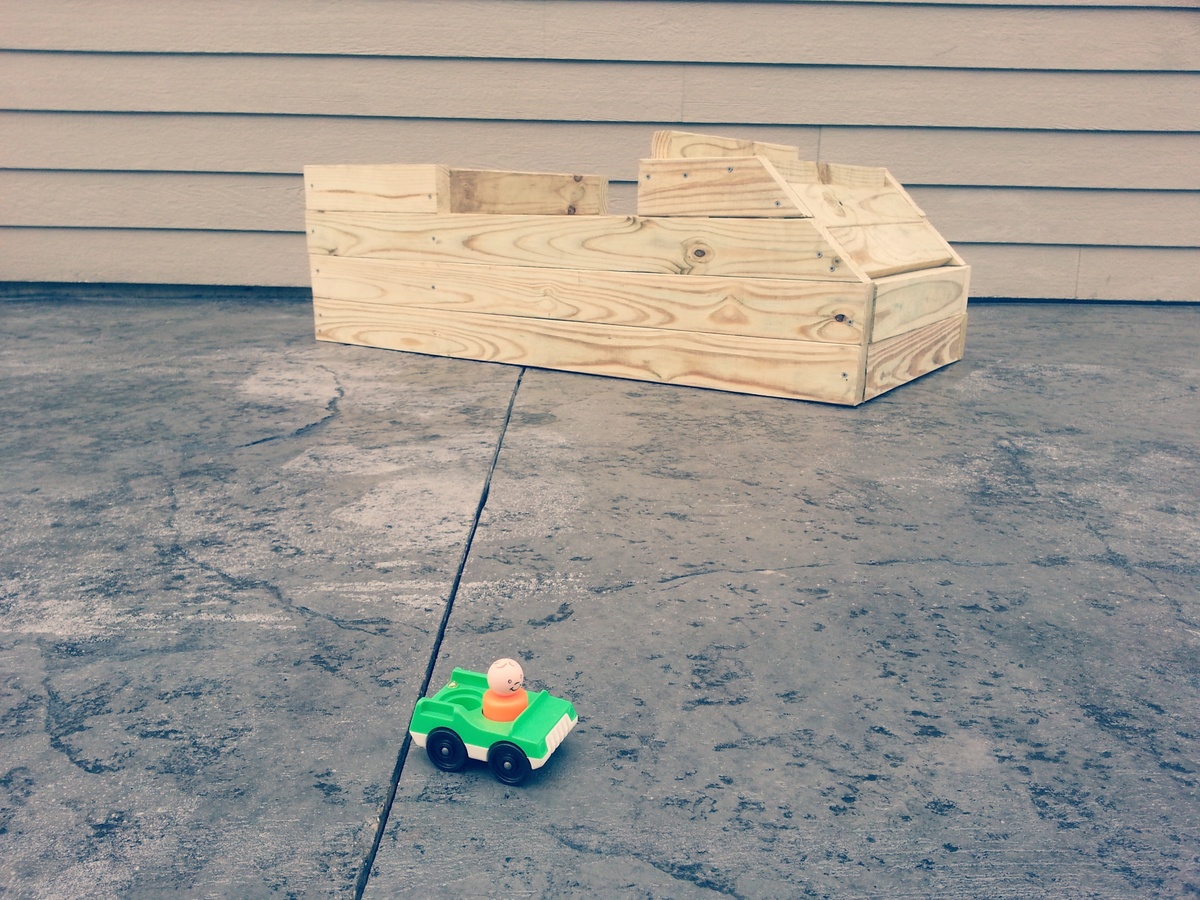
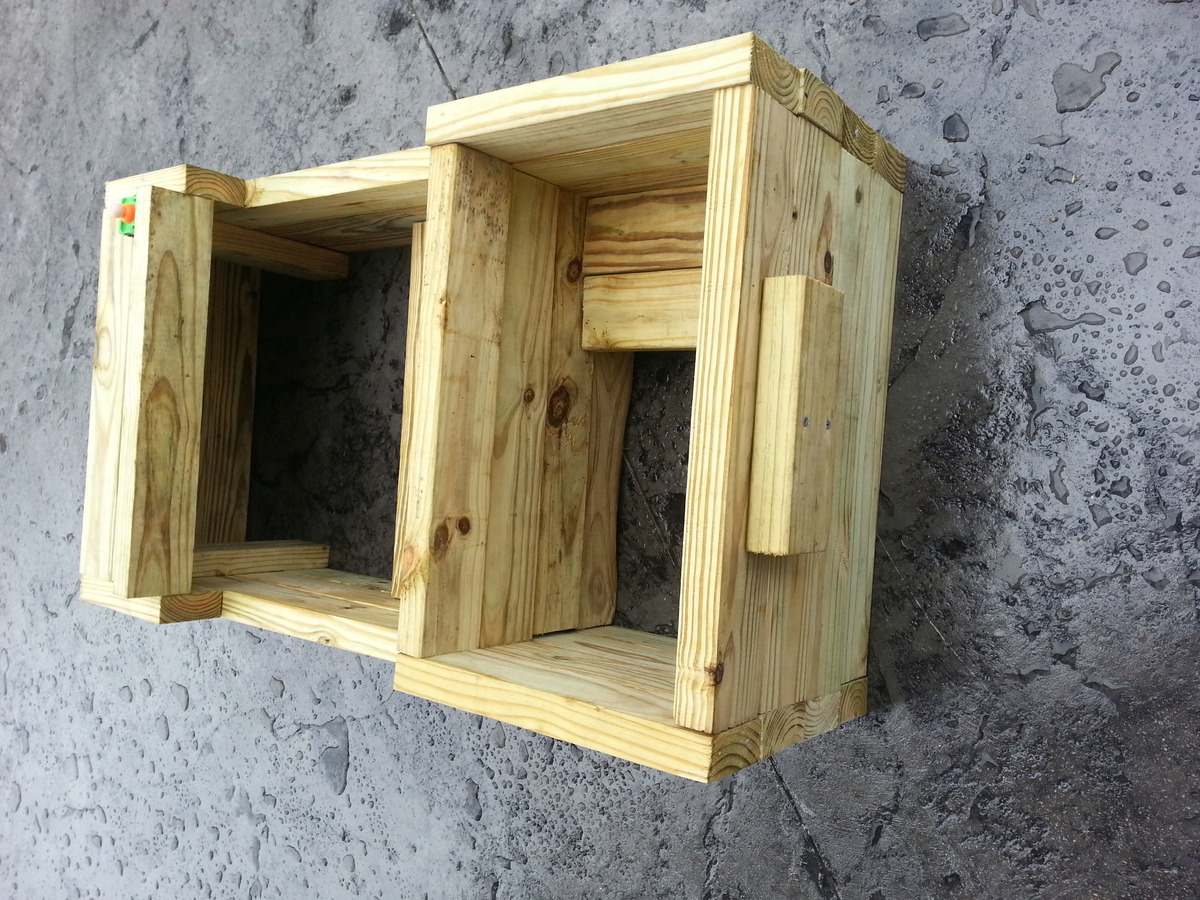
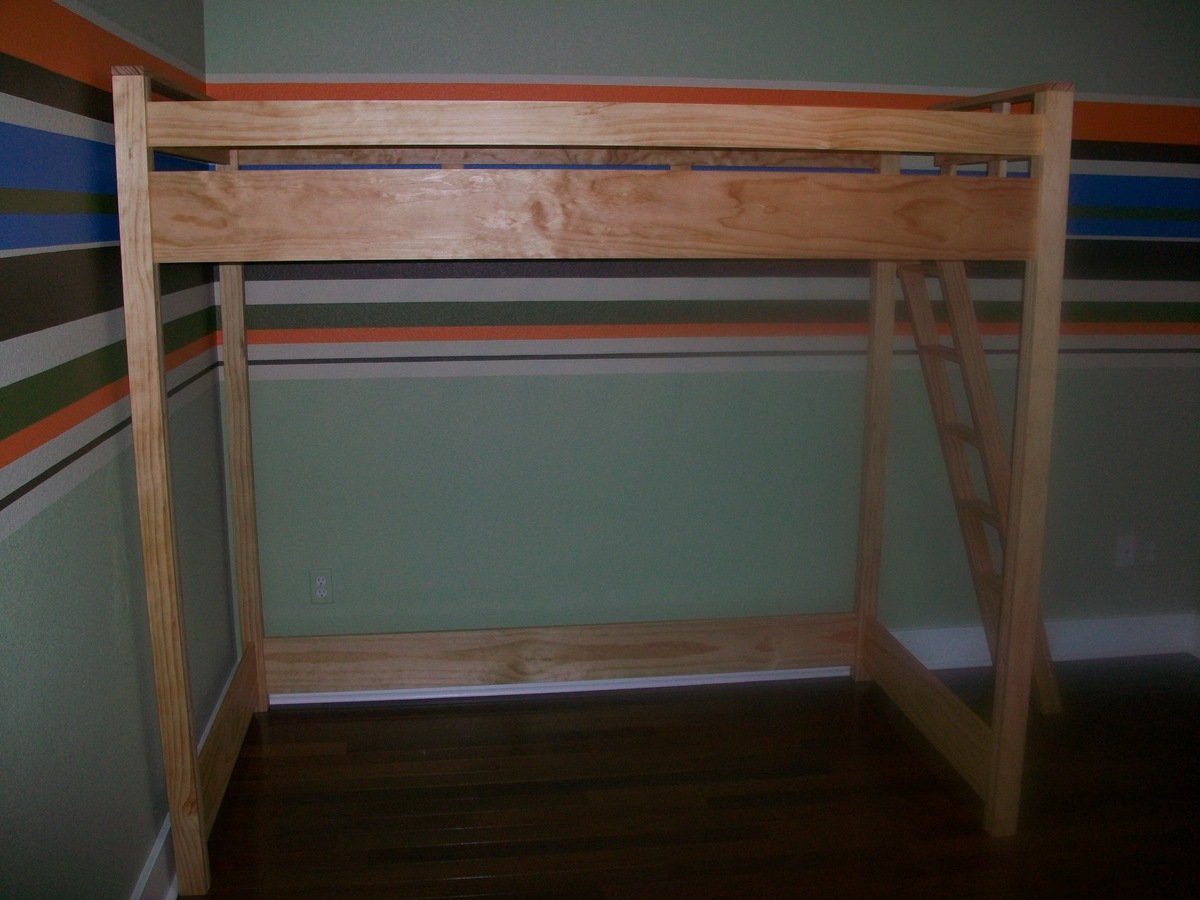
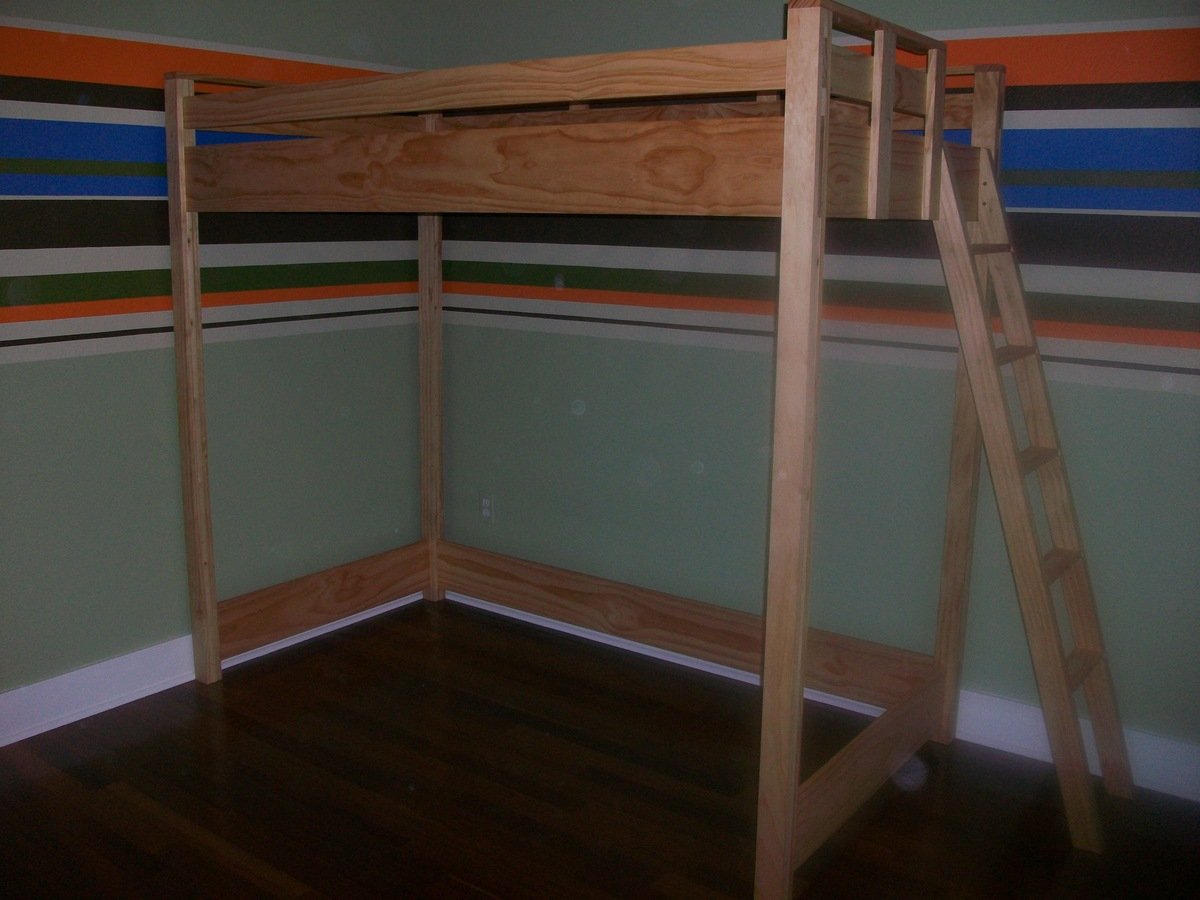
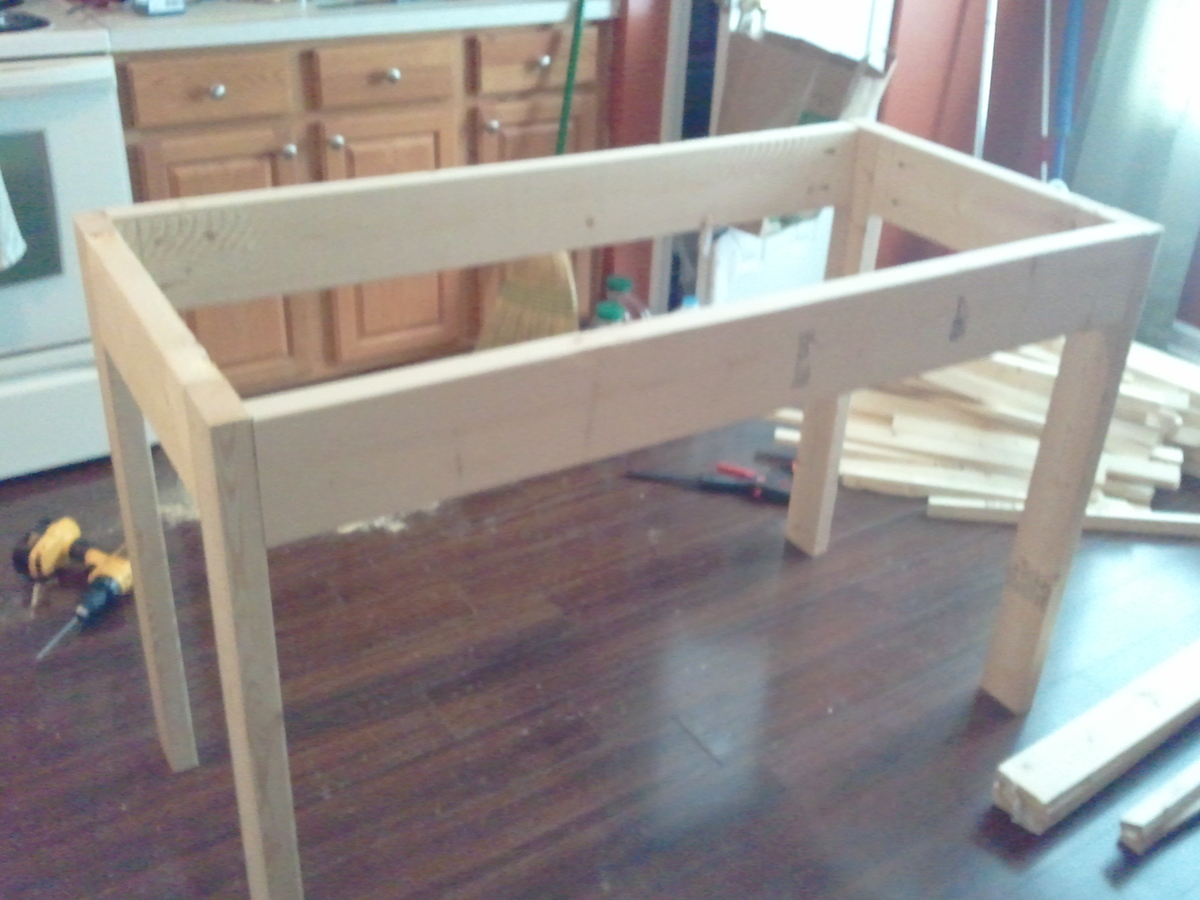
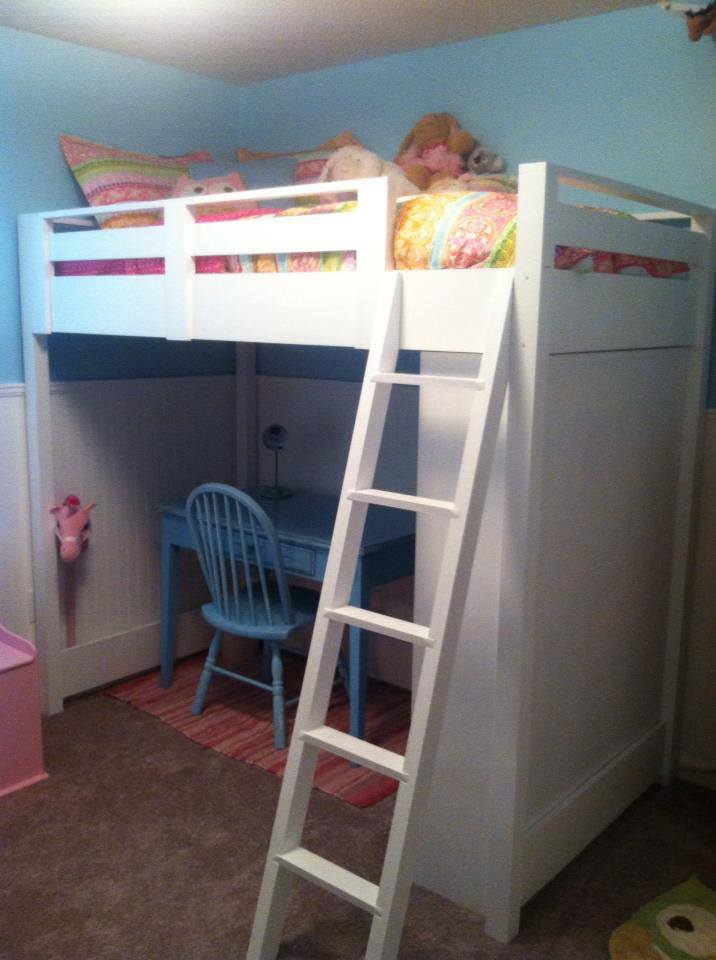
I think I'm the first one to use this plan. I am a newbie so maybe I made it harder on myself but I diverted a little bit. I did not have 4 inch screws that would work with the treated lumber, and they were going to cost me a very pretty penny to get. I did have a box of 3 inch treated wood screws leftover from when we made the floating bunk beds » {LOVE THOSE} so instead of building each side, I had to build it level by level,attach them all together inside once I was finished. I use some leftover pieces to add a little seat in the trunk and a license plate. you also might have a few scrap pieces that you could use for rear view mirrors and headlights, but I would like to keep this simple and chic. I have a small wood slat piece that I will use for a grill on the front { from an old wooden toddler bed rail} so his car will look just like the tiny Fisher Price one he plays with! I'm still searching for a free steering wheel off an old toy or perhaps I will use my husband's 2.5lb free weight. I think it is perfect if I can figure out how to attach it... and how to get away from my husband ;)


Comments
www.iwantbdpho…
Wed, 07/10/2013 - 14:01
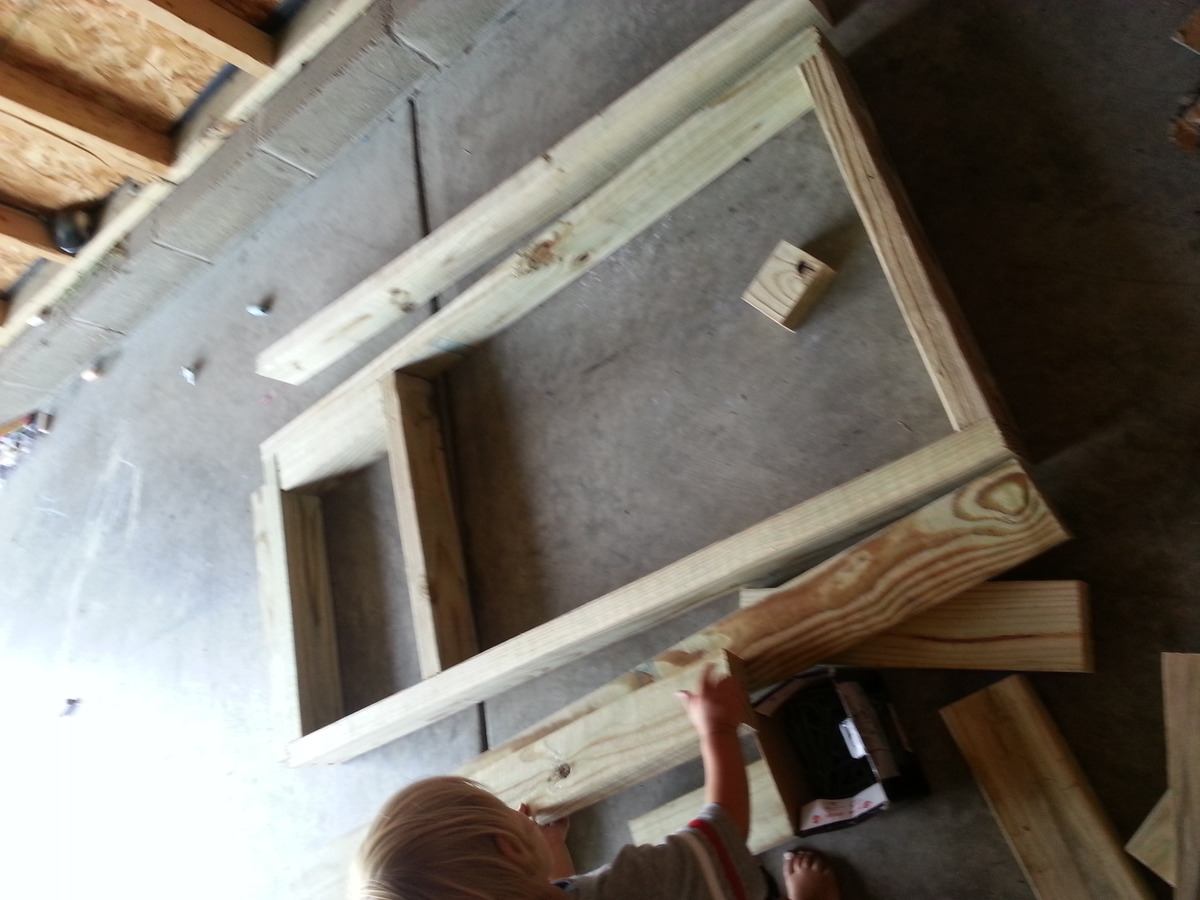
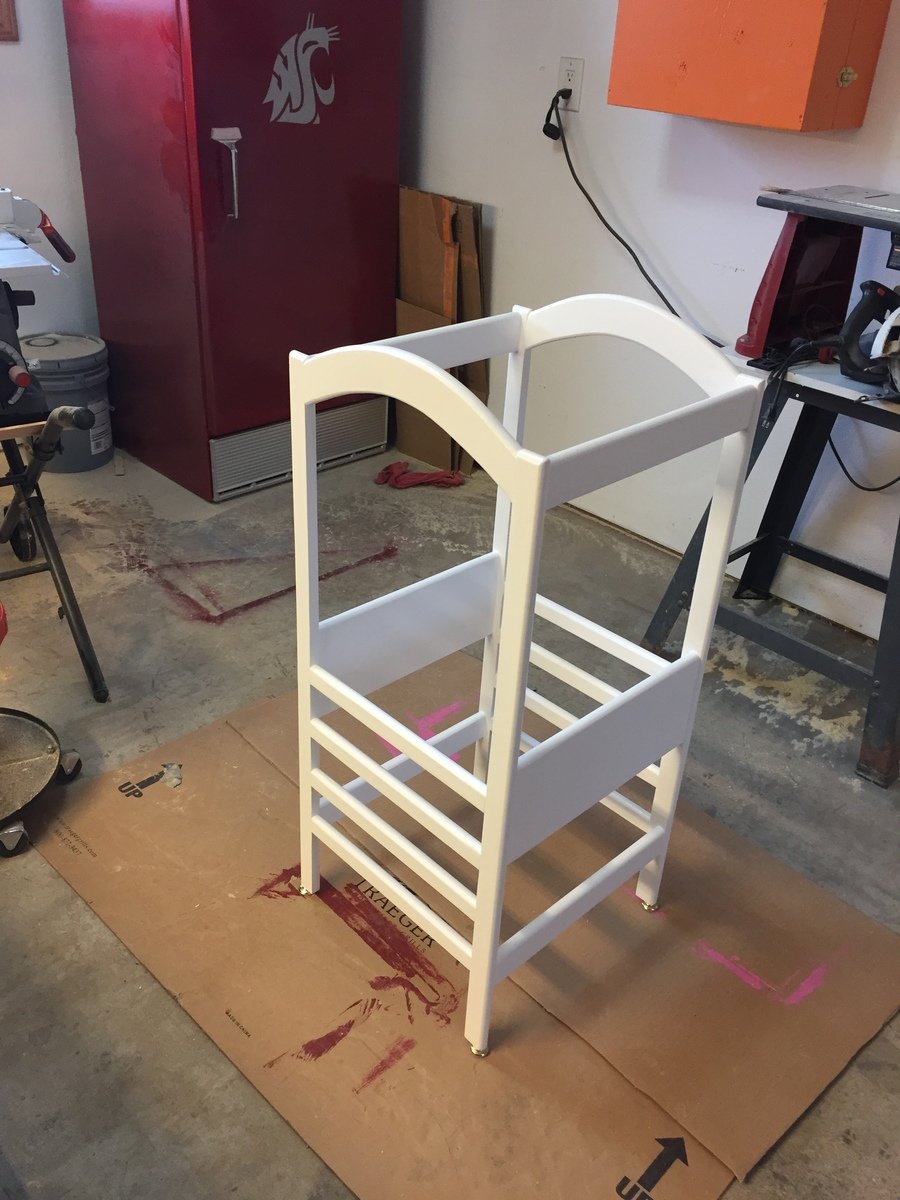
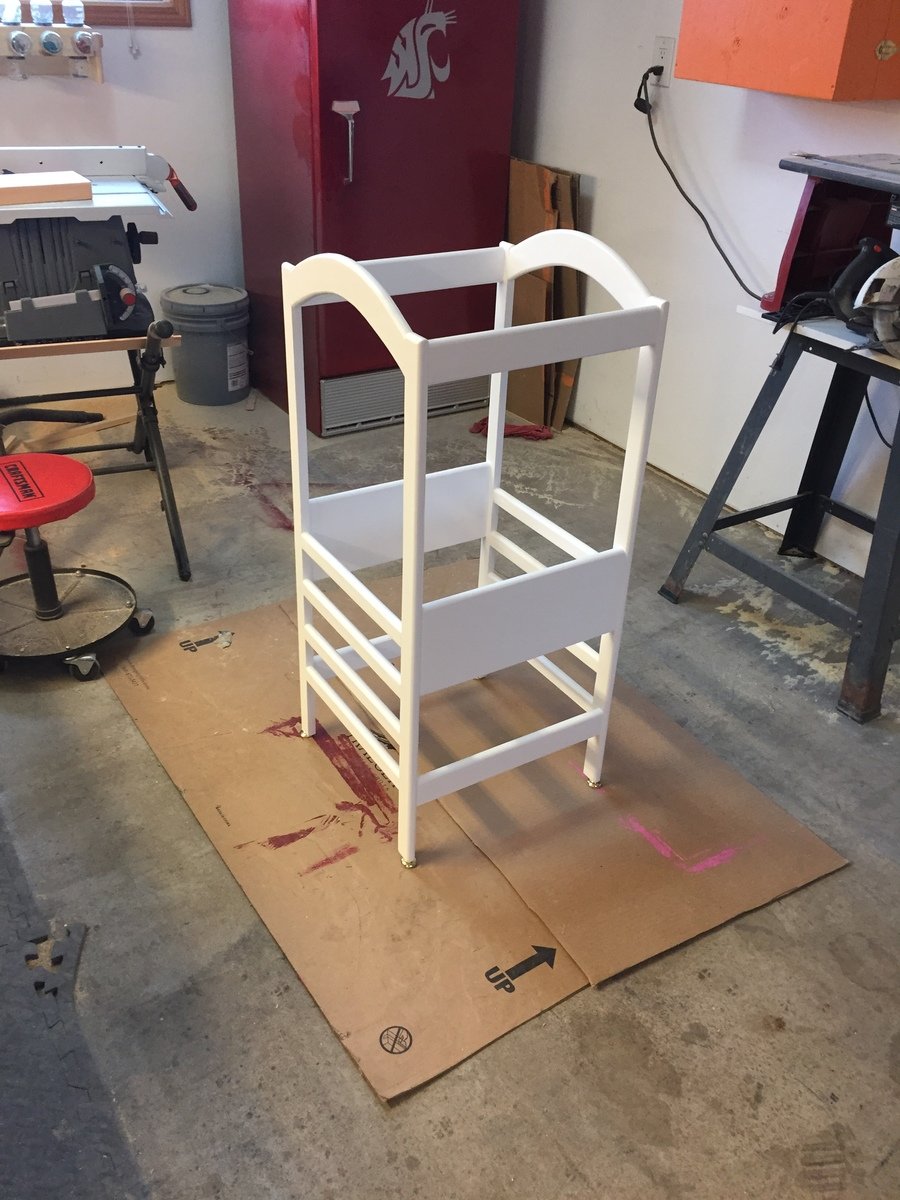
this is my first solo
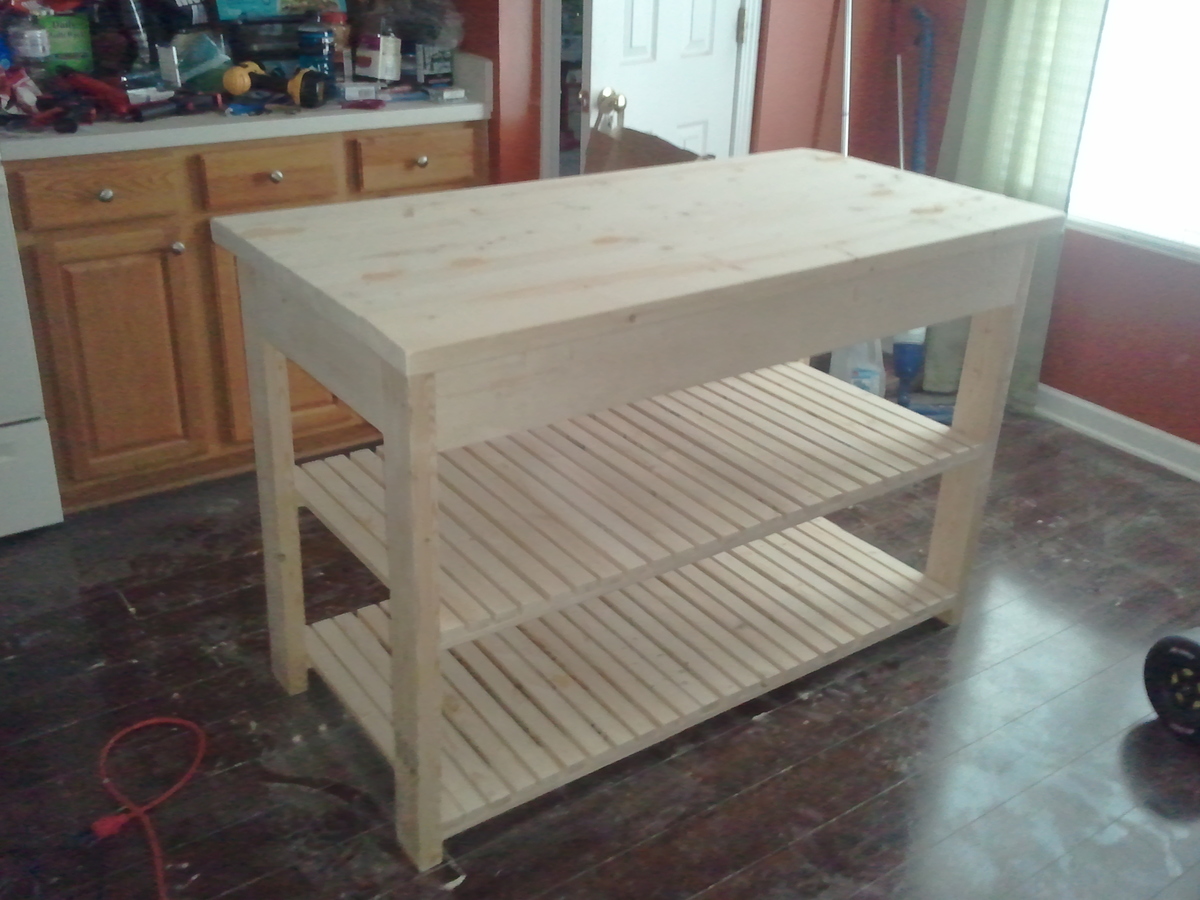
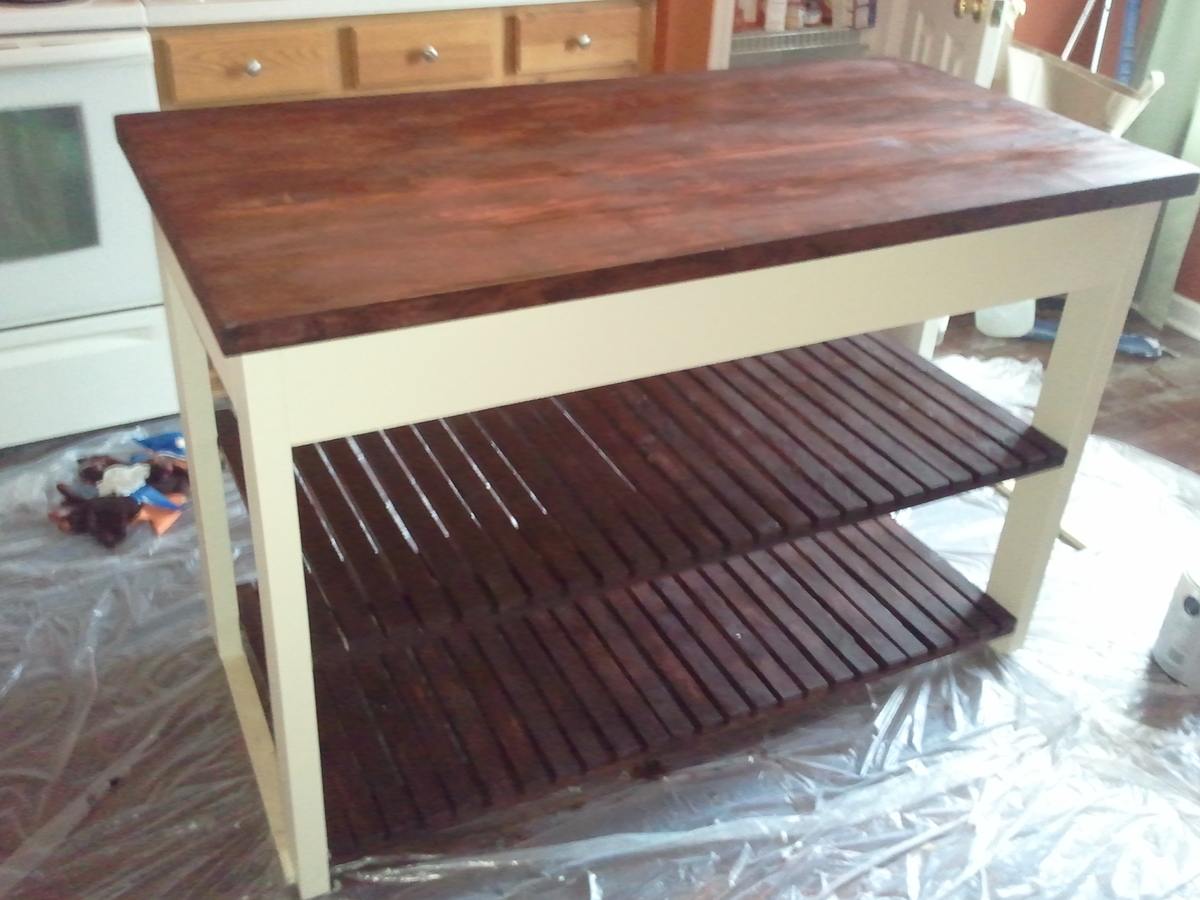
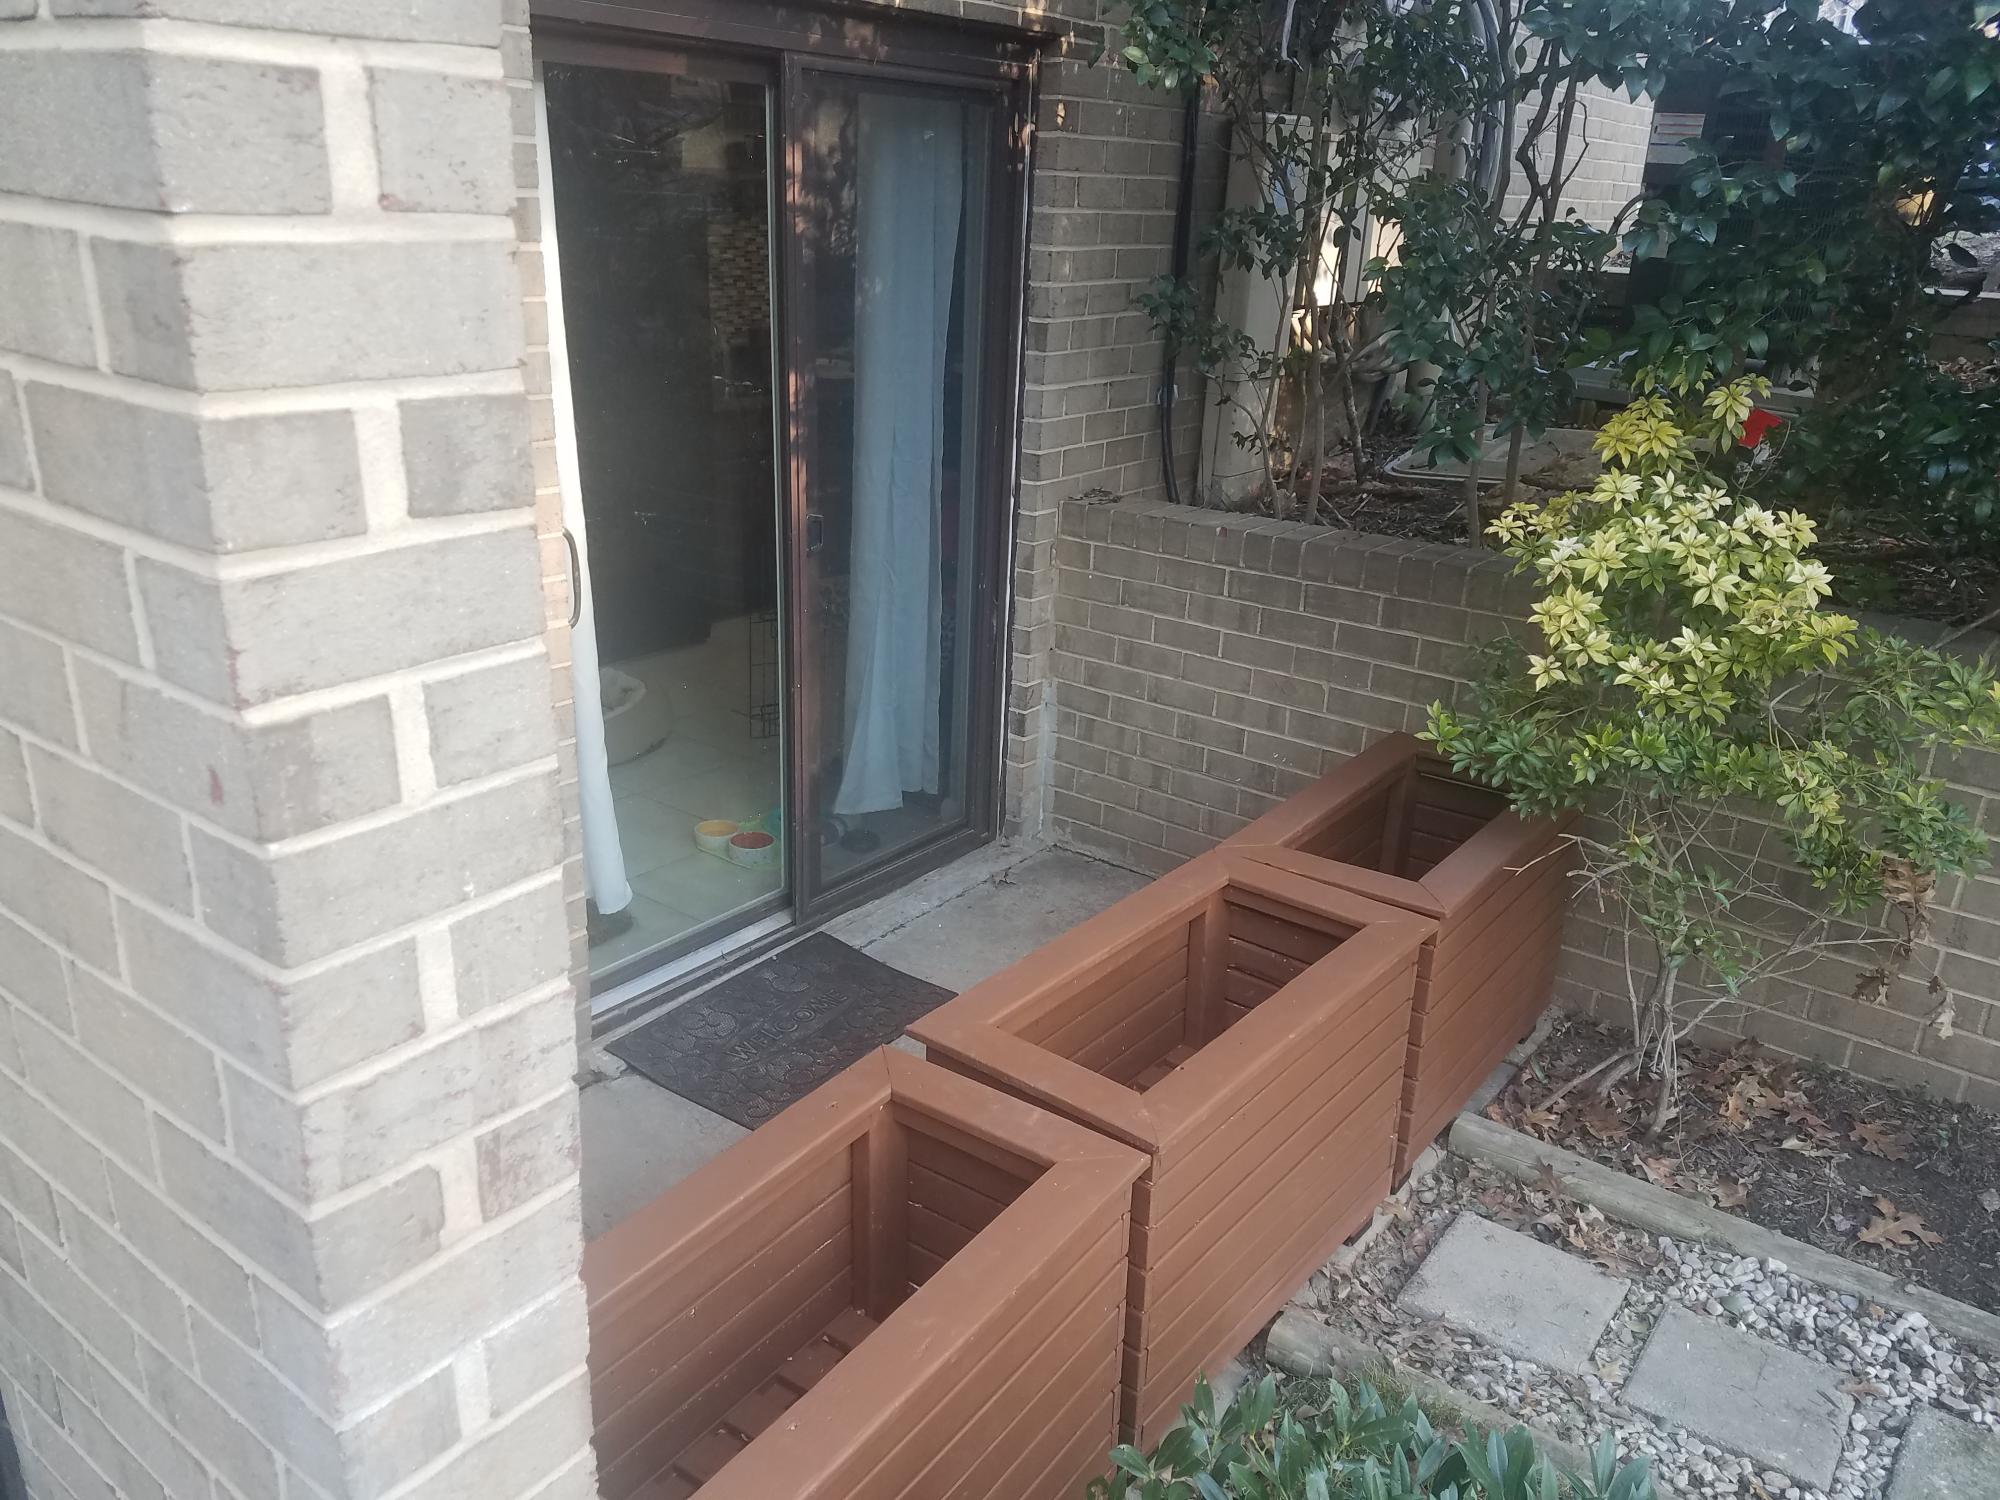
this is my first solo project. I had the store do most of the major cuts so that was a definite time saver. I only had to do my angle cuts and kept on my leftover pieces to do my modifications. this will sit outdoors so I had to spring for the treated lumber. since I built it level by level I had to secure it inside. all except the last trunk level were secured under the hood out of the way. securing the final level of the trunk gave me the idea to use a "license plate" instead of just a random piece of wood.I can't wait to put it in the play driveway to add to his big outdoor play house! thank you for an excellent easy to follow plan. maybe now I can get a plan for a matching gas pump?? :-)
DMax2010
Sat, 07/13/2013 - 05:05
Love it!
Are there any measurements for the cuts? I really want to make this for my little guy!
www.iwantbdpho…
Sun, 07/14/2013 - 08:12
yep, go to morelikehome.net
yep, go to morelikehome.net