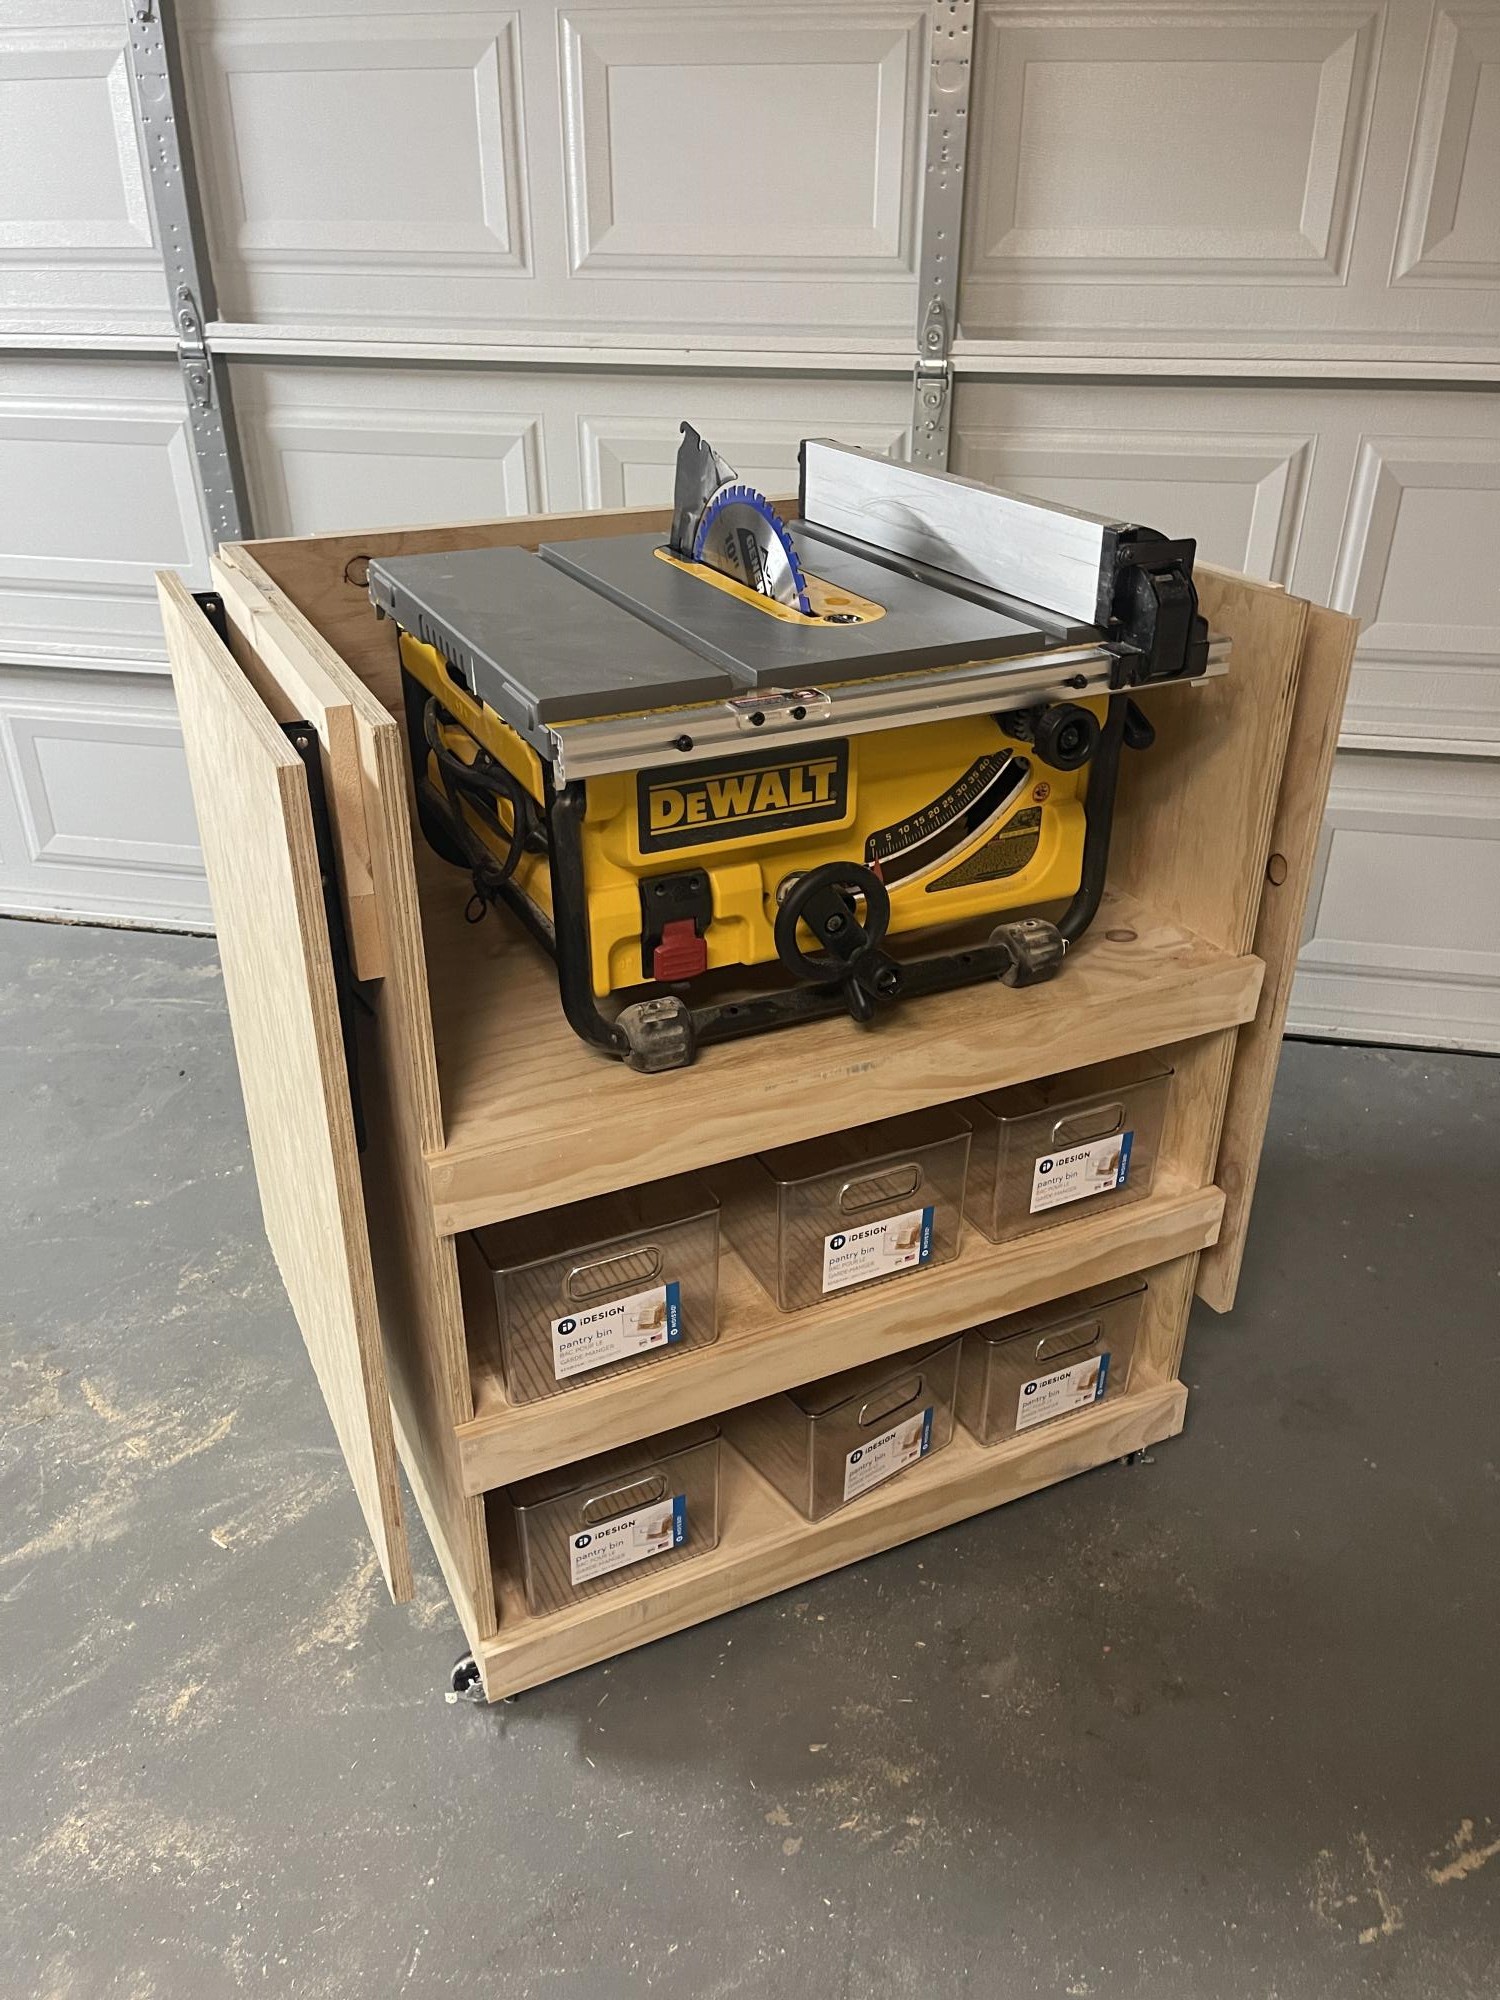
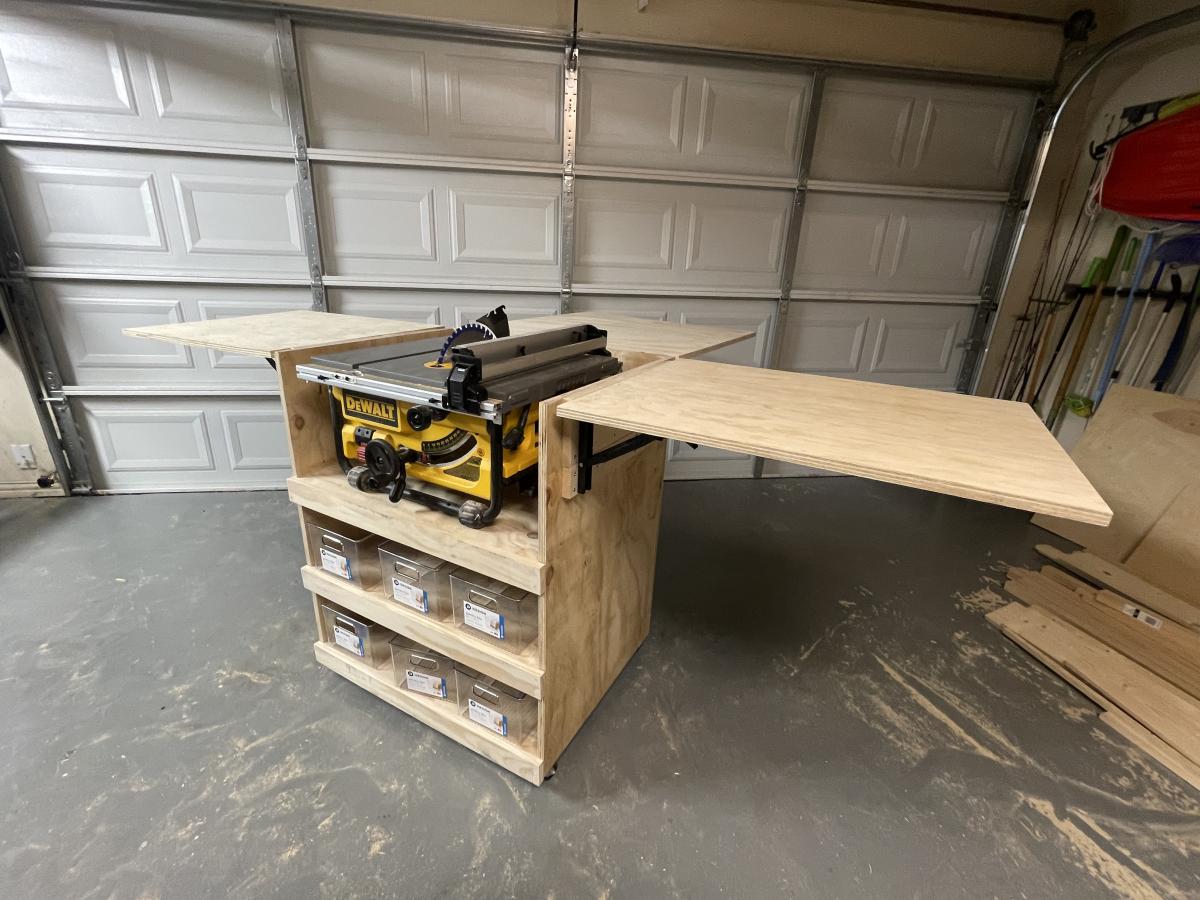
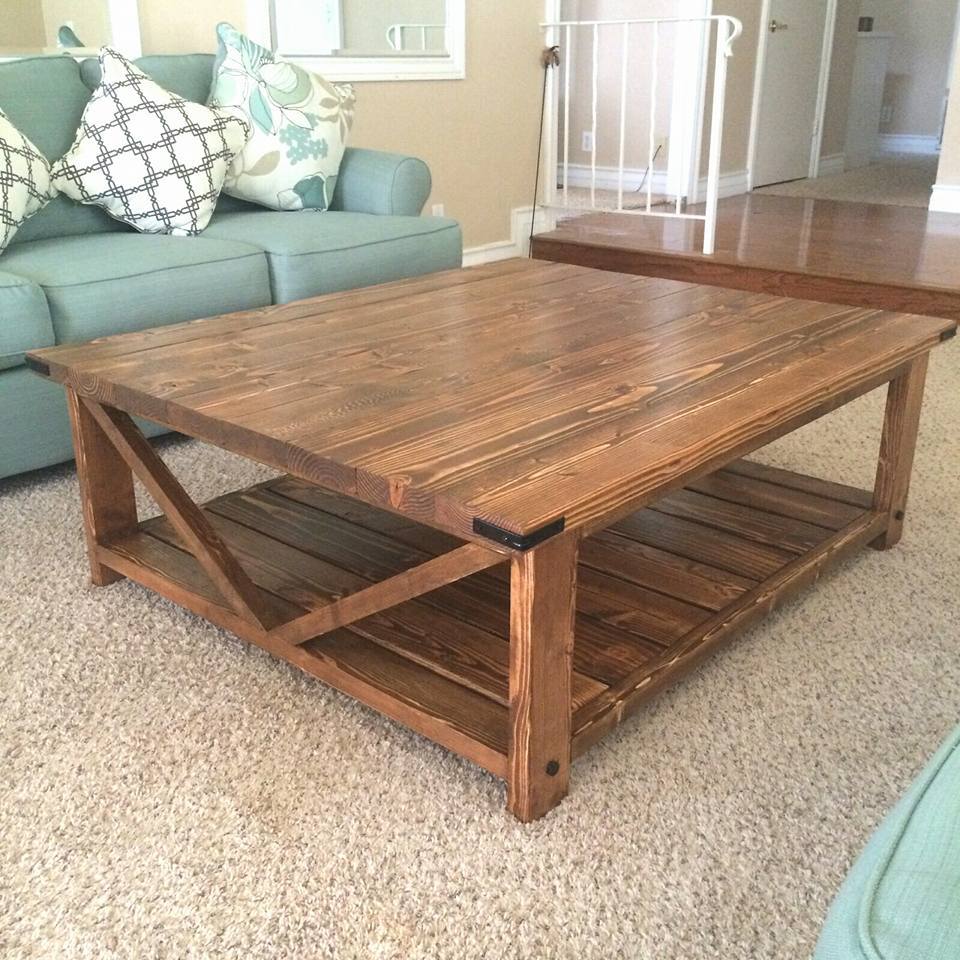
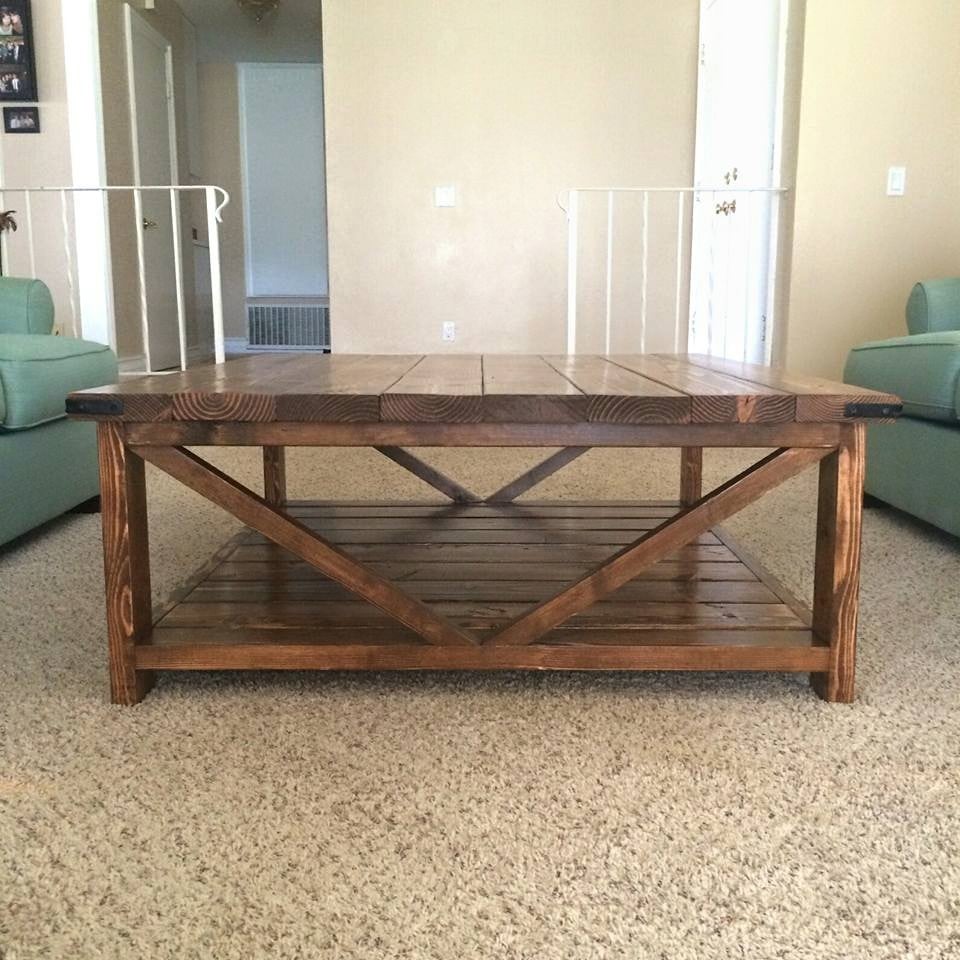
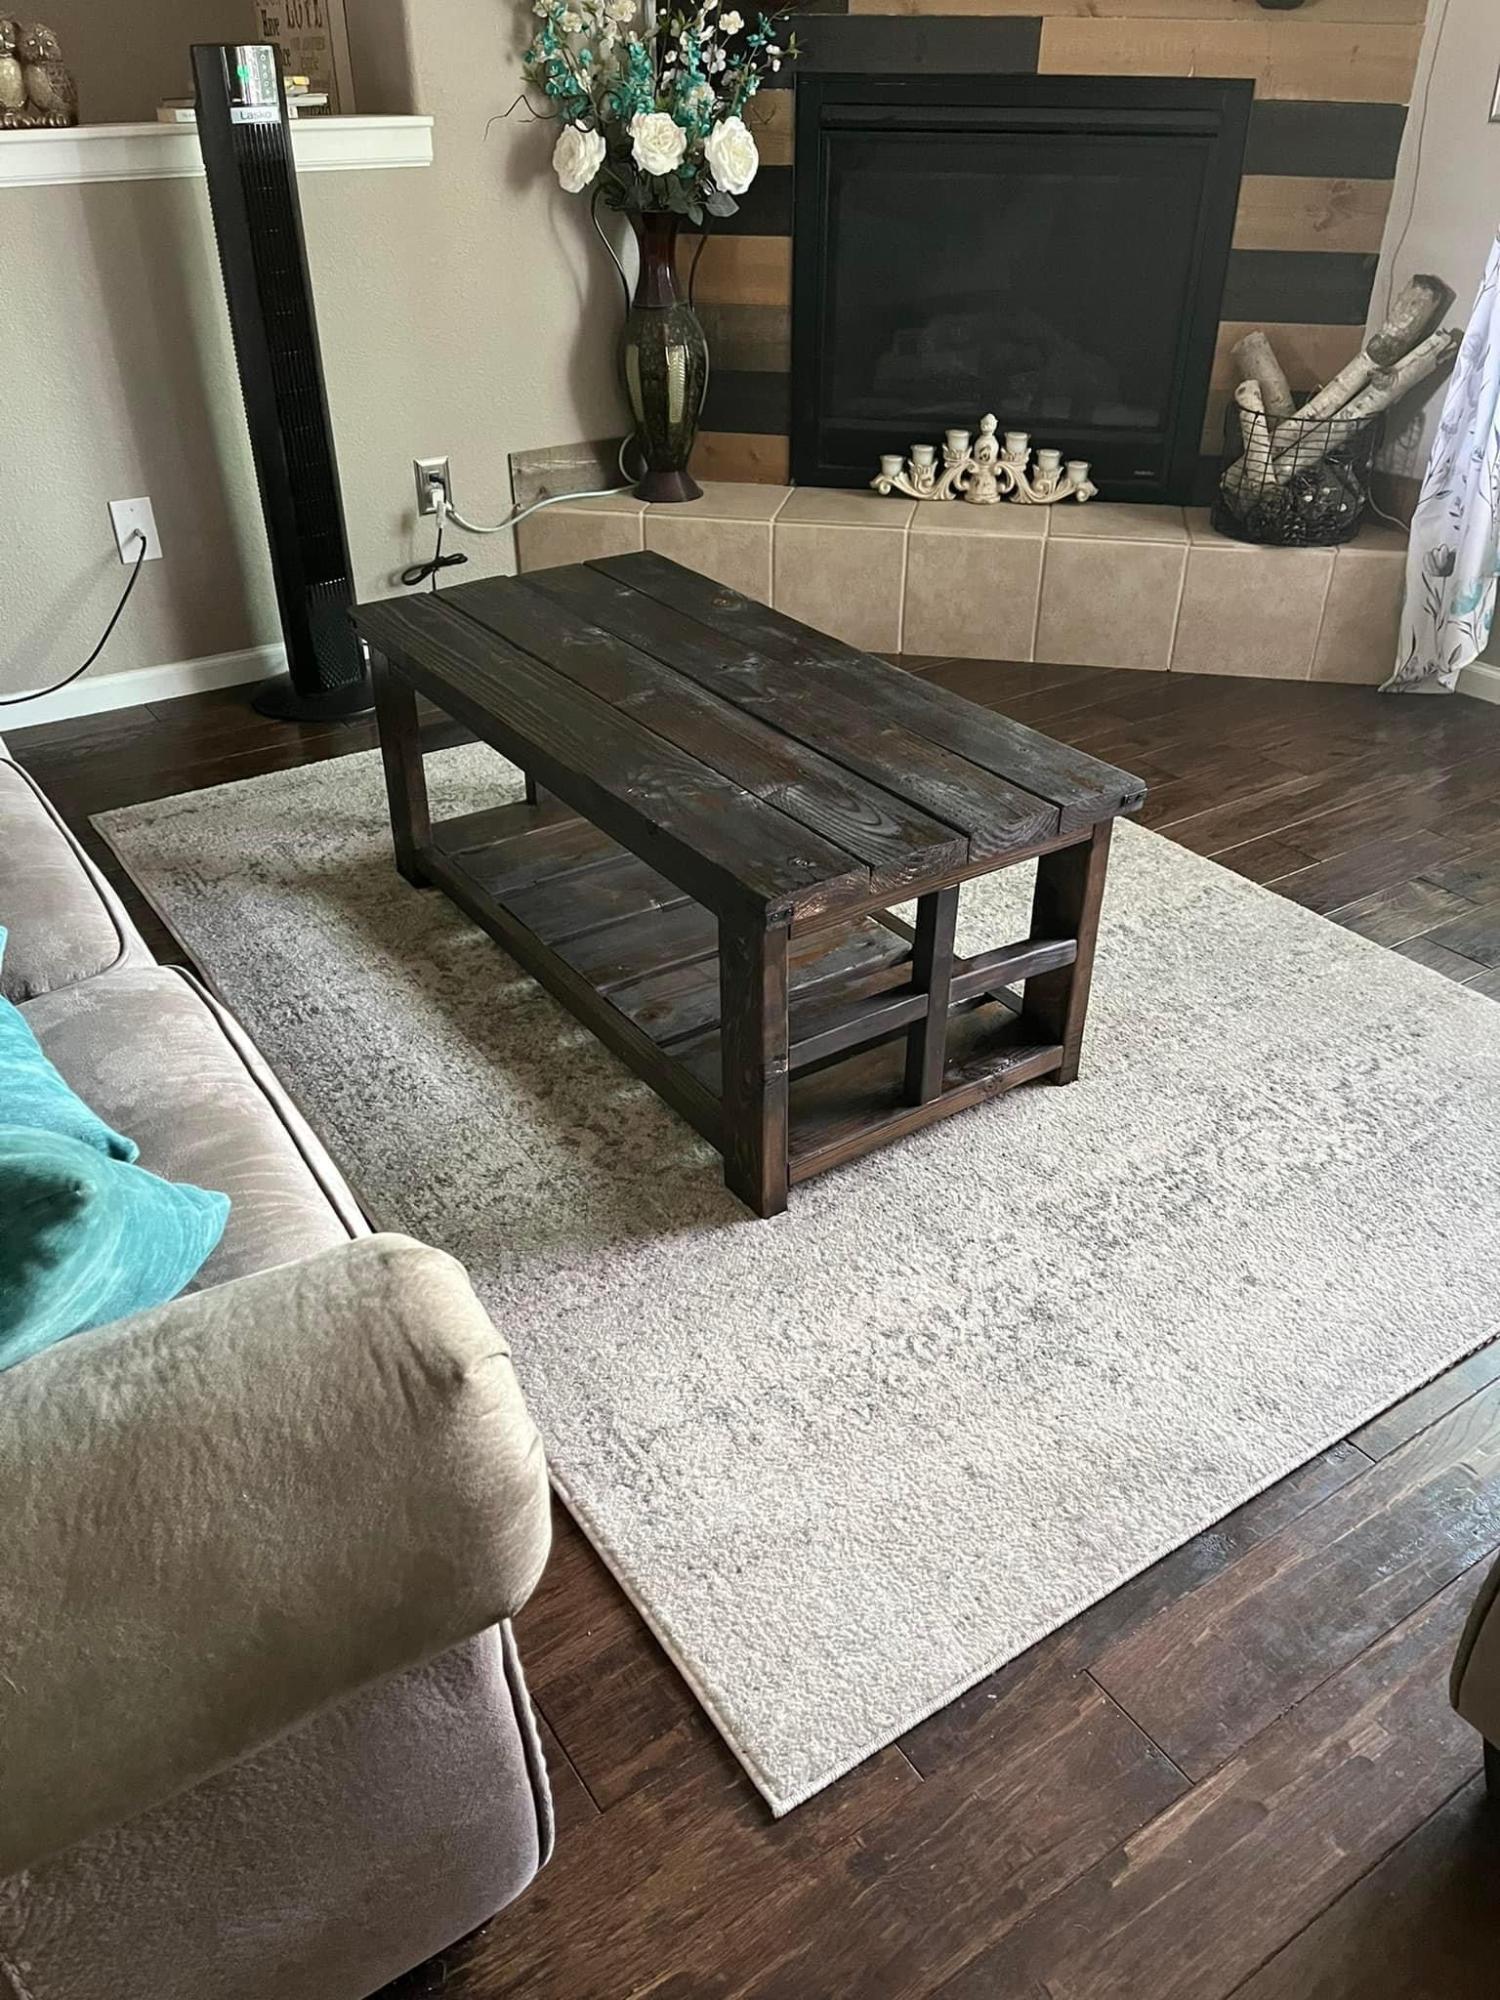
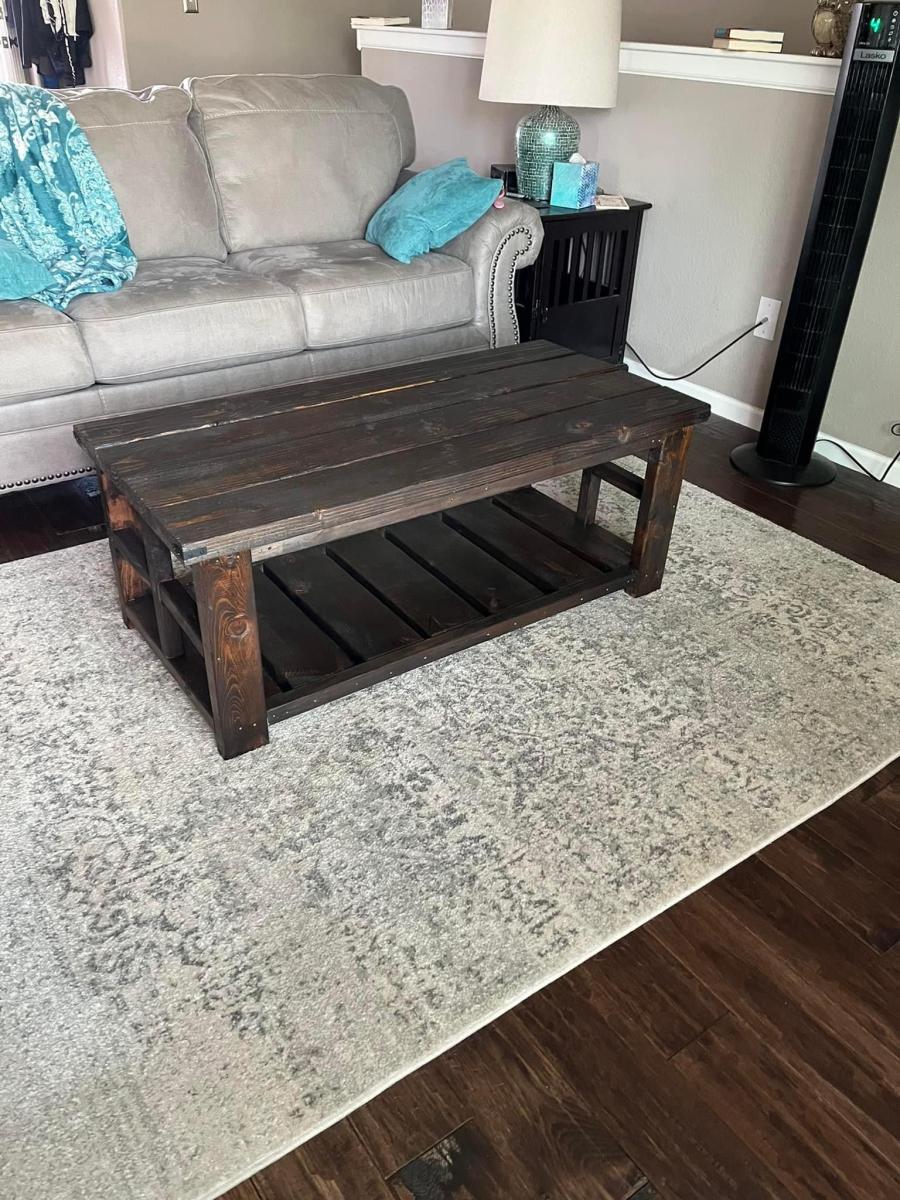
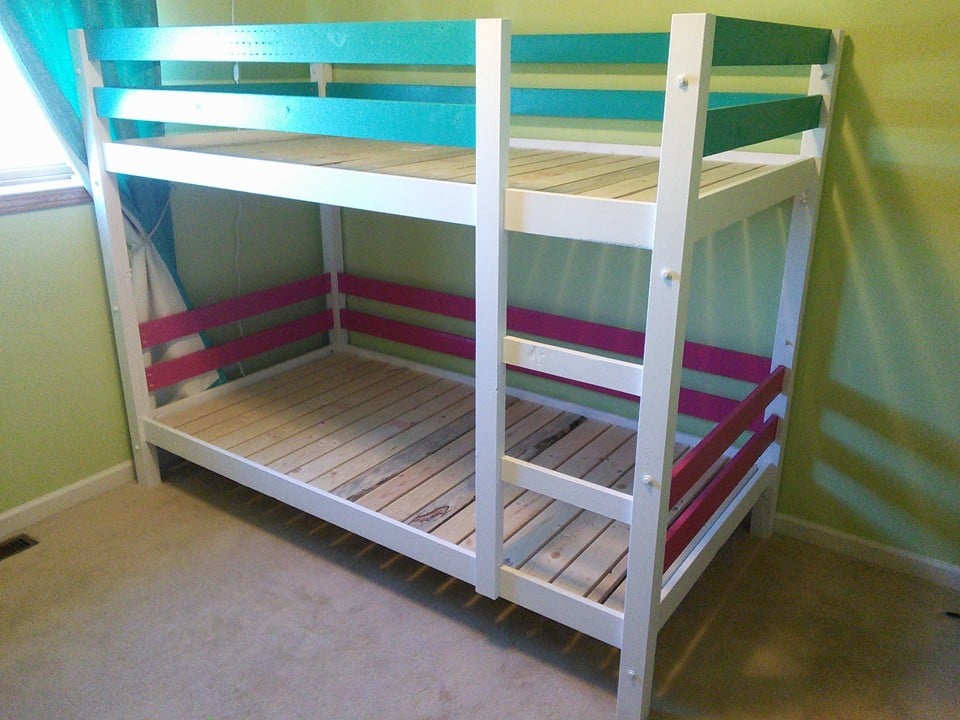
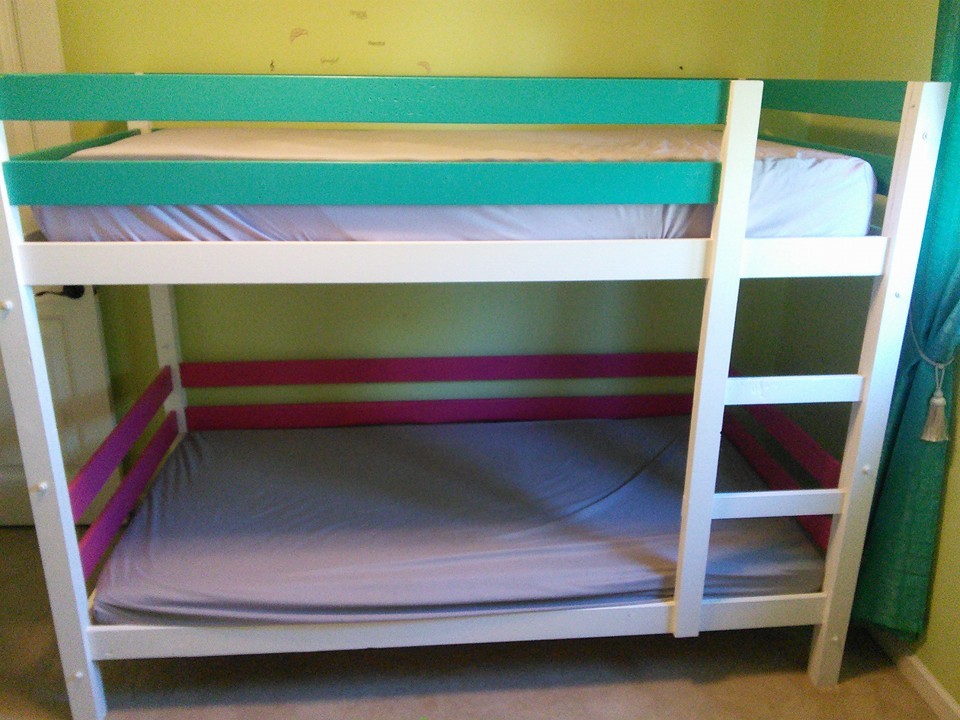
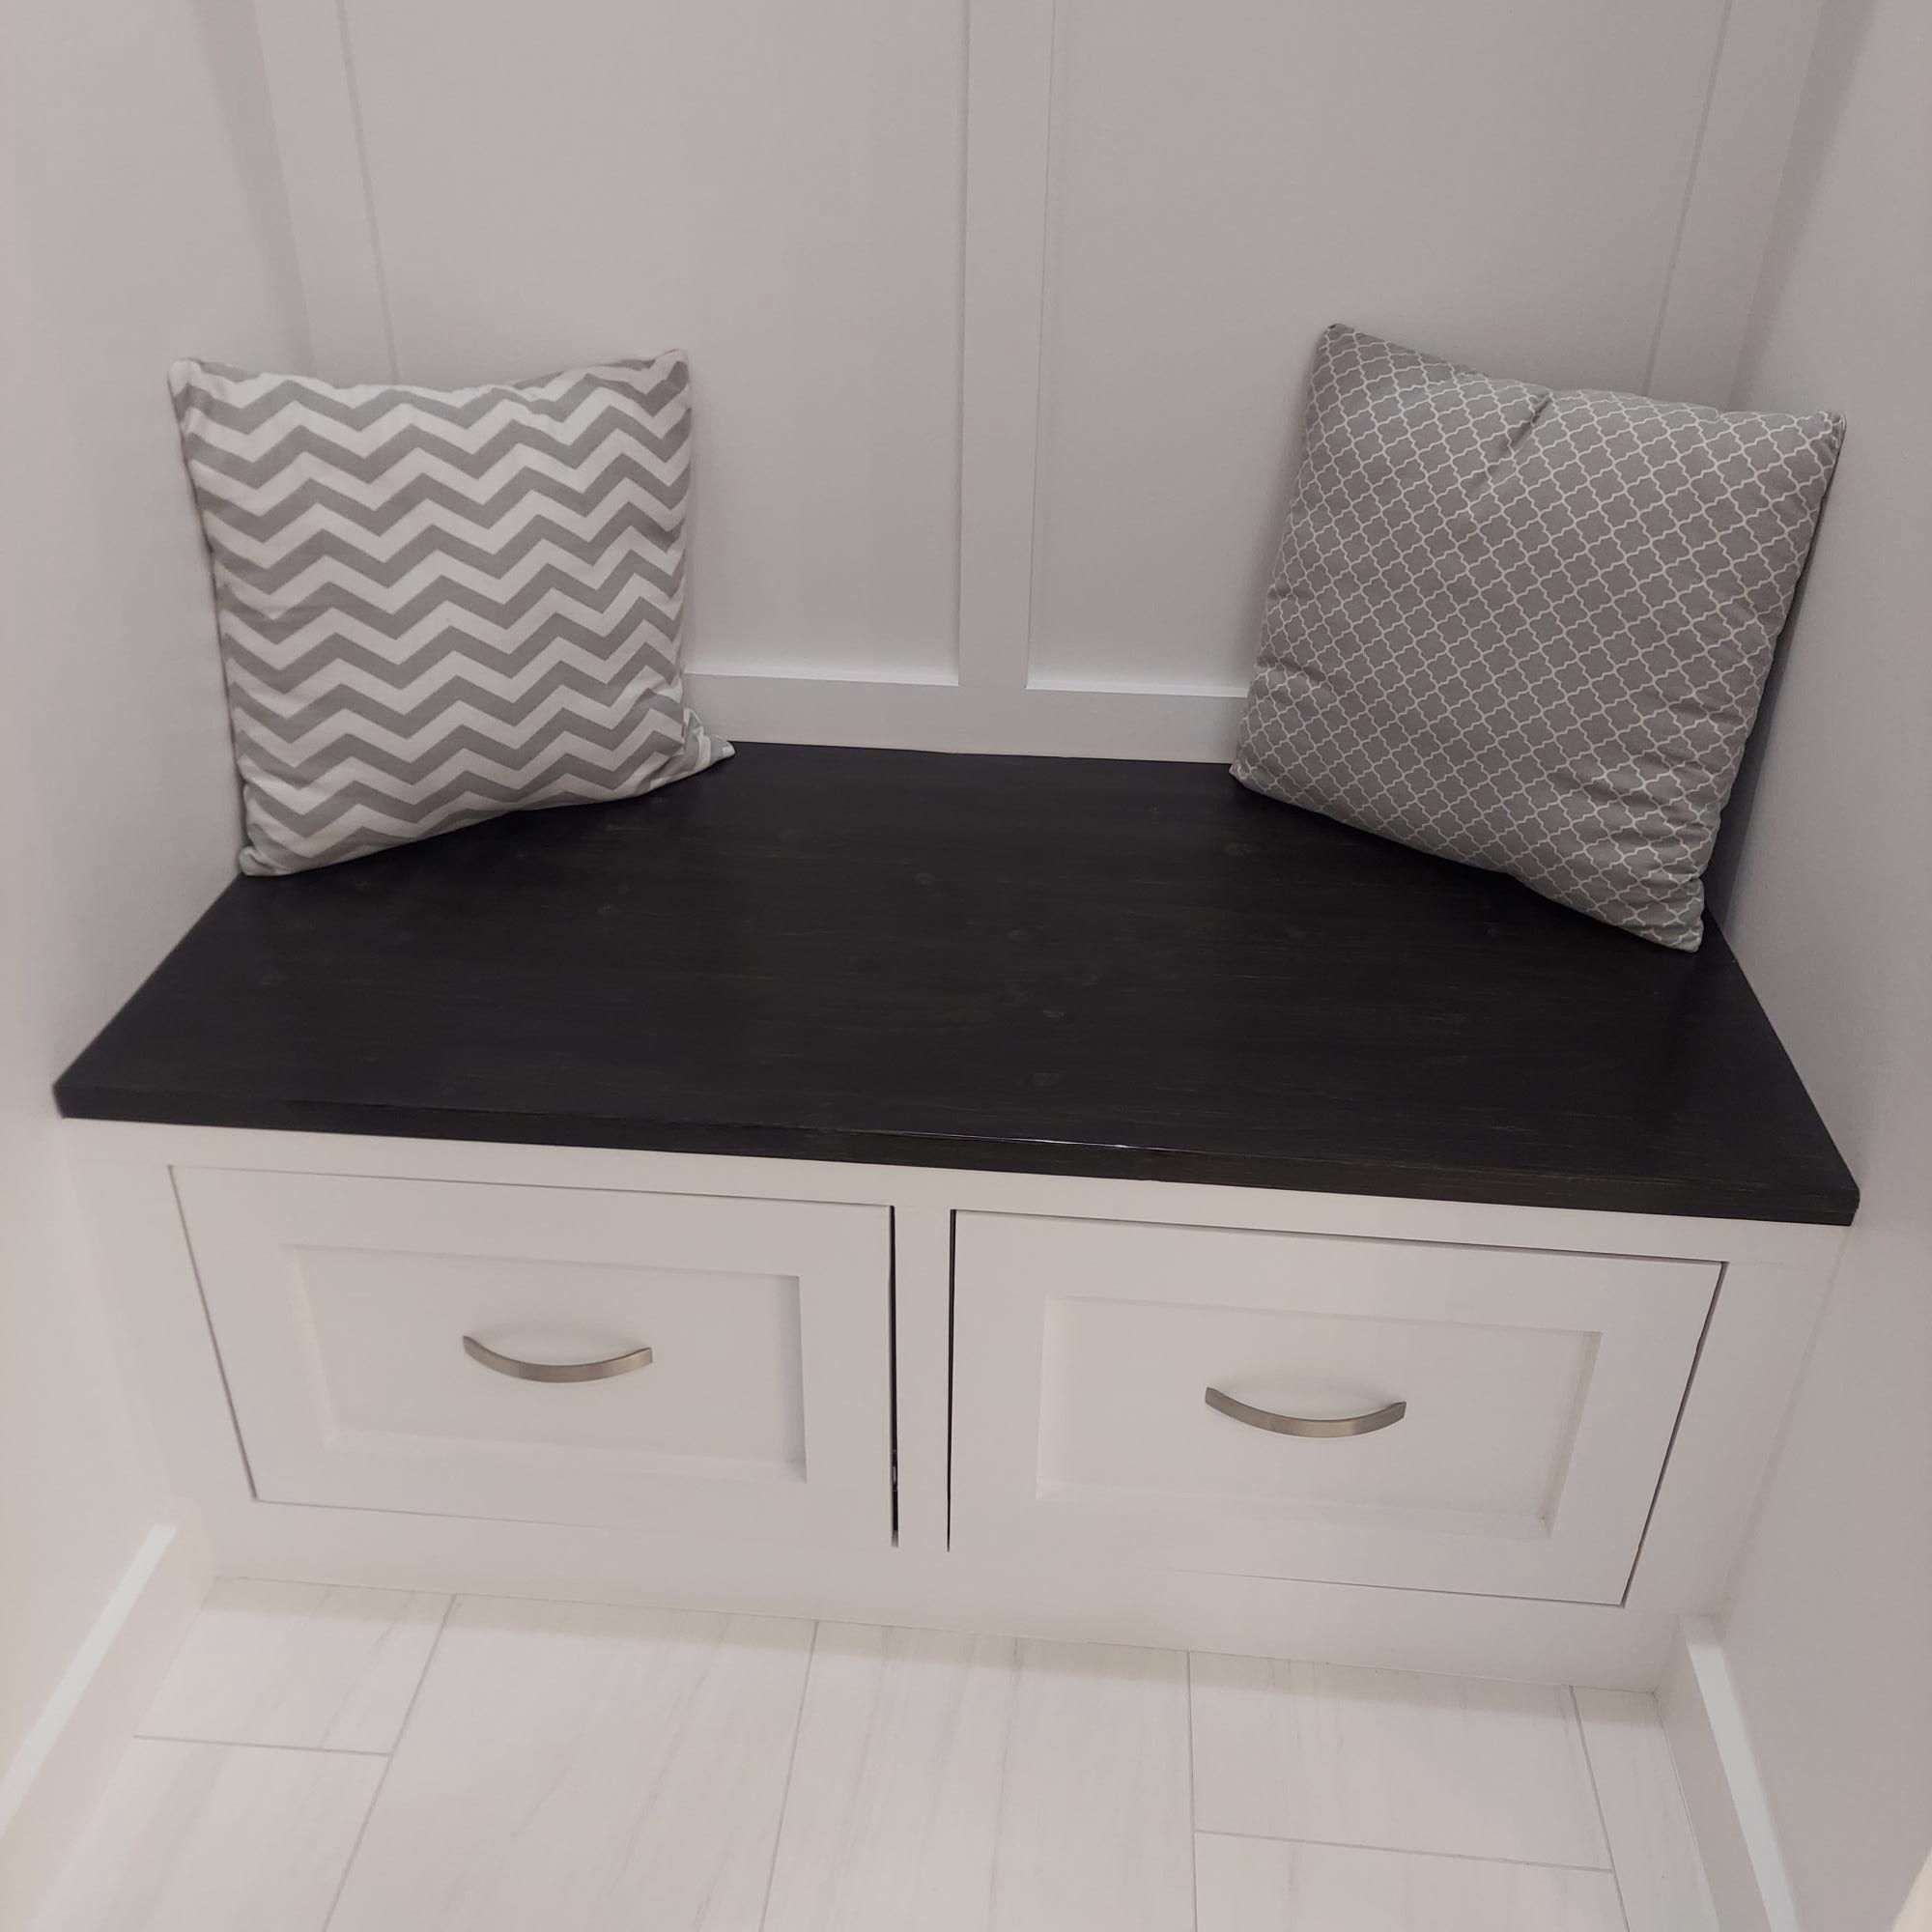
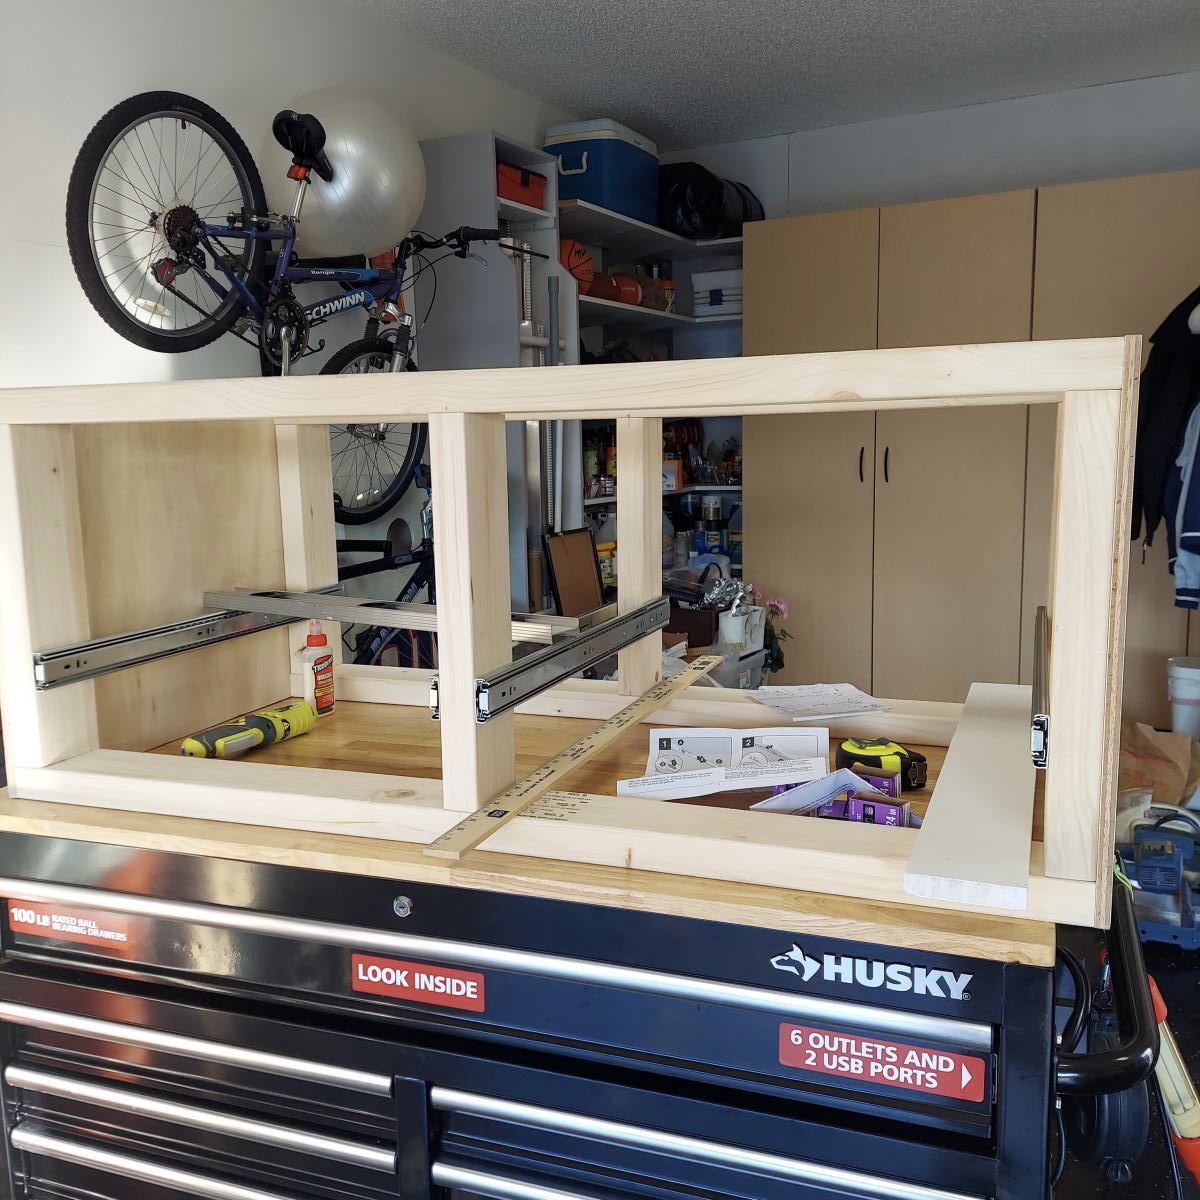
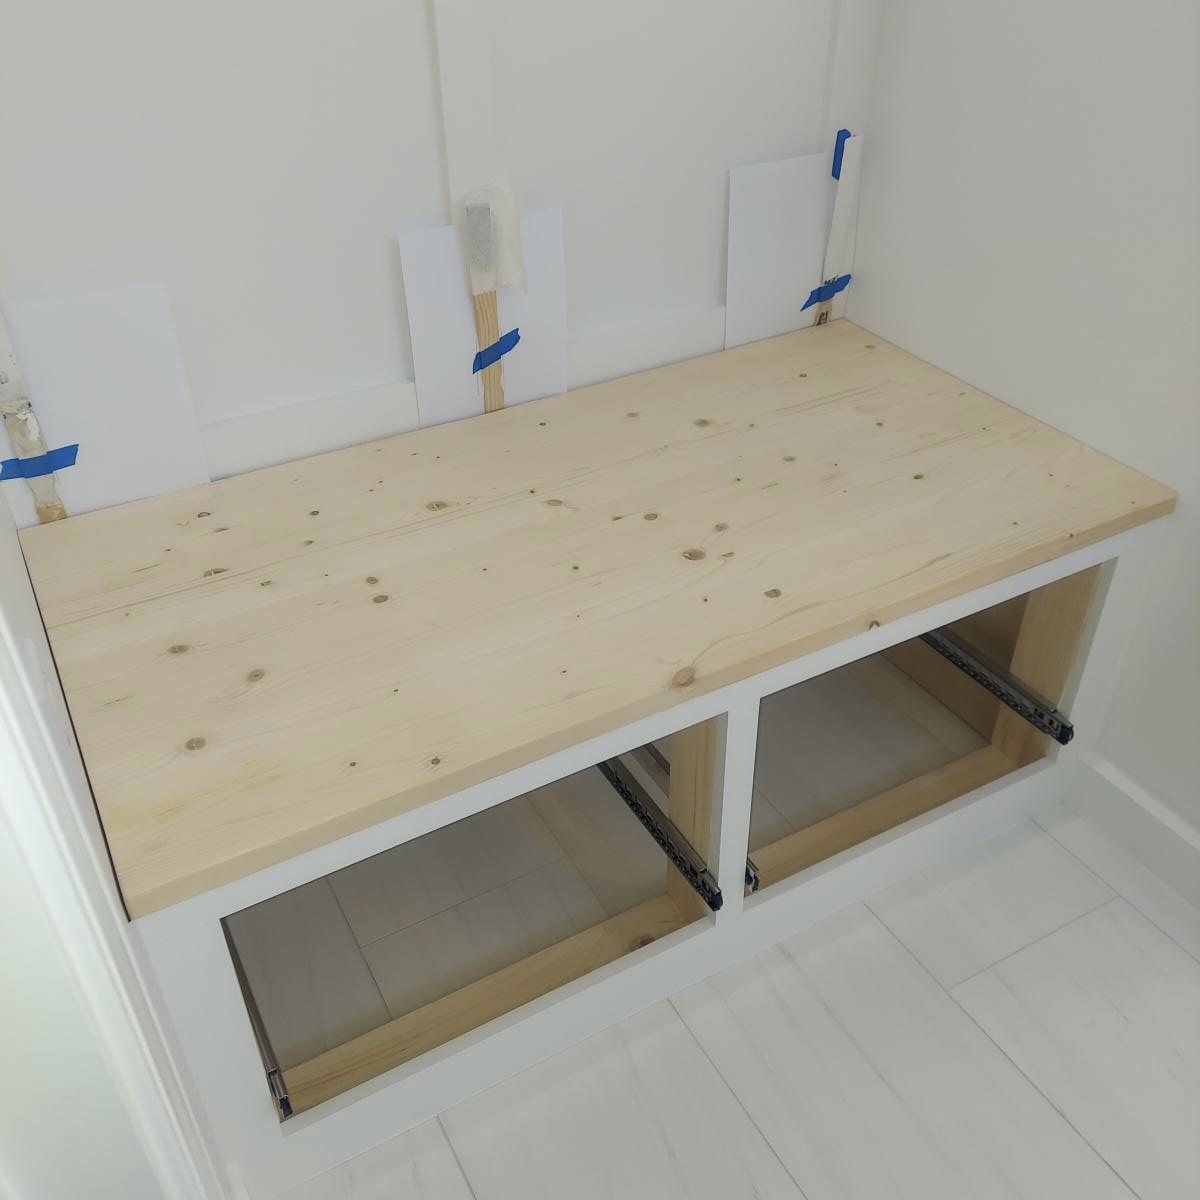
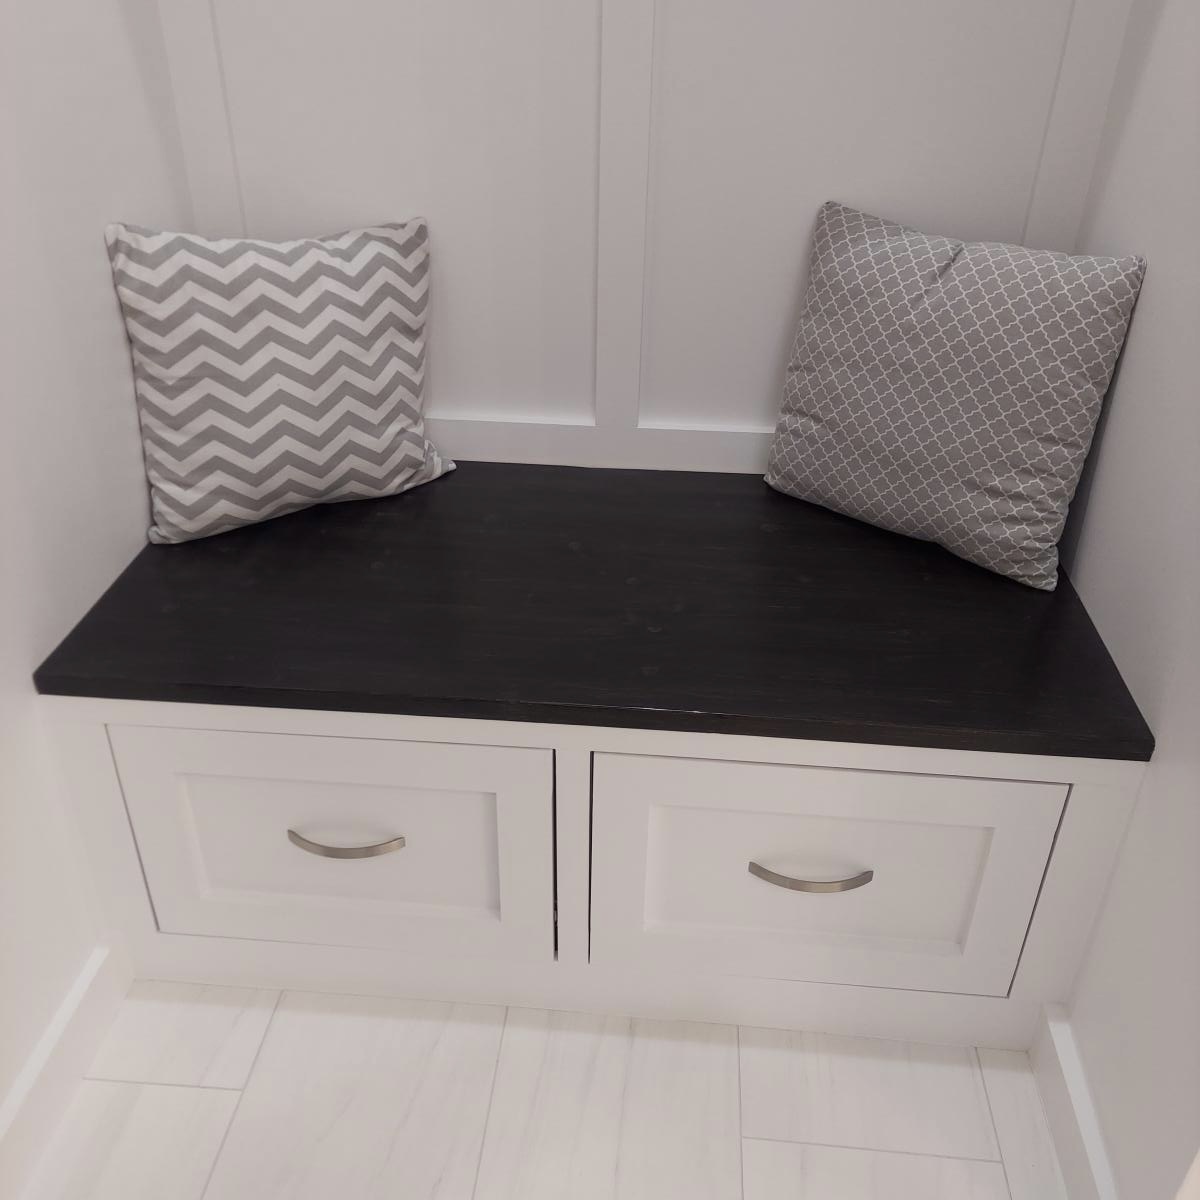
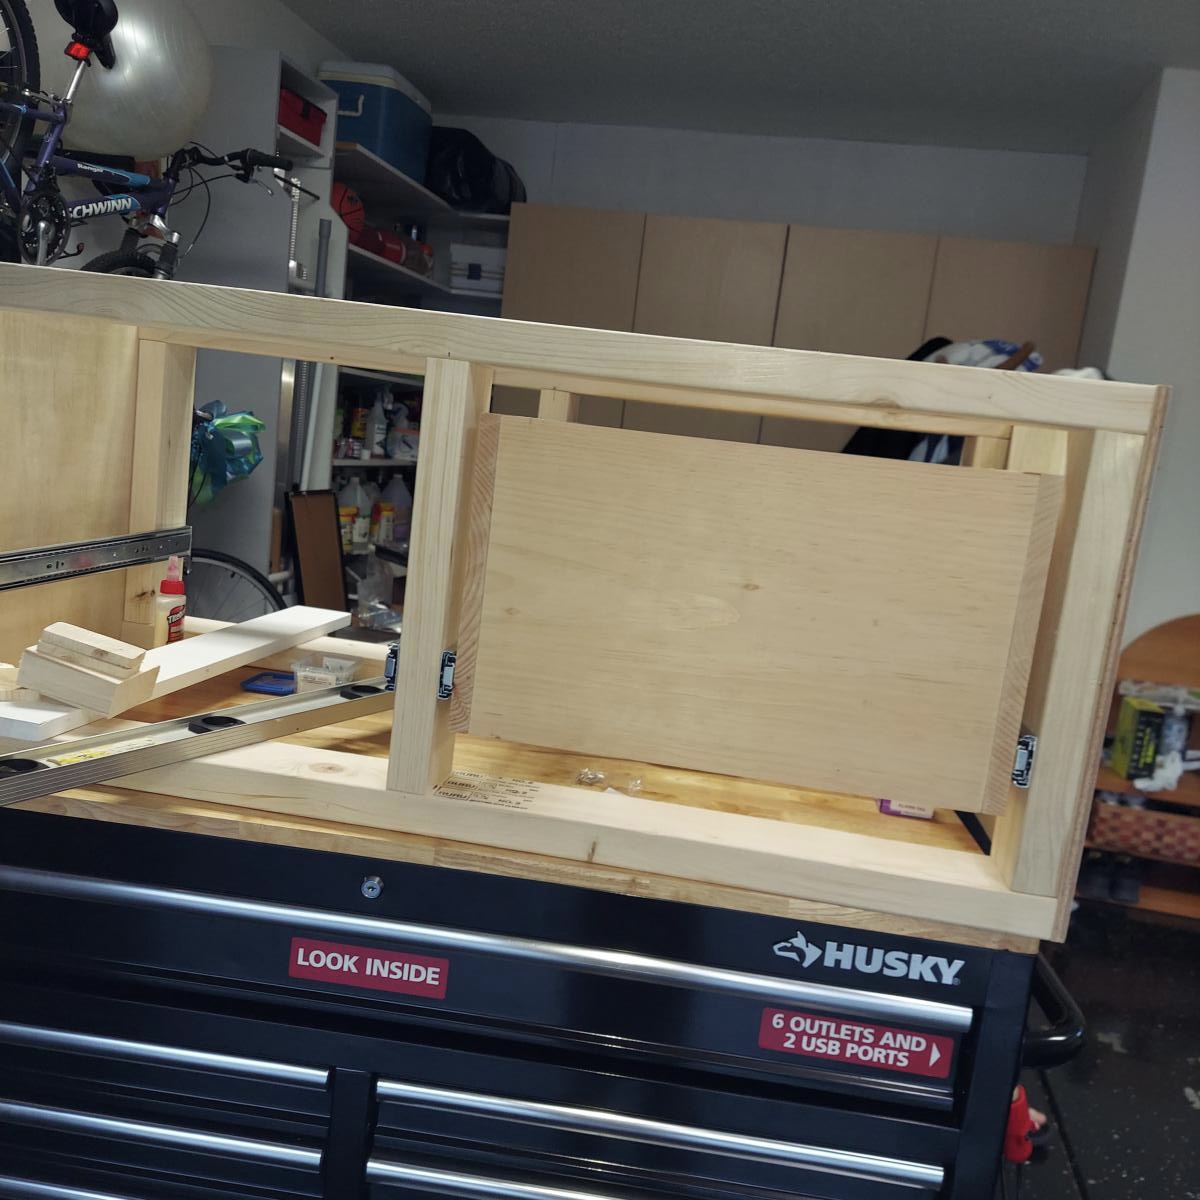
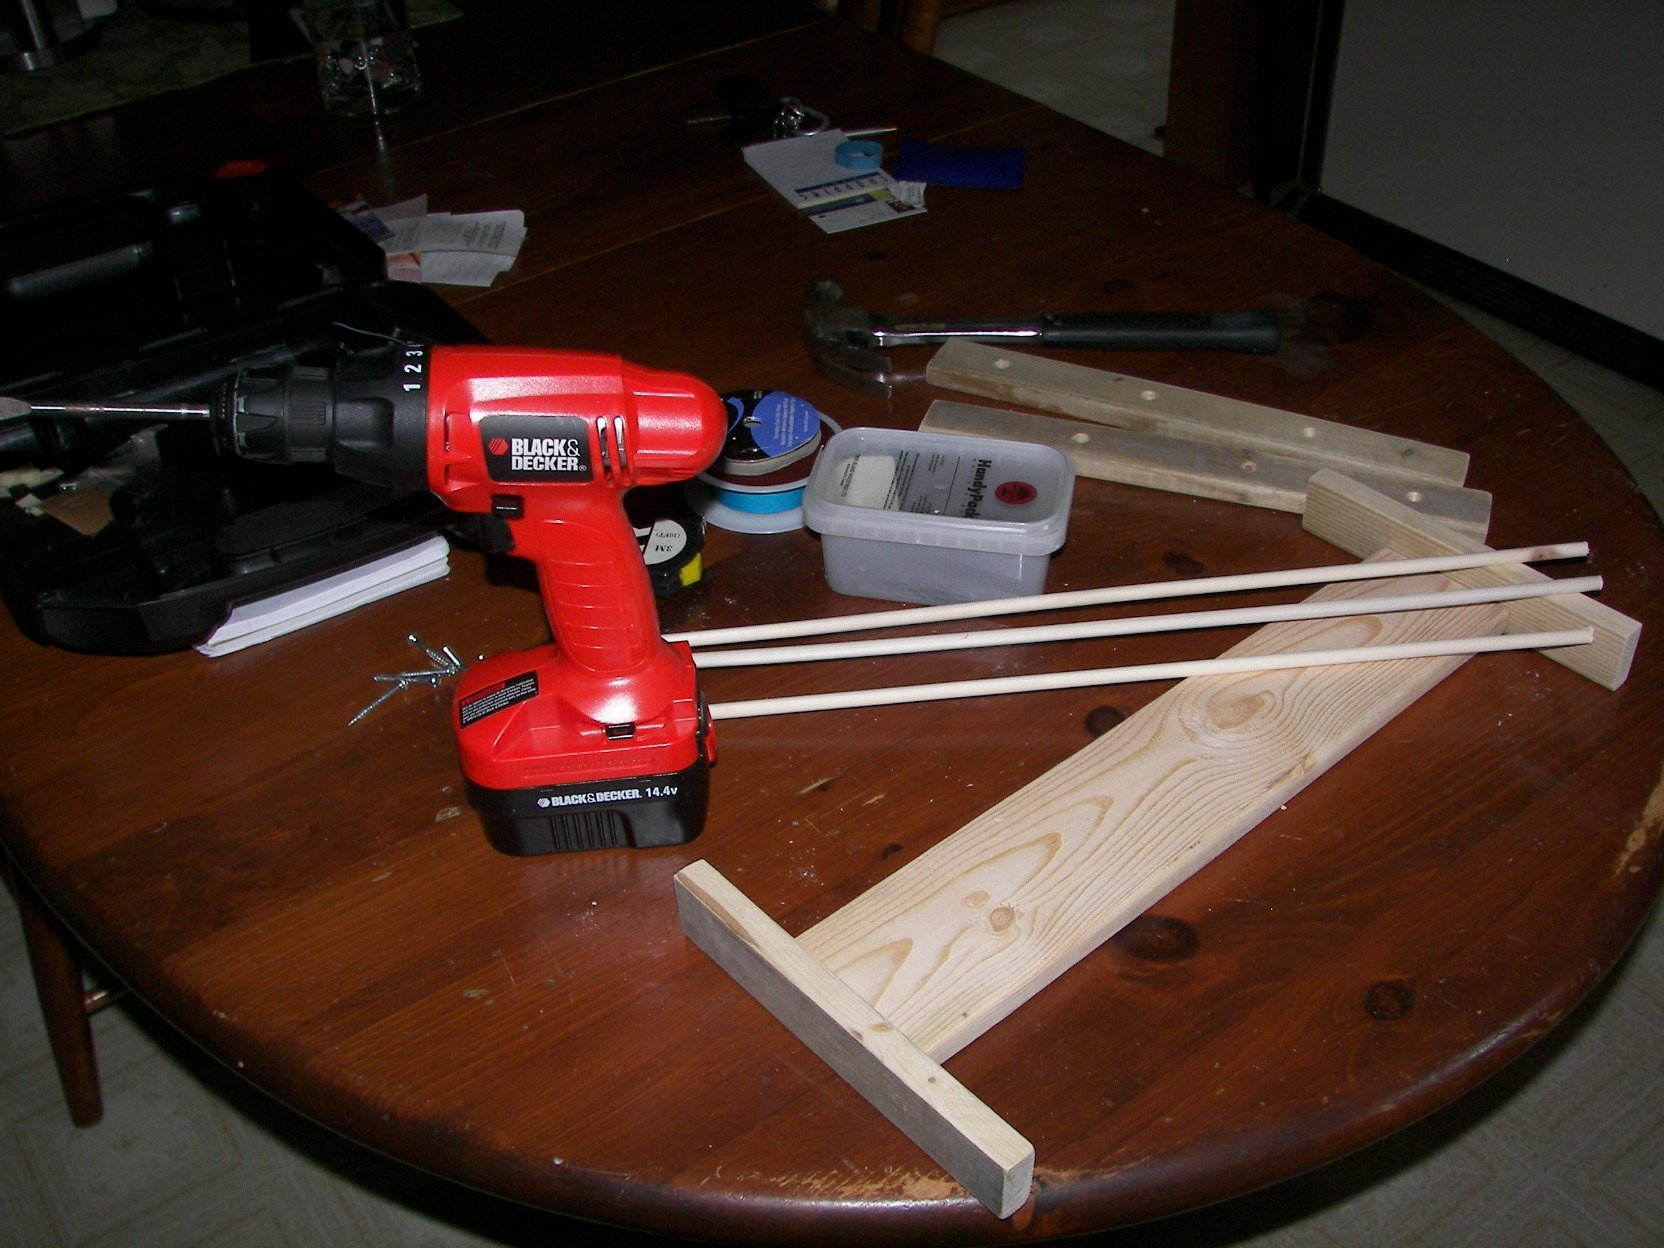
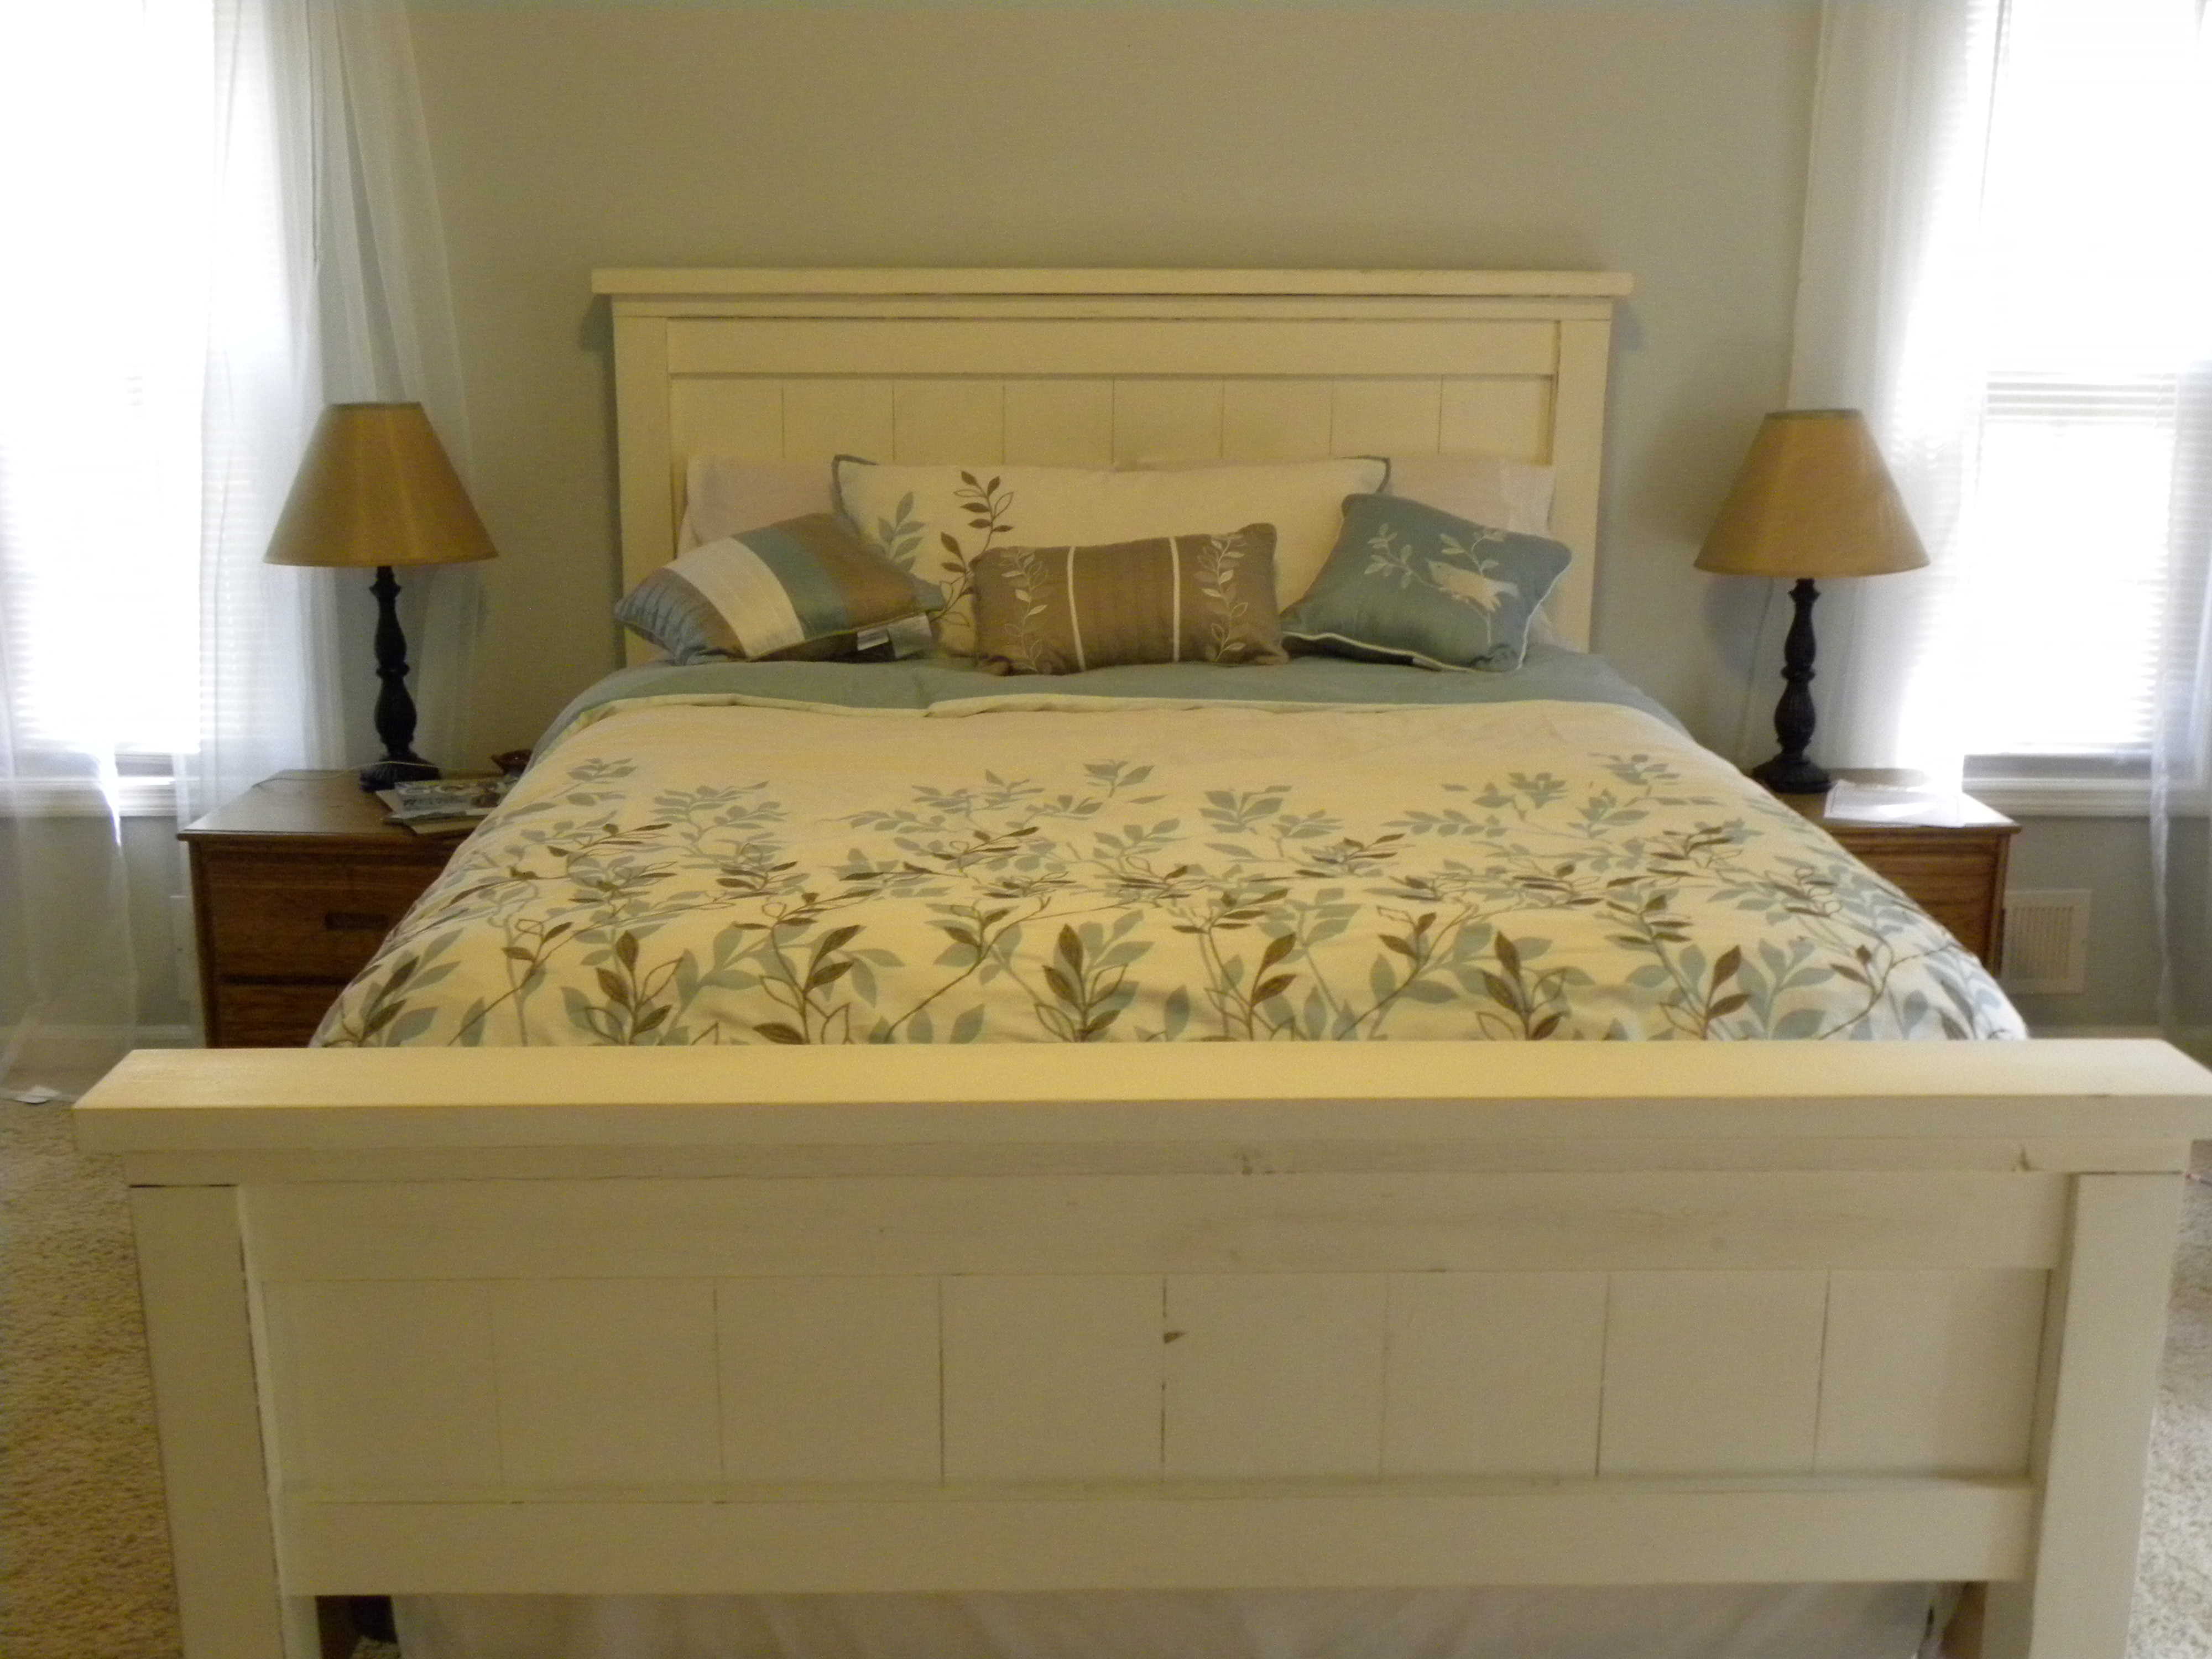
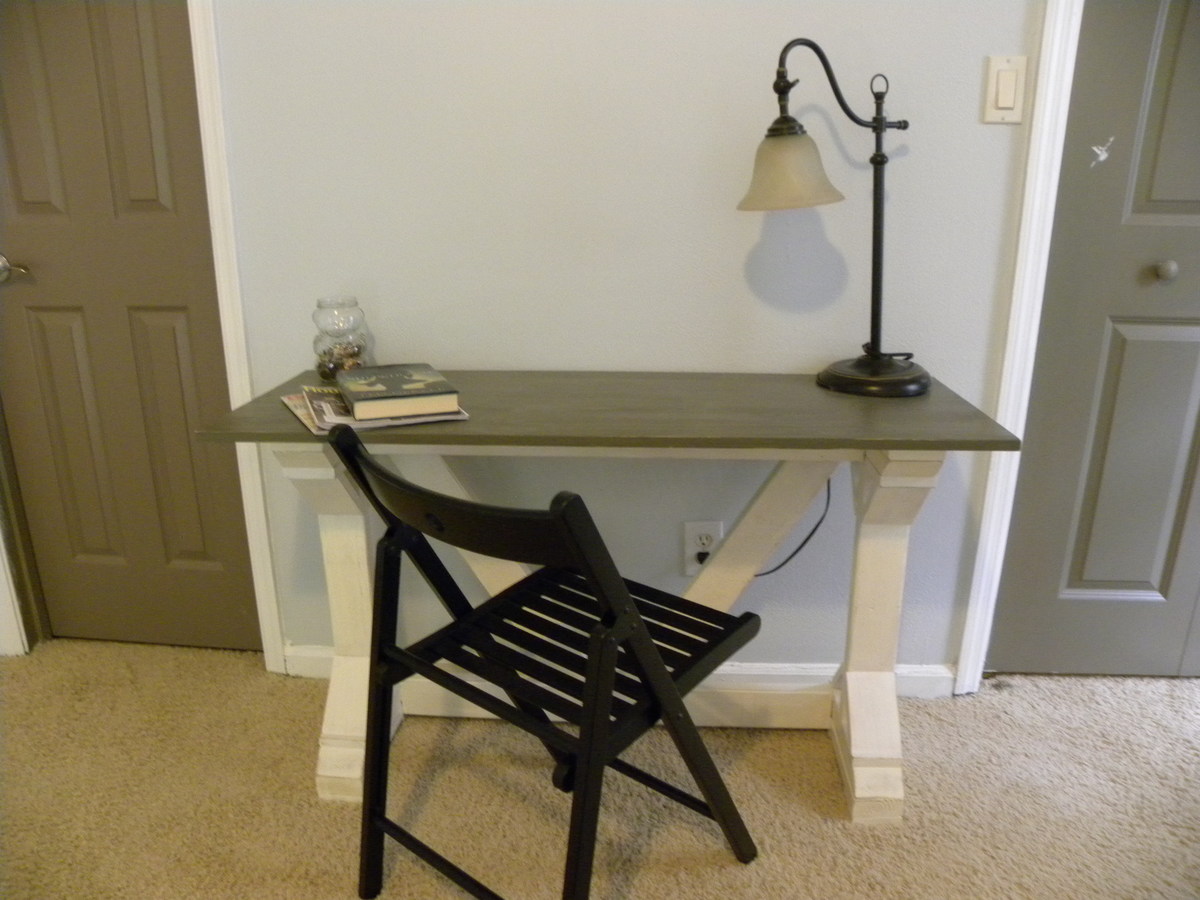
First Time Build
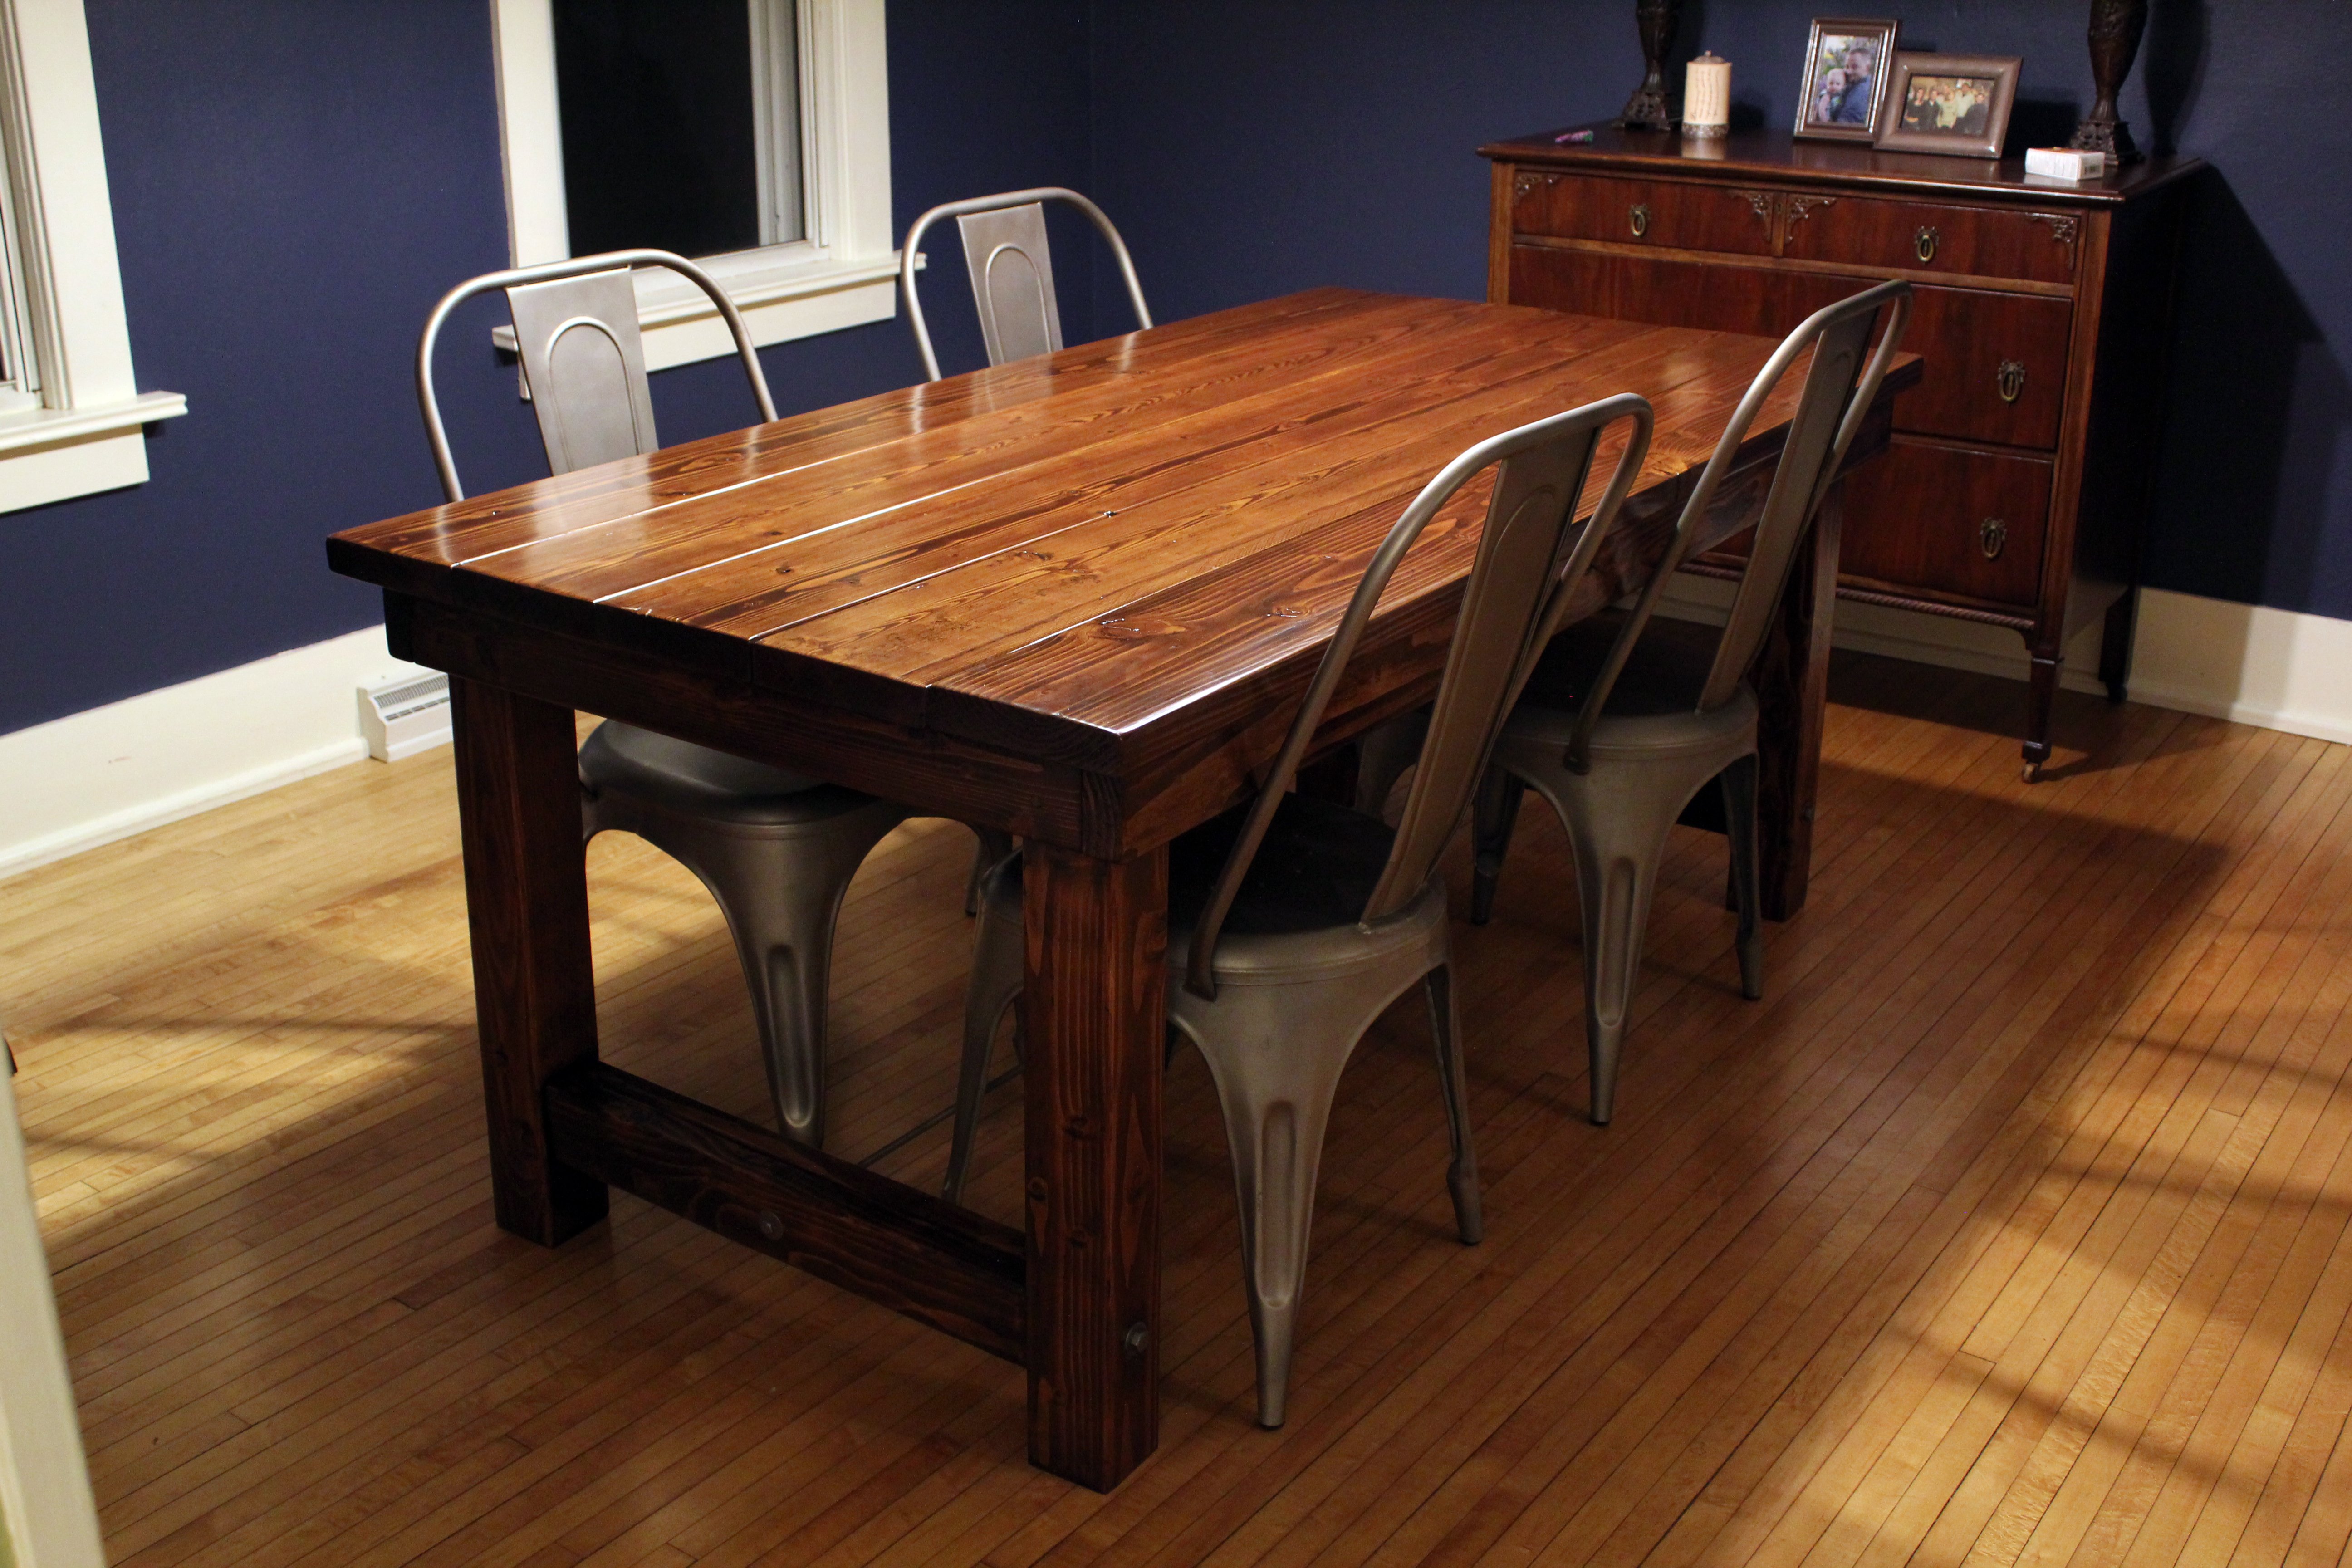
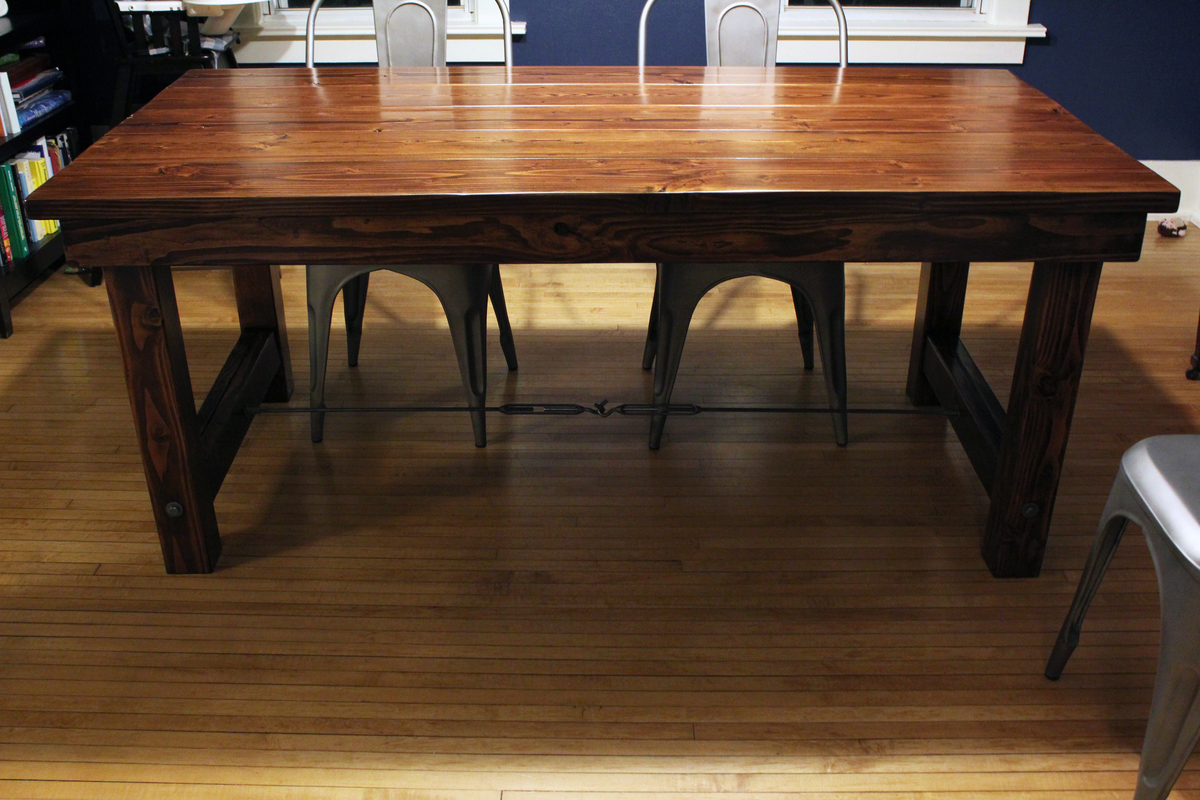
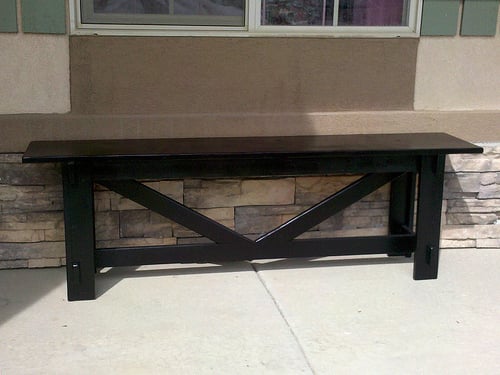
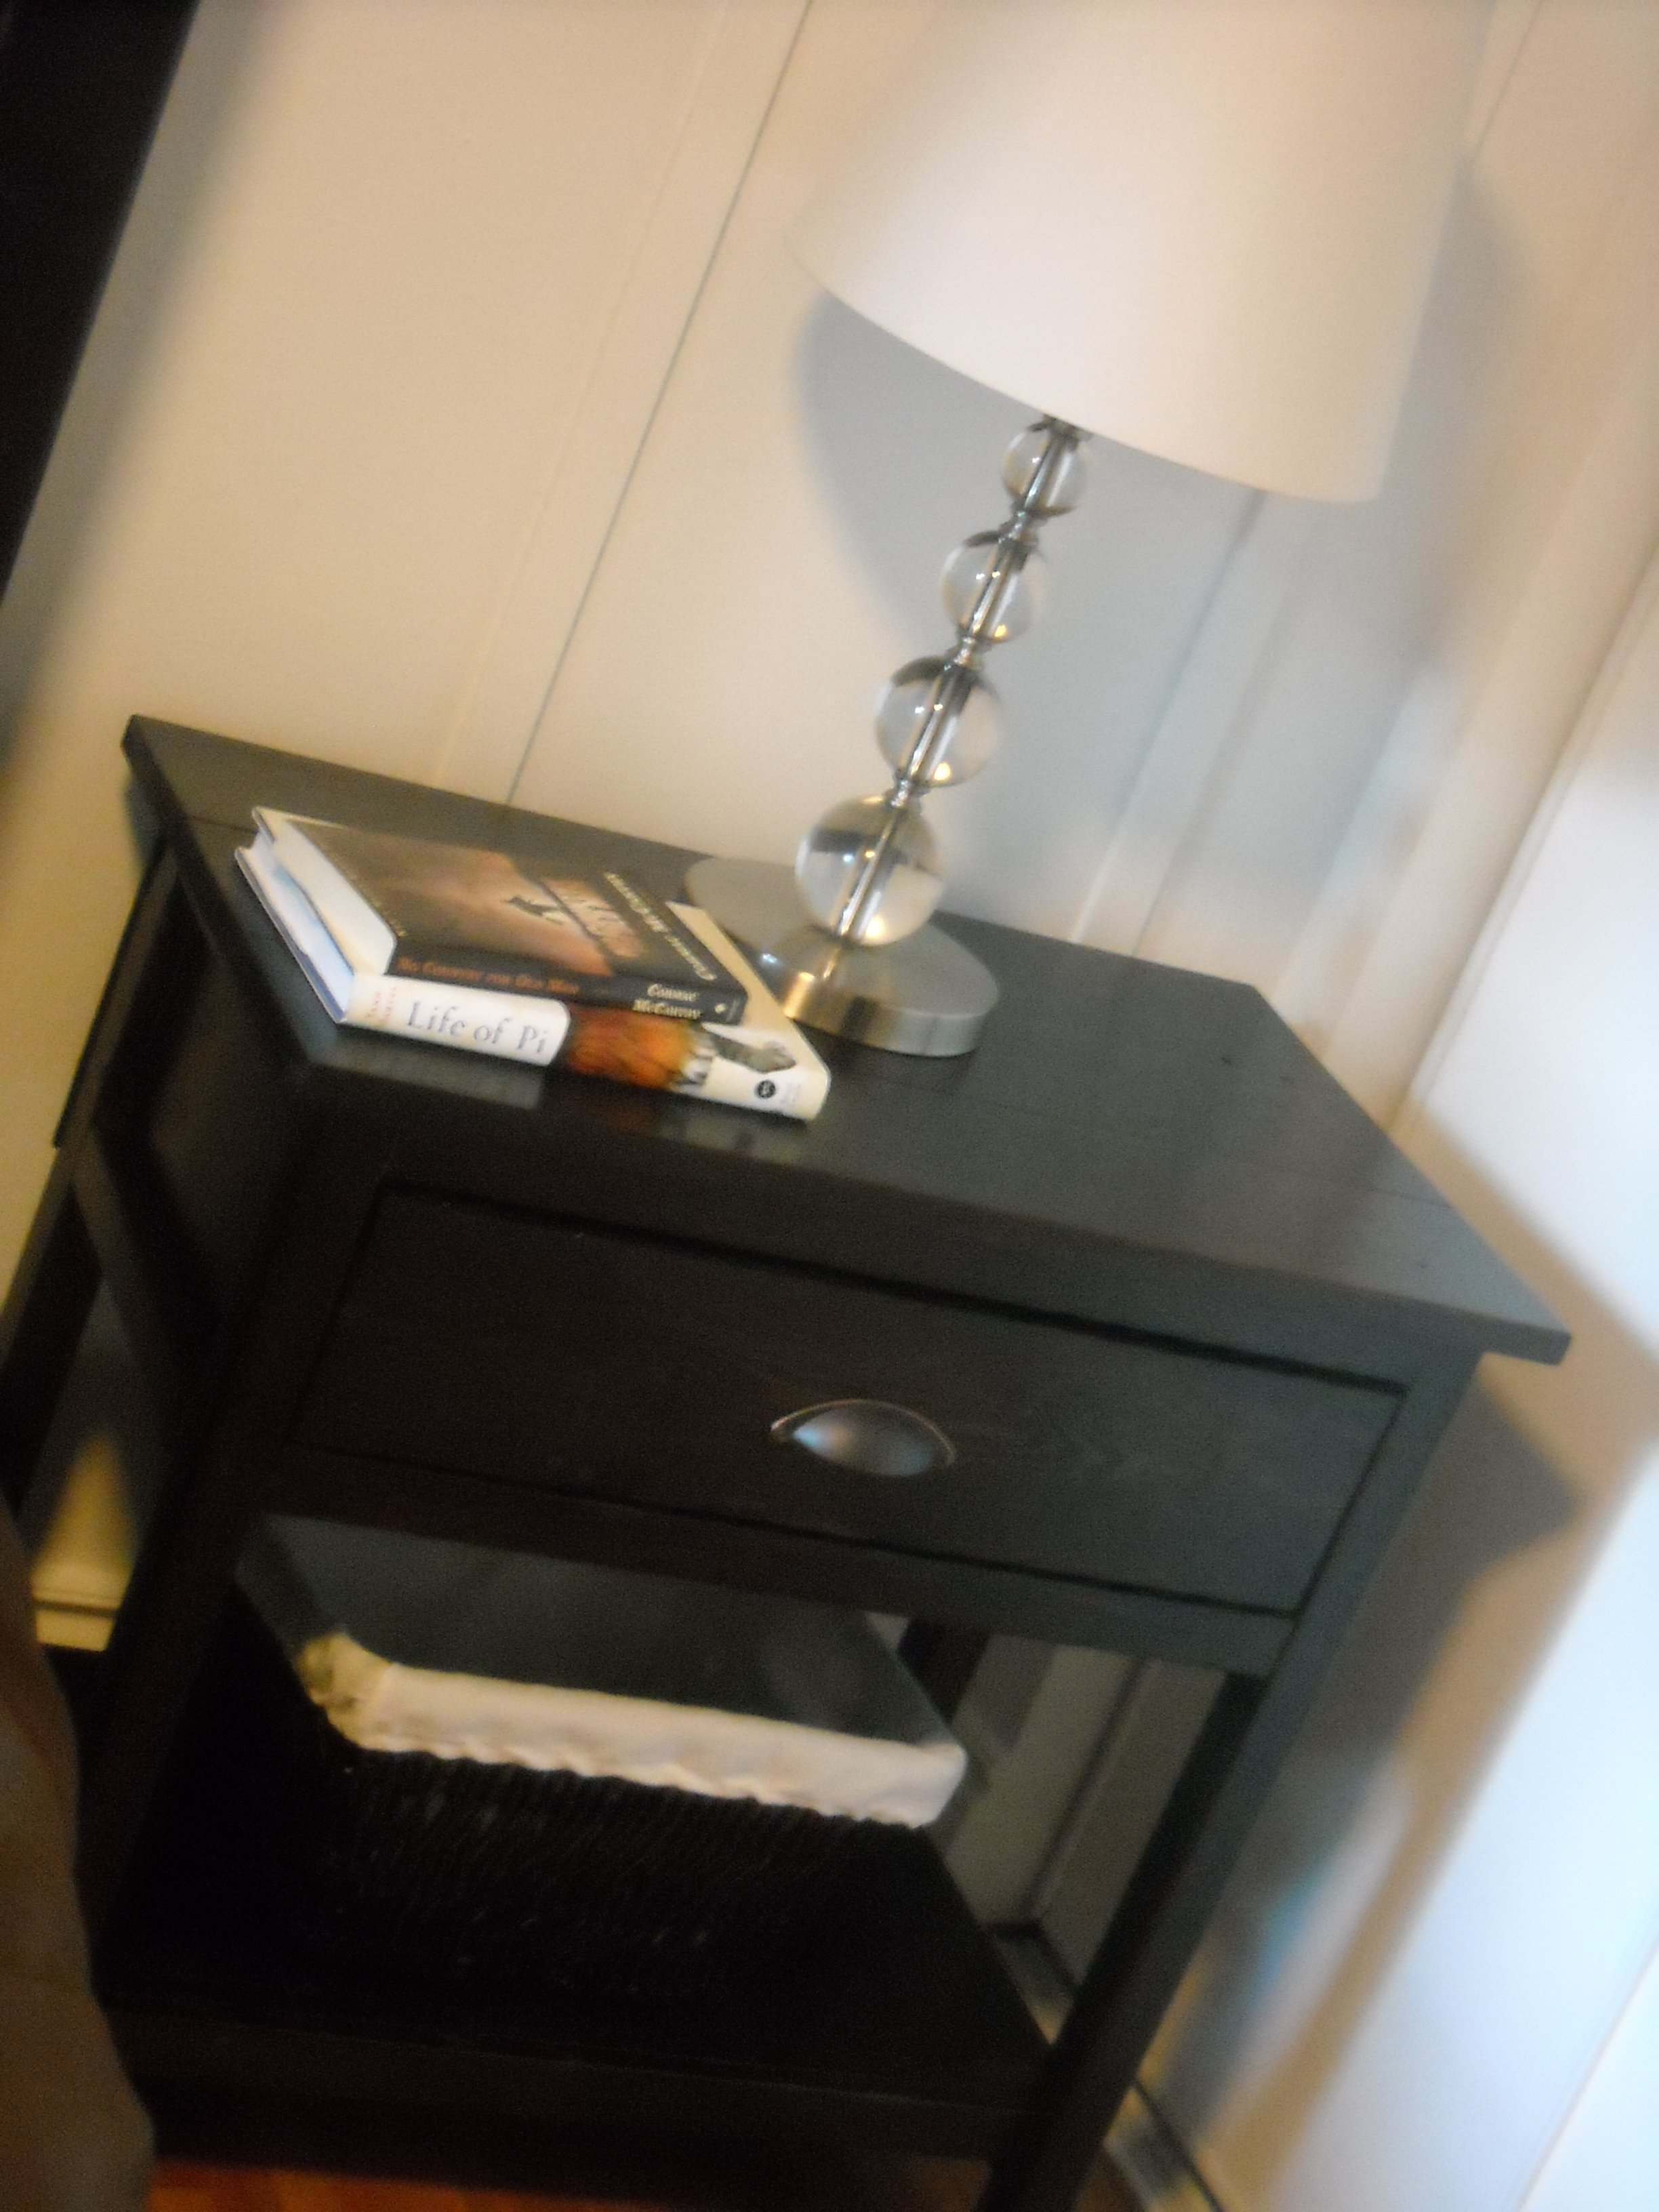
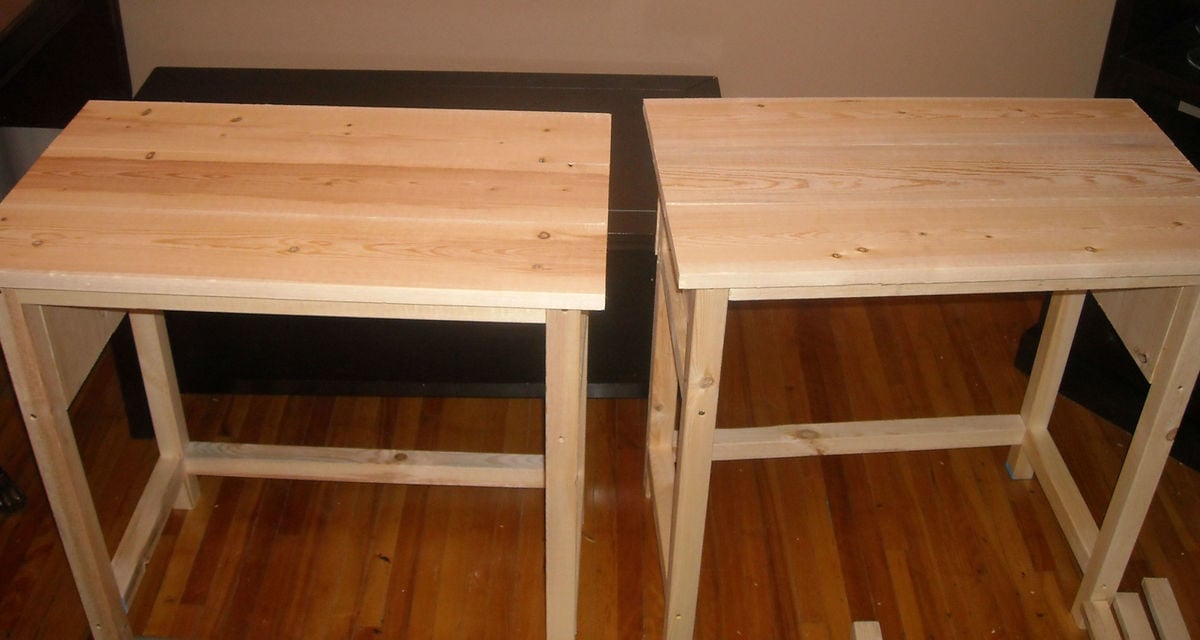
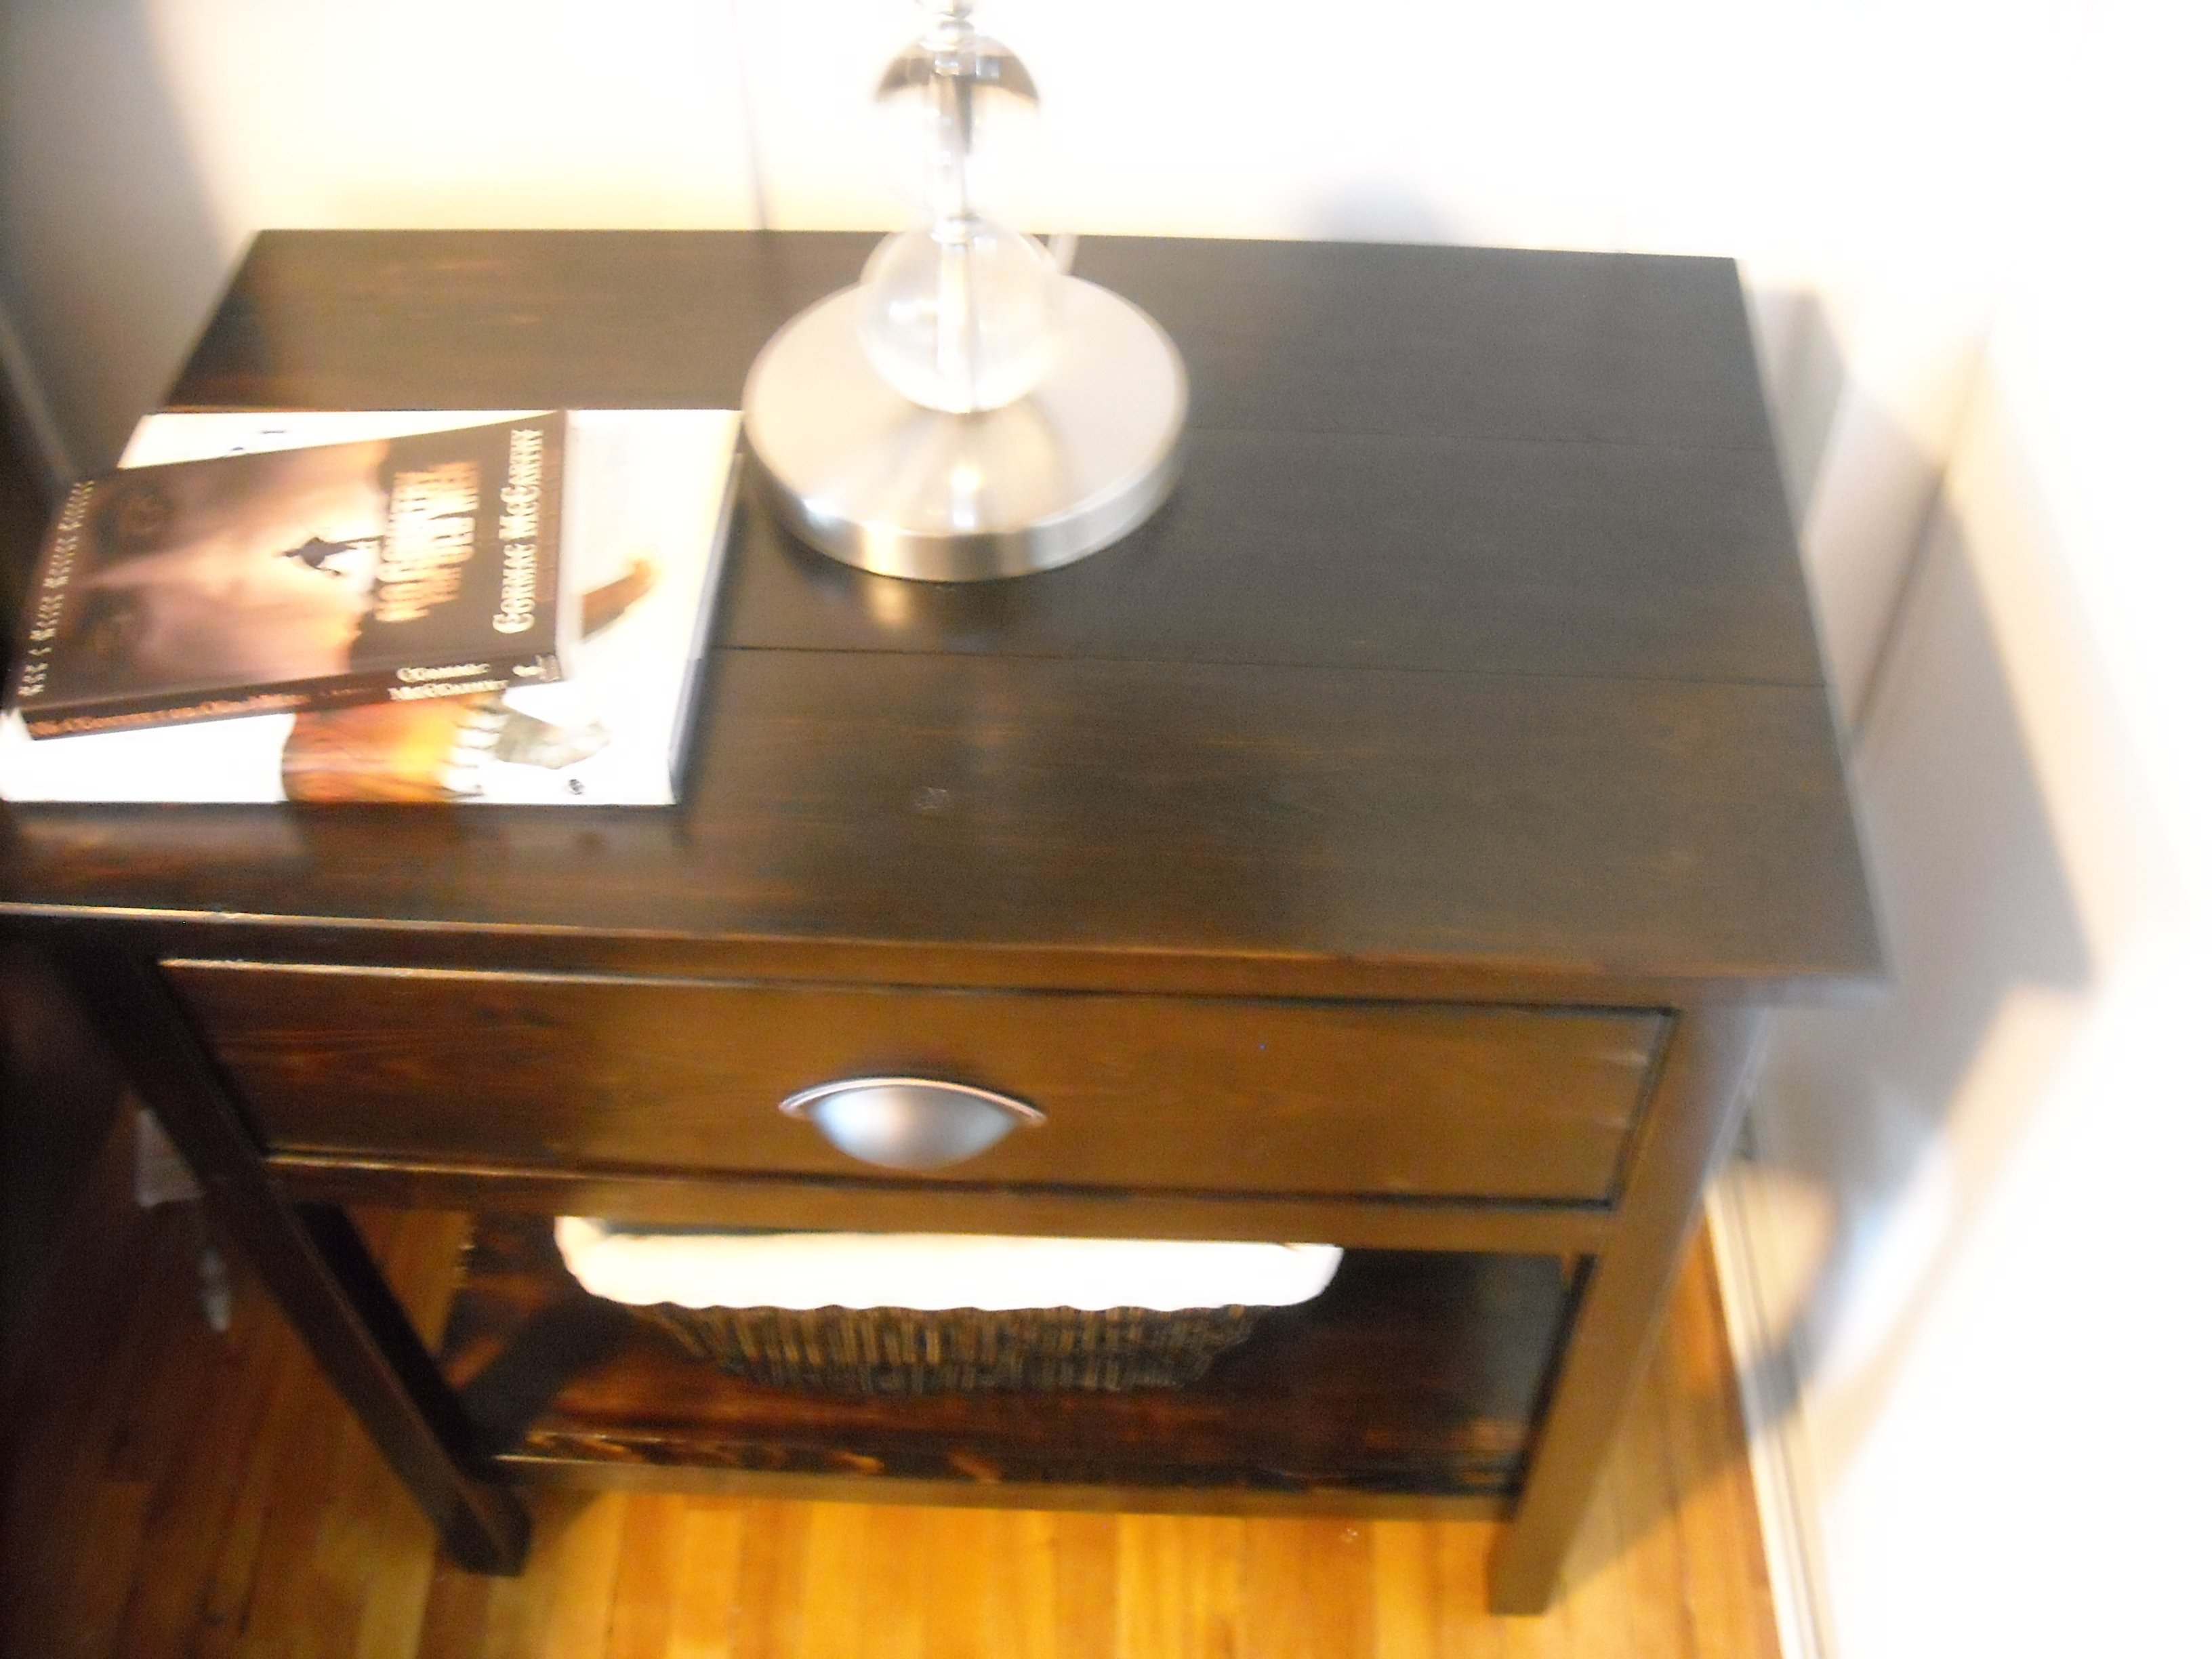
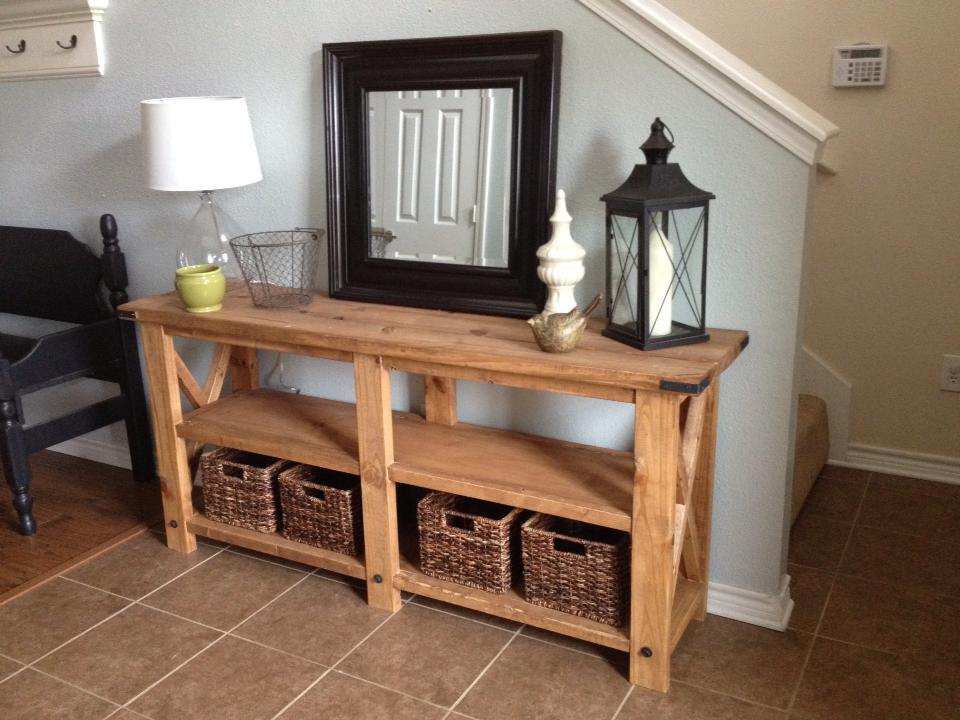
This was my first large project. Built it in one very long day and then finished over a few weeks. Instead of 2x4's for legs I opted for a 4x4 post with a bolt running through. I didn't really want to figure out the square washer so I just went with standard round. I spray painted all of the hardware silver with Rust-Oleum Universal Hammered Spray paint to coordinate with the Tolix like chairs I purchased from Restoration Hardware.
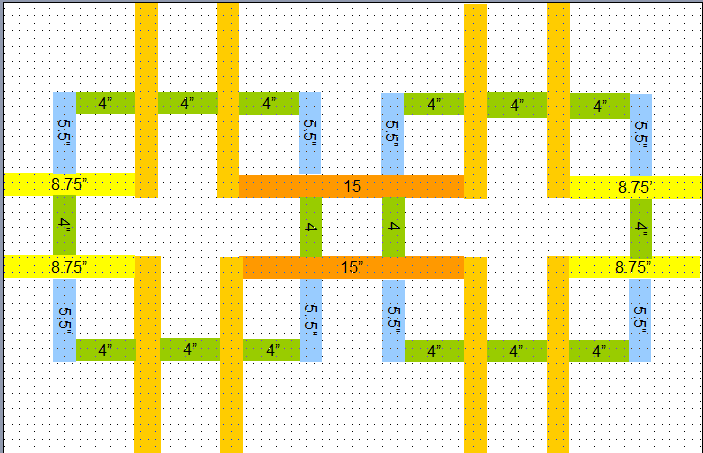
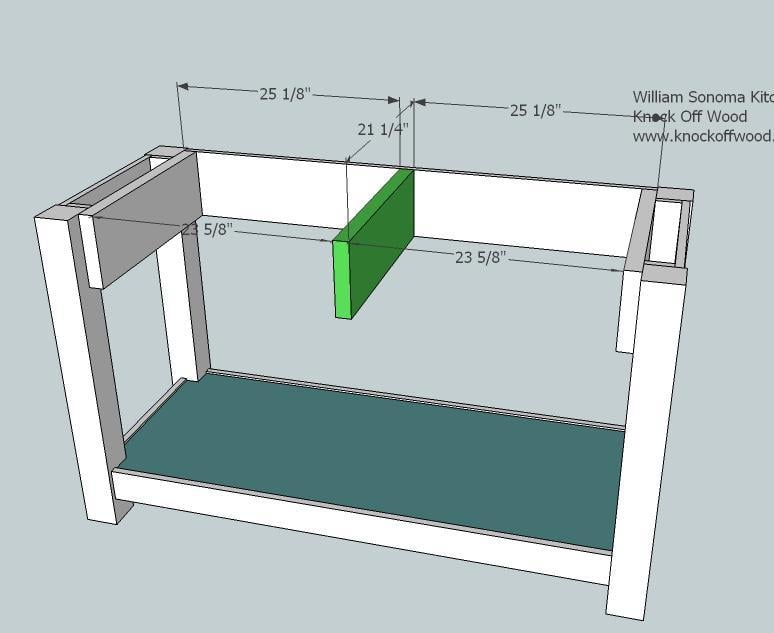
Built from Plan(s)
Estimated Cost
$87 for wood + $32 for stain and brushes = $119
Estimated Time Investment
Weekend Project (10-20 Hours)
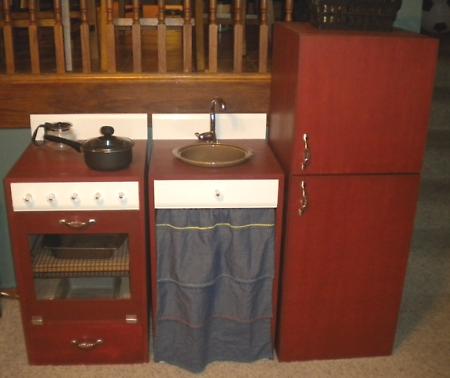
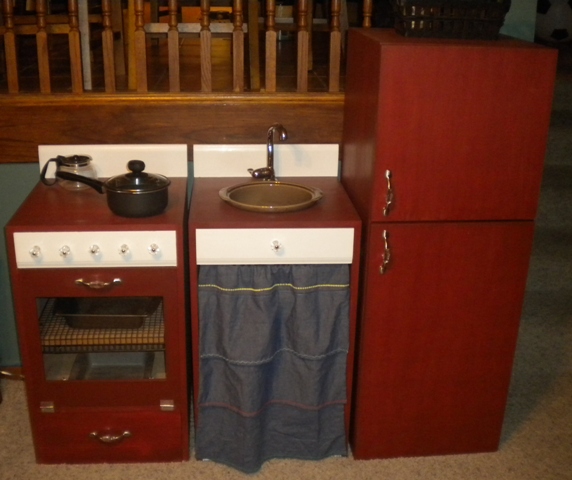
Finish Used
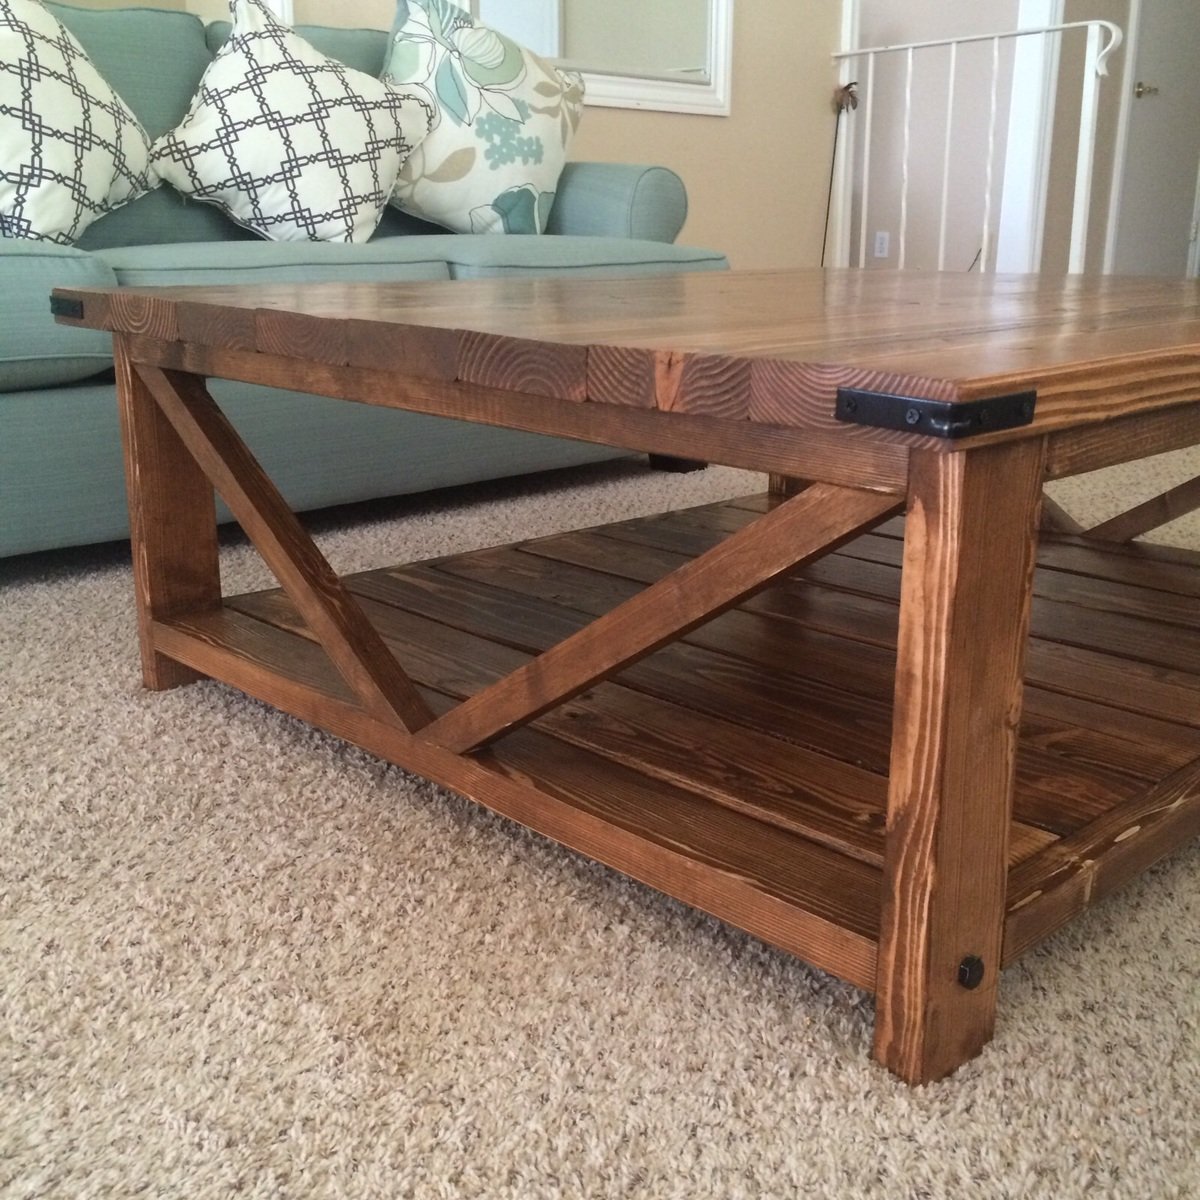
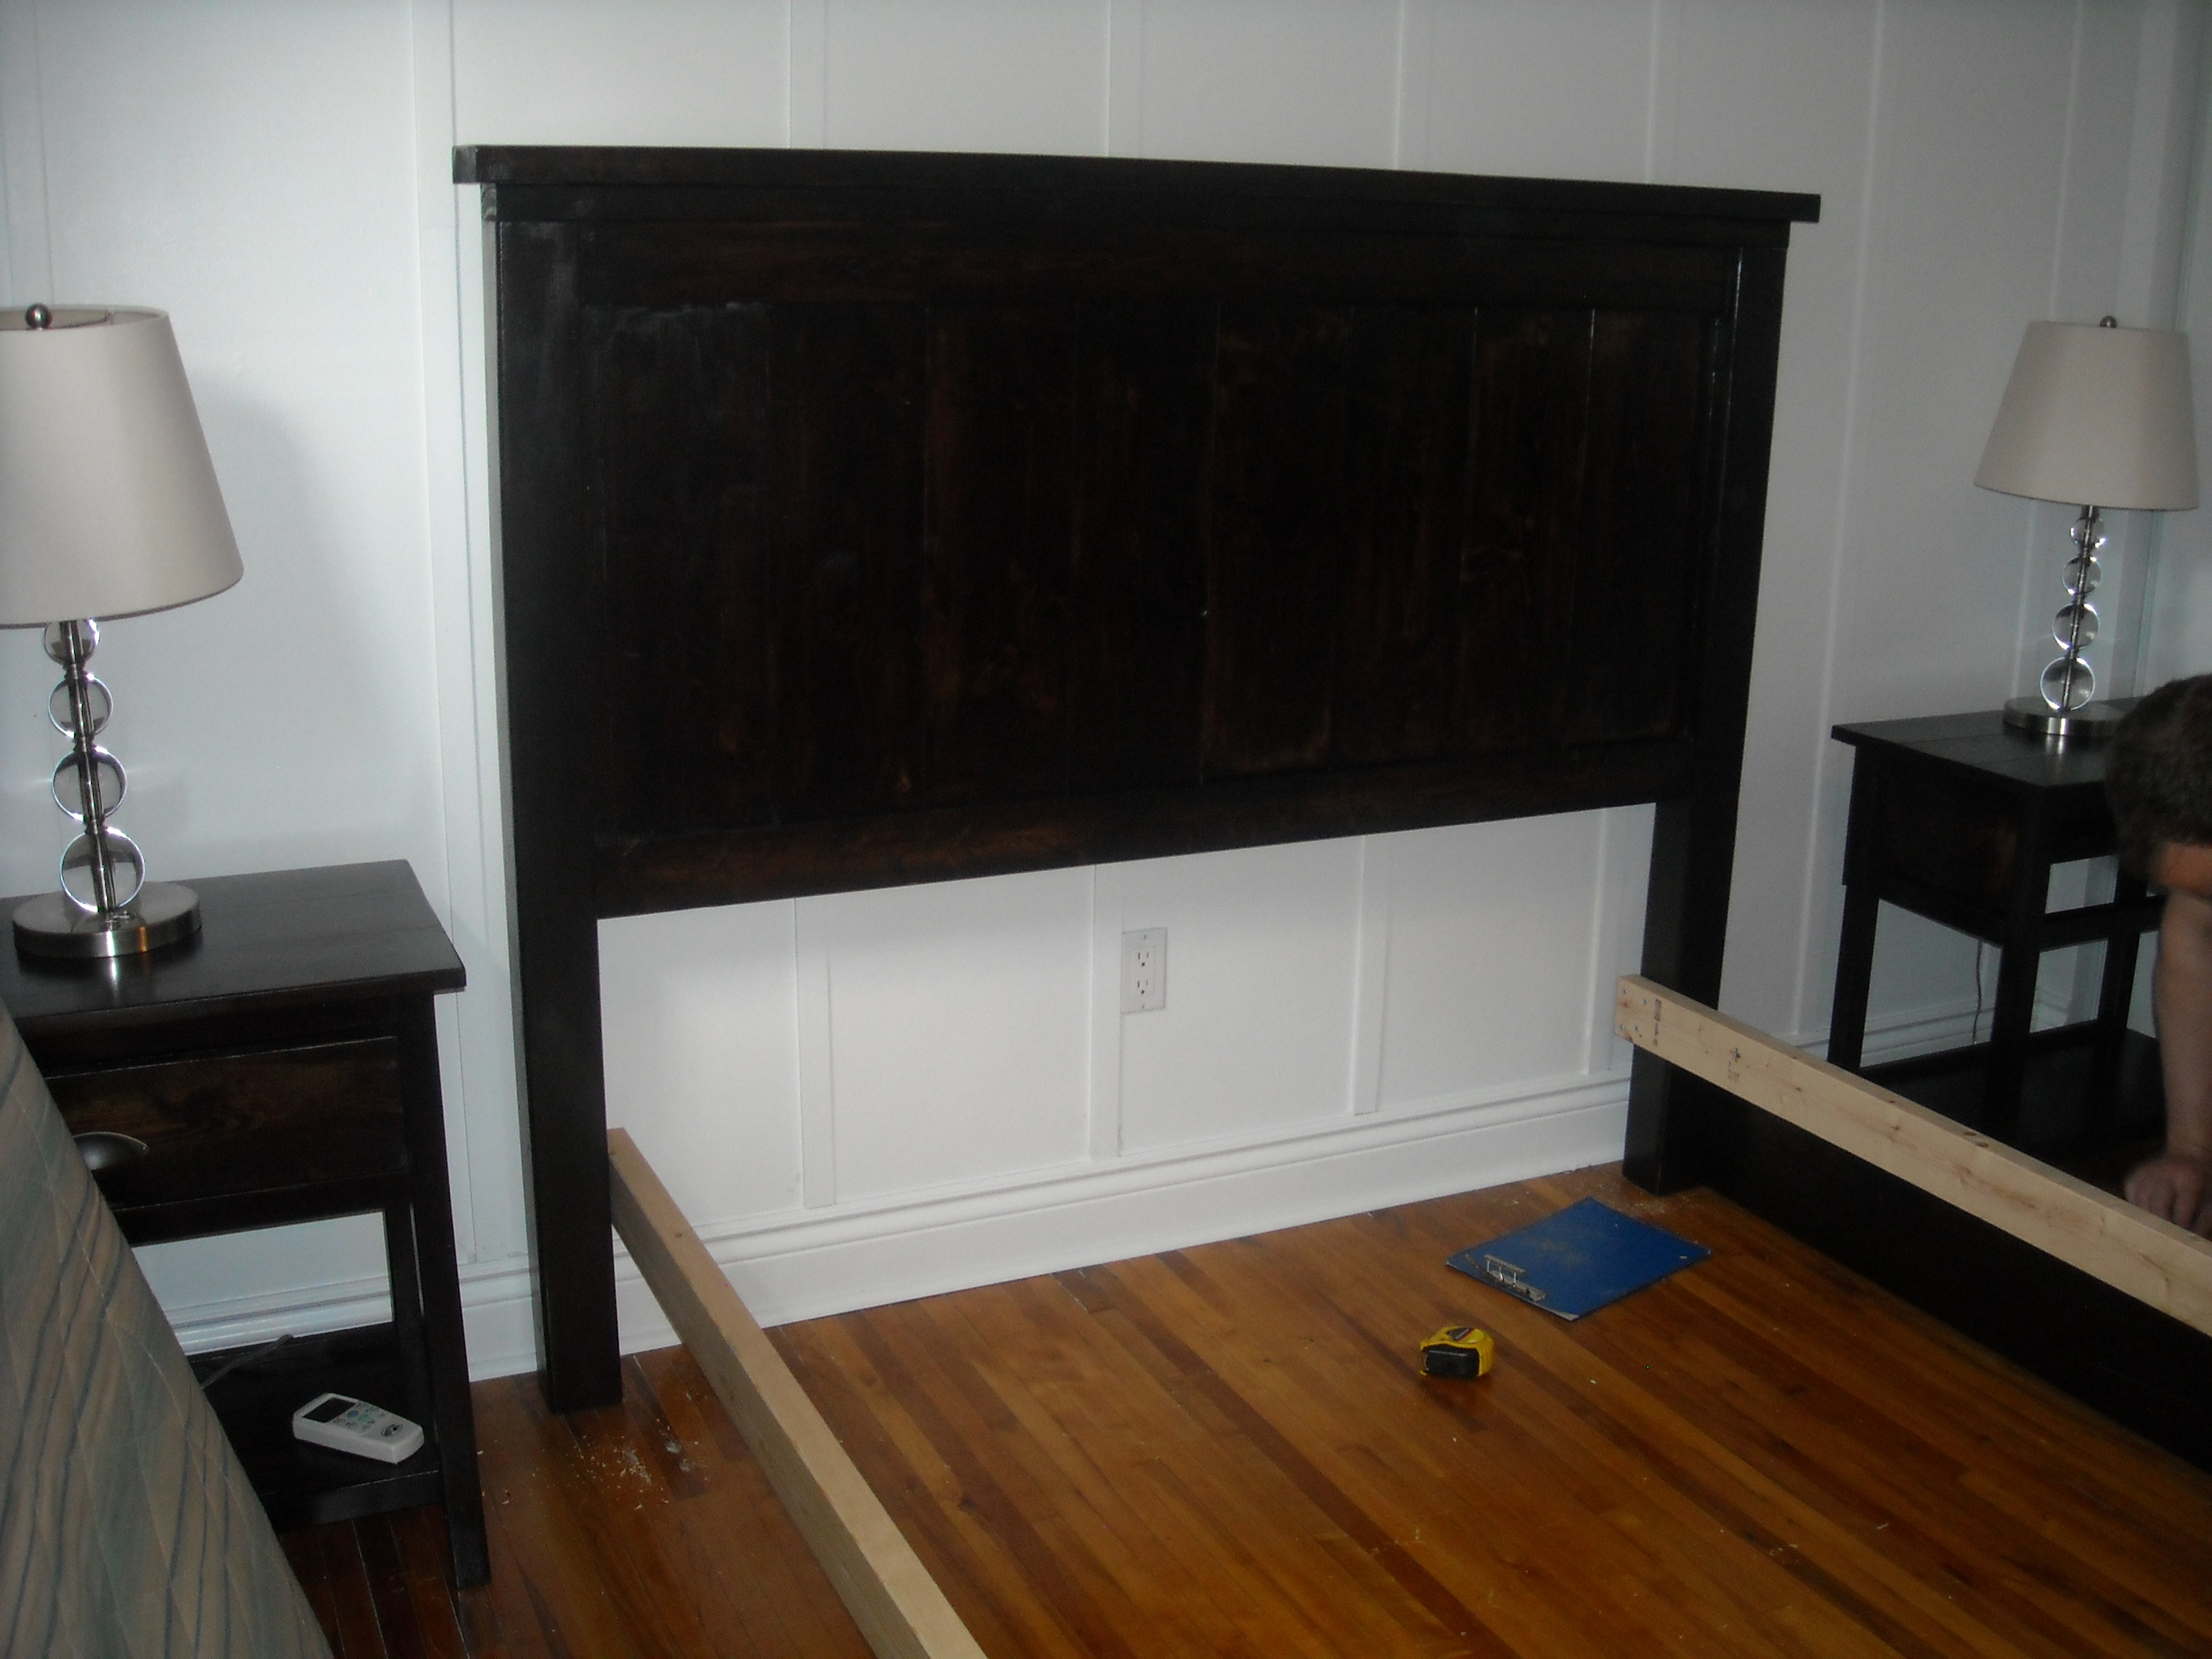
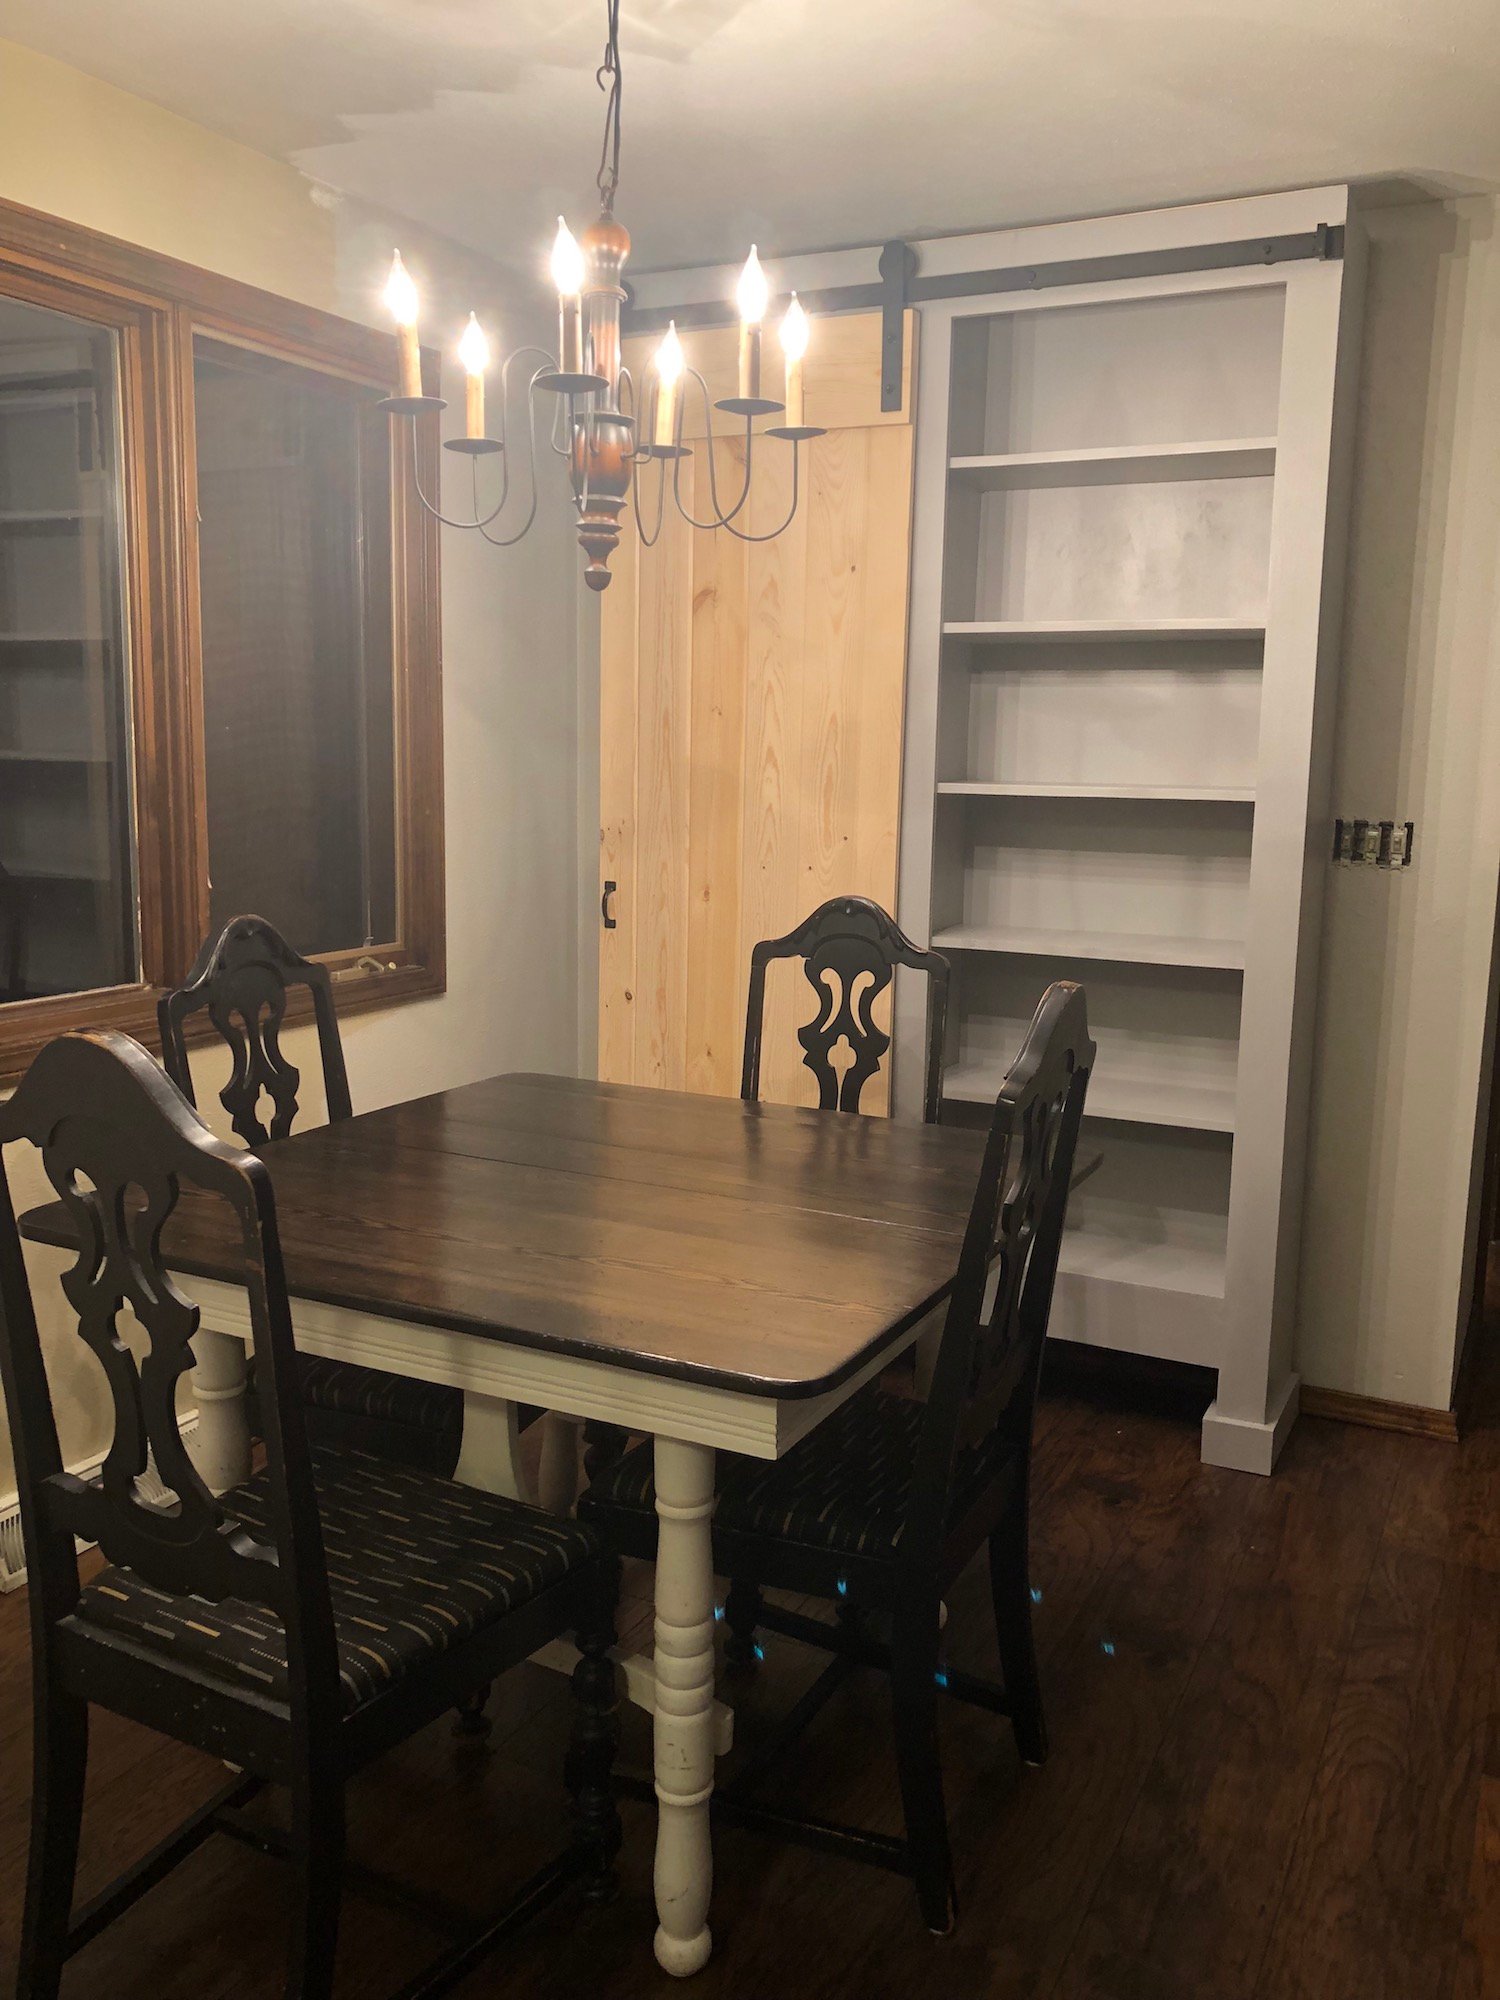
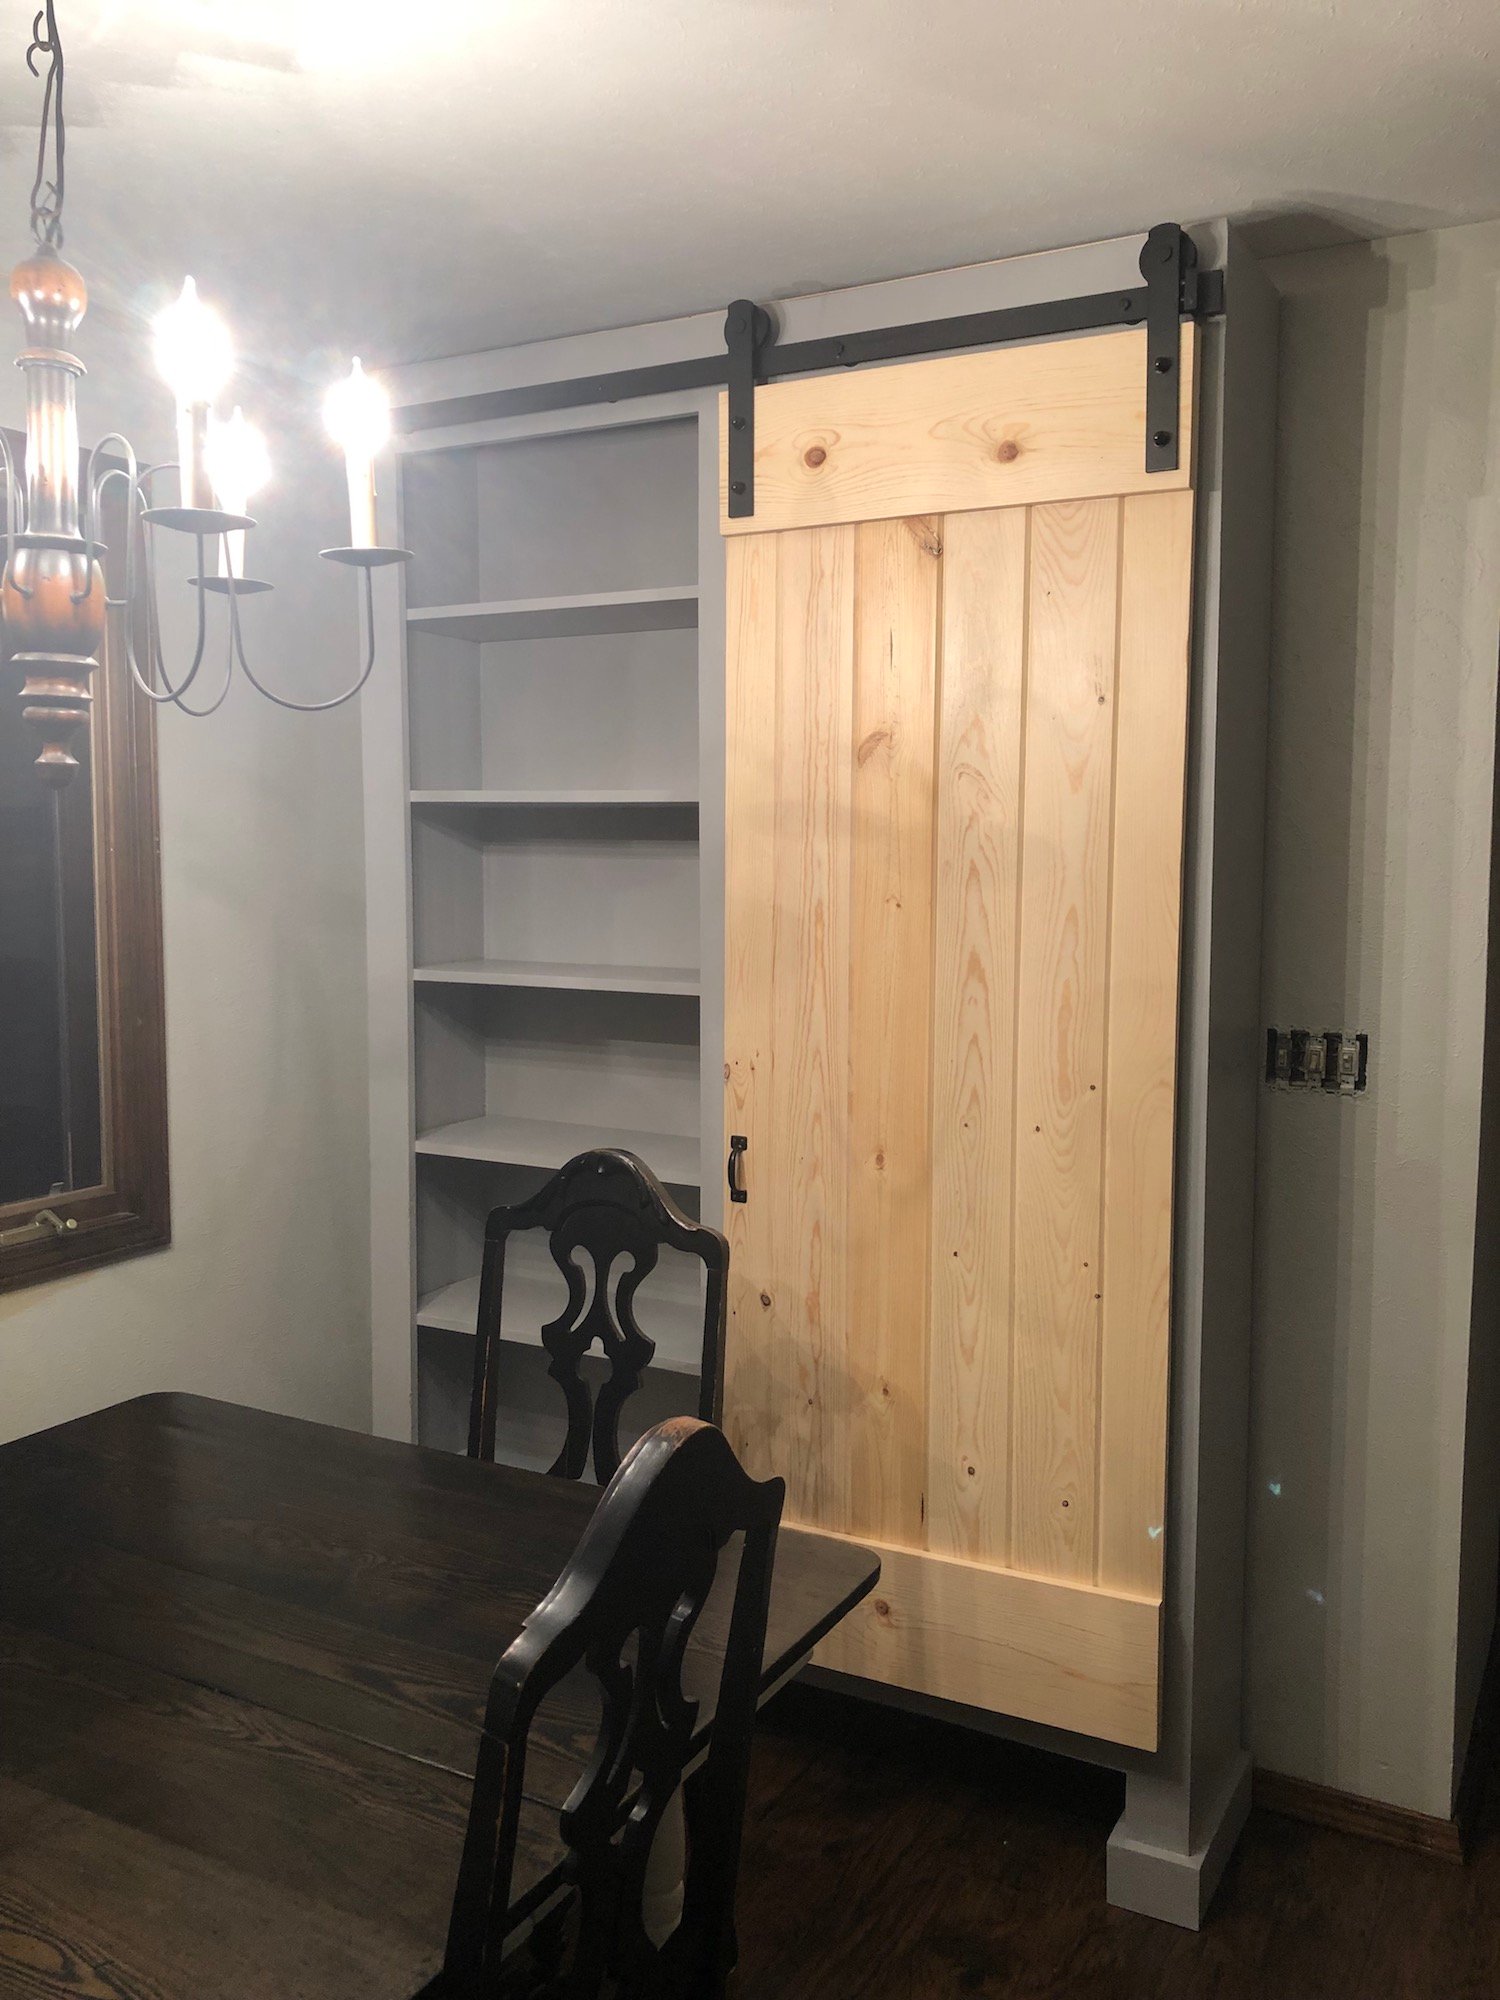
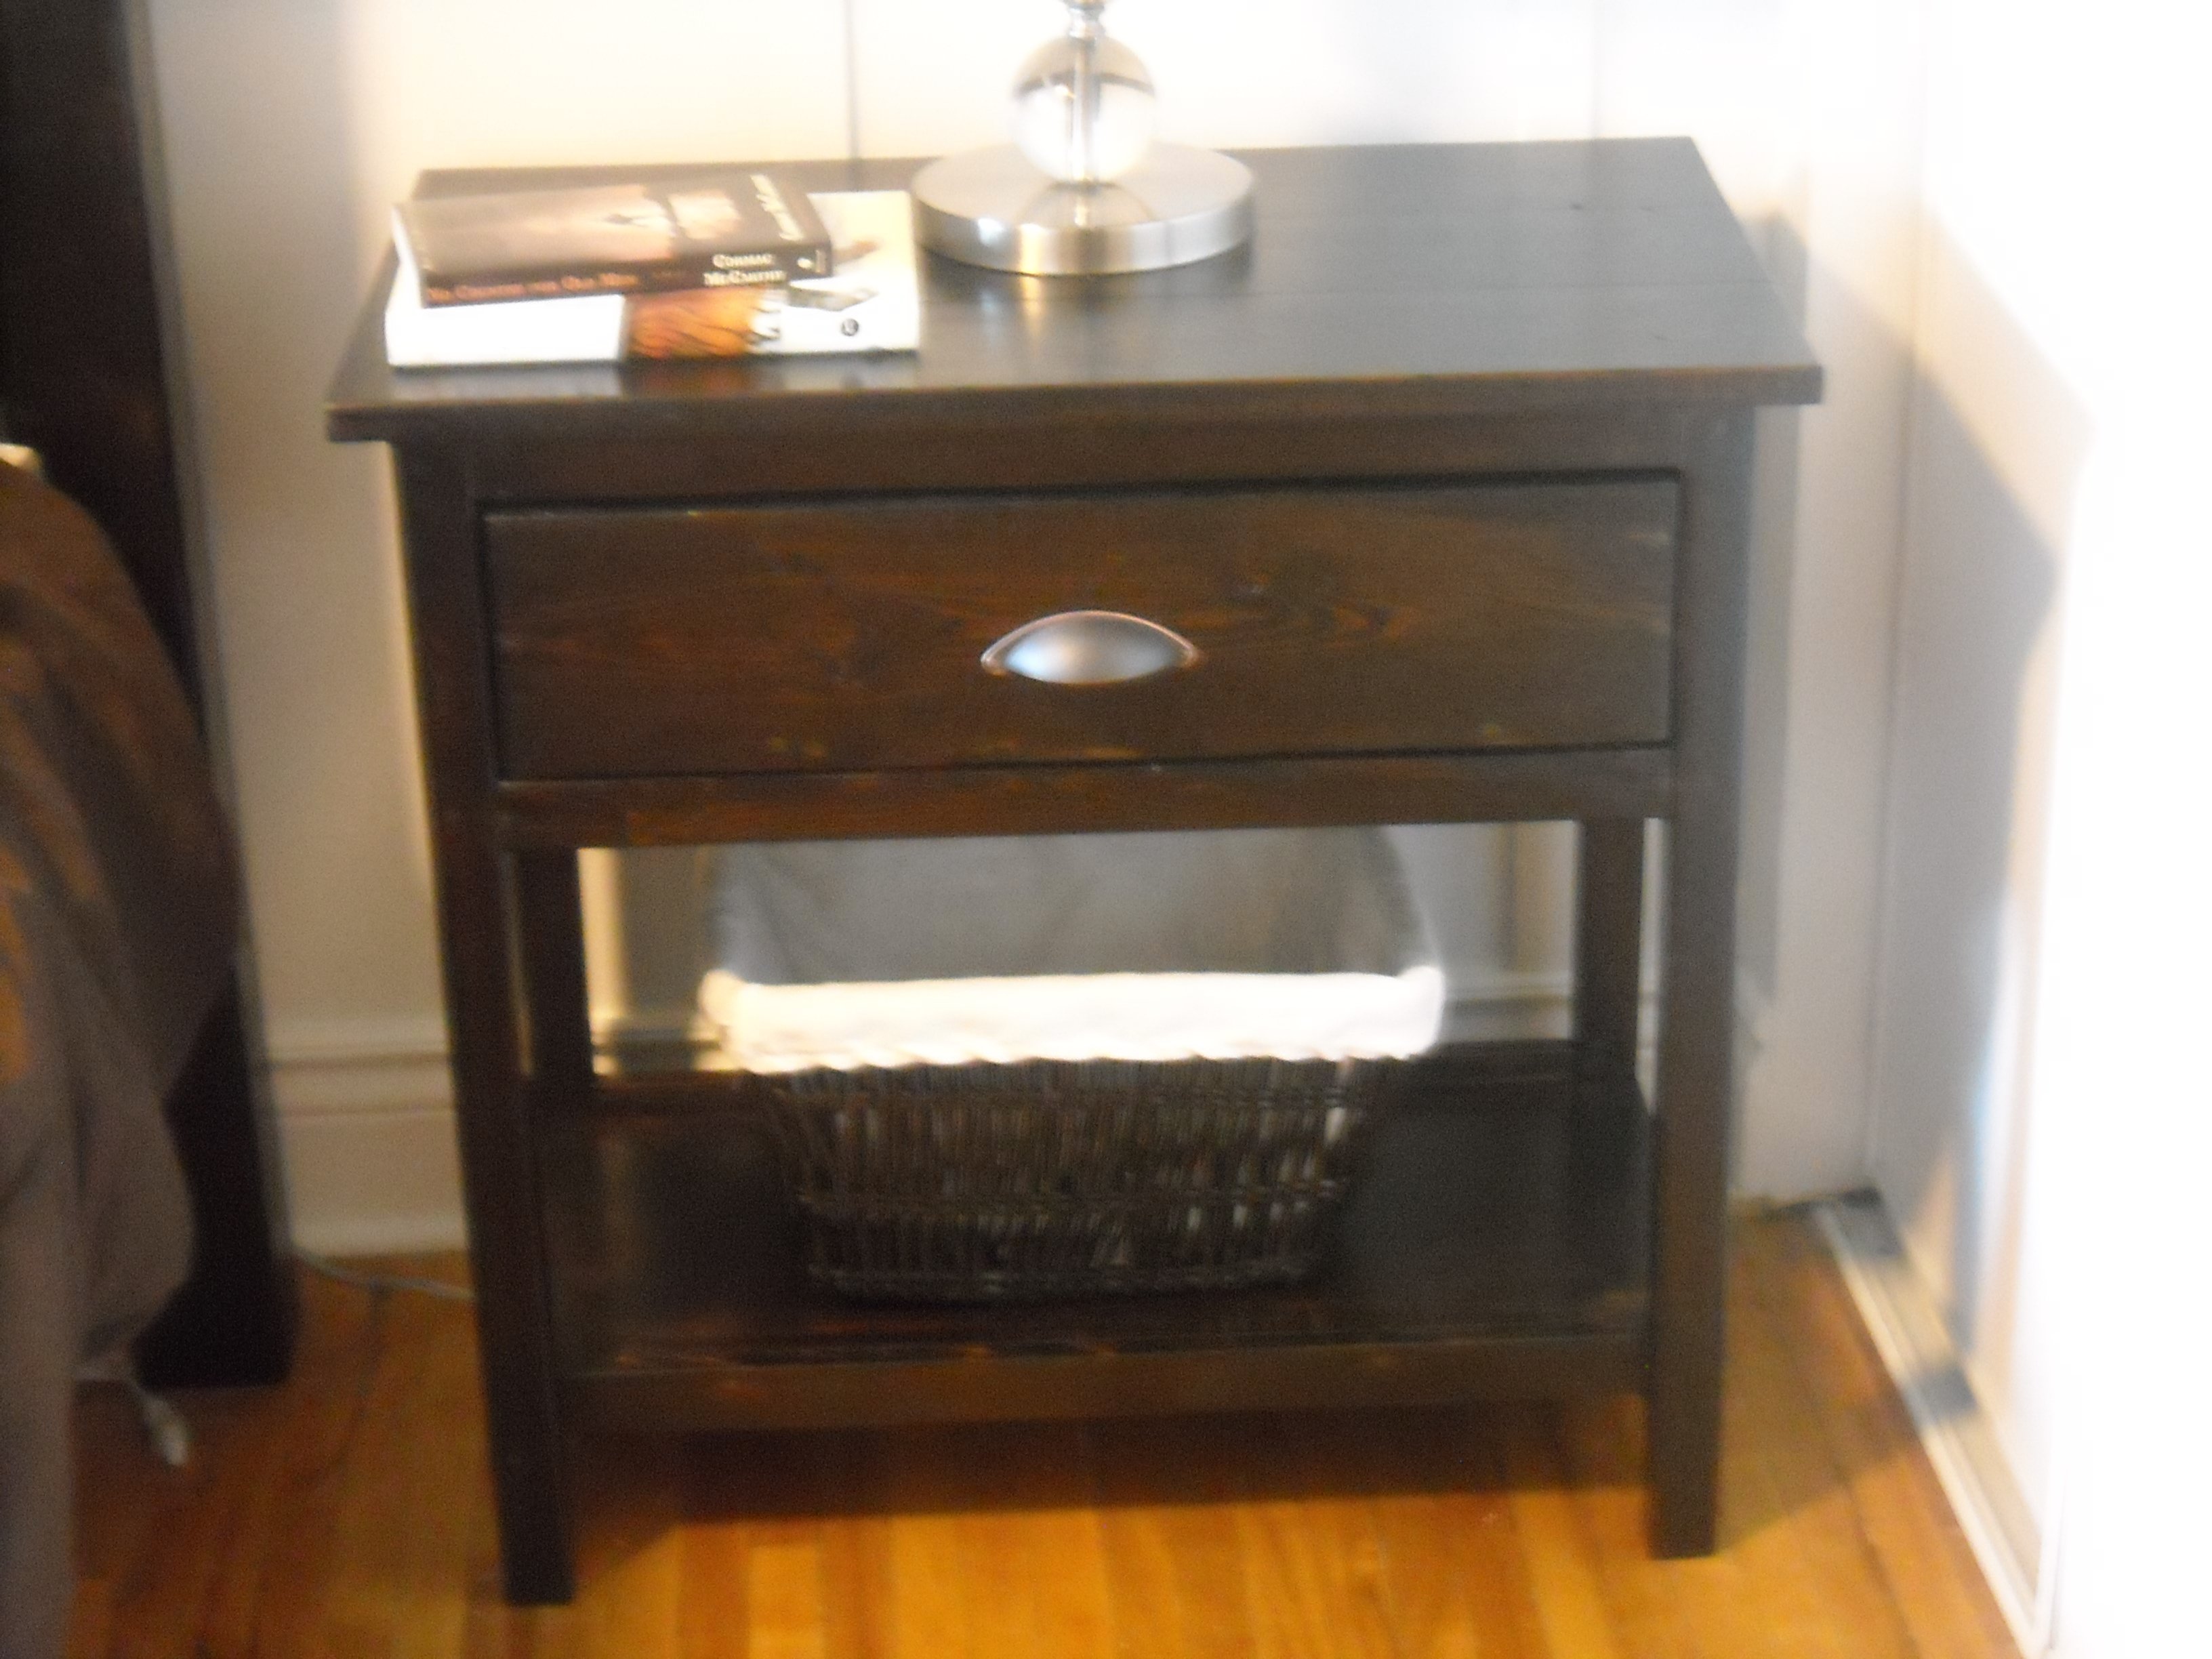
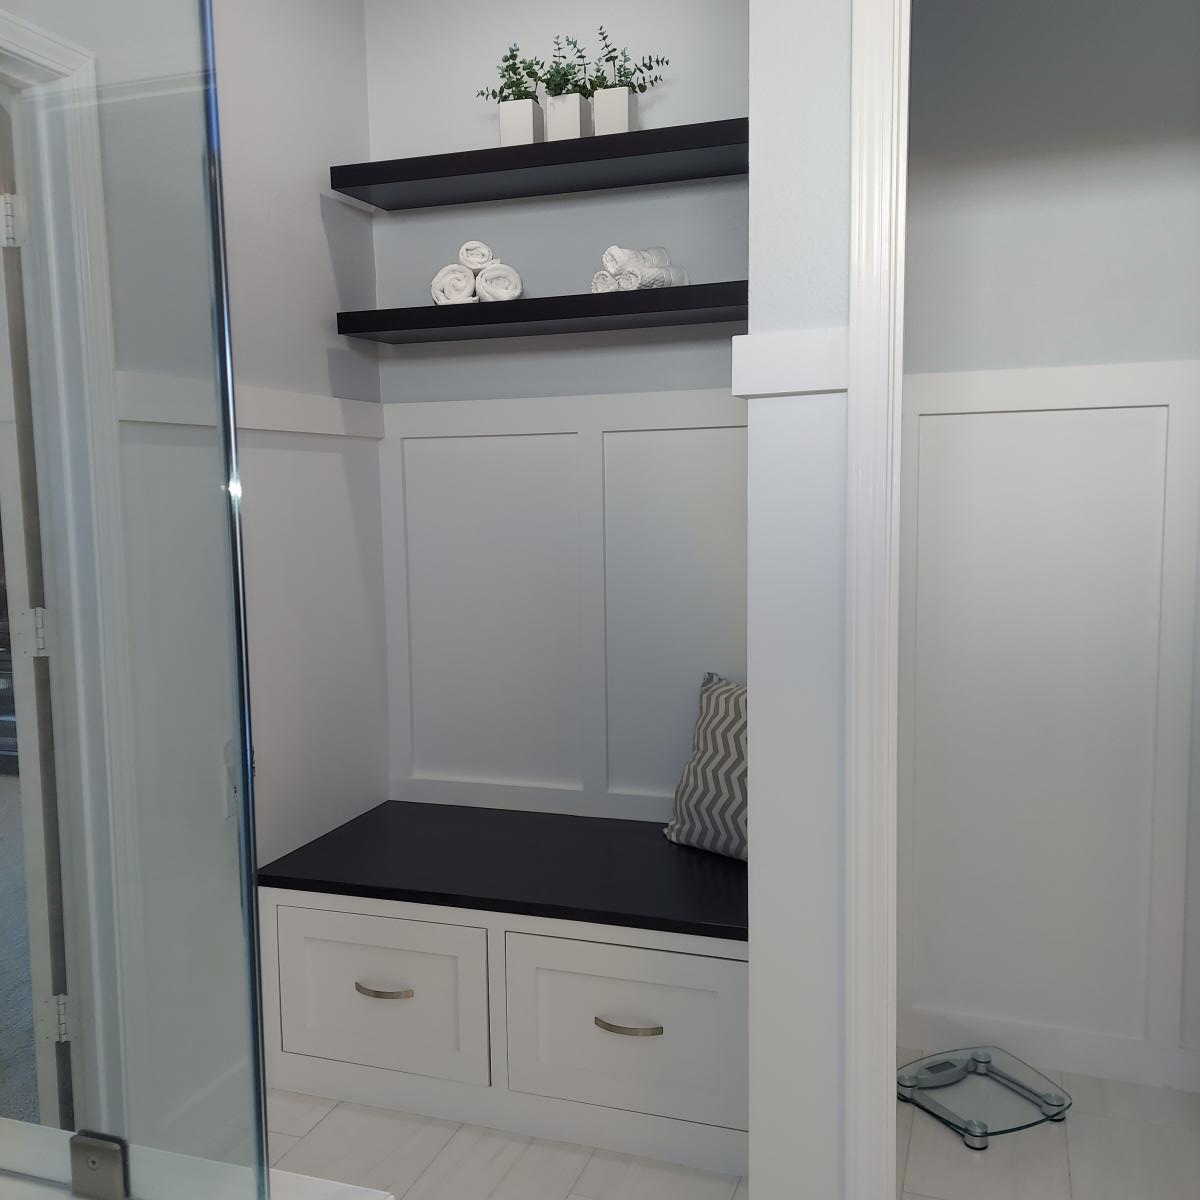
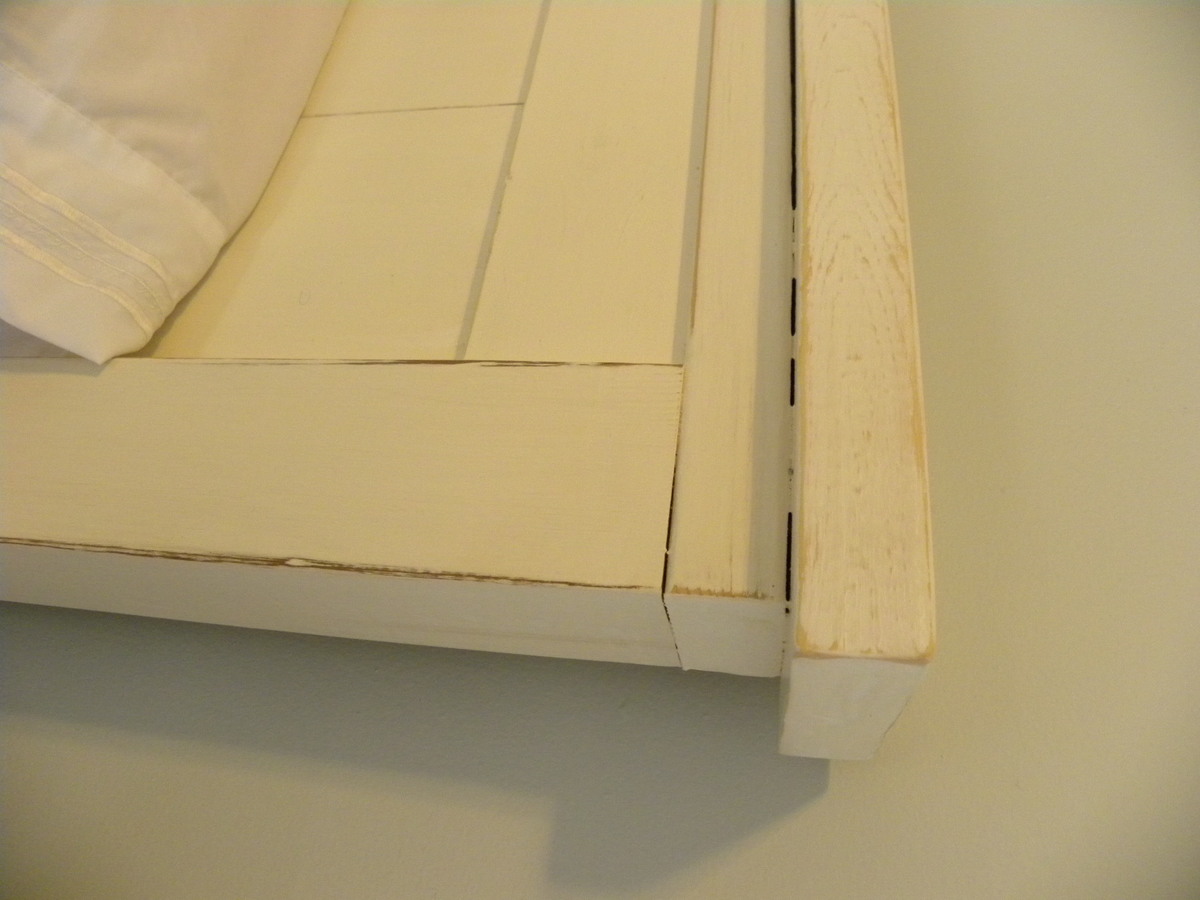
The finish was the most difficult part of the project for me. I used Minwax and kept altering the color because I wanted it dark but not too dark.
-Started with Minwax Pre-stain Wood Conditioner
-1st coat Minwax: Early ;American
-2nd & 3rd coat Minwax Dark Walnut
-4th layer Minwax PolyShades: Royal Walnut
-5th and final layer Minwax Helmsman Spar Urethane
-Started with Minwax Pre-stain Wood Conditioner
-1st coat Minwax: Early ;American
-2nd & 3rd coat Minwax Dark Walnut
-4th layer Minwax PolyShades: Royal Walnut
-5th and final layer Minwax Helmsman Spar Urethane
Recommended Skill Level
Beginner


Comments
Medickep
Wed, 08/28/2013 - 20:11
Nice job
Great work, that really looks good. I love the finish! Did you need all of the different coats? Or did you just decide you wanted darker after each one?
momofour09
Mon, 09/02/2013 - 07:12
This looks great
I was wondering the same thing as Medickep, were all of the coats necessary or was it just the way you wanted it finished? I do like the end results though.
ckdesigns
Tue, 09/03/2013 - 09:03
The multiple coats wasn't
The multiple coats wasn't intentional. I just couldn't get the right look so kept on going with the colors. I'd say the finish portion of the project was the most difficult for me. I am happy with out it turned out and cannot wait to build something again!