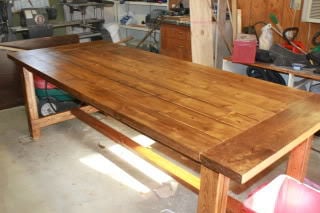
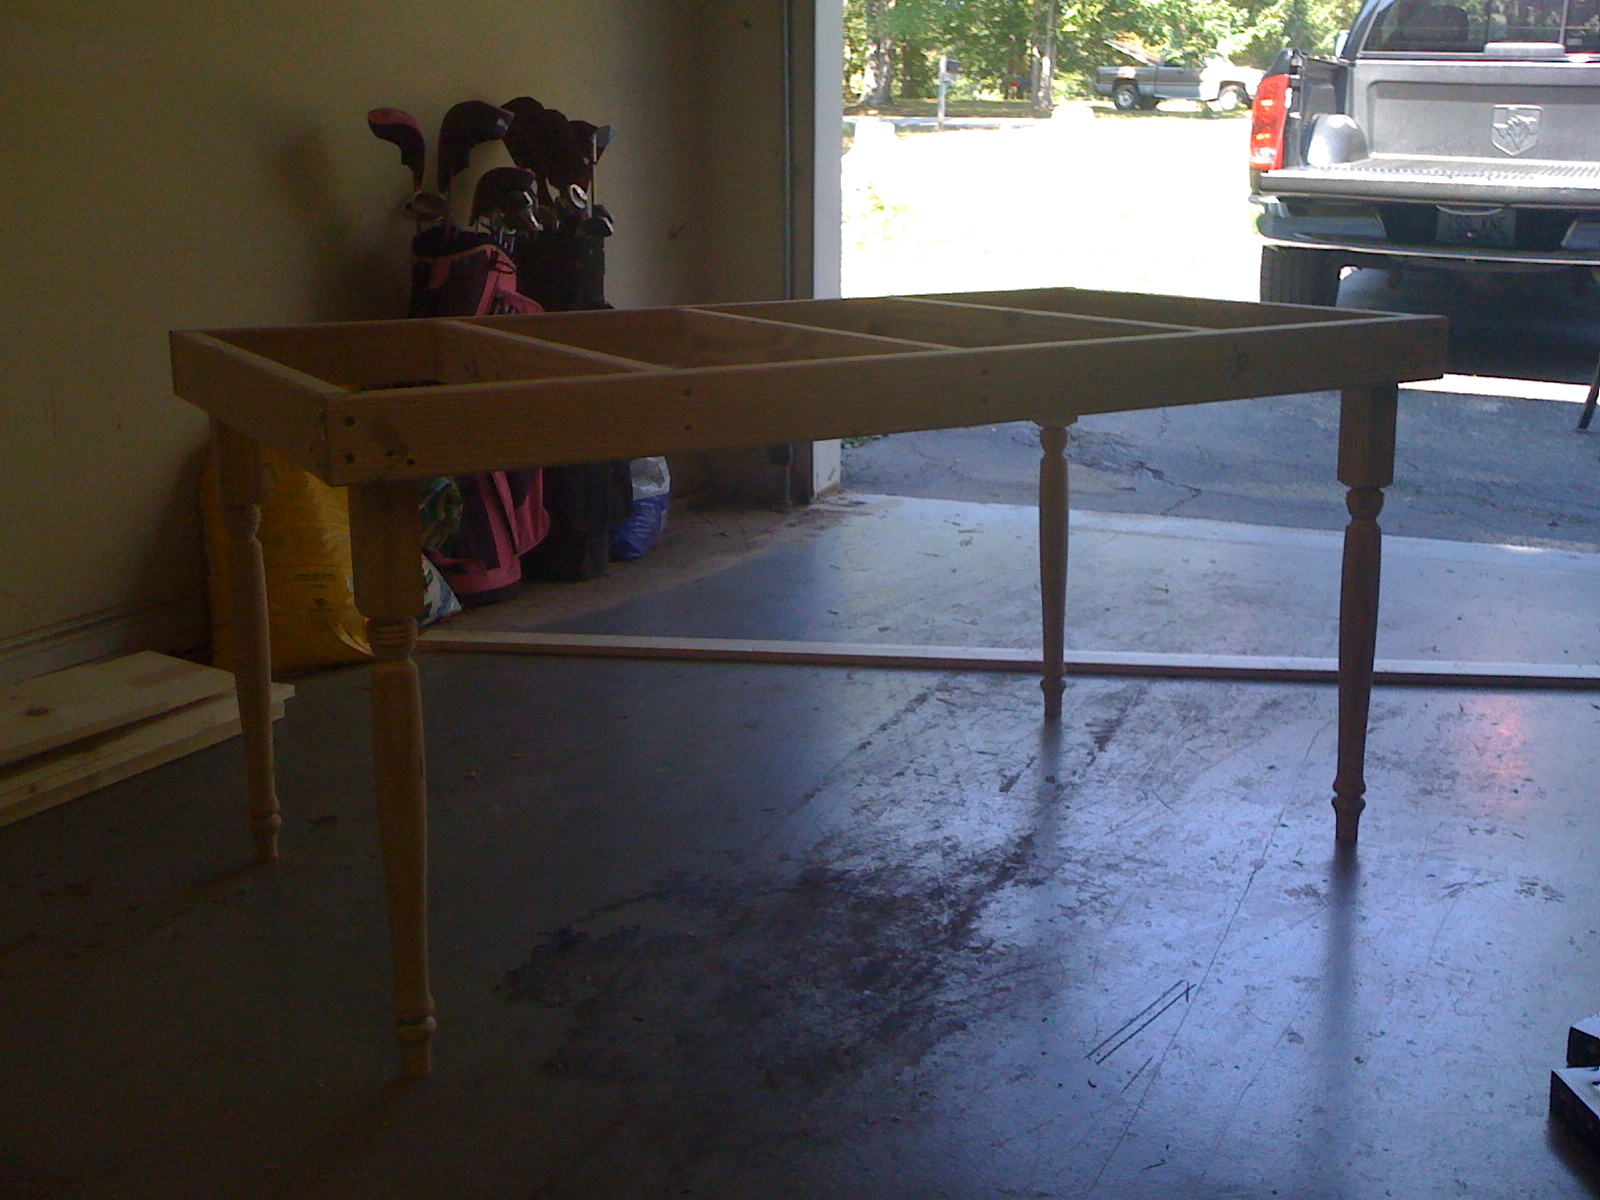
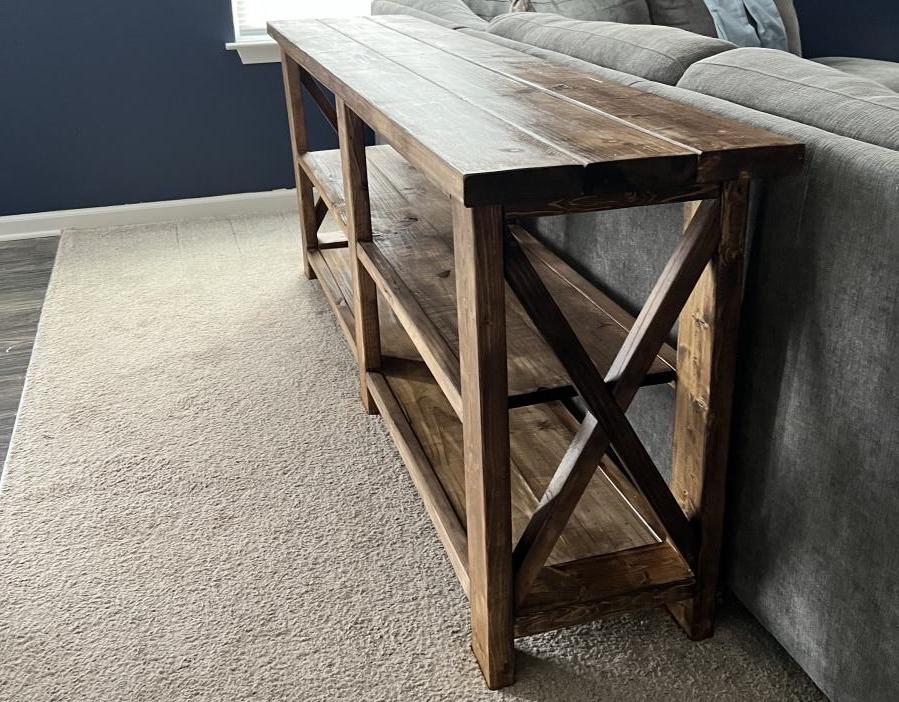
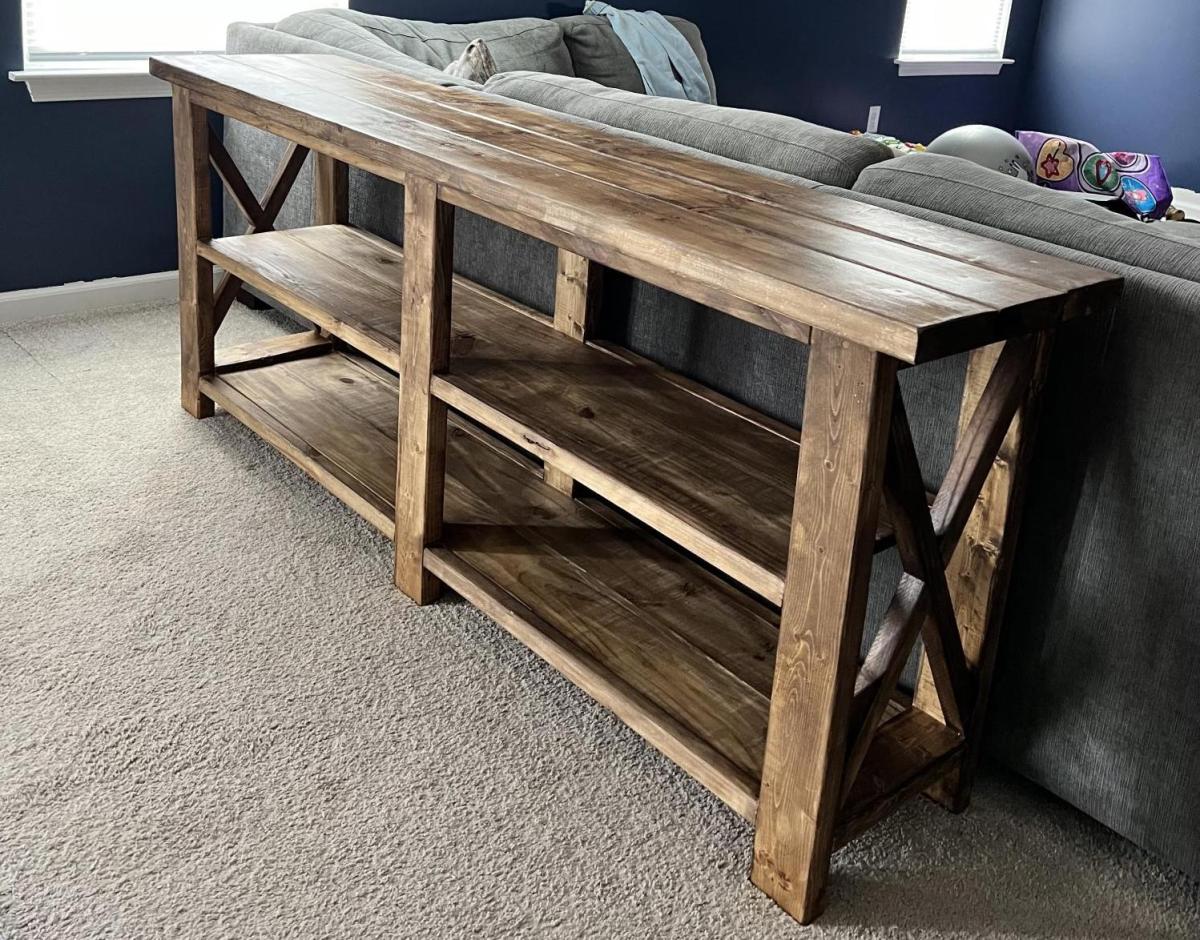
Farmhouse Writing Desk with Turned Legs

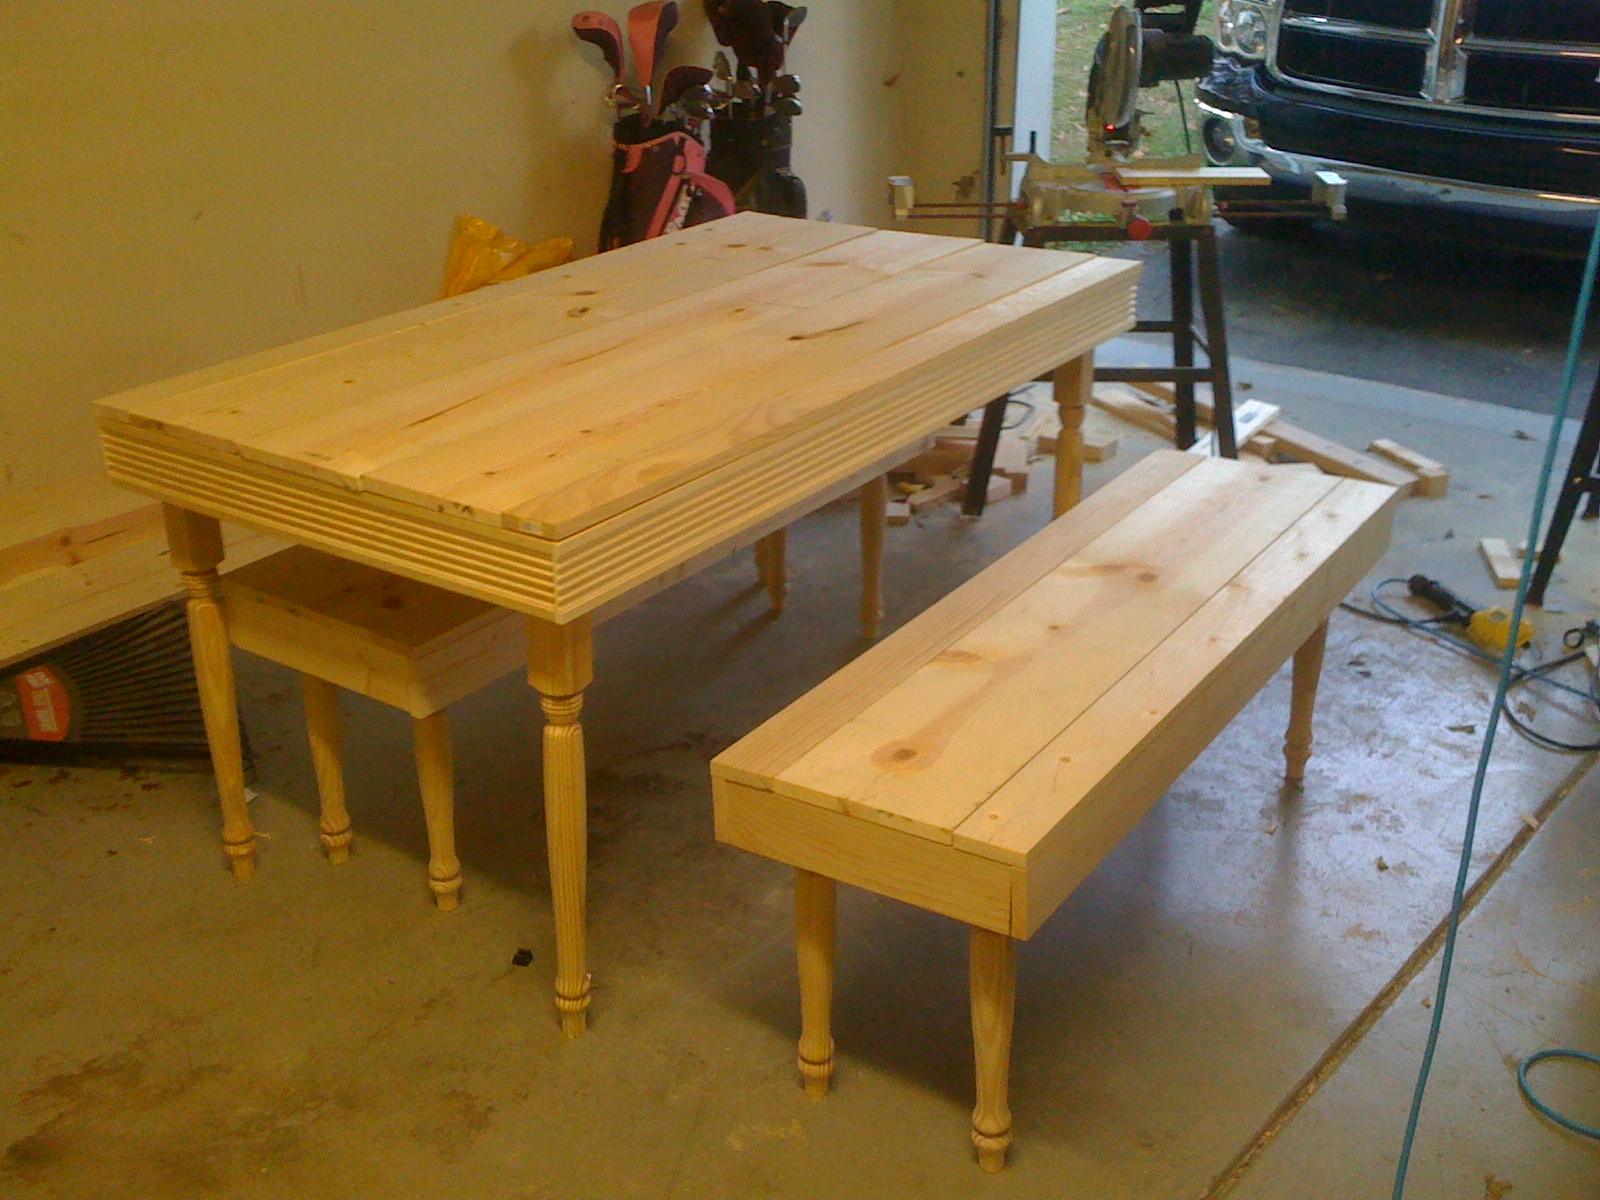
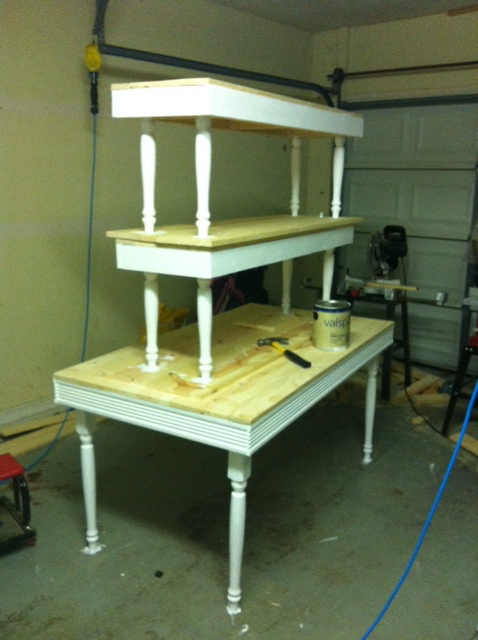
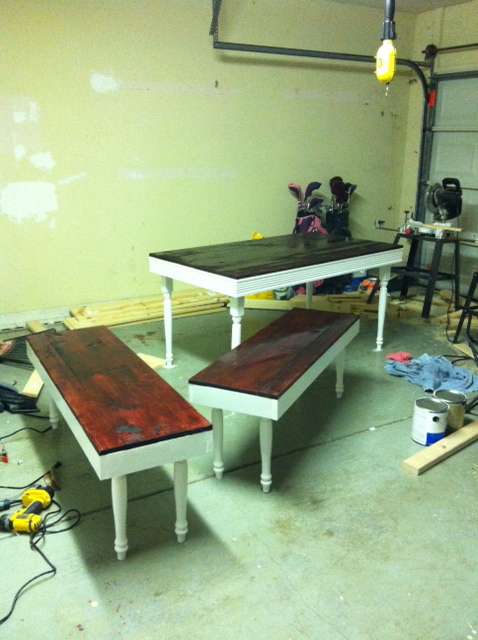
I modified the Small Old English Style Farmhouse Dining Table plan to build a writing desk. I used five 1x6 boards for the top for a width of 27.5 inches. I made my desk 56 inches in length. I put the drawer on the long side like a pencil drawer. I did use the legs that Ana recommended in the plan. I love how it turned out. I used dark walnut danish oil and dark wax for the finish.


Built from Plan(s)
Estimated Cost
225
Estimated Time Investment
Day Project (6-9 Hours)
Finish Used
I used Watco dark walnut danish oil and Minwax dark paste wax.
Recommended Skill Level
Intermediate


Comments
kwildman
Sun, 08/11/2019 - 22:38
I love this desk so much
I love this desk so much
aelizabeth15
Sat, 08/31/2019 - 05:18
Beautiful! What are the…
Beautiful! What are the brands of oil and wax that you used?
kwildman
Fri, 10/04/2019 - 21:46
Thank you! I used Watco…
Thank you! I used Watco Danish oil and I used Minwax dark wax. I've tried alot of different wax brands and I always come back to Minwax. It dries the hardest in my opinion.