Double Chair Bench
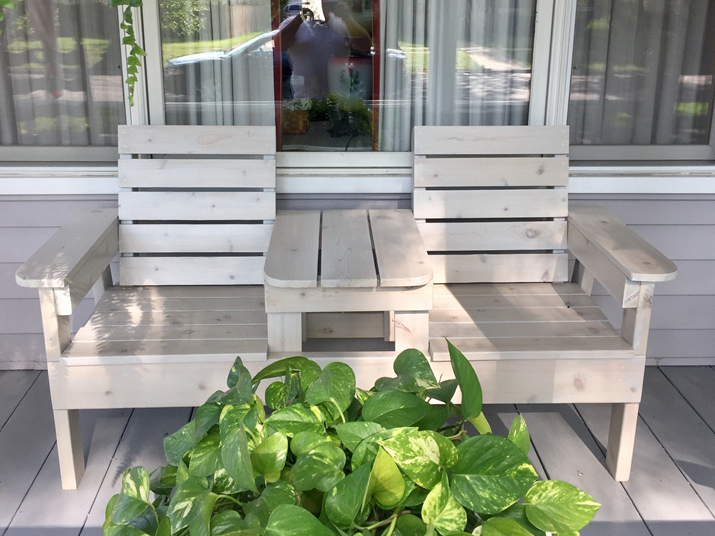
Very nice bench. I have now made three. This one is grey washed red cedar.

Very nice bench. I have now made three. This one is grey washed red cedar.
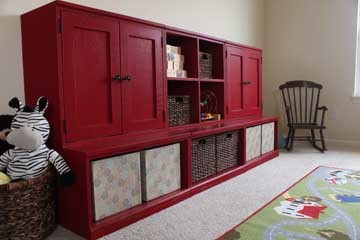
This was my first building project ever! Even though it took longer than I expected to complete (I have four tiny kids and snagged an hour here and there during nap time over the course of many months), it was absolutely worth the time investment (and wait)! Hanging the doors was tricky (my awesome husband tackled that part), but other than that it was easy to put together. Finishing it was the hardest part by far. If I were to do it again, I'd probably do some preliminary sanding of the boards before putting them together and I would most certainly not use oak (I was talked into it by the HD guys) especially since I ended up painting it. I think it would have turned out just as great if I'd used a cheaper wood or MDF. Thanks for the plans Ana!
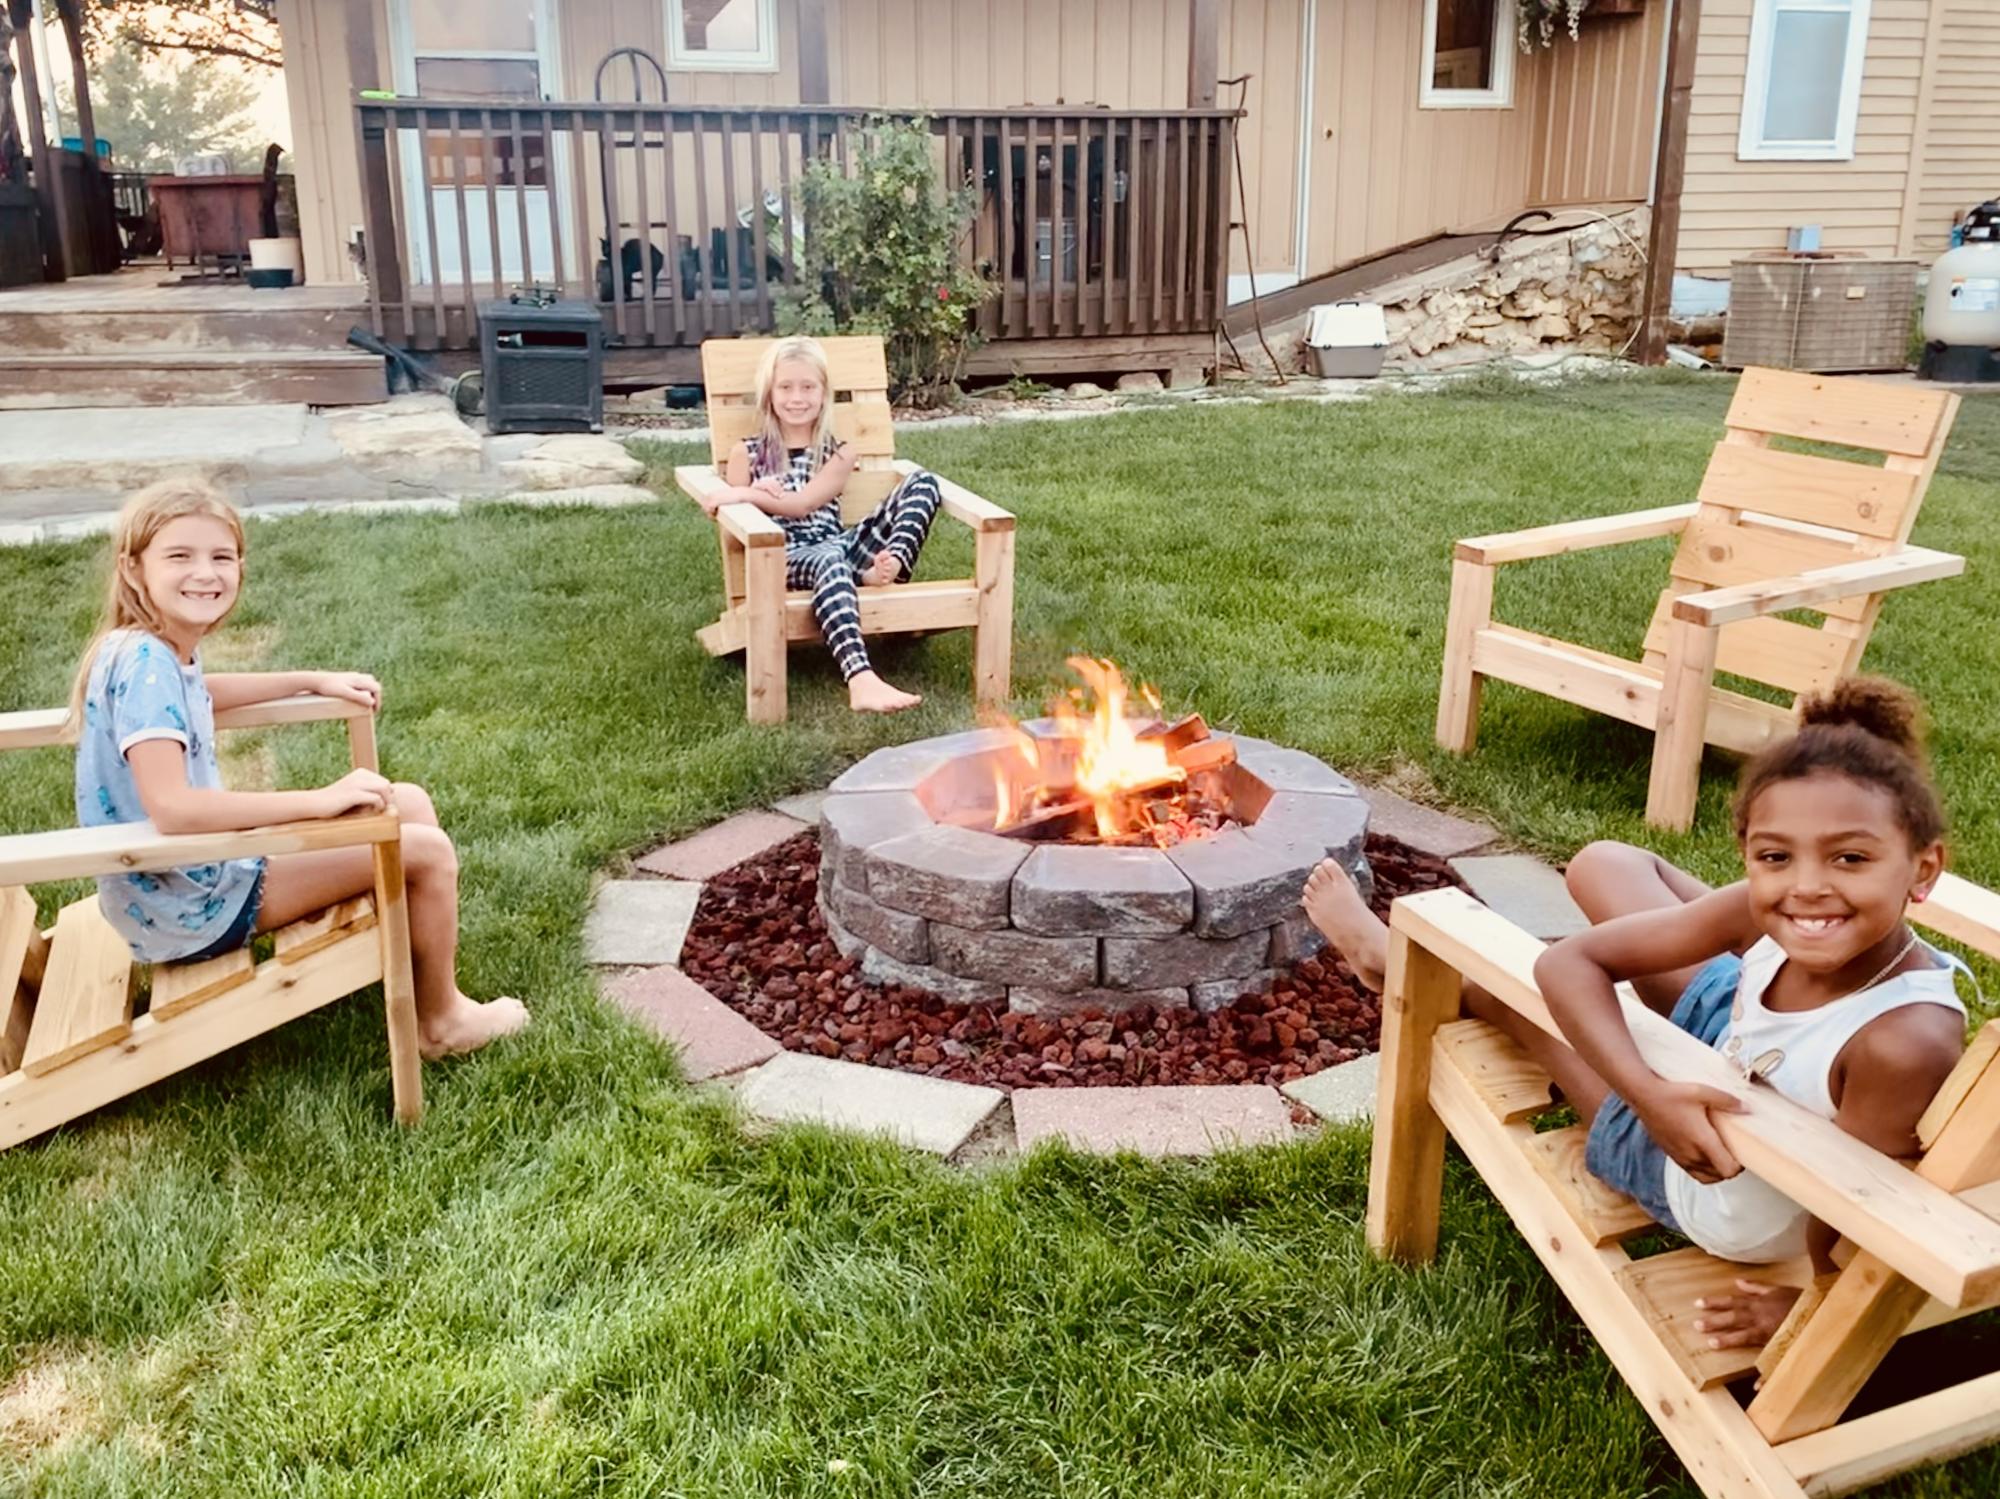
My mom and I made these together as our first Ana White project! So much fun making both these chairs and memories! Next up is the three pedestal farm table and bench!
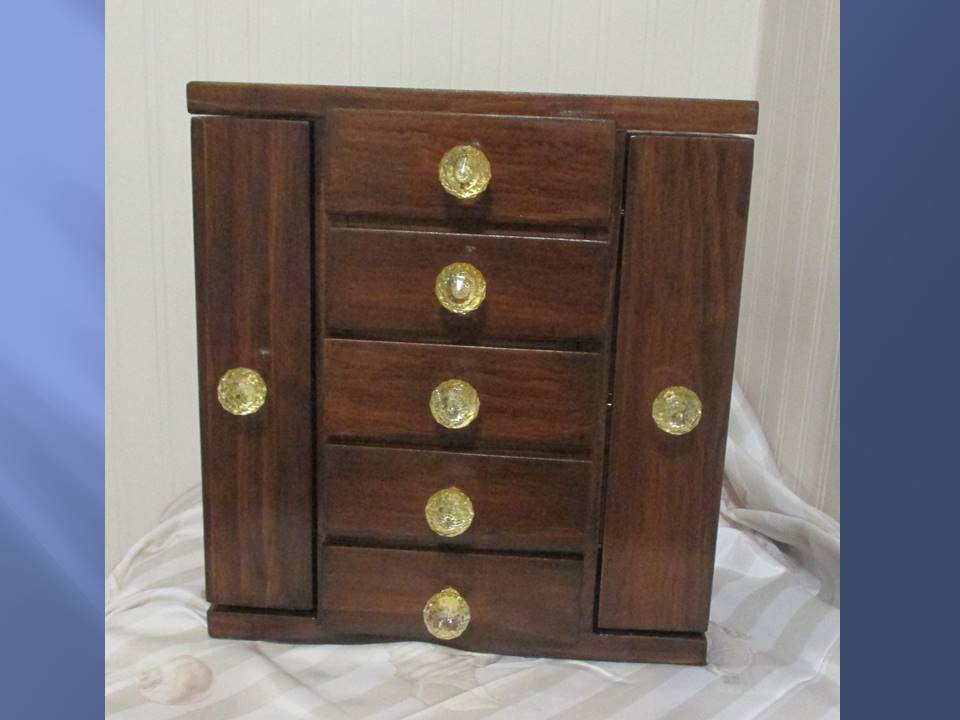
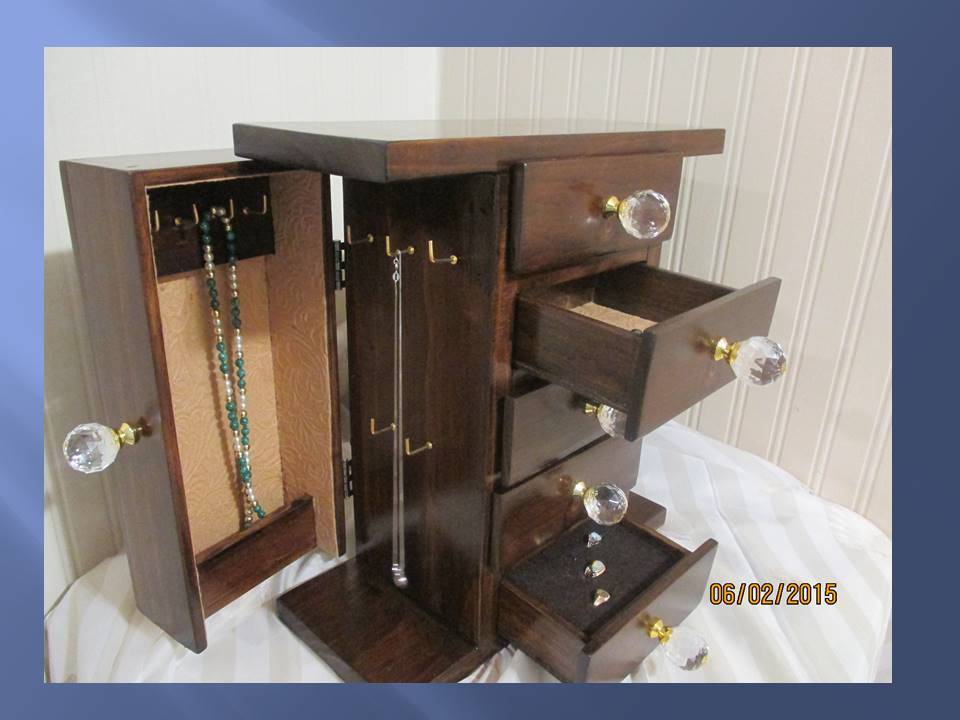
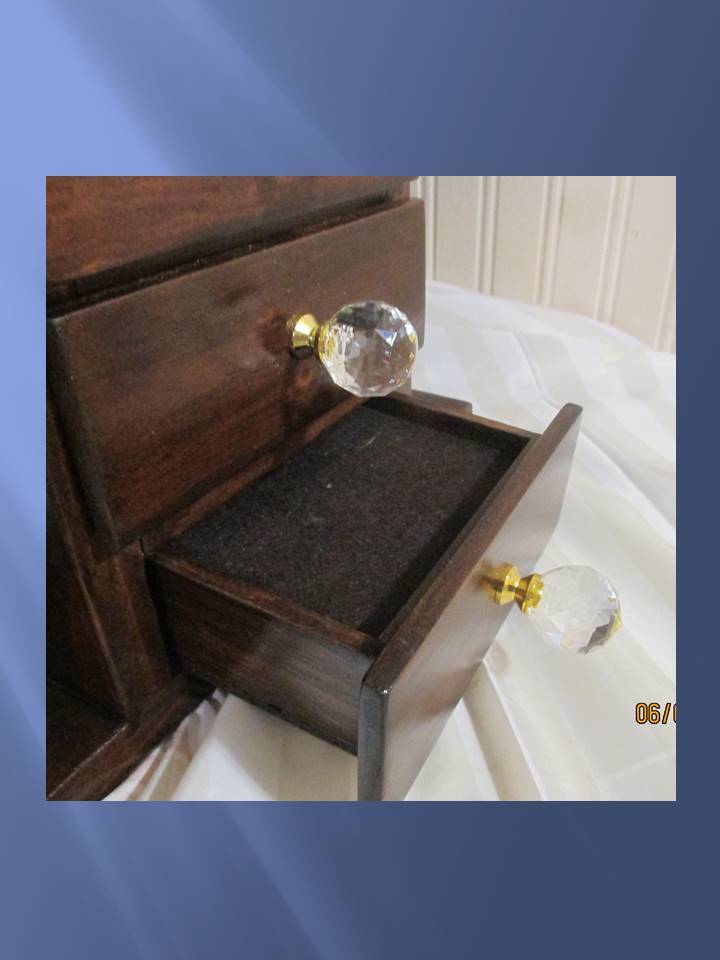
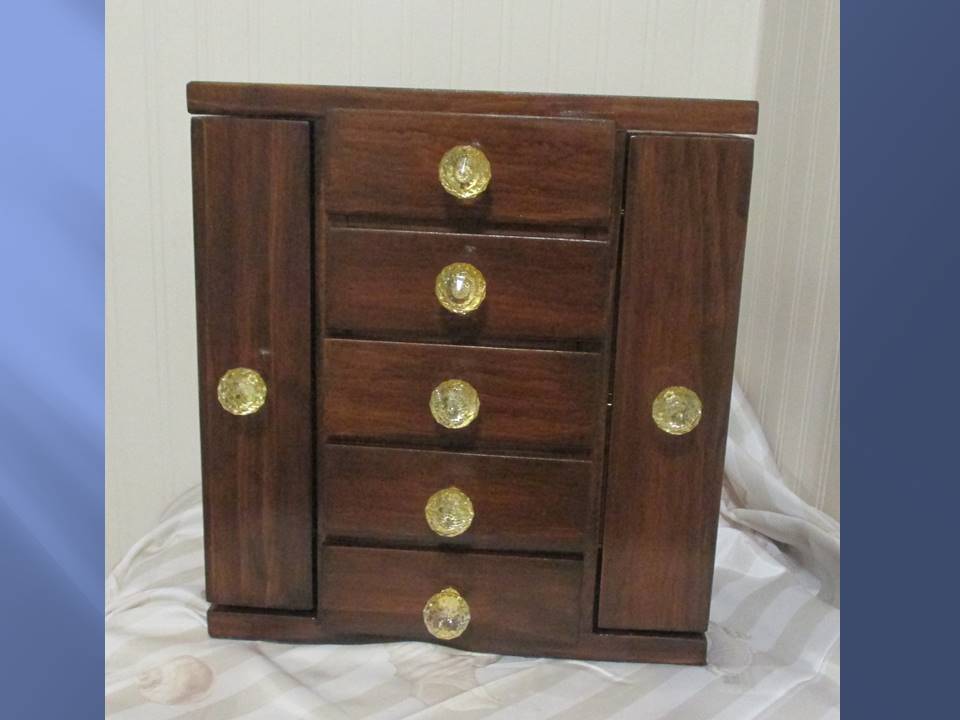
One of my friends at work is going to a new job, and this build is her going away gift. It is a variation of the Fancy Jewelry Box, with the following modifications:
Made from select pine, no plywood is visible on the outside on this build.
Slightly smaller, the box is made from 1x6, the back is a ½” x 5 ½” craft board, and the door outsides are 3/8” x 5 ½” craft boards.
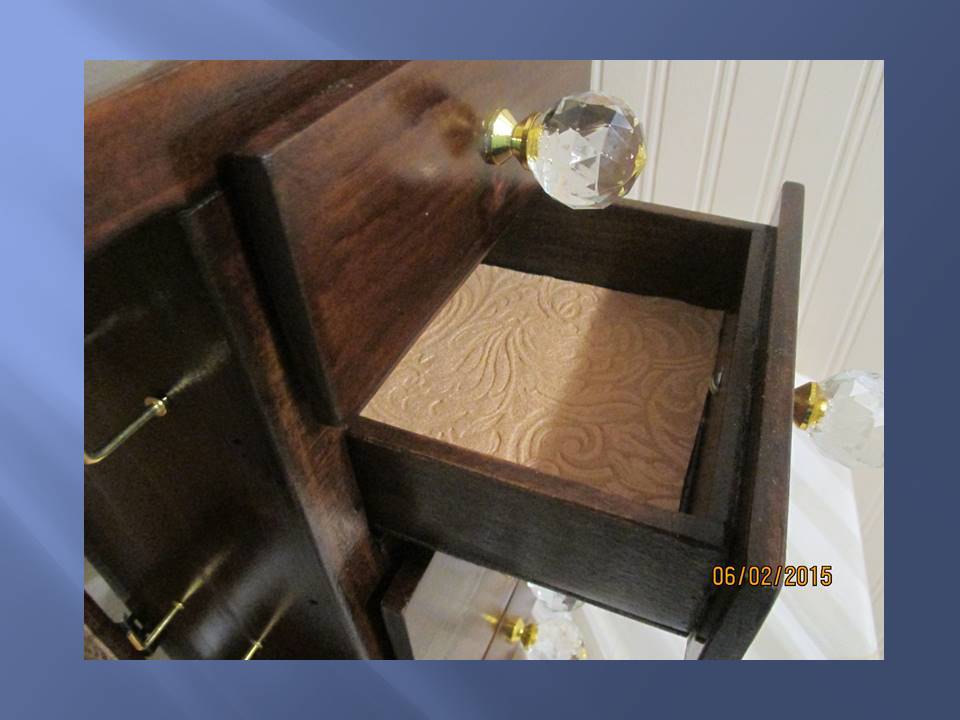
The drawer boxes are ¼” thick craft board and the doors and overlay drawer faces are 3/8” thick craft board.
Overall dimensions are 13” wide, 5 ½” deep, and 14 ¼” tall.
The select pine worked very well for the luxe stained finish I was trying to achieve.
Used fancy knobs instead of wood knobs (also swapped out the included screws for shorter ones).
I really took my time on this to get everything just so. The project took about 15 hours in total, including the build, finishing, and decorations - - a bit at a time, spread out over the last couple of weeks.
I'm very happy to say the gift was a big hit!
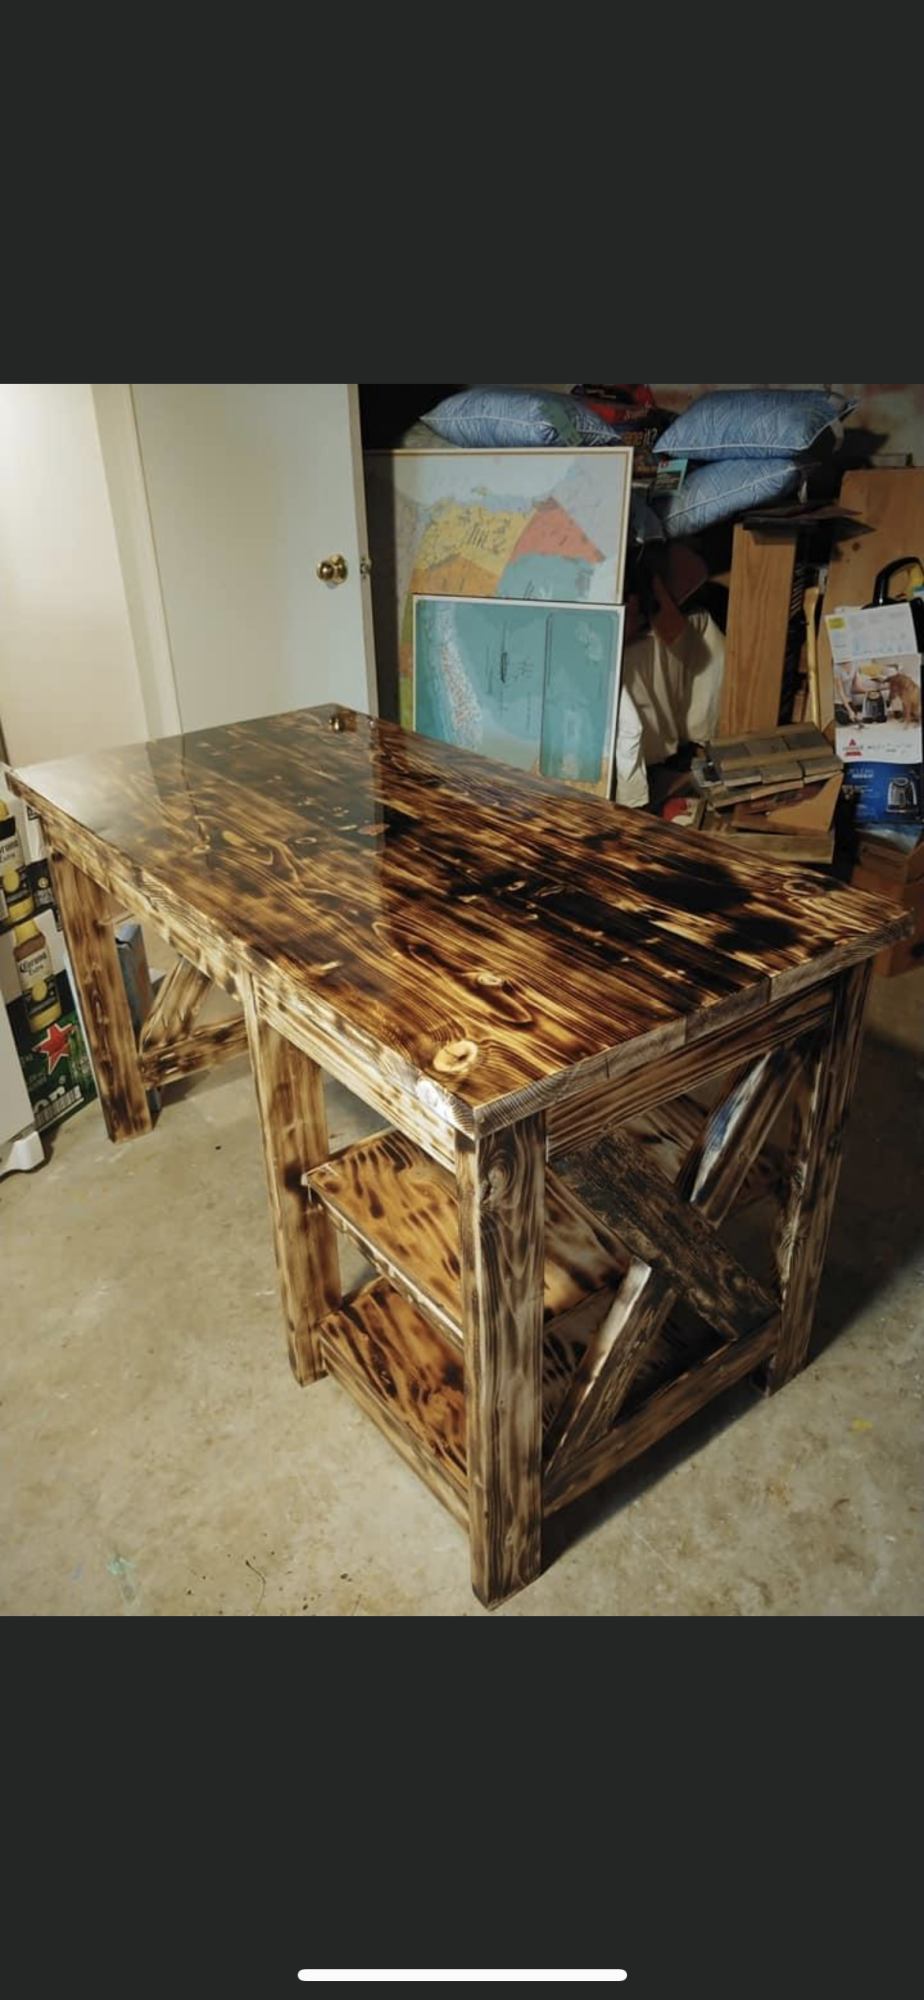
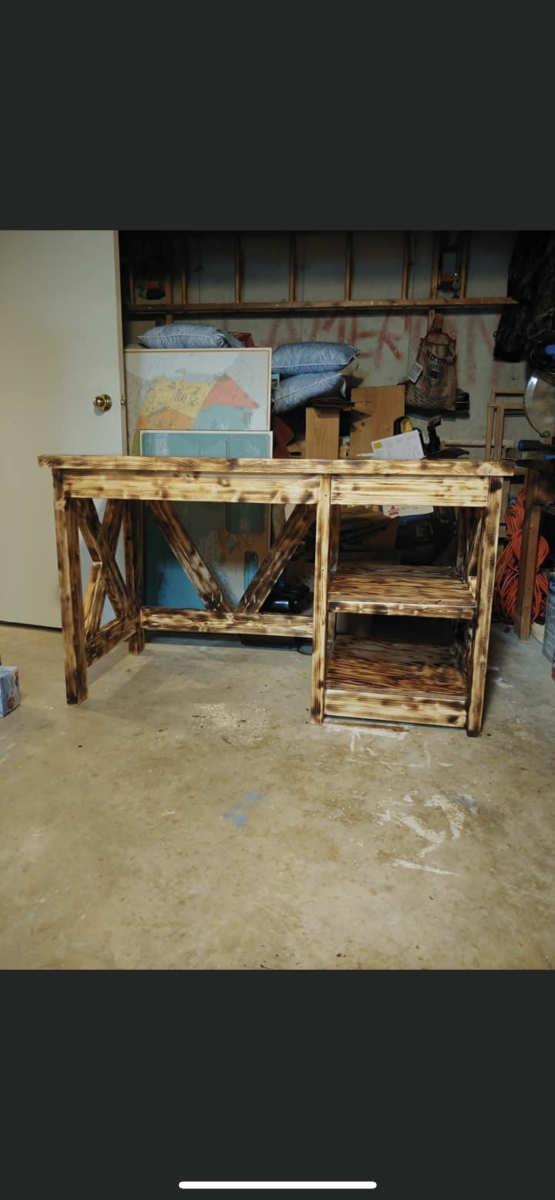
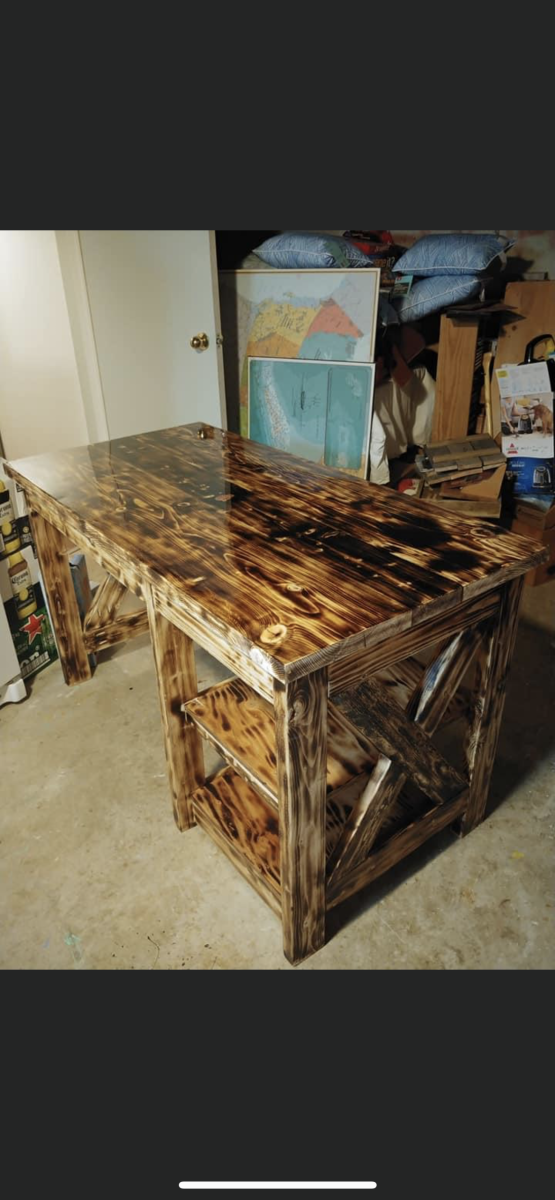
When my son graduated from the paramedic course in college I asked him what I could make for him. He said that he needed a desk. So I made one using your plan out of 2X4’s. I used my propane torch to lightly burn the wood, then I made a void and inserted, my Cap badge from when I was in the service and coated the top in epoxy . The rest of the desk has several coats of polyurethane

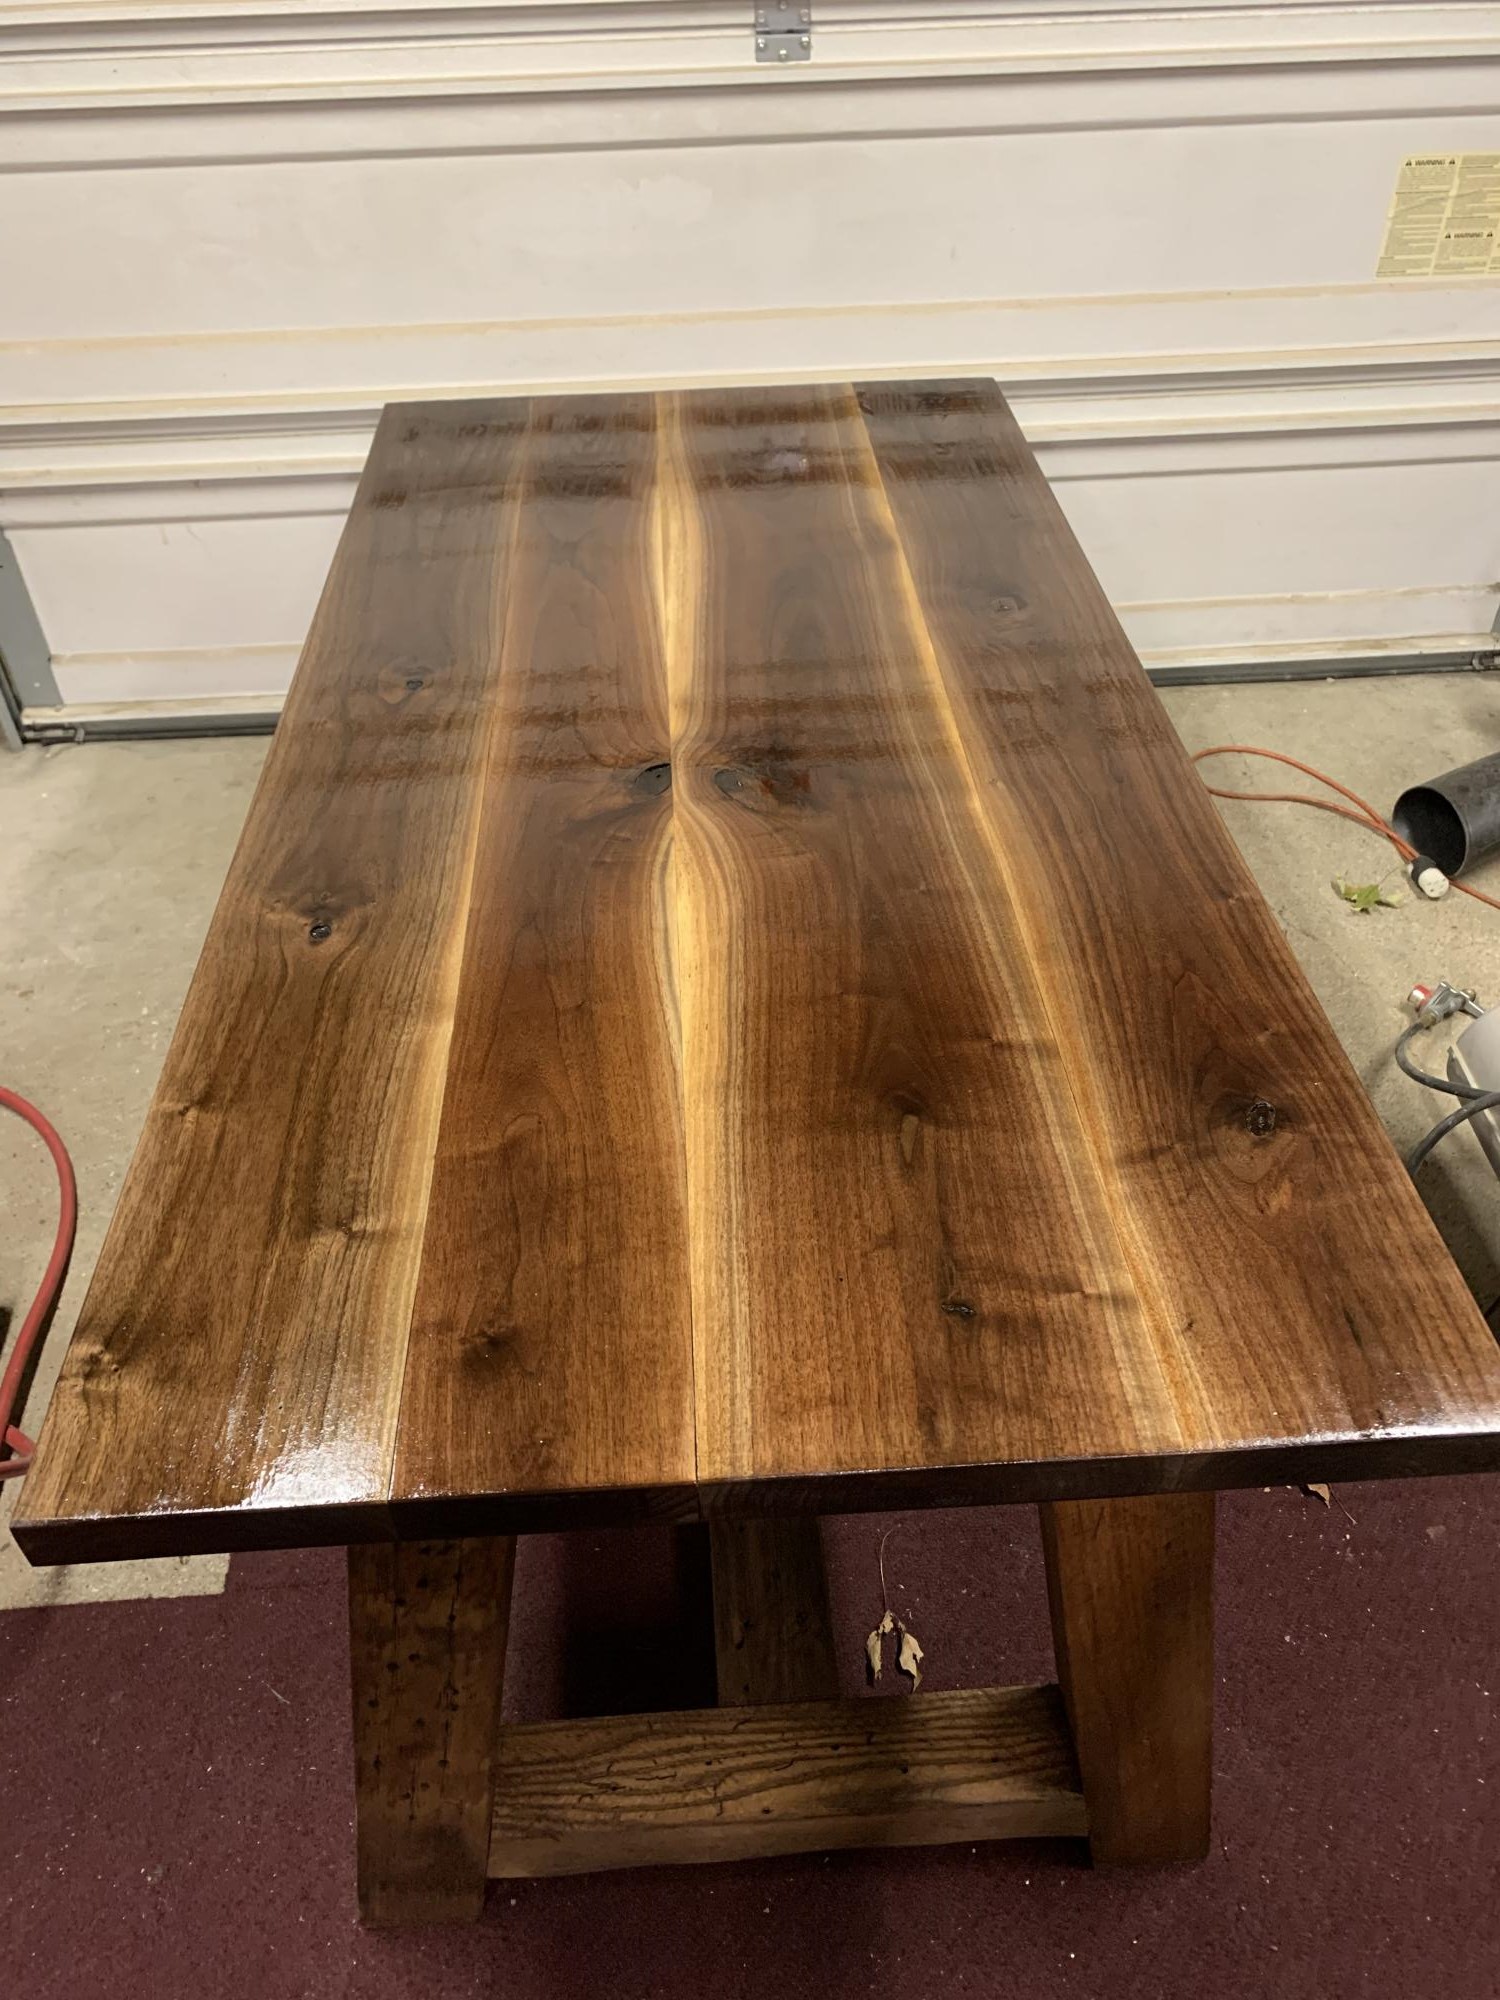
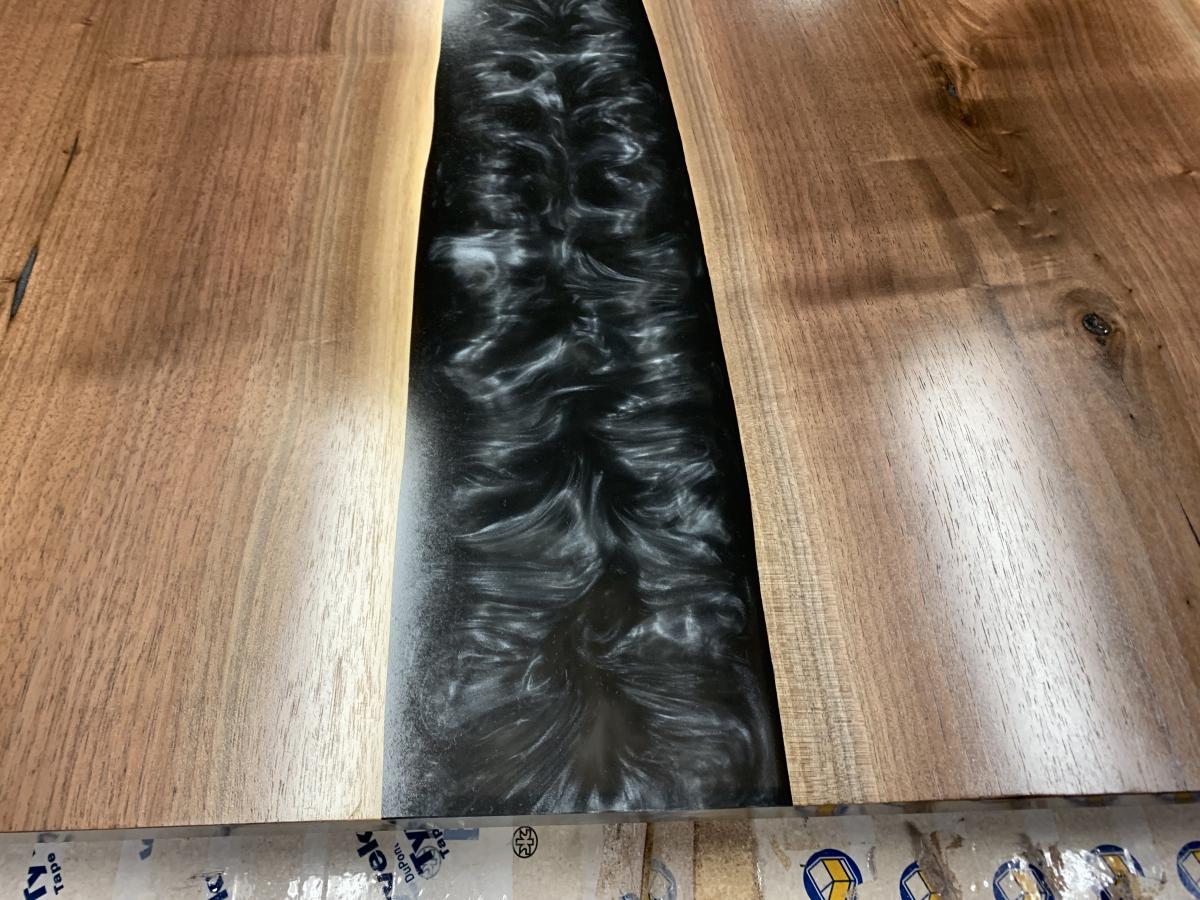
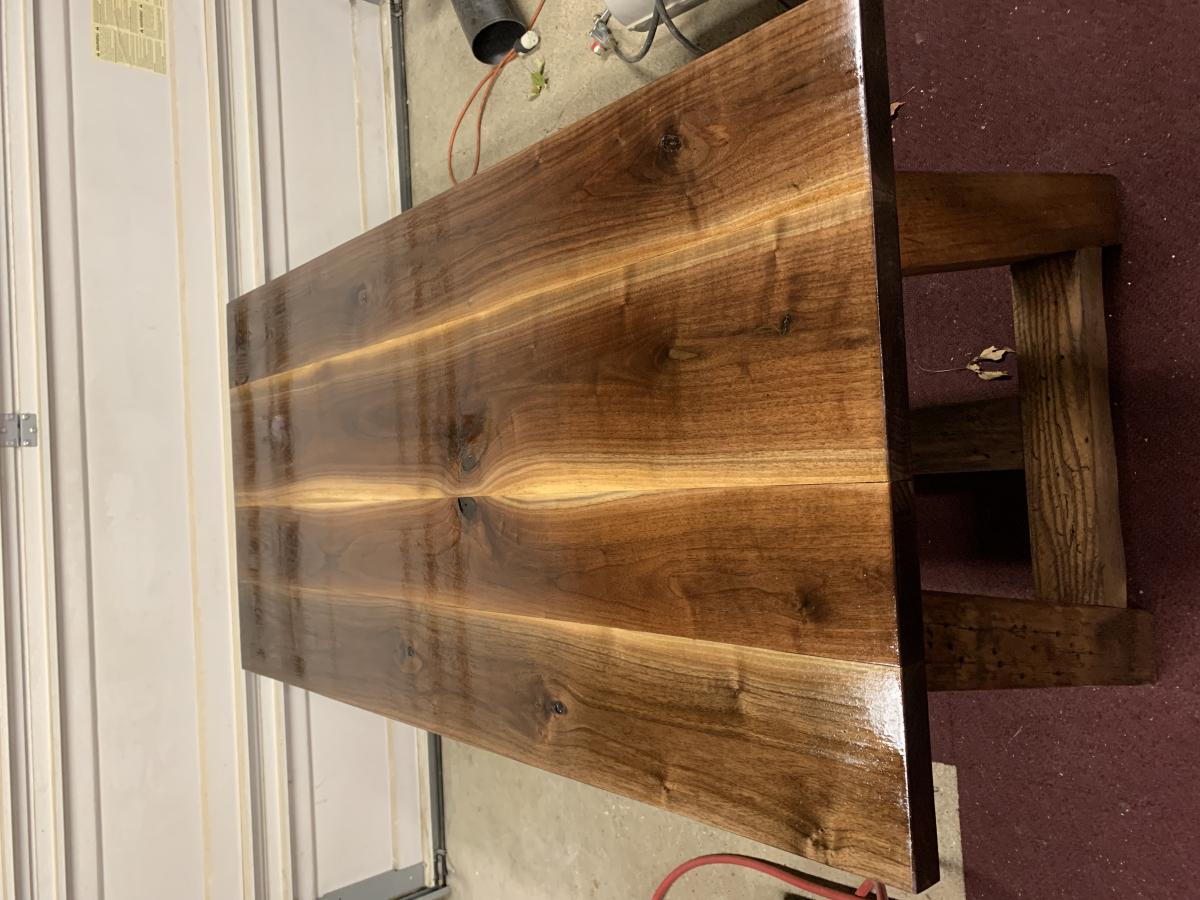
I used some of the measurements that I found on your site and downsized them to fit my needs. The table was a wedding gift for my granddaughter. She and her new husband were very pleased. Thanks for your help.
This was my first try at making a picture frame. I've used this same principle to make single framed picture frames numerous times since then. Thanks Ana! Such an easy build!
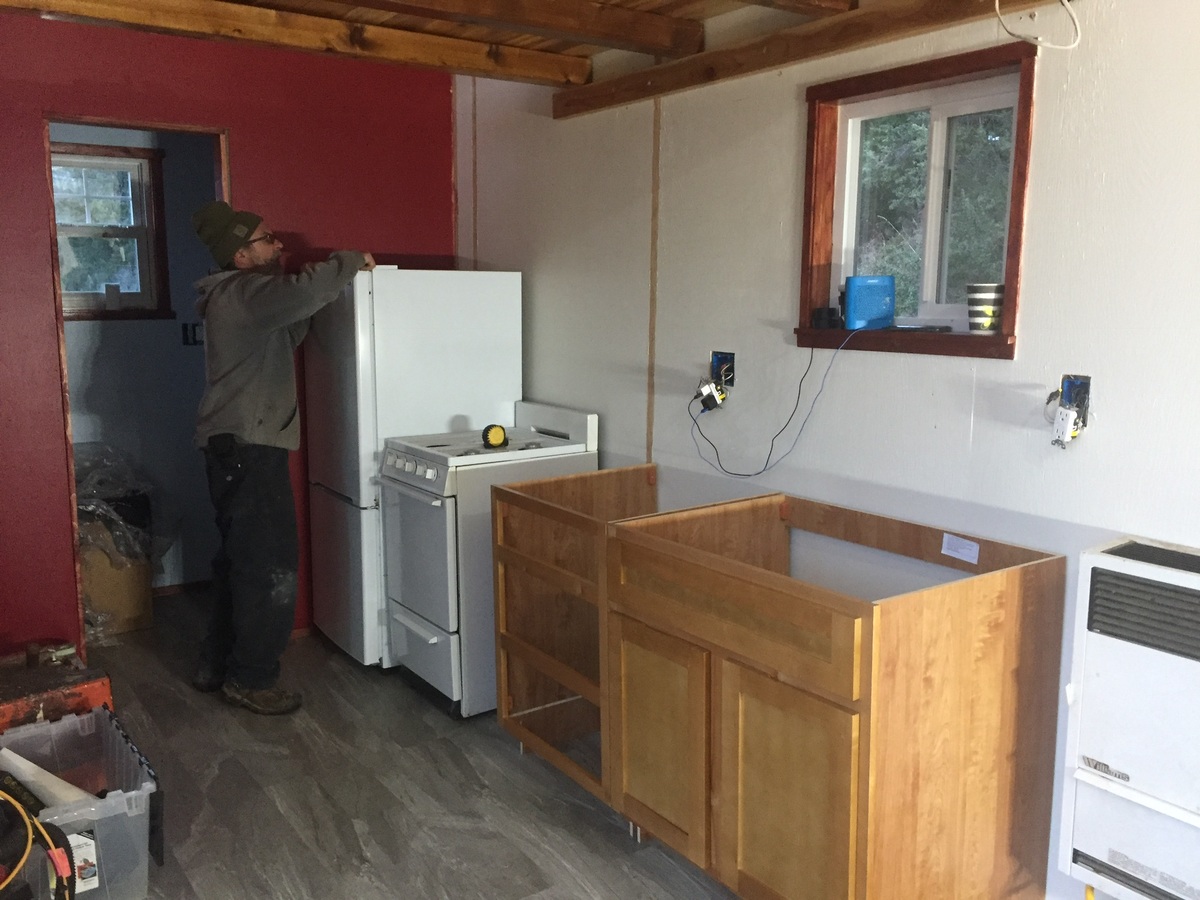
Ever since I saw the "wild rose" I knew it was the one I would build for my mom. I wanted a tiny house she would not have to climb a loft for her bedroom and still fit everything she would need. This is a brilliant layout! Many family, friends, and strangers donated money, time, appliances, and windows to get this house built. My husband and I have been finishing it up ourselves with some professional help in between since September and just put the appliances in today. Tomorrow the sink and counter-it's really happening, pinch me I'm dreaming! Thank you Ana & family, I can't imagine what kind of house my mom would have ended up with without your help. This was a really easy and fun build. Thank you so much!
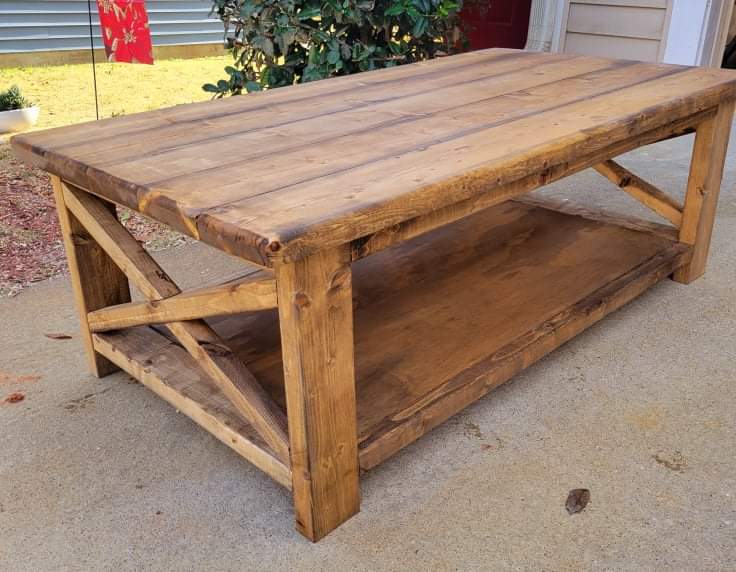
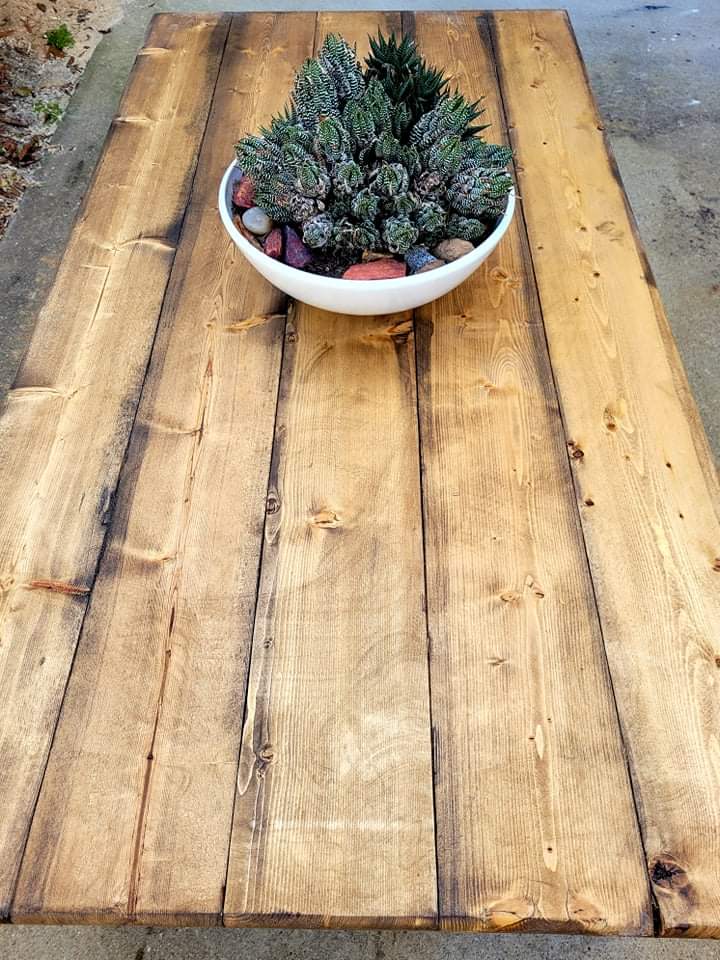
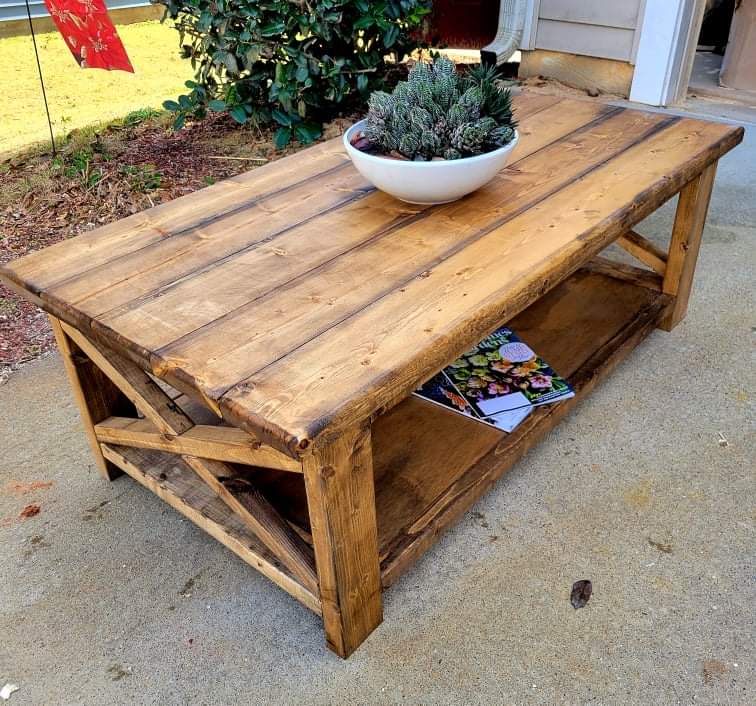
Had fun with this build. Love how large this table is. Gives me a place to put my feet up and there is still room for the kids to play with Legos. Lots of storage space underneath.
Finished with Varathane Golden Oak with Minwax Ebony lowlights.
Wed, 01/19/2022 - 12:29
Great job on the build and finish choice! Thanks for sharing:)
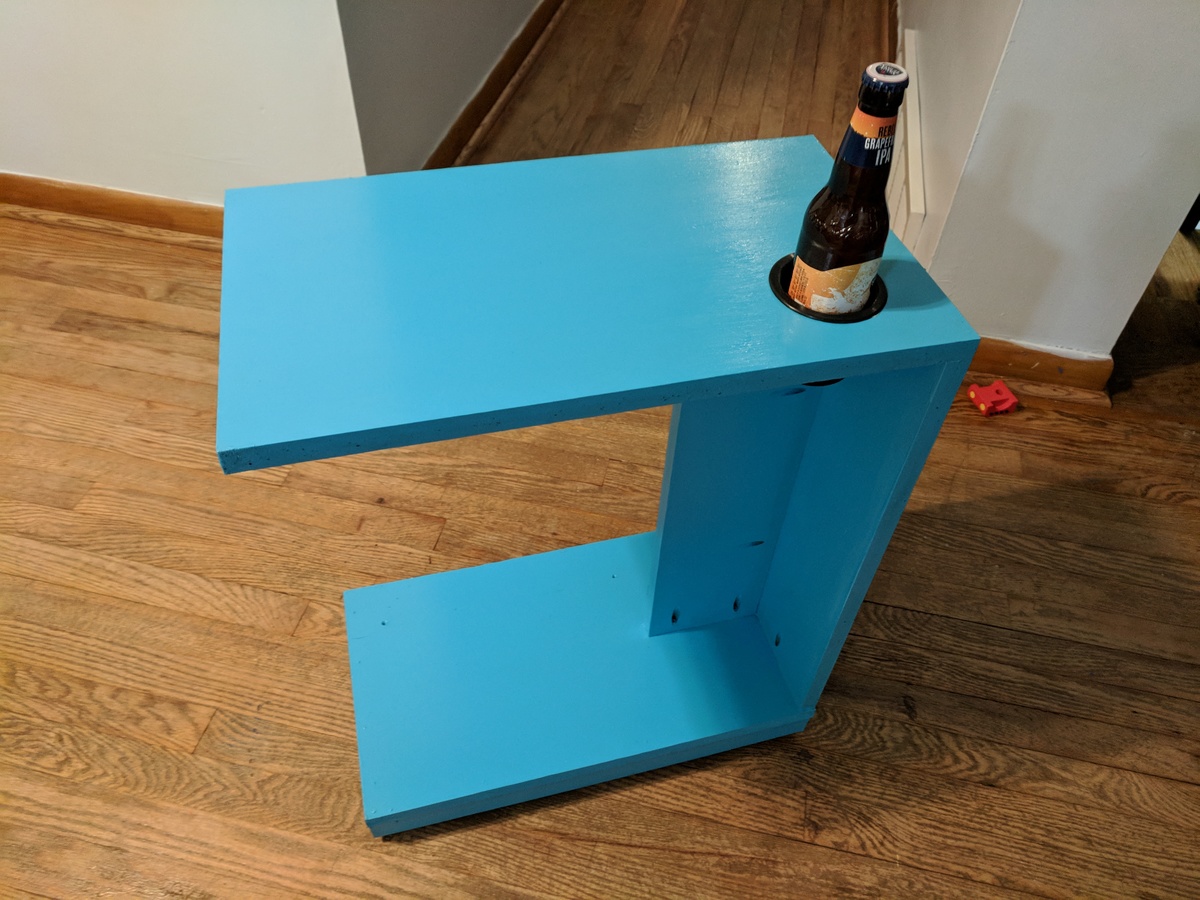
I had a bunch of scrap 3/4" MDF, so I used that instead of wood. The result is still as sturdy but a bit heavier than if I'd have used pine, which has added to the table's stability. I added a cup holder, but otherwise kept to the base instructions with no extra mods. I put an extra thick layer of polycrylic on the top surface, to protect the MDF from absorbing any spills. This was just a test run, so I didn't bother filling any of the visable pocket holes. Given how cheap and easy this was to build, I imagine I'll end up making 2-3 more.
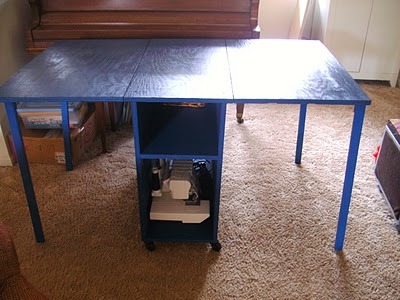
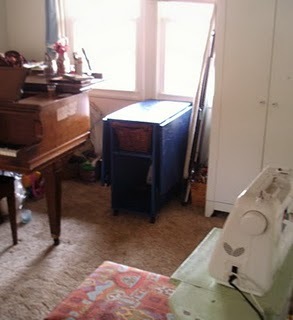
I loaded this project months ago, but somehow it was removed I believe during one of the websit updates. So far in my wife's crafting life she generally cuts things out on the floor. It's not so good. Our dining room table is usually covered in food or playdough so she generally just spreads things out on the floor. I realized how much she needed a table, and armed with new power tools from Christmas and my birthday, I set out to make me a crafting table. This was my first project.
Sun, 09/22/2019 - 11:13
Can you repost plans? This is just what I'm looking for. Thanks!
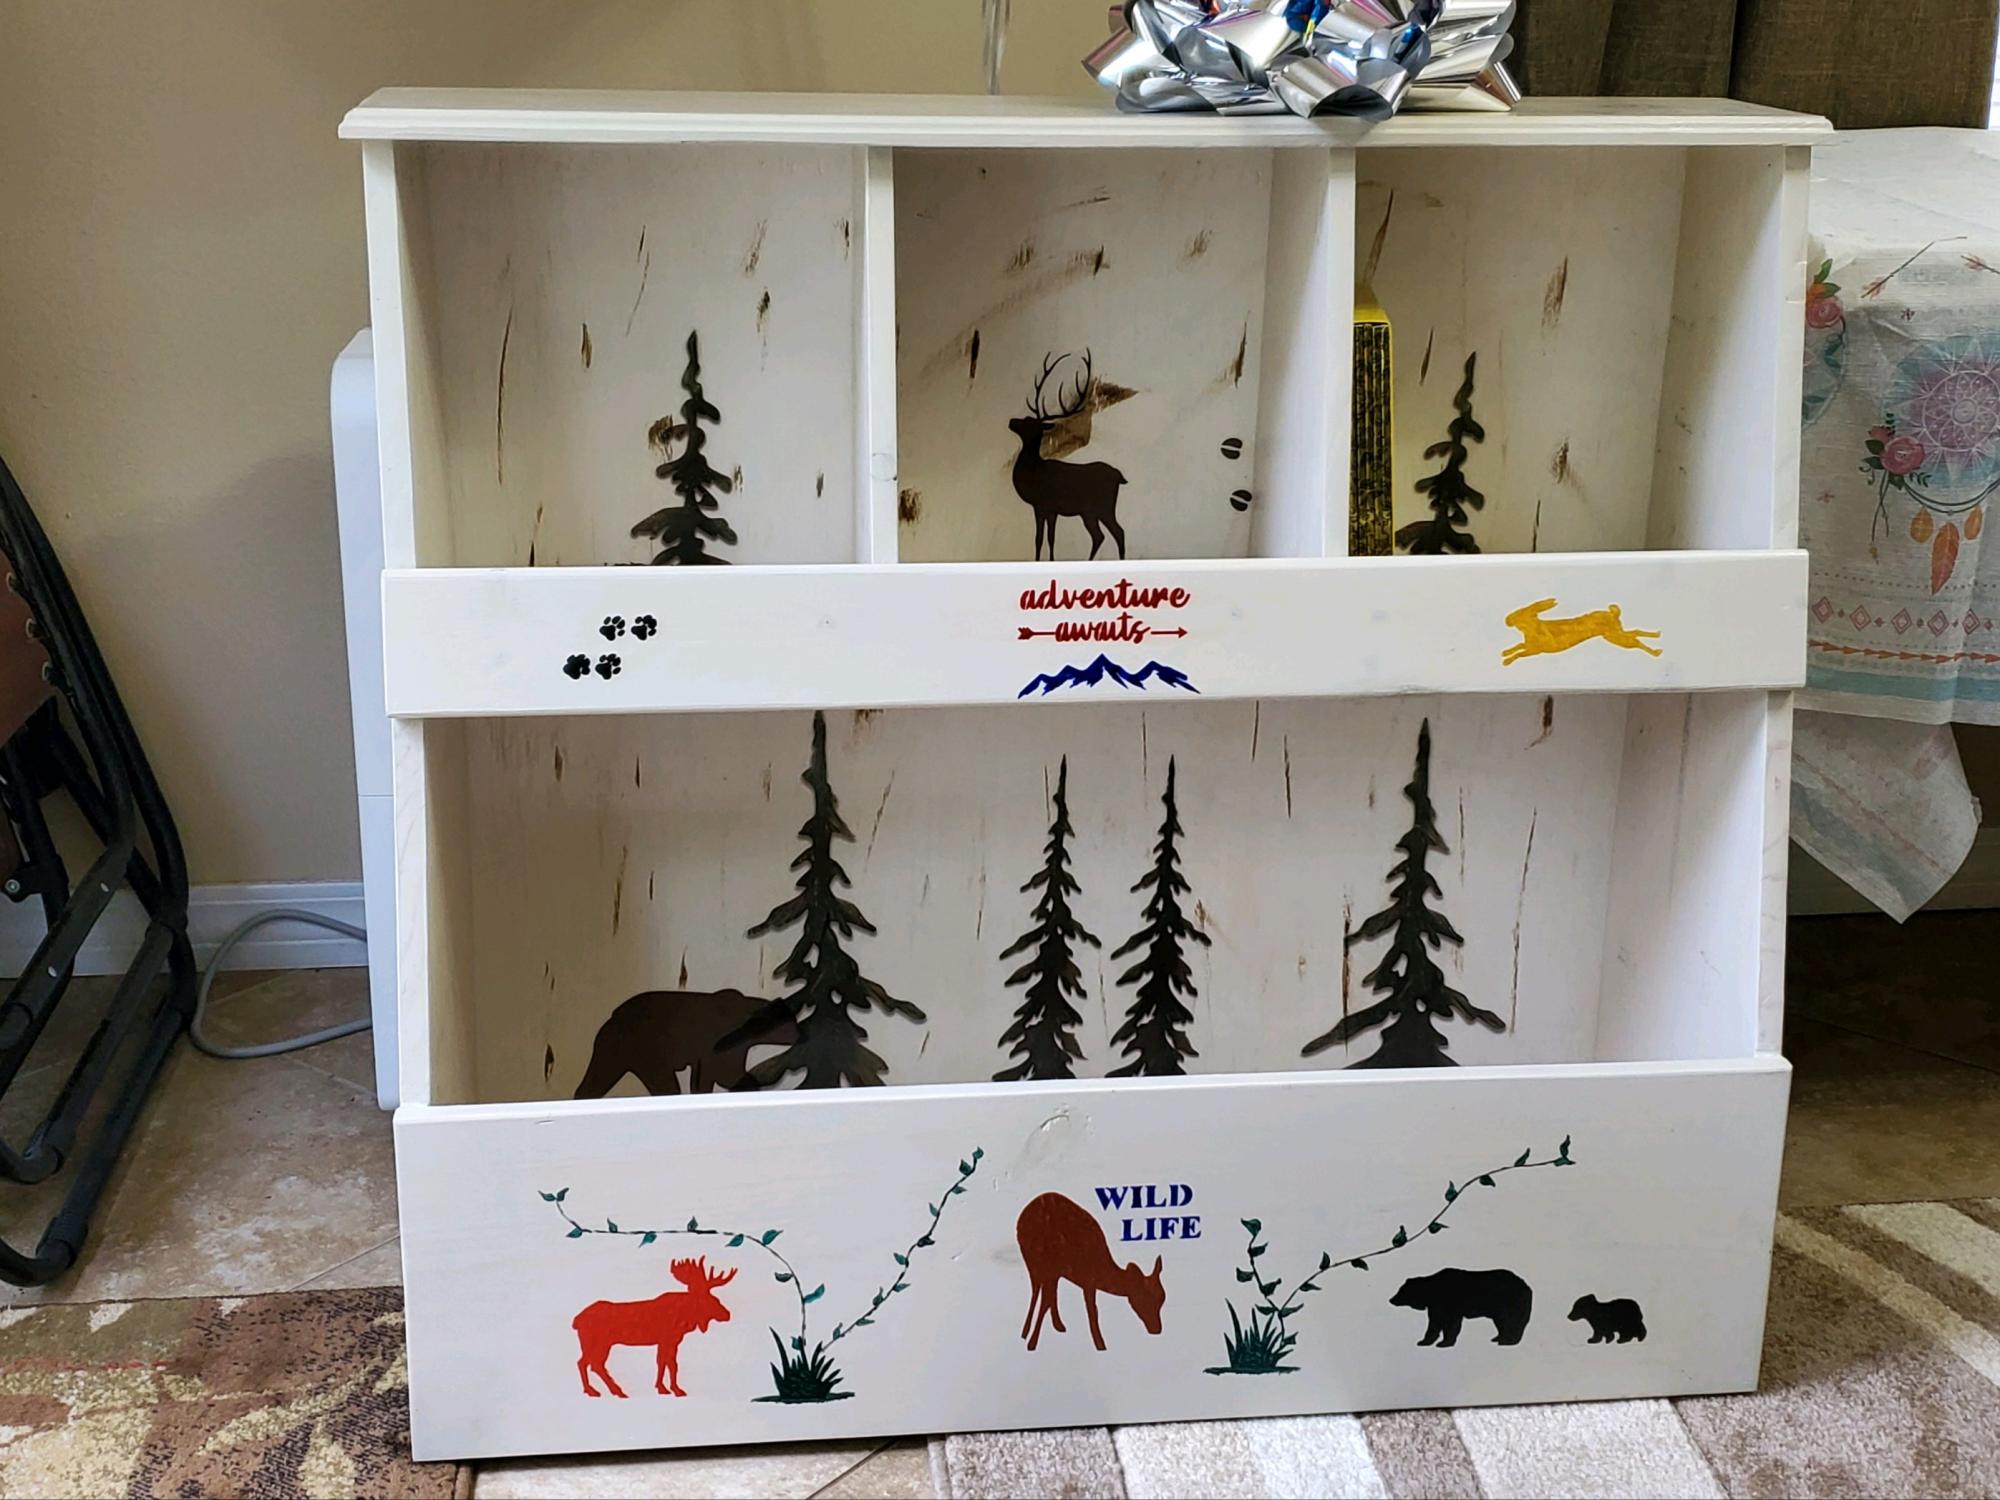
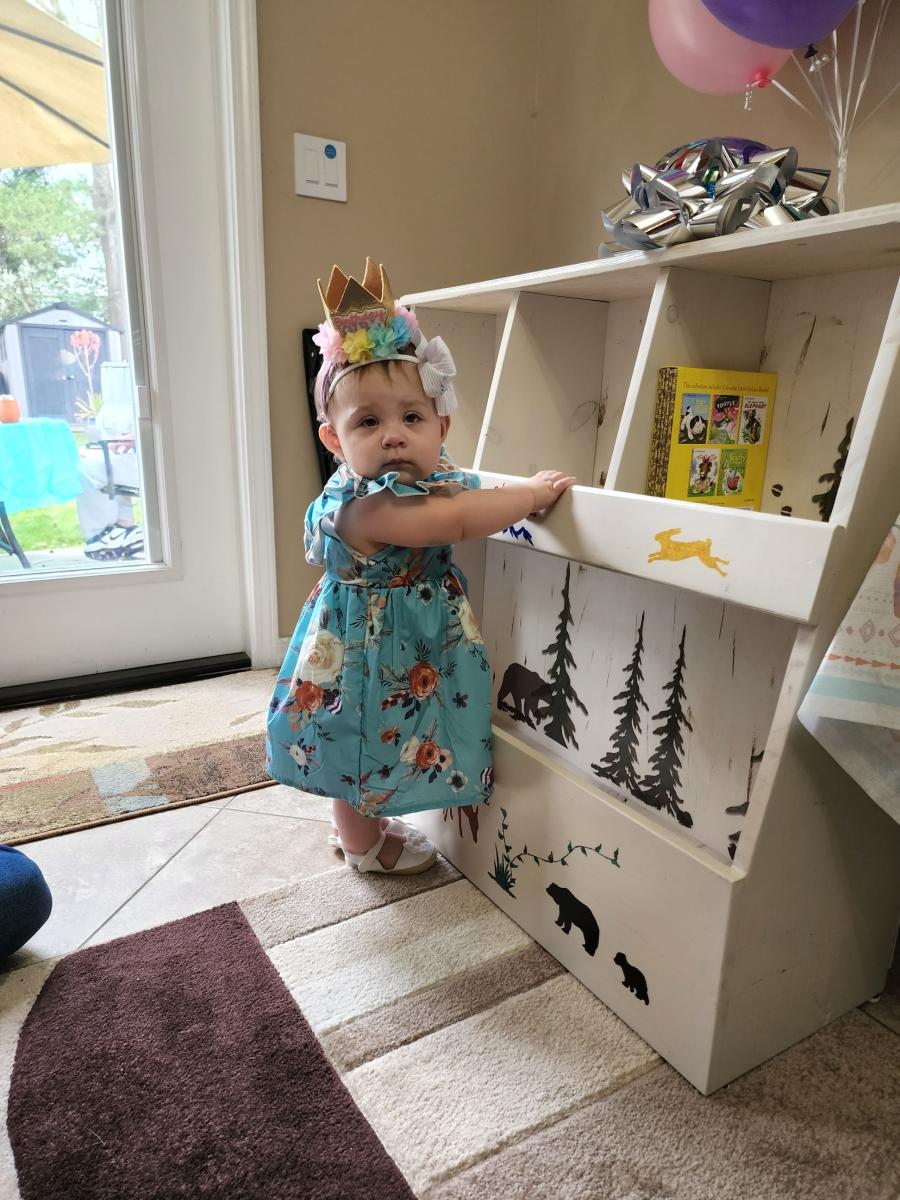
Tried to find a toy box for my Granddaughters 1st birthday. Ana White has the best plans so far. My Grandaughter’s room is wildlife themed, so I customized it for her room. Used semi-transparent white Minwax and added stenciling with acrylic paint before I added 2 topcoats of clear coat. In less than 10 minutes they filled it up, and so far, she seems to love it.
Sun, 04/03/2022 - 19:03
Thank you for sharing your awesome project, love the wildlife theme!
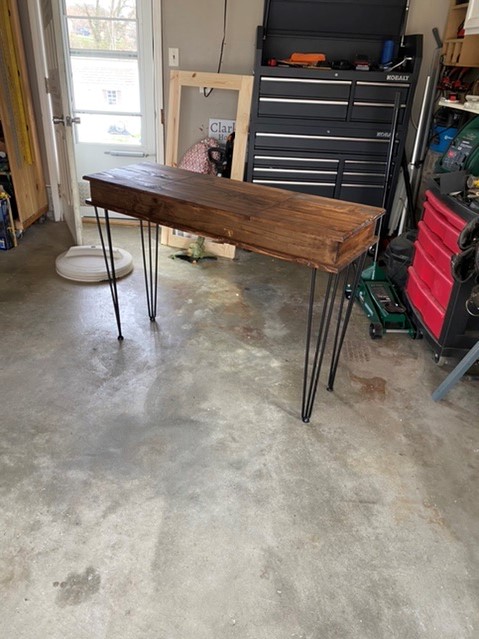
Made this table for my sons girlfriend for her makeup and to use as a table for her laptop.

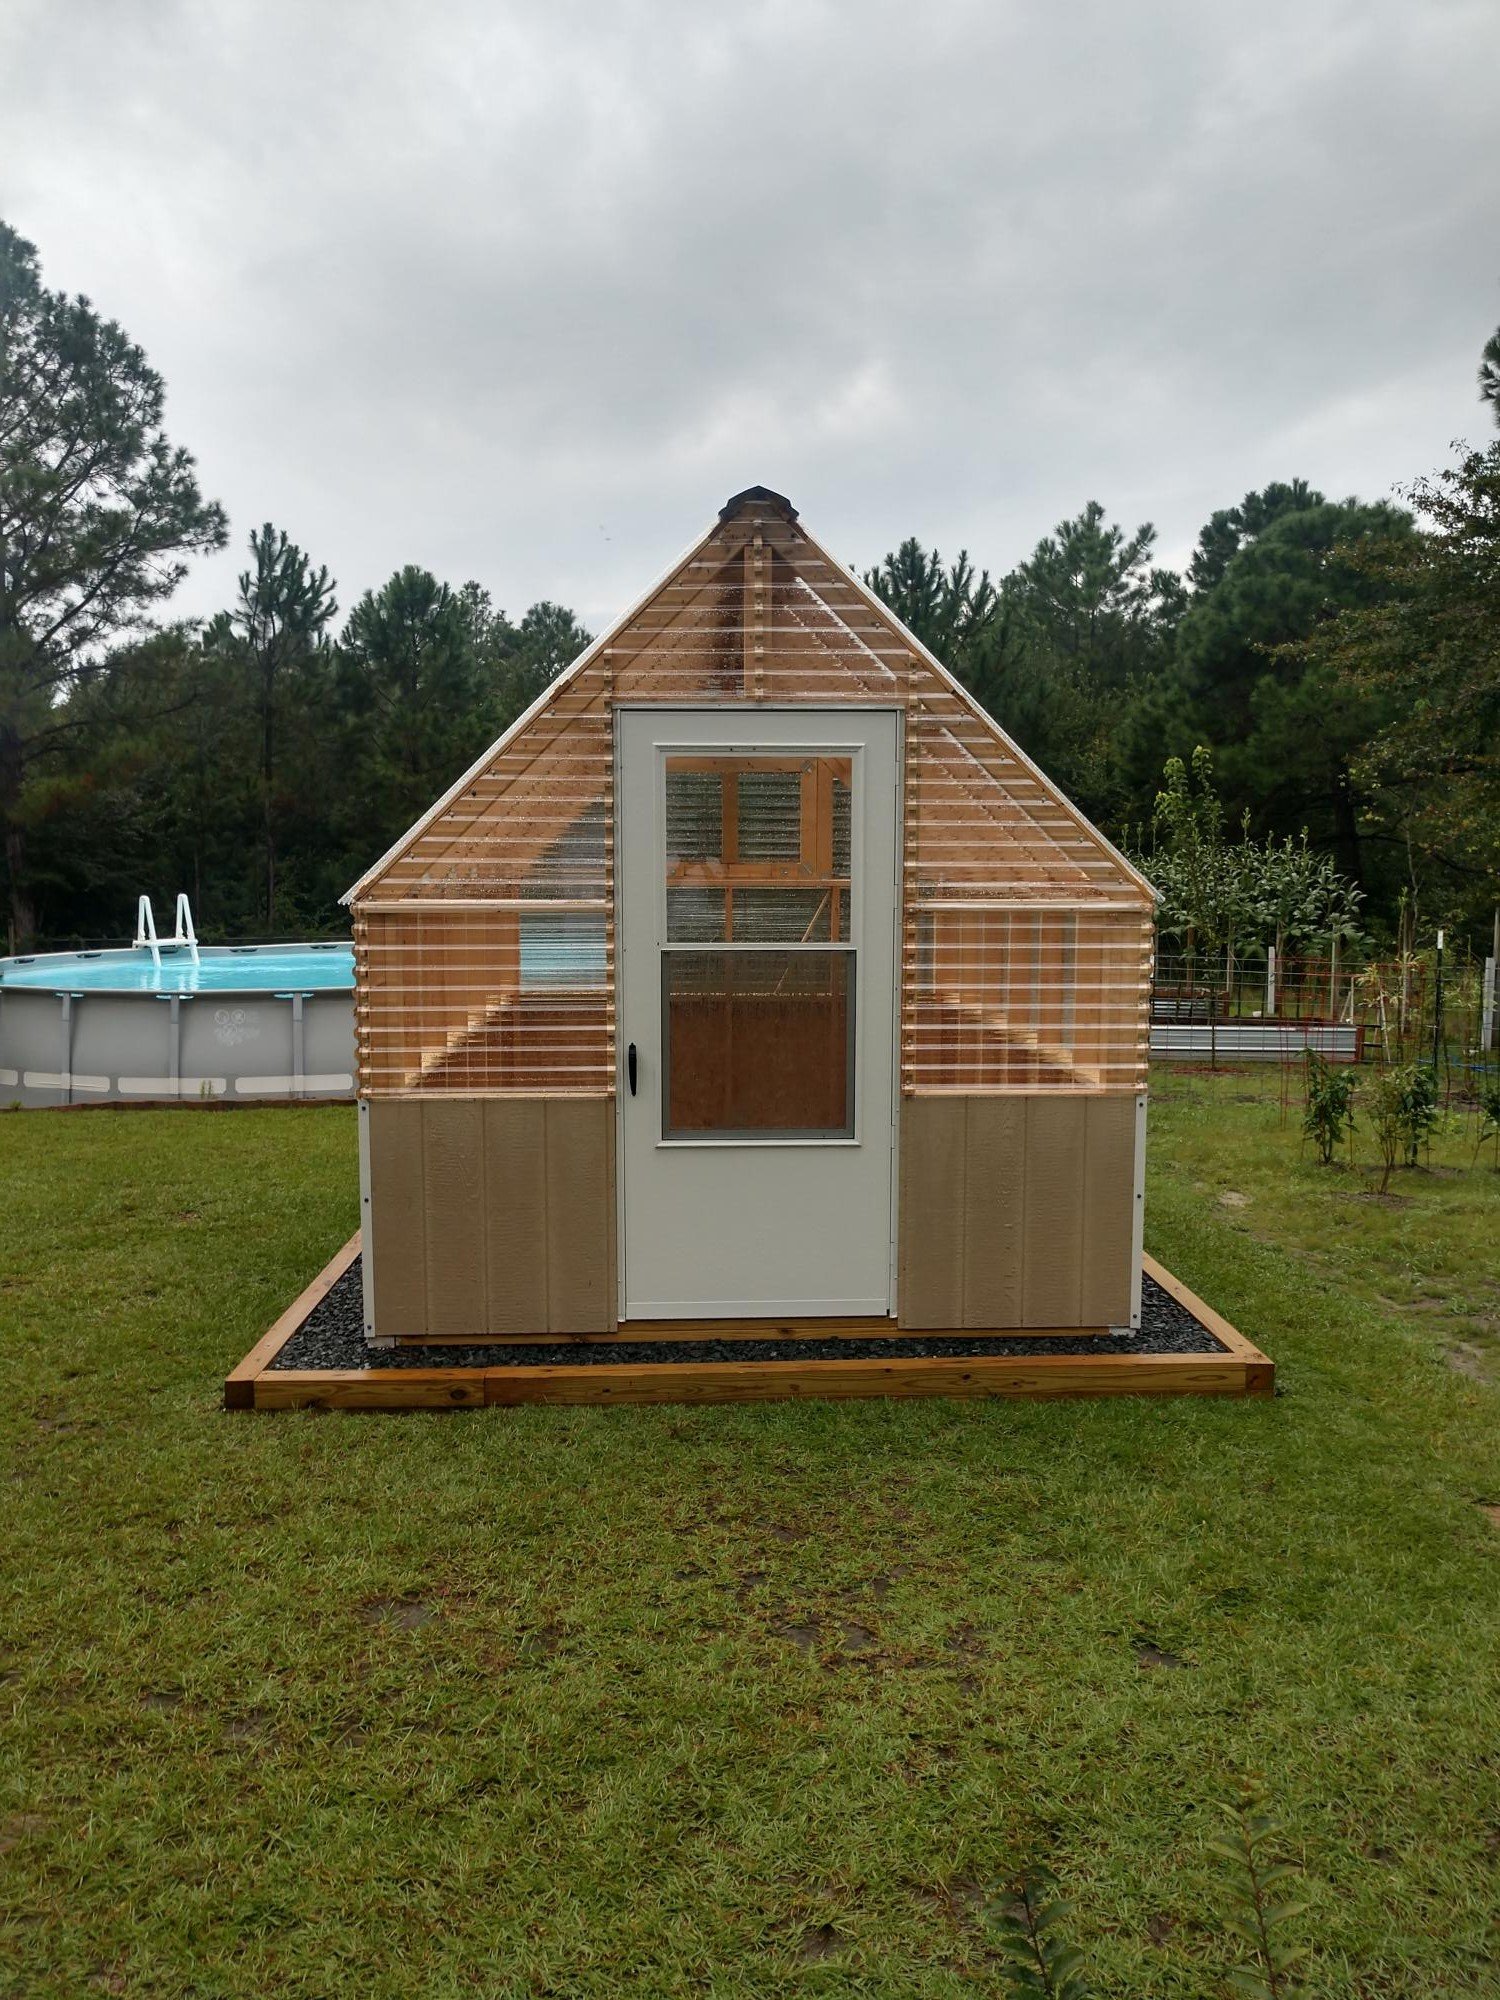
Gable Greenhouse by William
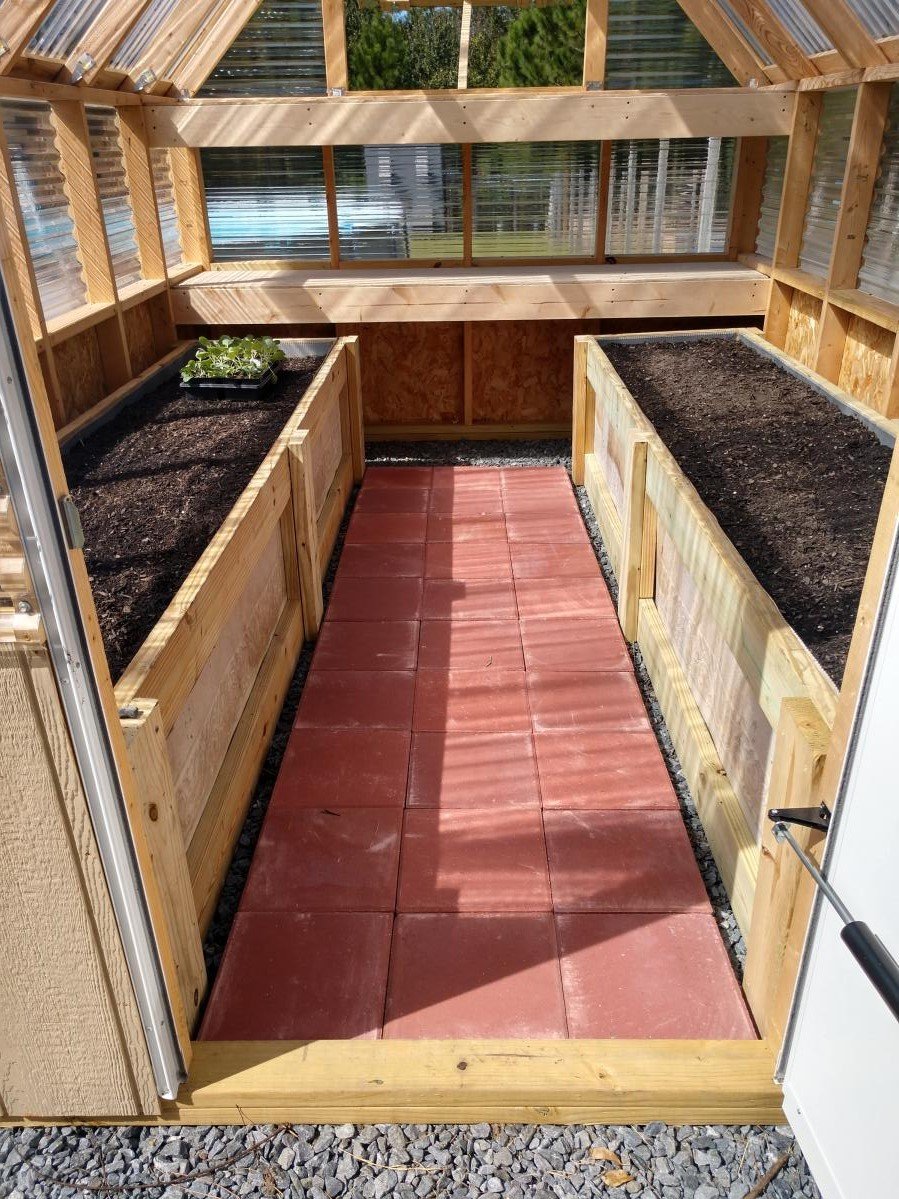

Built the project from the original plans. Modified by creating a shadow box style countertop. Also decided to make the shelves movable rather than just being static. Purchased the mini barn door hardware kit from Amazon.

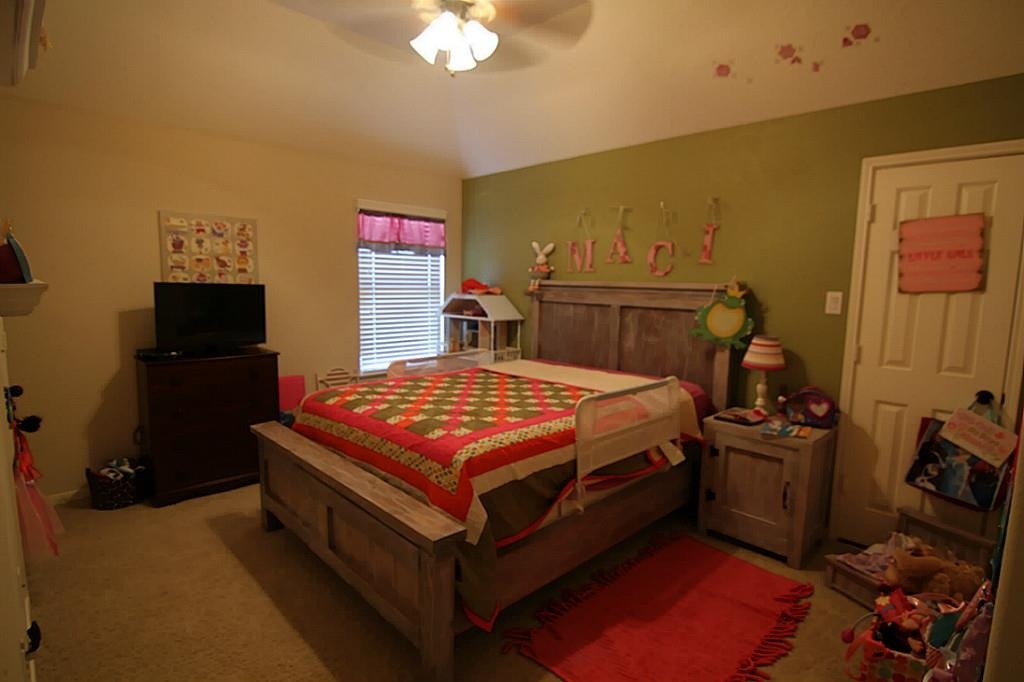
I built this Farmhouse Queen Bed & Kentwood Night Stand for my Granddaughter. She loves it !
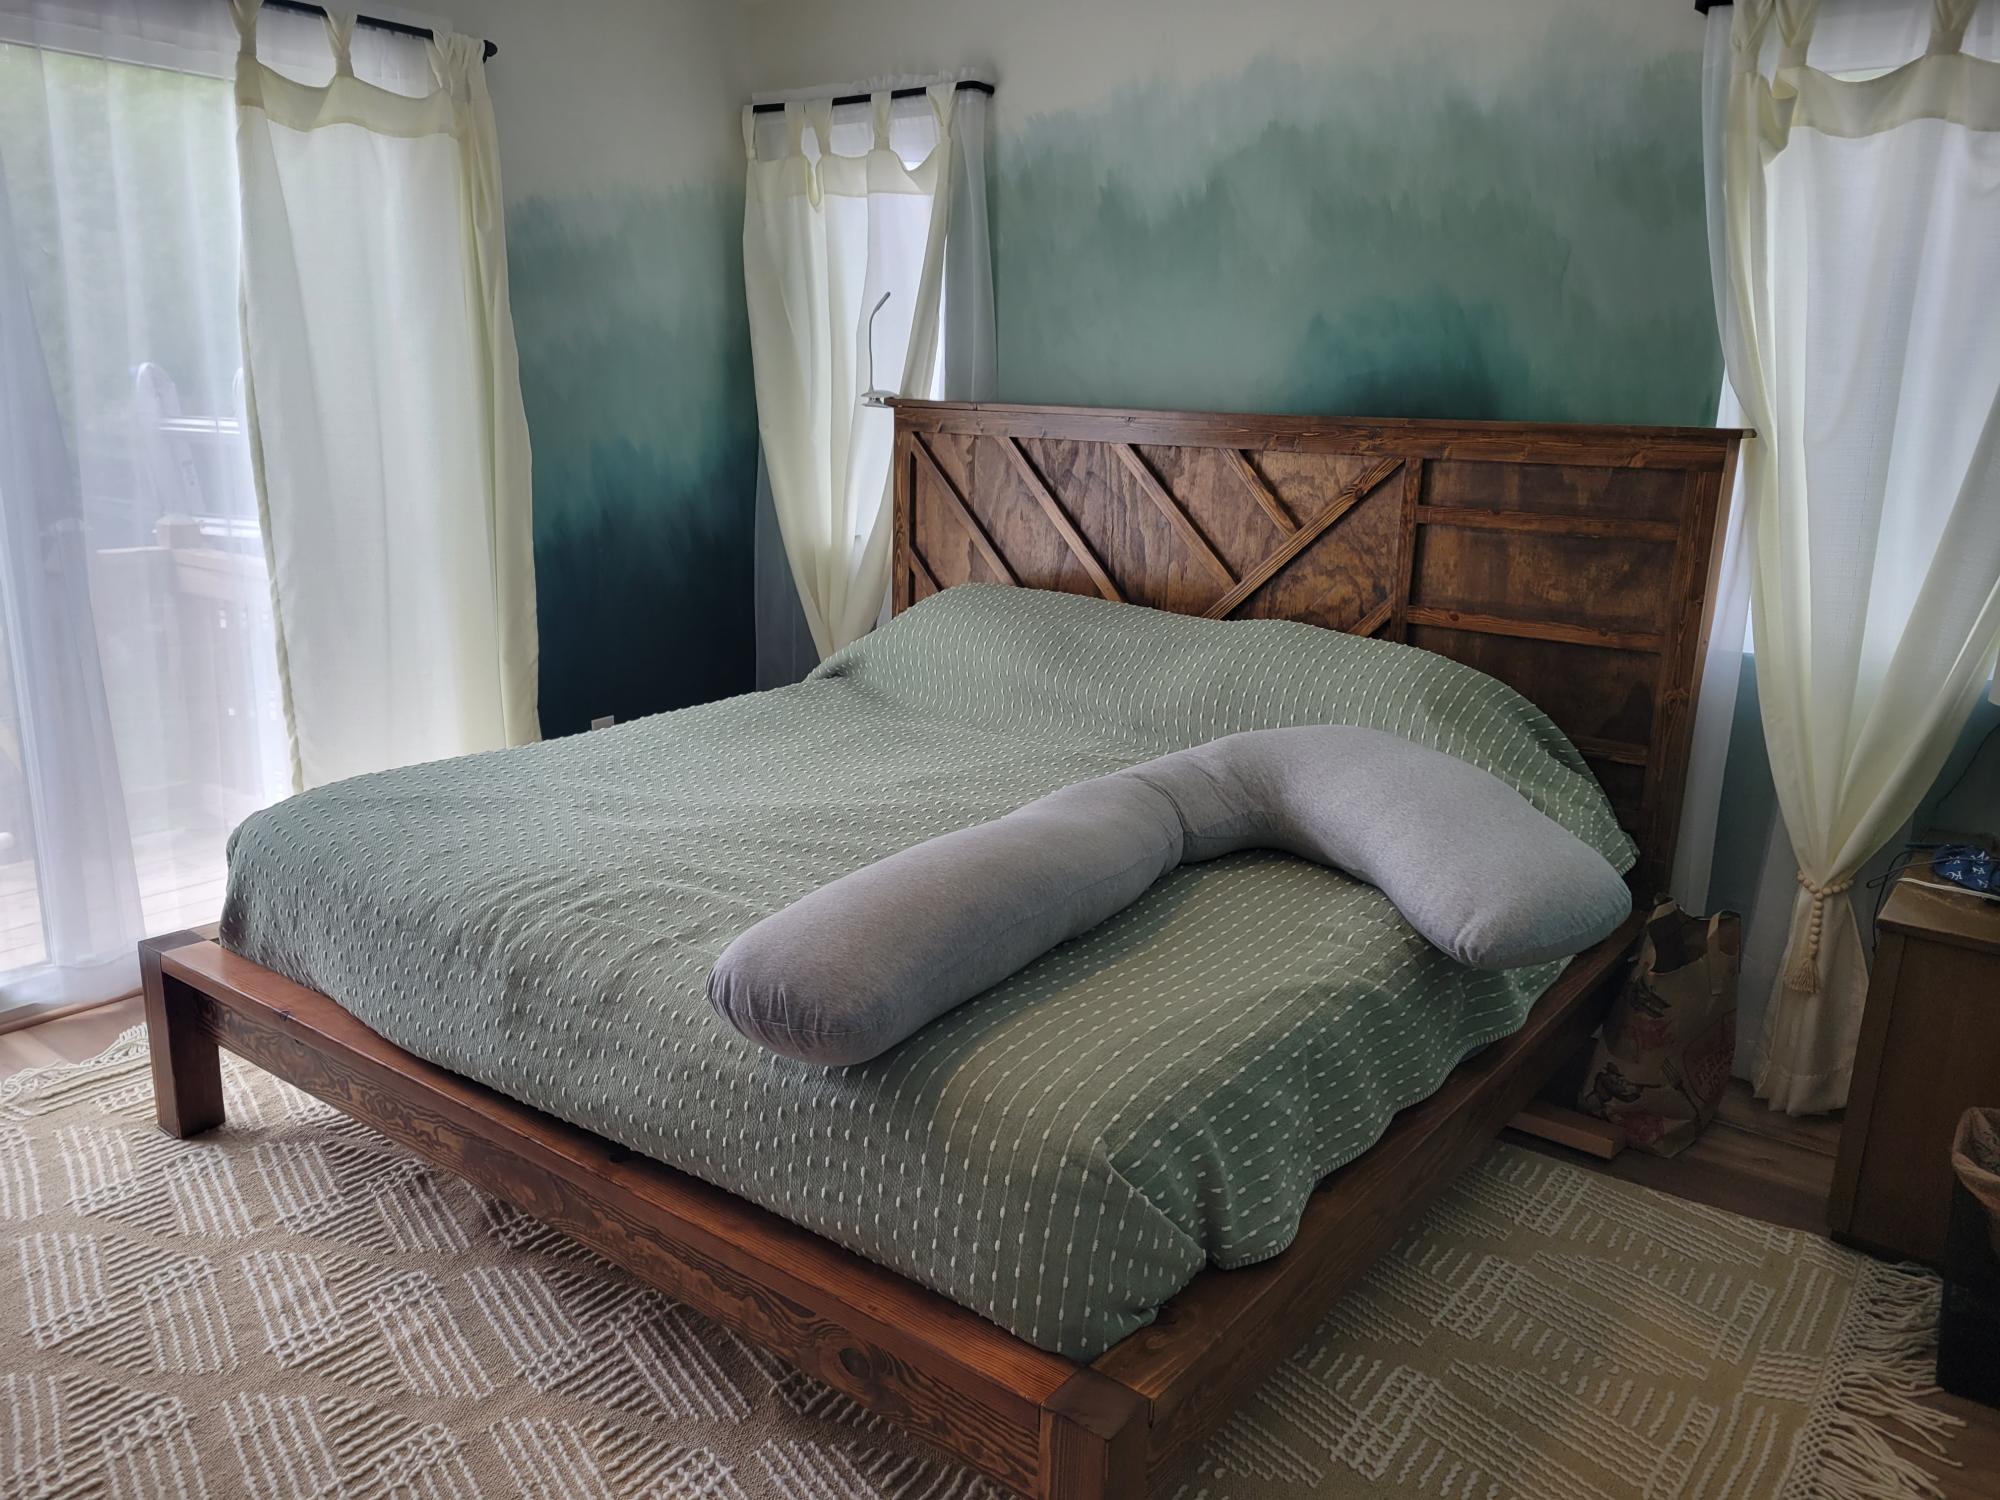
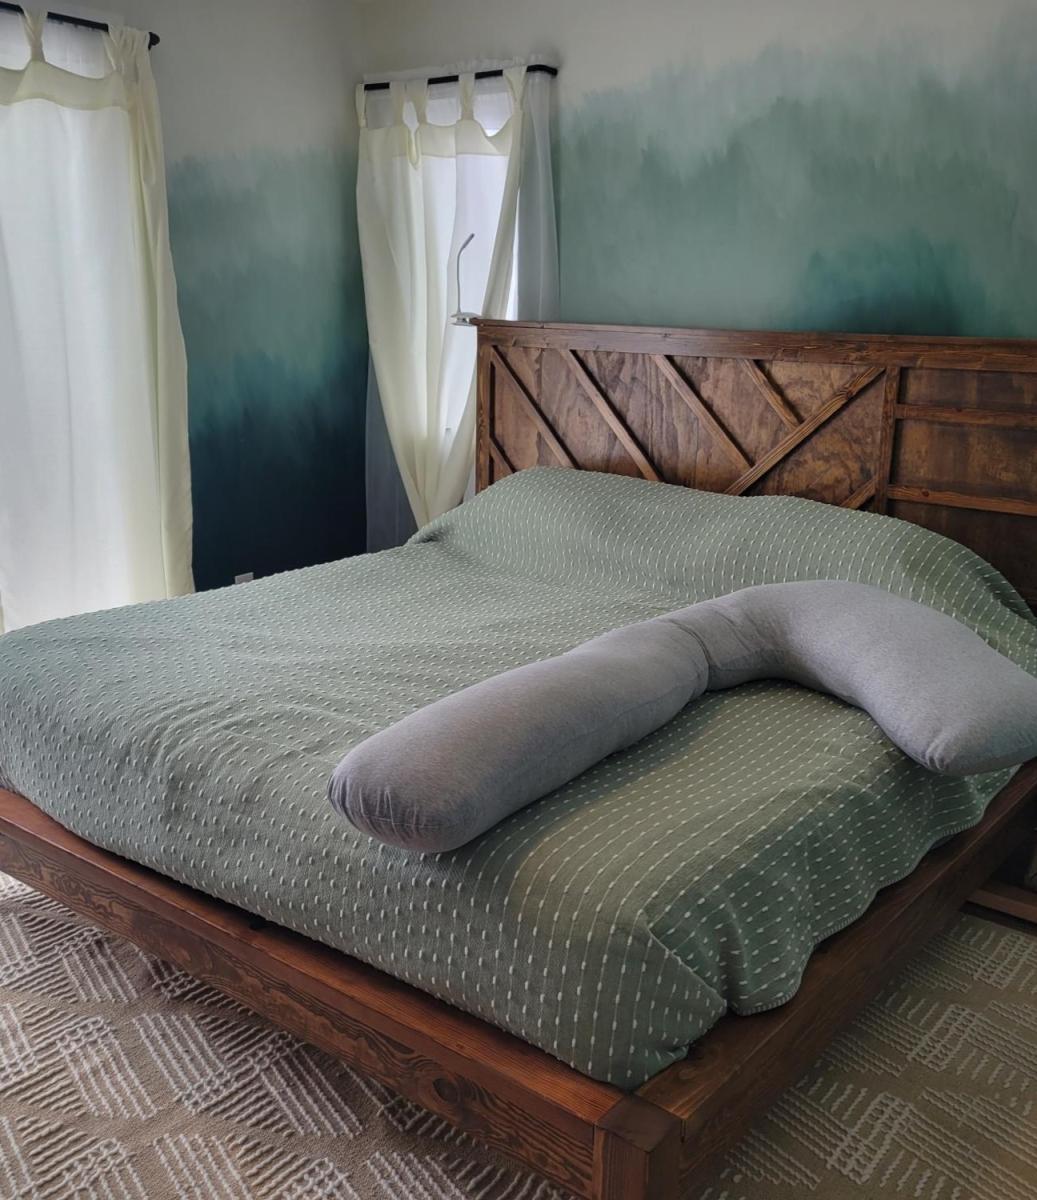
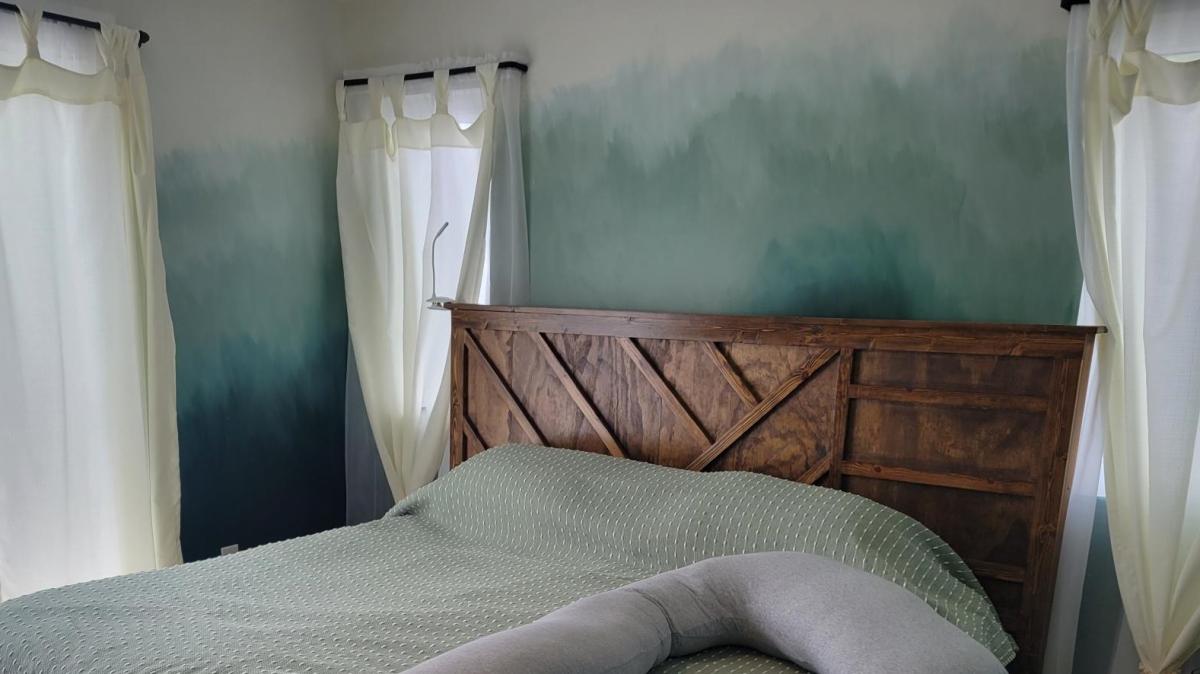
Took the Farmhouse bed model and incorporated a geometric headboard. This thing is heavy!
Thu, 05/12/2022 - 19:28
WOW, this is so pretty, way to go! Thank you so much for sharing!
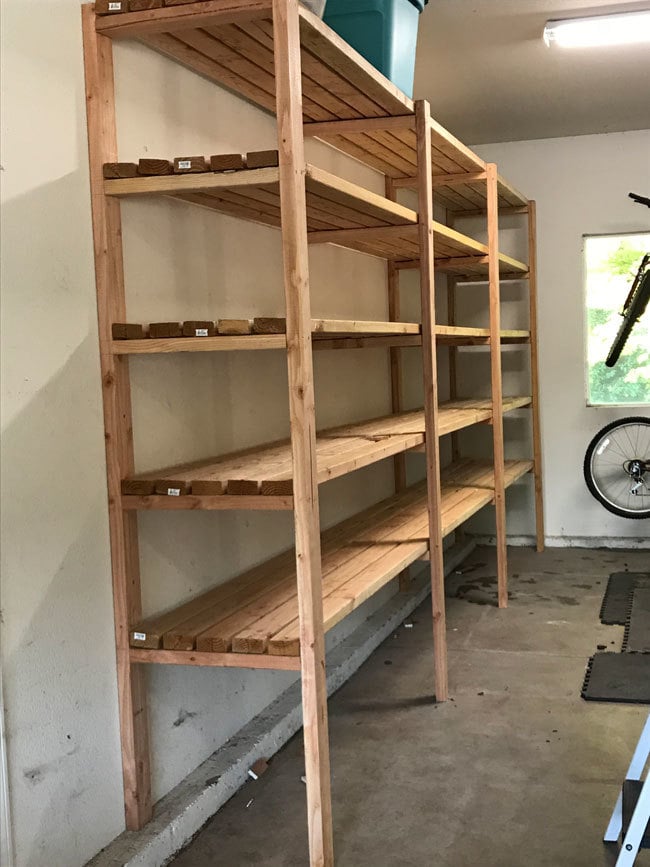
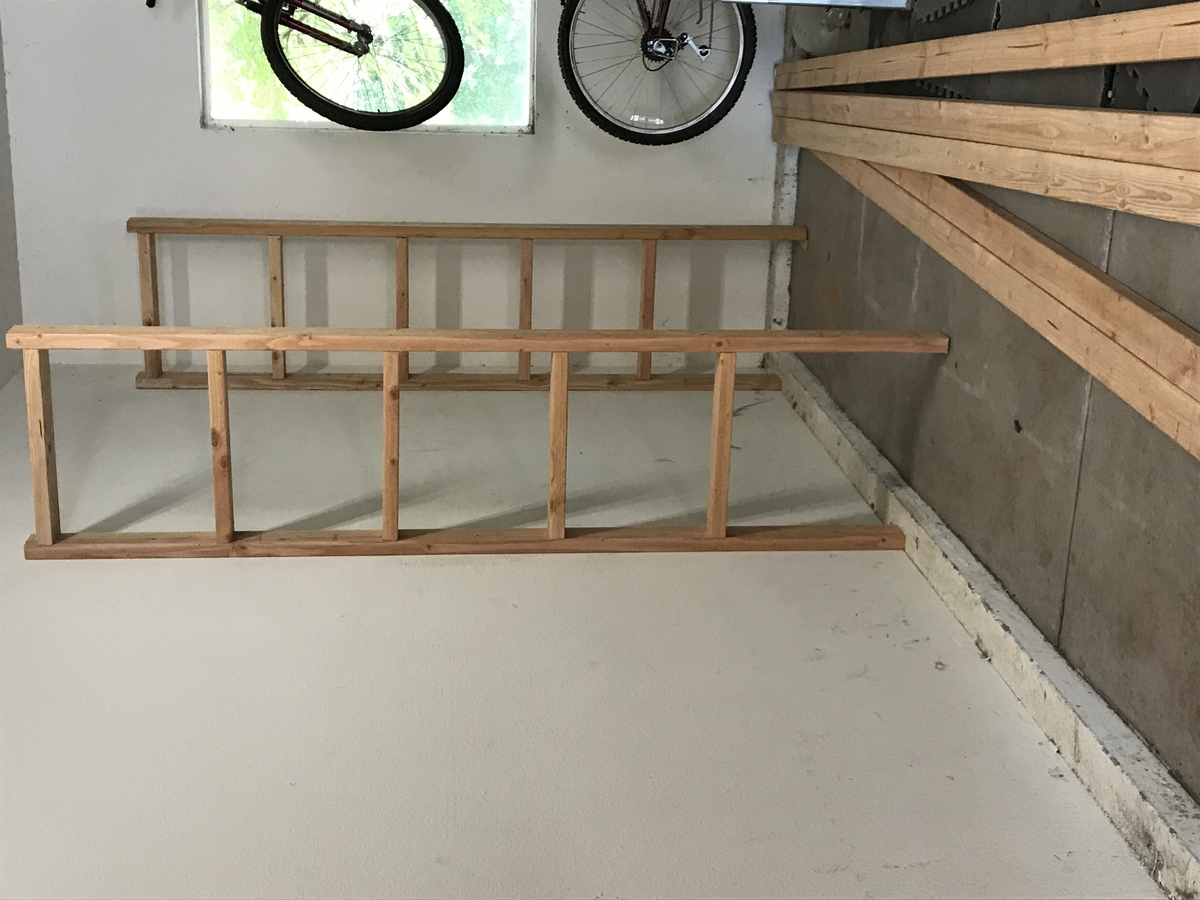
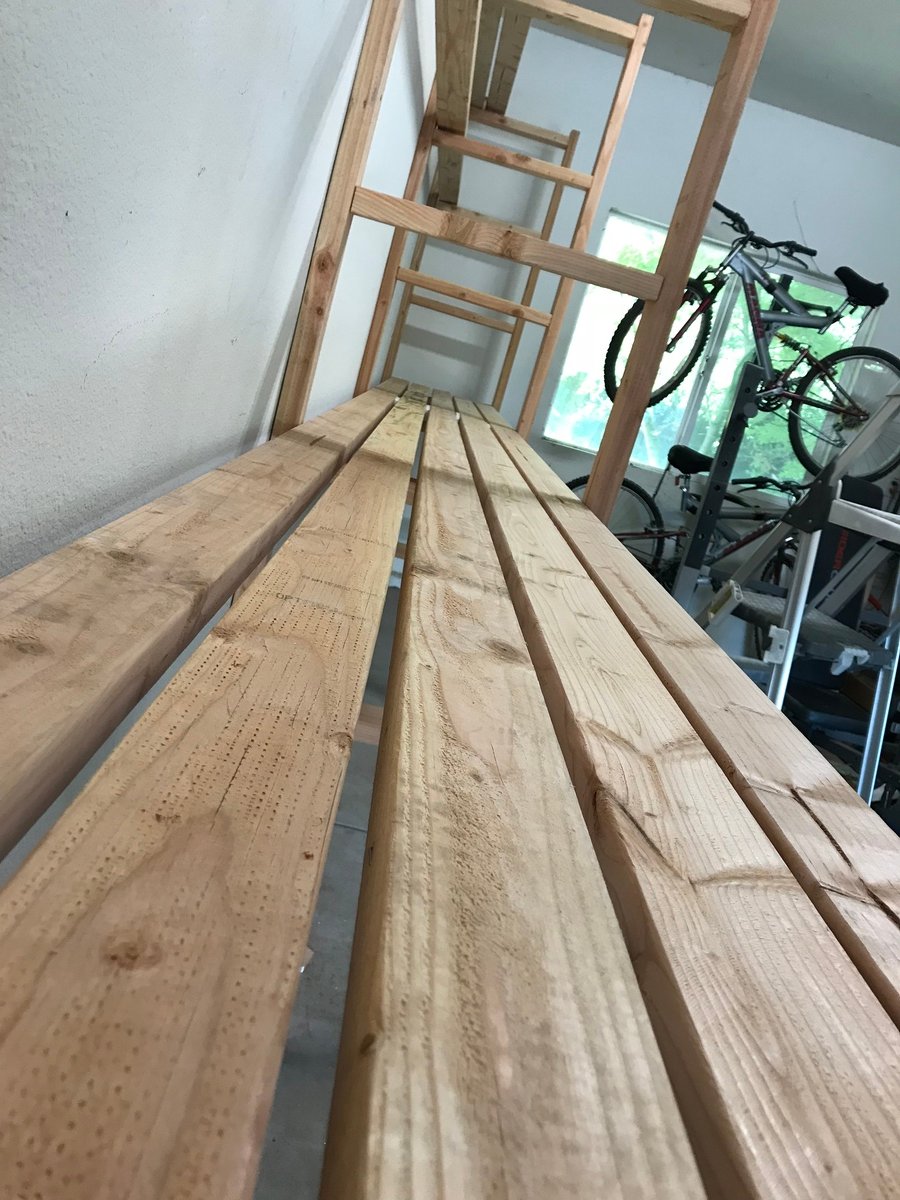
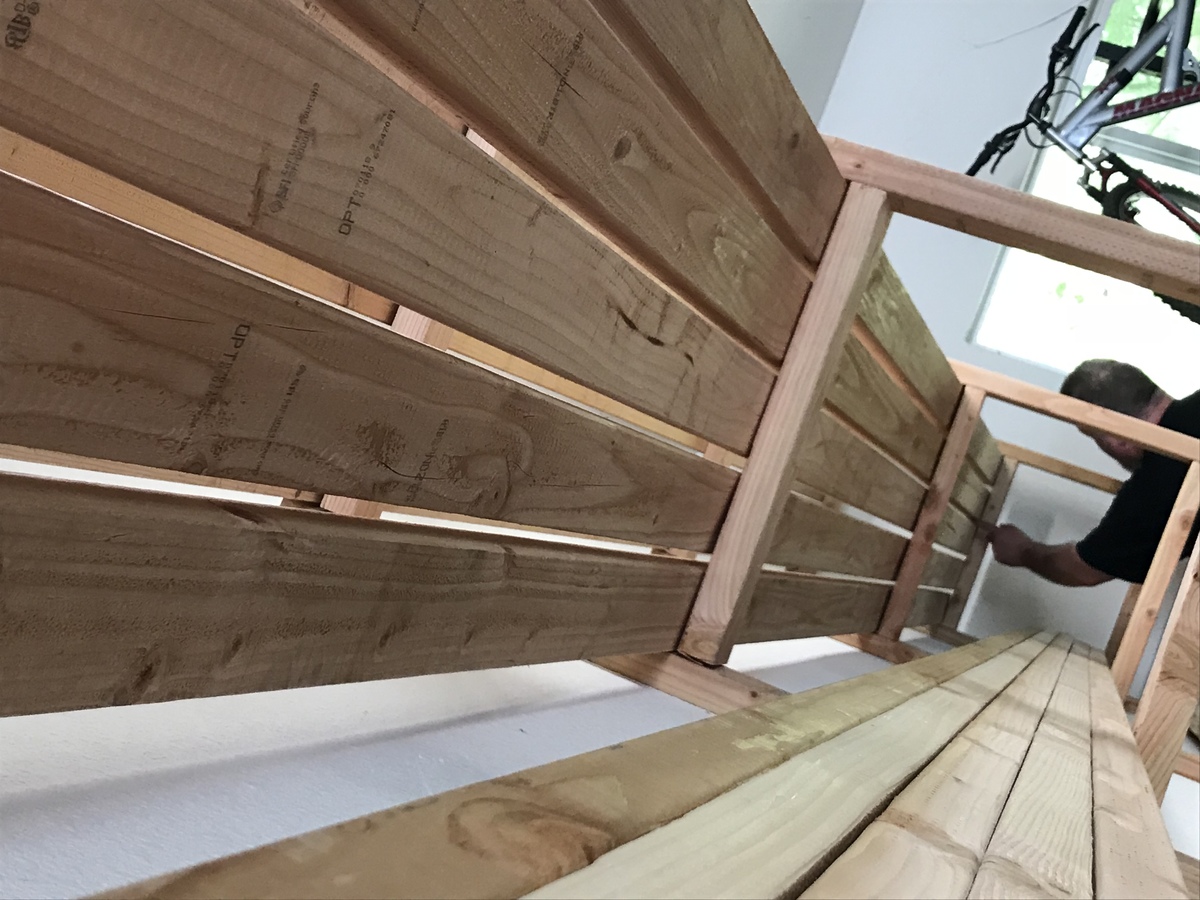
Designed to store 56 qt clear sterilite totes. Spaced 17” apart and used 5 2x4s so 23” deep. We have a lip of our foundation that sticks out so we had to adjust for the difference in leg heights.
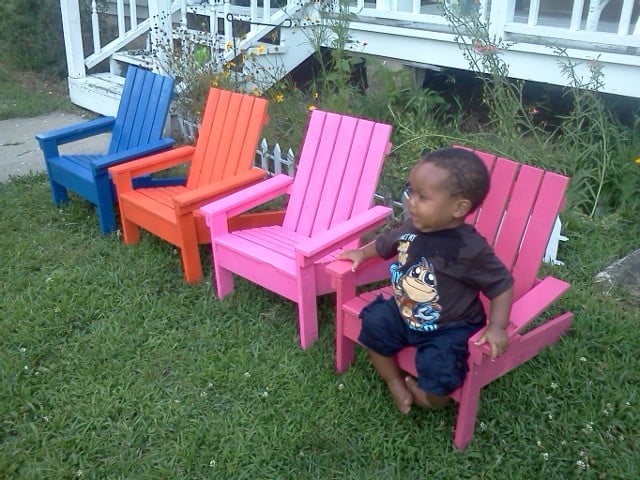
These 4 little chairs did not take very long to put together. But they did take me a while to sand, prime and paint. I hate that part of building-haha-so it always seems like it takes forever to get through with that and on to the fun part. They are very easy to make and inexpensive. My grandkids and others who have driven by and seen them out front have loved them!!
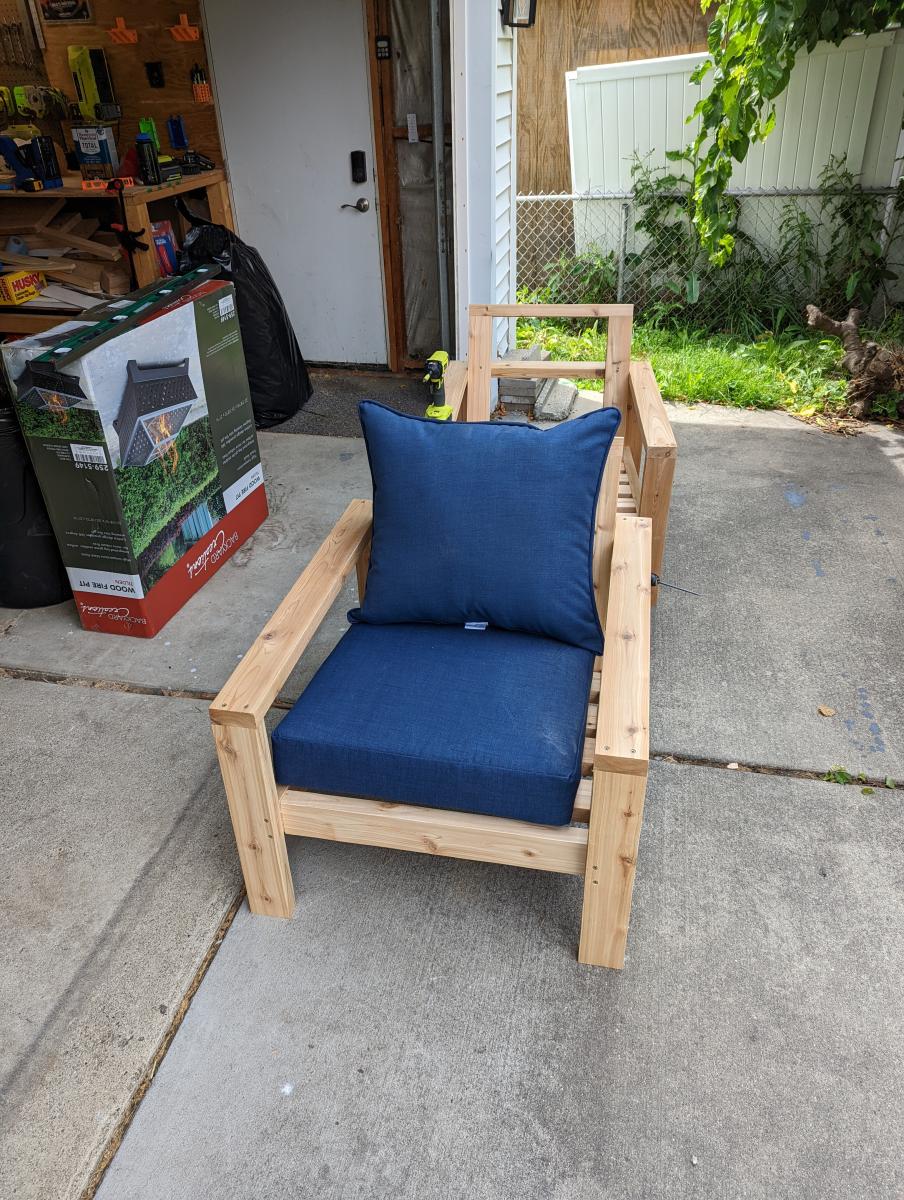
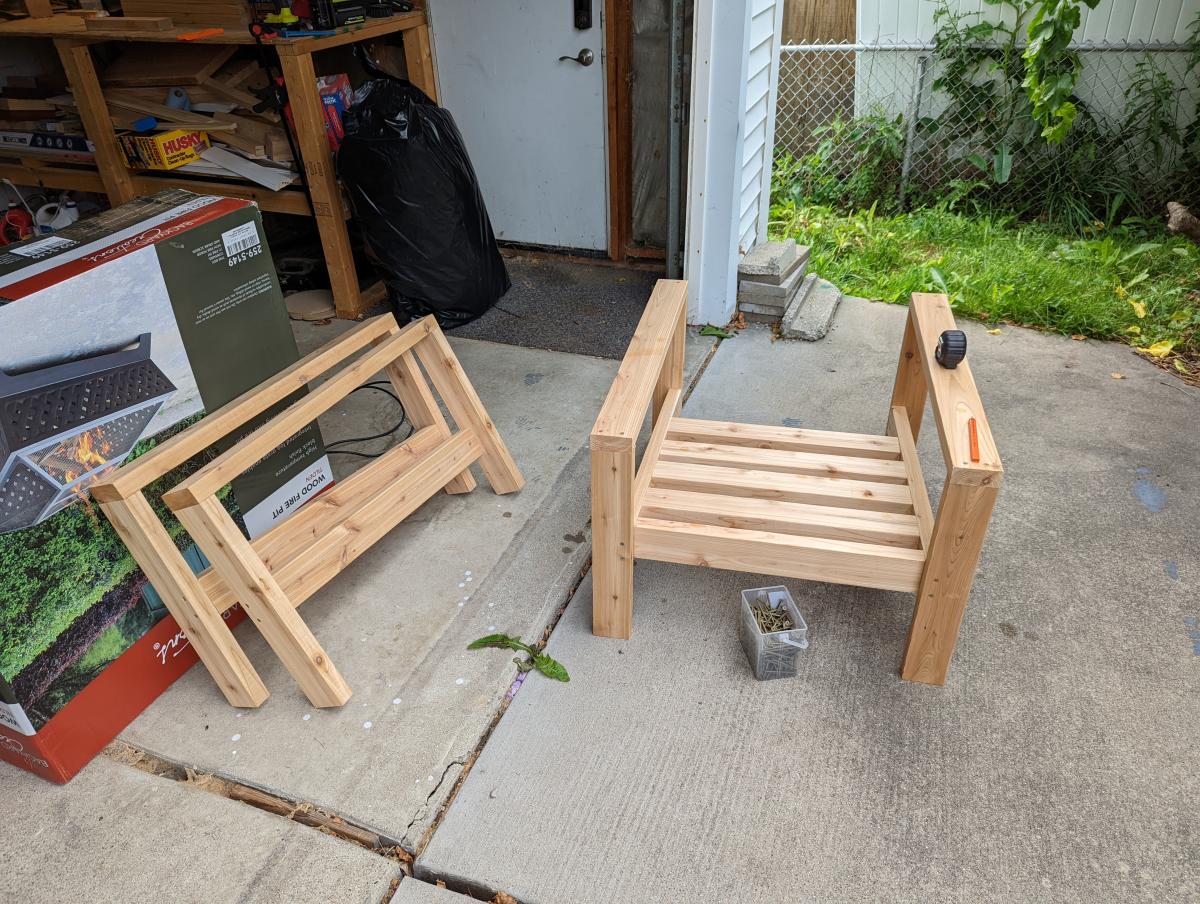
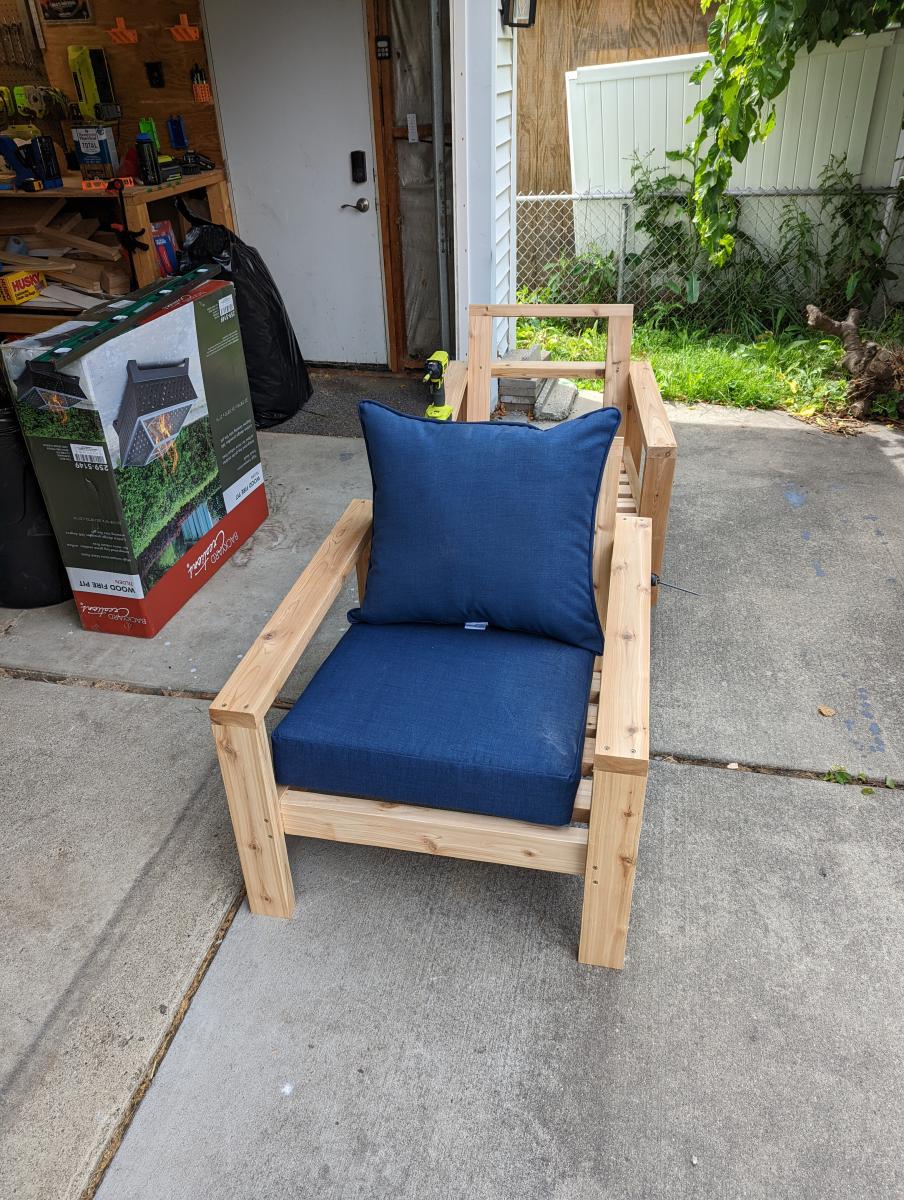
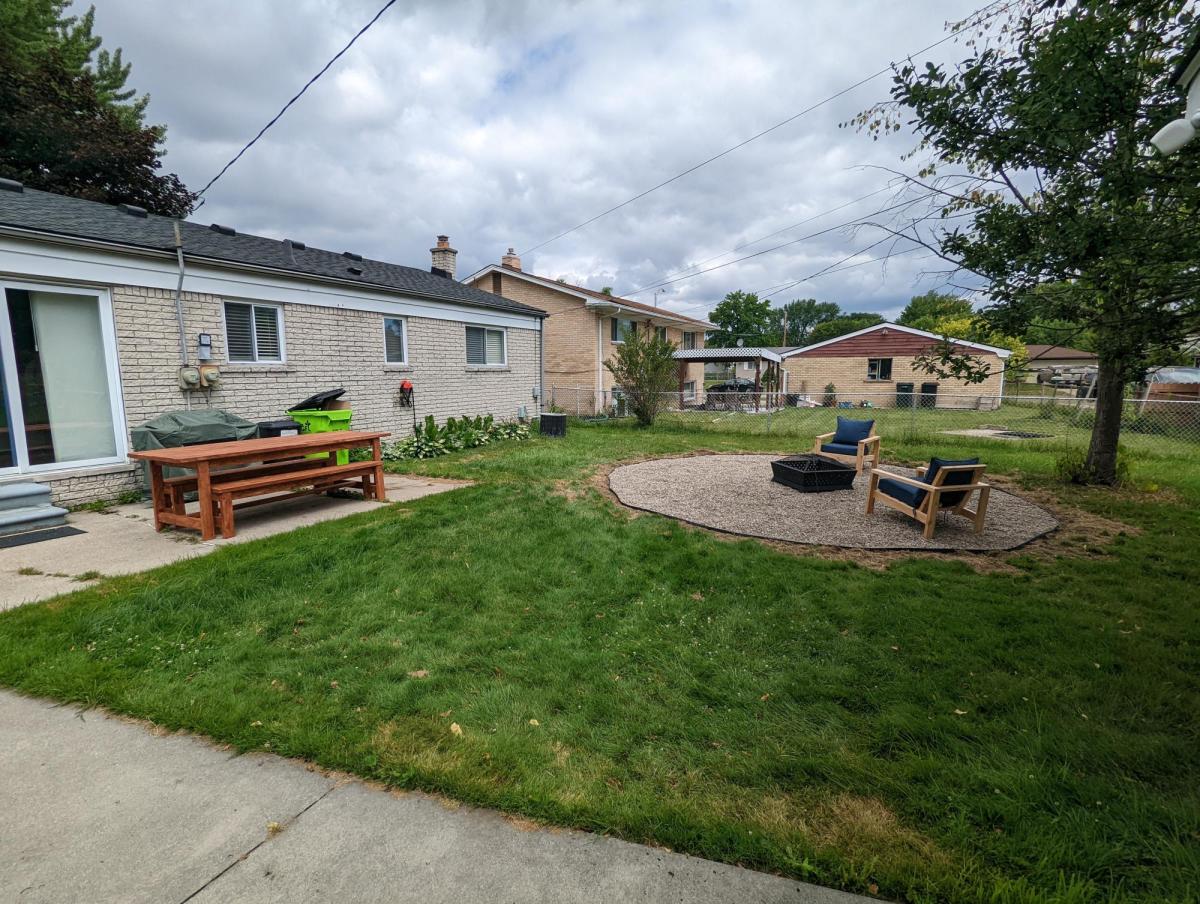
built straight from ana's plan. Used cedar 2x4s. super easy to make really happy how they came out. Cushions were like $52 per set at home depot.
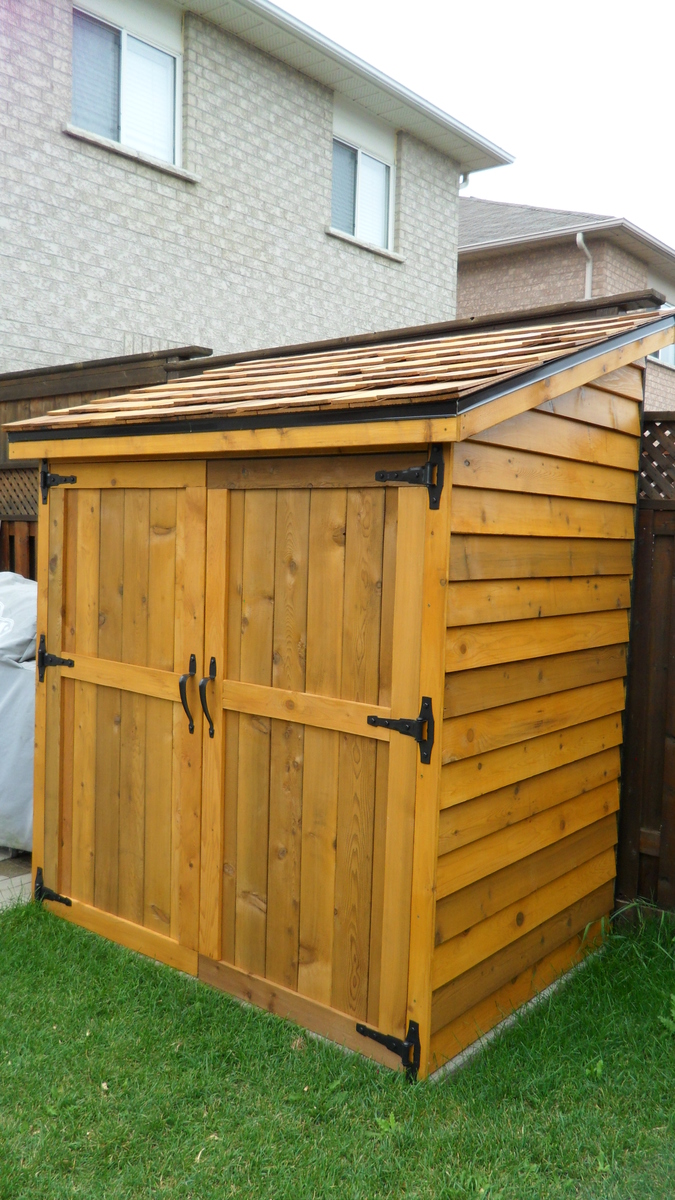
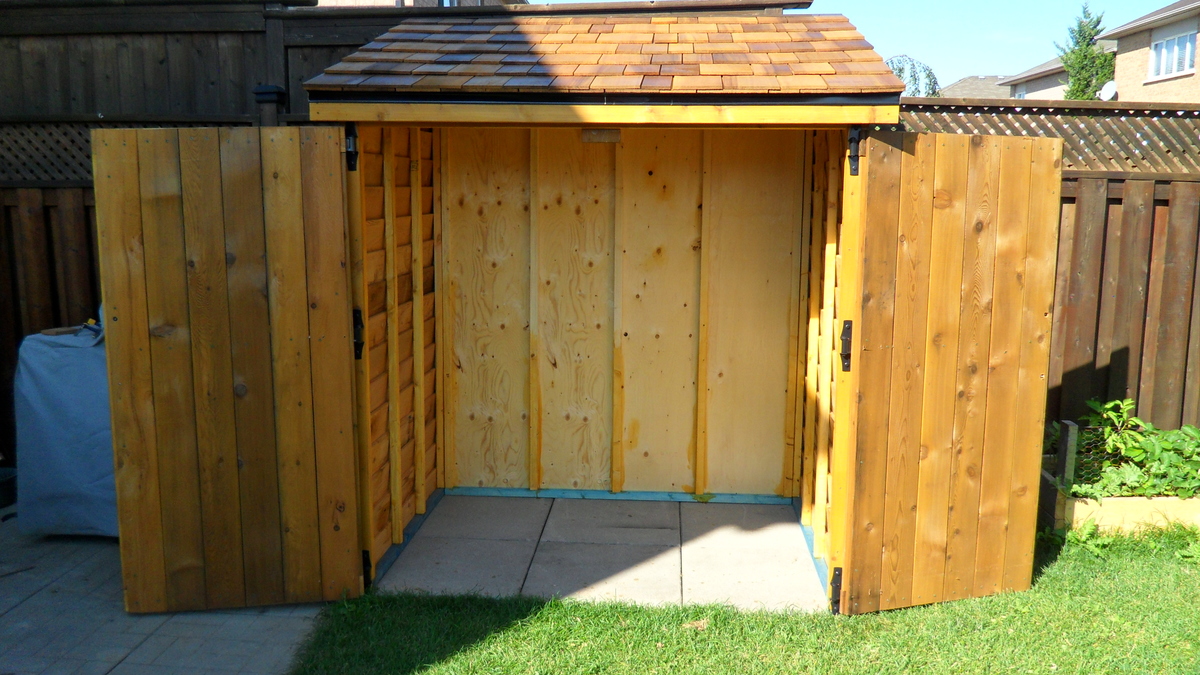
Thanks for the shed plans, I've been looking all over for something like this. I used 3/8" ply wood for the back wall to save money but spent what was saved and more on the shingles and stain/seal. I made the shed exactly 6' wide and 4' deep to fit the 6 2'x2's patio slabs.
The entire project took about 2 weeks to complete and cost about $700. We pay more in Canada but at least I finally got the shed I wanted.
