Community Brag Posts

Rolling Workbench with "Drill Holders"
Submitted by Joni on Sun, 03/18/2012 - 11:03

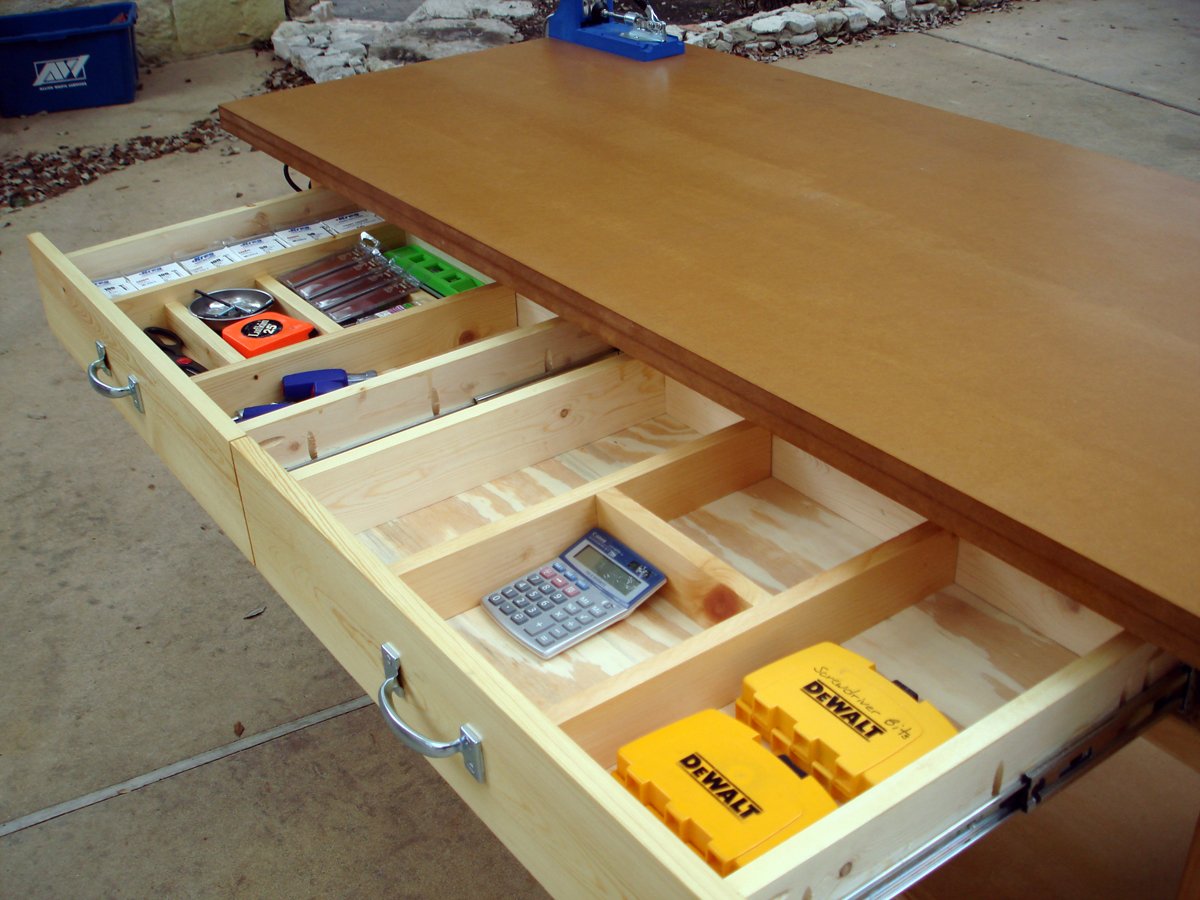
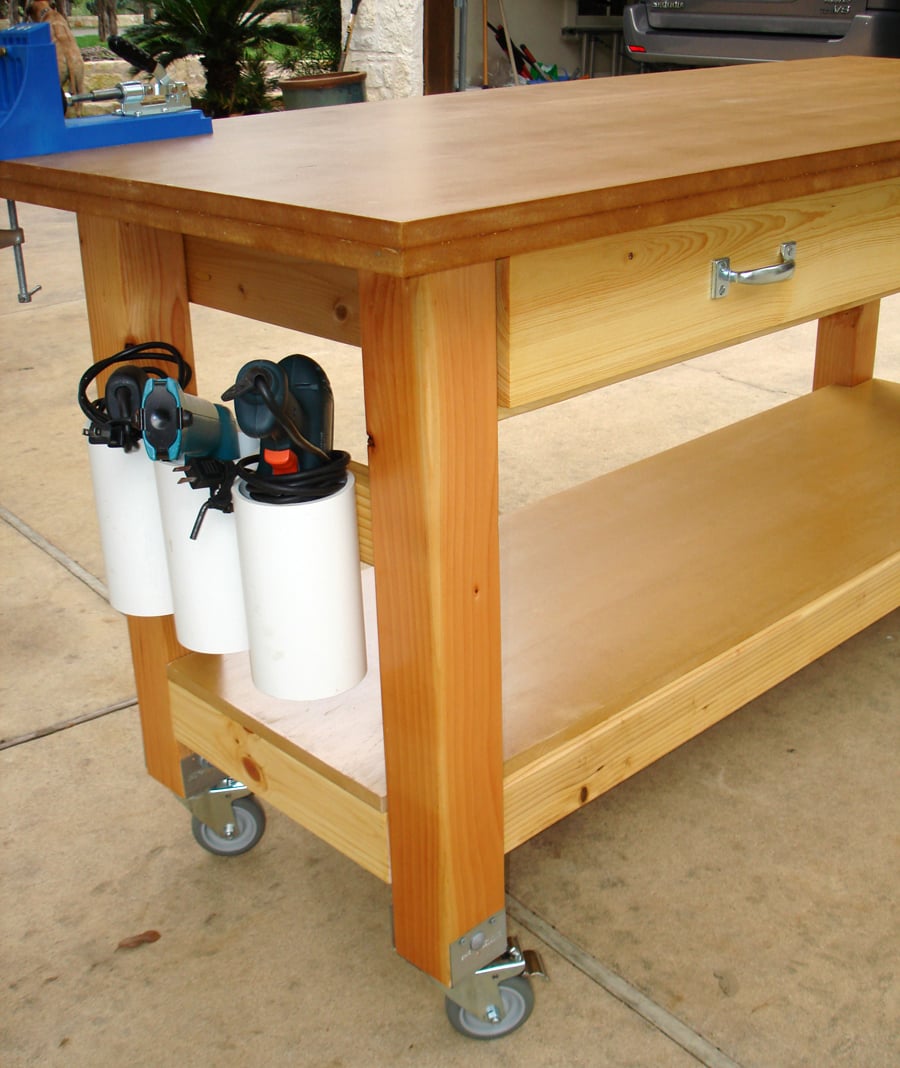
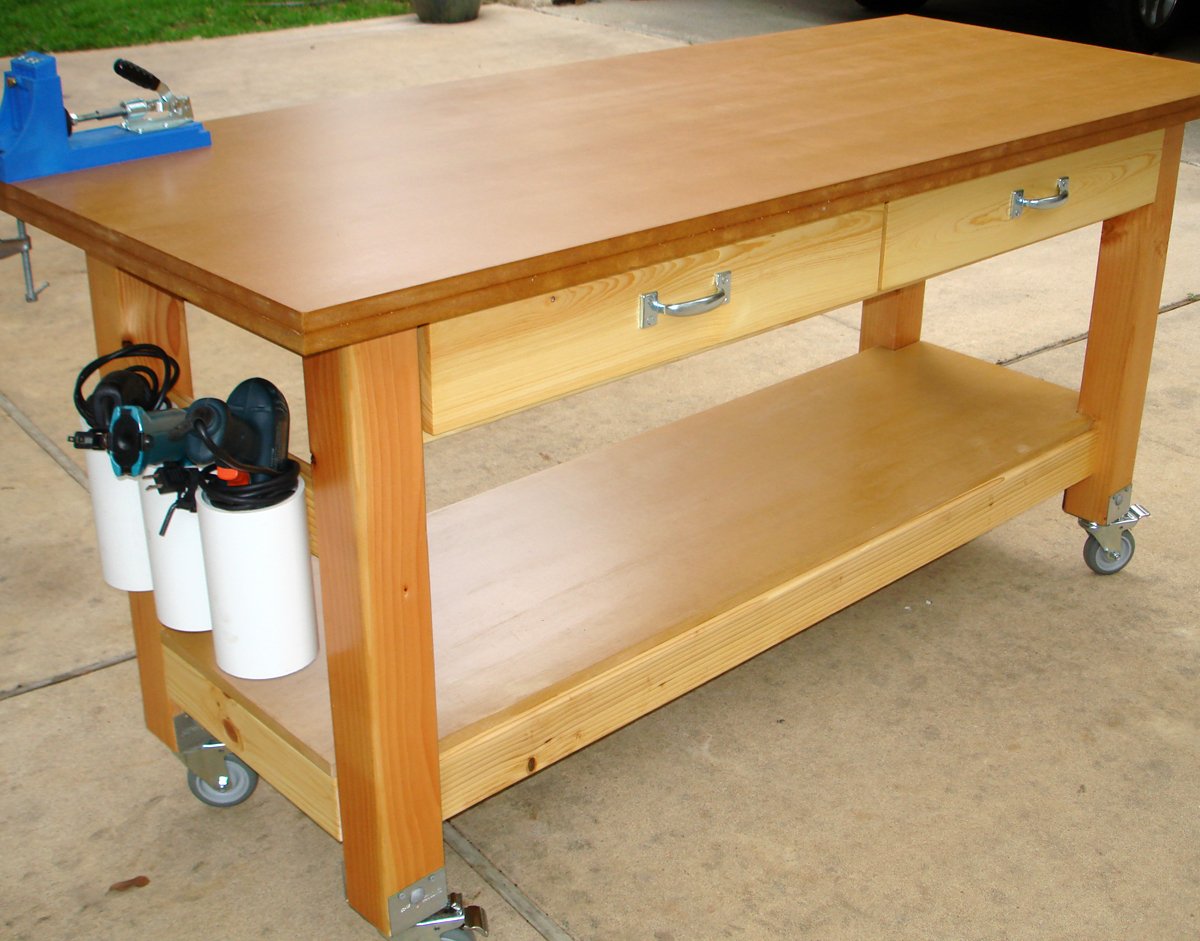
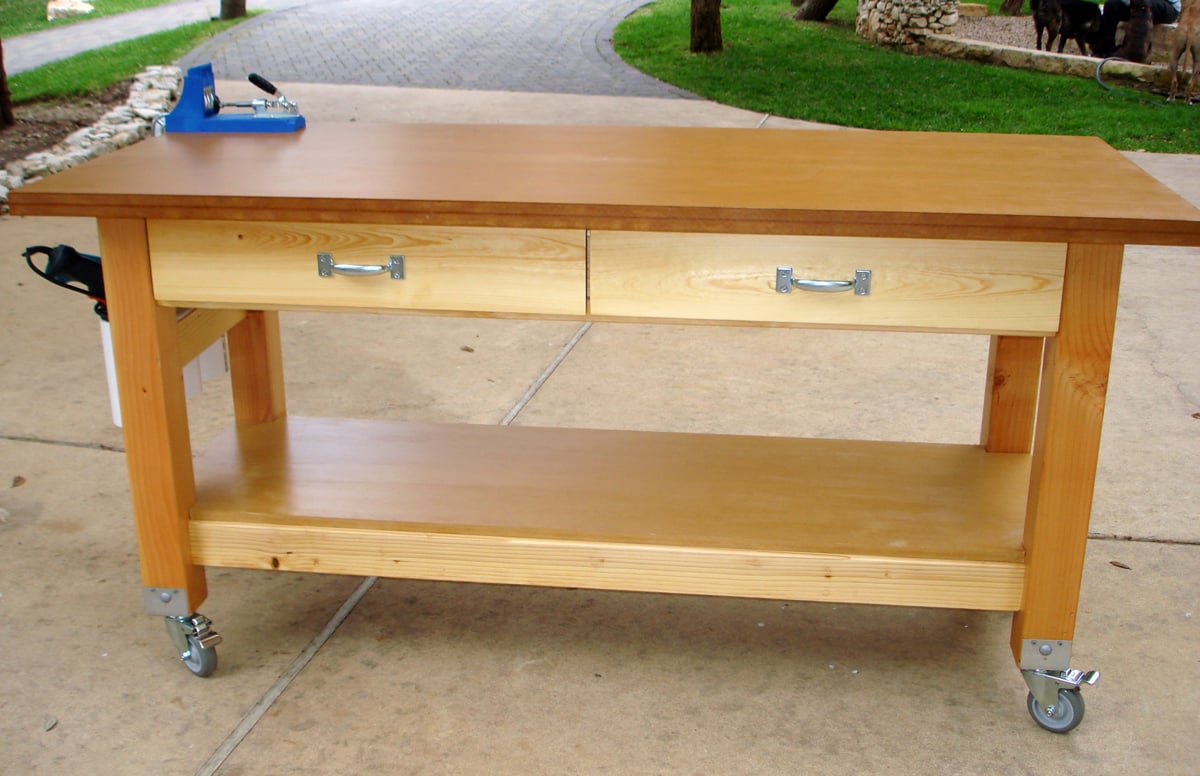
Given that I work out of my garage, I desperately needed a rolling workbench in order to roll out, make the sawdust mess, and roll back in. I had already made Michaela's island for another purpose inside my house, and I loved the sturdiness of the 4x4 posts as legs. I had industrial-type locking castors, but they only screwed in with a threaded post. Thanks to my engineer dad, he determined the best way to attach a screw-in castor to the bottom of the 4x4 (and did all that work for me!).

The size is modified from Michaela's original plan to include a 3 1/2" overhang all the way around for easy clamping (and top is 6' x 2.5'). I also cut a 2' piece of PVC pipe into 3 sections and attached for my drill storage. I put full-extension glides on the drawers and made some dividers from scrap wood.
Built from Plan(s)
Estimated Time Investment
Week Long Project (20 Hours or More)
Finish Used
4 coats of Spar Urethane
Recommended Skill Level
Intermediate

Comments

birdsandsoap

Sun, 03/18/2012 - 13:29

This is beautiful. If anything you create ON this table looks nearly as beautiful as the table itself, you have found a new profession. Good job!

Great plan - added to make it even bigger

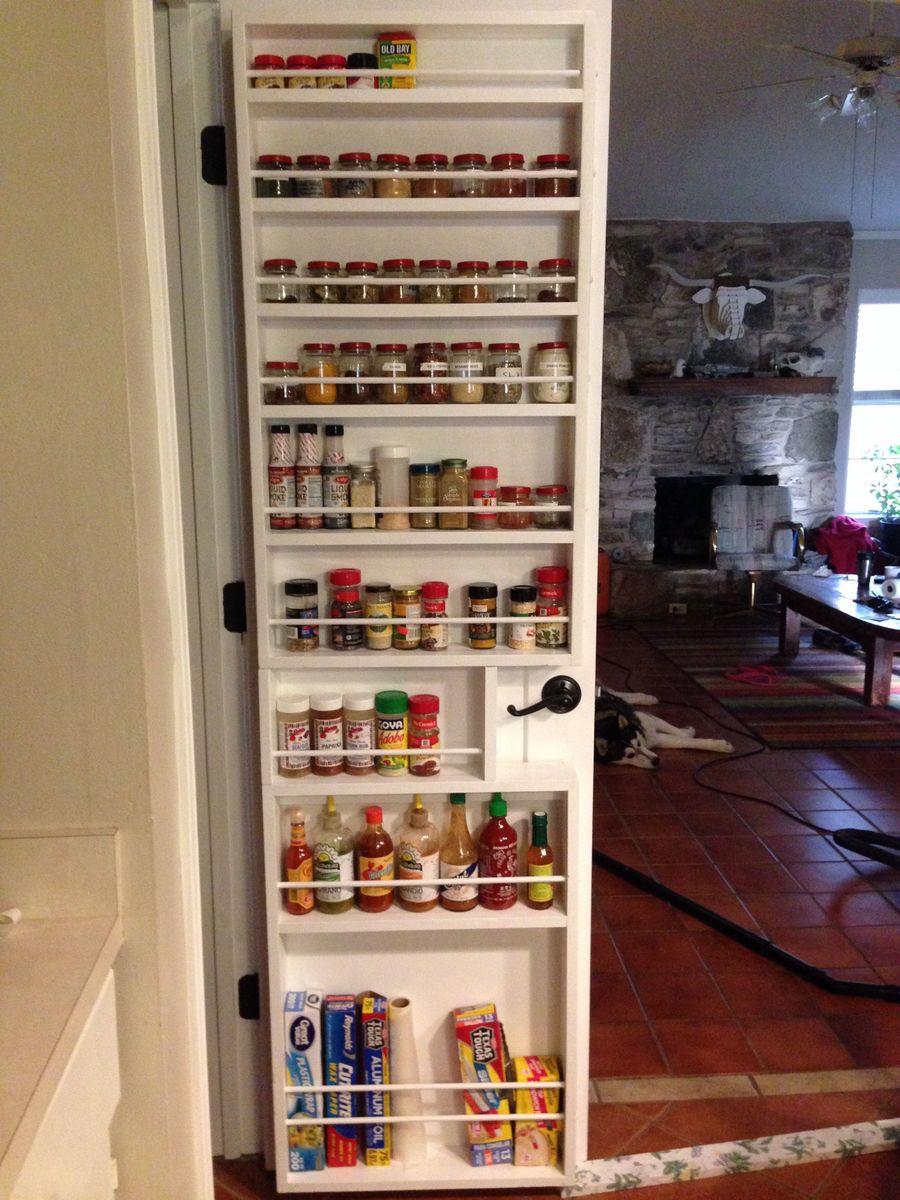
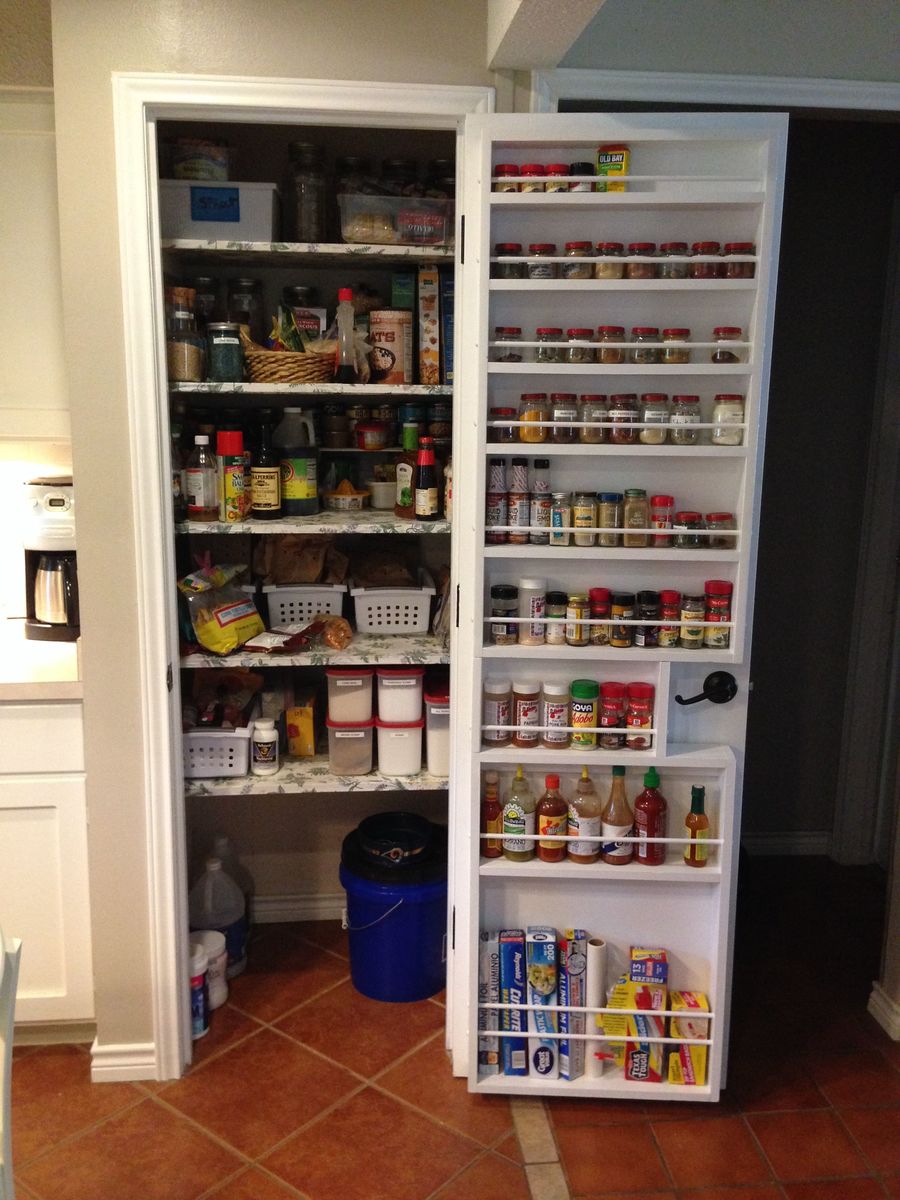
The plan is great, I followed the instructions exactly.  Then altered the plan to build a second rack that would fit the bottom of the door, with foil, saran and bag storage at the bottom.  Consequently it was heavy and I was very skeptical of the hollow core door anchors, but I installed 3 at the top and 2 at the bottom of both pieces.  It's very solid and secure....would probably have worked fine with even less. This door is only 32" wide but has plenty of room for this project.  Thank you, looking forward to trying more of your plans.

Built from Plan(s)
Estimated Time Investment
Day Project (6-9 Hours)
Finish Used
Primer and latex paint.
Recommended Skill Level
Intermediate

Comments

Double Shed Coop

Submitted by Anonymous (not verified) on Sat, 08/05/2023 - 09:31

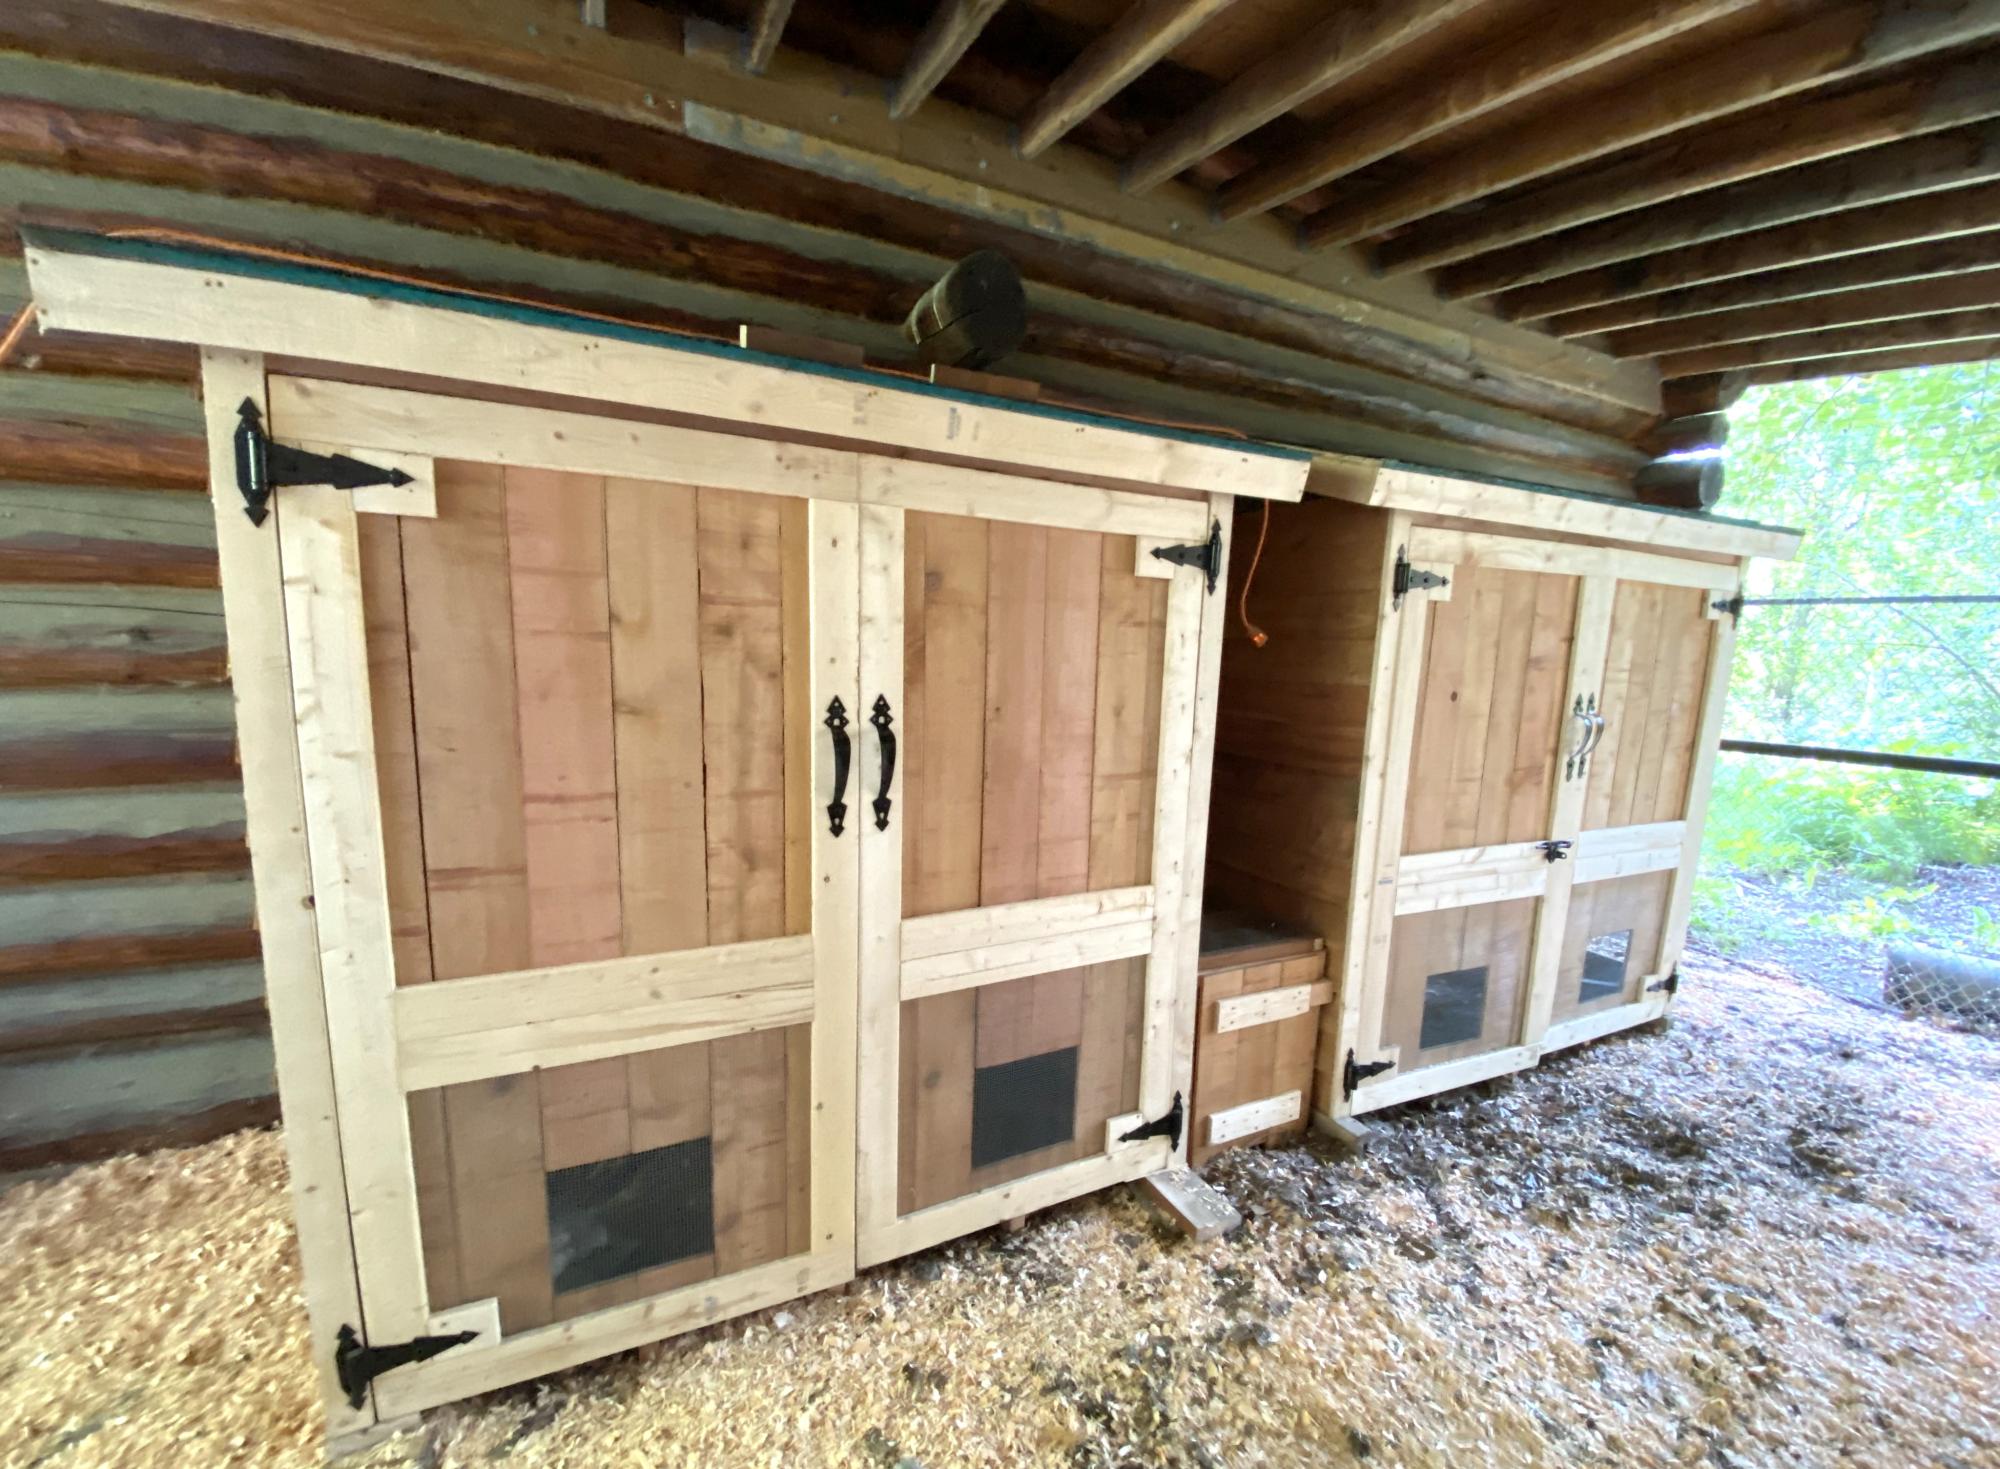
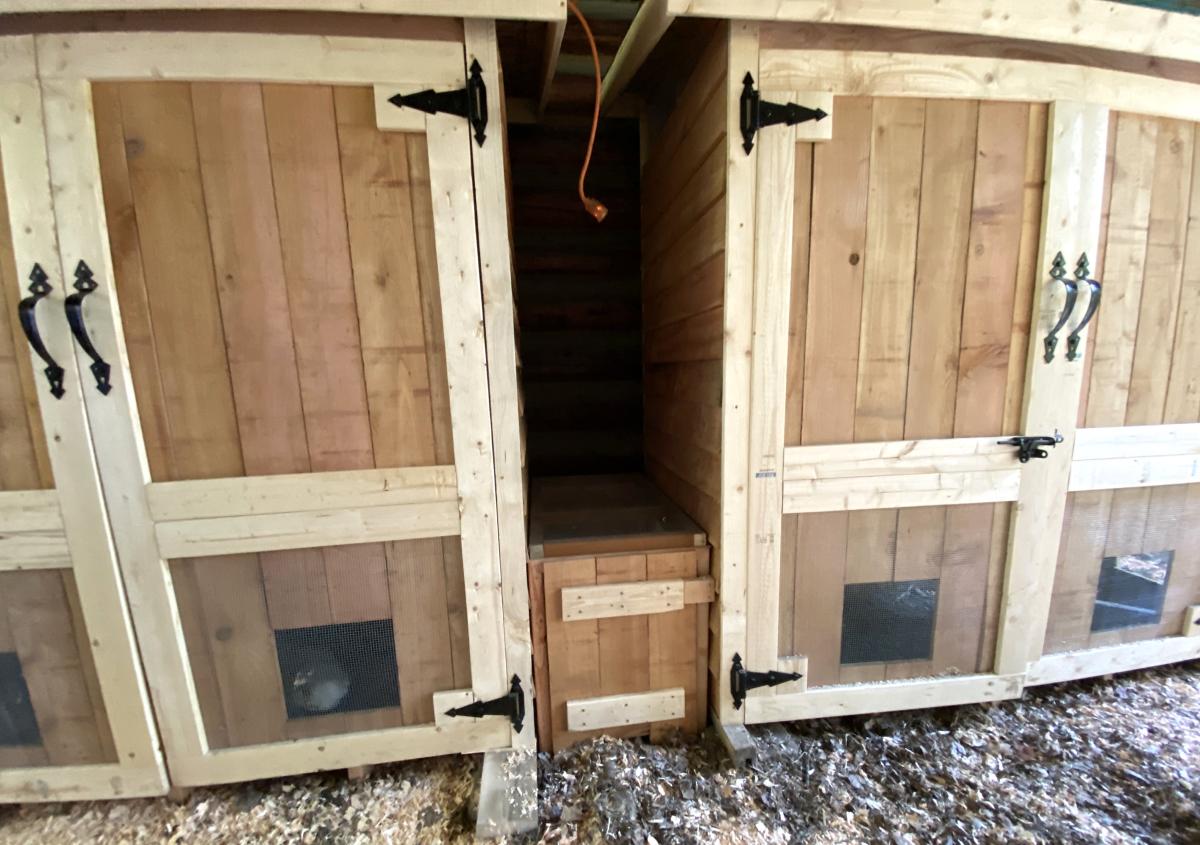
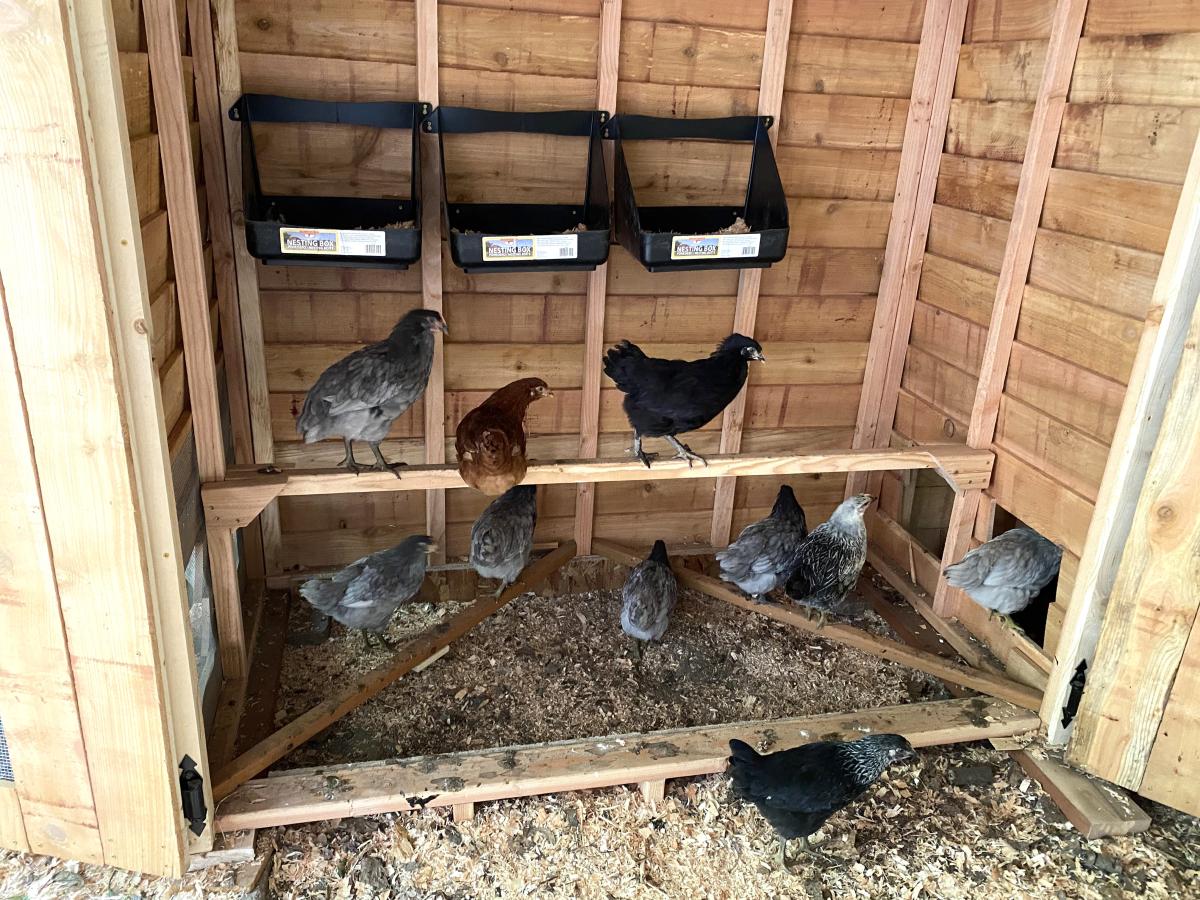
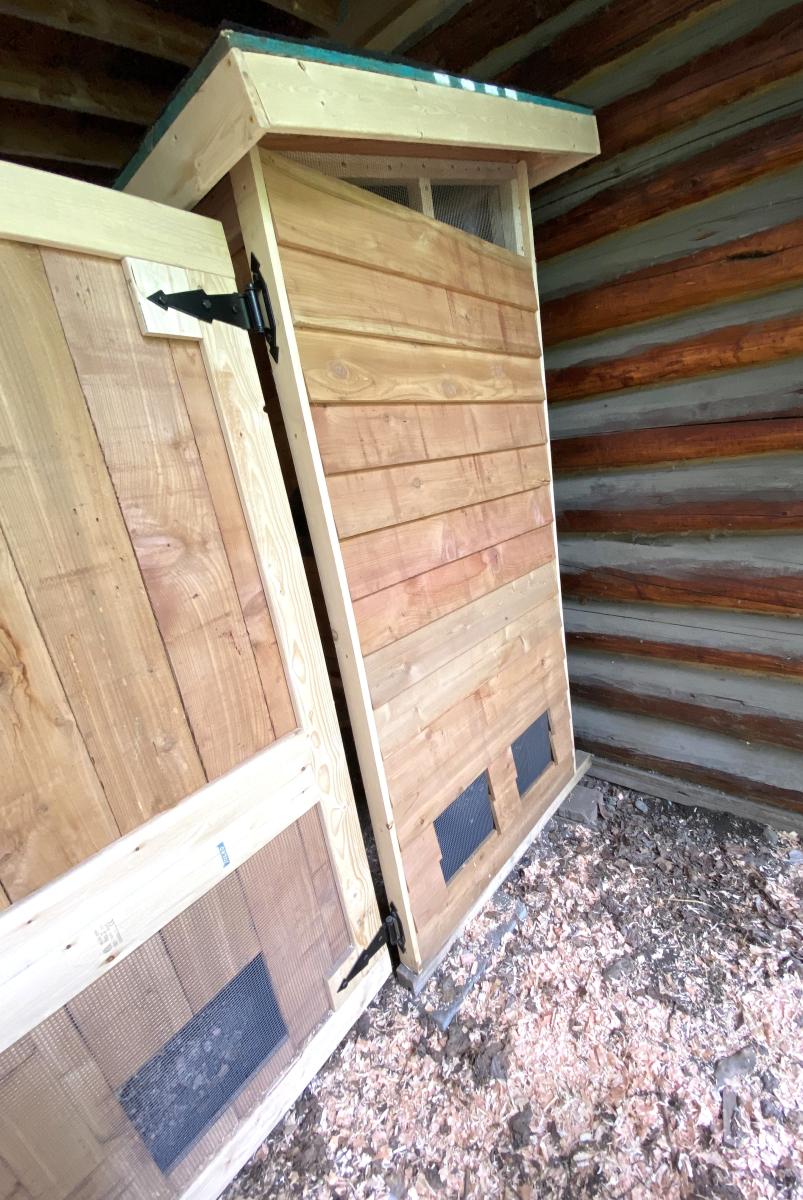
Our family decided to raise chickens but needed a place to keep them safe at night. We used your shed plan and adapted it to create necessary venting for the chicks.

Since we had 16 chickens we knew one coop would not be enough space so we built two. We created a vented tunnel between the two coops so the hens could go back and forth between them as they wished while still being protected. The girls are very happy in their new space!

Thank you for your great plans.

Holly

Built from Plan(s)

Rustic X Bench

Took a day to build a bench to match my table! I am in love with this bench.

Take a little extra time on your angles to make sure you get them right or you will end up with a gap!

Estimated Cost
$20
Estimated Time Investment
Afternoon Project (3-6 Hours)
Finish Used
Valspar Satin Black Paint, Minwax English Chestnut, Poly Semi-Gloss on seat top only
Recommended Skill Level
Beginner

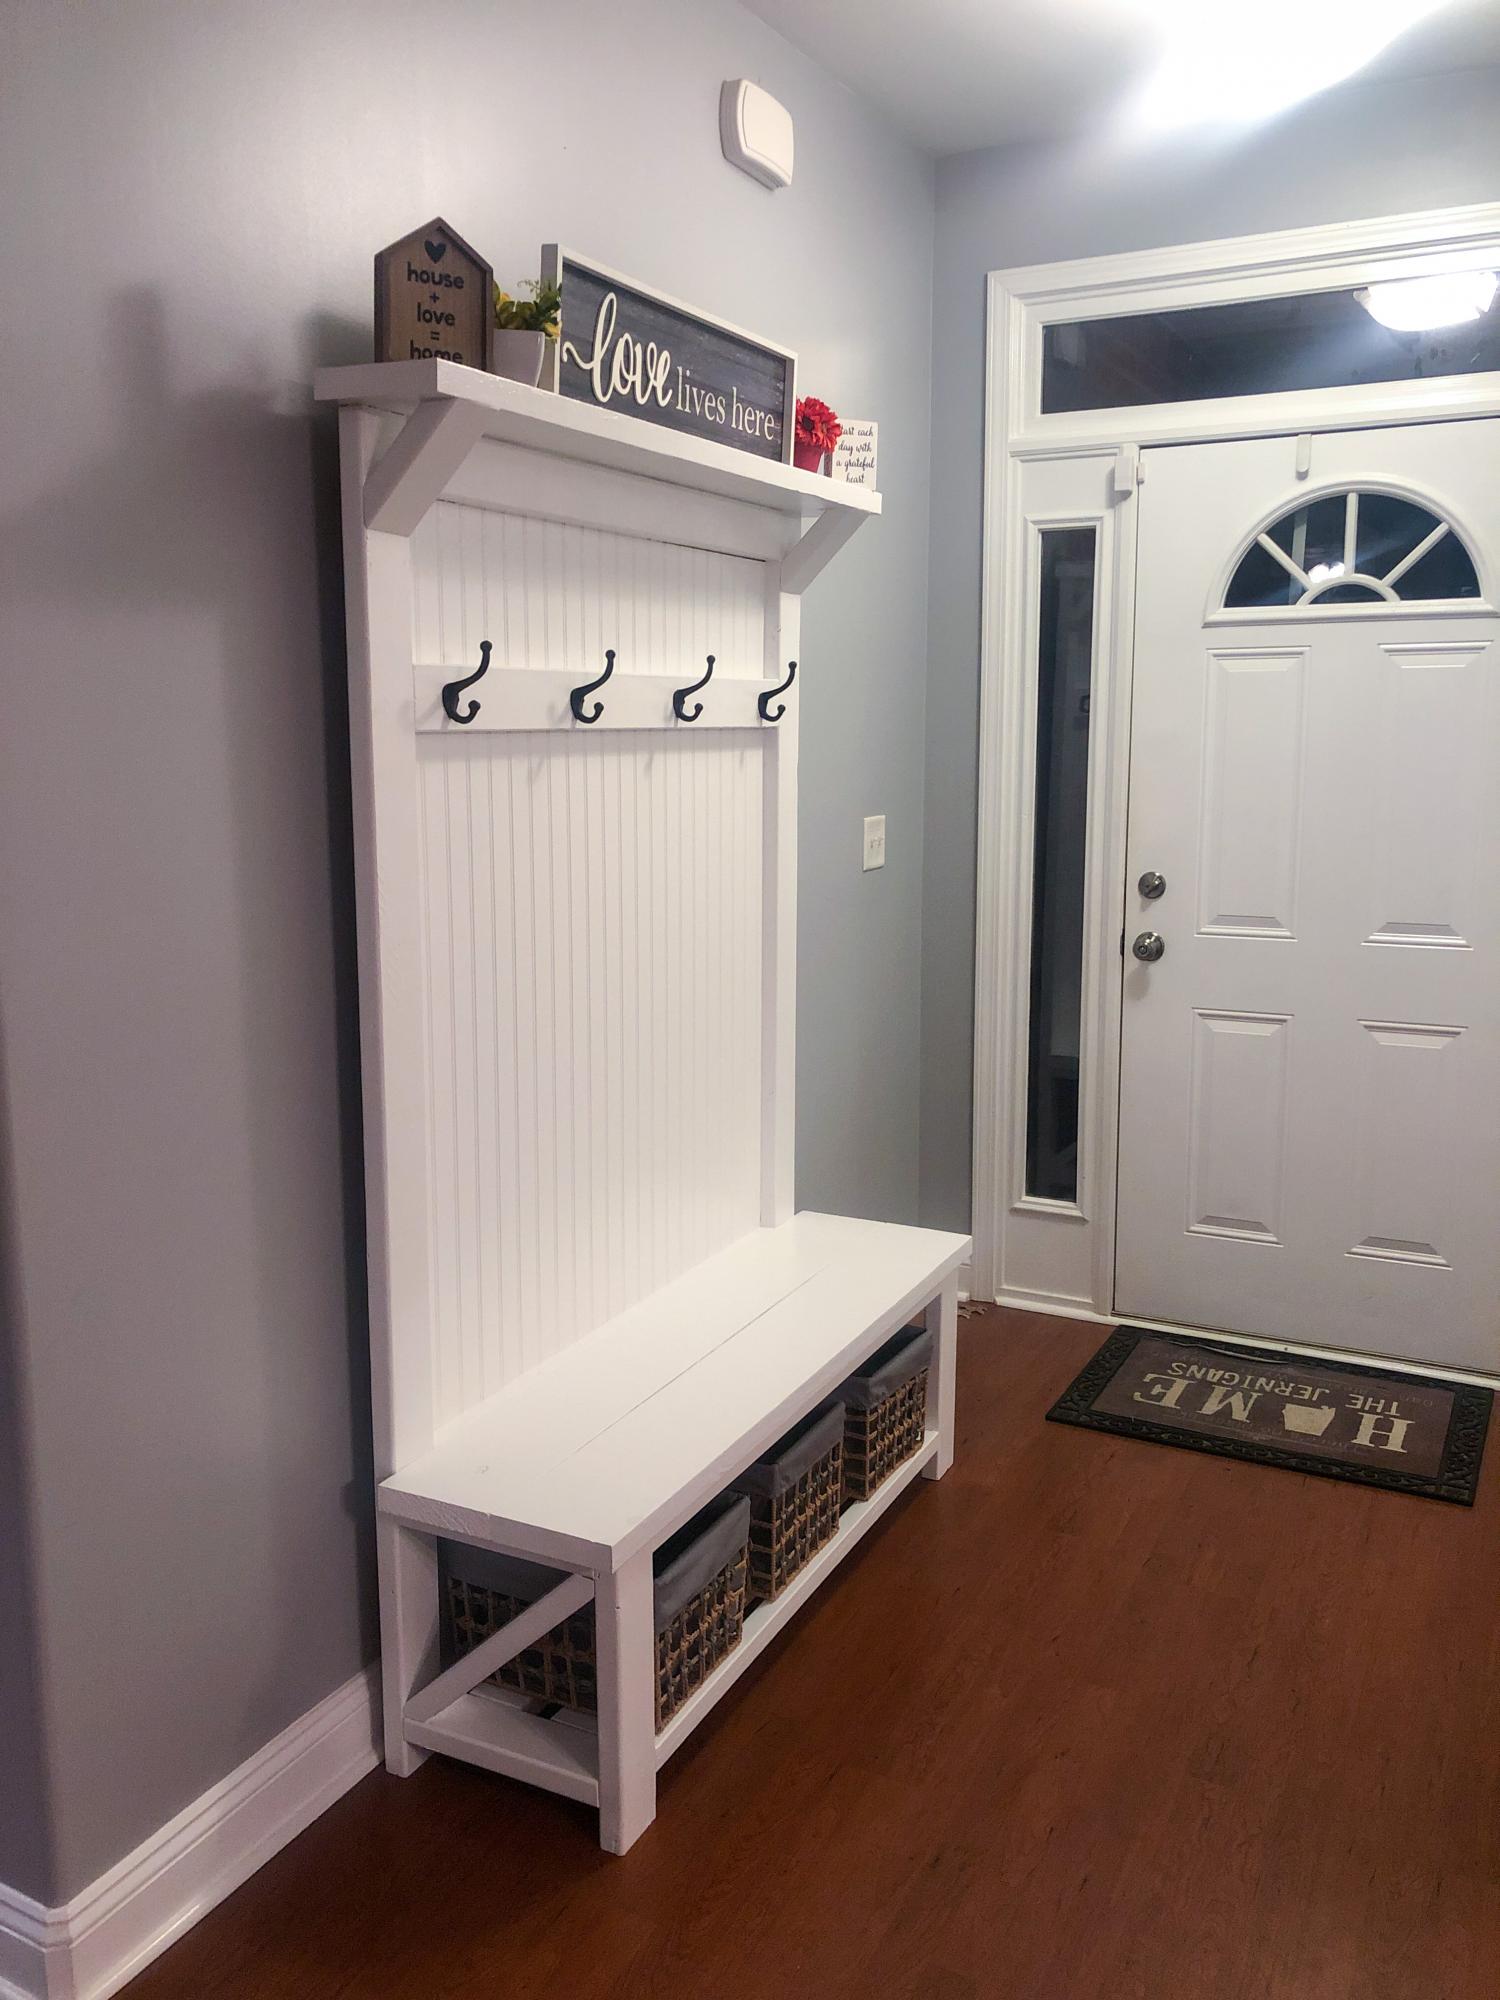
Rustic half X Hall Tree

Submitted by danj4fsu on Wed, 01/15/2020 - 18:59

Just finished this tonight. Decided to make it a little wider than the plans. Added bead board on the back. I also made the top shelf a little larger so I can come back later and add some LED lights on it. Because I made the top shelf bigger I wanted to add the angled supports. That’s why I didn’t do an “x” on the bottom so the shelf support would mimick the slanted piece in the bottom.  

Built from Plan(s)
Estimated Cost
$150
Estimated Time Investment
Weekend Project (10-20 Hours)
Finish Used
Behr Marquee semi-gloss white
Recommended Skill Level
Intermediate

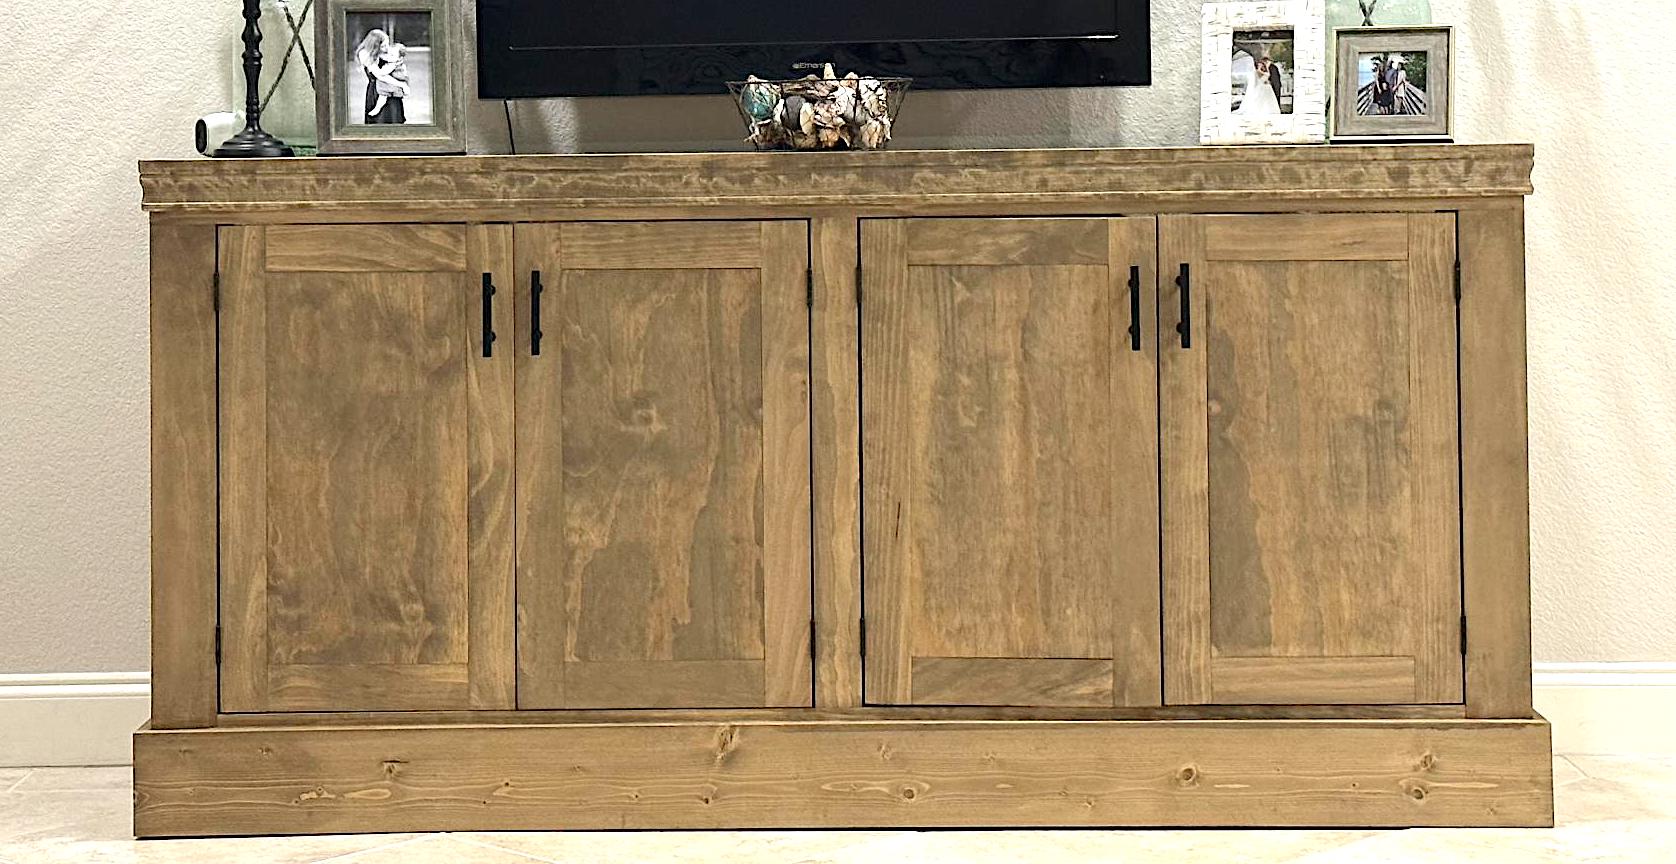
Shanty Sideboard

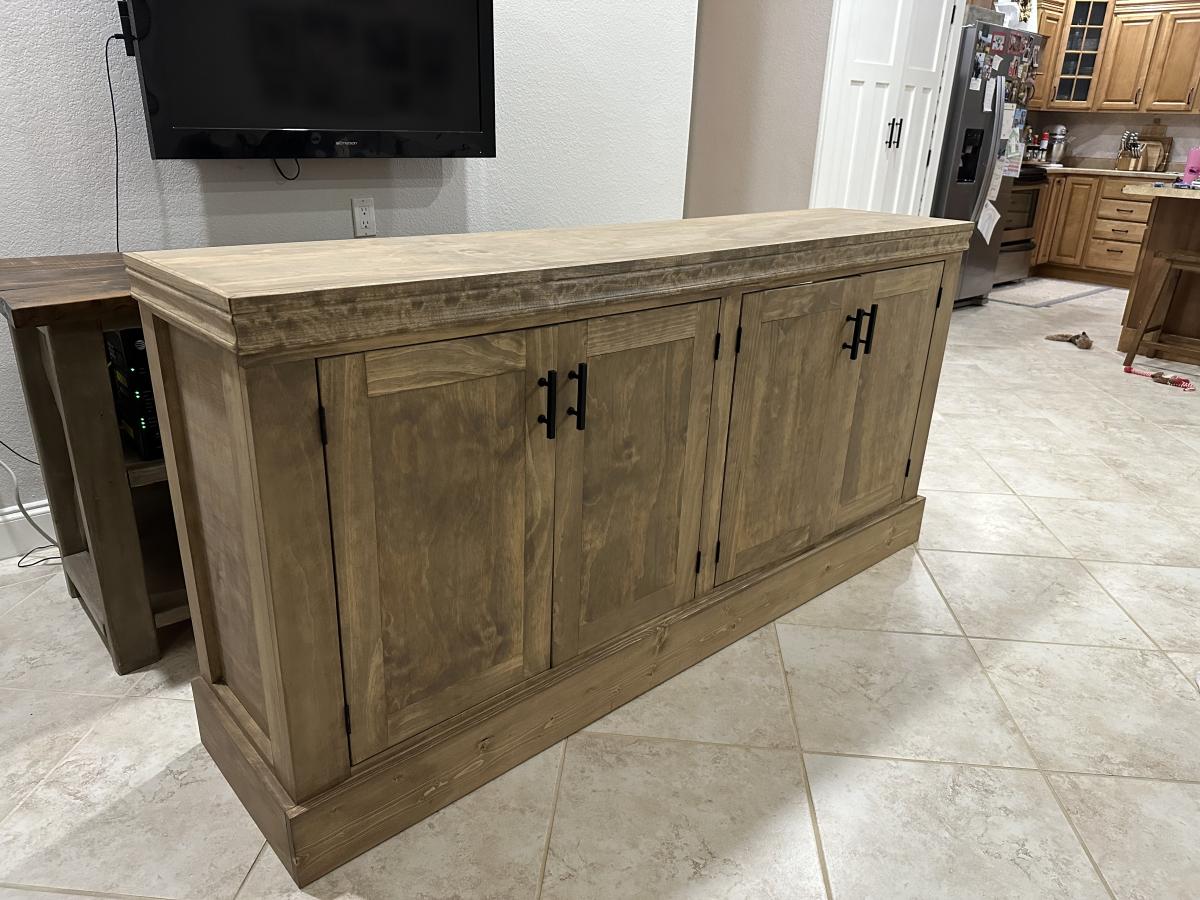
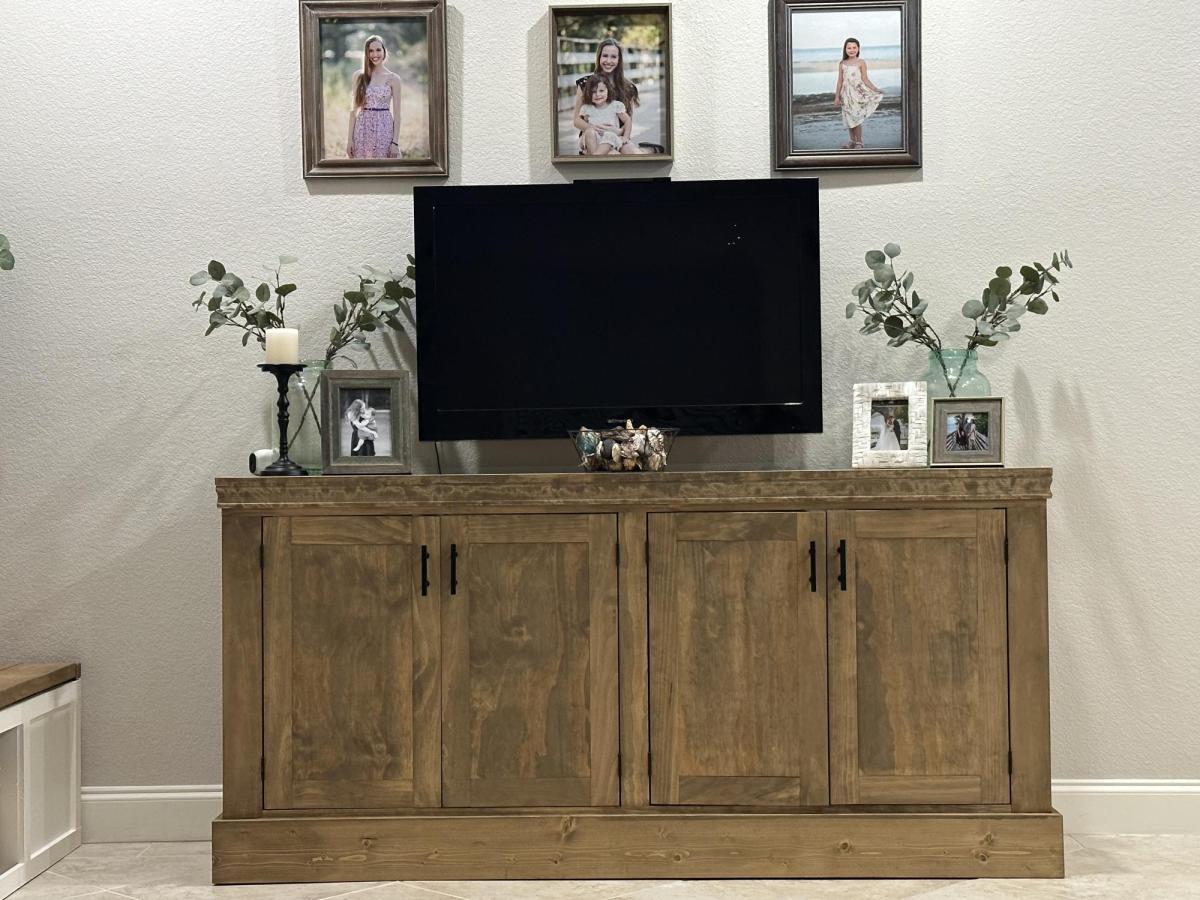
My wife and I are very happy with this piece. It was challenging but not too difficult. The plans were very easy to follow.

Built from Plan(s)

Comments

Glass Top Display Side Table

Submitted by Anonymous (not verified) on Tue, 09/19/2023 - 10:58

I made two of these side tables for my niece and her new husband as a house warming gift. I dropped the top down 1.25 inch and added a glass top so she could display items. They are going to be a surprise, so I left them bare. She can stain or paint them whatever color she wishes.

Donna Cox

Comments

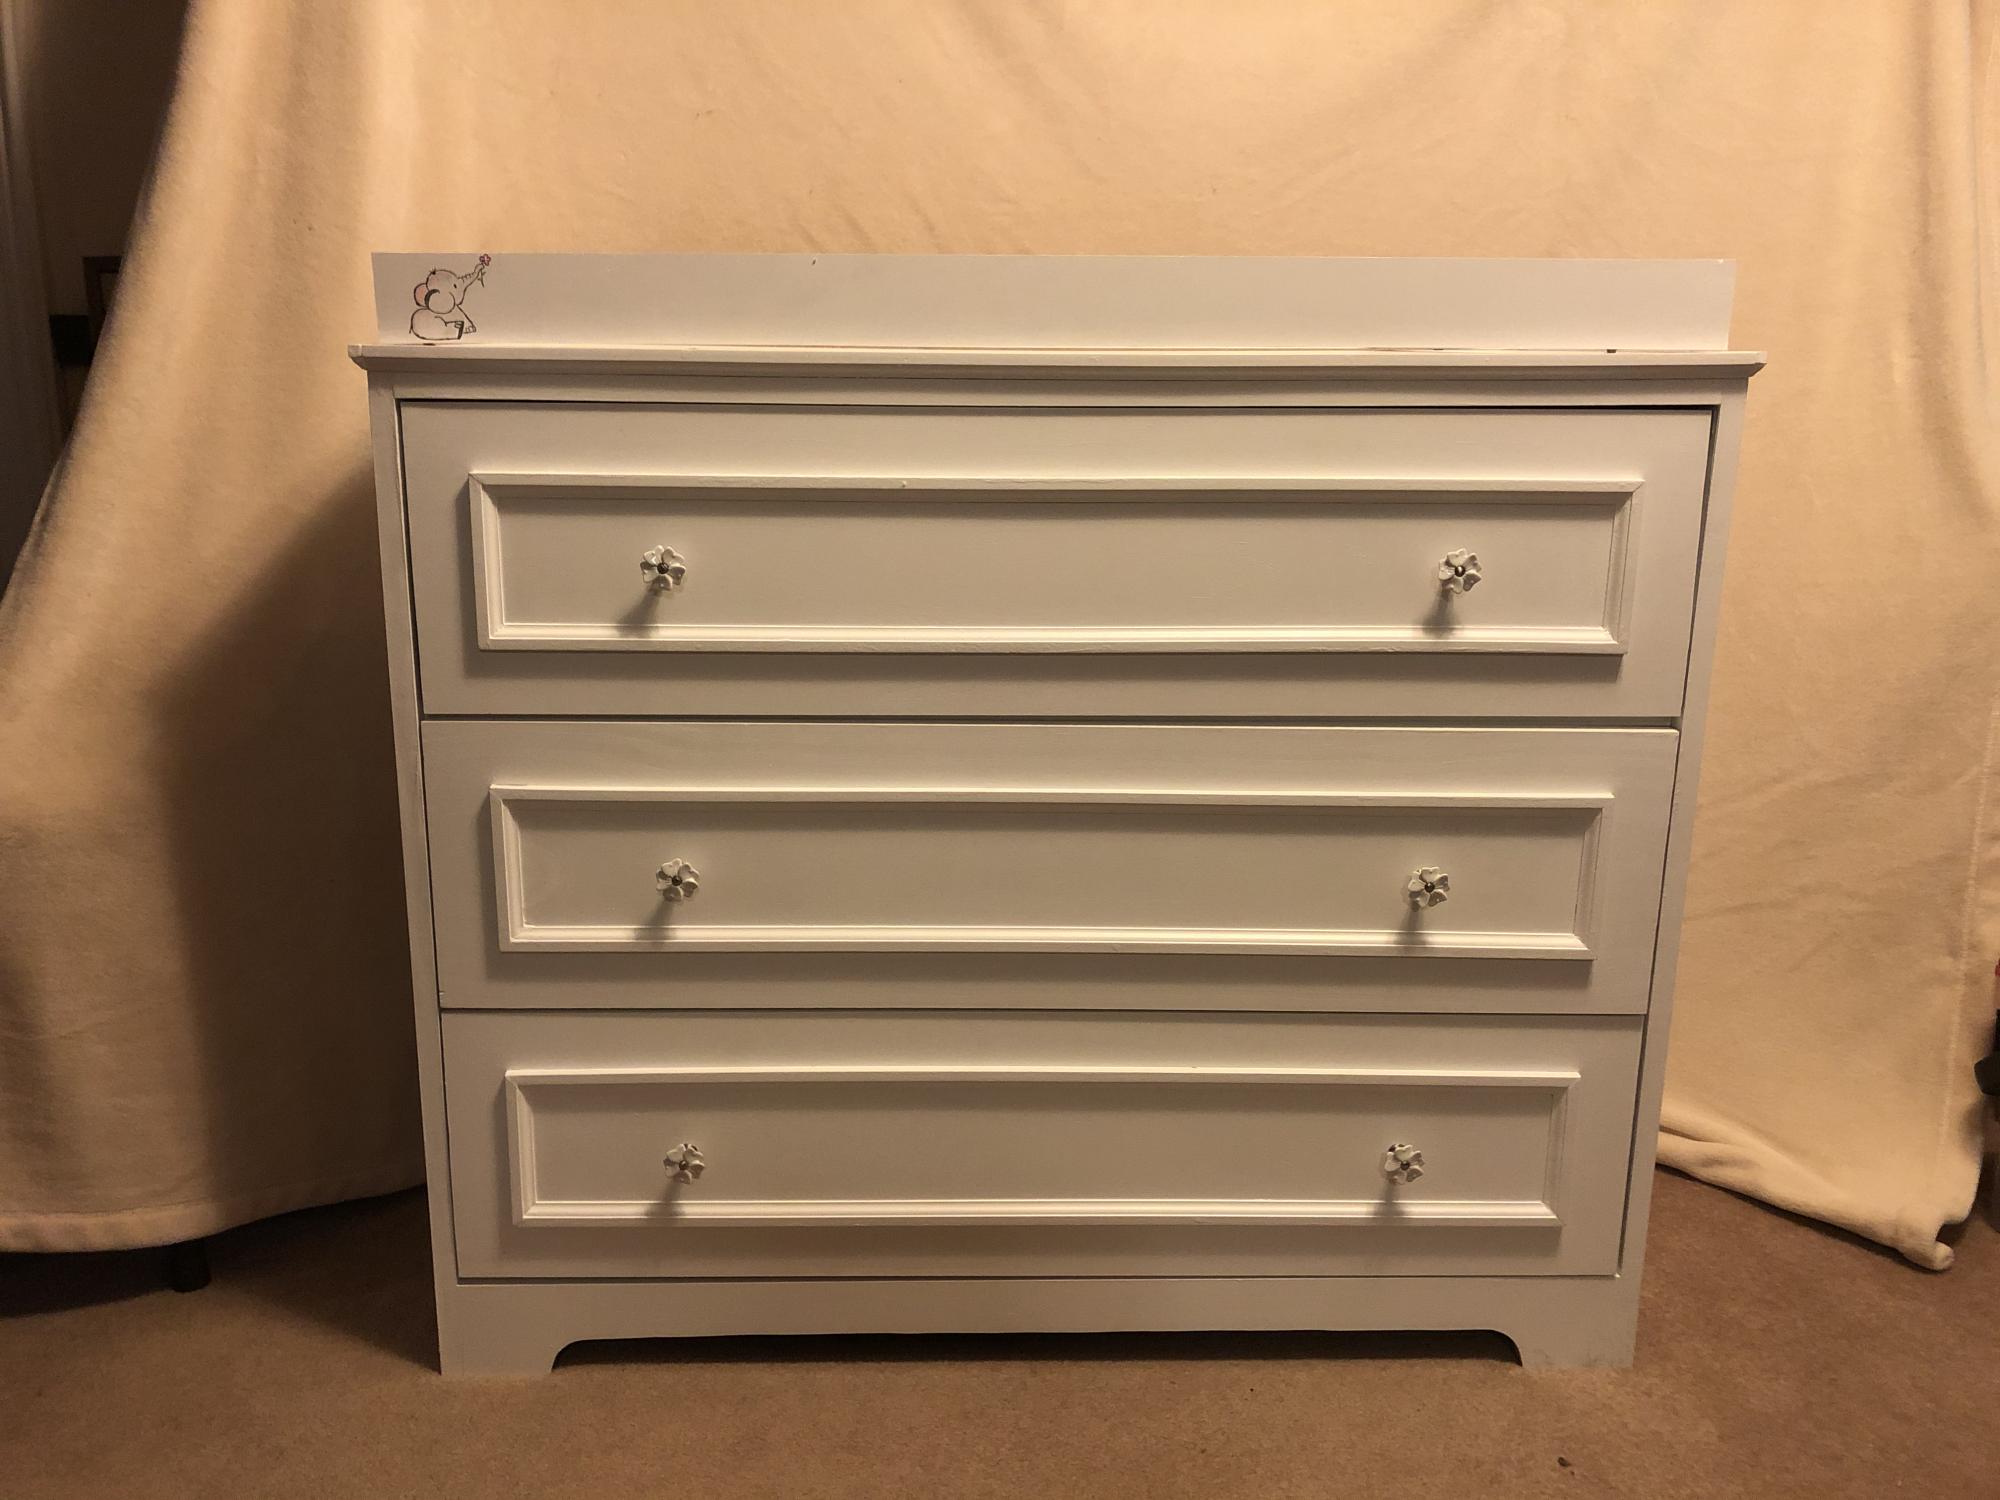
Changing table/dresser

Submitted by Anonymous (not verified) on Wed, 03/11/2020 - 16:51

The changing table/dresser came out so much better than I ever thought I was capable of! Thank you for the plans and courage to try!

Estimated Cost
$300
Estimated Time Investment
Week Long Project (20 Hours or More)
Finish Used
Primed with Valspar primer and finished with Valspar semi gloss paint
Recommended Skill Level
Intermediate

Faux Mantle

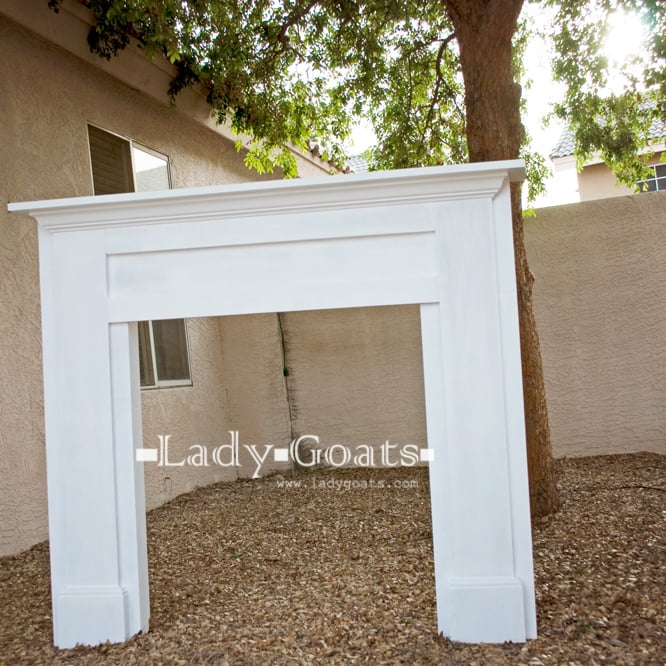
Submitted by Lady Goats on Wed, 04/02/2014 - 12:26

Built a fireplace using Mimi's Faux Mantle plans - I think it turned out great!

Built from Purebond plywood because I can't find straight boards in bigger sizes in my area (EVER!) and used fir 1x's for everything else.

Finished with three coats of Behr paint/primer in ultra white. I will not buy Behr again. Personal preference.

Estimated Cost
$90
Estimated Time Investment
Afternoon Project (3-6 Hours)
Finish Used
Behr Paint/Primer in one - ultra white
Recommended Skill Level
Intermediate

Hexagonal Side/Cofee Table

Submitted by Anonymous (not verified) on Mon, 06/27/2016 - 08:07

I tried this as my first ever project after going through different plans and technique. I did great (I think :-) ) until end and think i screwed up with staining. There is dried glue left on the surafce which i thought i sanded but appeared as soon as i stained.

Feed back / comments on the design and please suggest a way to fix the staining issue.


Estimated Cost
70 $
Estimated Time Investment
Weekend Project (10-20 Hours)
Finish Used
Stain
Recommended Skill Level
Beginner

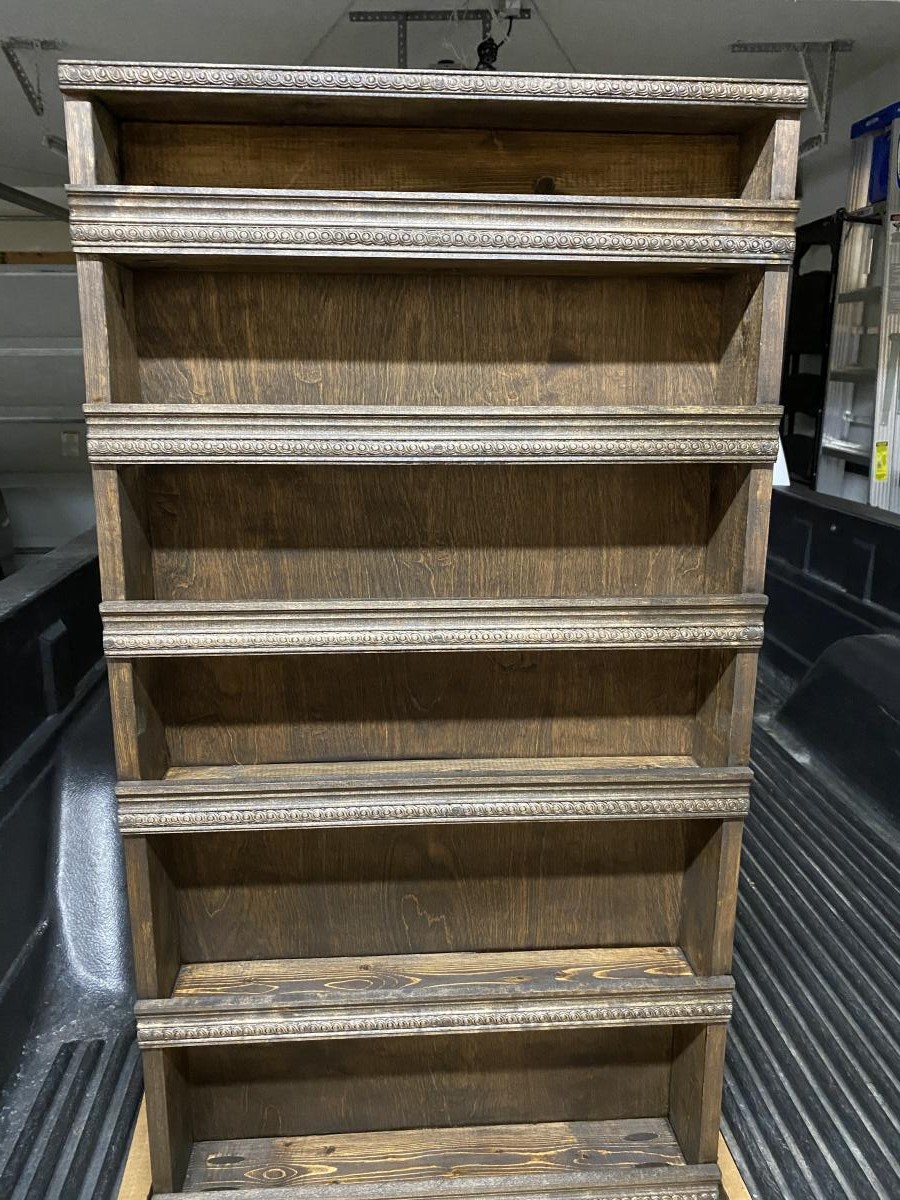
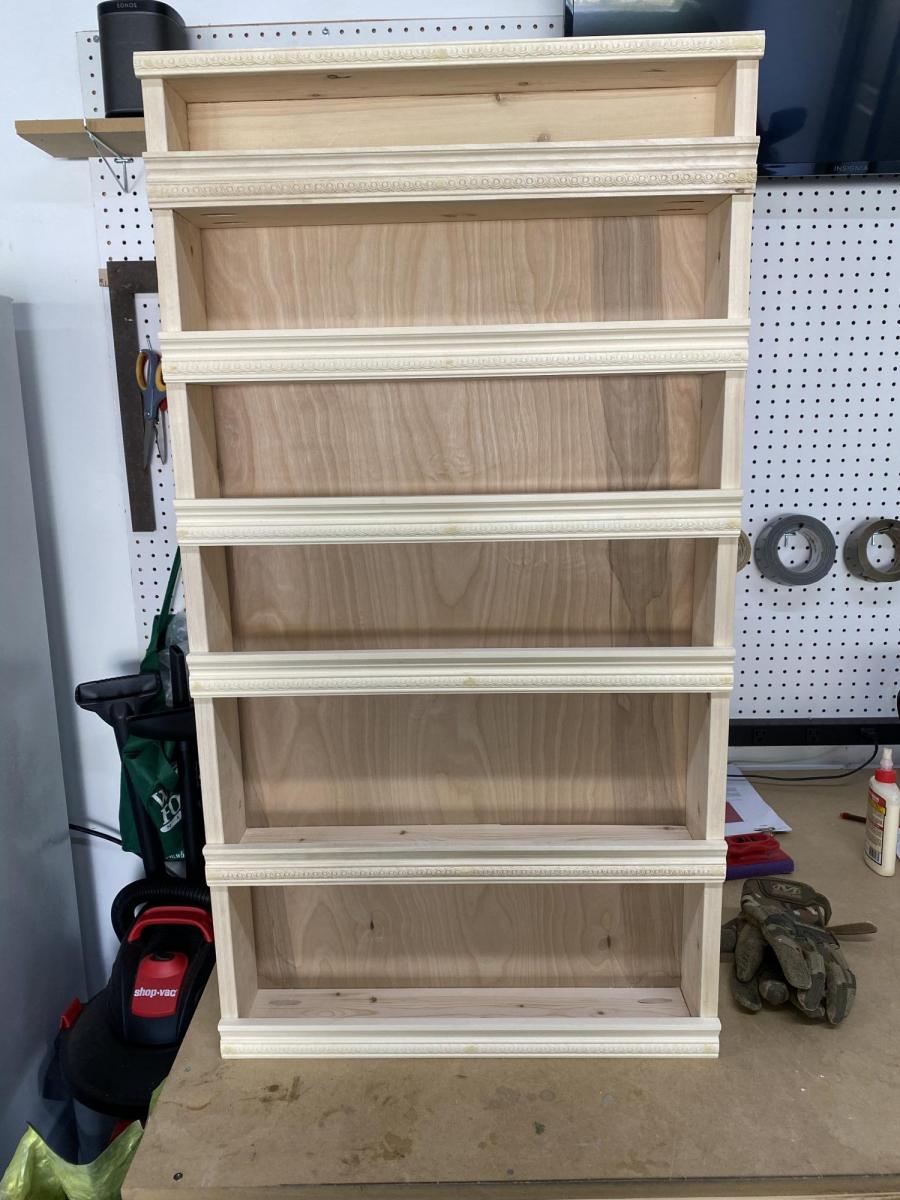
Spice Rack

Submitted by Anonymous (not verified) on Sat, 04/25/2020 - 20:10

Change out the dowels with some molding and stained. Wife loves it!

Built from Plan(s)
Finish Used
Minwax stain
Recommended Skill Level
Beginner

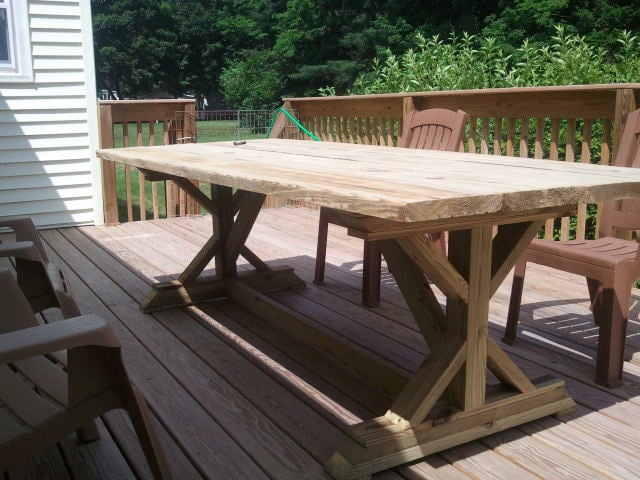
Fancy Picnic Table - Definately worth the extra little effort!

Submitted by mlmerrel on Wed, 06/20/2012 - 10:30

Needed a table for our deck, but didn't want to spend the $400-500 on sets at the store. Followed the plan for the most part and it was fairly easy to build. The only thing I did differently was in building the ends was put the "X" supports in after making the "I" shape in case I was off with my cuts.

Spent an hour cutting all the pieces on a Friday night and about 3 hours assembling Saturday morning. Table was ready to eat lunch on!

Built from Plan(s)
Estimated Cost
$90 (thanks to the Veteran discount at Lowe's)
Estimated Time Investment
Afternoon Project (3-6 Hours)
Finish Used
None, yet... plan to stain at the end of the summer once the wood dries out.
Recommended Skill Level
Beginner

Comments

mlmerrel

Thu, 07/05/2012 - 12:05

I did not use a Kreg jig because i dont havd one and I didn't try to hide my screws. I did pre-drill all my holes so that I didn't split any boards... and my dad is a carpenter so he helped me attach the 2 cross pieces (which is the only part I had trouble with) to the ends, which we did by just angling the screws in. I will try to take a few more detailed pics in the next few days so you can get a better idea of how I did it.

I Rub (not verified)

Mon, 07/02/2012 - 03:37

Hi, great build !
Could you please explain how and from where did you screw the curved pieces at the bases ?
same question for the table top boards ?

Thank you!

In reply to by I Rub (not verified)

mlmerrel

Thu, 07/05/2012 - 12:03

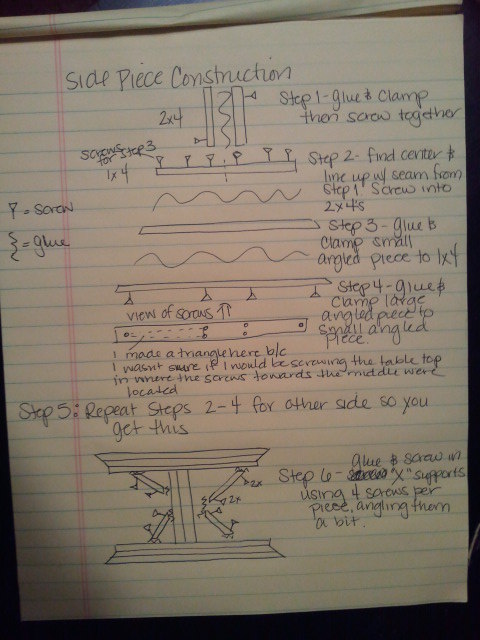
If you look at the first drawing I have attached it will show you where to screw the curved pieces in. I screwed through the 1 x 4 to attach the smaller curved piece. Then I would screw through the larger curved piece into the smaller curved piece to attach it.

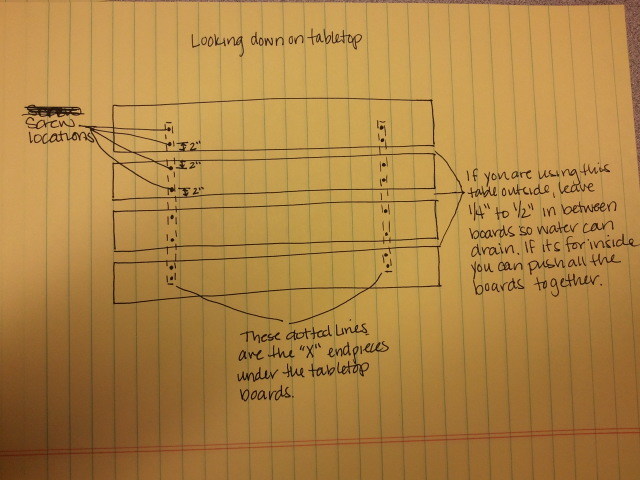
The table top pieces I screwed in from the top into the side pieces that you build first. I used 2 screws per board per side. The 2 boards in the middle should have screws at least 2 inches in from each side. The 2 boards on the end will have one set of screws 2 inches from the side that is next to the boards in the middle. The second set of screws will end up in about the middle of the outside boards. I'm going to attach another drawing to explain. Let me know if this helps.

I Rub

Mon, 07/09/2012 - 11:22

I plan on building the table this week, will use your advice. Much appreciated.

Gus (not verified)

Sun, 07/15/2012 - 16:20

Thank you for posting this. I started the project yesterday and I started with putting the cross braces on first and it did not turn out leveled. I thought that I would try to put it together first and then add the cross braces but was scared if it would hold. Thanks to your post I feel more confidant about it. I am going to make a run to the big box store and start over. Its okay because this is my very first build and I am just happy with my first 45 degree cut with my new circular saw ;) I guess its a learning process.

Thanks again for your post,
Gus

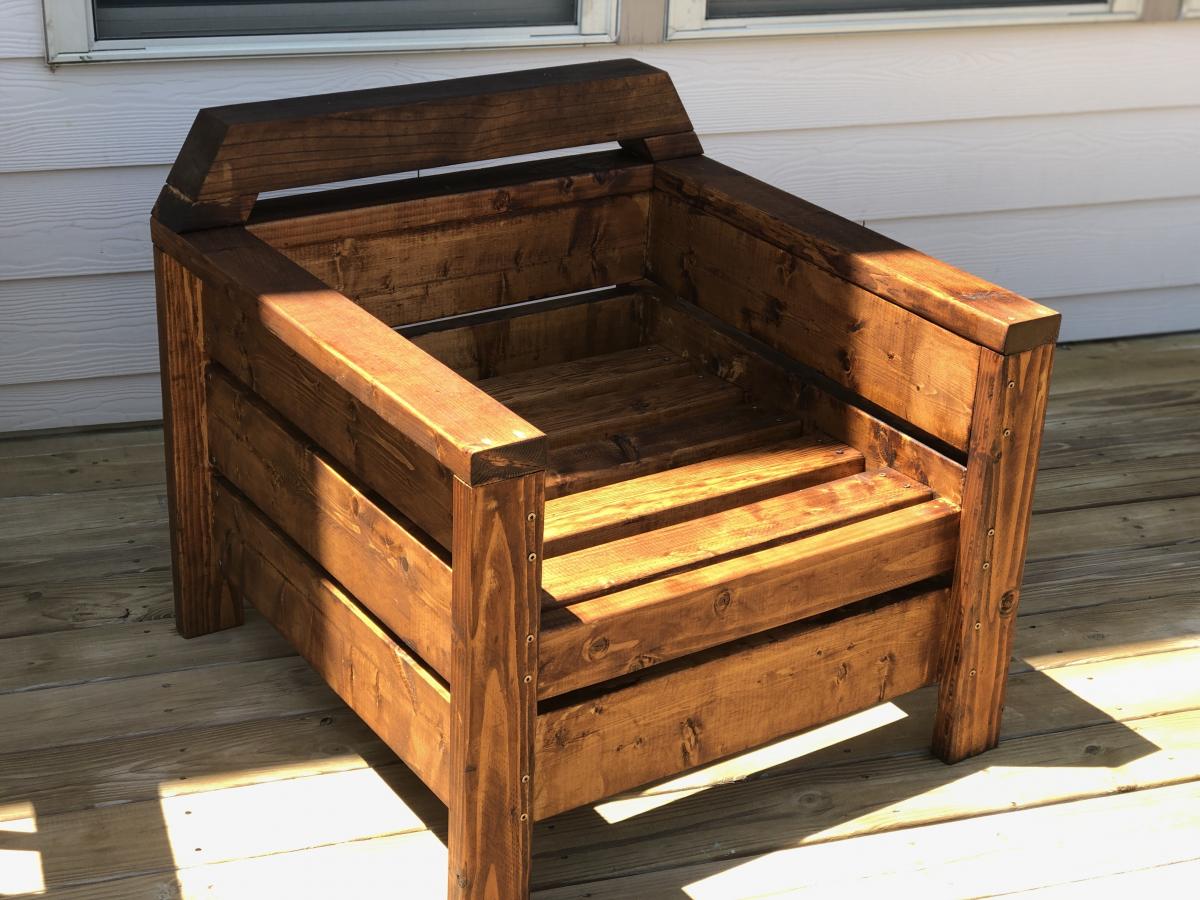
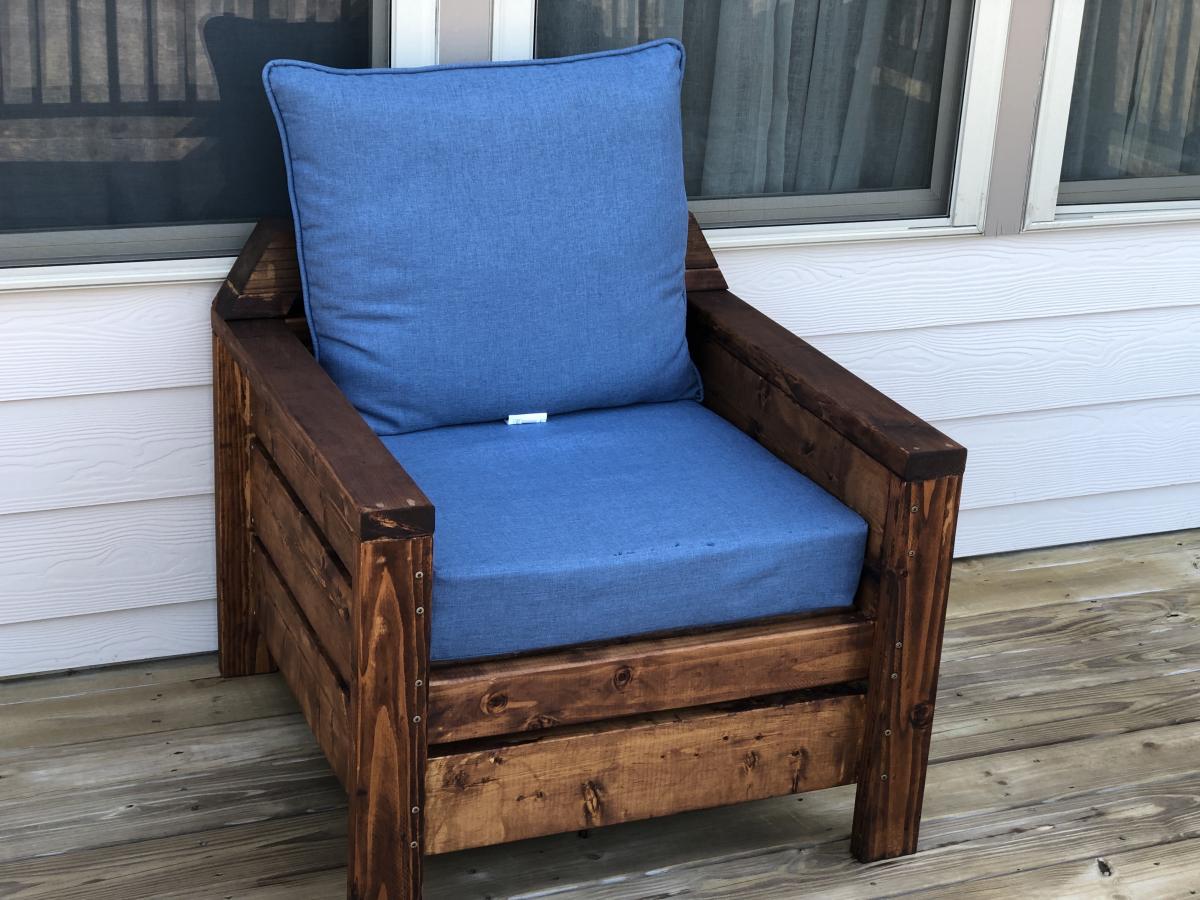
Deck chairs

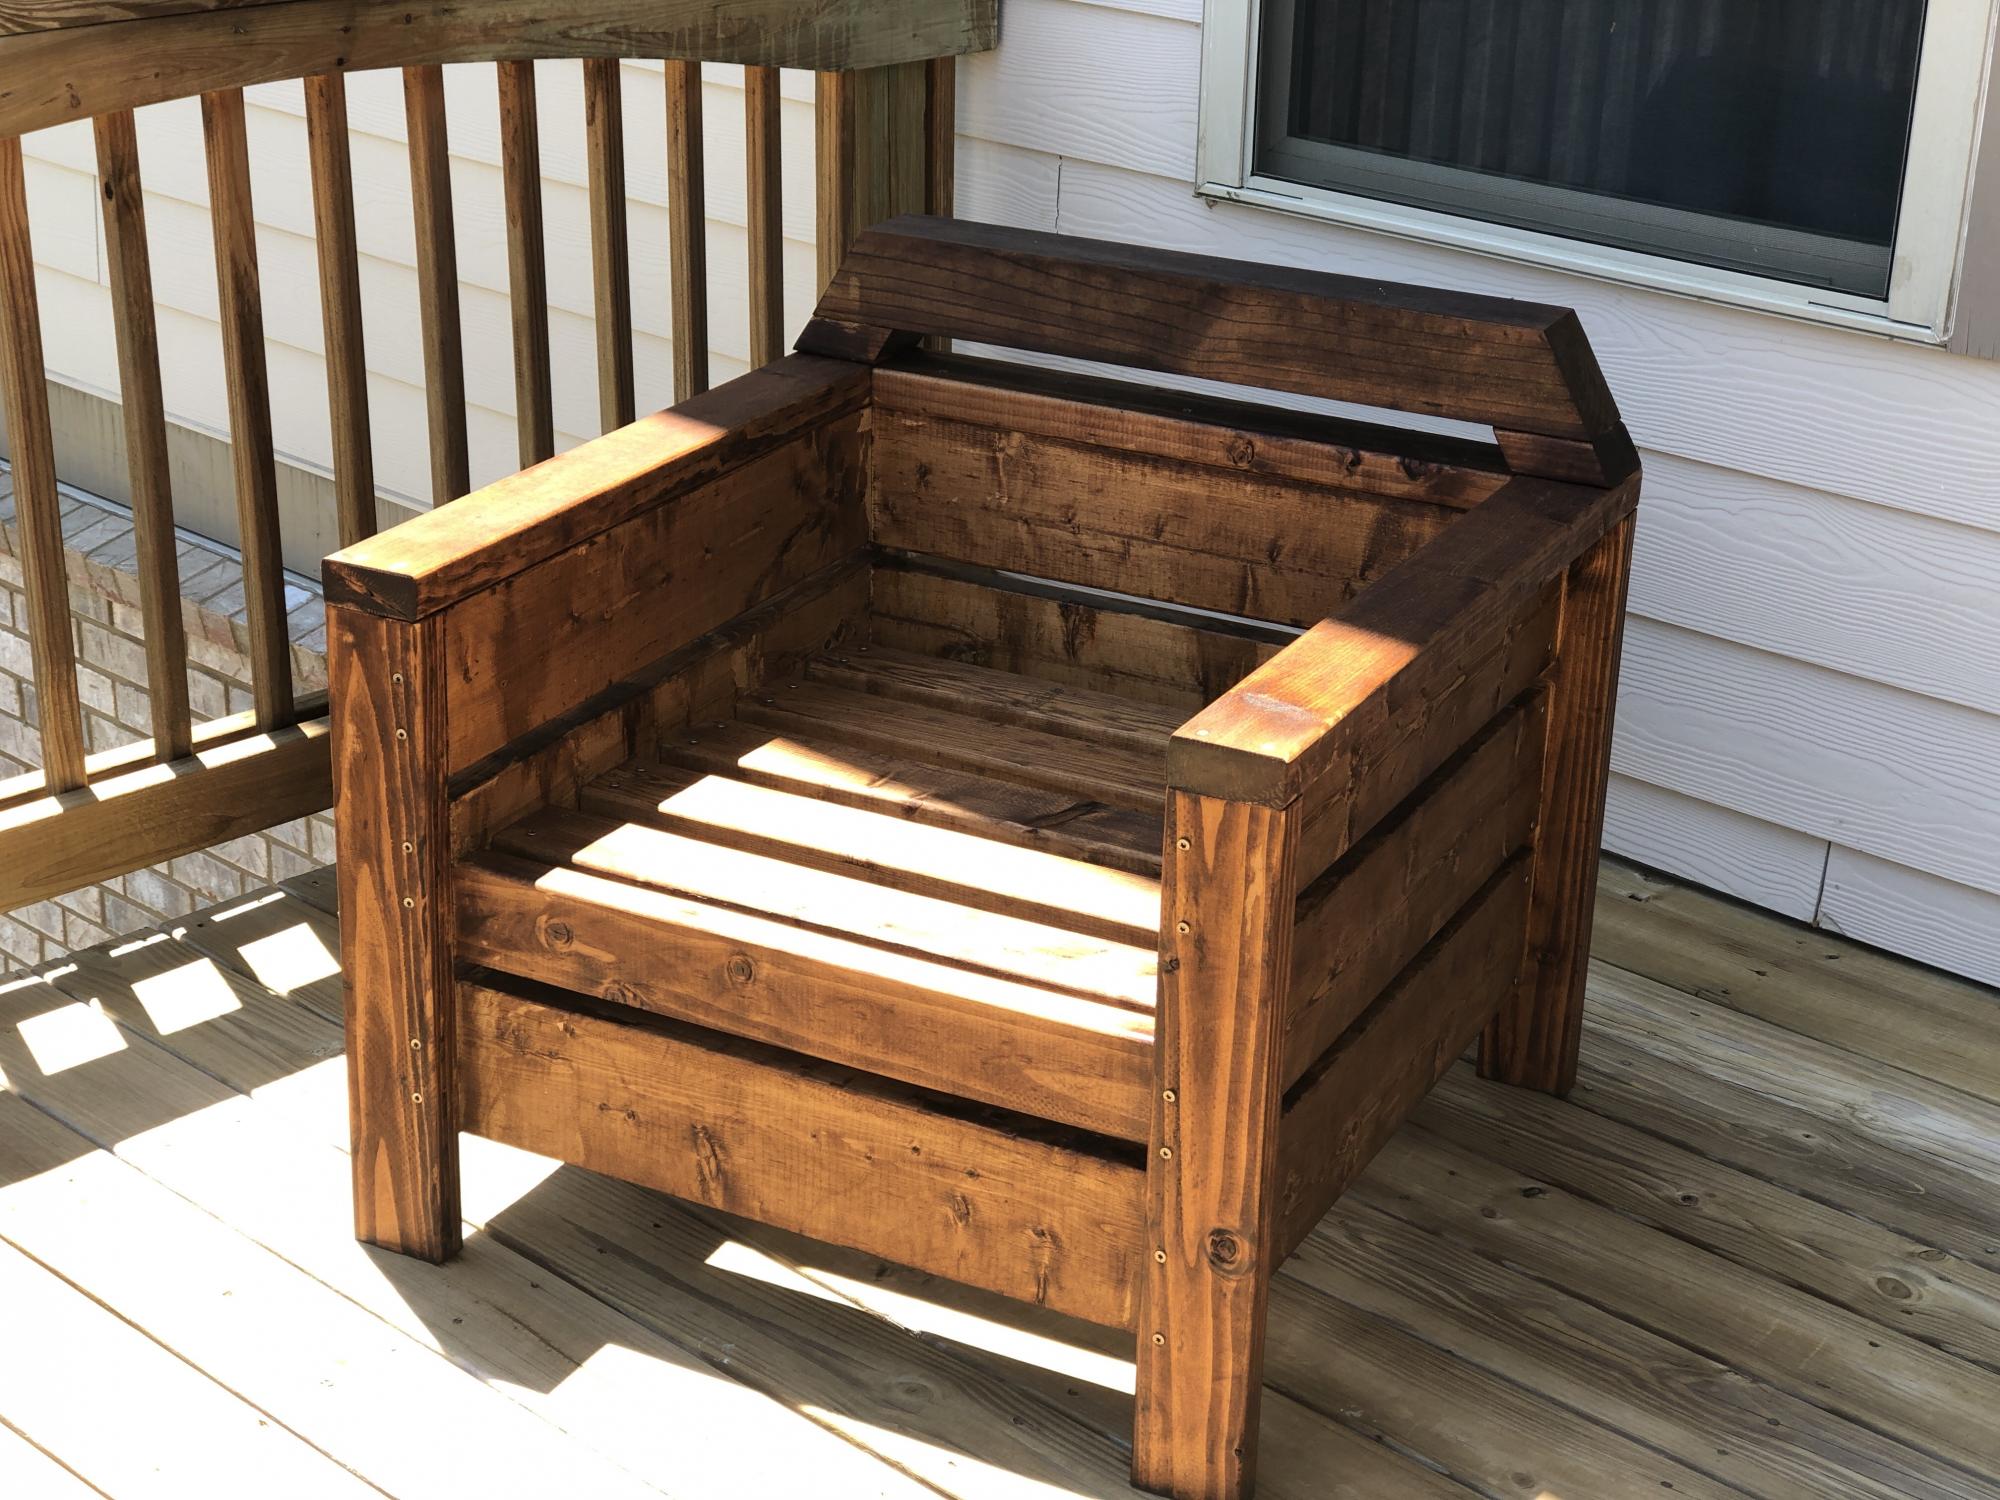
I Love the modern look of these chairs but definitely felt a little uncomfortable without the back rest so decided to add a little more back rest.

Great plan and easy directions to follow - my first wood working project.

Estimated Cost
$60
Estimated Time Investment
Afternoon Project (3-6 Hours)
Finish Used
Readyseal dark walnut stain and seal
Recommended Skill Level
Beginner

Comments

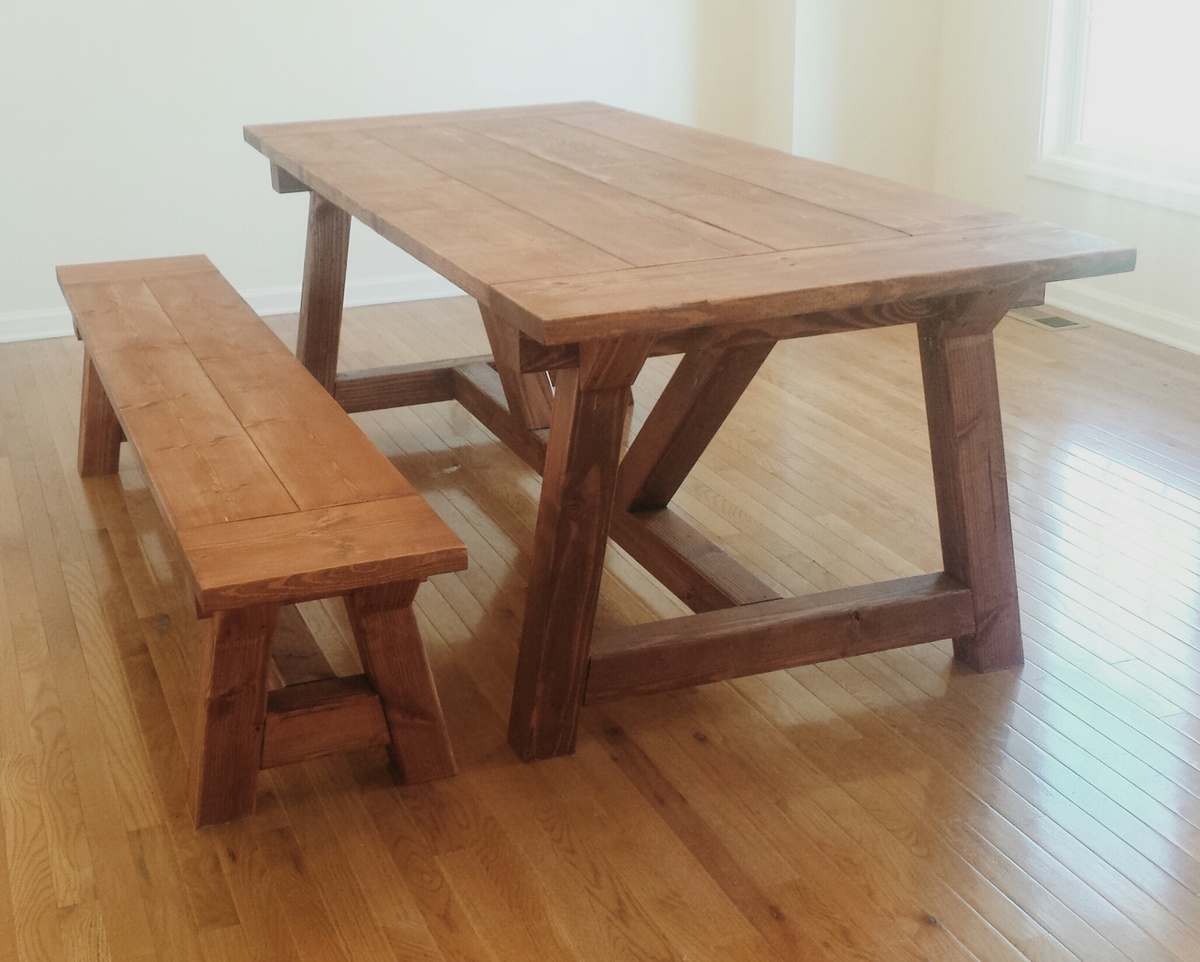
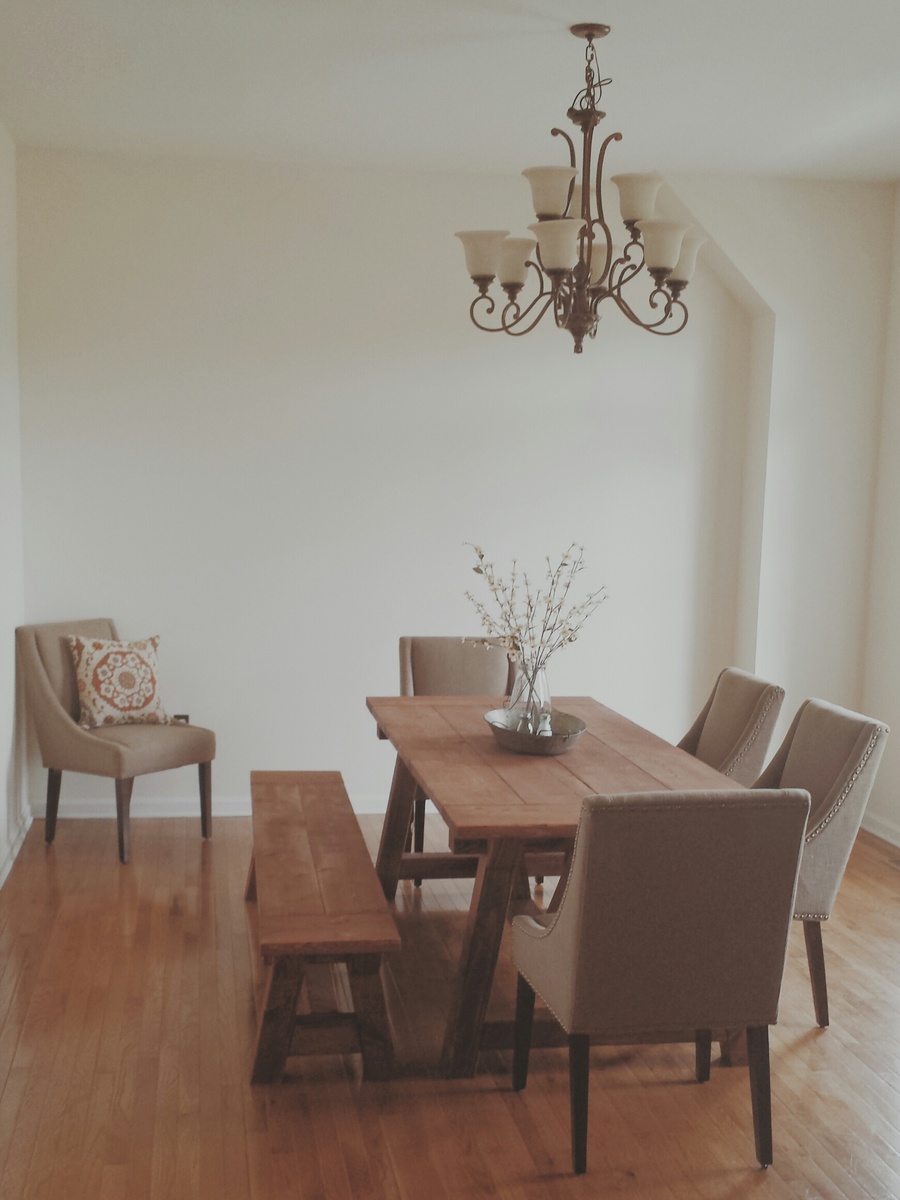
DIY RH Dining Table

Submitted by vlilly on Sun, 04/27/2014 - 13:22

I loved making this! I had to travel about 2 hours to get the DF 4x4s which was the only pain in making it. This was my third big project and it wasn't hard at all! It's super heavy so it was a litte tough to turn it over. It only took me about 3 days to make it once I had all the wood.
Estimated Cost
$175-$200
Estimated Time Investment
Weekend Project (10-20 Hours)
Finish Used
Stained with Rustoleum American Walnut, then applied a coat of Rustoleum Poly in matte.
Recommended Skill Level
Intermediate

Simple White Outdoor Table

Submitted by solomonson on Tue, 07/10/2012 - 14:25

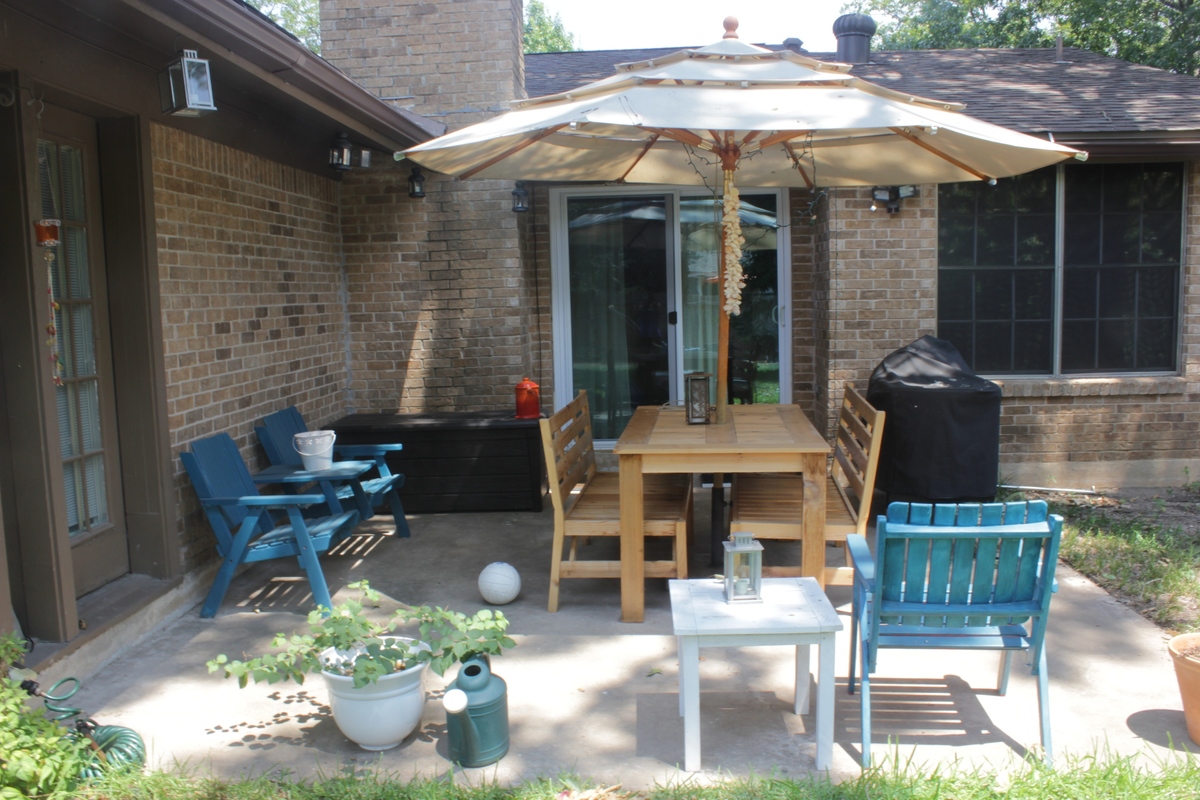
This little table was part of a larger overhaul for my patio, which was just a sad little slab before. I threw it together from scraps I had after building the table and benches. For some reason my Kreg jig did not like me that day so I built it using wood screws.

Built from Plan(s)
Estimated Cost
scraps
Estimated Time Investment
Afternoon Project (3-6 Hours)
Finish Used
I used some Valspar spray primer and white spray paint. It's not particularly durable, but that lends to the distressed charm.
Recommended Skill Level
Beginner

Doggy Door or Baby Gate

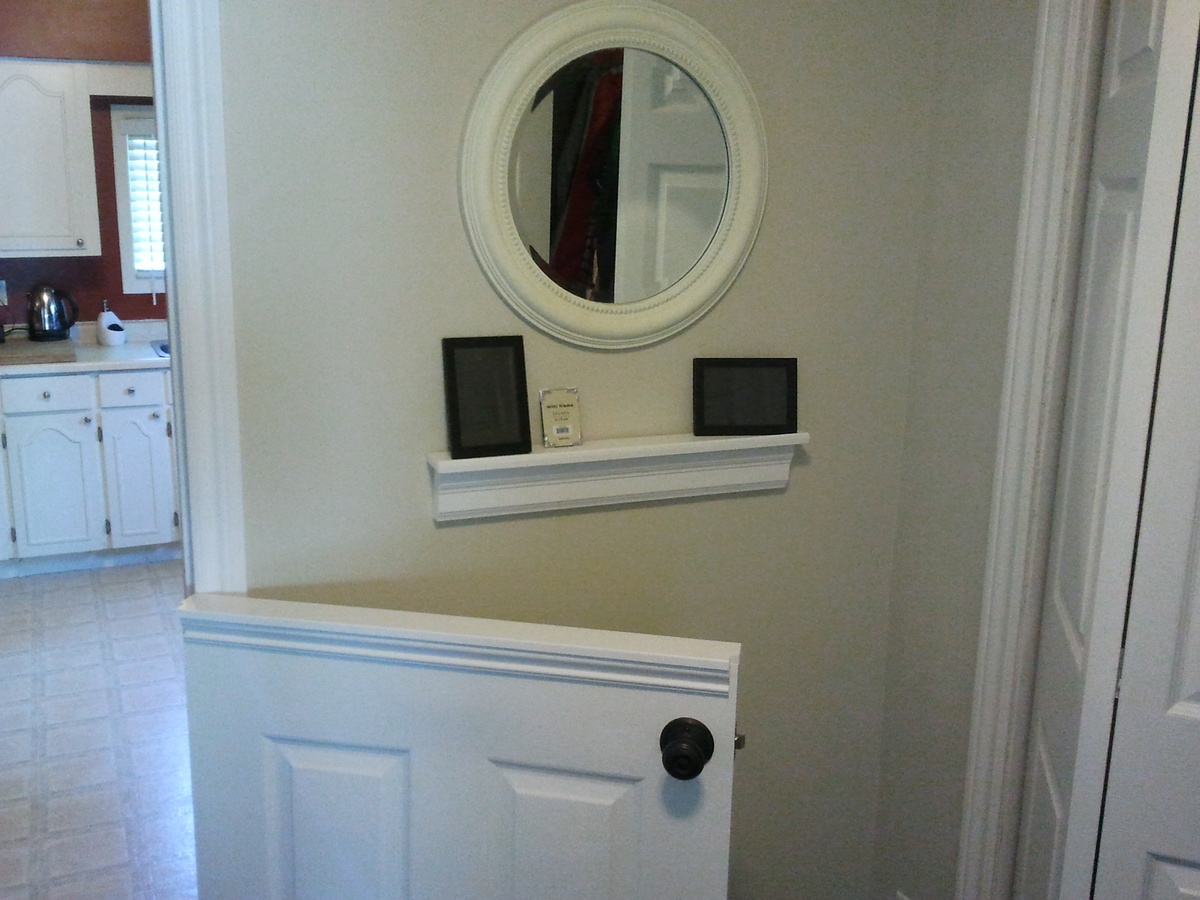
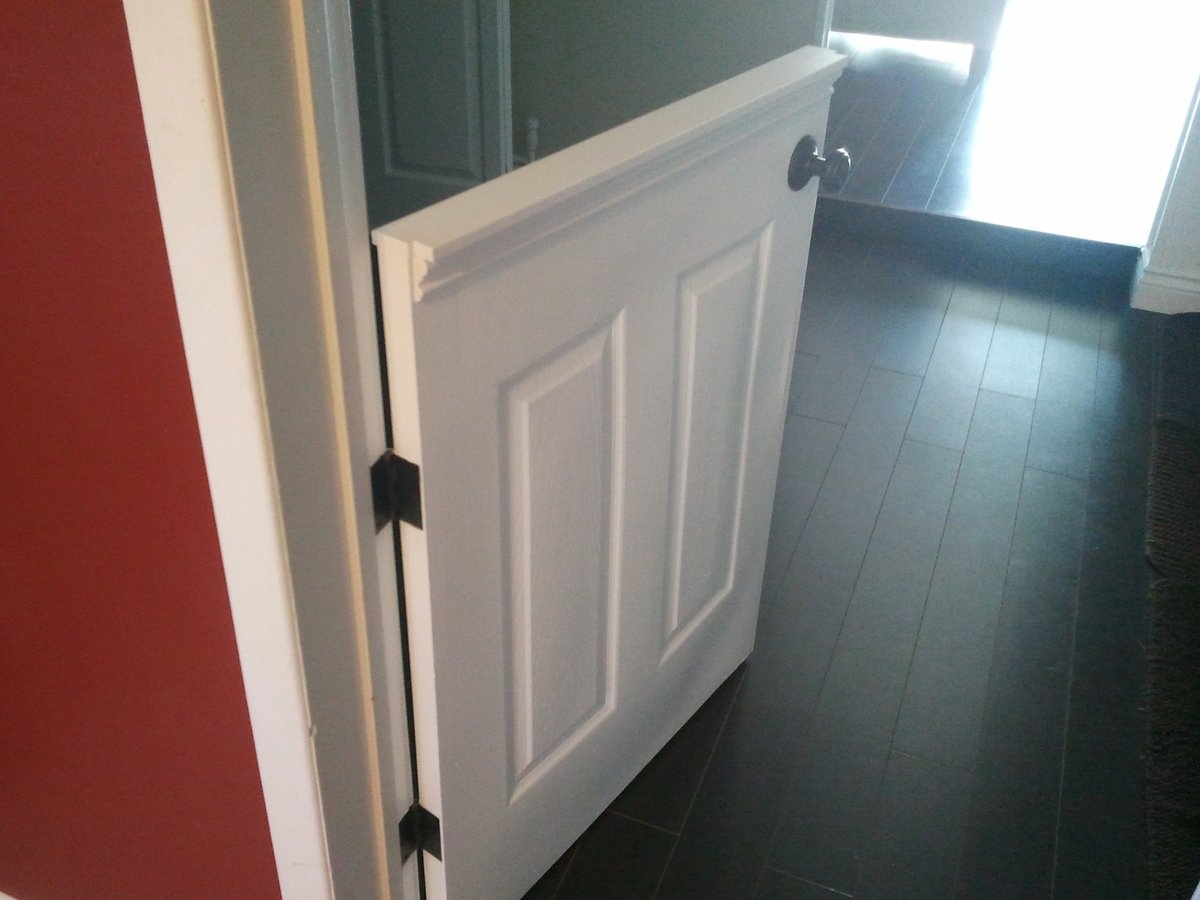
I installed a half door to isolate our dog from the laminate flooring when he sleeps at night.

It was only $25 for the hollow core 6 panel door from HD, which got cut in half.
$25 for the passage knob.
$10 for top plate and trim
Less than $5 for the hinges.

Not having to replace the laminate flooring priceless!

Some Tips:

The $25 door is not prehung. Buy the $14 dollar irwin door jig to install the door "http://www.homedepot.ca/product/door-lock-installation-kit-carbon/904157" It will come in handy if you are remodeling and installing new doors to replace those old flat panel doors. You will also have to chisel out the hinges.

When installing and marking the hinge locations in the door frame shim the door a 1/4" off the floor.

Estimated Cost
$65 materials + $15 jig = $80
Estimated Time Investment
Day Project (6-9 Hours)
Finish Used
White paint
Recommended Skill Level
Intermediate

Comments

Back