Potting Bench
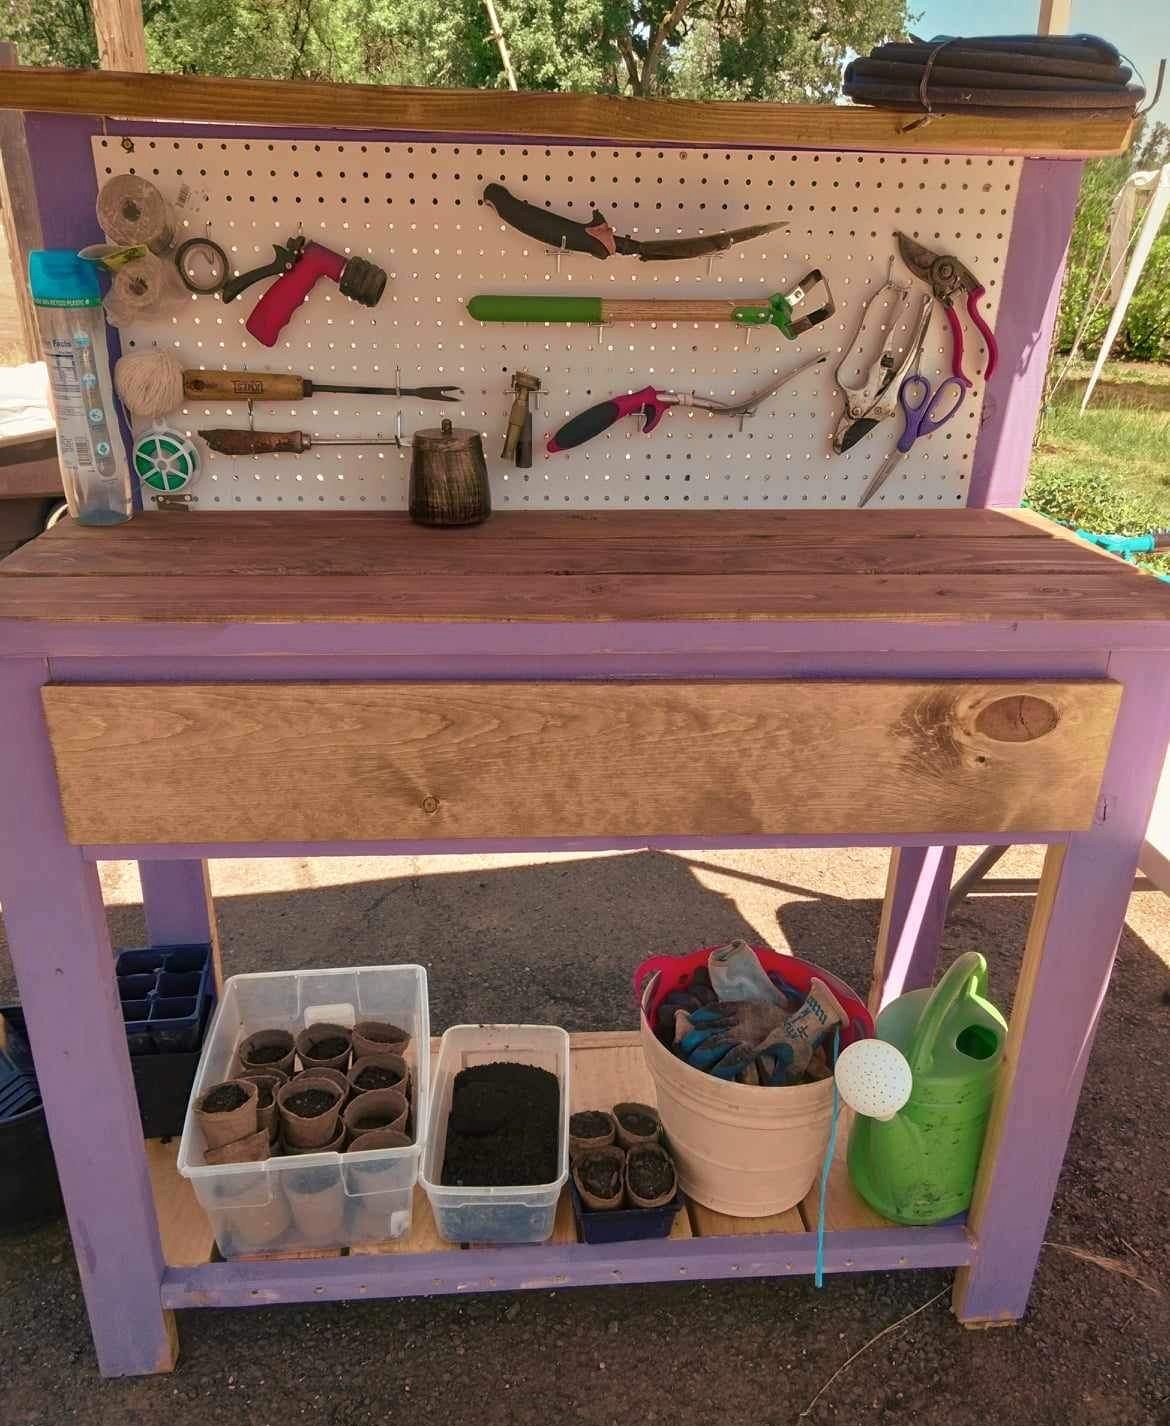
Your potting table is/was a hit and is used weekly with great love.
Darren S.

Your potting table is/was a hit and is used weekly with great love.
Darren S.
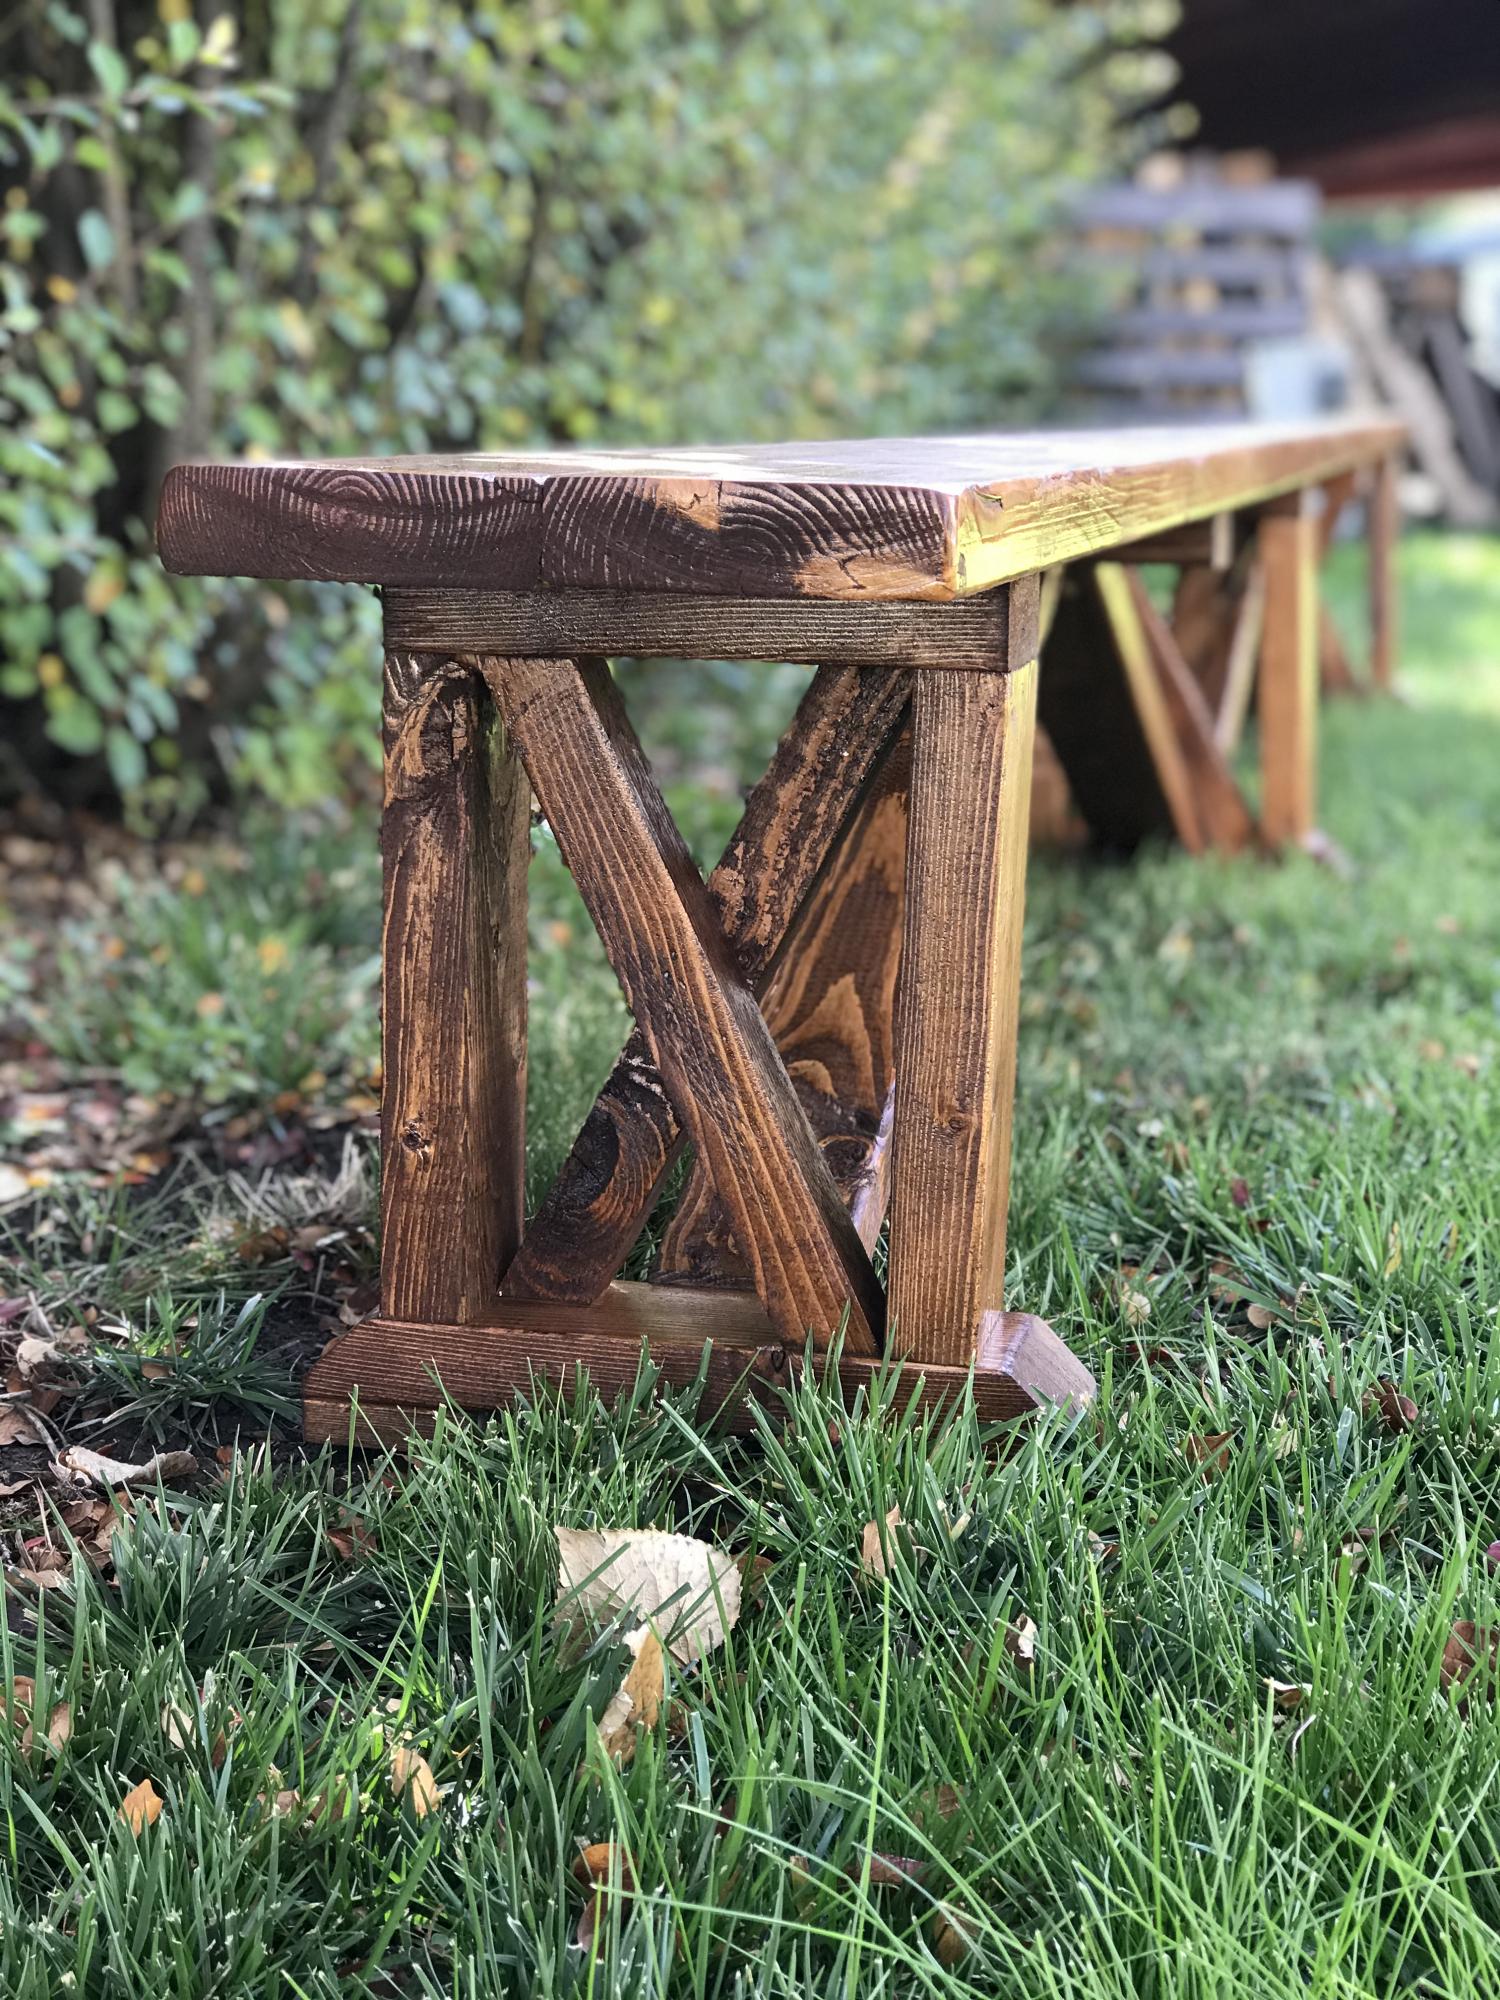
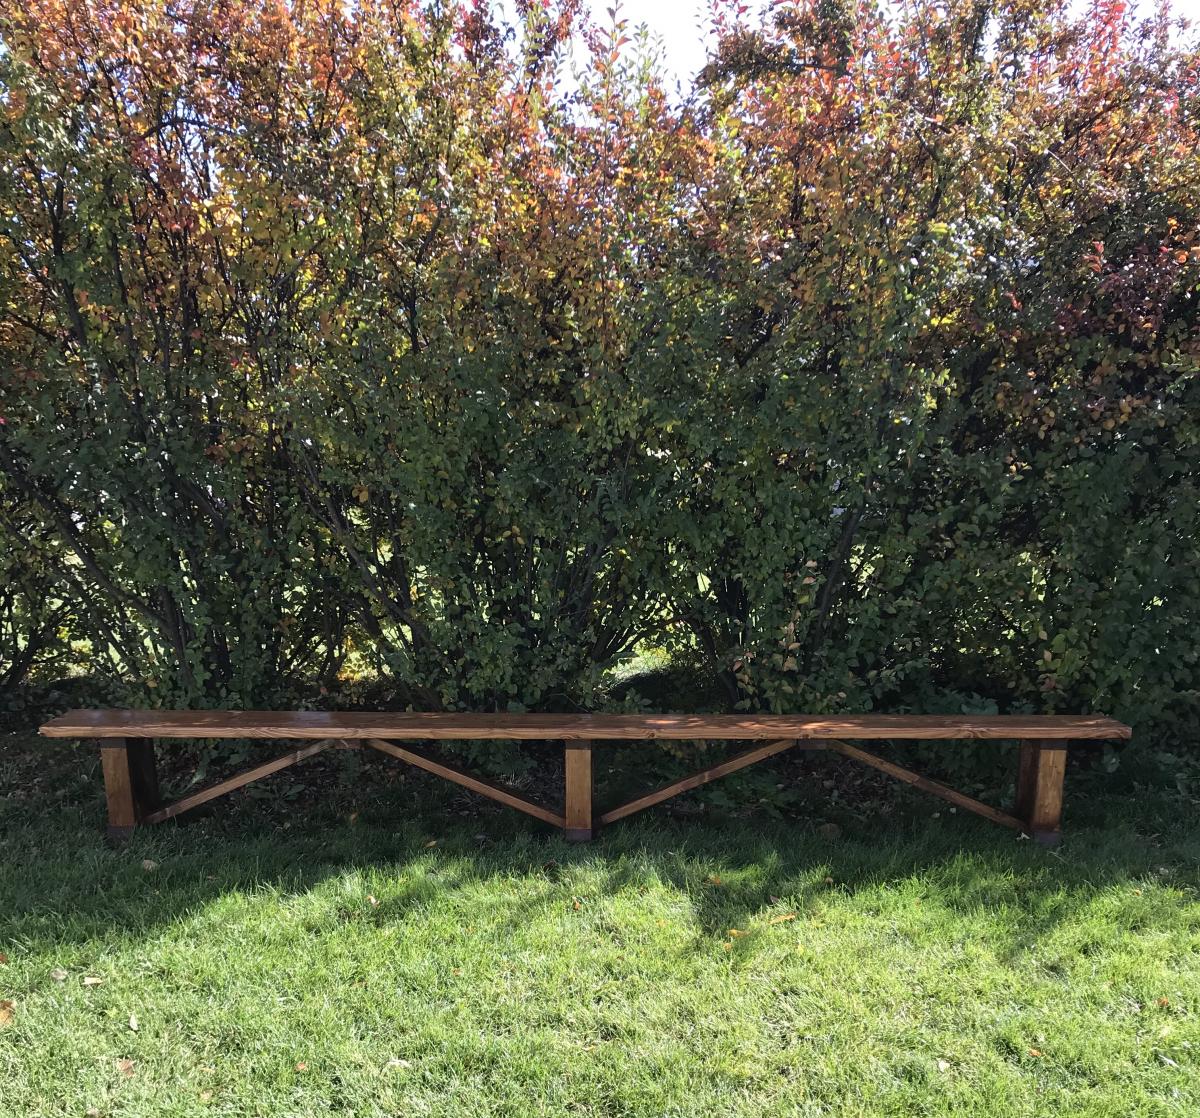
I was asked to surprise someone with a 12 ft. bench. After searching and searching I found a plan I really liked, but I felt it just wasn’t enough. I modified the plans to give it a little more of a farmhouse look. I also had to double the size of the original plans.
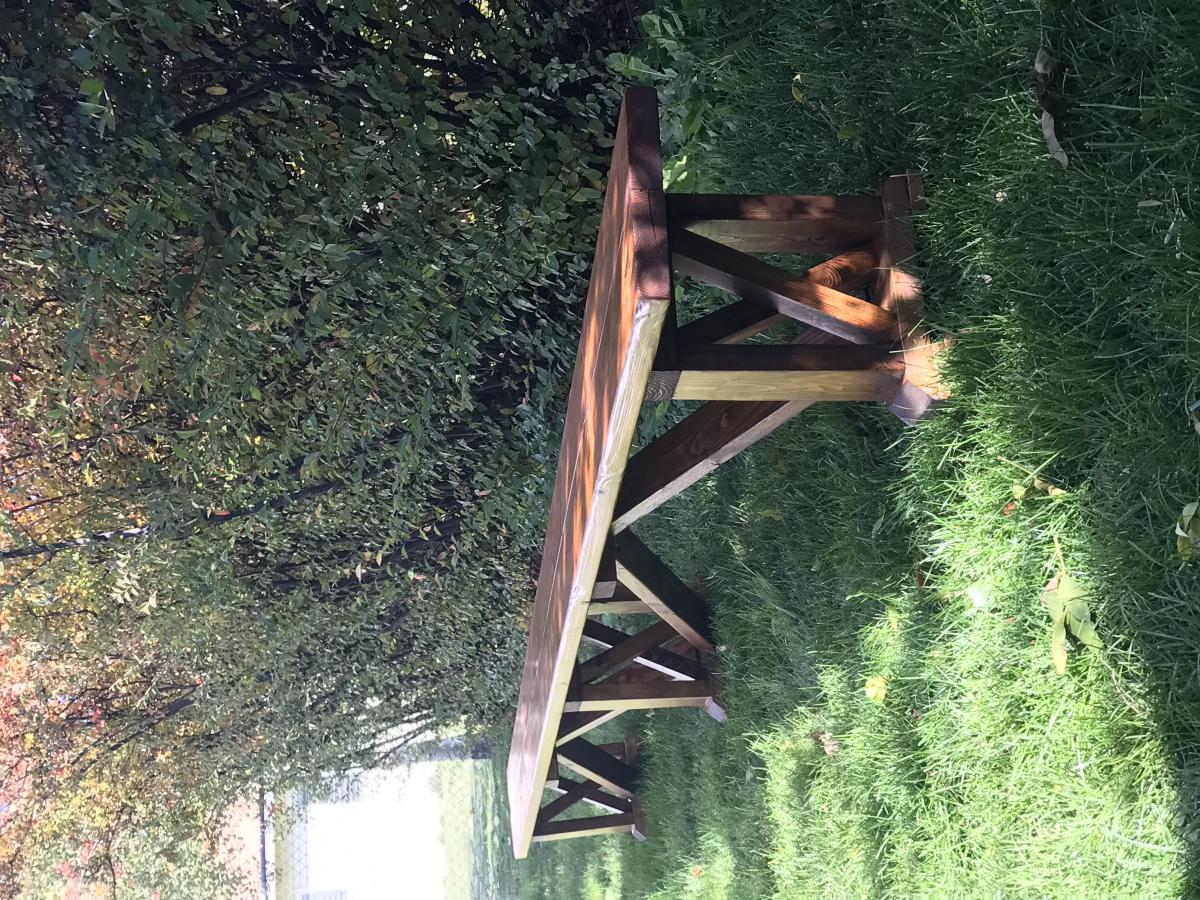
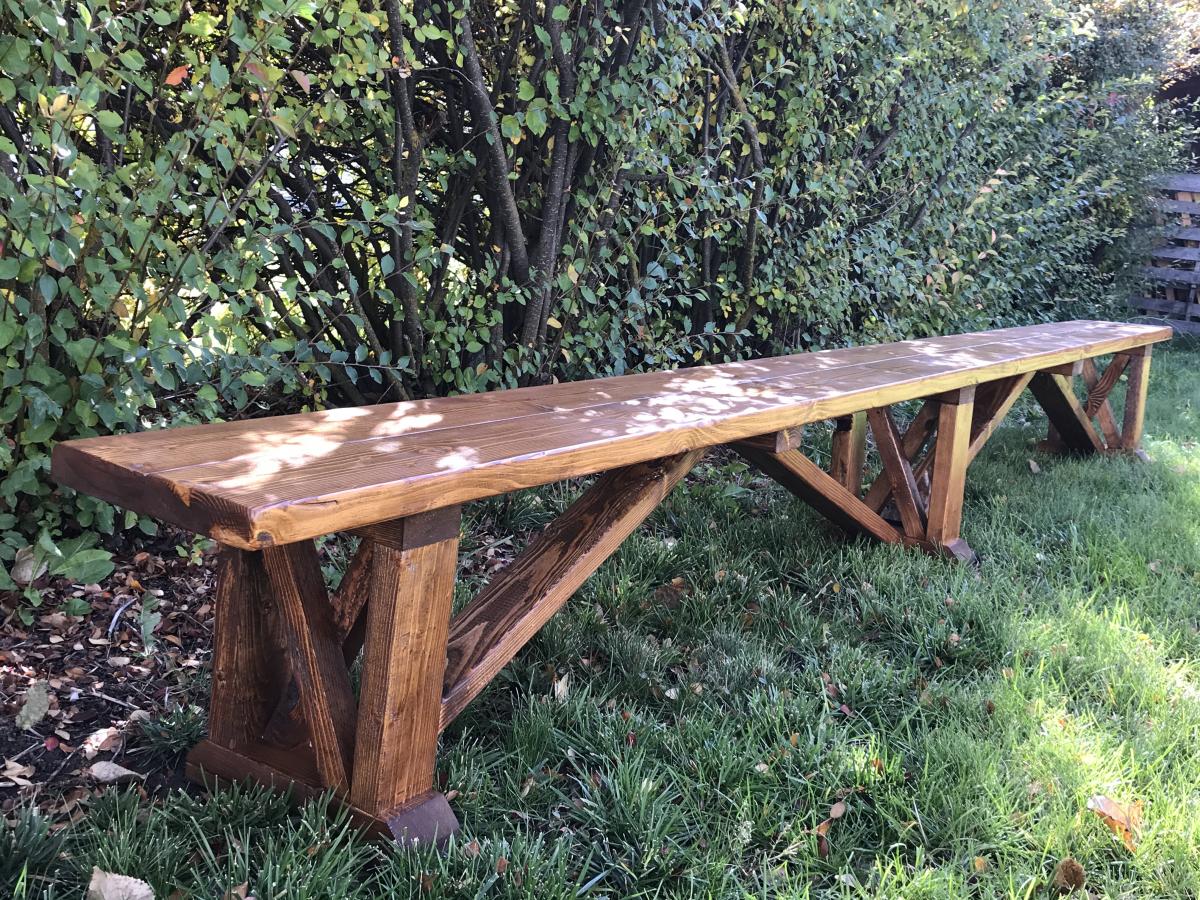
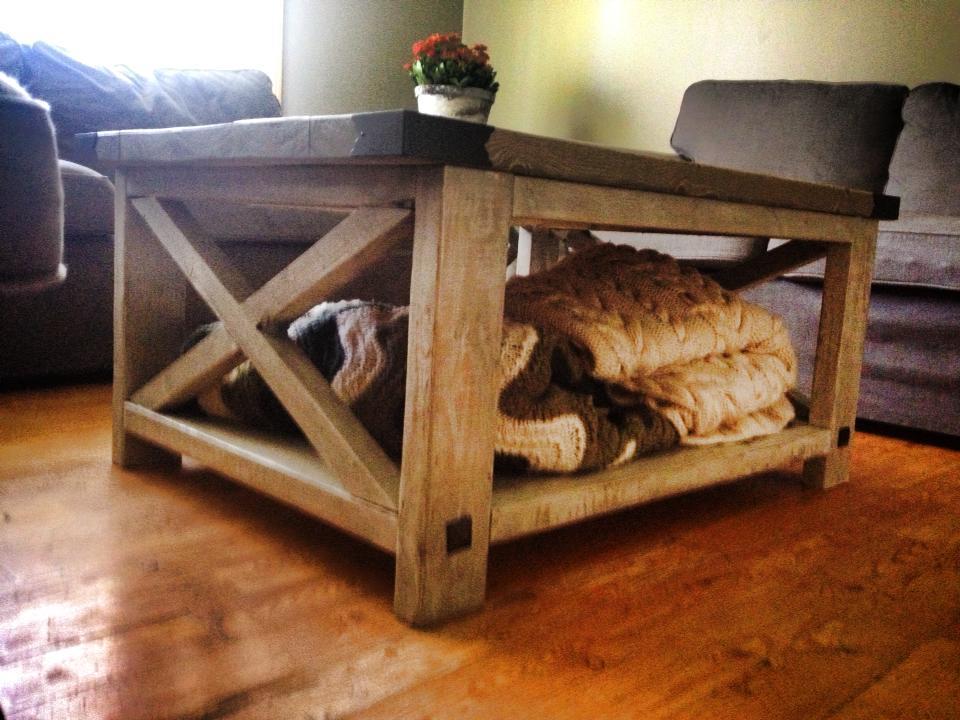
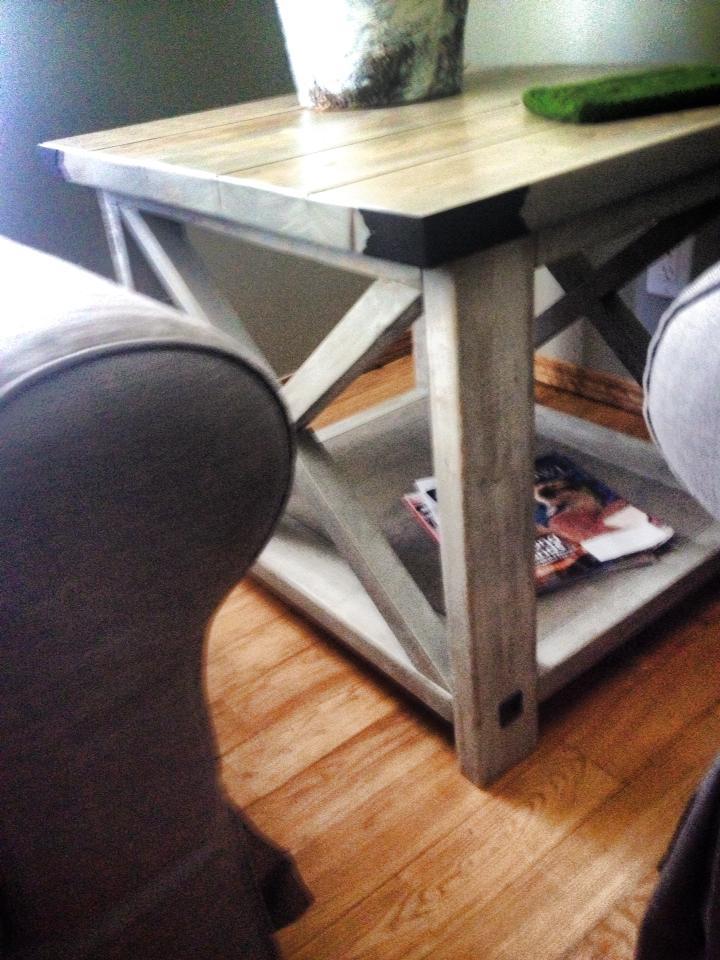
I used some flashings from Lee Valley to make these rustic tables really pop. The corners and the big brad nails really make them pop! These are also STURDY pieces of furniture as the Monster Husband has stood on them both without a wobble.

Wed, 09/23/2015 - 09:07
I know this post was awhile ago, but I am looking to create somthing similar. Where were you able to find a white oil based stain? I have called all of my local hardware stores and they all carry just water base? Did you put the dark mix stains on then, go over with white water base stain? Any clarification or assistance would be great! Thanks.
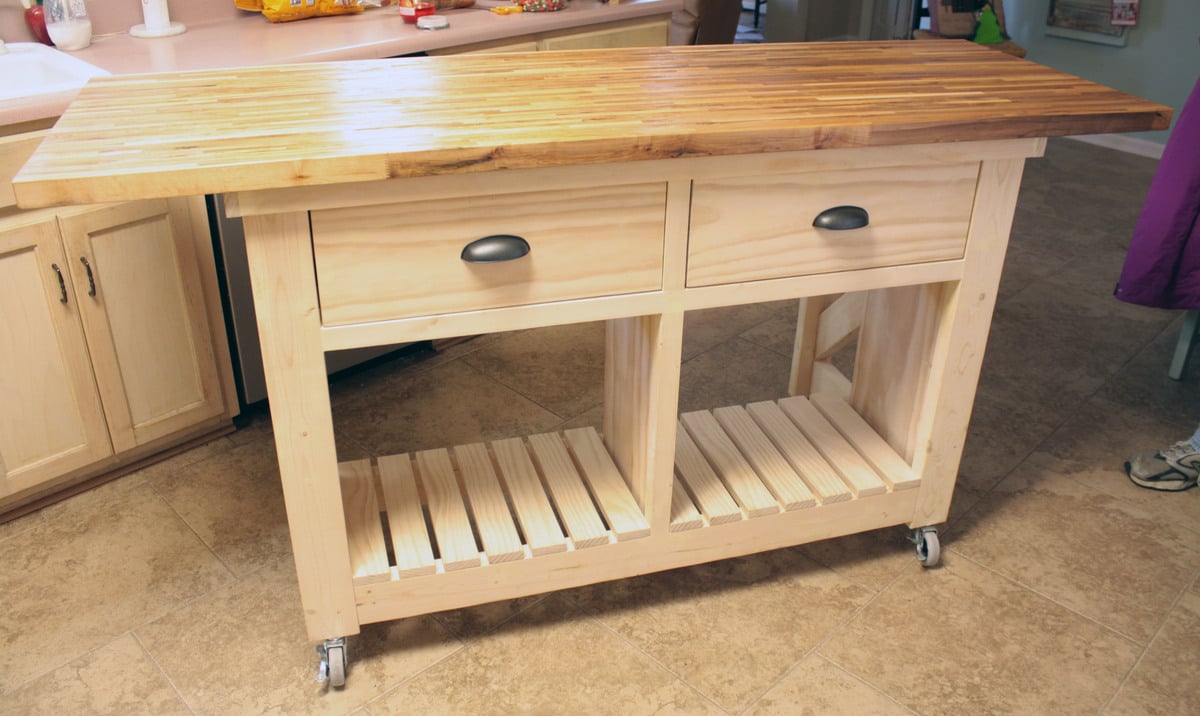
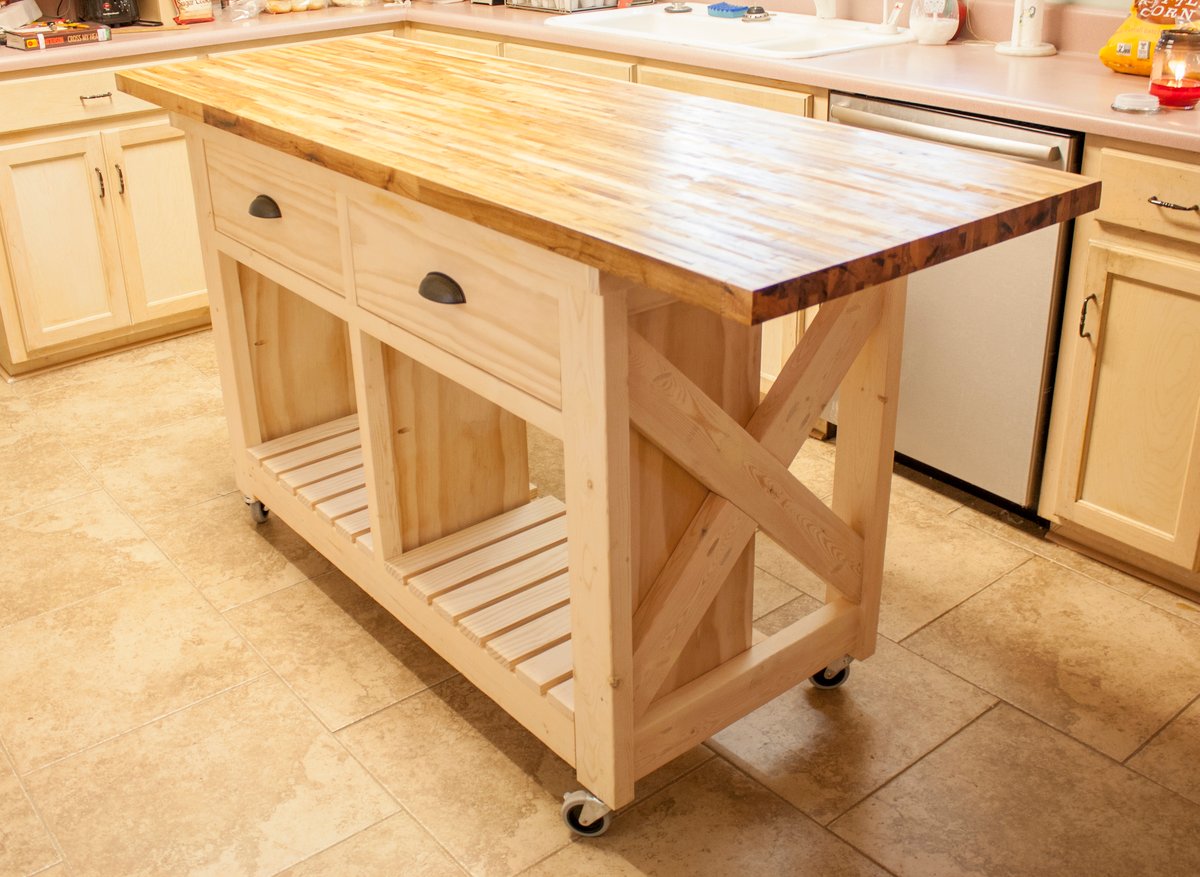
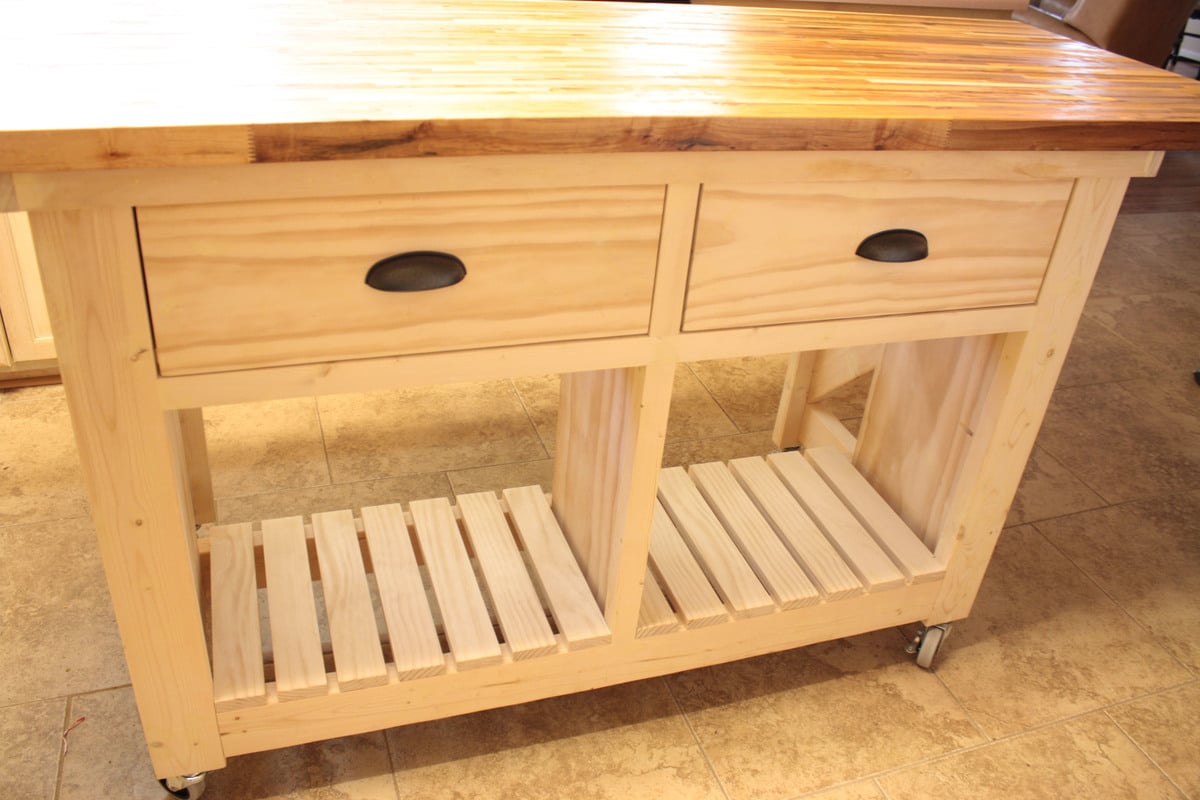
I started on the project when I went home for Thanksgiving and finished up the drawers when I was home for Christmas. I live about 7 hours from my family. I took a few tools with me (kreg jig and drill) but borrowed a circular saw and miter saw for all the cuts. It was difficult working on it because it was fairly cold and my dad only has a carport. Which is why it took longer. My step-mom says she wants to paint it maybe with some milk paint. She also did not want the center shelf as she wanted a place for taller items.
The butcher block top was $299. It comes from lumber liquidators in 25" by 96". My dad had about 2 feet cut off the length. Ikea also sells butcher block tops for roughly half the price I think, but they were out of stock in both Atlanta and Charlotte.
I also made the small kitchen island before and this one went much more smoothly. Having the extra set of hands was awesome and made for a wonderful memory as I built it with my father:-)
Thu, 08/15/2019 - 12:14
This is amazing Stephanie!!!! I can't believe I didn't see this sooner.
We are going to feature your photo with the plans - thank you so much for sharing a brag post! Hope you are well!
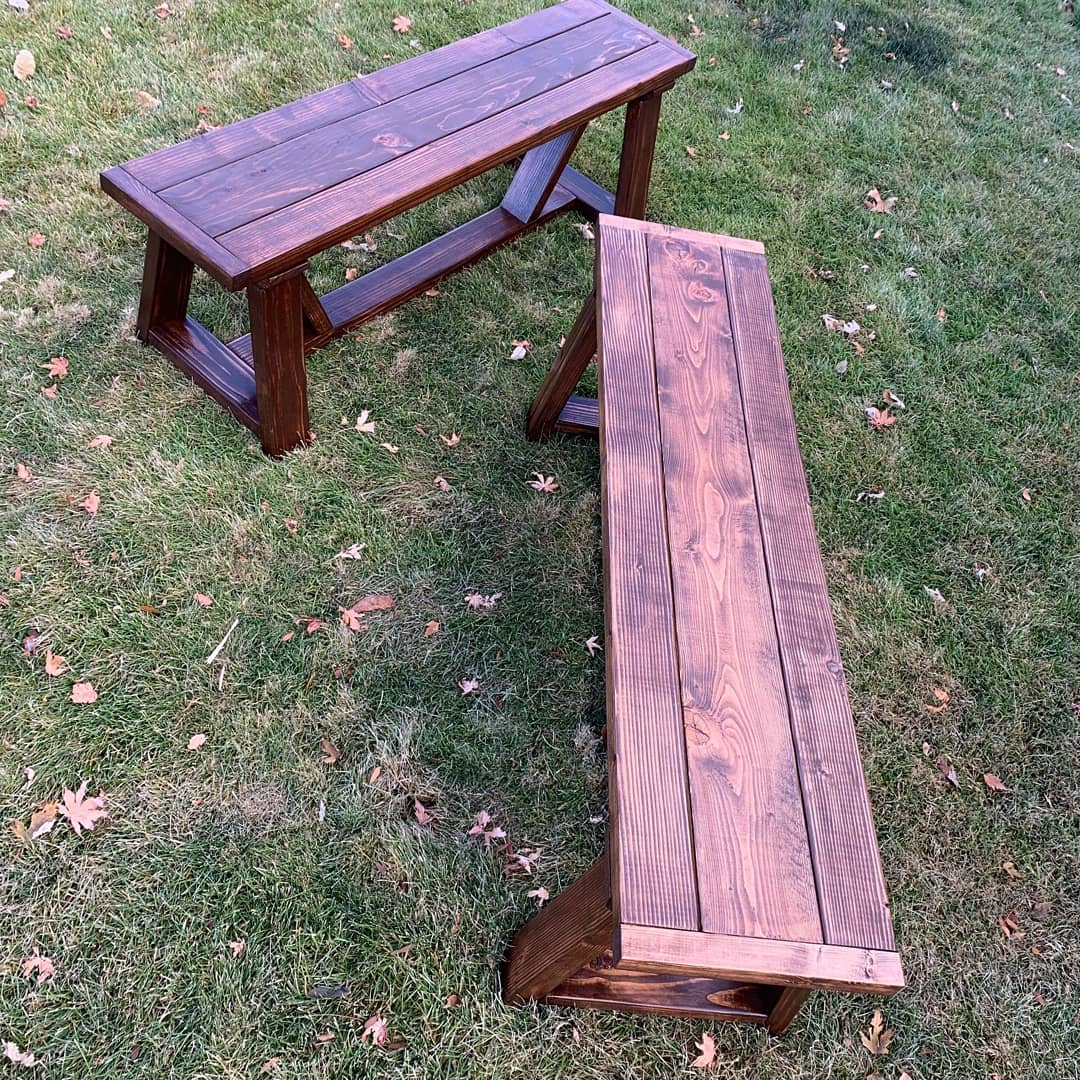
Fun project. Quite easy, but extremely sturdy. Gonna work great for kids.
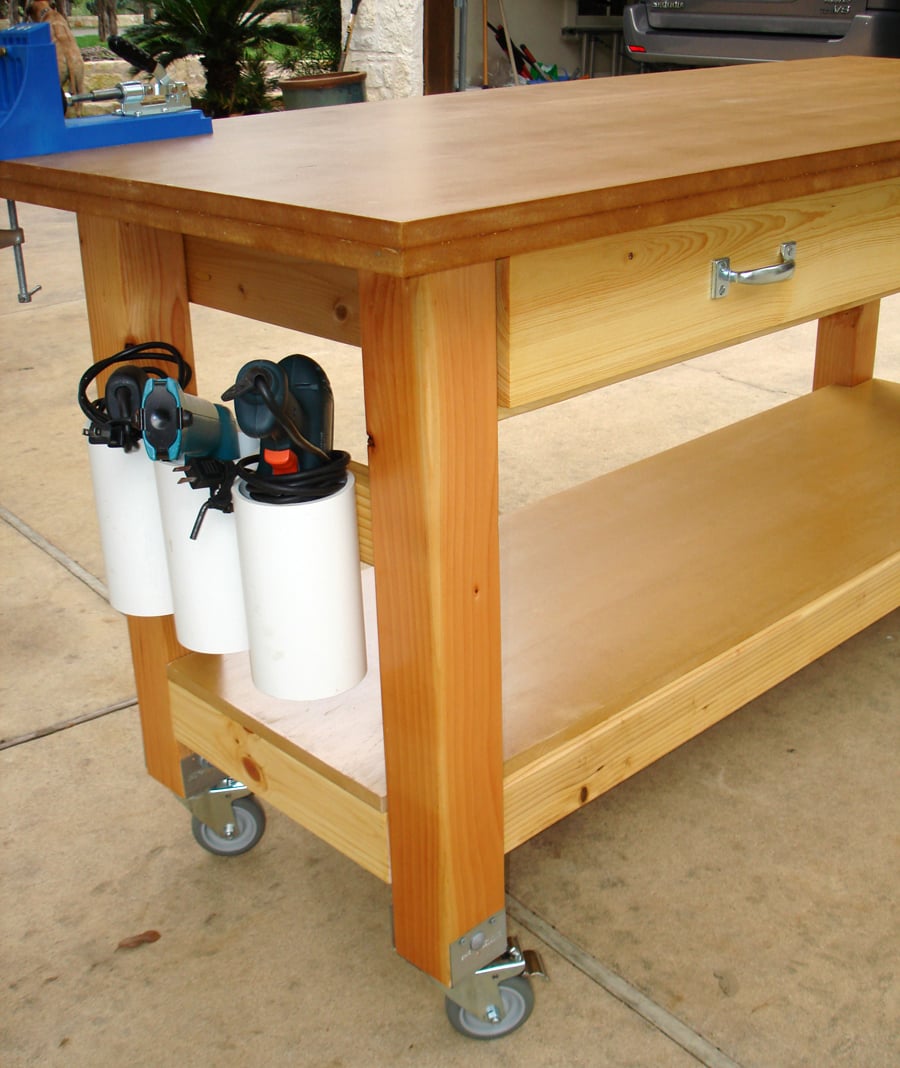
Given that I work out of my garage, I desperately needed a rolling workbench in order to roll out, make the sawdust mess, and roll back in. I had already made Michaela's island for another purpose inside my house, and I loved the sturdiness of the 4x4 posts as legs. I had industrial-type locking castors, but they only screwed in with a threaded post. Thanks to my engineer dad, he determined the best way to attach a screw-in castor to the bottom of the 4x4 (and did all that work for me!).
The size is modified from Michaela's original plan to include a 3 1/2" overhang all the way around for easy clamping (and top is 6' x 2.5'). I also cut a 2' piece of PVC pipe into 3 sections and attached for my drill storage. I put full-extension glides on the drawers and made some dividers from scrap wood.
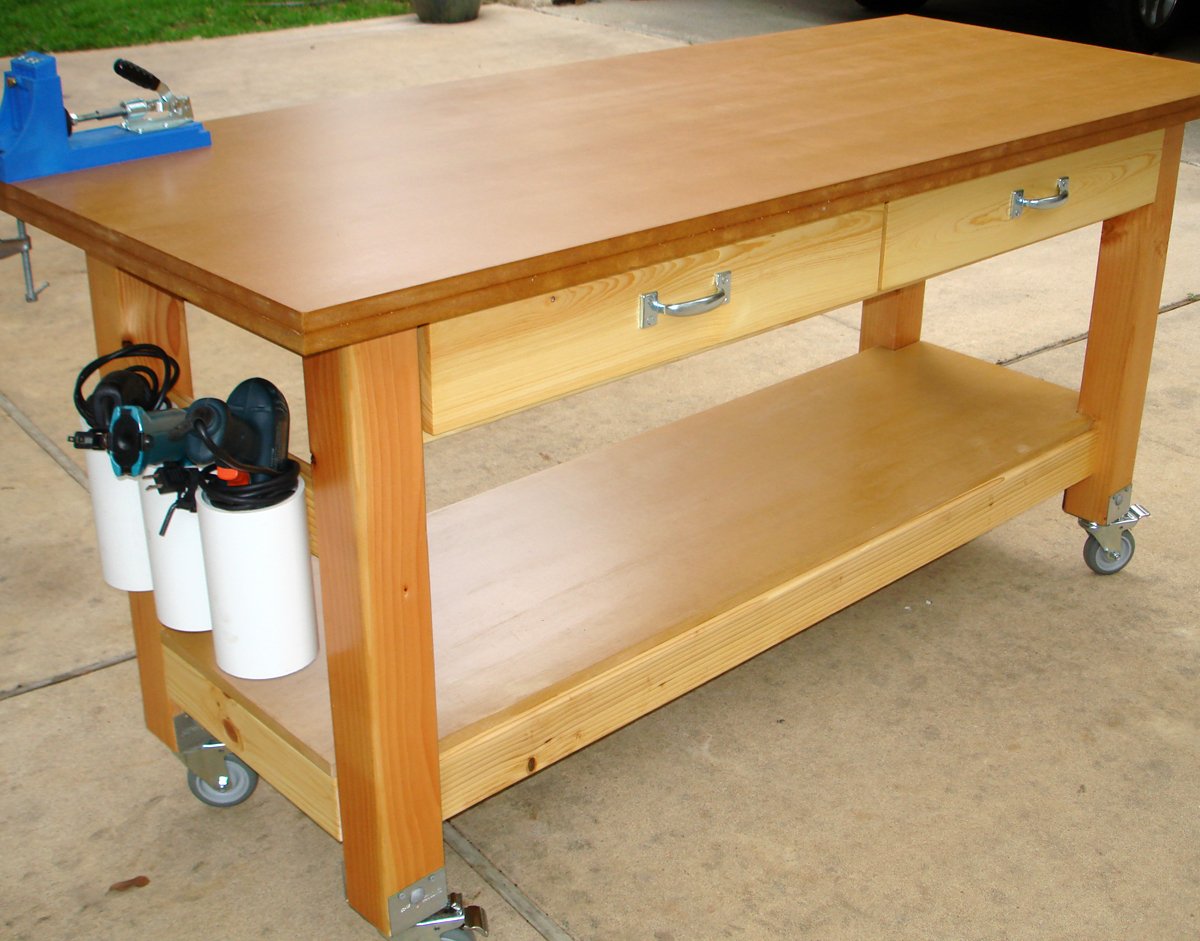
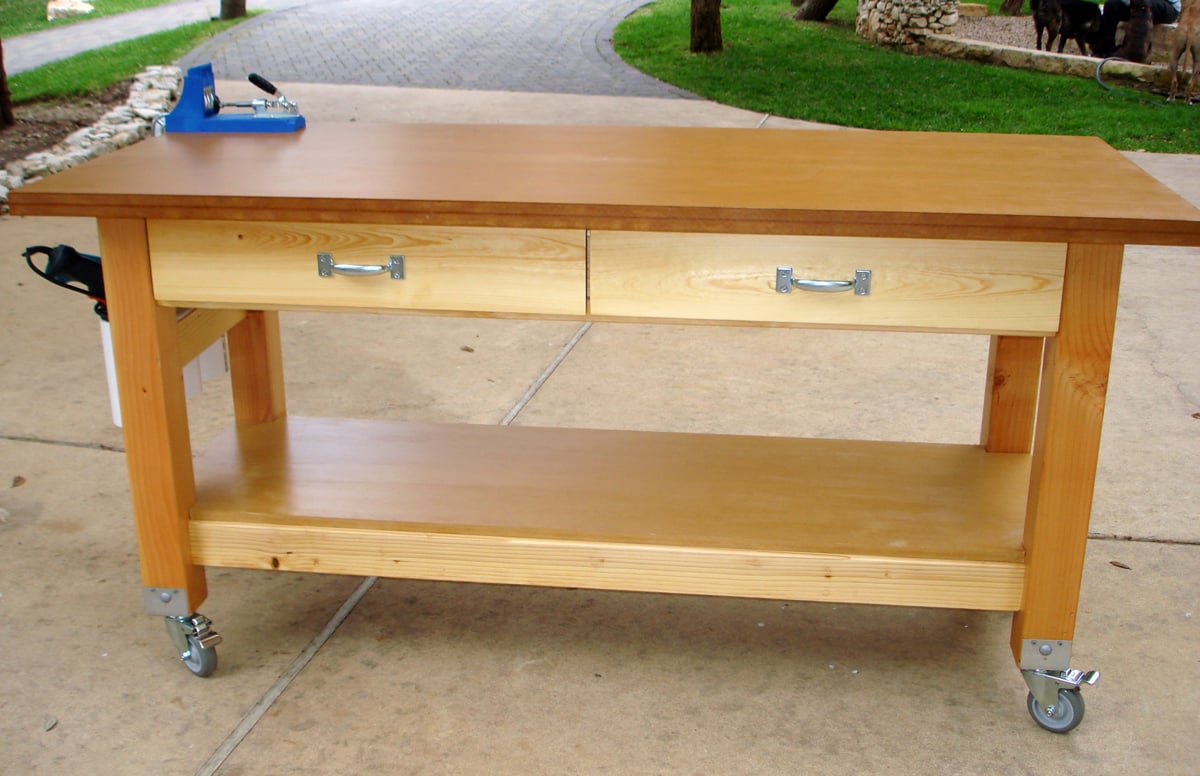
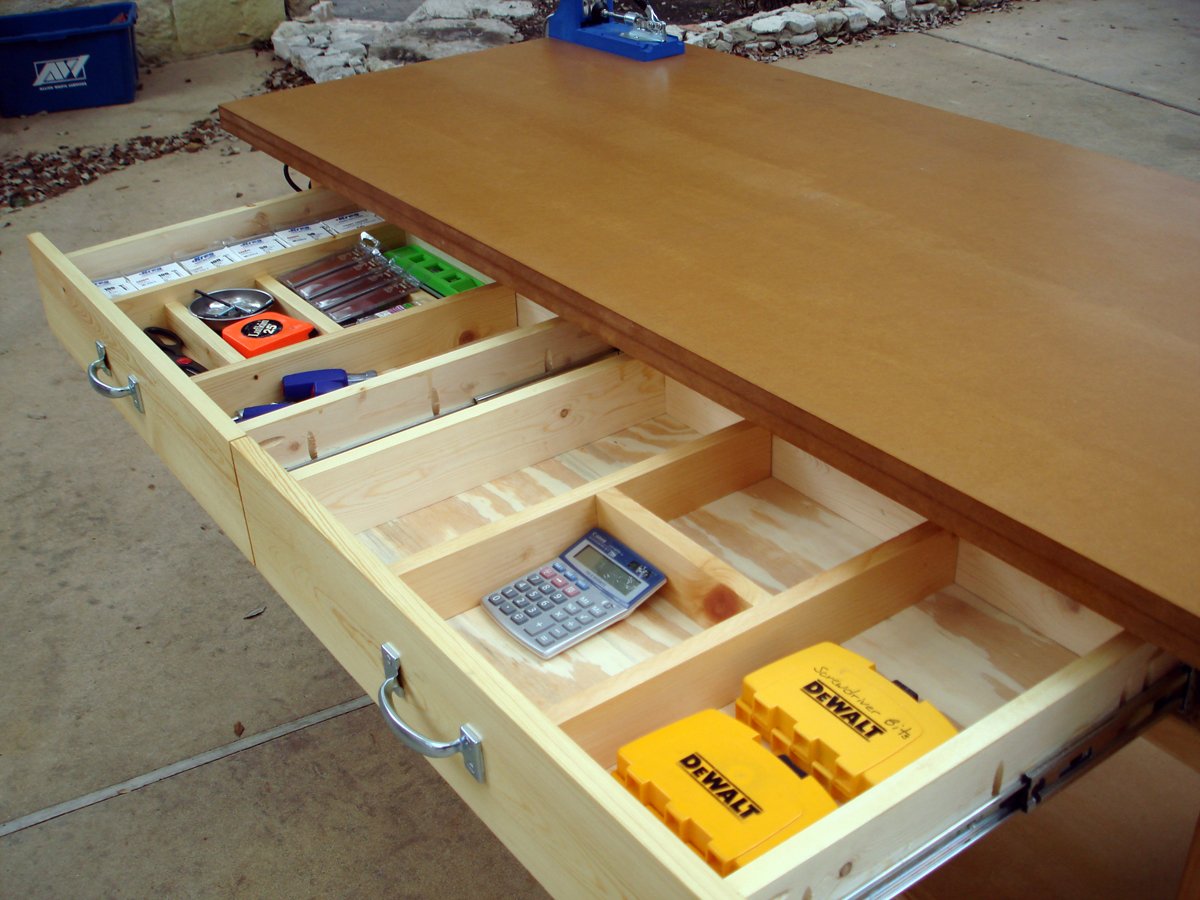
Sun, 03/18/2012 - 18:21
This workbench is just outstanding!!! I want! Great job!
Mon, 03/19/2012 - 11:51
This would be the perfect workbench for my small shop/garage. Would love a full write up on how to create it. Great work.
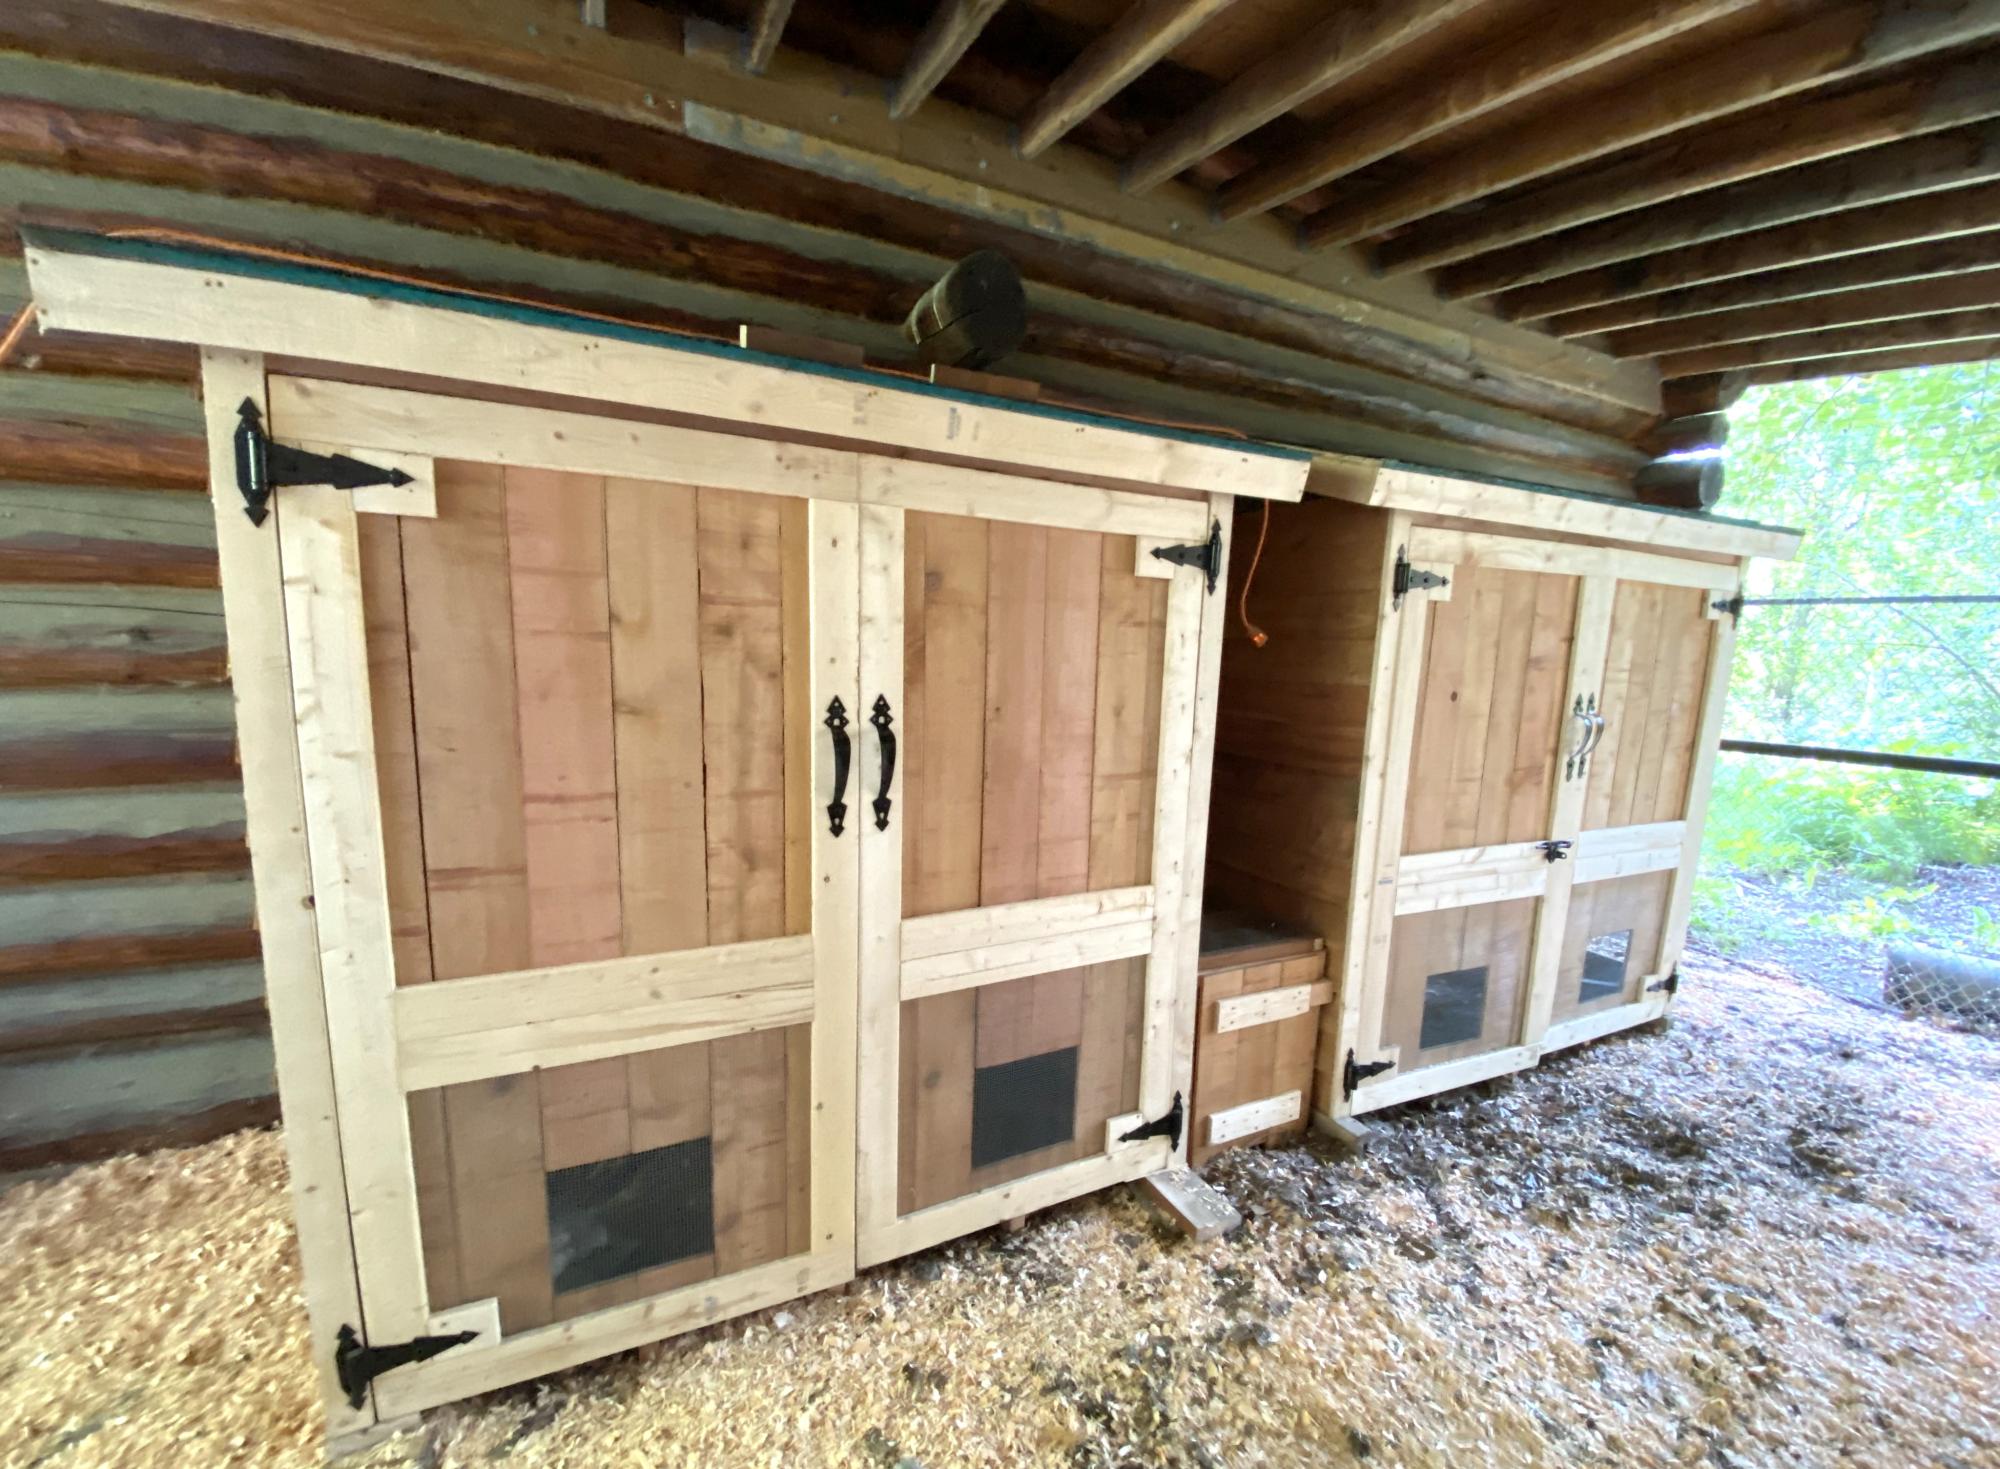
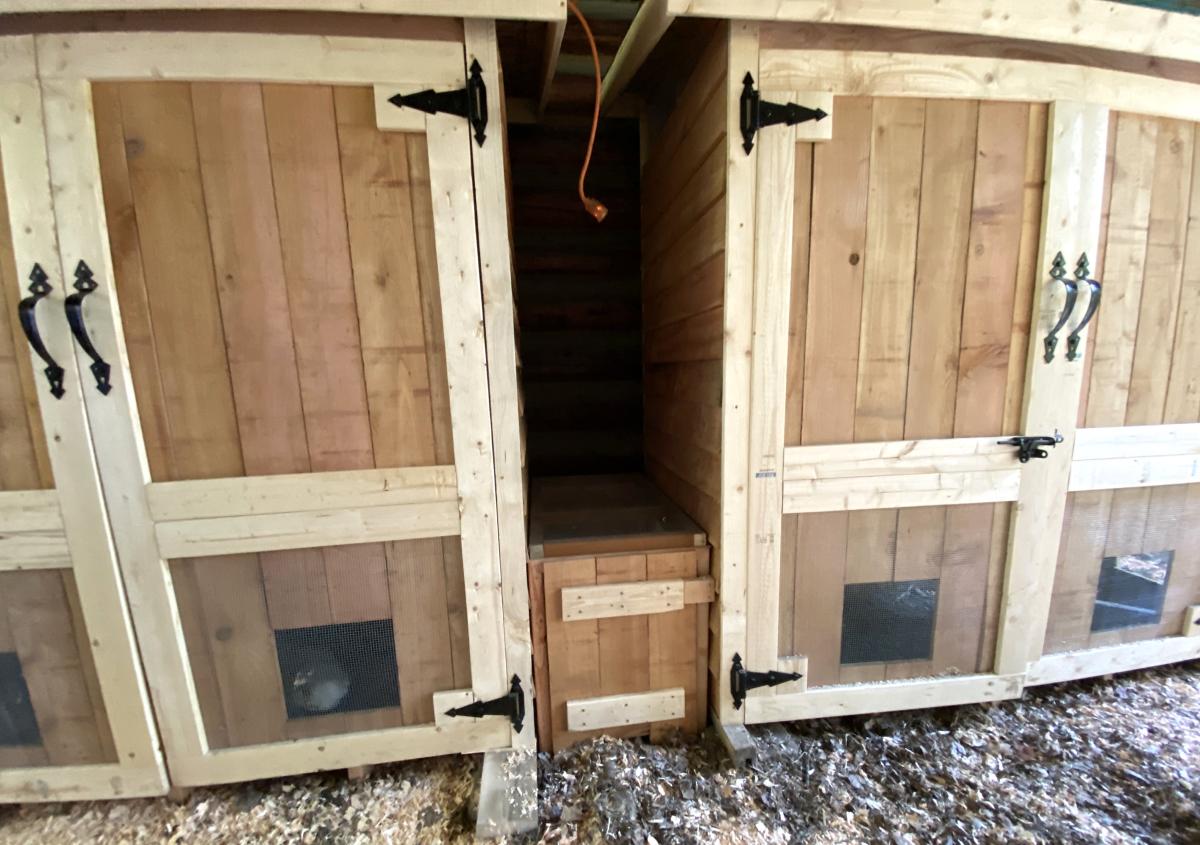
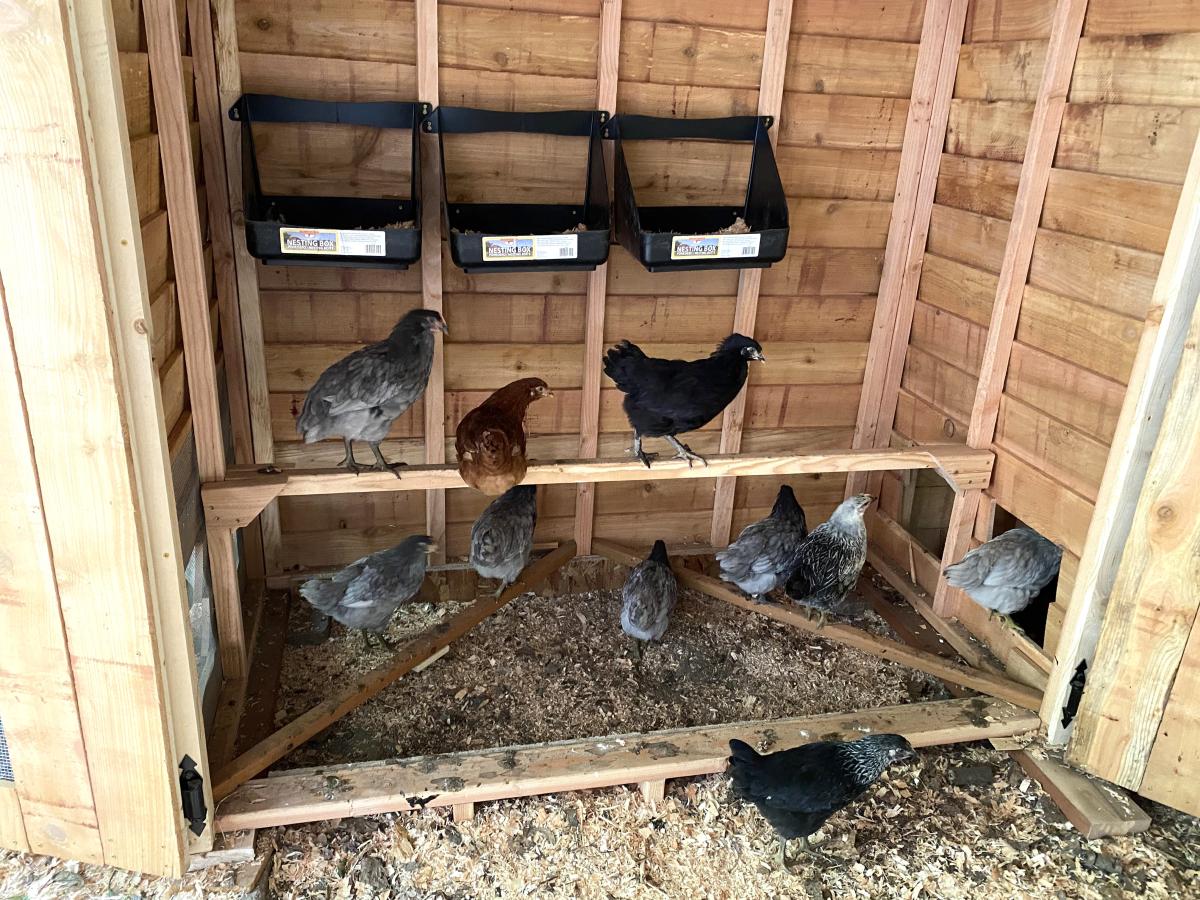
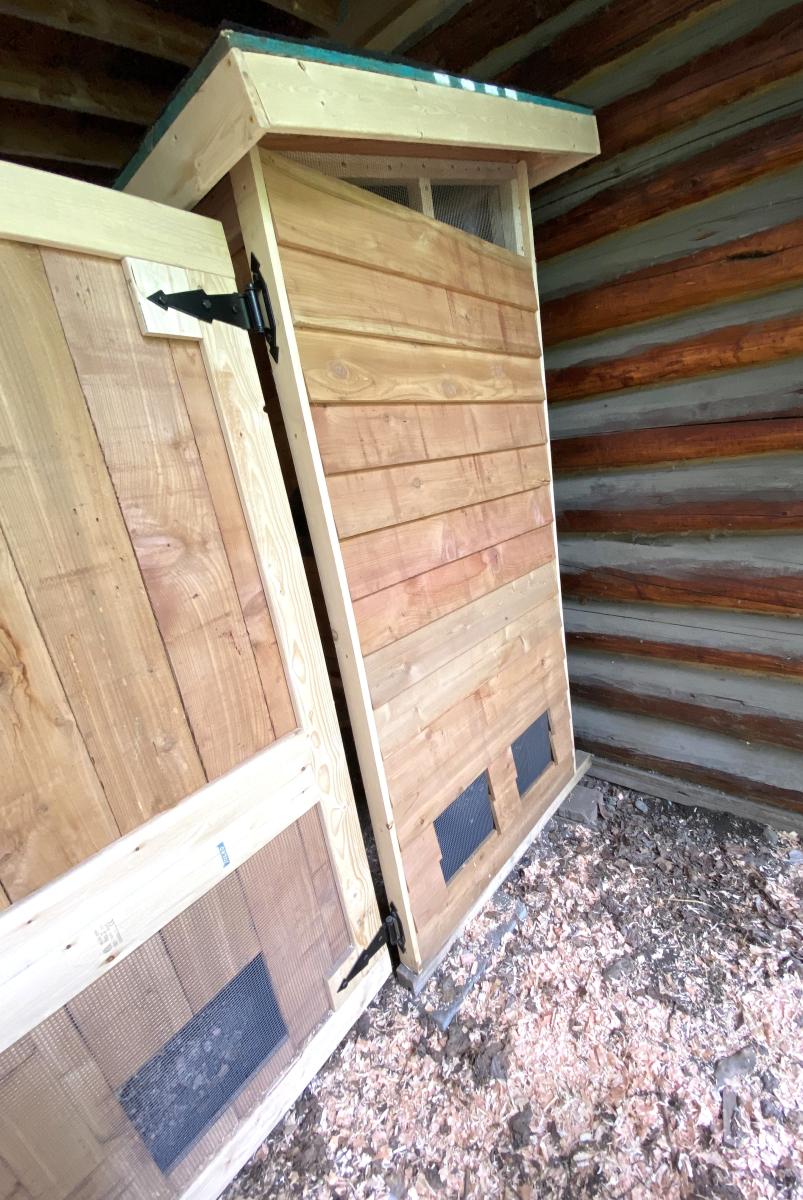
Our family decided to raise chickens but needed a place to keep them safe at night. We used your shed plan and adapted it to create necessary venting for the chicks.
Since we had 16 chickens we knew one coop would not be enough space so we built two. We created a vented tunnel between the two coops so the hens could go back and forth between them as they wished while still being protected. The girls are very happy in their new space!
Thank you for your great plans.
Holly

Took a day to build a bench to match my table! I am in love with this bench.
Take a little extra time on your angles to make sure you get them right or you will end up with a gap!
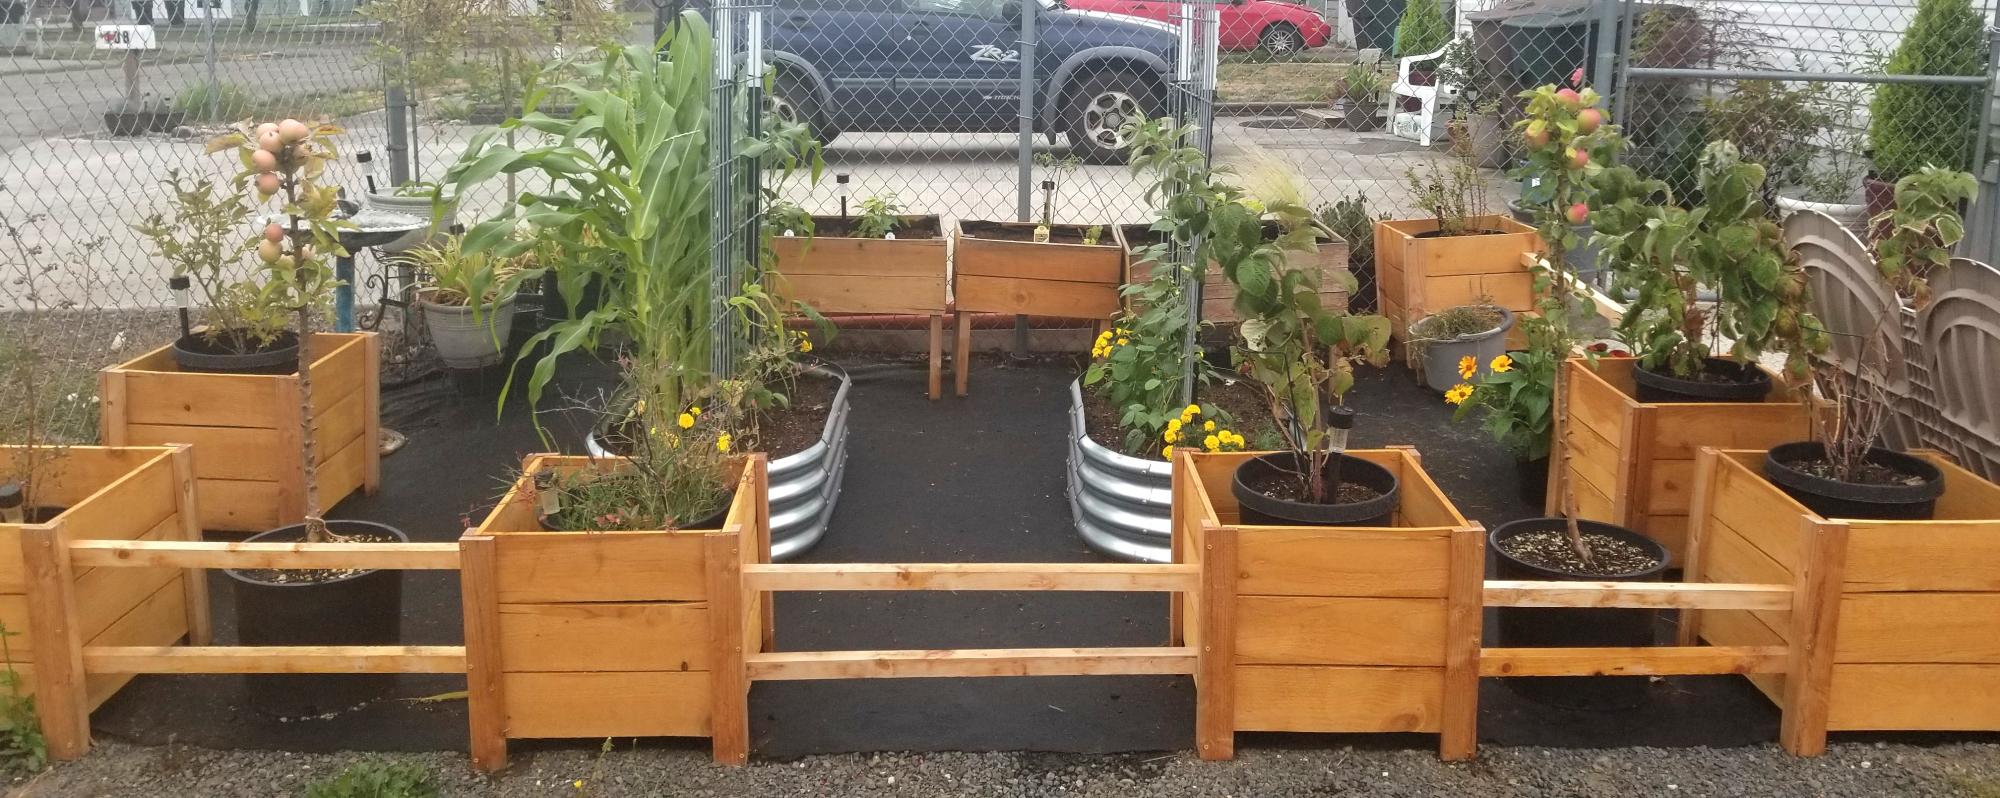
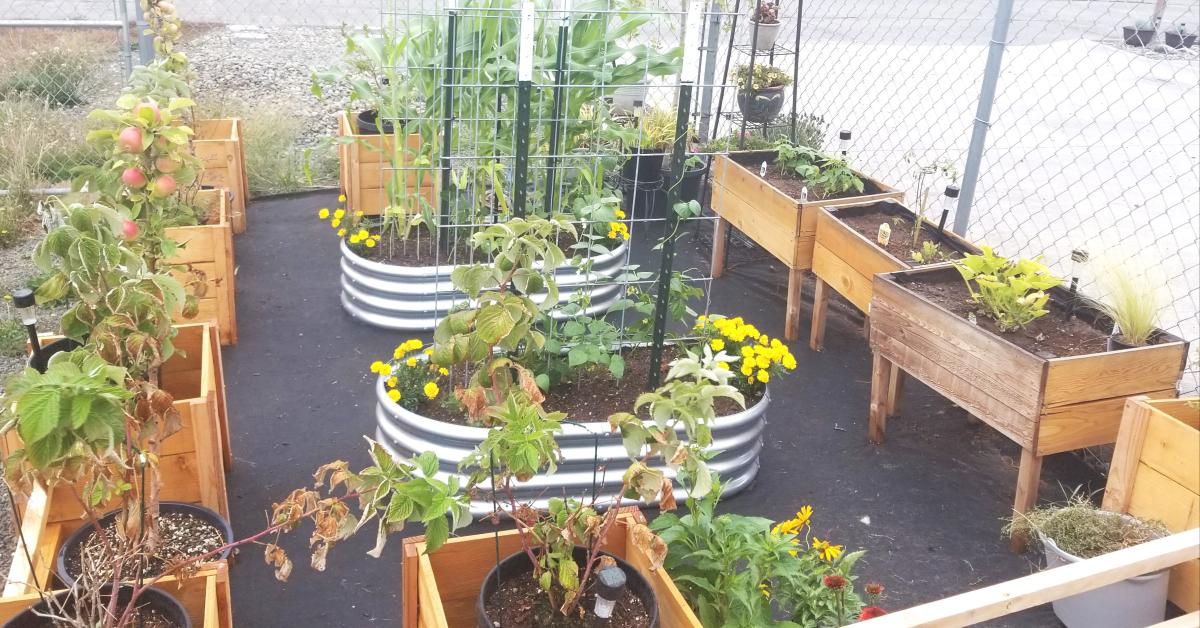
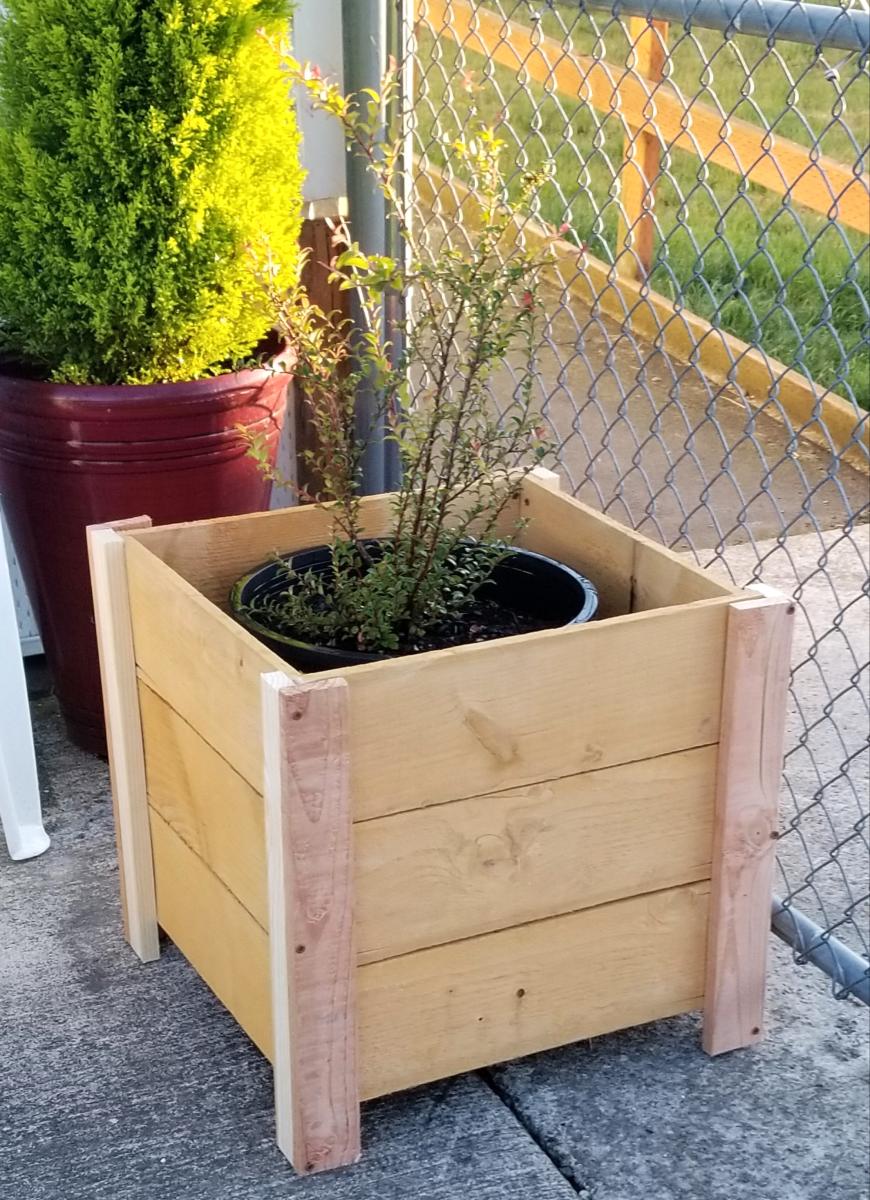
I built these planter boxes to hold my raspberry and blueberry plants. Also by connecting them with 2x2s, it keeps my dogs out of the garden
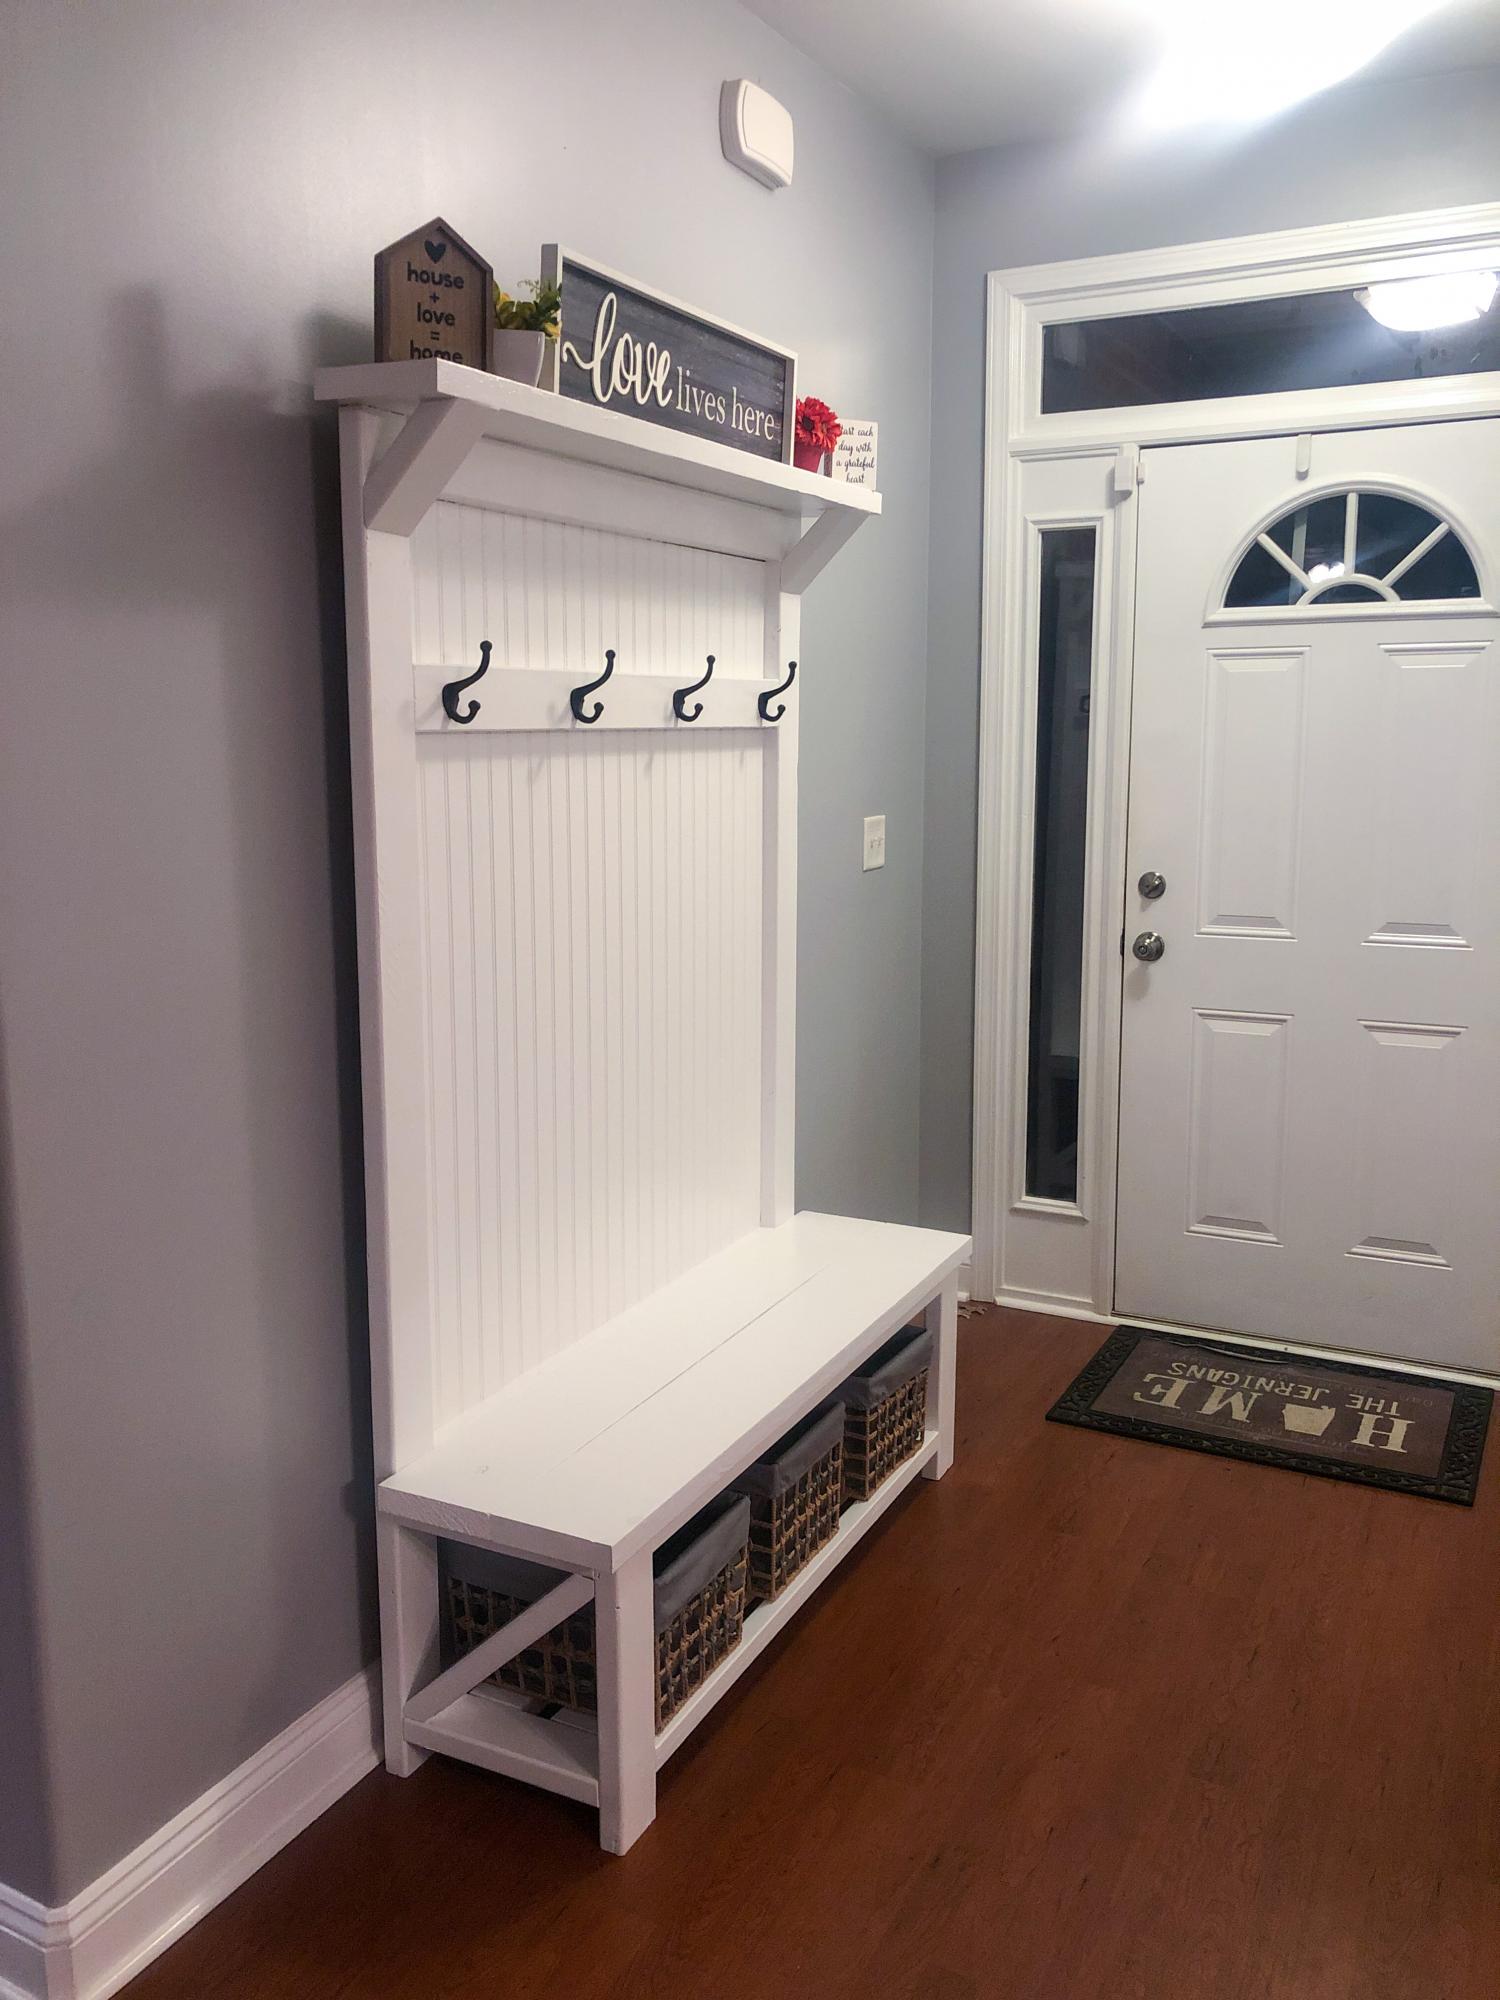
Just finished this tonight. Decided to make it a little wider than the plans. Added bead board on the back. I also made the top shelf a little larger so I can come back later and add some LED lights on it. Because I made the top shelf bigger I wanted to add the angled supports. That’s why I didn’t do an “x” on the bottom so the shelf support would mimick the slanted piece in the bottom.
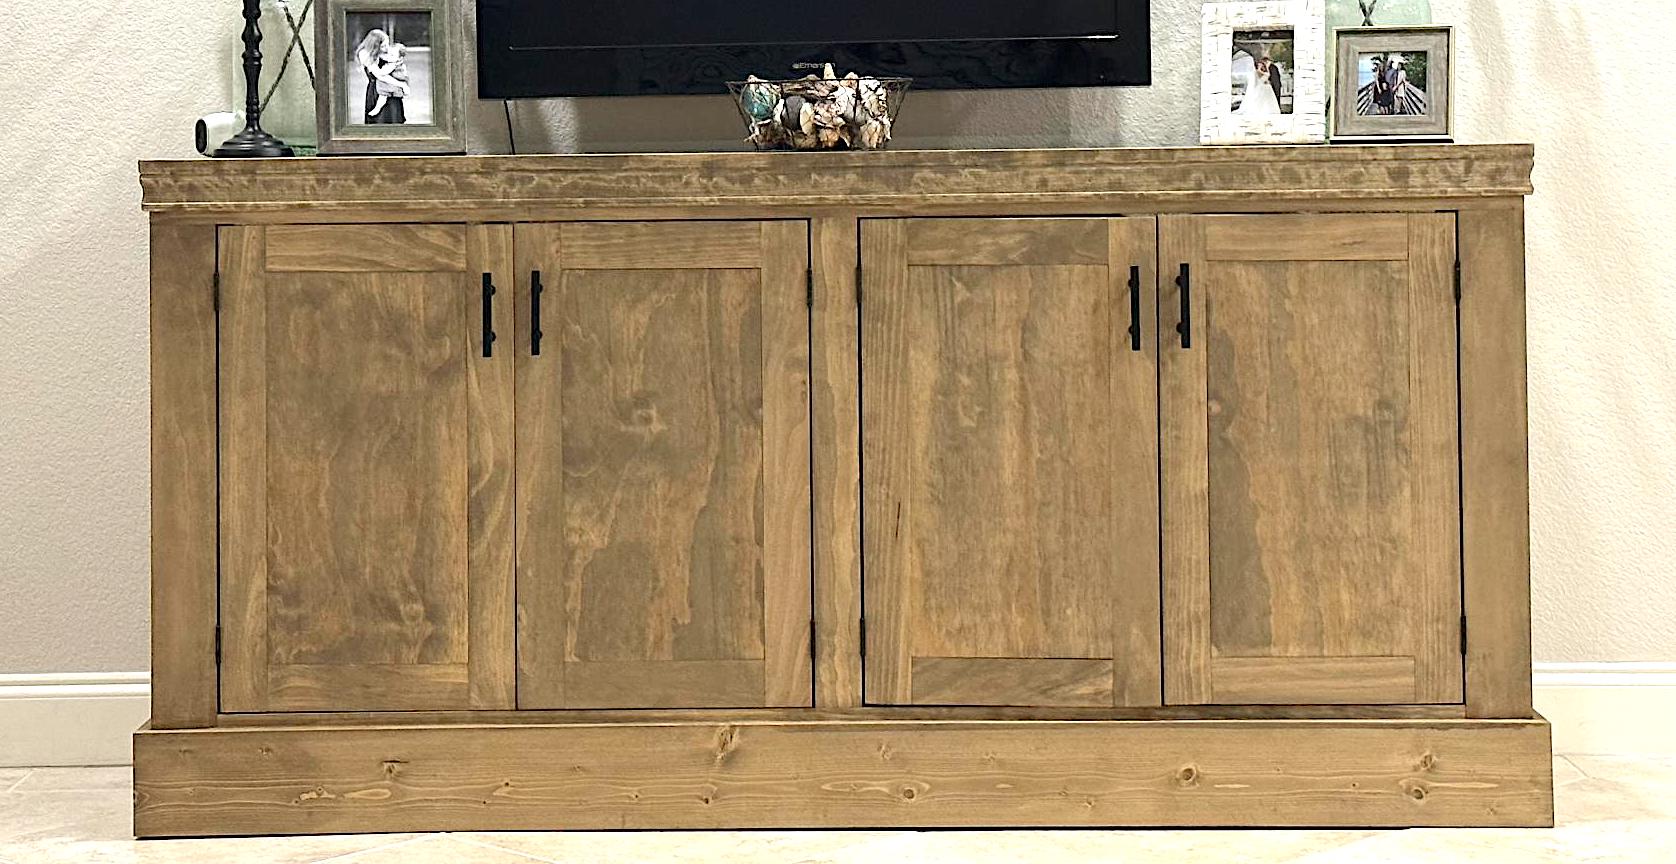
My wife and I are very happy with this piece. It was challenging but not too difficult. The plans were very easy to follow.
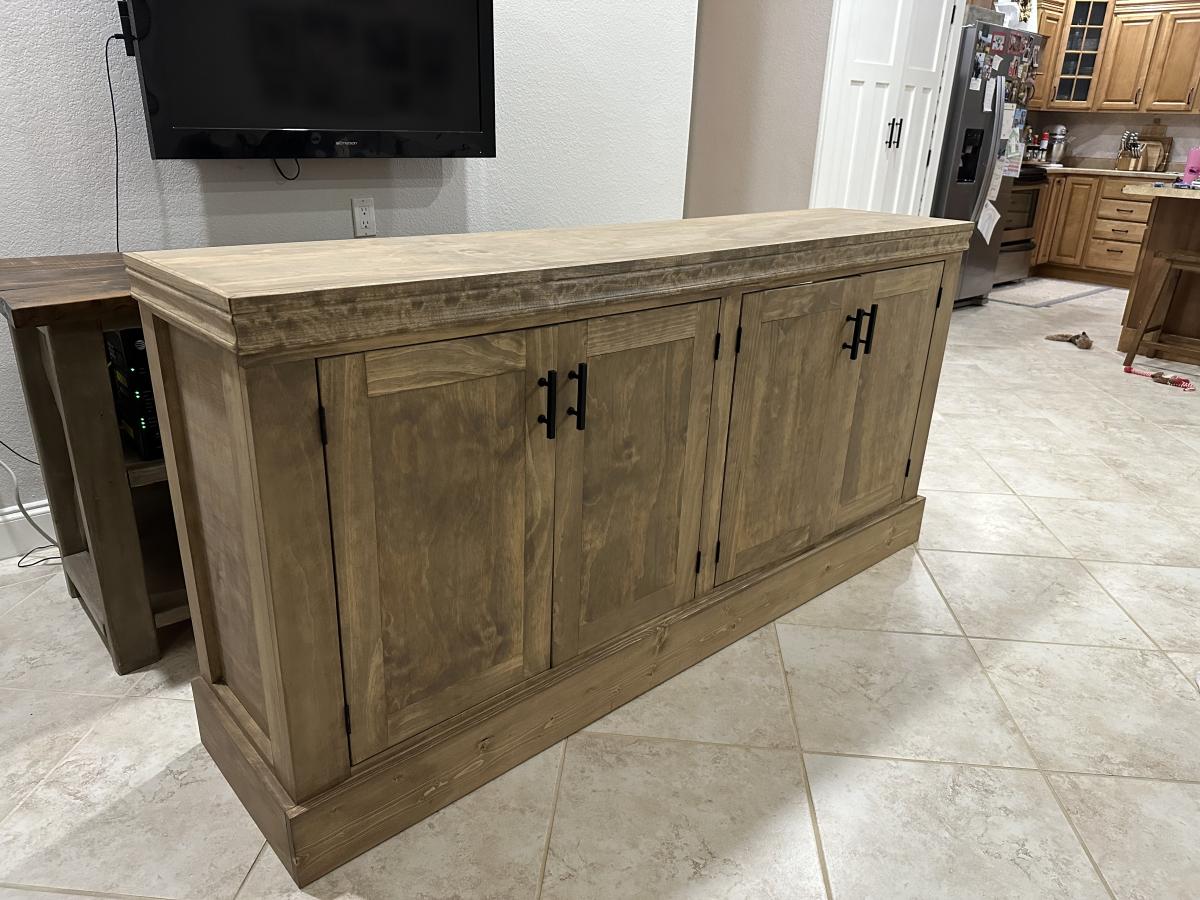
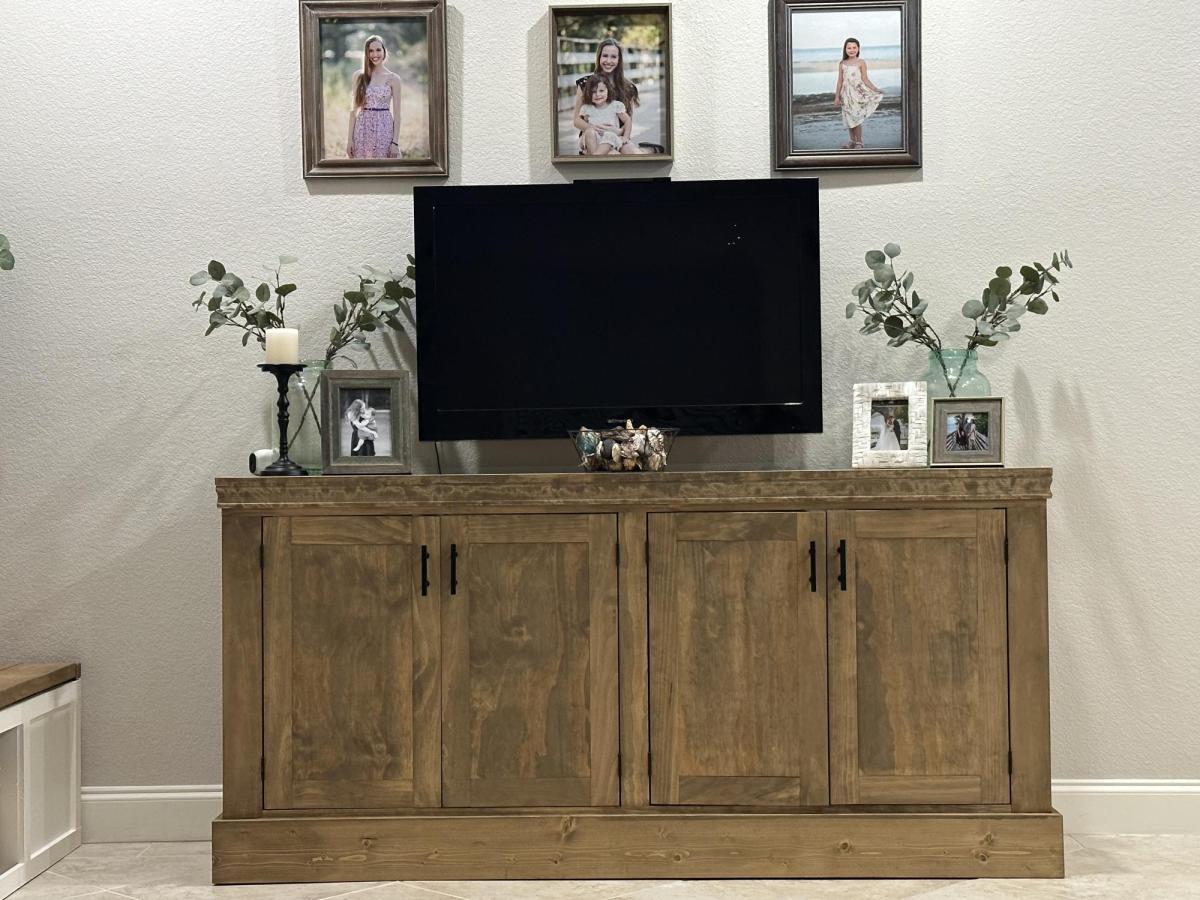

I made two of these side tables for my niece and her new husband as a house warming gift. I dropped the top down 1.25 inch and added a glass top so she could display items. They are going to be a surprise, so I left them bare. She can stain or paint them whatever color she wishes.
Donna Cox

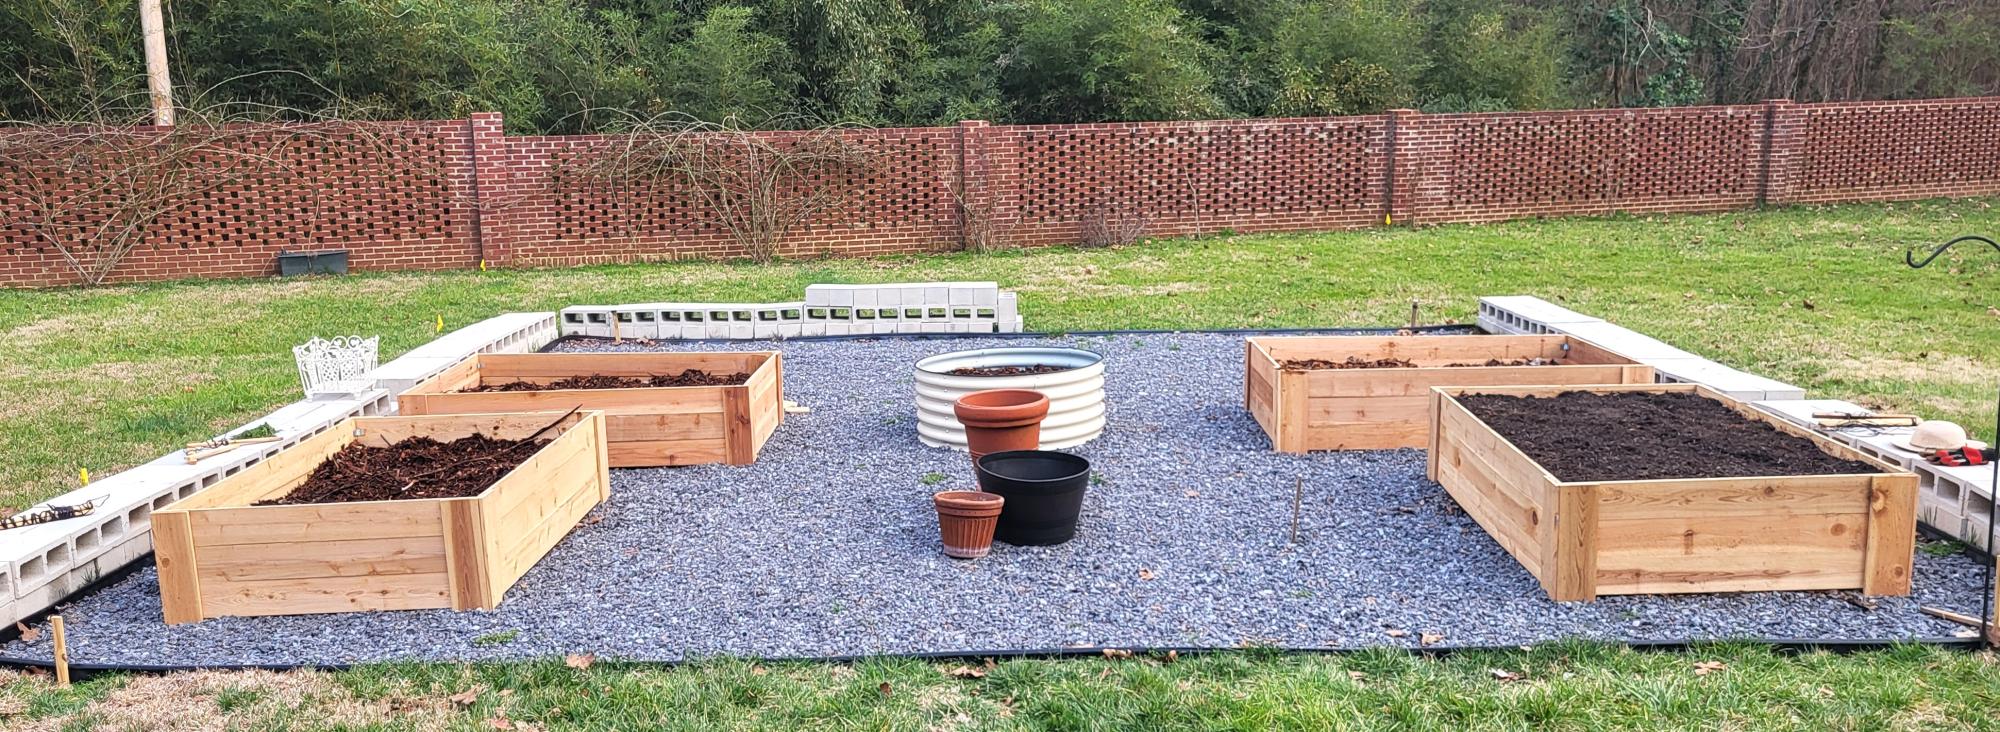
These four raised beds are just the beginning!!!!
Amarilys Flores
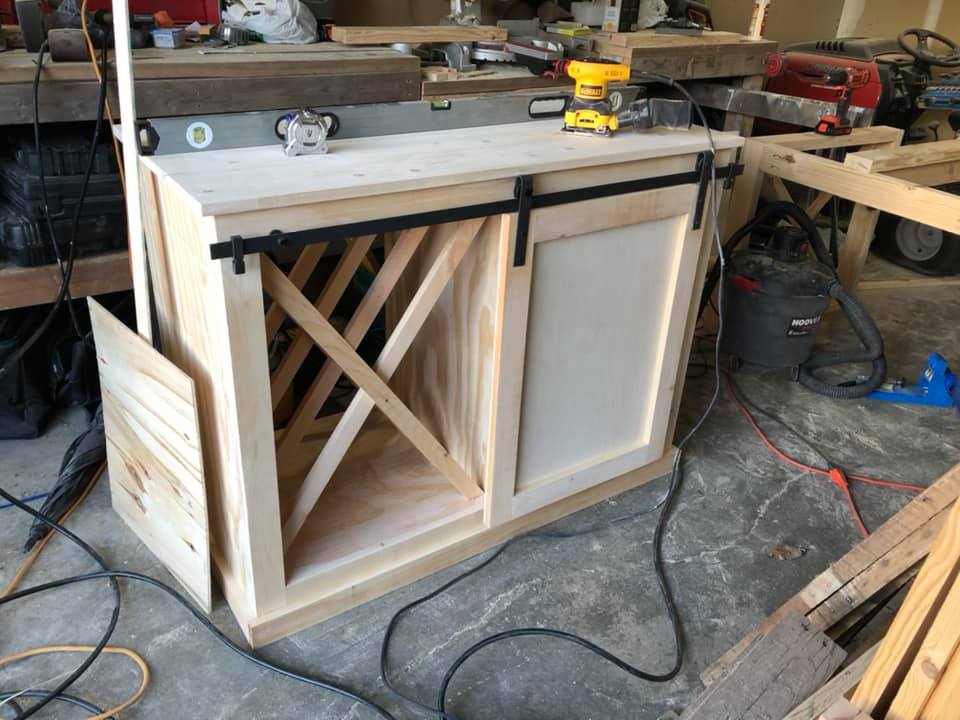
Built by Shaun Damon Beck
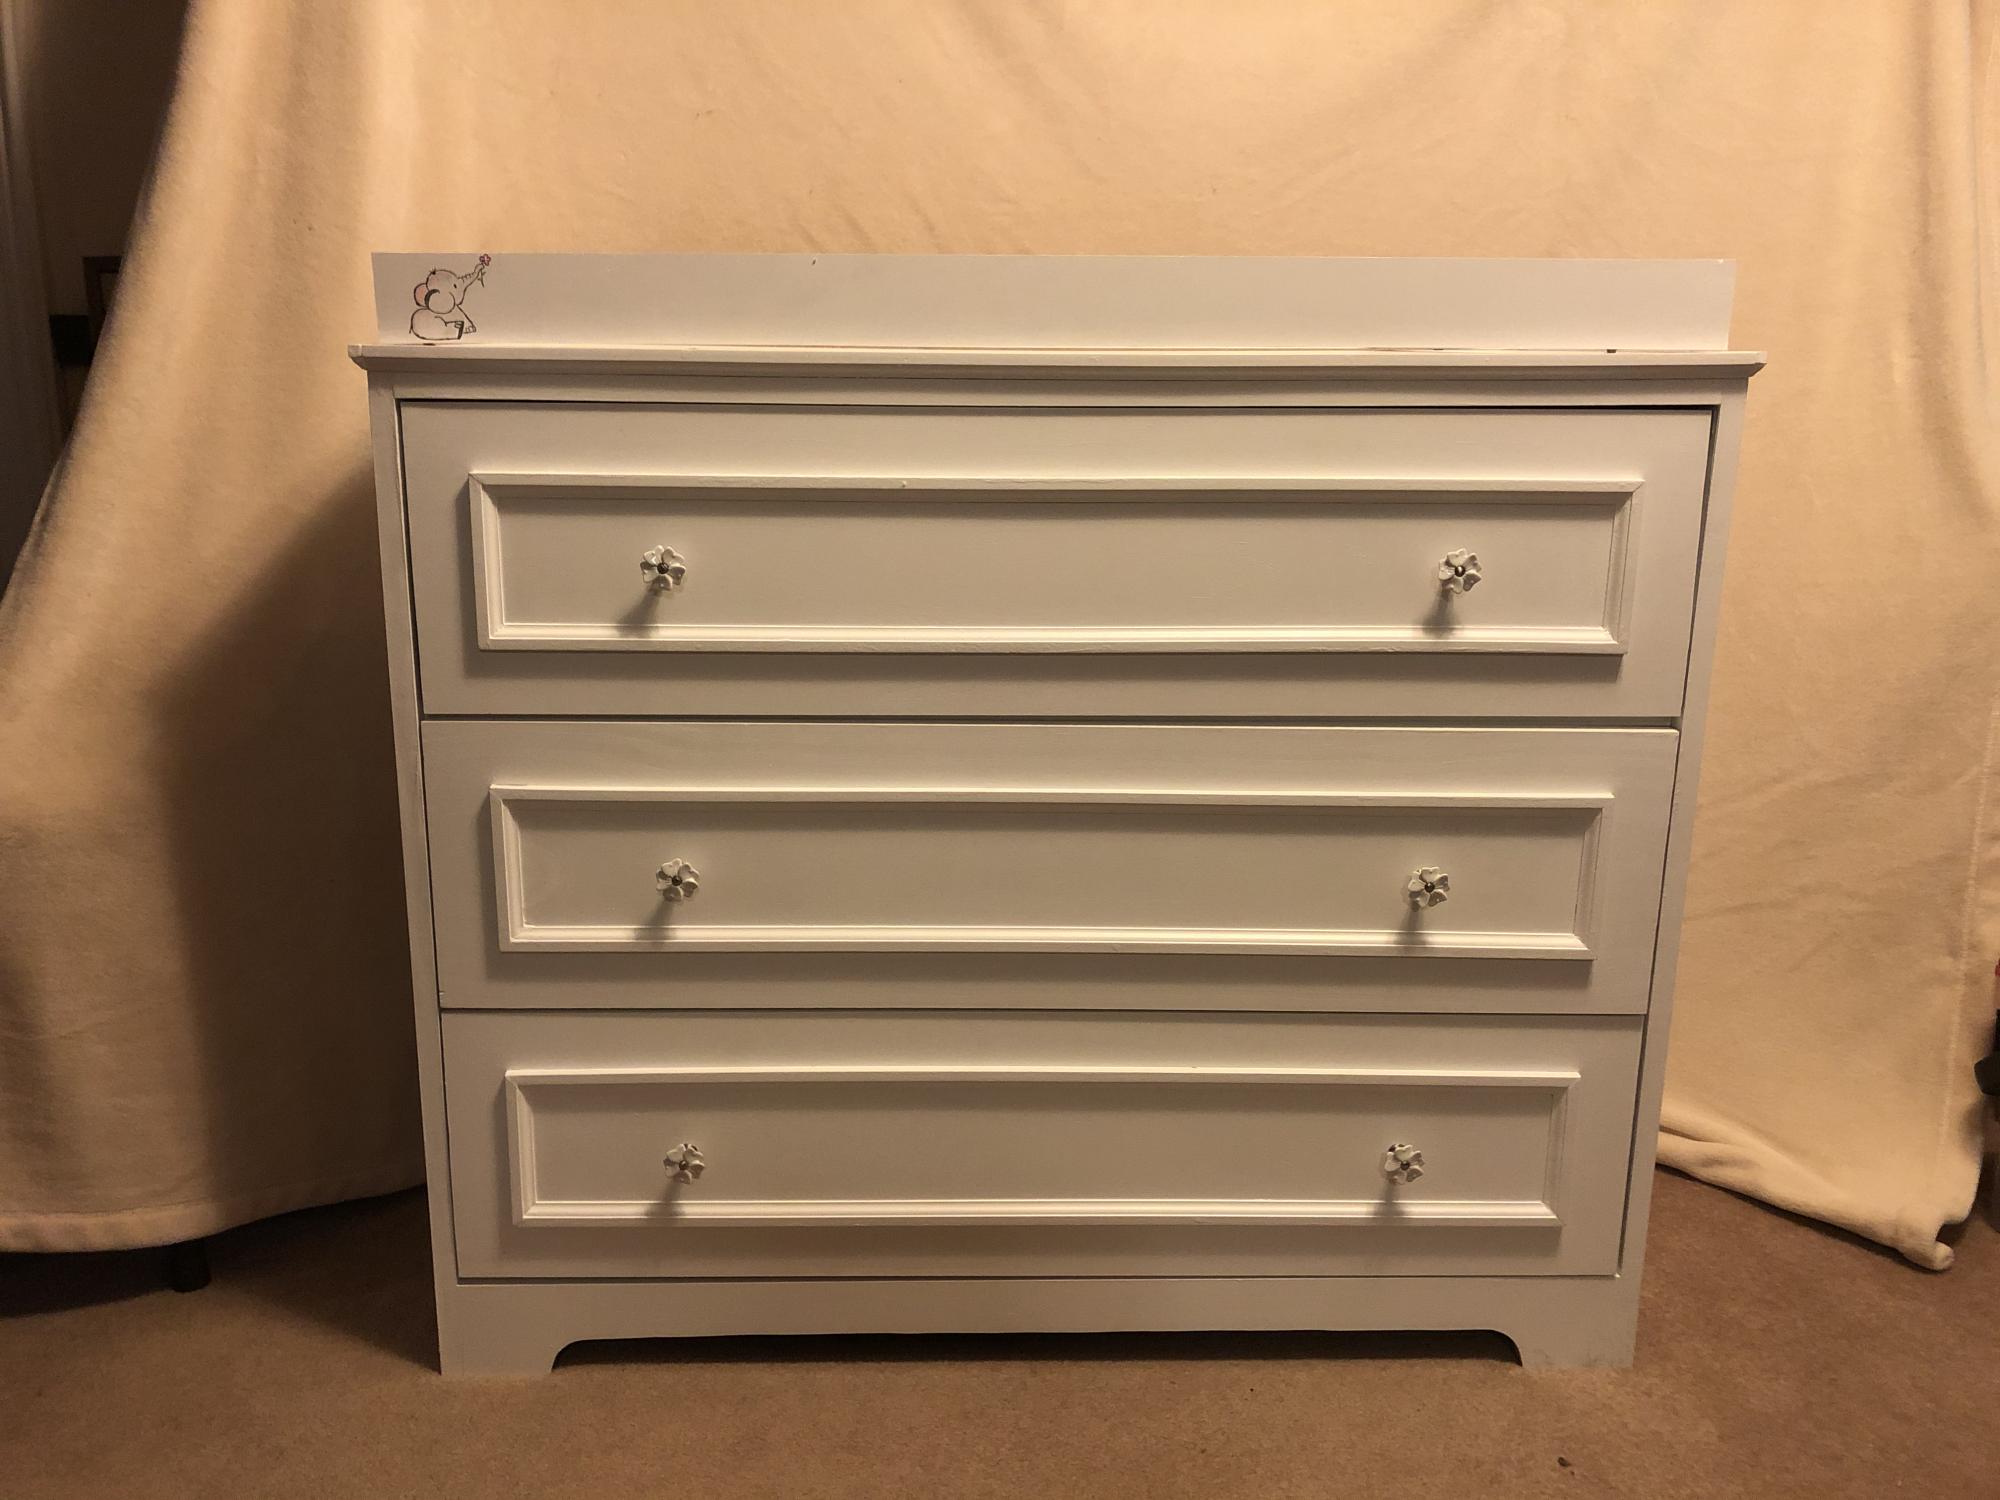
The changing table/dresser came out so much better than I ever thought I was capable of! Thank you for the plans and courage to try!
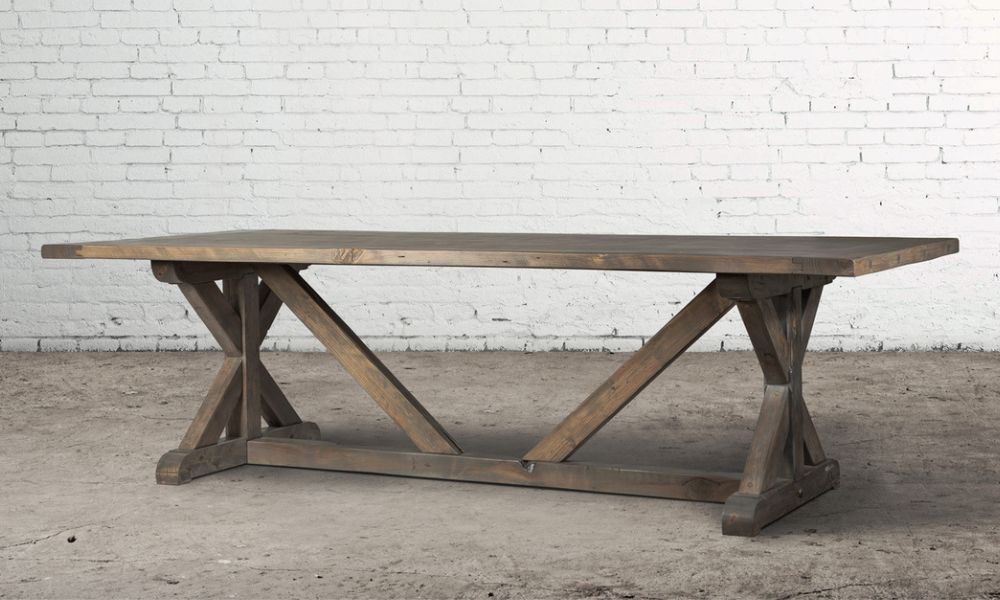
Our reclaimed beam wood tables are built of beautifully finished, solid reclaimed fir timbers from 50+ year old barns in the Fraser Valley.

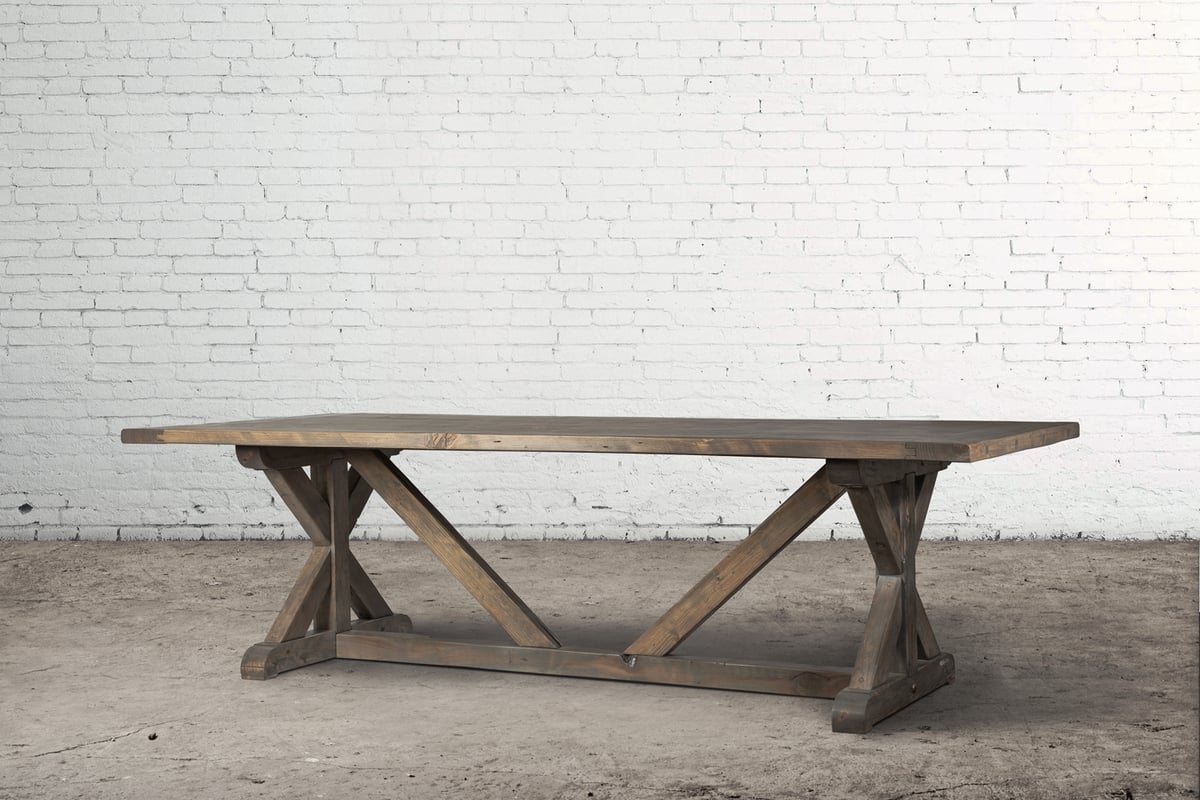
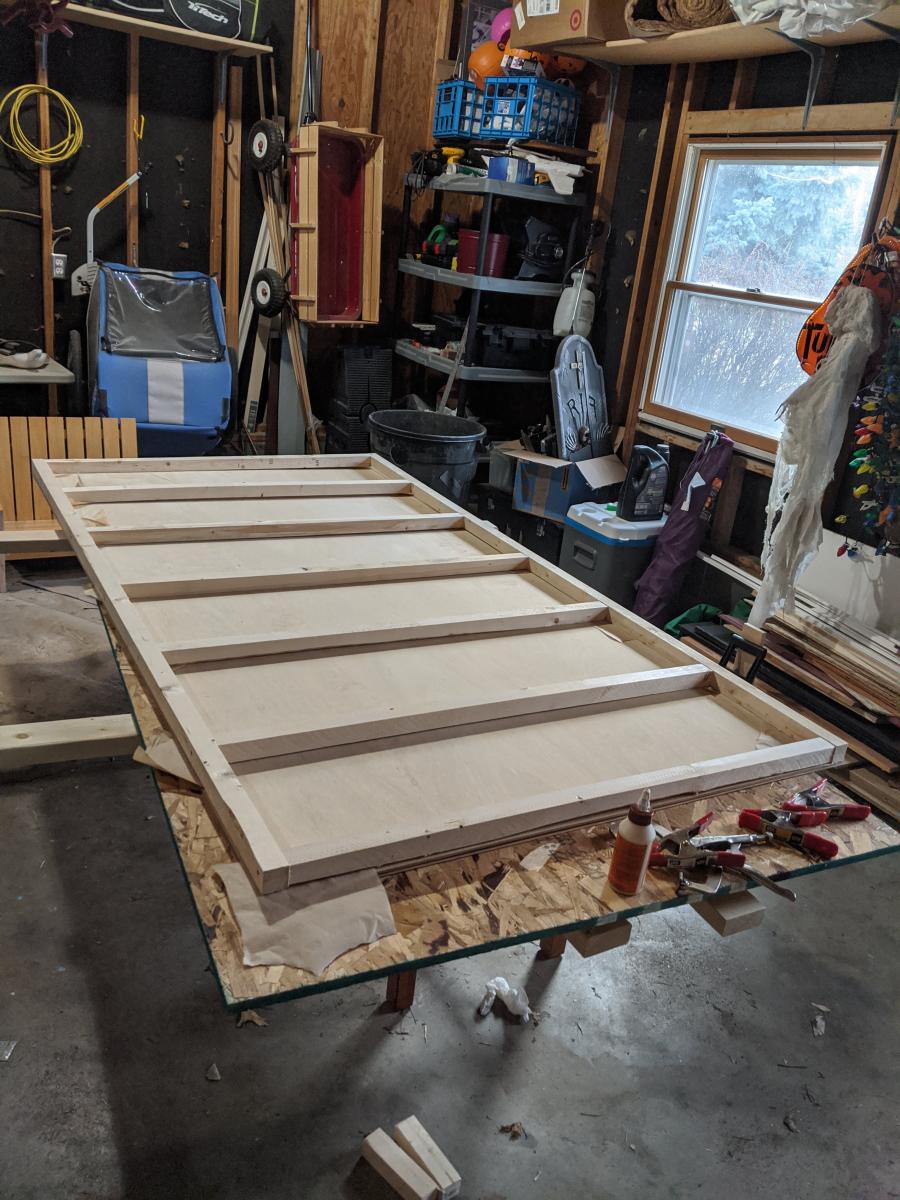
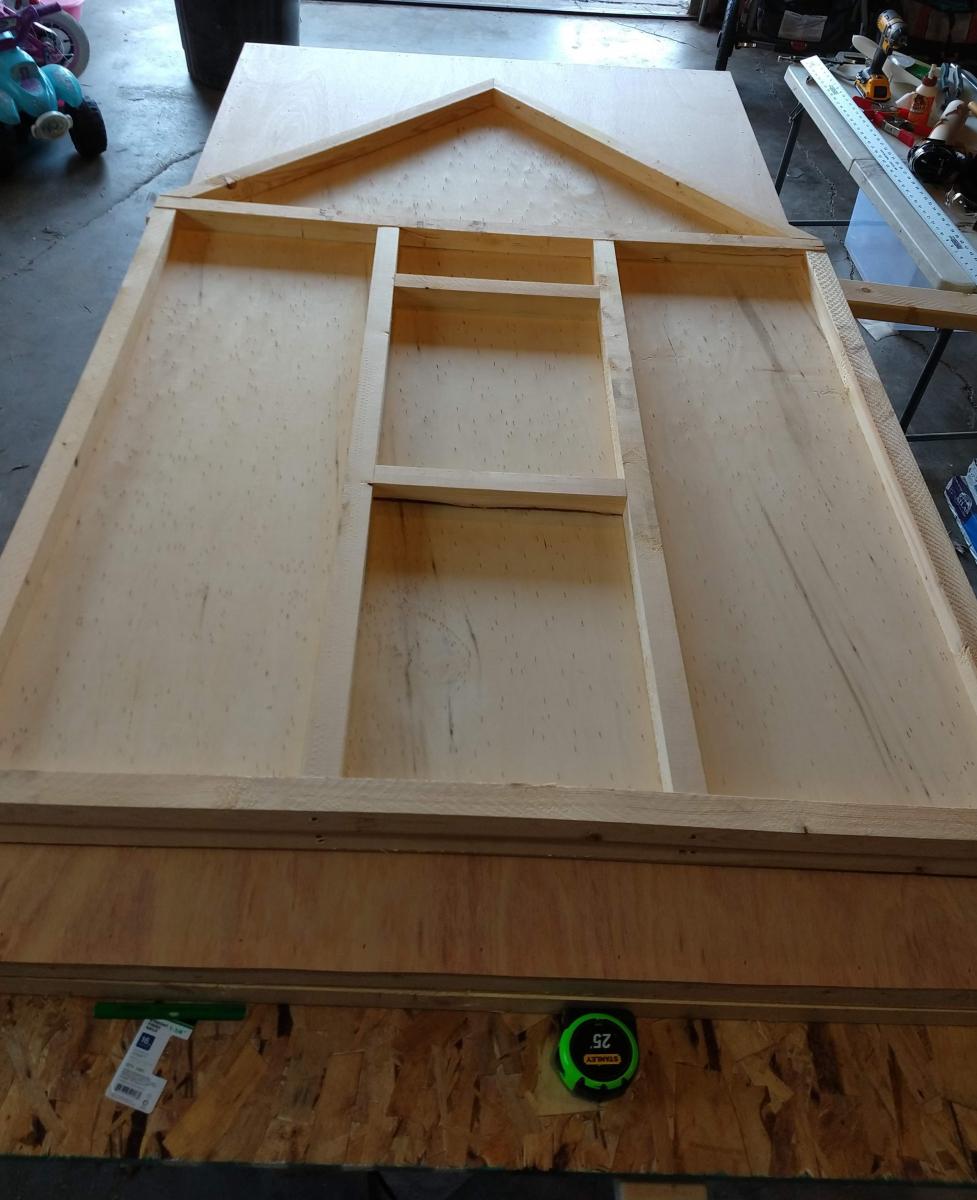
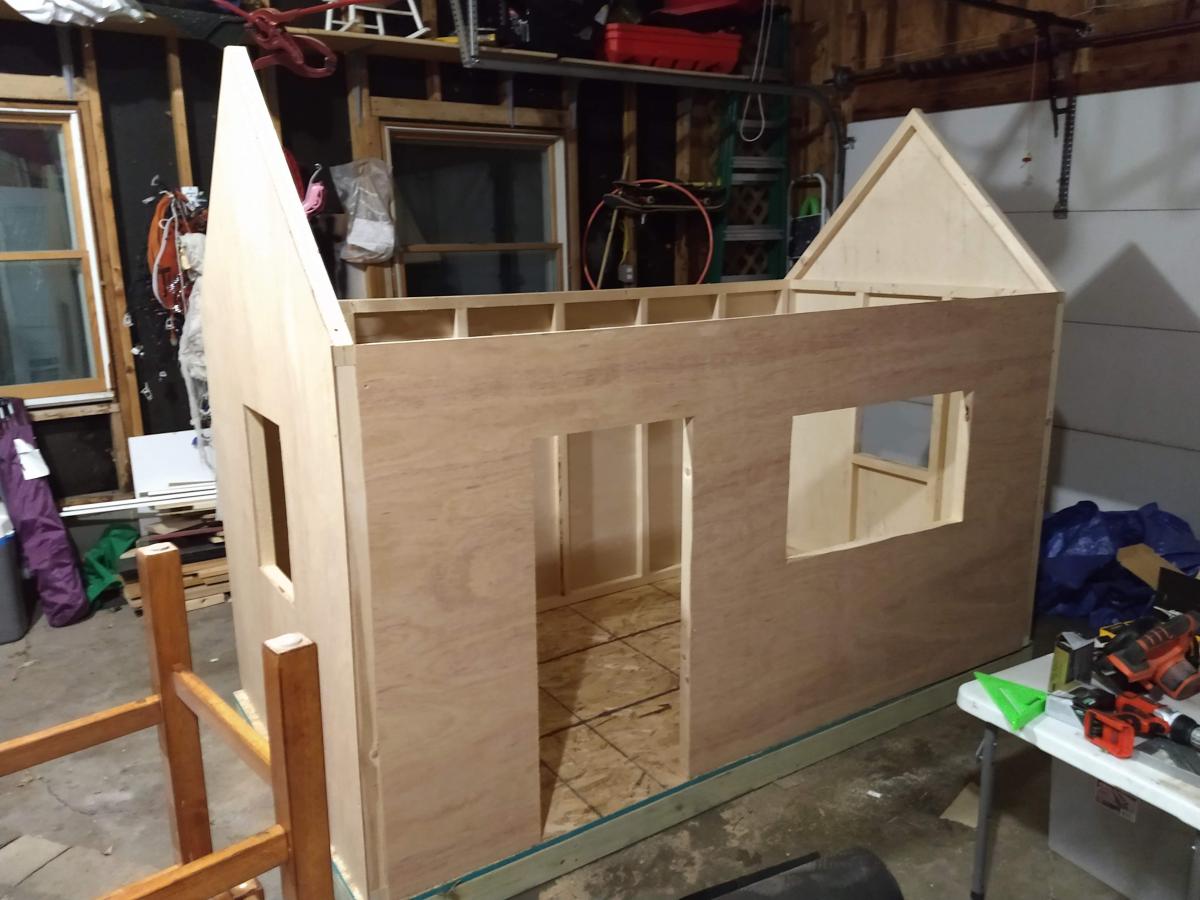
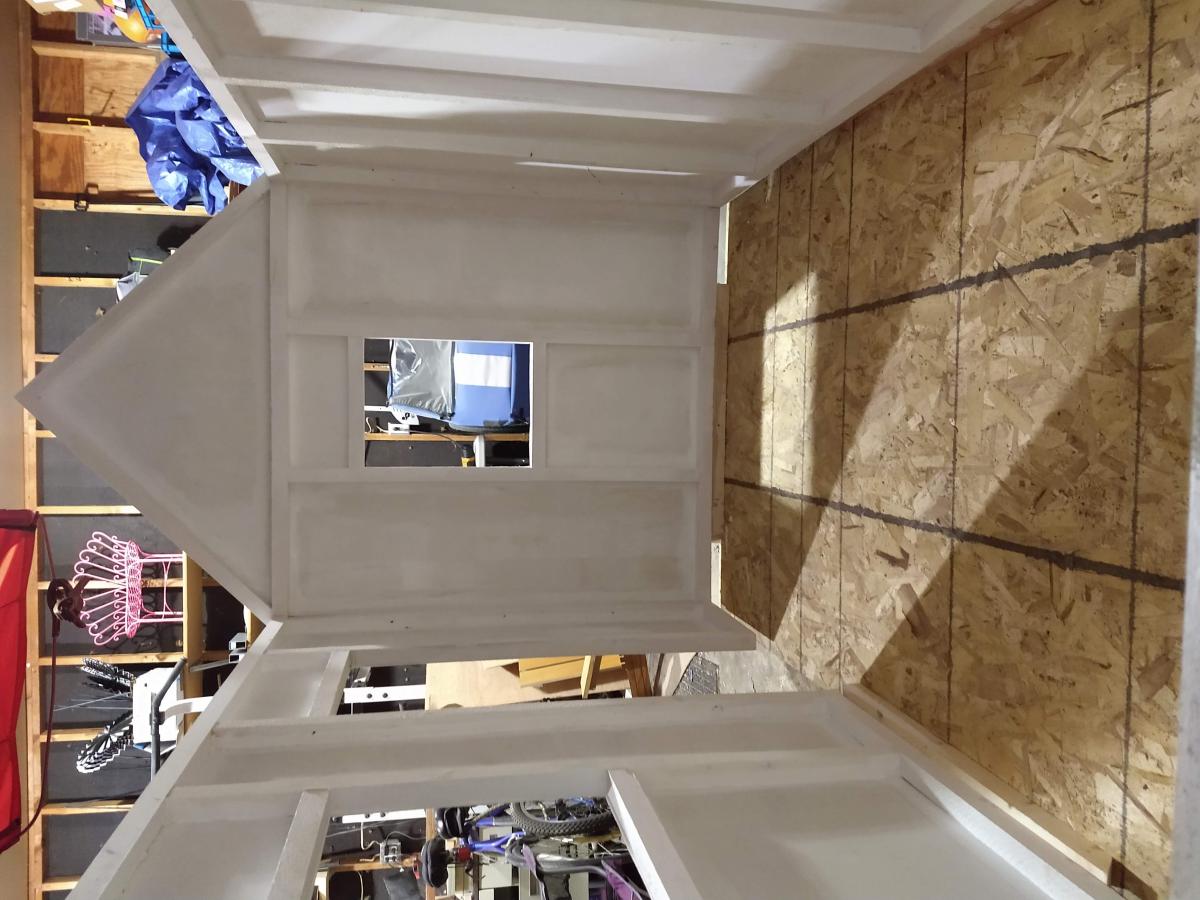
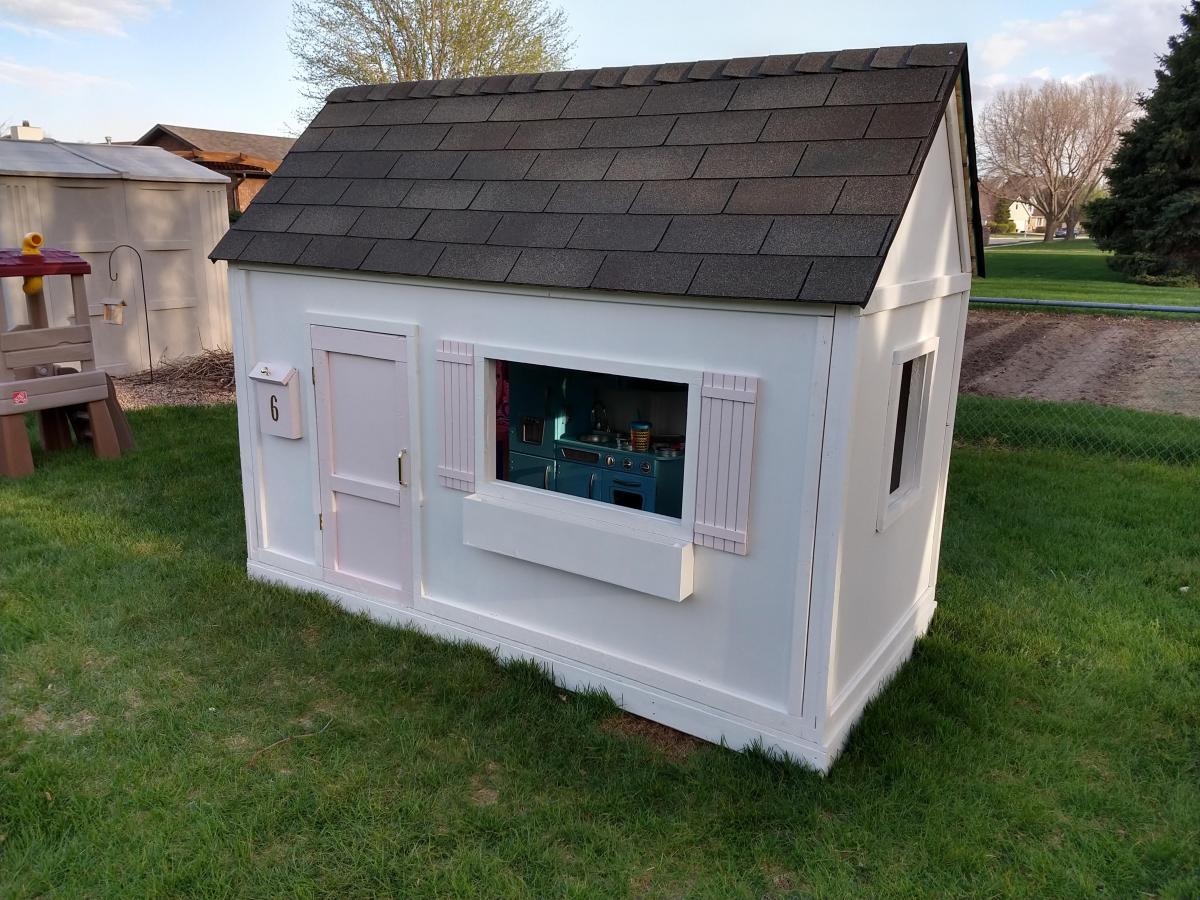
We built this playhouse for our daughter's 6th birthday. She absolutely loves it! We were looking at purchasing one, but they were way out of our budget. Ana saved the day with these plans :).
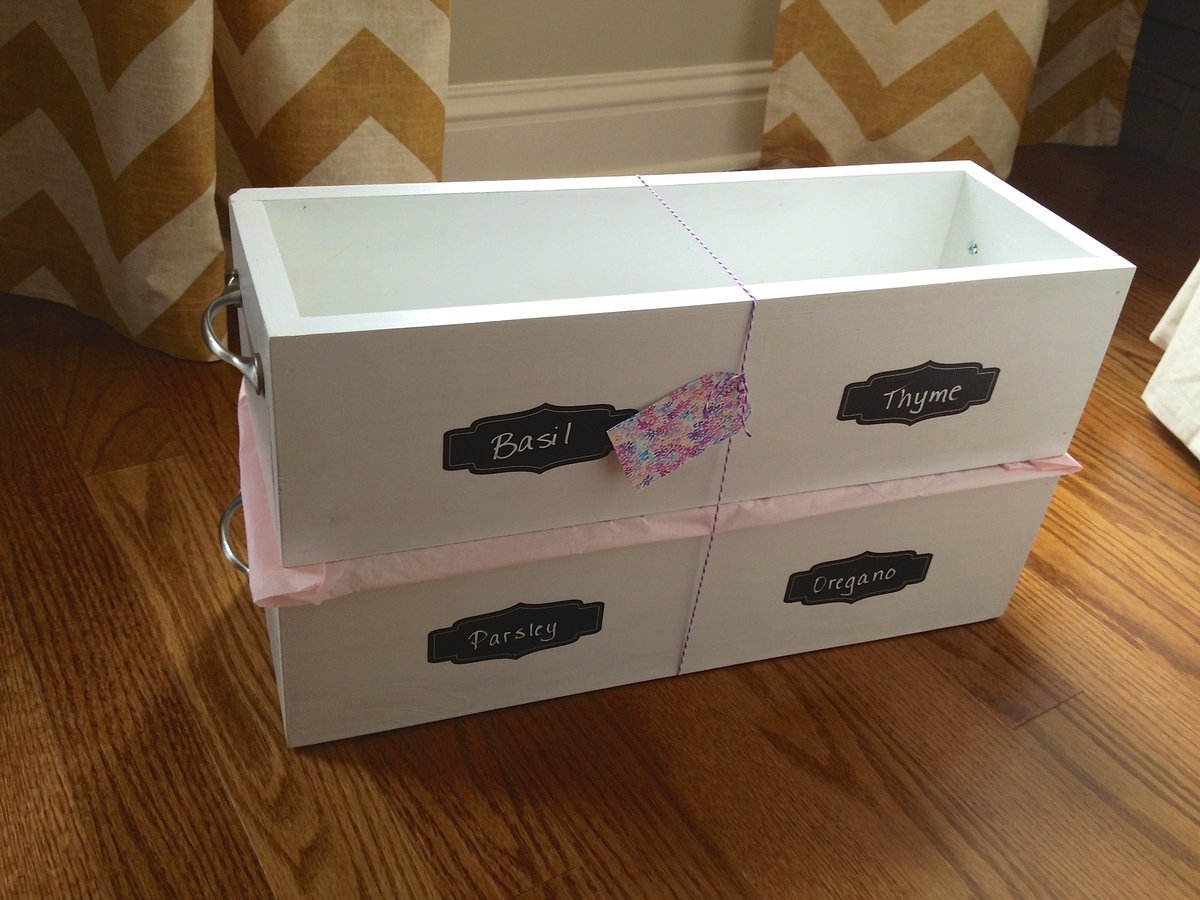
This is the fourth time I have made these to give as gifts. They are just so cute, easy, inexpensive, and versatile. Now that the growing season is among us, Im sure Ill be making even more.
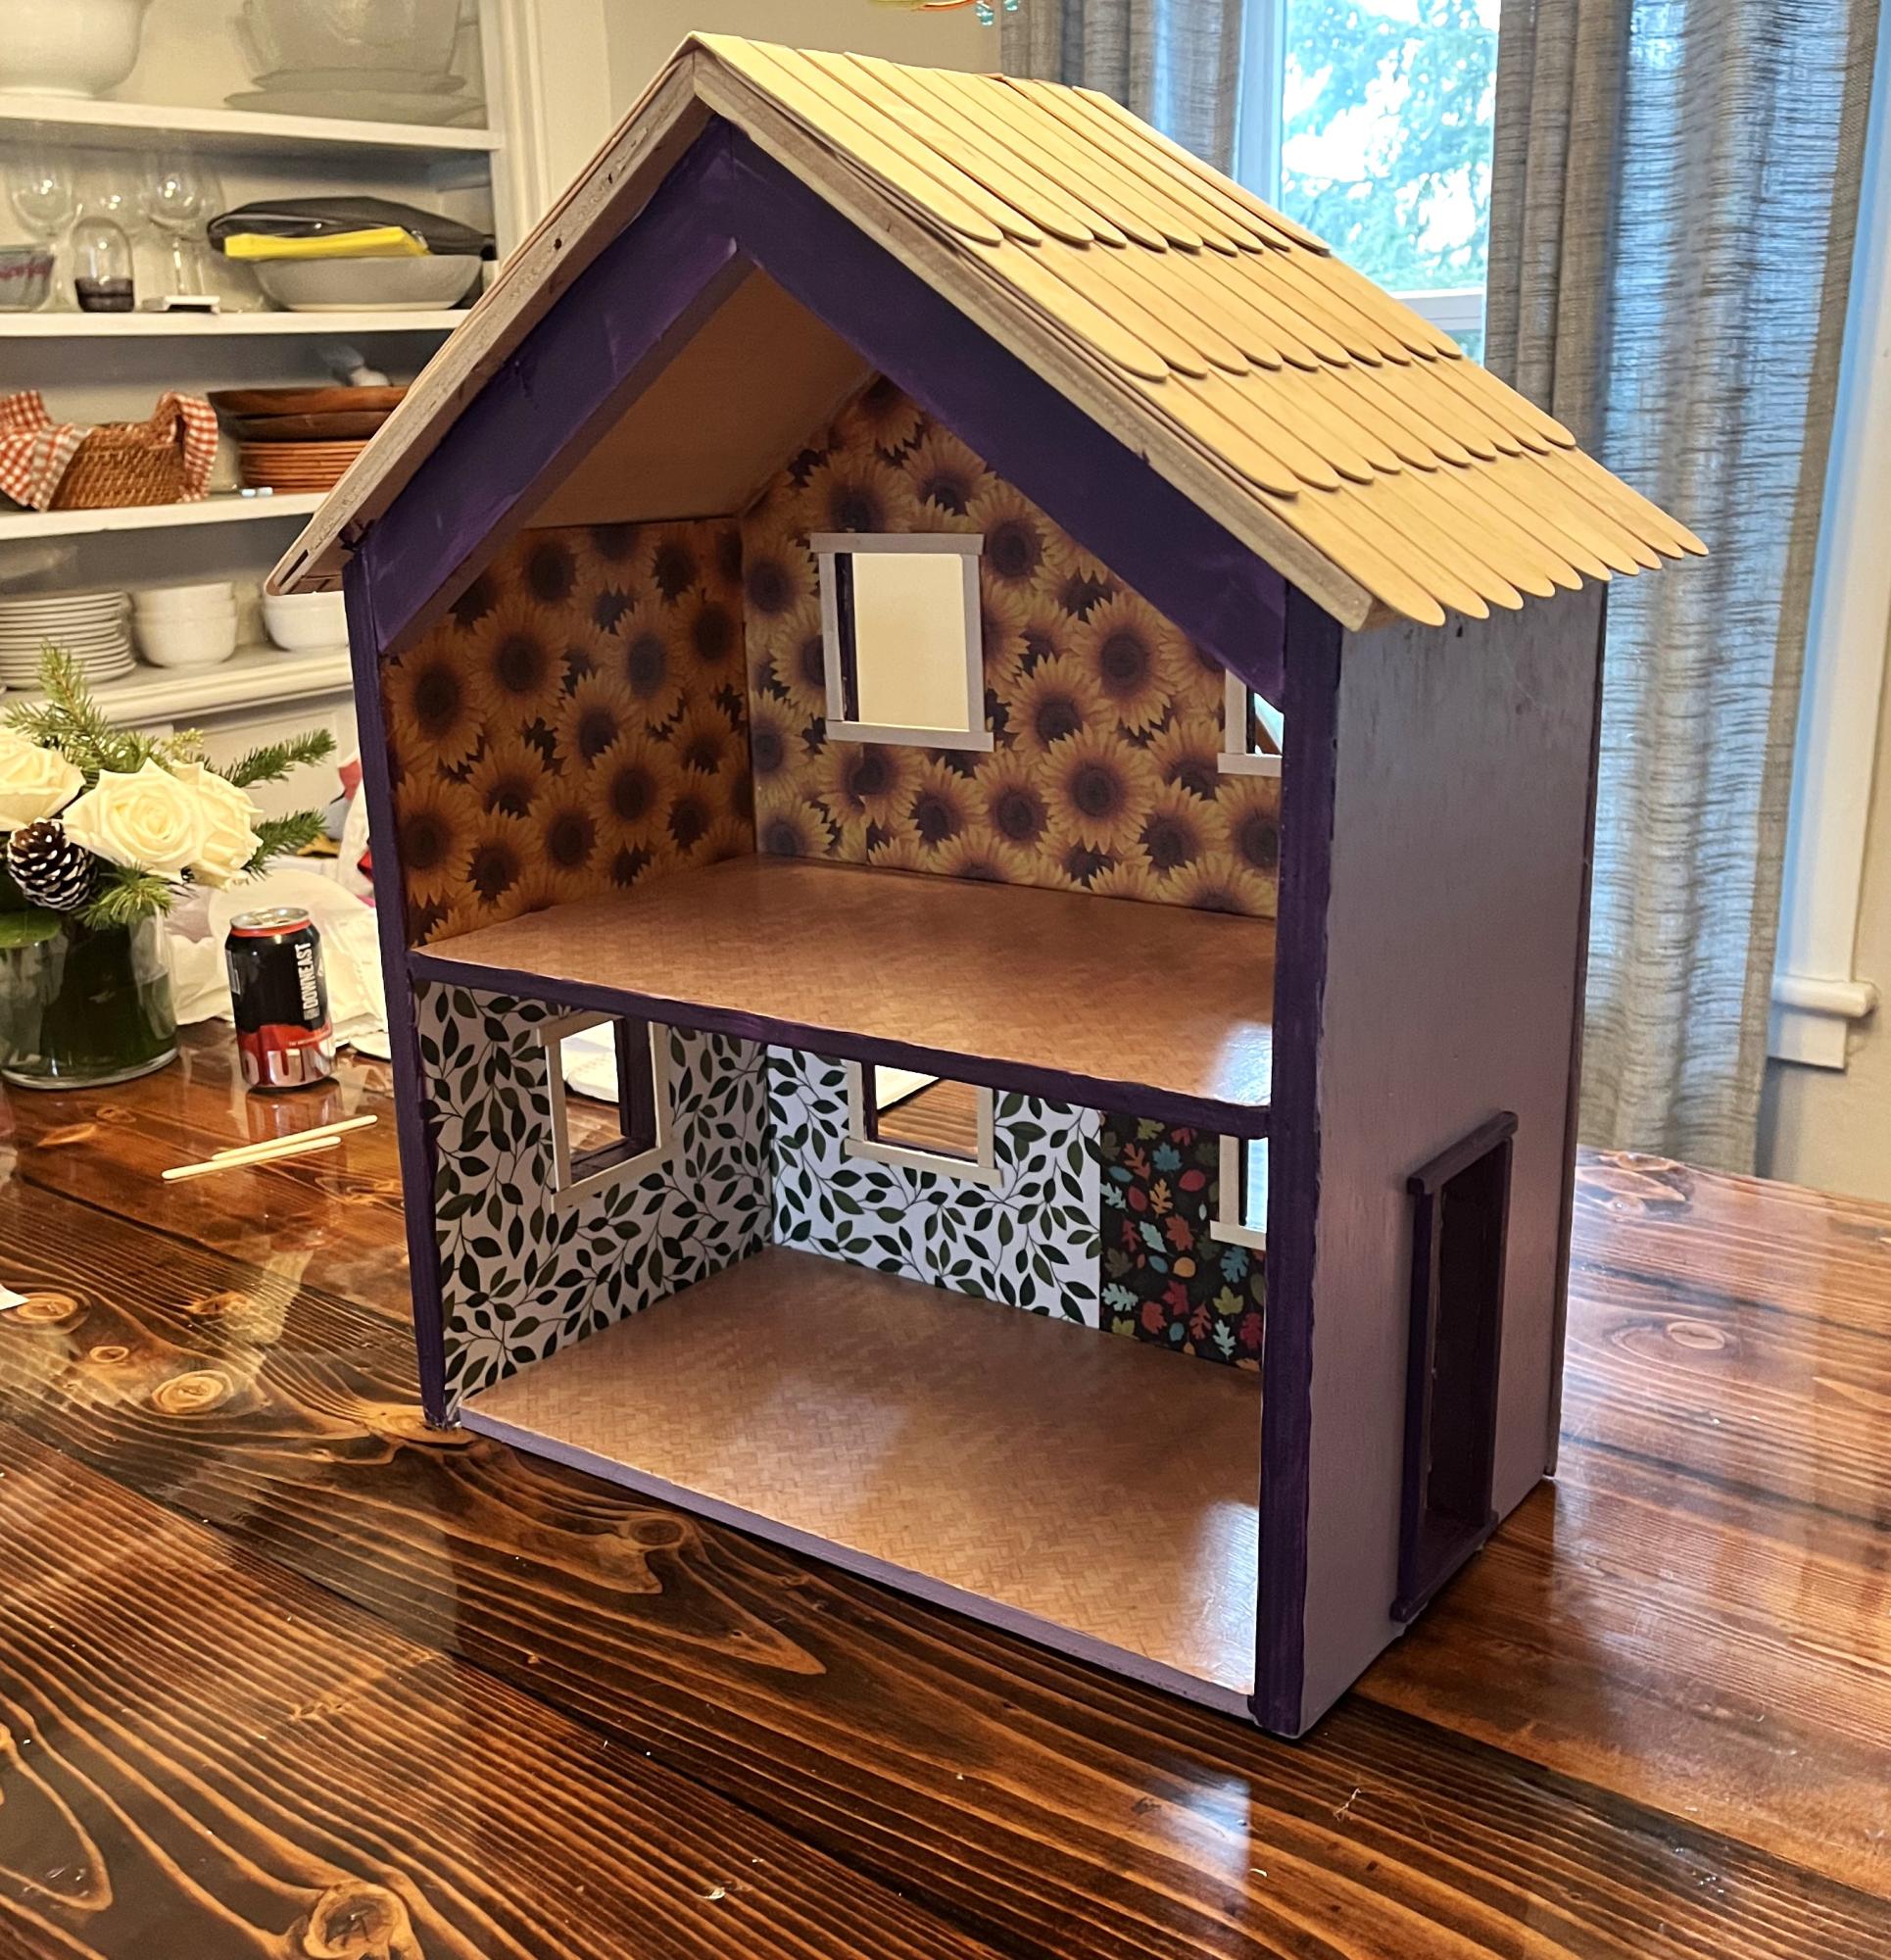
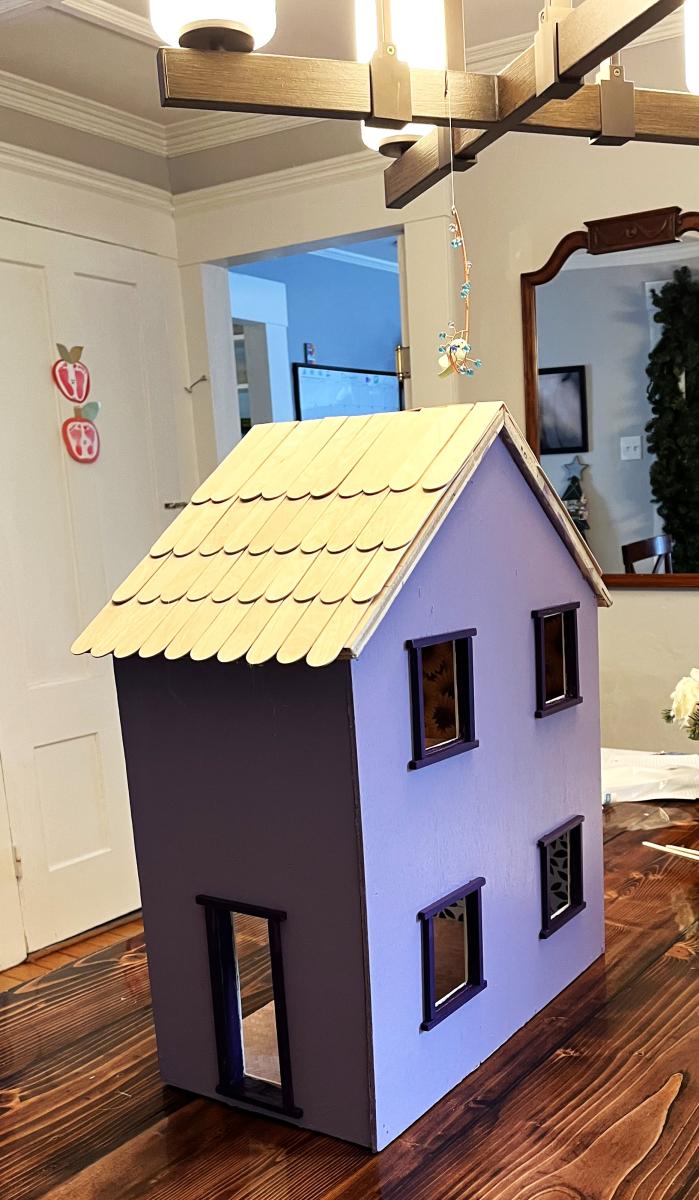
This is for my daughter’s 3rd birthday. I decopaged the walls and floor with patterned paper before assembling. I thought it would be easier.
I also didn’t bother with the middle ‘front’ door. The dollhouse in the example photos look beautiful from the outside, but kids don’t really play with the outside of the houses. So I made the windows a little bit bigger.
The windows and doors both looked terrible. My first time using a jigsaw was not a success. So I used tiny dowels for the trim around the door and craft sticks on the inside.
The last thing I need to do is put some lights in it. I ordered some fairy lights on amazon. I plan to use another dowel that I’m hoping I can wrap with the fairy lights and then wedge in the back on the ‘ceiling’ on the first floor and then Velcro the switch to the side of the house. It won’t look professional or anything, but being able to turn the lights on and off will be very fun.
Casey
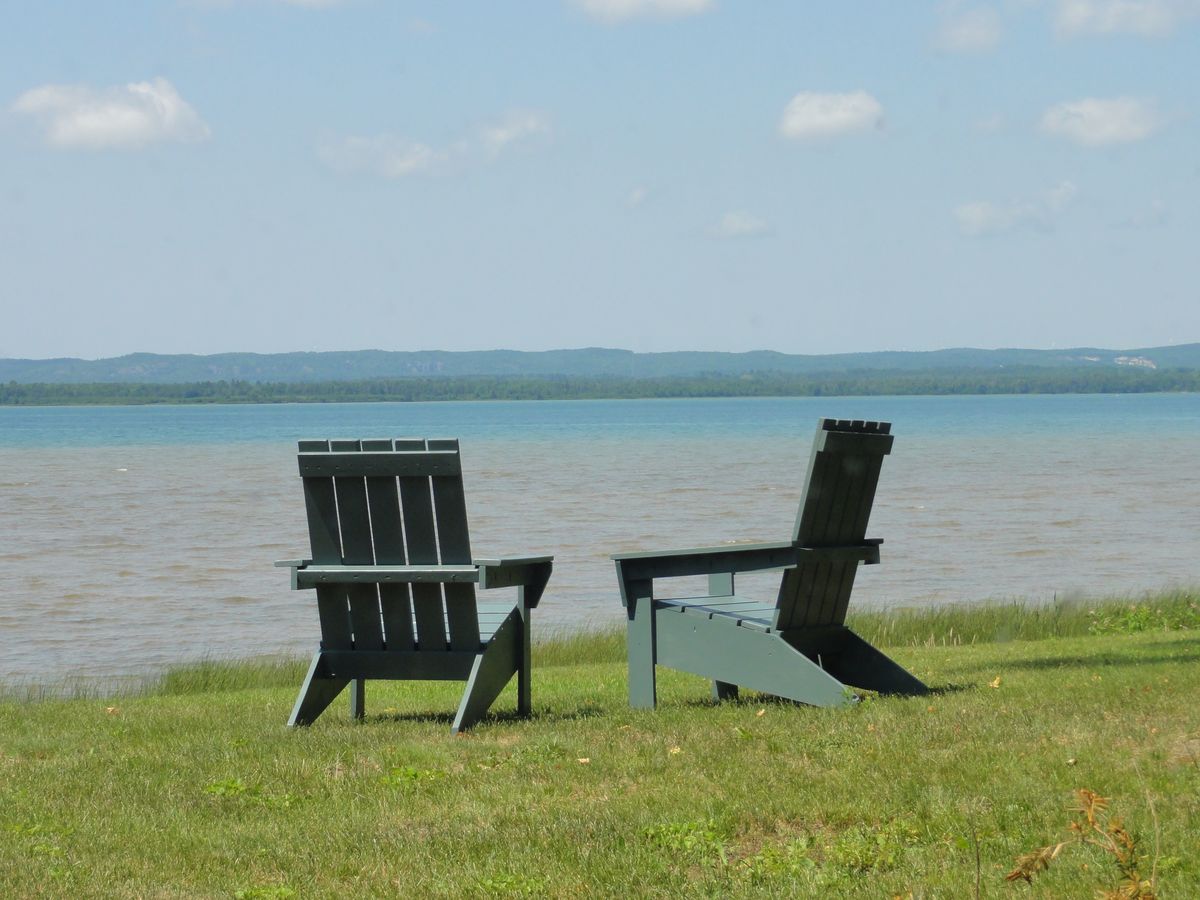
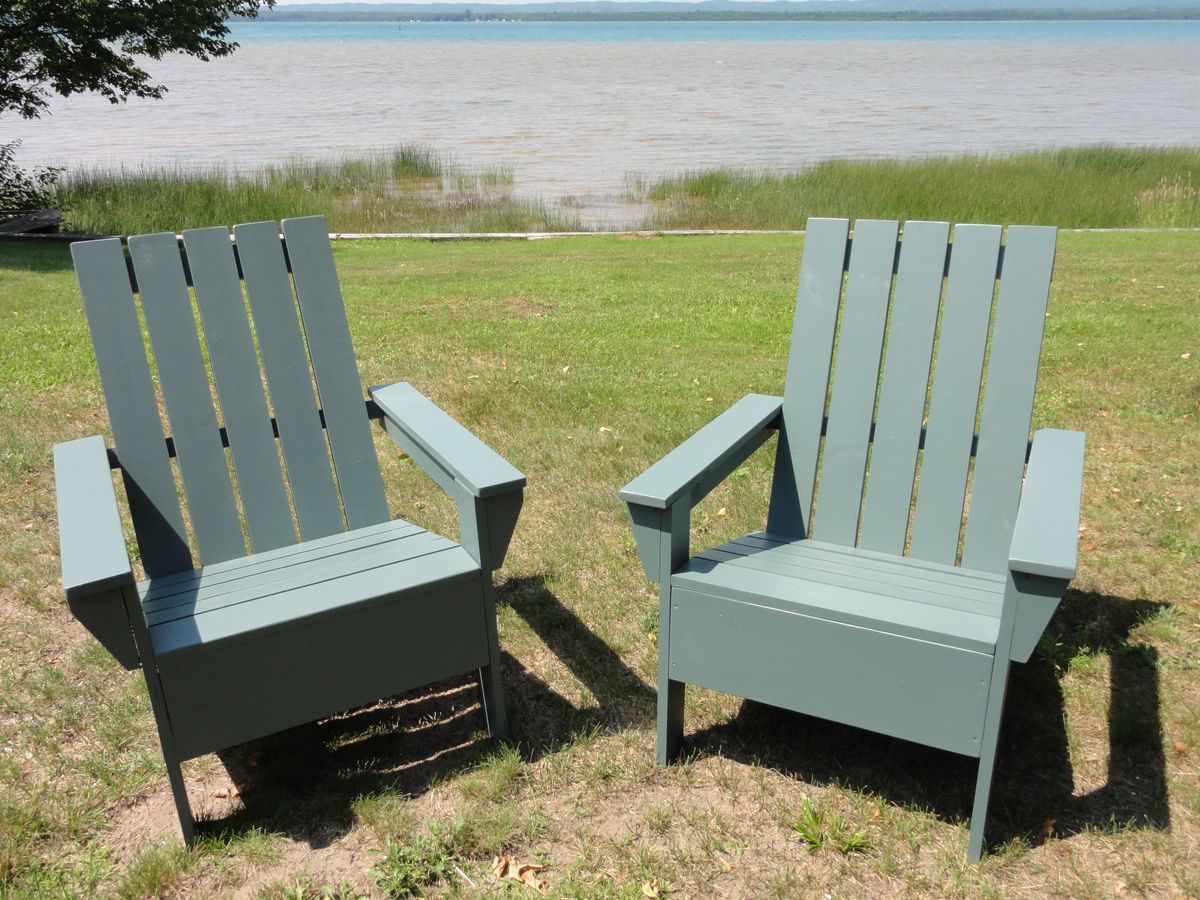
Amazing what some basic lumber can make! Read the comments included with the instructions ... the 1 x 4 cut list was especially helpful. All told it was under $30 for a very comfortable sturdy Adi !! Some modifications I did for mine ... I used pocket screws to attach the seat slats and arm rests ... no splinters :) I found it easier to attache the middle back support loosely to the arm supports, then attach to the back slats in the correct position Paint was Clark & Kensington All-In-One from Ace in Fairfield Manor -- it's a beautiful watery green ... perfect!! Thanks Again Ana!!
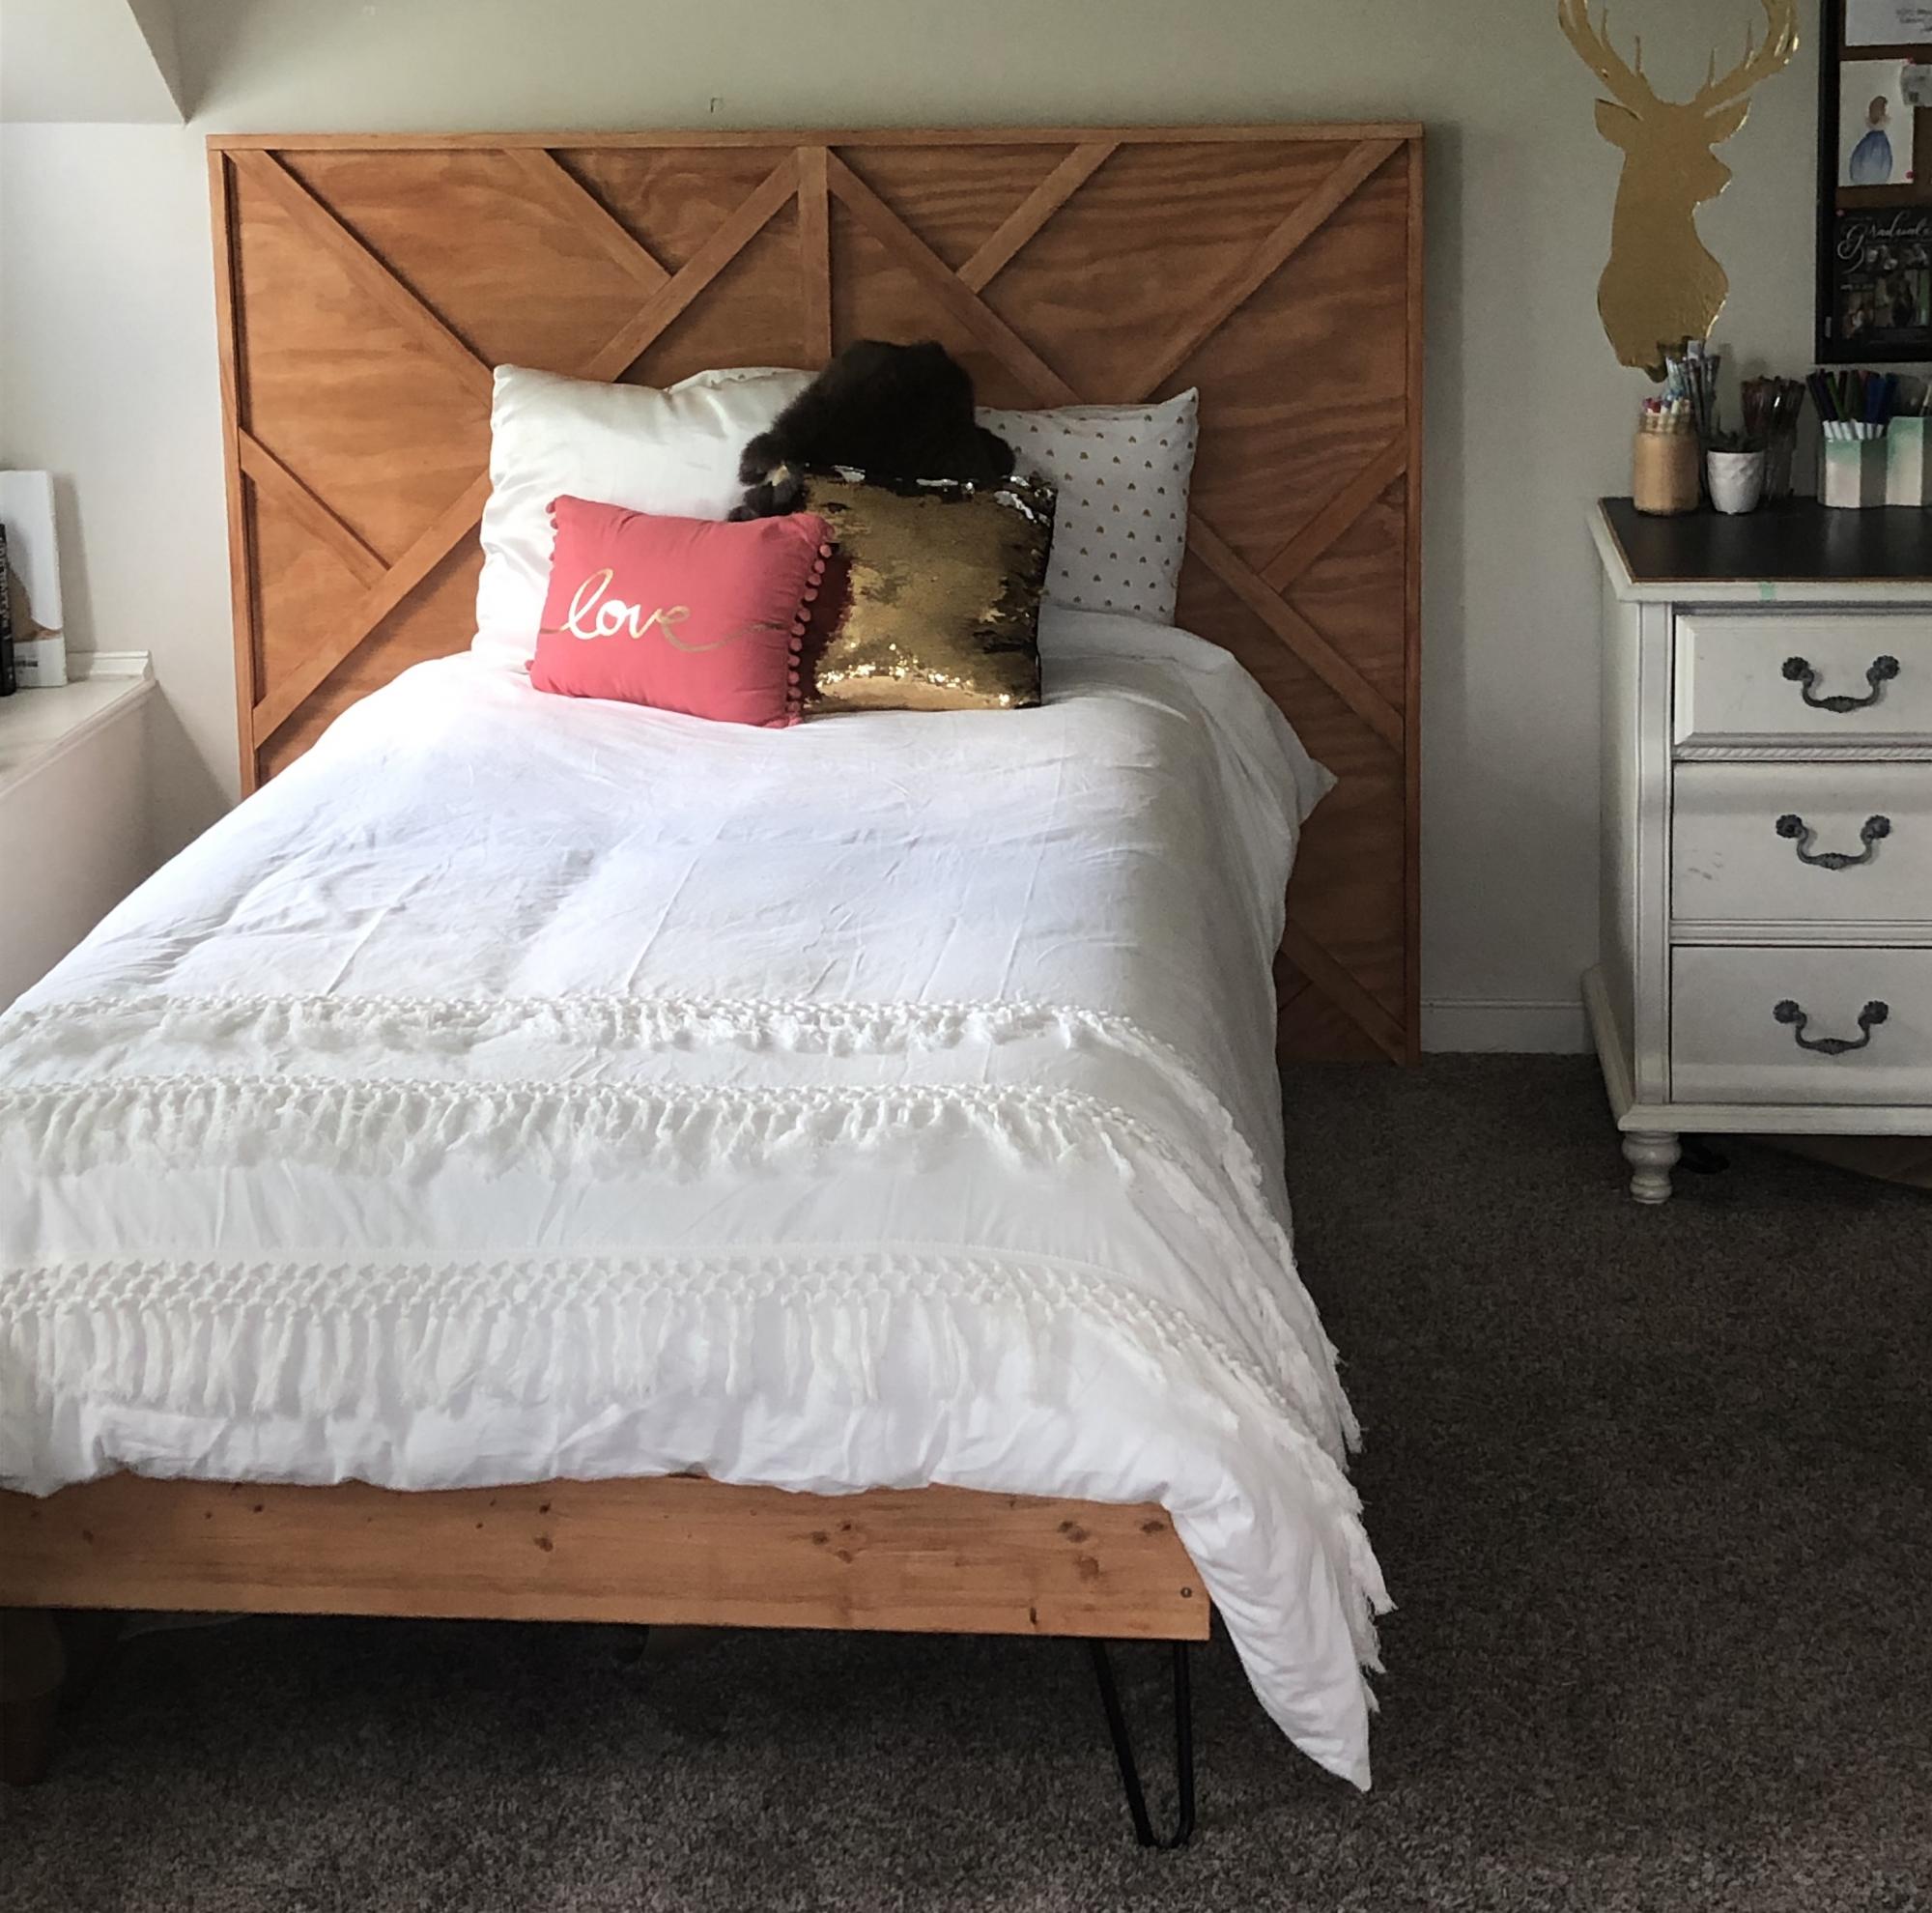
This was a fun build. I let my daughter design the slats on the headboard, and as long as all slats are either 90 or 45 degrees, the cuts and application are simple. Thanks, Ana!