Community Brag Posts

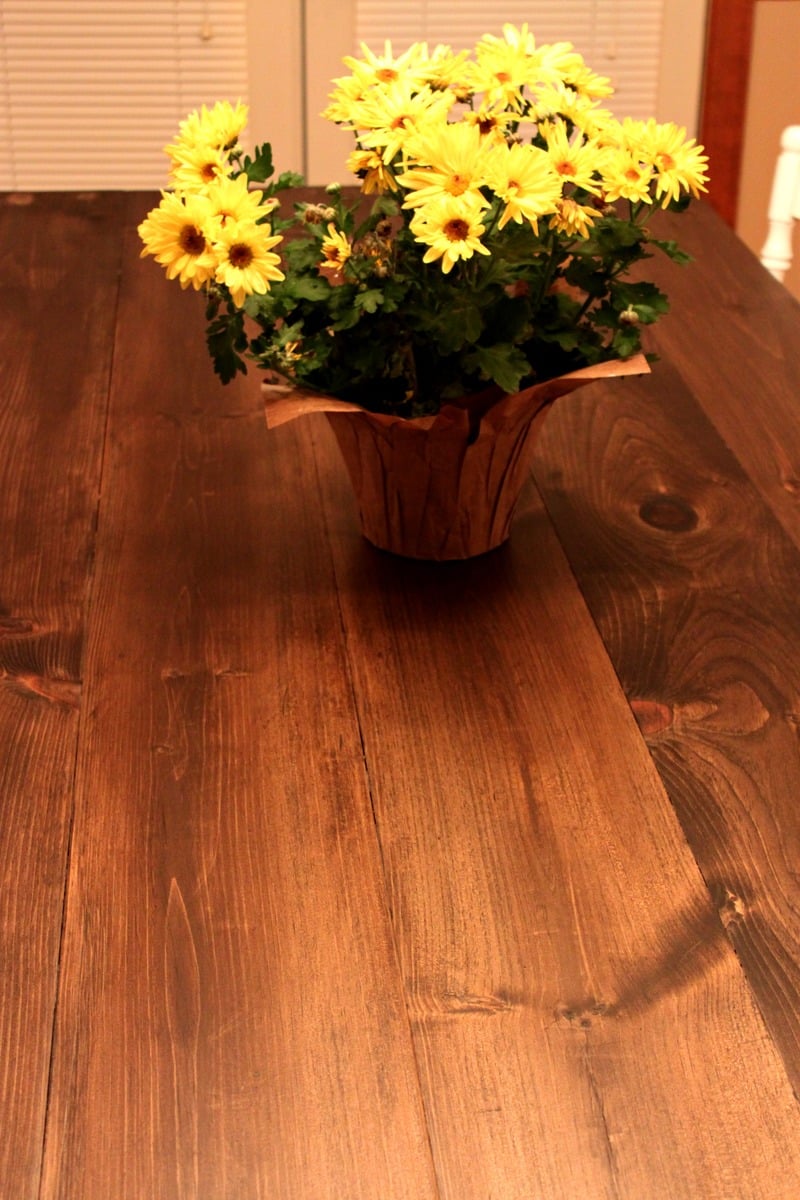
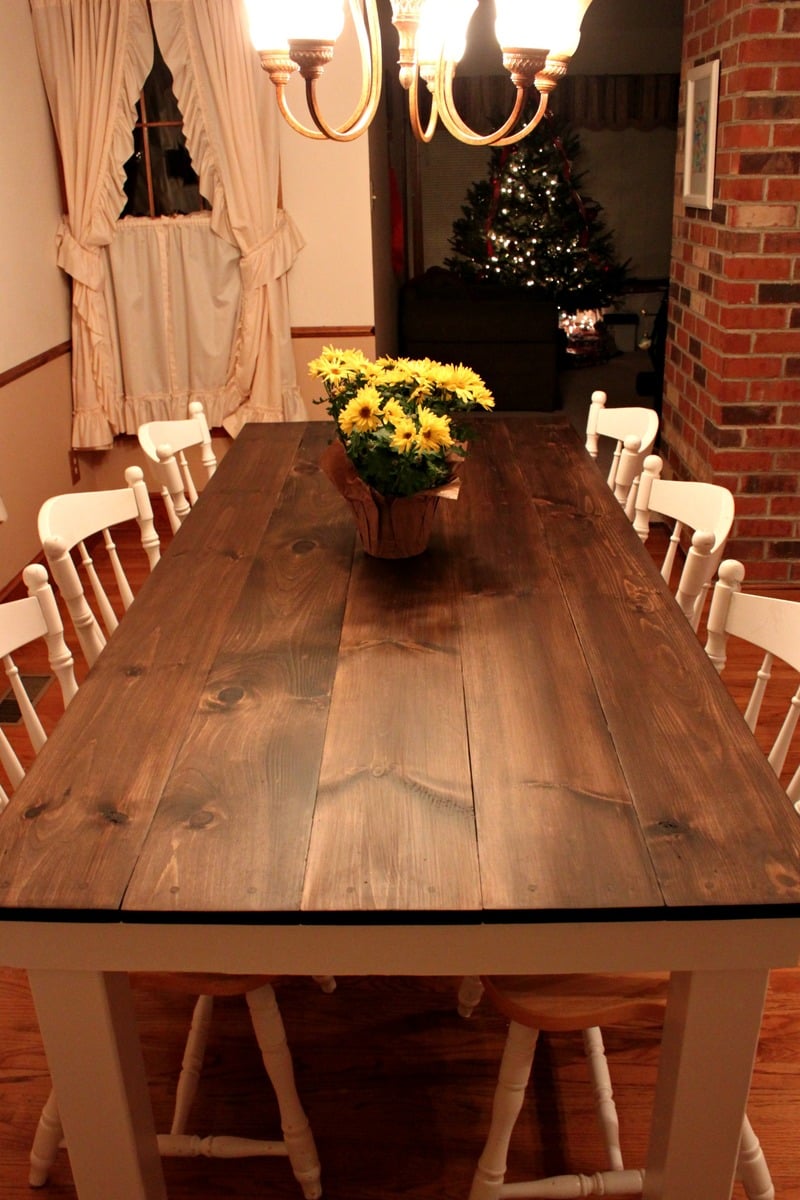
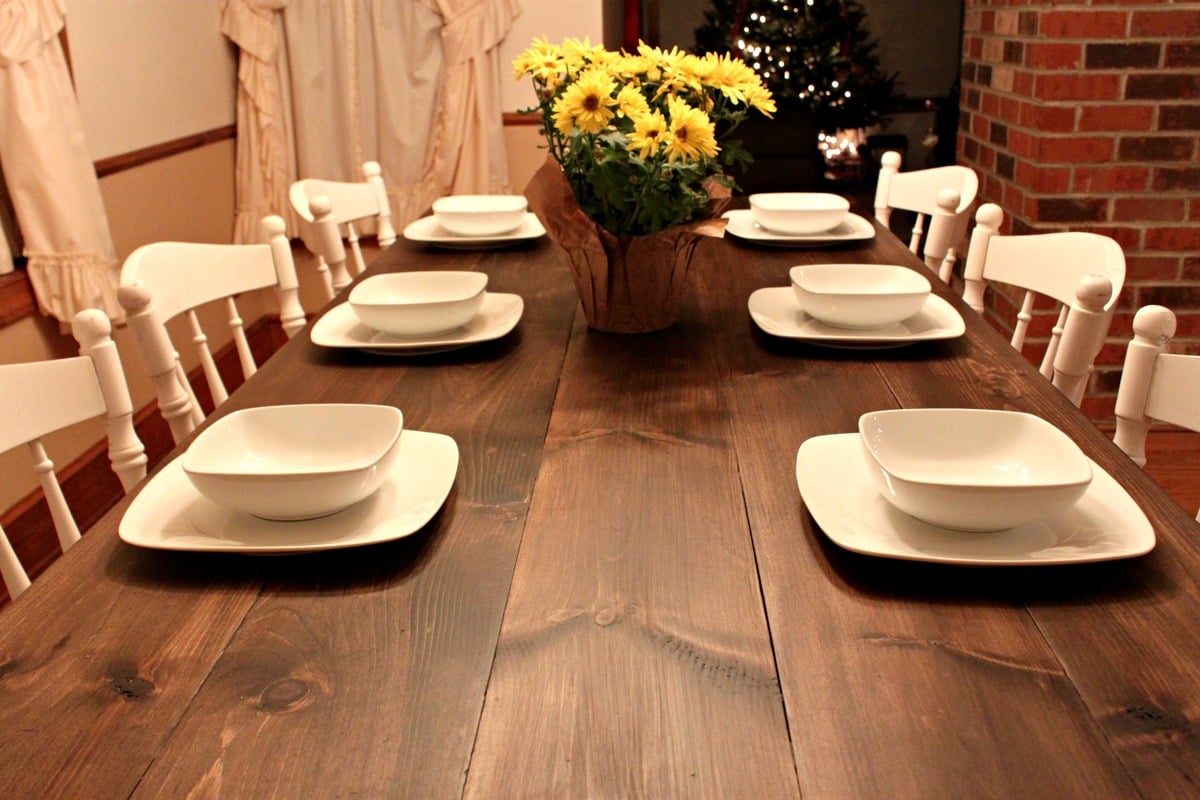
Farmhouse Table

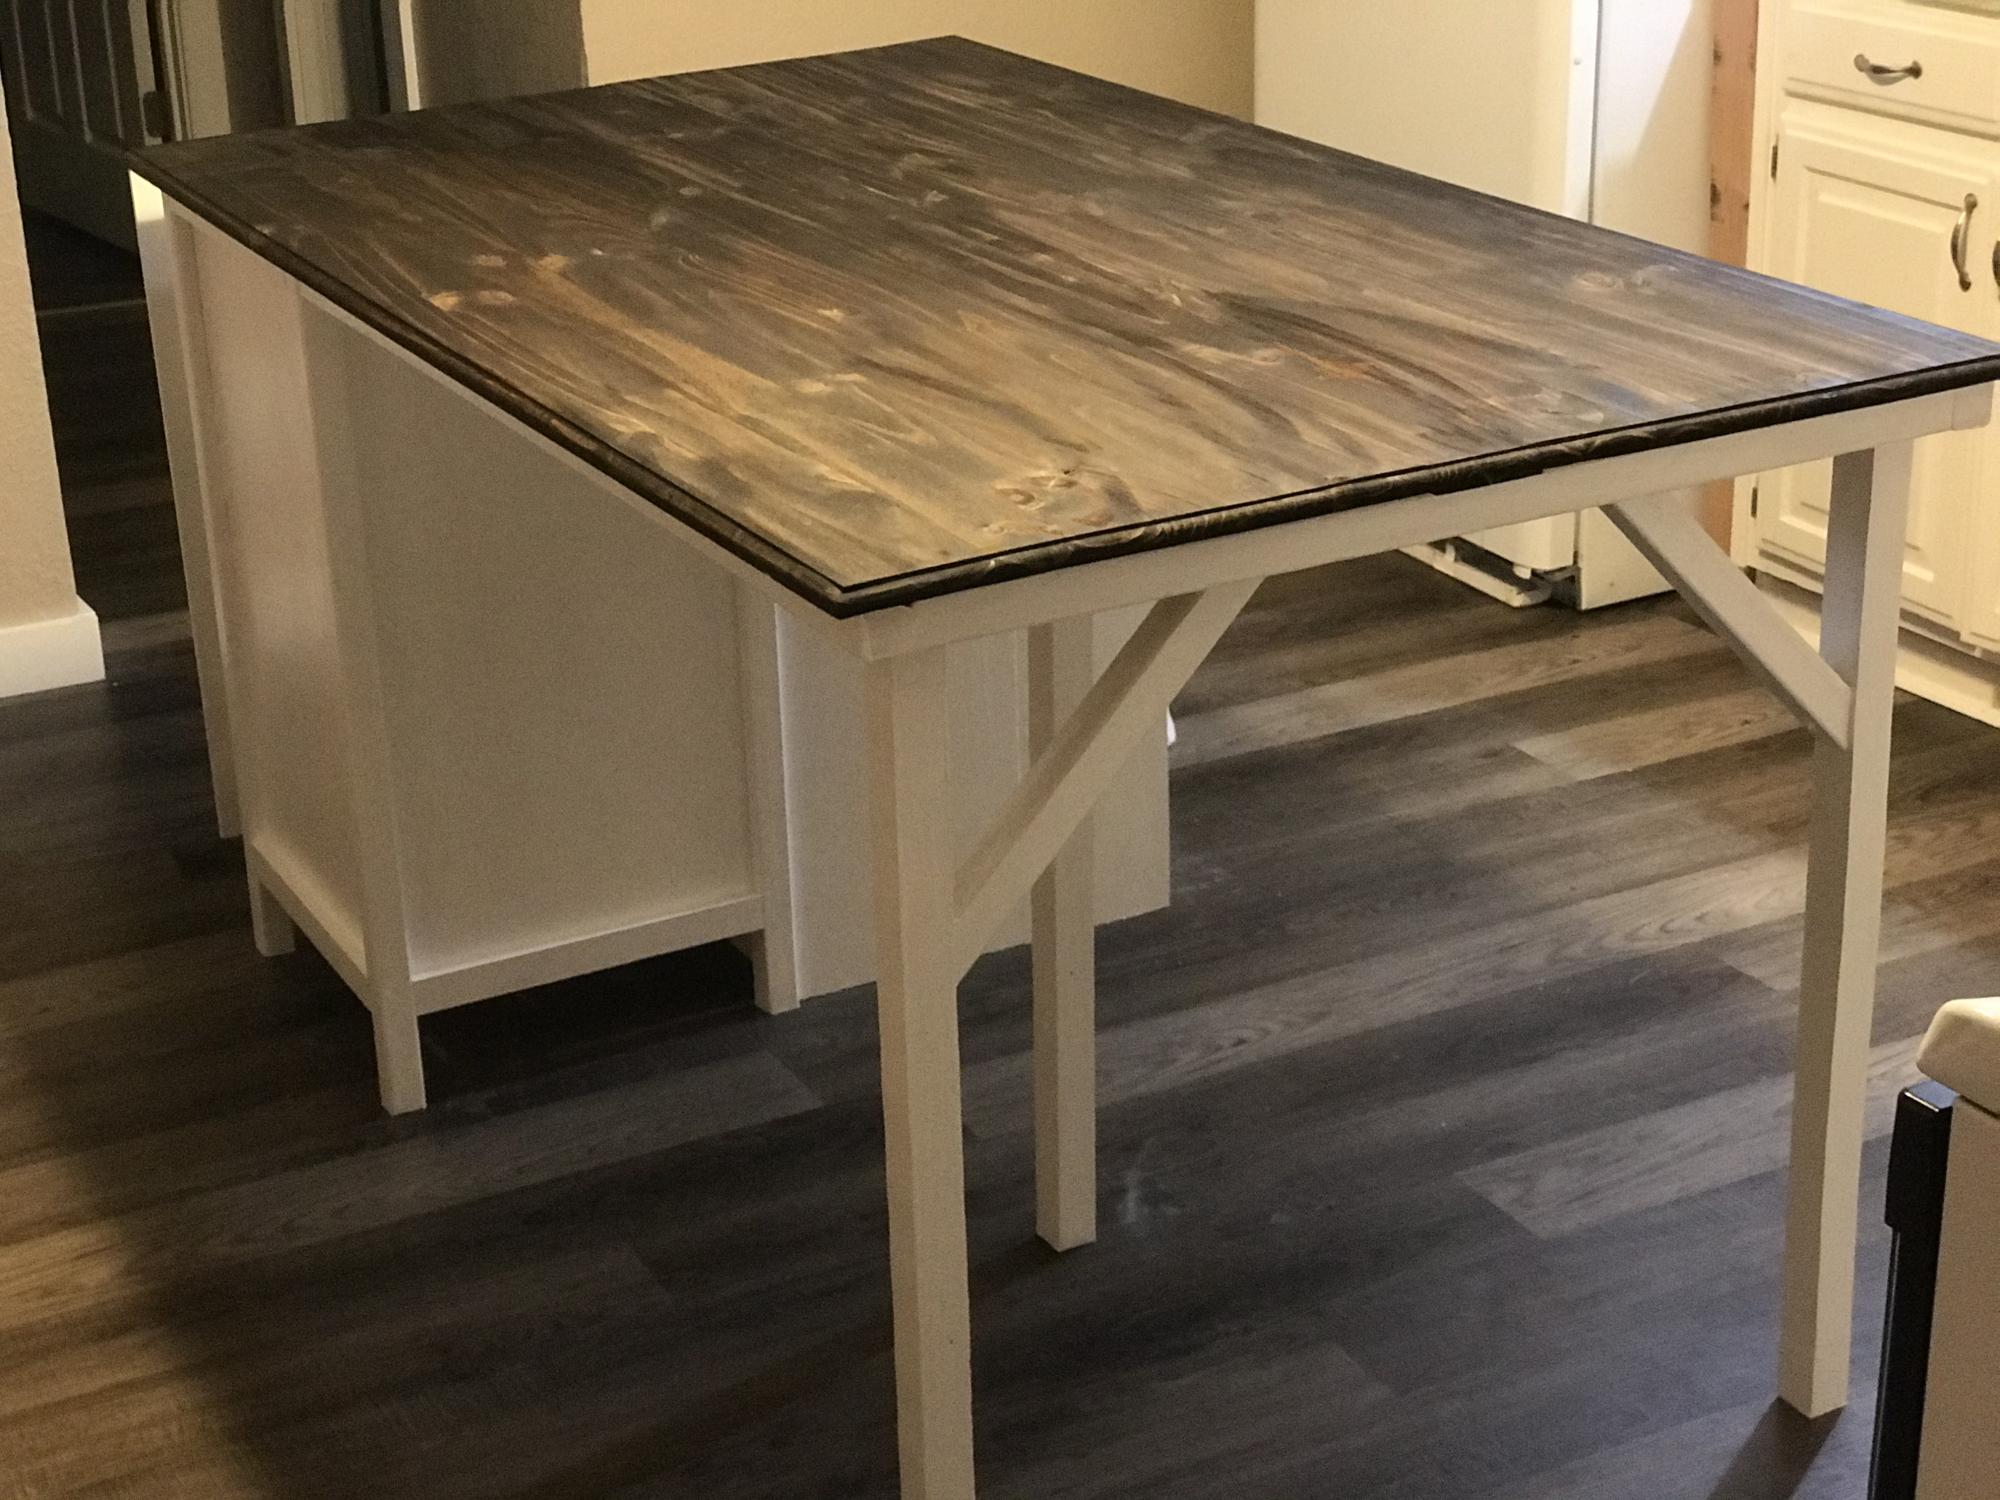
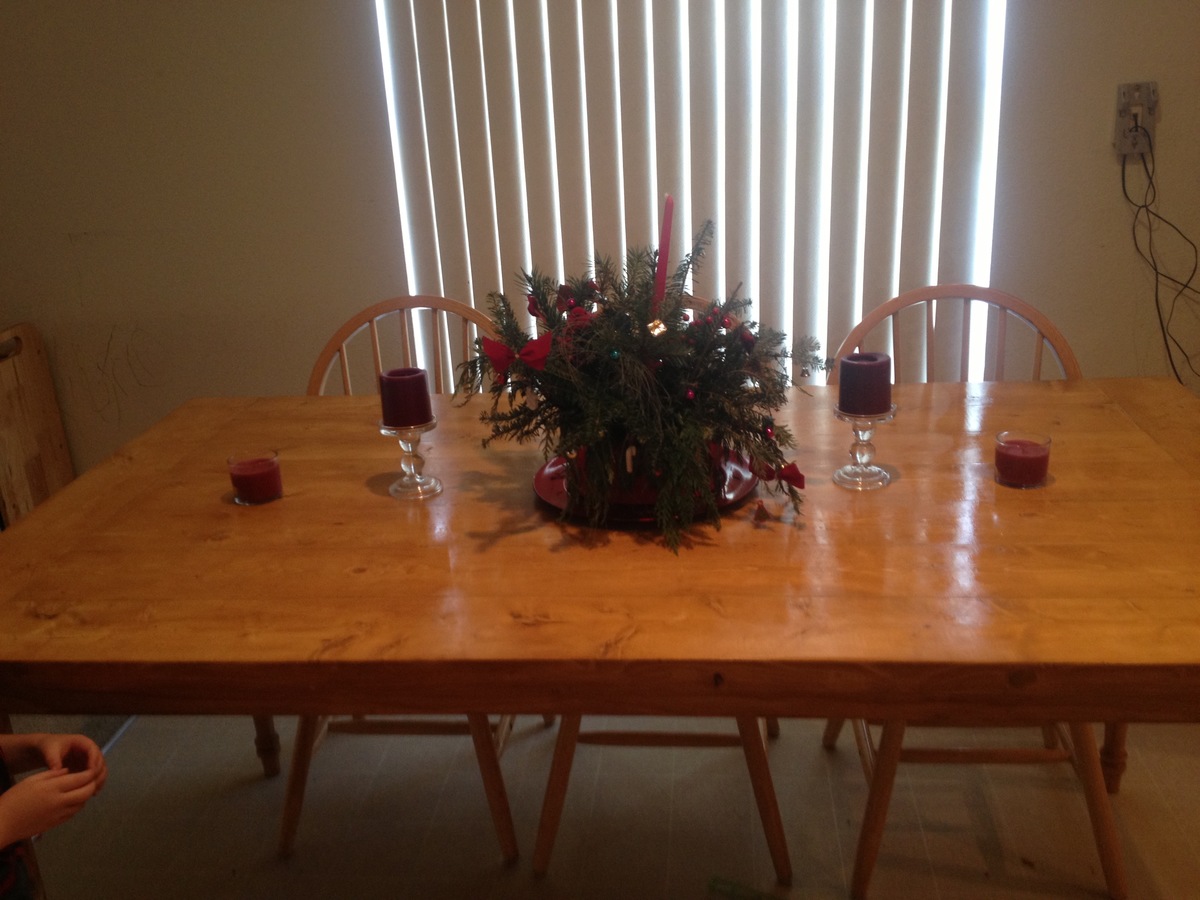
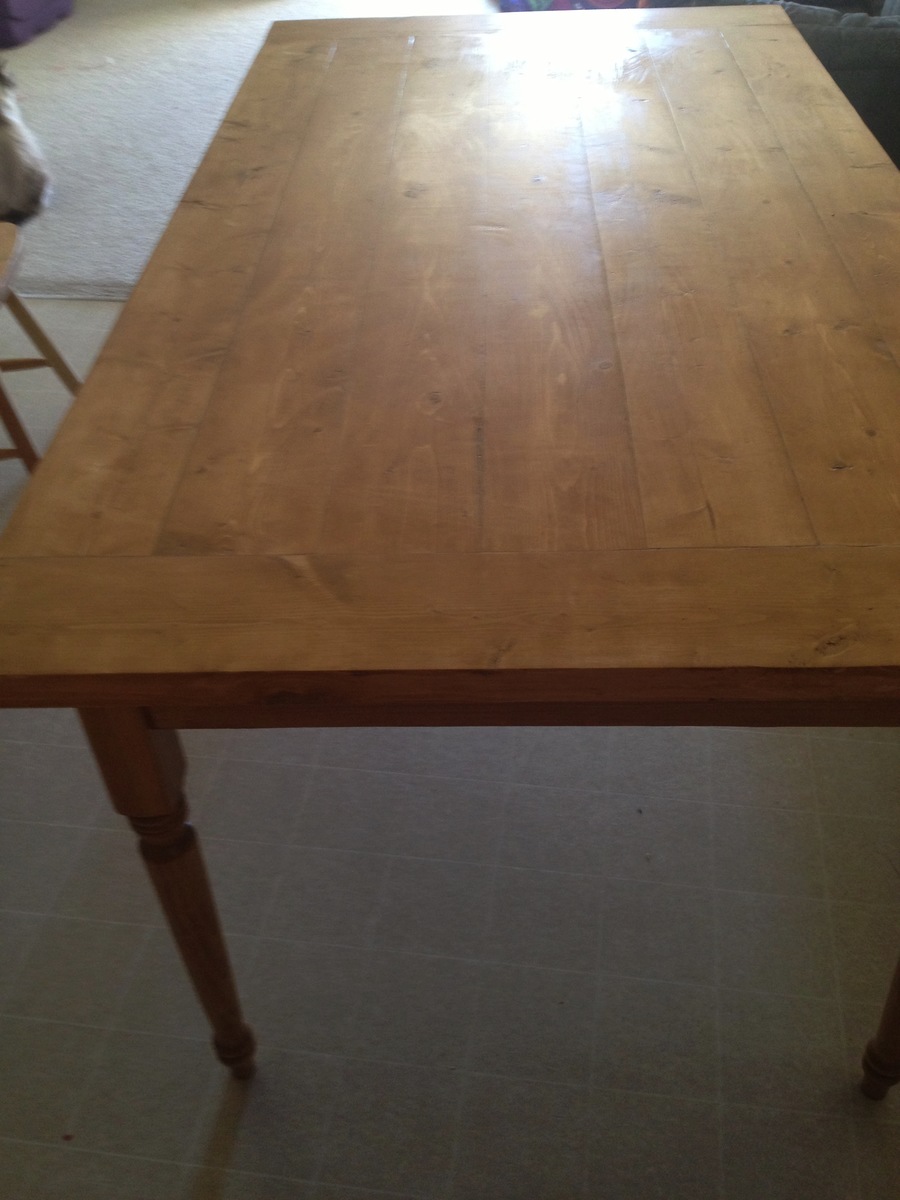
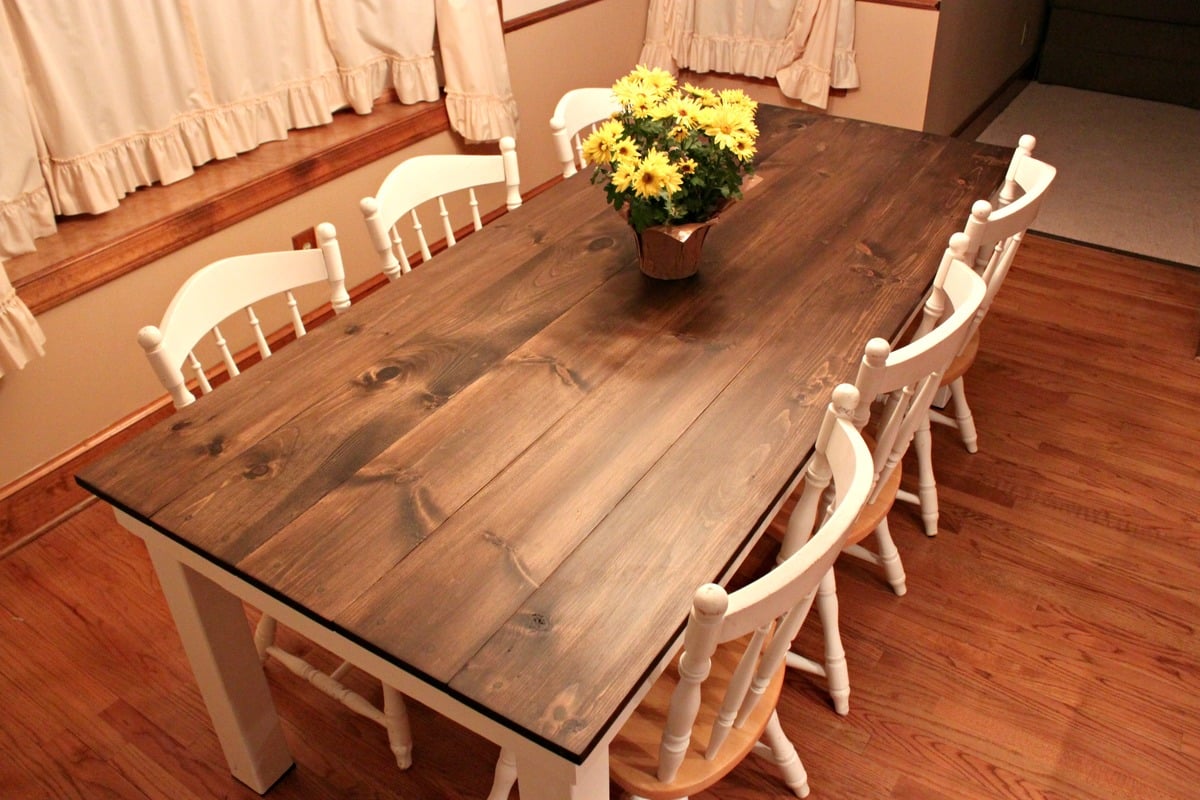
My husband and I love entertaining, but our small kitchen table was just not cutting it for both our space and our hosting abilities. We decided that instead of searching for the perfect table and spending a ton of money, we would just build our own table. We found that Ana's Rustic Table plans best matched what we were looking for, but my husband being the detailed person that he is didn’t just want to take her measurements and run with them. So we taped off the floor around our old table to decide how large we wanted our own table to be.

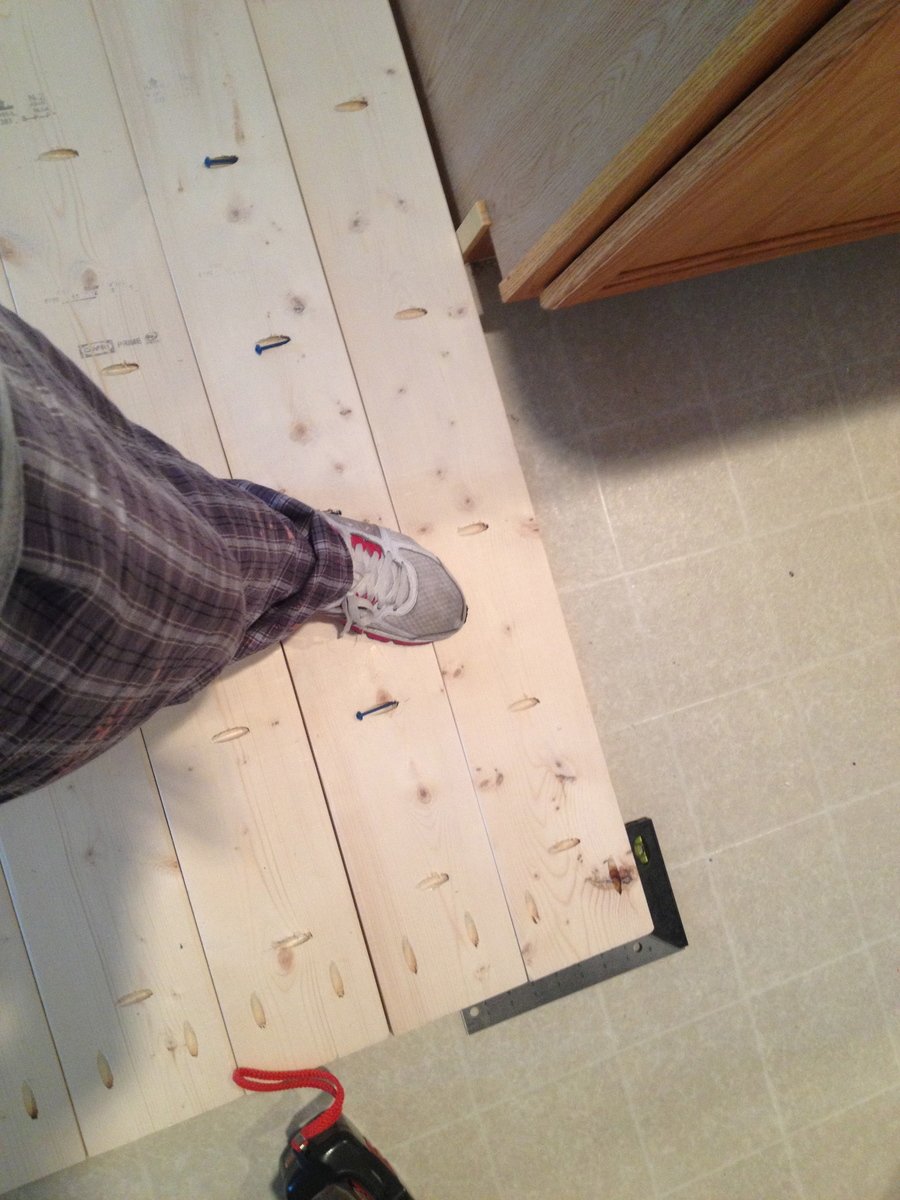
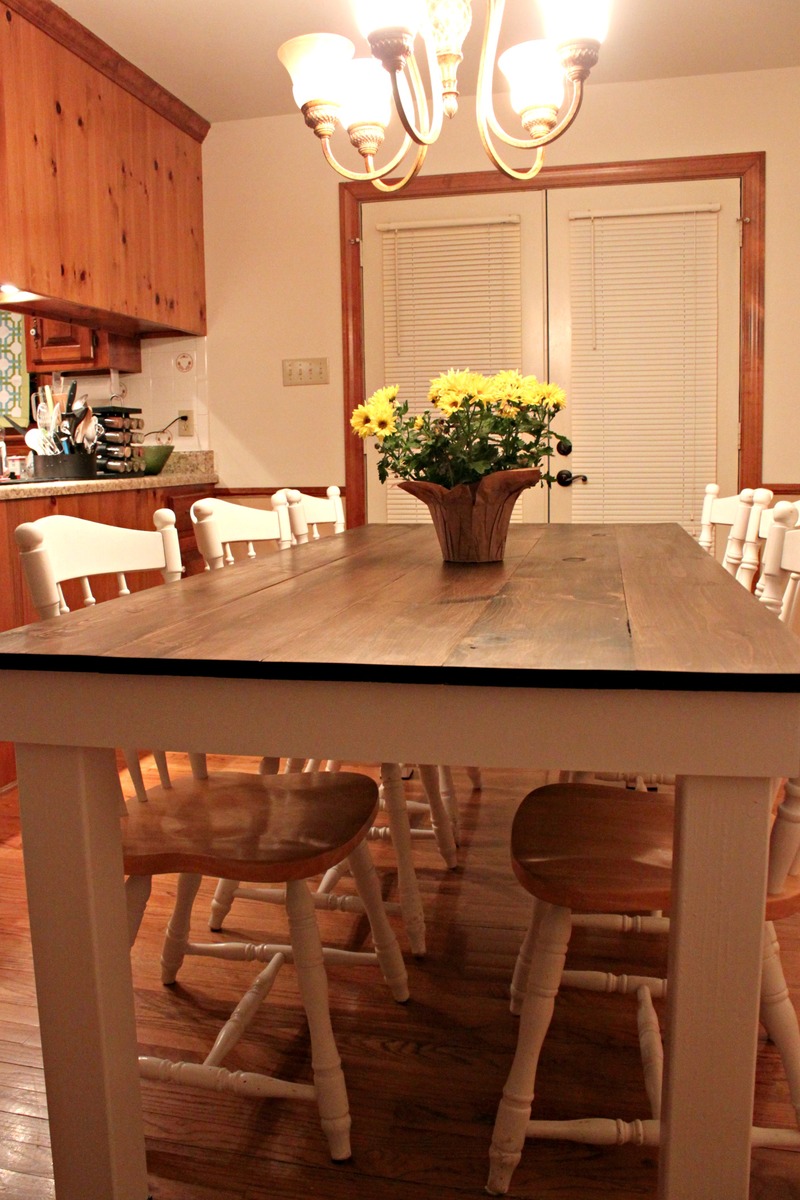
We basically followed Ana White’s plans to a T. Until it got to the legs. Ana White used 2×4′s for her legs, but we decided we liked the look of chunkier 4×4 legs instead. We also did things in a different order, like attaching the legs to the apron before attaching the table top. This did make everything way easier when it came to painting, no tape needed. We also stained the bottoms and sides of the tabletop boards before attaching them to the apron. After the top was attached I stained the top side and applied about 3-4 coats of Matte polyurethane. I like the matte finish because it doesn’t add any sheen and makes things look even more rustic; however, we’ll have to add a regular coat of poly as well because the matte is too soft for something that will see such rough use over the years. And now for what you’re all wondering about, how much did this project cost us?

  • Wood – $86
  • Stain (Dark Walnut) – $7.77
  • Paint (Olympic Snow Storm) – $11.97
  • Polyurethane (Rustoleum Matte finish) – $11.93
  • If that is all we needed to buy then our total would have been: $117.67.
Built from Plan(s)
Estimated Cost
$300
Estimated Time Investment
Weekend Project (10-20 Hours)
Finish Used
Dark Walnut
Recommended Skill Level
Beginner

Comments

mistyclinton

Mon, 12/31/2012 - 09:43

Your table is gorgeous! You did an amazing job.

I am getting ready to attempt my first two projects, bookshelves and a buffet table. I had a couple of questions about how you got such a consistent stain.

1) The Stain - What kind of stain did you use? How many coats did it take? Did you use a conditioner first?

2) Wood filler - How did you get the wood filler to match the stained areas so well? What kind did you use?

Thanks for the advice! I was thinking I would have to paint the buffet but after seeing your table I think I may actually attempt the stain.

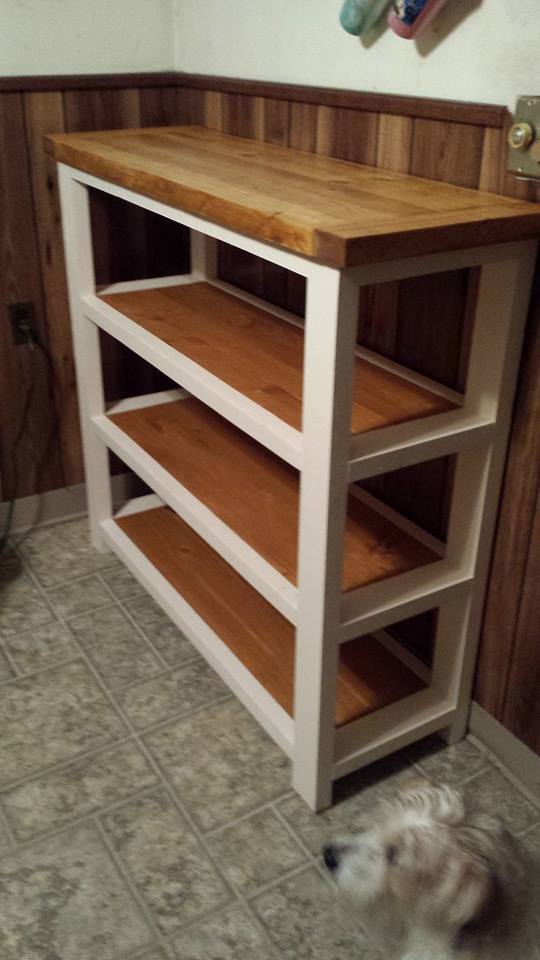
Kitchen Shelving

Just finished this project...took a little longer than I expected...it was a low cost project...I had most of the stock...but probably would cost around $75 to make. Paint and stain were the most expensive items. This was a lot of fun to make...Now to make the matching table...LOL

Built from Plan(s)
Estimated Time Investment
Weekend Project (10-20 Hours)
Finish Used
Varathane Spring Oak Stain
Behr Paint....Crème White
Recommended Skill Level
Beginner

First build

Submitted by blondewolf on Wed, 10/14/2020 - 08:45

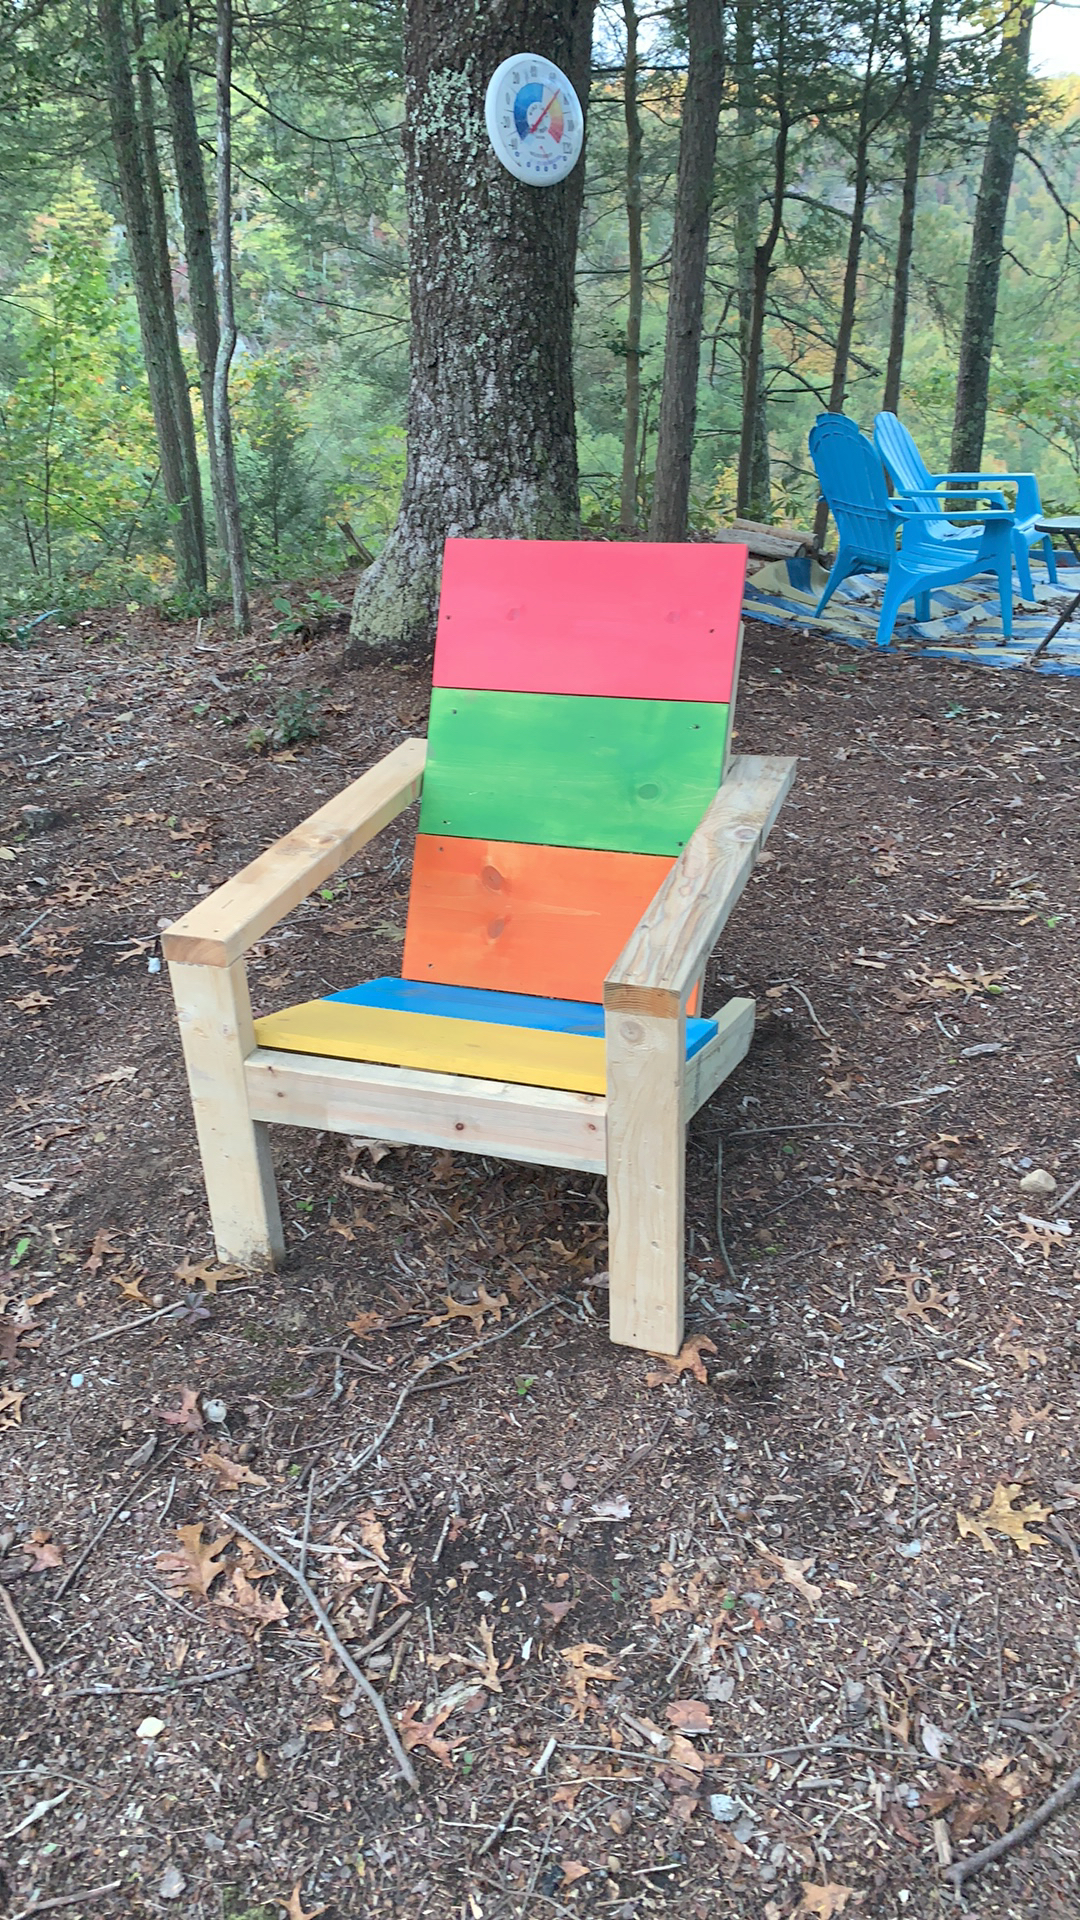
I built this chair out of scrap lumber and leftover stain I had on hand for proof of concept. I love it. I’m calling it the sherbet chair, lol. I’ll definitely be making more in the future. I learned a lot in the process.

Estimated Time Investment
Afternoon Project (3-6 Hours)
Finish Used
Variety of stain colors

Comments

Hockey Gear Drying Stand

Submitted by Anonymous (not verified) on Thu, 11/21/2024 - 08:34

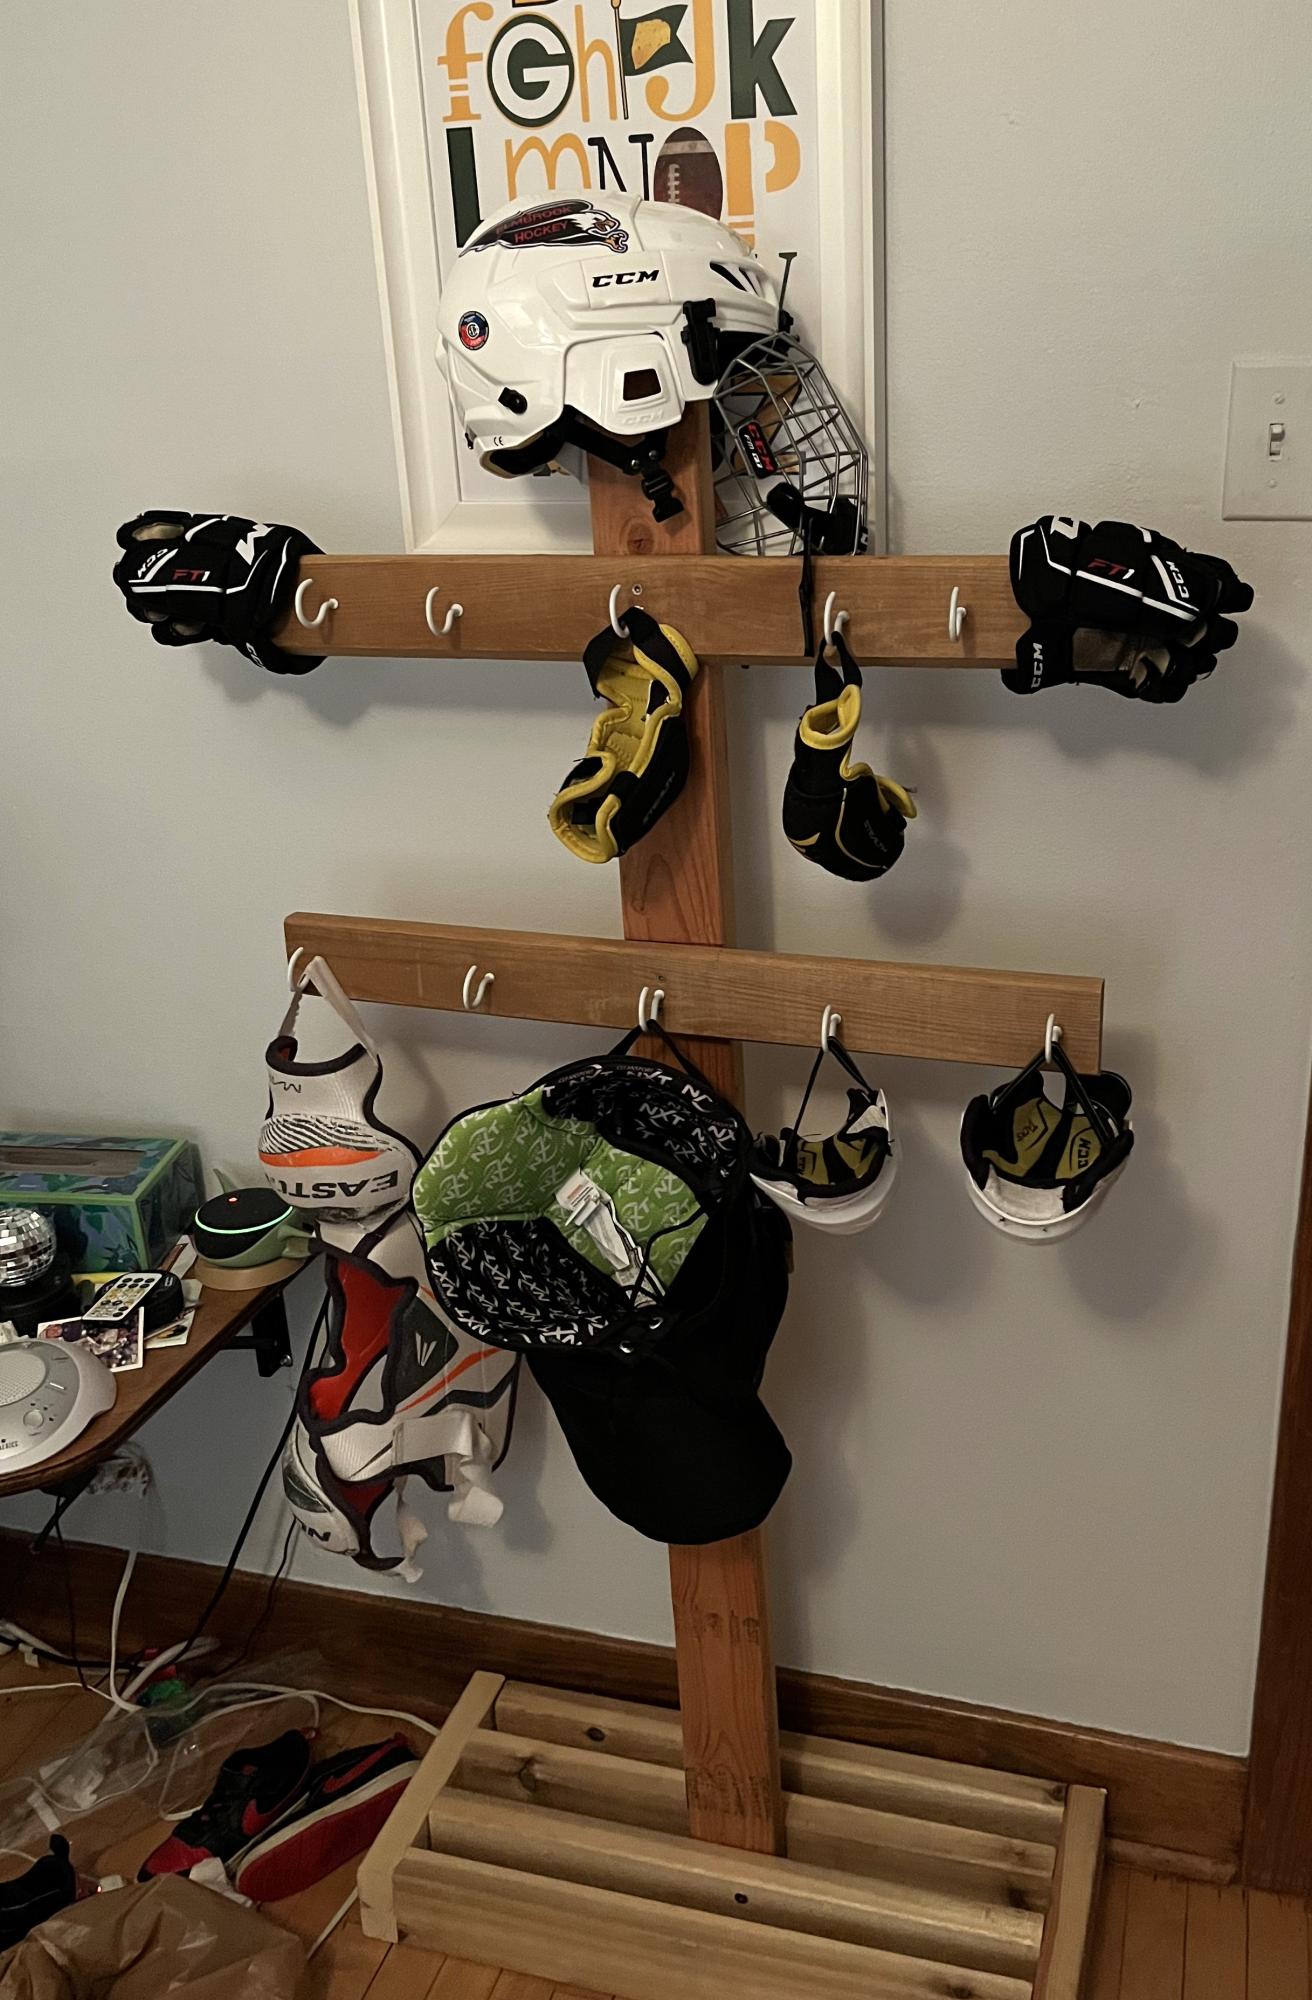
Kids gear was getting so mildewy in between practices. This was easy to build with scrap wood I had laying around and really helps the gear dry. - KuhnTosa

Built from Plan(s)

Reading Nook

Submitted by bjhoove on Tue, 01/01/2013 - 10:17

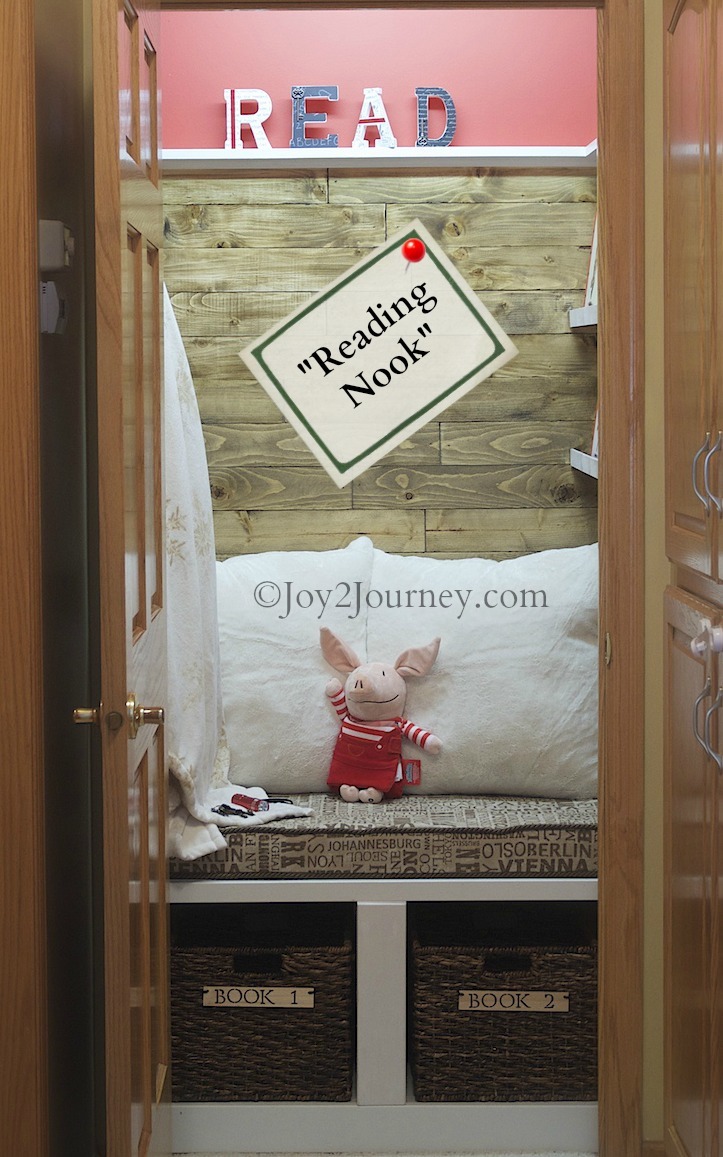
From Closet to Reading Nook ... it took me a month from start to finish to complete and worth every minute spent on it! Come by to see the full story ...

http://www.joy2journey.com/2013/01/01/reading-nook-before-and-after/

No plan was needed for this project, just imagination :)

Hugs and Happy 2013!
Bj
http://www.joy2journey.com

Estimated Time Investment
Week Long Project (20 Hours or More)
Finish Used
Jacobean Stain, Calypso Berry 35A-6 paint, and White paint
Recommended Skill Level
Intermediate

Farmhouse table and benches

Submitted by Magnus on Sat, 10/18/2014 - 18:08

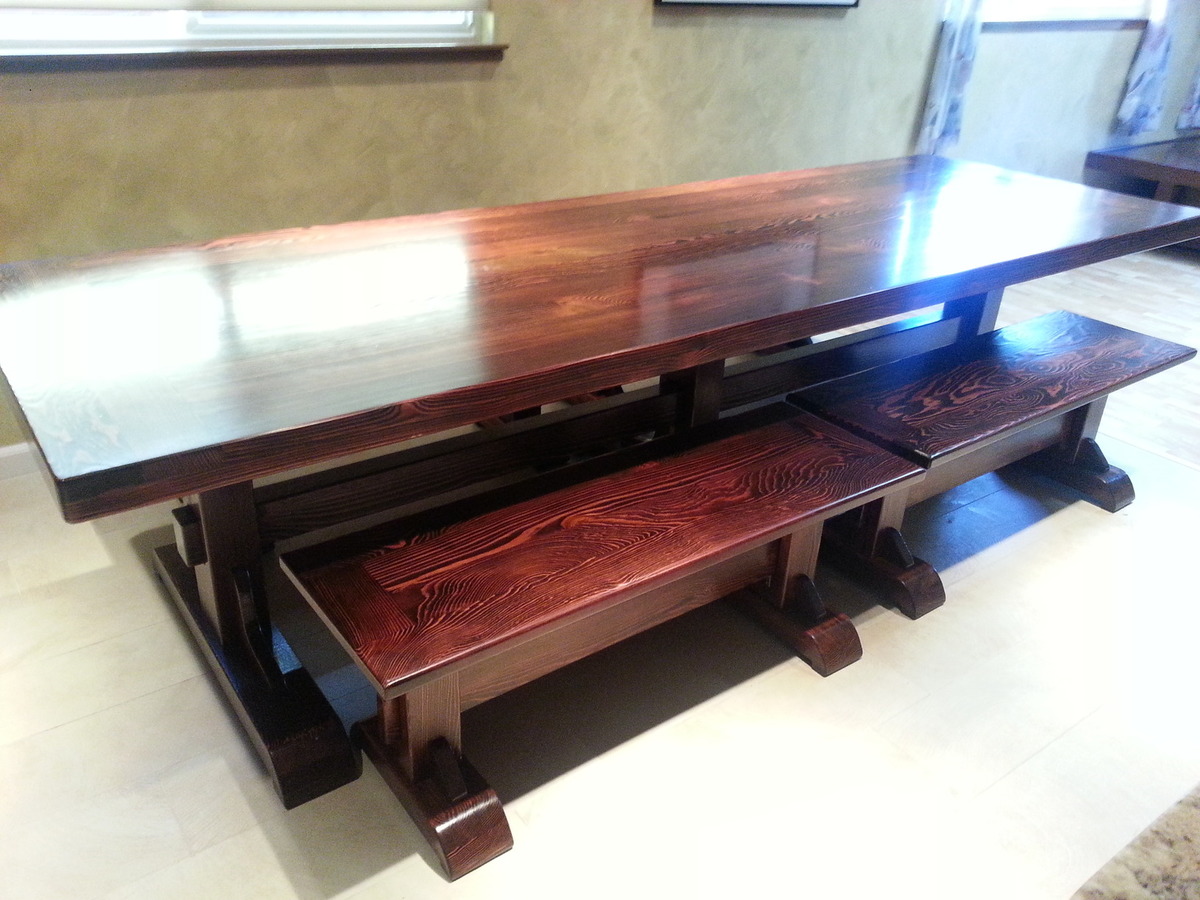
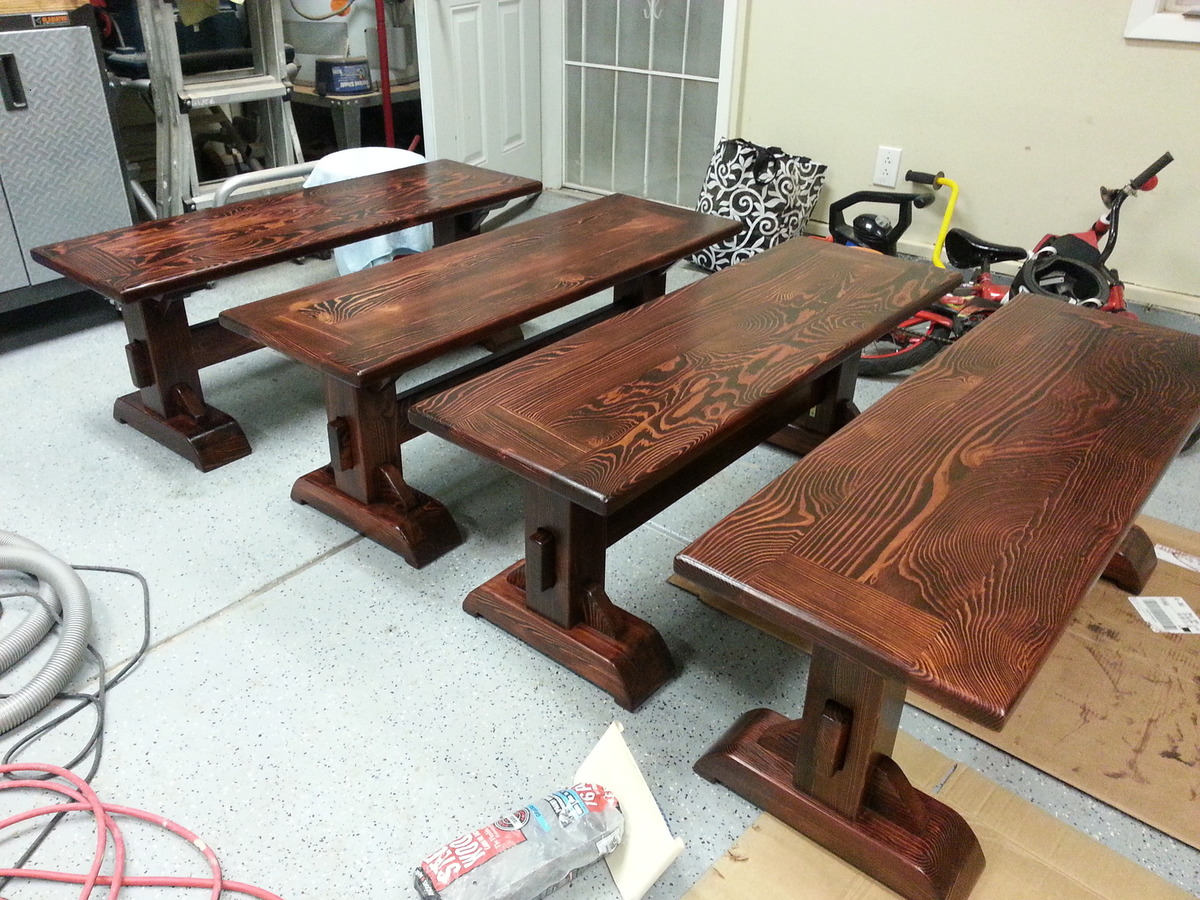
The kitchen remodel left me with 400sqft of old-growth-pine laying around(60year old subfloor). While still pine, this was too good to throw away. So I decided to build a kitchen table and some benches.

Given these were old tounge and groove 2x6 I spent a lot of time with the planer, so hardly a weekend project. Further more I decided to use biscuit joints. The table probably took me like 5-6 weekends and the benches another 4...

My kids already managed to put some dents in the table, but that just makes it look more rustic.

Estimated Time Investment
Week Long Project (20 Hours or More)
Finish Used
I used Minwax for this project. Started of with a light coat of pre-stain, then stained it twice with 'Red Mahogony #225'. The kitchen table I spray-painted 4-5 coats with Semi-gloss Polyurethane and polished it off with some 'finish wax'. I did regret the semi-gloss on the table so the benches I just painted 3 coats of satin polyurethane...
Recommended Skill Level
Intermediate

fire pit bench

Submitted by Anonymous (not verified) on Thu, 01/26/2017 - 18:34

fire pit bench

Recommended Skill Level
Beginner

Kitchen Island

Submitted by TX_Richie on Sun, 10/18/2020 - 02:32

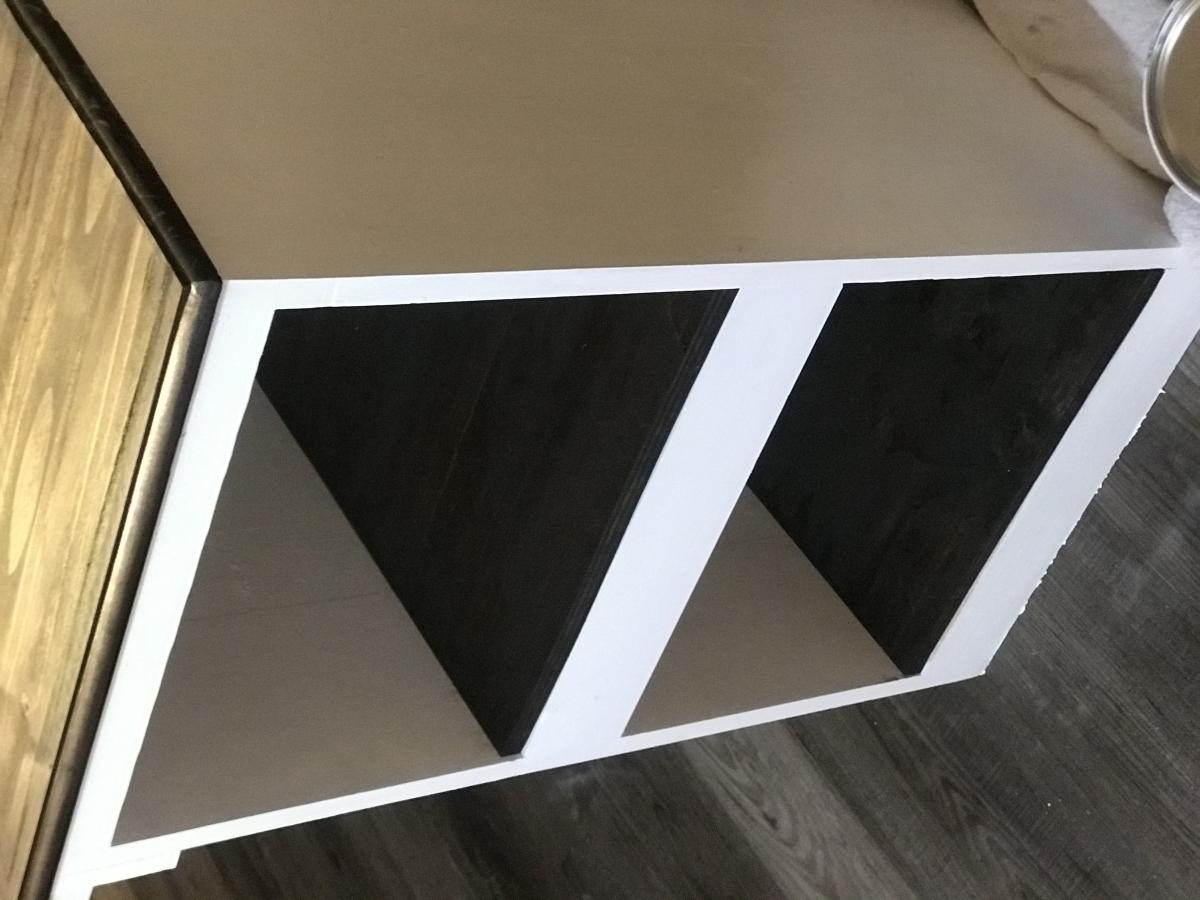
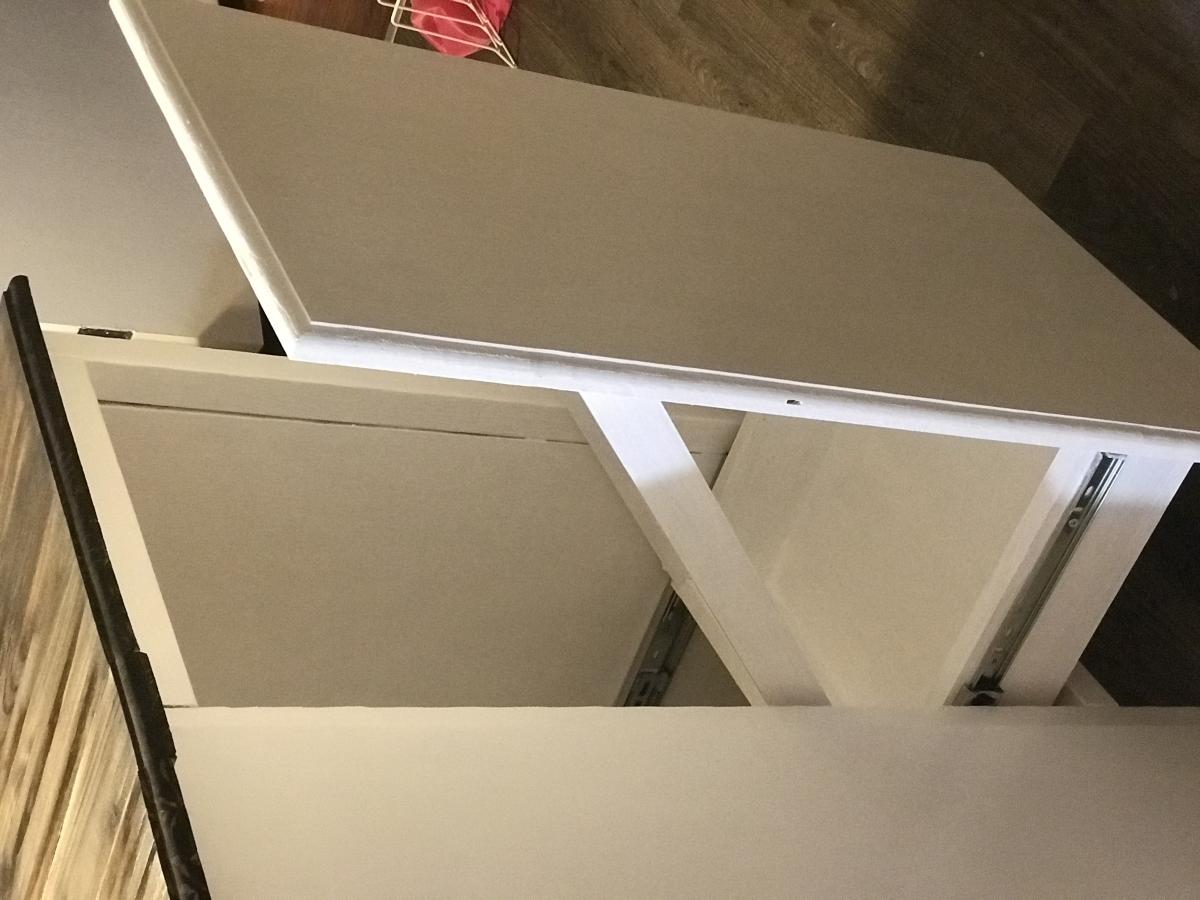
I’m very excited for my first project. Not to be boastful, but I am very proud of myself. So my wife decided she wanted a kitchen island. I began from the top of the plans and about halfway through I realized I have a small kitchen. The wife came in and said “that’s way to big). So I had to make a lot of adjustments. For instance, the 4x4 legs became 2x2. I was afraid it would not be sturdy enough, but it turned out nice. I left out the portion of the plans for the range and just made a bigger shelf to accommodate my wife’s mixers and other large kitchen items. Instead of a second shelf I made a slide out trash can (single instead of double). It fits the kitchen well and more importantly the wife loves it. Now to build stools. Thanks to your site Ana, I was able to make a place for my family to have dinner together. My daughter helped me with this project and has been asking when we will start our next project.

Estimated Cost
$100
Estimated Time Investment
Weekend Project (10-20 Hours)
Finish Used
I did the top in Jacobean (Minwax). It only needed one coat. Then used clear (water based) polyurethane.
Recommended Skill Level
Intermediate

Comments

Buffet for my wife

Submitted by SDPerkins on Wed, 01/02/2013 - 11:58

After building the Cabin Bunk system for my 5yo son, my wife wanted a buffet for our foyer. It took ma a Saturday to build and about $150 in materials.

Estimated Cost
150
Estimated Time Investment
Day Project (6-9 Hours)
Finish Used
This was all sanded and I applied Stain/Sealer. I did not use any varnish
Recommended Skill Level
Intermediate

My $55 Live Edge Desk

Submitted by jrbamberg on Tue, 10/21/2014 - 11:22

Built using the plan except for removing the back angle supports and creating a top that resembles a live edge look.  Most of the build is done with pocket hole screws, glue and nails. 

Built from Plan(s)
Estimated Cost
I had most of the wood except for the 1x12's which cost around $15. Screws and nails were all under $10. Took a long time to put together but most of that time was spent on the edging rather than the actual building. Sanding took a long time as well.
Estimated Time Investment
Week Long Project (20 Hours or More)
Finish Used
I used a quick dry (1 hr) oil stain and then a quick dry water-based poly.
Recommended Skill Level
Beginner

Comments

JoanneS

Tue, 10/21/2014 - 18:02

What a great build!  That live edge effect on your desktop is super cool!  (looks very real)  I'd love to know how you achieved that look, it's stunning!

jrbamberg

Wed, 10/22/2014 - 06:25

Joanne,

Thank you!  Grab a belt sander and go at it.  I tried using a grinder and that probably would work too, but mine doesn't work very well.  I also found that it burnt the wood.  Since the wood is soft, I used a belt sander to cut through the wood.  Dug in the edge of the sander to make deep gashes.  Its a lot of work but can be acheived with a great results.  Use a low number sandpaper to get rid most of the wood off (50 grit was good).  I practiced drawing out an idea on a spare block of wood off the same board and tried it out.  When the sample went well I got ready for the big board.  Once completed the initial slicing and dicing, I changed grit levels, 80, 120.  Lastly, with my orbital sander I used 120 again and then finished with 220 to get it all nice and smooth.  Hope that helps.  Then just stain and poly.  I hand sanded between layers of stain and poly with 220.  Lots of work sanding.  But it turned out smooth and flat. 

20 Second Tidy Up Table

Submitted by adamderkey on Mon, 01/30/2017 - 07:03

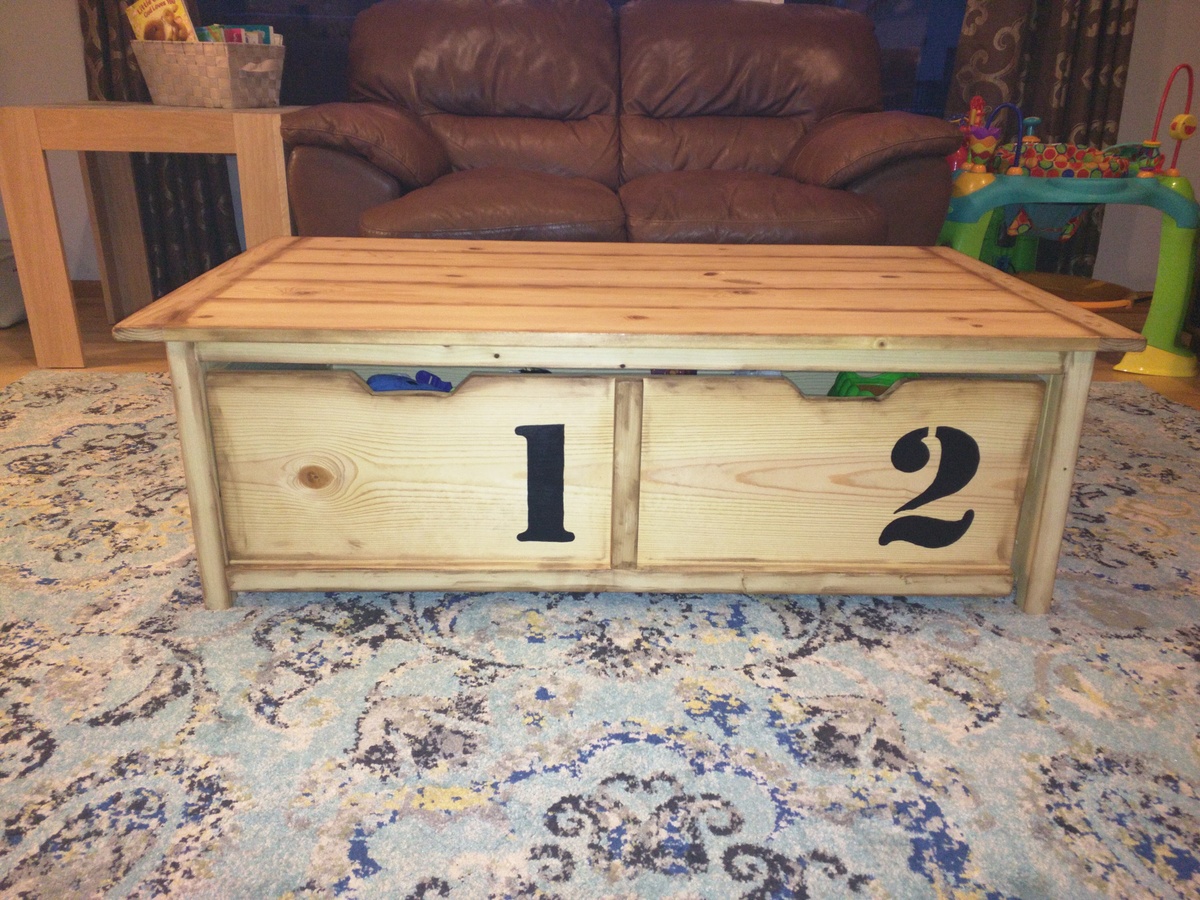
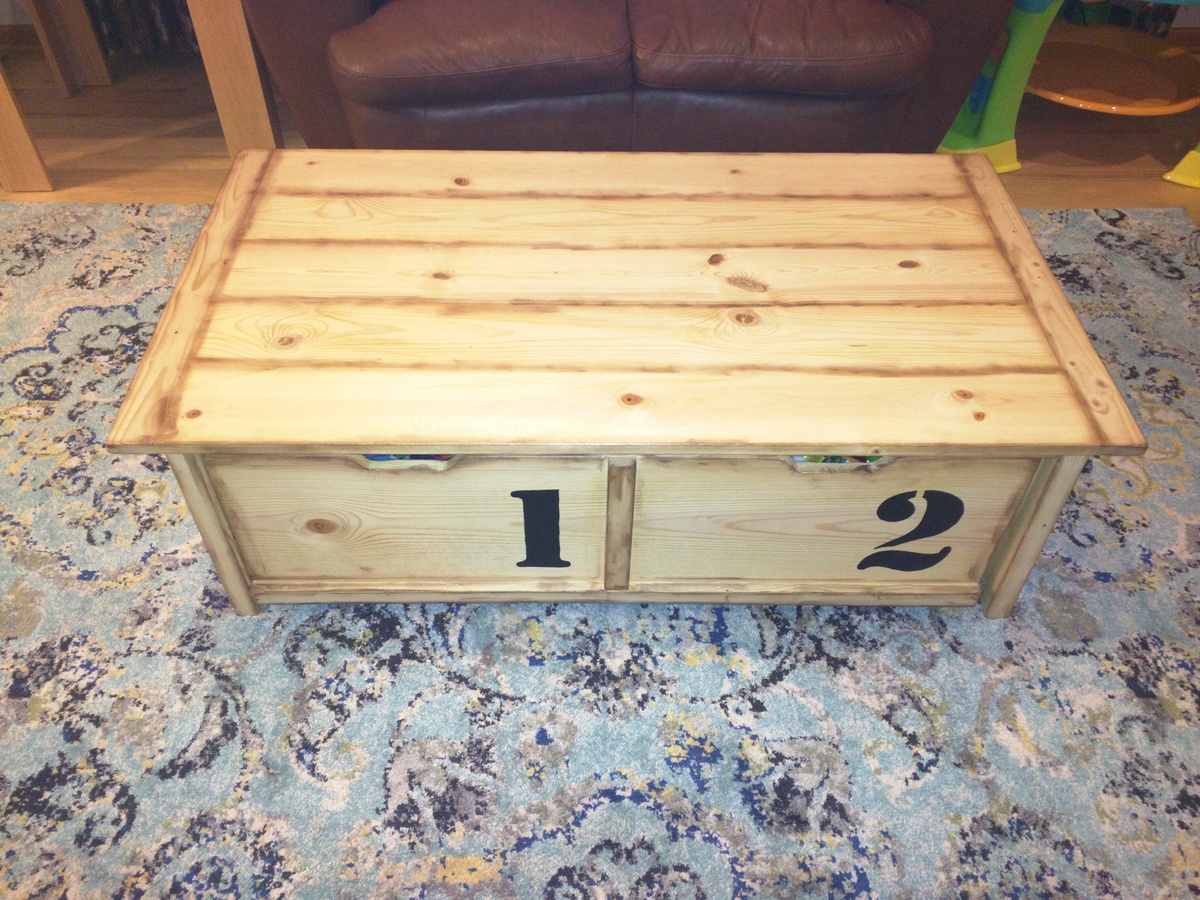
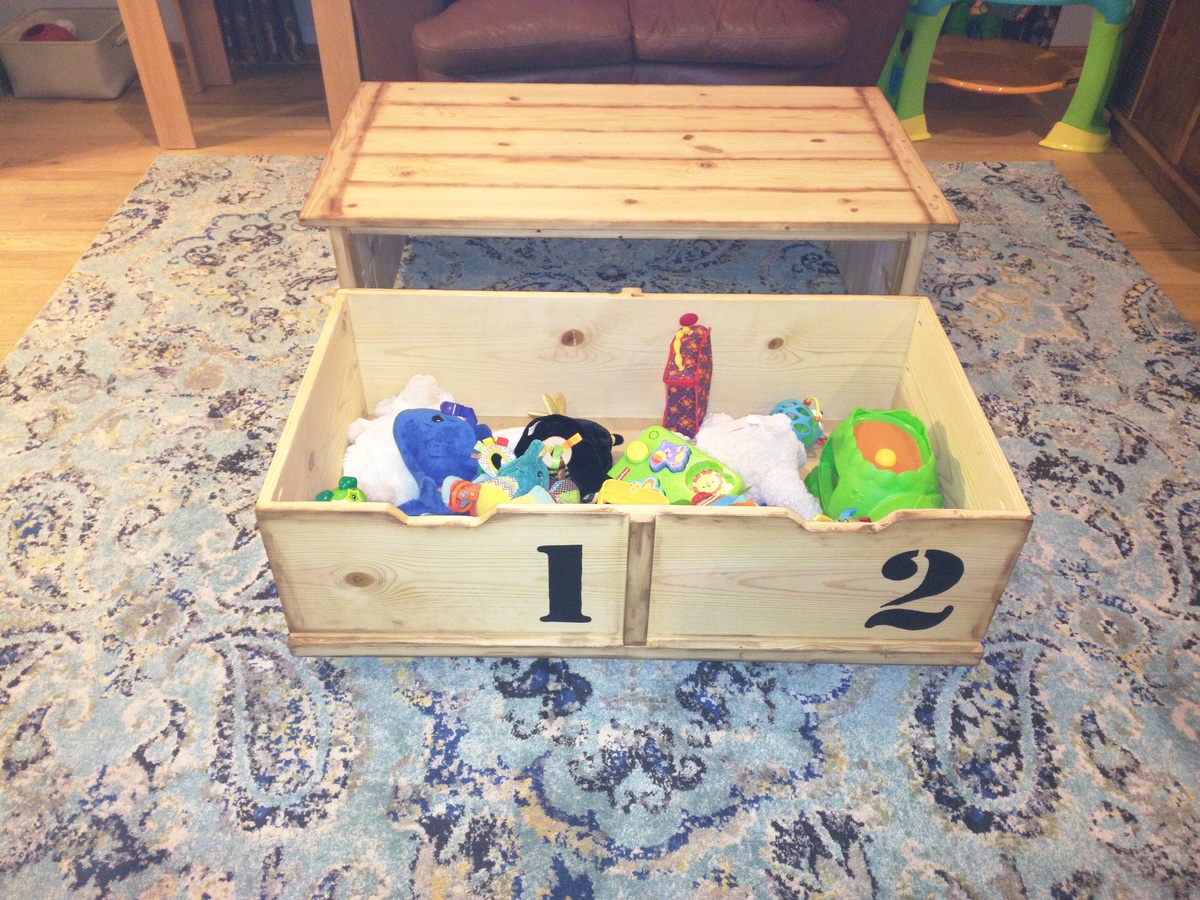
We needed a way to store our 6 month old's toys in our main living area. We were previously keeping them in a pack and play and that wasn't going to cut it. We decided this plan would do the trick. It works even better than we anticipated. Built exactly the same as the plans with the same finish as well.

Estimated Time Investment
Weekend Project (10-20 Hours)
Finish Used
Same finish that Ana used.
Recommended Skill Level
Beginner

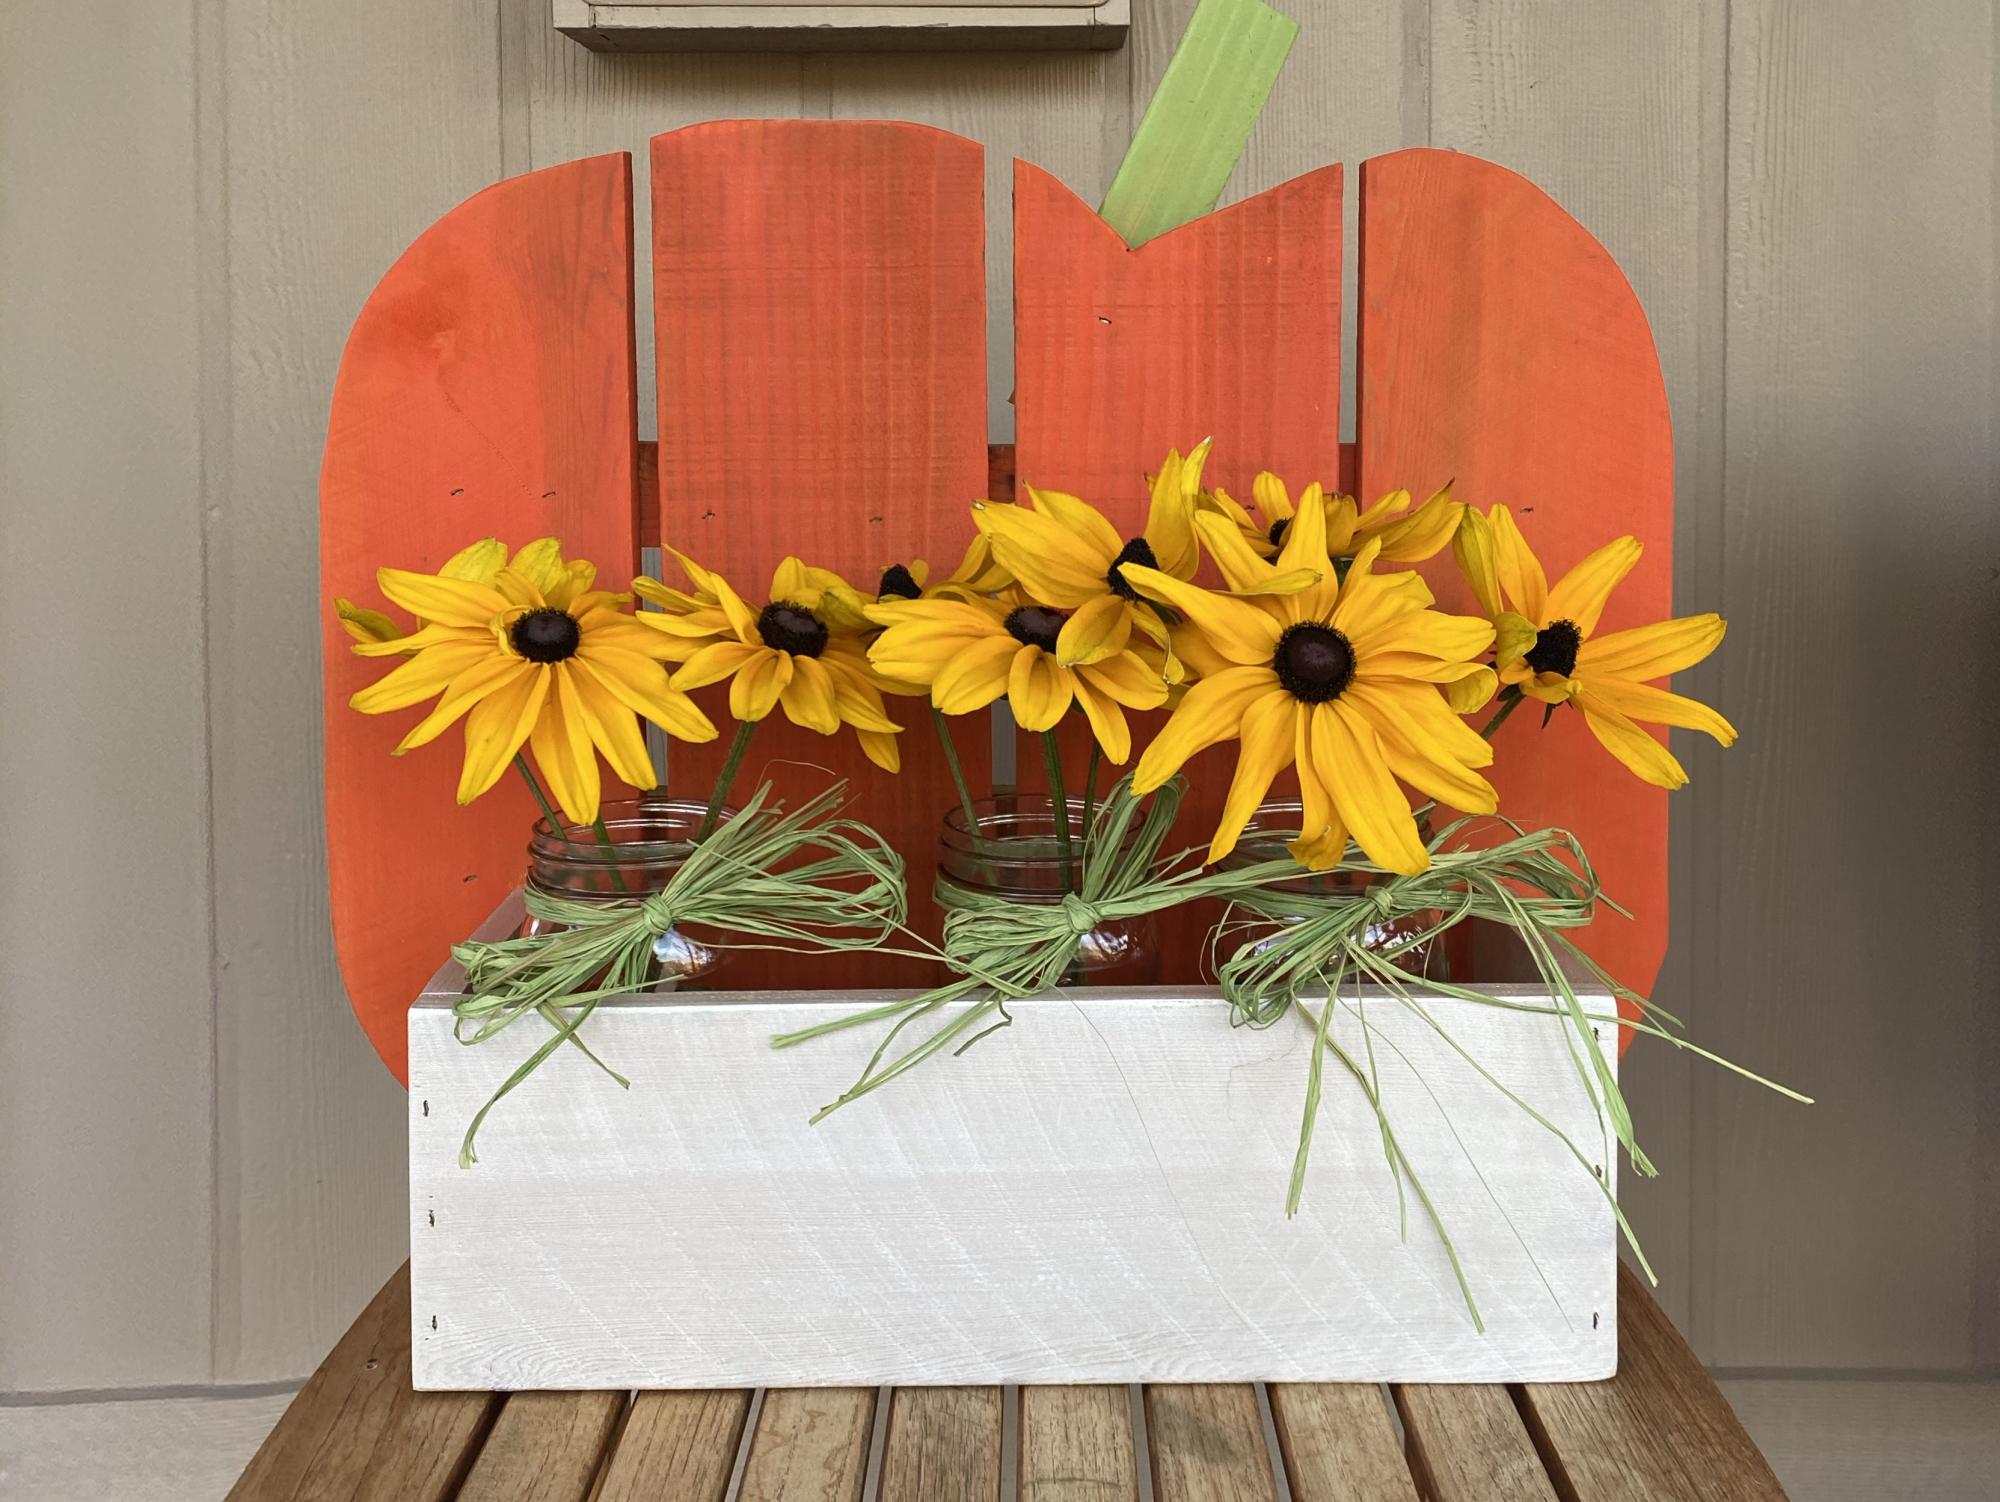
Wood Pumpkin Treat Holder

Submitted by Anonymous (not verified) on Wed, 10/21/2020 - 09:29

This was my first woodworking project and it was fun and easy. A few words of advice though...painting the wood first is a good idea. I did not so it took a bit more time. Using glue instead of staples would make the finish much nicer as you can see my staples, but it is rustic so that's okay. Thank you Ana!

Built from Plan(s)
Estimated Cost
$0. I had the materials on hand from scraps of previous fencing projects
Estimated Time Investment
An Hour or Two (0-2 Hours)
Finish Used
Water-based craft paint I had on hand. I added water to thin it so that the wood grain would show through.
Recommended Skill Level
Starter Project

Comments

Seasonal And Holiday

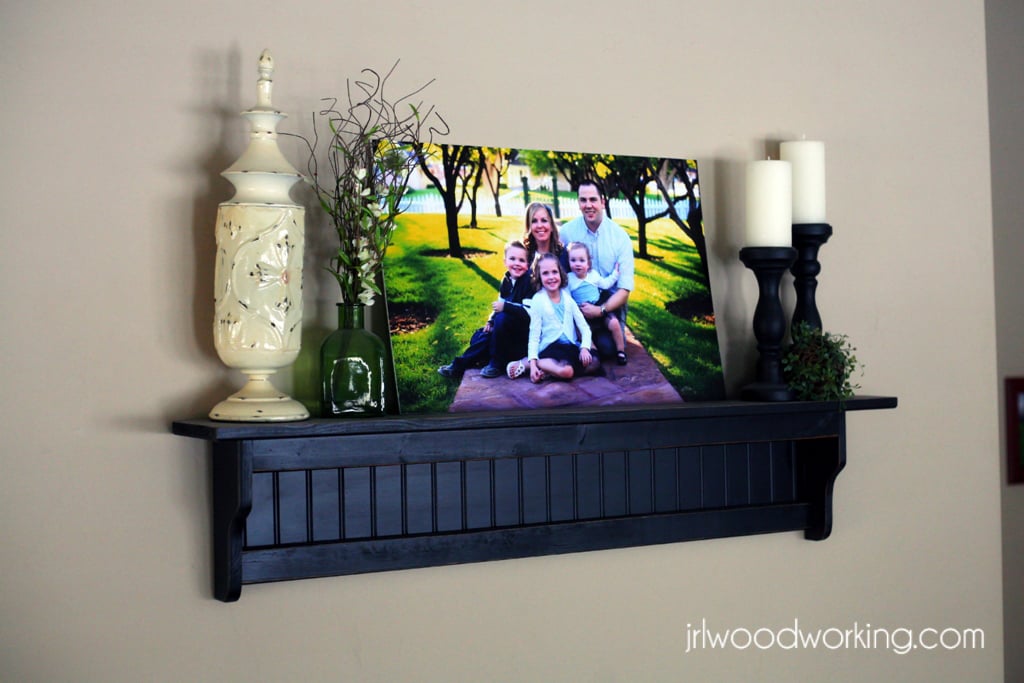
4-Foot Beadboard Wall Shelf

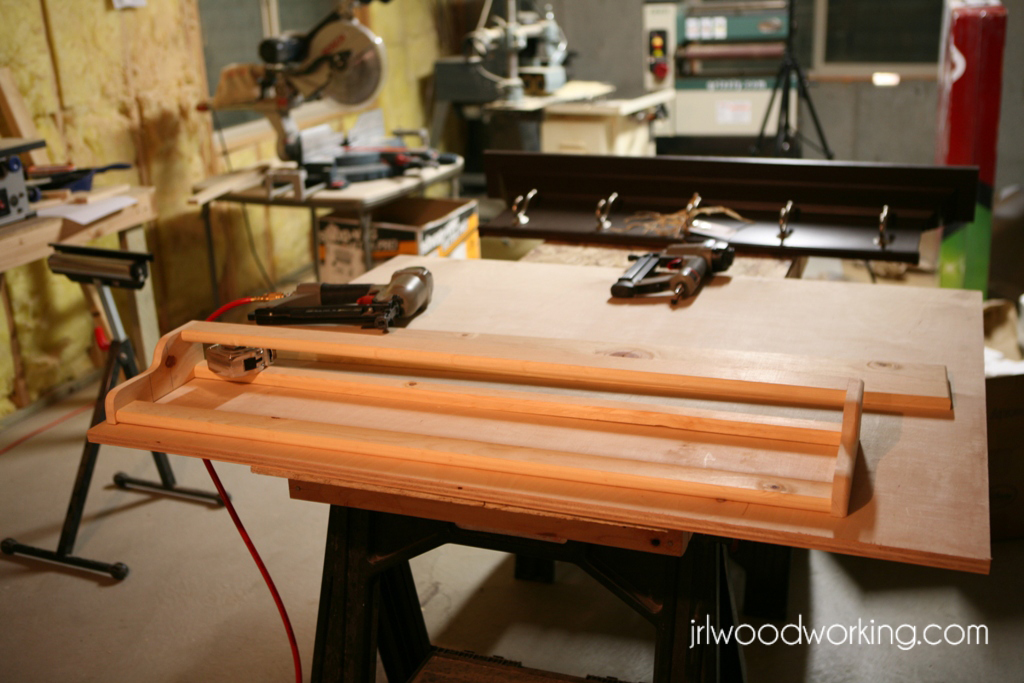
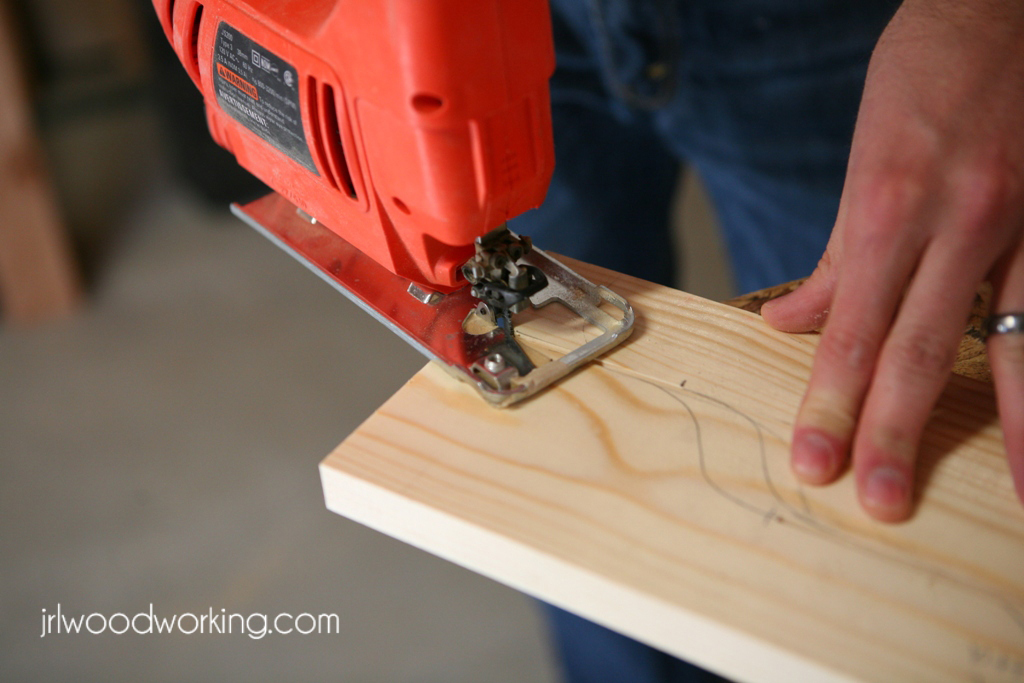
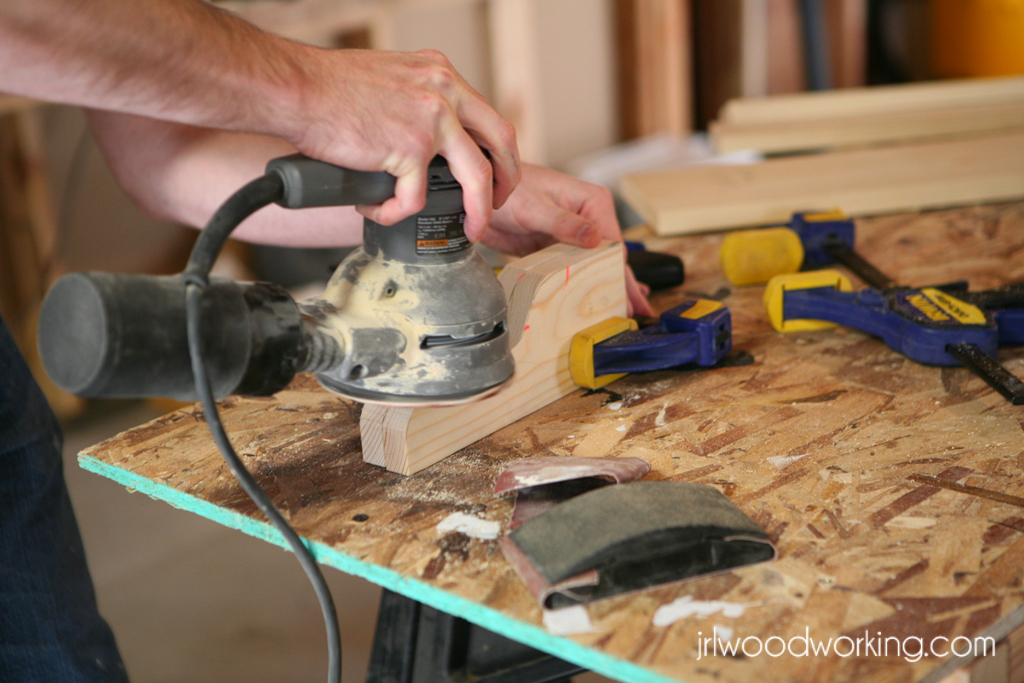
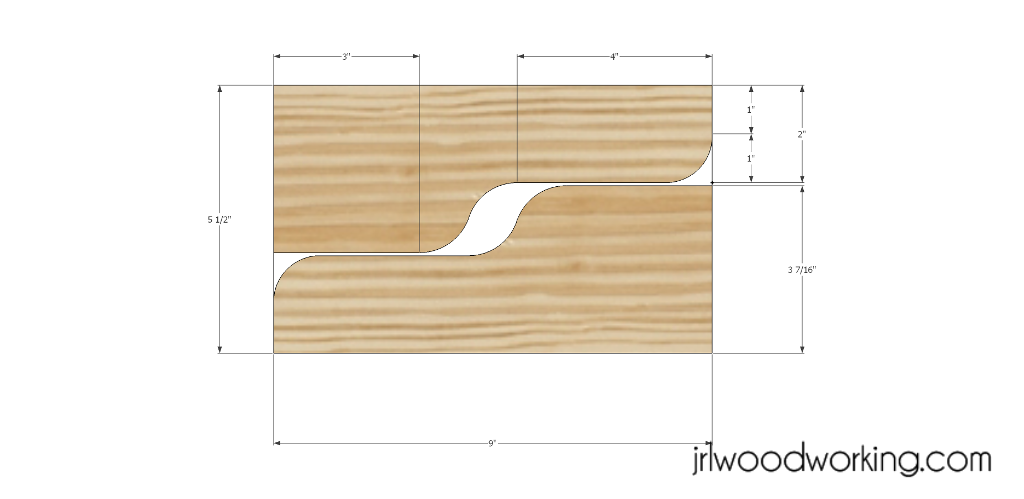
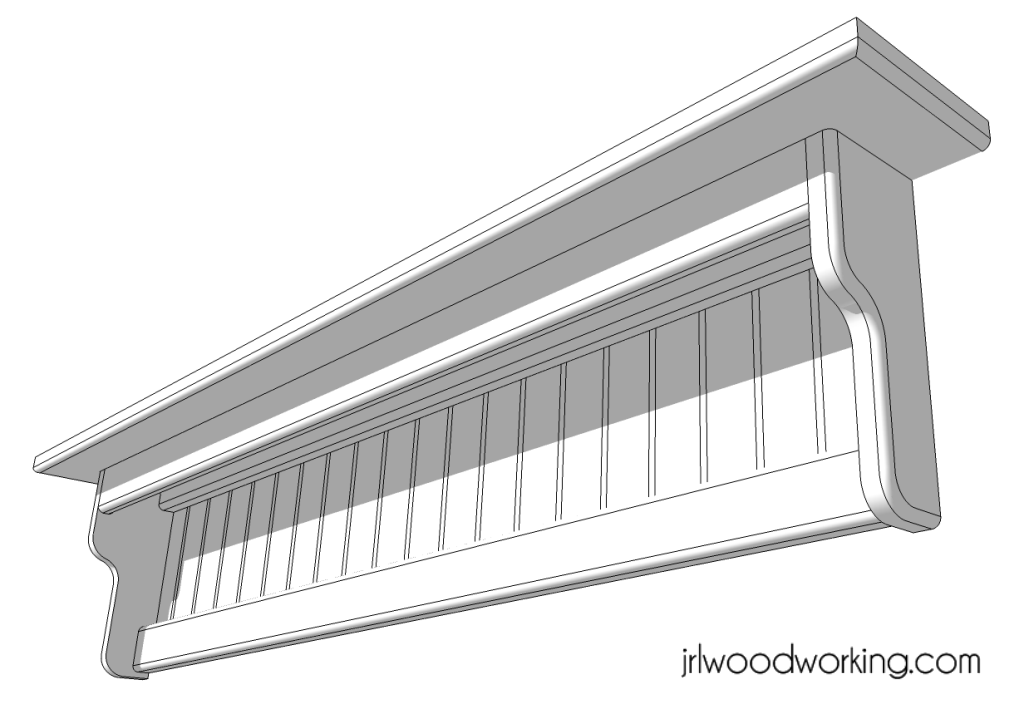
The 4-foot "classic beadboard" wall shelf is simple and cheap to make and it looks great for hanging pictures or decorations on the wall. The project requires only about $10 in materials, but it does required more advanced tools such as a chop saw, table saw, jig saw and router. Comparable shelves sell at between $60-$80.

I can build the project is about 1-2 hours, but it may take longer if you don't have all your tools set up. The plans are free on my woodworking blog at: http://www.jrlwoodworking.com/

You can also make the shelf in 2-foot and 3-foot lengths, simply shrink all the horizontal dimensions by one or two feet.

Estimated Cost
$10 + paint
Estimated Time Investment
An Hour or Two (0-2 Hours)
Finish Used
We used Rustoleum furniture spray paint ( flat black) and distressed it with sandpaper. You can use a Q-tip and a cherry gel stain to make the exposed wood pop. I don't like to put a primer on it because when you are distressing the wood, the primer shows through and looks funny if it is not the same color as the finished color.
Recommended Skill Level
Intermediate

Comments

kristenlotz

Fri, 01/04/2013 - 12:37

We actually built three of these for my husband's siblings for Christmas. The best part of it was the low cost. These only cost about $10 a piece and we left them unpainted so they could paint them to match their home decor. And whenever they look at their shelf, they will remember the hand-made Christmas present!

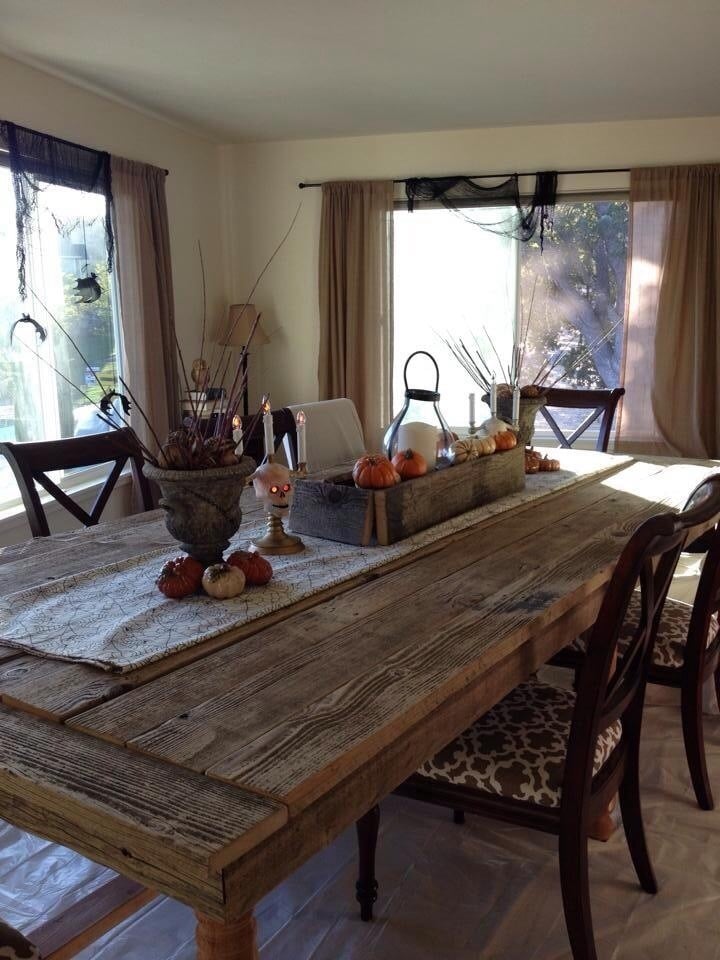
60 year old Barnwood Table

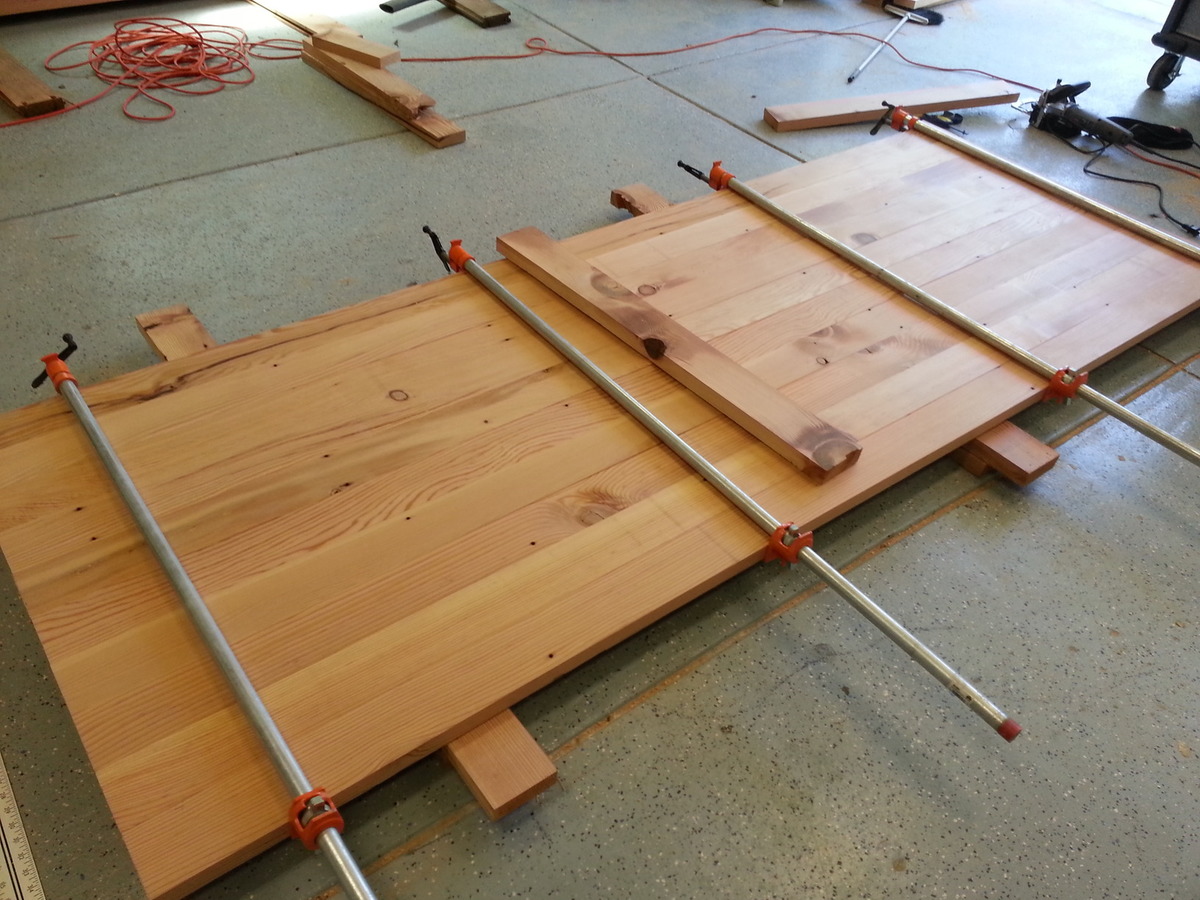
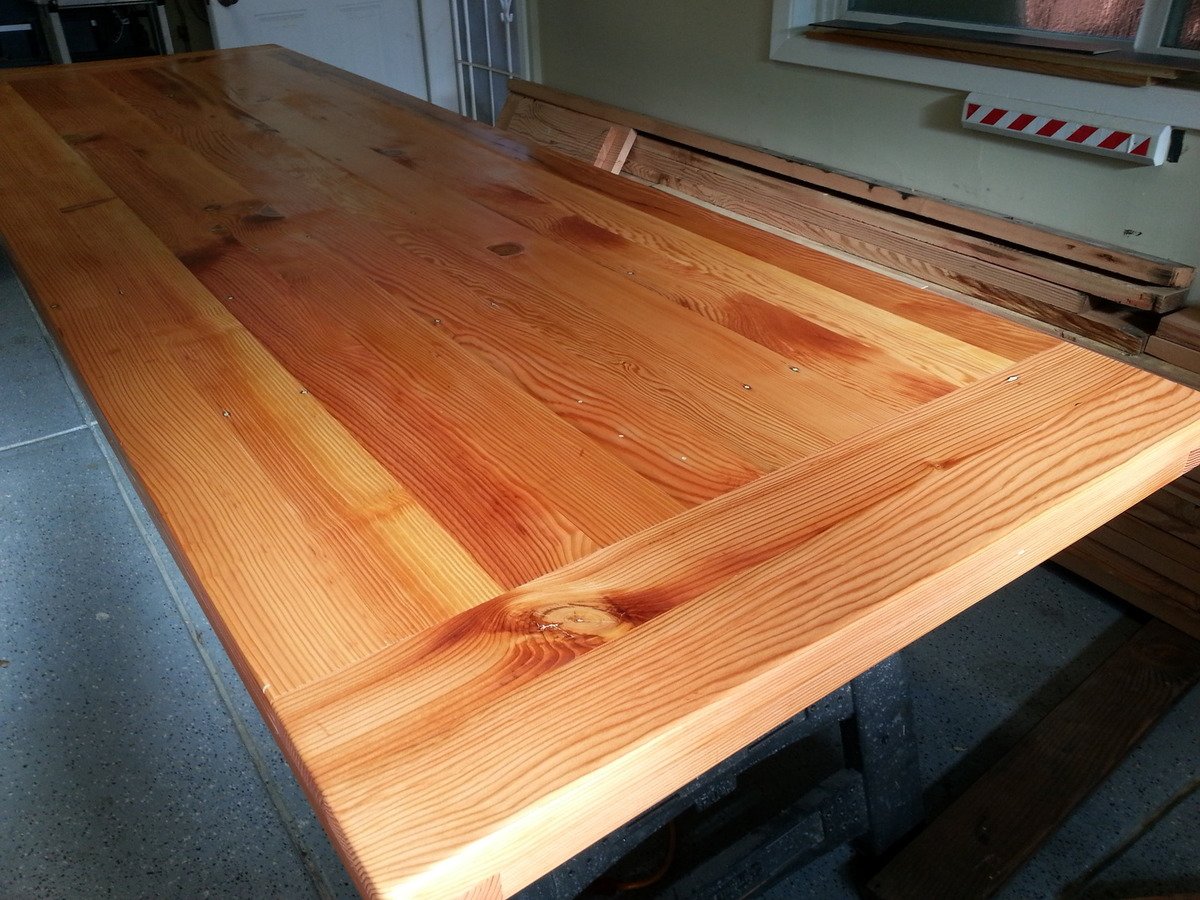
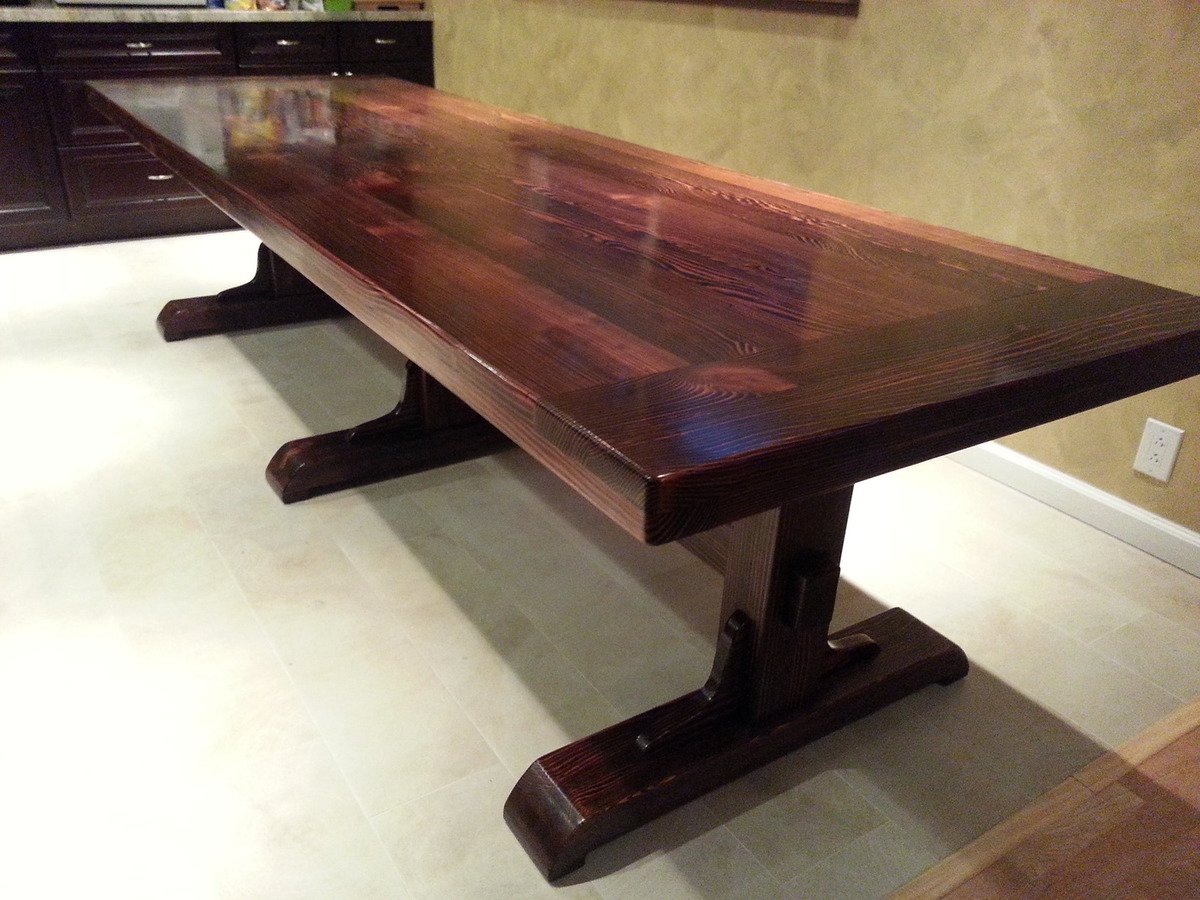
The wood came from a 60-70 year old barn that was torn down out on a friends property. The wood was fee and materials cost around $175. Took a couple weekends to build. 

Estimated Cost
$175
Estimated Time Investment
Weekend Project (10-20 Hours)
Finish Used
Polyurethane
Recommended Skill Level
Intermediate

Comments

Gmiller1966

Fri, 10/24/2014 - 19:56

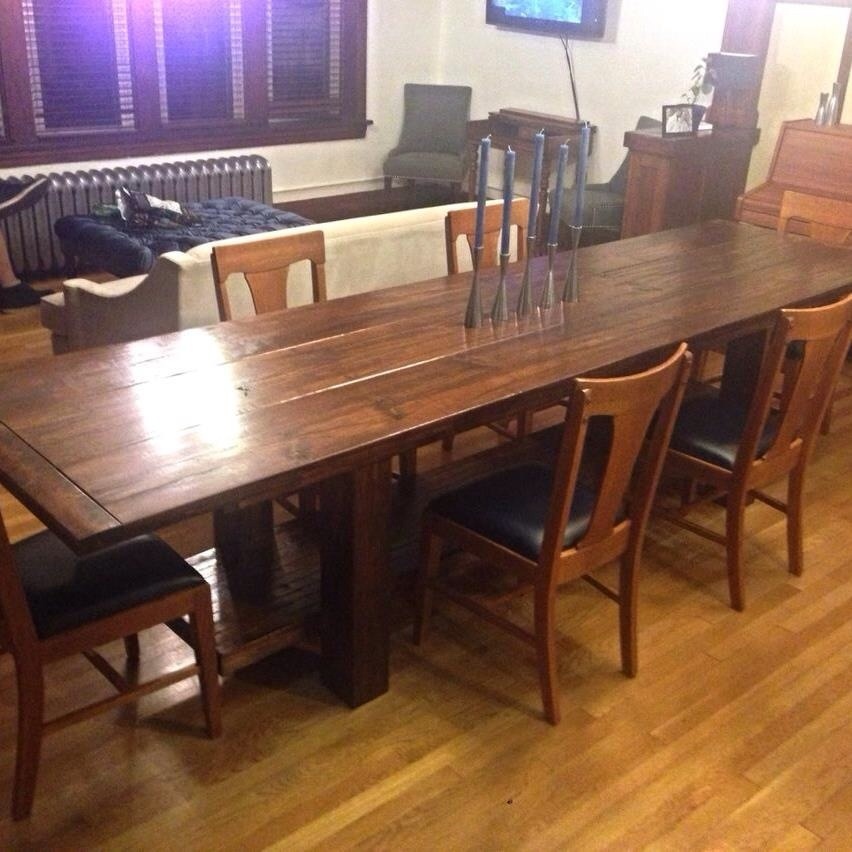
My wife wanted a large table to entertain. She mostly wanted to be able to decorate the center and not have to move it during dinner. The table measures 10' x 4'8" and is 29" high.

My version of Crate and Barrel Atwood queen bed

Submitted by Chriss45 on Thu, 02/02/2017 - 00:51

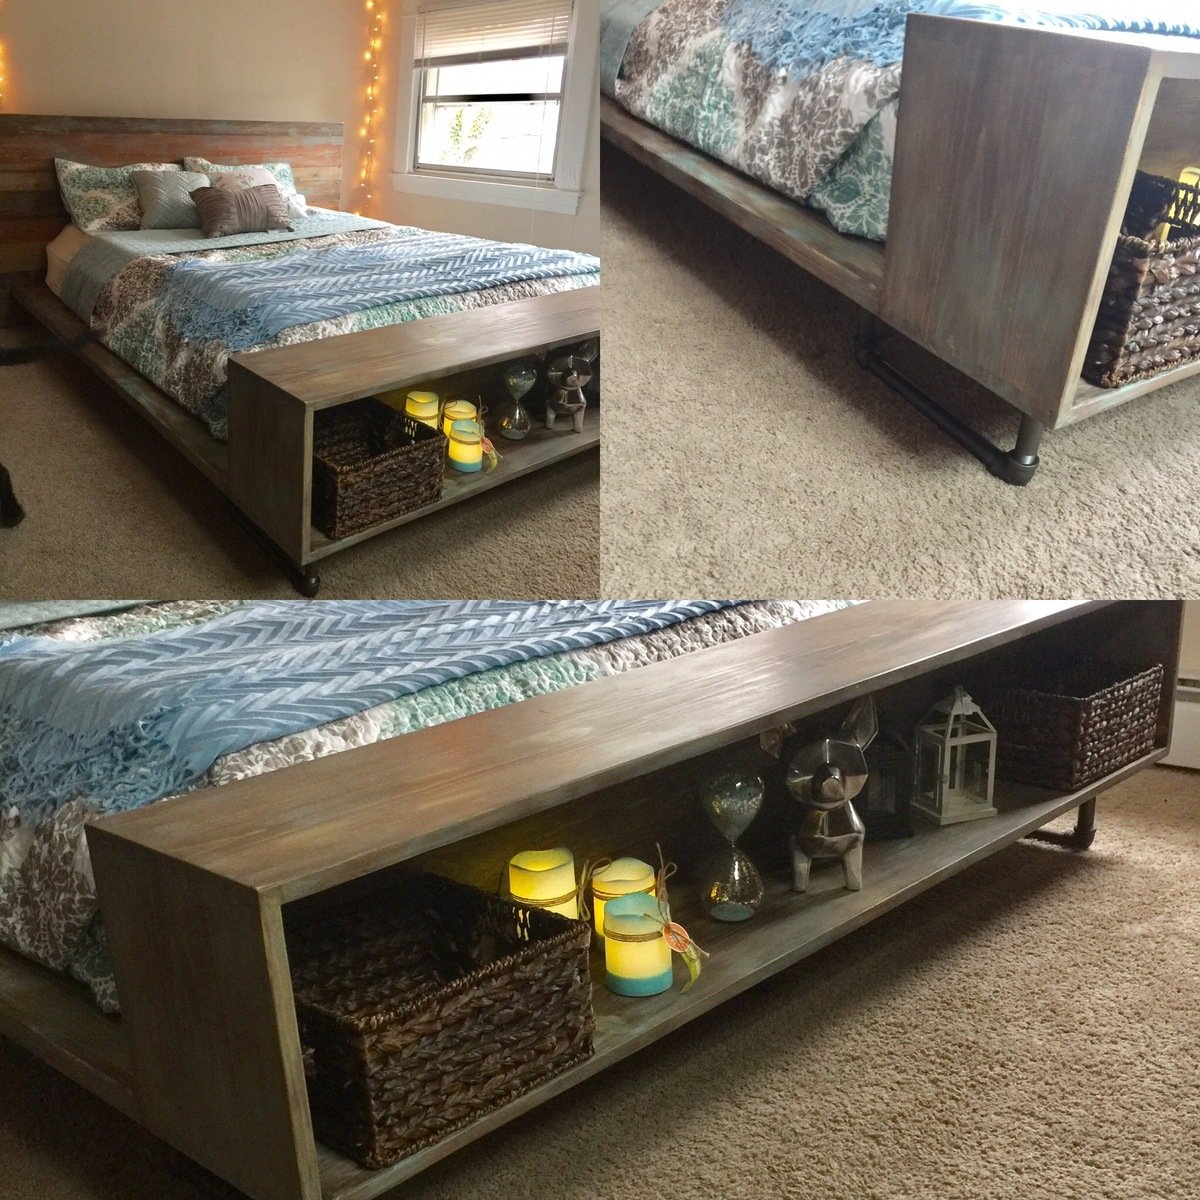
My daughter loved Crate and Barrel Atwood bed so I built her this bed that is very similar. 

Estimated Cost
300 dollars
Estimated Time Investment
Weekend Project (10-20 Hours)
Finish Used
Walnut stain and watered down chalk paint
Recommended Skill Level
Intermediate

Comments

Farmhouse table meets turned leg coffee table

Submitted by KathyV on Sat, 01/05/2013 - 16:47

This was my first project and I LOVE it. We desperately needed to get a new table for our kitchen, and thanks to Ana... here she is. I love it. I cannot wait until I build more things. The Handbuilt Home is ear marked for many projects. I am such a geek, I have not only the book, but the digital version as well. This is so helpful because the digital version is on my phone and I have it readily available when I go to the store. I cannot recommend this book enough. Ana exudes confidence and that helped me to pick up that circular saw. NO FEAR! Ok, I was petrified that first cut, and probably all of the other cuts too, but it didn't stop me.

This table was so time consuming because I have three children and those little stinkers take up at lot of time. I am positive if I could have dedicated a day or two just to this project, I would have been done sooner. I underestimated how much time needs to be dedicated to sanding and staining and sanding and sanding :) I also underestimated how heavy this table is. I needed help to turn this table right side up.

All in all, I could not be happier with the finished project.

Estimated Cost
approx. $100.00
Estimated Time Investment
Weekend Project (10-20 Hours)
Finish Used
I used minwax water based stain and water based poly on top (three coats).
Recommended Skill Level
Beginner

Farmhouse table tweaked

Submitted by Ddandrick on Sun, 10/26/2014 - 19:08

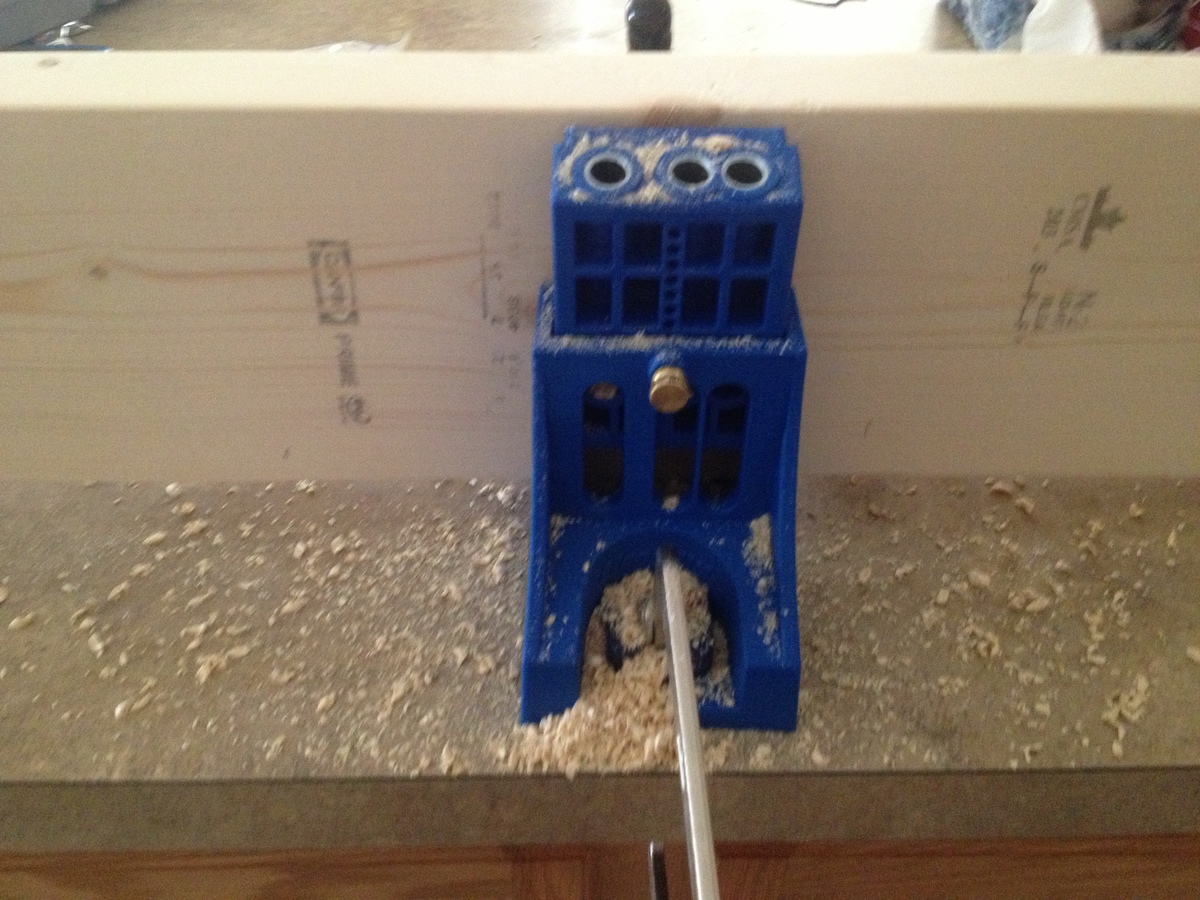
This was built using Ana's plans plus an inspiration photo my daughter took at an antique store in Chicago.  Notice the lower shelf stabilizing the bottom of the table. It also had to break down into sections to be moved three hours north to her apartment in Chicago.  Used lots of glue, and my trusty Kreg jig.  In the background is a tufted ottoman I also built at the same time.


Estimated Cost
$300
Estimated Time Investment
Week Long Project (20 Hours or More)
Finish Used
Poly stain
Recommended Skill Level
Intermediate

Brookstone Desk

This was a fun project. My first using drawer slides. Best advise would be to recheck squareness before attaching top.

Built from Plan(s)
Estimated Cost
$65
Estimated Time Investment
Weekend Project (10-20 Hours)
Finish Used
Dark Walnut stain
Poly top coat
Recommended Skill Level
Beginner

Comments

Simple bunk bed

Submitted by Rebma11 on Mon, 01/07/2013 - 09:01

I'm really happy with how this project turned out.
To attach the beds together I deviated from the original instructions and instead attached the headboard header to the headboard itself instead of to the feet of the upper bunk as directed. I used 3/4" dowels to attach the two beds, drilling 3" into the bottom bunk (through the header and into the posts), and 2" into the legs of the top bunk. This way the beds will easily come apart. They are incredibly secure, and incredibly heavy!

Estimated Cost
$200-250
Estimated Time Investment
Week Long Project (20 Hours or More)
Finish Used
paint
Recommended Skill Level
Intermediate

Comments

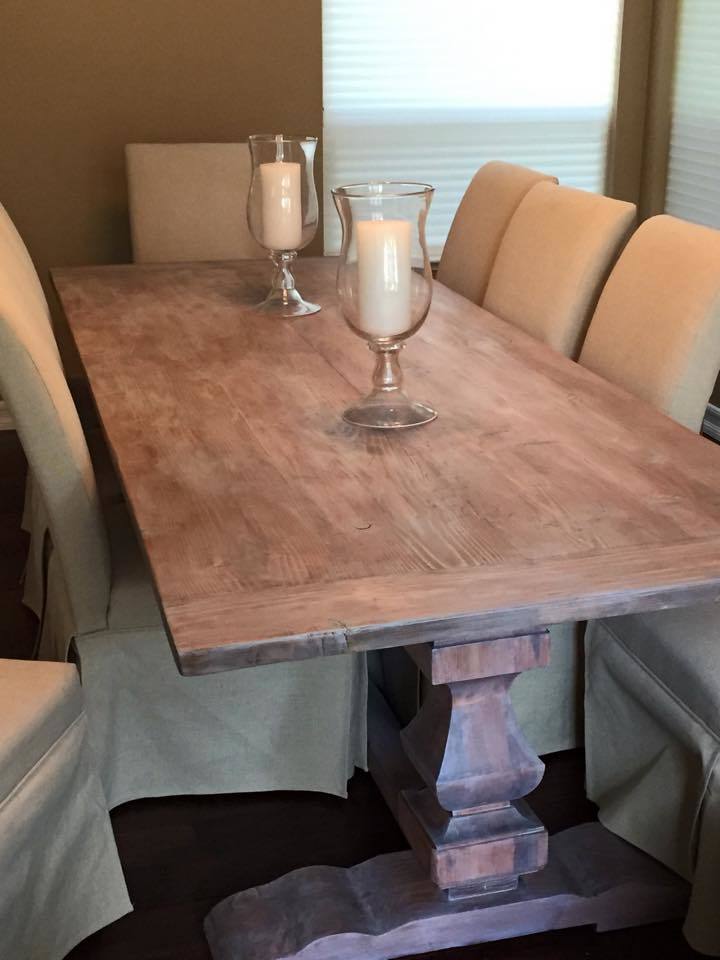
R.H. Stype Testle Dining Table

Submitted by Rich2727 on Fri, 10/31/2014 - 09:30

Was inspired to build this table after a visit to R.H. with my wife and realized a table this size and style would cost us about $3000.

So I decided to build myselft.  With a little help from Ana's plans and my own modifications, I think I got pretty close to the Restoration Hardware Trestle Table.

I bought the pedestals at Osbornewood.com and asked them not to drill the leg holes and ordered it in pine.  That was the most expensive part of the table, about $380 a piece.  The rest of it is Douglas Fir.

I created a template and shaped the feet myself out of 4X8 beams.  I was able to use my jig saw and a Bosch 10" blade.  I made the rough cut with it and then sanded the rest of the shape using my belt sander.

The pedestals have a hollow center and were too tall so I cut them down and created plugs and glued them into the pedestal.  The bottom plug has a large threaded rod and is glued and bolted to the feet, and the top plug was used to create the horizontal supports for the table top.  I too created a template for this and used a jigsaw to cut the shape.

I then used Minwax American English, then weathered oak, (Like in one of Ana's stain posts).  I then wanted to give it that weathered/reclaimed wood look so I add a fair amount of the White Pickling stain.  I wanted a little less of the red tones and more brown...I may sand and refinish it someday, but it is in the house for now and can't wait for our first dinner party.

Built from Plan(s)
Estimated Cost
$1000
Estimated Time Investment
Week Long Project (20 Hours or More)
Finish Used
American English, Weathered Oak, White Pickling
Recommended Skill Level
Advanced

Comments