Community Brag Posts
4 Bright Little Adirondack chairs
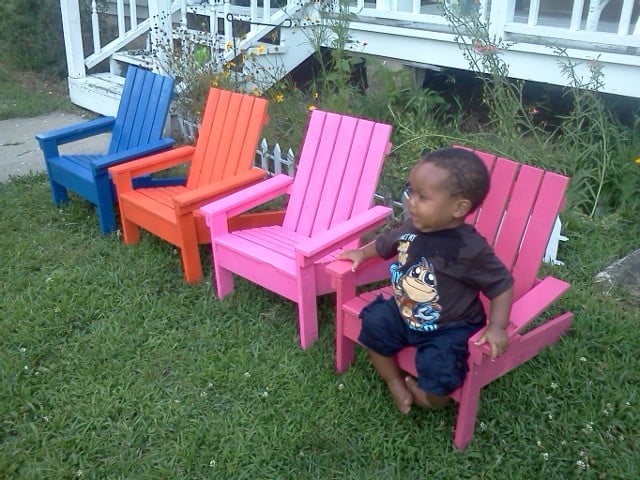
These 4 little chairs did not take very long to put together. But they did take me a while to sand, prime and paint. I hate that part of building-haha-so it always seems like it takes forever to get through with that and on to the fun part. They are very easy to make and inexpensive. My grandkids and others who have driven by and seen them out front have loved them!!
Comments
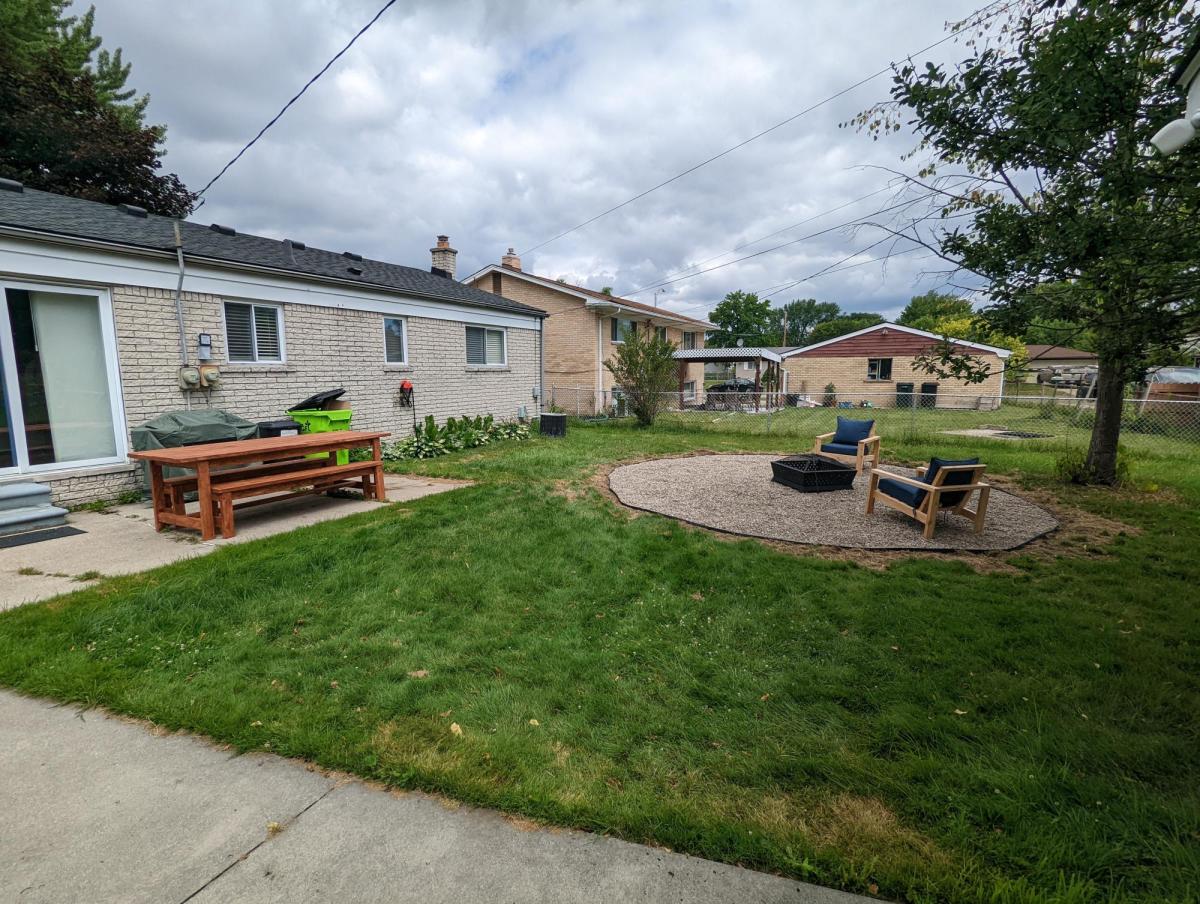
Outdoor chairs
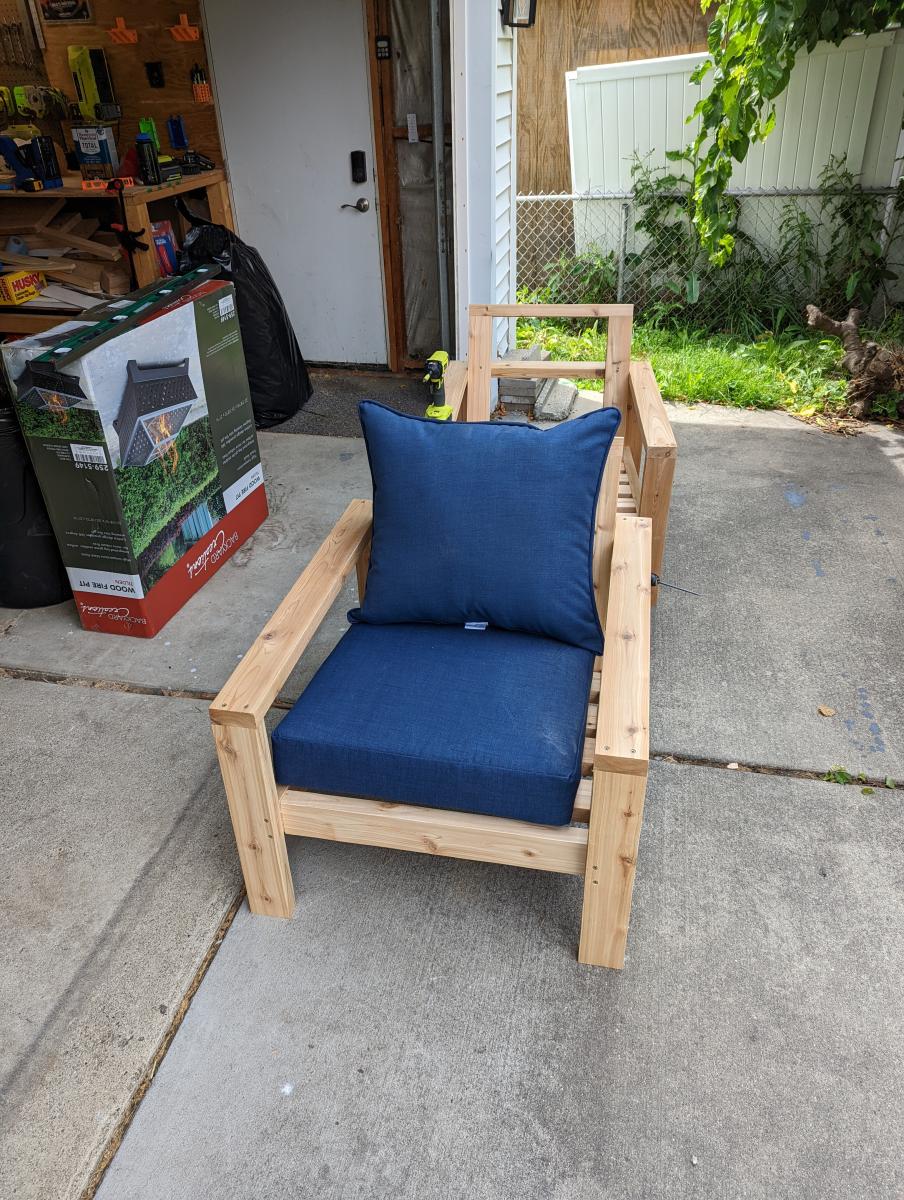
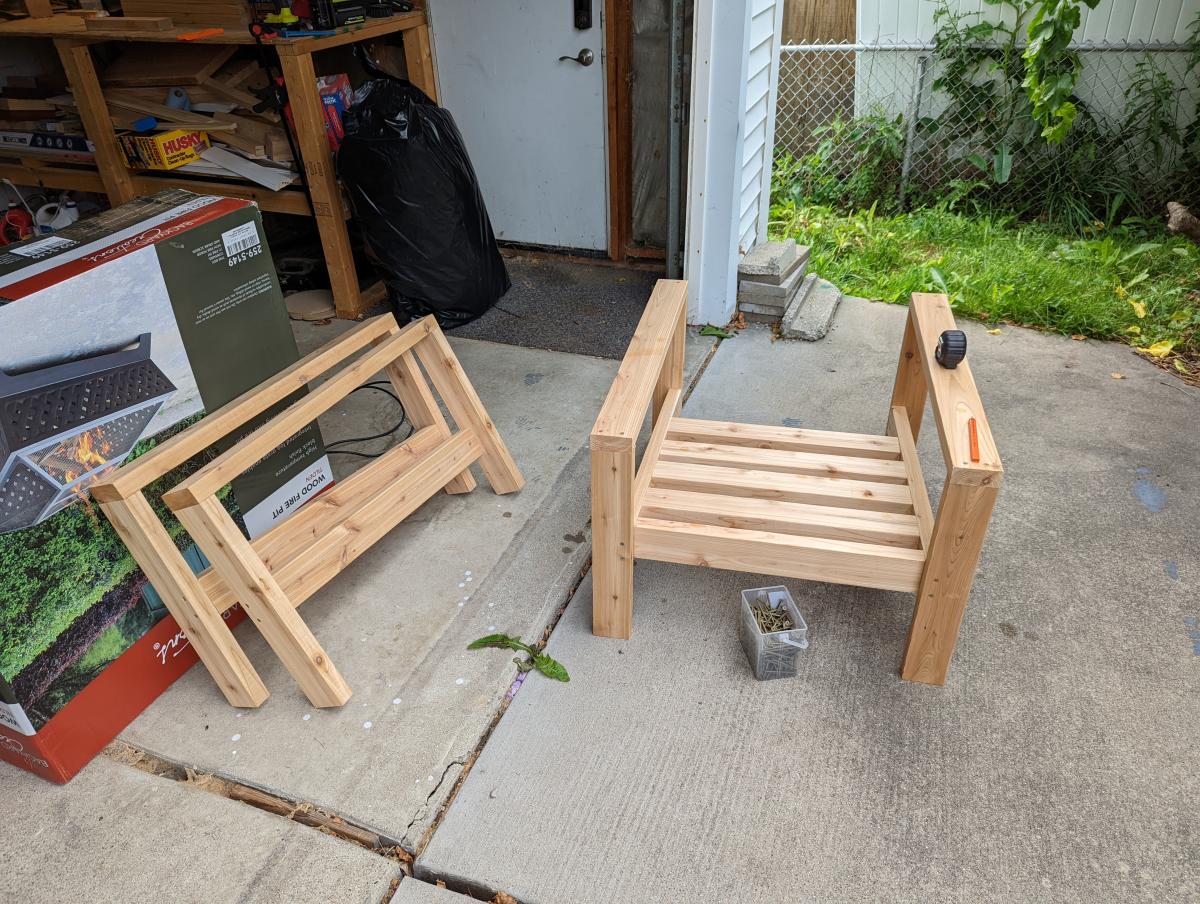
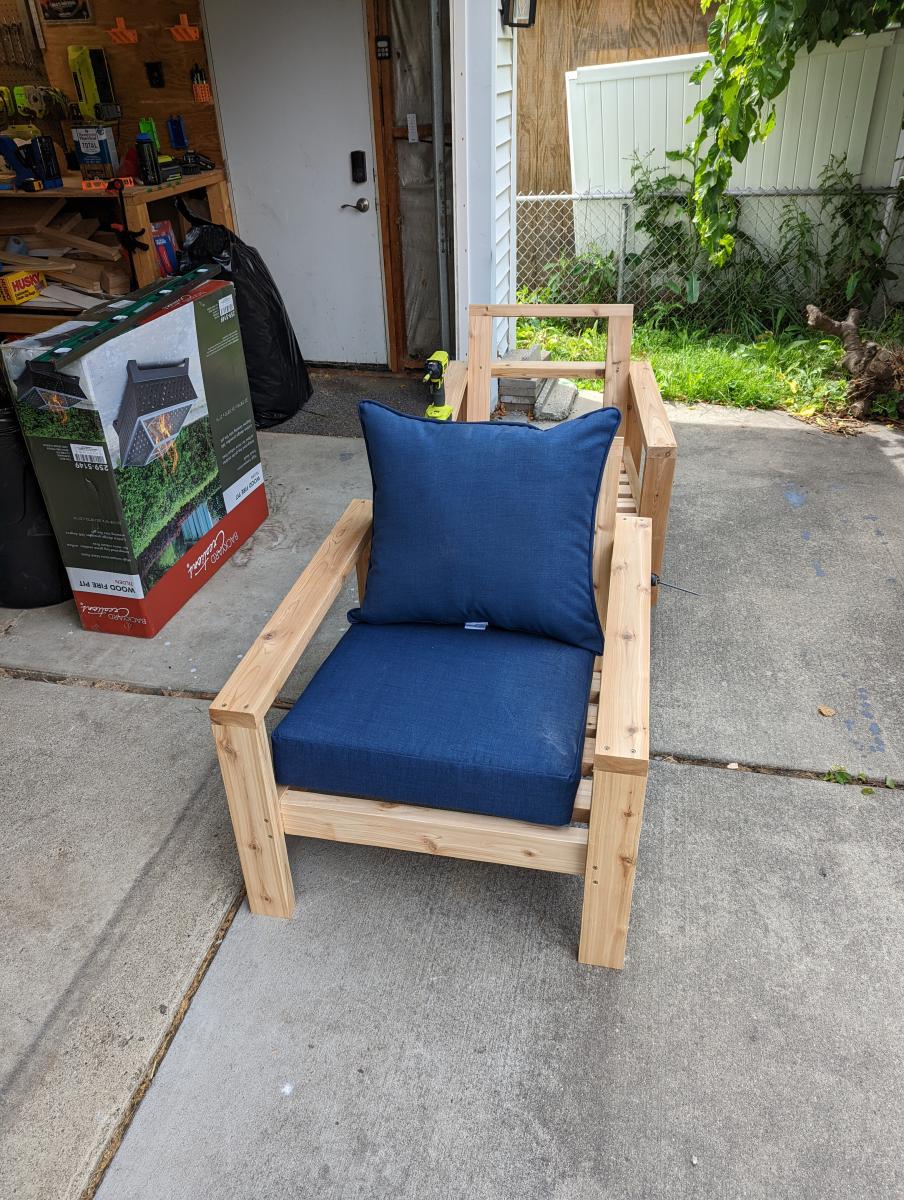
built straight from ana's plan. Used cedar 2x4s. super easy to make really happy how they came out. Cushions were like $52 per set at home depot.
Comments
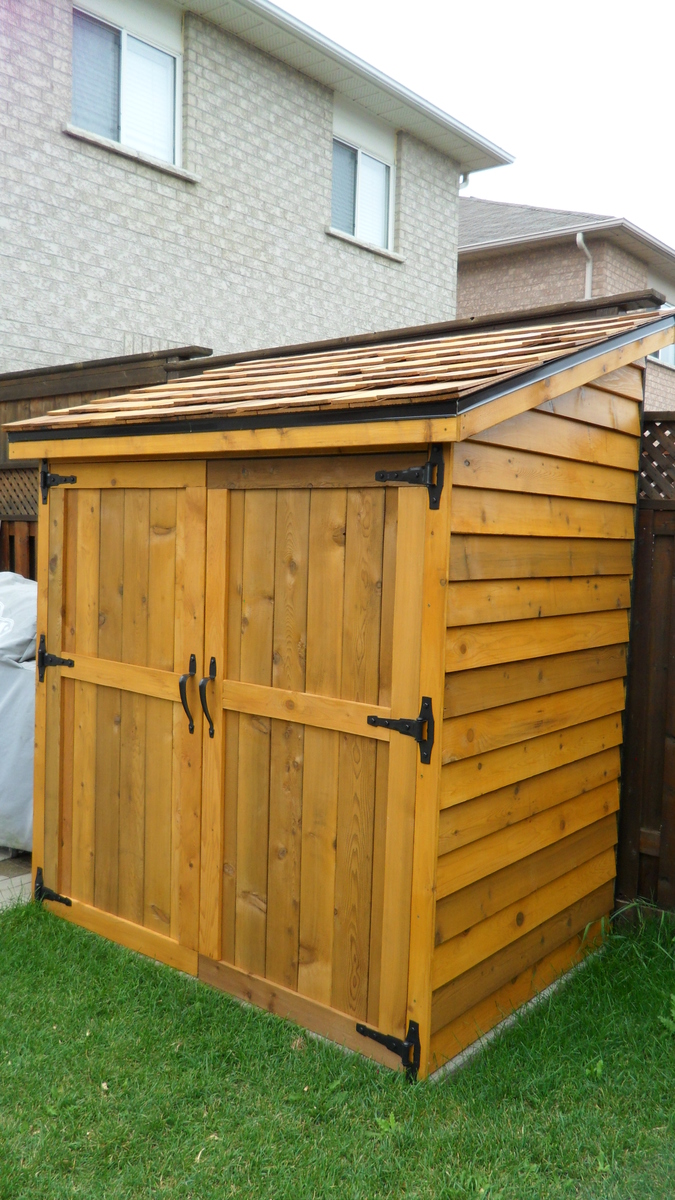
Cedar Shed
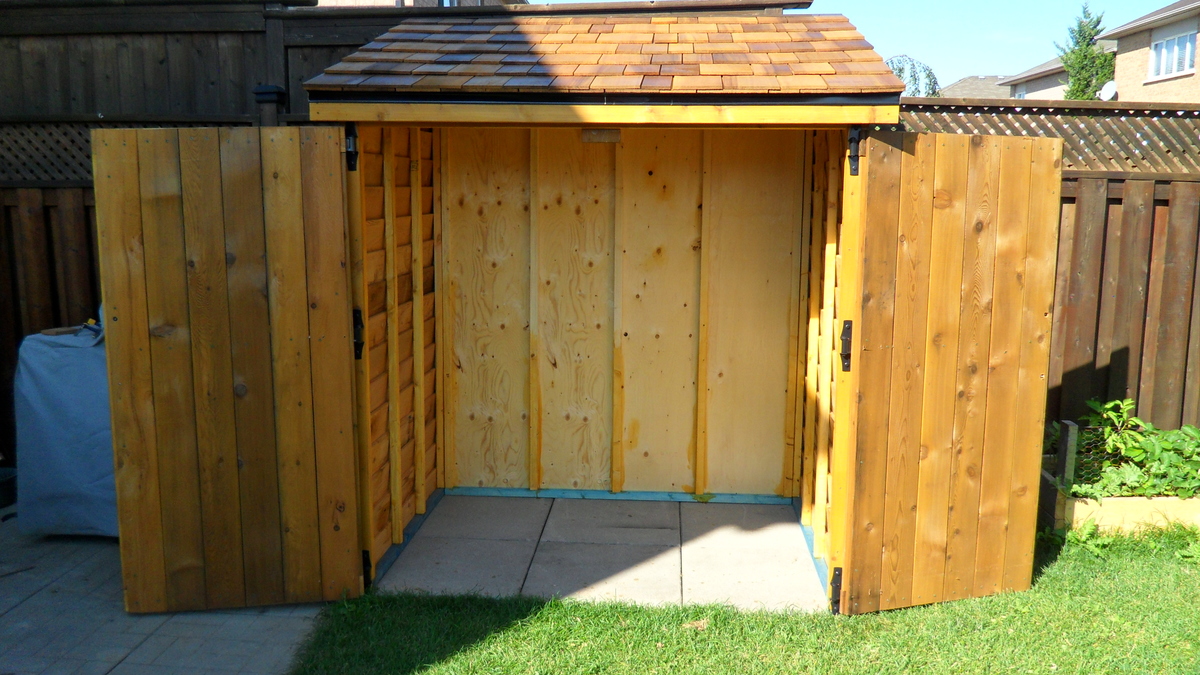
Thanks for the shed plans, I've been looking all over for something like this. I used 3/8" ply wood for the back wall to save money but spent what was saved and more on the shingles and stain/seal. I made the shed exactly 6' wide and 4' deep to fit the 6 2'x2's patio slabs.
The entire project took about 2 weeks to complete and cost about $700. We pay more in Canada but at least I finally got the shed I wanted.
Two Sizes from One Set of Plans
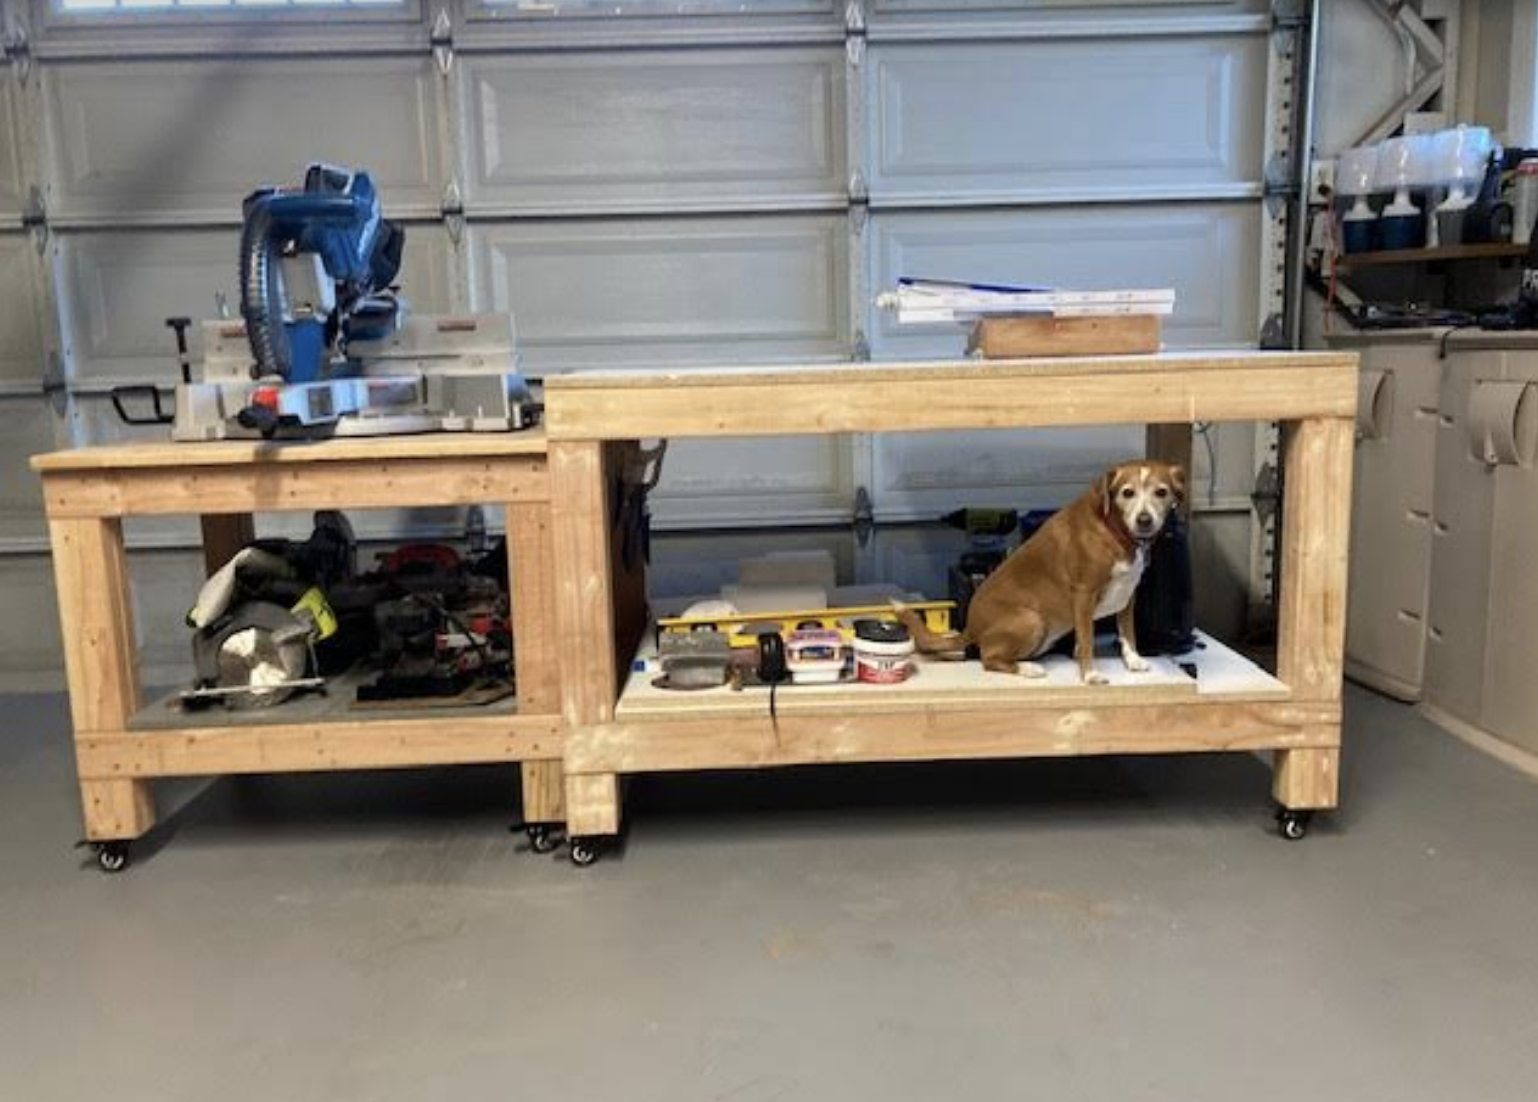
We followed Ana's plans for the large project bench. We altered the plans to make a bench for our compound miter saw with the saw platform level with the project bench.
Comments
Georgia's Jewelry Box
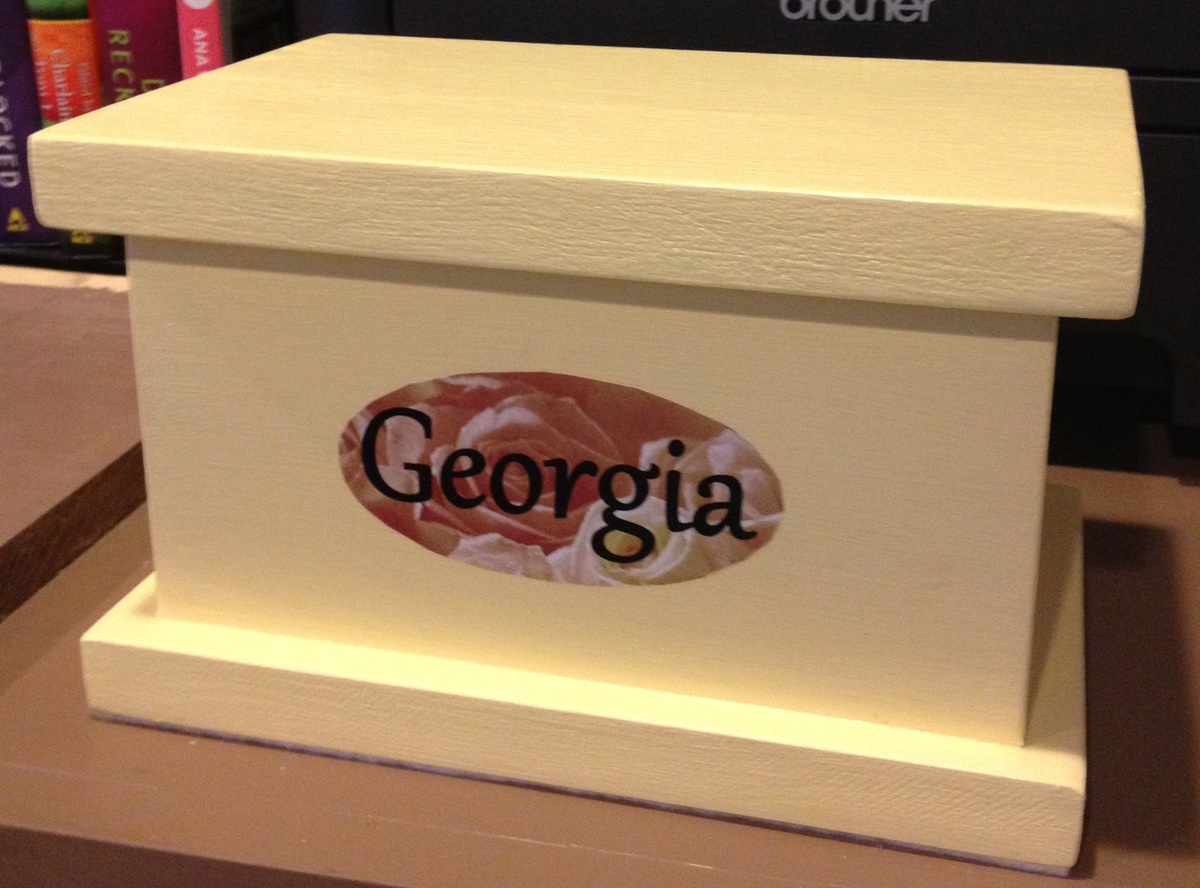
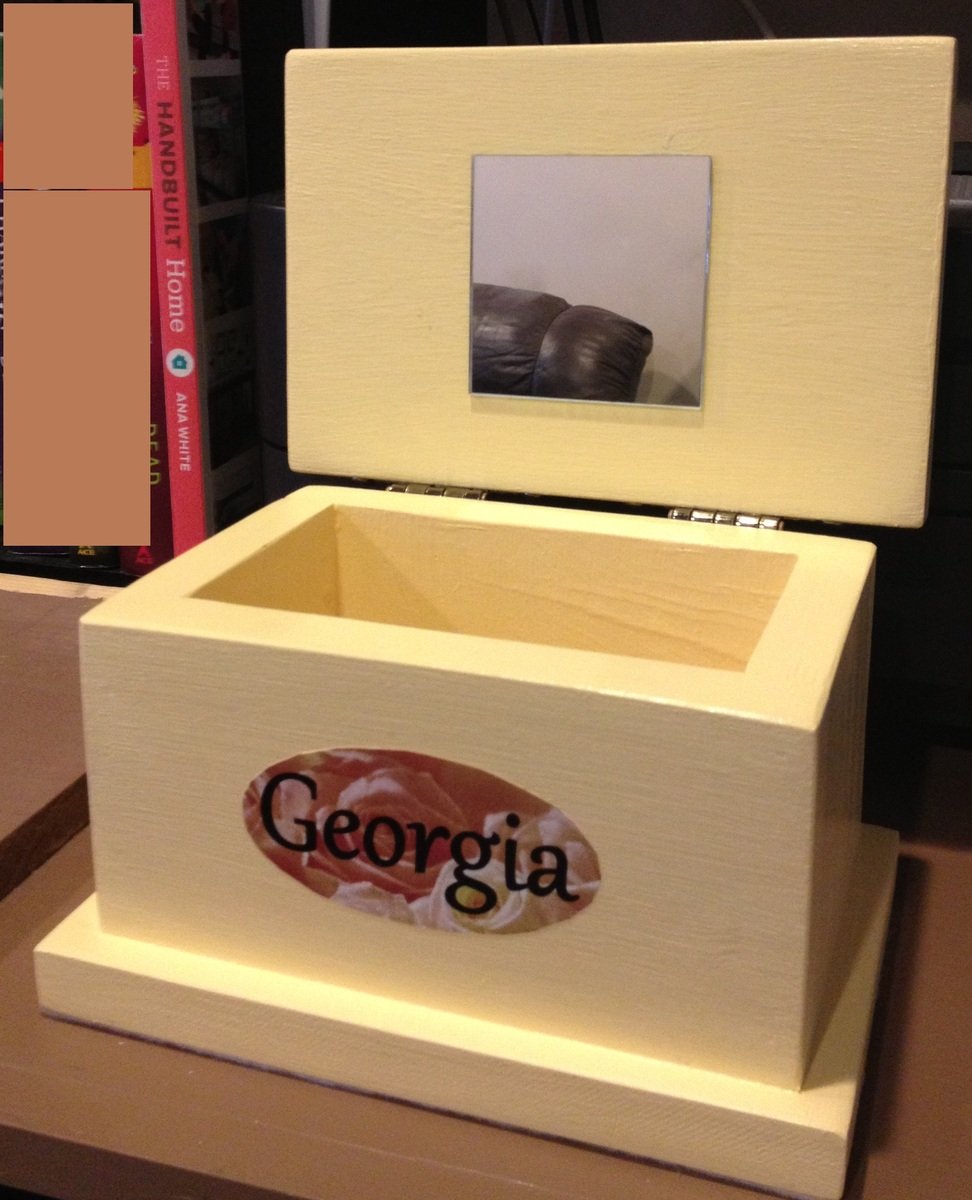
This build is a little jewelry box for a family friend who just had a baby girl named Georgia. Although I've built this box several times for myself and others to use for storage, I hadn't done a plan for it until now. This is from Georgia's Jewelry Box plan.
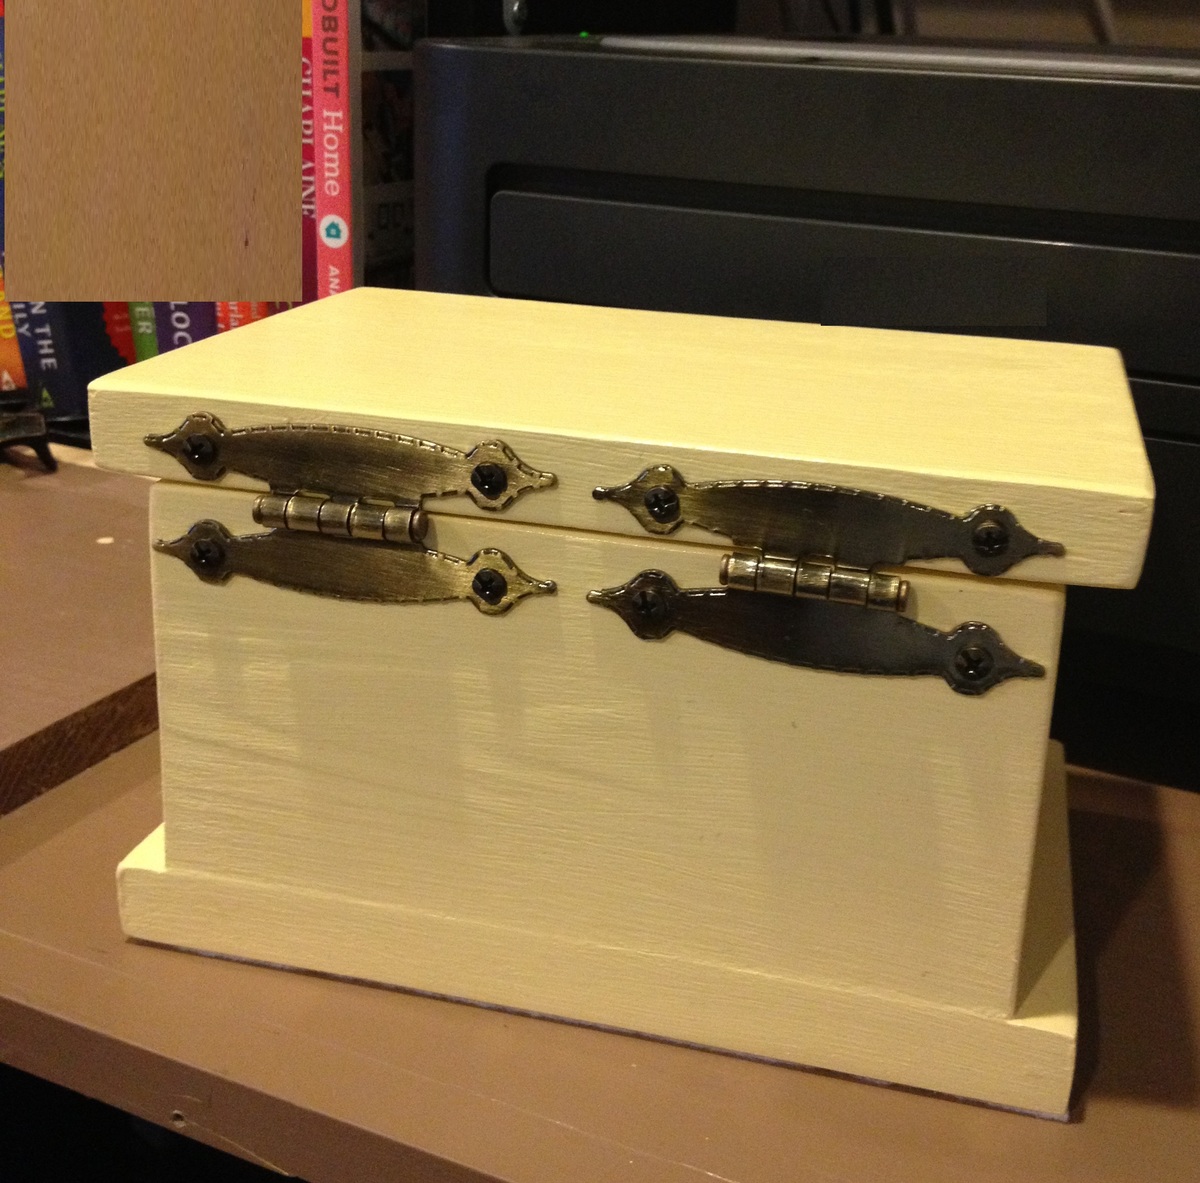
The wood is 1x4 and 1x6 whitewood scraps. The hinges are flat "H" style hinges from Lowes. I had them for another project and ended up not using them. The hinge color works very well with the light yellow, which I thought would be pretty for a little girl.
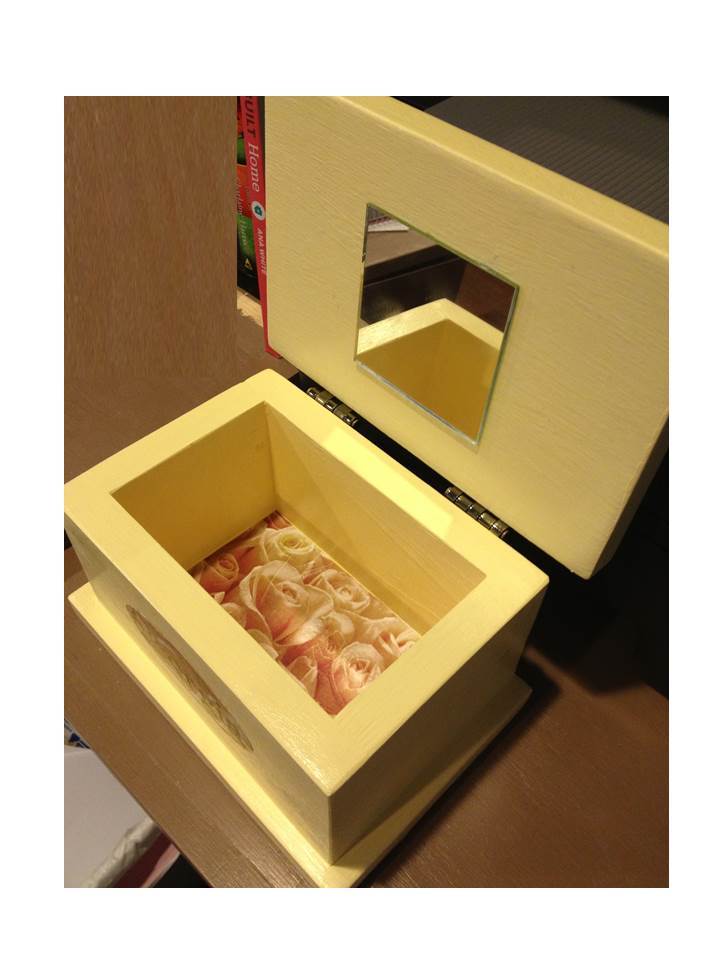
Originally I was going to paint or stencil her name on the front, but ended up printing it on pretty scrapbook paper and attaching with Mod Podge. Also added this paper to the bottom inside the box. Everything is top coated with Mod Podge.
On the inside of the top, I glued a 3" craft mirror (these are available in a 5-pack from Michael's for $1.99).
This was a very easy build. It look less than an hour to cut, build, and sand. The finishing I completed a few minutes at a time throughout the day, but the actual work between drying times wasn't more than an hour.
Comments
Modified shoe bench
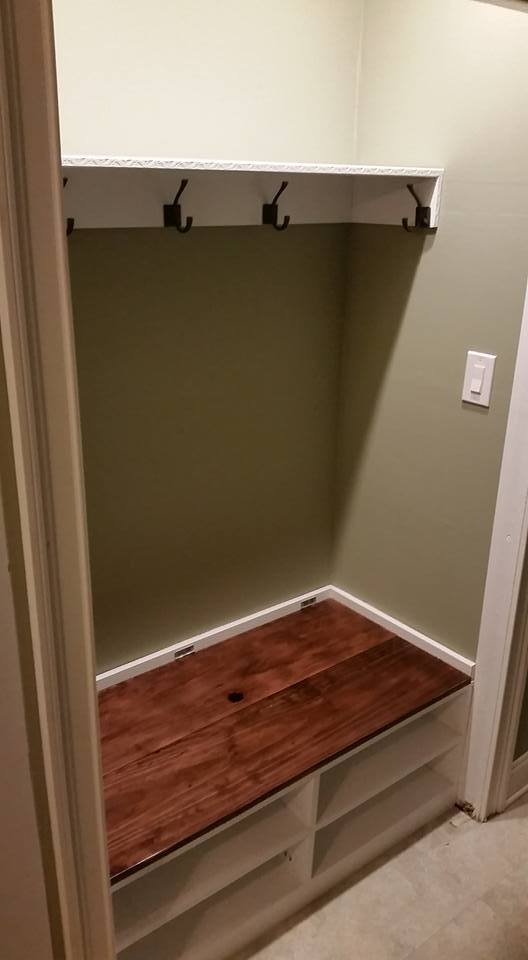
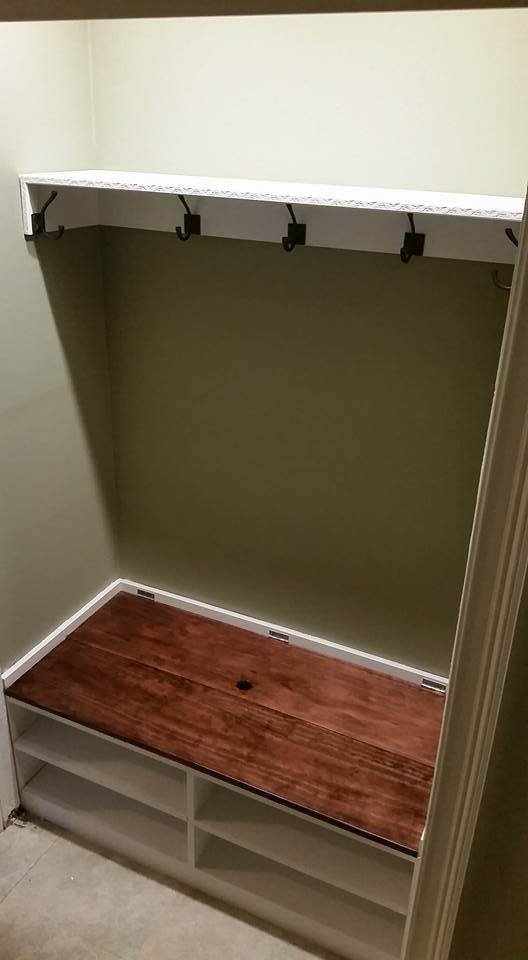
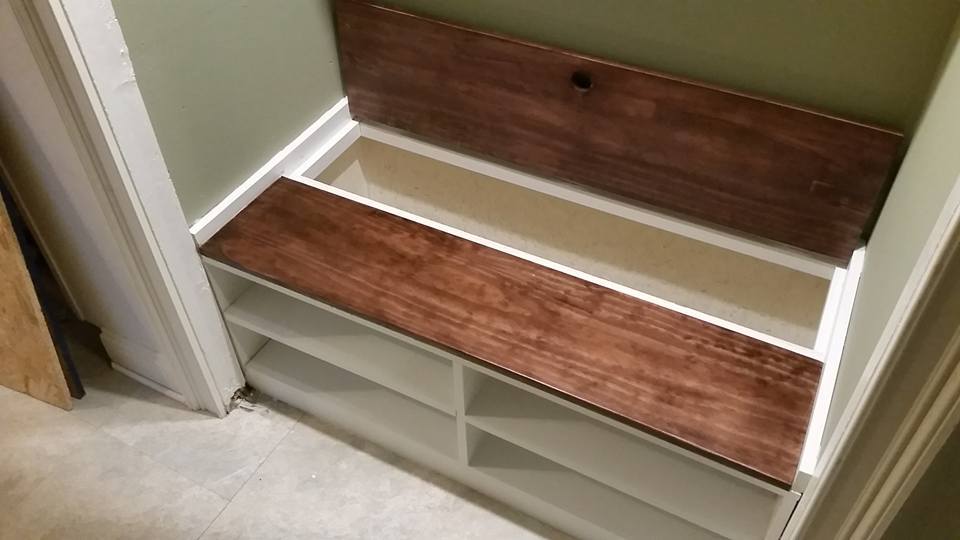
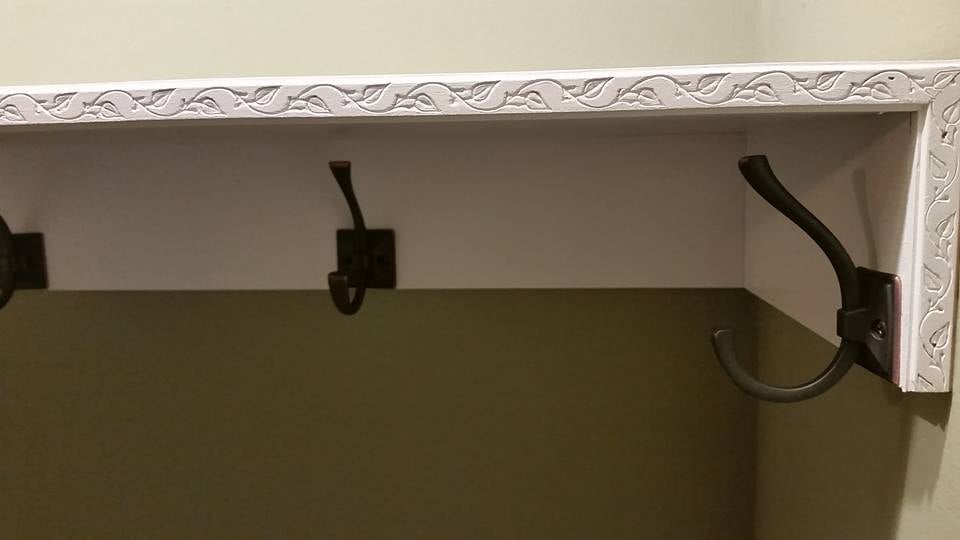
In our new home there was a 46" wide coat closet at the entrance. My wife wanted a place to sit down, take off shoes and put our coats and backpacks when we were home. I found Ana White's plans for this shoe bench and modified it to fit our space. The project took 3 days to complete due to the painting, staining and polyurethane, construction of the bench itself was quick. Previously I added a light switch and two 3" LED recessed lights in the ceiling. The project came out wonderful and I am very pleased. Thank you for the inspiration!
-Mike
Comments
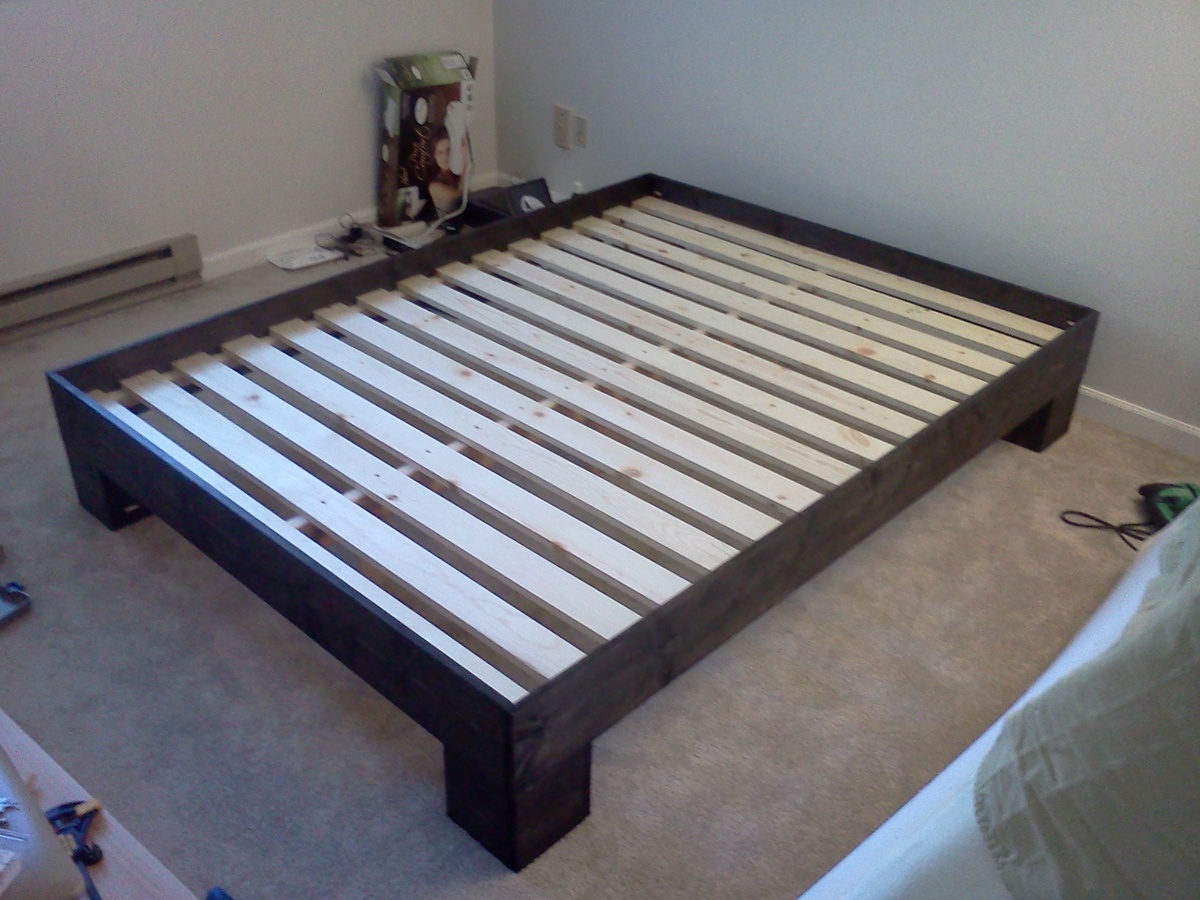
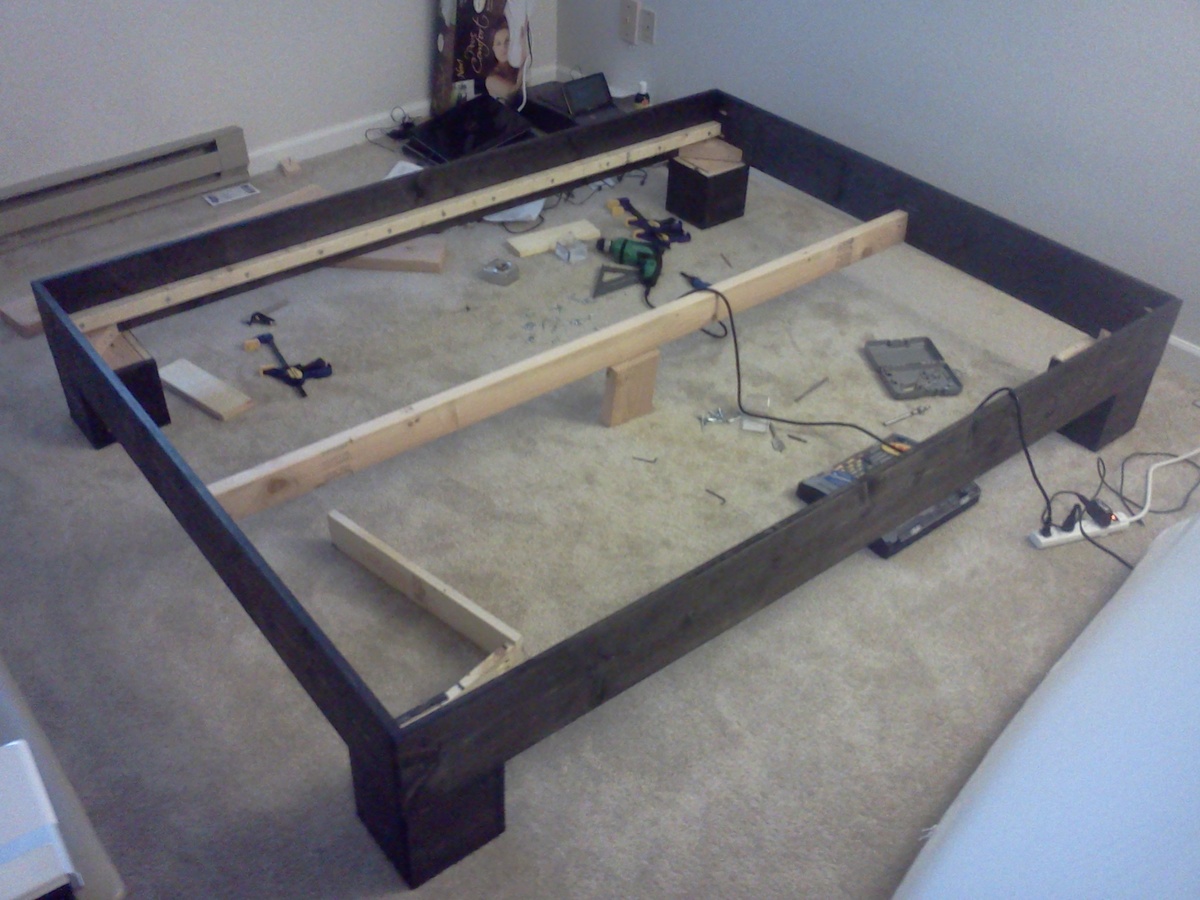
Chunky Leg Bed Frame slightly taller

First time really building anything out of wood. Getting a kreg jig was probably the best decision I made on this project. I made the legs slightly taller (7") for a bit of underbed storage and used a 2x4 brace instead of 2x6, so I could sit the slats down a bit lower but still keep a gap above the legs. The mattress sits 3" below the edge of the bed. I put a few legs under the center support, but they probably weren't necessary for the queen size bed. I spent about $150 for the lumber ($50 just for the bigger slats for my memory foam mattress), and about $50 for the kreg jig jr. and screws. I did not use any glue so I can take it apart later, and so far it seems pretty sturdy with no creaks. Thanks so much for the plan Ana!!! On to a headboard and bedside tables...
Comments
Sat, 10/08/2011 - 13:11
Looks Great!
This looks awesome for a first timer! Good job and I agree about the Kreg...it is a wonderful investment for any future projects. I have memory foam too so will probably do the same with having wider slats.
Floating Bunk Beds and Desk
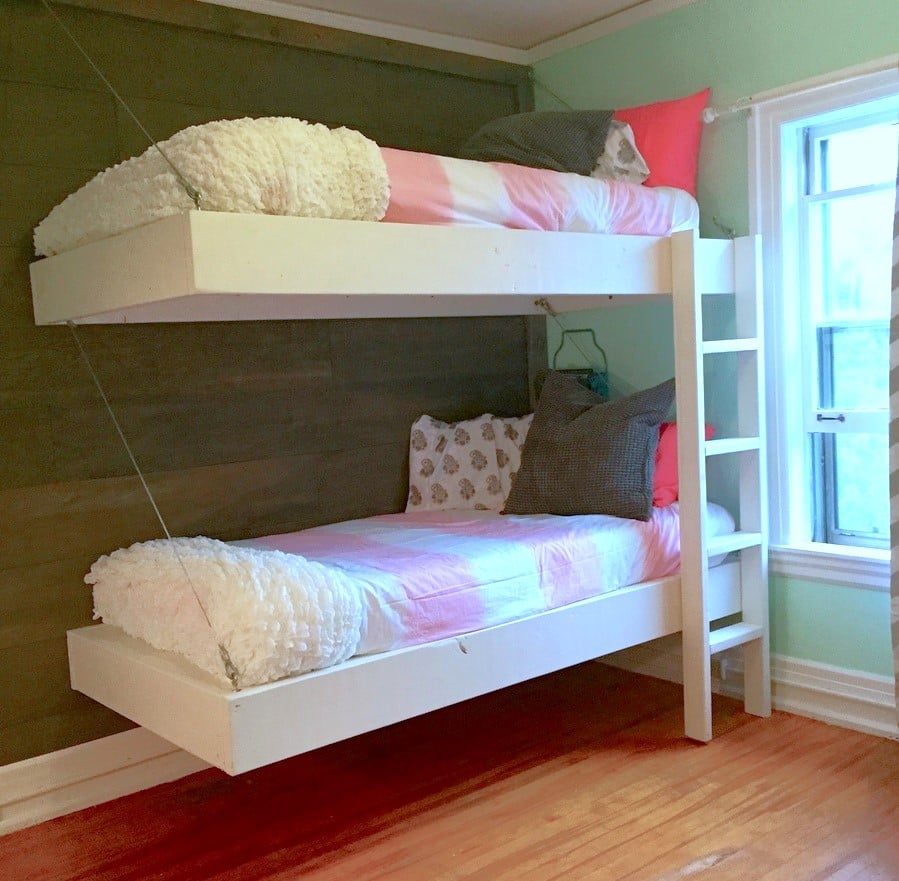
This little girls room needed a little happy birthday! I planked the wall with birch veneer, made simple box frames for the beds and desk, and attached them to walls with heavy duty cable. Then my friend added her designer touch, and made it cozy and girl CHIC!


Adirondack chair
My fiance and I built 2 of these chairs. He took one to his house and one is at my house...for now. Picked up 2 cushions at Walmart on Clearance. I sit in it quite often. Great plans!
We stained the boards before putting the chair together. It takes a lot longer to build this way, but maybe it is easier in the long run.
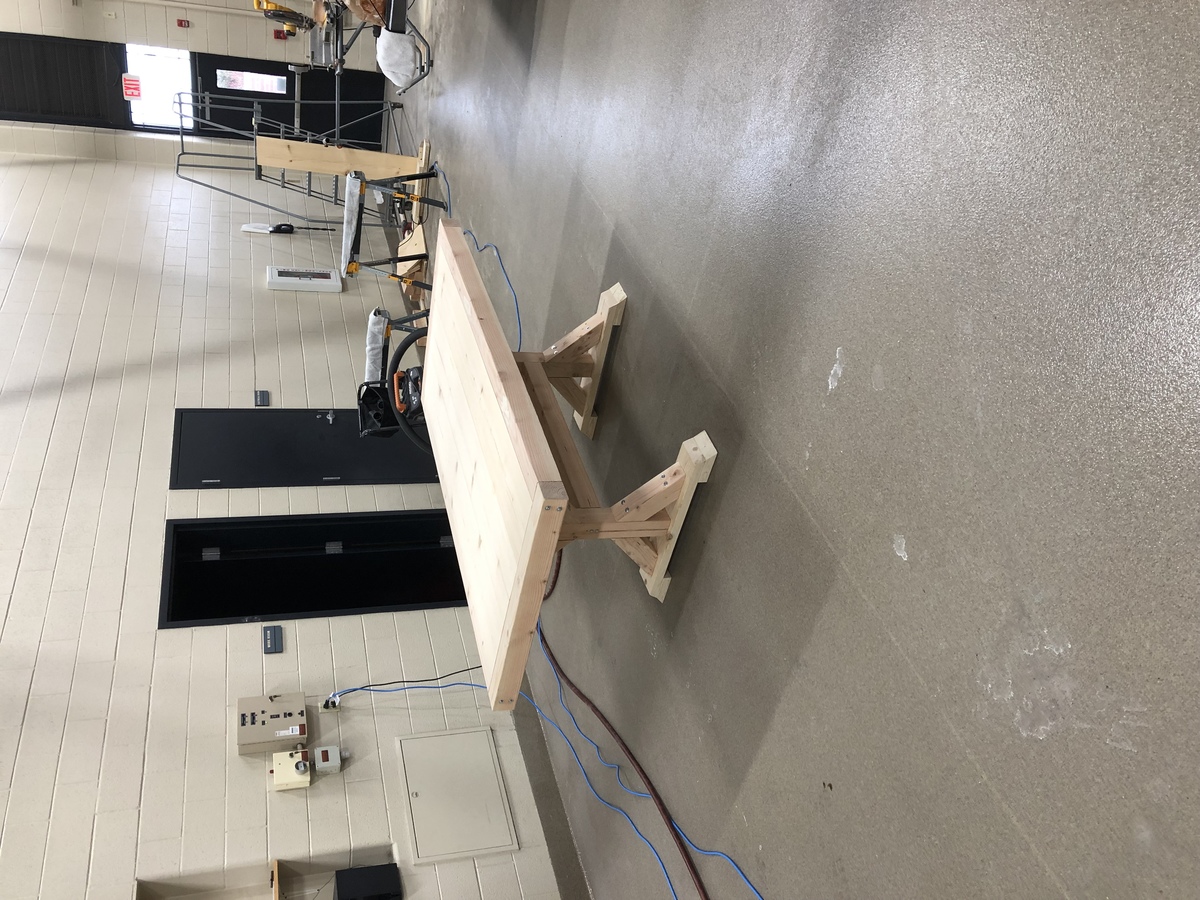
Chunky farmhouse table
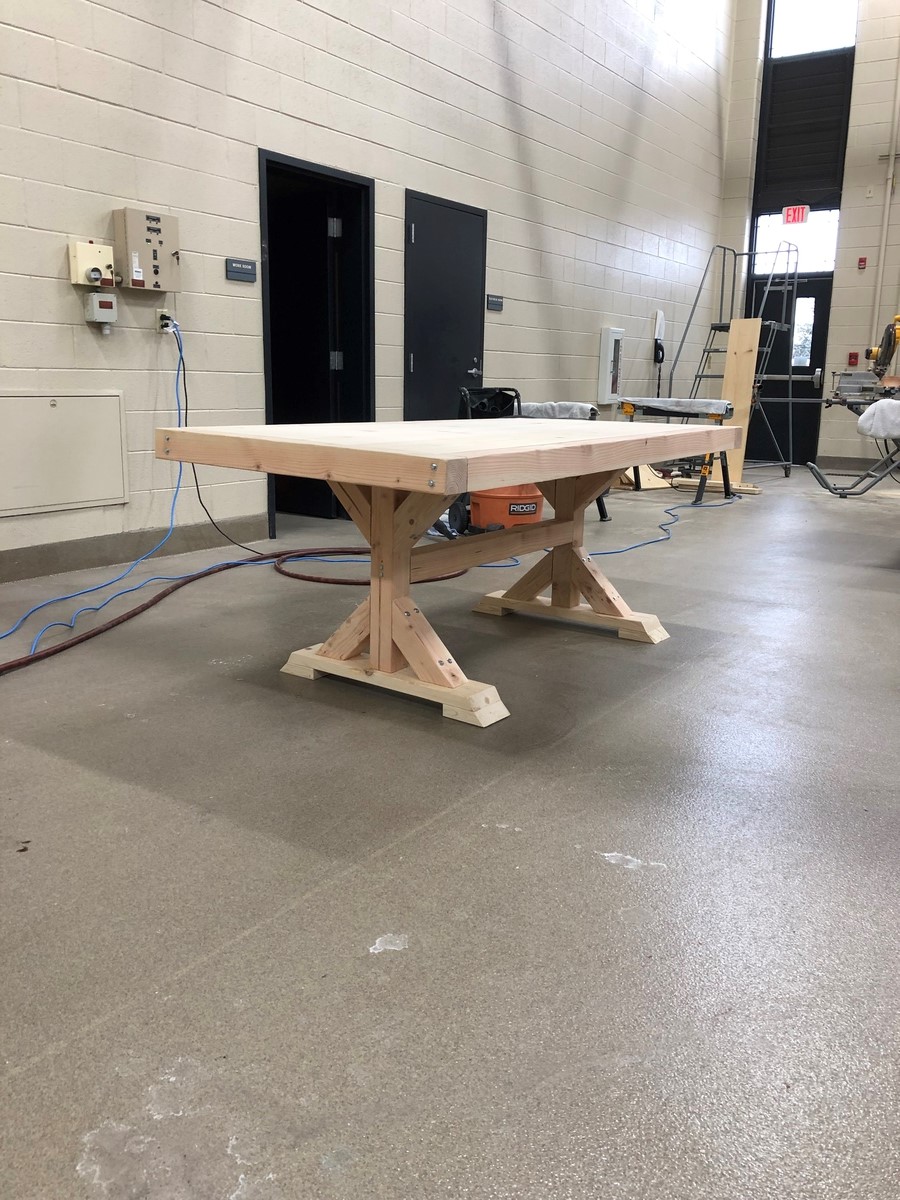
This table is pretty easy to build, i added a couple inches the the 4x4 for height but tested it yourself before following their height and see if you can sit under it with a chair
My Ultimate Changing Table !!
Built it for our recently arrived baby !
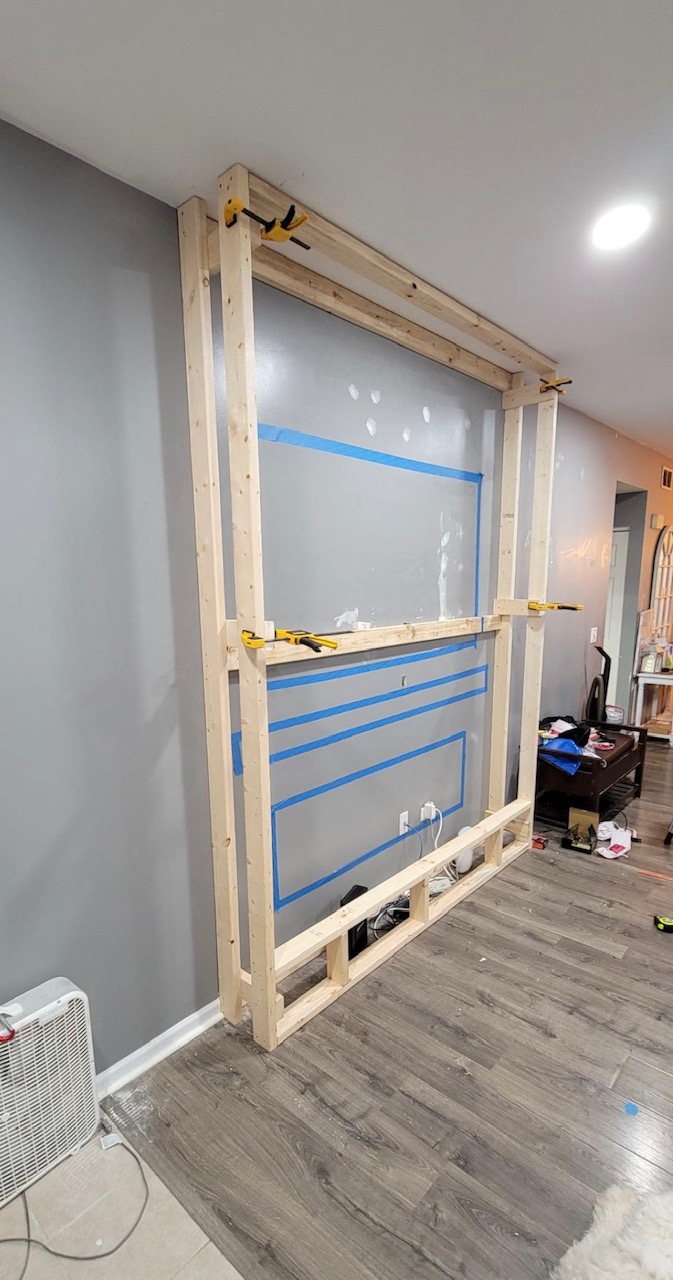
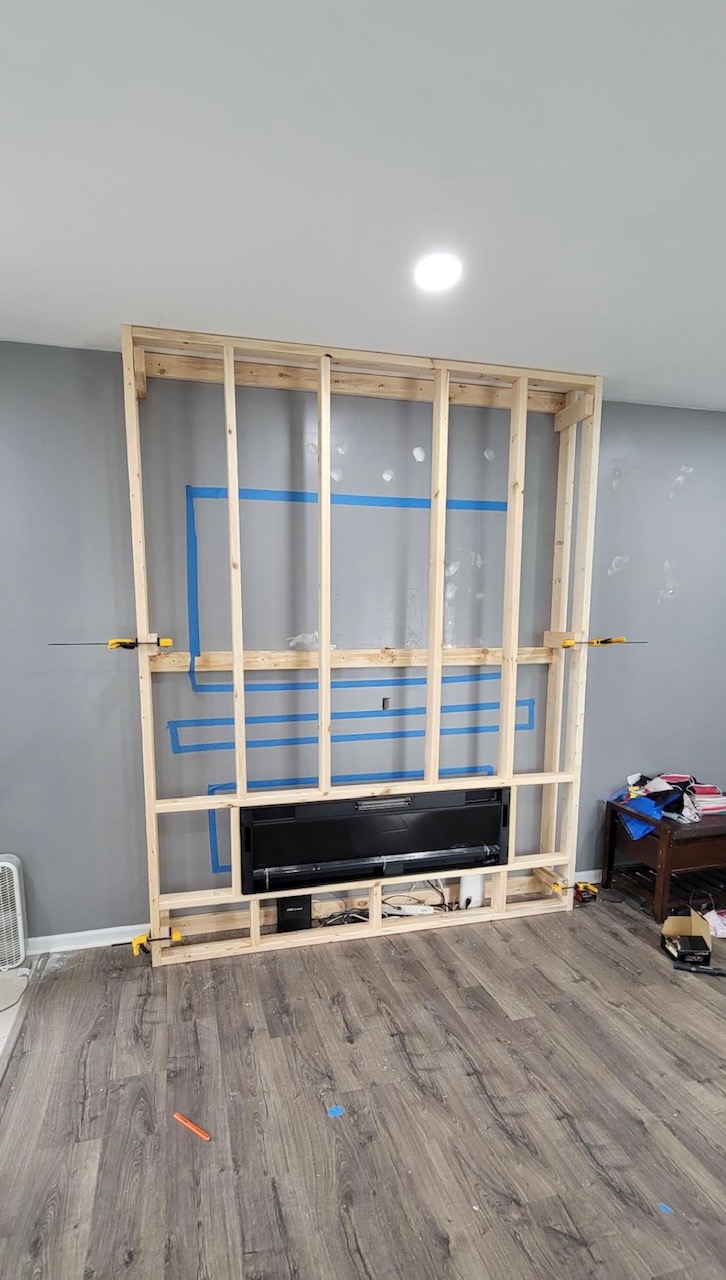
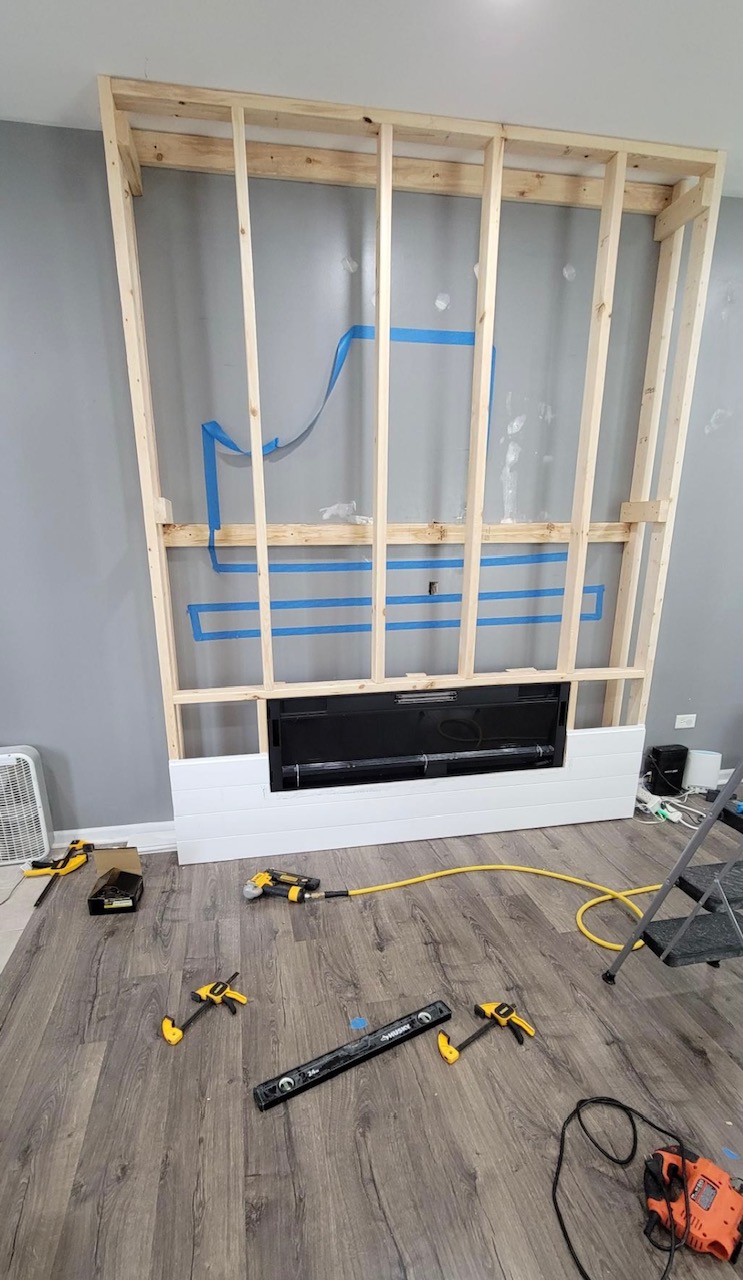
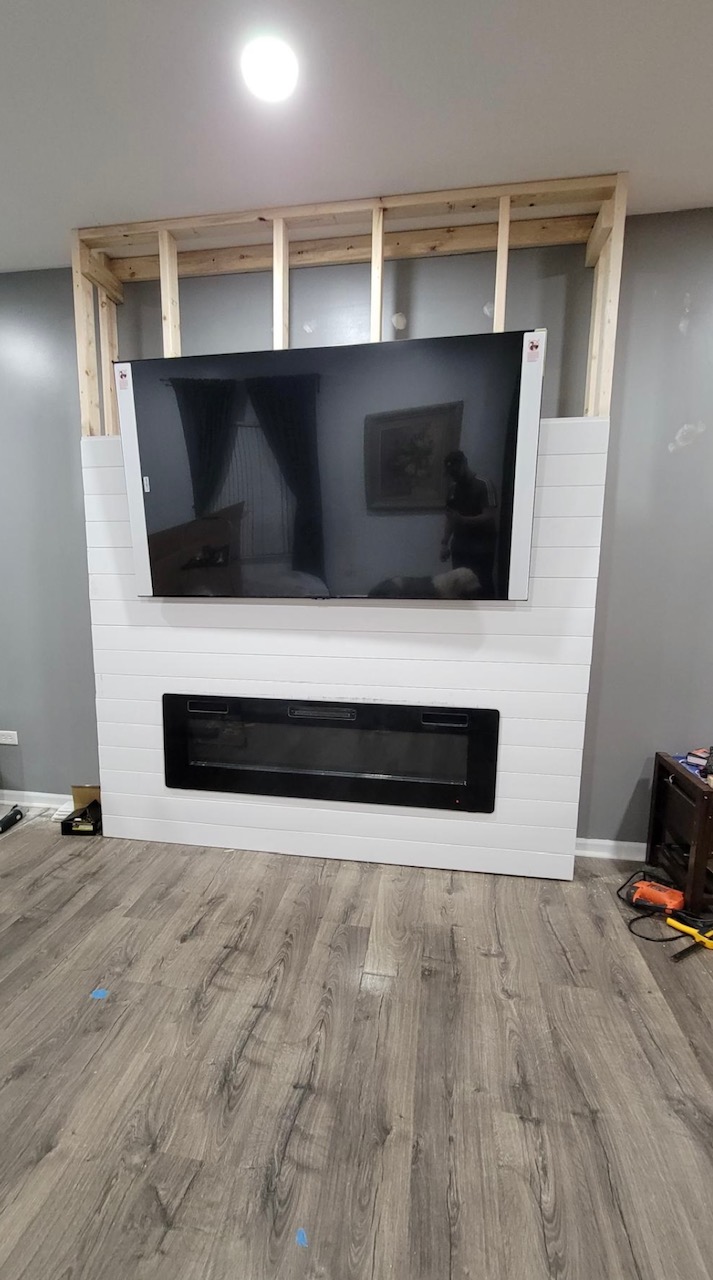
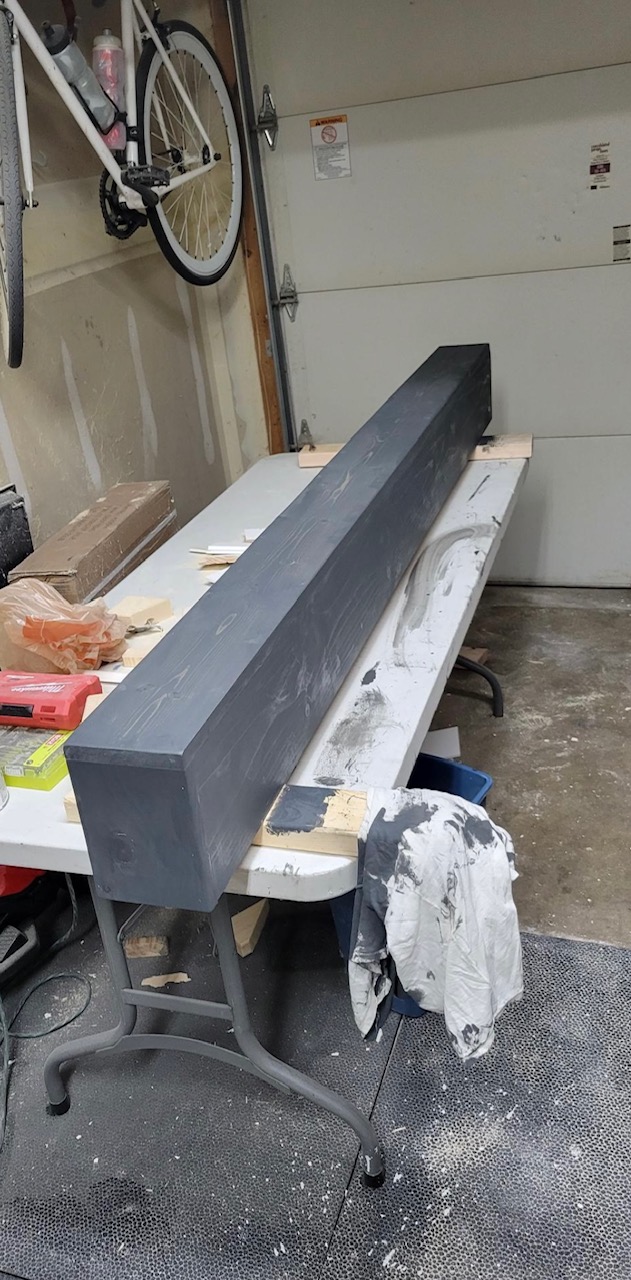
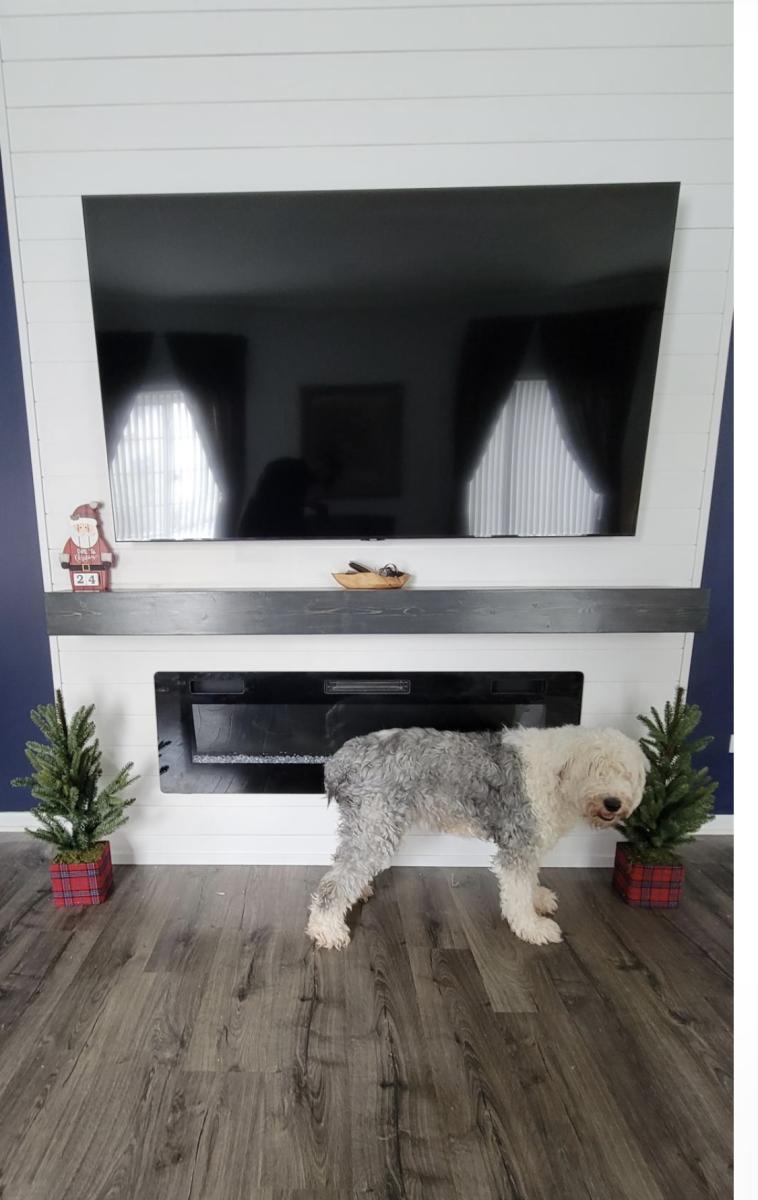
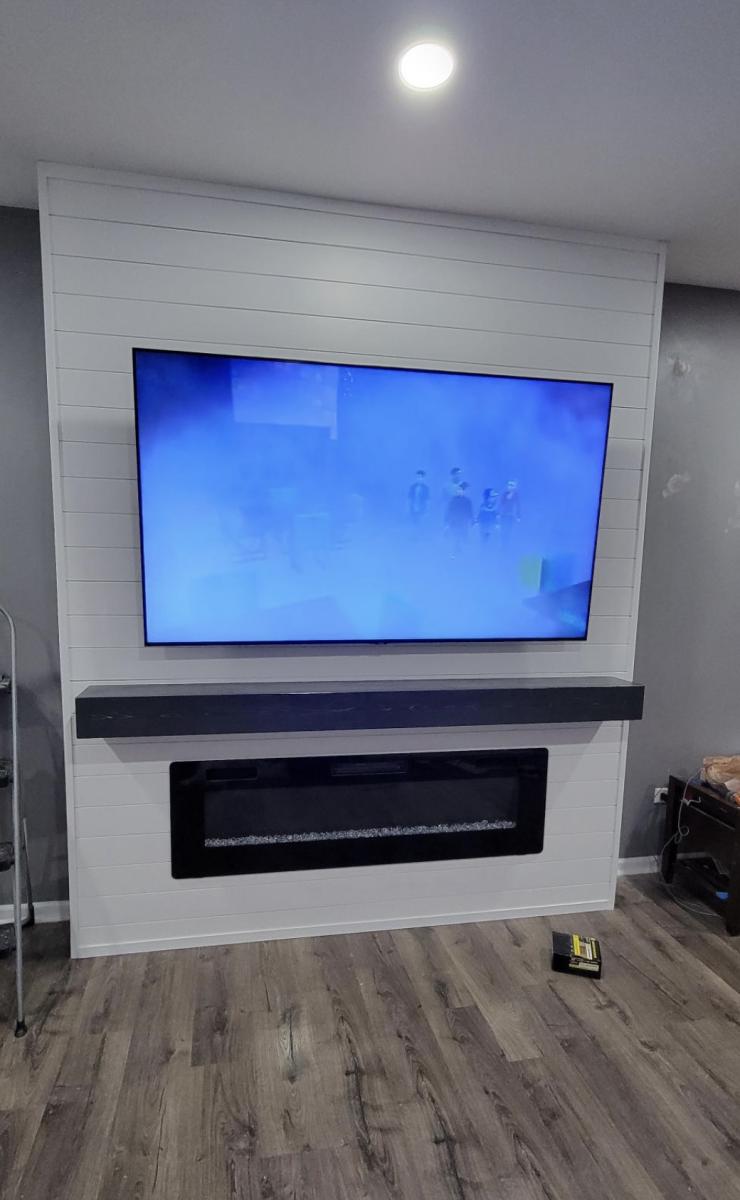
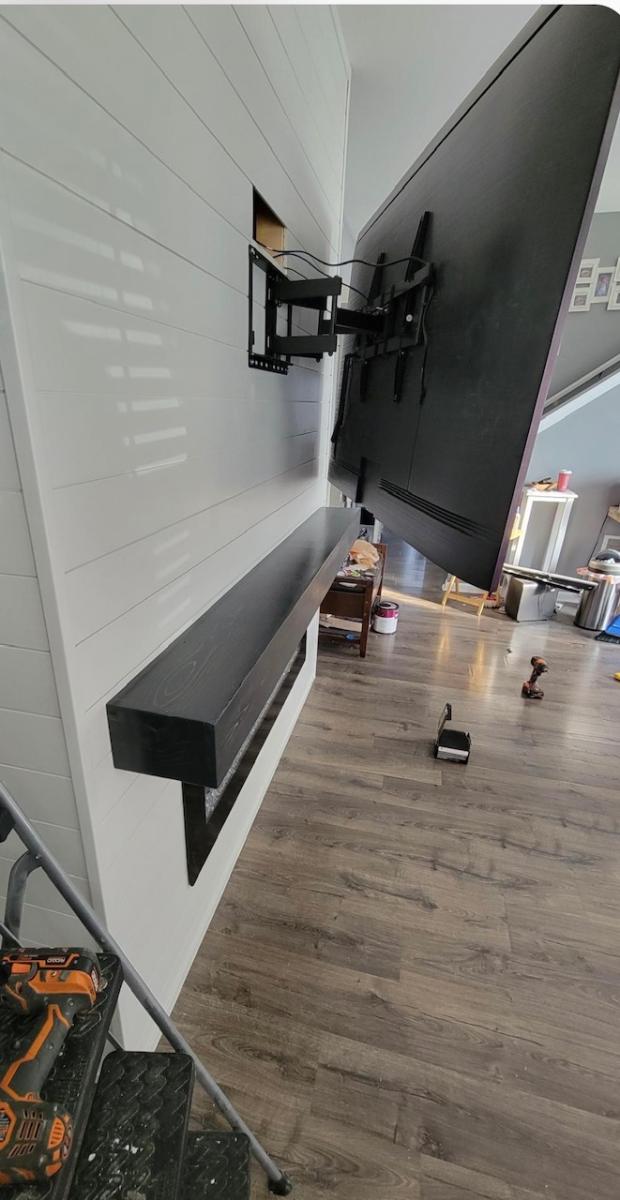
Shiplap Fireplace Surround with Low Mantle
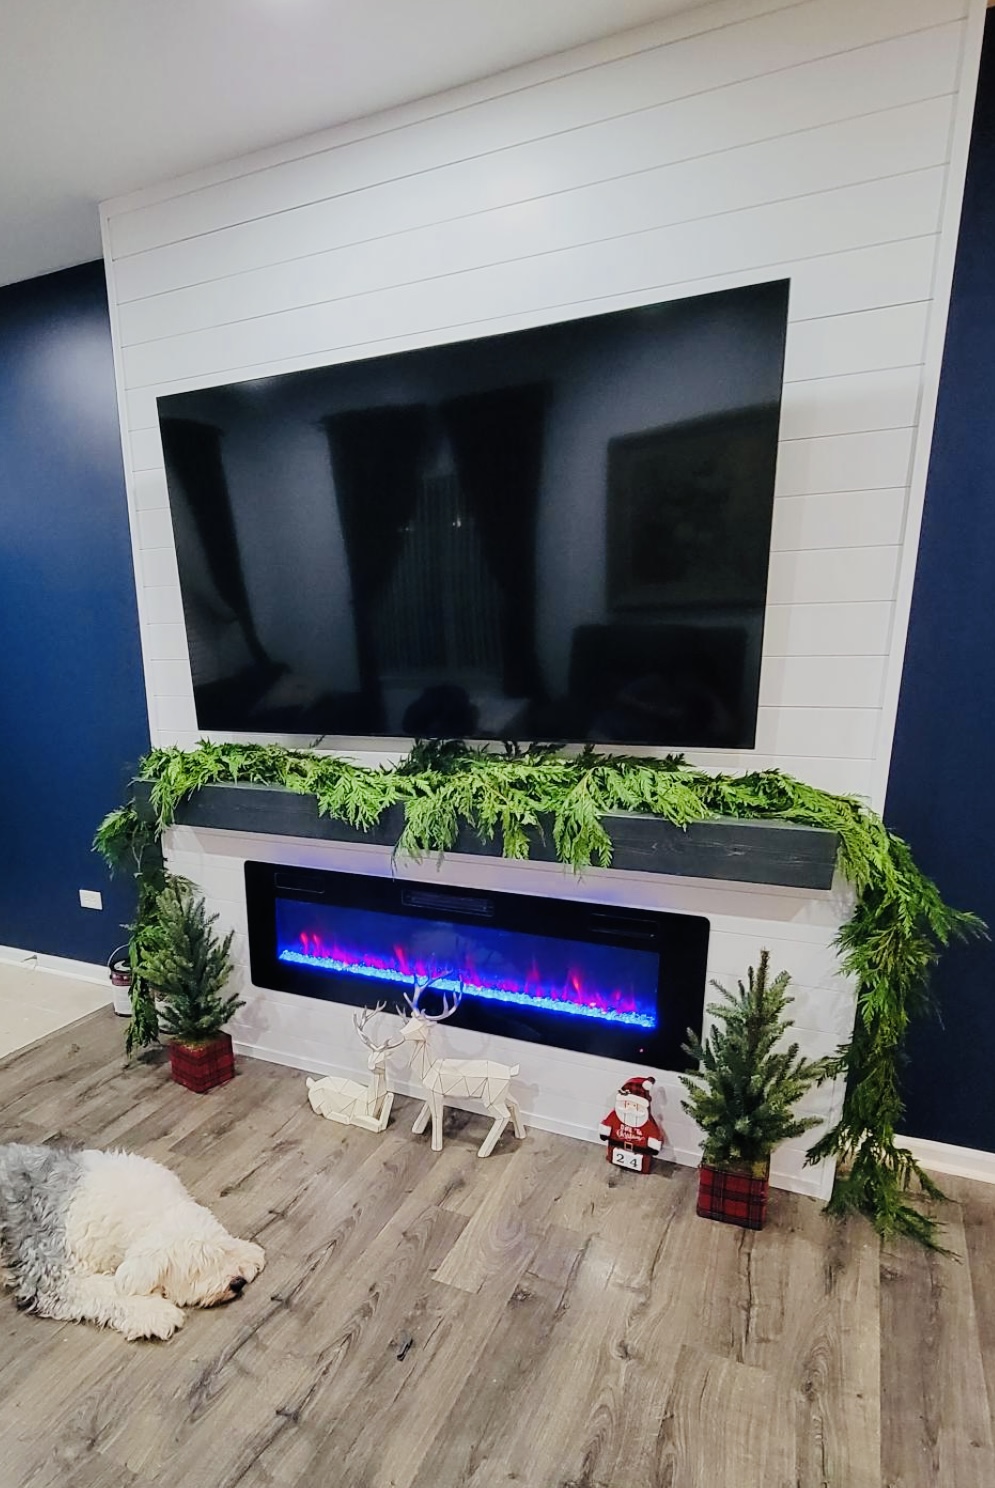
Outstanding Shiplap Fireplace surround with low mantle by Cruz on IG
Including more photos of the build process
Christmas card frame
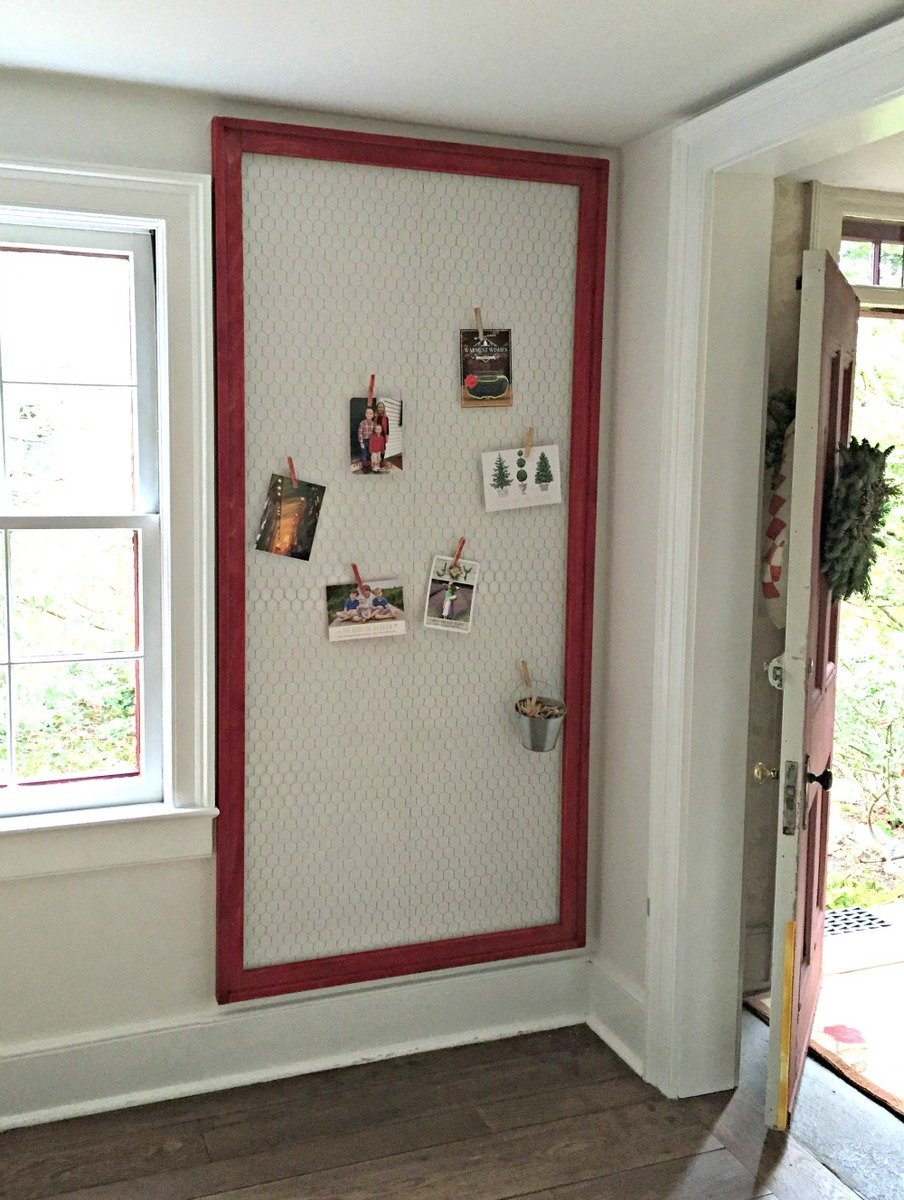
Modified Ana's plans to omit the chalkboard and make larger. Measures 75"h x 36"wide. All 1x2s, cuts are 2 @ 75", 2 @ 34 1/2", 2 @ 73 1/2", 2 @ 31 1/2".
Farmhouse Table for our busy family of 8!
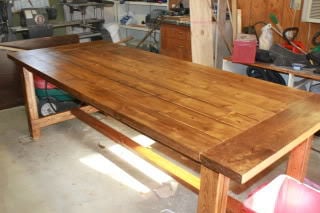
This was our first ever building project. We our so happy with the results. Read more about it at http://www.sidetrackedsarah.com/2011/09/build-your-own-dining-room-tabl…
Comments
Sun, 10/02/2011 - 05:21
Wow.....
Wow guys, what a great job! And only 1 day, thats amazing. This is on our to do list as well but lots of other "important" kiddy things to do first :) Was there anything when building you would have done differently? Any tips you may have :)
Above Toilet Cabinet

I built this above toilet cabinet for my son and his wife for Christmas. They needed a little extra bathroom storage. Turned out pretty good.
A Farmhouse Table for my wife
My wife has been wanting a farmhouse table for our kitchen for a while...so I looked through this site to get some ideas and finally built her one she loves.
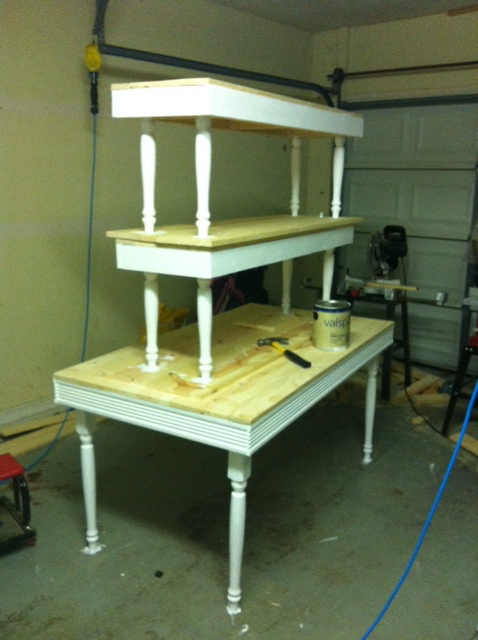
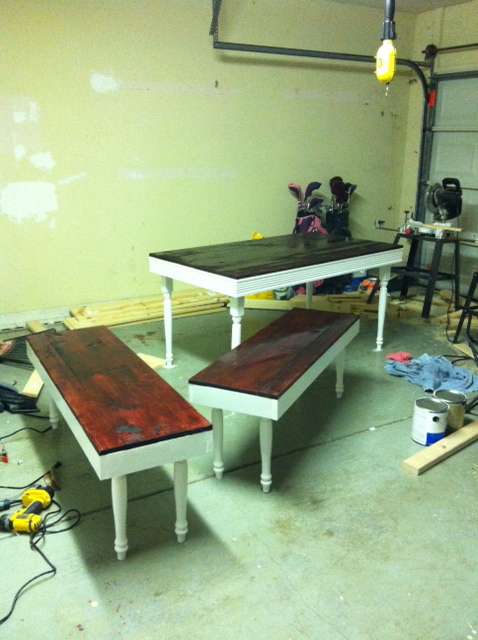
blowtorch stained kitchen table

I combined two plans to make this and added my own touch to it as well. I am 6' 4" and wanted a taller table but I really like the farmhouse table. I found 35" turned table legs at Lowes that worked perfectly. I also found these really cool 2'X4' butcher block style spruce panels that worked great for the table top. I pocket holed 3 of them side by side to get the size I wanted. I built the frame out of 2X3's and trimmed them out with some molding. I had seen people blowtorch tables before and I thought it would look really good. I added the stain afterward to darken the color and it came out awesome. I painted the legs and frame white to match the trim and cabinets in my kitchen.


Comments
Wed, 01/06/2016 - 10:12
Great idea!
That is a great idea for the table top - using the panels, I mean. I never thought of that as an alternative to the long 2x boards. Great job!
Sun, 01/24/2016 - 12:46
thhank you
I really aprriciate your comment. It was really easy to use the panels and it also eliminated the amount of pocket holes needed. It also made it alot easier to get a smooth and flush table top. The only downside is you typicaly want the wood grain to run the length of the table. Given the size of the panels I had to run the wood grain the other direction. I still like it but some wouldn't because of that reason.
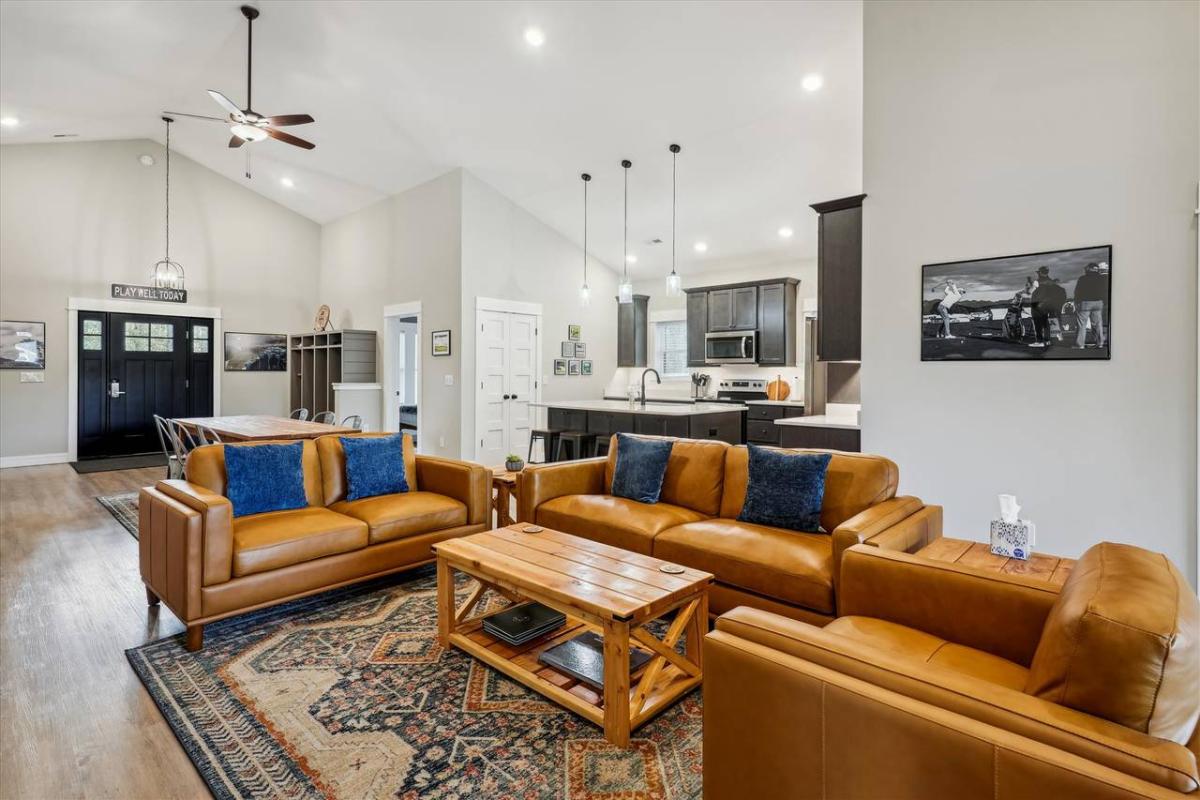
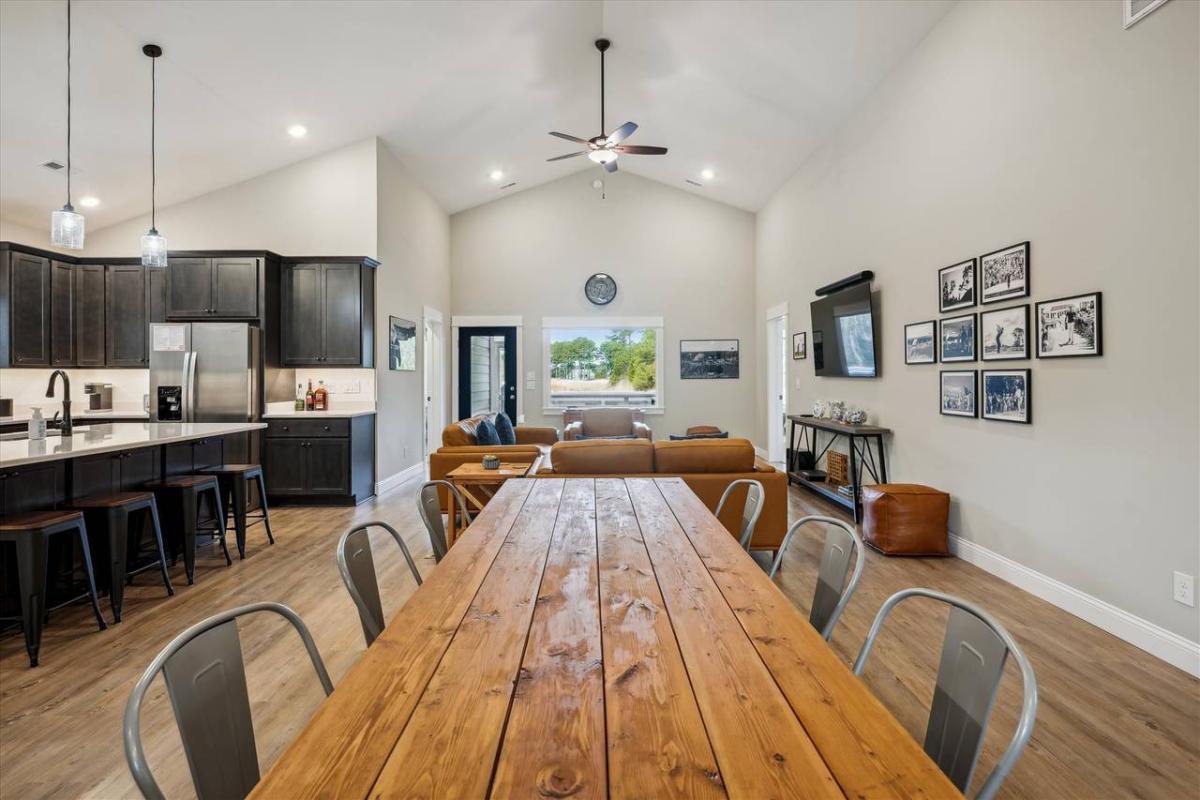
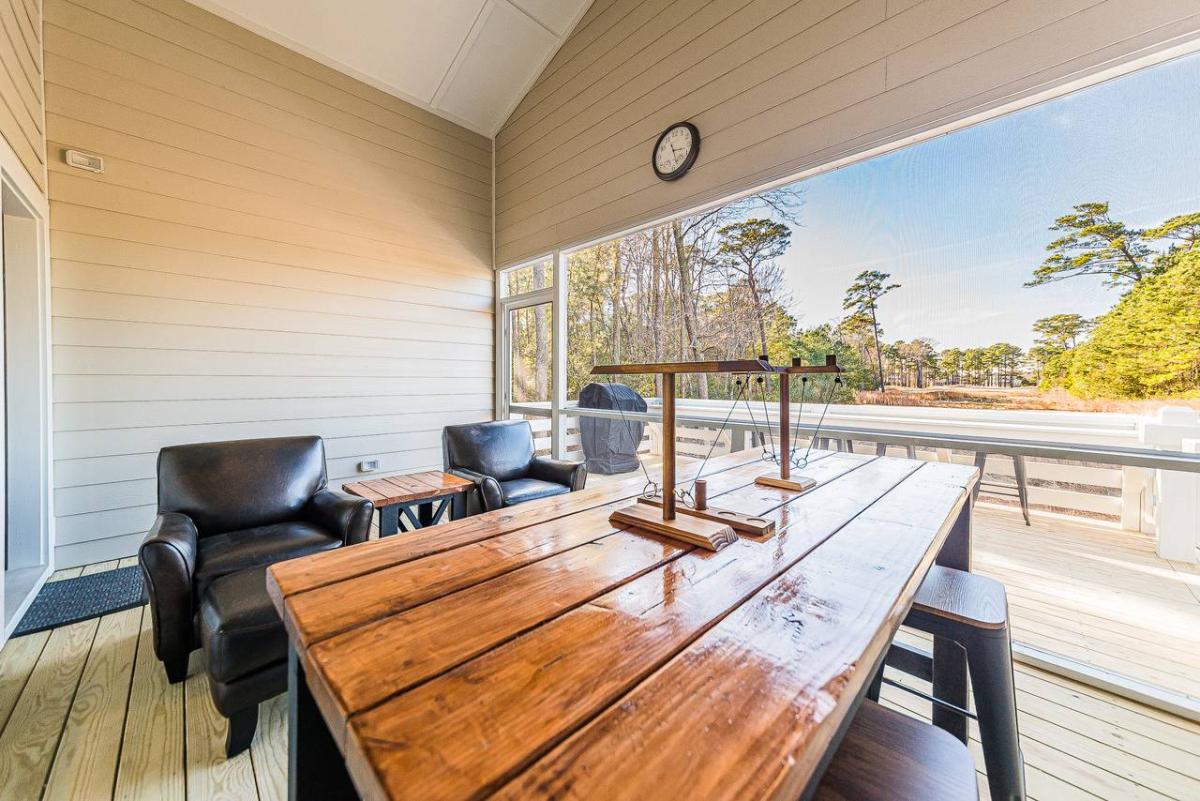
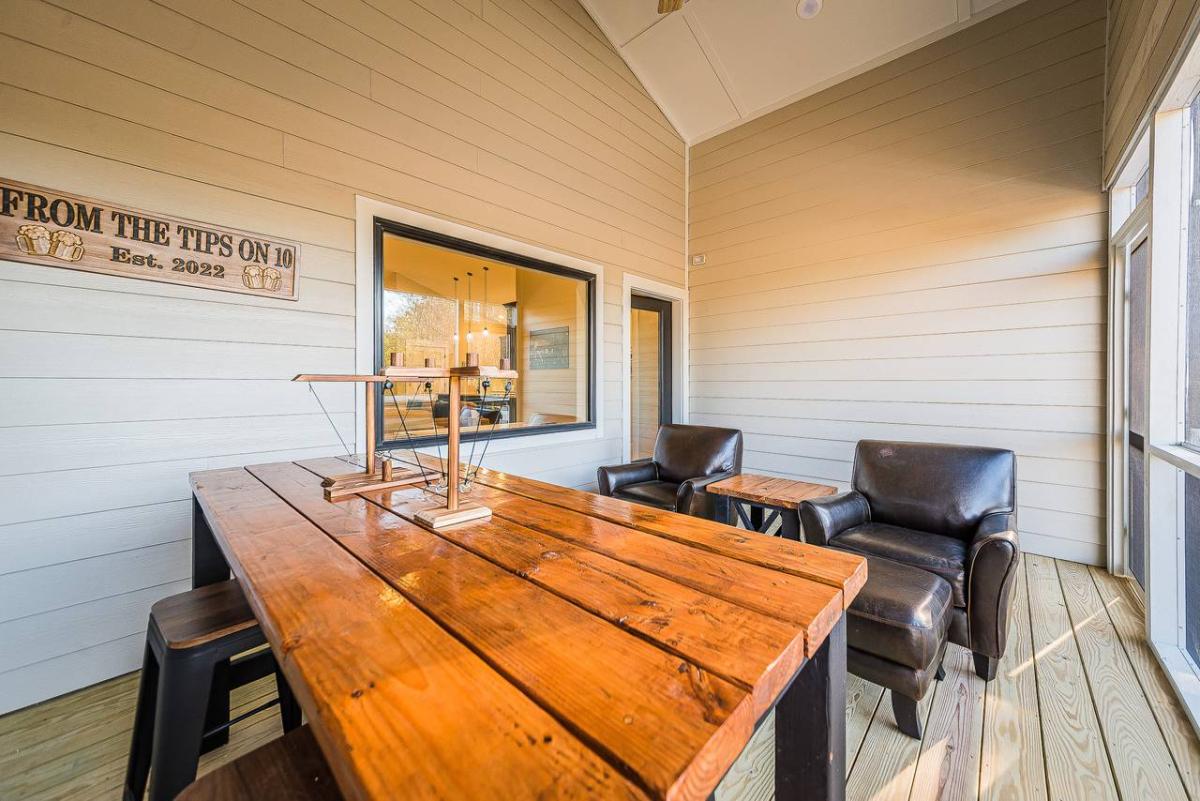
My Golf Getaway Cottage
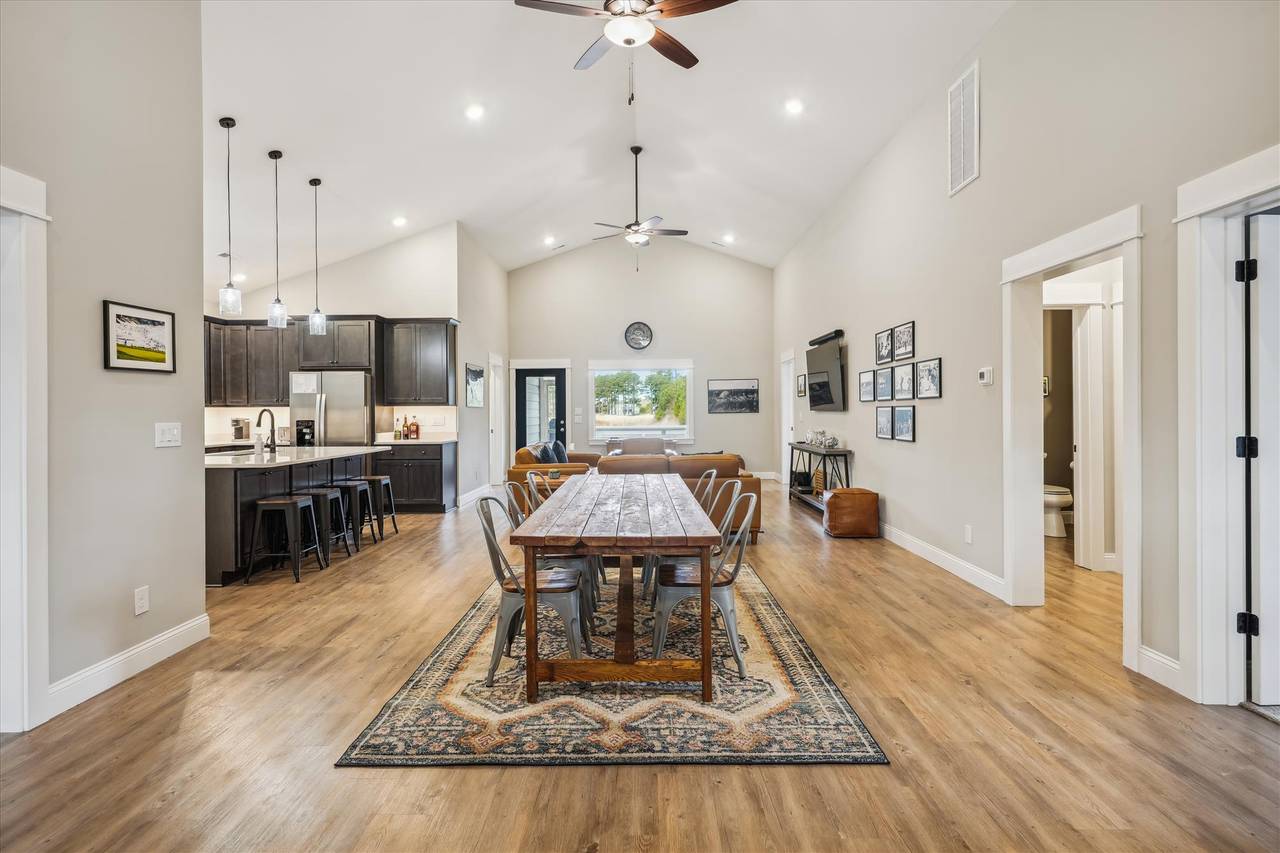
While my vacation property was being built I got hooked on Ana’s plans. Farm table, followed by coffee and end tables and finally a fabulous pub table.
Can’t wait to entertain.
Comments
Fri, 02/24/2023 - 09:11
Stunning projects and vacation home!
WOW, these are amazing and look fabulous in the space! Thank you for sharing.
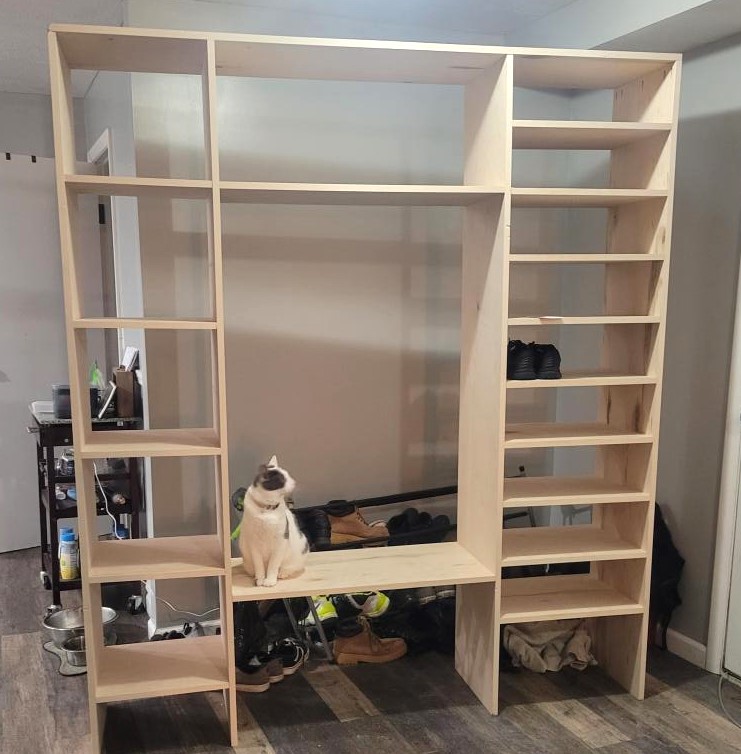
Custom mudroom storage
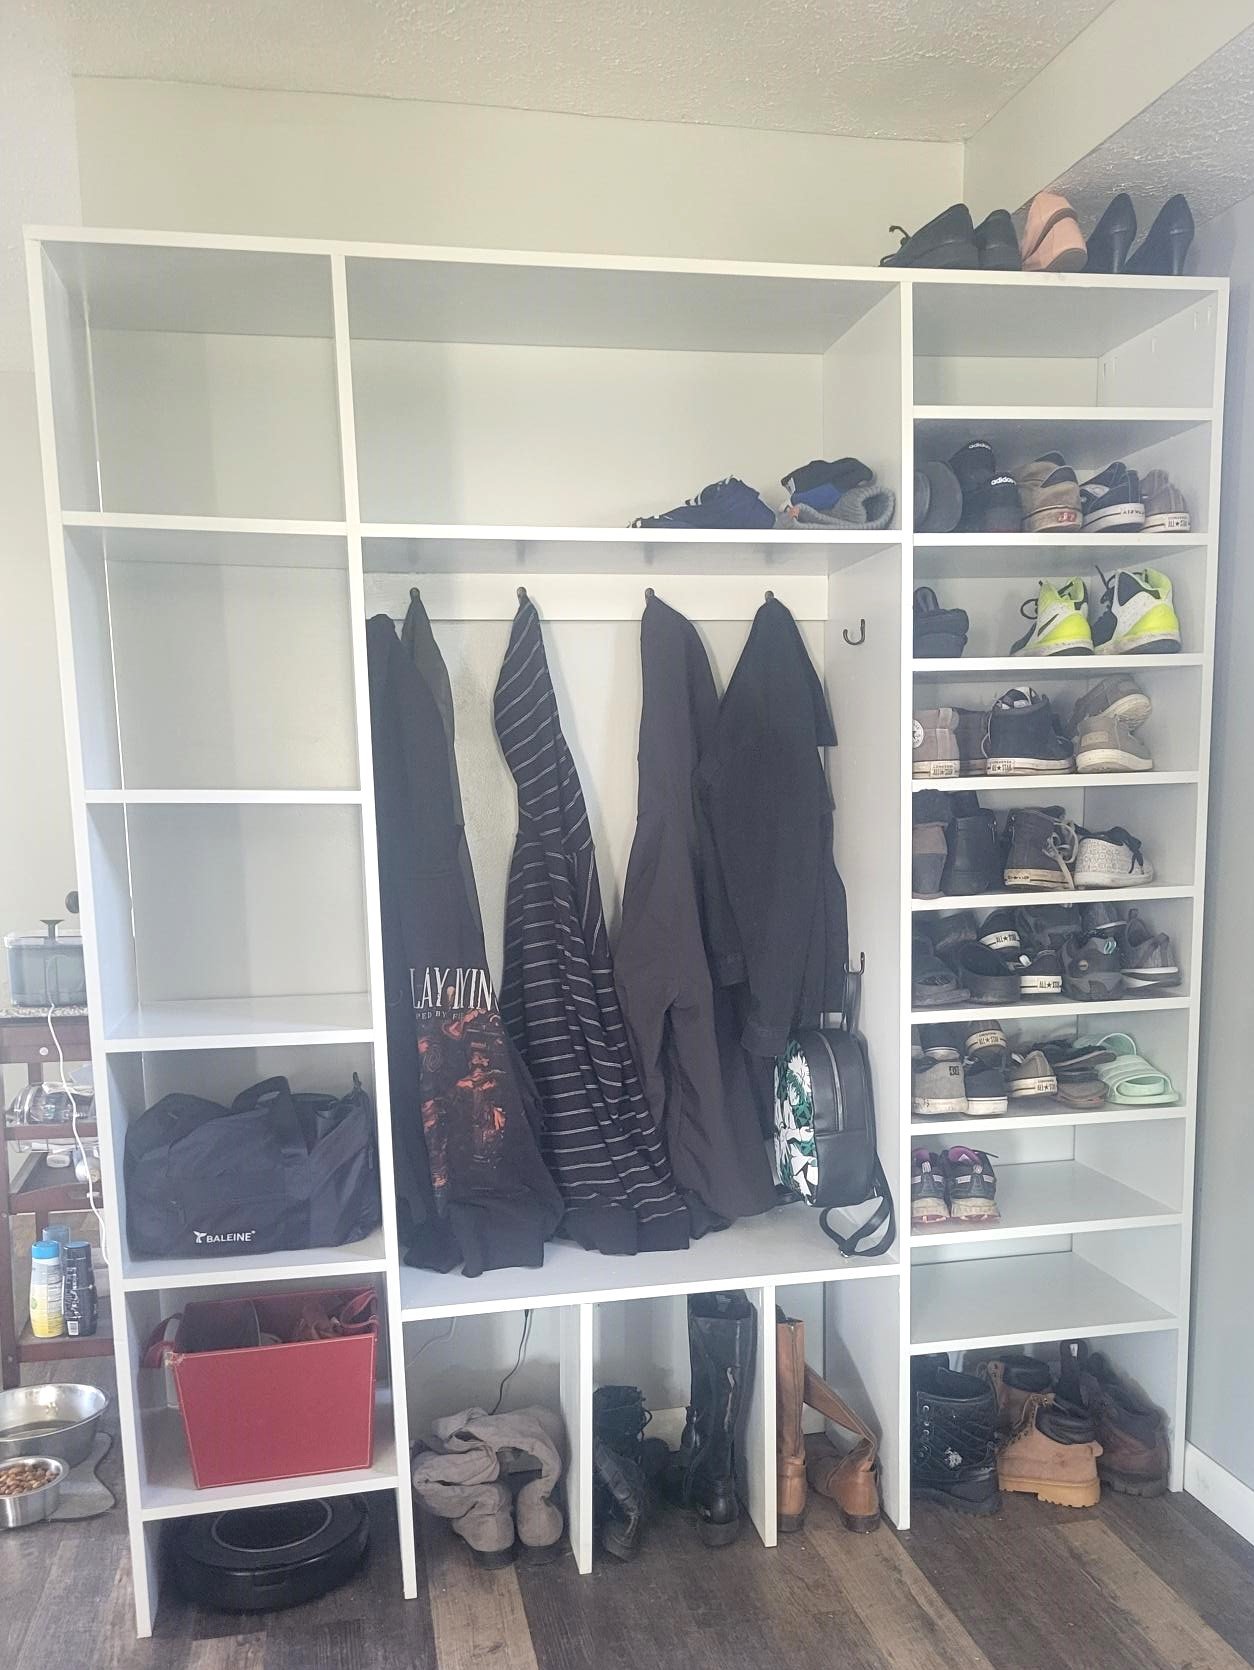
Used this app to build a custom nook for shoes and coats. Its been fantastic and super easy to put together!
Comments
Sun, 02/26/2023 - 16:29
Thanks for using Shelf Help!
Great custom solution! Thank you so much for sharing your awesome project.
Community Garden Farm Stand

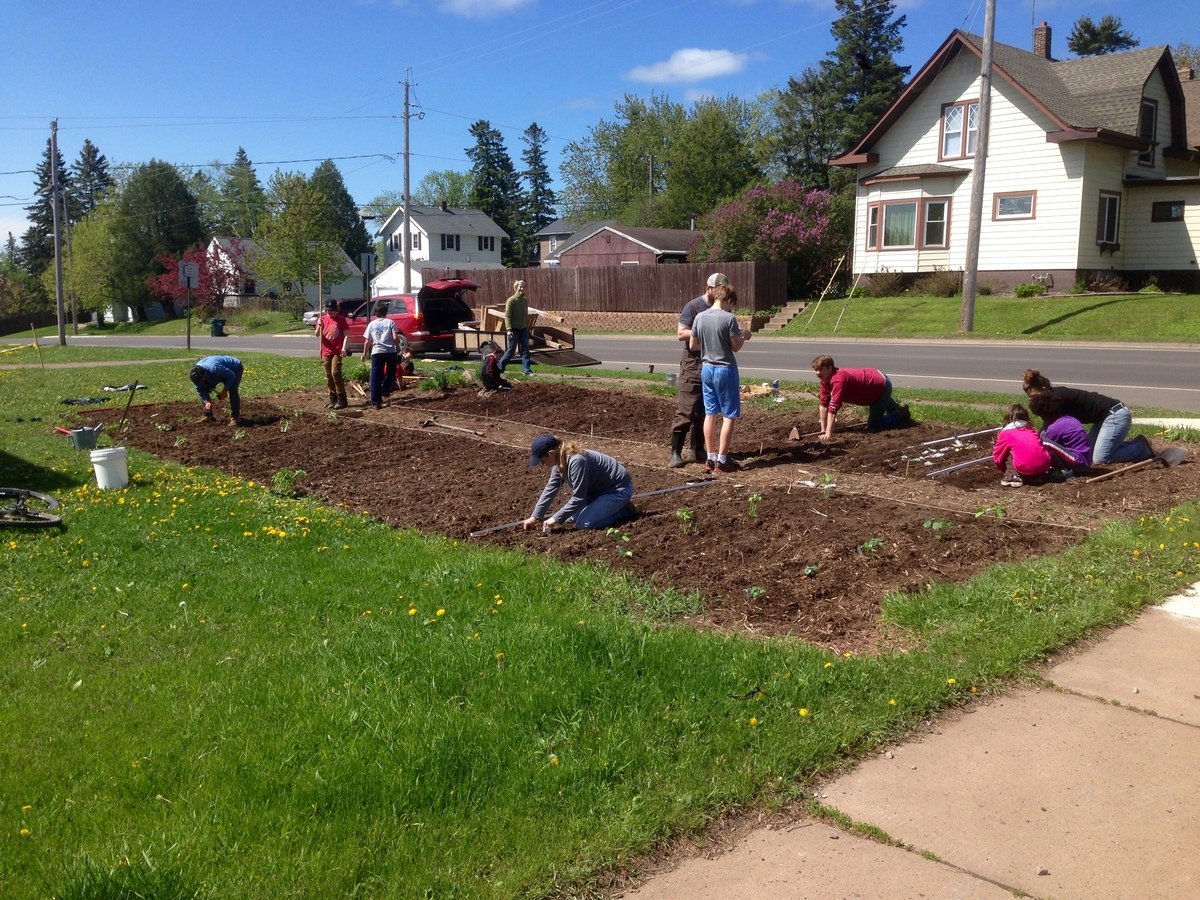
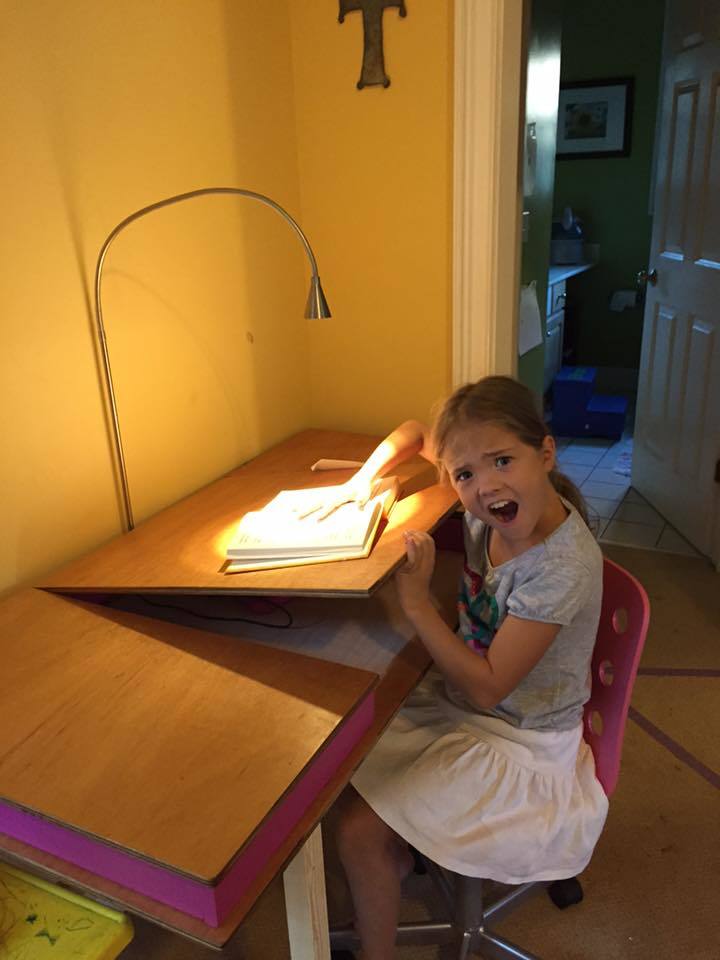
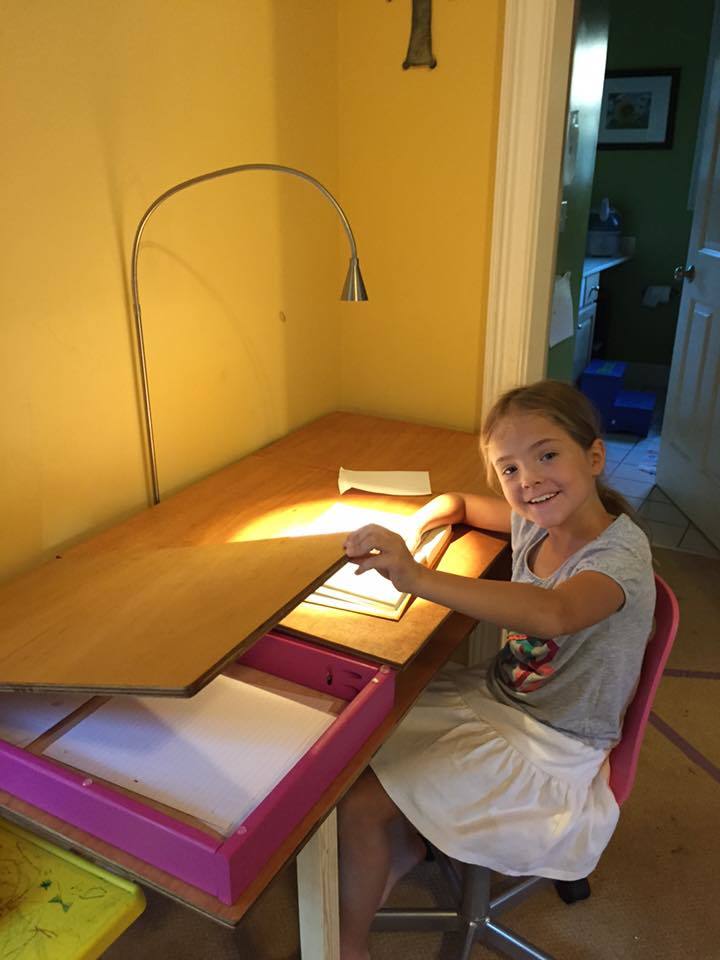
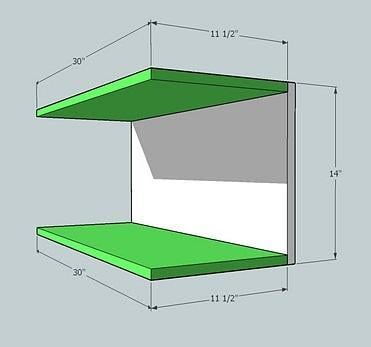
This spring, my neighborhood started a community garden. Five families came together to break ground, sow, tend, and give away our produce. The local church close by allowed us to use their front lawn for the "Lakeside Community Garden," located in Duluth, MN. Every Saturday during harvest season, we gave away our produce to the community. I took on the project of building a farm stand. One of our neighborhood families donated re-claimed lumber to the cause, and I started building. I had research many farm stands on-line, and knew I needed two large boxes to hold the veggies, as well as a sign to indicate what produce we were giving away.





Comments
Ana White Admin
Tue, 09/15/2015 - 13:02
So very cute!
Thanks for sharing, love the colors!