Barn Door Fridge
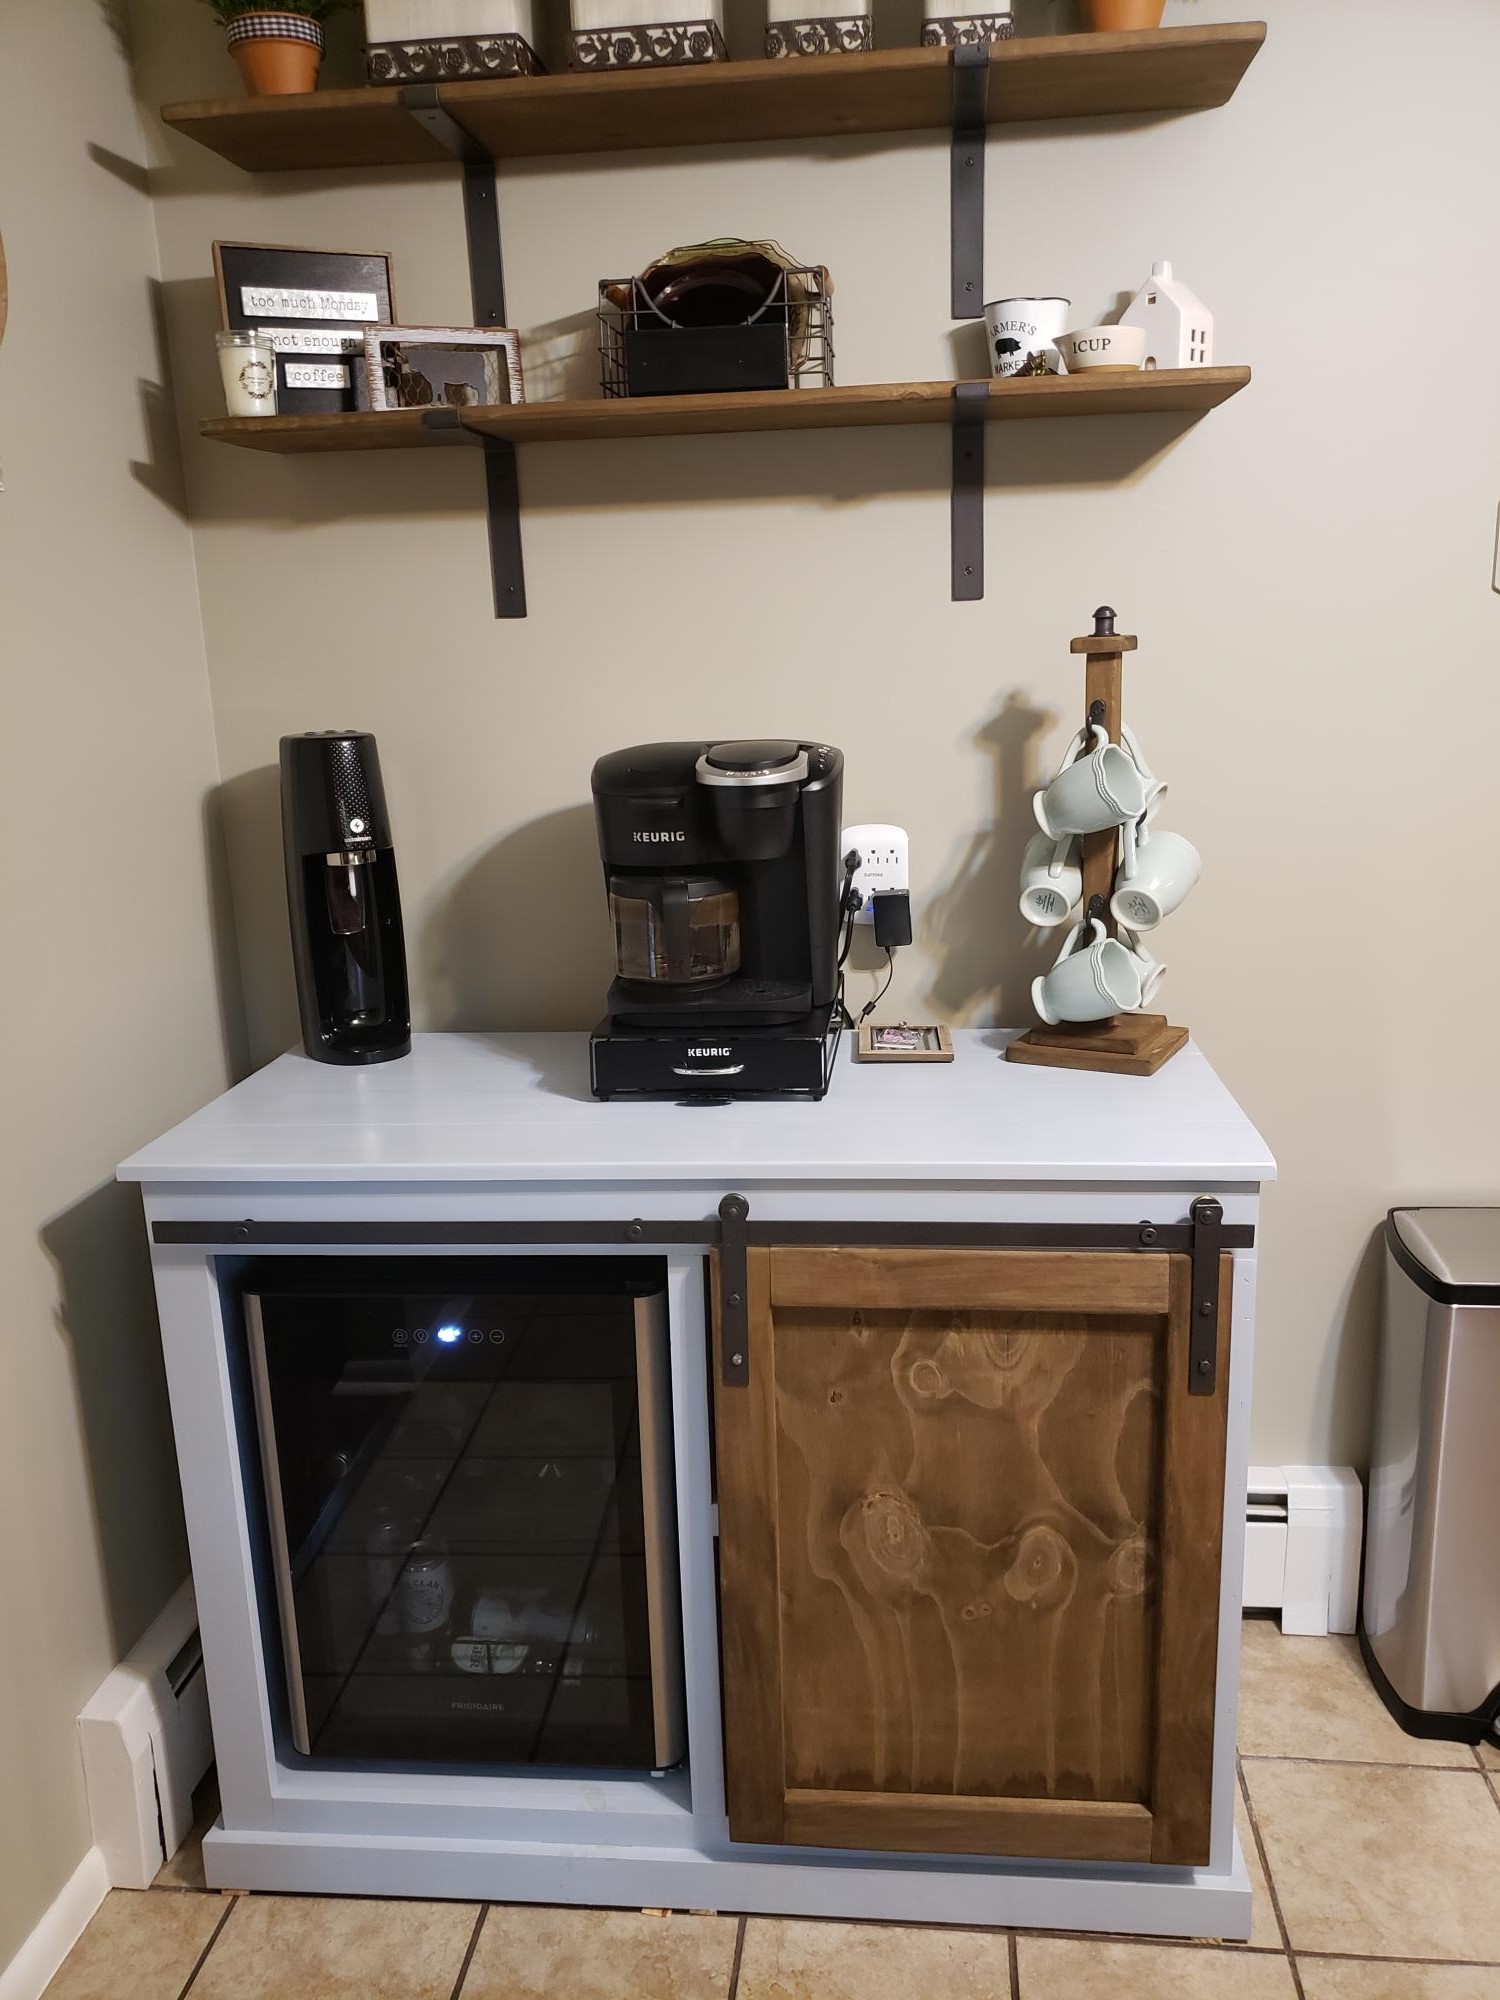
My first larger build. Had a lot of fun with it.
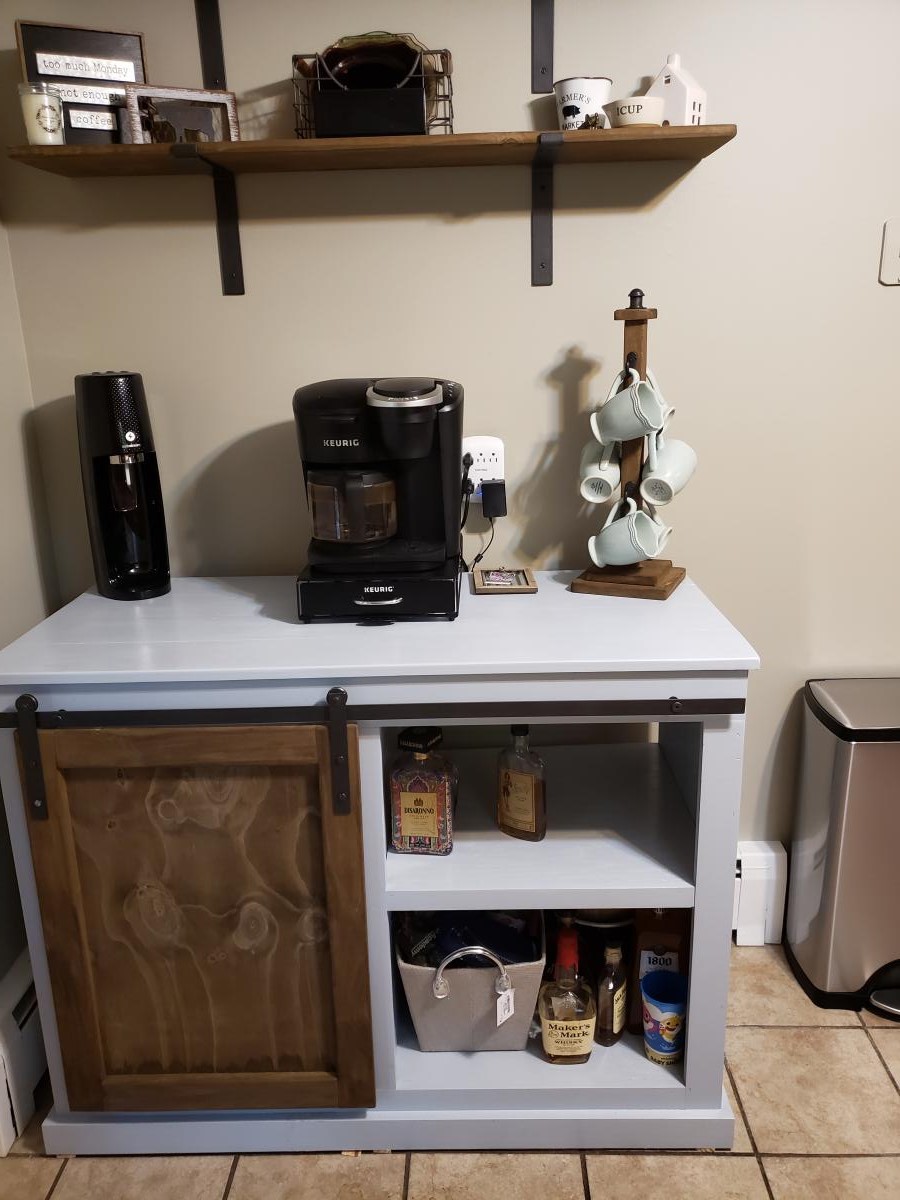

My first larger build. Had a lot of fun with it.

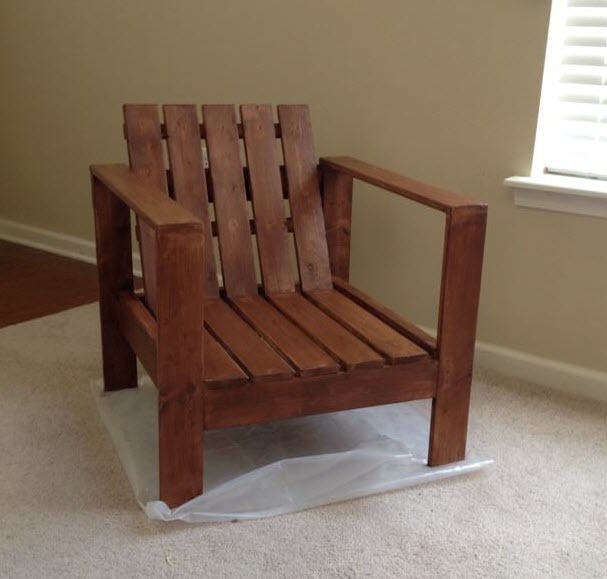
This was my first project from Ana's site. I wanted something simple and cheap to make, so all in all, this project was very simple.
I think I will paint instead of stain next time though as the quality of the wood I purchased from Home Depot wasn't the best.
Very happy with it though, and I'm planning on making more.
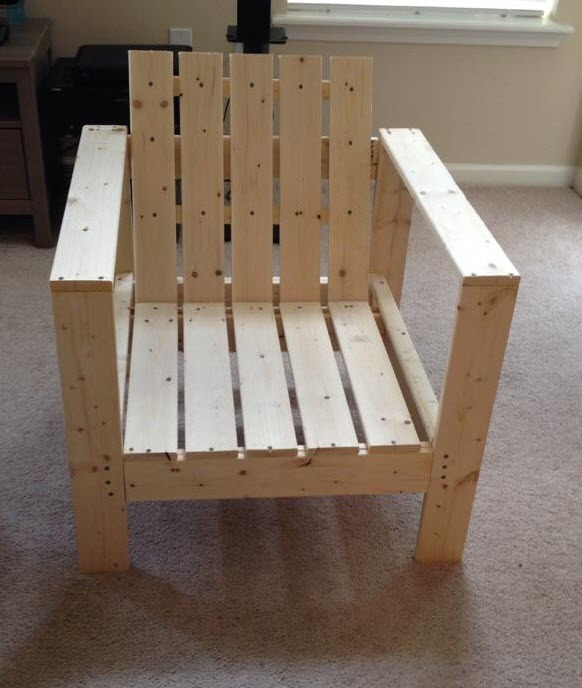
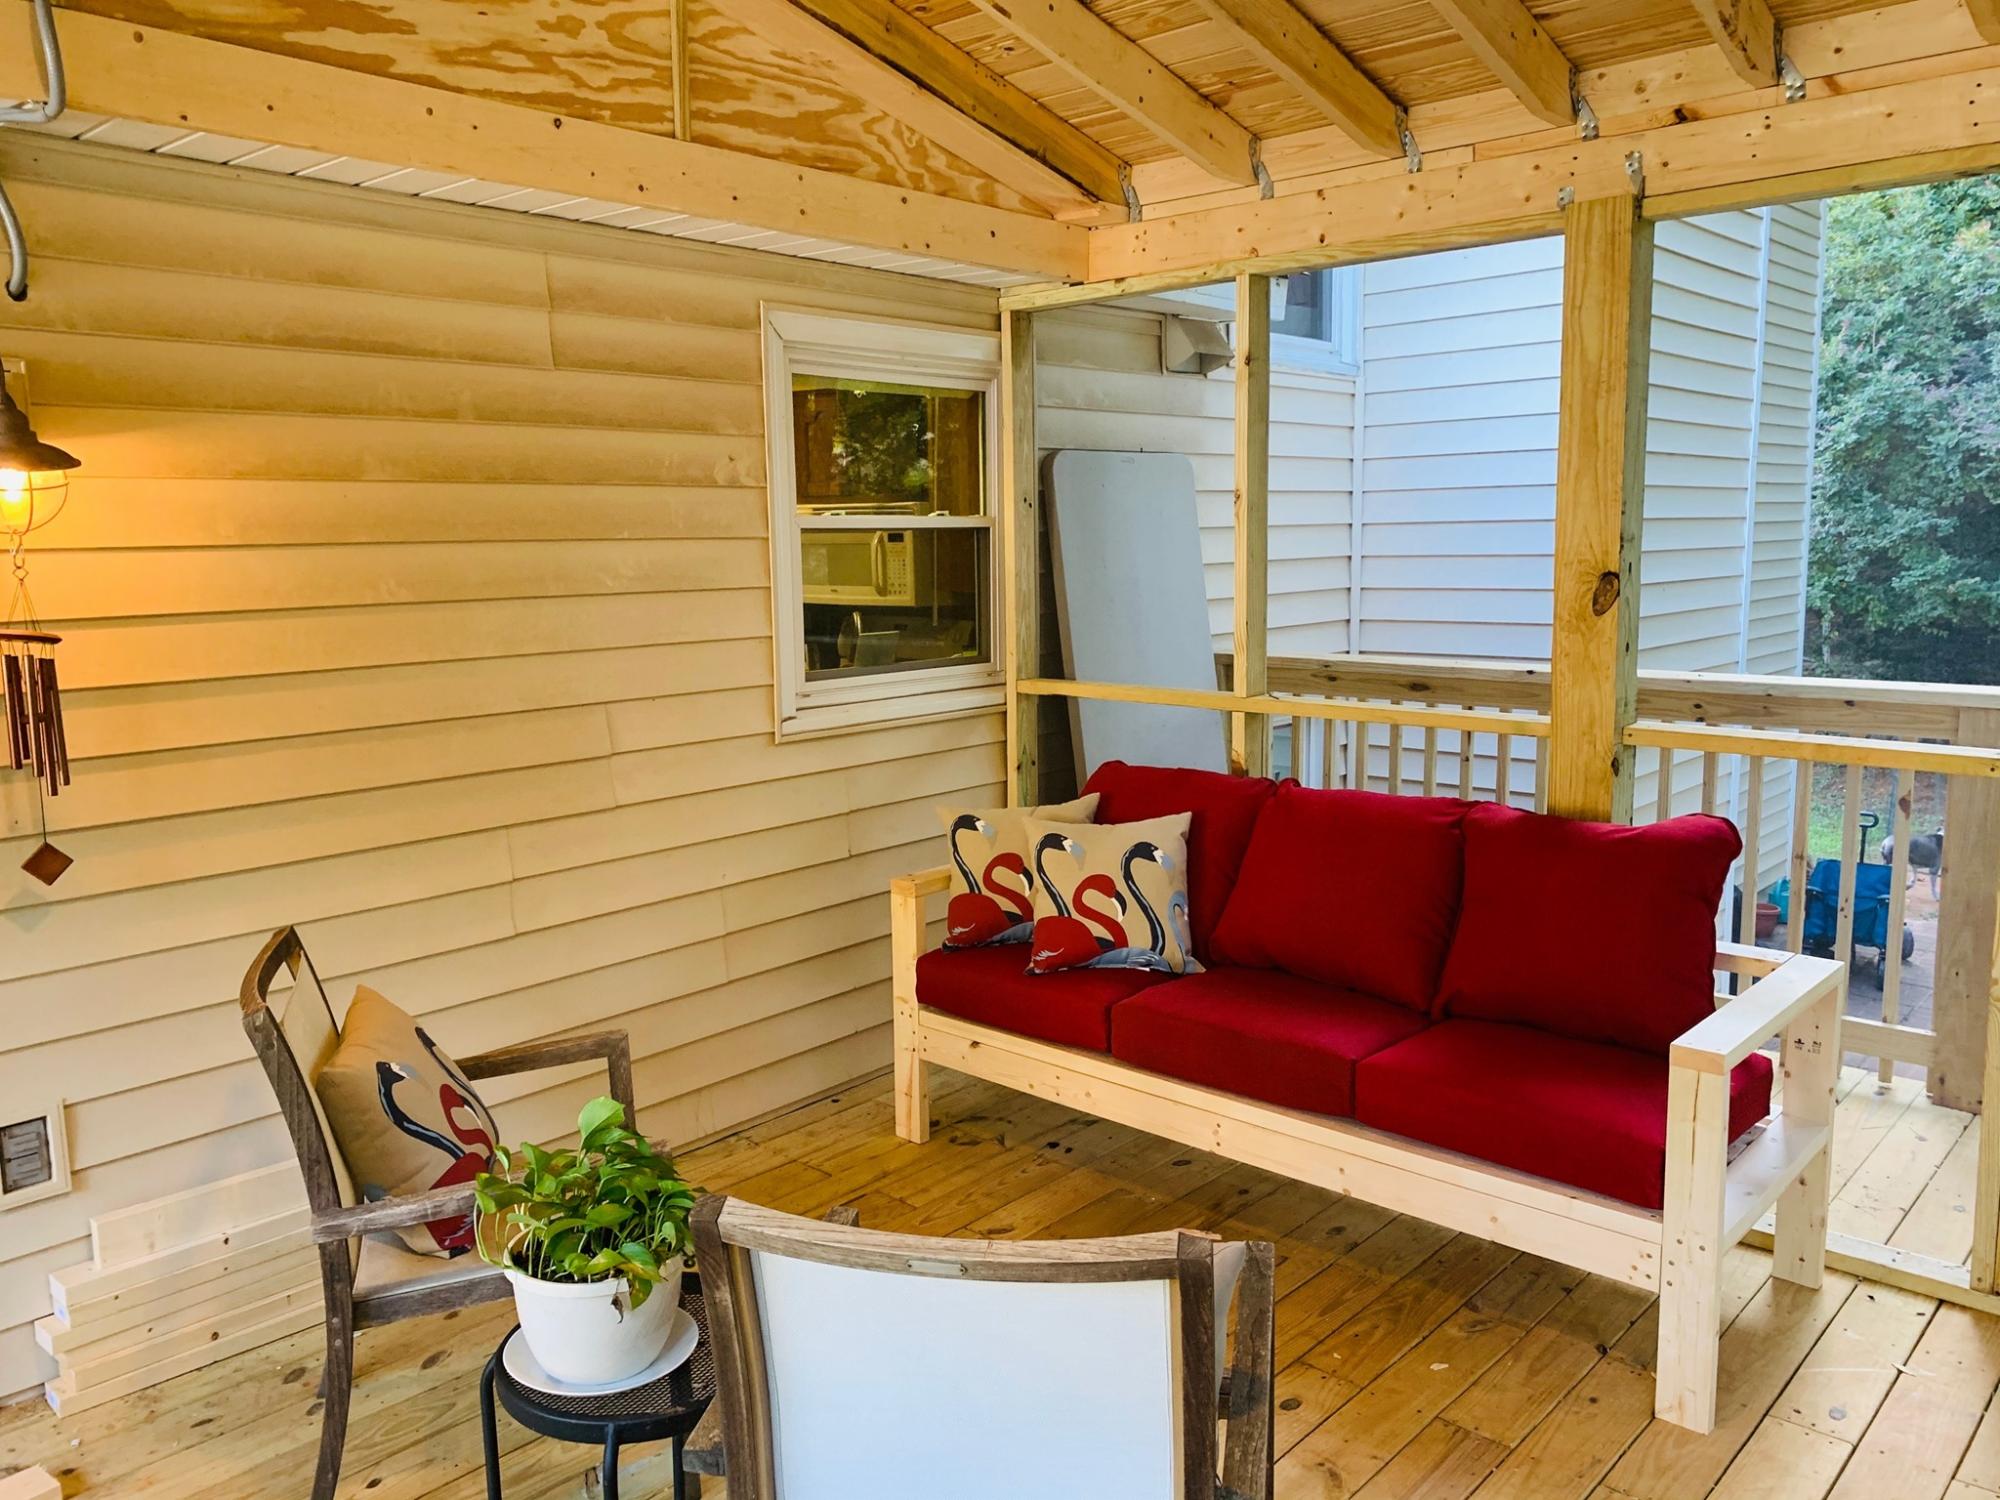
Followed the plan exactly. Added an extra 6 foot board across the back for better pillow support. Got the 24" cushions from the big box store. With one extra 8 foot board + left overs, I have enough to make a modified, small 34"x17" coffee table from the 2x4 plans linked below, which is perfect for the space I need. Will add a photo for that when I'm done.
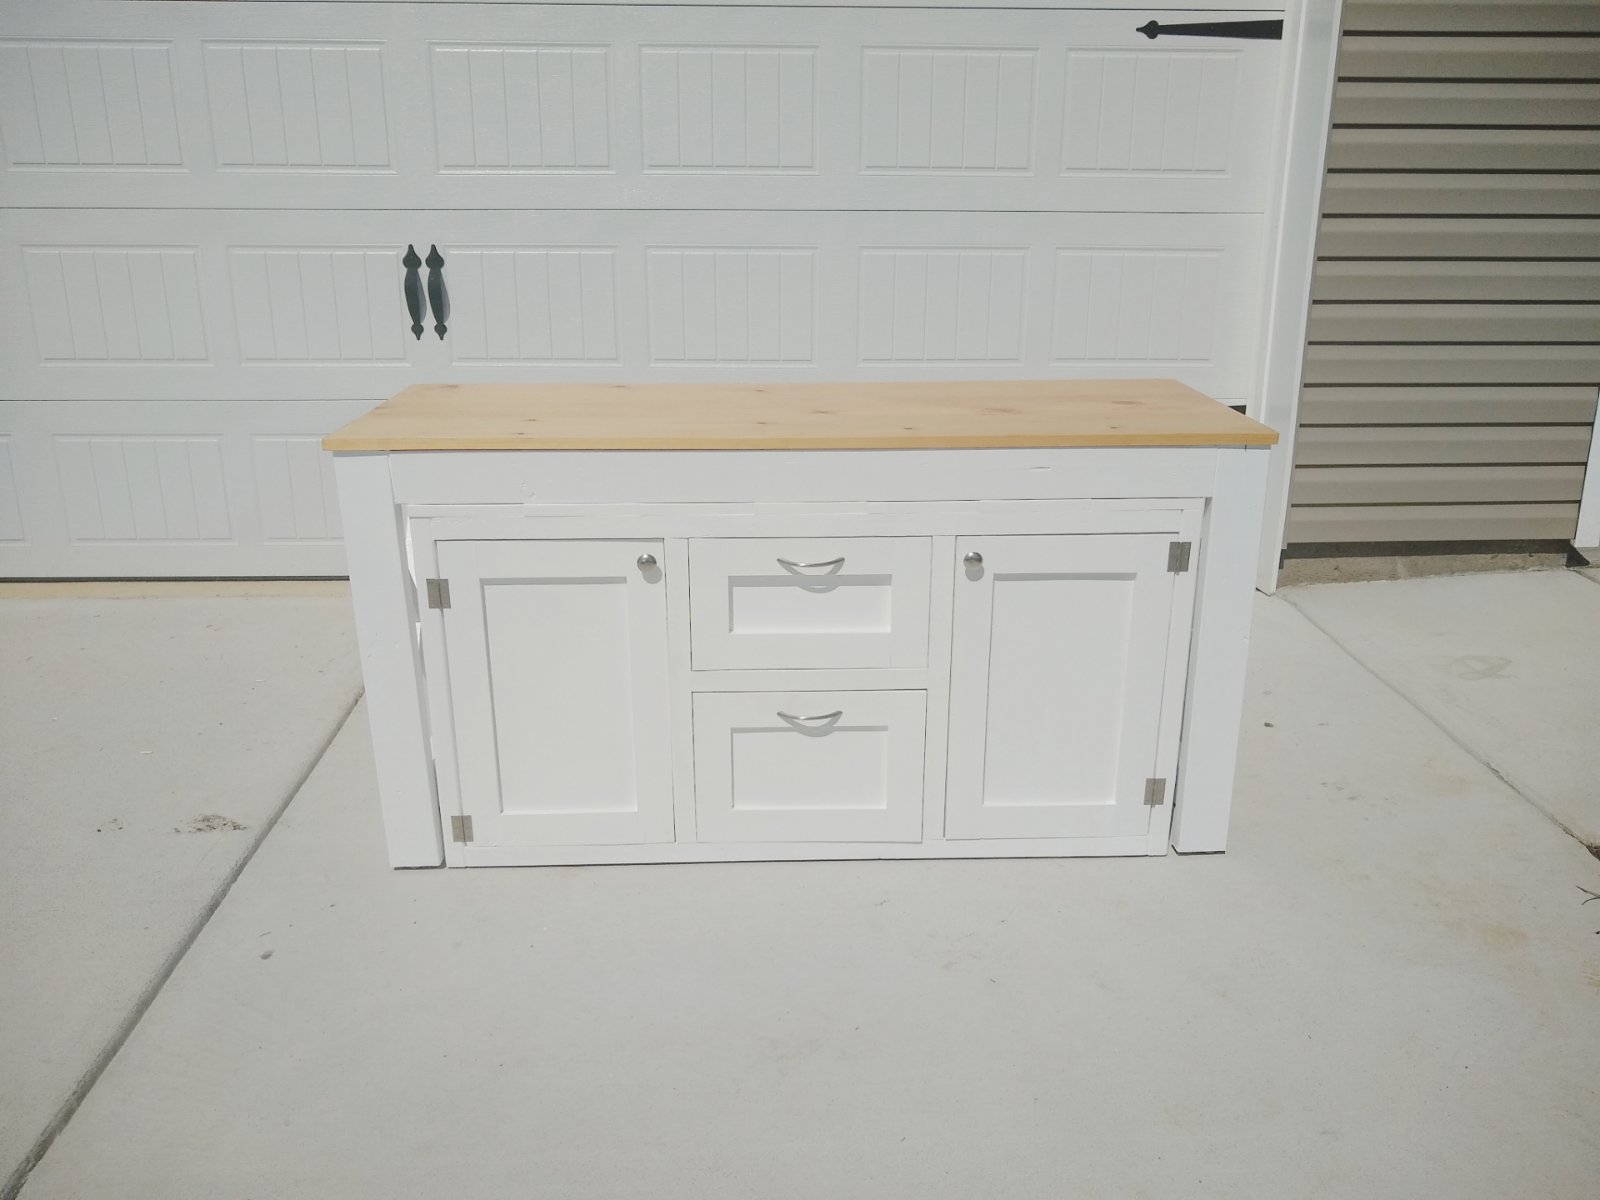
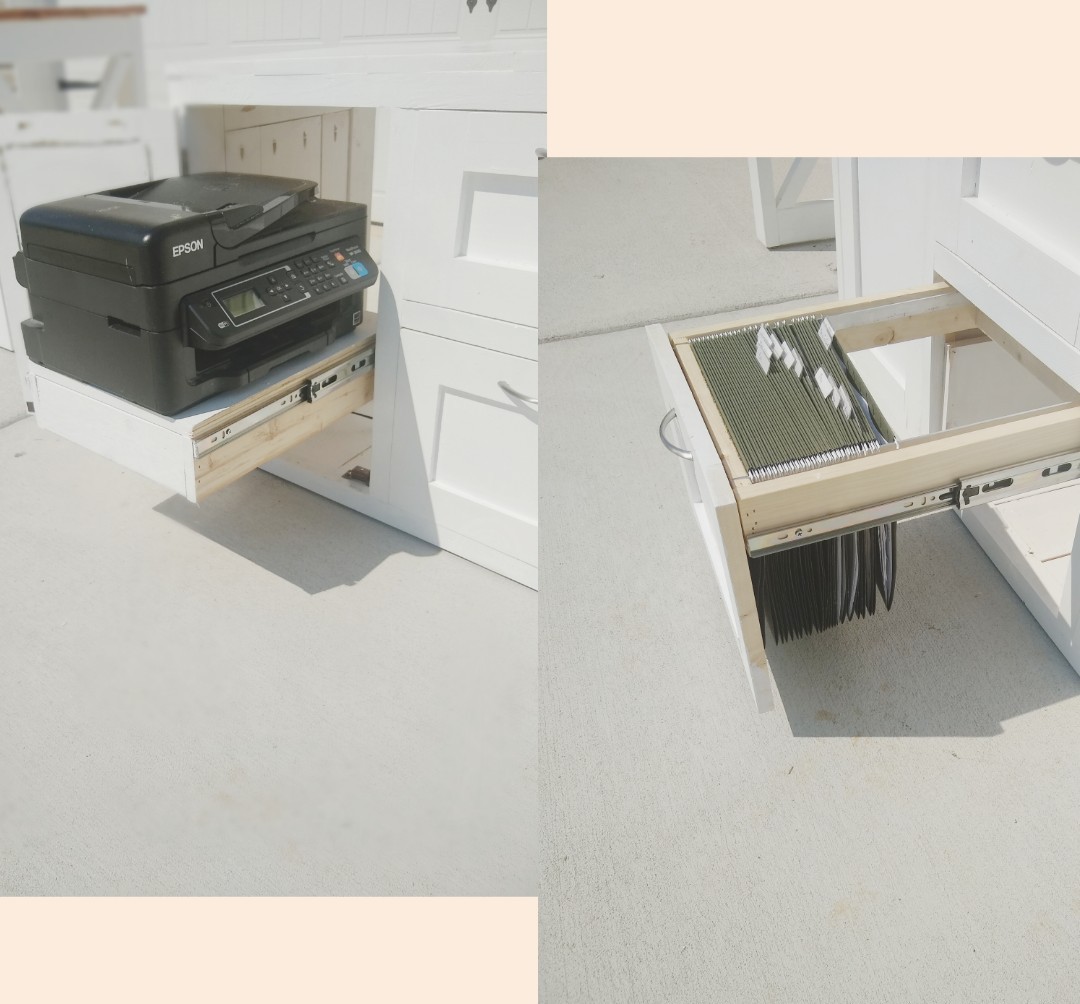
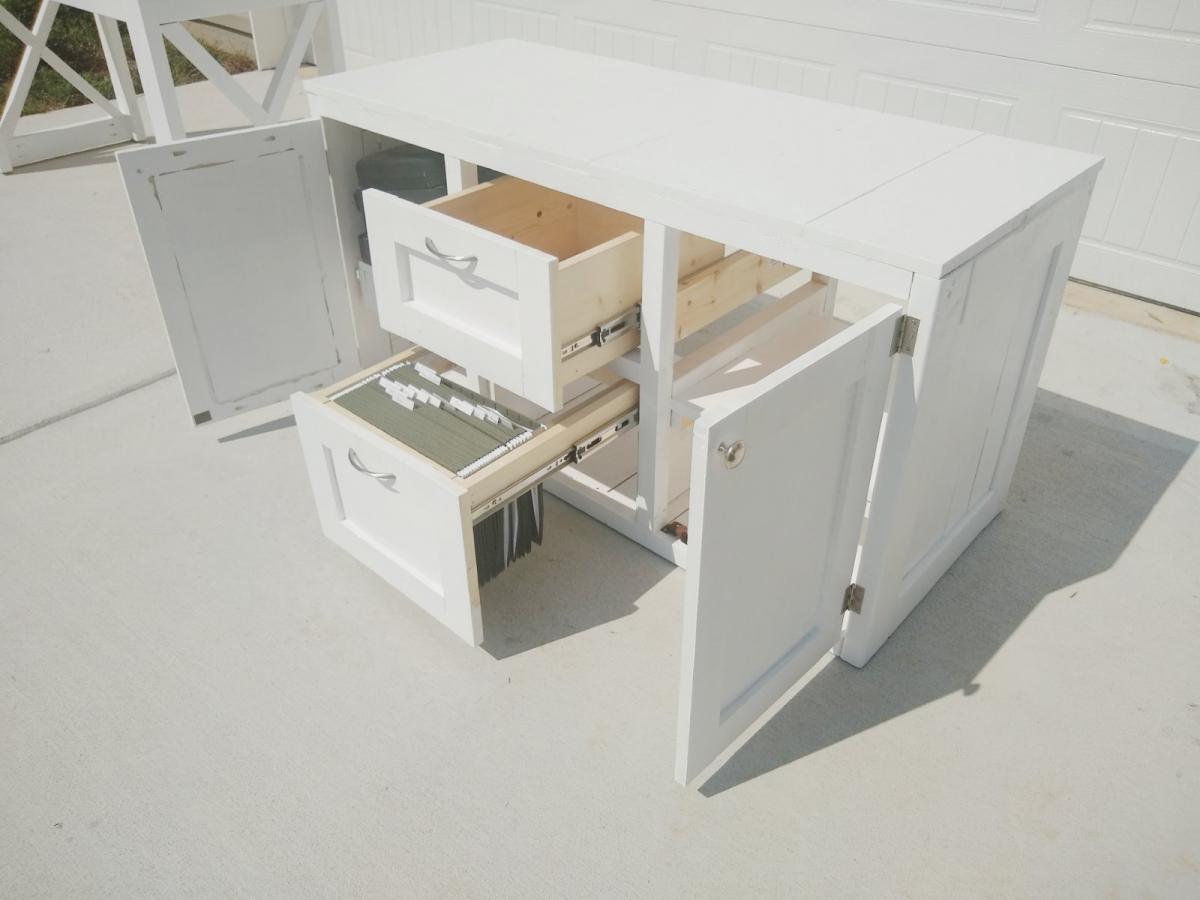
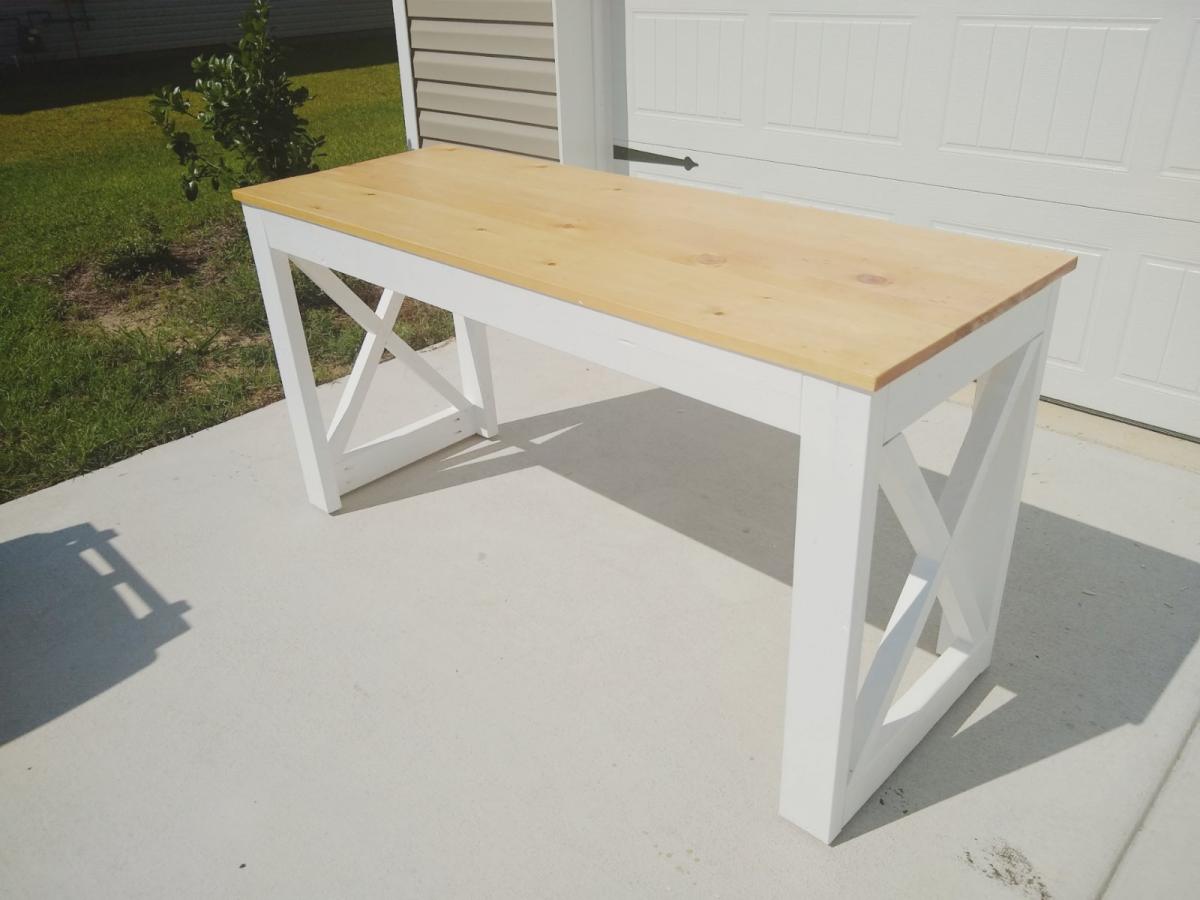
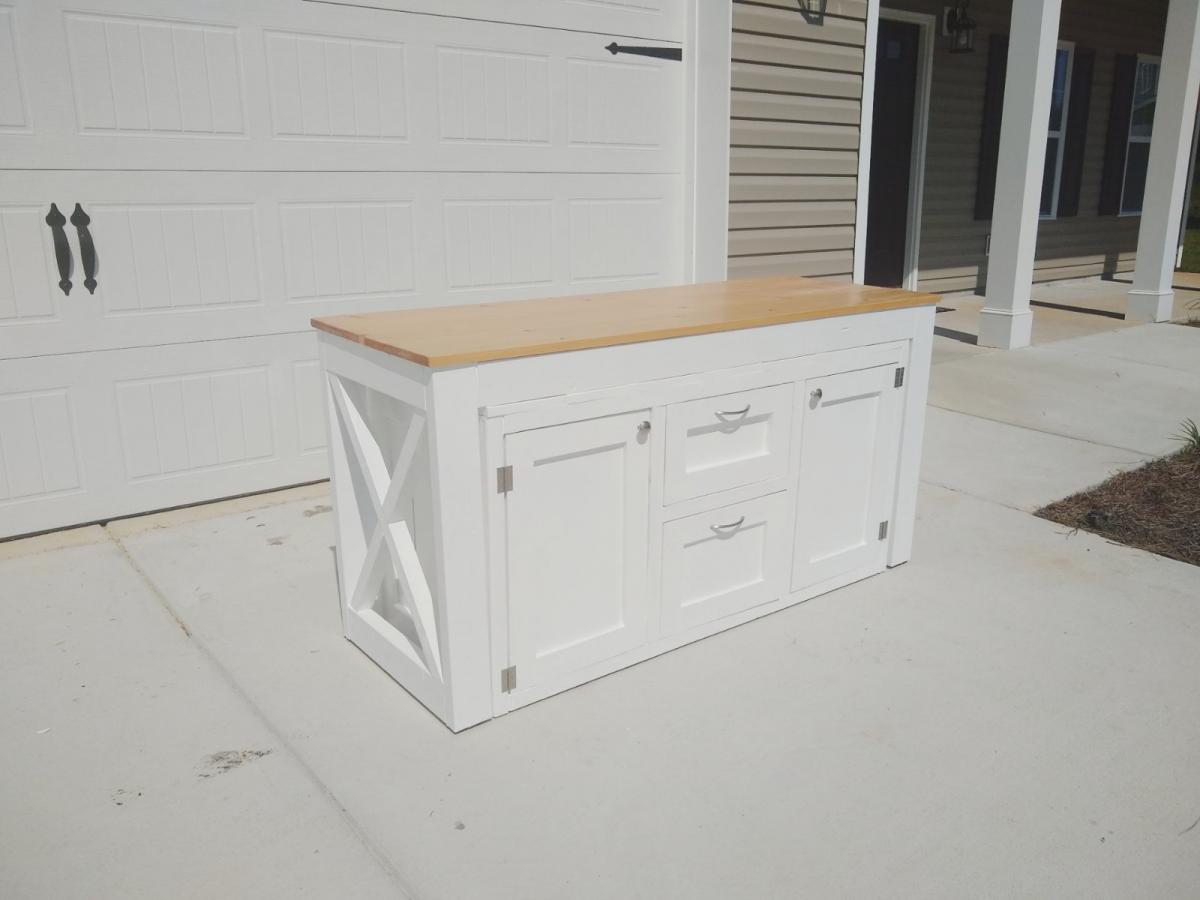
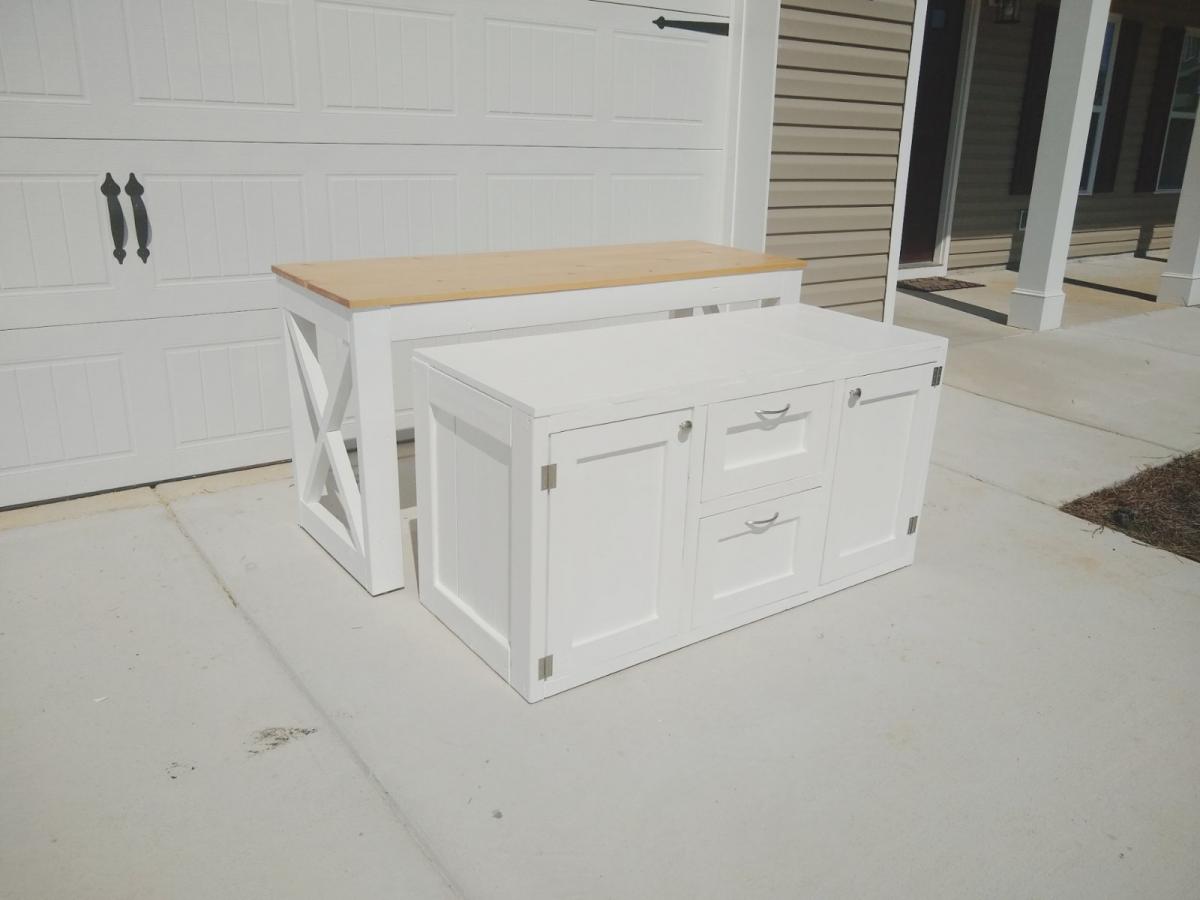
So loving this nesting office station❤️! We will have a sofa sleeper in the office as well. So we needed a desk that could be moved to the wall when the sofa sleeper is being used by guest. I saw a post from Ana for her Nesting Grill Station and I came up with the idea to make this nesting office station. The cabinet includes a file folder drawer (which is from Ana's mail boss plans), a regular drawer, cabinet doors with shelves. One of the shelves is a pull out shelf for the printer. I think it came together great! Design for nesting desk inspired by these plans: https://www.ana-white.com/woodworking-projects/nesting-grill-station https://www.ana-white.com/woodworking-projects/mail-boss
Wed, 07/15/2020 - 04:40
I love this! Very creative and practical design and oh so pretty. Nice job!
Mon, 08/31/2020 - 09:47
This looks so good. Great work. Do you mind sharing how you concealed the wheels? Do you have wheels on both pieces?
Sat, 10/03/2020 - 08:35
Hi, Thank you! Actually I didn't add wheels to the design since this will be in an office with thick carpeting. I added adjustable metal foot pads to the bottom of the desk.
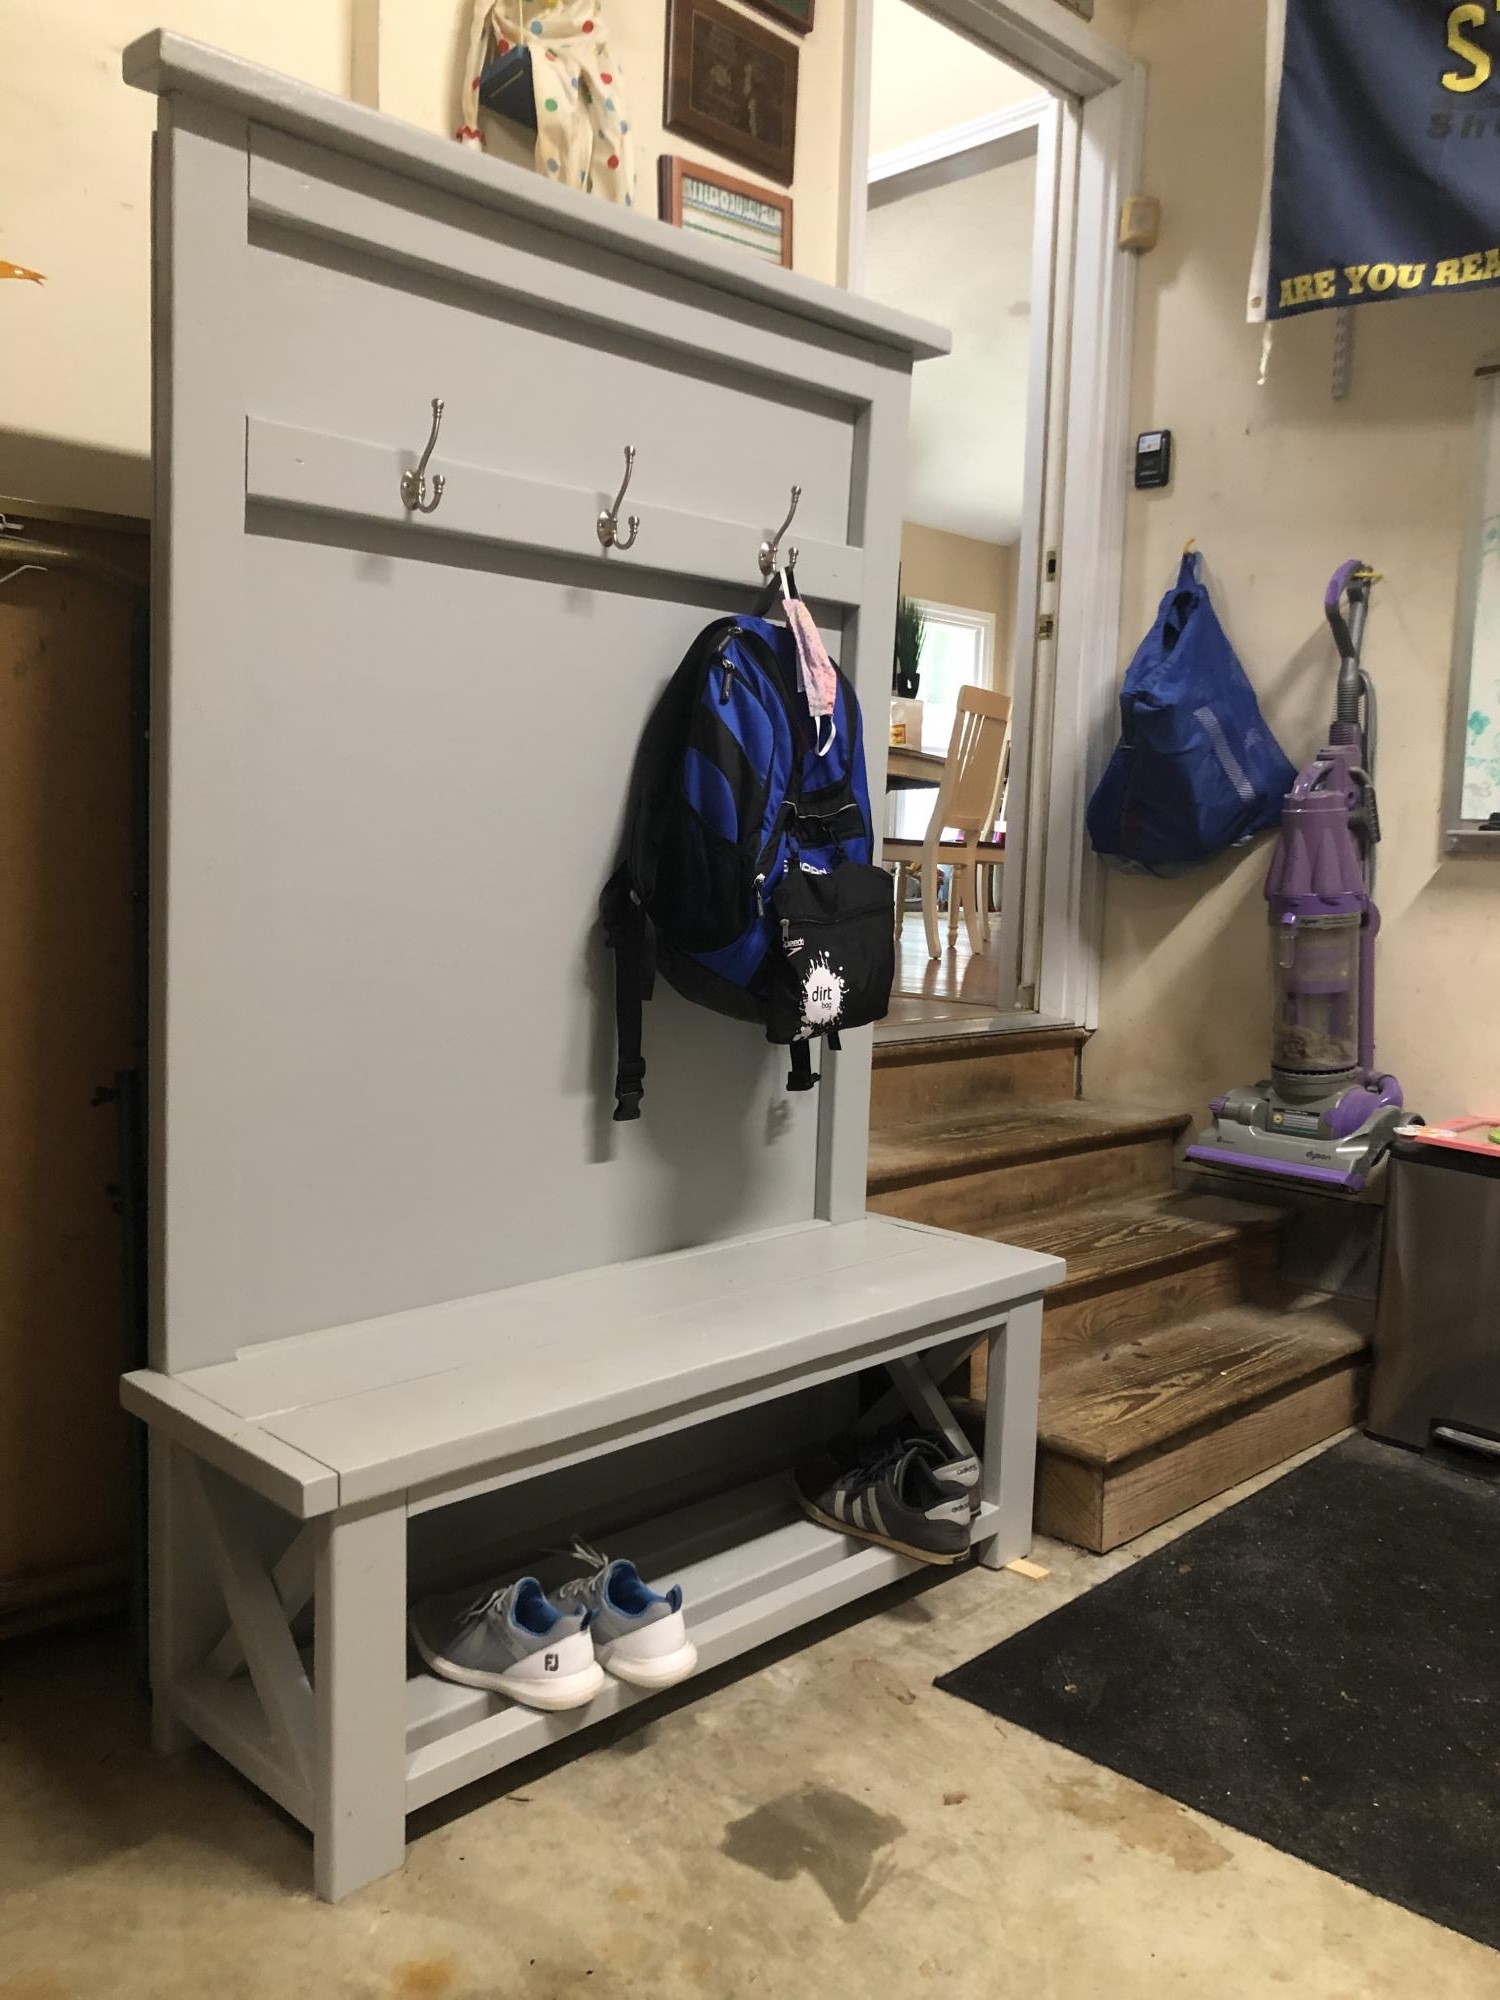
Fun project. Had the kids helping with the build. Easy to follow directions. Made the x side by side rather than cut. Sanding and painting took the longest. Had to put 2 good coats to protect it. Thanks!
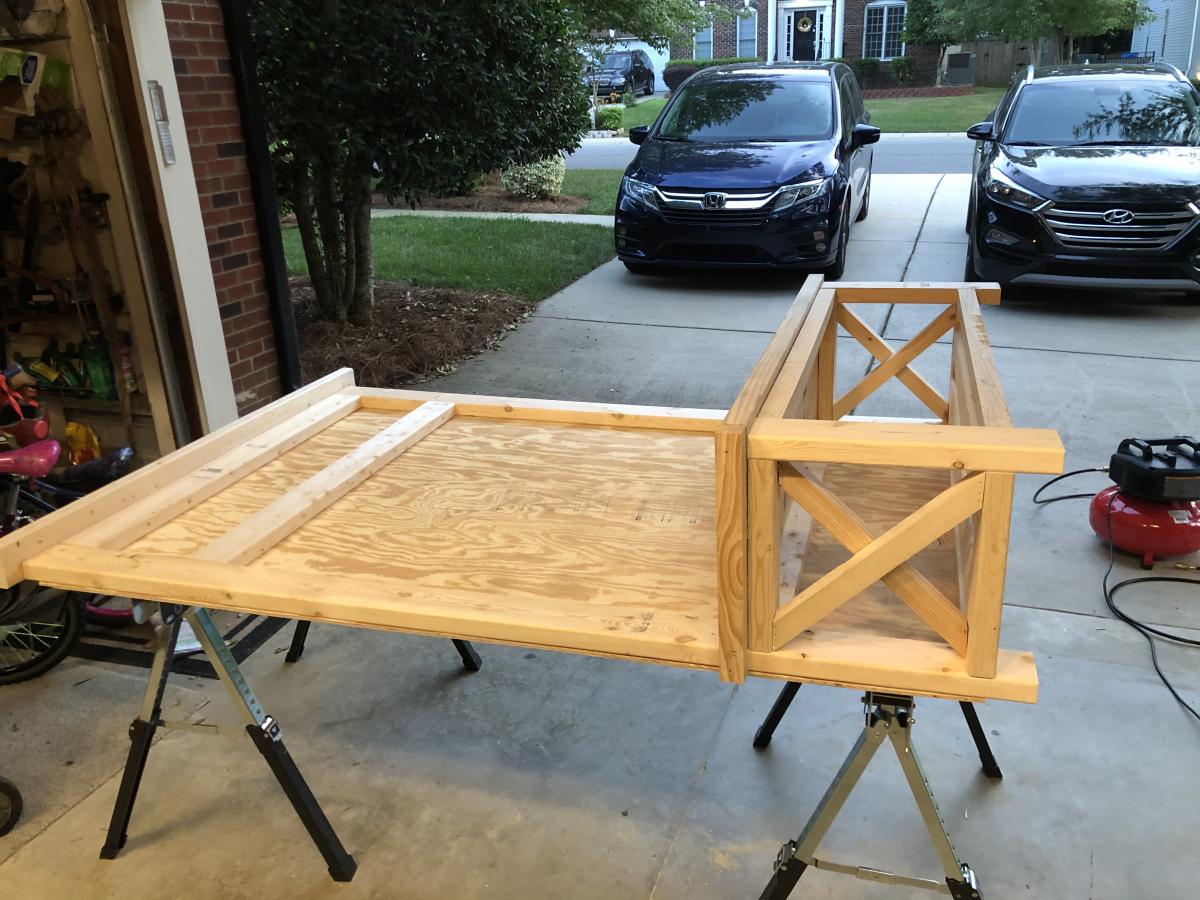
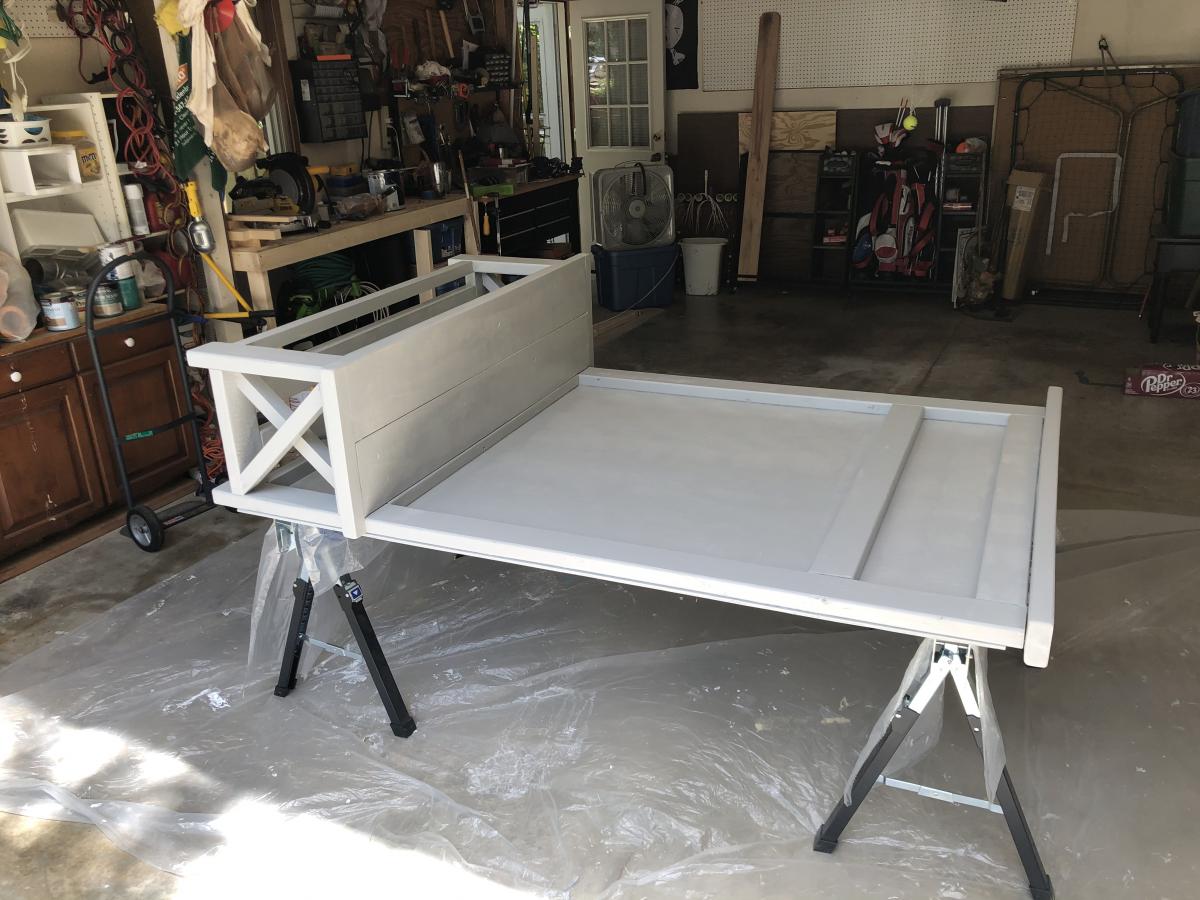
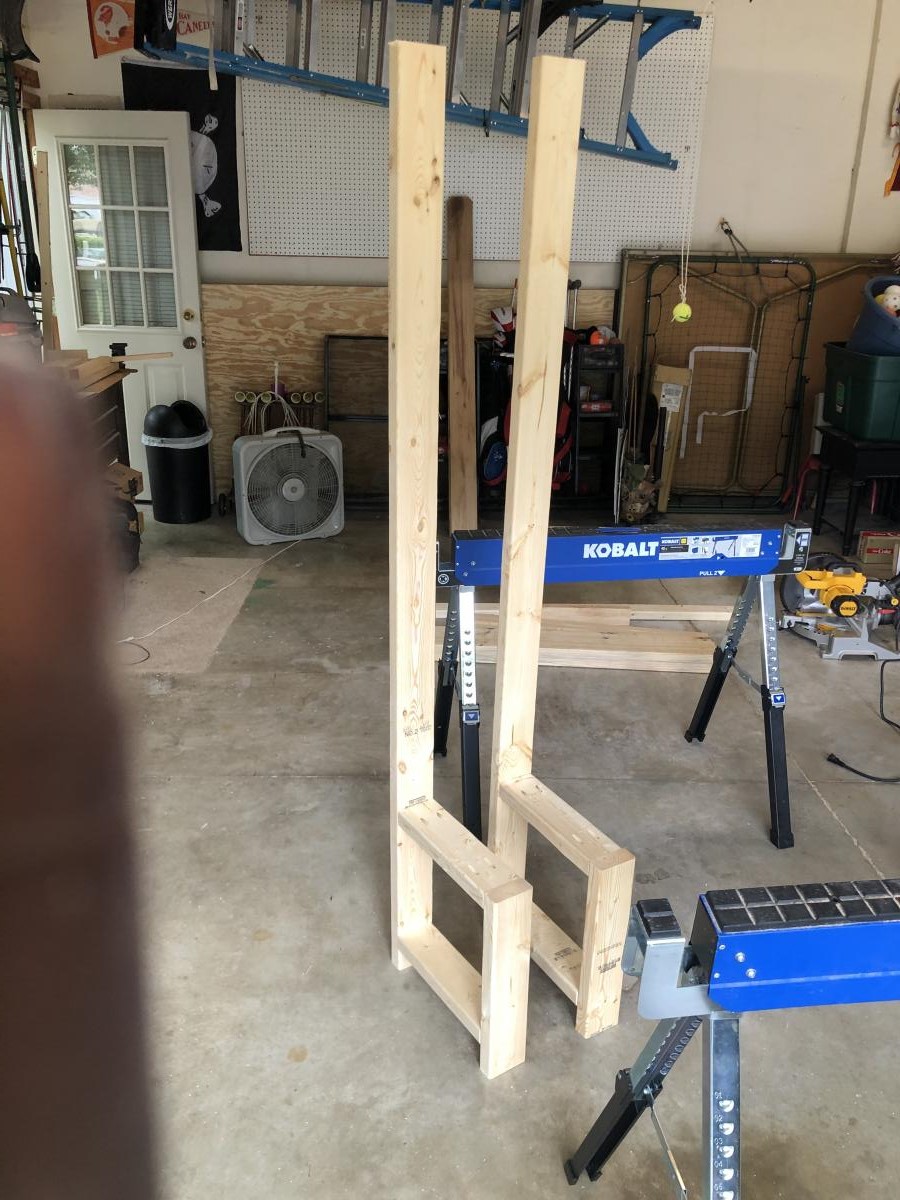
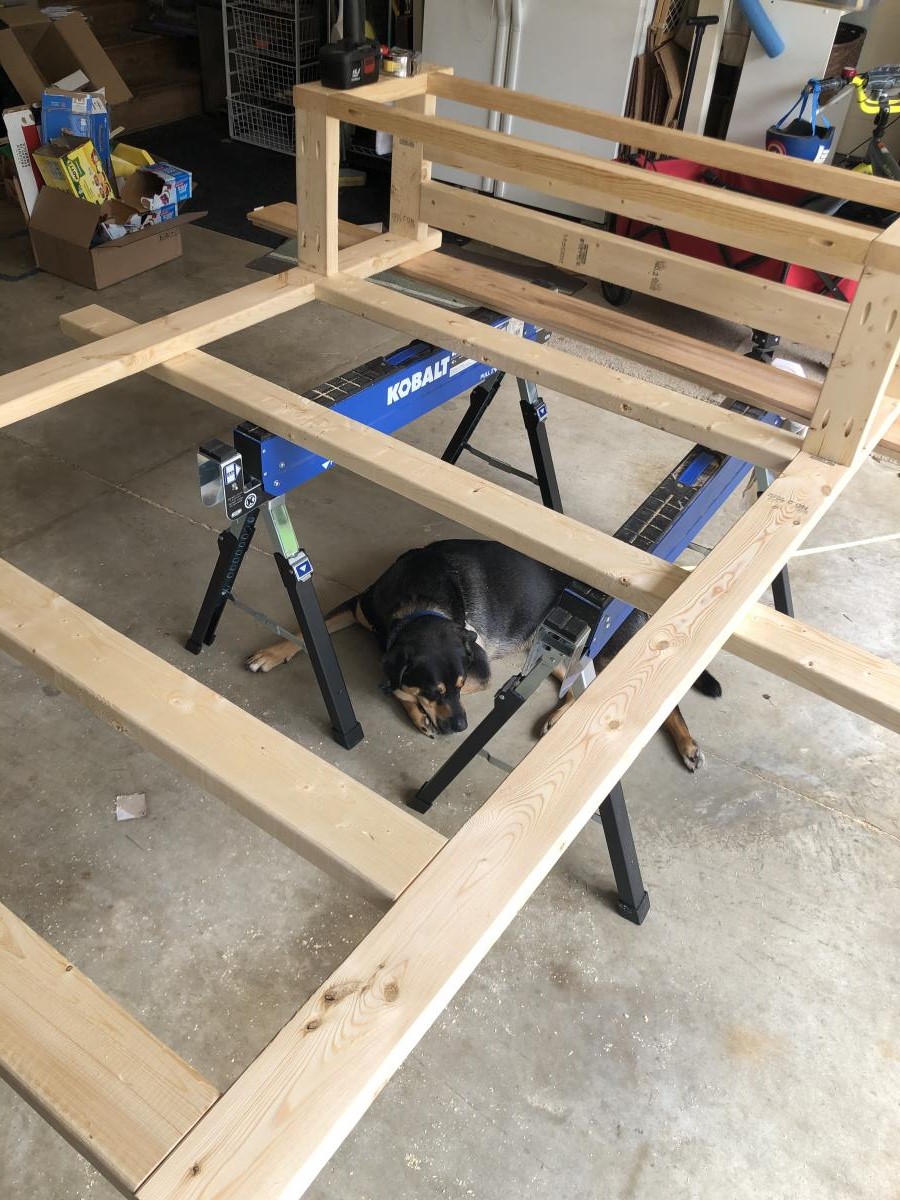
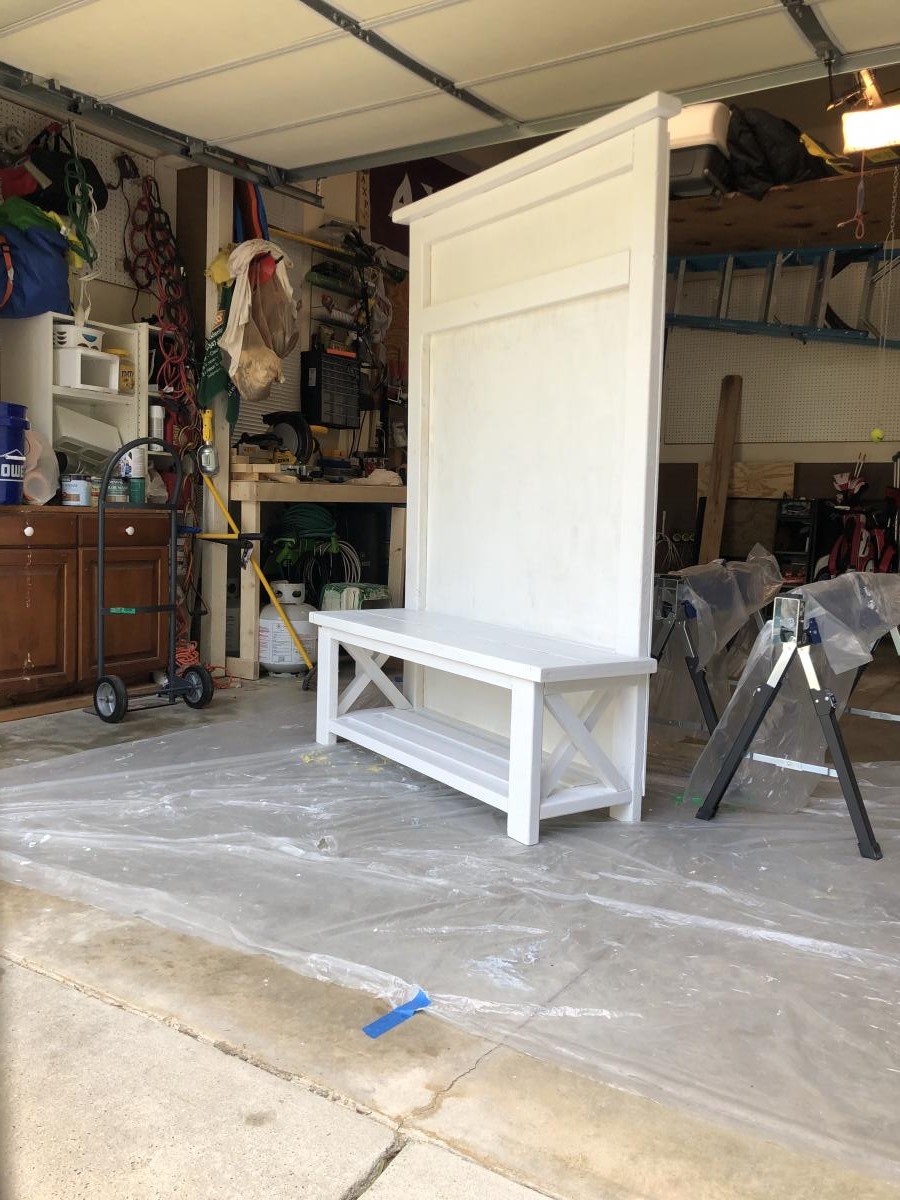
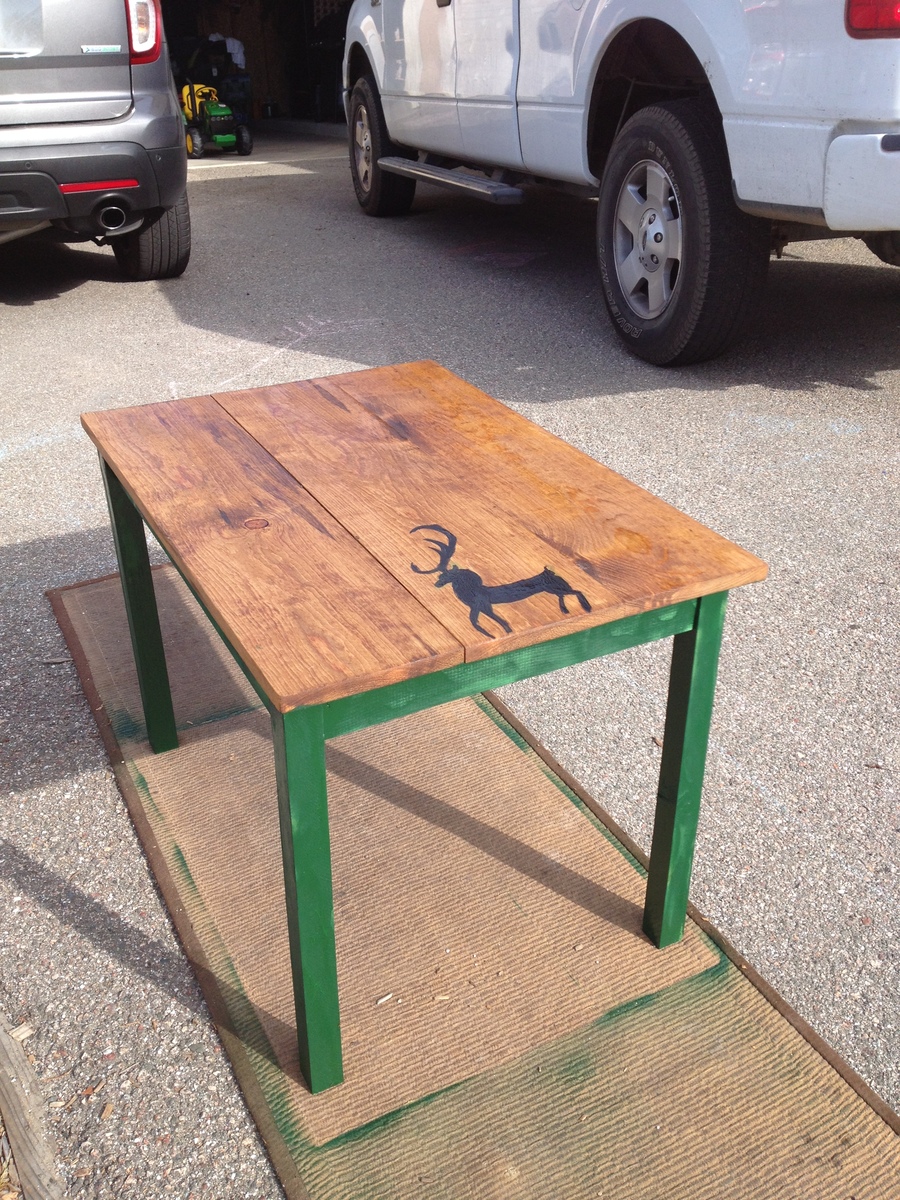
This is agreat project to cut your teeth on. Even though this was very roughly put together, the end reult was still furniture-worthy.
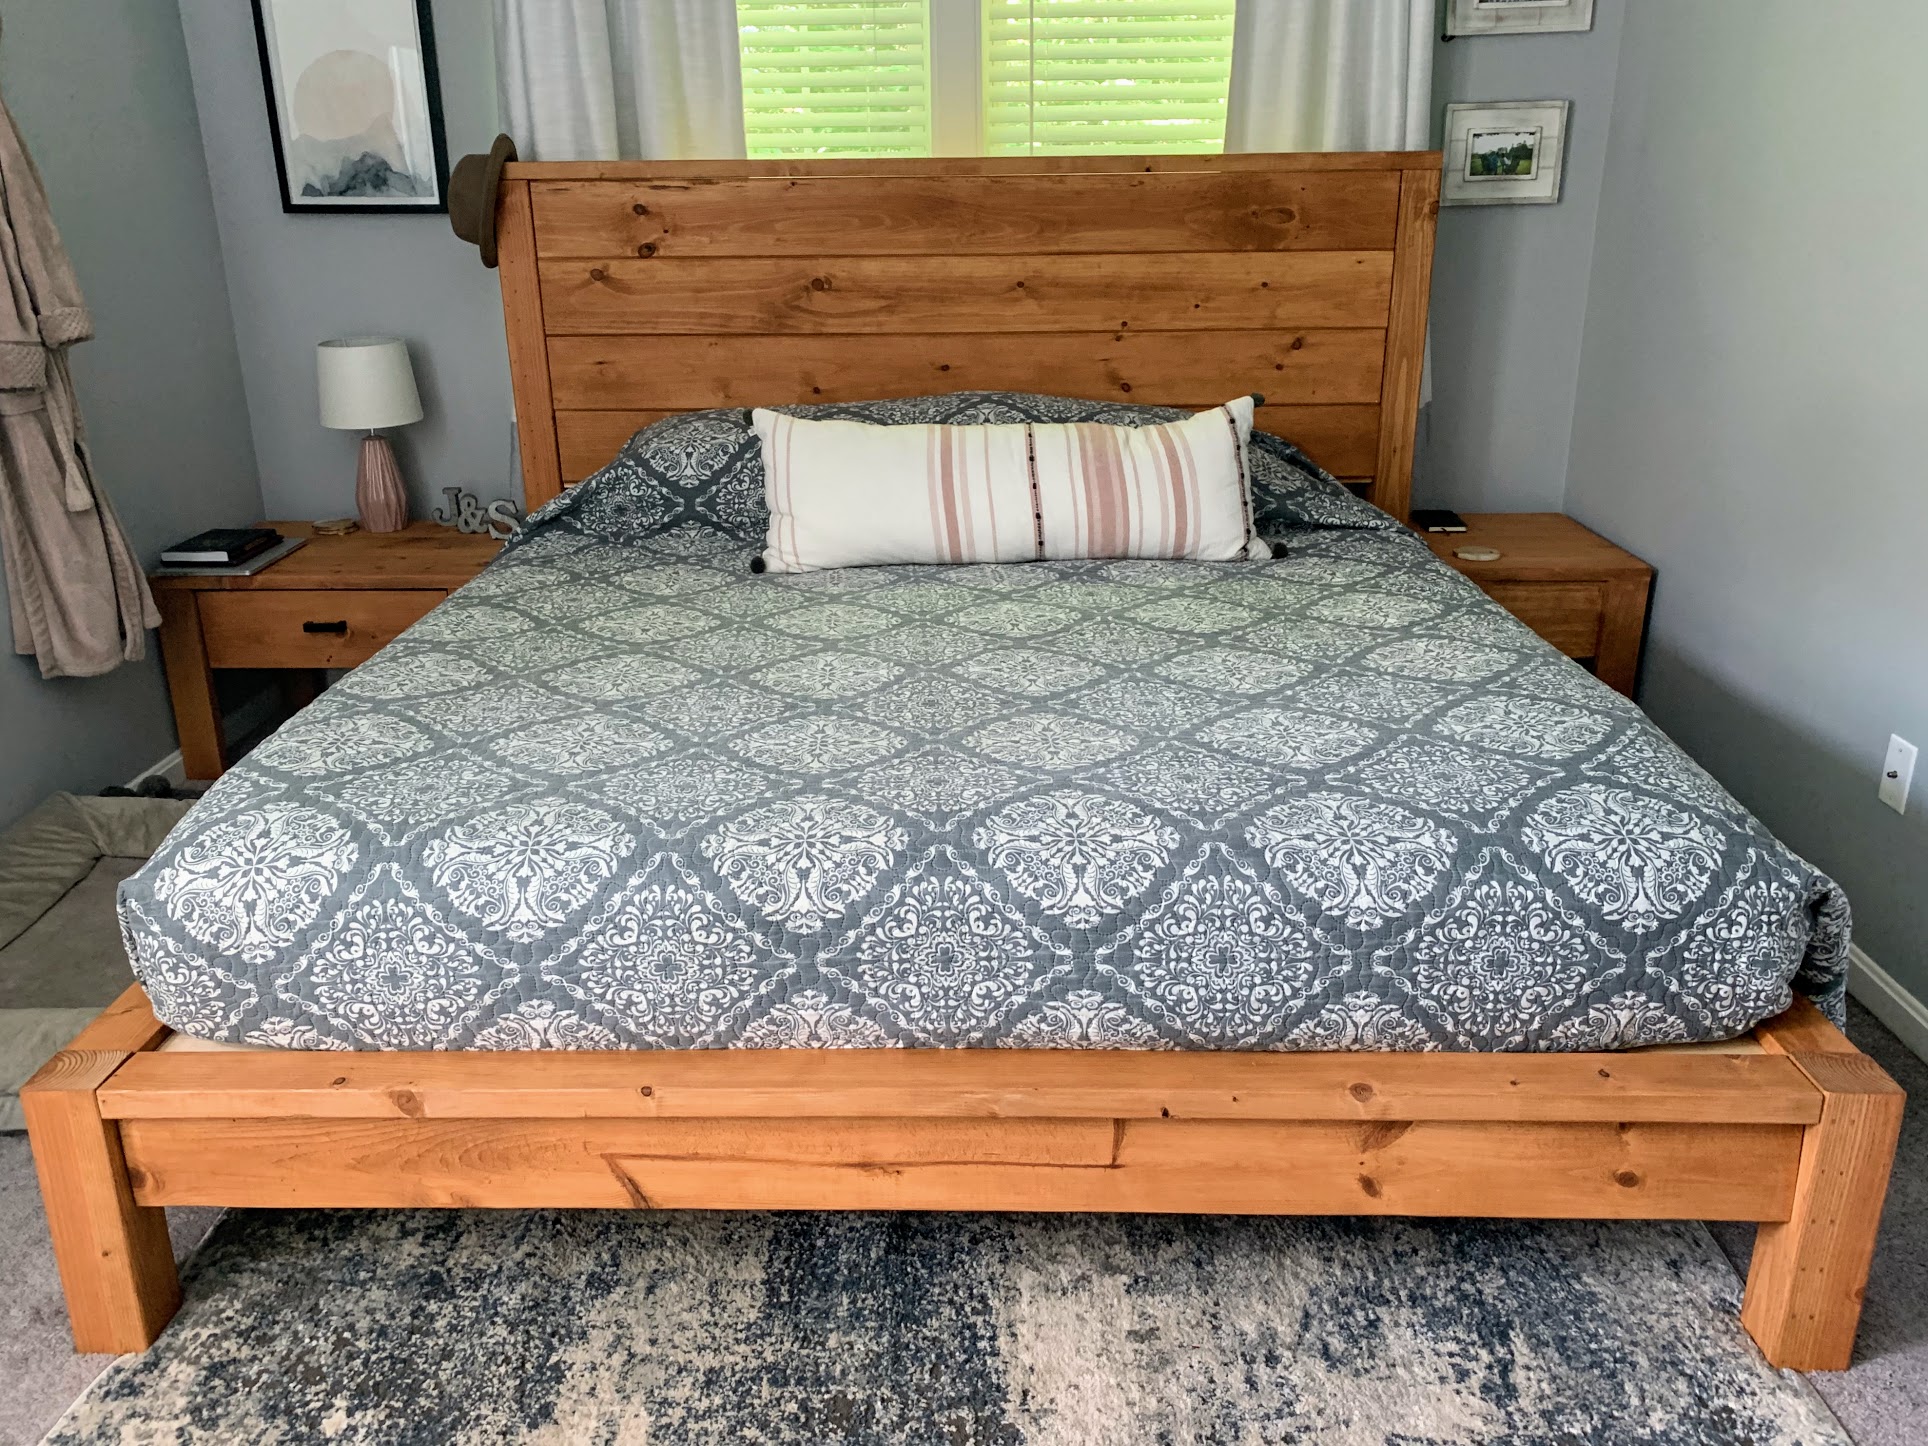
Bed frame - Husband and I built and assembled over a weekend. We love it!
Only variation from the plans were that we used 1x8 shiplap boards for the headboard (because the options were nicer at Home Depot).
Nightstand 1 - This I built myself, it took about 5 hours.
Followed the directions and the drawer worked the first time!
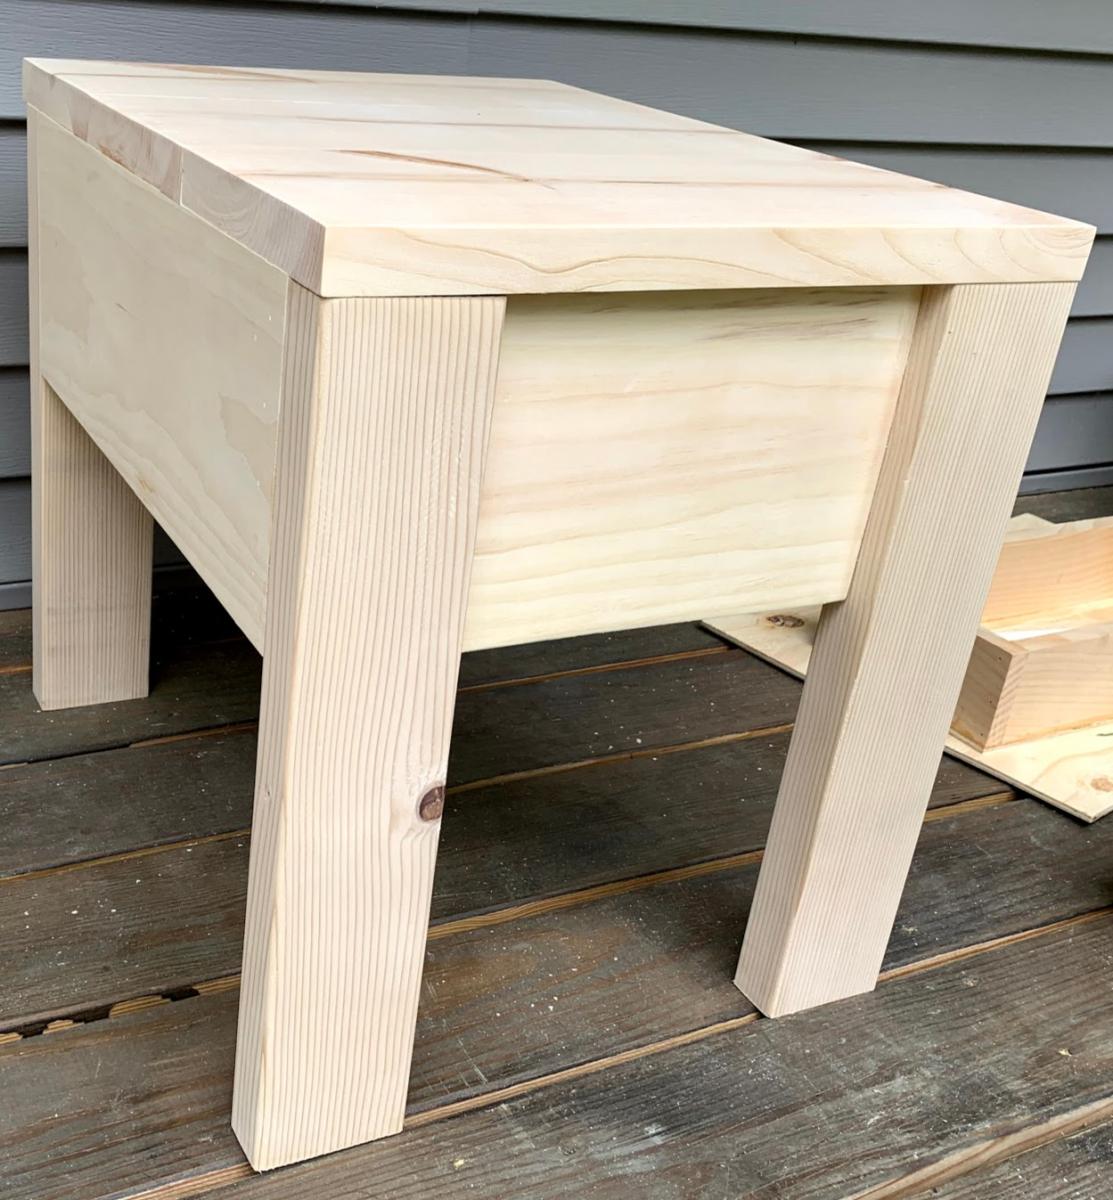
Nightstand 2 - This I also built myself, took about 4 hours.
This one I had about 17" to work with. The only measurement that changed was the front and back cut to 10".
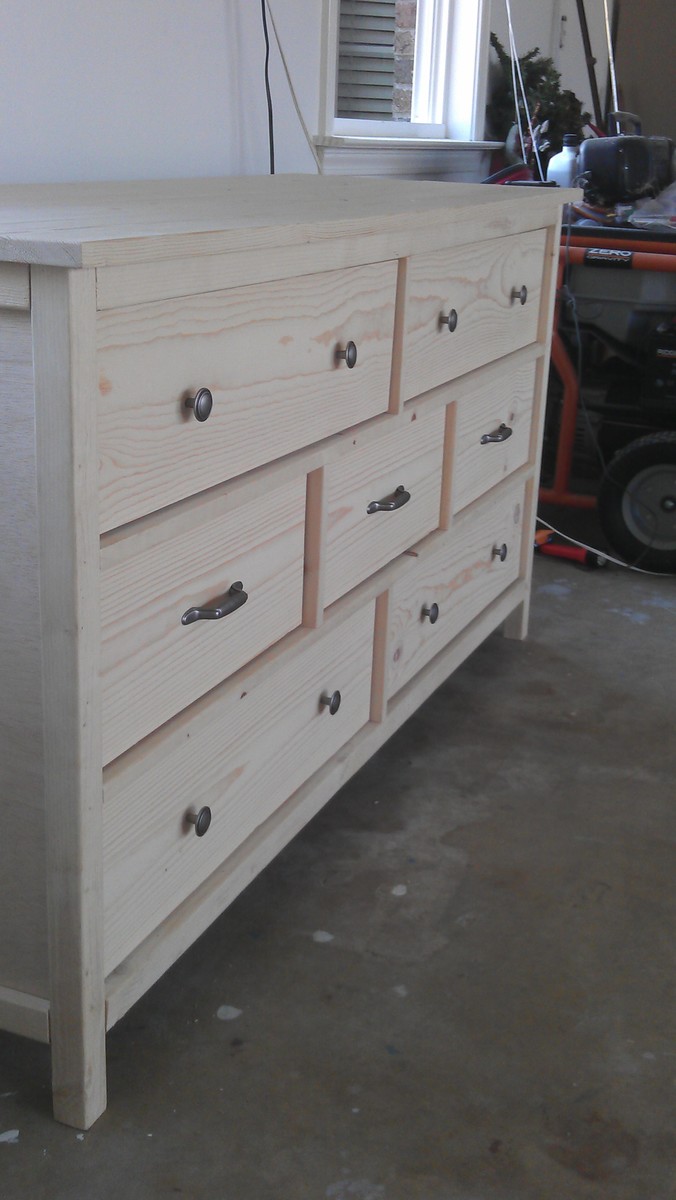
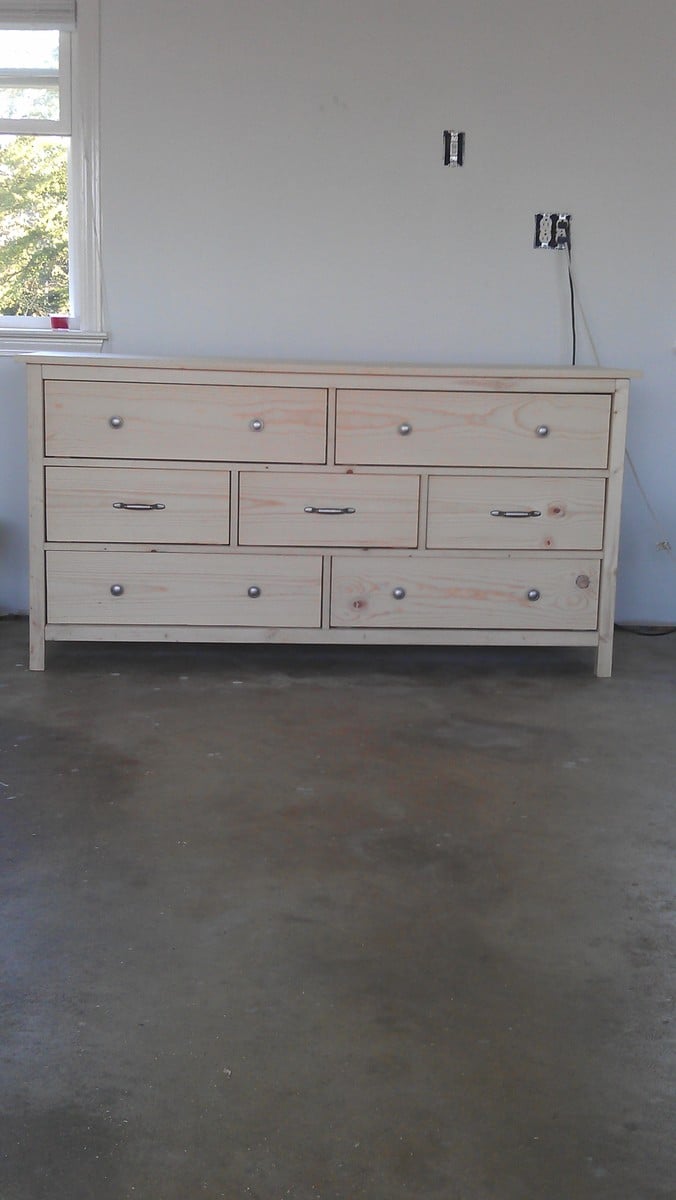
Modified wide cabin dresser with metal full extension drawer slides on the bottom of the drawers. The extra set of drawers on the bottom were added to give more space for storage.
Fri, 10/19/2012 - 18:42
This looks stunning. i think a dark stain would look great with linen.
Thu, 01/31/2013 - 14:04
Beautiful! I was wondering if it would look pretty with the extra drawers on the bottom. I'm building this plan for my son right now, but I might build another with extra drawers for myself!
Sun, 11/23/2014 - 05:29
Your build looks awesome! I'm going to be doing this for my twin daughters room very soon. I was just wondering how you modified the dimensions on the left and right sides. What were the measurements and dimensions of all the pieces since it had to cover all the way to the bottom?
Mon, 01/24/2022 - 18:04
I as well would like the plans to the modified dresser with the drawers on the bottom.
Fri, 02/04/2022 - 11:11
This looks amazing!! Would also love the plans for the extra drawers!! If you don't mind.
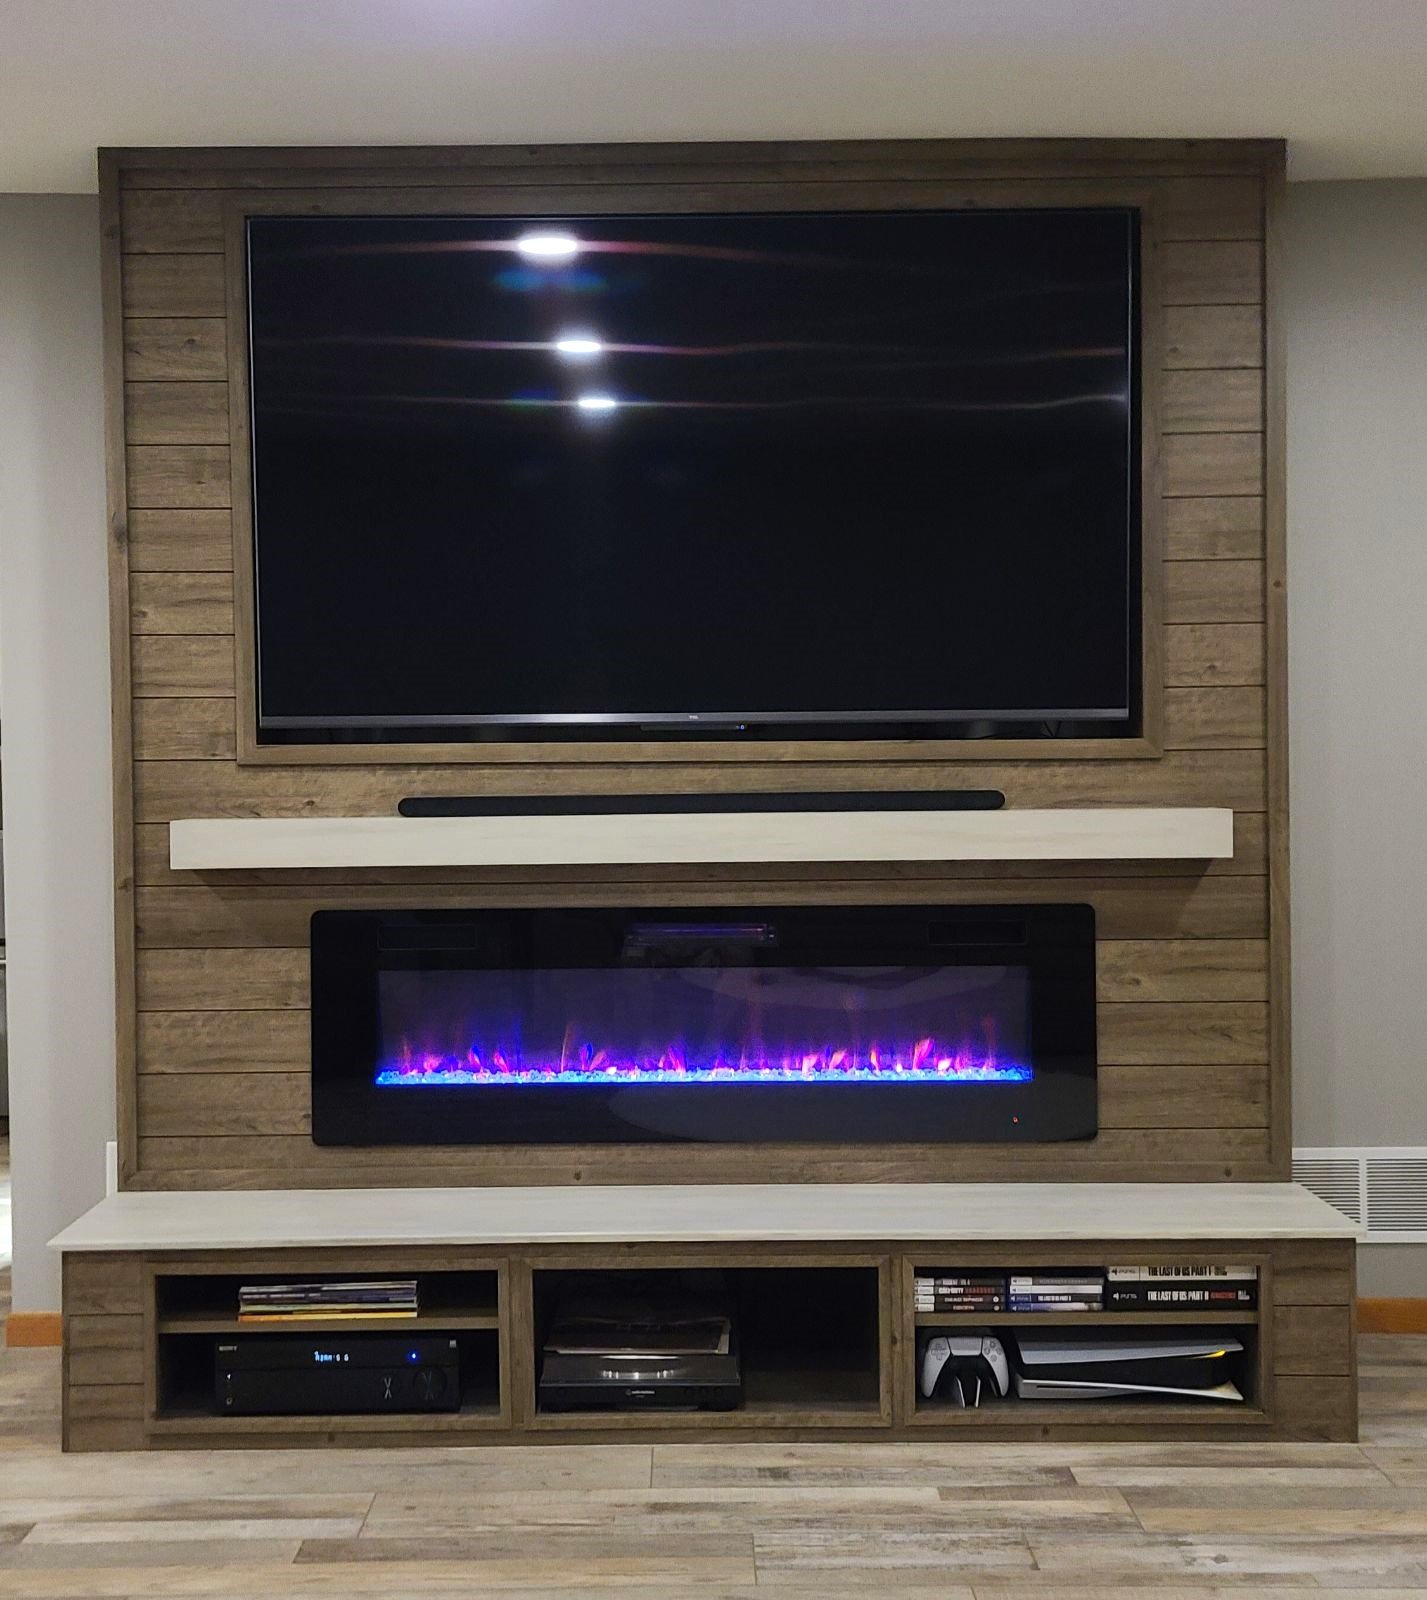
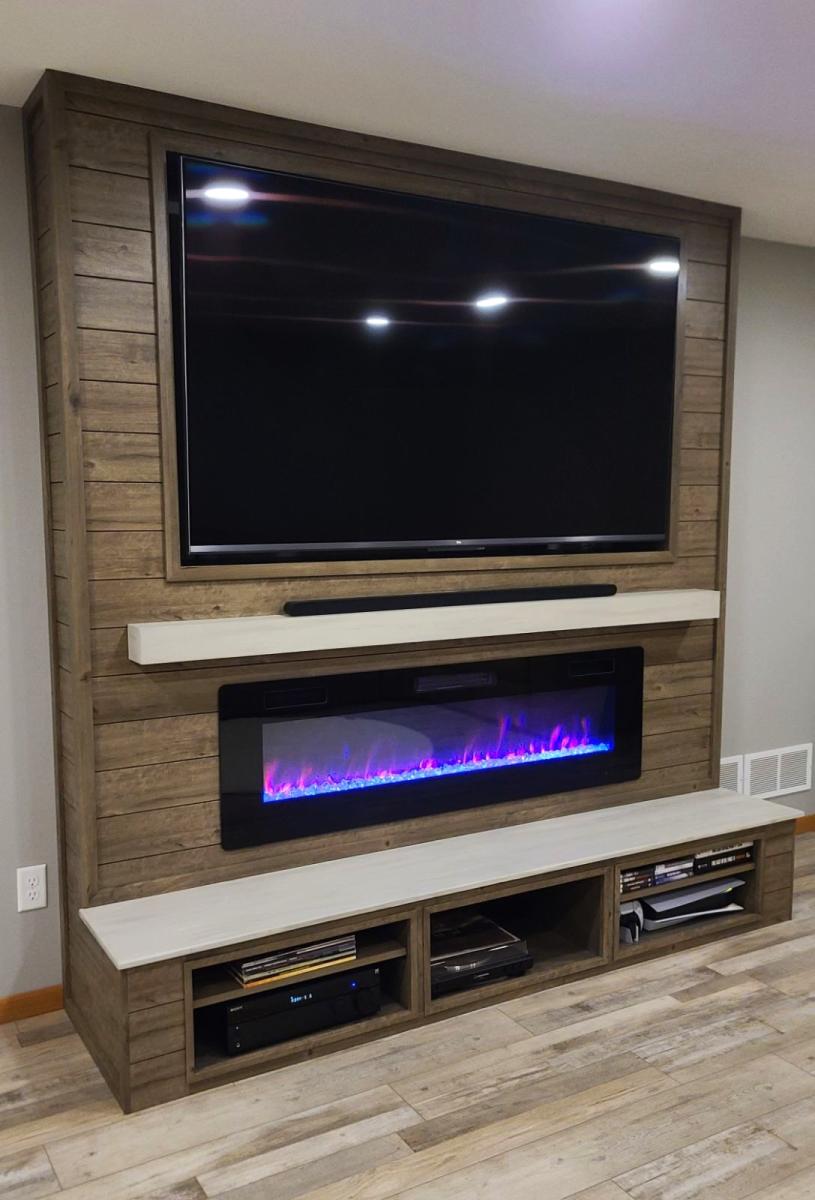
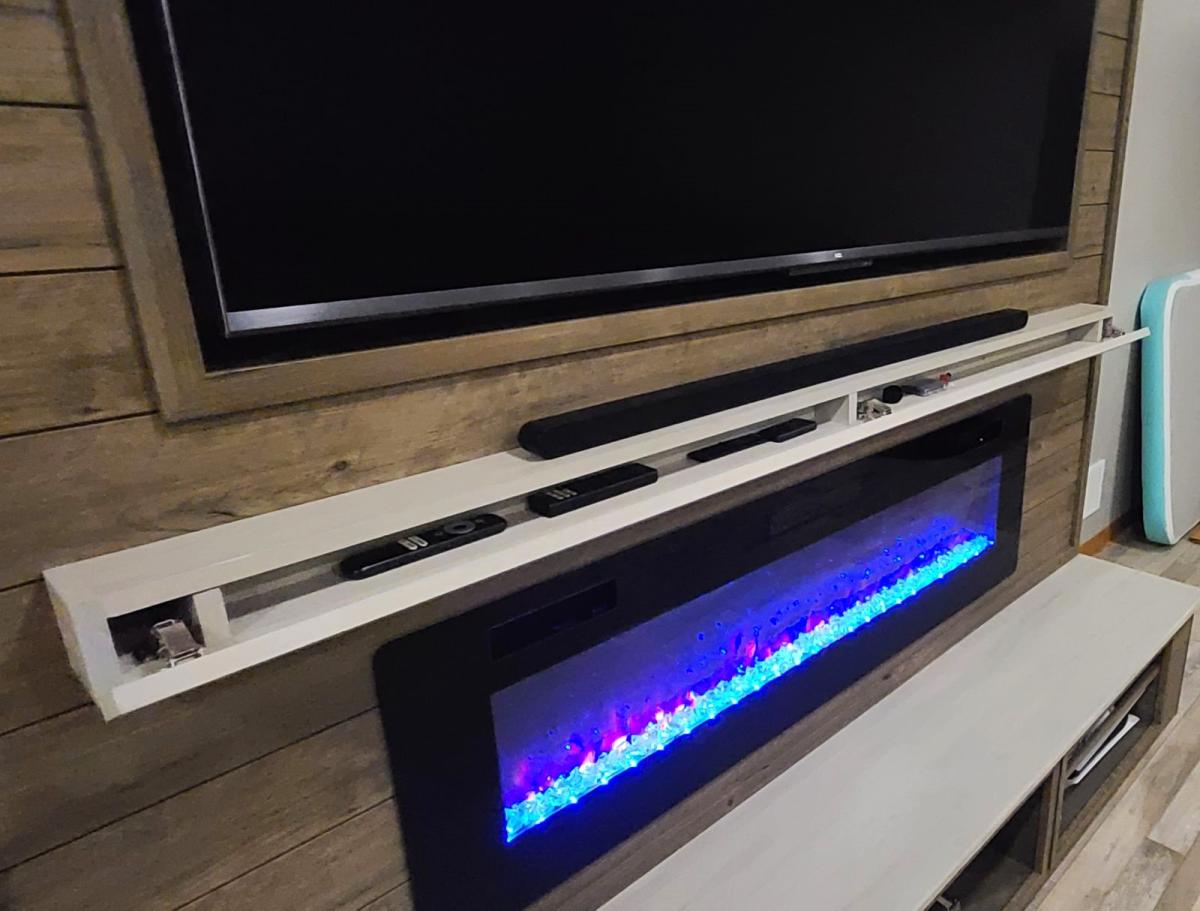
During a complete basement renovation, we combined the Shiplap Fireplace plans as well as the Flip Open Mantle plans to create this beautiful TV & Fireplace Wall with bench and open front for peripherals. We modified plans to make the TV more "built-in" allowing us to hide cords and cables better, plus just give it a sleeker feel.
We customized the front to be open so that we had a place for peripherals and some air flow. This included shelving in the outside front compartments. We were able to accommodate a PS5, games & controllers, record player, records, and a receiver/amplifier. A slim soundbar for the TV sits on top of the custom mantle. The bench gives it a nice touch and dimension.
Adam Wiebe
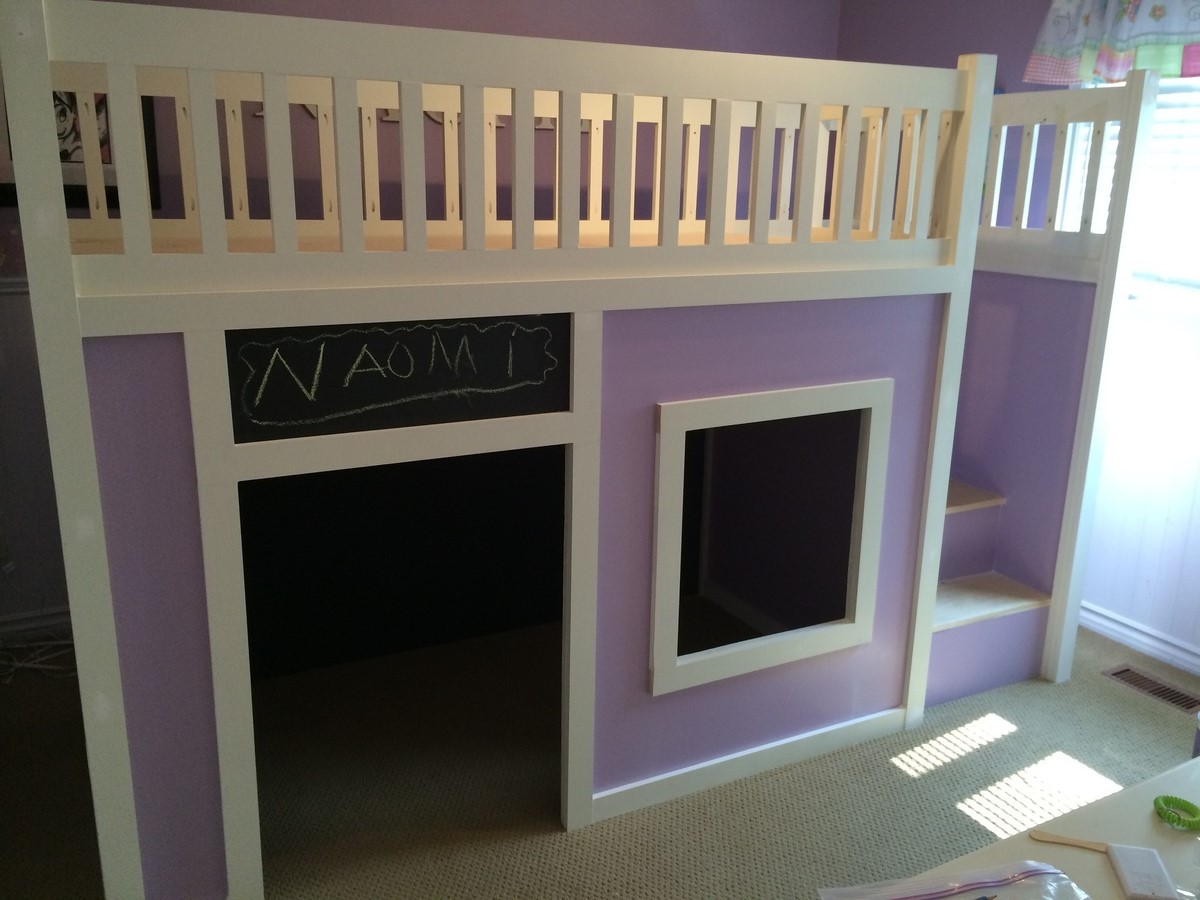
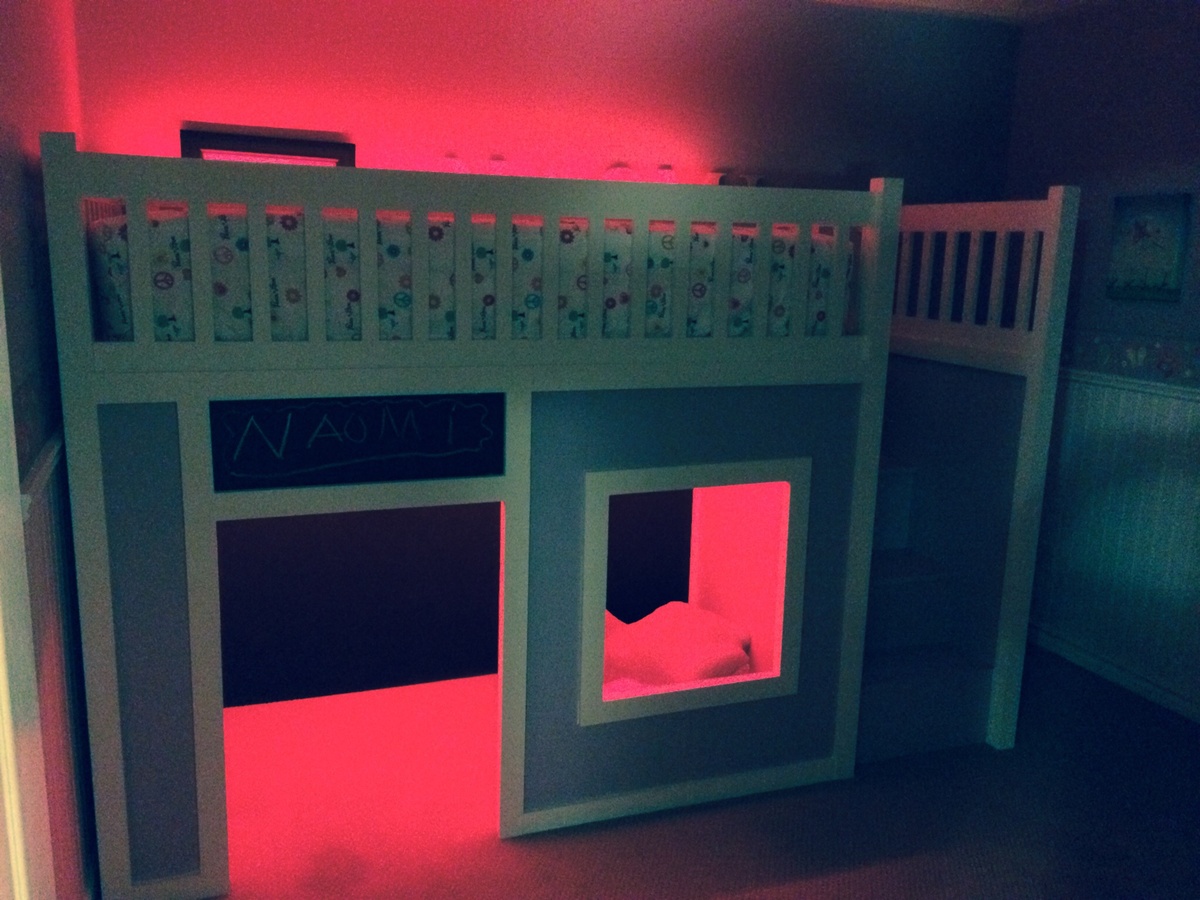
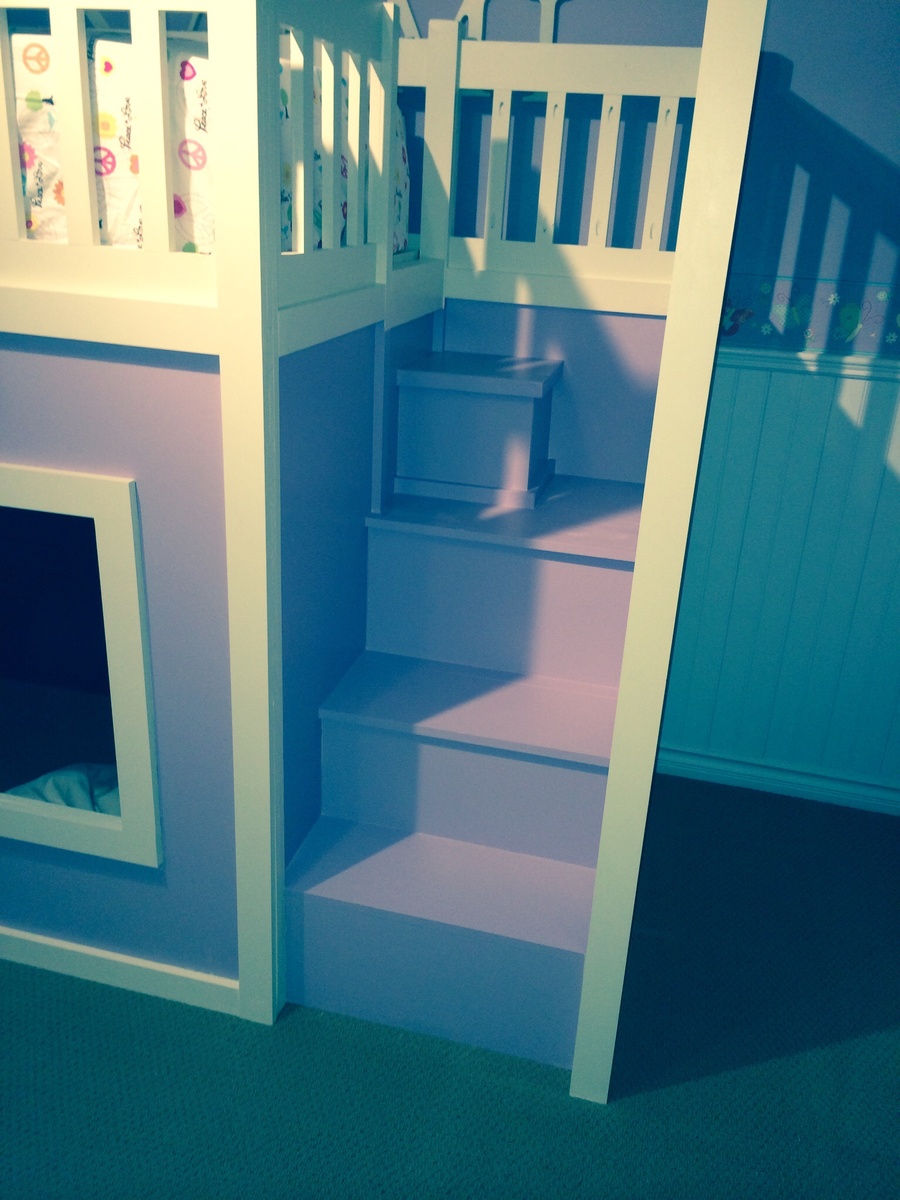
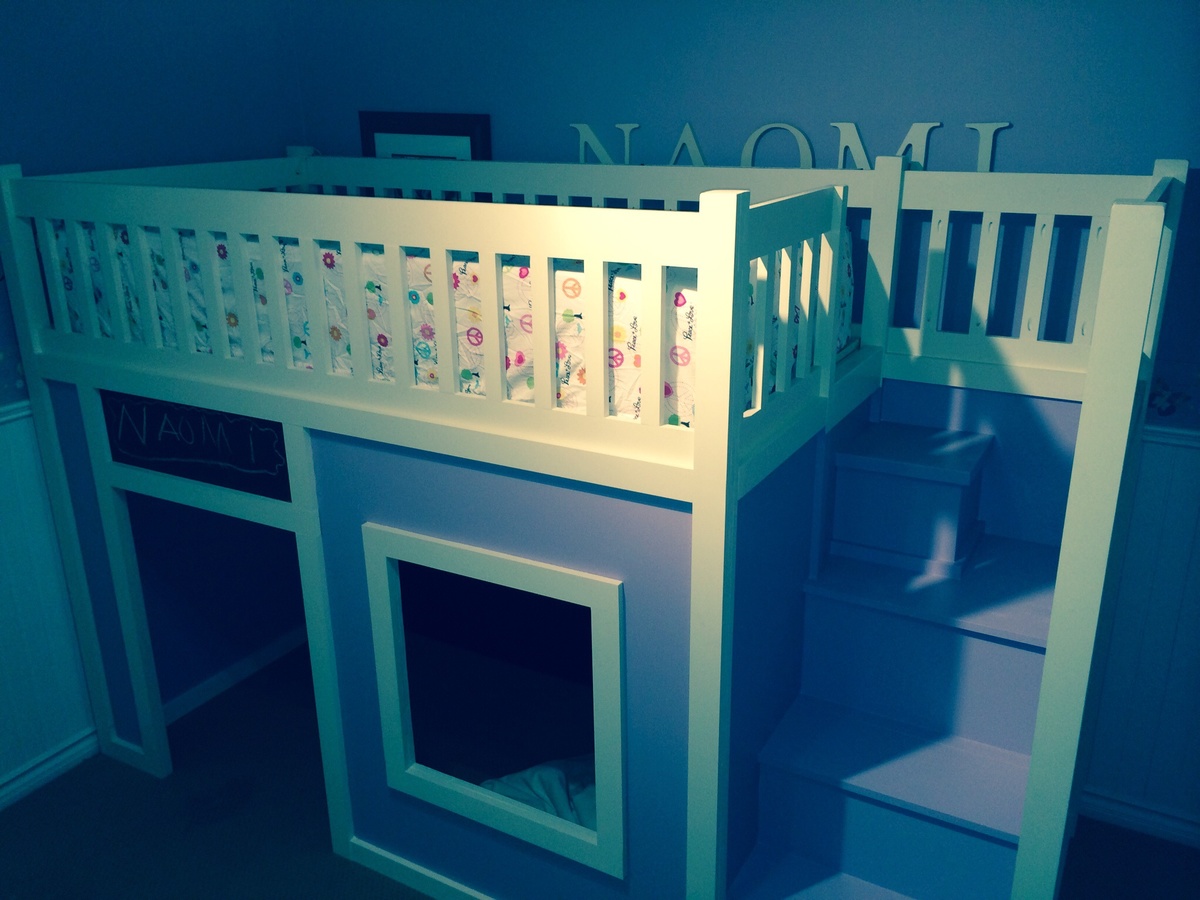
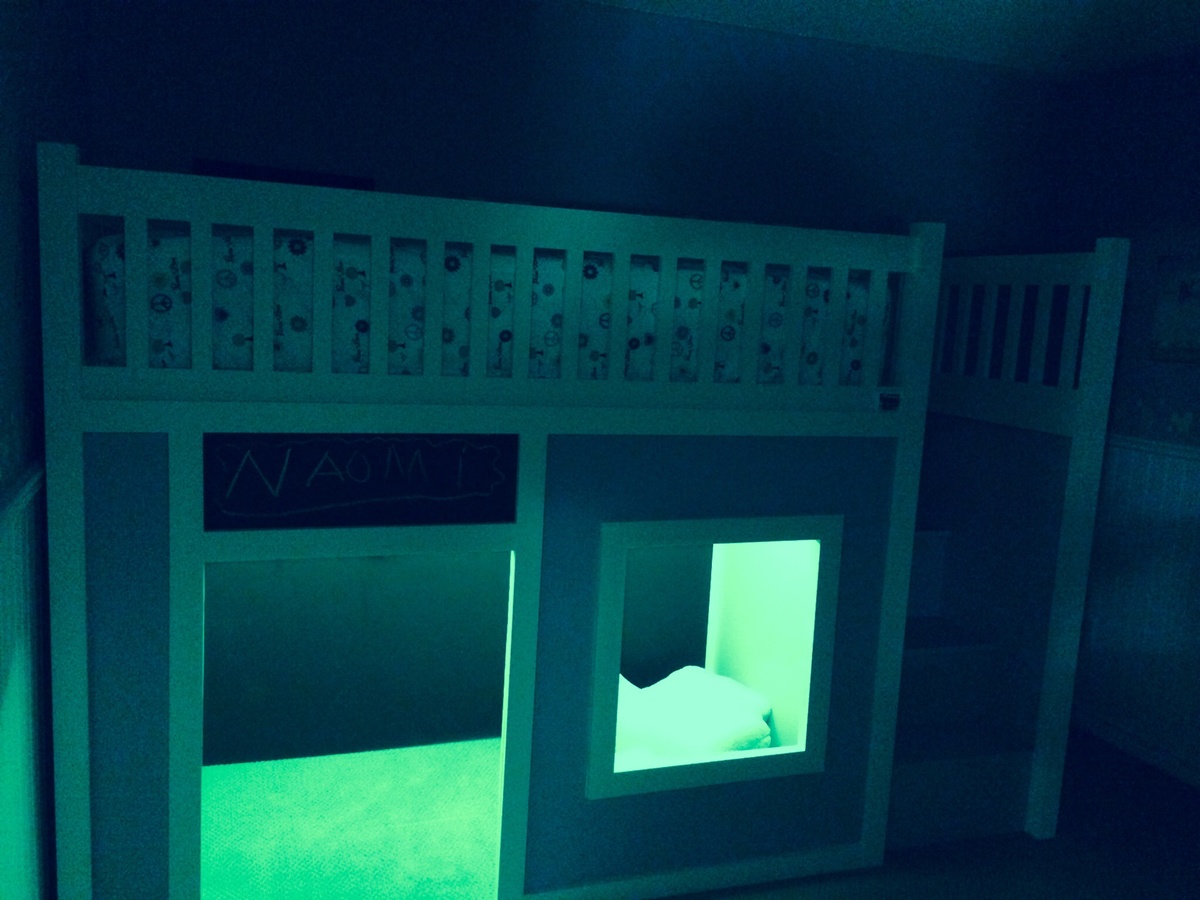
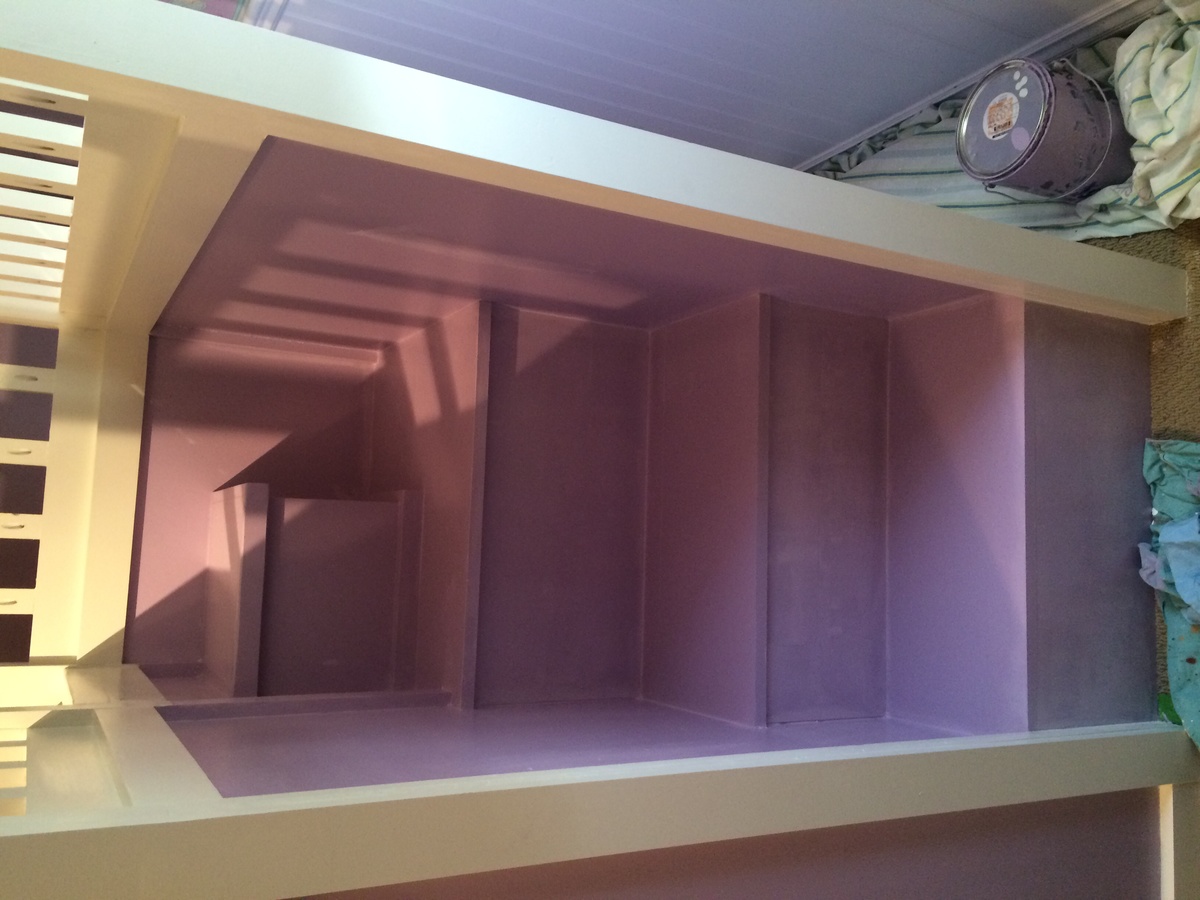
This was a great plan to follow. I made a few modifications such as adding a back wall that I painted with chalk paint so my daughter can draw to her hearts content. I also added a bit above the door so we can post messages such as her name or "girls only". I decided to skip the stairs being storage thinking it would simply be a junk collector and added a small step at the top as she found it a bit too high to get into her bed. Finally the painting took sometime as I used cabinet quality paint for durability but it's a bit tricky to work with. As a final touch I installed LEDs from Costco on the interior ceiling and back top rail all controlled by a remote with over 20 colors to choose from and adjusting brightness. Can't wait for my next project.
My mother lives with me and we loved the Pallet Shelf Project and made a back door shelf/coat rack. Then, task maker that she is, she decided we need a spice rack in the kitchen, and viola. Still needs another coat of minwax, but should be ready to hang tomorrow! Thanks Ana!
This was based on the "Small Kitchen Island" Plans but needed to put 2 - 33 Gal Trash cans in. I used Select Square edged Pine. The depth remained the same as the plans but the width changed dramatically (52" wide). I also increased the height to match the other furniture (3' High). I added 4 - 1 X 2's to the top of the cabinet to secure the top.
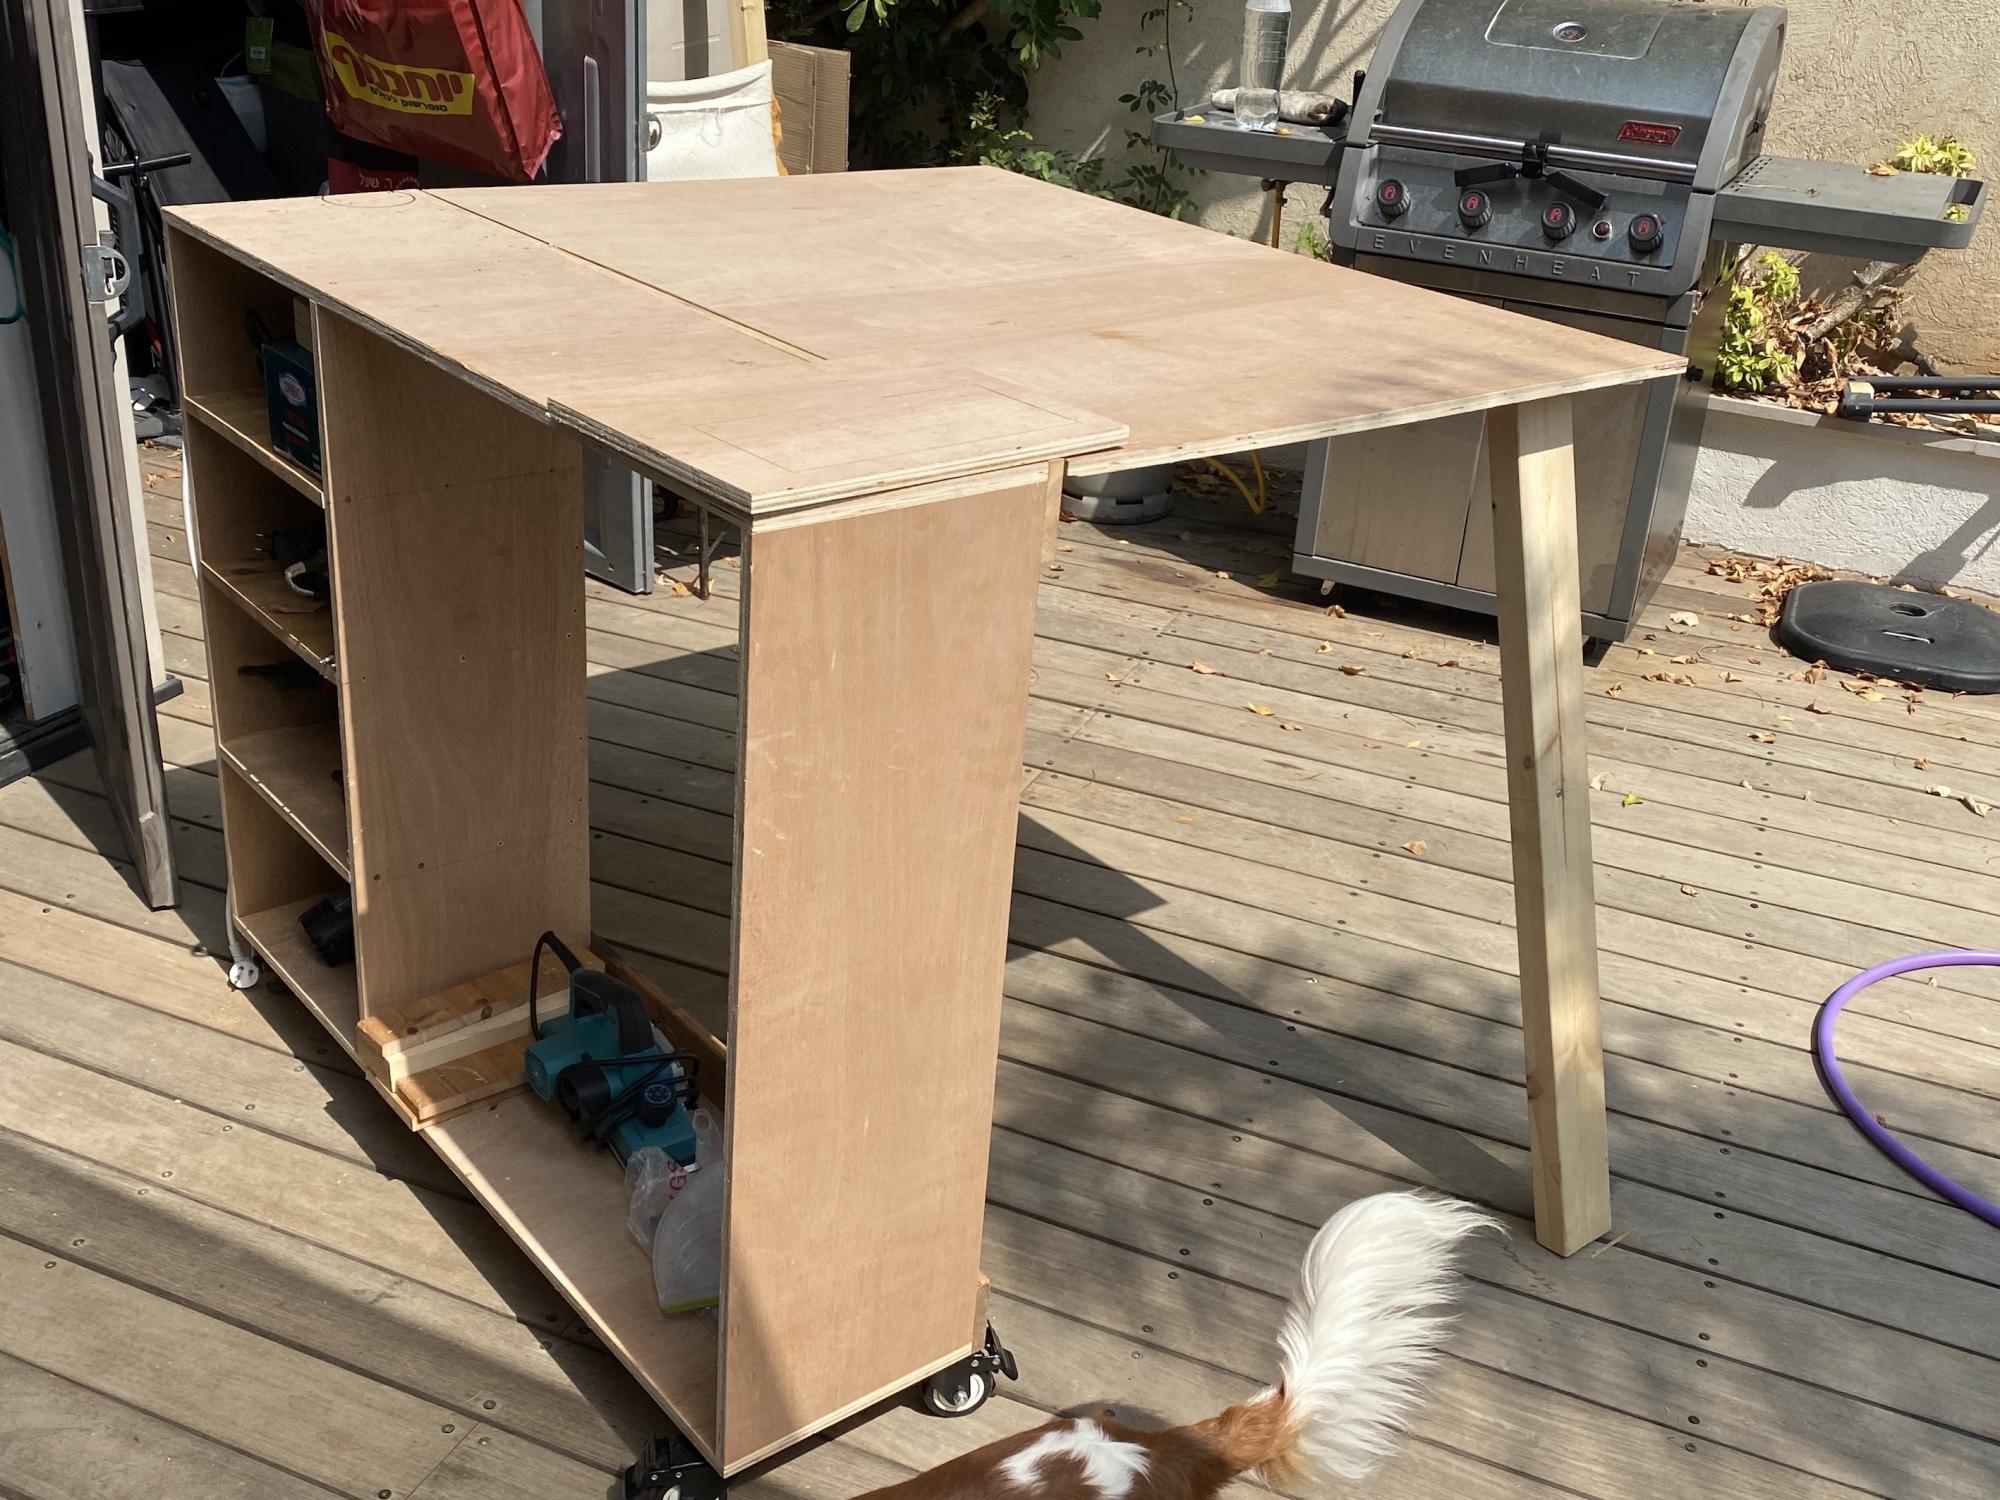
So this is my first ever work.
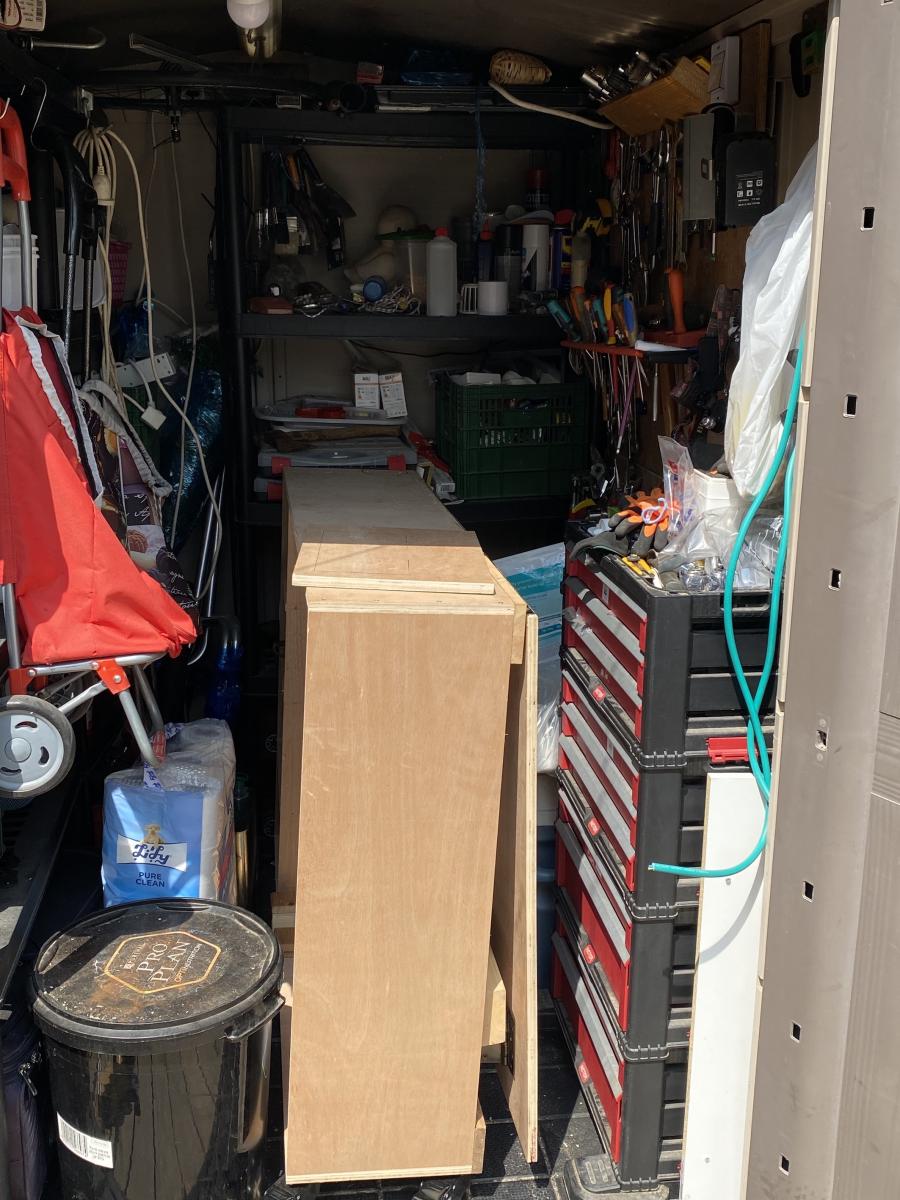
I have a very limited storage place (outside shed) and the super benefit, is that folded, this workbench is just the perfect fit (you can see in the picture how well it's fitted).
I am a tall person, so I took the liberty to add some CM's to the total height, and also extend the 'Flap' to be bigger. It's both beneficial but also adds some risk, as it's less stable when folded. And needs to be taken care when moving around.
I added magnets to the legs, with a piece of metal on the bottom side of the flap, so when opening the flap, the legs are held until released. (you need a fairly strong magnet for the 2X4.
One thing I noticed, and needs to modify is that the hinges holes are paralel to each other, that mean, that you either need very flat screws, or as I did, screwed them on alternating holes. So when closed, there is no pressure from the tip of the screw. Another solution is to use a hinge where the holes are not parallel to each other. ( i saw something like that online.)
I still want to add 2 top drawers, and a shelf, but it's pretty complete and functional as it is.
Super excited !!!
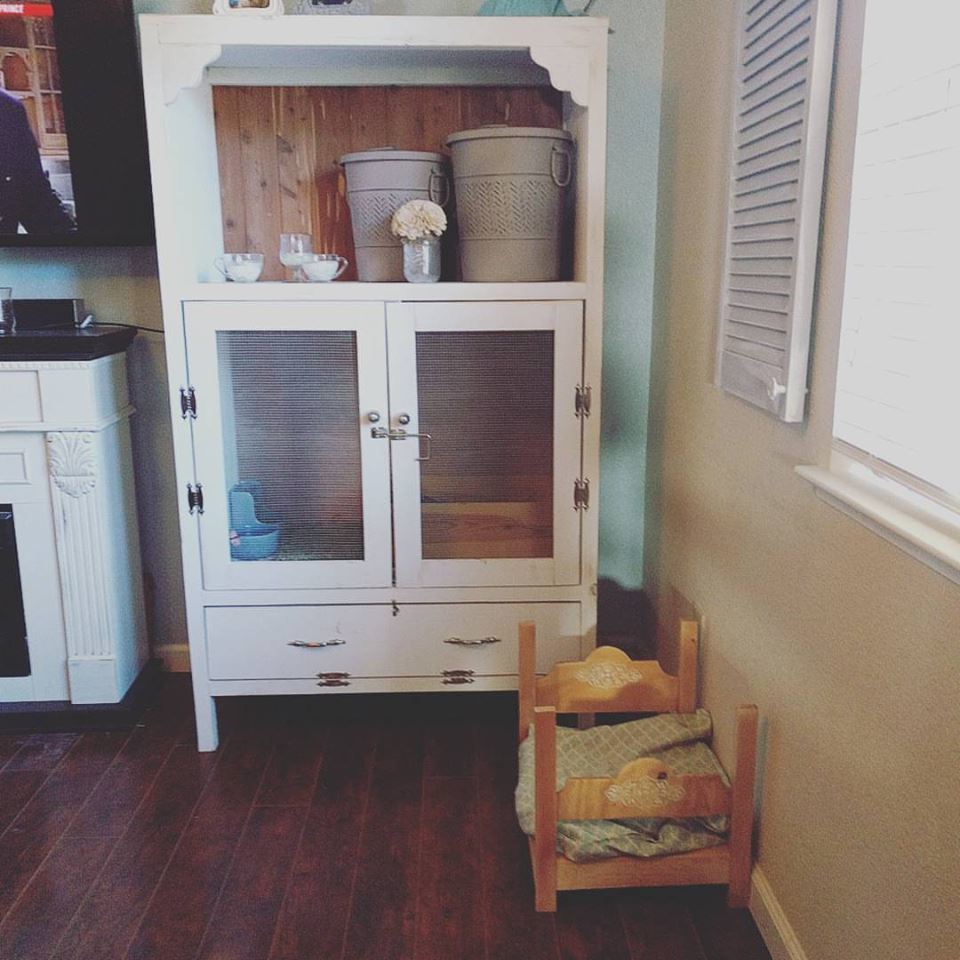
I used Ana's plans, but switched things around a little as I went. I wanted something fancy for my bunny to hang in when I'm not home. The biggest modification I made for a bunny was the bottom. I wasn't happy with the stability of the chicken wire even though my bunny is just a few pounds. I used a more solid plastic called plaskolite ( you can find it in the lighting section of Lowes) We are planning on adding levels for the bunny as well as a cloroplast tray to fit the bottom since bunny poo can get stinky. We took about 2 weeks to complete this project and it was definitely a learning experience! We also tried to cut costs by getting some of the wook and backing from Habitat for Humanity!
We also made the little bed with the leftover wood from this project :-)
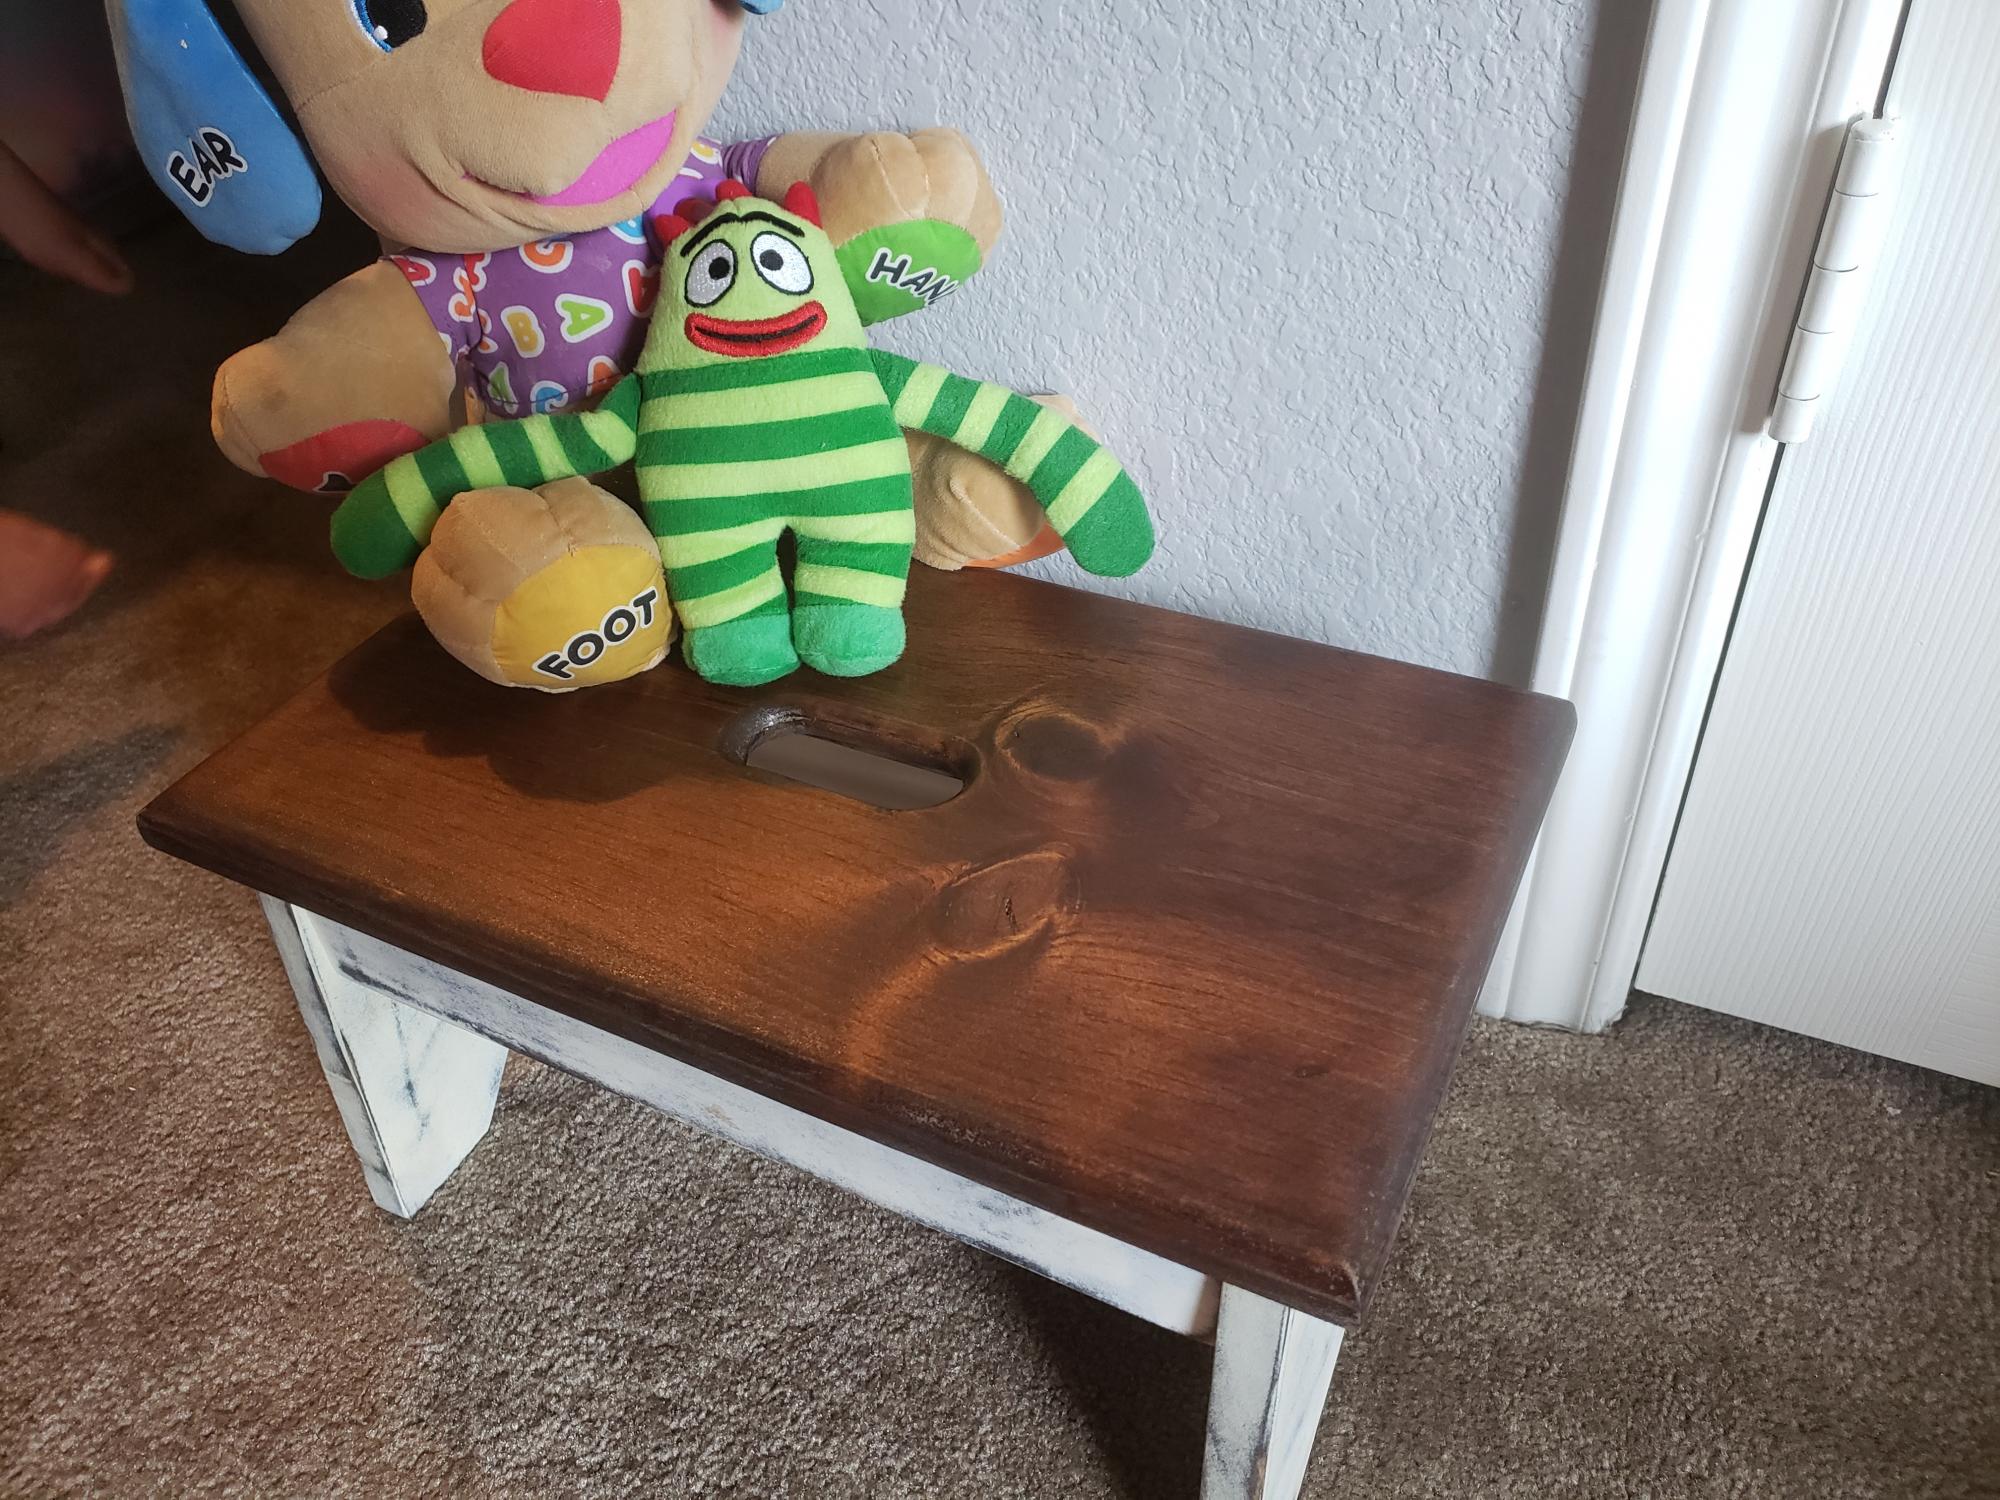
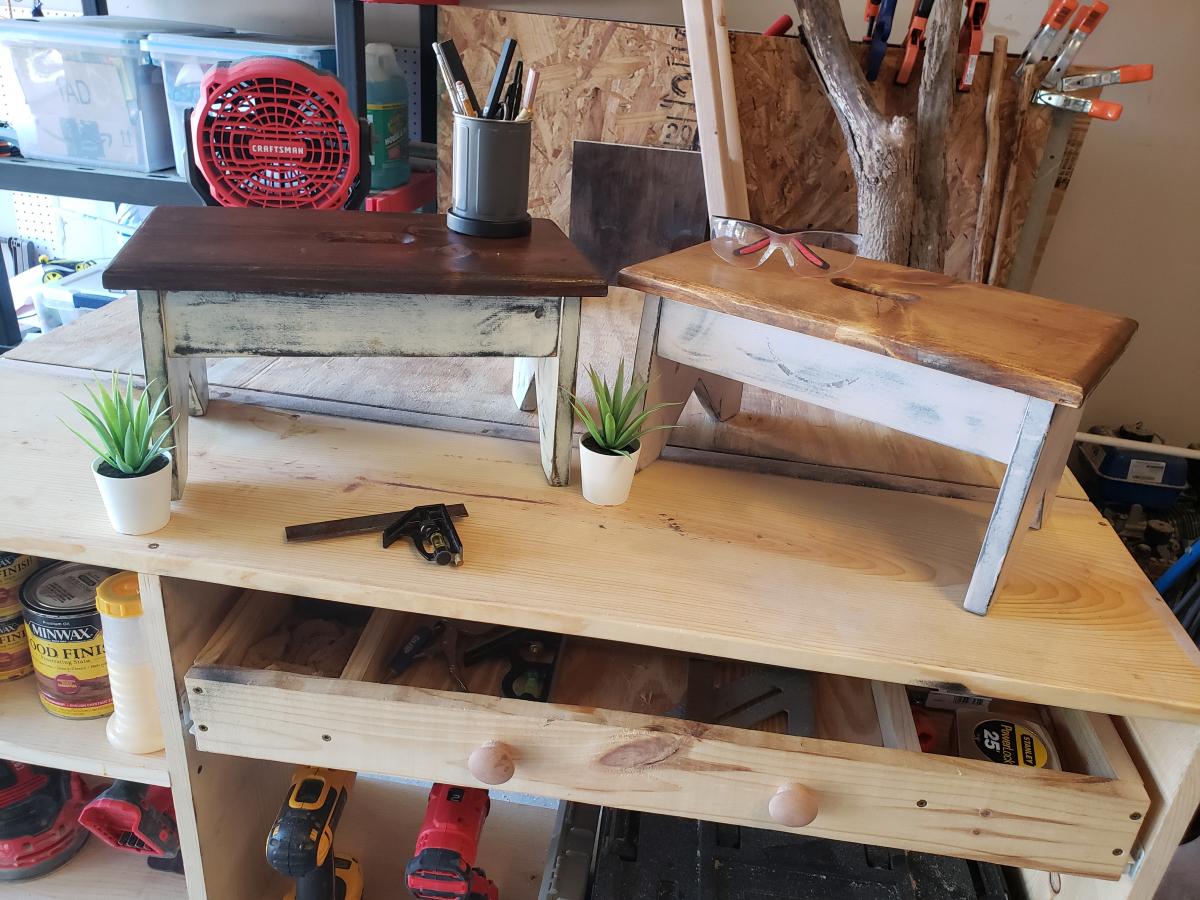
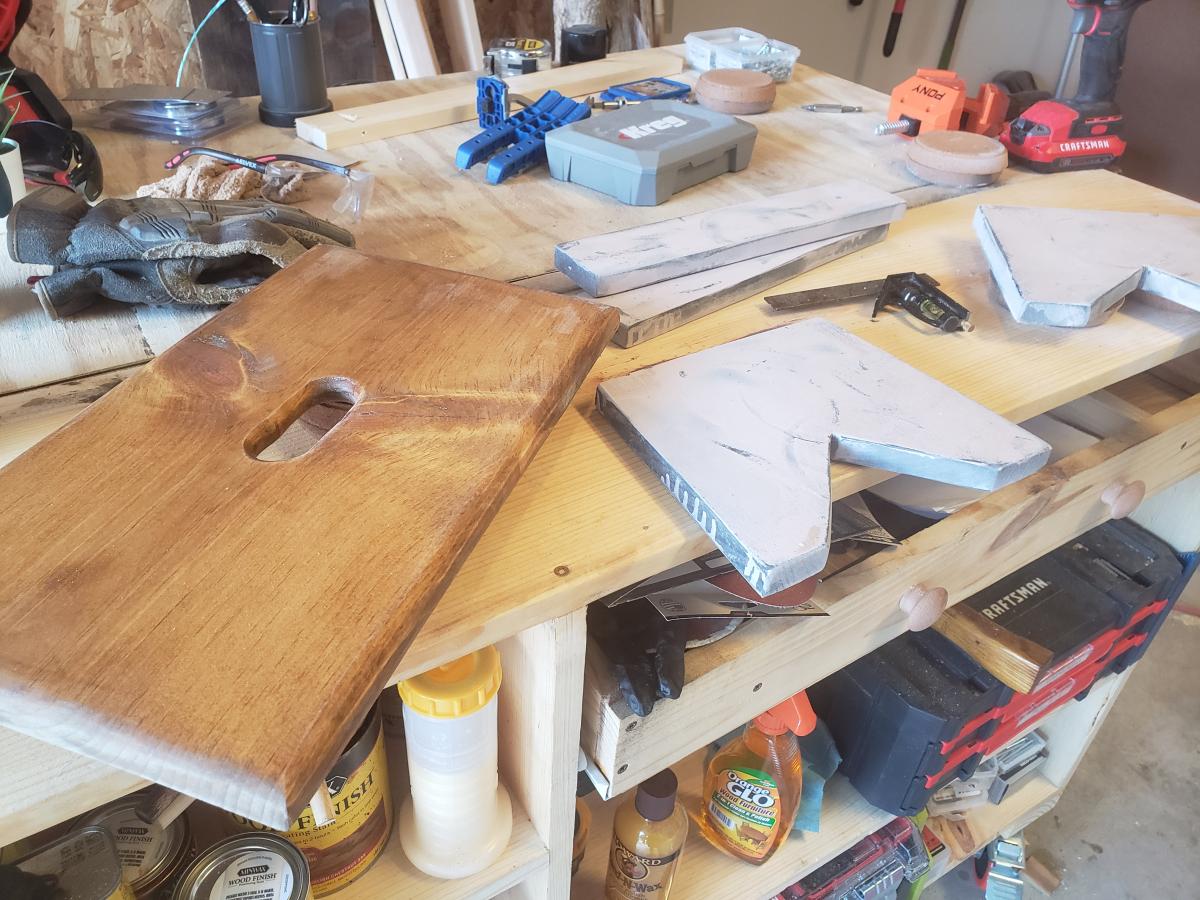
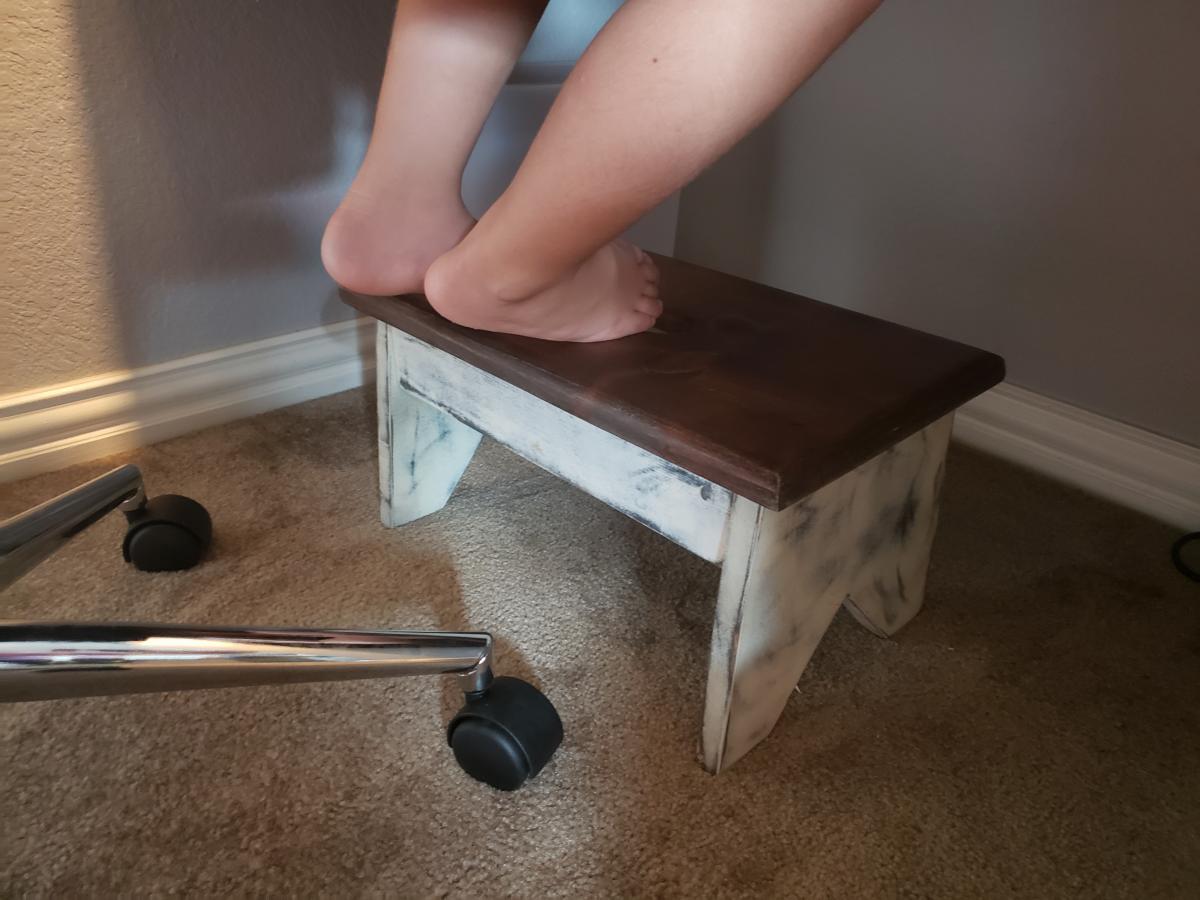
Followed instructions from child's step stool. Did a few modifications.
Built for my new baby girl! Followed the plans with a few modifications. Used dadoes for the drawer bottoms. Added bracing for attaching the drawer slides. Used an old door for the top!
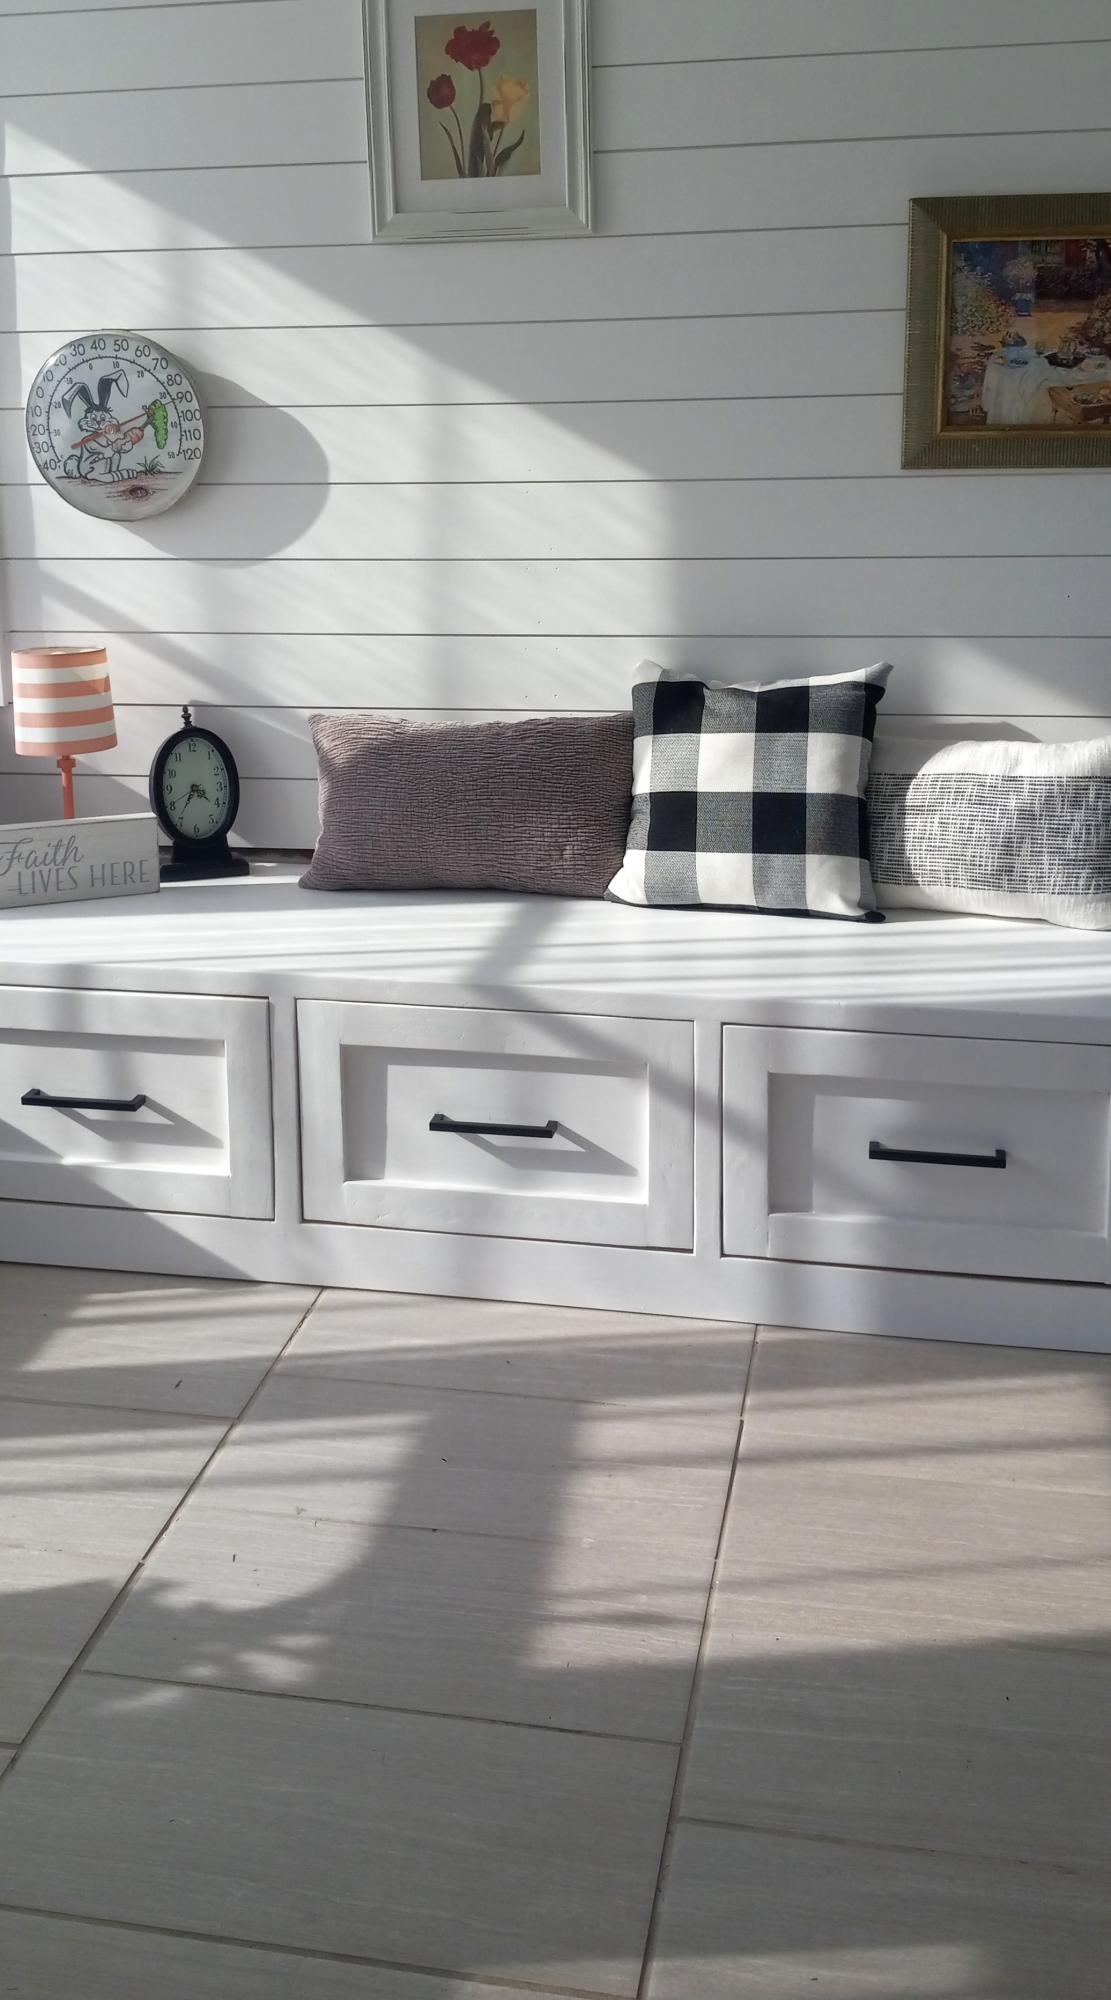
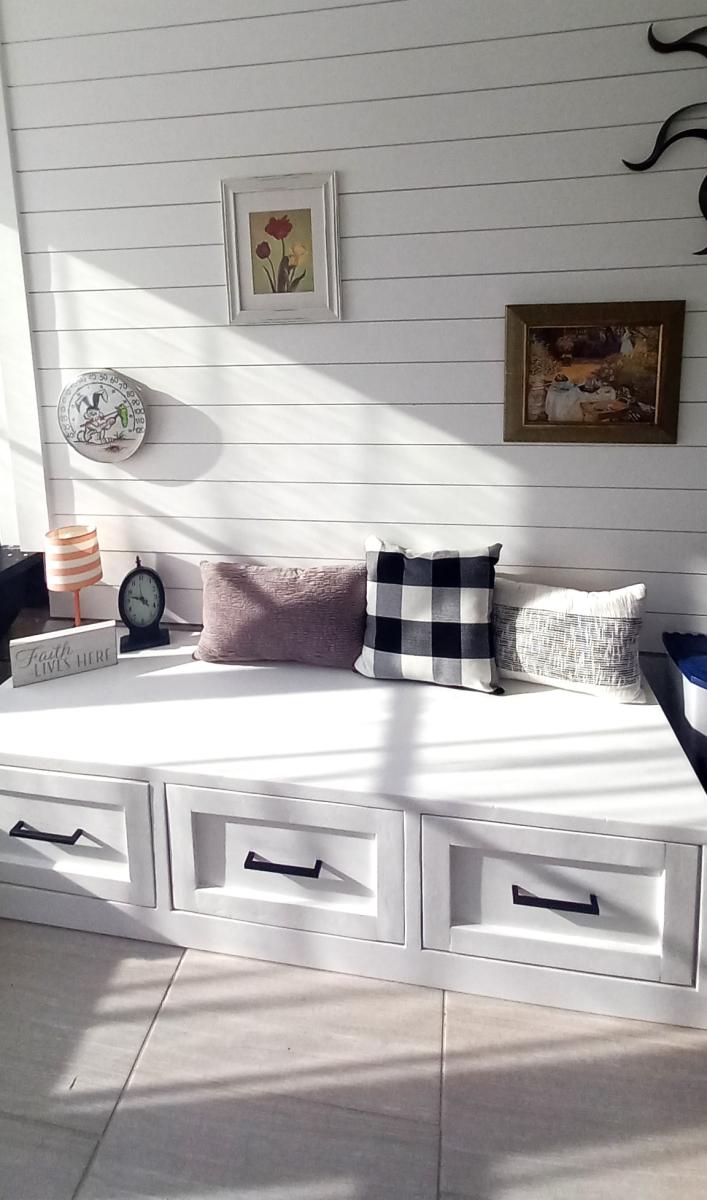
My 1st build ...I'm quite happy with it and hooked on building! I made this for storage in my puzzle room. - Elva Boots
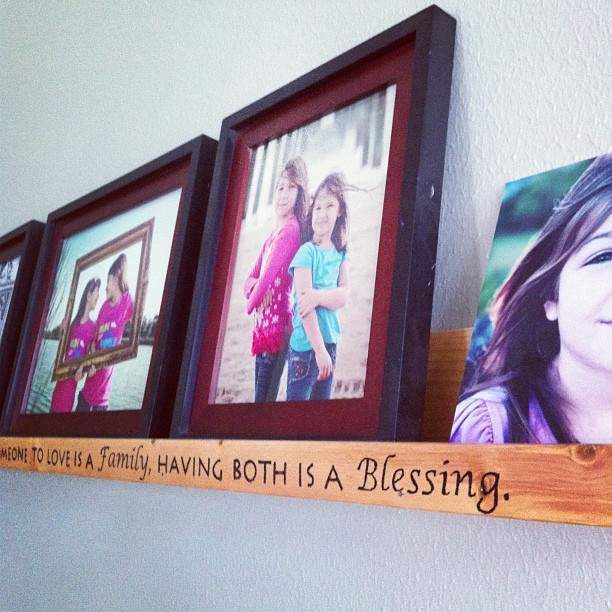
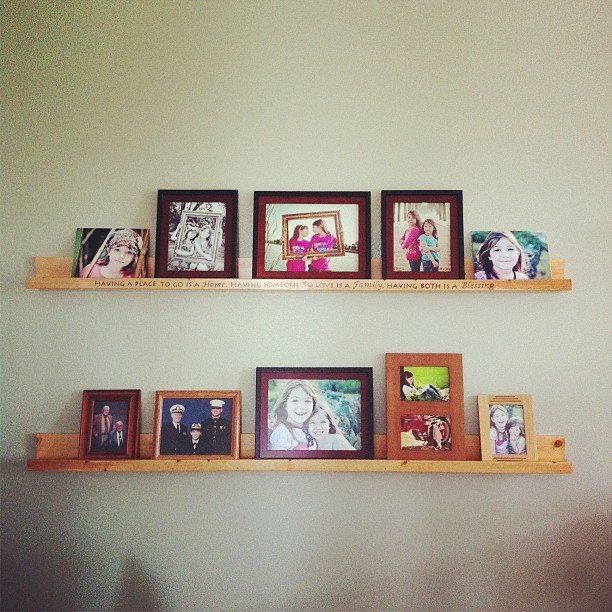
I wanted to add a little homey touch to my ledges so I burned a saying into one of the two ledges in each pair. My husband and I used the plan for the Ten Dollar Ledges and instead of painting, we finished them with Stain/Finish in one.
Tue, 12/11/2012 - 16:11
I love how this looks!! I must know! How did you burn it? And are they individual letters? Anyways, this is so lovely! Almost as much as the pictures on the shelves!! :)
Tue, 12/11/2012 - 16:35
Yes, please do tell! How did you burn the letters? I love how it looks and I love the saying. Very nice job.
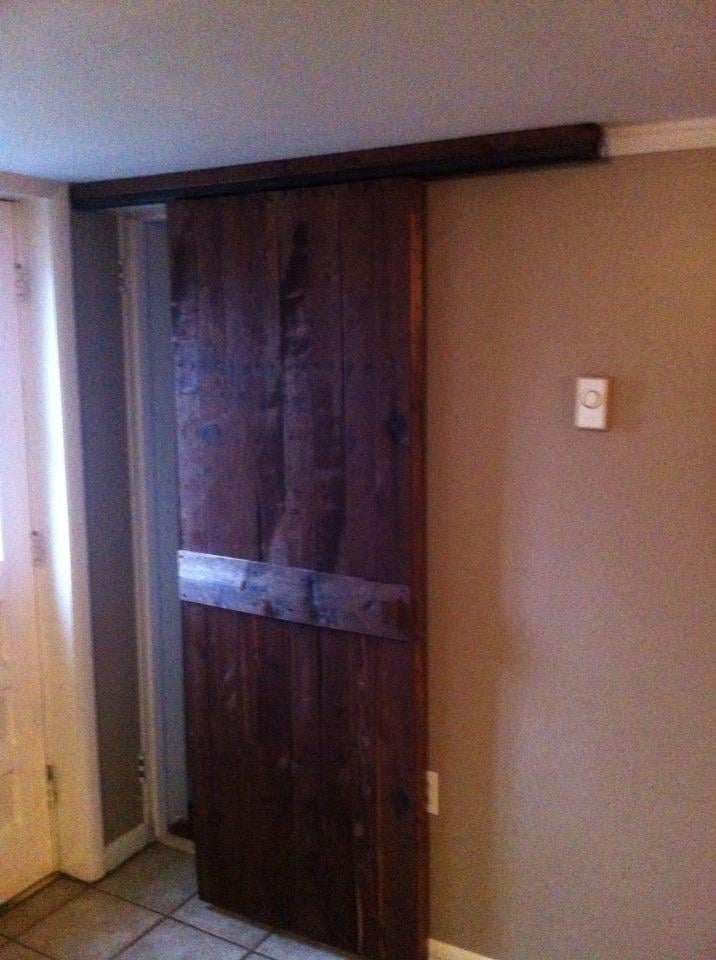
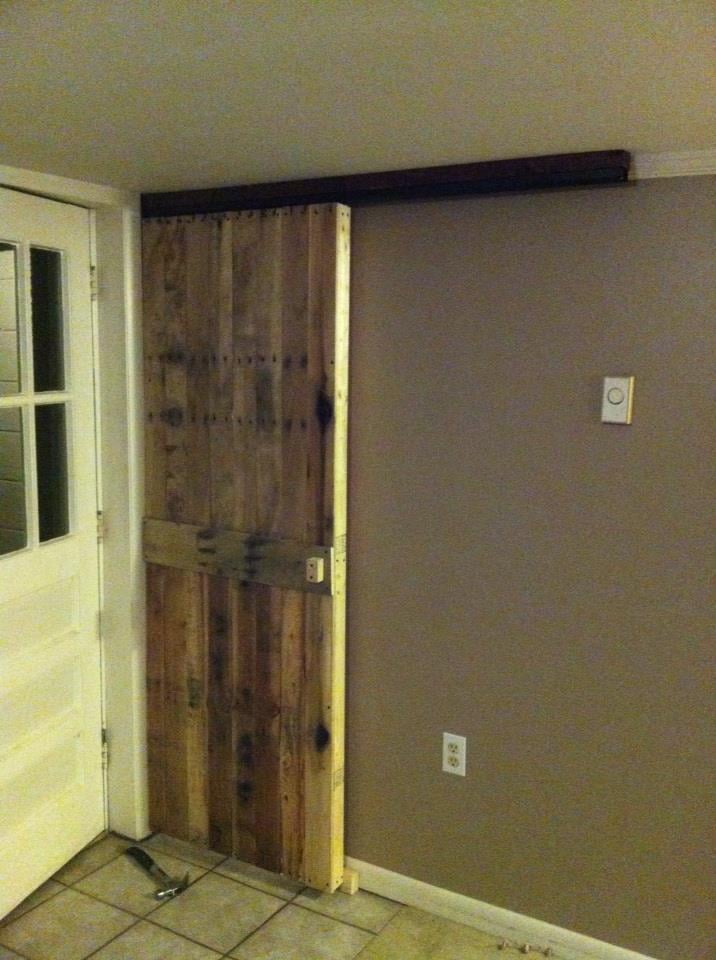
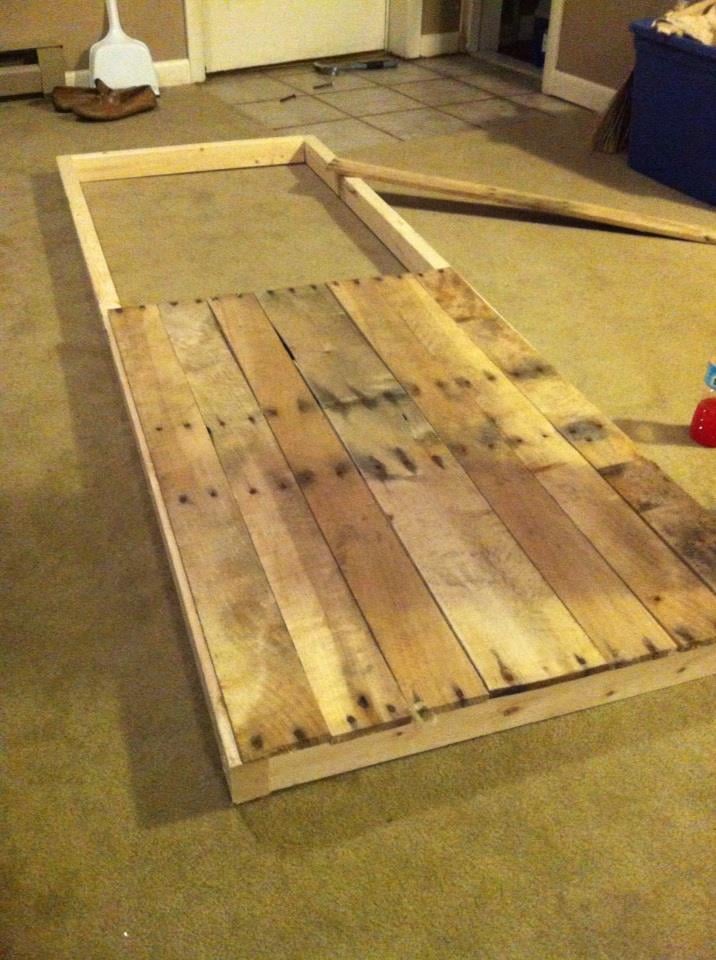
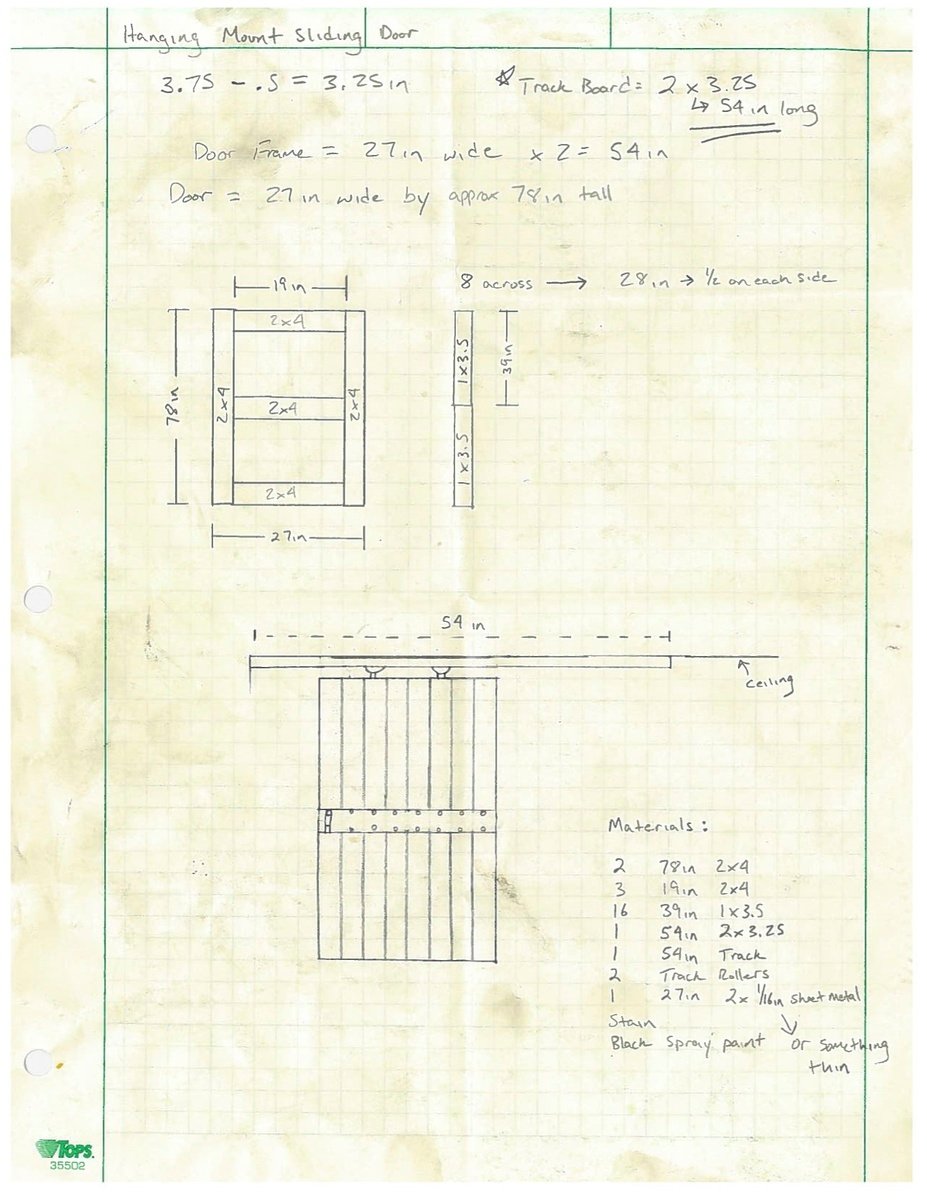
I saw many different sliding door projects online, so I did my own spin on one. I was able to get several old pallets for free (pine and oak). I went to Lowes and bought a few 2x3s which I used as the frame, and the track hardware which was only $13! Most doors I see are mounted from the wall, but since I have 7' ceilings downstairs I mounted mine from the ceiling. This project only took about 4 hours total and cost about $40 when you figure in costs for screws, stain, etc. The most difficult part was taking apart the pallets. Using a reciprocating saw with a 12'' demolition blade is the best way to take them apart. Thanks for the idea Ana.
Mon, 05/13/2013 - 20:00
Hi!!
This looks so awesome! I came across this and was hoping to repeat it. You mention that you found the door hanging hardware at Lowes for $13. I can't seem to find it. Do you happen to remember the name of it? I'm entering "hanging door hardware" into Lowes and Home Depot and can't seem to find any hanging door hardware at all. I'd appreciate the help. Thanks!
Tina
modified a bit to add 2 drawers and only 1 shelf, also make with 6" overhang around for stools or chairs.
Sun, 10/05/2014 - 08:51
Isn't that the best plan? So versatile. I love the look - would love to see a picture after you have the island as part of a kitchen scheme.

This took only two hours! I couldn't believe how easy it was. I used cabinet grade plywood from another project and left over paint. The shelves are actually six inches rather than four inches and they feel very sturdy.
