Wagon
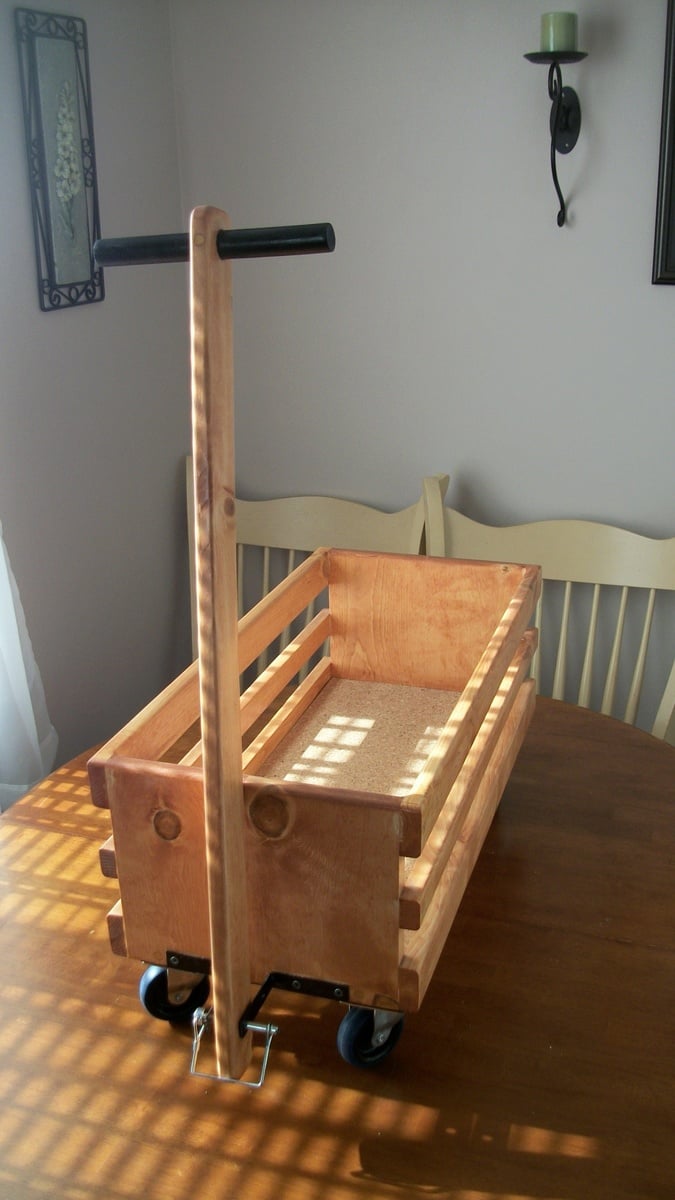
Based this wagon on plans found on Ana White's site. I built this for a 2 year old girl of a co-worker. She is right now using it to pull around her dolls.
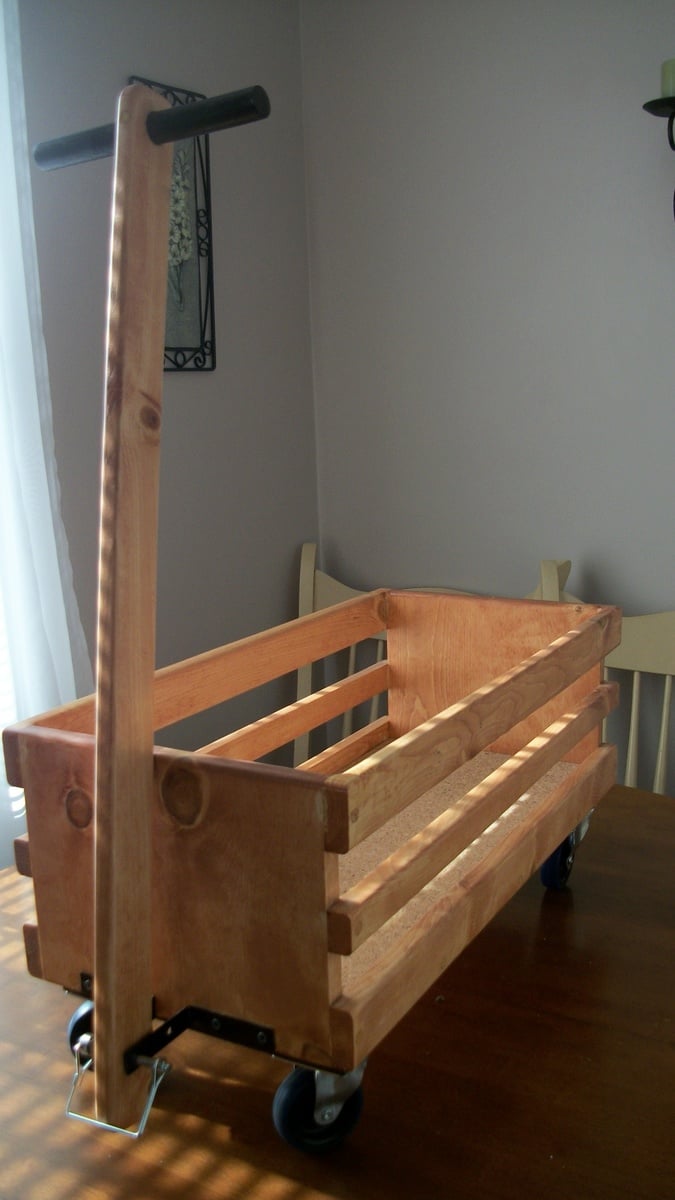
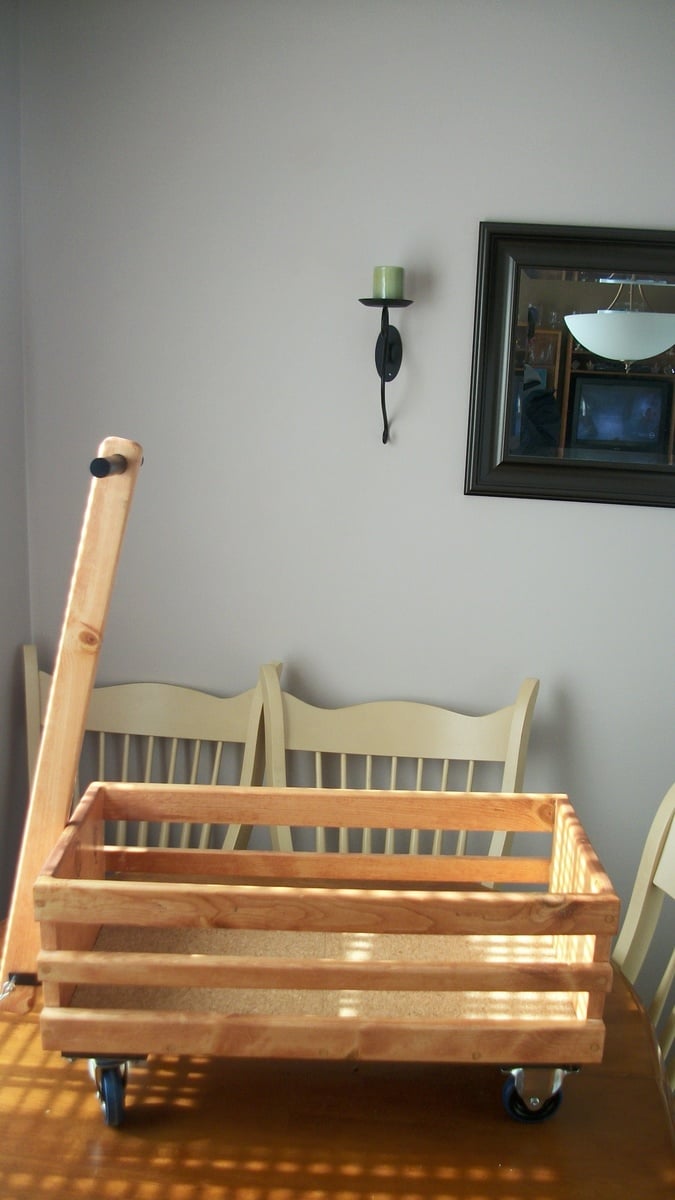

Based this wagon on plans found on Ana White's site. I built this for a 2 year old girl of a co-worker. She is right now using it to pull around her dolls.


I needed a new laundry system, and thank goodness I found Ana White's projects on Pinterest! I incorporated the laundry sorter and added casters to the bottom as well as a paper towel roll on the side since it is next to the sink. I also used a modified version of the washer/dryer platform into my space. It does not have the bottom platform and the 4x4's are inside the 2x4's and attached to the platform as well as the 2x4's. Sterilite makes organizer drawers that fit exactly in the opening of under the platform. And, voila! New colors, new organization, new light bulbs :0), new laundry room!
Sun, 02/24/2013 - 12:48
Great job! Looks much better and I bet it's a lot easier to get laundry done now.
Wed, 02/27/2013 - 19:18
That looks like it was a lot of work, but totally worth it!
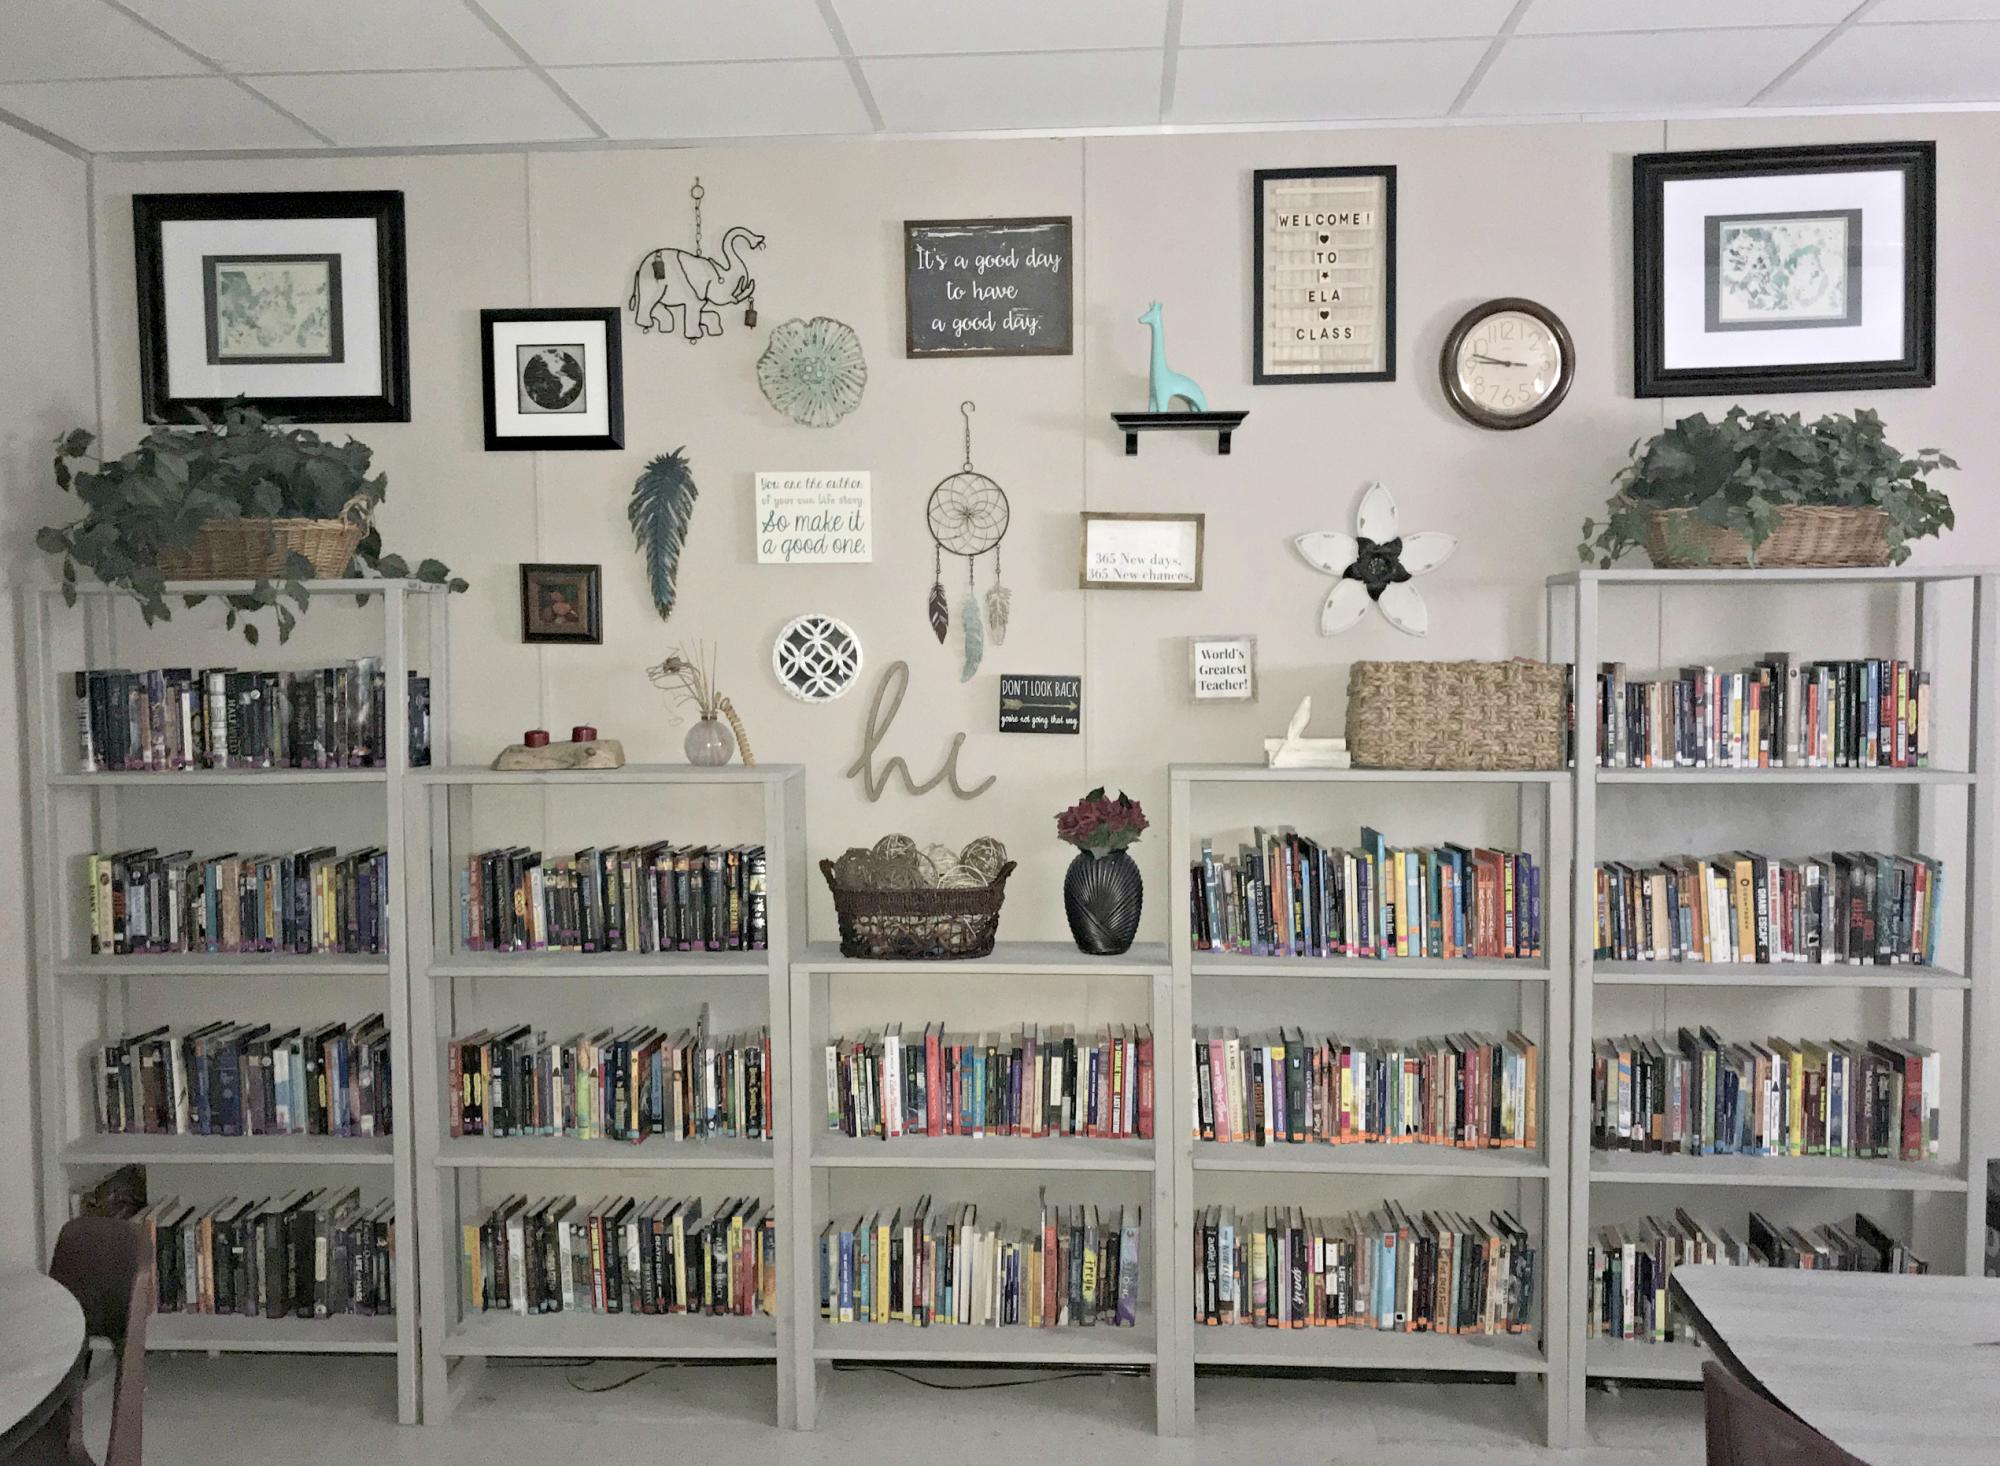
My husband made these gorgeous, inexpensive bookshelves for my classroom. We modified the plans to create a couple of different sizes. I love them, and they work perfectly for the classroom library.
https://www.ana-white.com/woodworking-projects/30-industrial-bookshelf
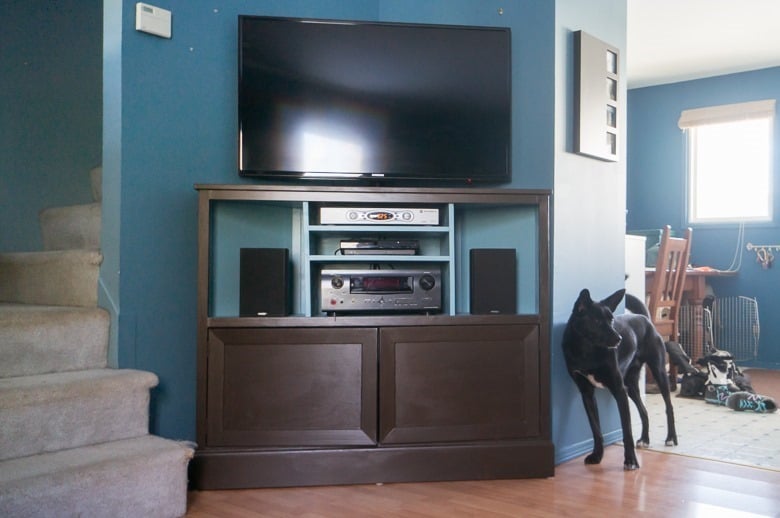
My husband and I wanted to store our bicylces on the main level of our home, but to do that we need to move our tv and it's components to a corner. We didn't see any premade consoles that we liked, so I searched around on the web until I found Ana White's design!
Feel free to visit our blog to see the unit come to life in detail :)
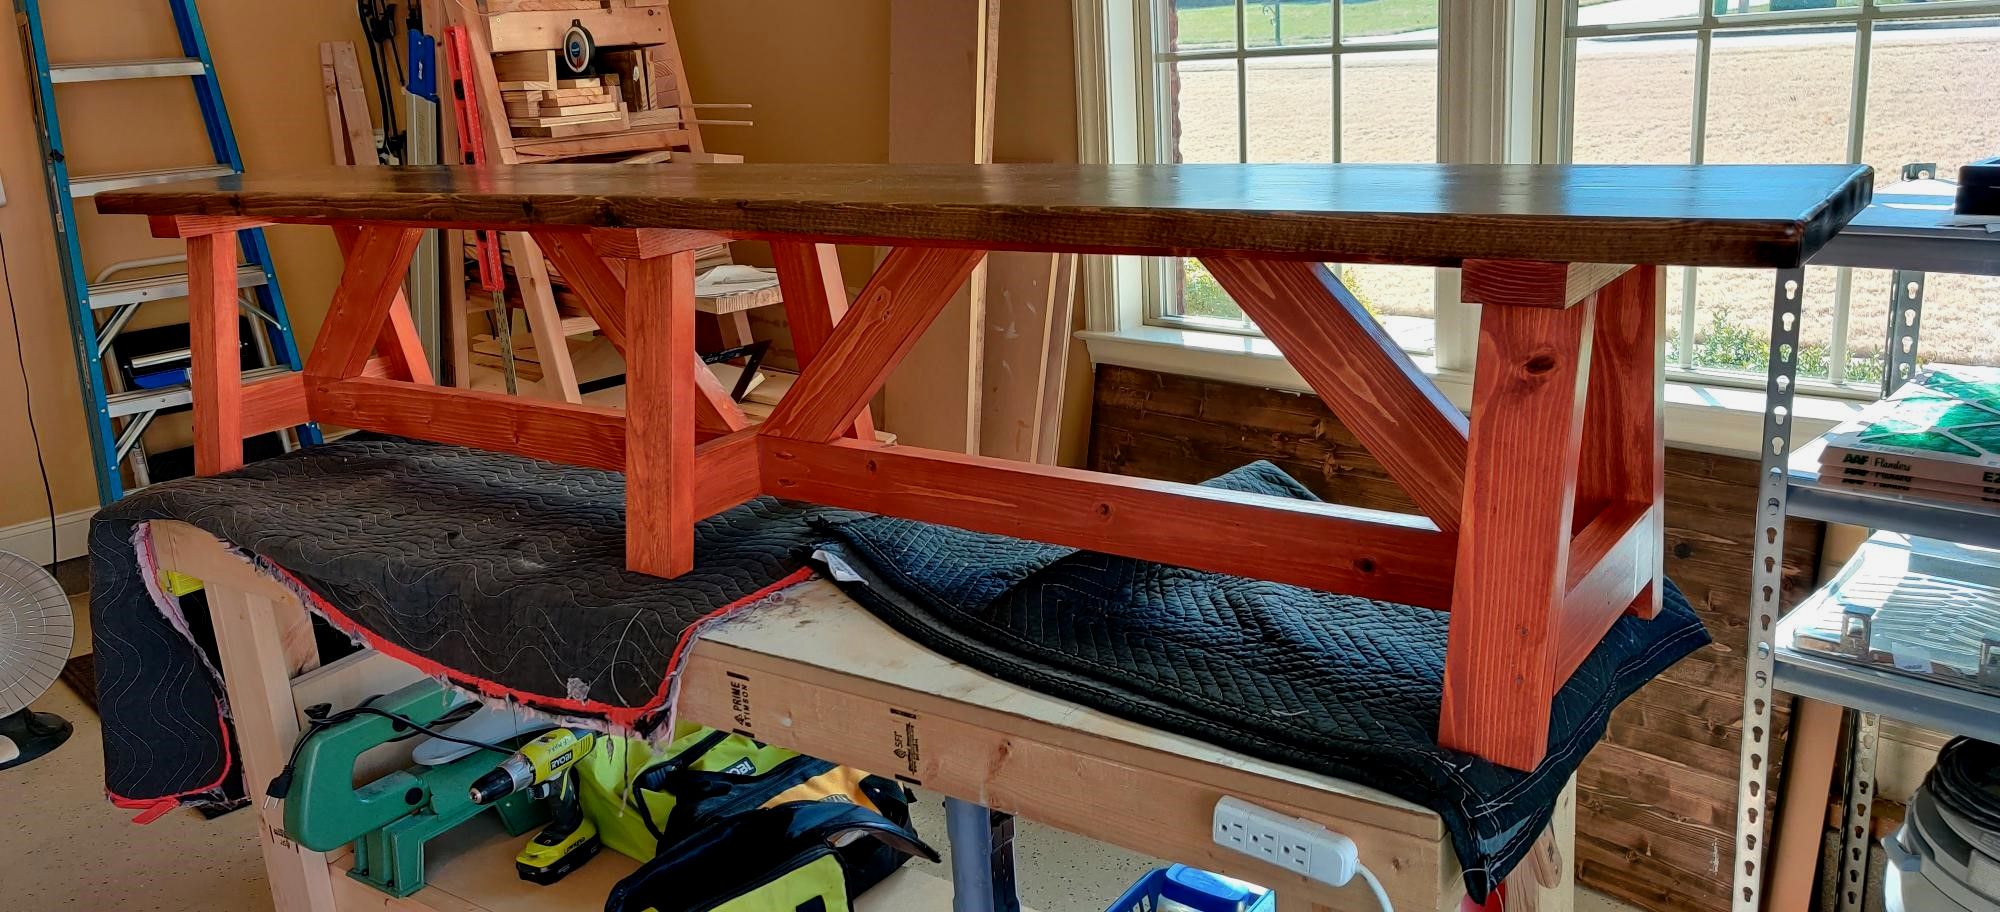
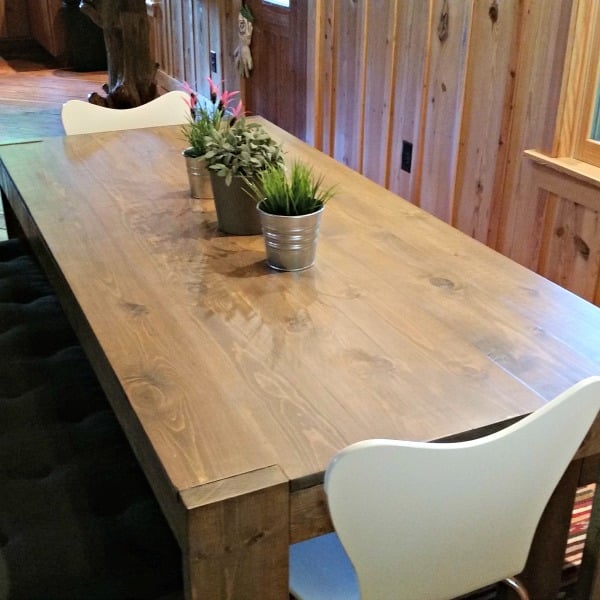
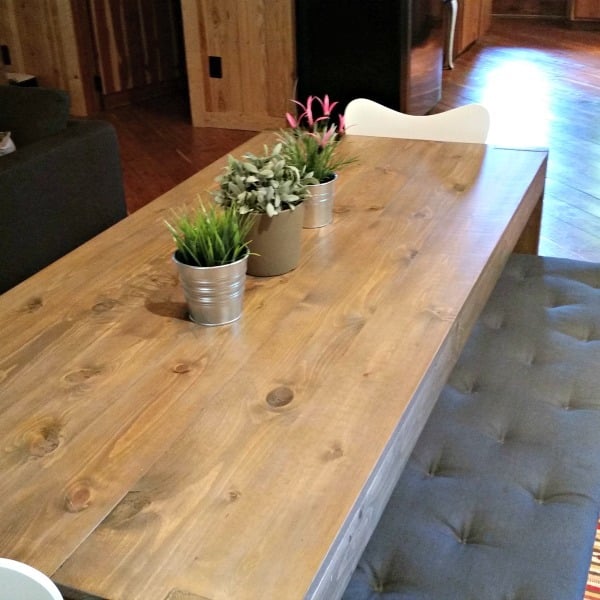
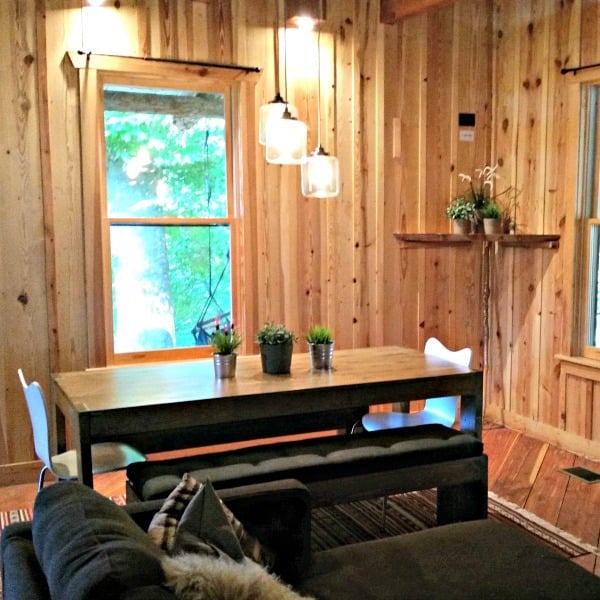
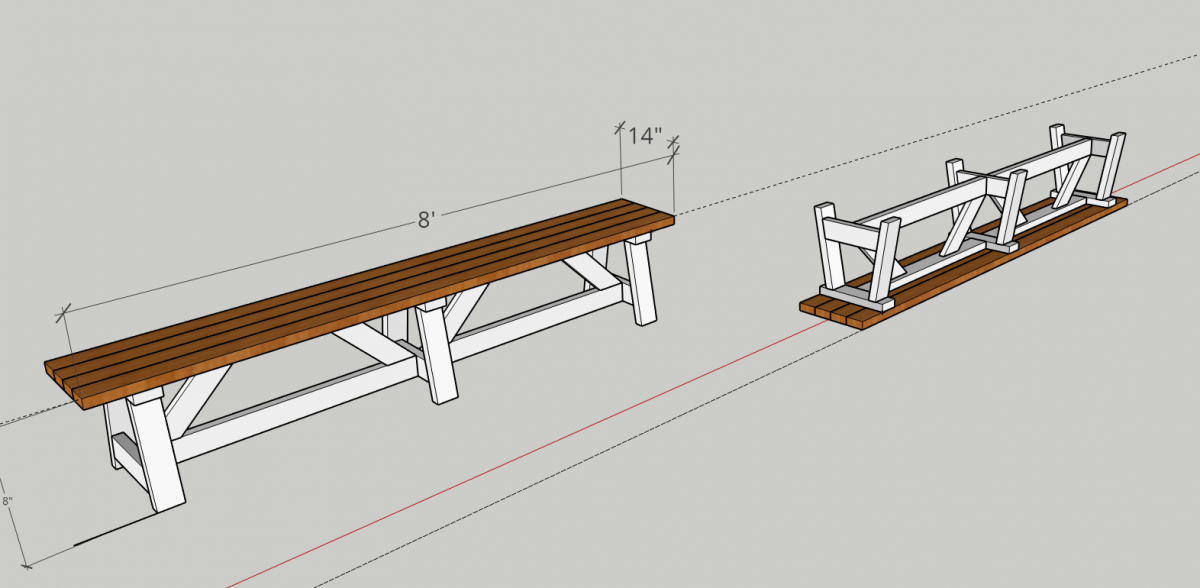
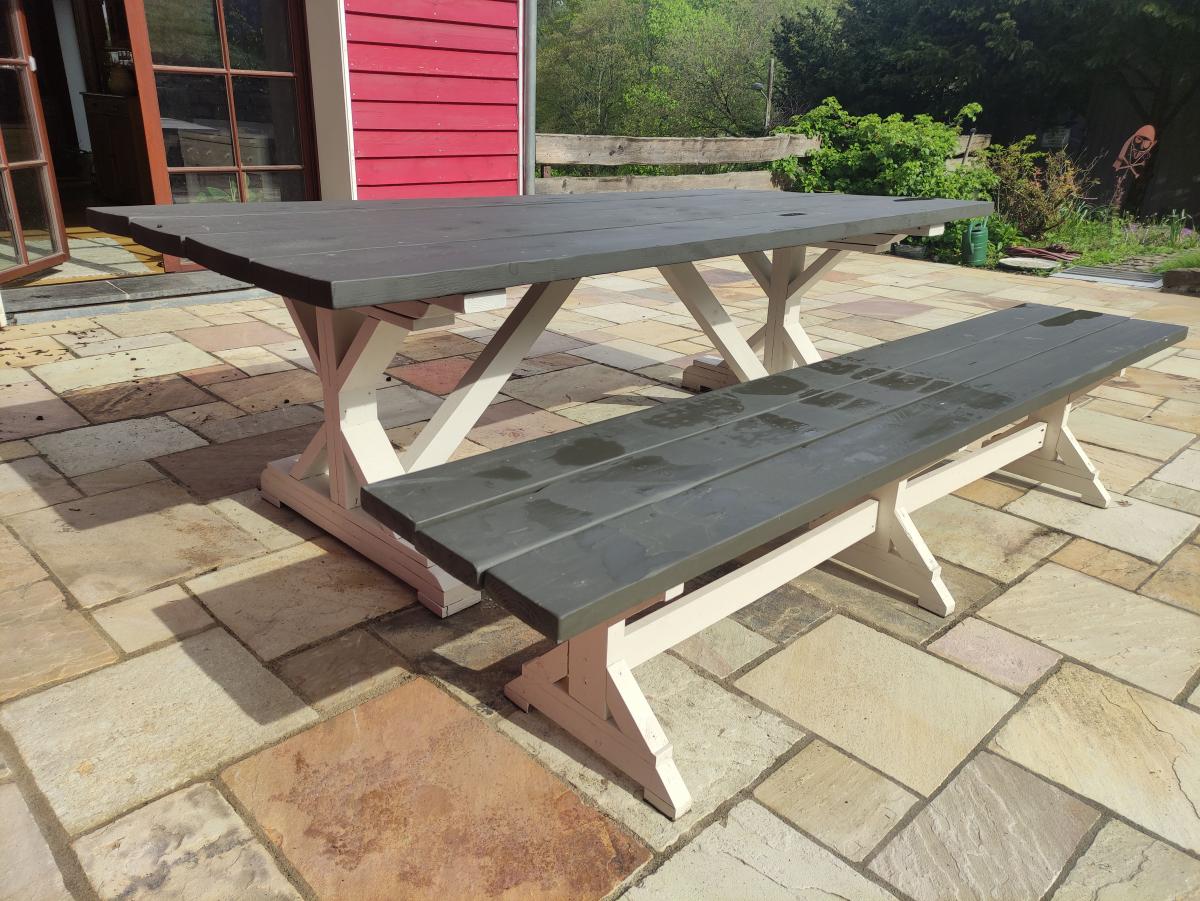
I had a friend that loved the 48" long truss style farm bench. However, she wanted one 8' long. I modified the "2X4 Truss Style Farm Bench" and came up with this design. As you can see, she want a very specific stain color combination.
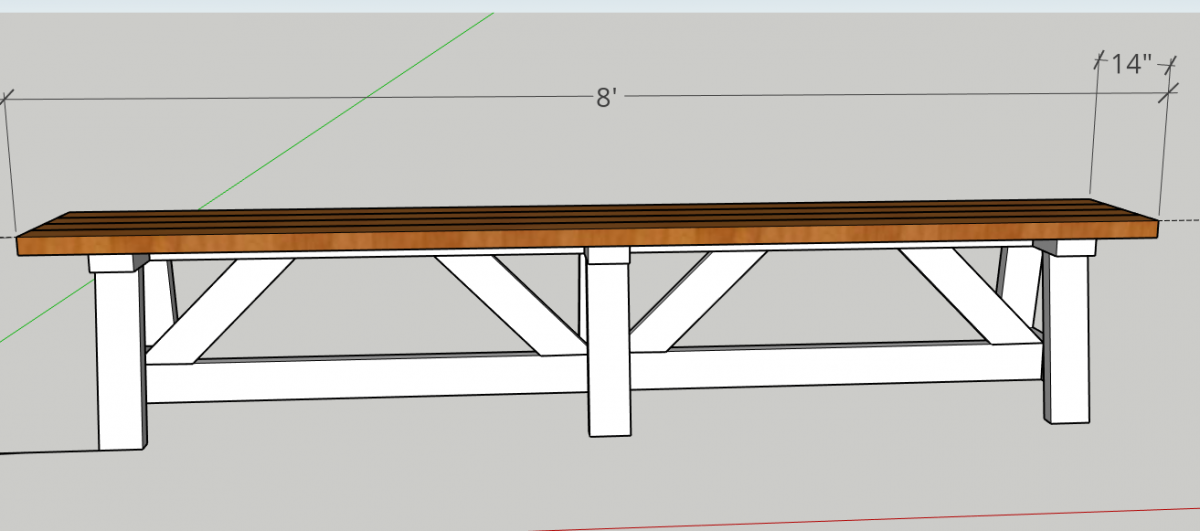
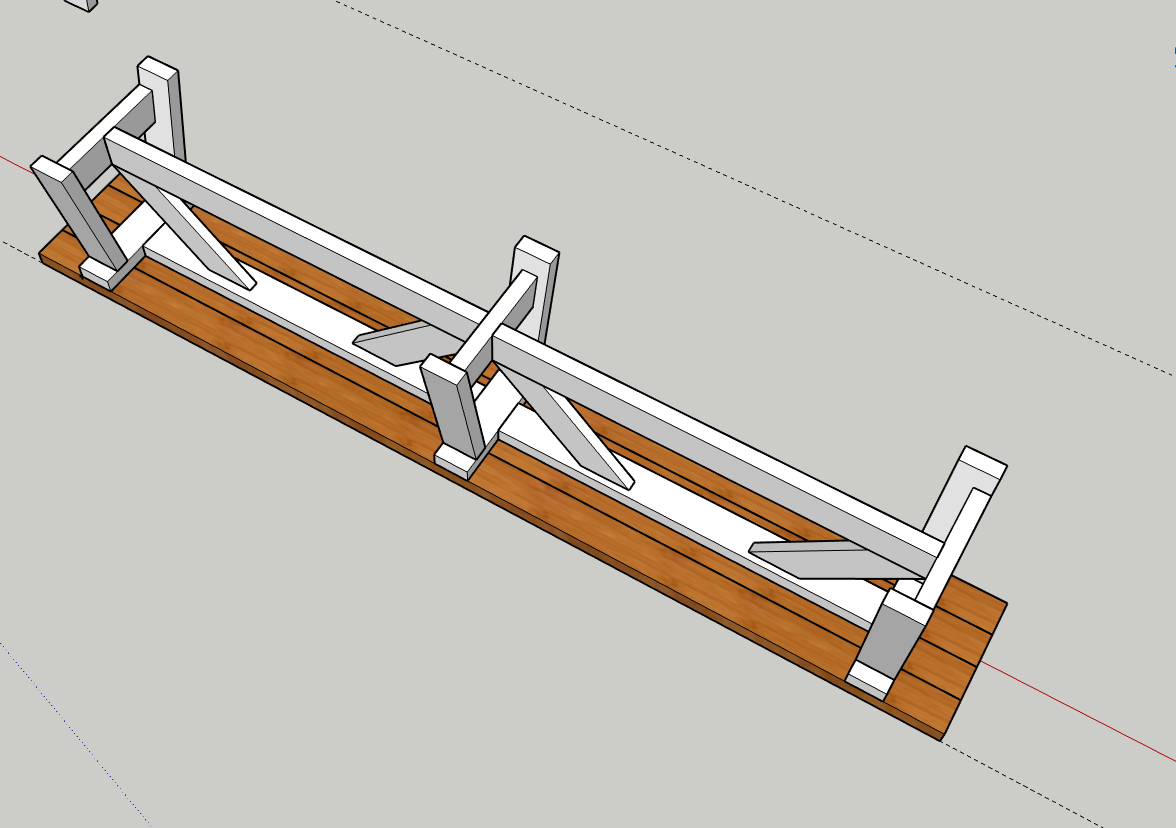
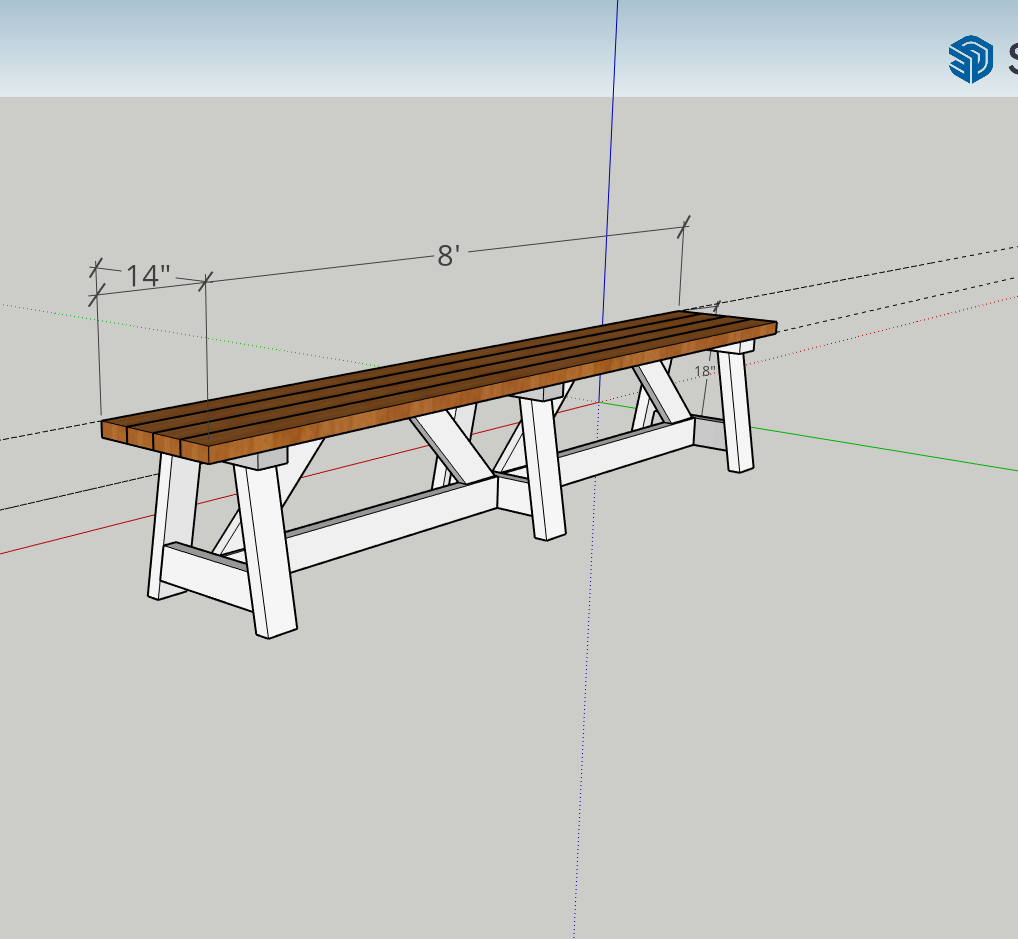
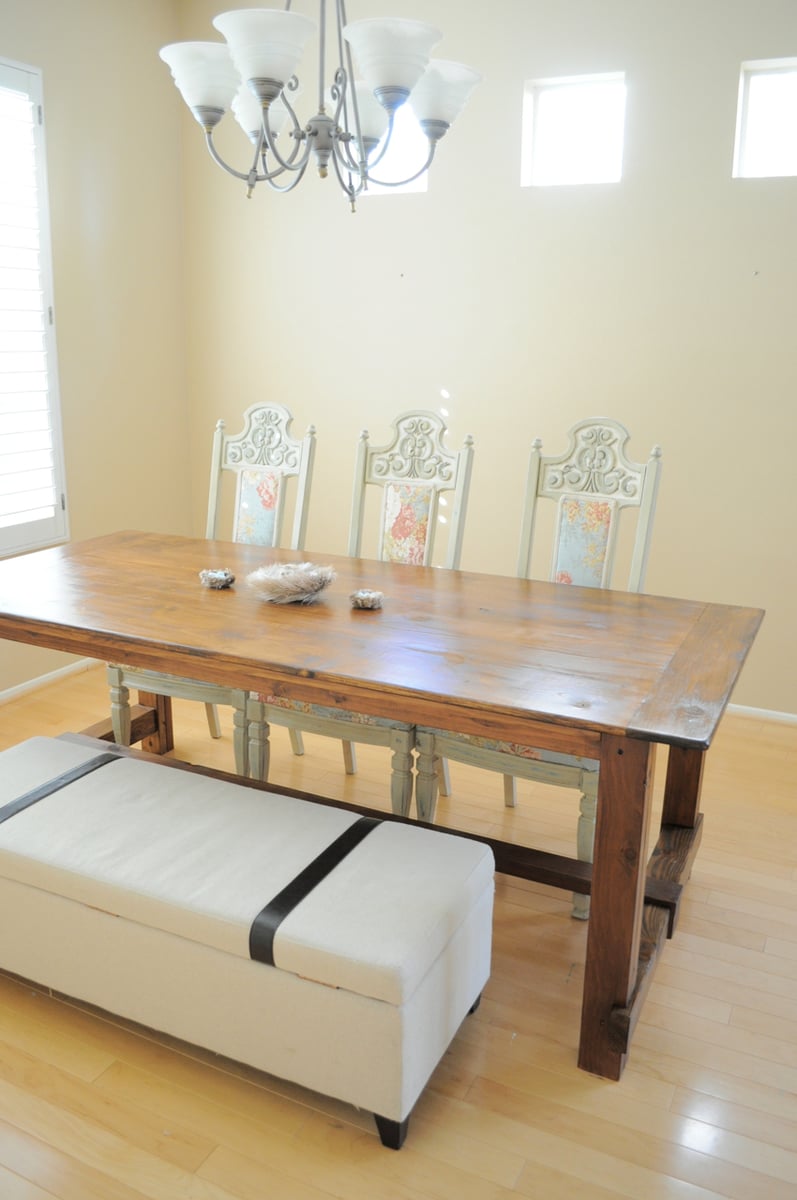
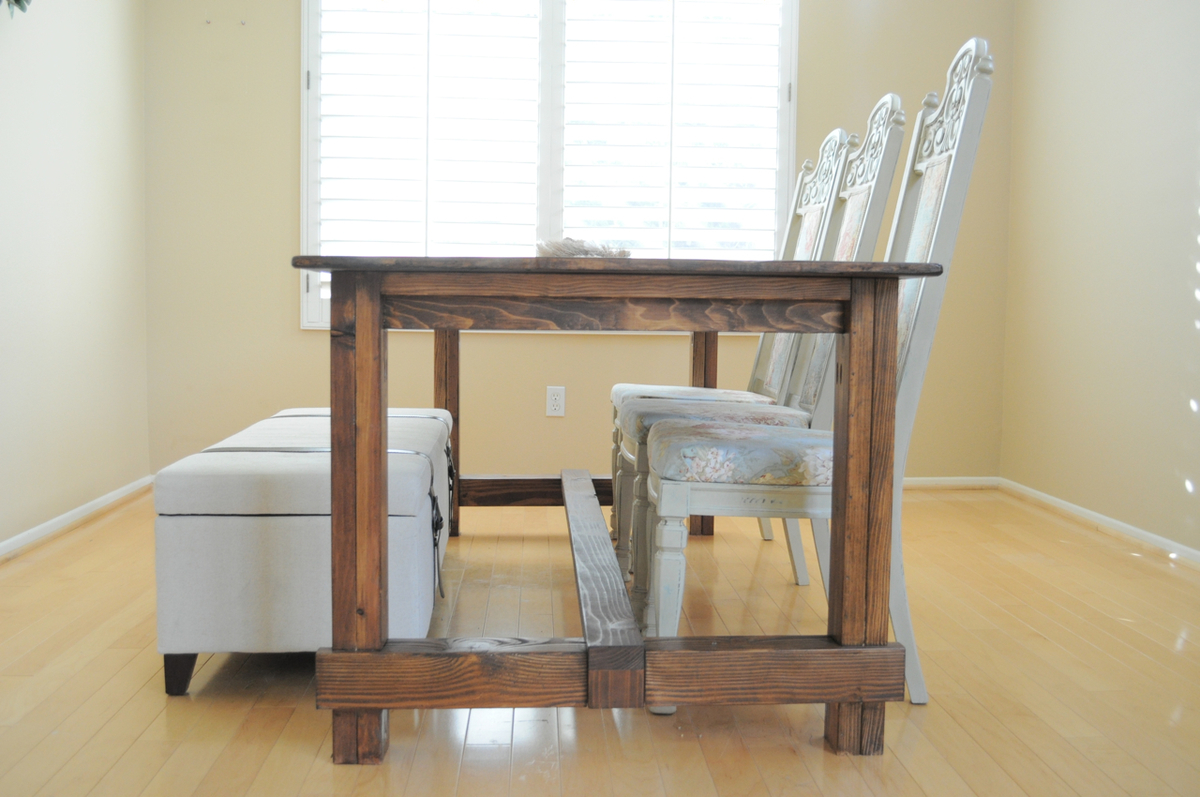
So the husband was not happy with the fancy x dining table he made and thus, within a short 4 month period, he made another dining table :/ This one, however, he loves, so no more dining table making for him anytime soon! He veered off plans by joining most of the projects using dowels. You can read more about the build at our blog:
http://tonyandkristine.blogspot.com/2013/03/diy-farmhouse-table.html
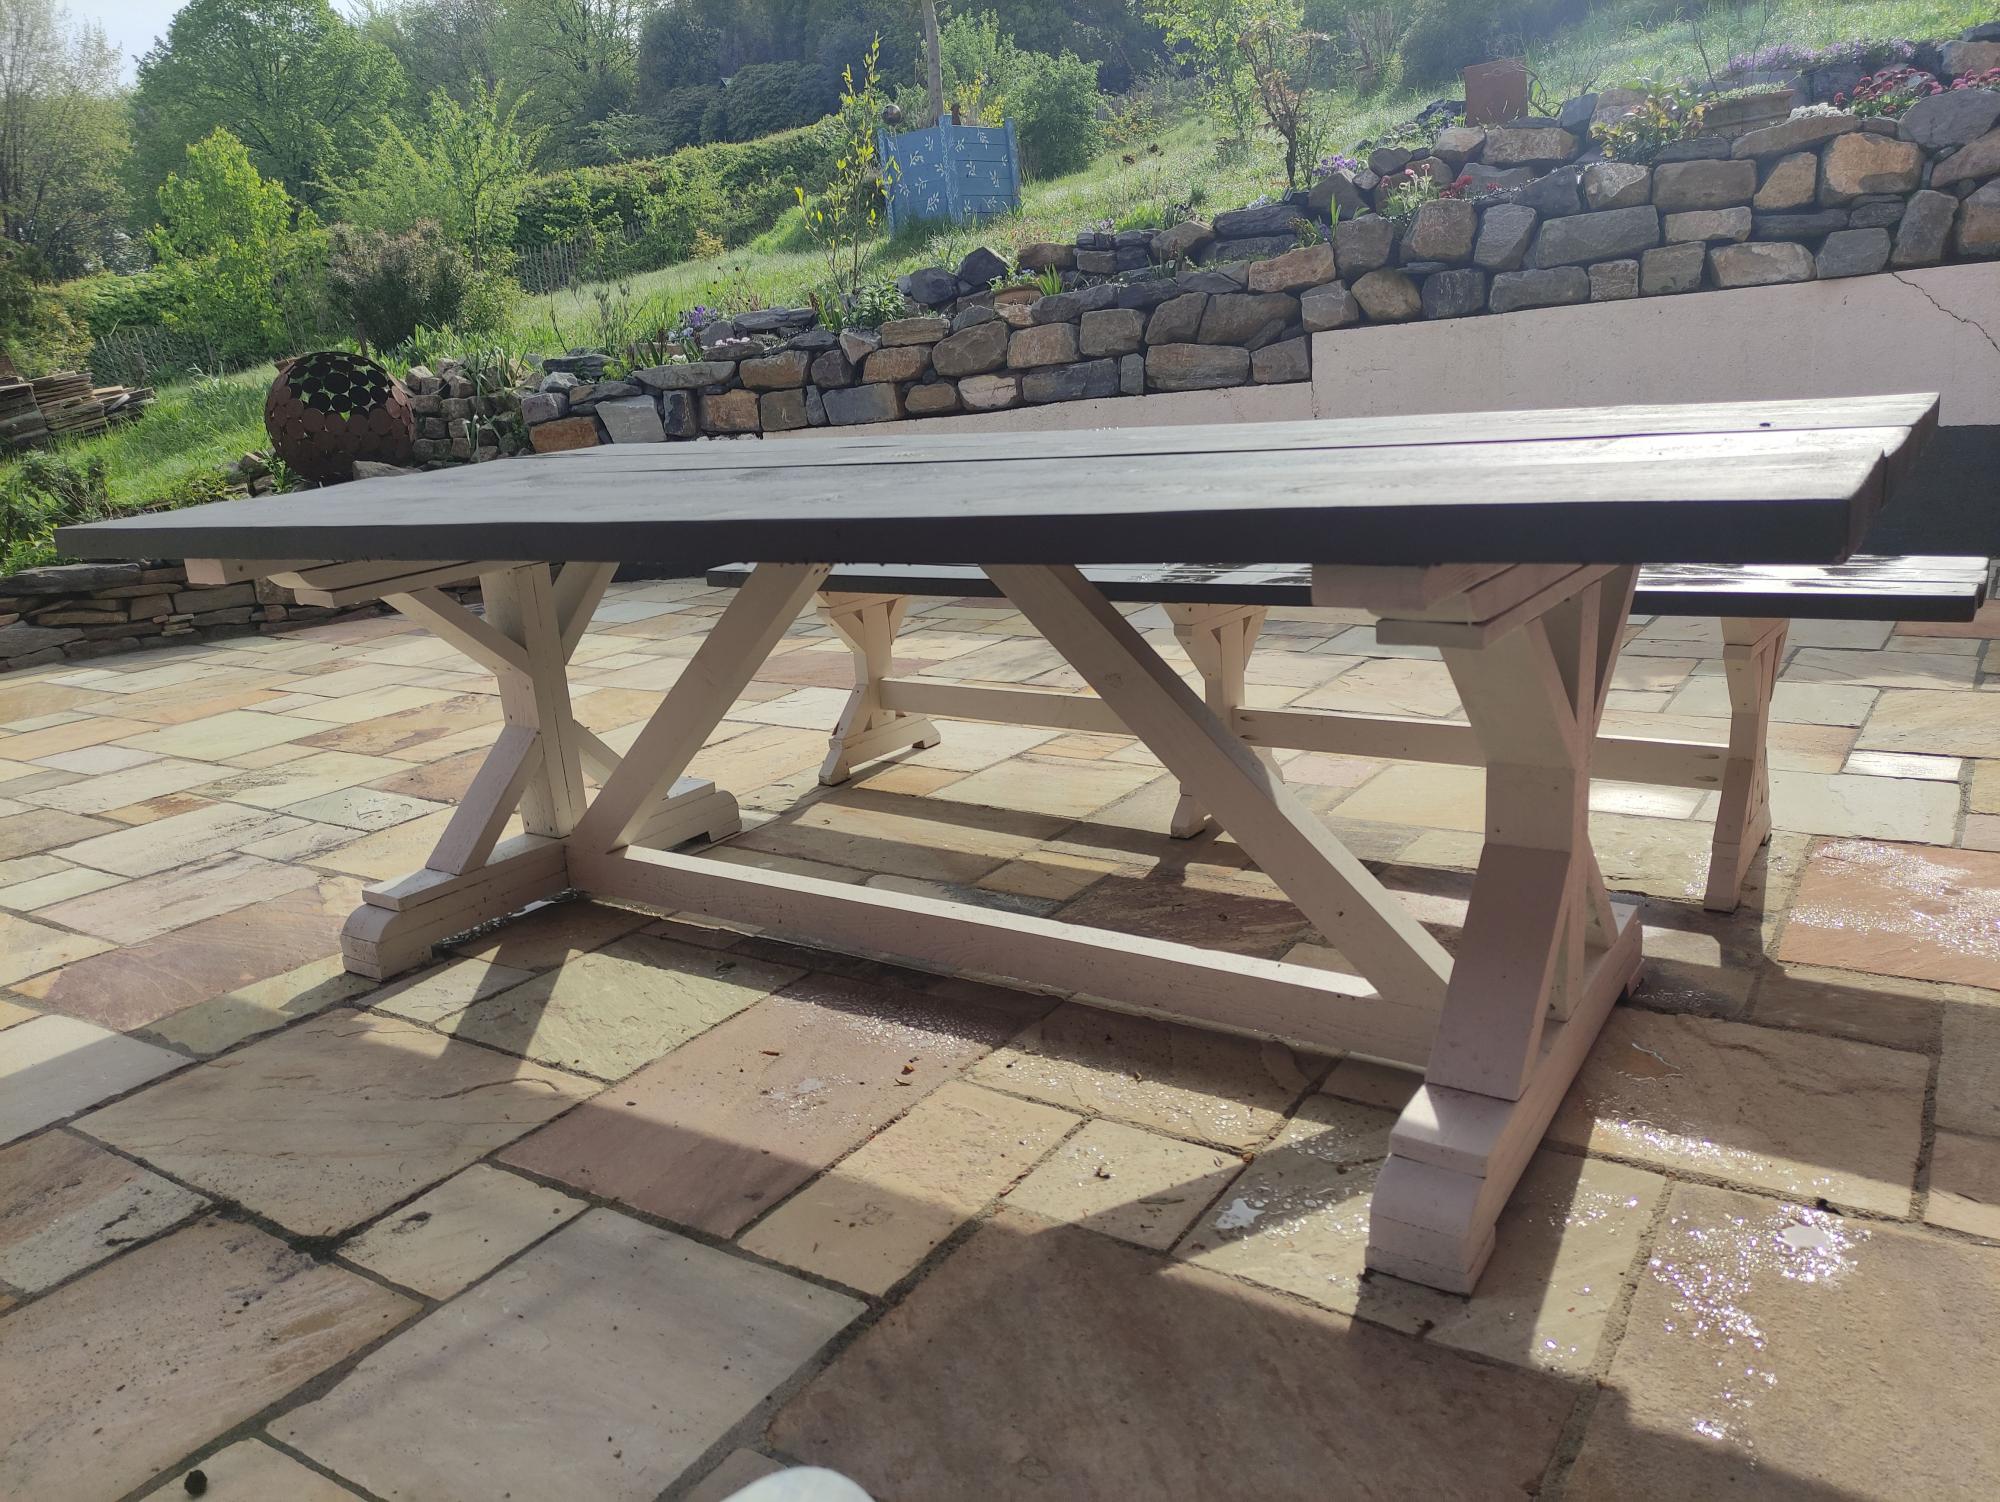
Last summer we got a new terrace and definitely need new outdoor dining furniture.
Built the porch swing and was inspired to build the glider frame by another "Brag Post" Looks great and fits perfectly in my back yard!
Fri, 02/18/2022 - 08:20
Are there any dimensions for the glider part? I have first year agriculture students building this, but we are unsure of the cut list for this. I am sure I can figure it out as the teacher, but with 20 students in the class, it would be better to be able to give them instructions to follow on paper. Thank you!!!
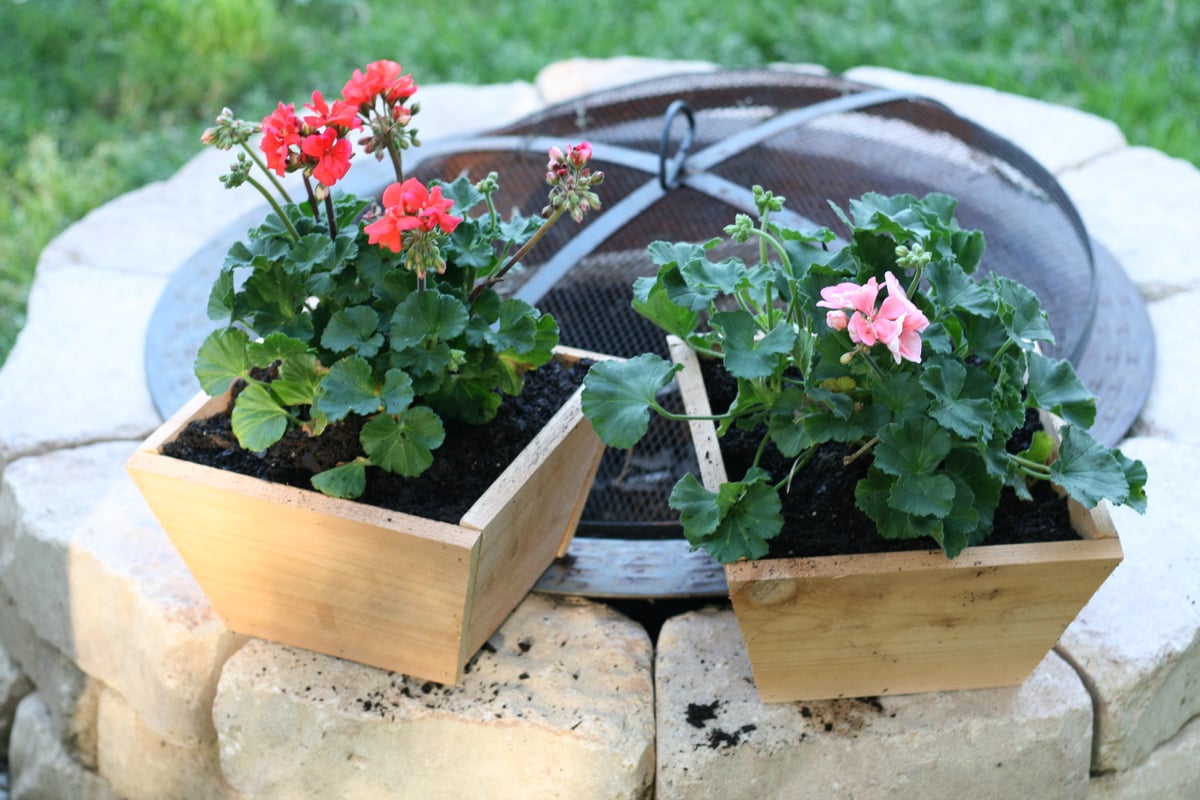
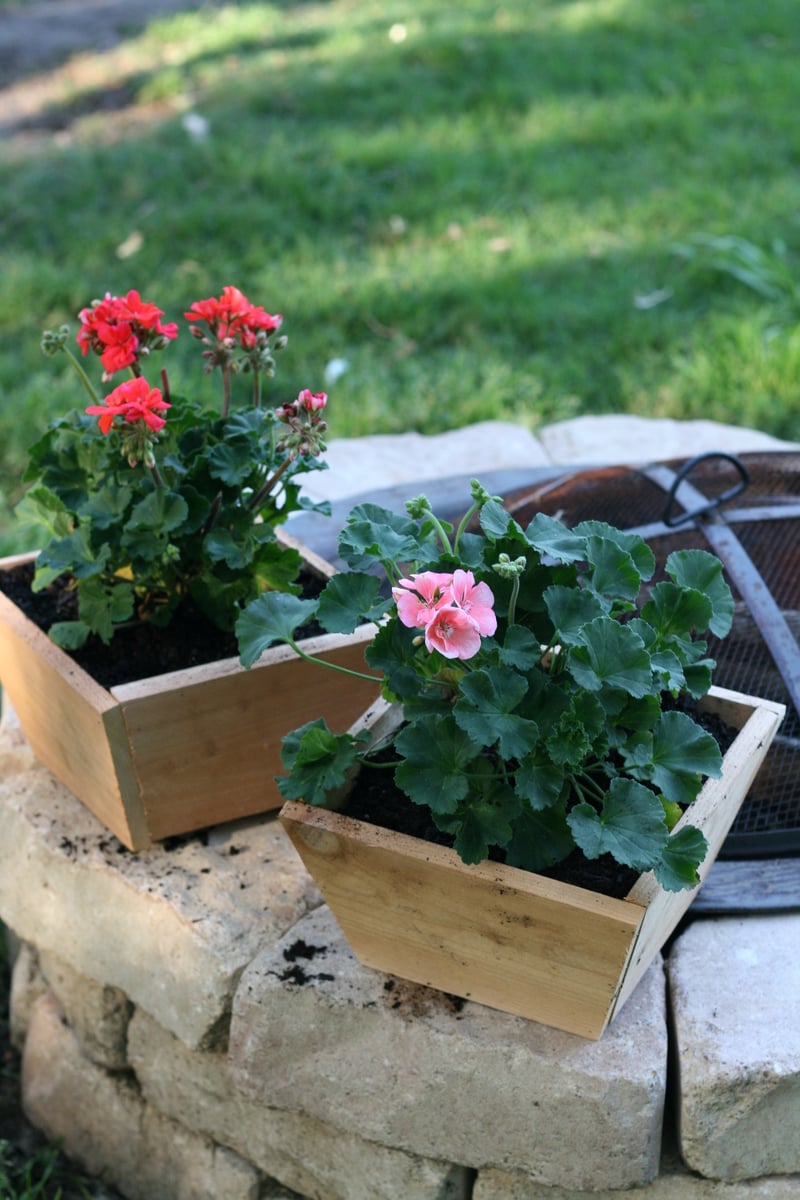
I'm still getting to know my Compound Miter Saw, so I wanted to get another small project under my belt. Not to mention I had a whole other picket and a half left over from yesterday's project. This just seem to be the perfect project to do. And needed since we actually needed a few more planters.
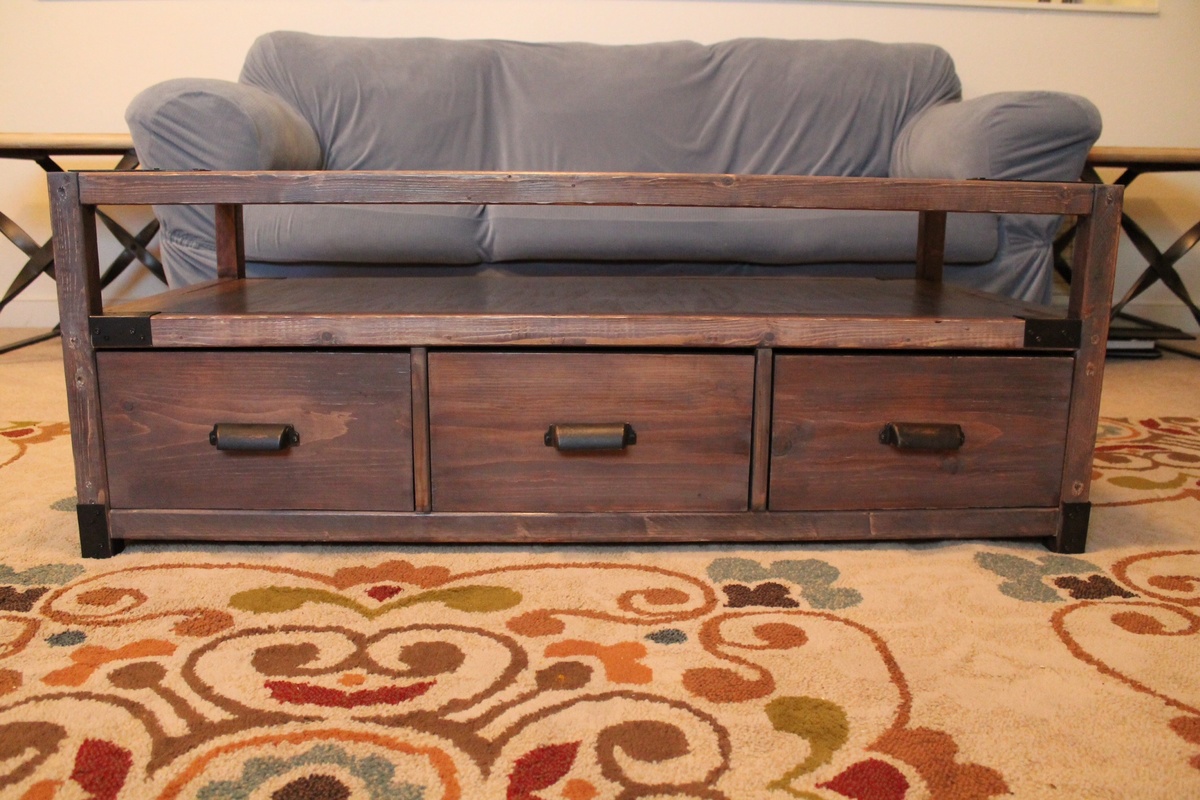
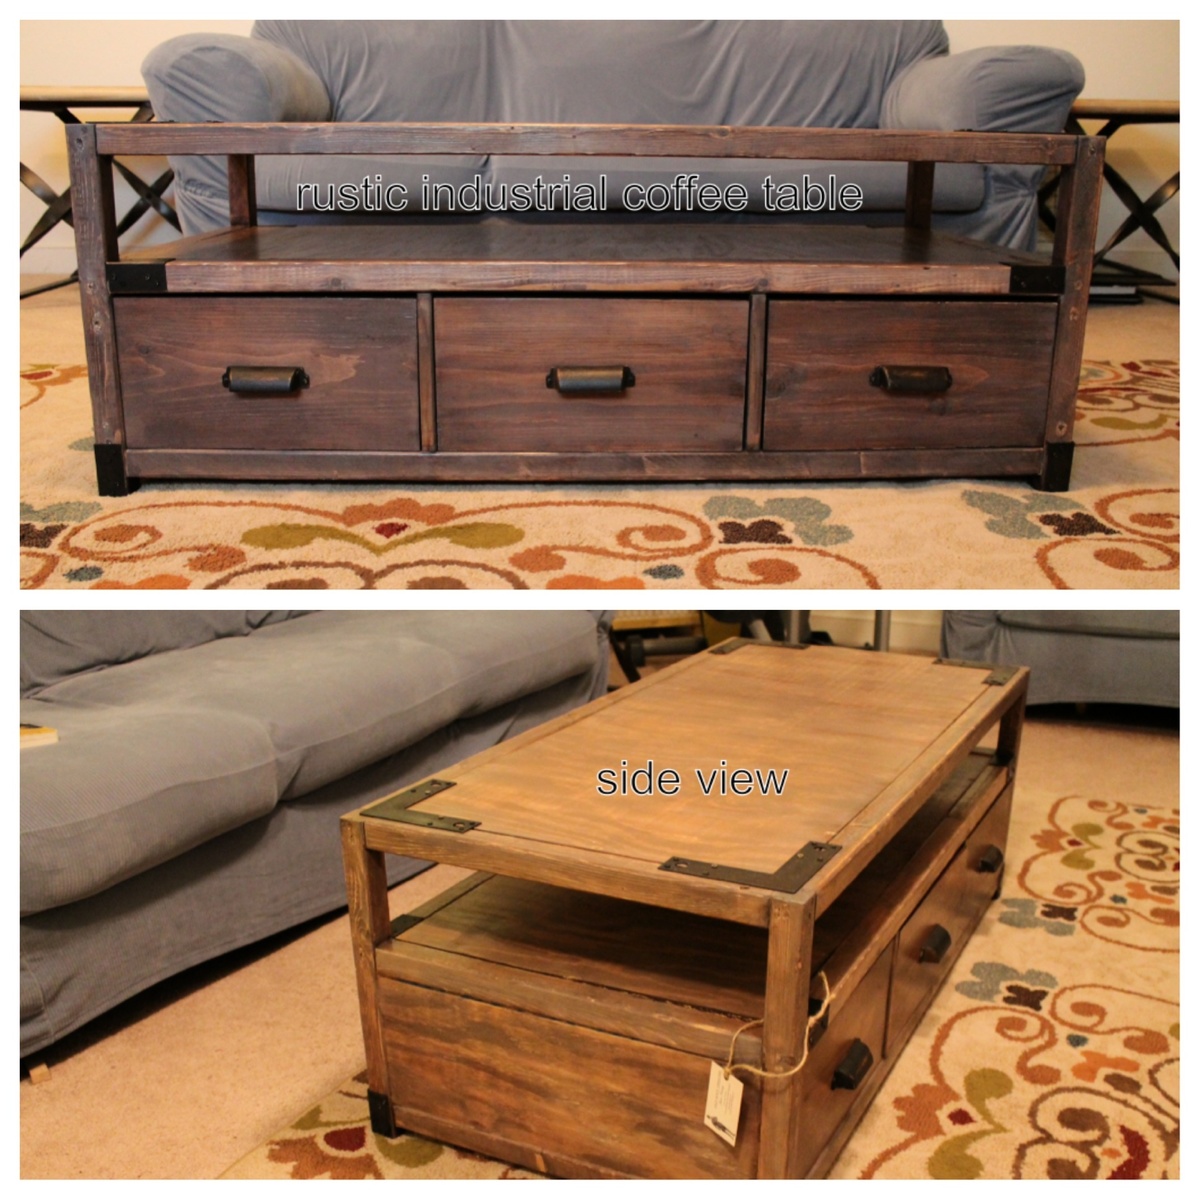
Took us about 2 weeks from start to finish but we could only work on it about an hour a day. We also had some issues with the stain. We were going for an aged look and weren't happy with the colors so we layered different stains till we were happy. Hardware is from Martha Stewart. Over all, the table wasn't that hard, but I would definitely advise measuring and cutting as you go, because of all the drawers, the slightest mis-measurement can put the whole thing off. You can see better pics at facebook.com/oldsouldesigns. Absolutely love the end result and so do our customers!
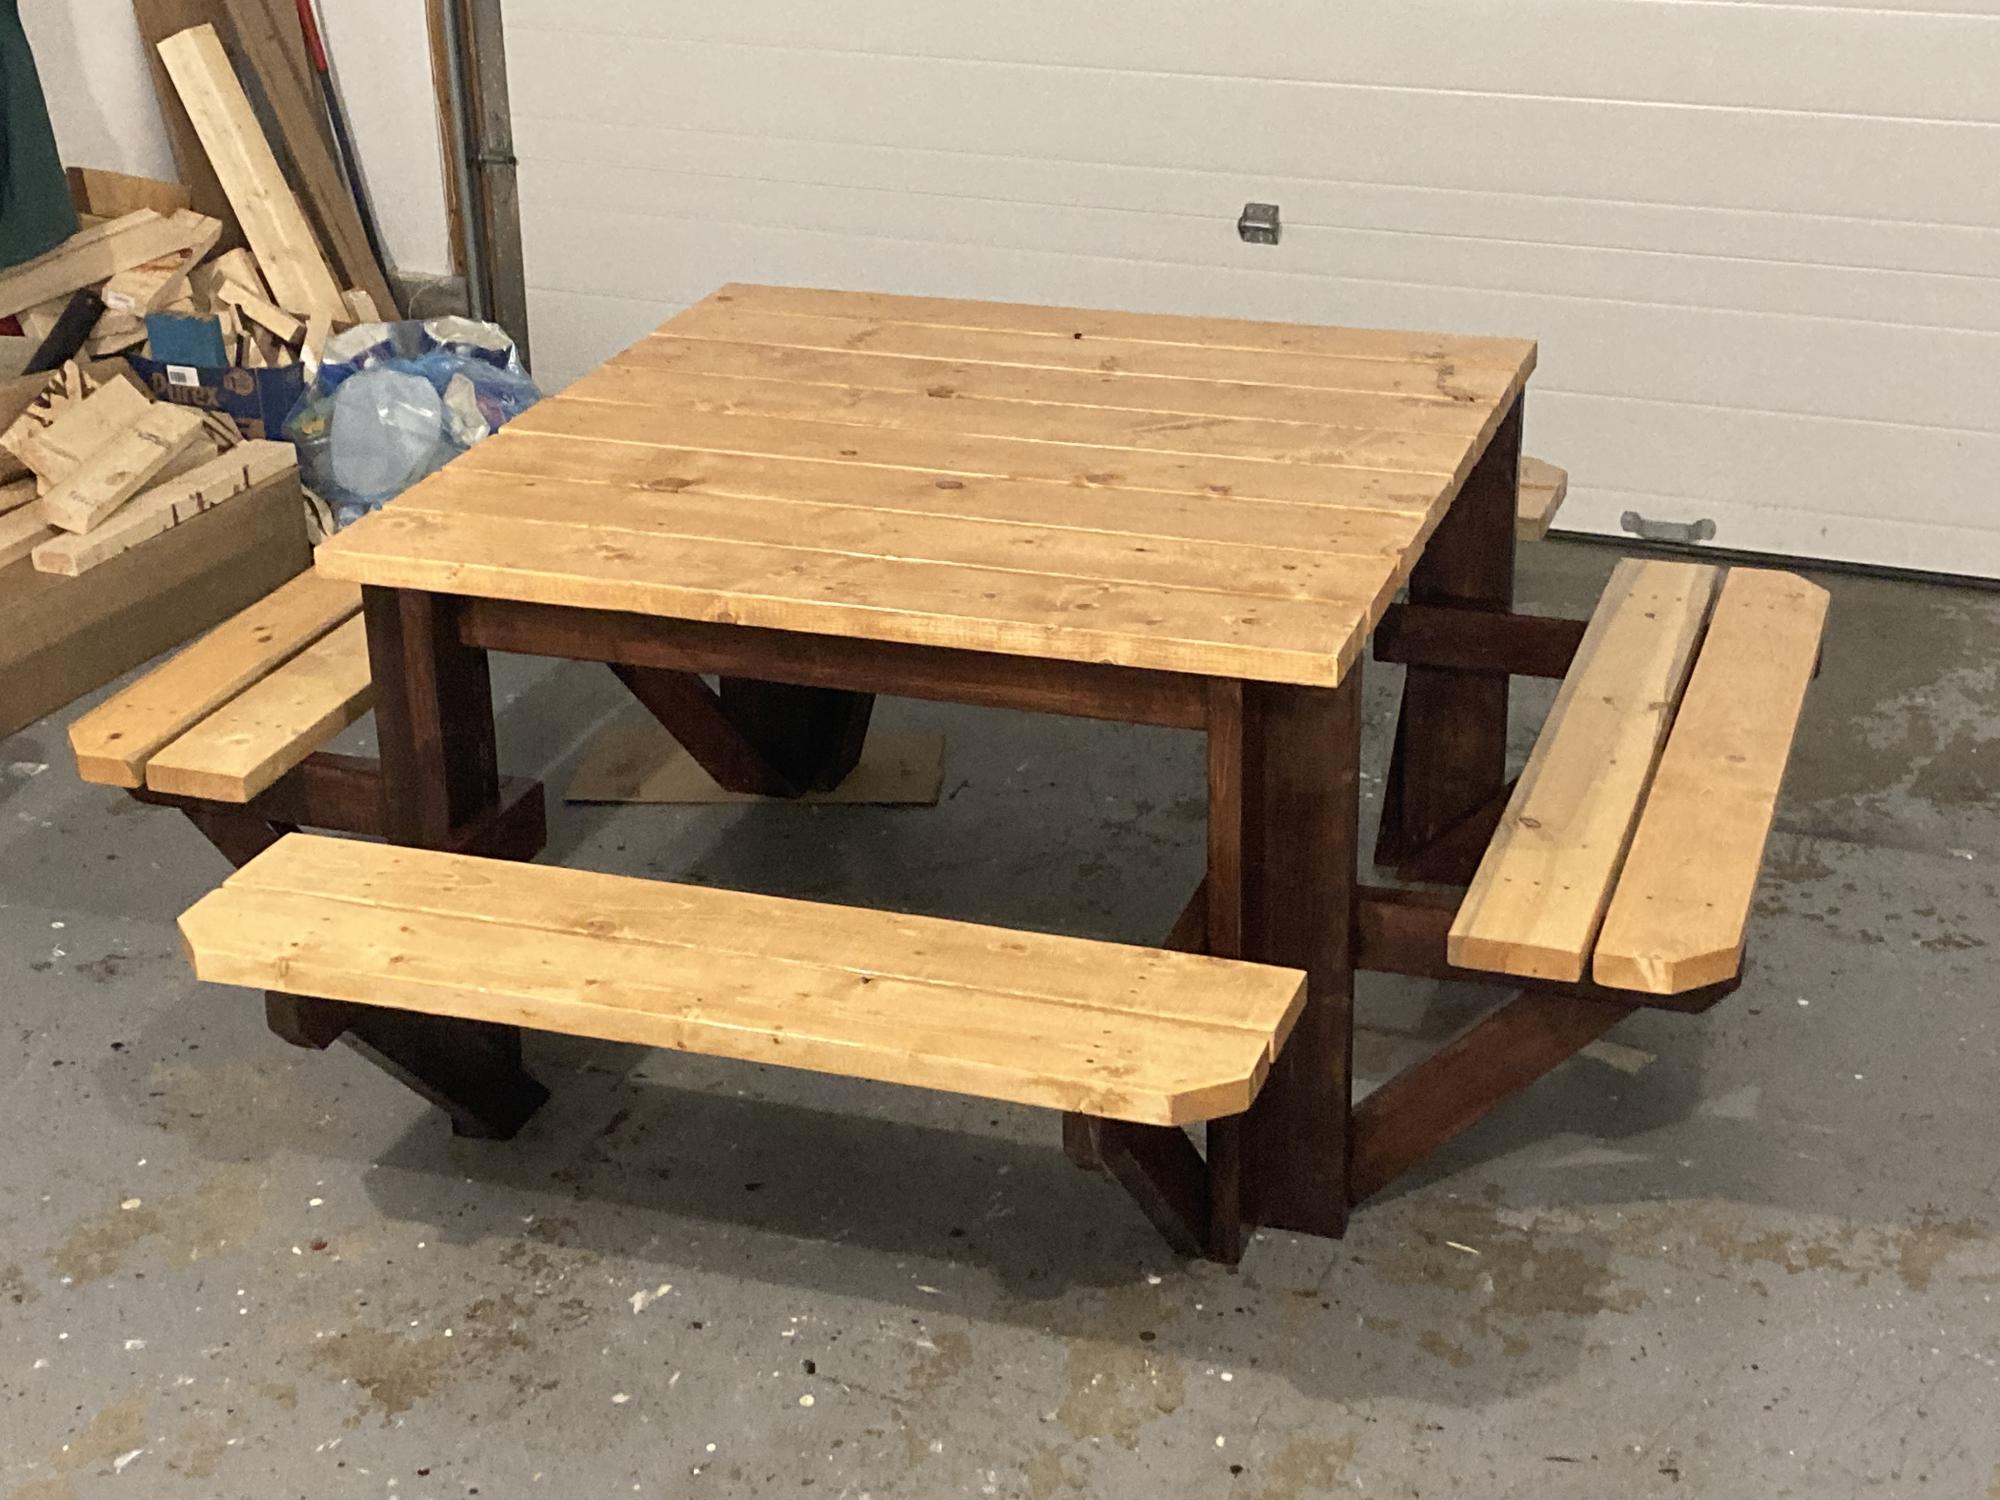
The table came out great! I ran every board through the table saw to make sure each piece was square. On the breadboard ends I added 2 1 1/2x1 1/2 x 9 supports. I decided to take off a lot of material with 40 grit sandpaper so every top board was completely smooth. Added adhesive felt to the bottom and used minwax polycrylic finish.
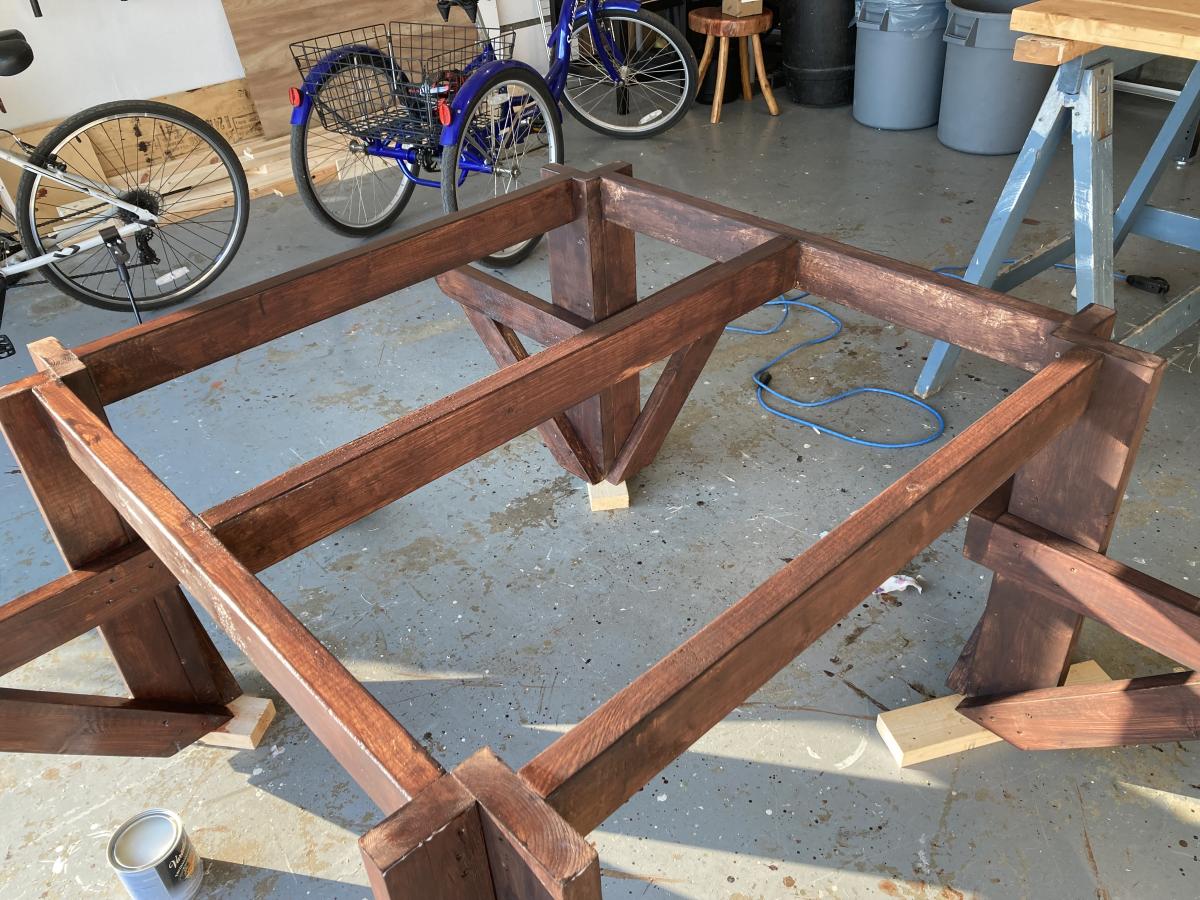
Enjoyed this project although with the price of lumber it was a little expensive to build. The only modification I made was to put a cross brace in the centre of the table top. That allowed me to attach the top boards a little more securely as some of them were a little bowed. I'll add a better photograph once I get it out of my garage and on to the back deck. It is a little heavy.
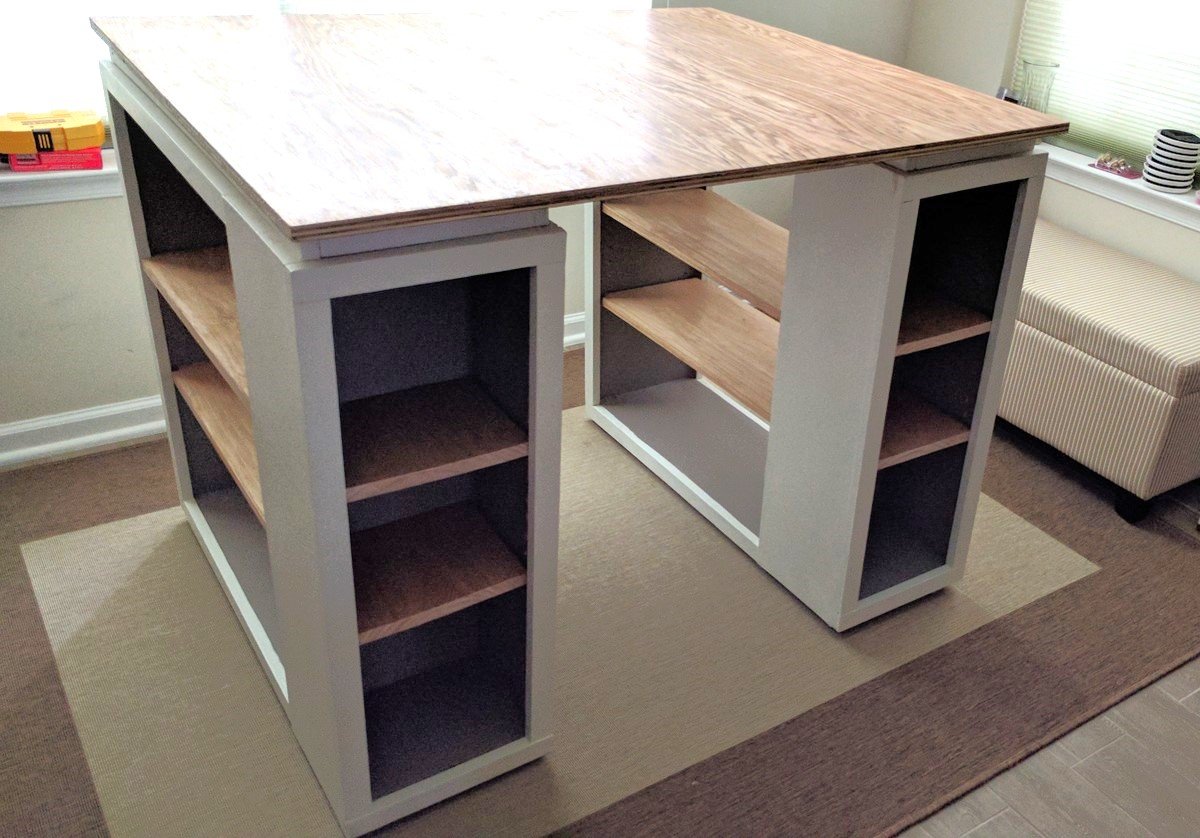
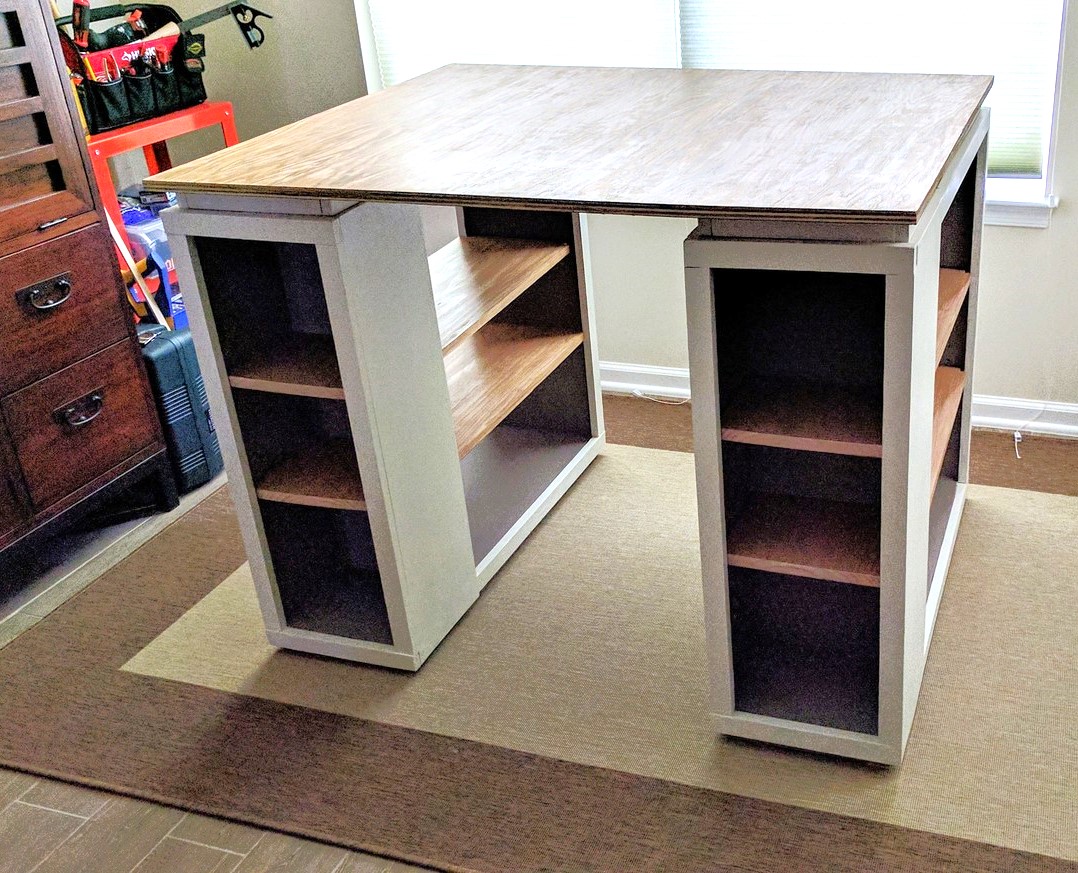
As a solo and novice woodworker, it took me a while to get used to the pocket hole jig and longer to cut the wood myself but eventually it all came together. To ensure I could get it out of the house if I move, I used circle 8 desktop fasteners to fasten the plywood top to the risers. I am proud I finished and love to use the table now for both craft work and breakfast on the weekends.
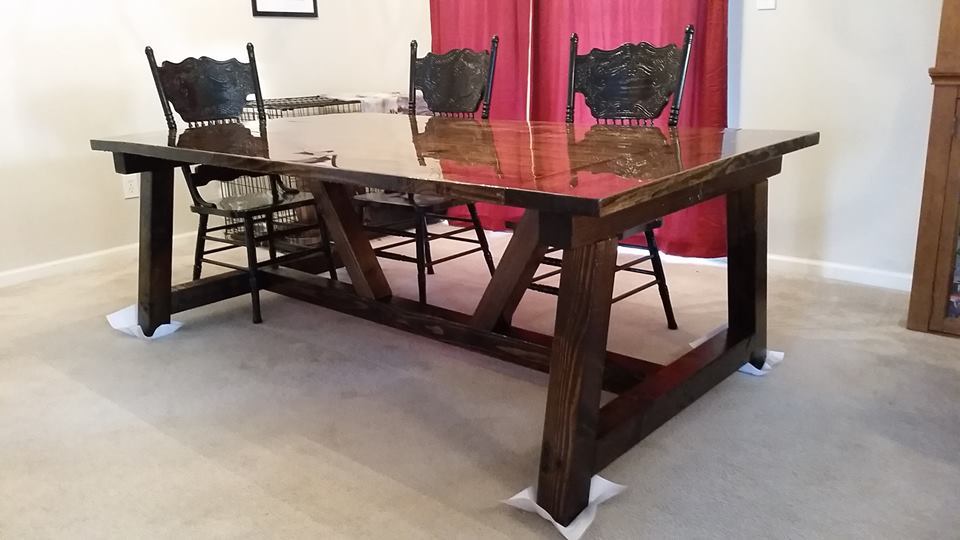
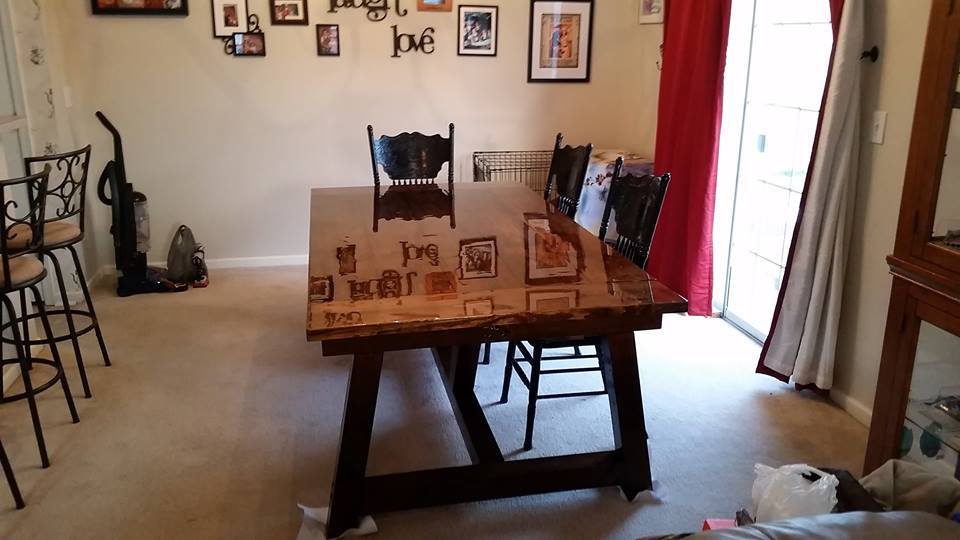
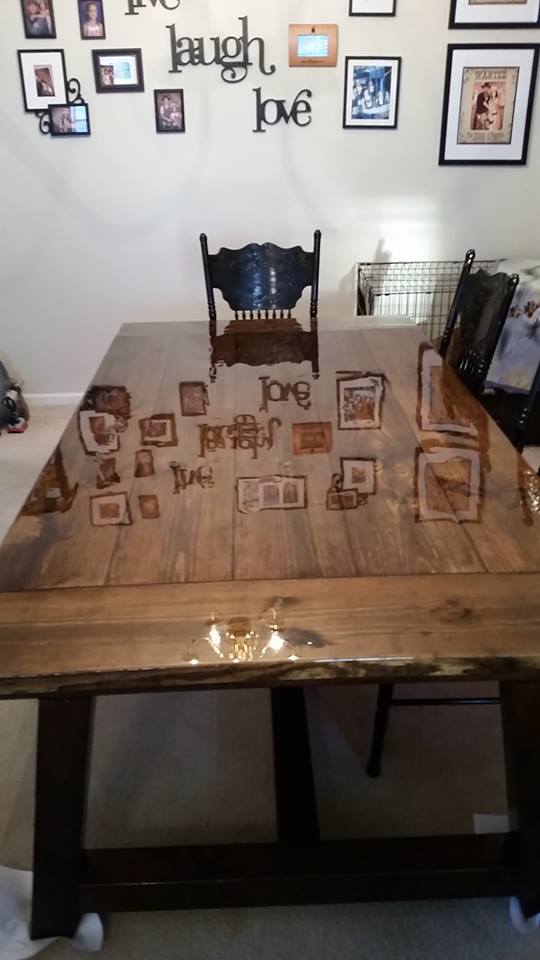
I built this farmhouse table from your plans. It turned out great, I had to modify the plans and make it bigger to fit my needs. But we love the outcome and it was well worth it to do this project.
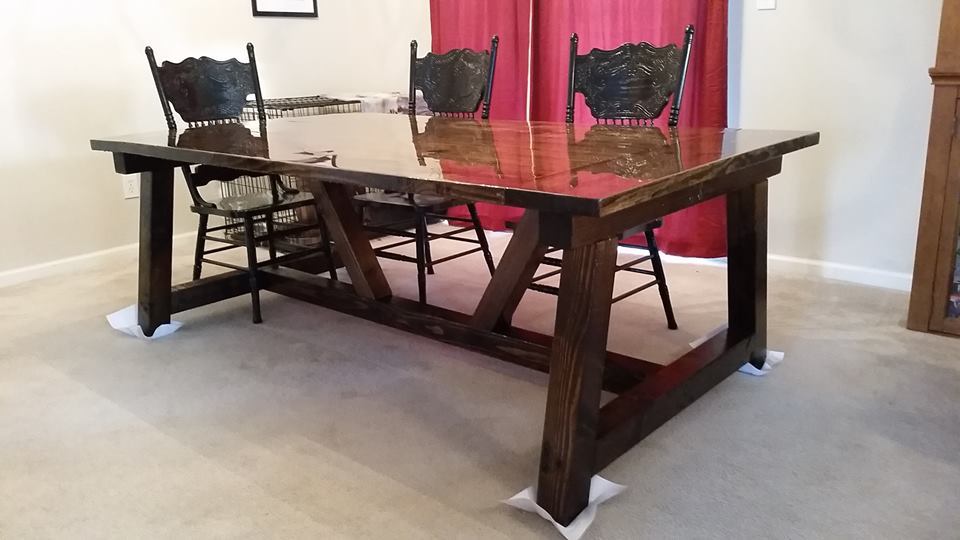
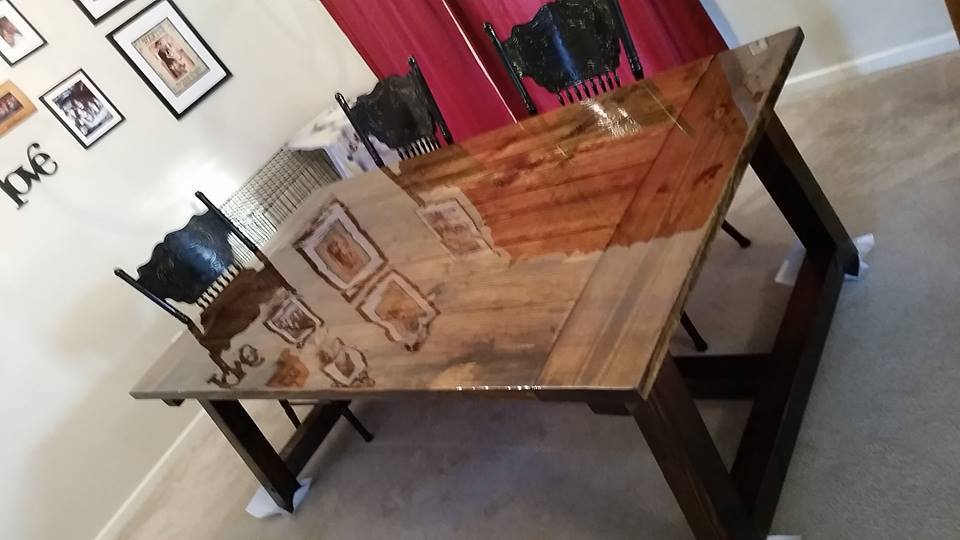
This was my 2nd woodworking project, so I was very pleased with the results. I wanted more seating and storage for my office area. I liked the look of the Farmhouse Storage Bed, so I decided to modify the plans and turn it into a bench. I made the seating area 30" wide and 68" long. Instead of headboard and footboard, I made 2 sides that were about 40" tall (36" 4x4 plus the 2x4 and 2x6). I made 3 24" deep drawers and left the back side open so that I can store electronics that need to be charged in them with the cords hanging out the back of the drawers. It was a lot of fun to make, and I know that my family will enjoy it!
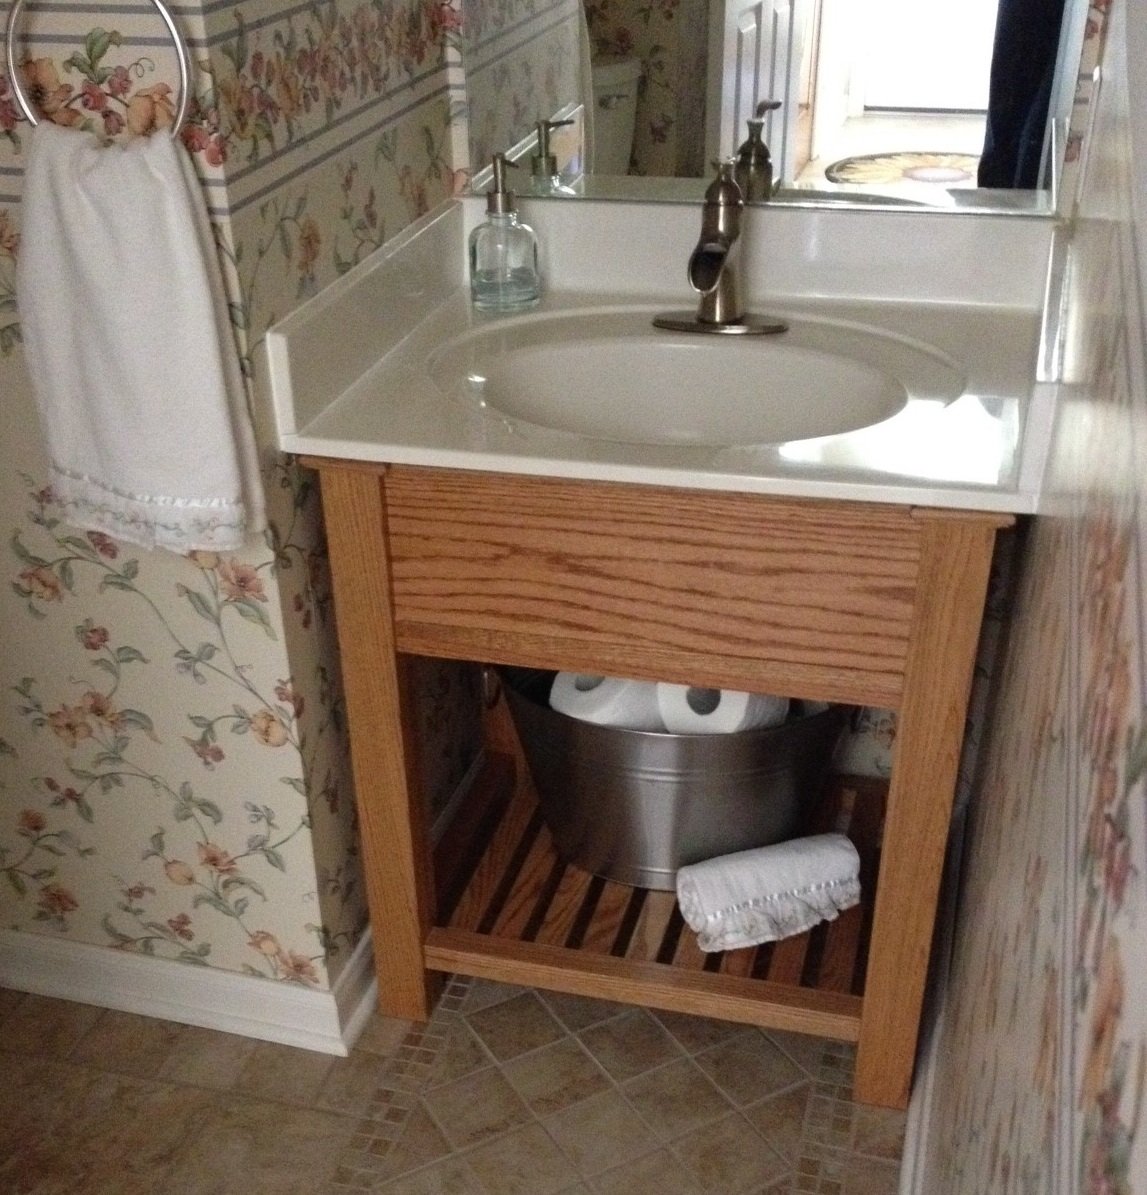
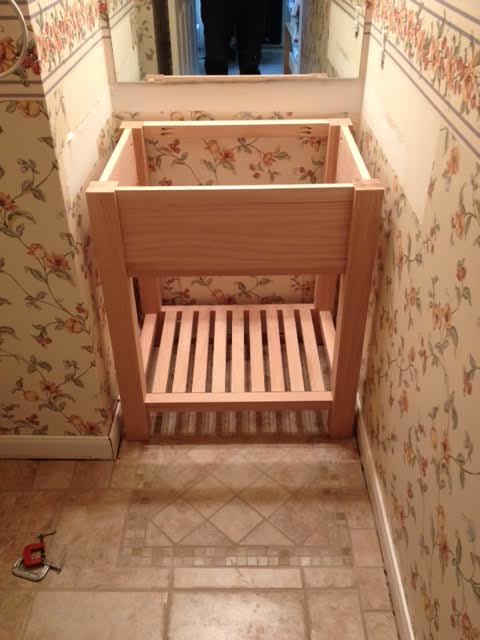
I changed the height of the Connor Side Table to that of a bathroom vanity and added an apron to hide the underside of the sink. I carefully built the vanity to be level, then discovered that the underside of the sink surround is wavy (apparently they are made by being poured into an upside down mold, hence the wavy surface). I added trim at the top of the vanity to hide the shims stabilizing the sink top. Thx to Rogue Engineer for the well-written plans, and thx to Ana White for your Kreg pocket hole jig video. It made me feel confident I could pull this off!
Still waiting to add the stained jail sign. But a dad's twist to a mom's honey do project added the porch to the front to catch my youngest if he falls out of bed.
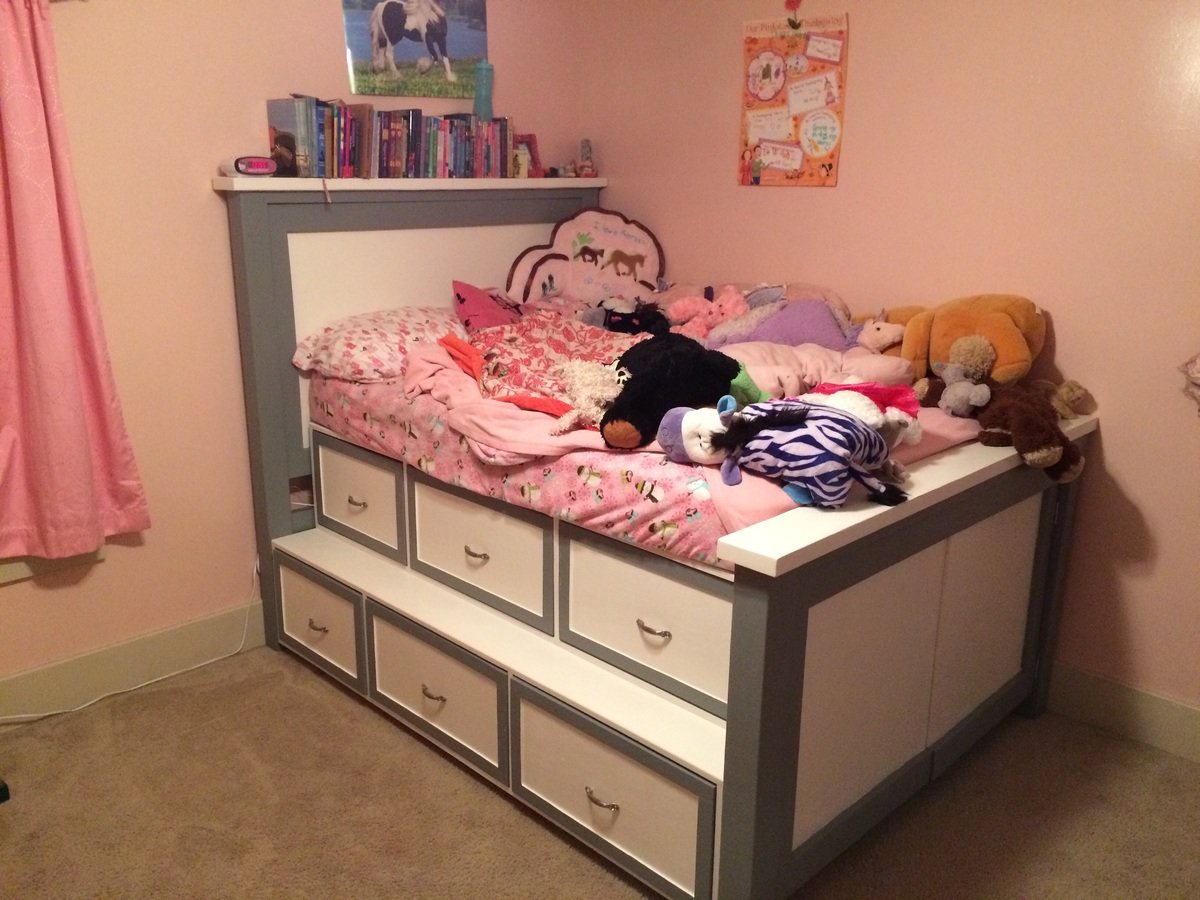
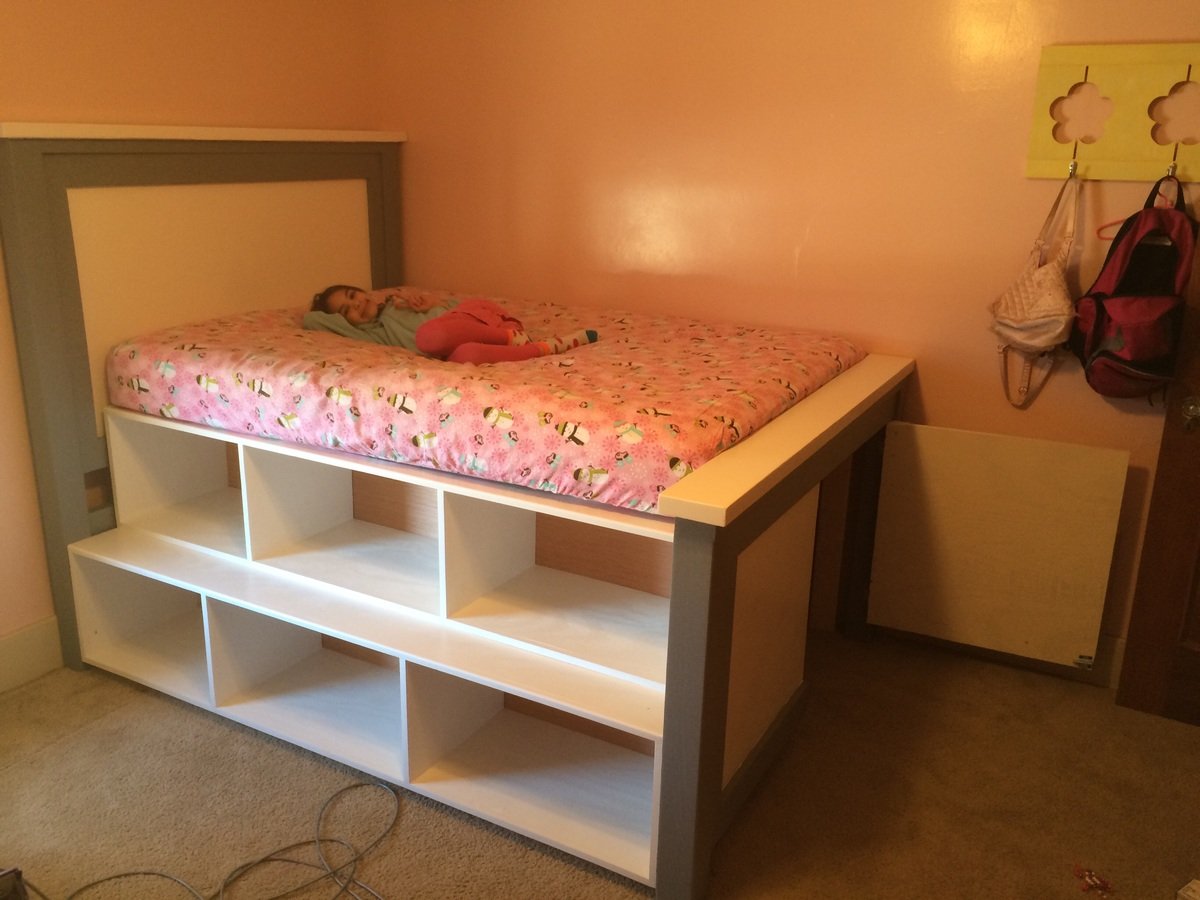
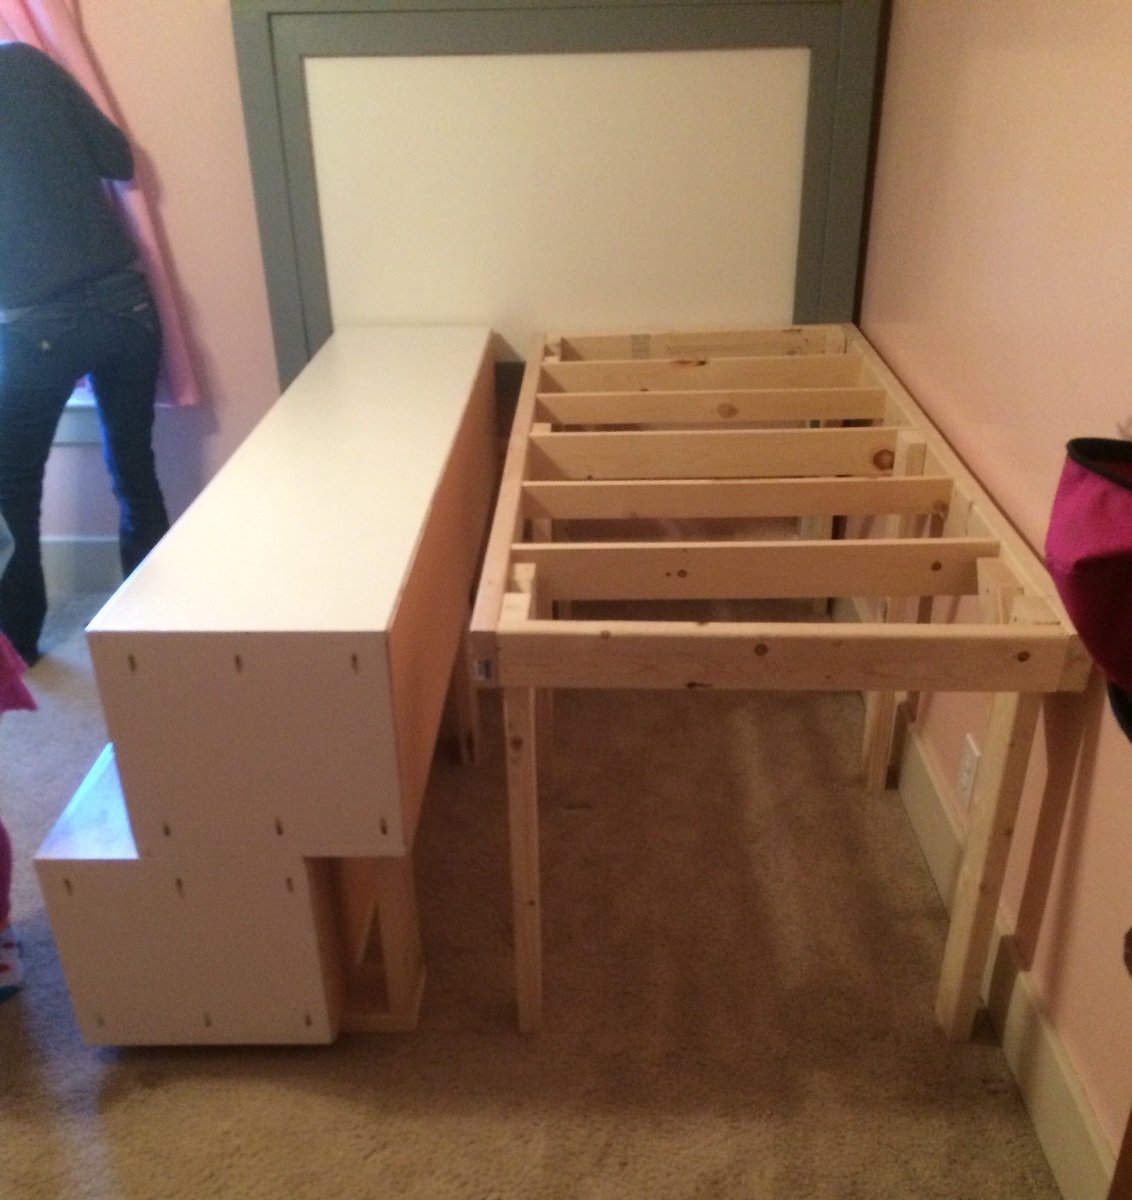
Queen sized storage bed in width for a full sized mattress. I wanted this against the wall, so i put both sets of drawers on one side and hinged the footboard for access underneath.
Fri, 04/03/2015 - 11:17
This looks fantastic, love the hinged foot board, thanks for sharing!
Wed, 07/13/2016 - 08:13
Do you have plans for this design upgrade?
Thu, 04/08/2021 - 08:26
I just finished building the same bed and designed it with a second set of drawers above... I WISH I HAD SEEN THIS FIRST!! What an ingenious design with the step built in. I made a step stool for my daughter to get into the bed, but this was really a fantastic idea. Well done!

My boyfriend and I wanted a calm relaxing beach feel at our Florida vacation home, however with kids in college and two getting married, we were on a tight budget. We found these plans on Ana White's website. He made the headboard and bench and I distressed it to make it look weathered. We used Minwax Dark Walnut as a base, let it dry over night, and lightly wiped it down in the morning. We then used Rustoleum "Chalked" in White Linen and applied it with a large stencil brush we found at Michaels craftstore. We applied it almost haphazardly, purposely making it look rough. The chalk paint dries quickly. We then brushed on some clear Americana creme wax. We are very happy with the end result, it was our first project build, and we nailed it. Thanks. Ana!!!


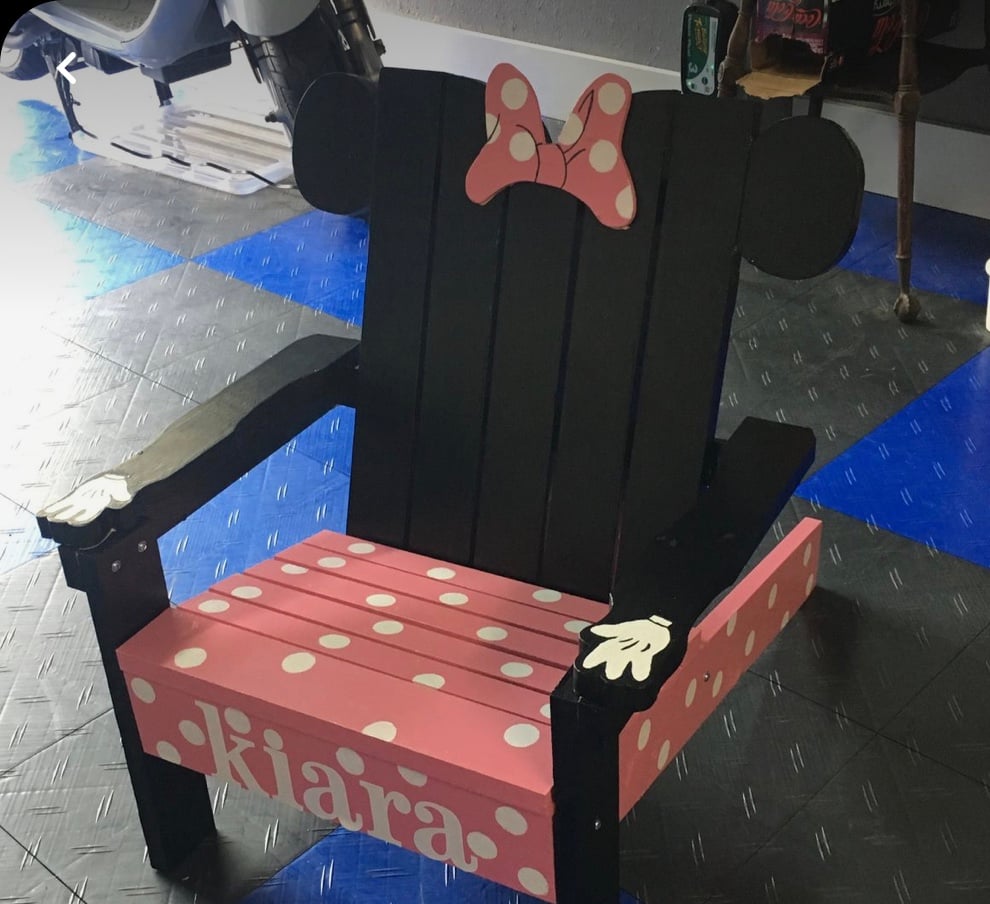
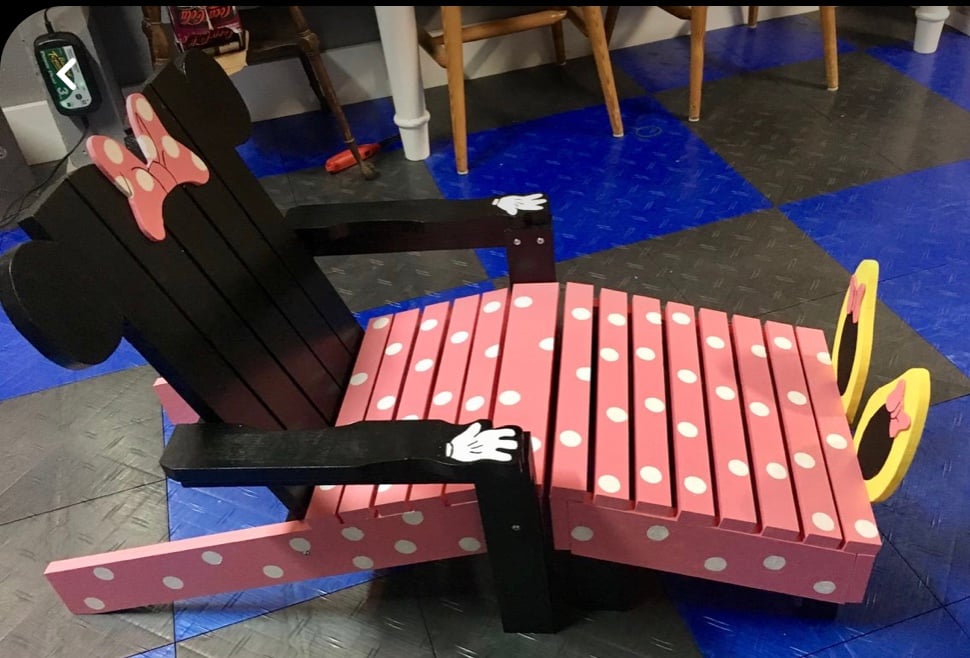
Made this for my grand niece, who was obsessed with Minnie Mouse. When done, my friend said I needed to add a foot rest, so I did!
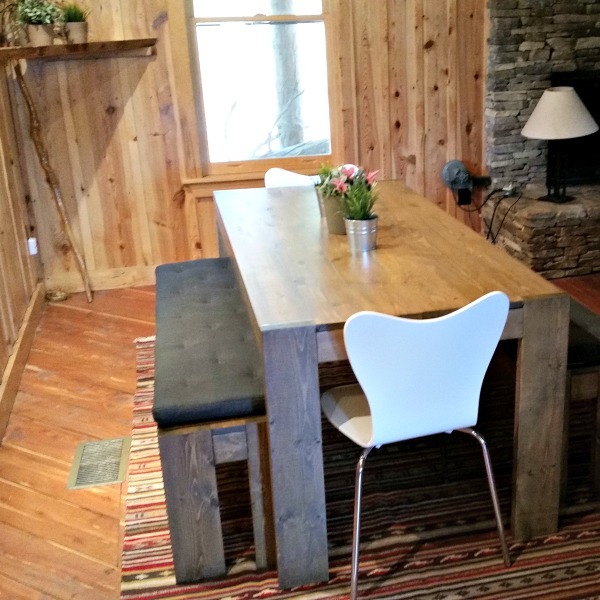
I pretty much just followed the plan. It did not take long to build, but I spent quite a bit of time on the finish. I sanded and sanded and sanded. I was going for a restoration Hardware type finish and got pretty close. This was the first piece of furniture I built. Recently moved to a farm so have been building farm needs projects and finally had time to build some furniture. I purchased the bench cushions.
Thanks for the awesome plans, information and site Ana! I love it!
Janice
