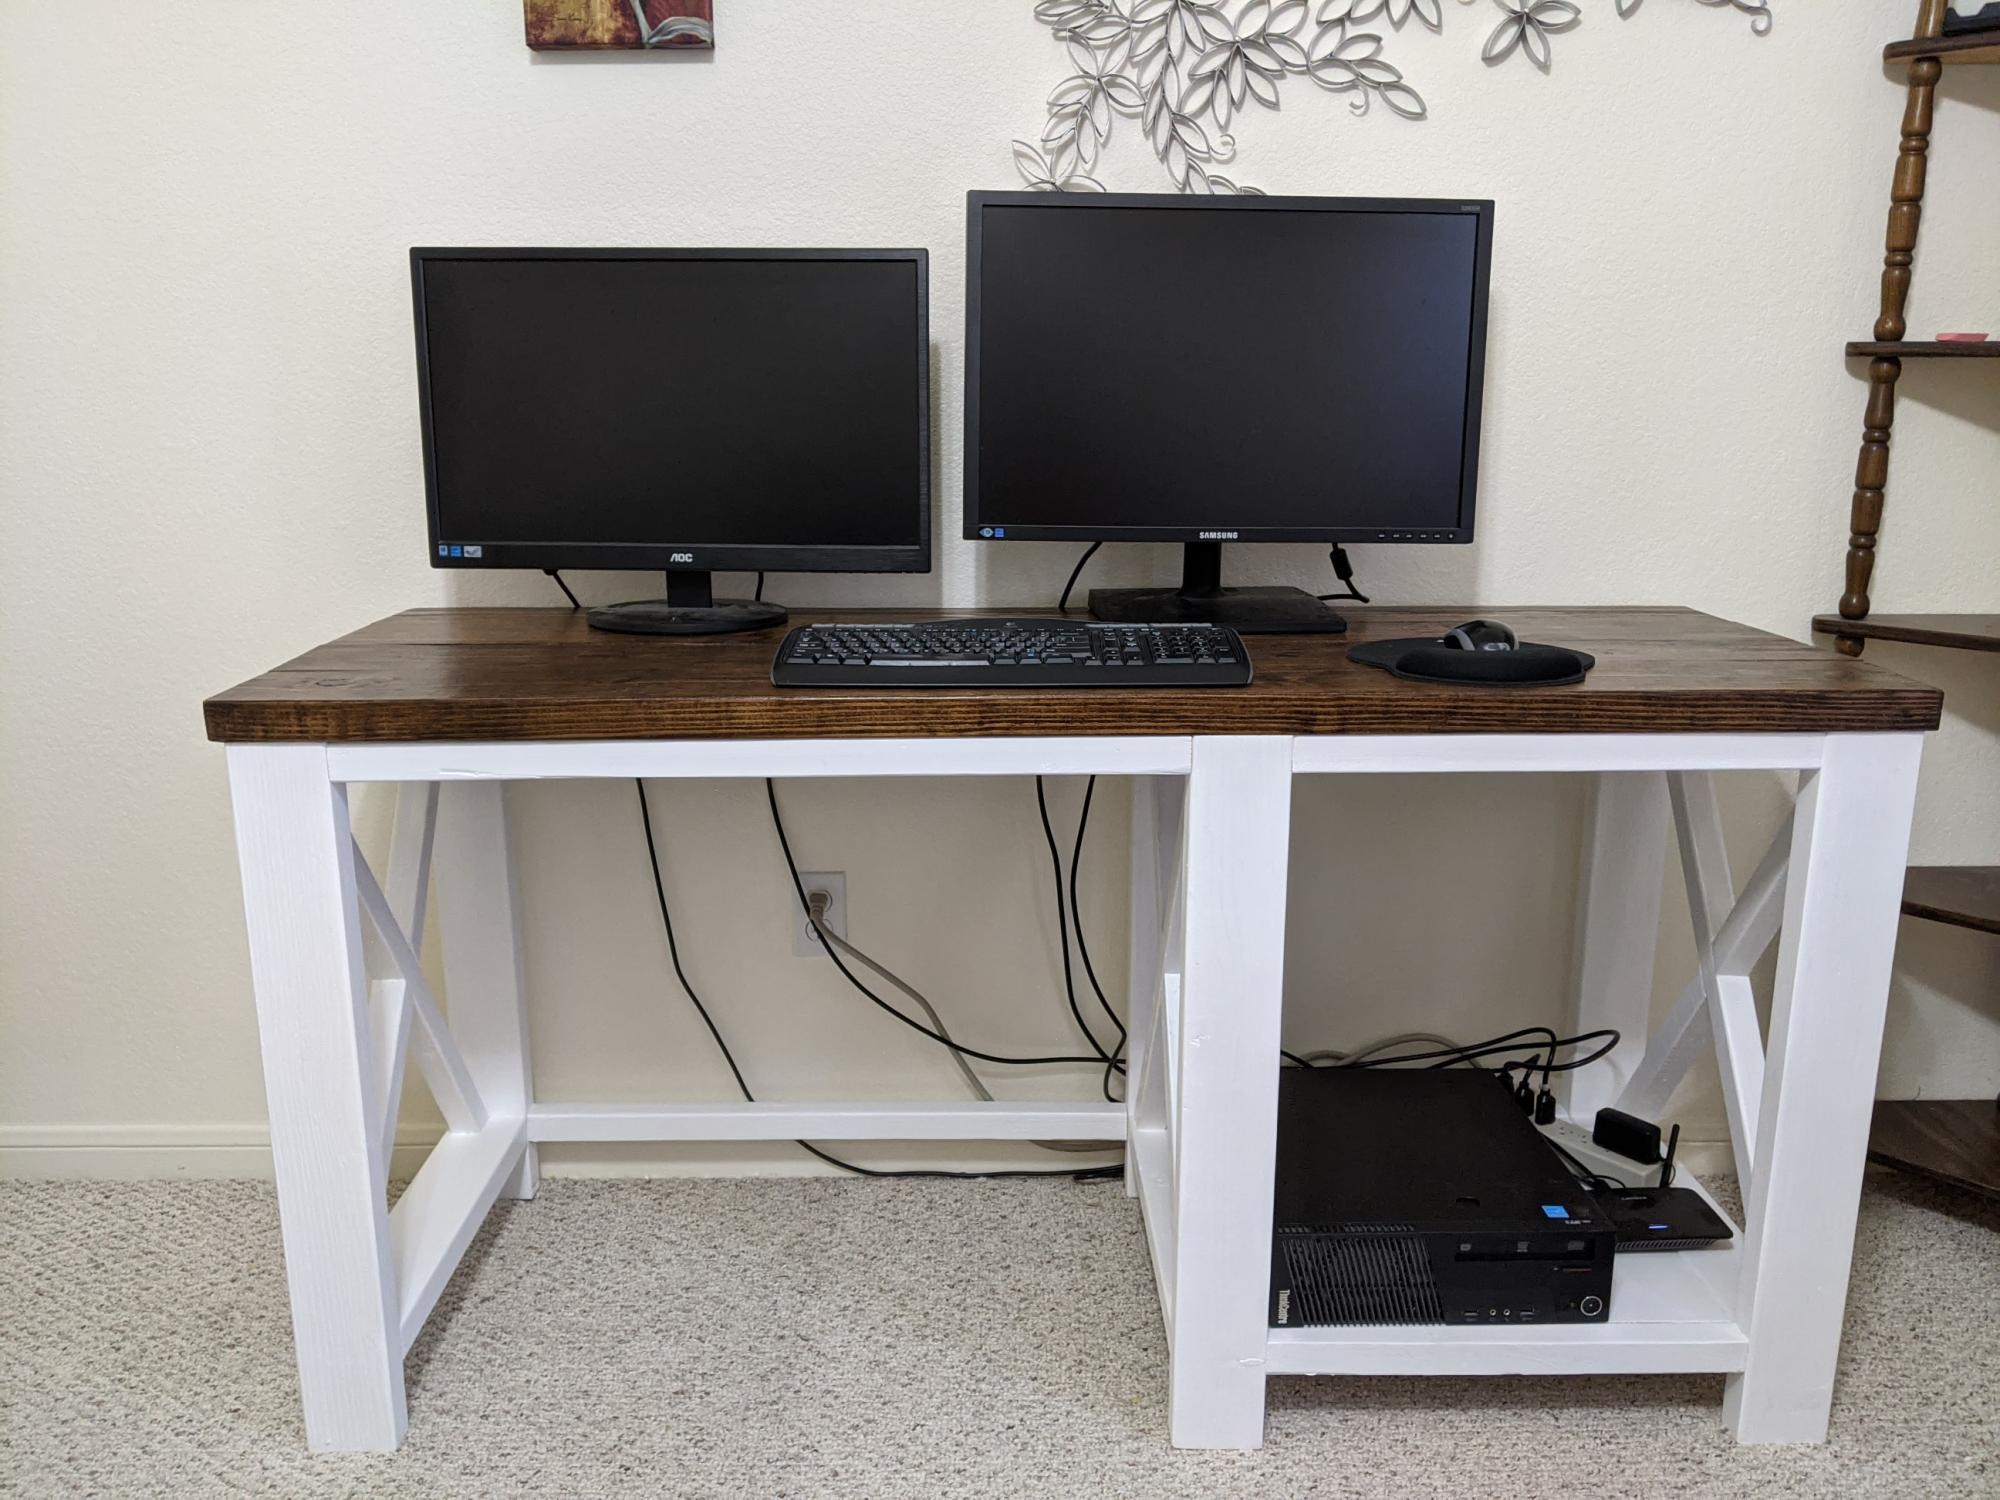
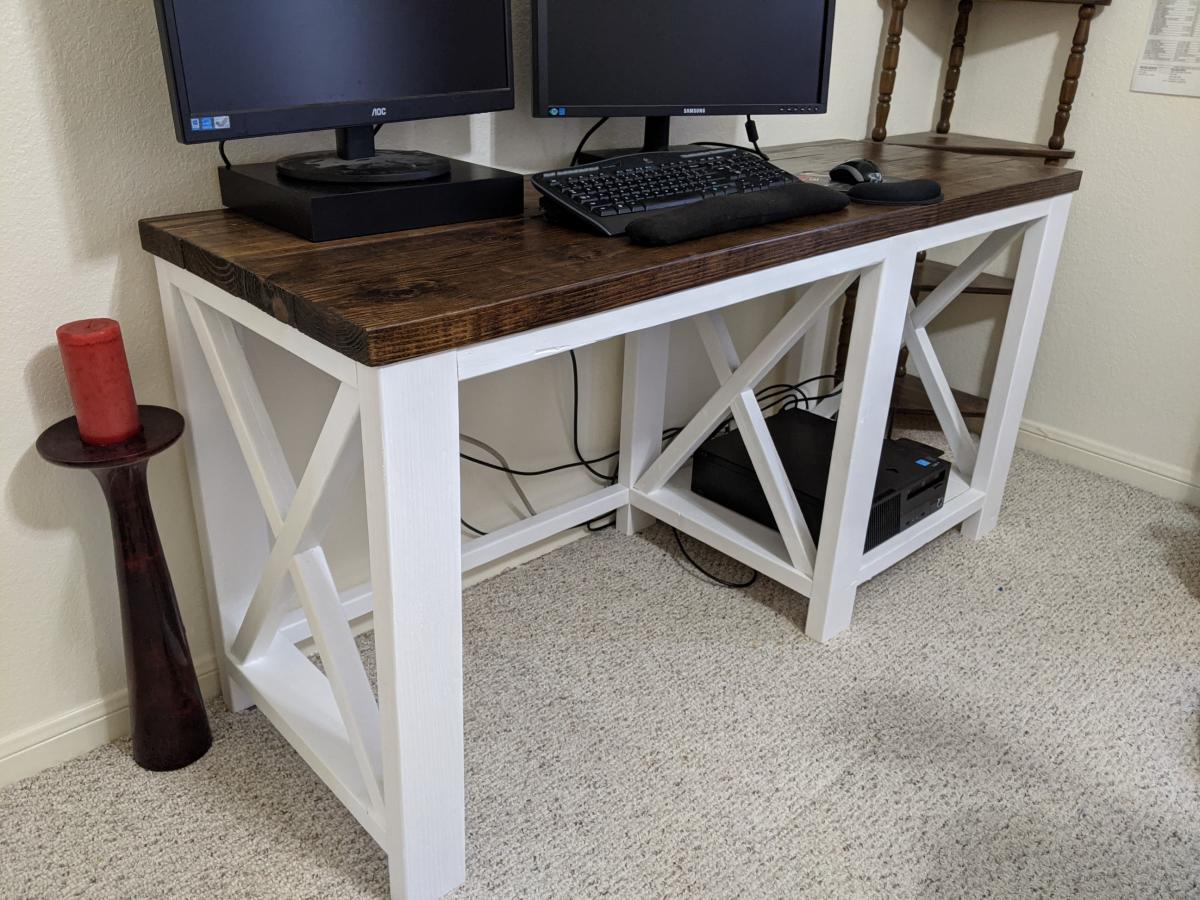
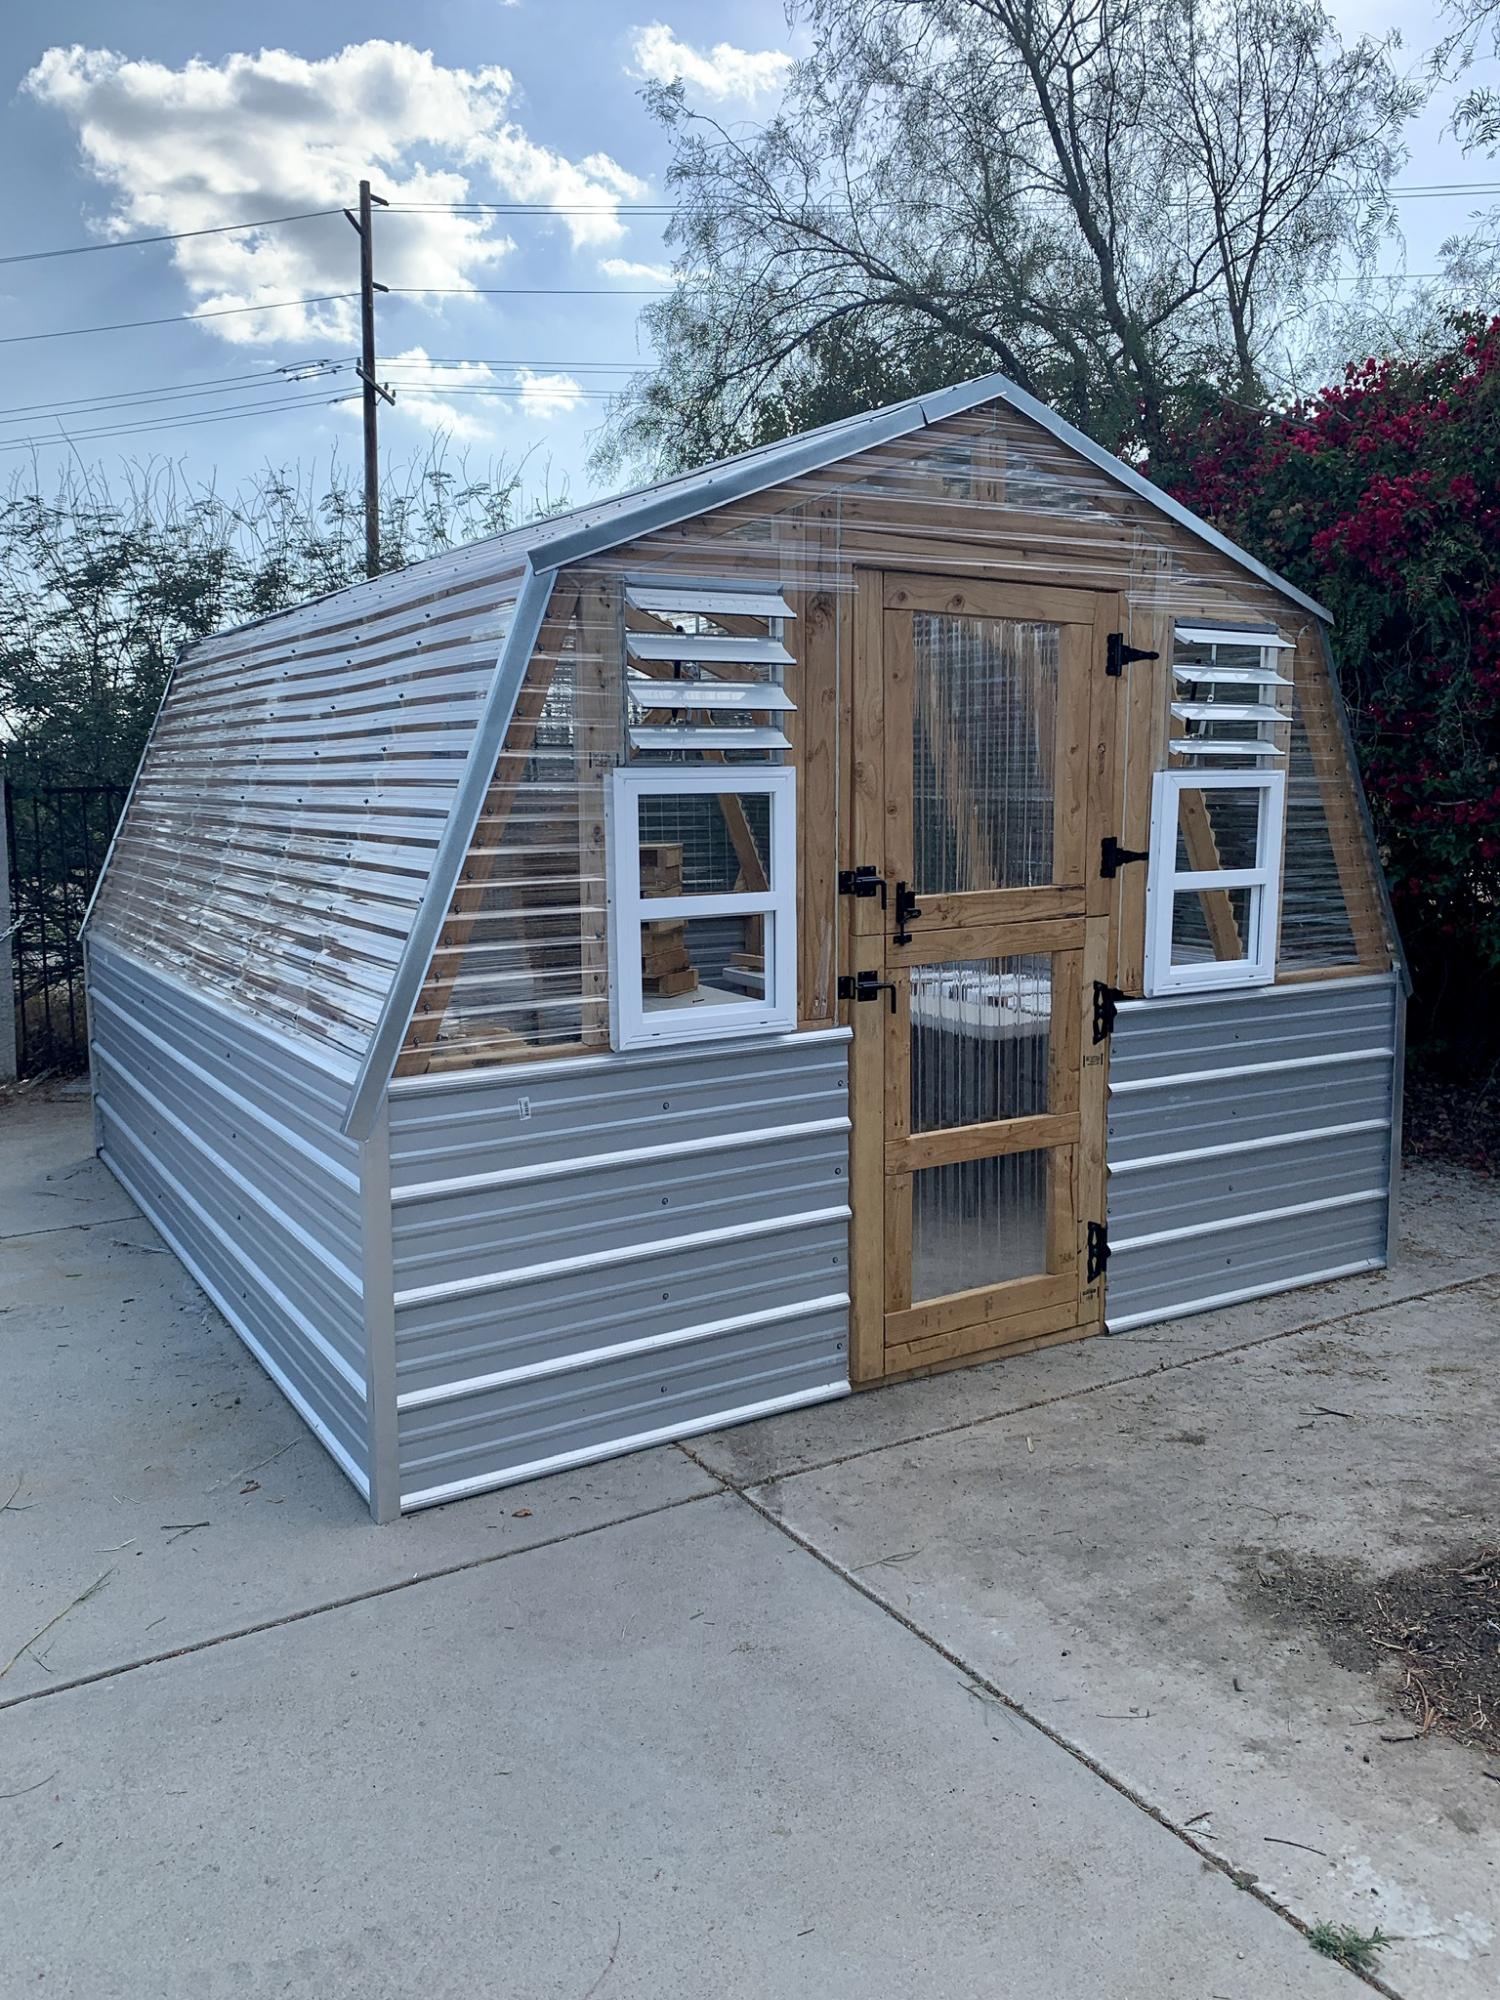
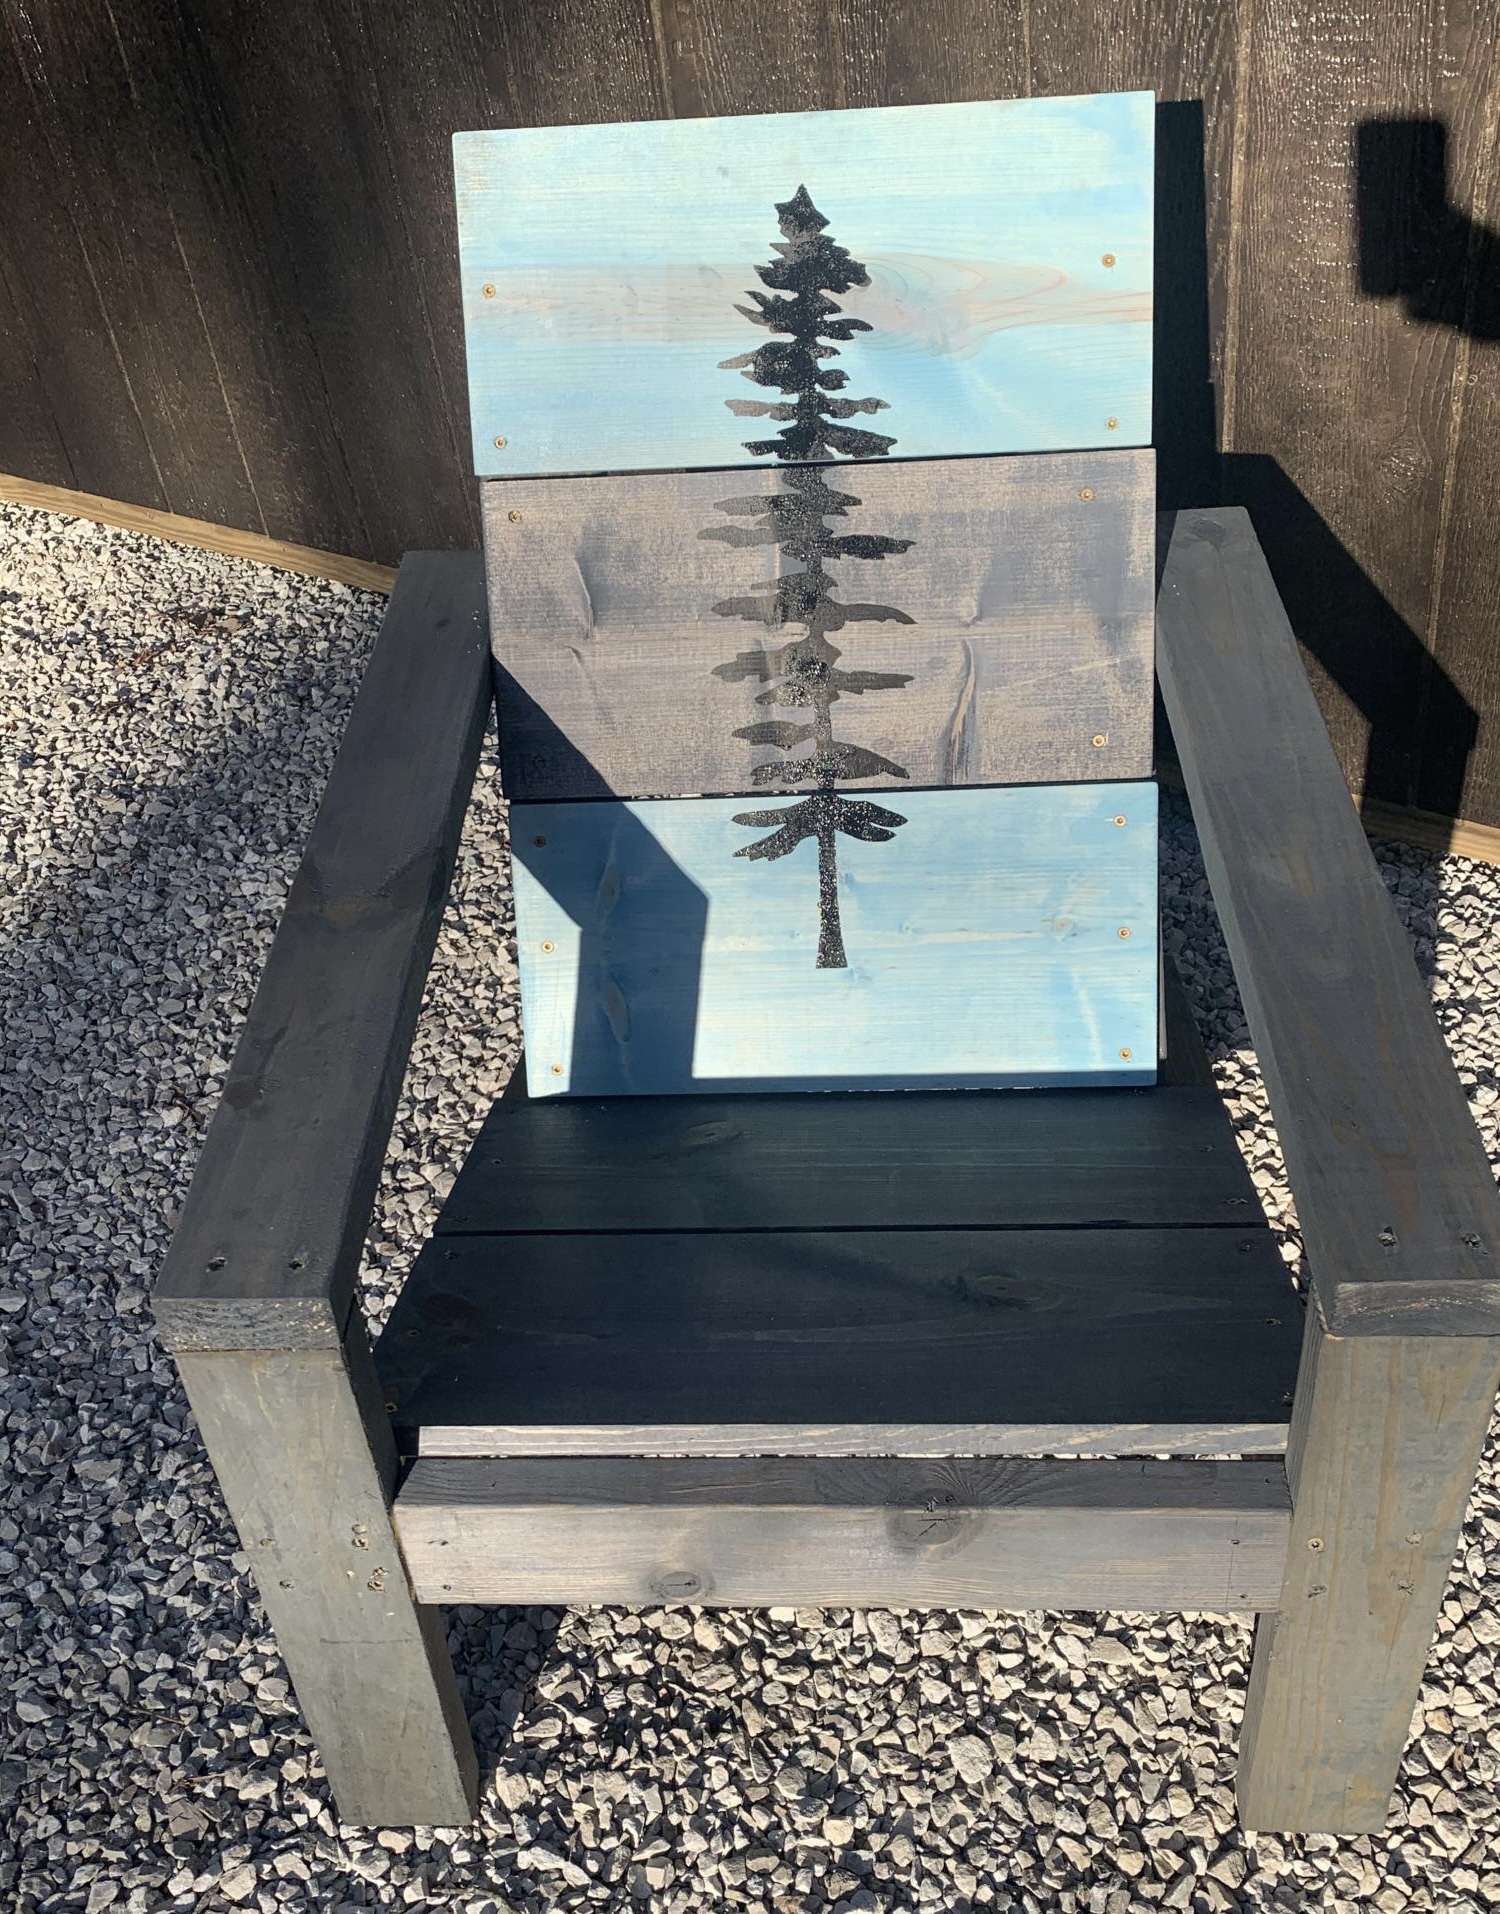
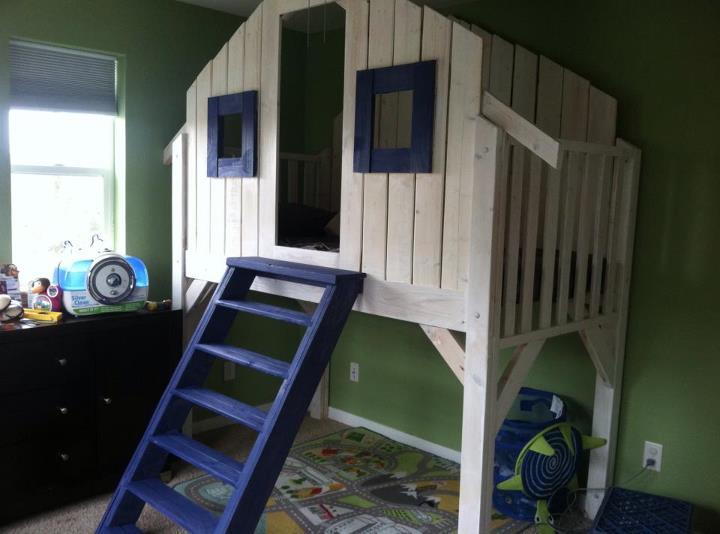
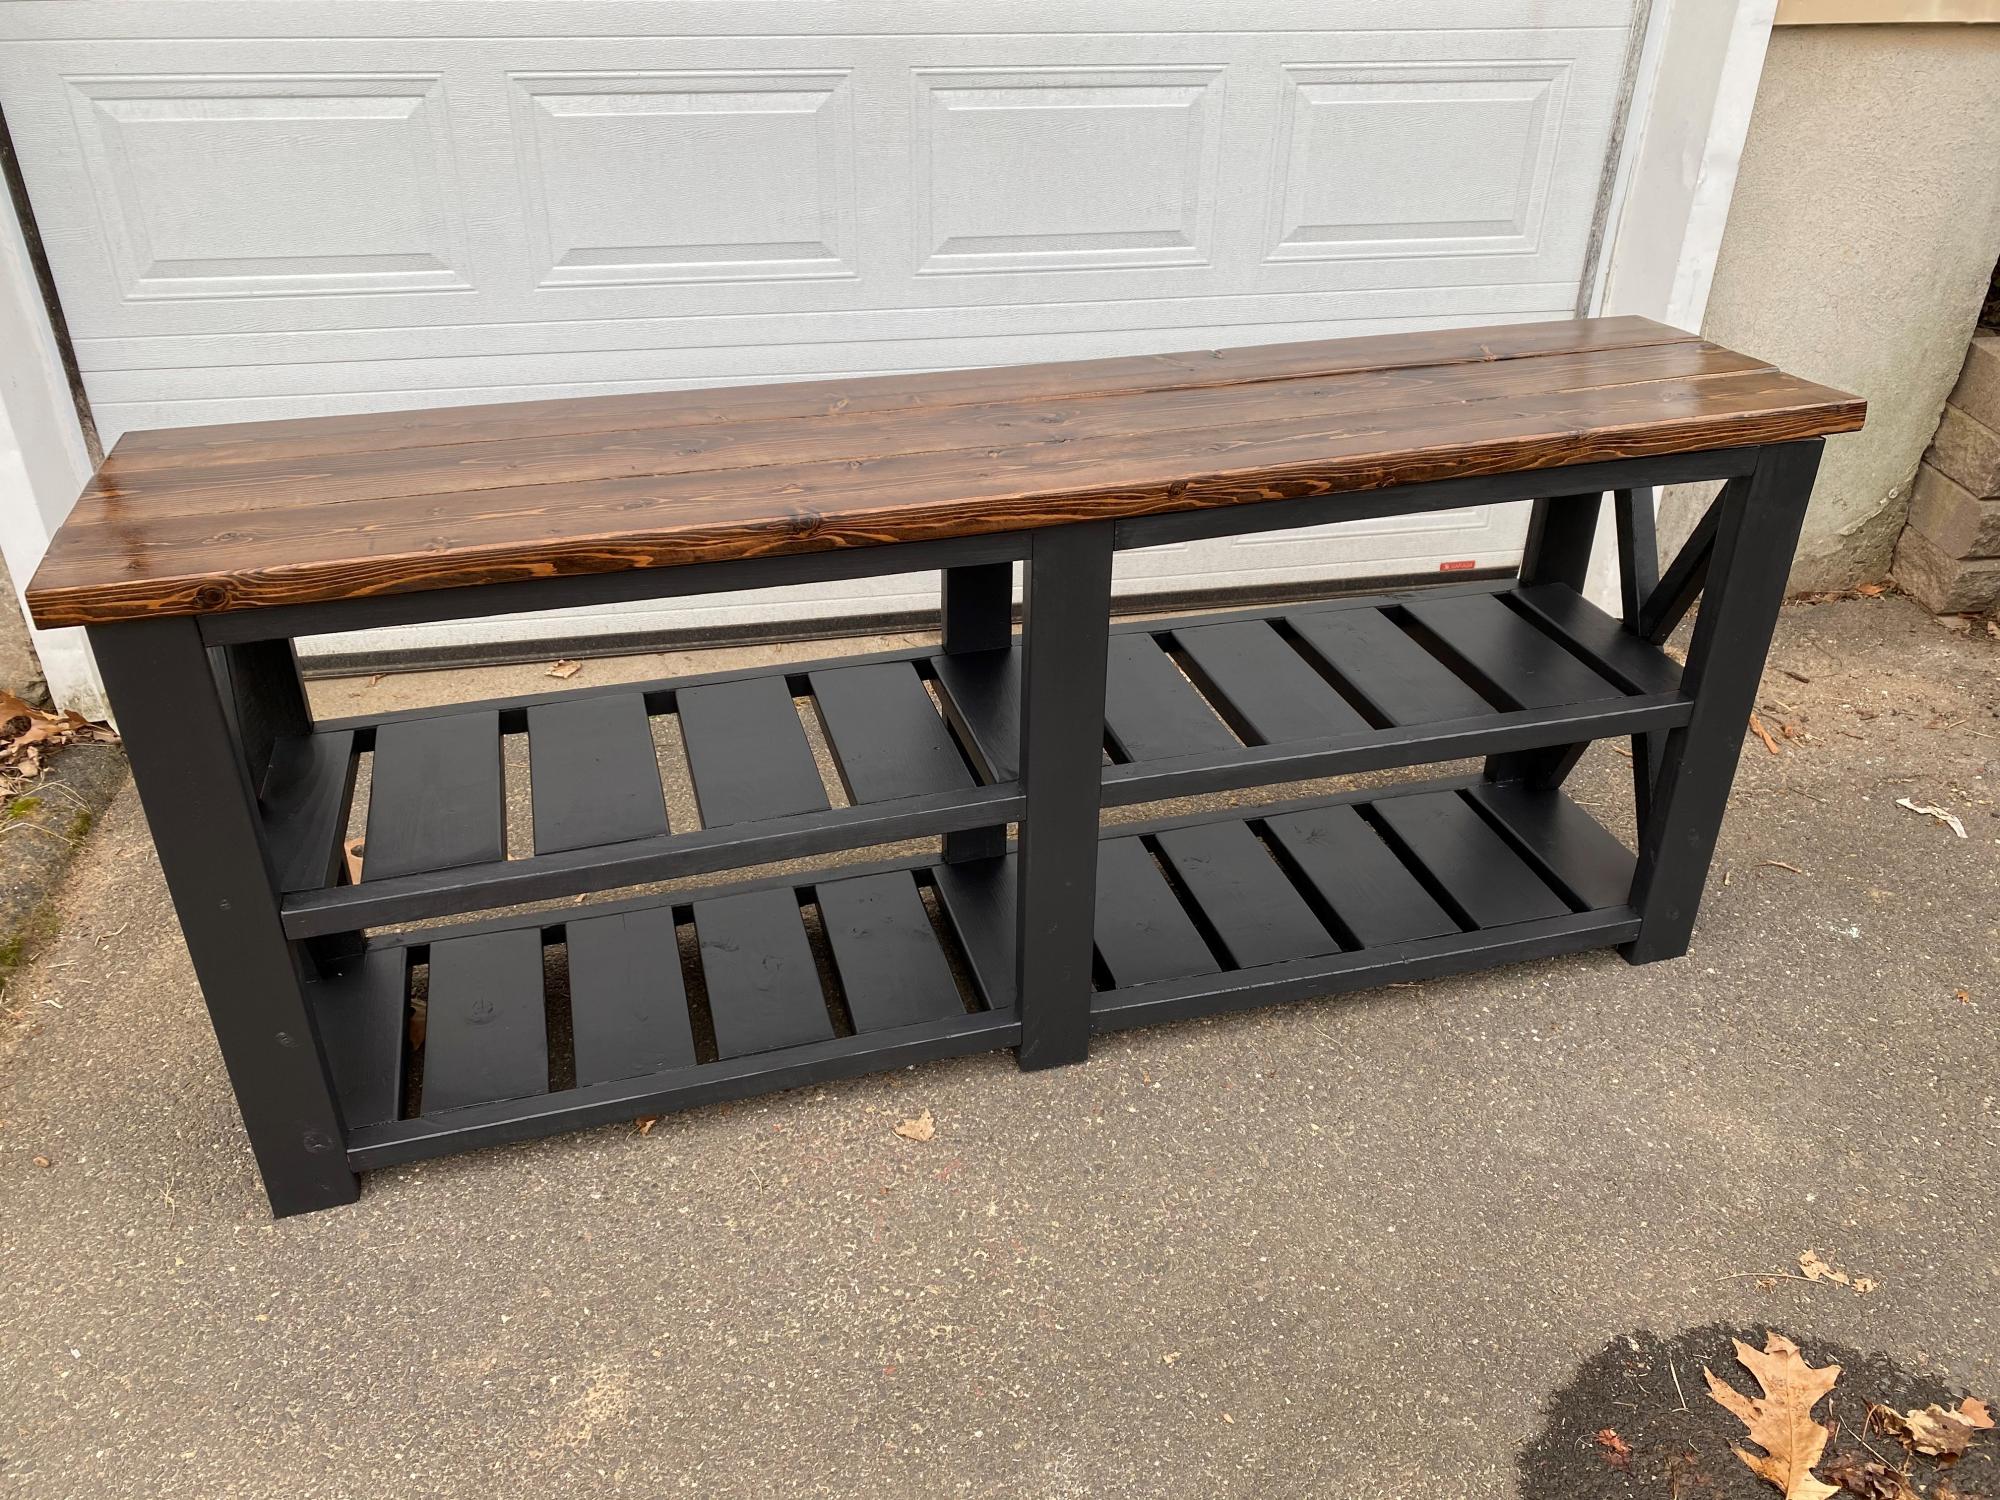
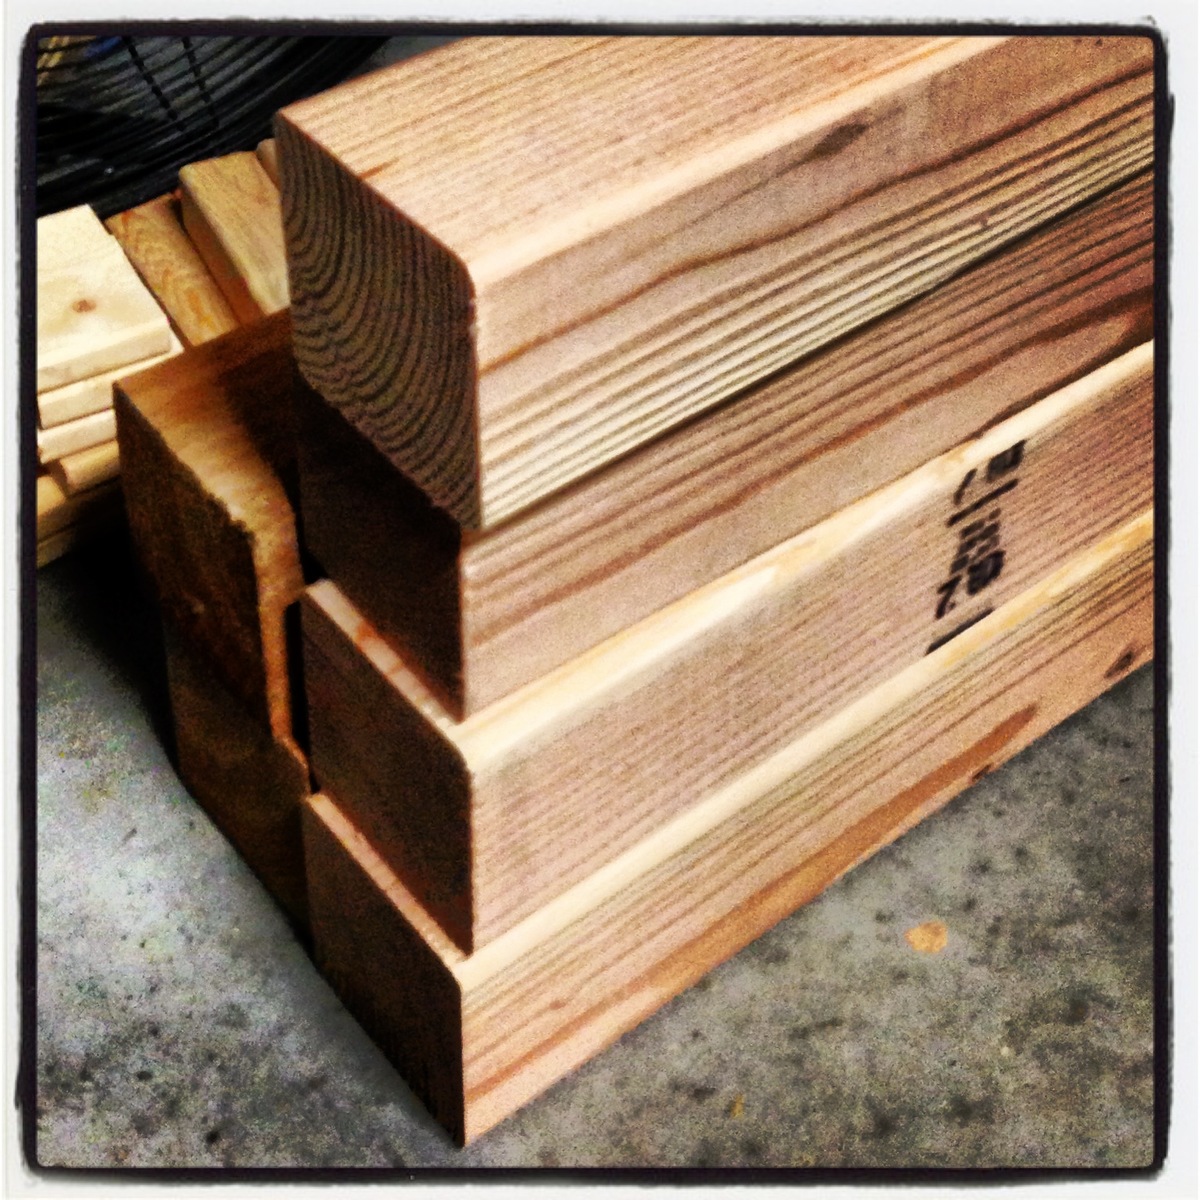
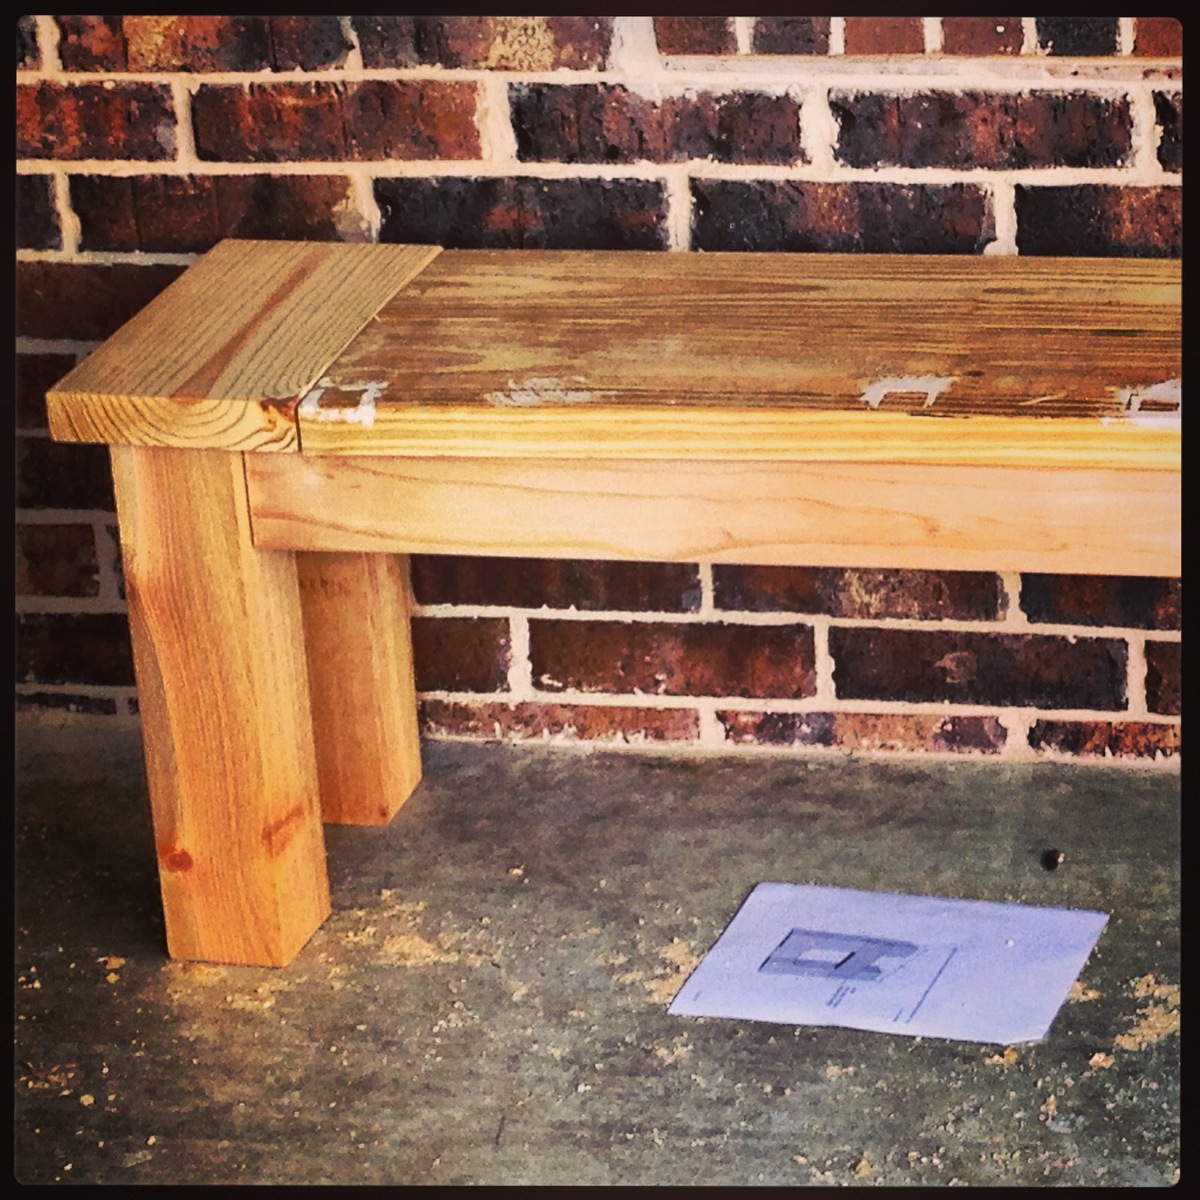
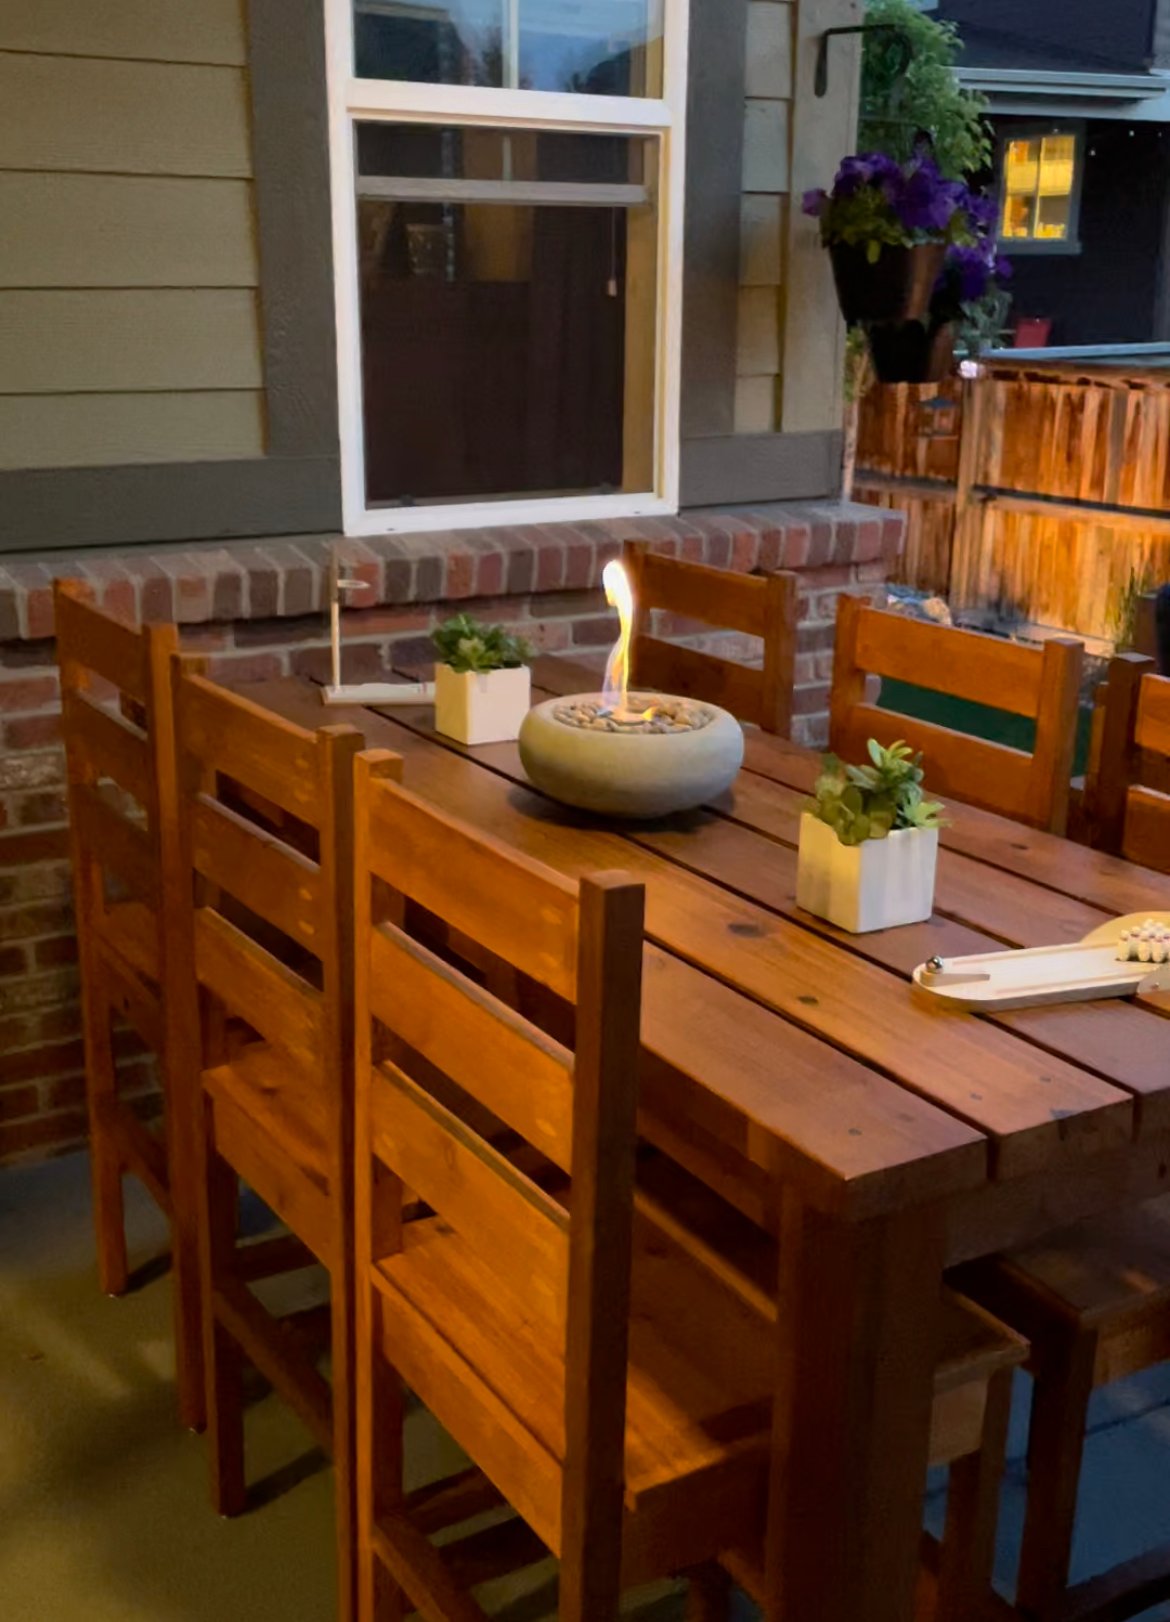
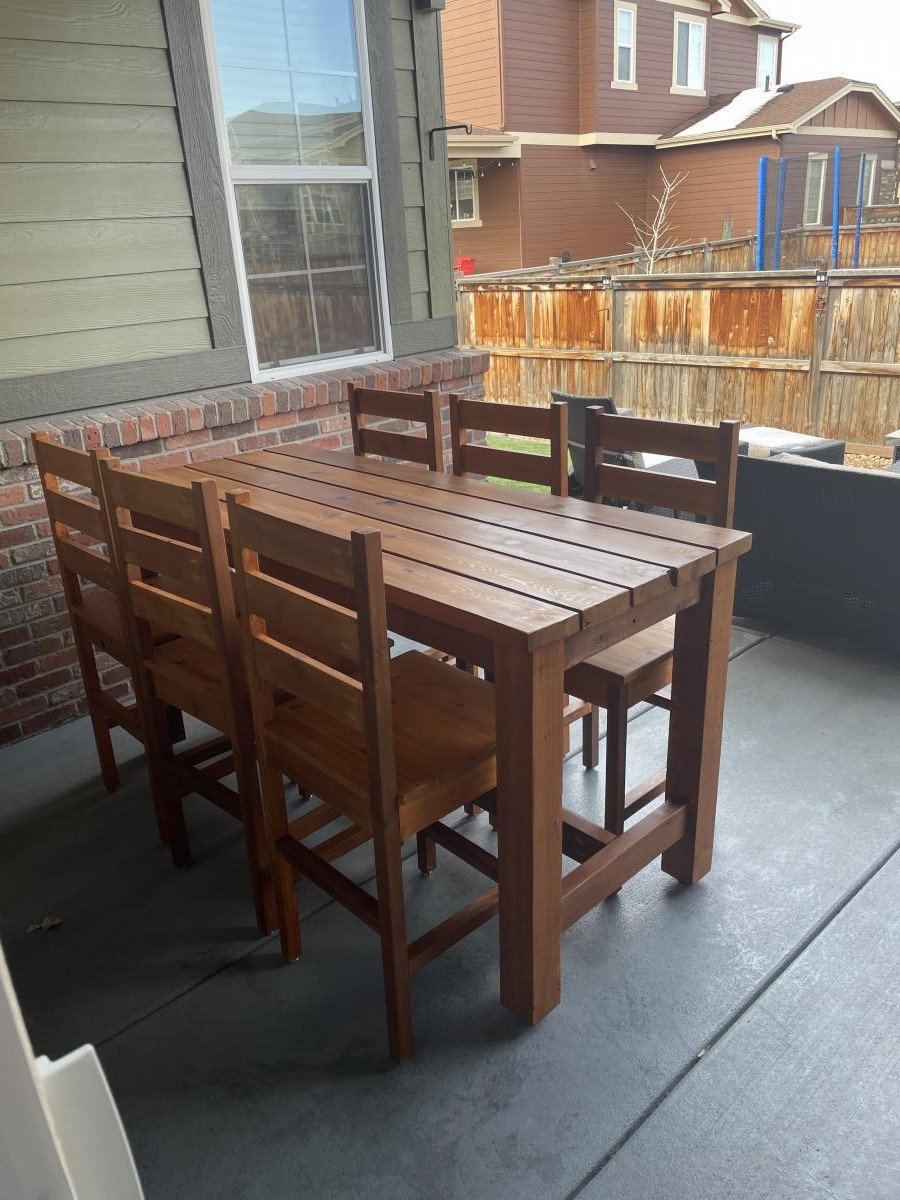
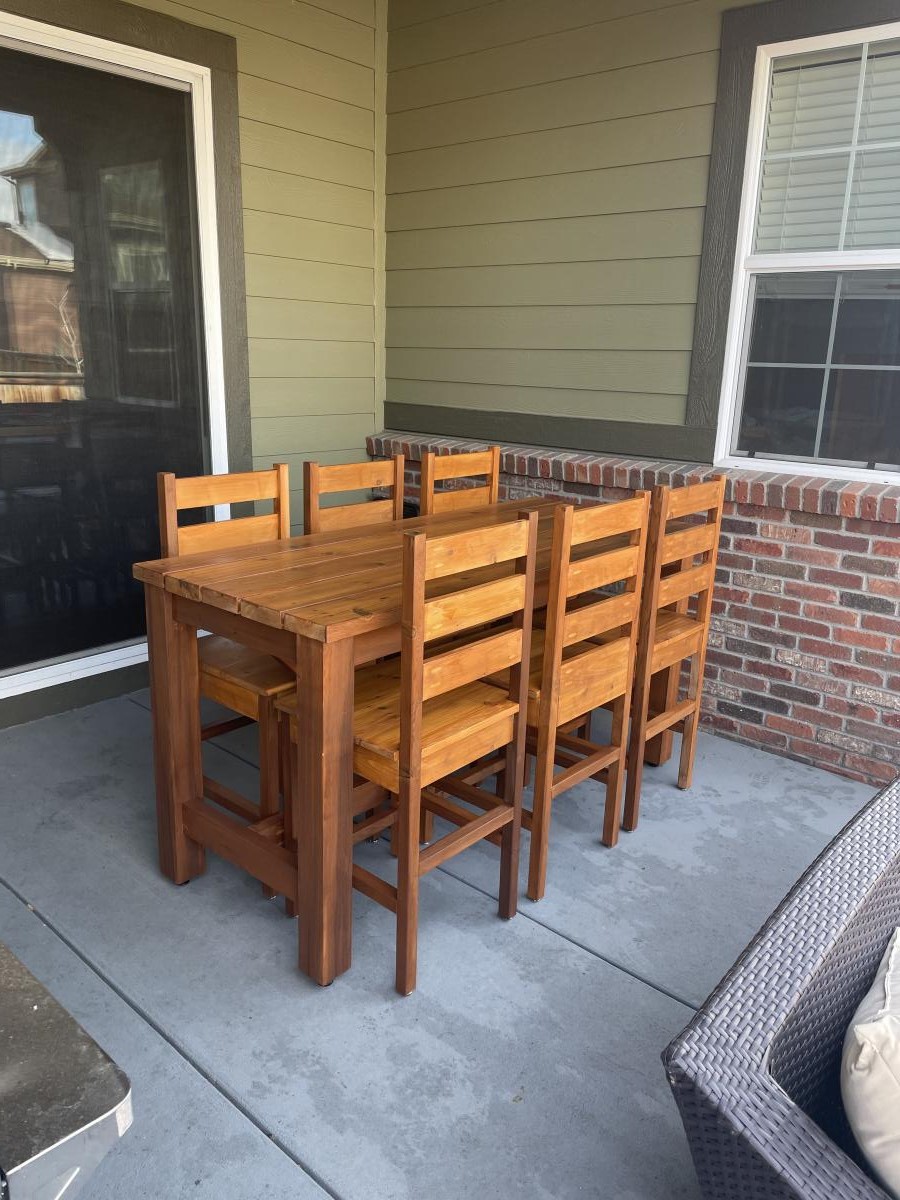
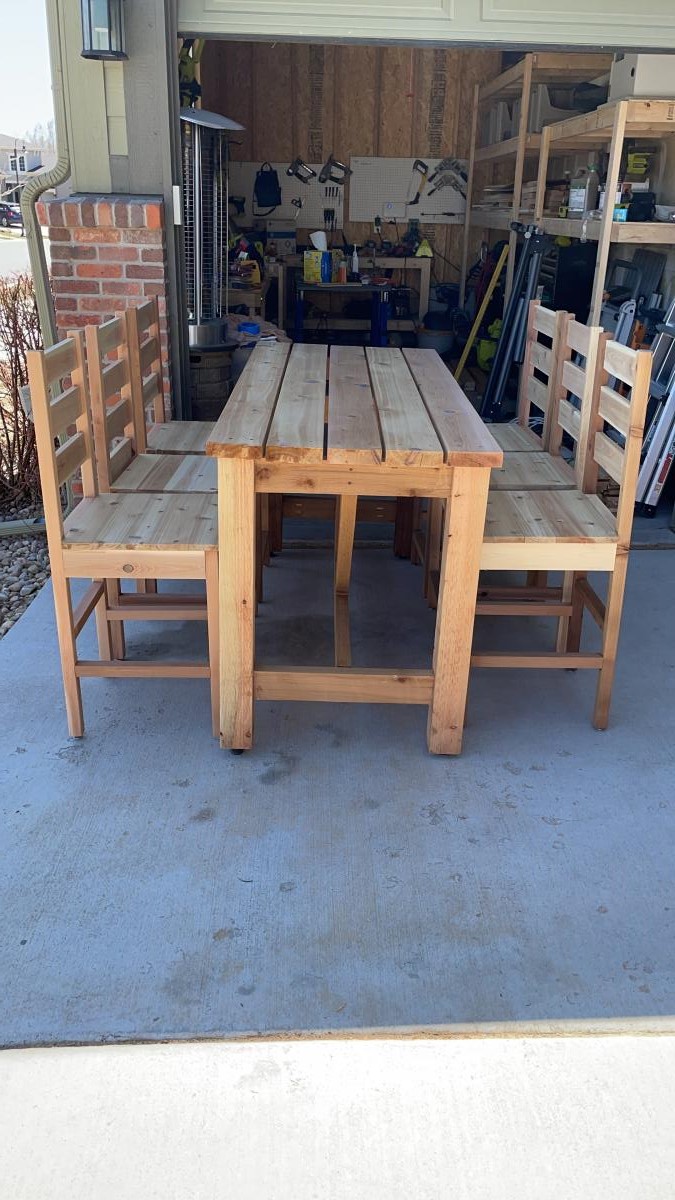
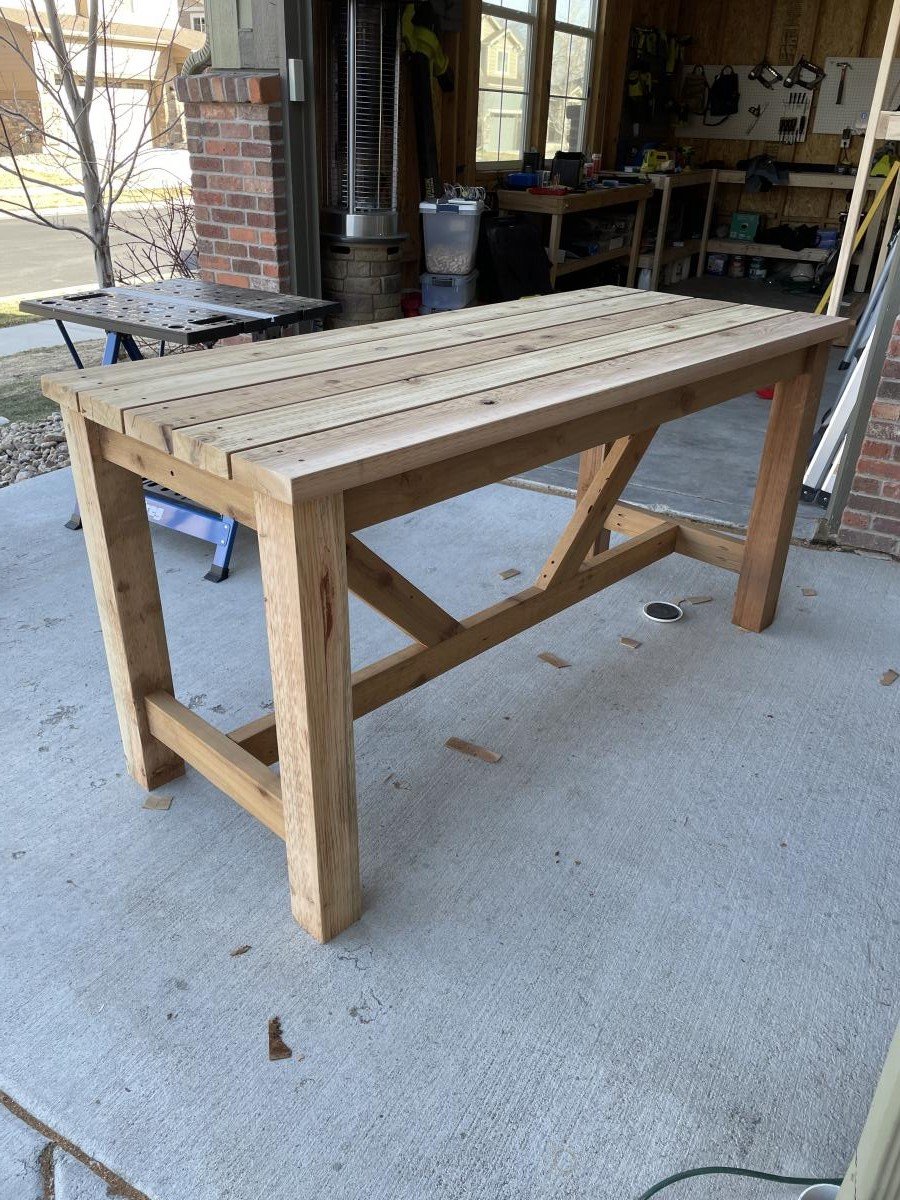
With lots of leftover wood from previous projects (farmhouse table and sideboard), I decided it was time to start another project. (I did head out to Lowes to get a piece of 4x4 for the legs...they only had Cedar. My friend found some Fir at Home Depot for a buck more).
Found the plans for the Farmhouse Bench, looked at other brag posts and their suggestions...then got to work!
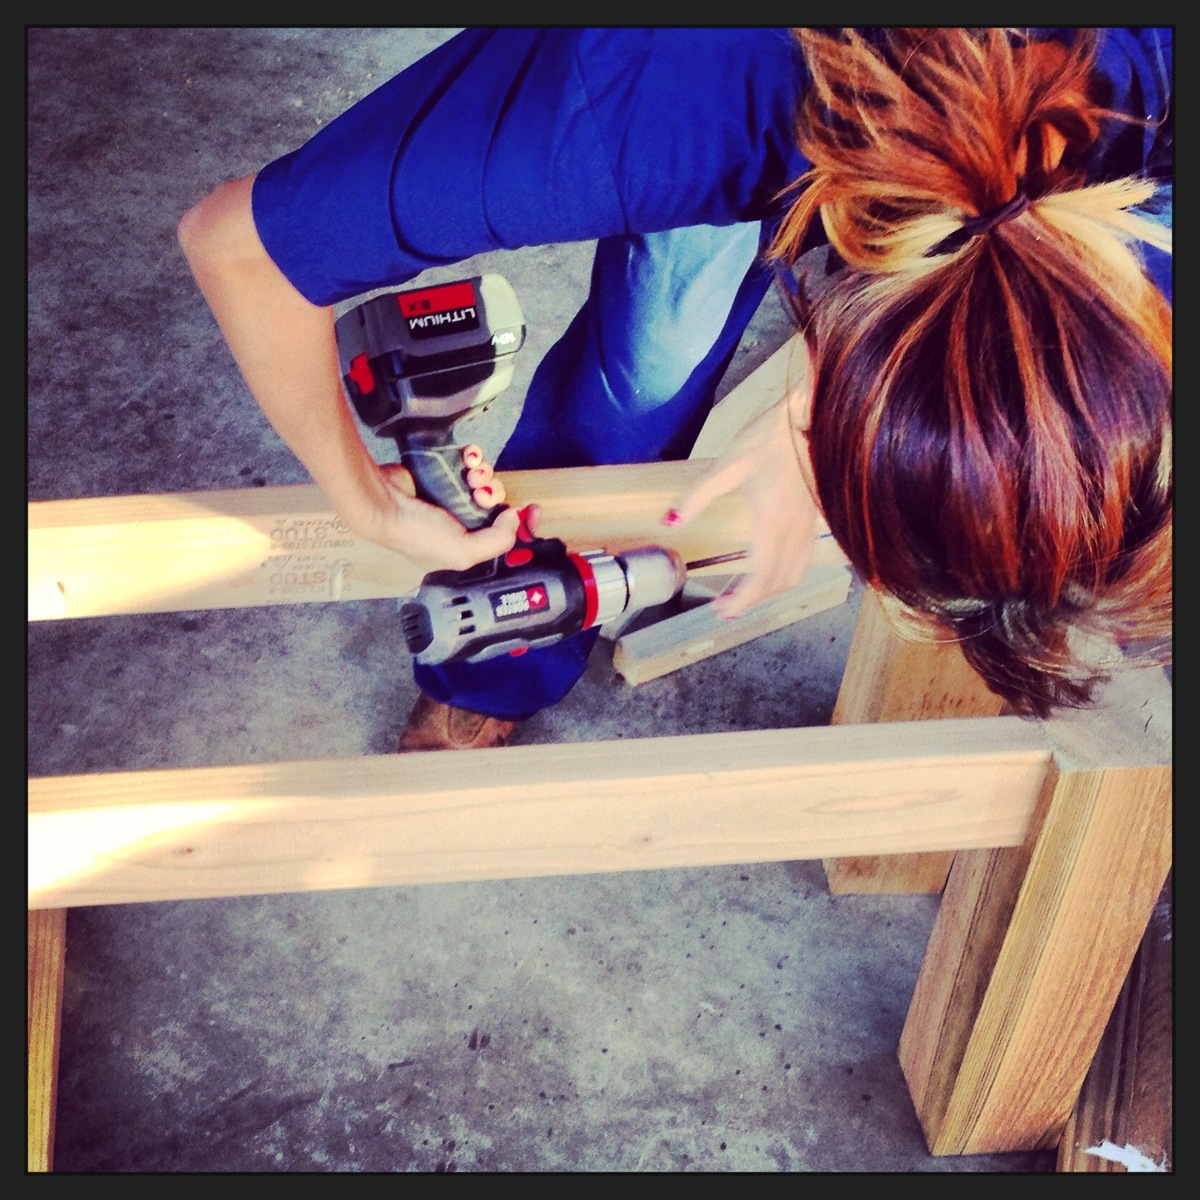
Cutting the pieces was fast and relatively easy. Predrilling the pocket holes also went quick. Putting the pieces together was also very fast (though I did have to add extra pocket holes here-and-there so that the legs and two end-aprons were more sturdy).
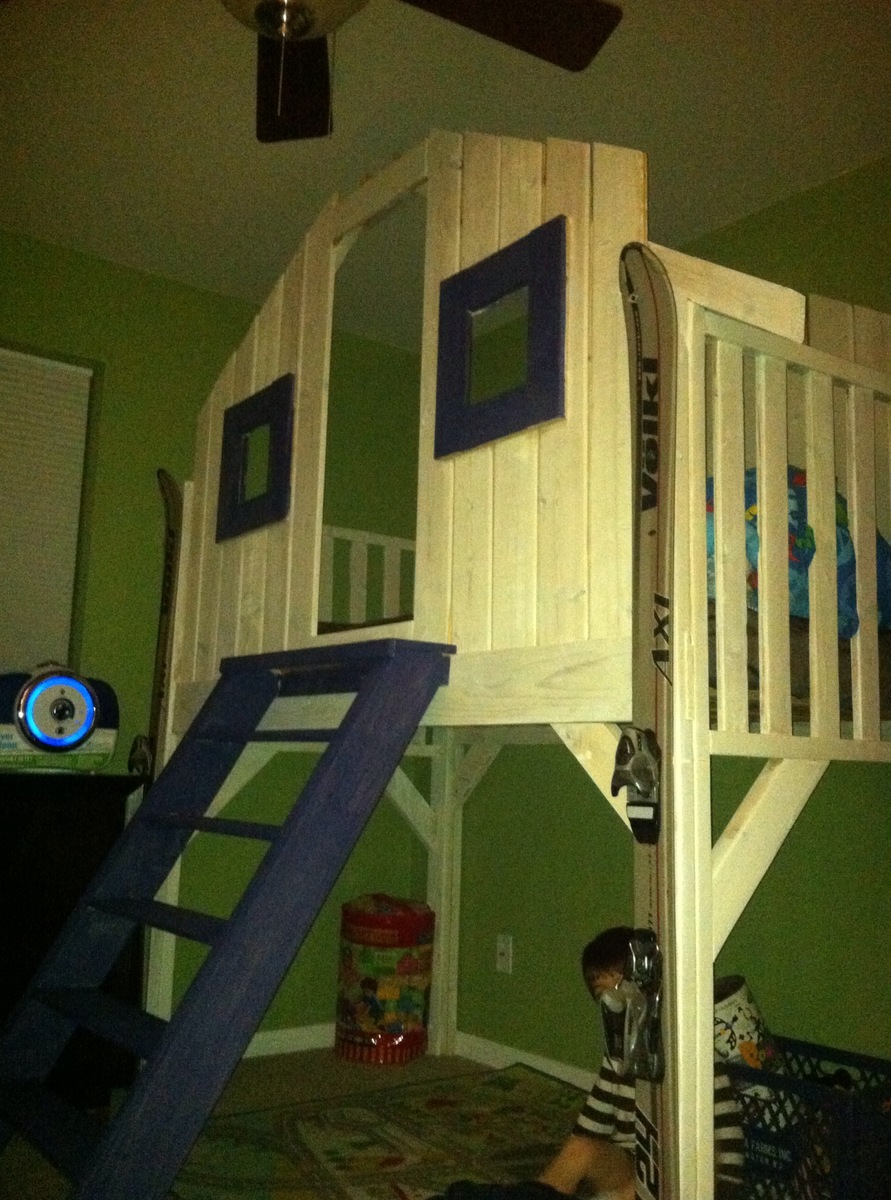
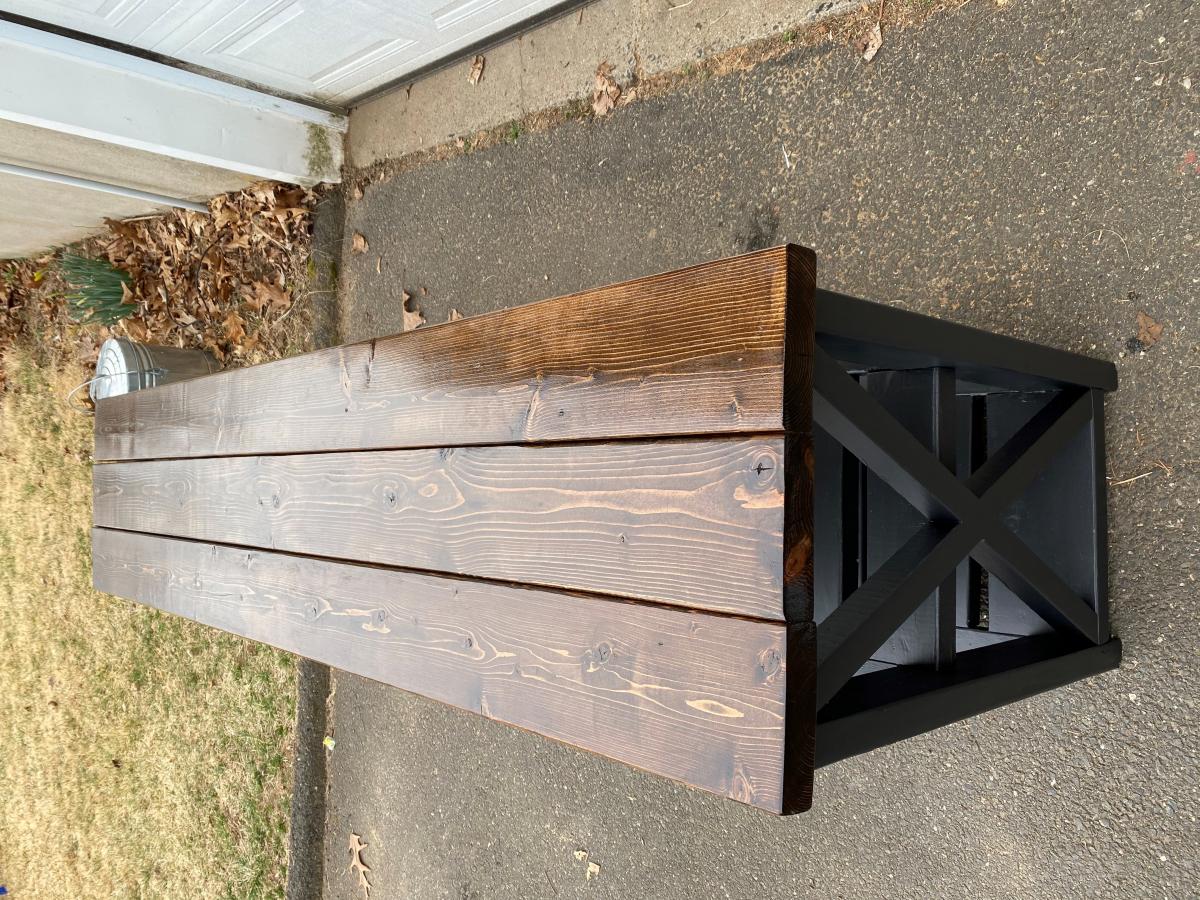
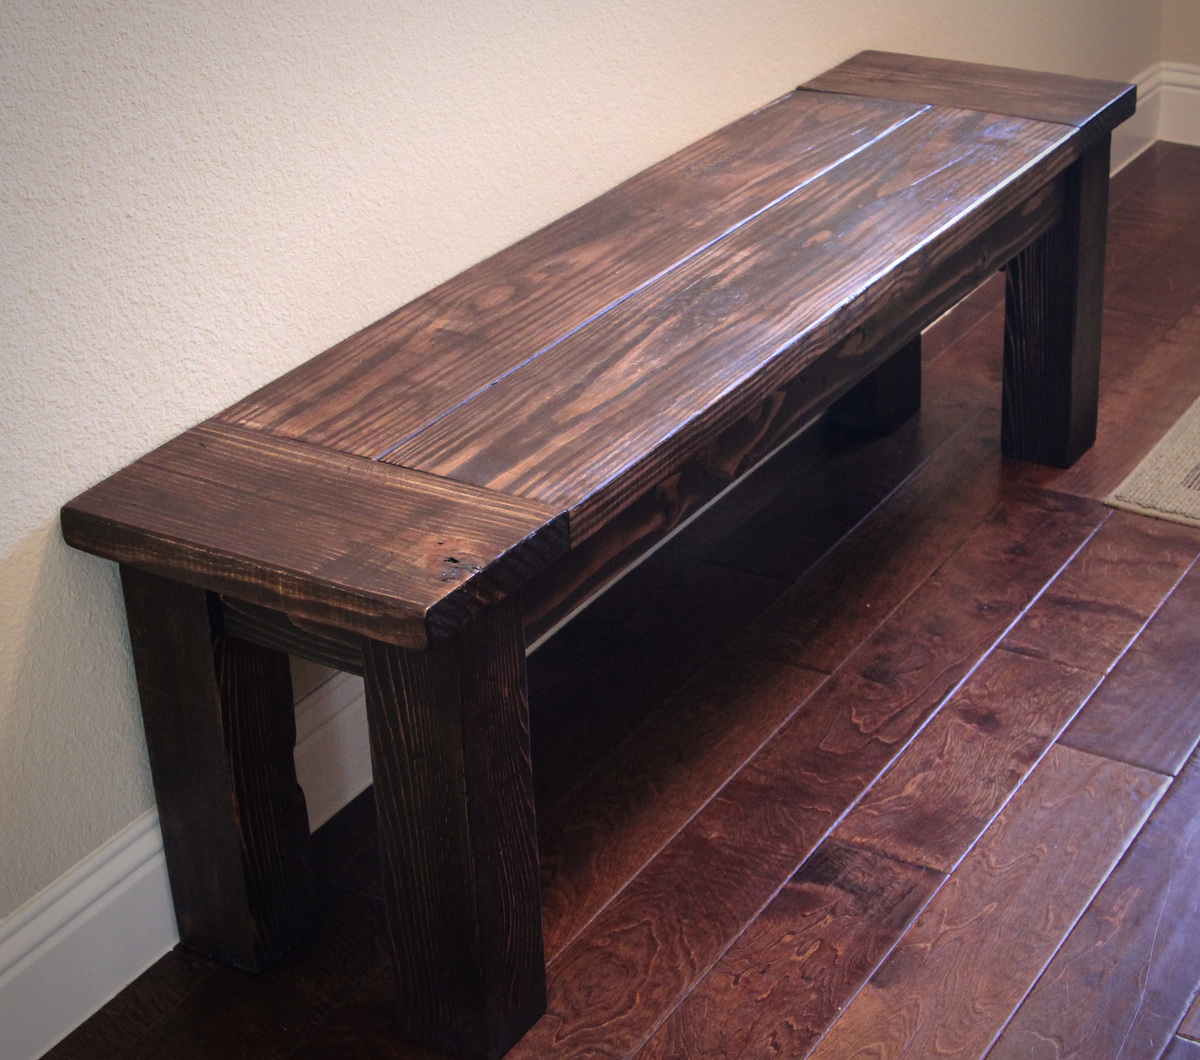
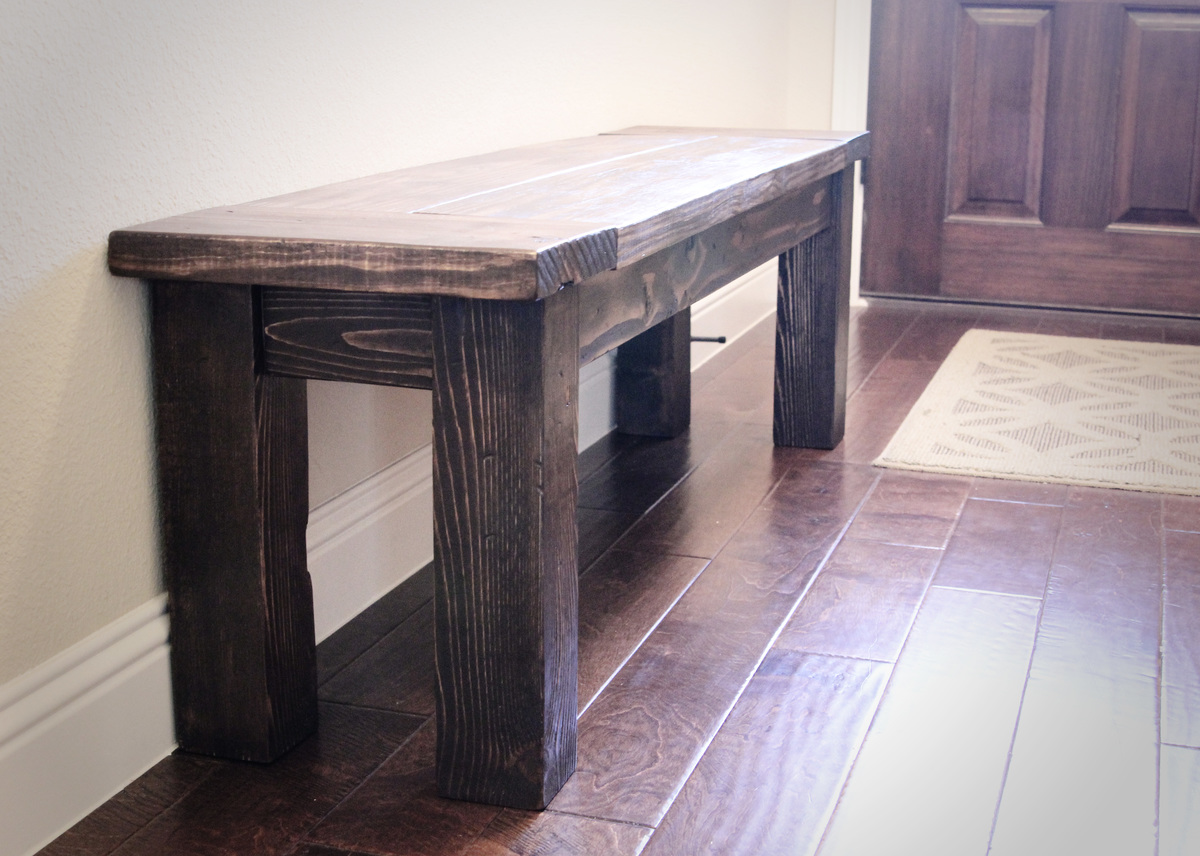
Sanded the piece, then added a coat of Rustoleum Dark Walnut Stain, and then a couple coats of Deft Satin varnish.