Community Brag Posts

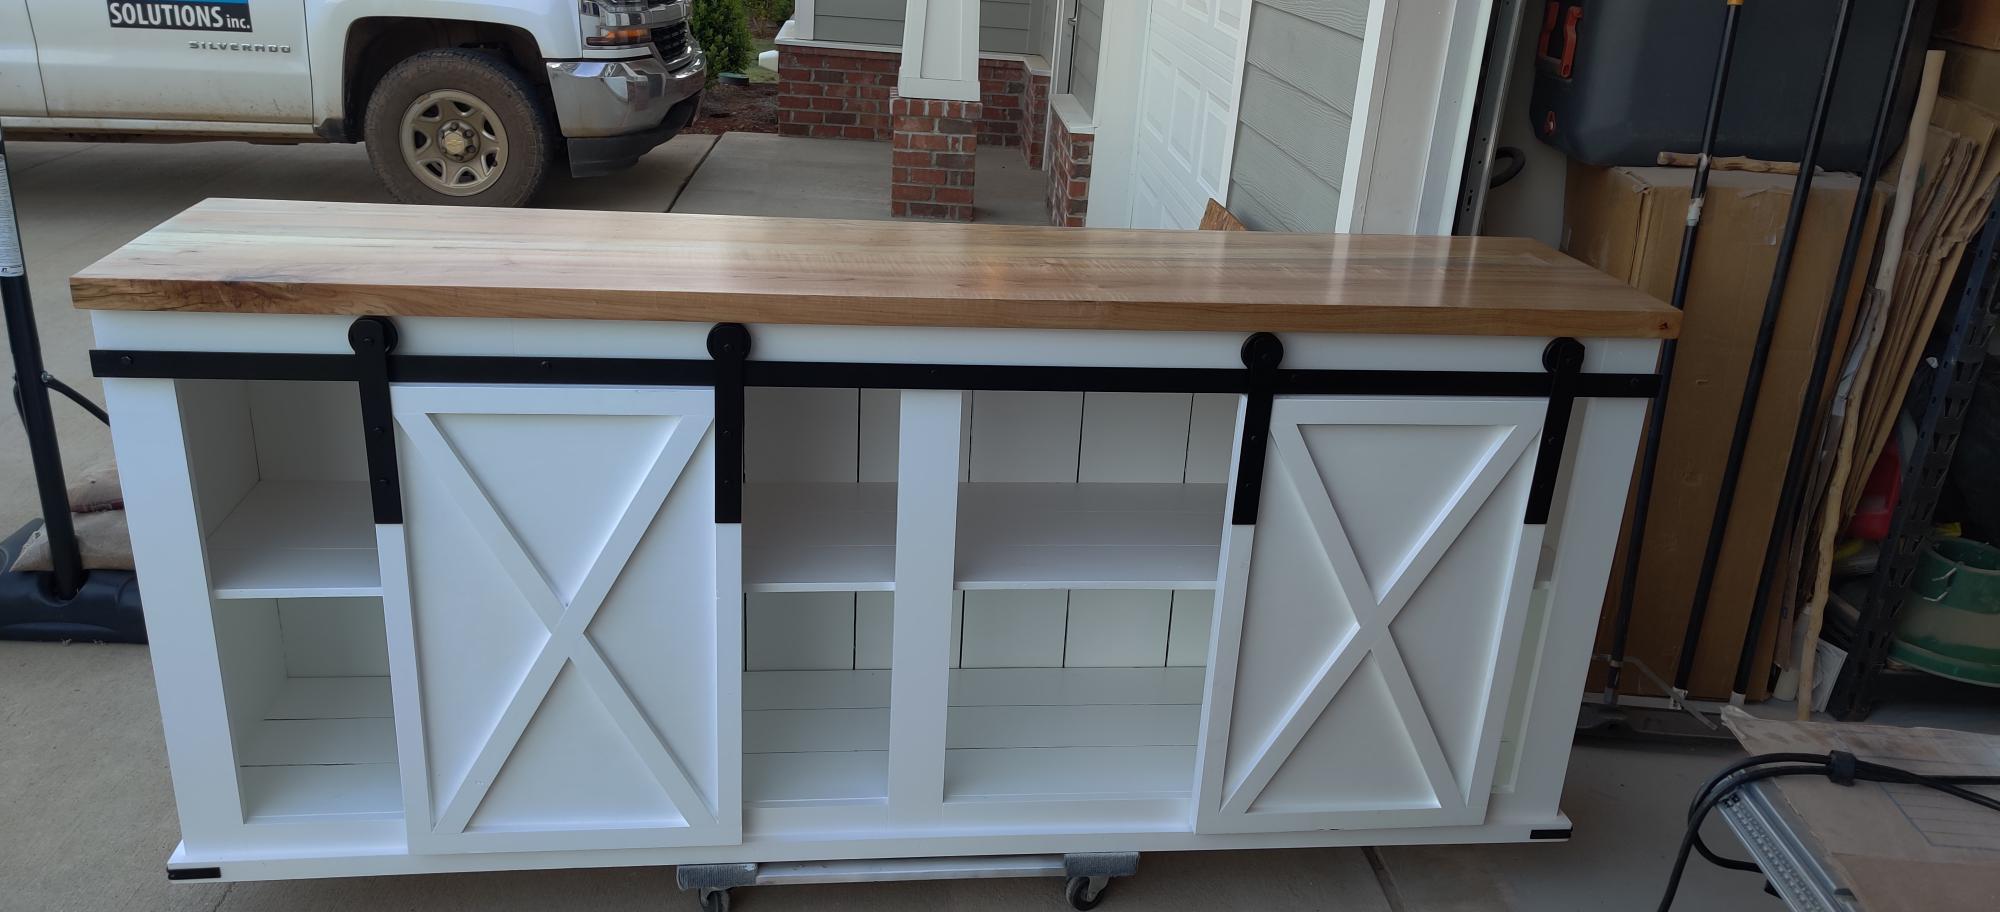
Farm House Console

Submitted by DC_Idaho on Fri, 10/23/2020 - 07:21

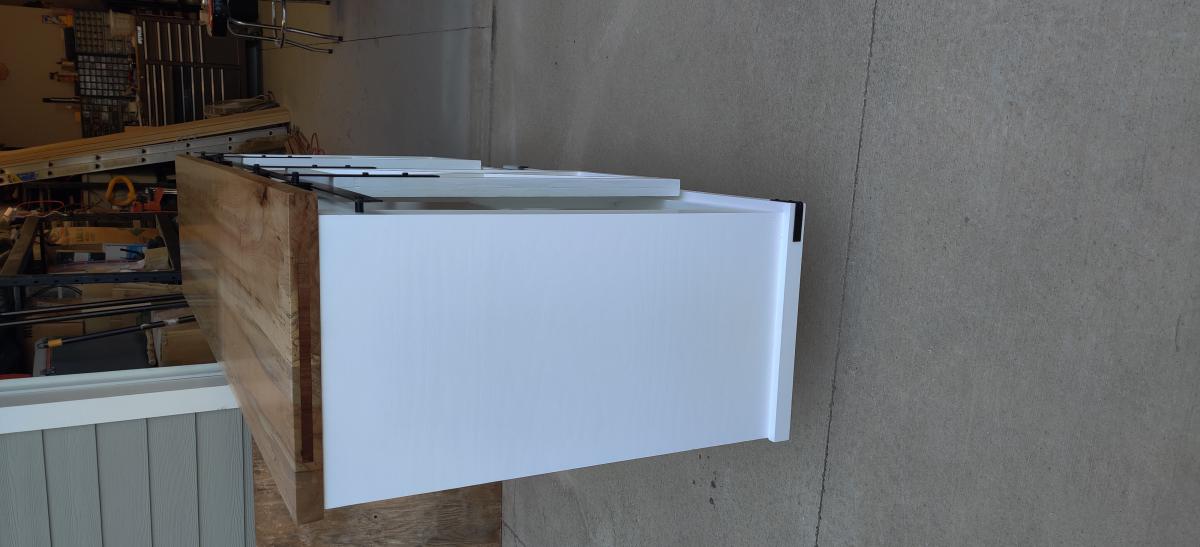
I really liked the idea of making a TV console for our house. I used your plans as a guide and then added a few features to it. I made all of my rail system hardware vs. ordering a kit. I also added some Walnut accent inlays on the ends of the table top.

Estimated Cost
Materials alone roughly $550.00
Estimated Time Investment
Week Long Project (20 Hours or More)
Finish Used
Lacquer for the table top
Black under coat of paint
White top coat paint
Recommended Skill Level
Intermediate

Comments

A lot of fun to build.

Submitted by Wayde on Sat, 01/05/2013 - 22:58

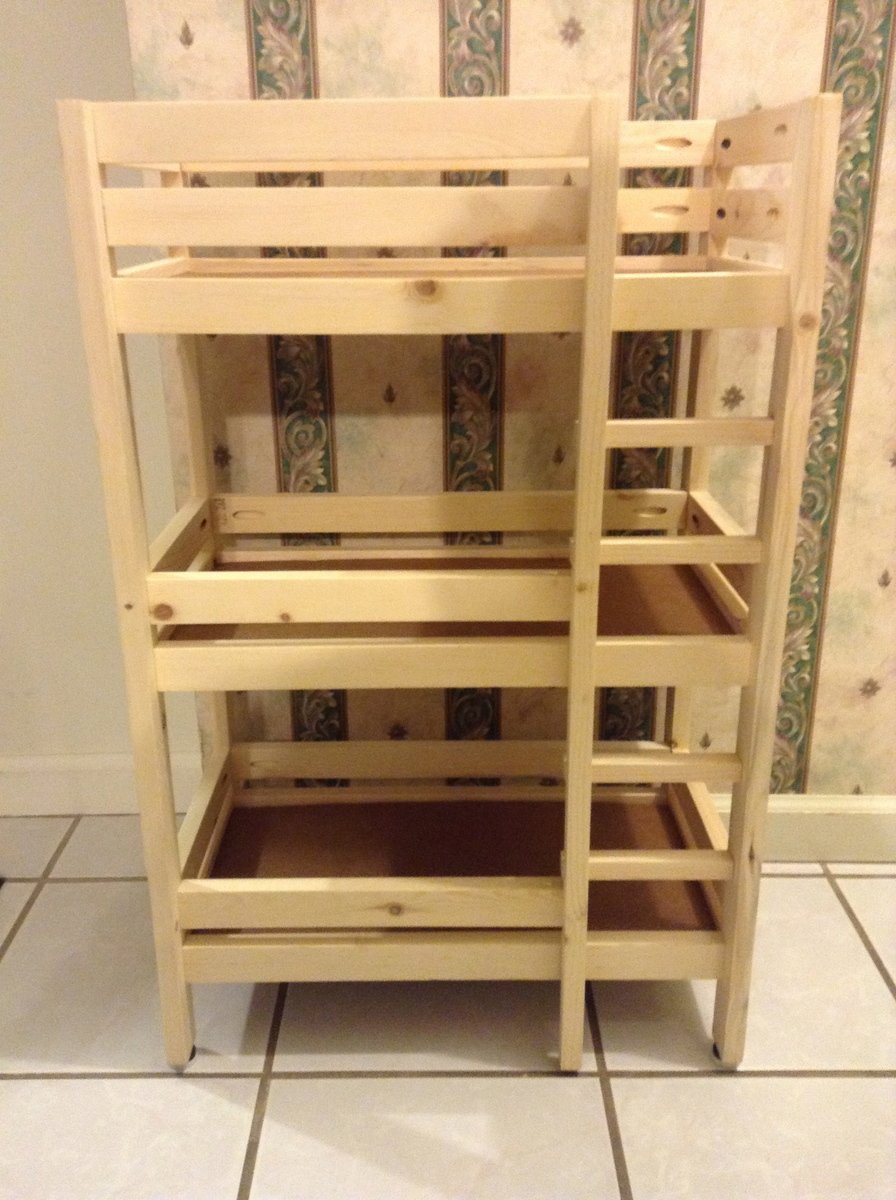
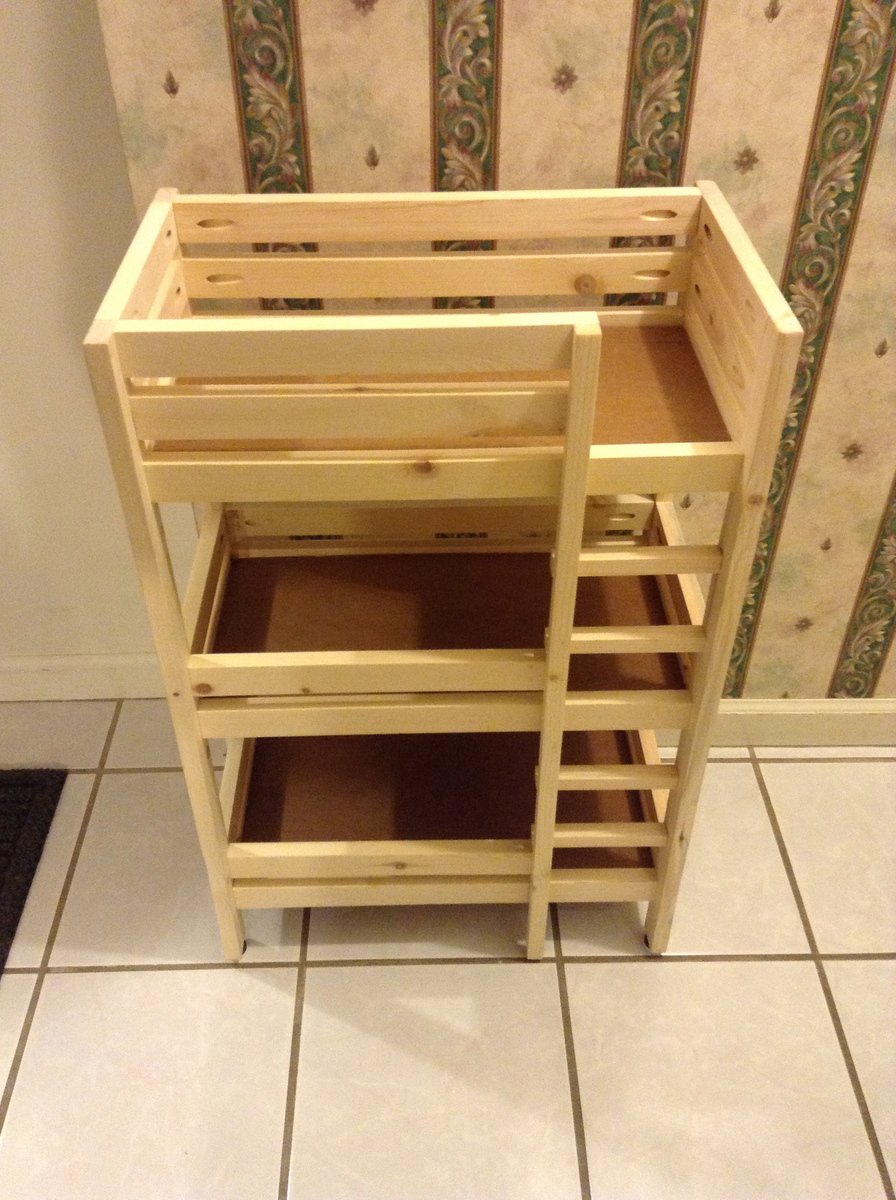
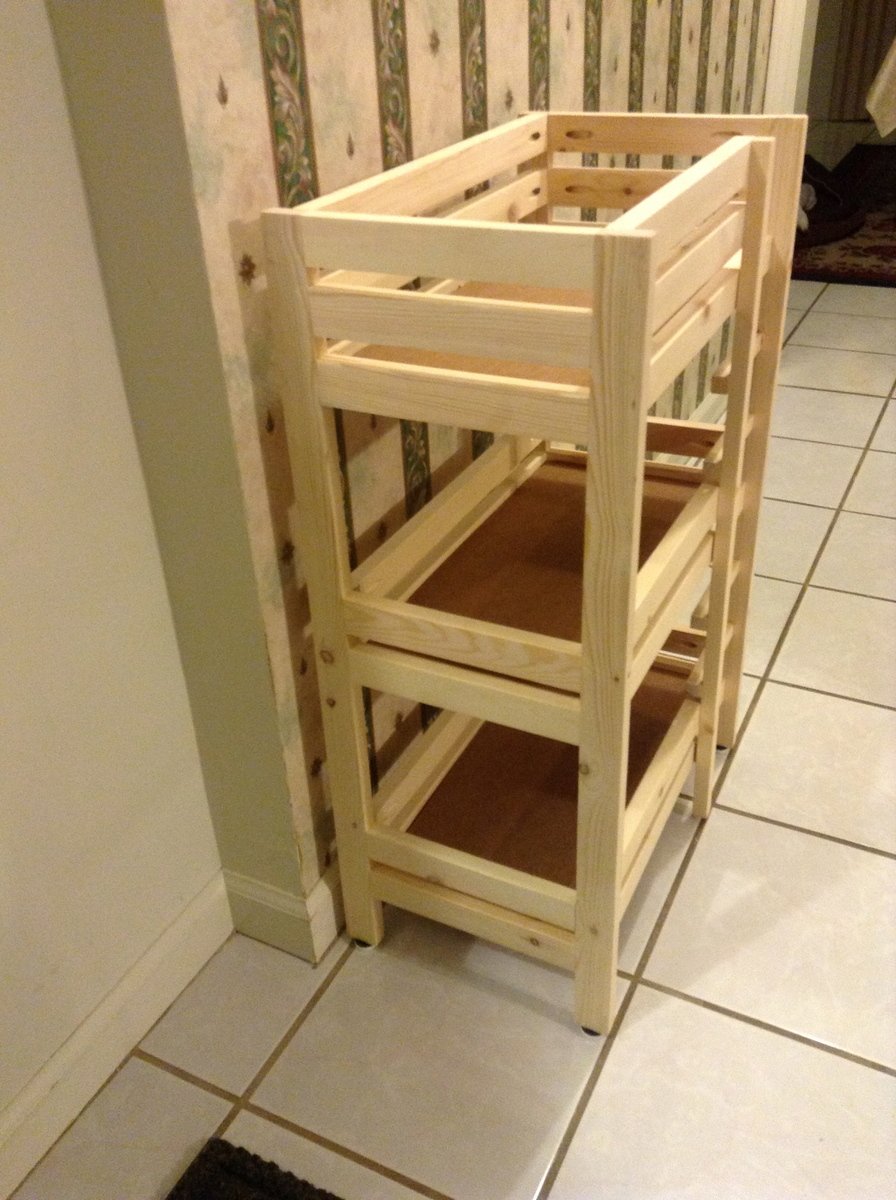
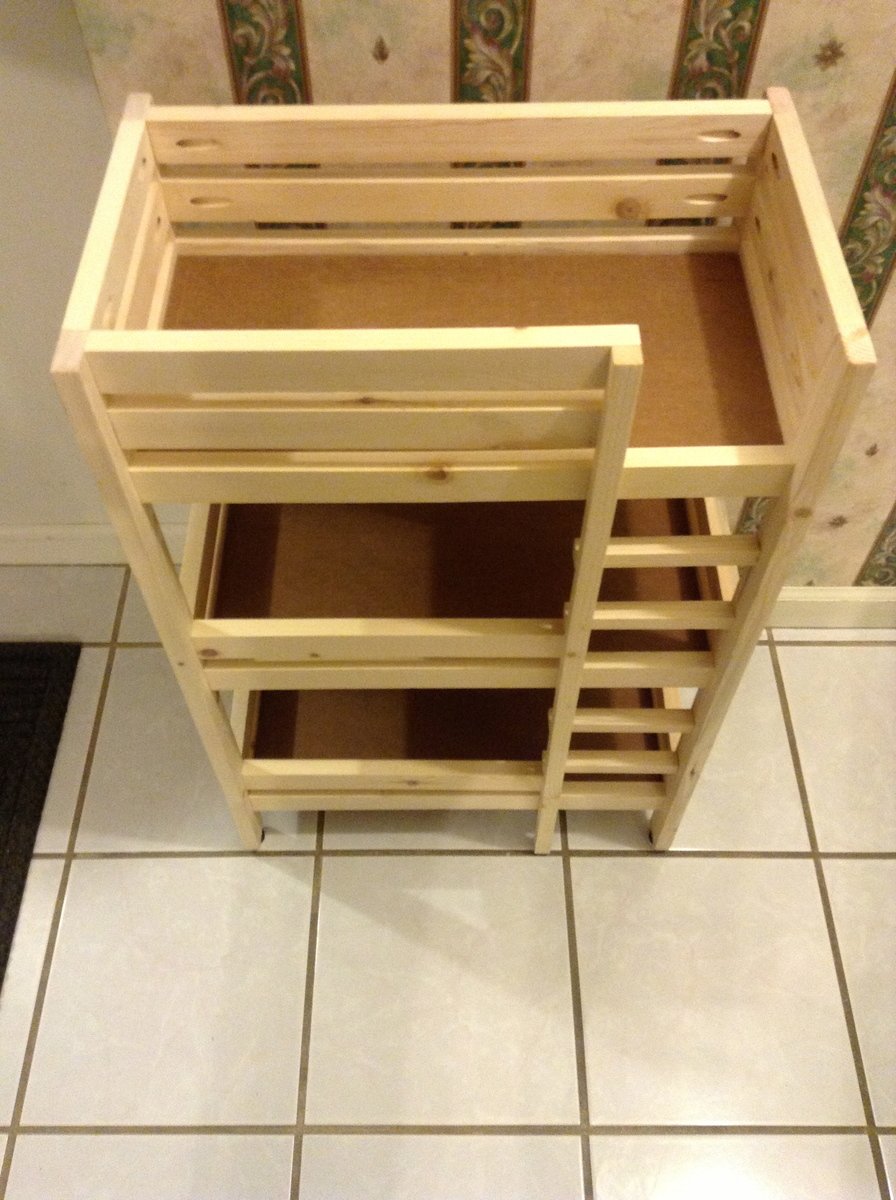
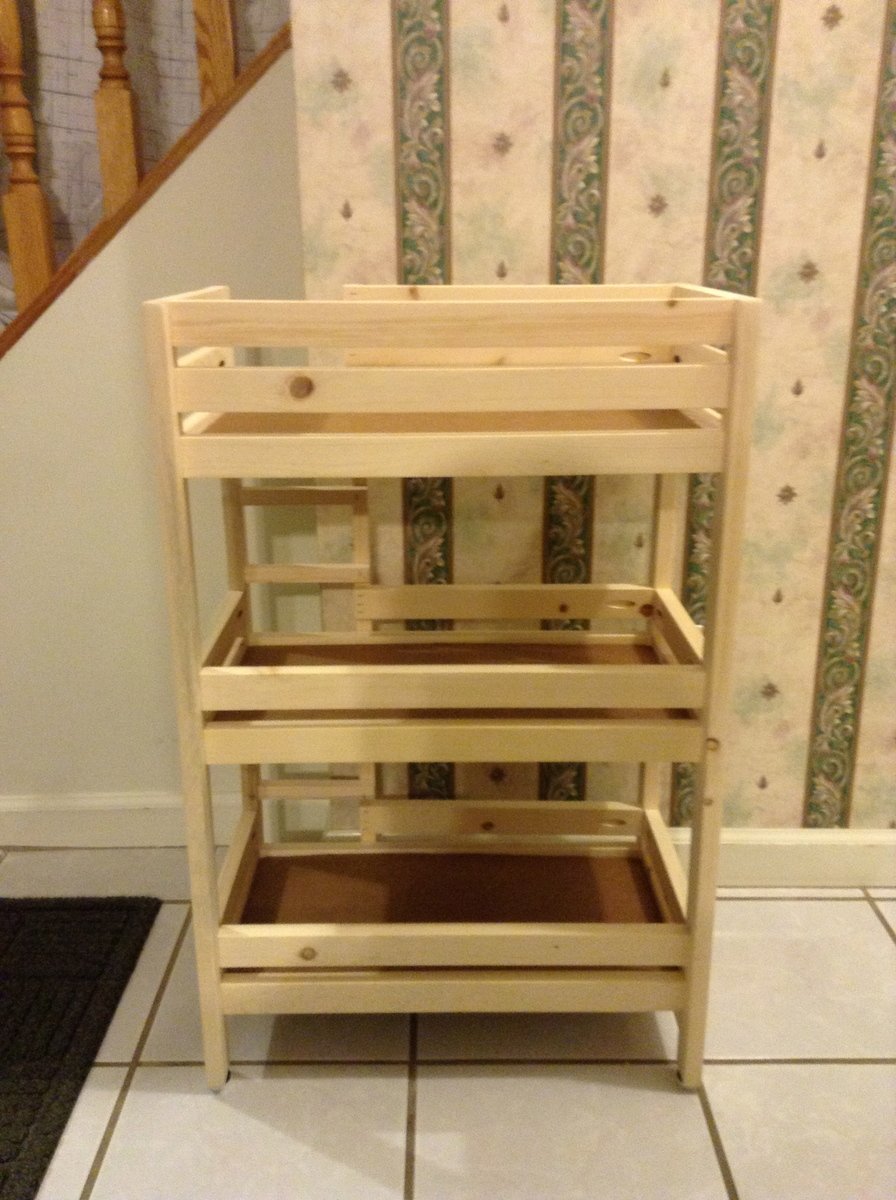
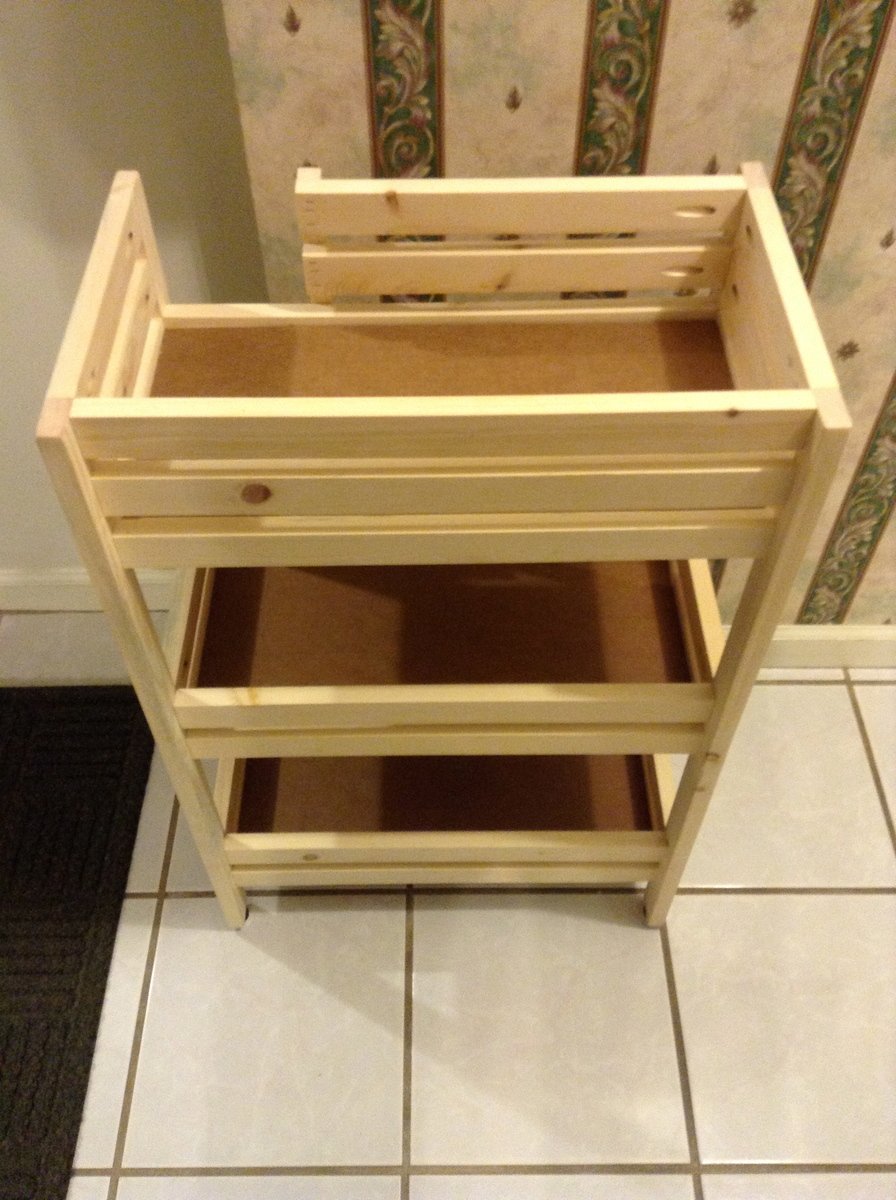
My eldest daughter contact me to show me the standard doll bunk bed on this site. I decided then that I was going to build one for Christmas for my 6 year old, since she loves to play with her American GIrl dolls. Before I got to it, she ended up drawing a name for Secret Santa gifts with her gymnastics team. I got the idea to build my first bed for the girl who's name she drew, therefore, I'd learn what to and not to do first, since I'll be building my daughters in Oak and not the pine that I would build this one out of. I talked with her mother to see if she played with dolls and she confirmed that she had 3 American Girl dolls that she adores.

You'll also notice that we added another level, since she has three dolls, and you can't leave on without a place to sleep. It was quite easy to add the extra level by measuring the distance between the first and second and then adding that onto to second. In the pictures you can see that I added metal feet to each leg, and that made the bottom of the ladder sit a little above the floor by that same distance. I think that I'll start the ladder on my next one at the bottom rung of the lower bed, and not leave that piece at the bottom.

Needless to say, the little girl was beside herself when she opened the wrapping paper. My daughter learned a lesson on how much more fun it is to give, especially after all of the work, than to receive. Before the party, all she could do was say, "I can't wait to see her face when she opens this." I asked her about it when she came home today, and she said that she must have thanked her a hundred times throughout the night, as it was a sleepover at the gym.

I wish that I had taken pictures along the way, but I didn't. I will however, when I build the next one for my daughter.

It cost me just over $20 to build. I needed 7 - 8' 1x2's. I used a nice piece of cardboard for the floor of each bed. I found it at Sam's club while shopping. They had it between something that was stacked on a pallet, and whatever it was was gone. I asked the manager if I could have it and he was happy to be rid of it. It's not your standard cardboard, but has a double wall. At a width of just over 9", it's very sturdy and especially cheap. The feet were bought at Walmart for $1.57. I glued each connection, even though they were held together by pocket hole screws. With one pocket hole screw per piece, it had the ability to swivel on that screw. I learned that Kreg, the maker of the pocket hole jig has come up with a mini jig, which allows double pocket holes to be drilled into a piece of wood just 1" wide. I asked and received one for Christmas. My daughters will feature the new holes and therefore, I won't be glueing it.

Hope you have as much fun building it as I did with my daughter.
Estimated Cost
$20
Estimated Time Investment
Afternoon Project (3-6 Hours)
Finish Used
Sanded smooth but no finish.
Recommended Skill Level
Beginner

Console from Ana

Submitted by Mads103 on Wed, 11/26/2014 - 14:11

We started this project on a Sunday and finished Tuesday. We did make the legs taller to fit under our tv, so we also needed to adjust the front and back 2x4 support to be a little taller.

other than that, we followed the plans. I stained the top with Rustoleyum Dark Walnut and the bottom is spray painted, painted and distressed using the Shanty 2 Chic ideas. 

LOVE this table! It was exactly what I wanted! Now, to find 2 small lamps to sit on either side. :) 


Built from Plan(s)
Estimated Cost
$150 with paint and stain
Estimated Time Investment
Weekend Project (10-20 Hours)
Finish Used
Rustoleyum Dark Walnut wood stain, Pantone String paint
Recommended Skill Level
Beginner

Comments

Greenhouse

Submitted by Anonymous (not verified) on Tue, 01/05/2021 - 08:08

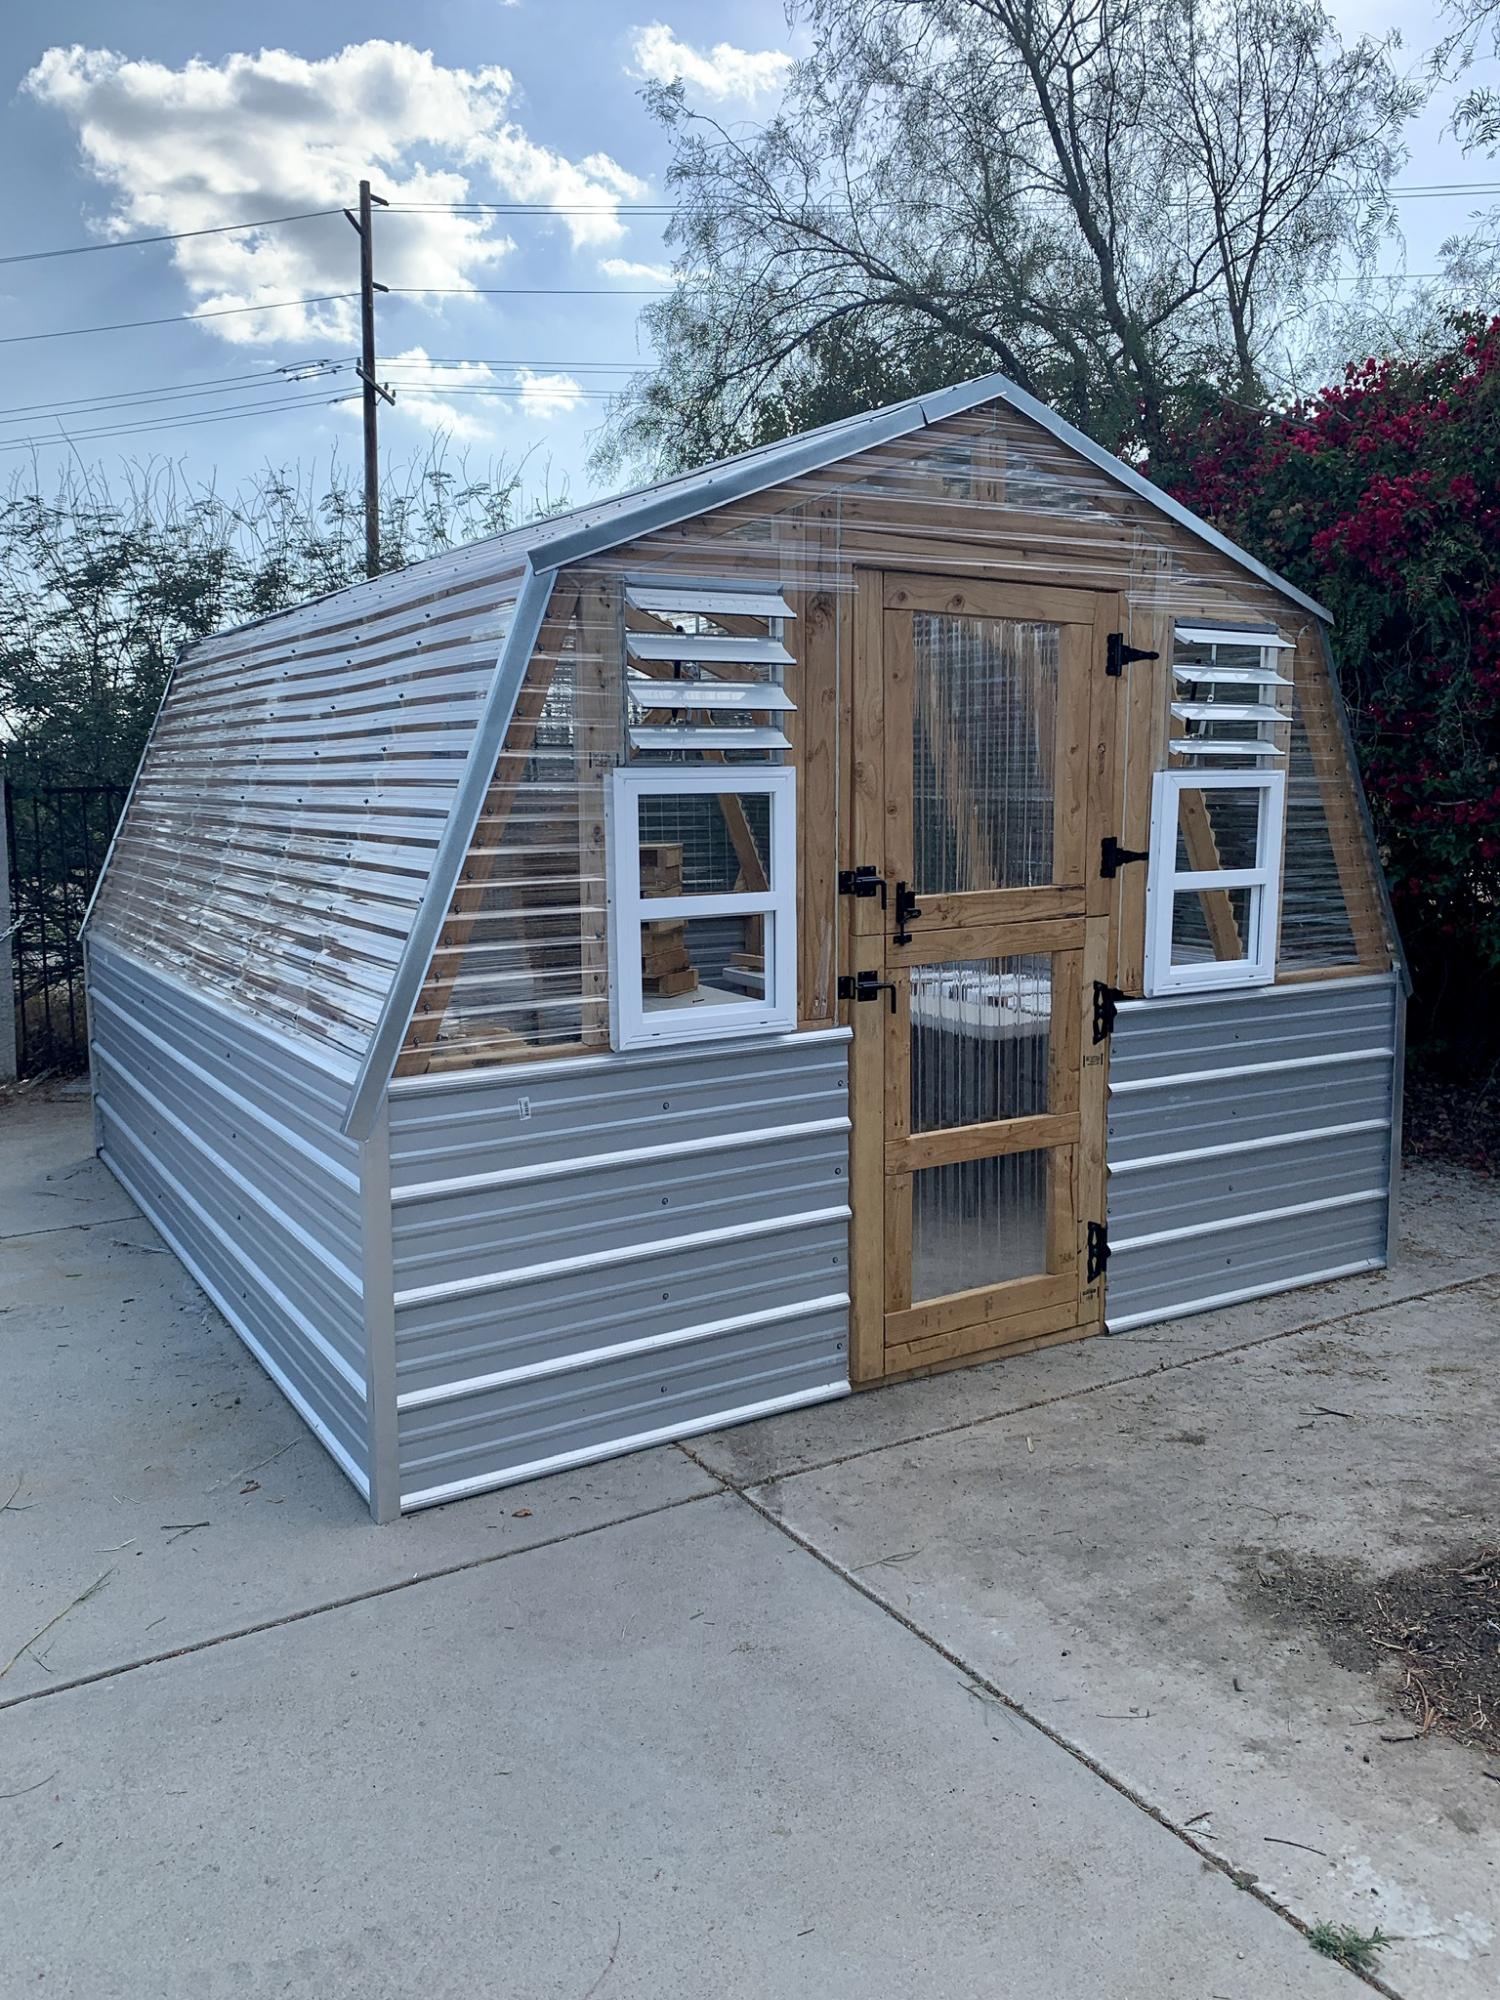
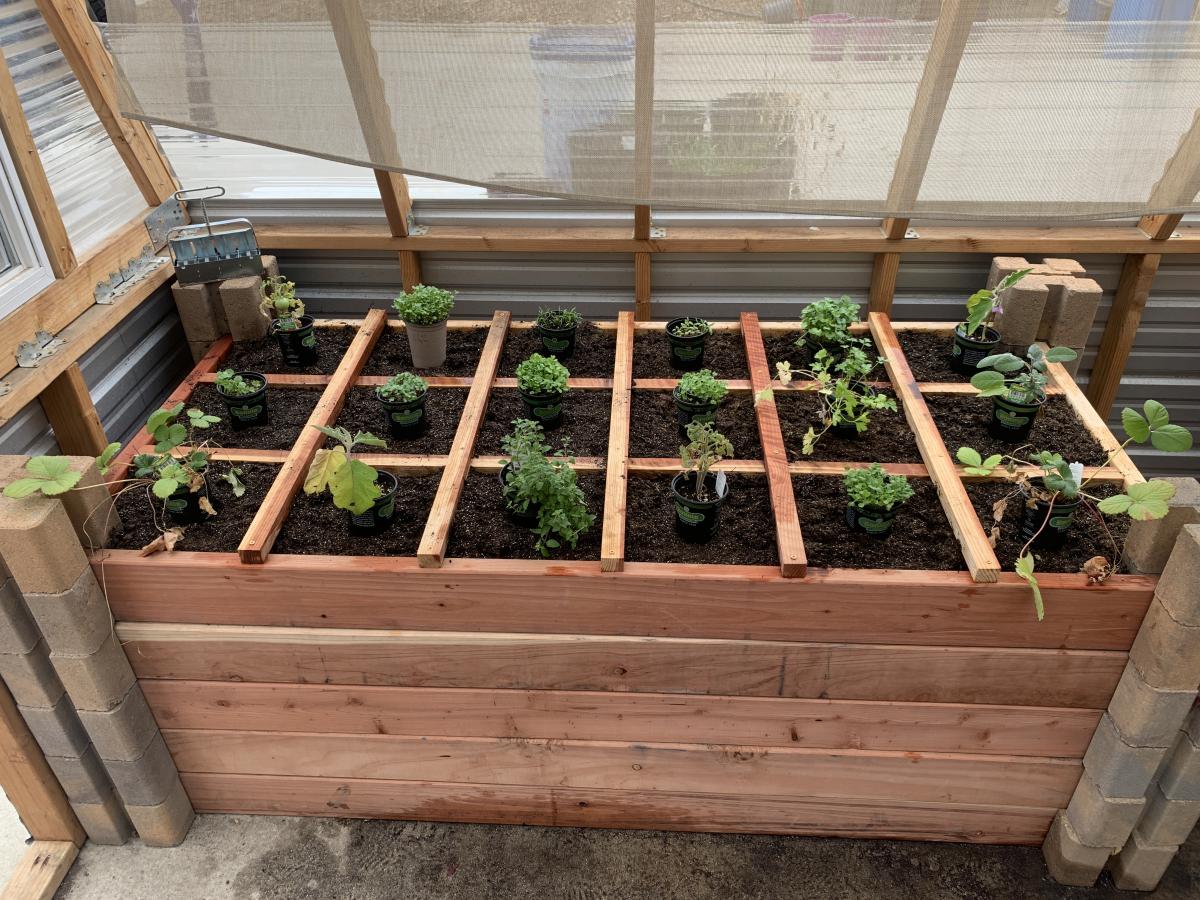
We made some modifications to the greenhouse to include a bench with three levels, a working bench and a square foot garden. We also put it on concrete to keep all the weeds out from the bottom as well.

Built from Plan(s)
Estimated Cost
2500.00
Finish Used
We start our own seeds and plan to grow 15 different varieties of vegetables inside this greenhouse all year long.
Recommended Skill Level
Intermediate

Comments

Truss Coffee Table

Submitted by ART.S on Sun, 01/31/2021 - 08:41

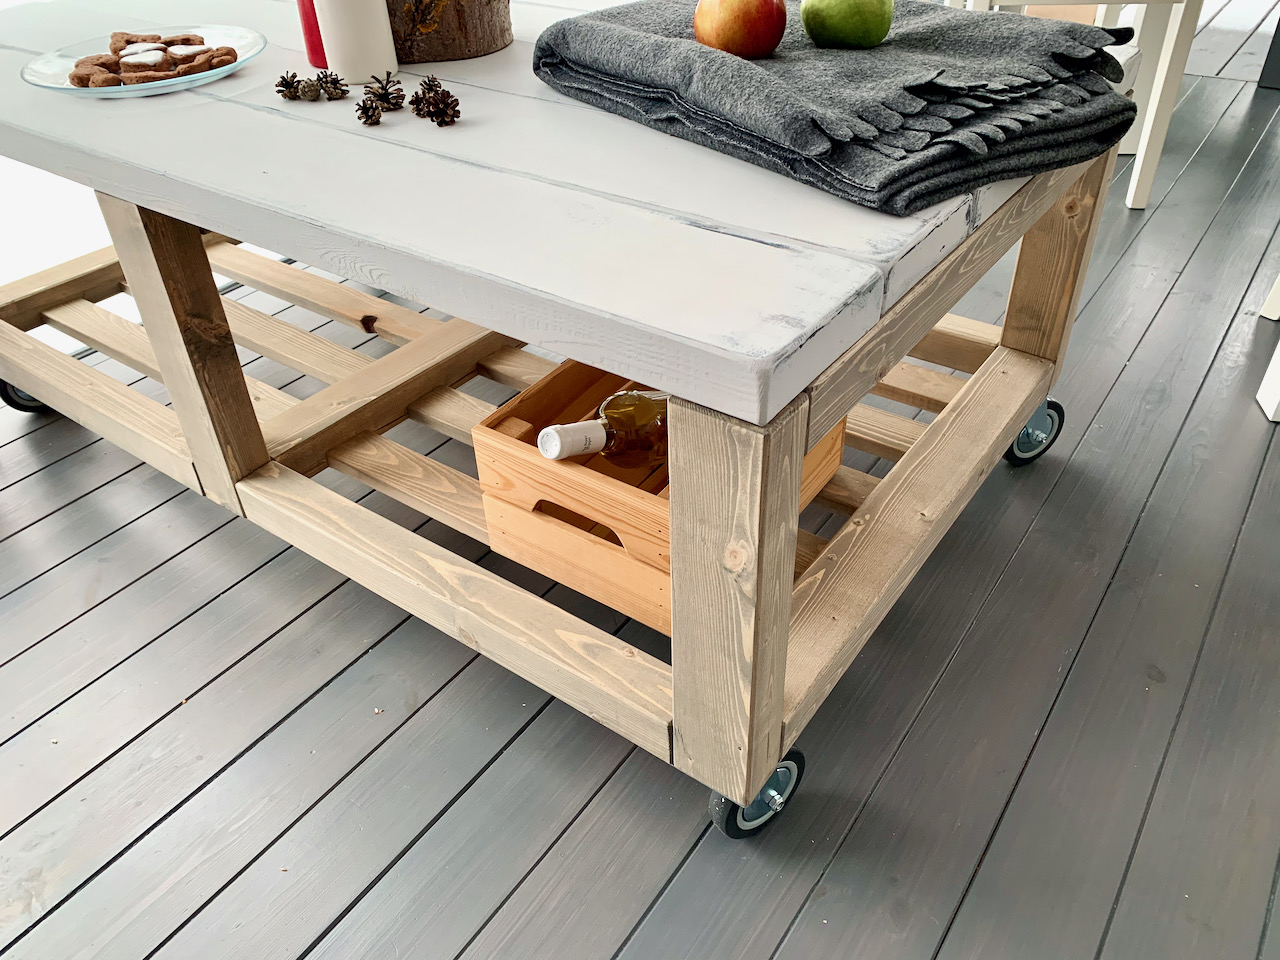
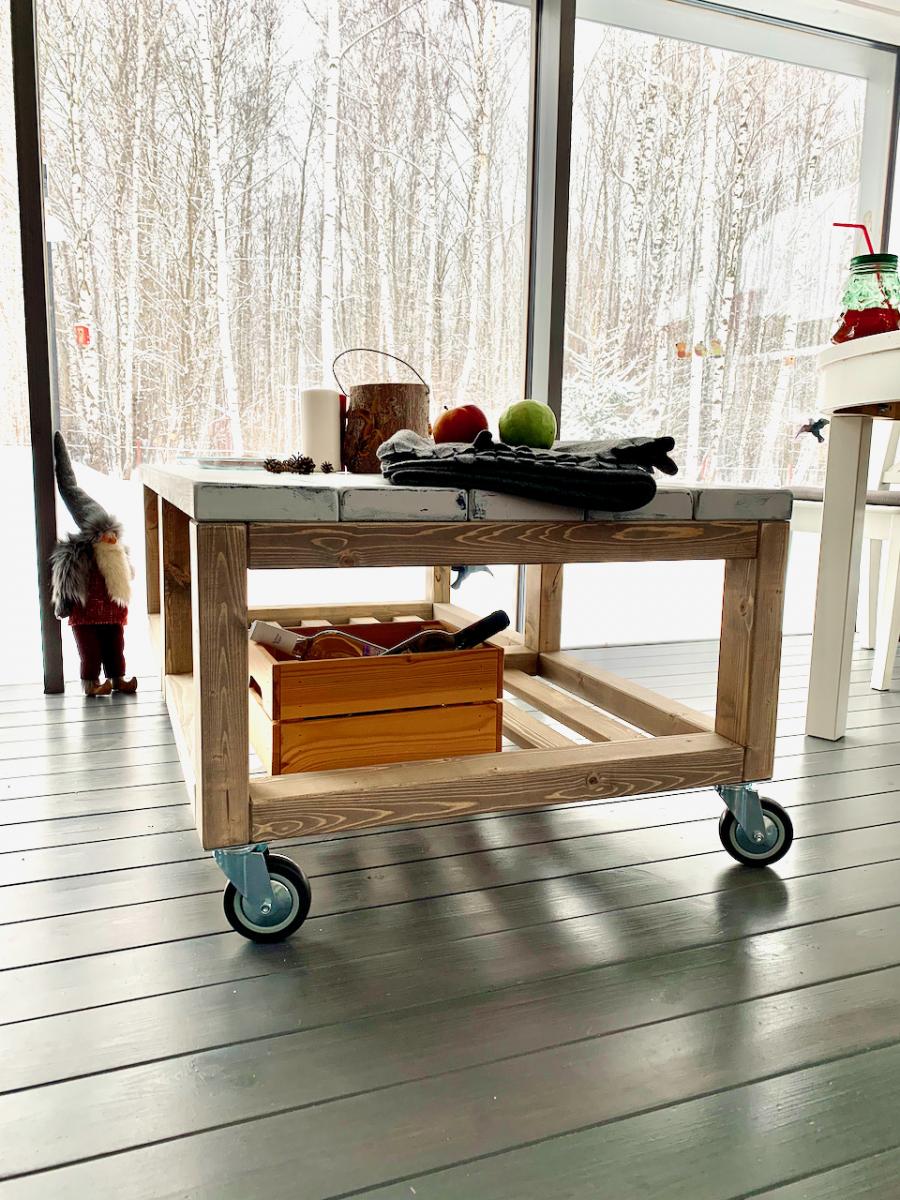
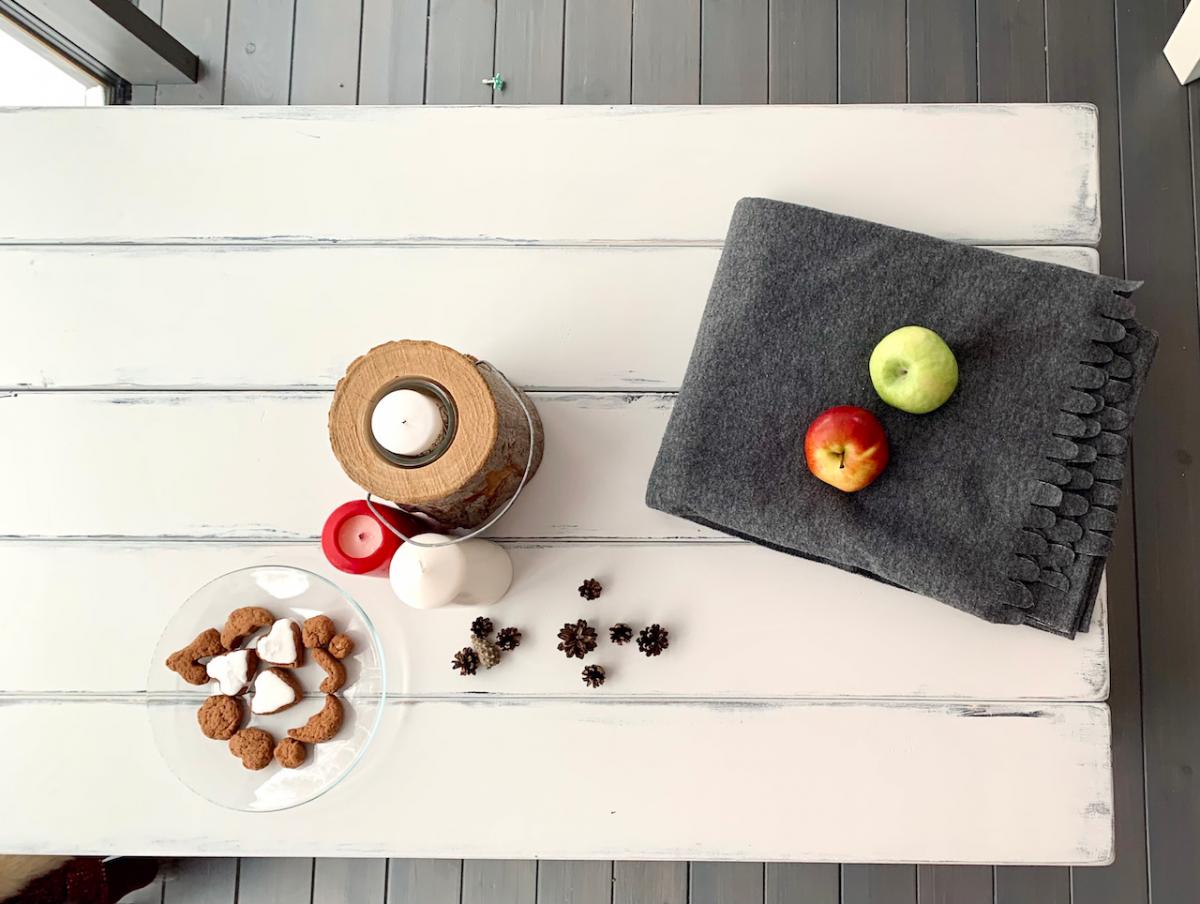
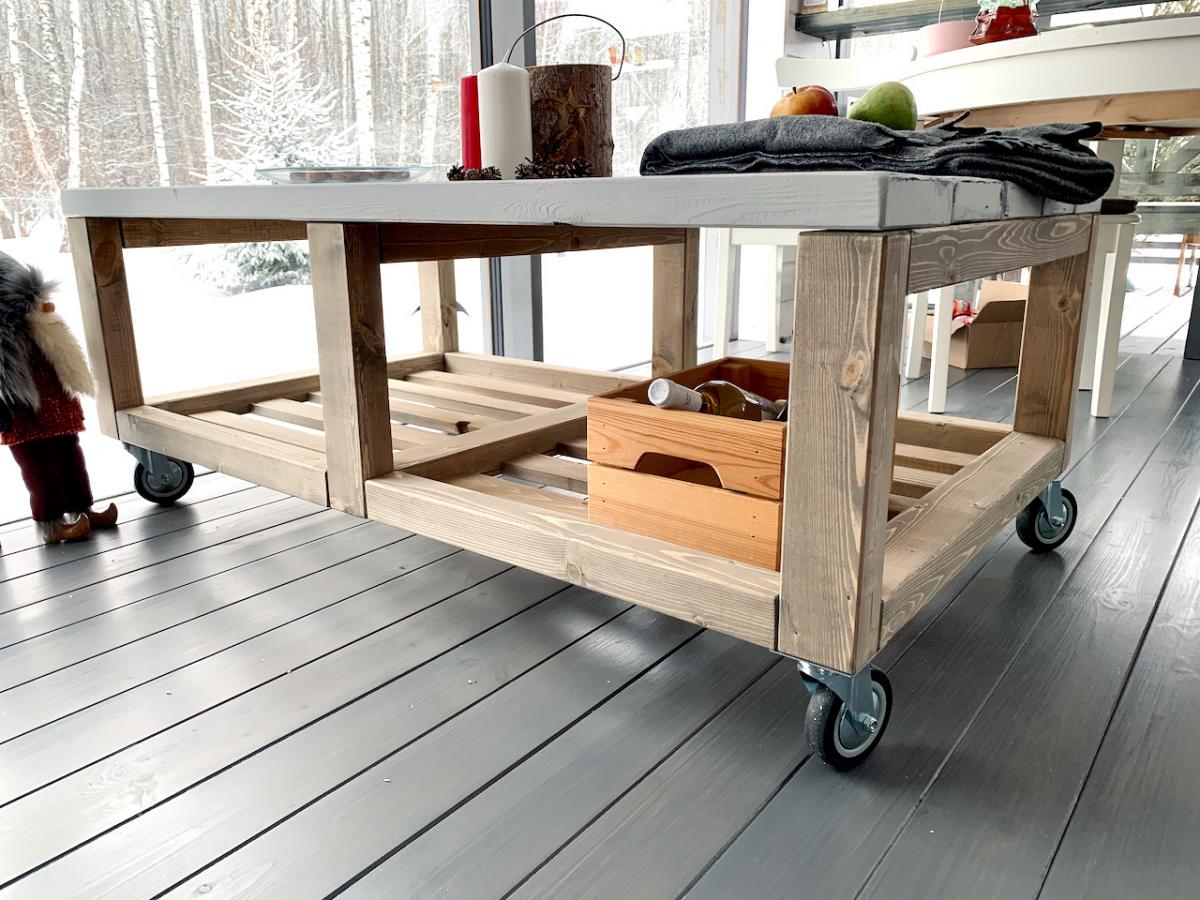
Super table i like it so much. Cant wait for summer to use it outside.

Built from Plan(s)
Estimated Cost
50$
Estimated Time Investment
Weekend Project (10-20 Hours)
Recommended Skill Level
Beginner

Comments

Seasonal And Holiday

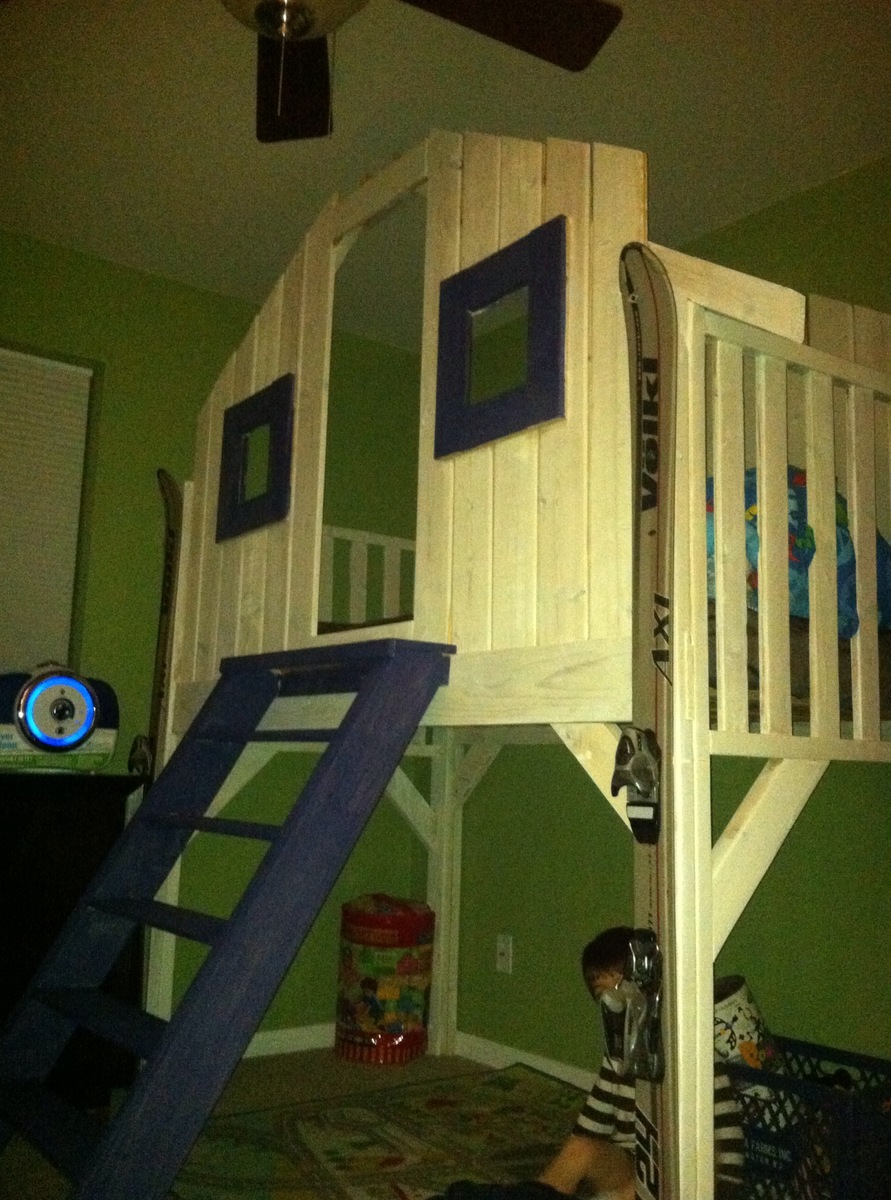
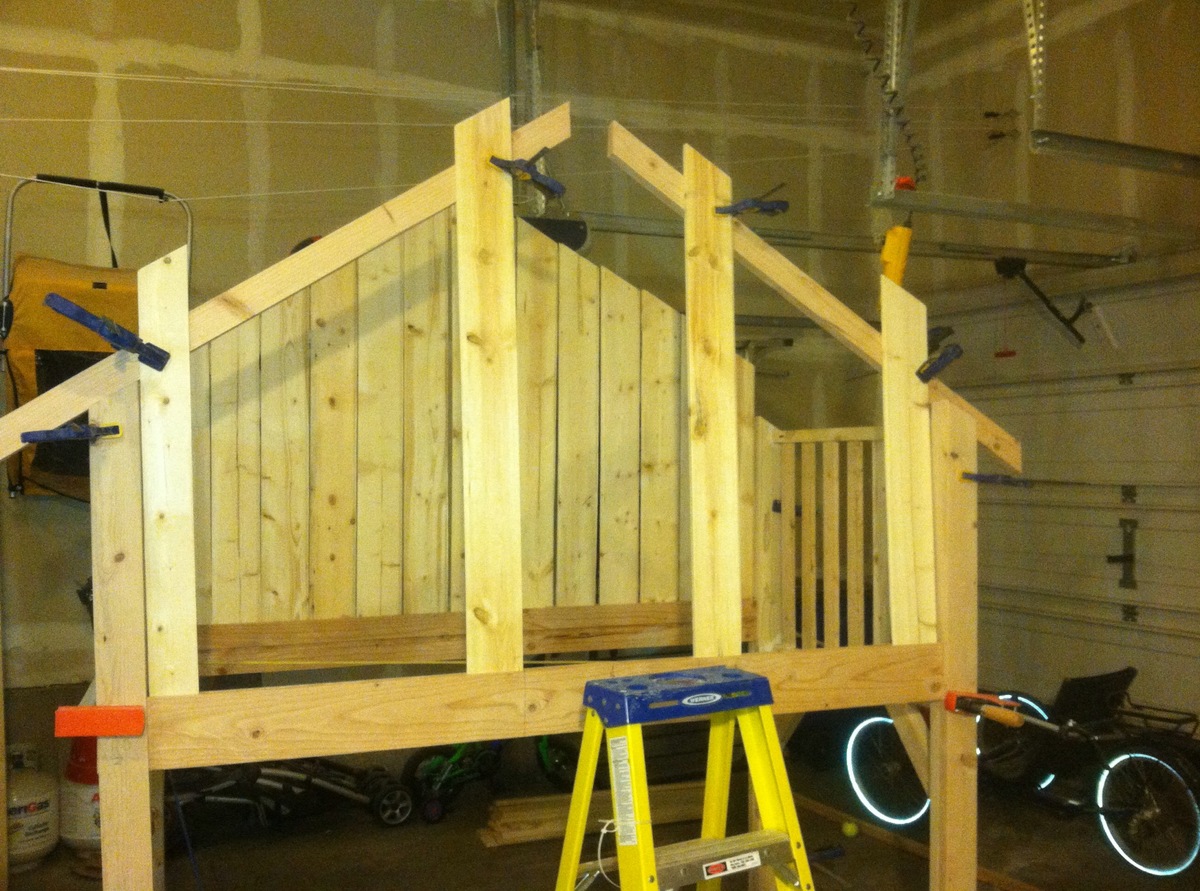
Ski Patrol Shack Bed (Mod of Clubhouse Bed)

Submitted by halon73 on Thu, 02/21/2013 - 20:26

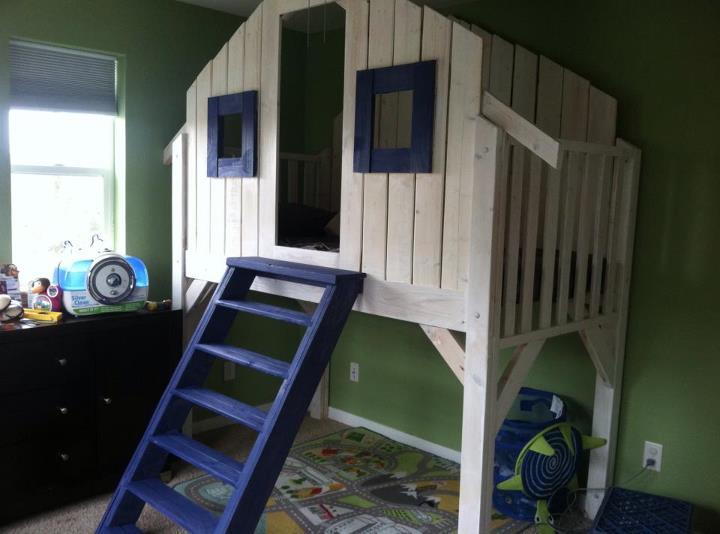
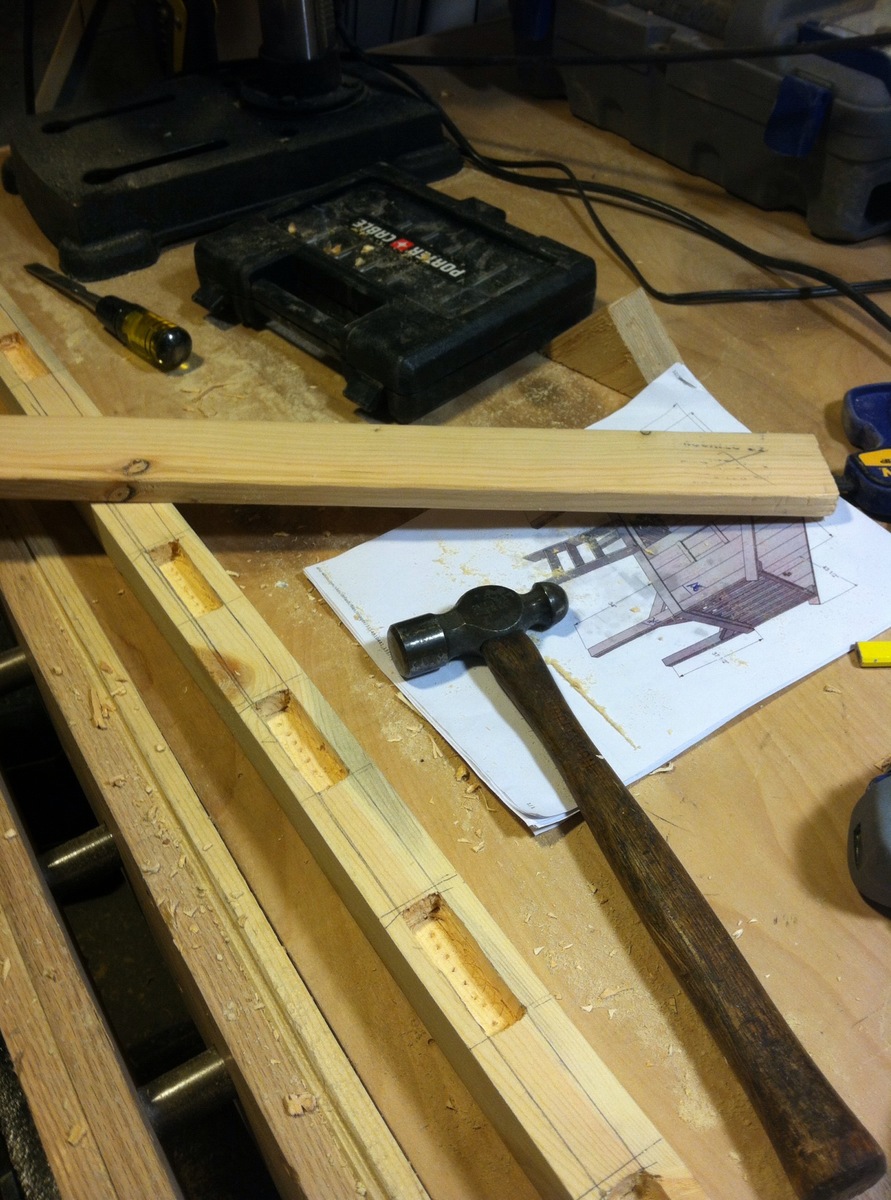
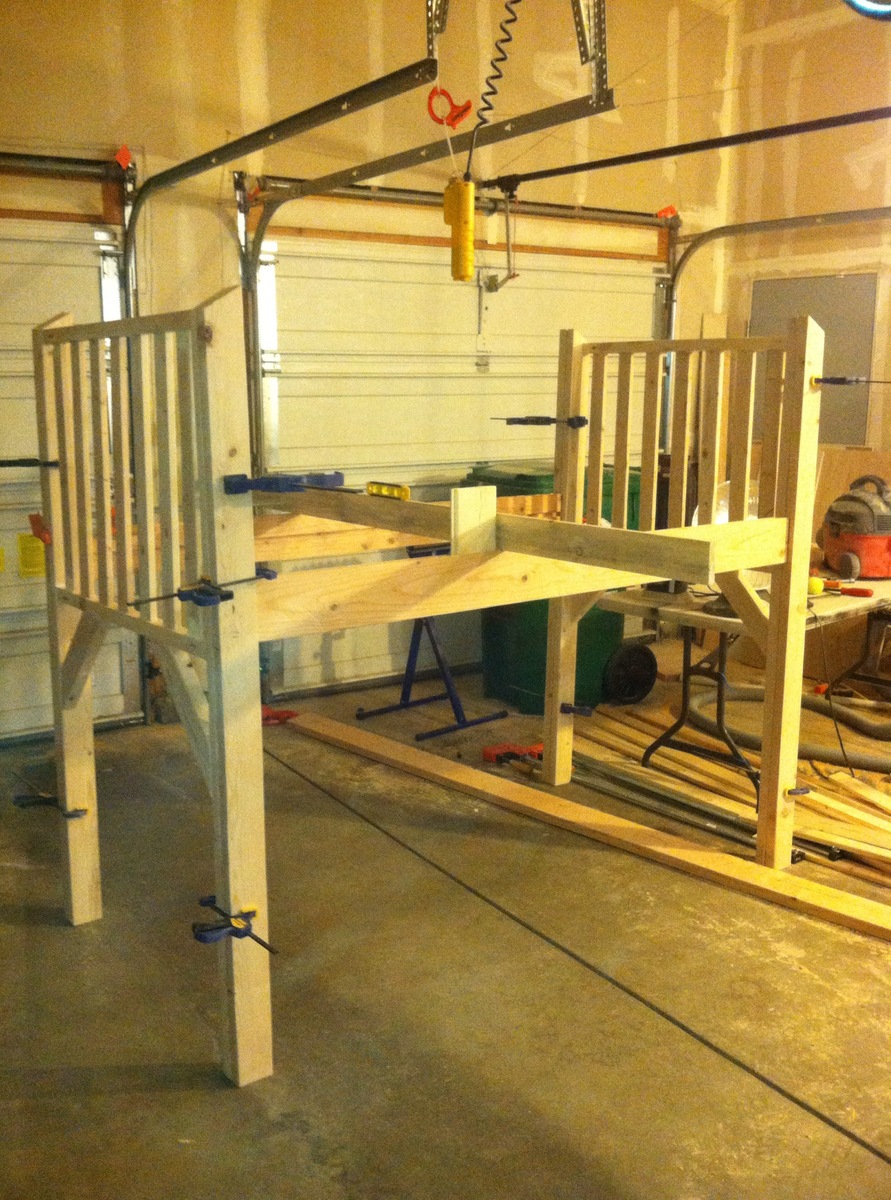
This build has been (thus far) my biggest and most ambitious yet. This is not only for the size of the build but the techniques I used. While I did use pocket holes in many spots I changed the design by using two stretchers to span between the sides and provide support for both side walls and bed slats. To reduce the number of pocket holes the original plan called for I used my stacked dado kit and created to dado cuts in the stretchers to support the bed slats and side walls.

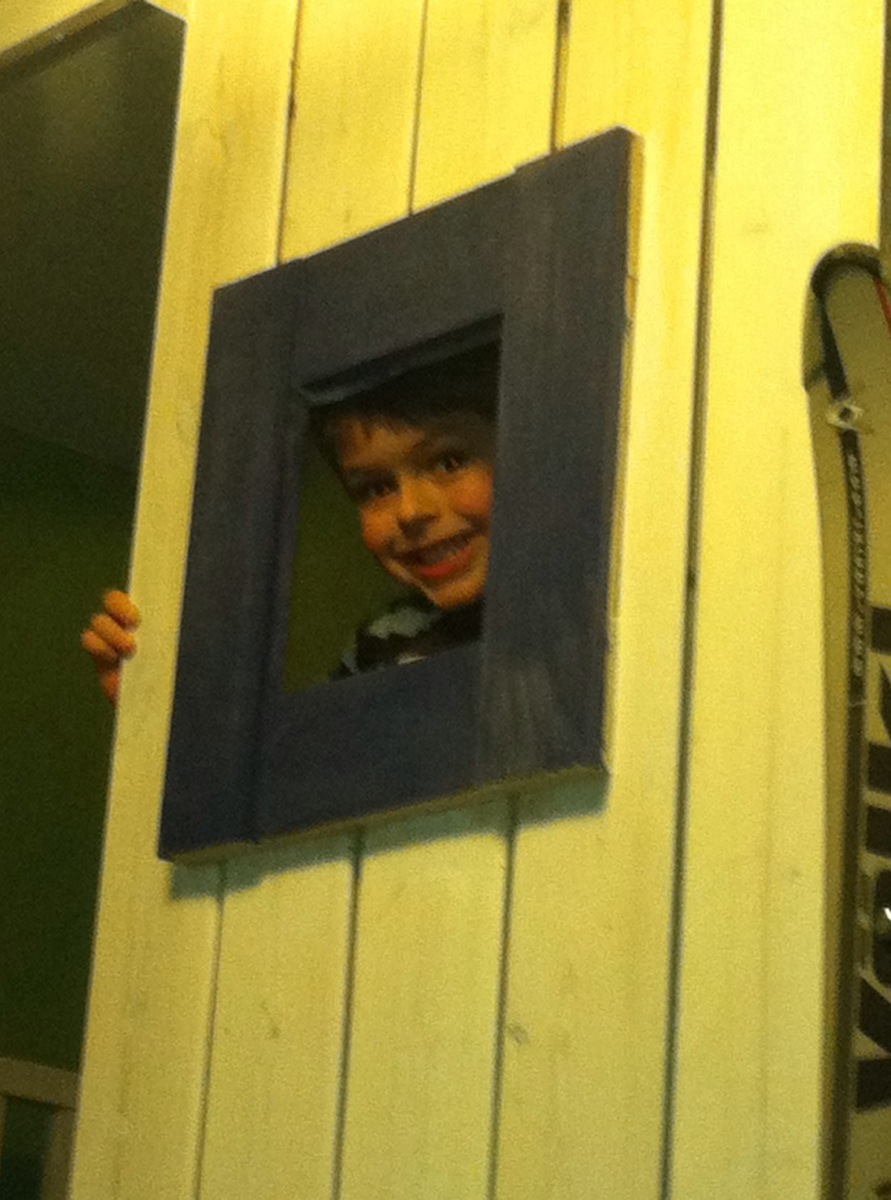
But I can't say enough good things about Ana and this site. The original plans where a inspiration to build this bed and continue to inspire me to build other projects around the house. All of our friends who have seen pictures of our Sons Ski Patrol Shack bed have raved about it and I can even see a little pride in my sons face when other kids are ranting about how "cool" his bed is.

So while I didn't follow the plans exactly the end result can't be disputed; its an awesome feeling to give your child such a great bed! My son came up to me and hugged me and said he loved his bed. So from a plan I downloaded to that moment of my son telling me he loved it was all worth the effort!! Thank you Ana for posting this and all the other plans. They are not just building plans to download they are happy memories waiting to be built!! Cheers from Colorado!

Built from Plan(s)
Estimated Cost
$425
Estimated Time Investment
Week Long Project (20 Hours or More)
Finish Used
Whitewash with a Blue stain for steps and window frames.
Recommended Skill Level
Intermediate

Comments

The Desk with hutch for my Granddaughter.

Submitted by Anonymous (not verified) on Sun, 02/28/2021 - 00:33

Had to add leg supports for the none drawer side and added a back for the entire unit. Fun Project. 15th birthday present.

Estimated Cost
$300
Estimated Time Investment
Week Long Project (20 Hours or More)
Finish Used
Student desk to my Granddaughter.
Recommended Skill Level
Intermediate

Comments

Cascading cedar planter

Submitted by Anonymous (not verified) on Sat, 04/08/2017 - 17:18

Instead of the 2X6, we used an additional cedar board to complete the sides and the ends of the planters.  This was more cost effective and still provides enough support to hold the planters.  This is a great alternative to the more expensive items we found online.  We will be building multiple to put in an unused space in our yard.  Great project!!

Built from Plan(s)
Estimated Cost
15 each
Estimated Time Investment
An Hour or Two (0-2 Hours)
Finish Used
no finish, we prefer the look of aged cedar
Recommended Skill Level
Starter Project

Cold Frame

Submitted by erik99703 on Thu, 03/07/2013 - 20:44

This is not my first project, but it is my first brag. I installed new windows in my house this fall and took out some double-pane windows. I can't yet afford to build Ana's greenhouse, so I made this. I removed the old frame around the glass and took some old 2x6 green-treat, ripped them down to 2 1/2" and made new frames around the glass. I then purchased some treated pickets to make the box. The top is slanted at 15 degrees and I put a shelf in the back for a few extra six packs. The overall size at the base is roughly 36" by 46", so I can fit 6 flats there. Since I didn't have to make sure it was really square nor did I have to sand, it was my favorite project yet. I can't wait for the snow to melt and the hard frosts to disappear.
Estimated Cost
Hardware and pickets were about $50
Estimated Time Investment
Afternoon Project (3-6 Hours)
Recommended Skill Level
Starter Project

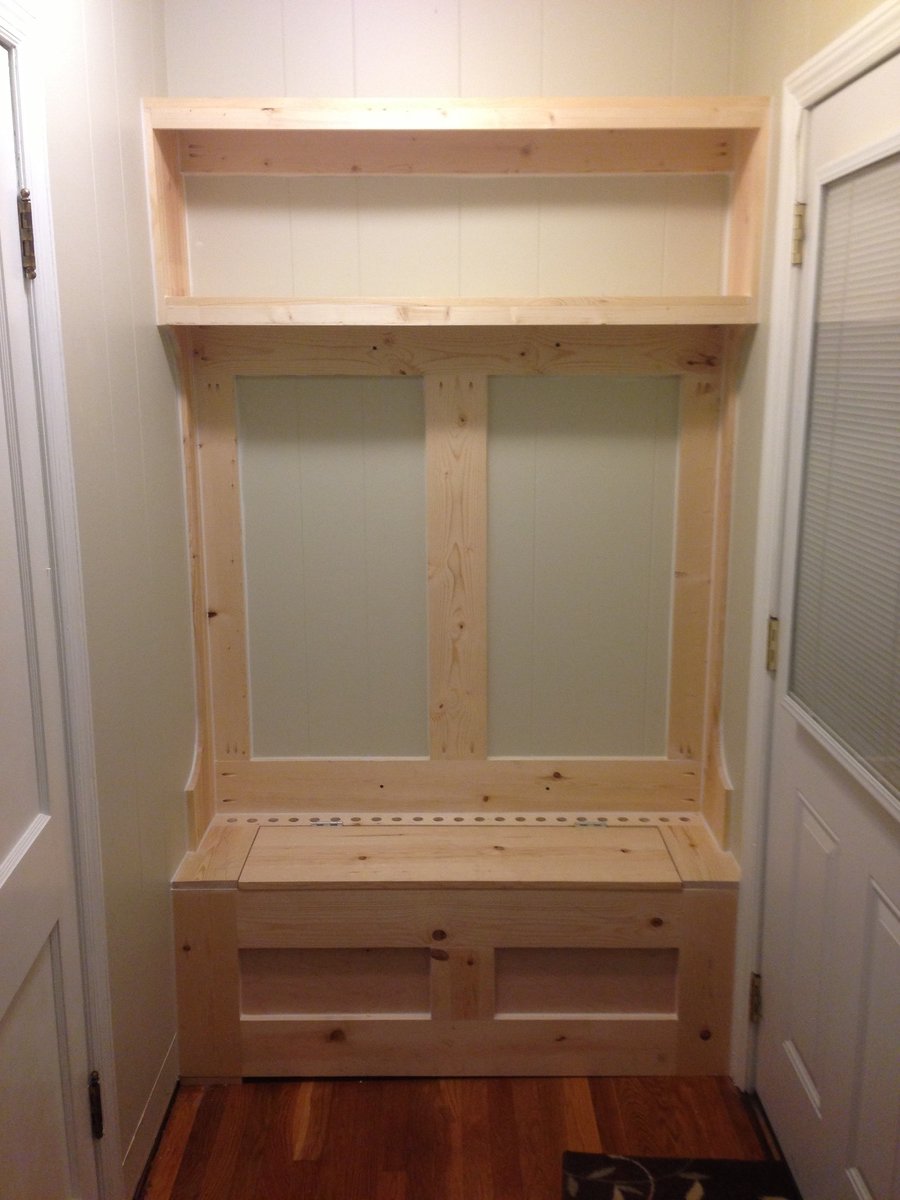
Built-In Hall Tree Heated

Submitted by adamhatton on Sun, 03/10/2013 - 18:26

I made this hall tree as a gift for my wife. It's a classy way to store coats out in plain sight. it is larger than the design specs from Mimi (7'H by 4'1" W) and built-in instead of free standing. Our house has a boiler with floorboard radiators. There is a radiator inside the hutch, and heat comes out of the holes just behind the lid to the bench this heats up the coats as they hang on the rack. The radiator also heats the compartment under the bench which aids in drying damp boots and other items. Fun project, also an easy project thanks to the Kreg Jig!
Built from Plan(s)
Estimated Cost
$100
Estimated Time Investment
Day Project (6-9 Hours)
Finish Used
Bear semi-gloss interior latex.
Recommended Skill Level
Beginner

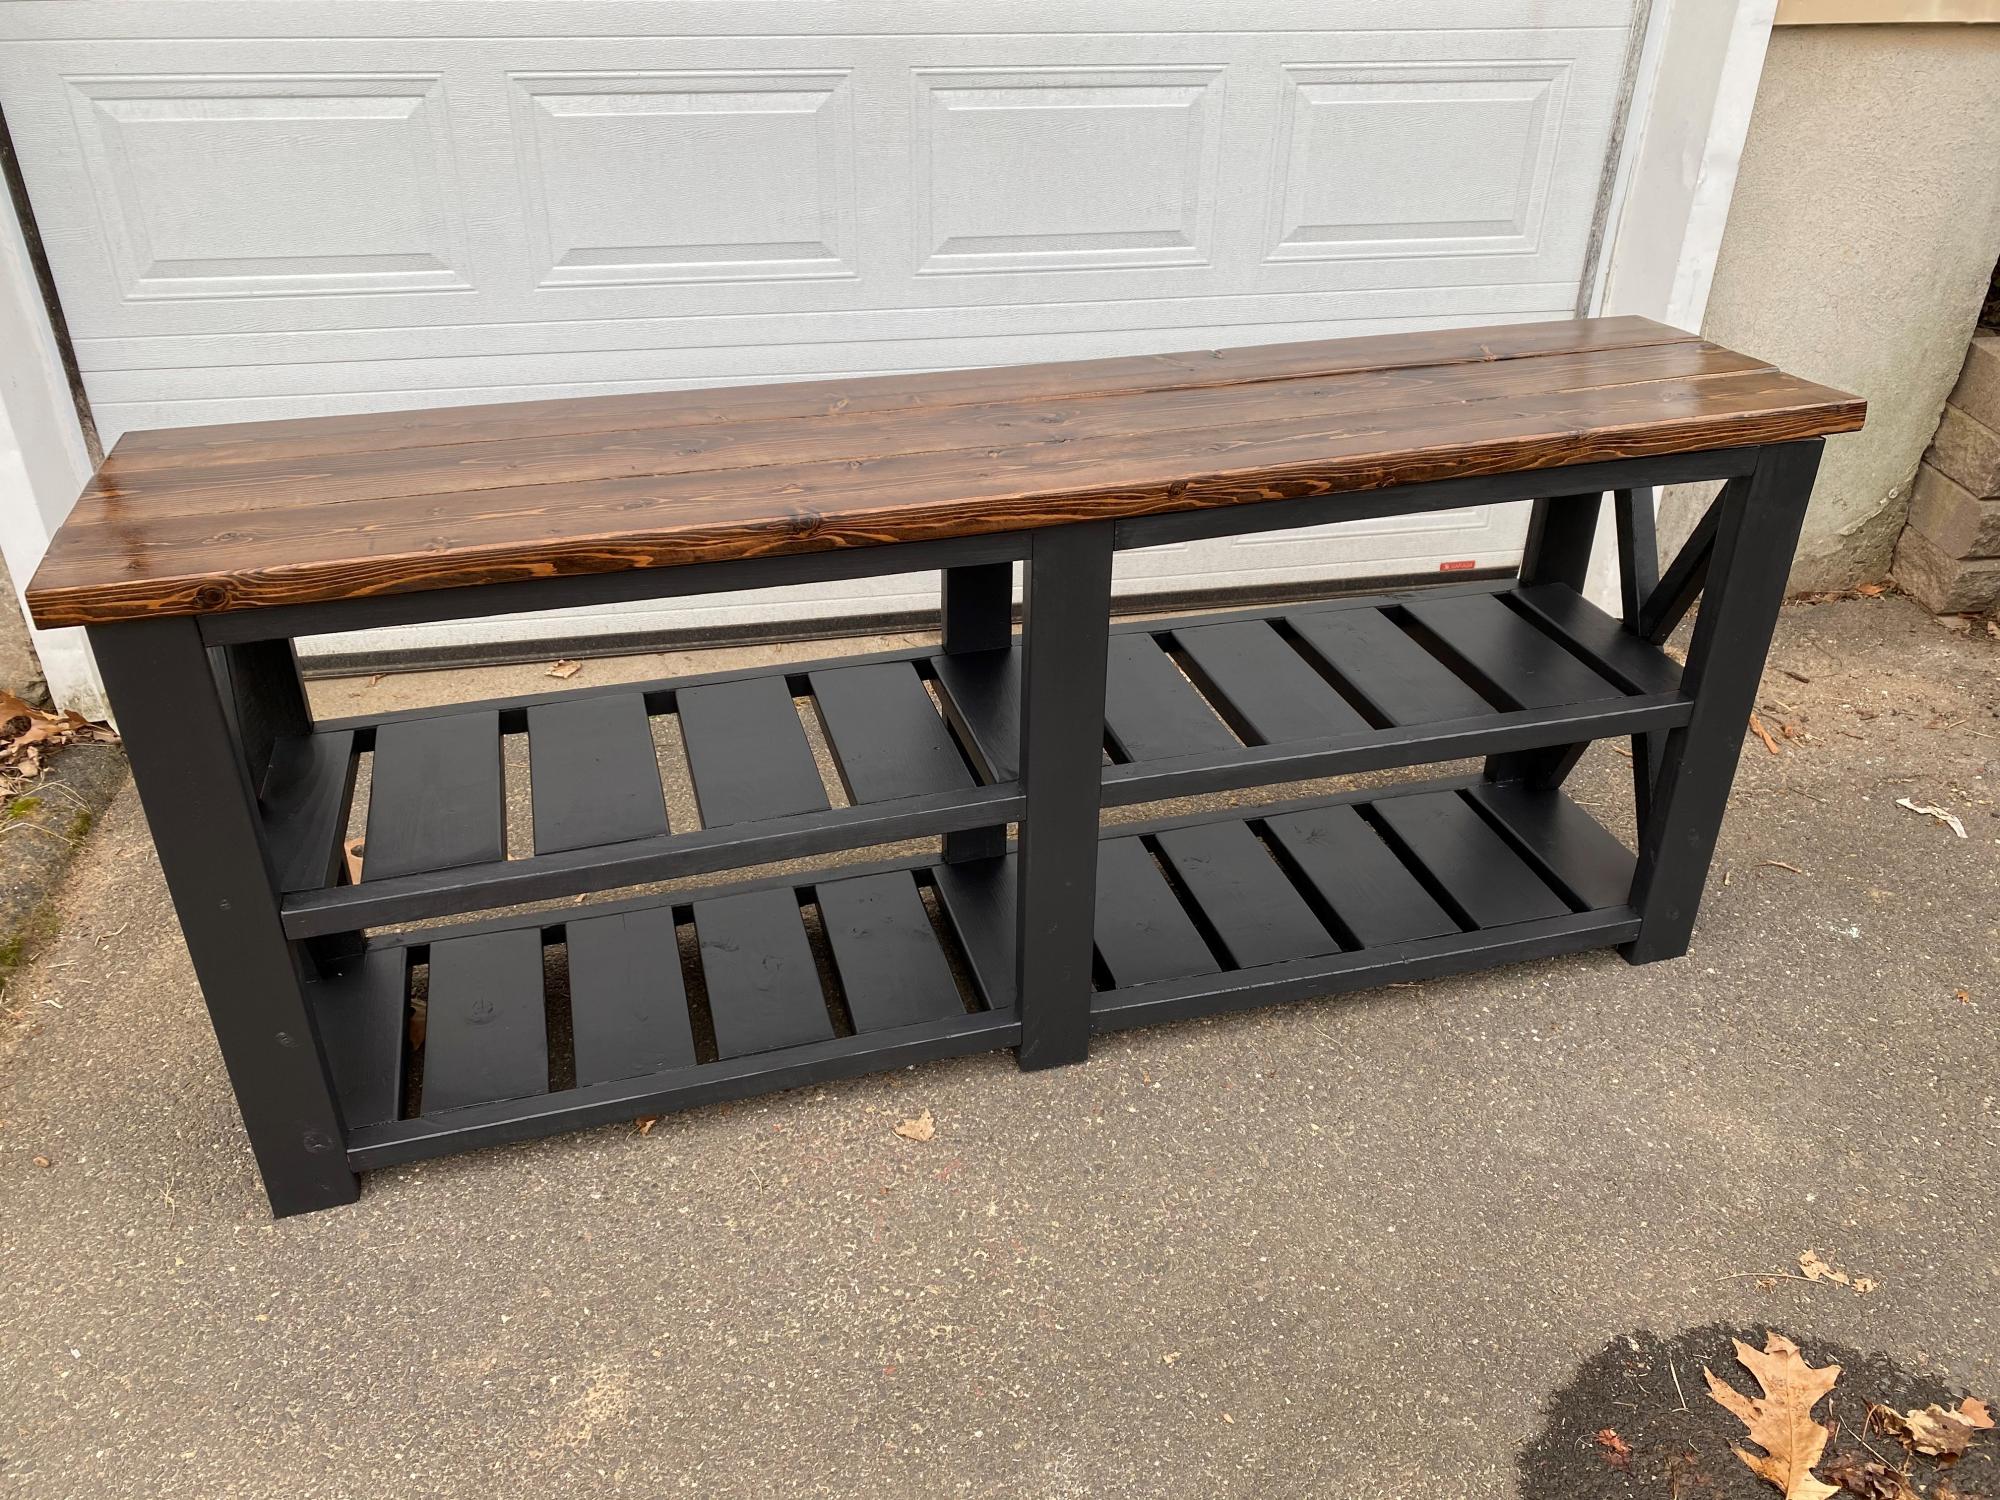
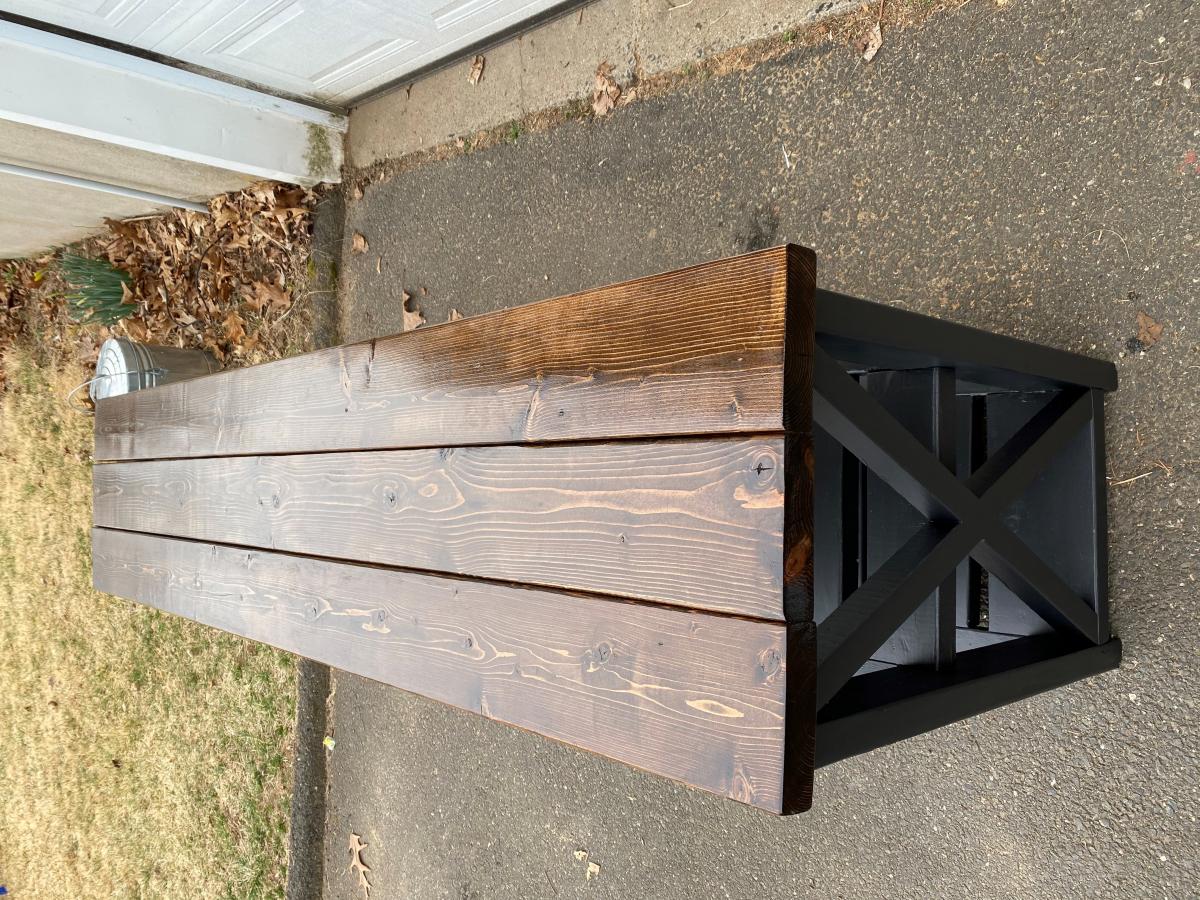
Espresso Farmhouse Console Table

Submitted by MacandFab on Mon, 03/29/2021 - 04:28

I built the farmhouse console table over the course of 3 weekends. A relatively easy build, the pocket hole were the most time consuming. Its made mostly of Douglas Fir, and pine for the 2x2's. It's a heavy piece, it weighs about 250 lbs - ish. But the wife loves it, as it will be going in our kitchen.

Built from Plan(s)
Estimated Cost
$125
Estimated Time Investment
Weekend Project (10-20 Hours)
Finish Used
Minwax Espresso top with 3 coats of poly and a solid black stain on the bottom.
Recommended Skill Level
Beginner

Comments

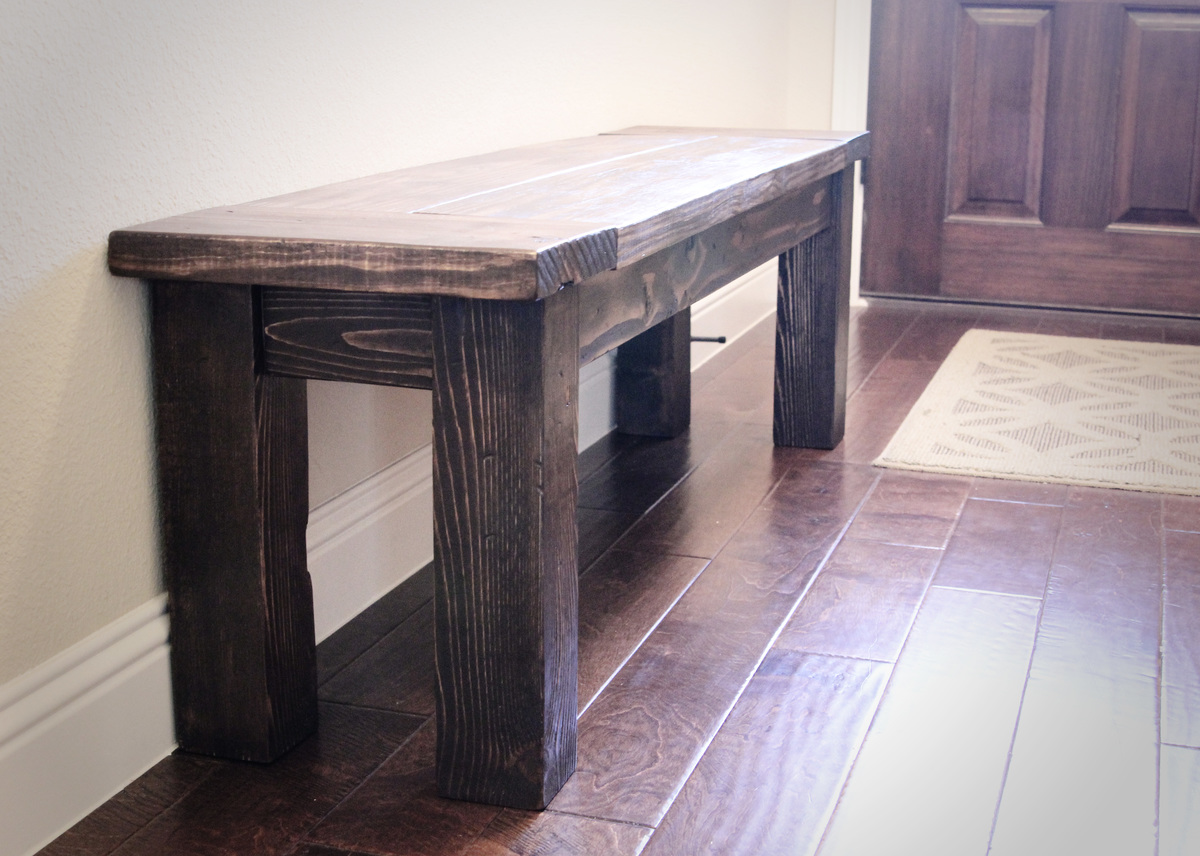
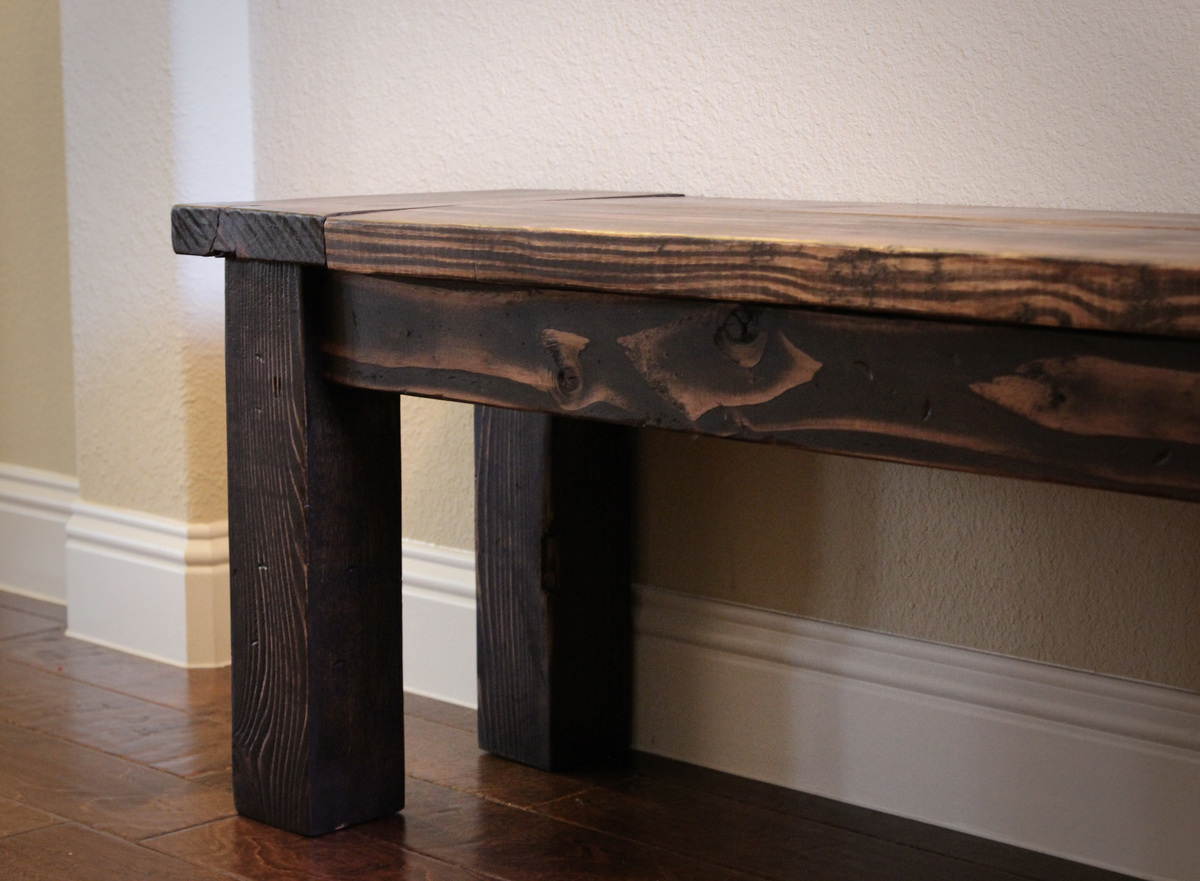
Farmhouse Bench

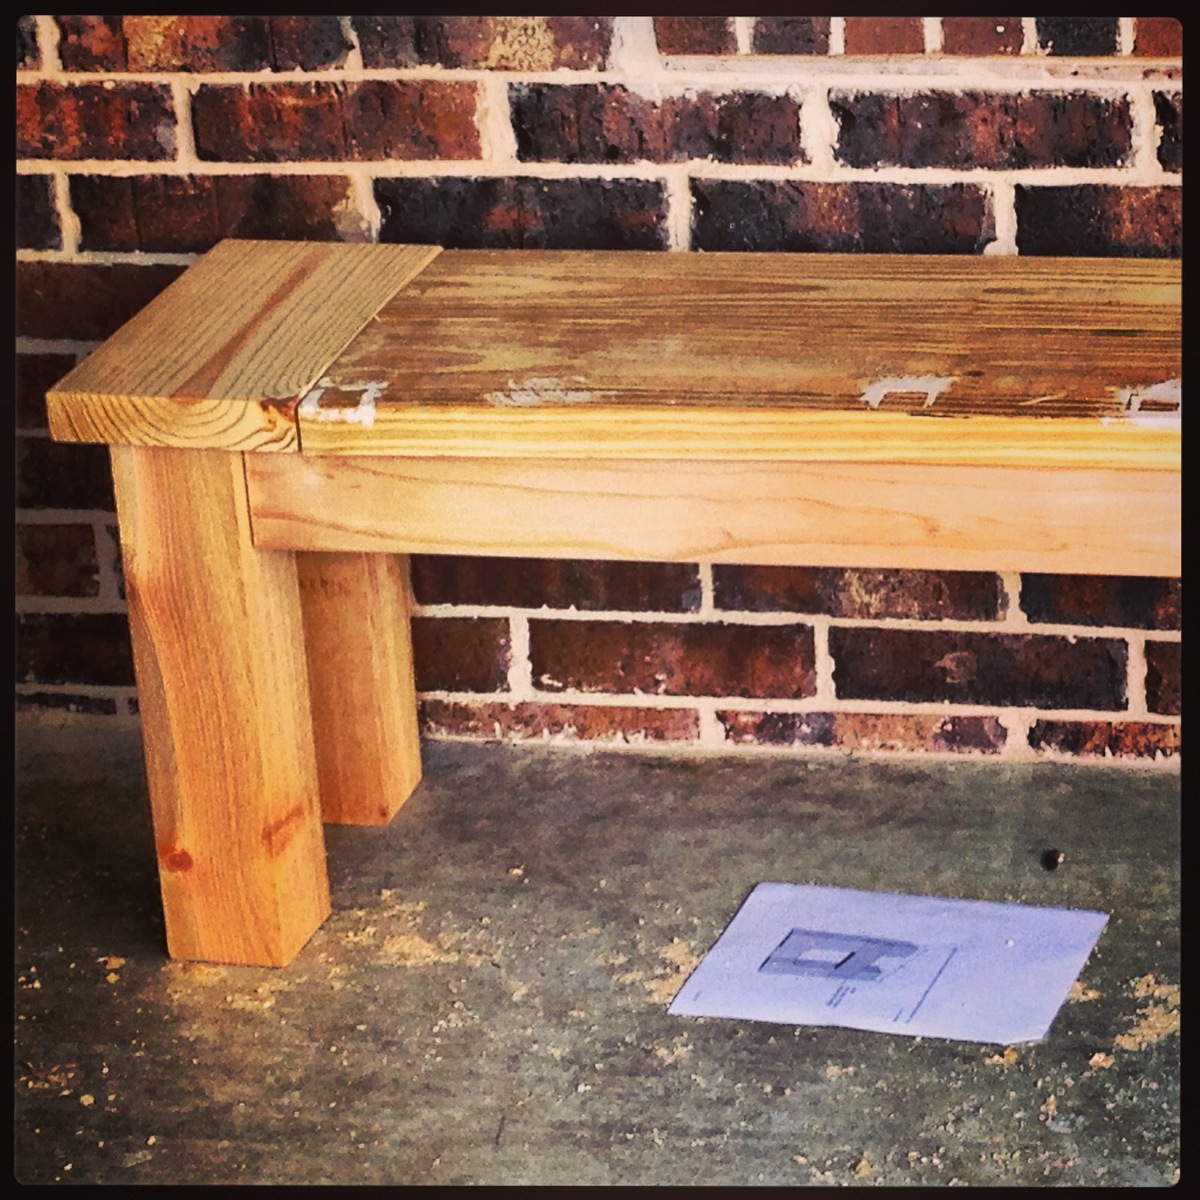
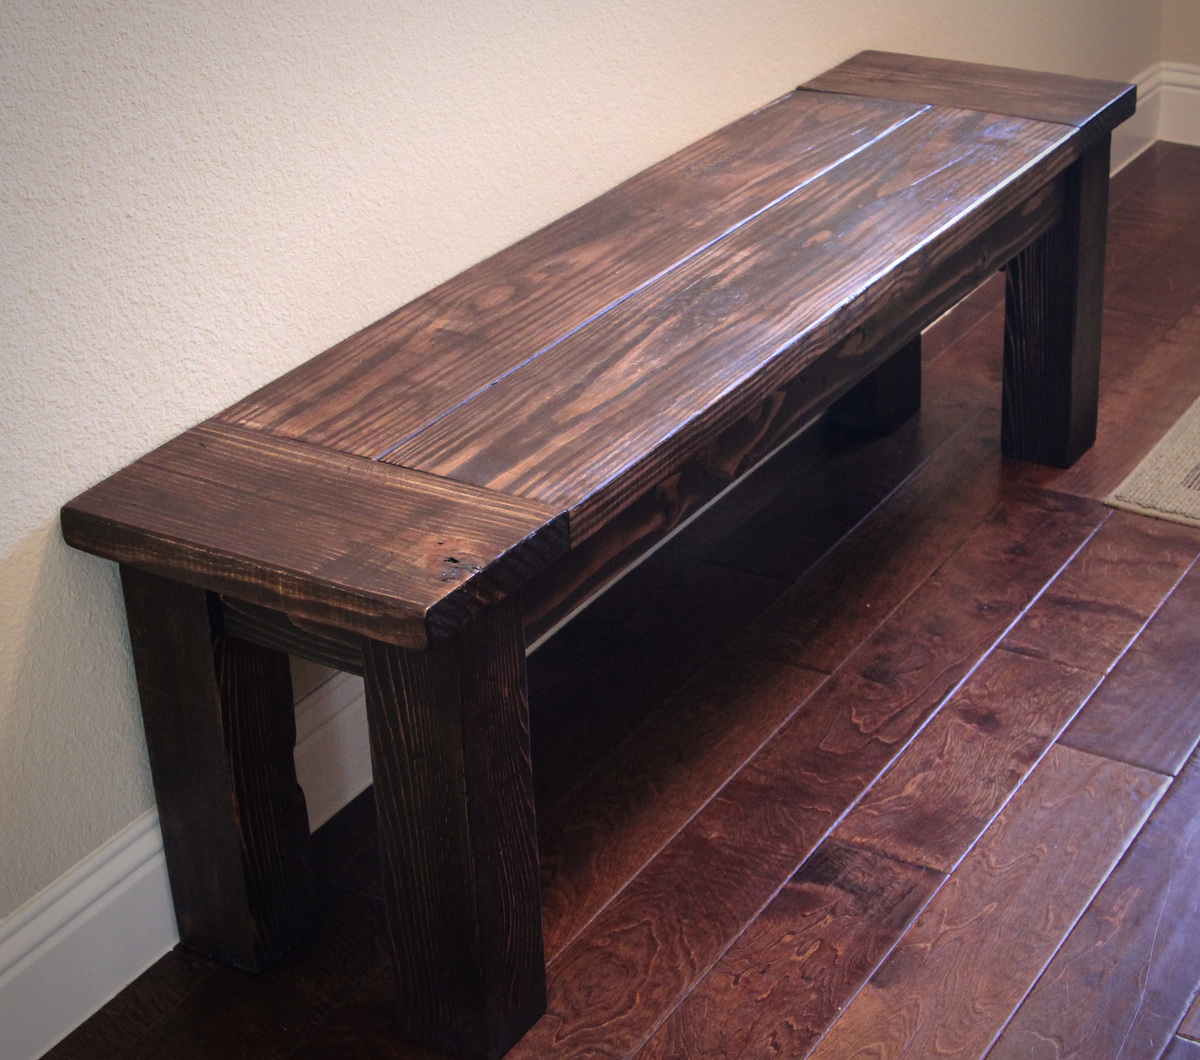
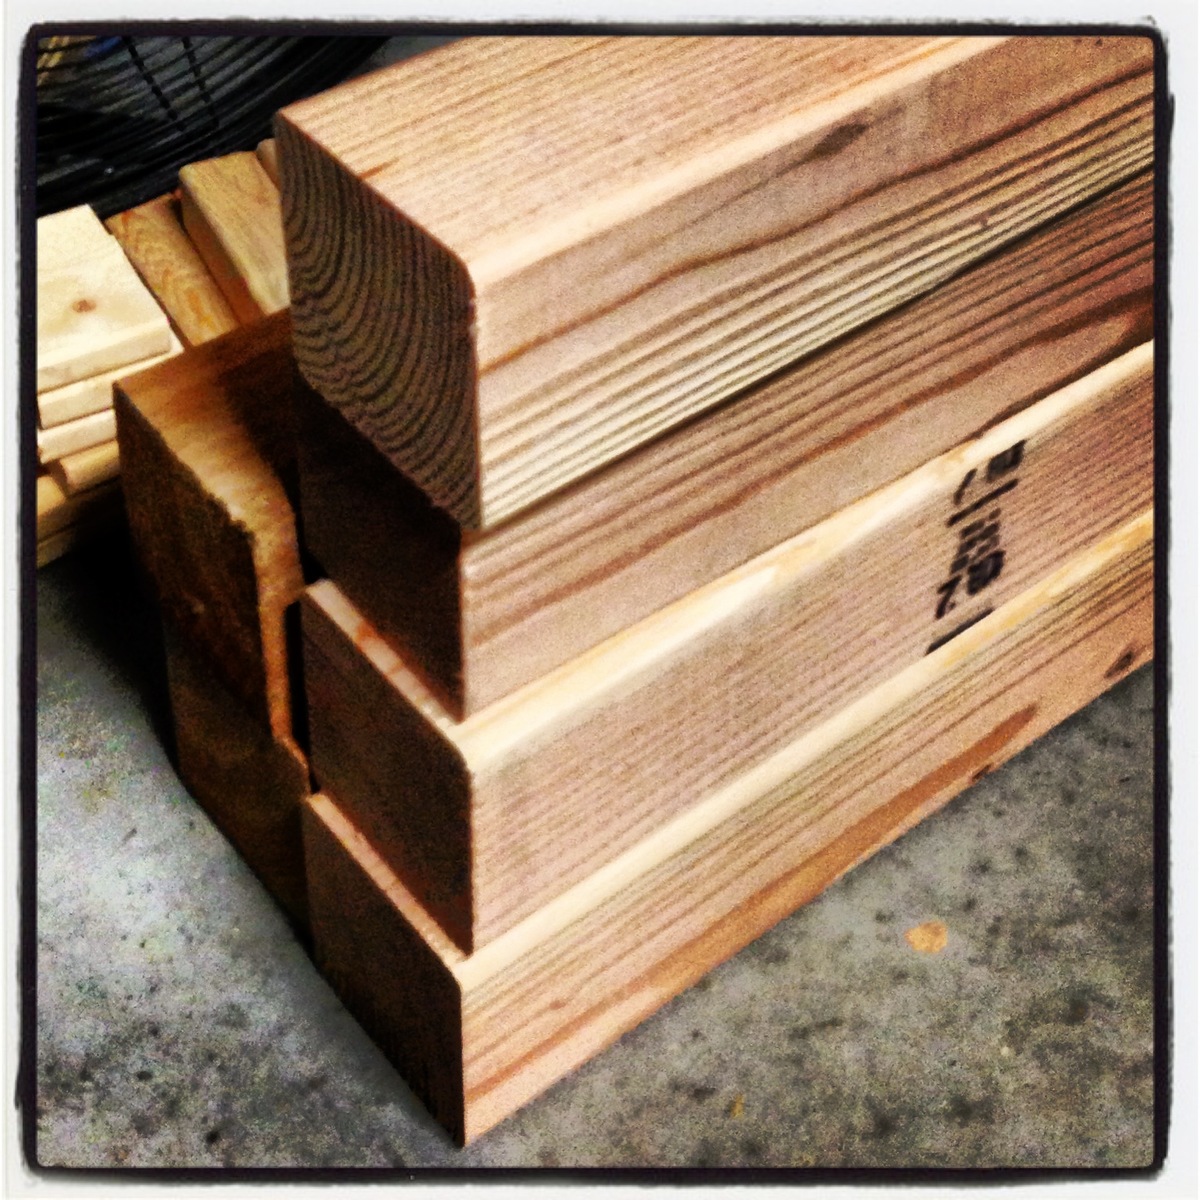
With lots of leftover wood from previous projects (farmhouse table and sideboard), I decided it was time to start another project. (I did head out to Lowes to get a piece of 4x4 for the legs...they only had Cedar. My friend found some Fir at Home Depot for a buck more).

Found the plans for the Farmhouse Bench, looked at other brag posts and their suggestions...then got to work!

Cutting the pieces was fast and relatively easy. Predrilling the pocket holes also went quick. Putting the pieces together was also very fast (though I did have to add extra pocket holes here-and-there so that the legs and two end-aprons were more sturdy).

Sanded the piece, then added a coat of Rustoleum Dark Walnut Stain, and then a couple coats of Deft Satin varnish.

Estimated Cost
$20 (for extra lumber and materials). Already had leftover lumber from previous projects.
Estimated Time Investment
Day Project (6-9 Hours)
Finish Used
Rustoleum Dark Walnut
Deft Satin Clear
Recommended Skill Level
Starter Project

Beautiful table!

Submitted by Anonymous (not verified) on Fri, 05/05/2017 - 10:29

These plans were very easy to follow and the end result is beautiful. Thank you so much!

Estimated Cost
$200
Estimated Time Investment
Weekend Project (10-20 Hours)
Finish Used
Kona stain with matte poly
Recommended Skill Level
Beginner

Outdoor Sofa

Submitted by Anonymous (not verified) on Tue, 05/25/2021 - 17:53

Made some adjustments to the original plans to help support larger cushions and pillows.

Built from Plan(s)
Estimated Cost
$400
Estimated Time Investment
Day Project (6-9 Hours)
Finish Used
Used a roll of tape as a guide to round the headrest and arms.
Recommended Skill Level
Beginner

Comments

Church pew style entry bench

Submitted by Anonymous (not verified) on Fri, 05/26/2017 - 15:02

The bench measures 54" wide x 21" deep.  We slightly modified the Rogue Engineer plans at the customers request to allow it to sit flush against the wall. 

Estimated Cost
99.00
Estimated Time Investment
Day Project (6-9 Hours)
Finish Used
Stain is 1 coat Minwax Classic Grey immediately followed by 1 coat Old Masters Dark Walnut Wiping Stain immediately followed by another coat of Minwax Classic Grey. Topcoat is Gemini Gem Coat Matte Pre-cat Lacquer
Recommended Skill Level
Beginner

Comments

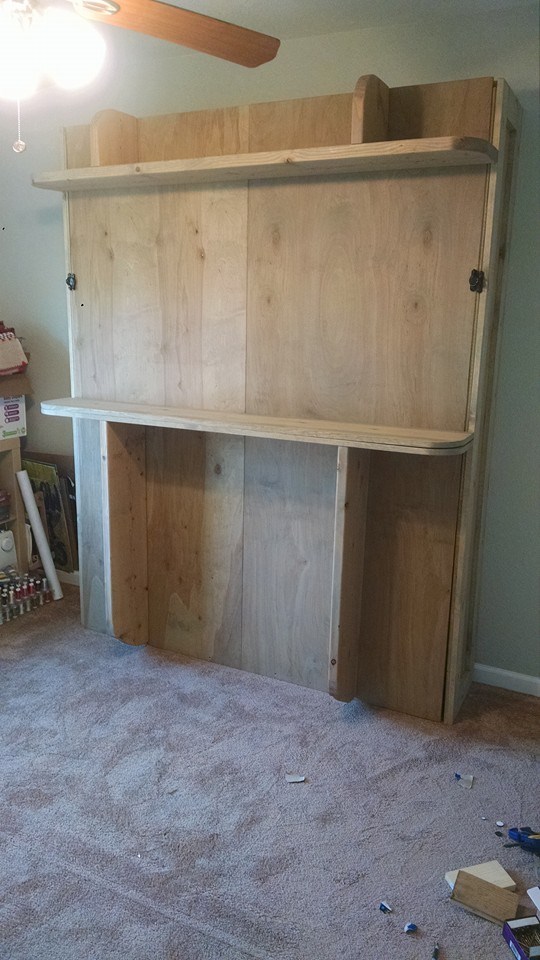
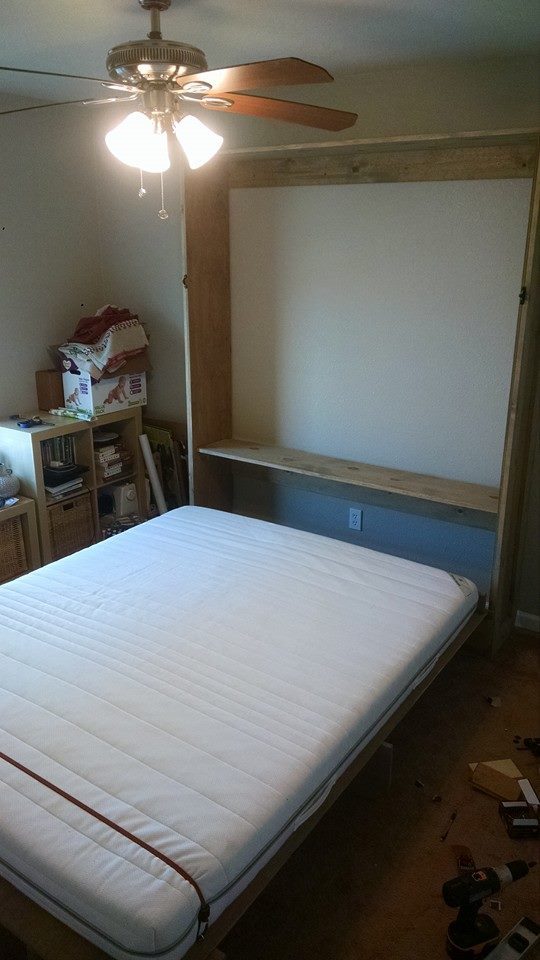
DIY Murphy Wall Bed

Submitted by Dstor22 on Sun, 03/15/2015 - 07:05

Just finished up my Murphy Bed project. Hope you like.

Estimated Cost
280.00
Estimated Time Investment
Weekend Project (10-20 Hours)
Finish Used
Weathered Oak Stain
Recommended Skill Level
Intermediate

Comments

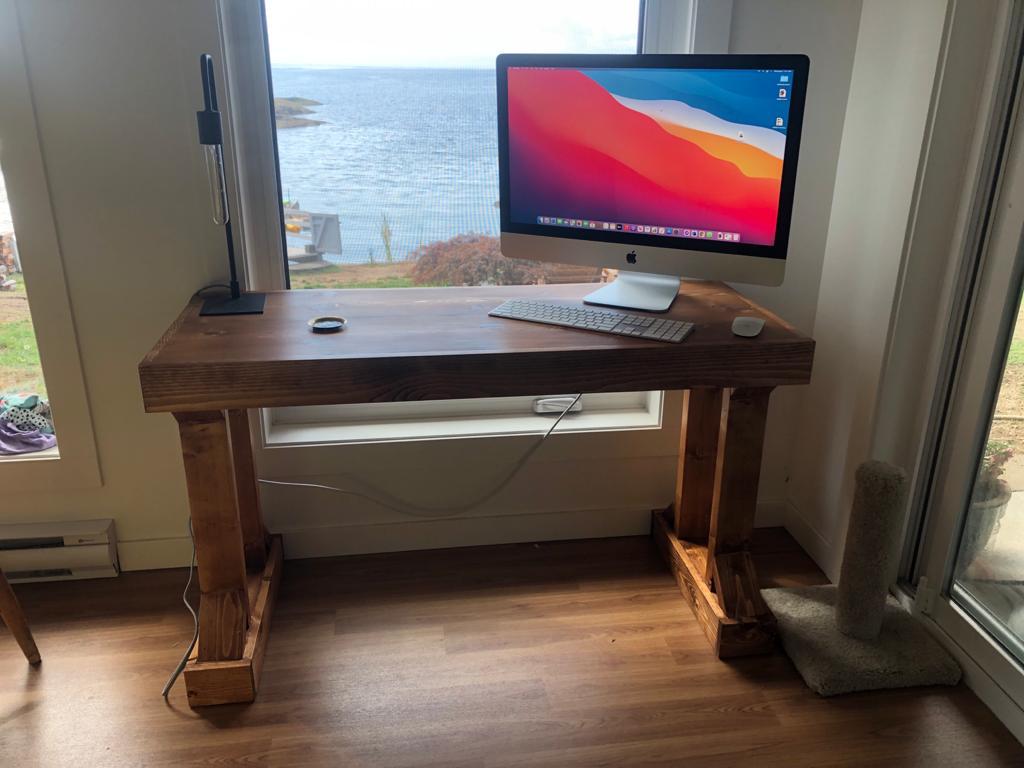
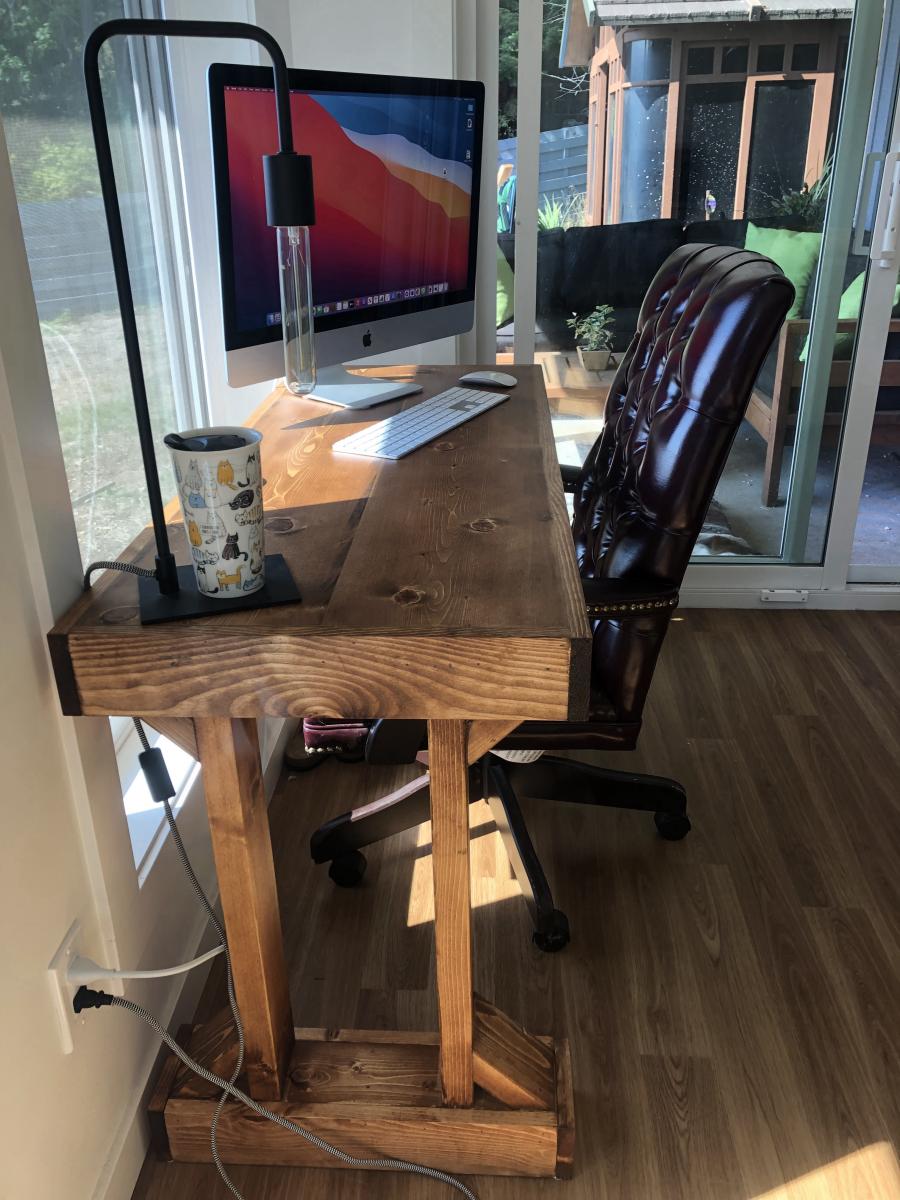
Writing Desk - Modern farmhouse collection

Submitted by SofiaTaz on Wed, 09/08/2021 - 22:25

I love how this desk turned out. I haven't had corner brackets catch my eye yet, but I may still add them. This was the first real Brad Nailer project I have completed. It is stained in a dark walnut. Thanks again for another great plan and tutorial video!

Comments

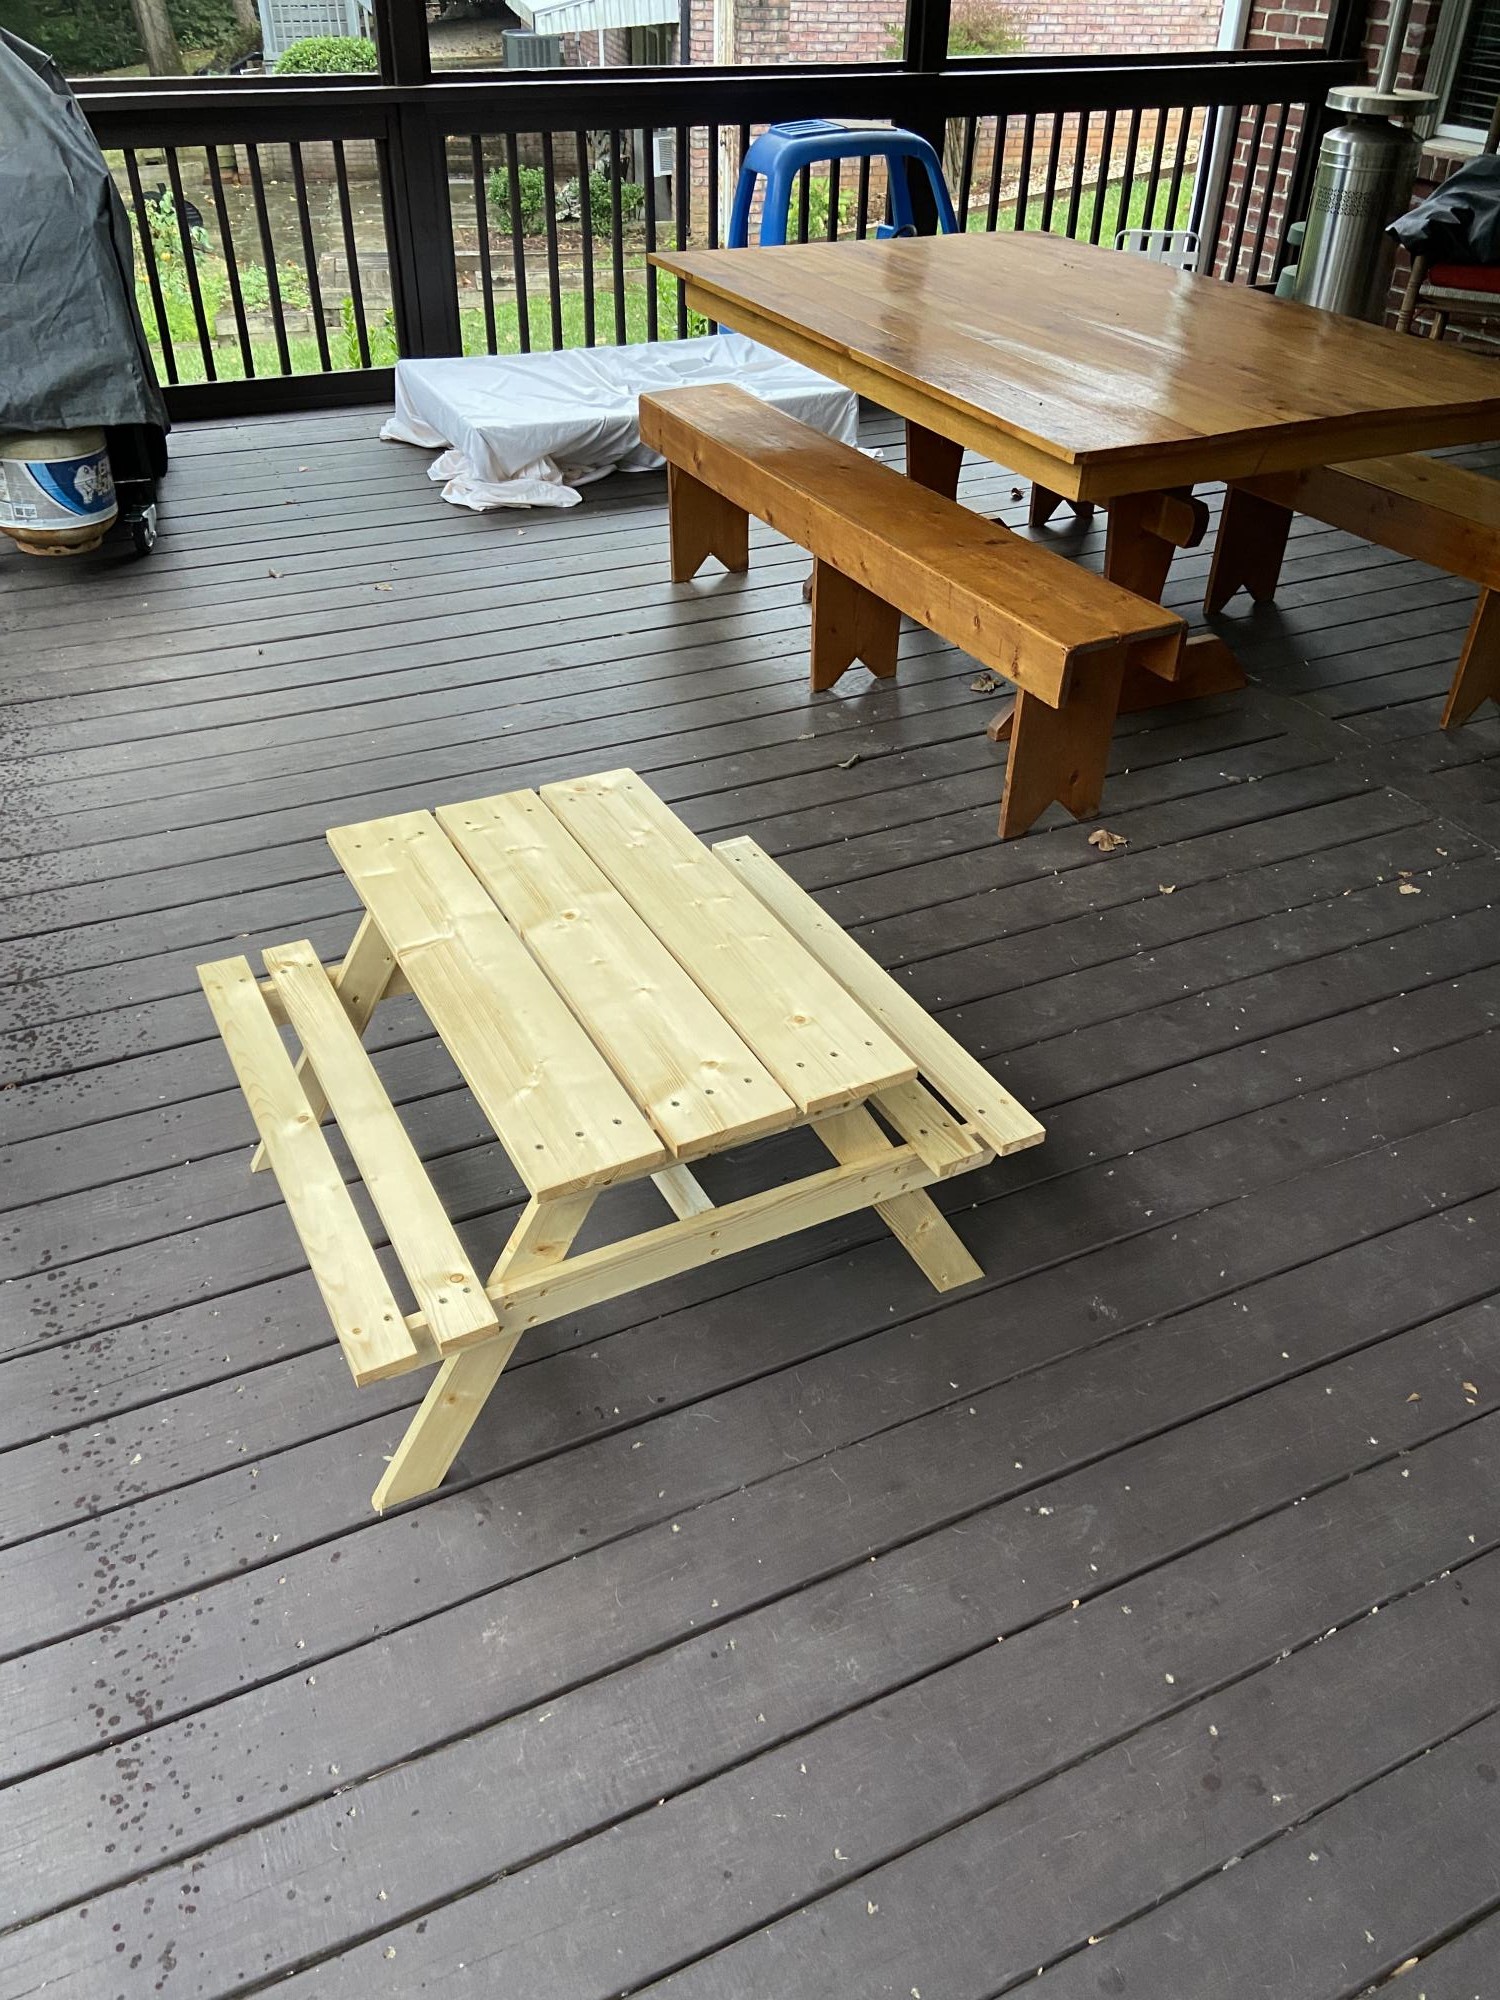
Grand Kids Picnic Table

Submitted by Anonymous (not verified) on Mon, 10/04/2021 - 12:35

Our grandsons live 10 hours away. I always try to make something for them when they visit. When we saw them a few weeks ago they needed a table their size!

Built from Plan(s)

Necklace Armoire

Submitted by JoanneS on Sat, 05/11/2013 - 18:47

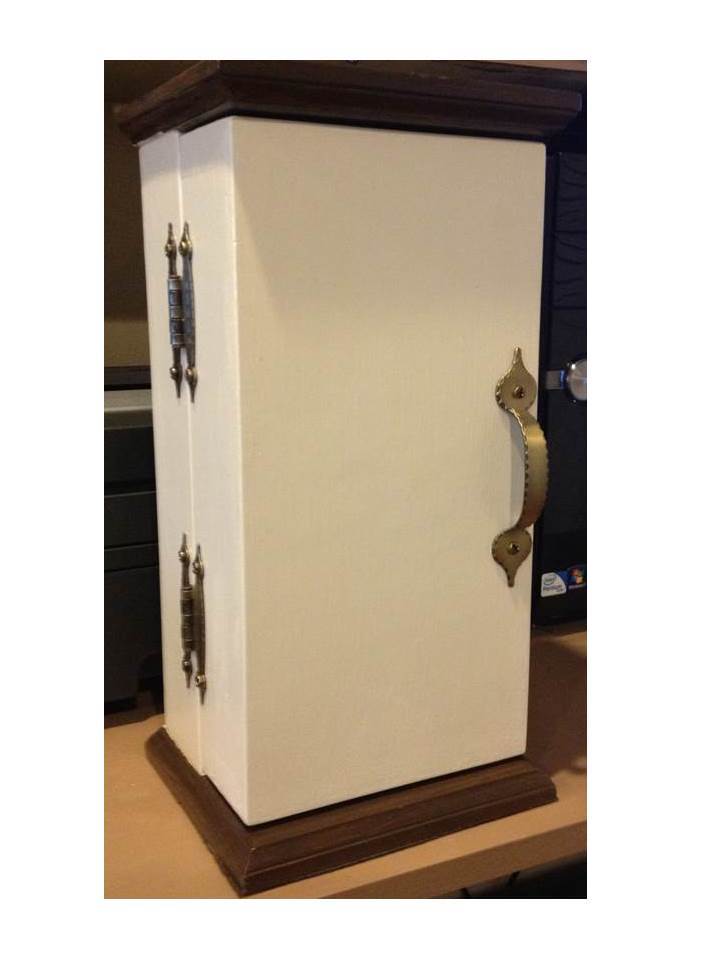
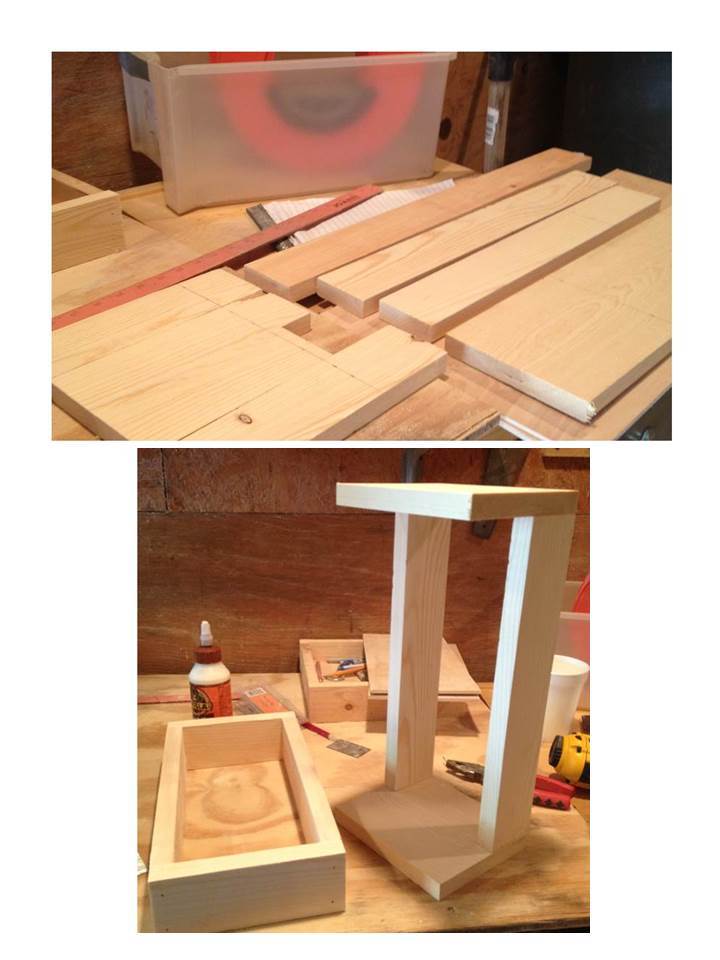
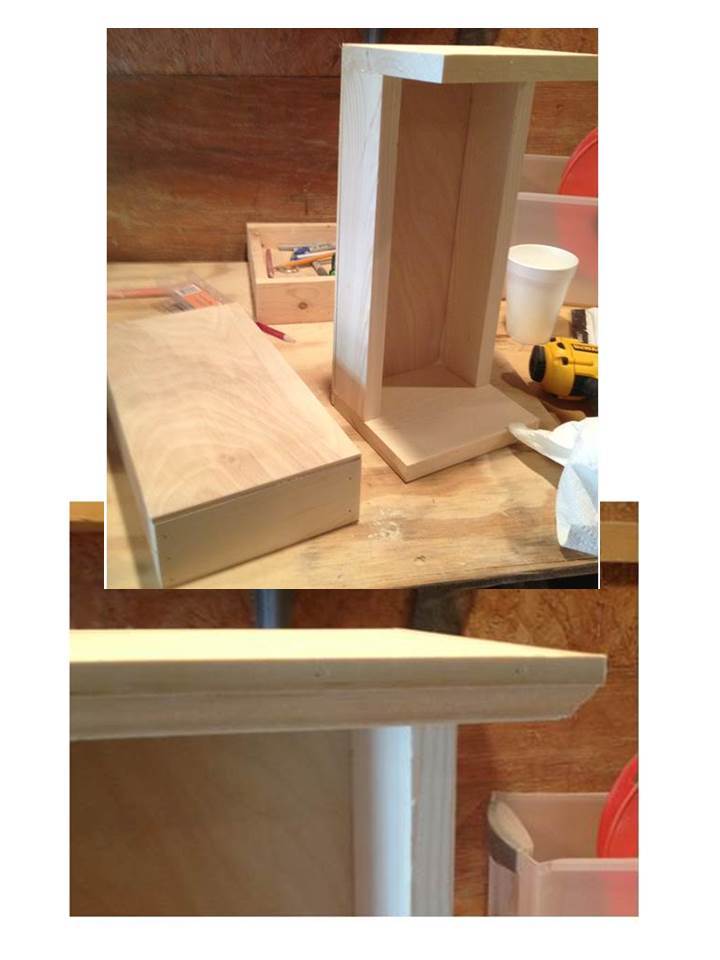
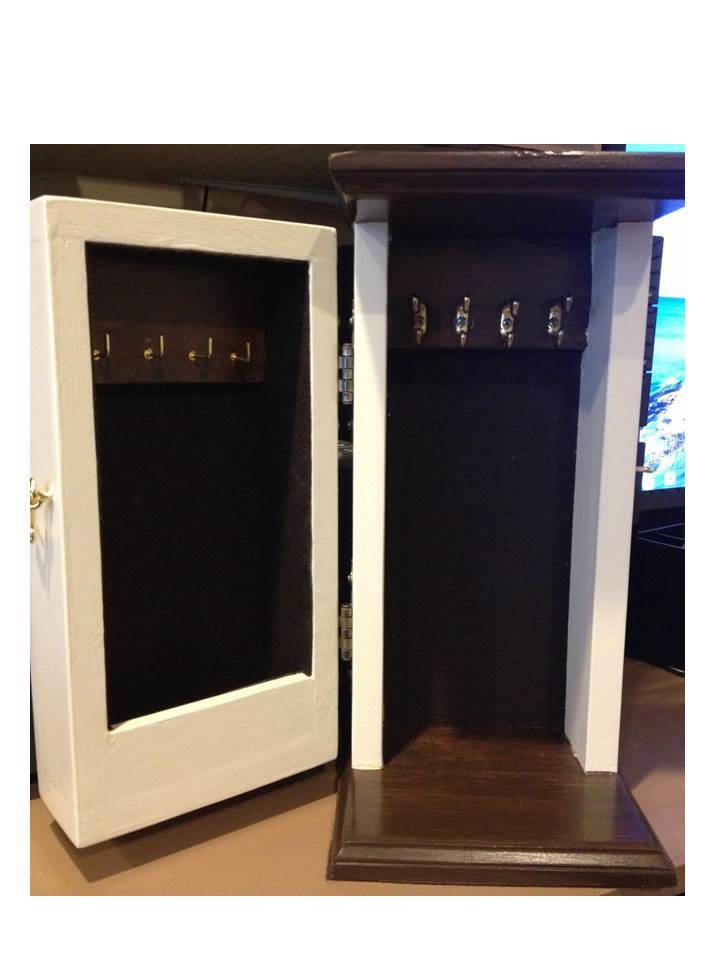
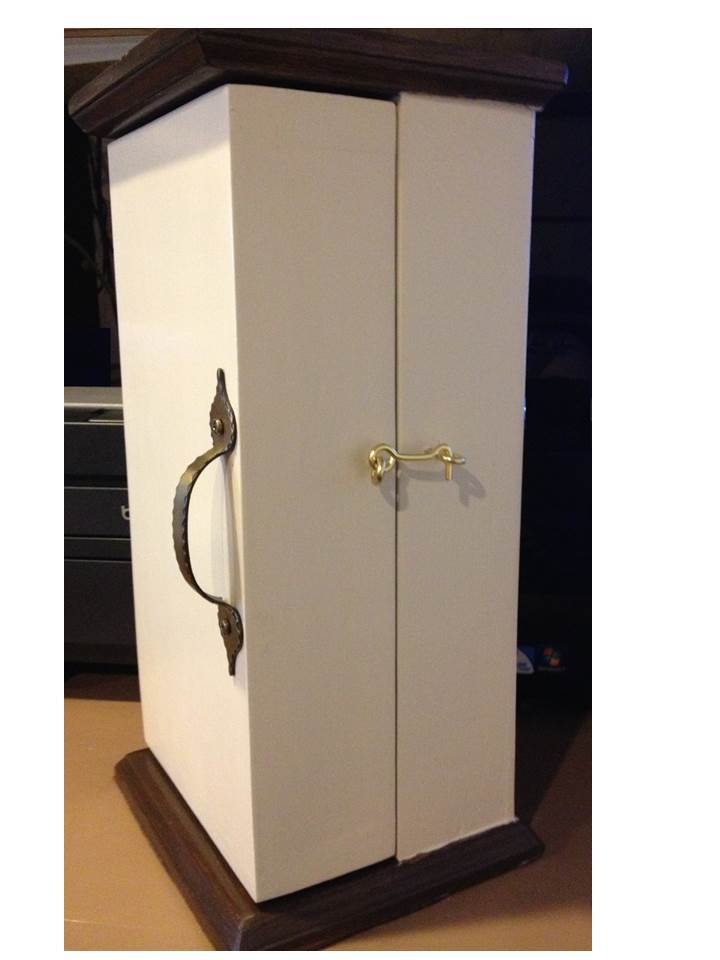
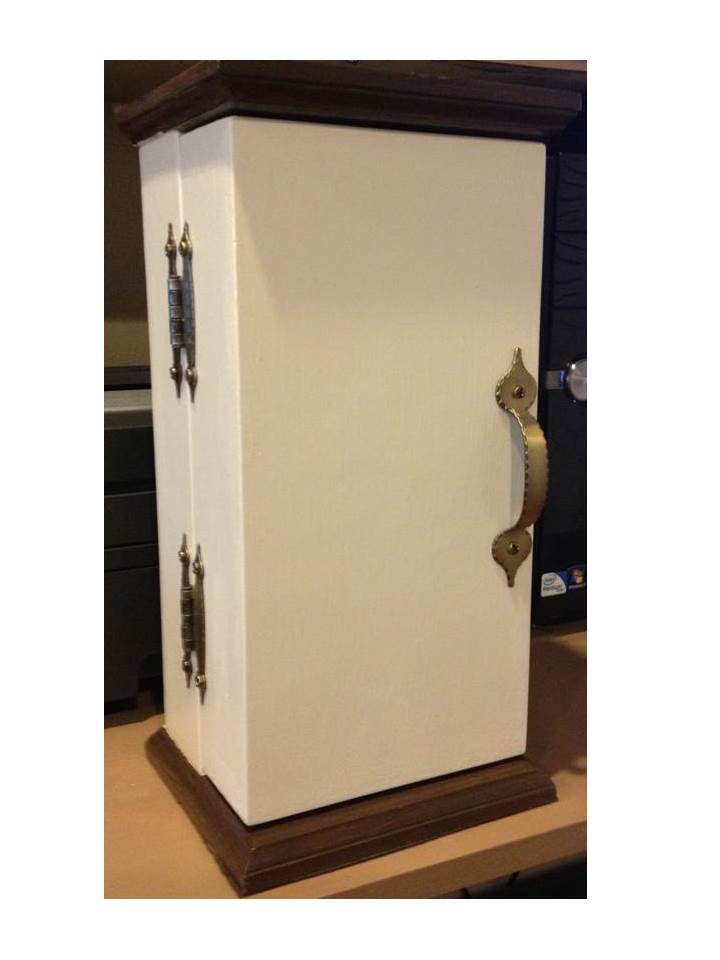
Necklace Armoire - a mother's day gift for Mom. I made this to go with the Fancy Jewelry box that I did for her for Christmas. Based on the Wall Jewelry Cabinet plan. This piece is made to stand like a narrow tower, and it opens up like a book. There are hooks inside, on both sides. I placed the hinges on the left, because Mom is left-handed. Dimensions are 6 1/2" wide, 14 1/2" tall, and 6 1/2" deep. Top & bottom are 1x6, box and door sides are 1x3, and door front and back are 1/4" birch plywood. The inside is lined with felt. The wood, stain and paint were already on hand, I just needed the felt and hardware. The build was very easy. The finishing took longest because it has both stain and paint, with added felt and hardware. On the right side I used some hooks re-purposed from an old jewelry box, and on the left side are 3/4" brass shoulder hooks from Lowes. Hooks are attached to some 3/8" craft board, which was stained and glued in place. I got to use my newest tool (23 gage headless pin nailer) for attaching the trim (very neat - it really was just a pin-size hole to fill). The front closes with a brass hook and eye. I sure hope she likes it! :) Happy Mother's Day!

Estimated Cost
$16
Estimated Time Investment
Day Project (6-9 Hours)
Finish Used
The top and bottom are stained with Minwax Express Color in Walnut. The box paint color is cream, mixed with some of the Walnut stain, to make it match the color of her existing pieces. Top coated with 2 coats of Minwax clear Polycrylic in satin. Antique brass surface cabinet hinges and handle are from Lowes.
Recommended Skill Level
Beginner

Comments

JoanneS

Wed, 07/10/2013 - 02:27

Thanks so much for the nice comment! Just finished another project, for Mom's birthday this Friday. :)

entry way shelf

Submitted by Anonymous (not verified) on Mon, 10/04/2021 - 14:49

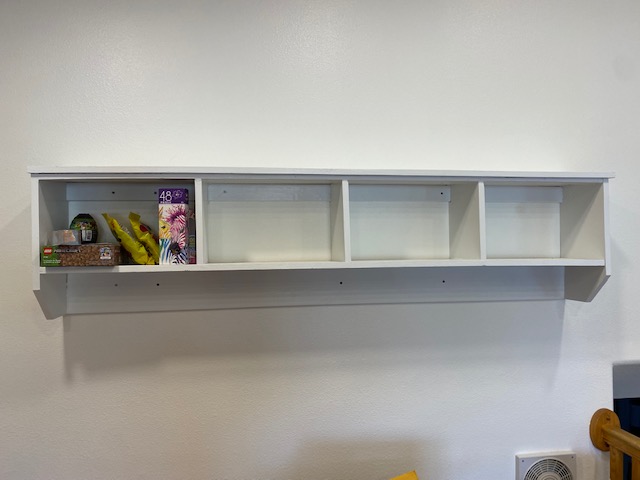
Hey Ana! I just finished the Entry Way Shelf and will be staring on the bench soon. I love your projects and especially that they are free! I'm so cheap I have a hard time parting w/ my money when I don't know something will work out, but yours always do!! I can follow a blueprint and create things based on a model but I don't have the creativity to come up w/ them myself, I'm sure glad you can! LOL! Thanks SOOOO much for sharing and I continue to look forward to the next thing!
Thanks again!
Patrick

Comments

Twin Platform Bed with Hairpin Legs

Submitted by Anonymous (not verified) on Mon, 10/04/2021 - 17:40

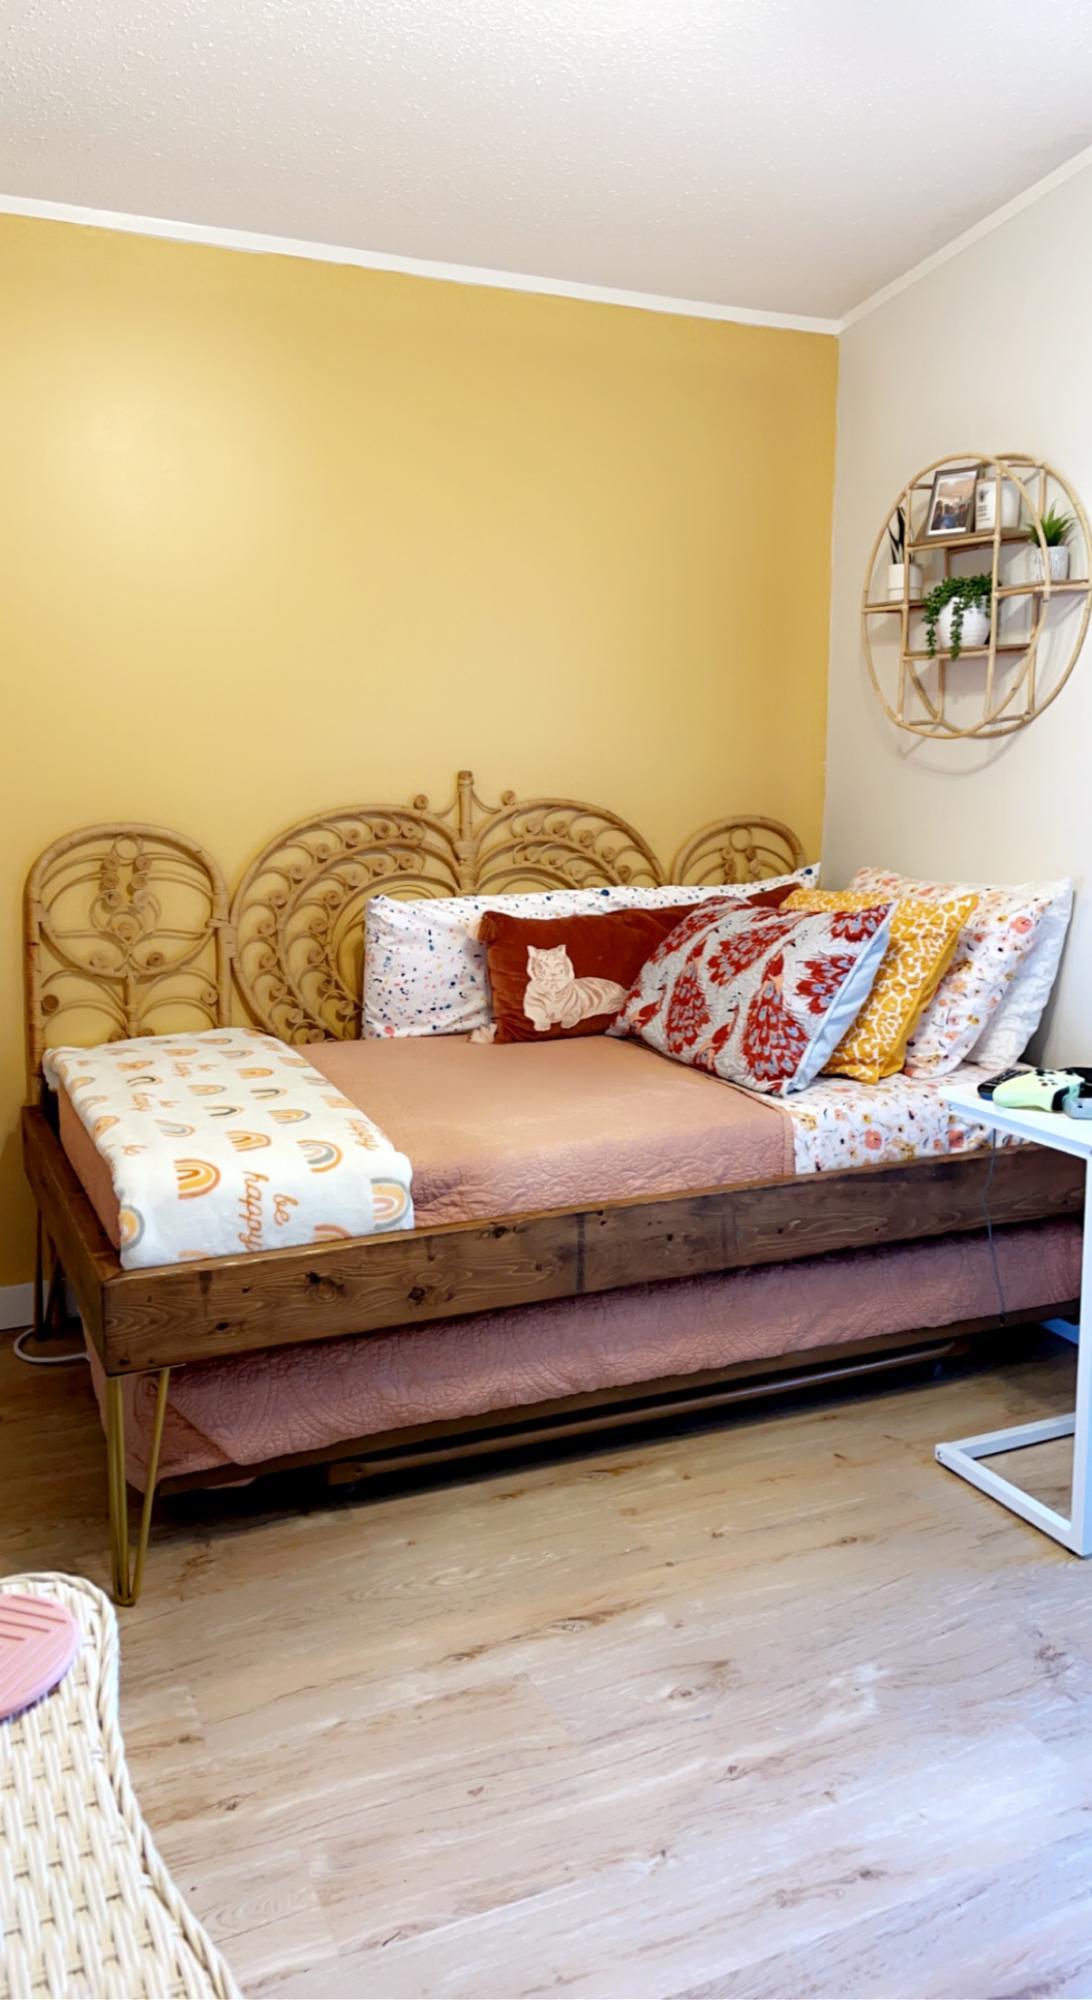
I used untreated 2” x 6” boards, mitered the corners and stained with Minwax Early American.
The 14” golden hairpin legs are from Amazon however, after I built the bed, I realized the mattress on the trundle was getting caught on the angles of the legs so I’ve ordered straight legs as replacements. It should take care of the issue. Lesson learned! 🤣 Overall, I built it myself, it’s very sturdy and she loves it! Thanks Anna for the plans!!!

Comments