Community Brag Posts

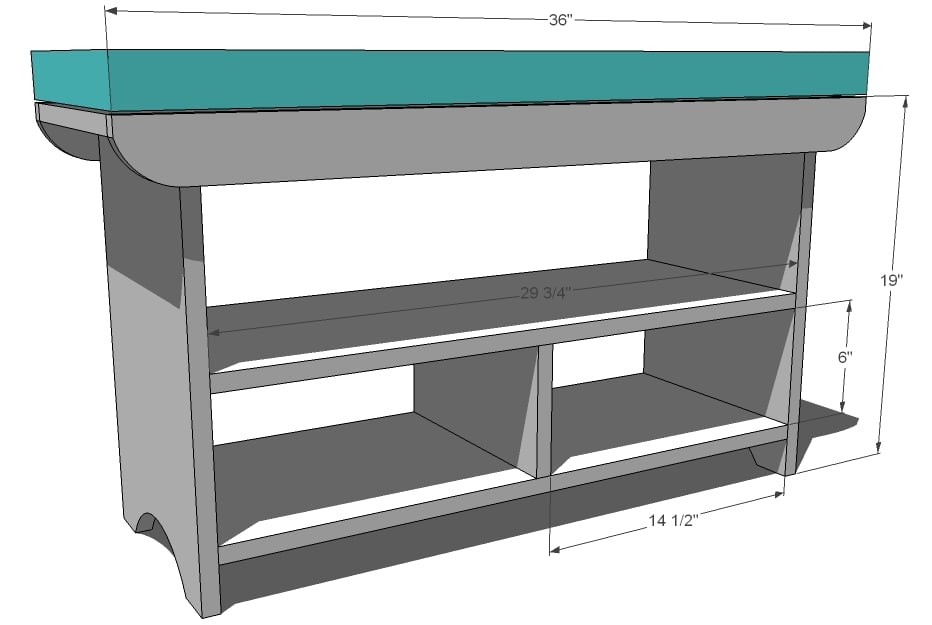
Live Edge Custom Built Entryway Bench

Submitted by Anonymous (not verified) on Fri, 08/25/2023 - 11:01

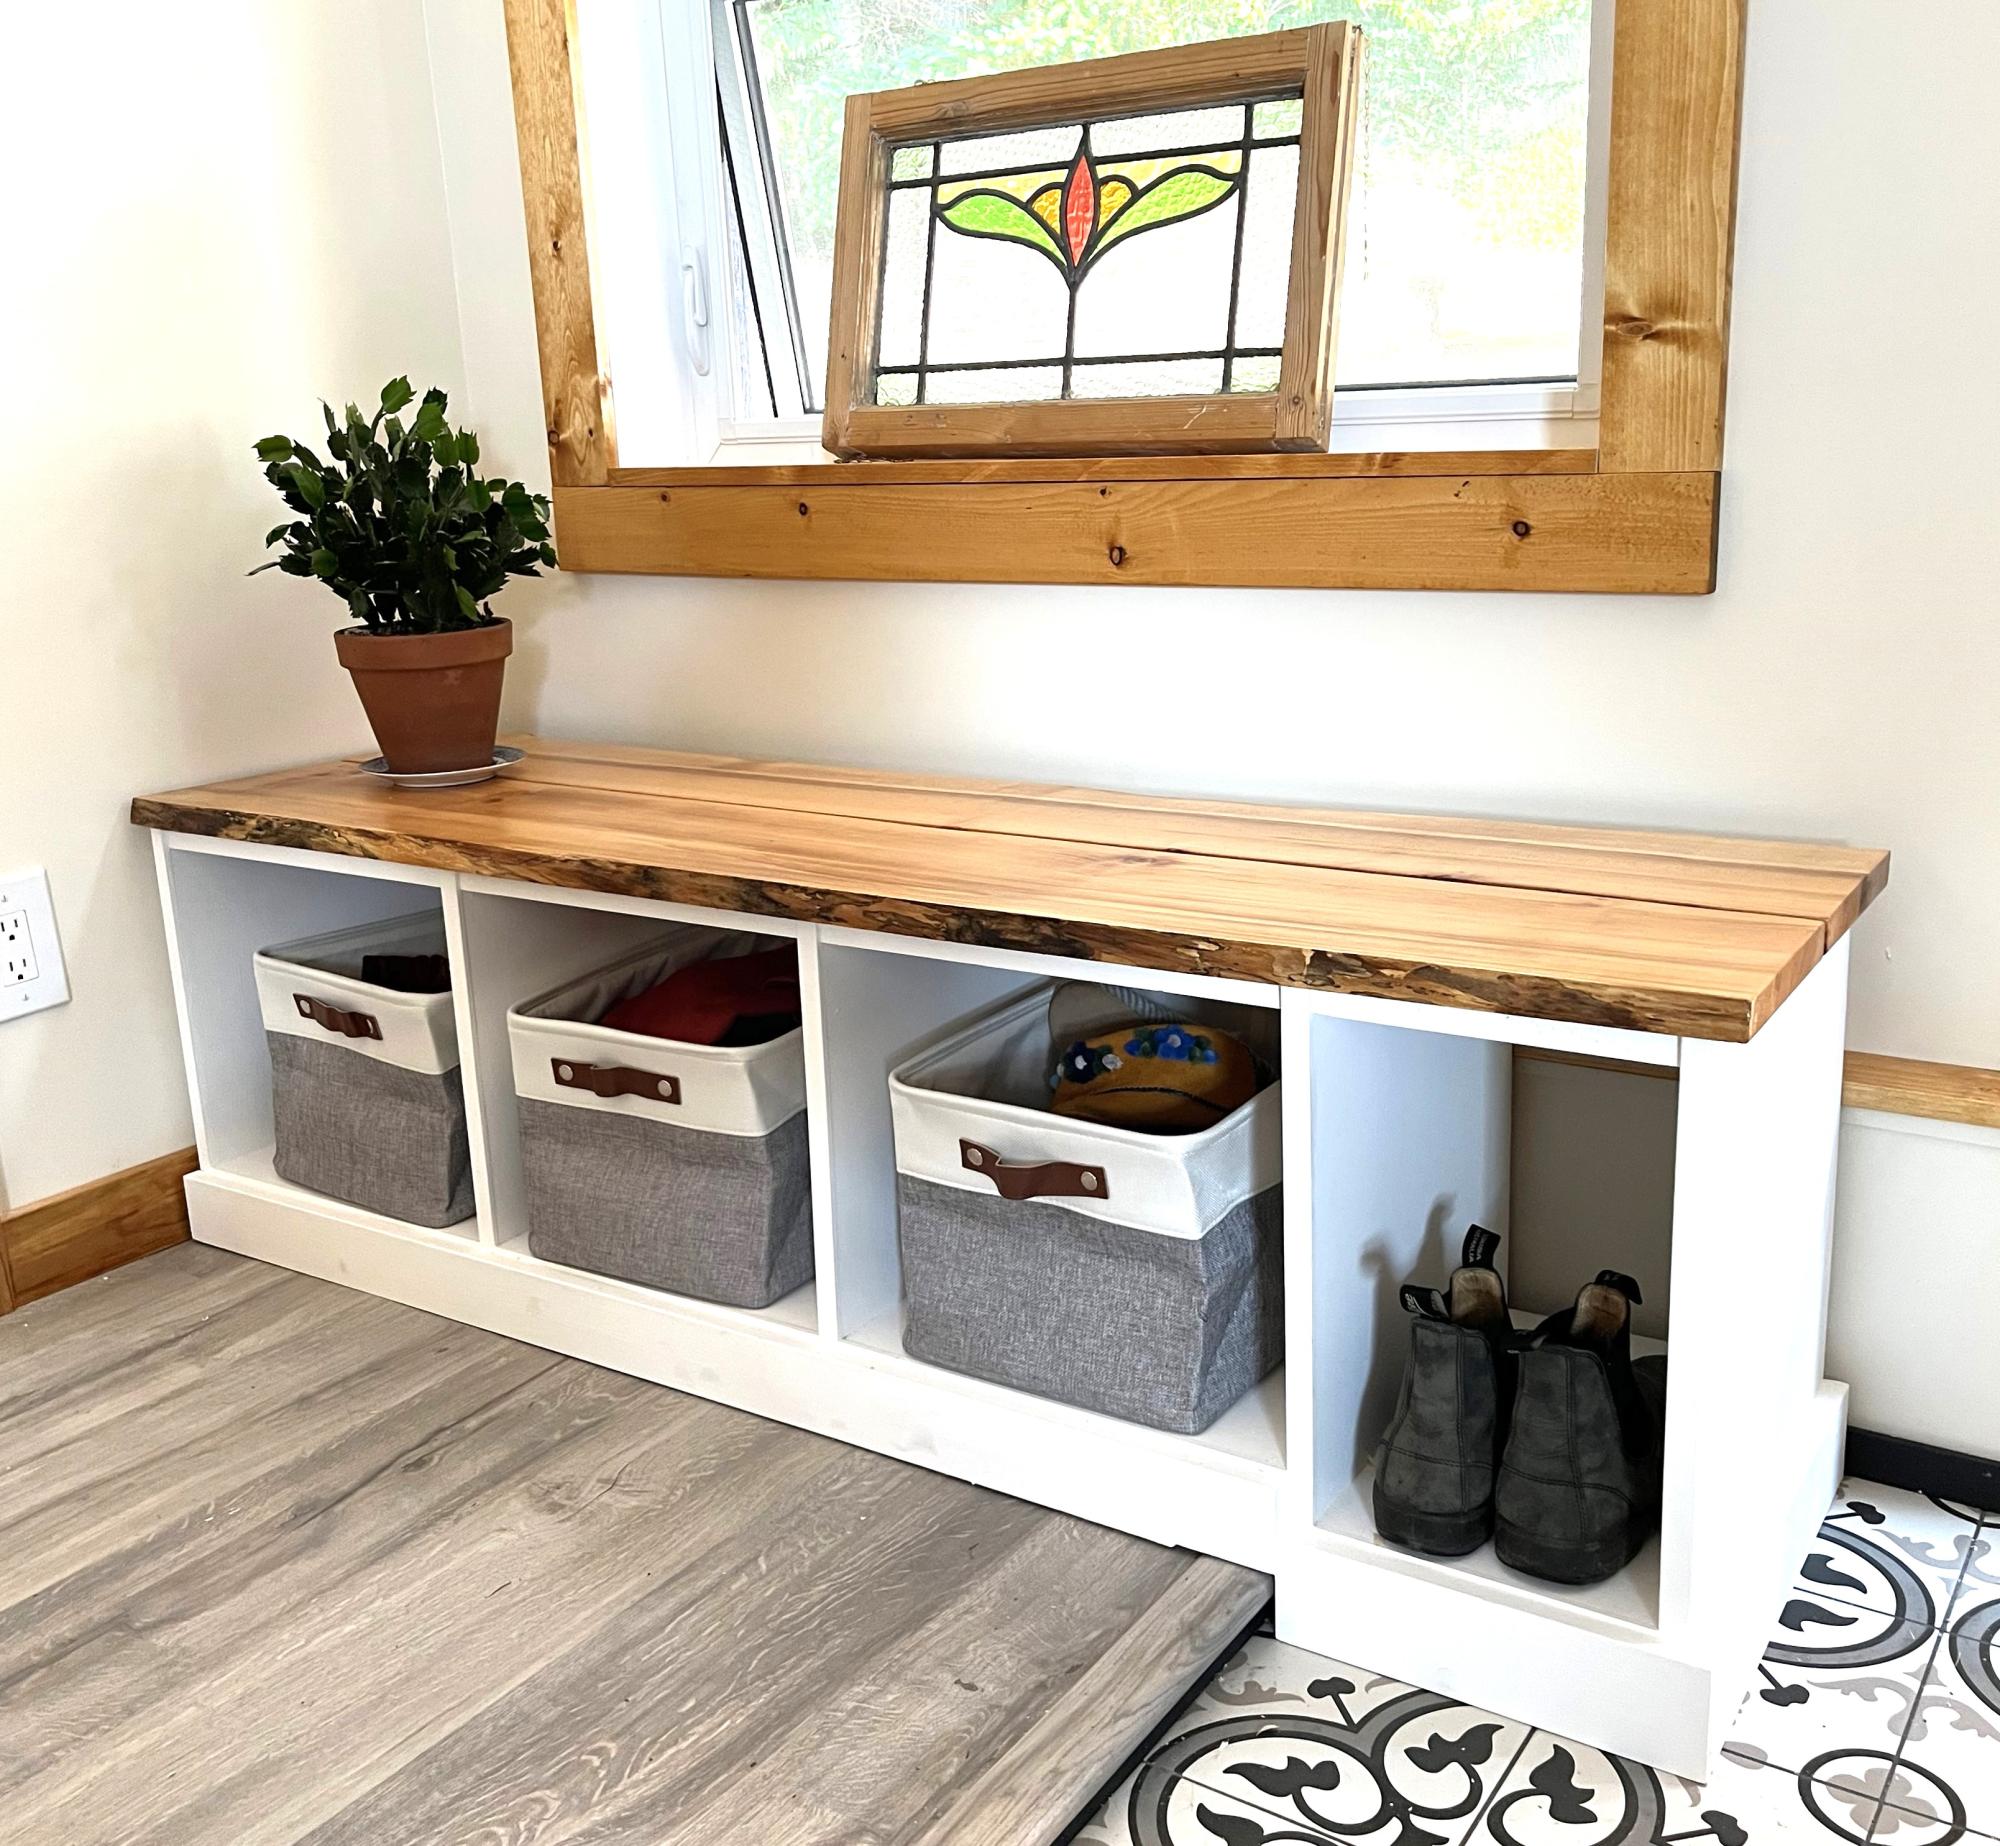
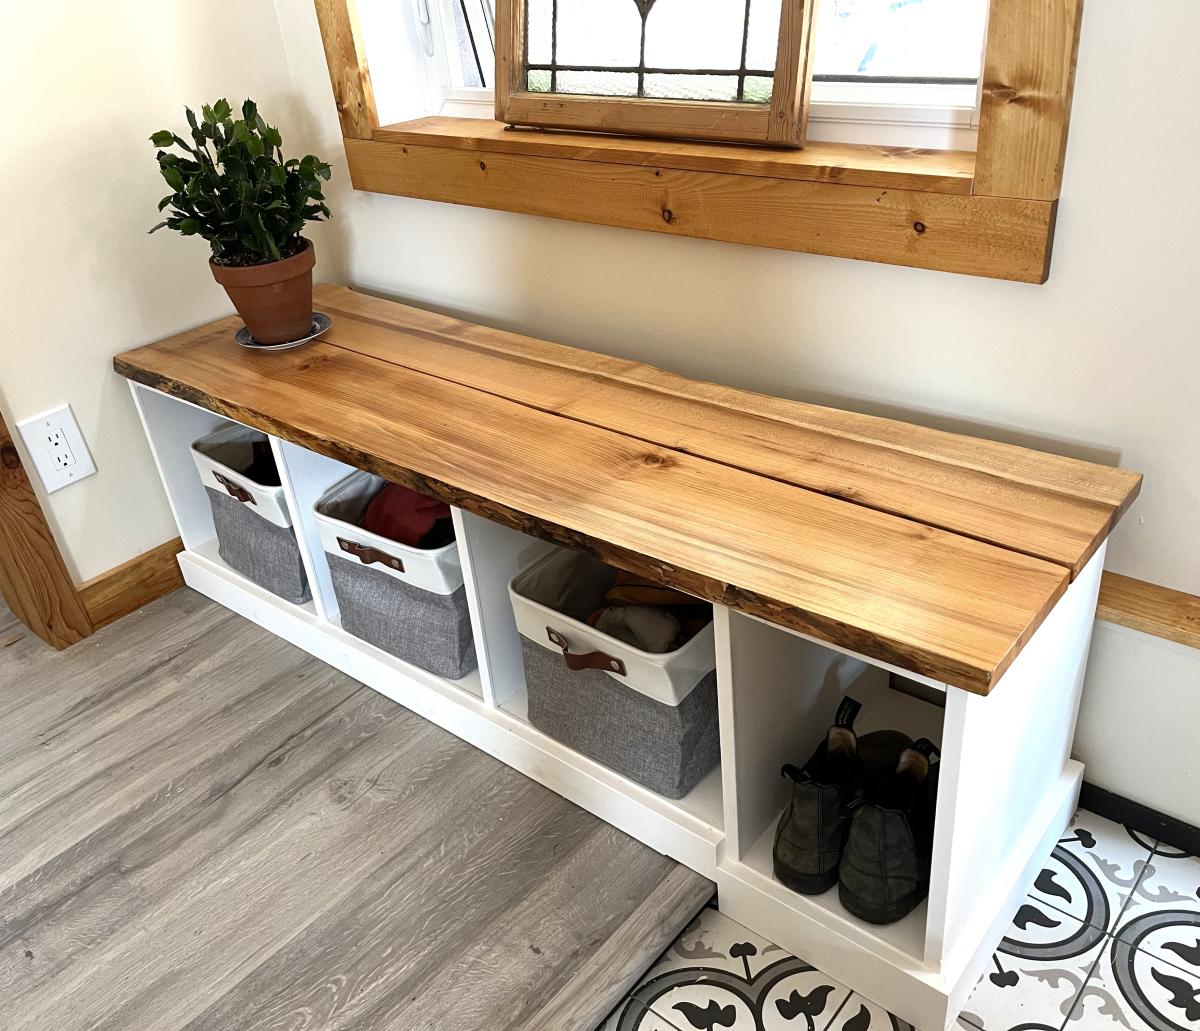
Entryway Bench. I customized the plan with a maple live edge top and a fourth bay that had to be modified to extend the right side of bench down to lower level floor. Worked out perfectly! I am a total amateur woodworker but impressed with how easy it was and how professional it looks.

web: floatingislandsstudio.com

Built from Plan(s)

Easy to Build Workbench

Submitted by Anonymous (not verified) on Wed, 09/06/2023 - 09:09

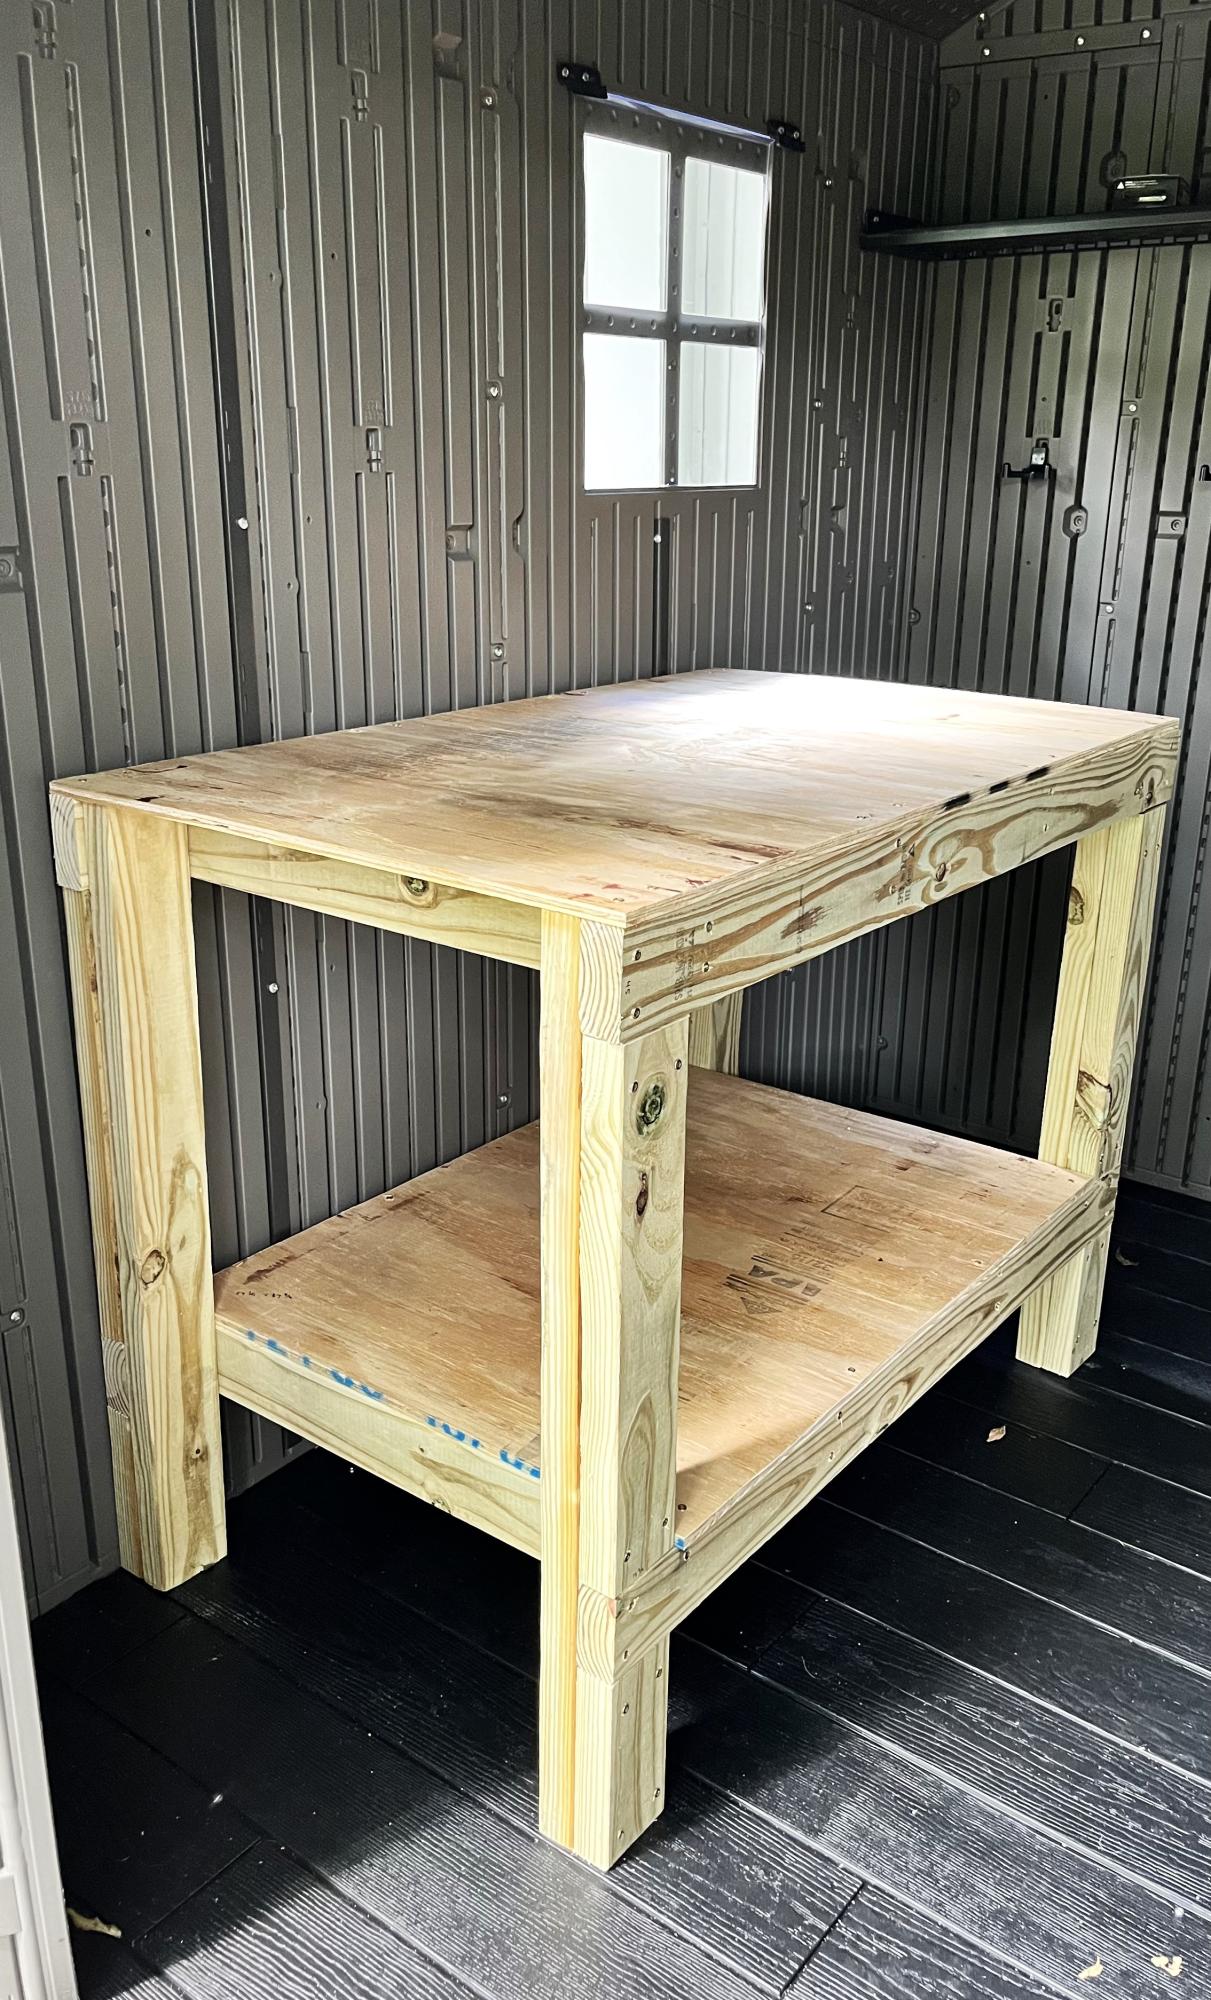
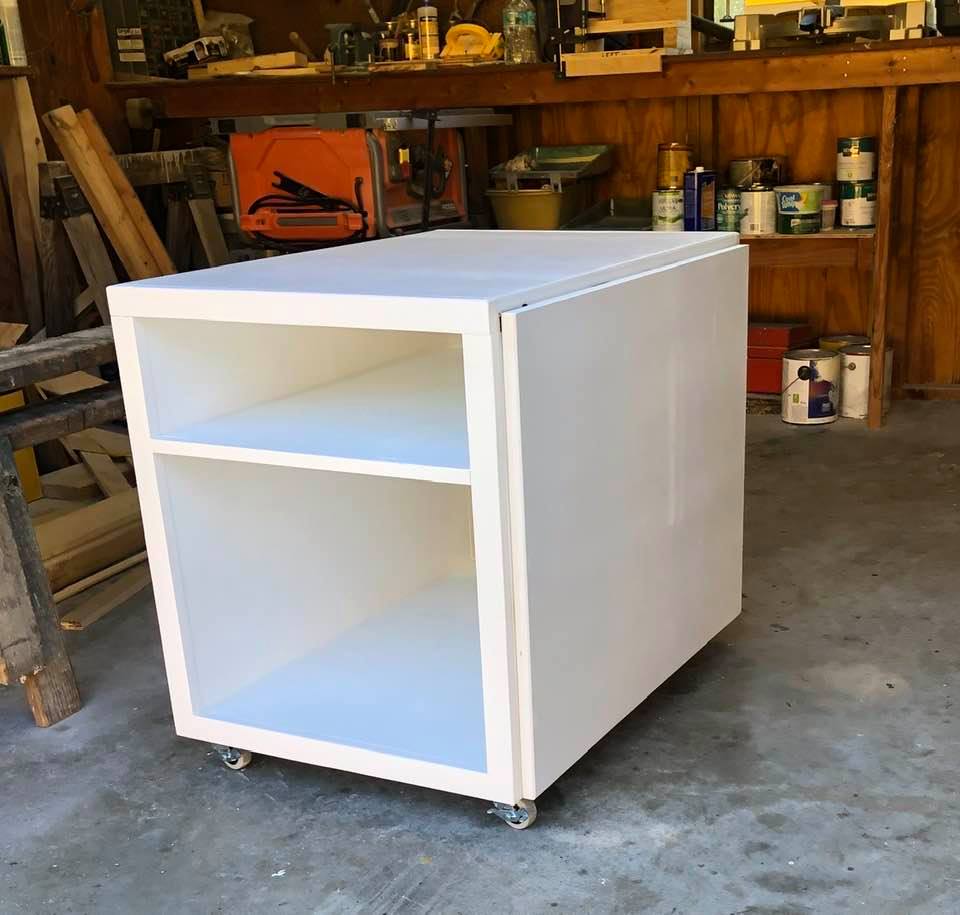
I was wanting a work bench for my outside shed to work on occasionally and help keep organized. This is the first piece of furniture I have built totally on my own! The plan was easy. I sized it down a little with no problem. I'm a little off on a couple of the cuts but will practice more! Overall, thrilled and extremely proud of it!

Lori B

Modified Farmhouse Table

Submitted by imlewer on Wed, 04/11/2012 - 08:05

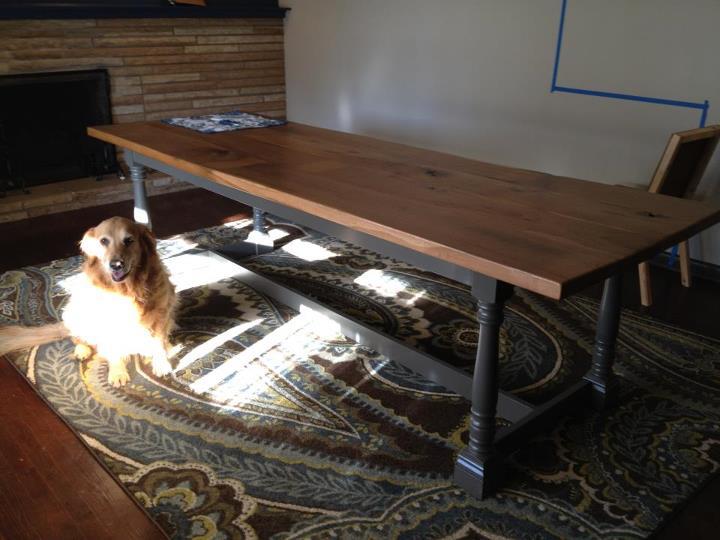
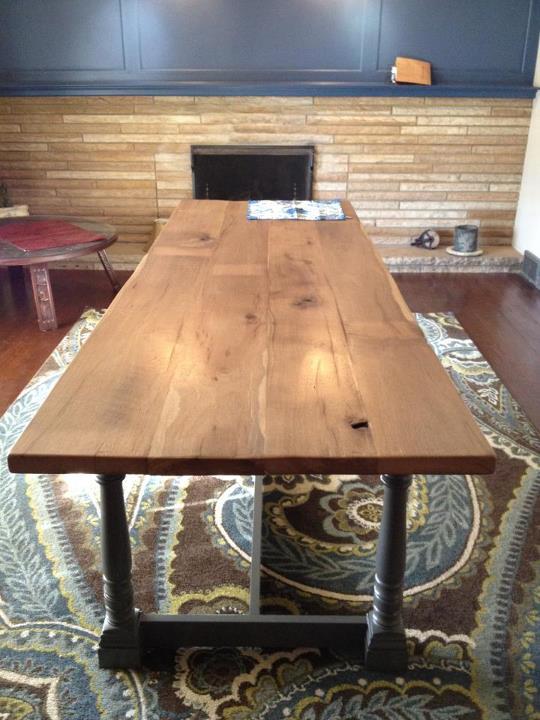
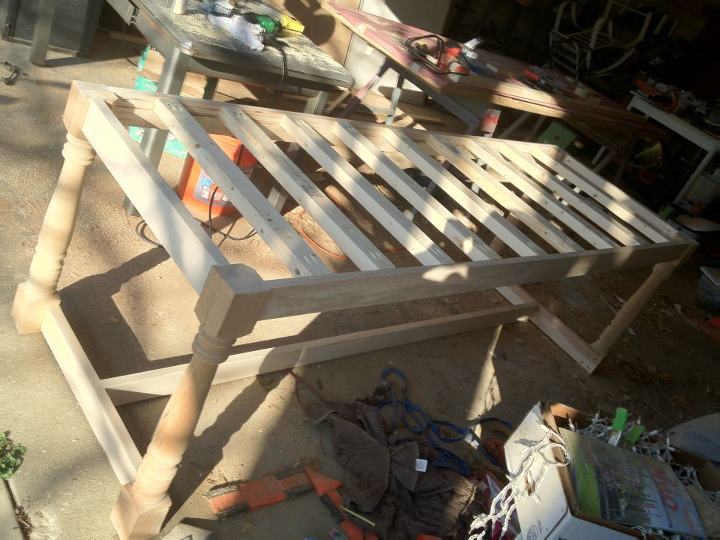
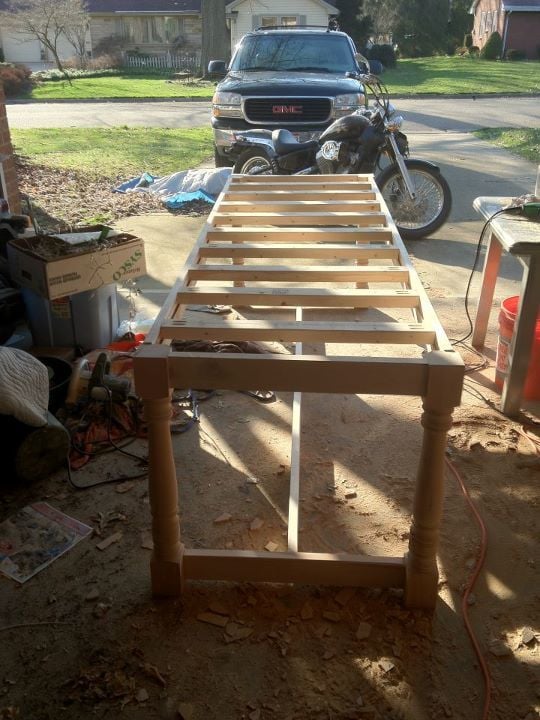
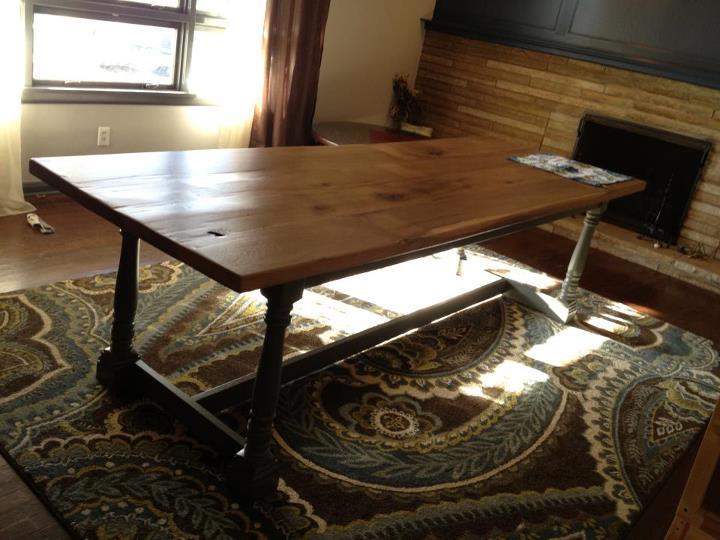
Inspired by the Farm House table plans. I scored a bunch of old reclaimed barn wood from a friend of mine and decided it would make a perfect table top. I finished our basement and we moved our living room downstairs as planned. Which left us with a very large and very vacant room in the front of our house (14' x 21'). We had always planed to turn this into our dining room when the basement was done since we have no other formal dining space in the house. So this was the first piece of many to be build and placed in the room.

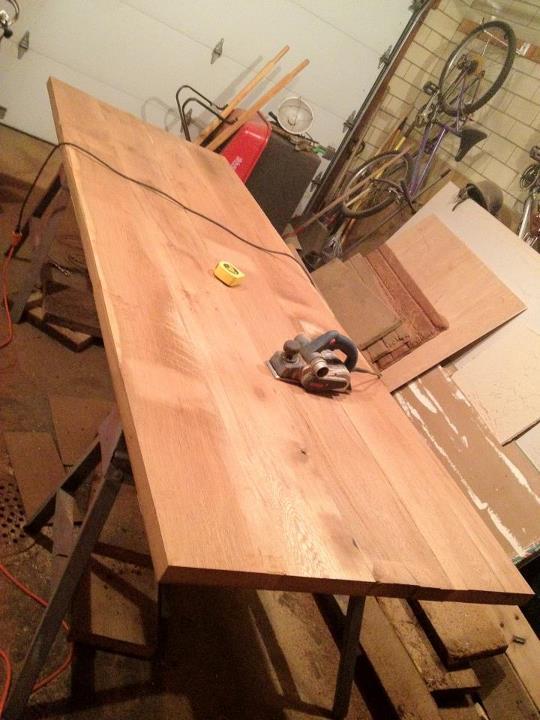
The table is 9ft long and the top is 7/4 thick oak floor boards. I took them down to a local cabinet shop and they jointed the edges, planed the top and bottom, glued them up and cut them down to 9ft (started at 12') for $50. Best $50 ever spent. I live close to Amish country so there are a lot of wood suppliers locally, I found a guy who sells stairway newels and all kinds of posts at super low costs. I picked up all for of my legs for $10 a piece. The exact same post was $33 at my Menards. I just trimmed them up to size and was good to go. I had the same cabinet shop mill the lumber for the aprons and stretcher as well. Its all 1" thick maple with a nice little rabbit cut in the long aprons to act as a ledge for my cross supports. To finish up the legs I added some 4" baseboard to thicken up the look of the bottom legs.

I'm super pleased with how it turned out and so is my wife, which is all that really matters anyway. Next up, entry way bench, 8 Parsons chairs and a steel pipe buffet...

Estimated Cost
$170 (including all supplies and poly)
Estimated Time Investment
Week Long Project (20 Hours or More)
Finish Used
Satin Water Based Poly (4 coats)
Recommended Skill Level
Intermediate

Comments

Michelle Caudle (not verified)

Wed, 04/11/2012 - 09:29

Absolutely gorgeous!!!

Michelle Caudle (not verified)

Wed, 04/11/2012 - 09:30

It's gorgeous!!!

whitney_smith

Wed, 04/11/2012 - 10:51

Do you mind sharing with me where you are located? It's not too often people speak of "Amish Country" so I wondered if you are in Central Ohio? If yes, I NEED to know where you go those legs for so cheap! Thanks!

imlewer

Wed, 04/11/2012 - 11:10

I actually live in Massillon, Akron-Canton area. The guy with the posts is right outside of winesburg. I have his business card at home and I'll send you the info when I get home. Its at this little flea-market pole building area. Its publicly open from I think May-Oct, but if you call him he'll meet you there by appointment. He had a ton of stuff. Mine we some of the most "expensive" since they were like 5ft tall before I cut them down.

Laundry Basket Shelf

Submitted by Anonymous (not verified) on Wed, 09/13/2023 - 09:35

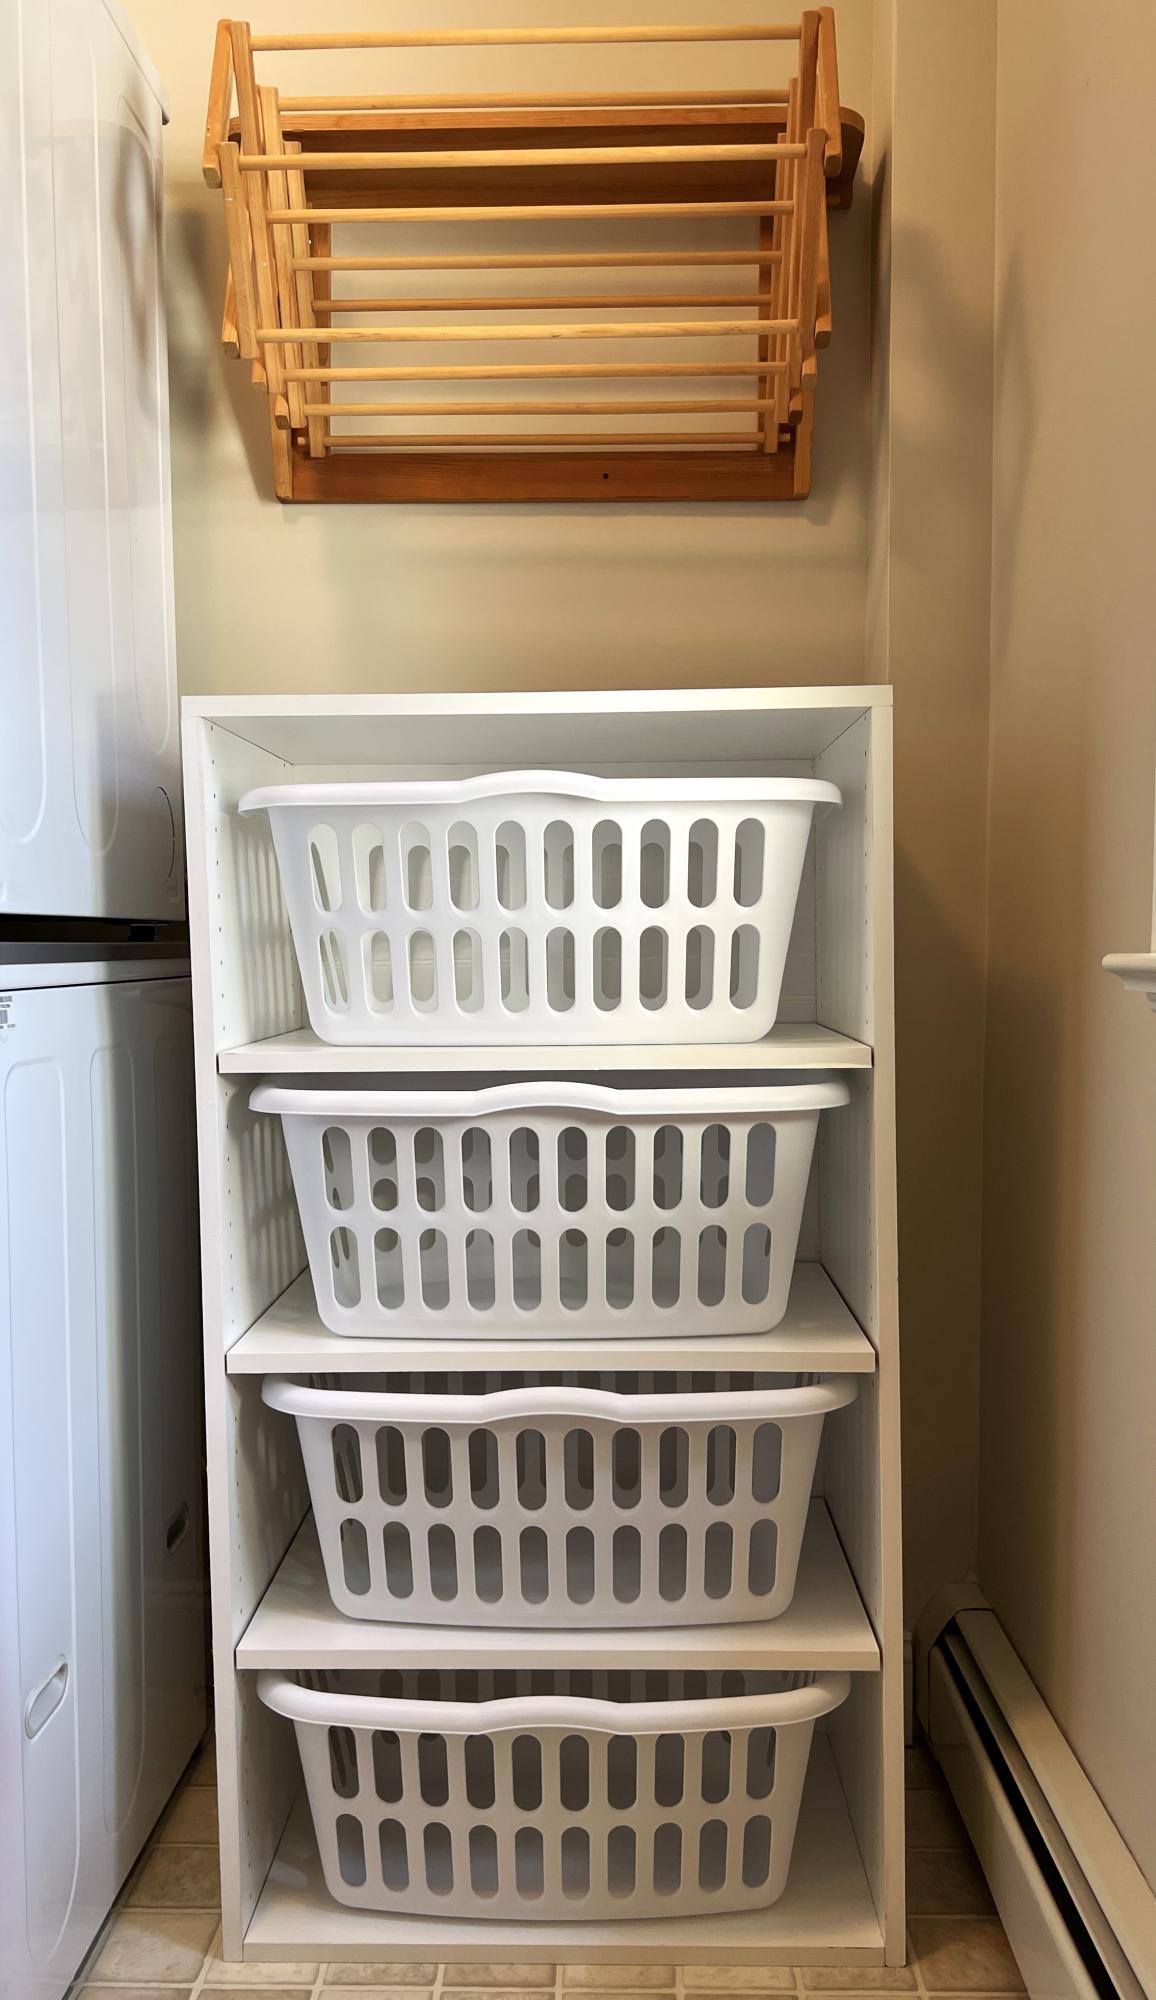
I didn’t want to have to paint or cut the metal angles - plus I wanted 4 basket tall so I used pre-drilled melamine for the sides making the unit 48” tall. Then cut top and bottom same as plans and bought 5mm L shelf pegs and had shelves cut 24 1/4”. Used white wainscot panel for back. Very easy - especially since I had big box store make all my cuts! Just have to make sure you have peg holes lined up at bottom or you won’t be level.

Deb D.

Built from Plan(s)

Comments

Computer desk

Submitted by Flowerchld on Wed, 04/25/2012 - 15:47

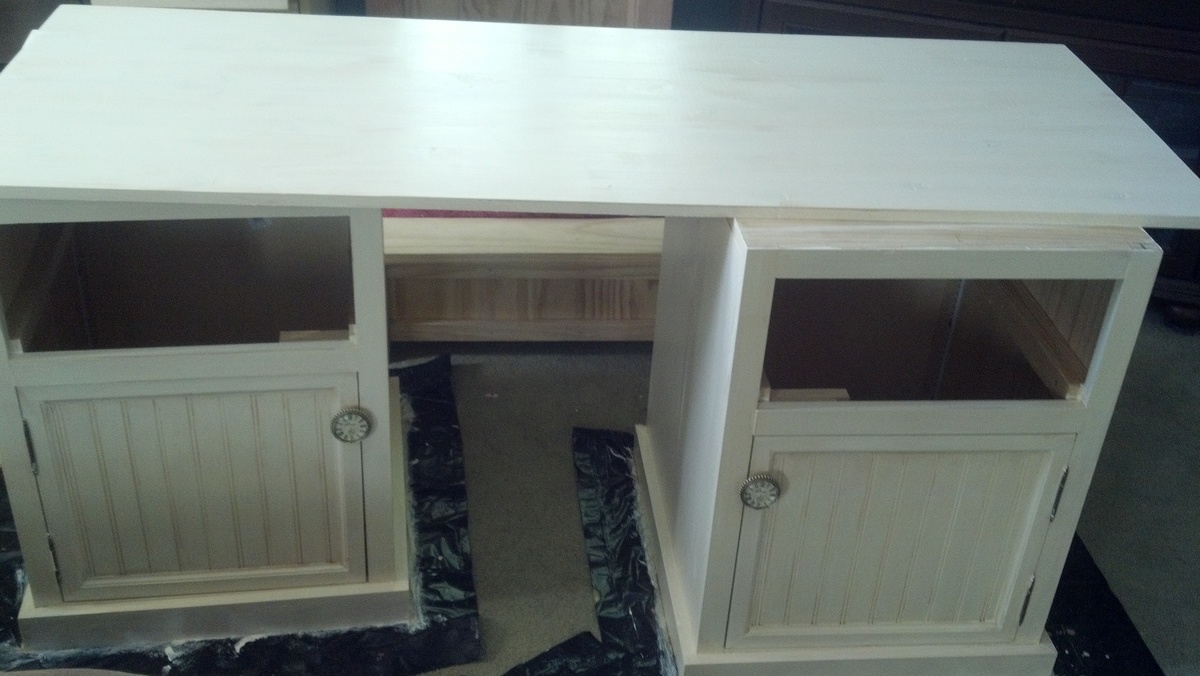
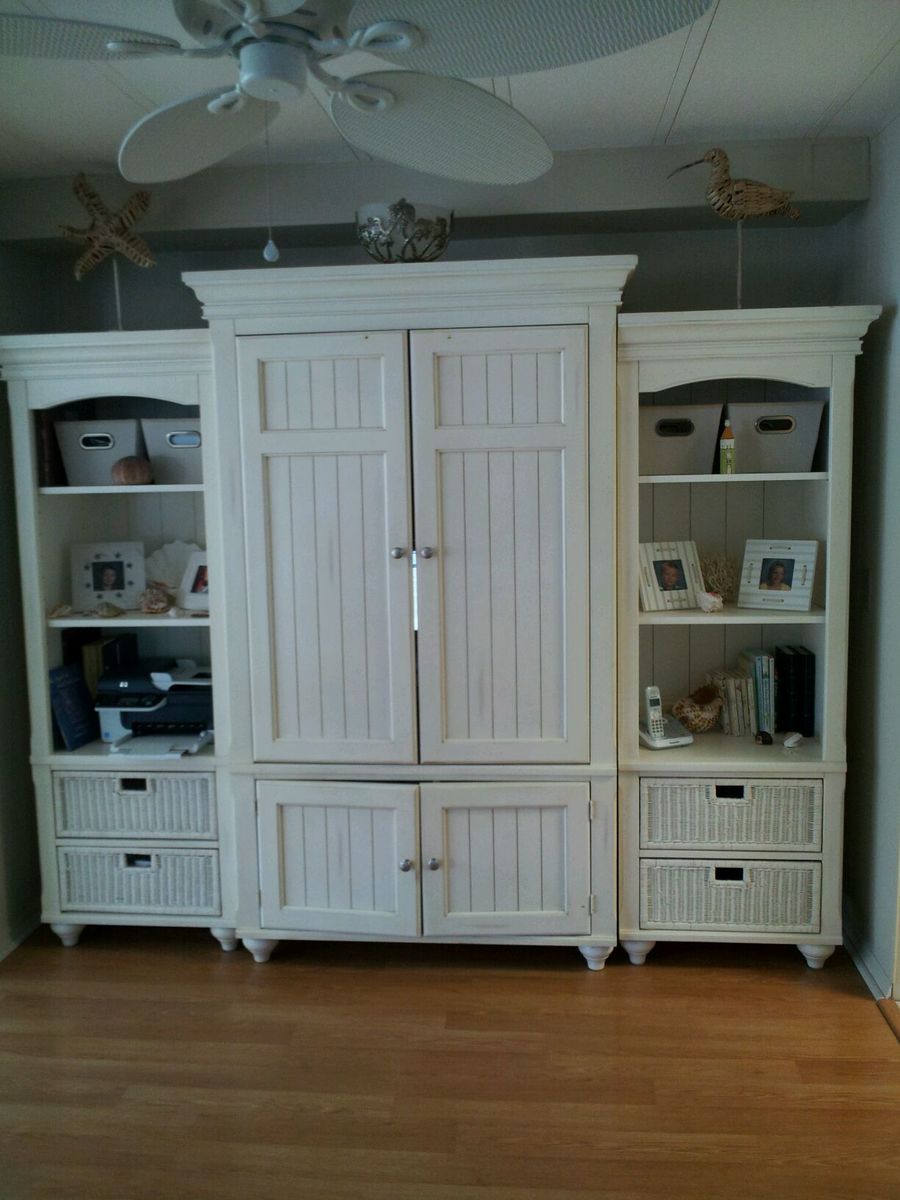
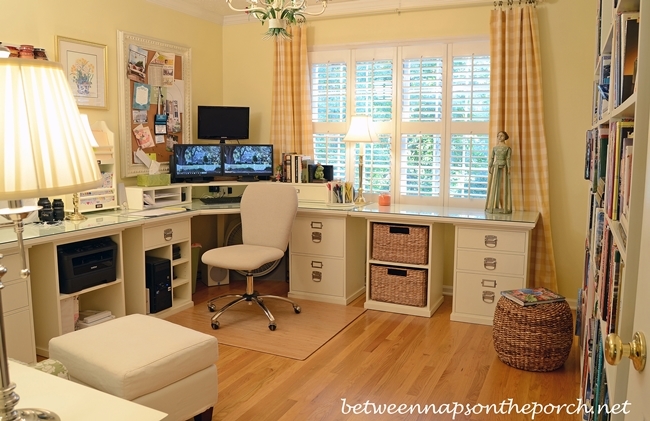
I made this computer desk with just an idea and a picture of my aunt's compter desk I loved! In her desk the middle section goes clear to the floor, but I wanted room for my legs. Her's also was wicker shelves on the bottom sides so I found a general cabinet plan and of course altered that. This was made in 5 separate pieces and put together!
The other picture is the desk in progress and the second pic is the desk I was kinda copying/altering.

Estimated Time Investment
Week Long Project (20 Hours or More)
Finish Used
off white paint, sanded and topped with a glaze mixed with stain for an antique finish.
Recommended Skill Level
Intermediate

Comments

big dreamer 2

Wed, 08/26/2015 - 13:26

This gorgeous desk/bookshelf/cabinet is just what I've been looking for. I'm new to your impressive site & can't access the plans...please help!  Thank you for all the wonderful plans


Shaker Style cabinet doors DIY style

Submitted by ksmith311 on Sun, 02/09/2014 - 21:18

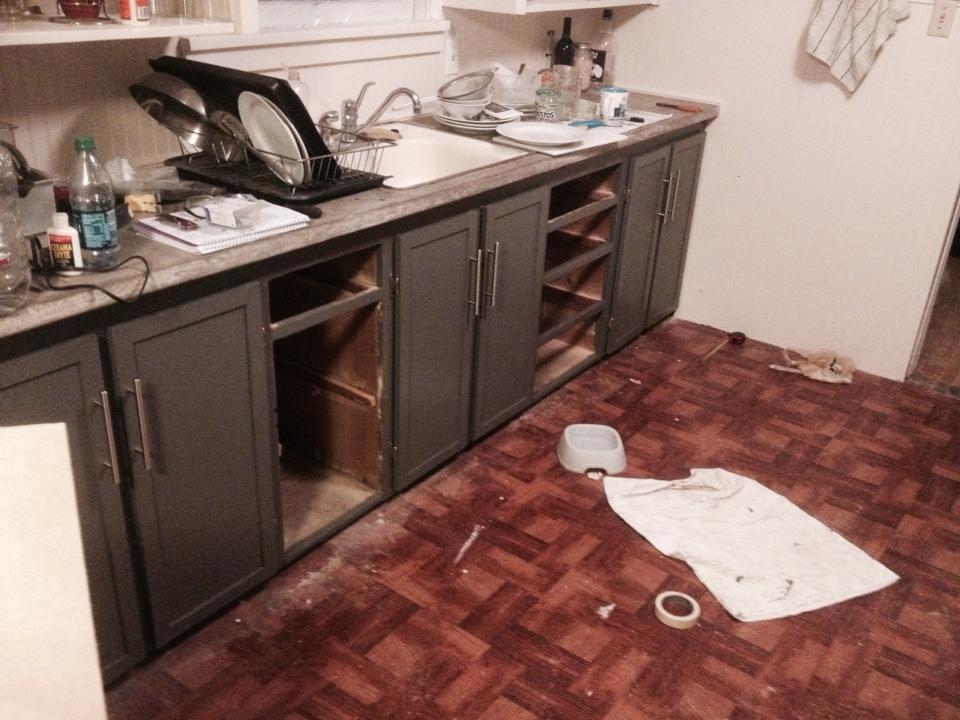
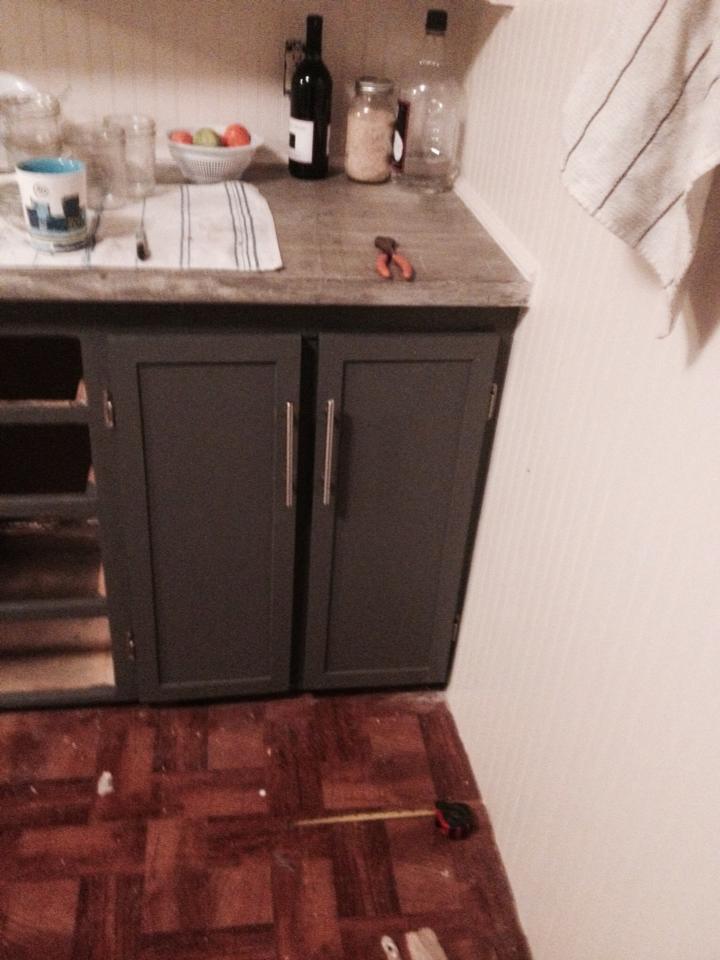
Pleas excuse the mess in the pictures. It is too cold to work in the garage up here in the northwest, so this project took over our entire kitchen and dining room. We built these frame and panel-style doors using Ana's plans from the mom-plex bathroom vanity! We are so excited because we spent about $100 including paint and have plenty of leftover materials for the drawers next week!

These are the original cabinets in our 75 year old house and they were in serious need of rehab. We even contemplated ripping them out and using Ana's cabinet plans to build new ones but after we removed the shelves, the carcass of the cabinets were still in good shape. We filled, sanded, painted and built these new amazing doors that I'm seriously losing my mind over. They are so beautiful and I don't think I could have ordered something better. Maybe better made but how sweet is it to save all that money by building them yourselves?

We'll post drawer pictures after we get those finished up and hopefully have a clean kitchen at that point. :)

Thanks Ana! Our home is becoming truly special with the skills we learned from you!

Built from Plan(s)
Estimated Cost
$60
Estimated Time Investment
Weekend Project (10-20 Hours)
Finish Used
Benjamin Moore's Kendall Charcoal in Semi Gloss
Recommended Skill Level
Intermediate

Shared Miter Saw Station

Submitted by Anonymous (not verified) on Mon, 10/02/2023 - 10:48

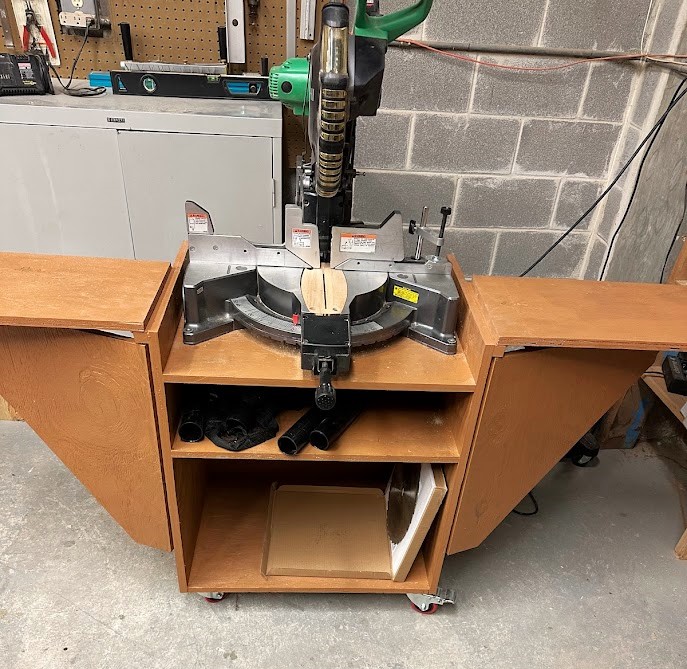
A friend and I built the mobile miter saw stand from your plans. We live in a retirement community and use the saw in our woodworking shop.

Built from Plan(s)

Christmas Kitchen

Submitted by suzyqueque on Wed, 05/11/2016 - 11:33

Made a few mods.  Super fun...

Estimated Cost
150
Estimated Time Investment
Weekend Project (10-20 Hours)
Recommended Skill Level
Beginner

Comments

Sewing & Craft Table

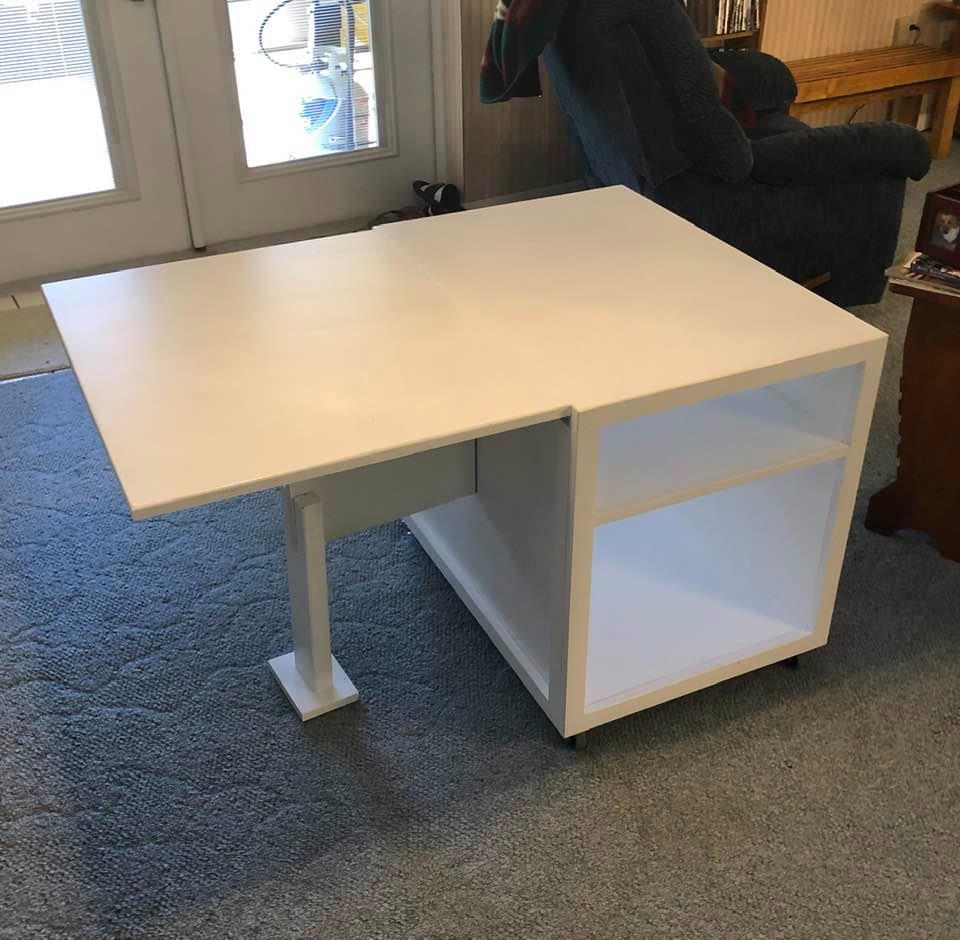
Using Ana's plan for a simple sewing table, I modified it to meet the needs of my daughter.

I only used 1 wing instead of two and made a brace that folds away under the leaf. On second thought I added a safety leg and foot to keep the table from tipping when the sewing machine is on top of the leaf.

I trimmed out everything but the leaf with 1 x 2 pine.

The top (with leaf raised) is 31 x 46 inches of work space. 

Built from Plan(s)
Estimated Cost
$130
Estimated Time Investment
Weekend Project (10-20 Hours)
Finish Used
White satin paint ( 1 1/2 quarts) applied with a roller and a sprayer
Water based polyurethane on the top only, applied with a brush.
Recommended Skill Level
Intermediate

Comments

A swing for bebe

This is basically just a scaled down version of our porch swing, with a few adjustments for safety. The best part? Its baby approved! She swings away happily watching her sibs playing in the yard, She likes it so well, in fact, that I frequently find myself carrying a sleeping baby from swing to bed. :)

Built from Plan(s)
Estimated Time Investment
Day Project (6-9 Hours)
Finish Used
American Accents Colonial Red
Recommended Skill Level
Beginner

Comments

Robinwood

Mon, 05/14/2012 - 16:48

This is wonderful, and it looks very safe. I don't have any little babies around, but it would be a nice gift for someone.

First project: Farmhouse Storage Bed

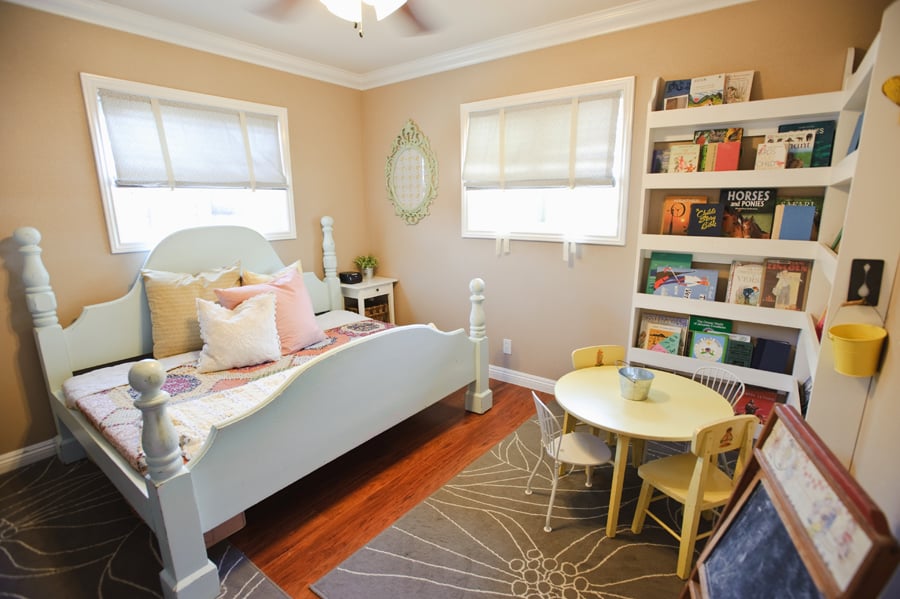
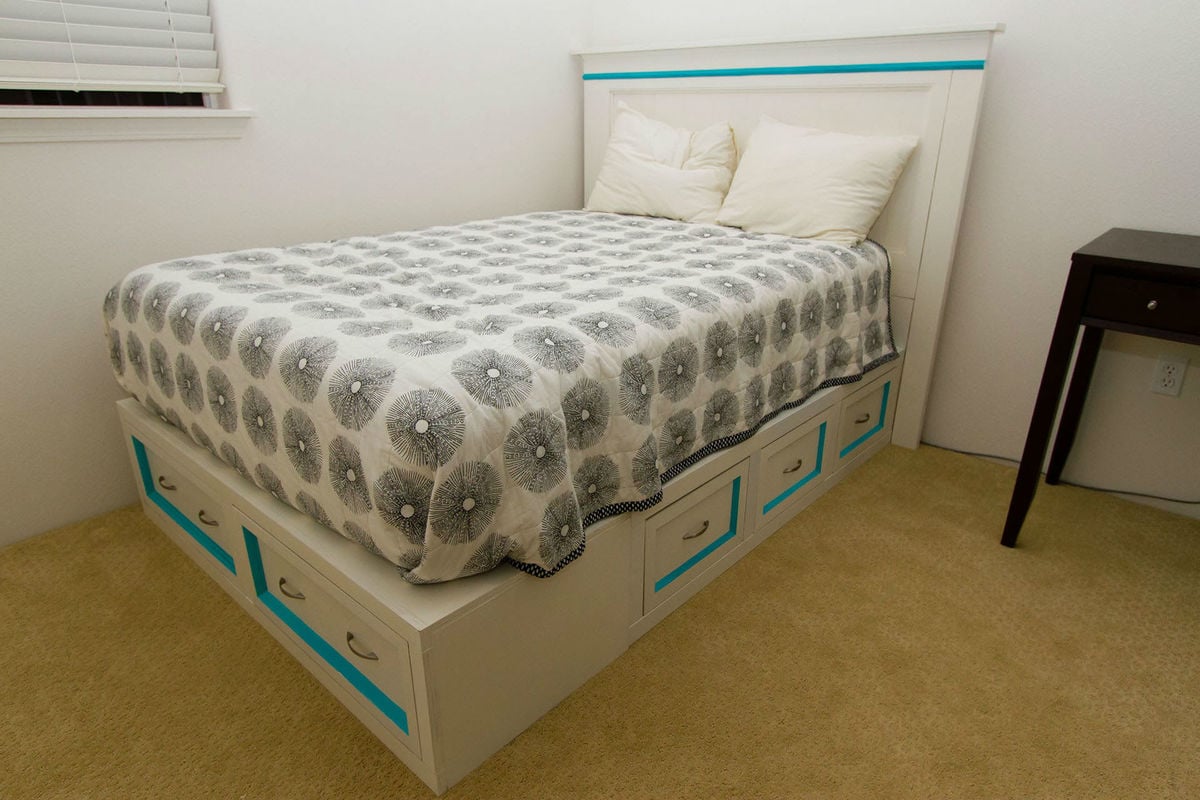
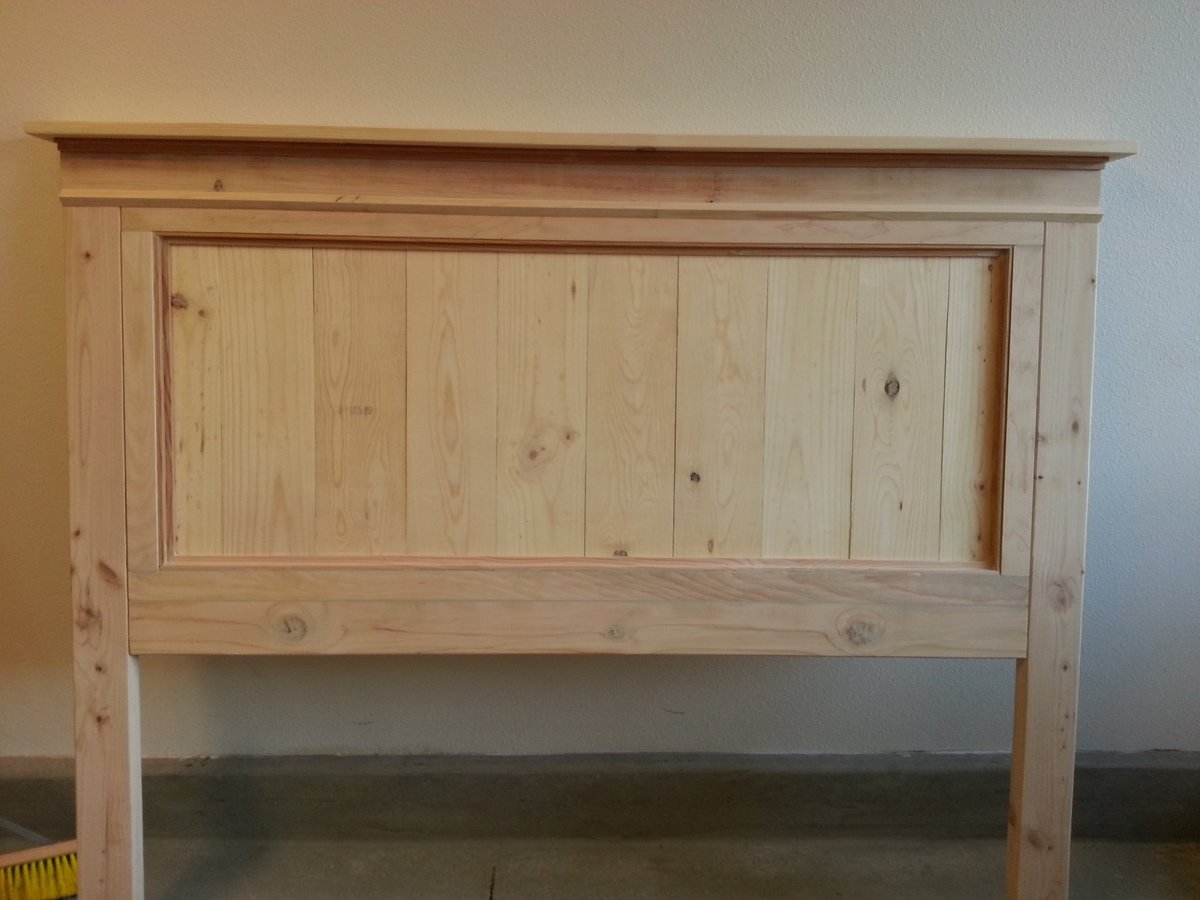
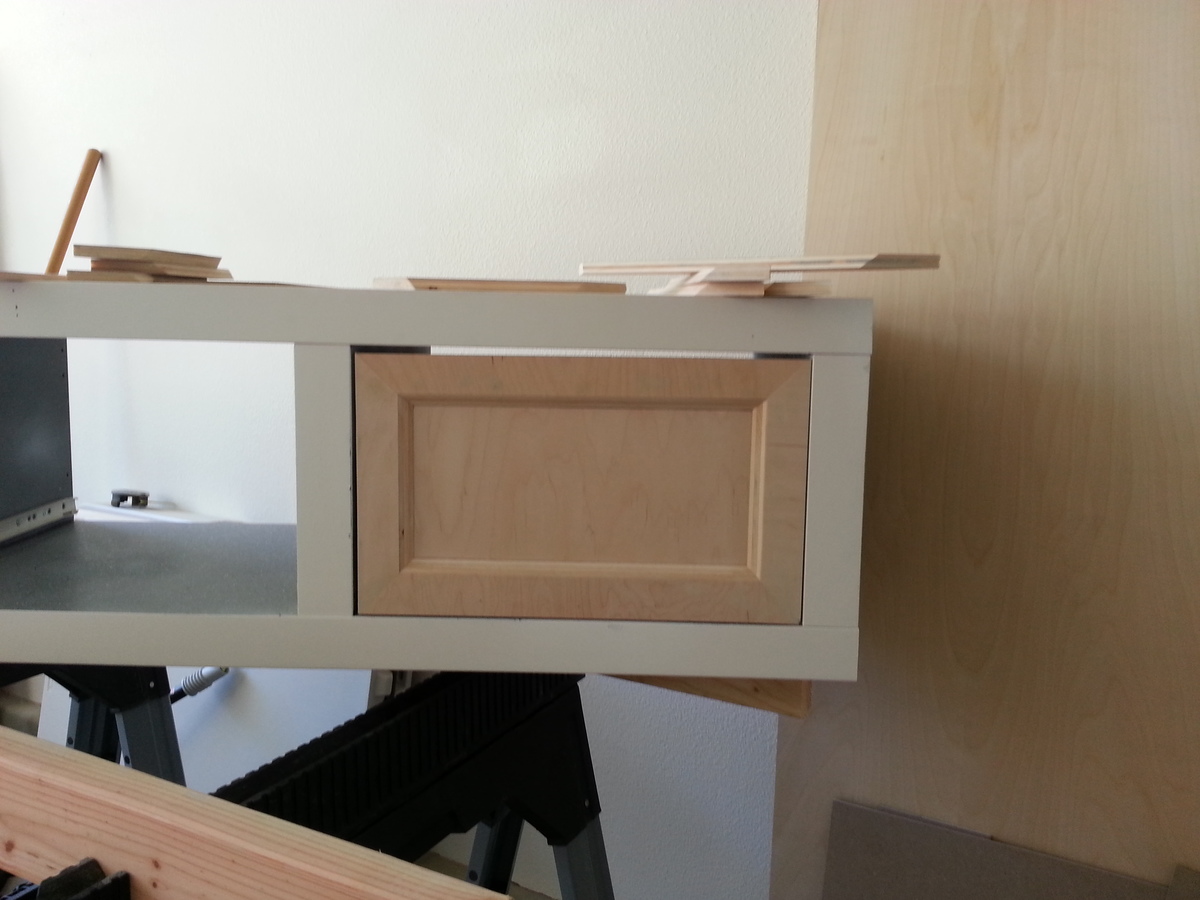
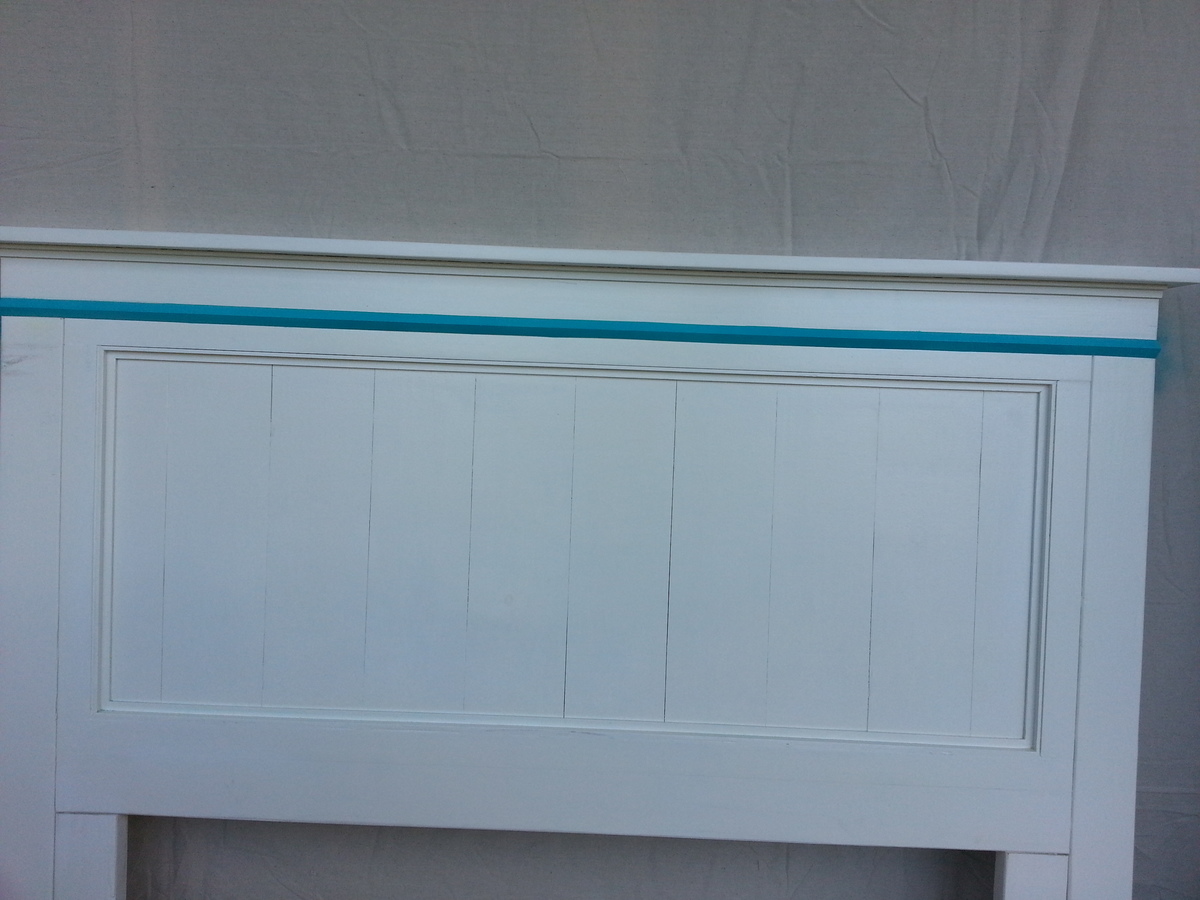
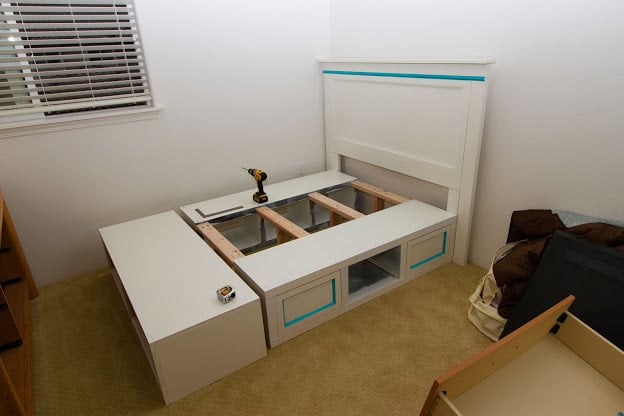
This bed frame was my first project. There are some mistakes, but overall, I love the way it turned out. I combined two plans: "Mom's fancy farmhouse bedframe" and the storage bed.

I love the look of wood and would have loved to stain this project. However, this project was painted due to the fact that I repurposed Ikea bookshelves for the two side pieces. The pieces I built were the headboard, bottom storage bench, and the drawers. 

There are a couple of things I learned during this project. 

1. Measure, remeasure and if you're building pieces like drawers to fit your frame, measure just one more time. I did not plan to frame the bottom storage box I built, so when I made measurements for my drawers, it was for the frameless box. I, however, changed my mind and ended up framing the box and cutting the drawers. I put them together and checked to see if they fit and ooops.....they don't because I added frames. So, lessoned learned was to double check before I make cuts especially since I made measurements at the beginning of my project. 

    1A. I also ended up going off the measurements for the "farmhouse bed frame" for the headboard and didn't match my calculations for the storage bed frame to match. So, the headboard ended up being wider than intended and it sticks out. I did not end up rebuilding the headboard or the bedframe since I thought it would be too much work.

2. Making drawers did not agree with me. I seriously had to redo my first drawer four times due to my mismeasuring or calculating. After everything clicked, the rest of the drawers were a breeze.

3. The drawers I made with 1/2 plywood. Looking back, I would have made them with 3/4 plywood. I also would have made the drawers shorter so I could have built the faces of the drawers using Ana-white's drawer face plans (they seem so much easier!).

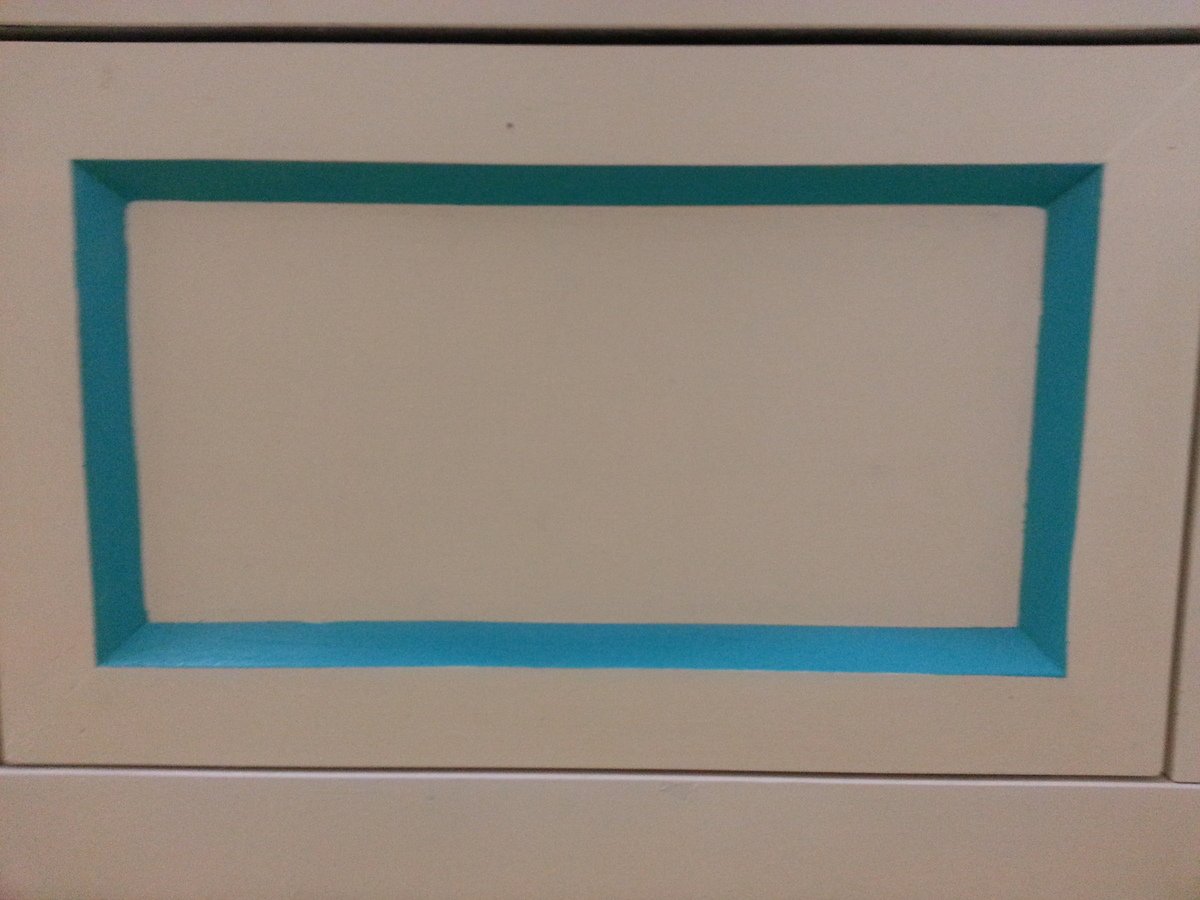
4. The drawer faces were made with 45 degree cuts to add more interest vs the straight pieces of wood. I'll admit, this was my husband's idea and I LOVE it. However, getting the pieces just right weren't the easiest thing (and they aren't perfect, but it's our first project and it's good enough). It made painting the bevel a little more difficult too.  So, if I were to do this again, I would have made the drawers shorter, used 1/2 ply for the face and glue the frame on the 1/2 ply to attach to the drawer.

5. The finishing part took the longest. I used Glidden semi-gloss white paint off the shelf. I actually used old paint that the previous owner of my house left. I would NOT use old paint again. The paint must have been at least 3 years old and I thought I mixed it well, but it seems like there's some yellow in the paint. I'm guessing I didn't mix it well enough.
Estimated Cost
$200
Estimated Time Investment
Week Long Project (20 Hours or More)
Finish Used
Glidden semi-gloss in white (off the shelf), Rustolem Seaside, and Minwax polycrylic.
Recommended Skill Level
Beginner

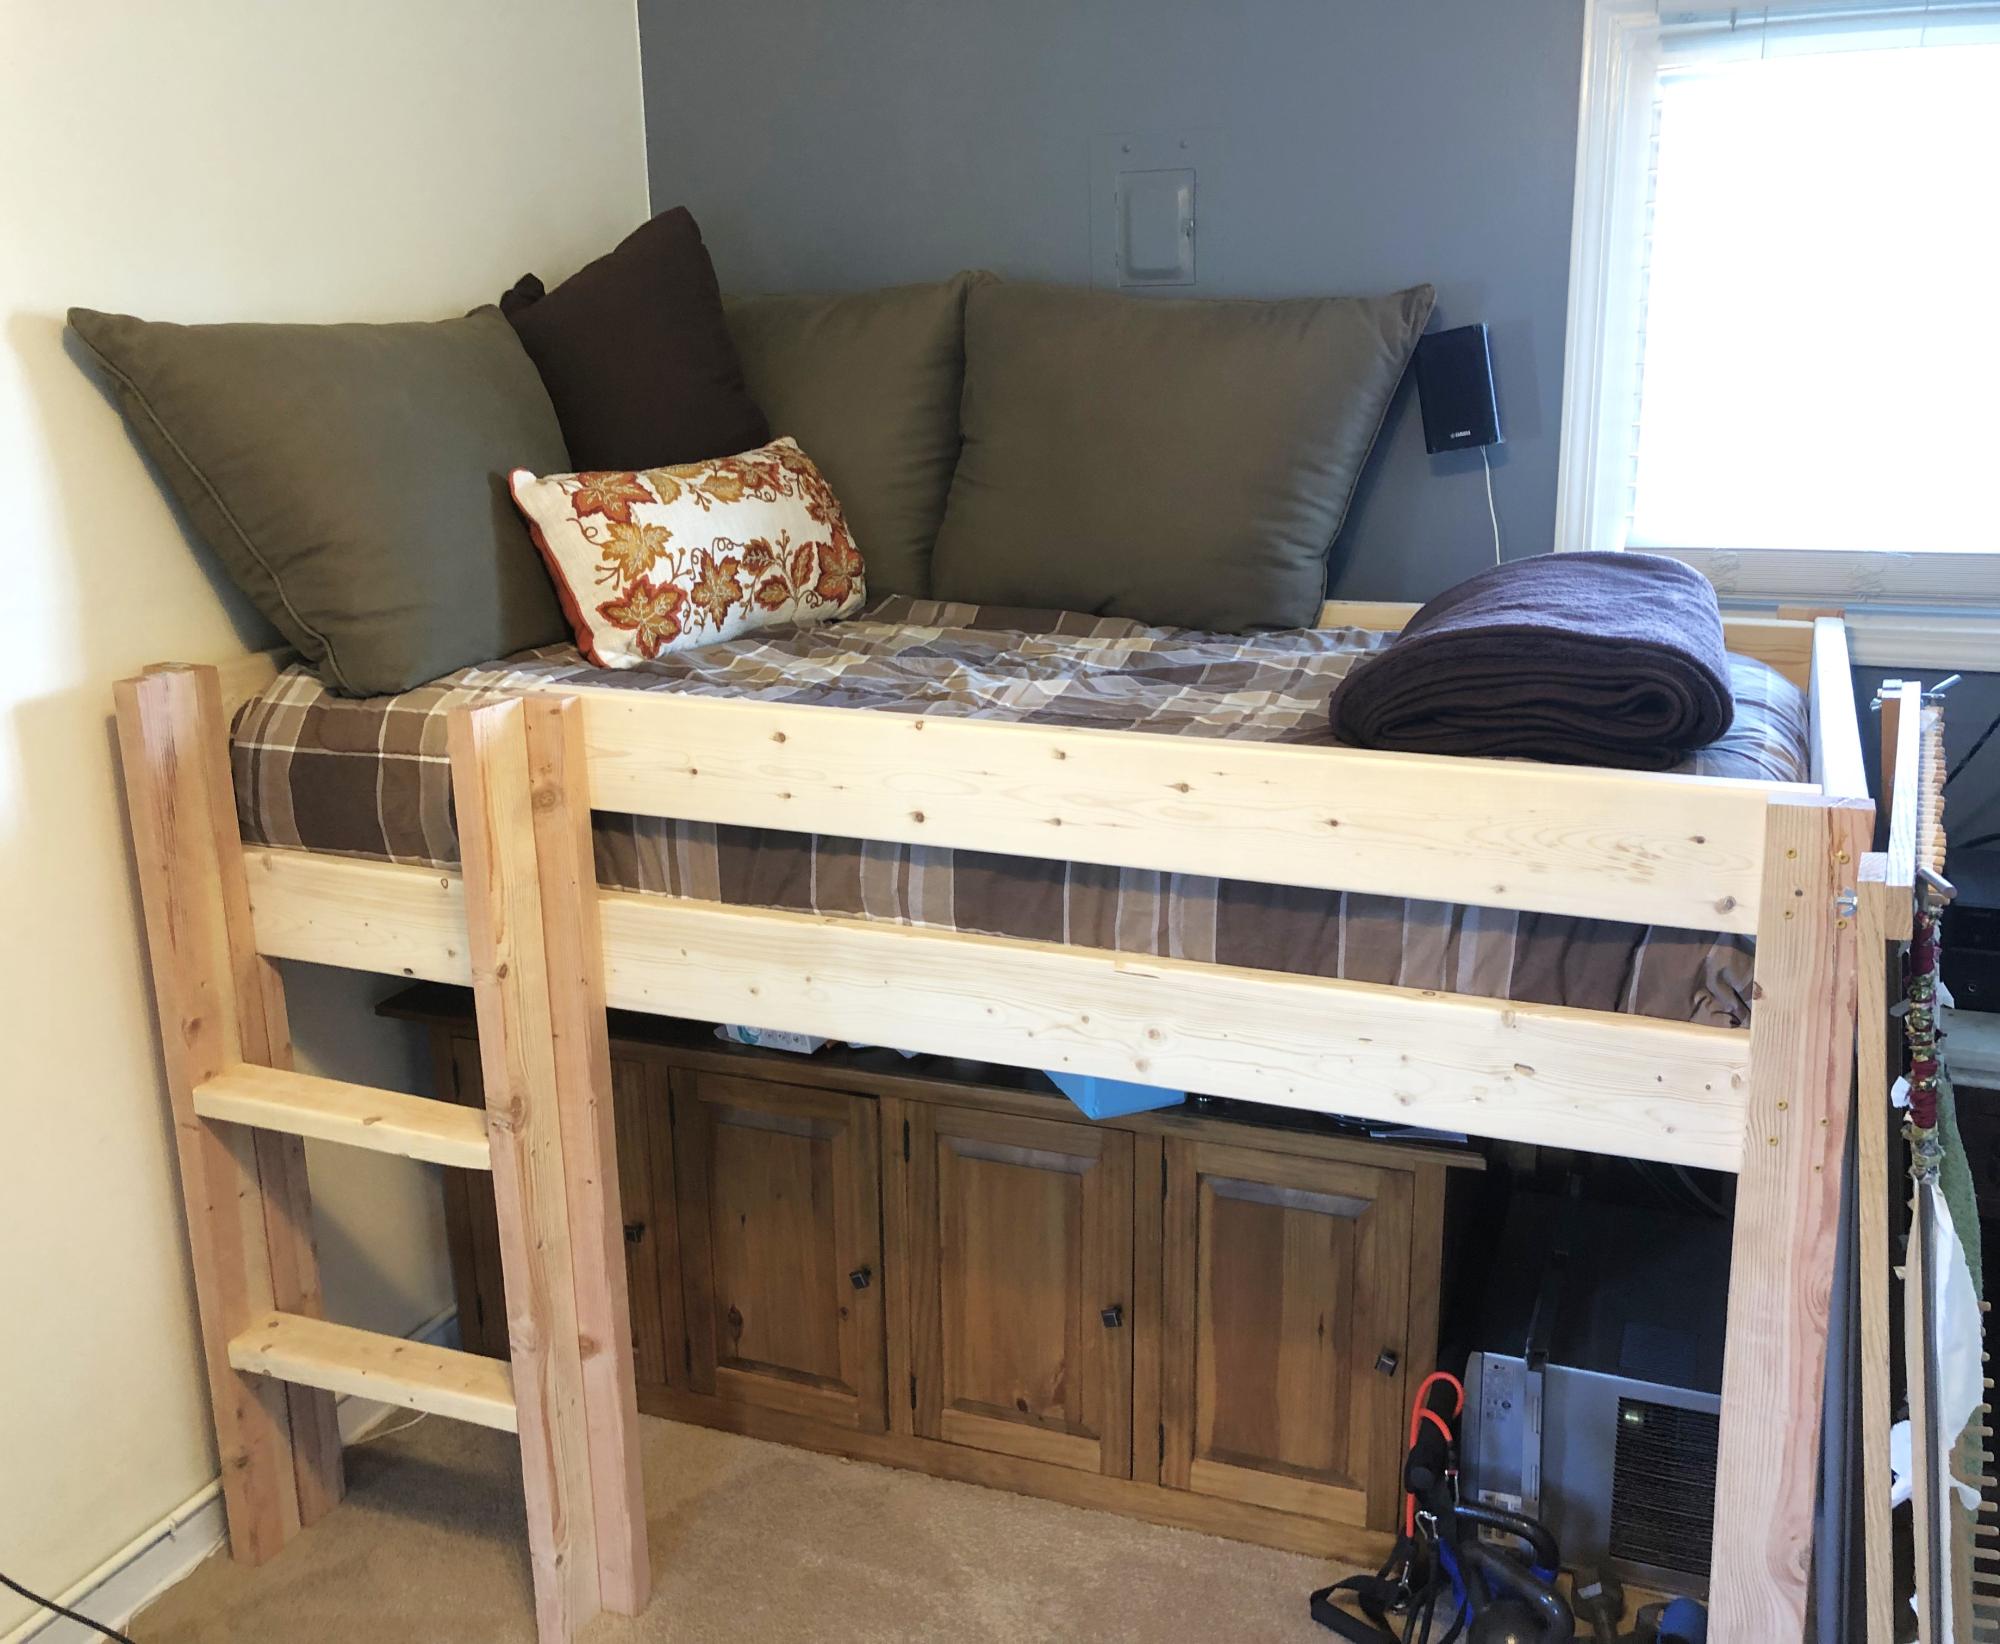
2x4 Loft Bed

Submitted by Anonymous (not verified) on Mon, 11/06/2023 - 11:04

I added support for more weight by adding a 2x4 on the inside of the four legs. This way, I have the entire frame supported by screws AND 2x4, so I can rest easy.

Rebecca Nemeth

Roll Away Workbench with Miter Saw Stand

Submitted by advanlente on Sat, 03/28/2020 - 11:03

After collecting my tools, I needed a place to store them that would protect them. I had already had two jigsaws break because I was storing them in a rubbermaid tote. When I saw this plan I knew it was going to be perfect for my shop. My husband was supper happy because I would finally have a central spot for my workshop. My boys were happy to help when they could. 

Estimated Time Investment
Week Long Project (20 Hours or More)

Cedar Fence Board Planter Box

Submitted by iowachap on Sat, 03/15/2014 - 19:40

Using Ana's 10 dollar raised garden planter box idea, I made my own using the cedar fence boards and then used 2 x 3 x 8 studs for the L corner supports and mid center support along with top rail. This photo is the first 3, I will have a total of 6 boxes. Will post more as I progress.

Estimated Cost
20 to 25 dollars per box
Estimated Time Investment
Afternoon Project (3-6 Hours)
Finish Used
I used 6 fence boards, 2 for each side of the 6' long runs, and 1 for each short 3' section cut in half.

I got the 6' x 5 1/2 " x 5/8 " cedar fence boards at the orange box

I used 2 x 3 x 8 boards for the corners the middle support and the top rail. I got these at the blue box

I used 2 " and 2 1/2" exterior star bit screws.

NOTE: I pre drilled holes in the fence boards and screwed all the boards to the L corner sections from the inside out, so the screws are on the inside of the box, they did not poke through the 2 x 3 boards.

Instead of trying to measure how far off the side of the board I needed to go to match the vertical 2 x 3 boards, I just cut 10 11 inch long 2 x3 sections, and then used the 2 1/2" screws and made 4 L corner pieces the shorter side I screwed the short 3 foot length fence boards too, once I had both my short sections screwed to the L corner sections, I then stood one up and screwed 2 of the 6' length boards to the L corner section. Then the other side.

Once all 4 walls were done, I would then measure 3' in the middle of the 6' long side runs, and put in an additional 2 x 3 x 11" again screwed from the inside of the box out.

Now that all the 2 x 3 x 11" L corners and side support sections were connected to the fence boards I then cut 76 1/4" 2 x3 boards one for each length run, and then 2 26" 2 x 3 sections that were all cut on 45 degree angle to complete the top rail.
Recommended Skill Level
Starter Project

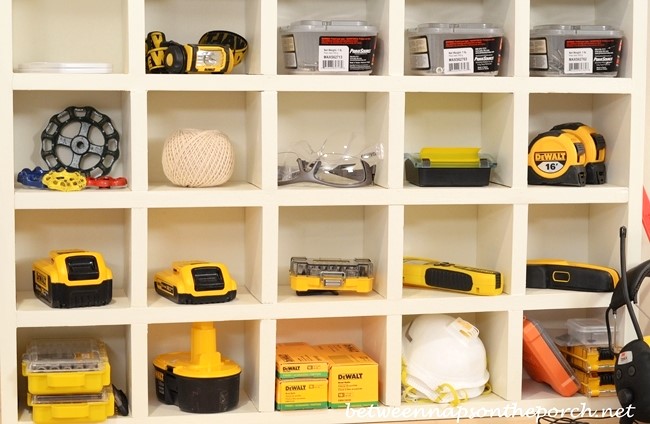
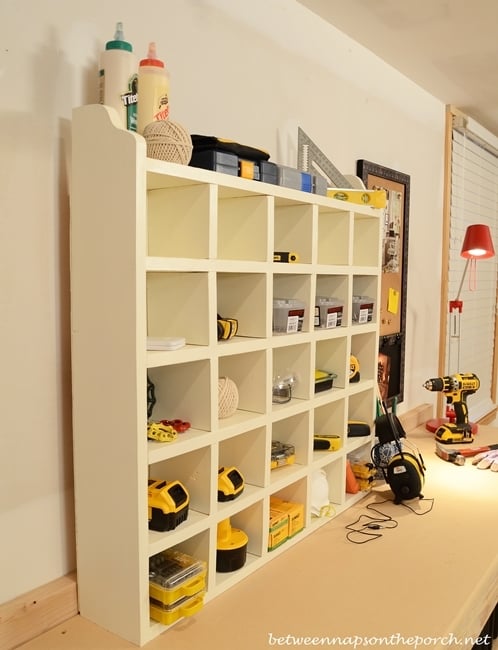
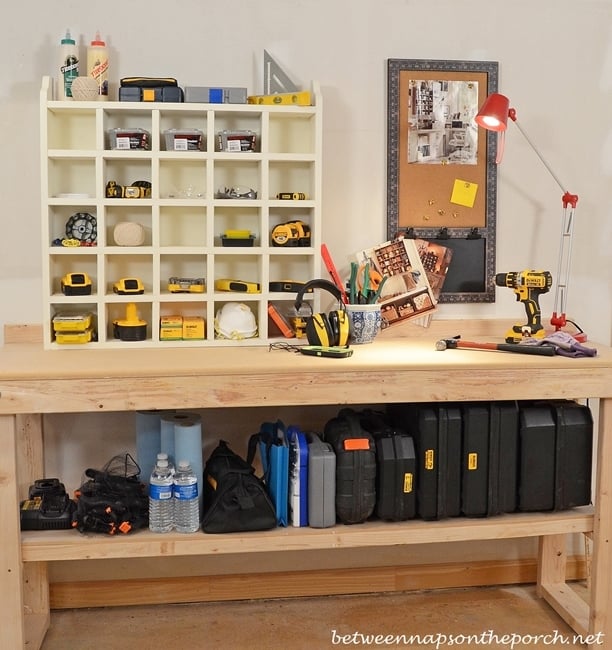
Cubby Organizer (Pottery Barn Inspired)

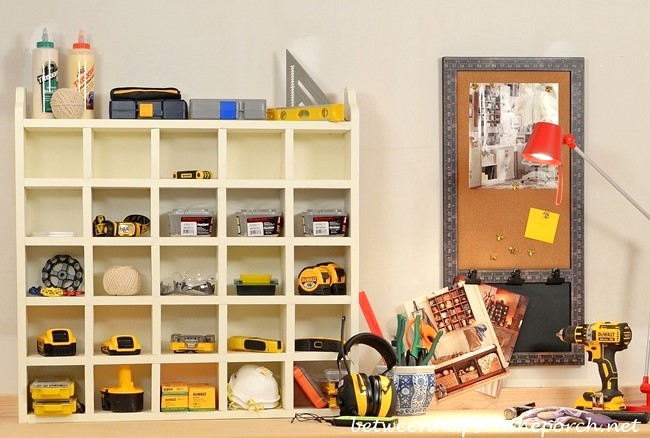
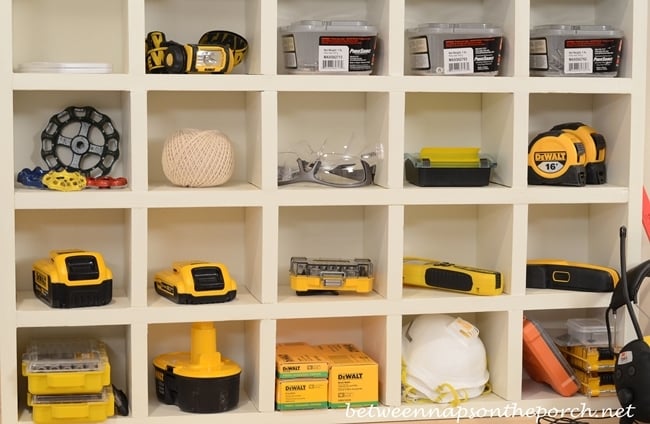
This cubby organizer is great for storage, displaying collectibles or as an advent calendar. I'm using mine in my mini-workshop for storing tools and supplies I use frequently when woodworking. Tutorial can be found at my blog here: http://betweennapsontheporch.net/build-a-cubby-organizer-pottery-barn-i… Thanks Ana for supplying the plans!

Built from Plan(s)
Estimated Cost
$40
Estimated Time Investment
Day Project (6-9 Hours)
Finish Used
I used Sherwin Williams Dover White paint for a soft white. Stain would work great for this piece, too.
Recommended Skill Level
Beginner

adirondack chair of Ana

Submitted by pattyitaly on Sun, 04/13/2014 - 03:28

Hi
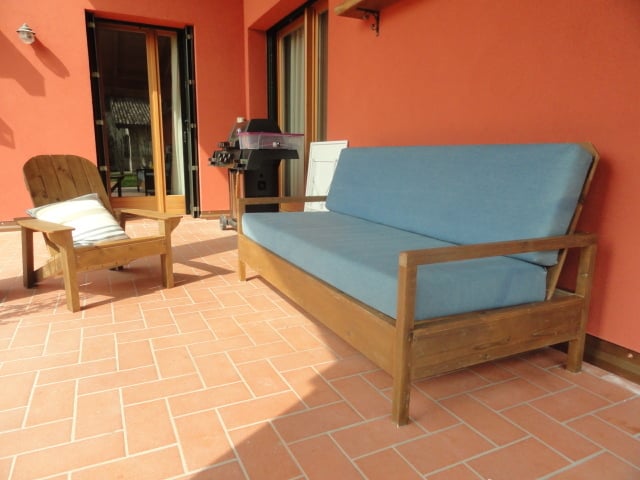
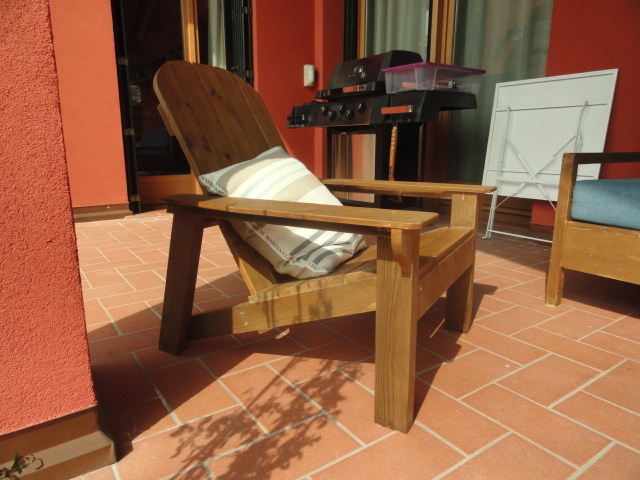
I am still working on my portico furnitures..but as we have changed the colour of our Home, I have decided to change the colour of sofa ( terrible decision) and than to build the adirondack chair for Home depot of Ana to be part of the ensemble.
Thanks Ana. I love it.
I used the same project just changing two small things ( a small support under the arms and making the arms more similar to the original adirondack chair. I used the oxydizing solution to paint and it is a great stuff!
ciao patty
p.s. I already posted the sofa is always Ana's project.

Estimated Time Investment
Weekend Project (10-20 Hours)
Finish Used
oxydizing solution
Recommended Skill Level
Starter Project

Cabinet with storage

Submitted by MEdwards on Thu, 04/17/2014 - 09:03

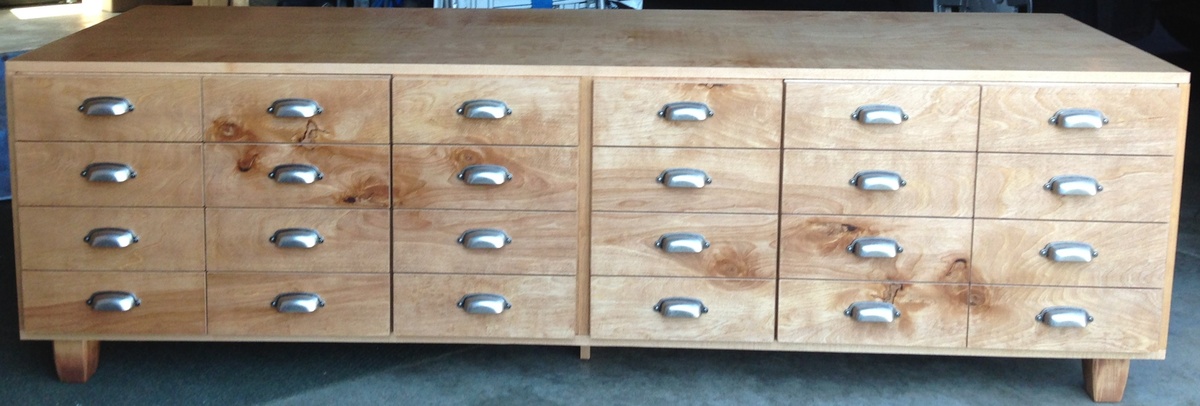
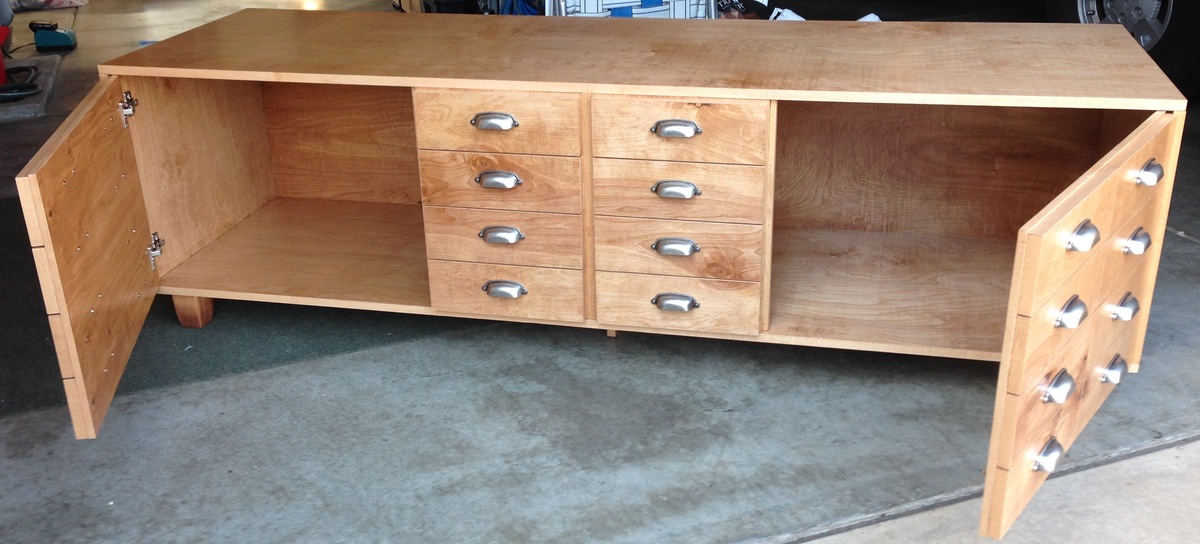
A friend of mine pinned this on Pinterest and gave me the dimensions she wanted. The wood I used is Birch. The cabinet she pinned is actually a cabinet full of drawers. She wanted the same look, but doors instead, for storage.
Estimated Cost
$250
Estimated Time Investment
Week Long Project (20 Hours or More)
Finish Used
Cherry stain and clear semi-gloss Polyeurethane
Recommended Skill Level
Advanced

Storage sofa on steroids!

Submitted by Imadeit on Wed, 07/20/2016 - 12:59

First furniture project, first Kreg jig use.

Heavily adapted storage sofa plans.  Used existing day bed mattresses.  Made all wood surfaces finished with nice cladding, and all fabric portions removable and washable.

Added arms, and a back ledge.  Ledge is hinged to allow access to wall behind so I can get to the outlets.

Lots of work, but it is AWESOME.  Thanks for the inspiration Ana!

Built from Plan(s)
Estimated Cost
$700 including the fabric
Estimated Time Investment
Week Long Project (20 Hours or More)
Finish Used
Dark gray latex paint, and gel stain for the shelf.
Recommended Skill Level
Intermediate

Comments

WackyPup

Sun, 01/22/2017 - 13:37

This is almost exactly what I want to do! I have a dog who loves to rub on furniture and I don't want upholstery. Why did you make the back thicker? Is it just for added shelf space along the back? Thanks for posting the pictures. Very inspiring!

Imadeit

Mon, 02/20/2017 - 07:18

Sorry for the delay in seeing your question.  I haven't signed on to this site for a while.  You are correct thinking that I wanted to have shelf space along the back.  The sectional is the entire width of the wall and I knew that I would not be able to have end tables.  I wanted a way to have a lamp and a place to put drinks, etc.  As it turns out the arms of the sectional are great for holding my beverage.  The shelf holds my lamp and some baskets with general stuff like the remotes inside.  Thank you for the compliment.

sahorn01

Wed, 01/18/2023 - 09:28

Hi! I know this is a very old post but I would love try to make something similar to what you did in your storage sofa modifications - especially the wider frame and armrests. Any chance you wrote down your plans or have more pictures of your build? I also would love to understand how you made your upholstery/fabric removable. Did you follow any plan for making the cushions? Thanks in advance!

Bigger-boy Captain's Bed

Submitted by Quartney on Mon, 05/11/2020 - 19:36

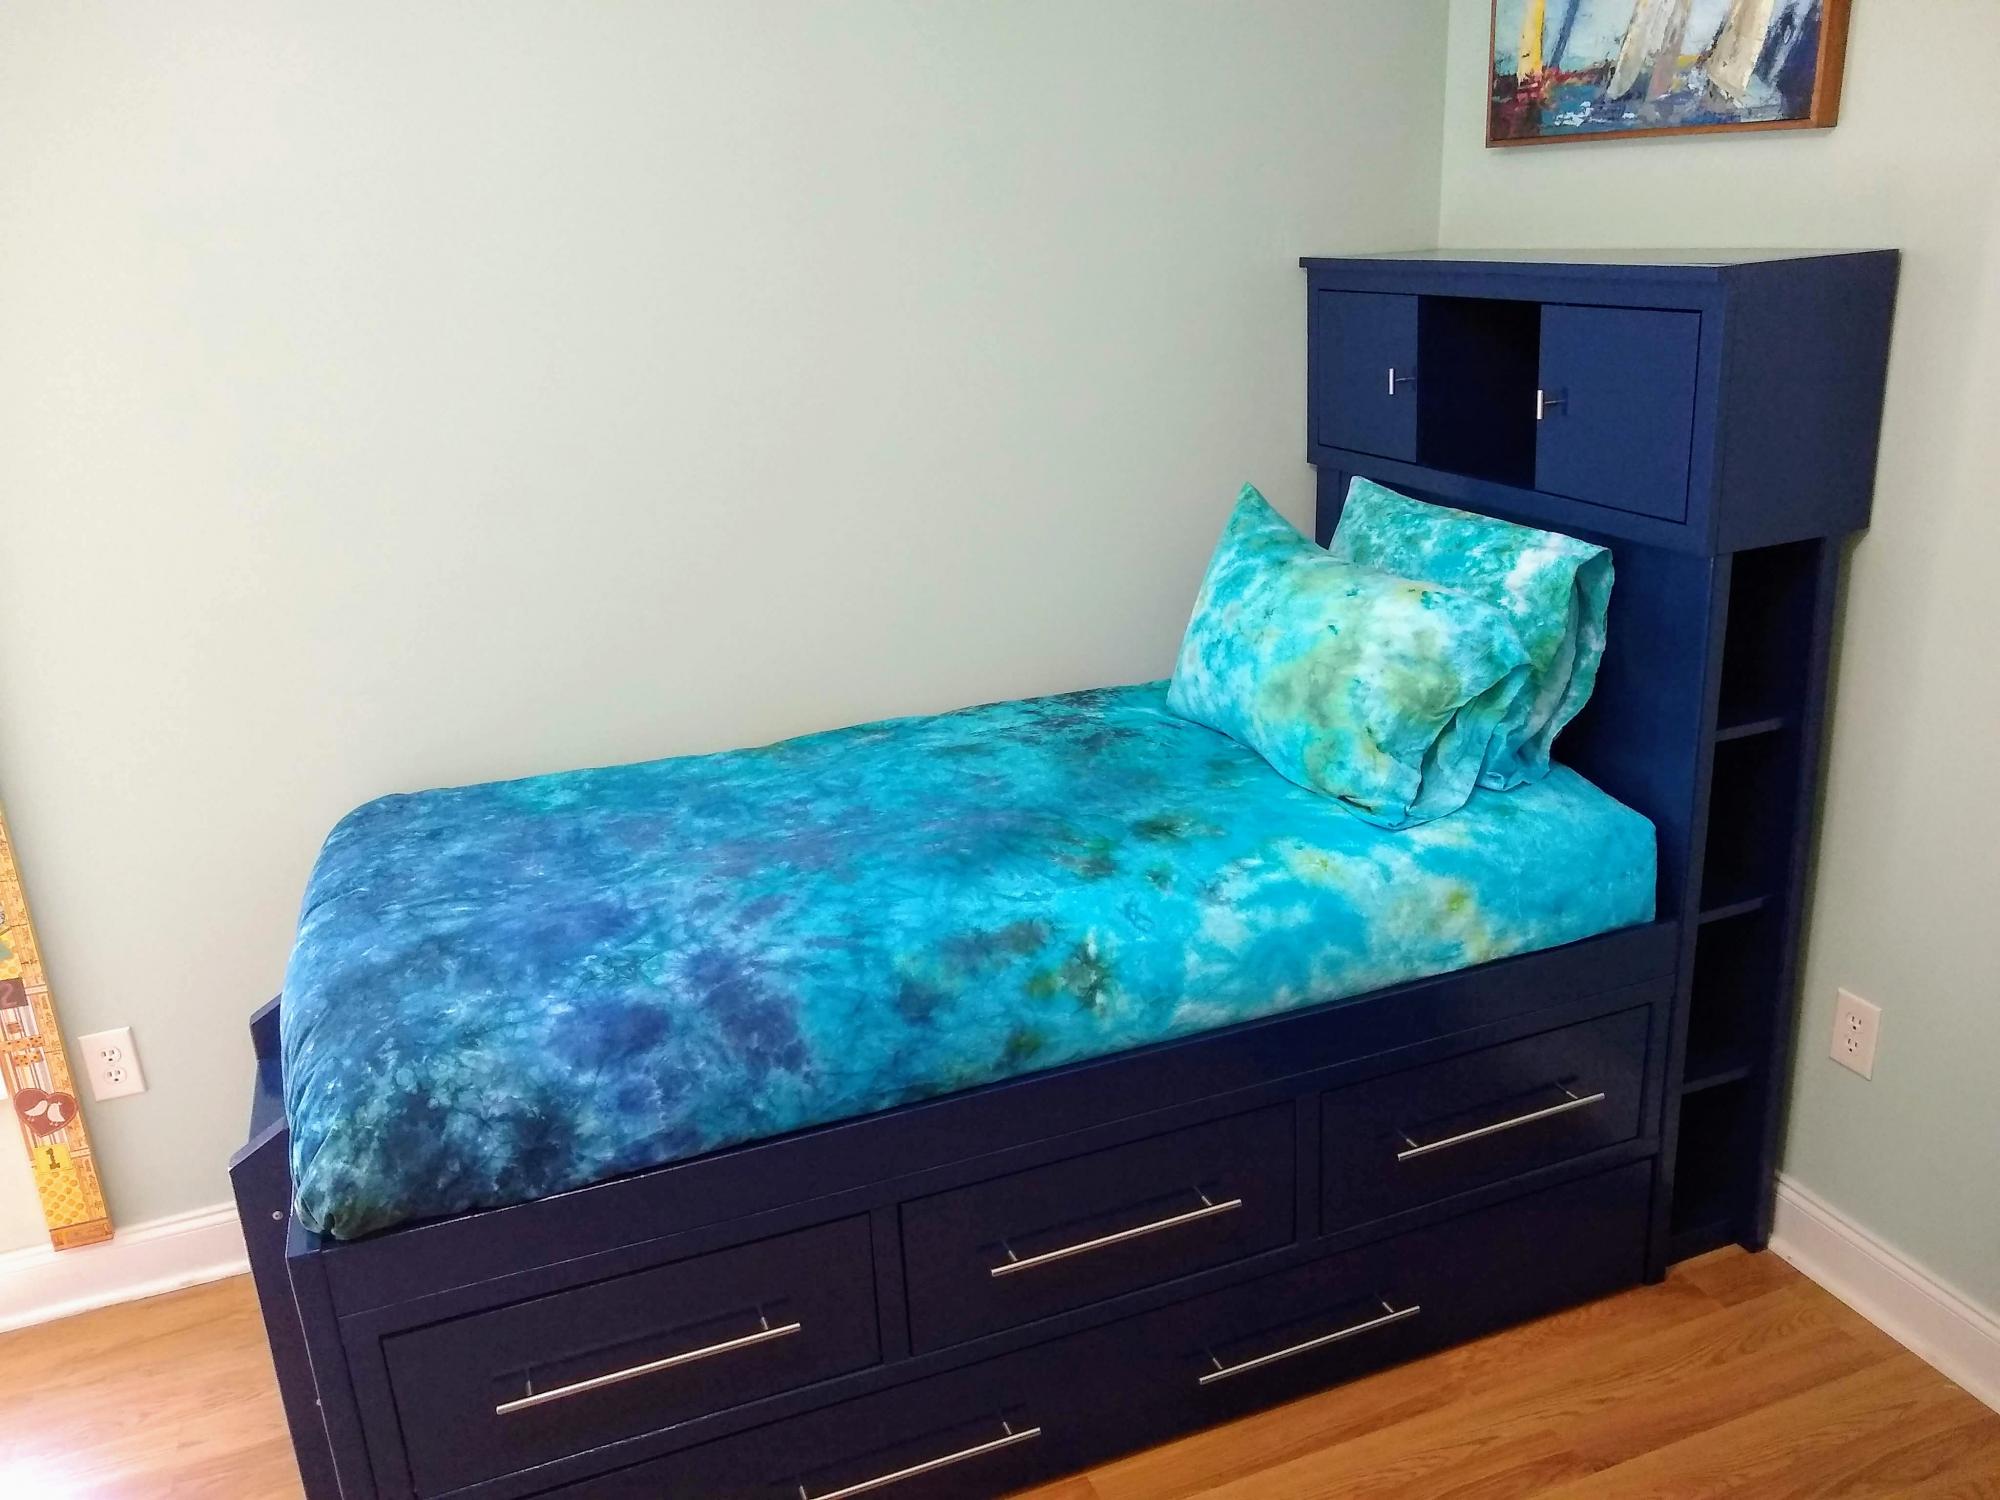
My son needed a bigger-boy bed, moving into his own room from sharing a room with his brother and sleeping in a loft bed. I loved the drawers and trundle bed in this captain's bed, but wanted also a headboard where my son could keep his books, Kleenex box, and alarm clock. I felt that he had aged out of the rails keeping him in bed, as well. I combined three Ana White plans to make this bigger-boy bed.

Estimated Cost
300.00
Estimated Time Investment
Week Long Project (20 Hours or More)
Finish Used
Water-based enamel from Sherwin-Williams in high gloss, color Salty Dog
Recommended Skill Level
Advanced

Comments

Back