Beautiful table!
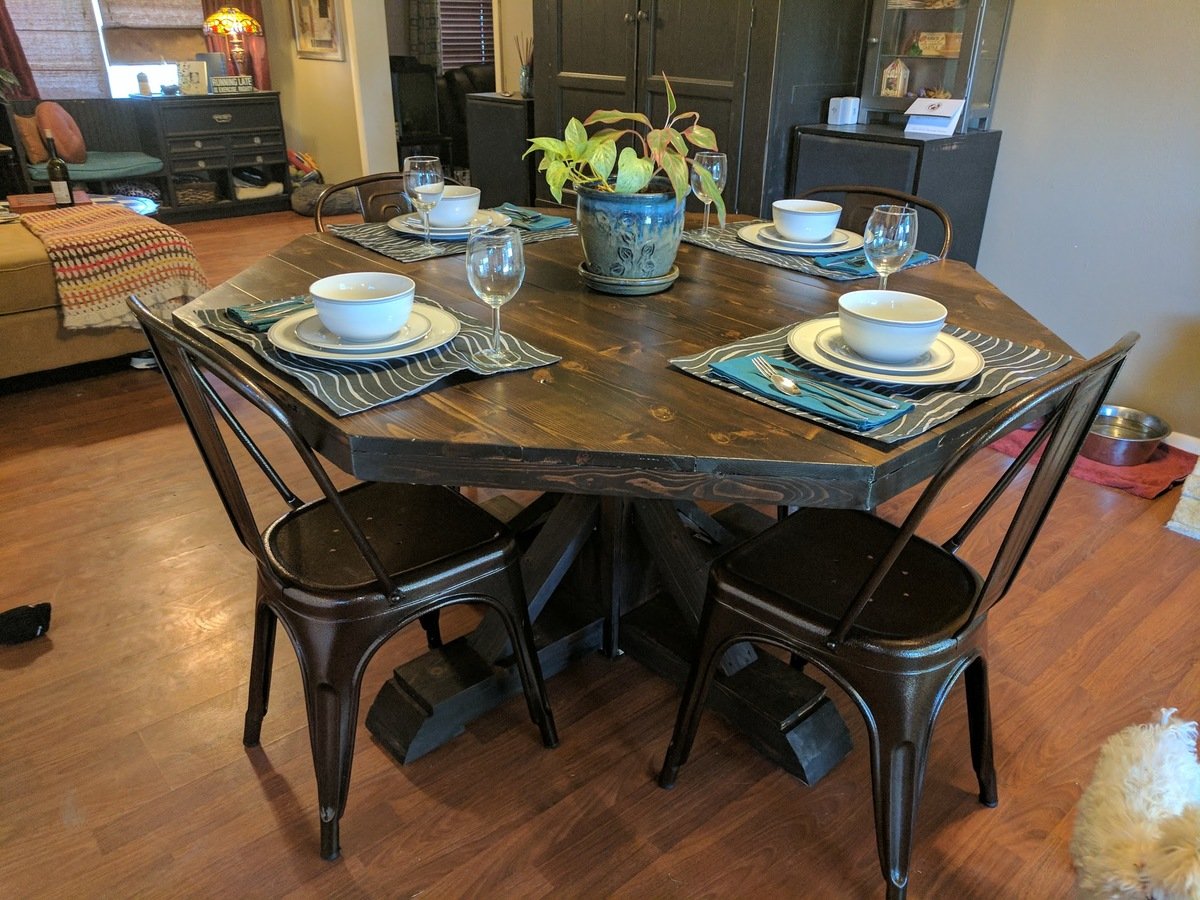
These plans were very easy to follow and the end result is beautiful. Thank you so much!

These plans were very easy to follow and the end result is beautiful. Thank you so much!

Made some adjustments to the original plans to help support larger cushions and pillows.

The bench measures 54" wide x 21" deep. We slightly modified the Rogue Engineer plans at the customers request to allow it to sit flush against the wall.
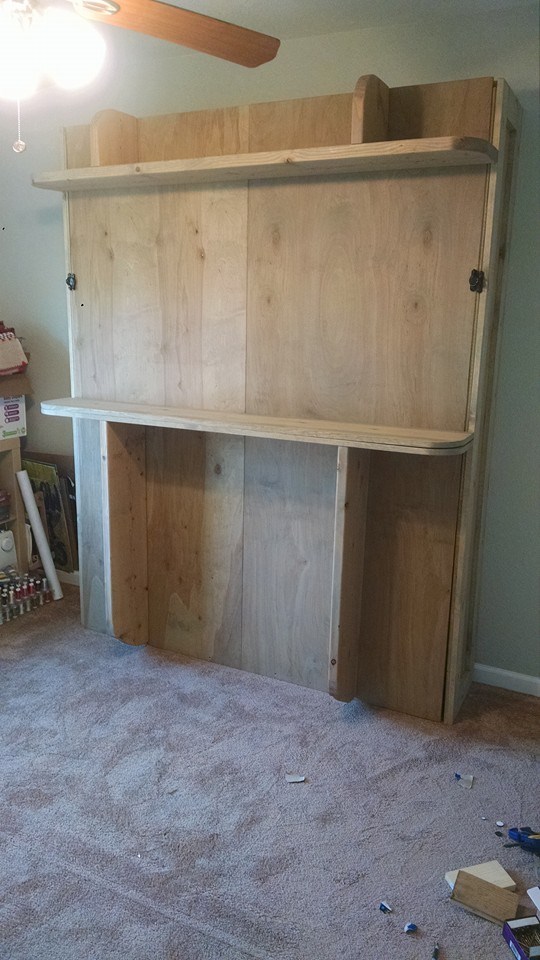
Just finished up my Murphy Bed project. Hope you like.
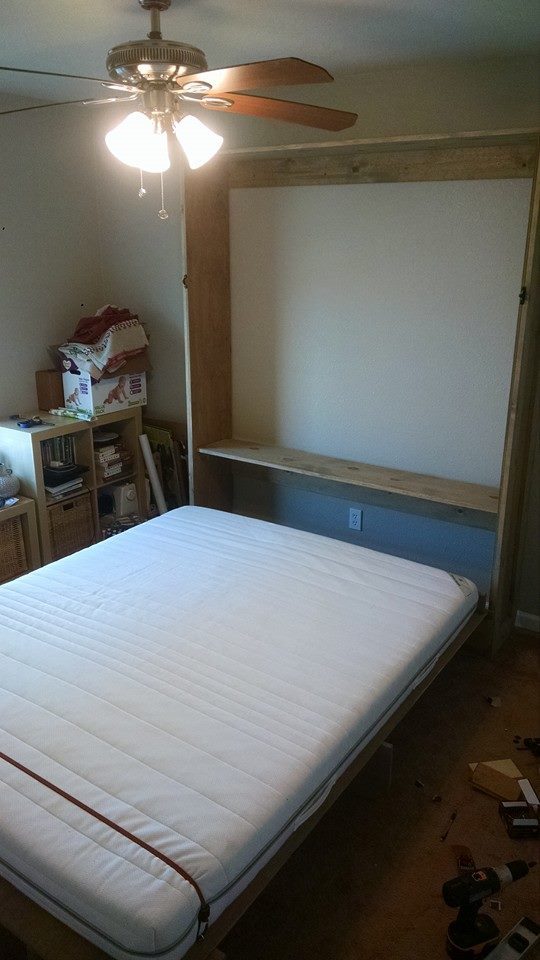
Mon, 03/09/2020 - 20:30
Amazing. I’ve seen these and have been looking for plans. May just have to dive in and interpret from pictures. You did a really great job, nice work.
Wed, 12/22/2021 - 14:06
The plans are for a different bed than the one in the picture.
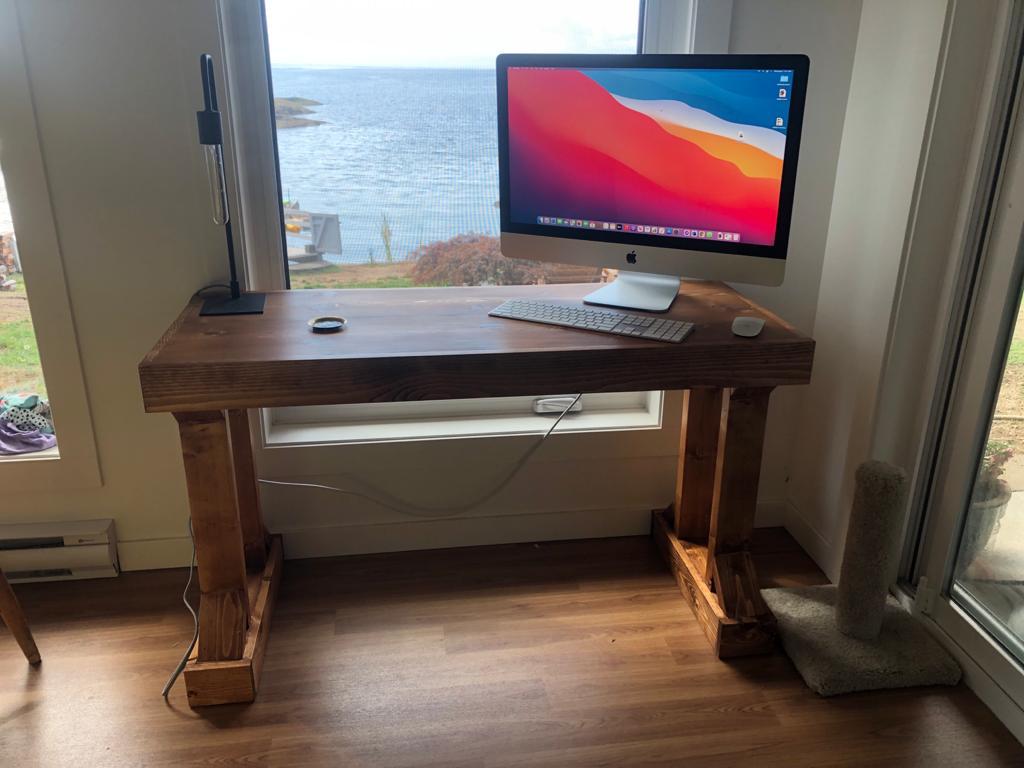
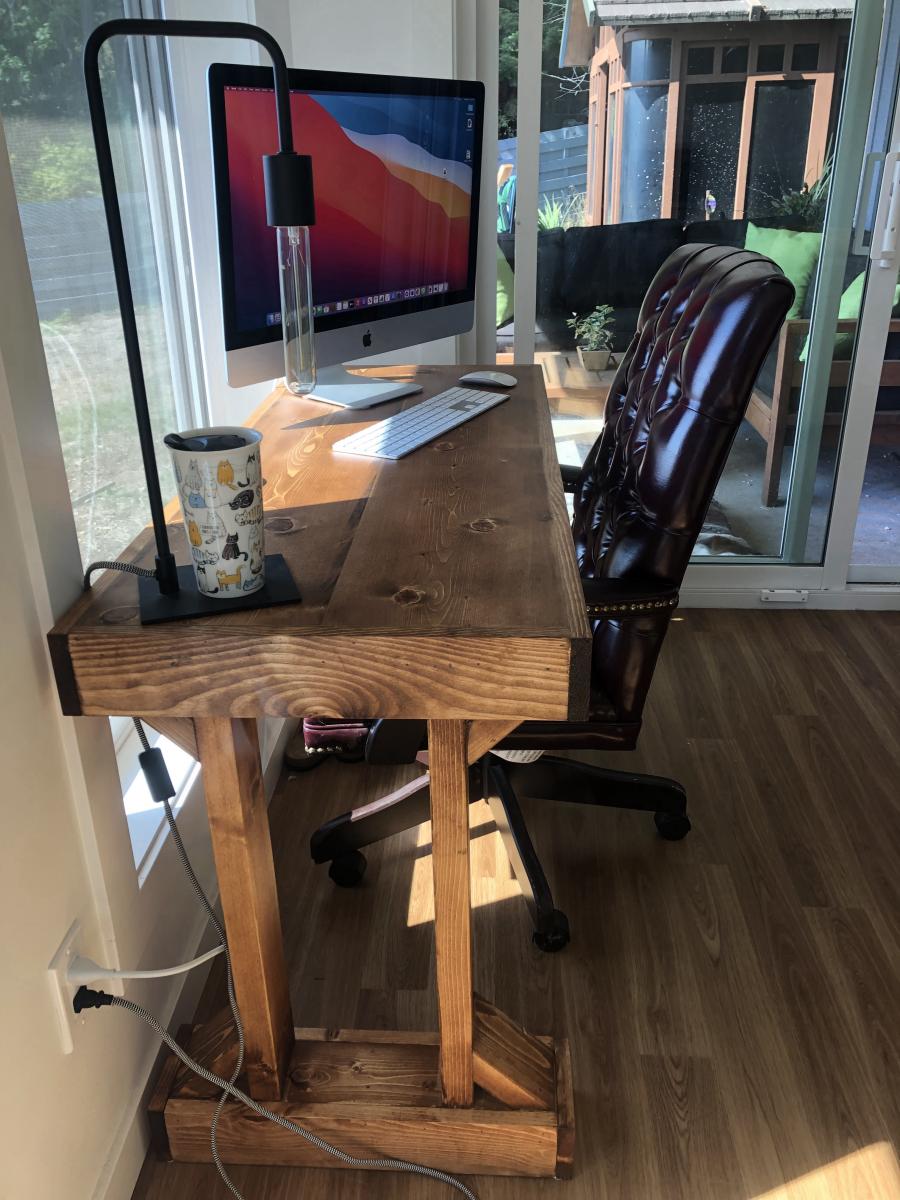
I love how this desk turned out. I haven't had corner brackets catch my eye yet, but I may still add them. This was the first real Brad Nailer project I have completed. It is stained in a dark walnut. Thanks again for another great plan and tutorial video!
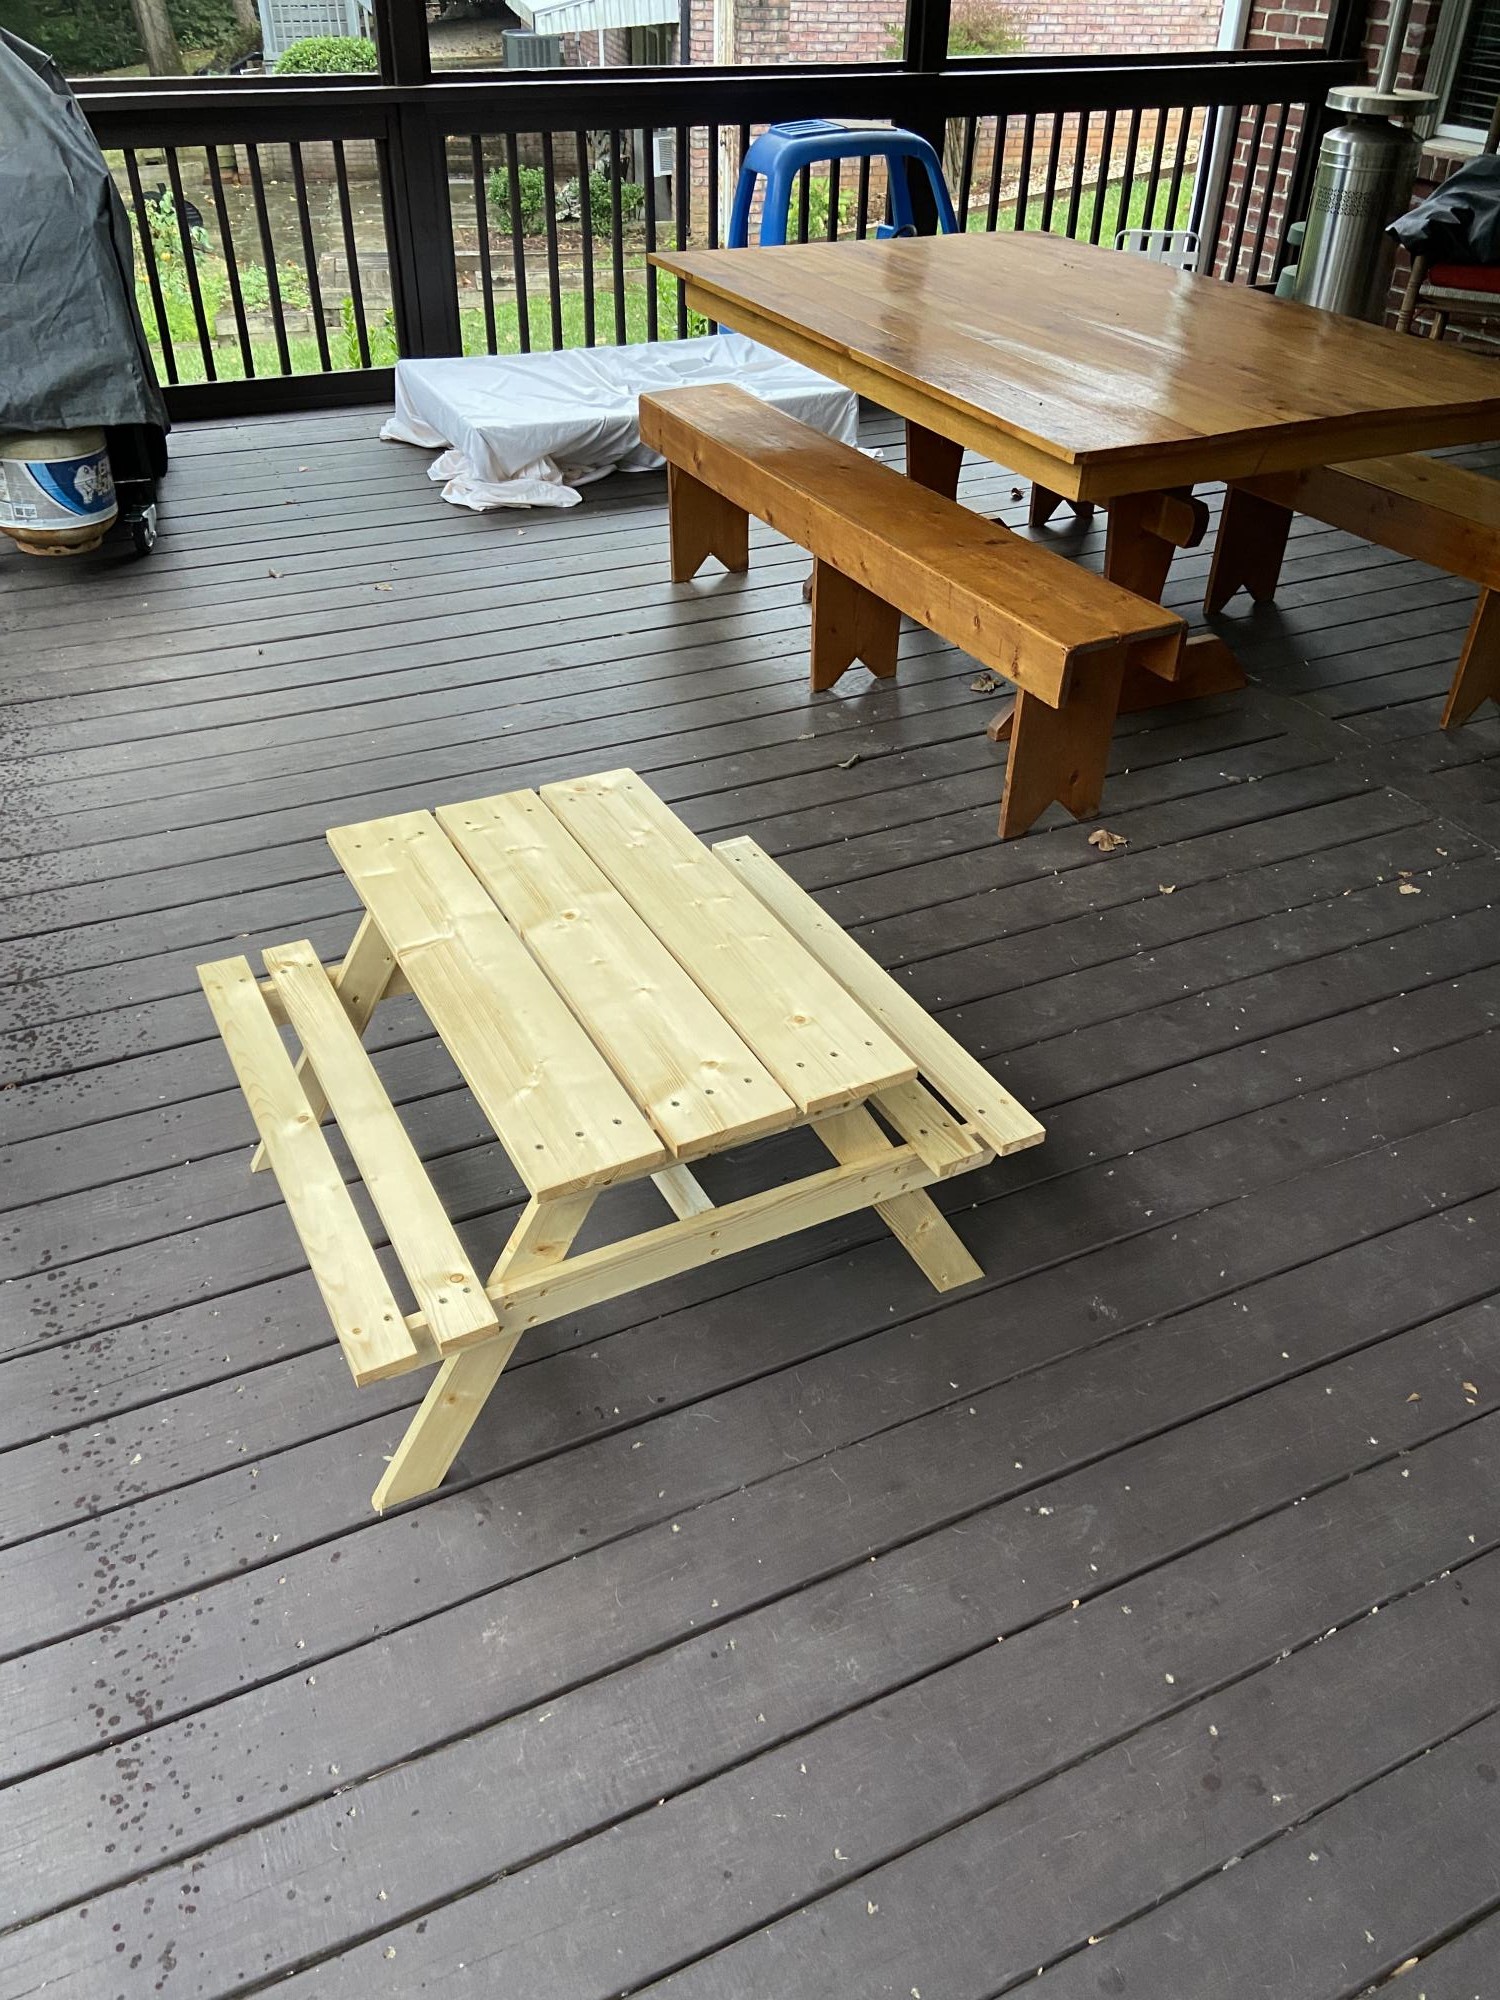
Our grandsons live 10 hours away. I always try to make something for them when they visit. When we saw them a few weeks ago they needed a table their size!
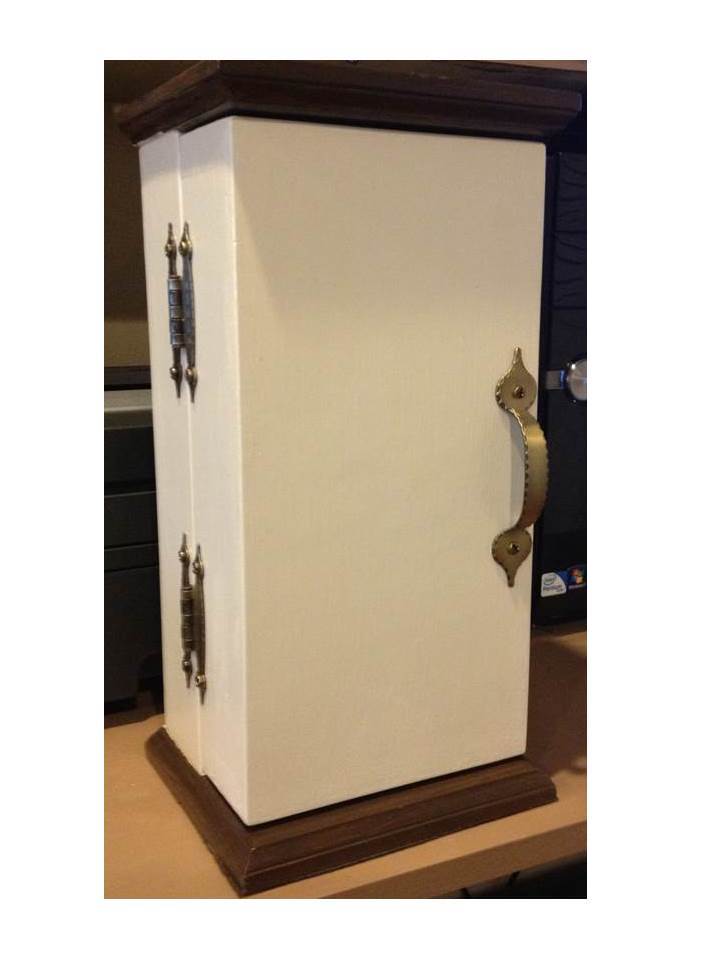
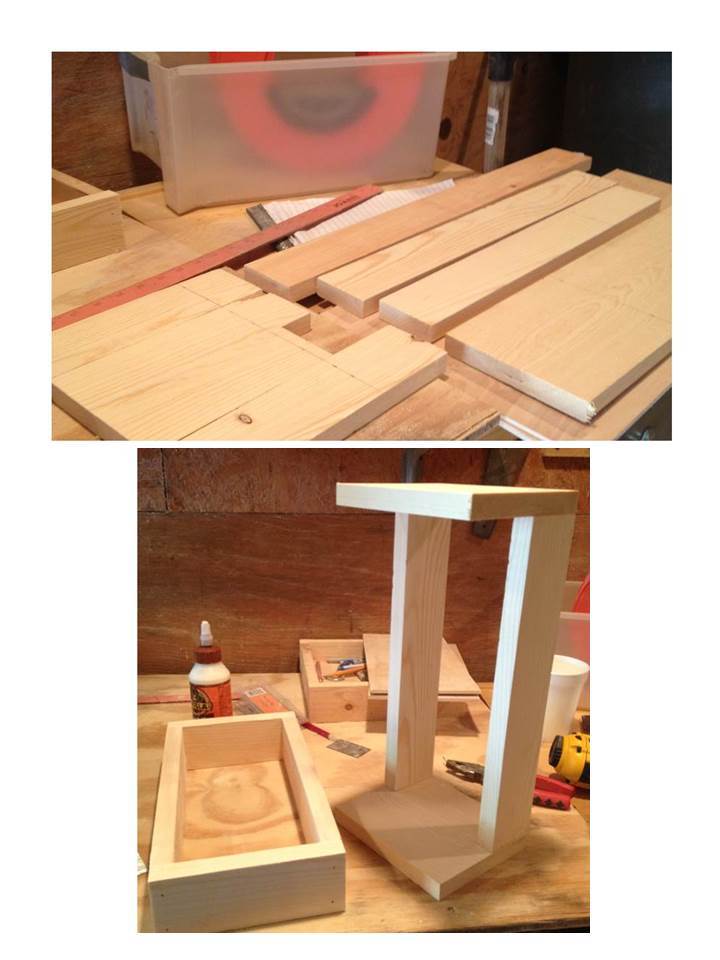
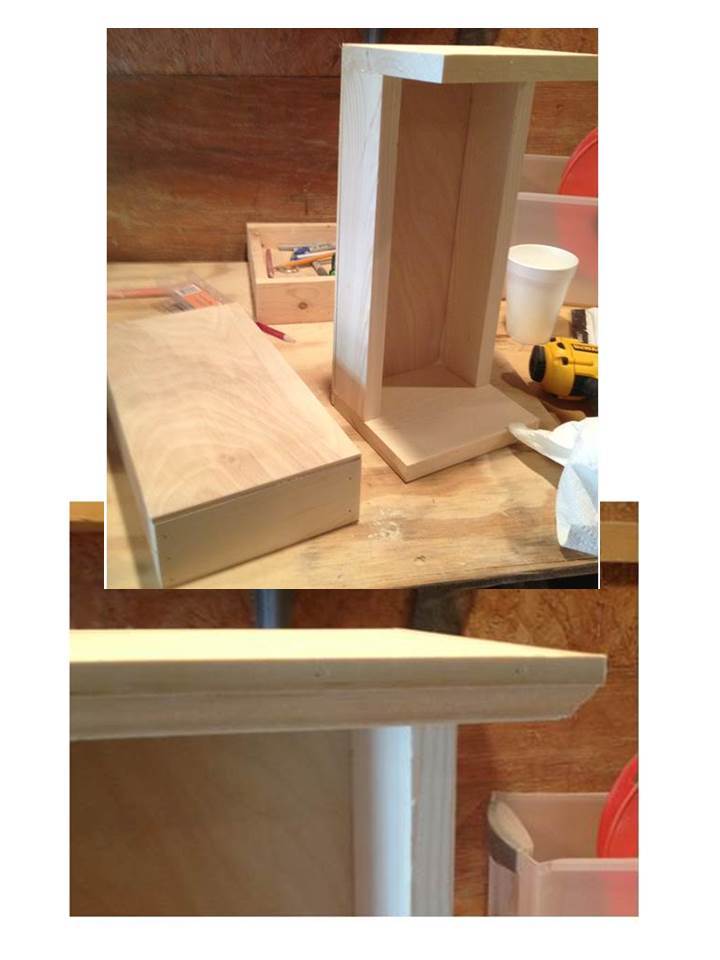
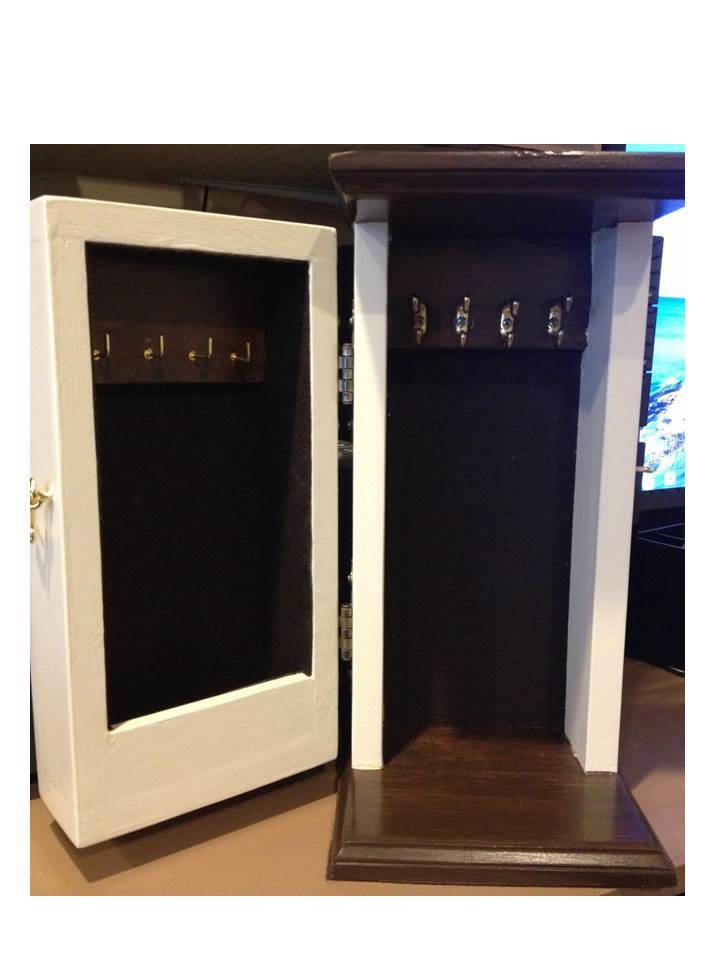
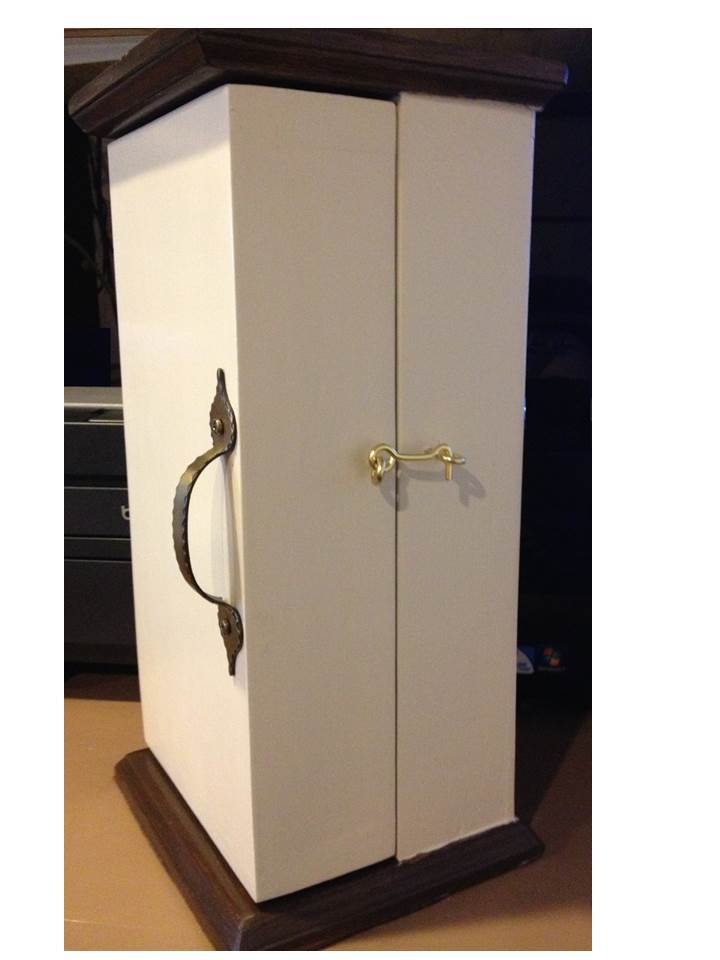
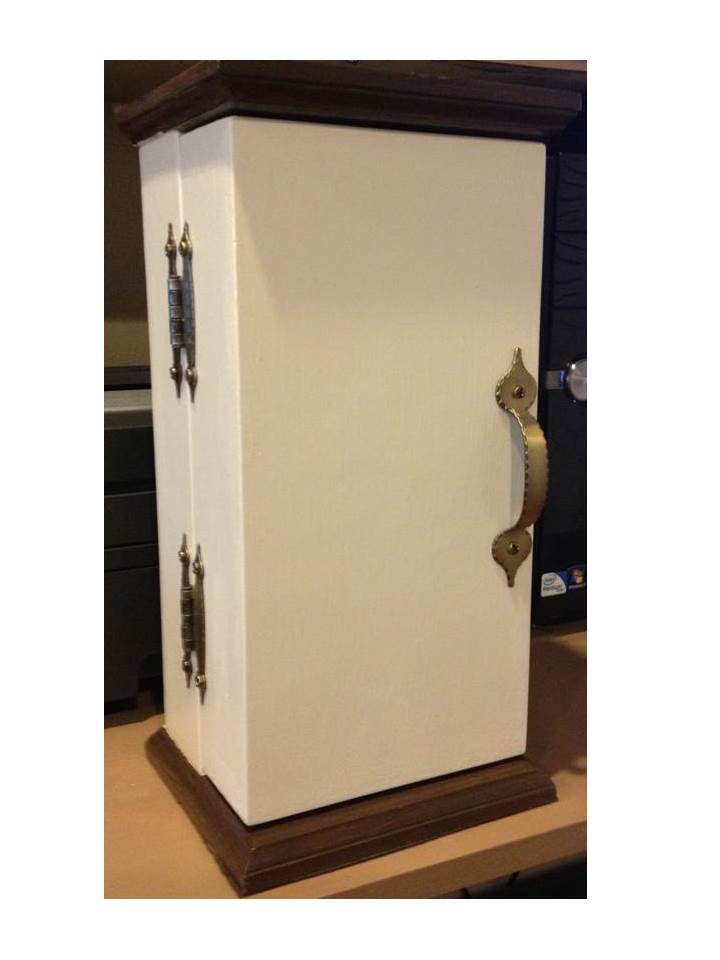
Necklace Armoire - a mother's day gift for Mom. I made this to go with the Fancy Jewelry box that I did for her for Christmas. Based on the Wall Jewelry Cabinet plan. This piece is made to stand like a narrow tower, and it opens up like a book. There are hooks inside, on both sides. I placed the hinges on the left, because Mom is left-handed. Dimensions are 6 1/2" wide, 14 1/2" tall, and 6 1/2" deep. Top & bottom are 1x6, box and door sides are 1x3, and door front and back are 1/4" birch plywood. The inside is lined with felt. The wood, stain and paint were already on hand, I just needed the felt and hardware. The build was very easy. The finishing took longest because it has both stain and paint, with added felt and hardware. On the right side I used some hooks re-purposed from an old jewelry box, and on the left side are 3/4" brass shoulder hooks from Lowes. Hooks are attached to some 3/8" craft board, which was stained and glued in place. I got to use my newest tool (23 gage headless pin nailer) for attaching the trim (very neat - it really was just a pin-size hole to fill). The front closes with a brass hook and eye. I sure hope she likes it! :) Happy Mother's Day!
Wed, 07/10/2013 - 02:27
Thanks so much for the nice comment! Just finished another project, for Mom's birthday this Friday. :)
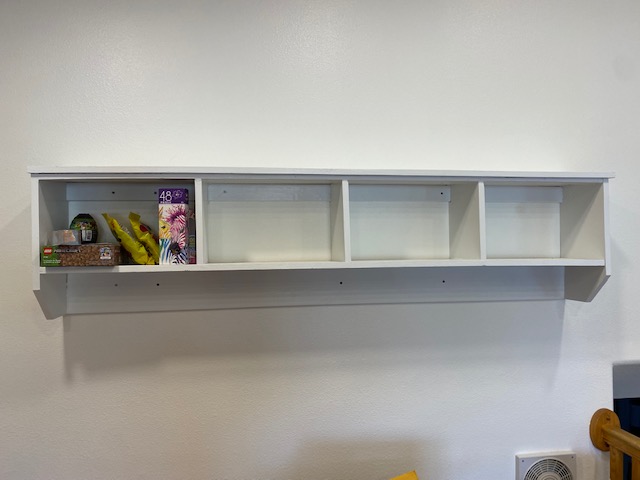
Hey Ana! I just finished the Entry Way Shelf and will be staring on the bench soon. I love your projects and especially that they are free! I'm so cheap I have a hard time parting w/ my money when I don't know something will work out, but yours always do!! I can follow a blueprint and create things based on a model but I don't have the creativity to come up w/ them myself, I'm sure glad you can! LOL! Thanks SOOOO much for sharing and I continue to look forward to the next thing!
Thanks again!
Patrick
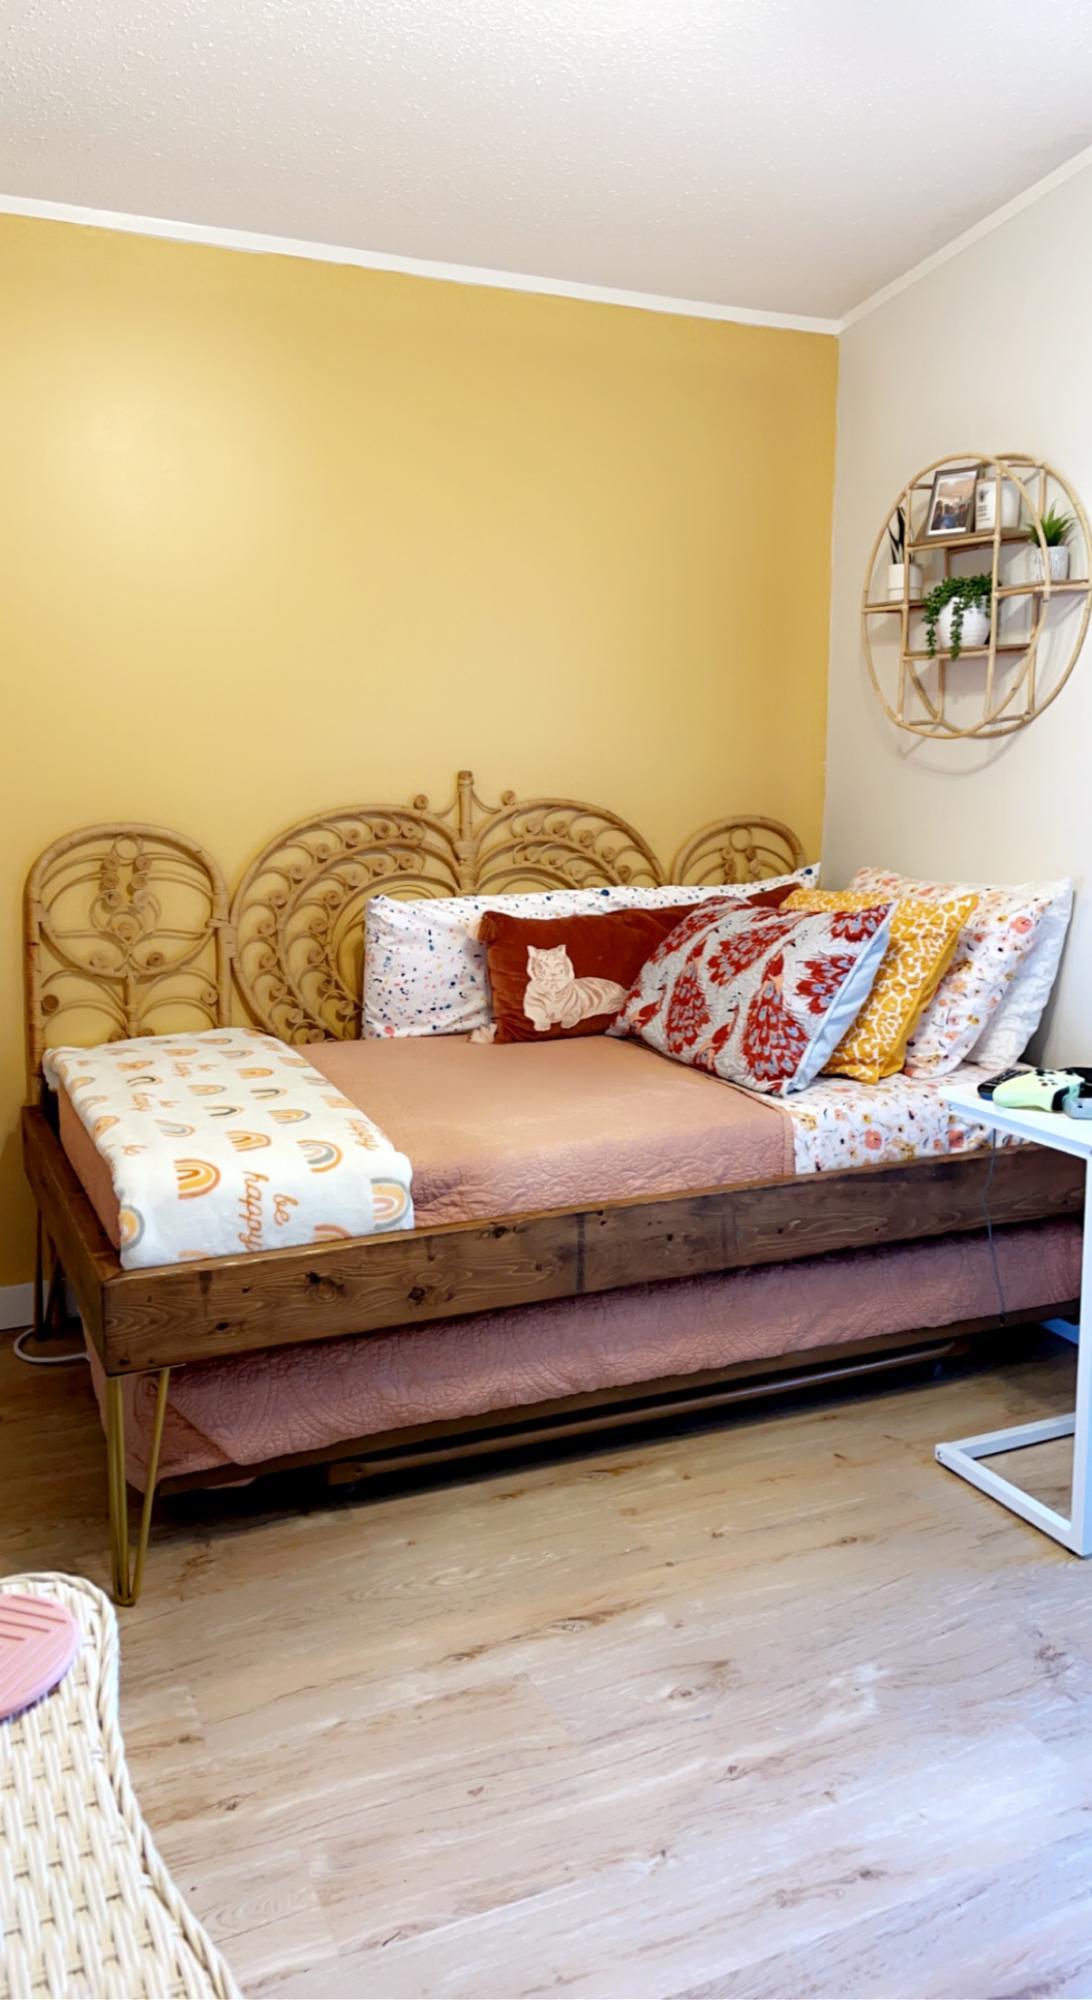
I used untreated 2” x 6” boards, mitered the corners and stained with Minwax Early American.
The 14” golden hairpin legs are from Amazon however, after I built the bed, I realized the mattress on the trundle was getting caught on the angles of the legs so I’ve ordered straight legs as replacements. It should take care of the issue. Lesson learned! 🤣 Overall, I built it myself, it’s very sturdy and she loves it! Thanks Anna for the plans!!!
This was my very first woodworking project. It didn't end up perfect, but I learned a lot by making it, and it is still a quite nice dining table.
The minor modifications I made of the plan: I used 1x4-s as a frame for the table top, flush with the top. (The 2x2-s are next to it inside.) I made the lower supports out of 4x4-s (except that they didn't have 4x4-s at the store here so it's really 2 2x4-s put together). I have a few 2x4-s connecting the 2x8 and 2x6-'s in the base, to make it a bit more stable (not sure I really needed these but anyway), and I also ended up putting a few 2x4-s in the core of the base, again to make it a bit more robust. I routed the 1x4-s on the table frame, and also the table legs with a 45 degree bit (using a router is really fun! And really easy).
I used pine for the base and red oak for the table top -- mostly because I have oak cabinets in the kitchen. After sanding to 150 grit, I stained the oak first with Minwax Oriental Ginger (I would have used a dye if I had had one but this worked fine), and then two coats of GF antique oak. The Minwax gave a nice warm orange undertone while the GF highlighted the grain. It has 6 coats of GF high performance water based poly on it, sanded and wet sanded with very fine grit (up to 2000) so it's pretty smooth. It looks like many people use grain filler with oak, but I like the grain so I didn't. The base is painted white with whatever semigloss white paint I happened to have at hand.
Lessons learnt: 1) always, always measure twice, and always, always make sure that everything is square. 2) Don't build a table base from a board that's not absolutely straight. 3) Make sure to have enough screws and that the screws are of the right kind. 4) If you use a 45 degree router bit, you need to sand that 45 degree part much finer than the other parts of the table top, otherwise the grain will stick out and make it very rough. 5) Don't wet sand oak -- the poly dust white residue gets into the grain and it's impossible to remove.
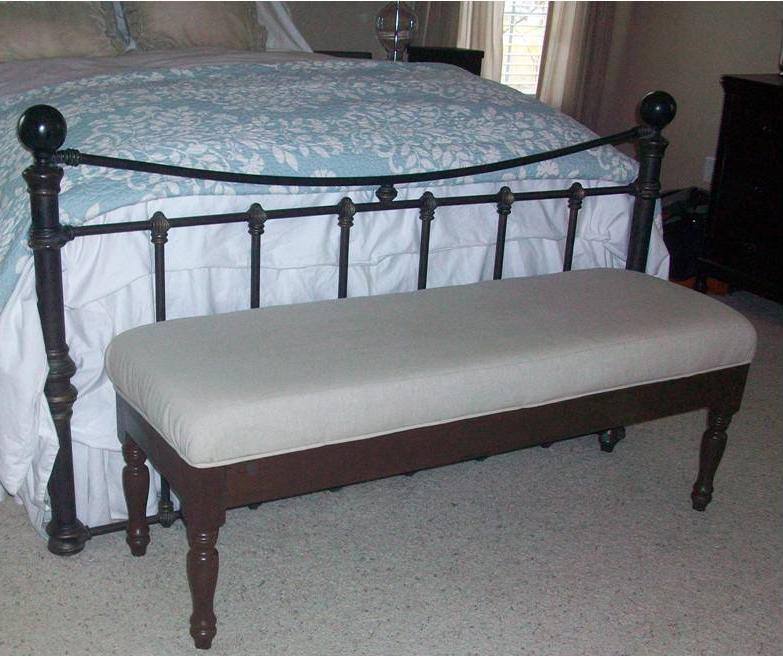
I wanted an upholstered bench for the end of my bed but could not find one with the right measurements. So what to do when that happens, build your own. I used the easiest upholstered bench plans as my starting point, but incorporated turned legs from Home Depot and upholstered the cushion instead of making a slipcover for a more traditional look. I made the bench measurements one inch smaller in depth and one inch smaller in length than the plans to fit the end of my queen size bed. I used the pocket hole (Kreg ) jig to attach the legs to the 2x4s and pre-drilled holes in the base to eventually attache the upholstered top. I used stain applied very heavily as the grain on the legs was different than the 2x4s.After putting the frame together and staining it, I stapled fabric over 3 inch foam and a layer of batting to the unattached top MDF board. The best way to cut foam to size is with an electric carving knife. I then stapled fabric covered piping around the edge of the fabric. I finished it off by turning the whole thing upside down and attaching the finished upholstered top to the frame by screwing them together with the pre-drilled pocket holes. I love the way it finishes off our room and it looks very professional. As always, the hardest part of the project is not the building, but the staining and getting the upholstery just right.
I can't find ceder fencing here where we live so I just used a 1x6 I already had. I sealed it with Rustolem's Spar outdoor polyurethane in semi-gloss.
My 6 year old daughter planted the little basil plant seeds a couple weeks ago and we are giving this to one of her teachers this week as an end of year present.
I tried hand painting the herb garden part but it looked really bad so I sanded it down and added the little chalkboard vinyl stickers instead.
I used mostly stuff I had on hand to make the box... I used sissel rope for the handles since I had some. The only cost was for the stickers, terracotta pots and the seeds

I designed this desk from another desk I built. With this one, I wanted the overall foot-print smaller but still something that was able to organize all our office stuff and be able to close everything to keep it clutter-free. We have a small apartment, and although this desk is about the size of an up-right piano, it works perfectly into our living space!
I made it out of raw hardwood (Ash) and because I knew just the wood alone would make this desk heavy/bulky to move I made the top hutch removable. It's held in place by wood pegs (dominos). All the shelves are adjustable and the drawers are full-extension (something I've never had - wahoo)! The drop-down door is help up by 2 pull-out boards on each side (my first desk had chains). I spend a lot of money on this desk because I knew it was a chance in a lifetime to make and wanted it to be perfect and something that would last generations.
I built the main carcass off of plans/measurements I designed, but then all the insides, drawers, shelves, doors, etc where made as I built (because just a millimeter difference in building changes everything)!
If you want more pictures/descriptions of the building process I wrote about it in a 4-part series on my blog.


Wed, 09/23/2015 - 11:22
is there plans available for this project?
In reply to is there plans available for this project? by Nsmjc
Tue, 09/27/2016 - 12:20
Hi there! I'm sorry but I don't have plans put together on it! I designed it in Google Sketchup and have some 'screen shots' I could send you for basic measurements if interested. You can e-mail me at [email protected]
Mon, 06/15/2020 - 09:08
Hi. Do you happen to still have those 'screen shots' or any other info/dimensions from this build? LOVE LOVE LOVE it!!
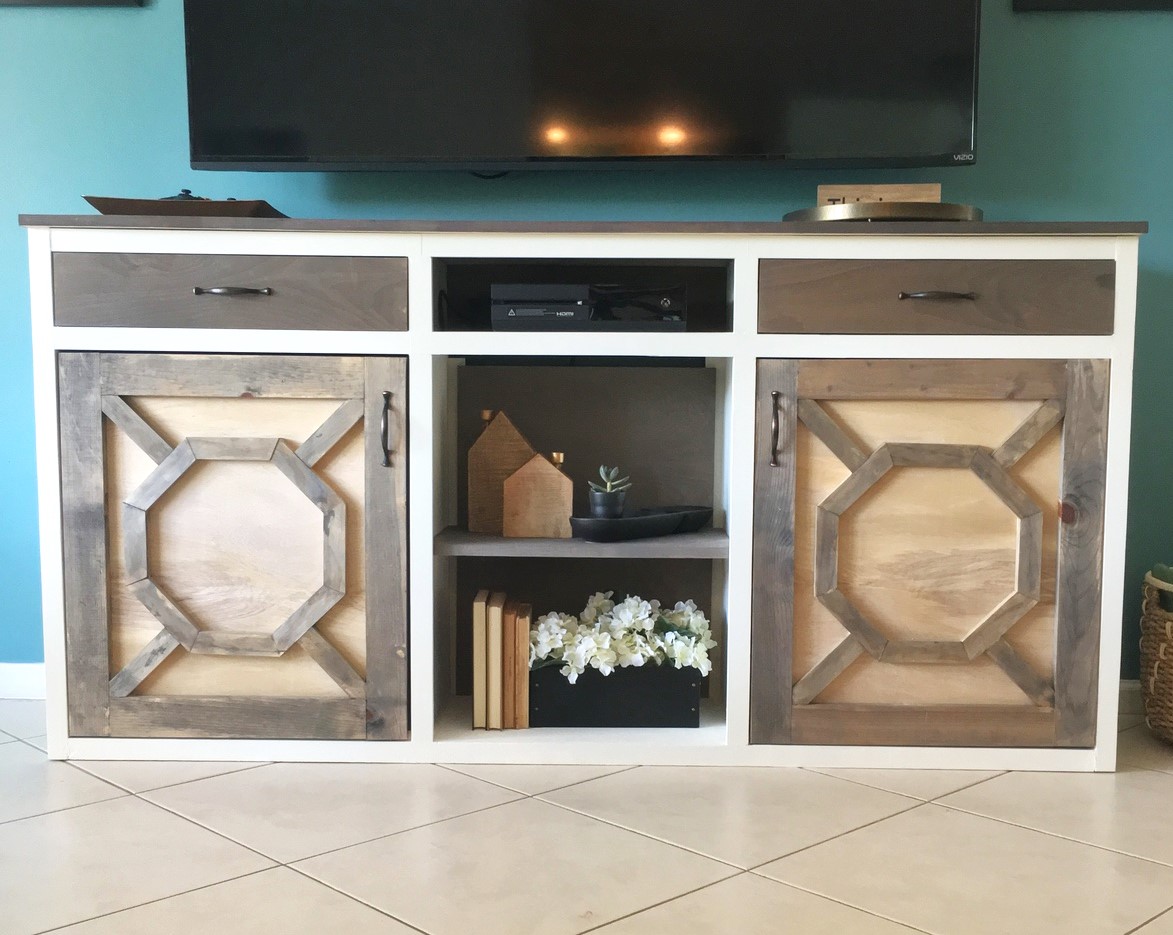
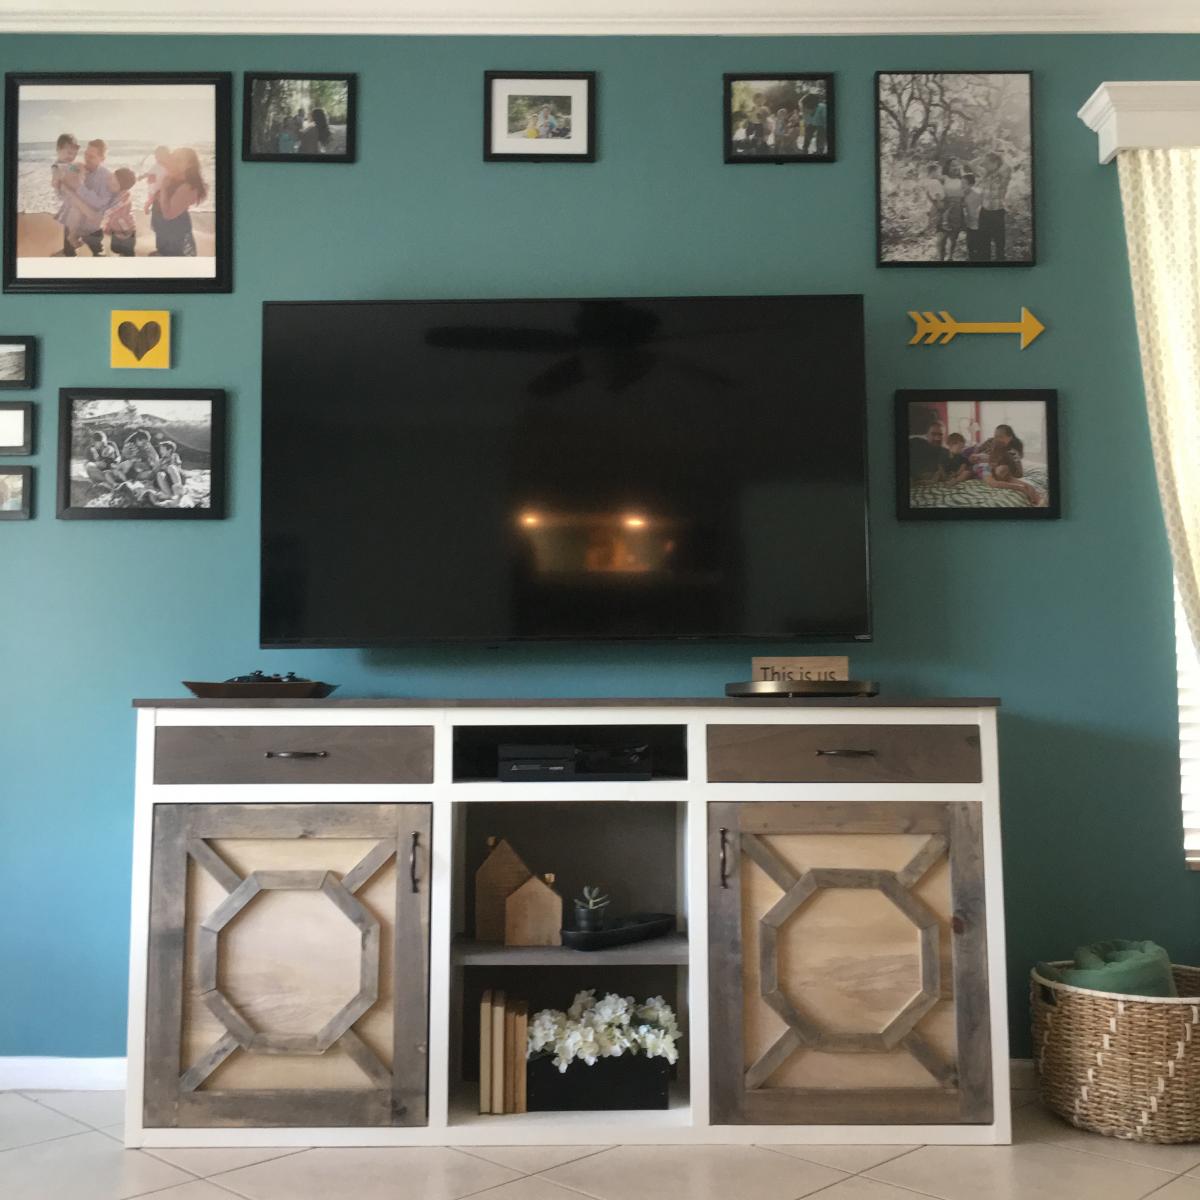
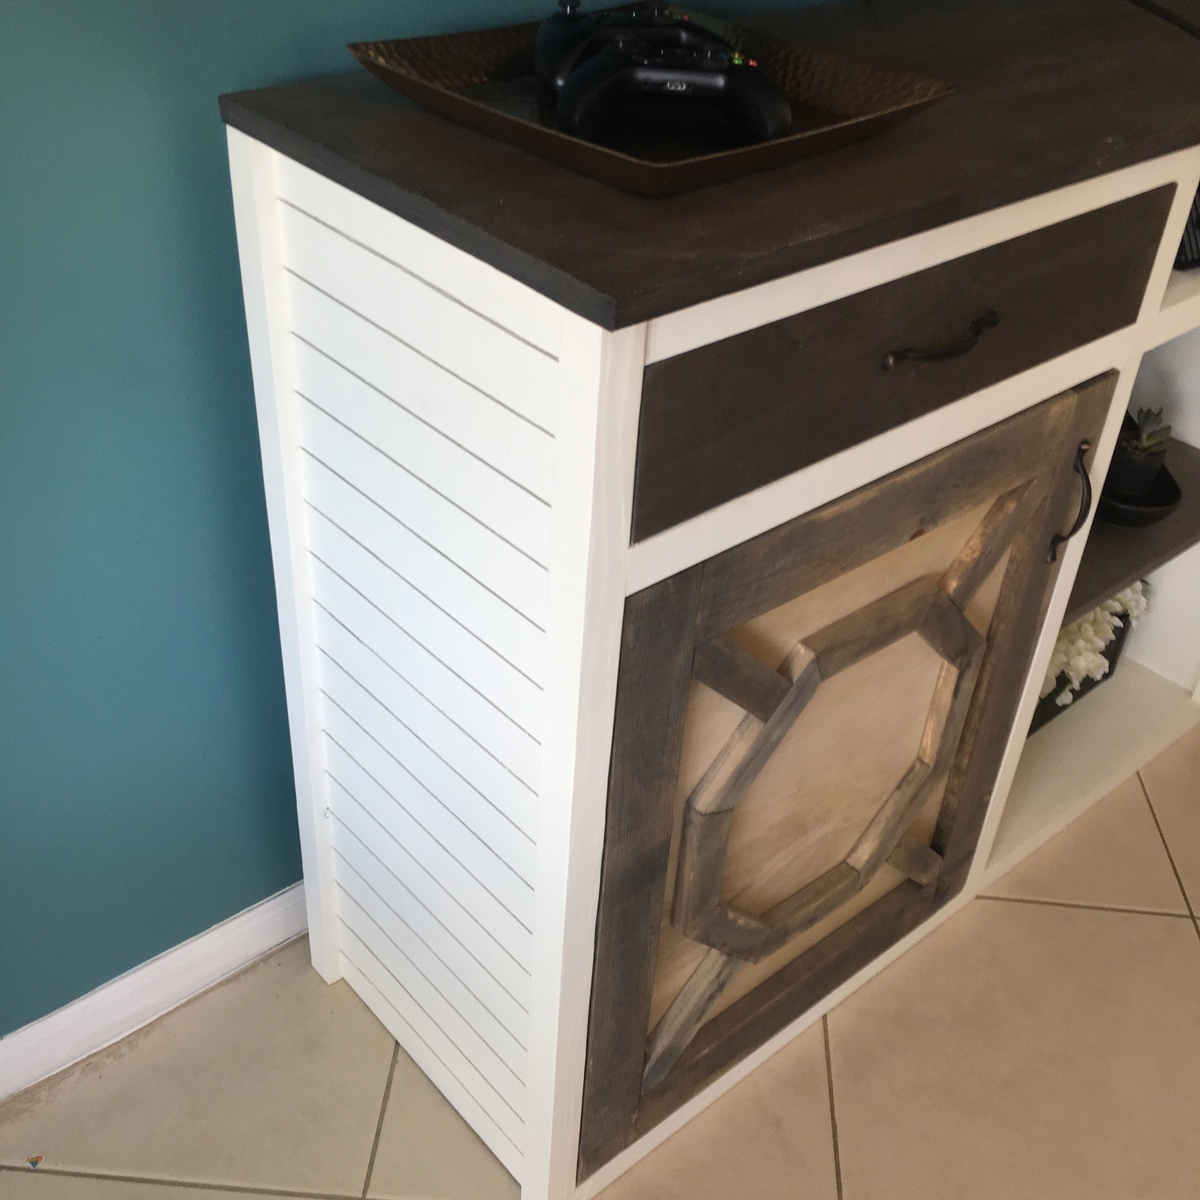
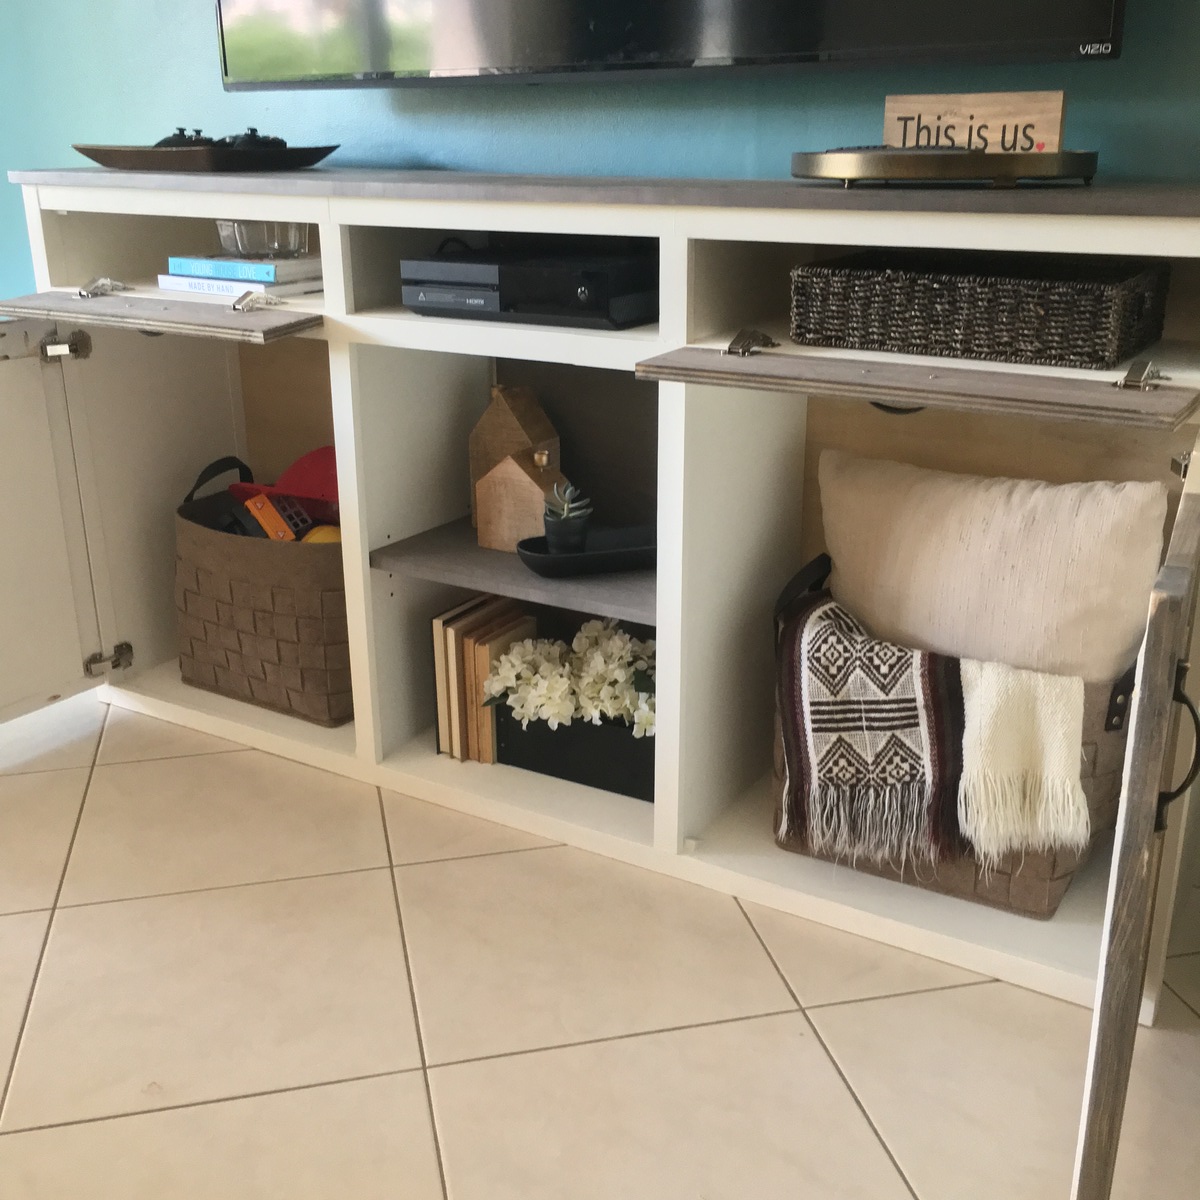
Media console made using pine and plywood.
1x2s are using for faceframe
Plywood top with edge banding
1/4" plywood for backing.
Built from building plans provided by Jen Woodhouse for an Instagram Builders Challange.
Sorry, no idea how to change the orientation of the photographs.
This is my first ever piece of furniture. I bought the Kreg Jig, which is awesome. My son has a fairly small room, so extra floor space is handy. I plan on turning the bottom into a reading nook with come comfy pillows, some lighting and a few small bookcases.
I used 2x6s to support the mattress. put in 6 slats, but I think I'll add one more for extra support. I also want to add a 2x4 across the back to keep the legs in place. Pretty sturdy though. I got up there with my son and between the two of us we're about 230lbs.
Can't wait to build something else!
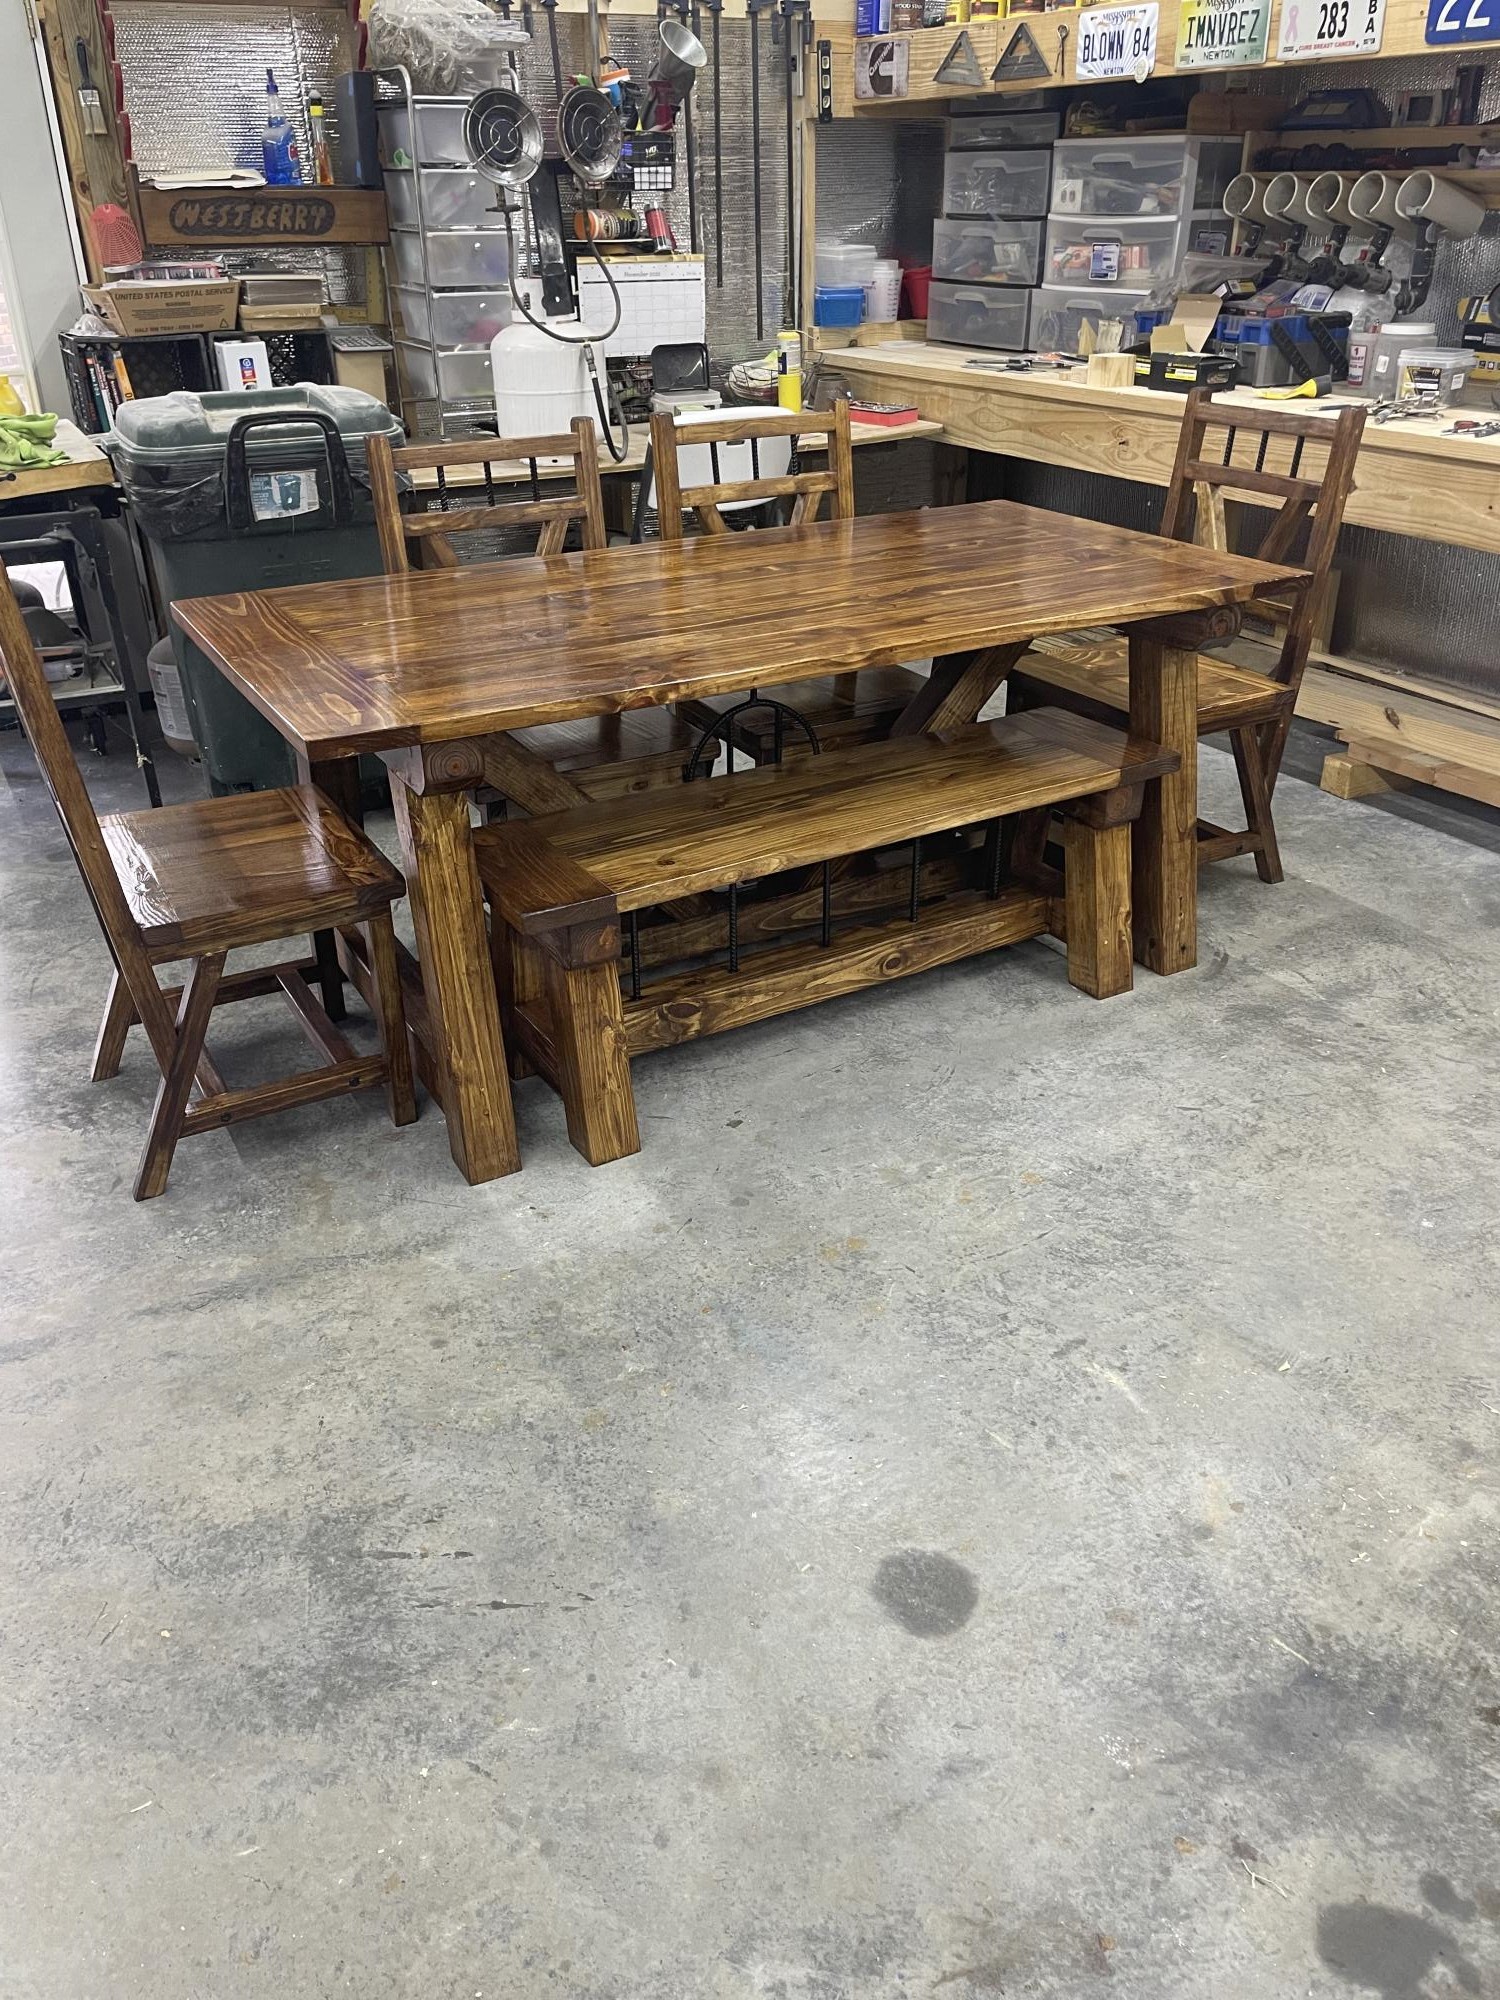
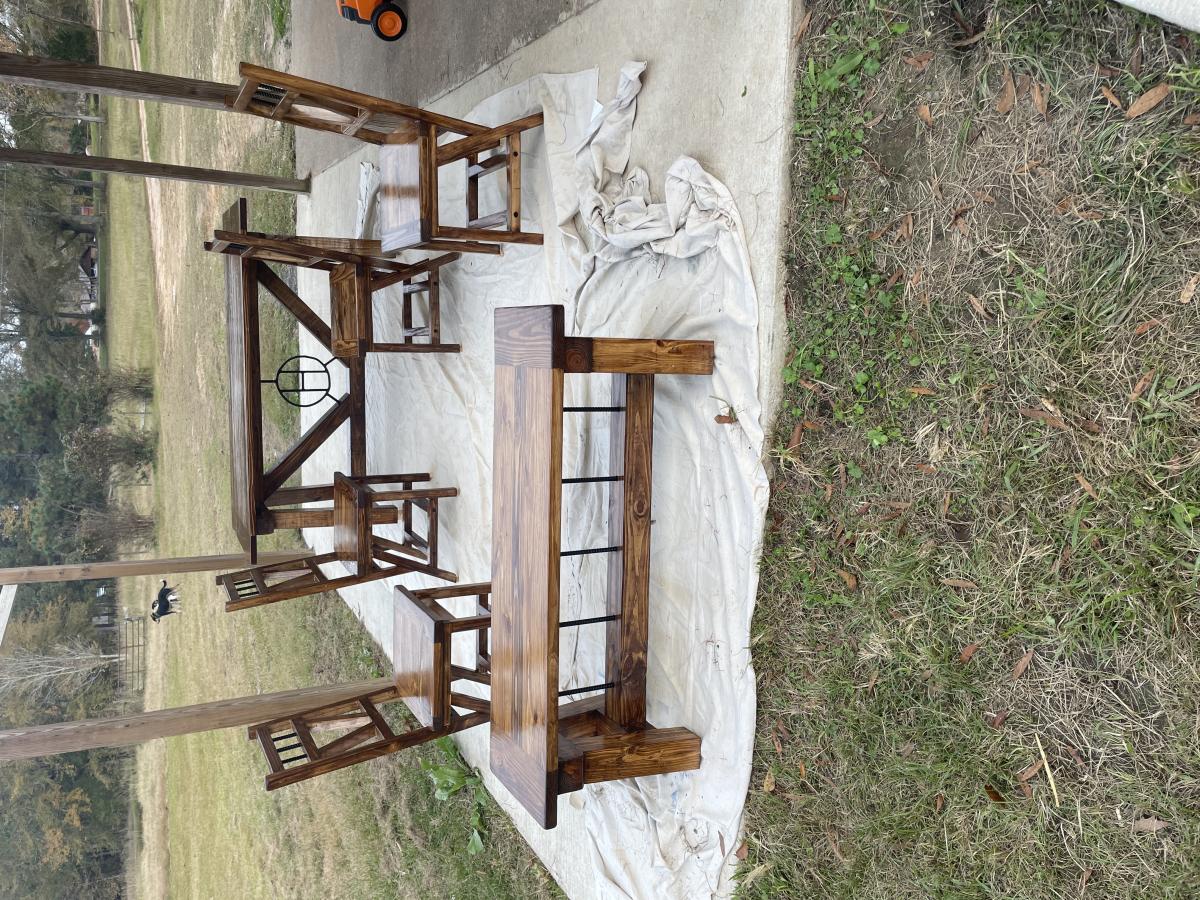
Truss beam table with bench and 4 chairs
Sat, 11/27/2021 - 15:23
Very nice work! Love this set. May I ask if the are plans for the chairs? Would you be willing to share them?
Tue, 11/30/2021 - 18:29
the chairs i just drew up on a piece of paper and just got out in the shop and made them.....i have to build some more so i will kind sketch some plans down if you are interested in that

This was something I build a couple years ago, it's not the same as this plan, but very similar. When we moved in to the house, the slab was already poured, with 4x4s already in place, I just used what was there and my imagination for the rest.
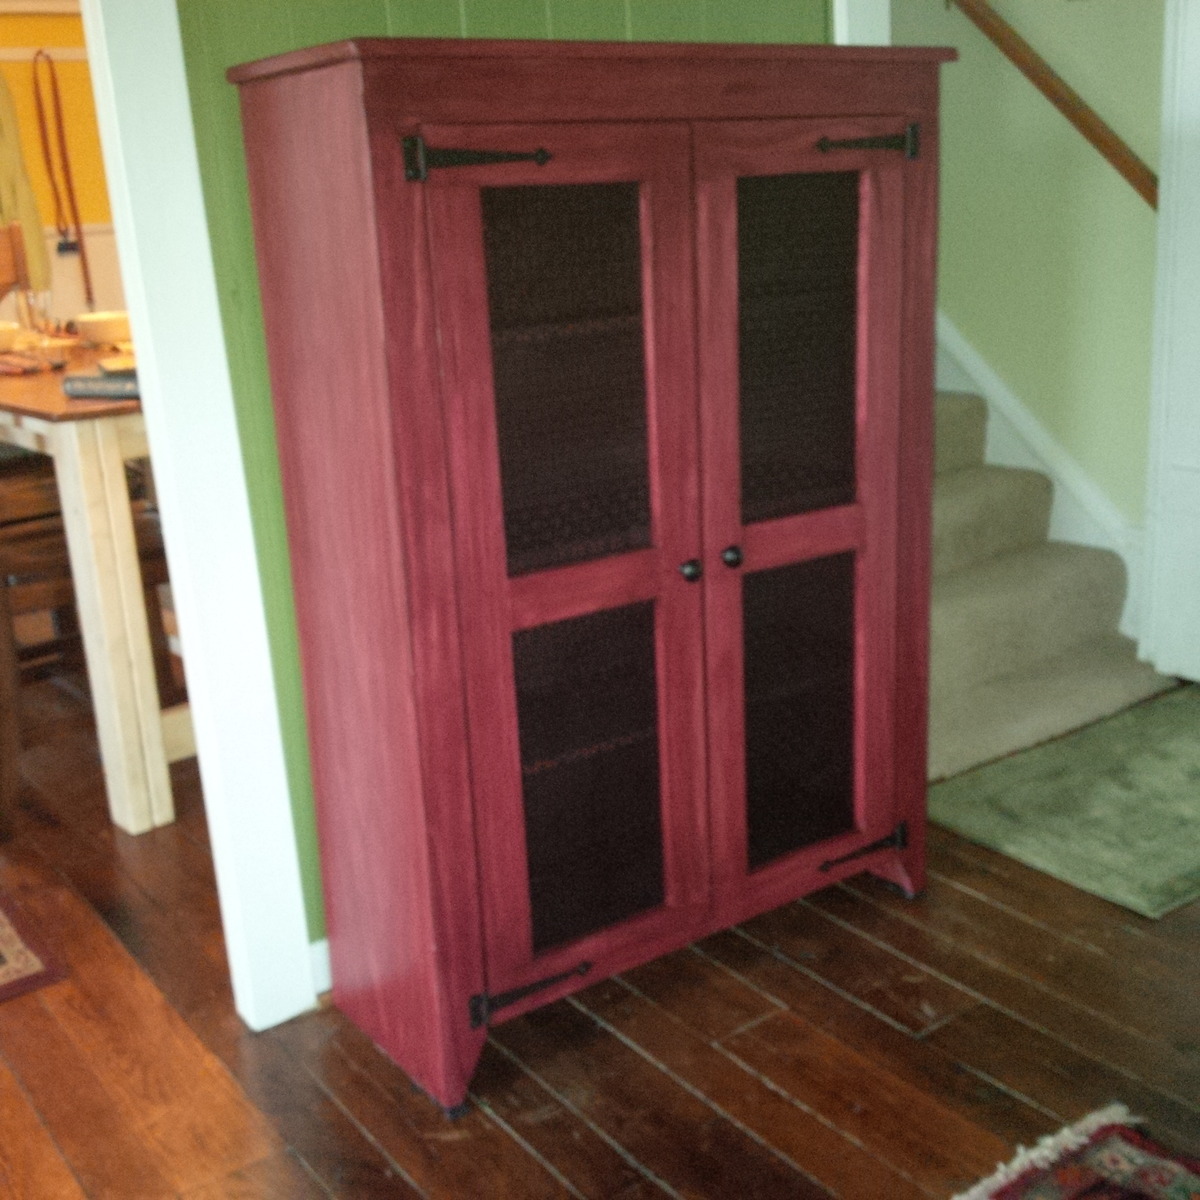
This was my first project with doors! Everything worked perfectly, except there seems to be a small mistake on the cut list - the 4 1x3's for the doors should be 14", not 11" each. The picture is correct but the cut list should be revised. Otherwise, instructions were easy to follow. I used a metal grill pattern for the door insets - purchased from Lowes, cut with tin snips and spray painted matte black. This cabinet is a great storage space and an all-around great project. One extra small tip - it may be better to set the top piece back a 1/4 inch more so that it goes over the top edge of the plywood backing on the rear - it would make for a cleaner finish. Thanks Ana - this is my 4th project from your website and I hope to furnish an entire (tiny) house all by hand!
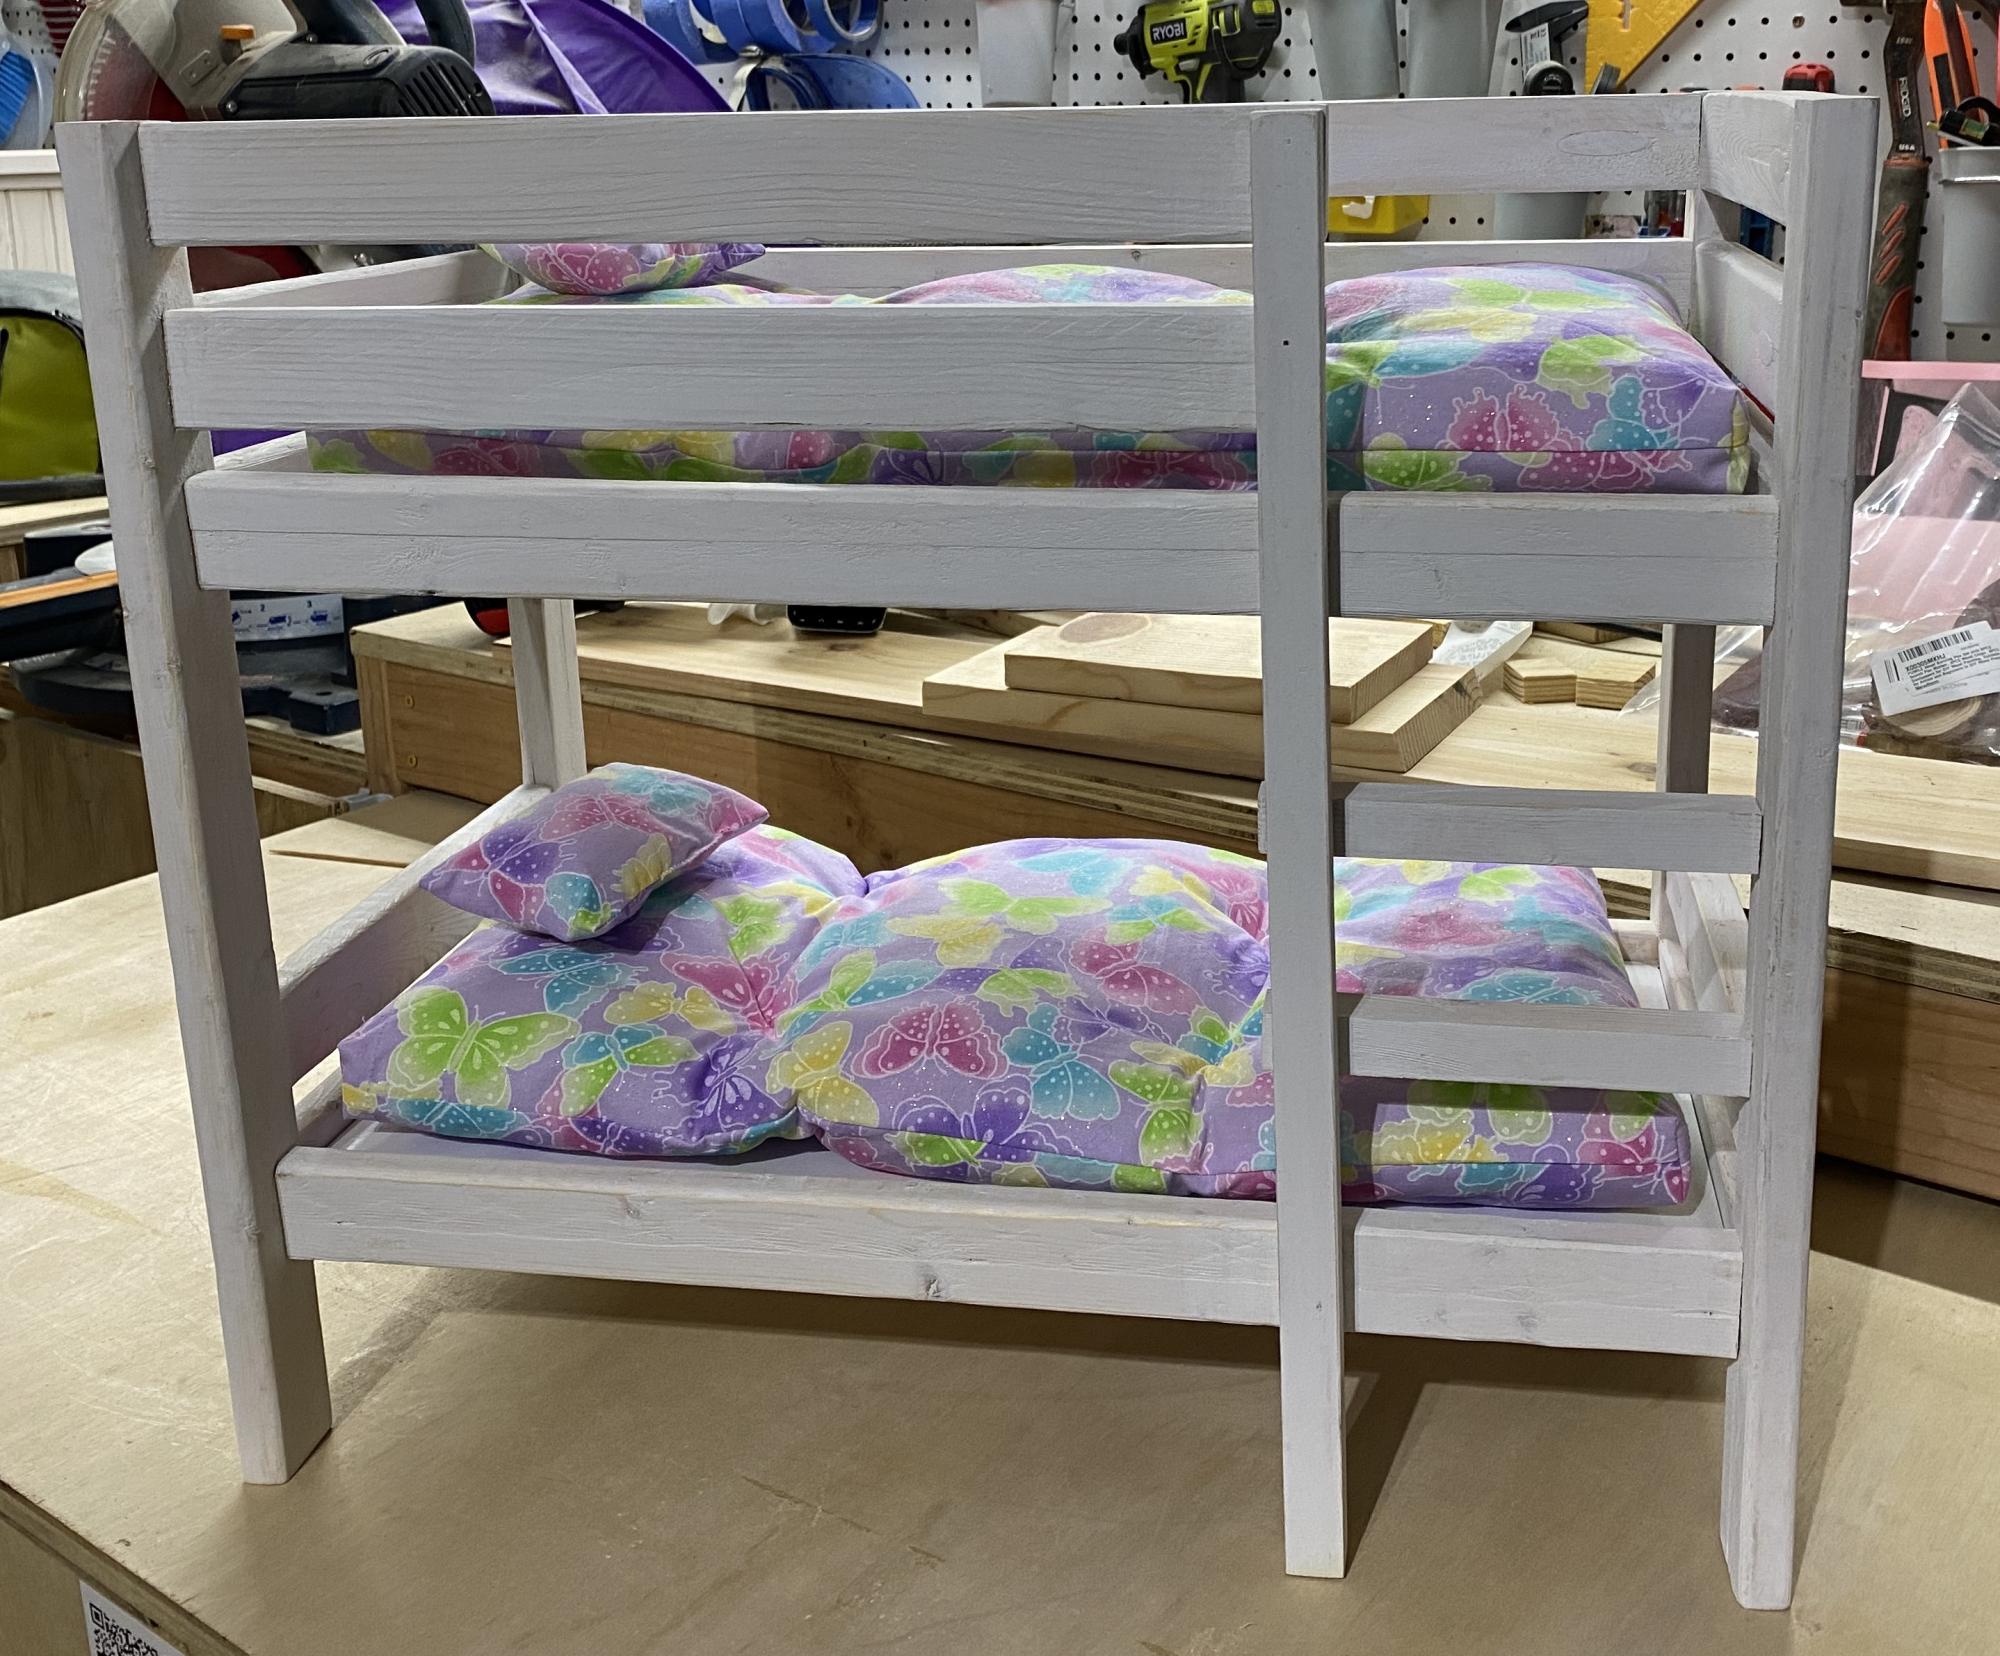
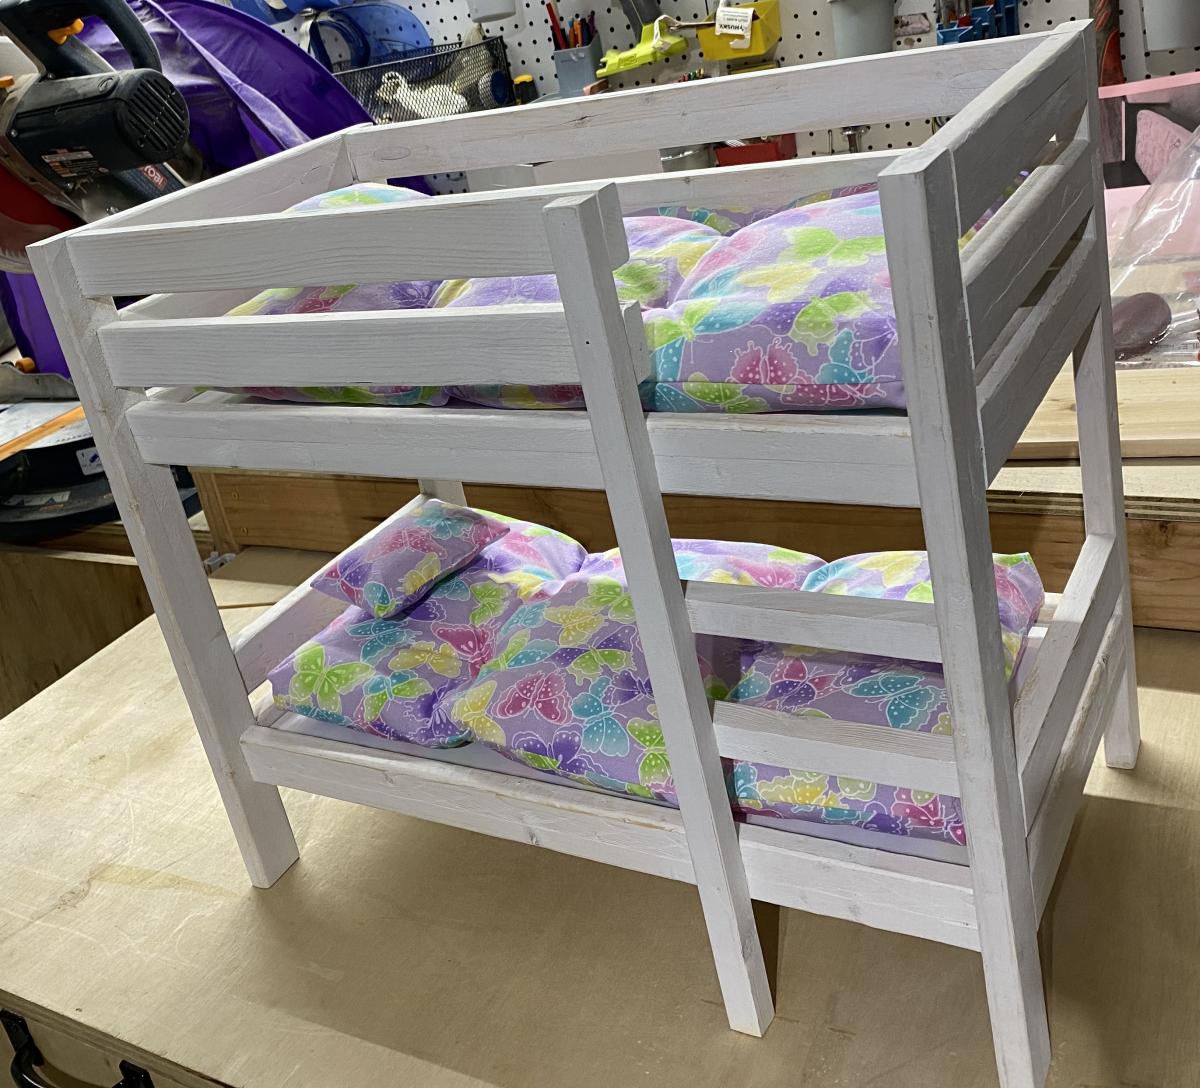
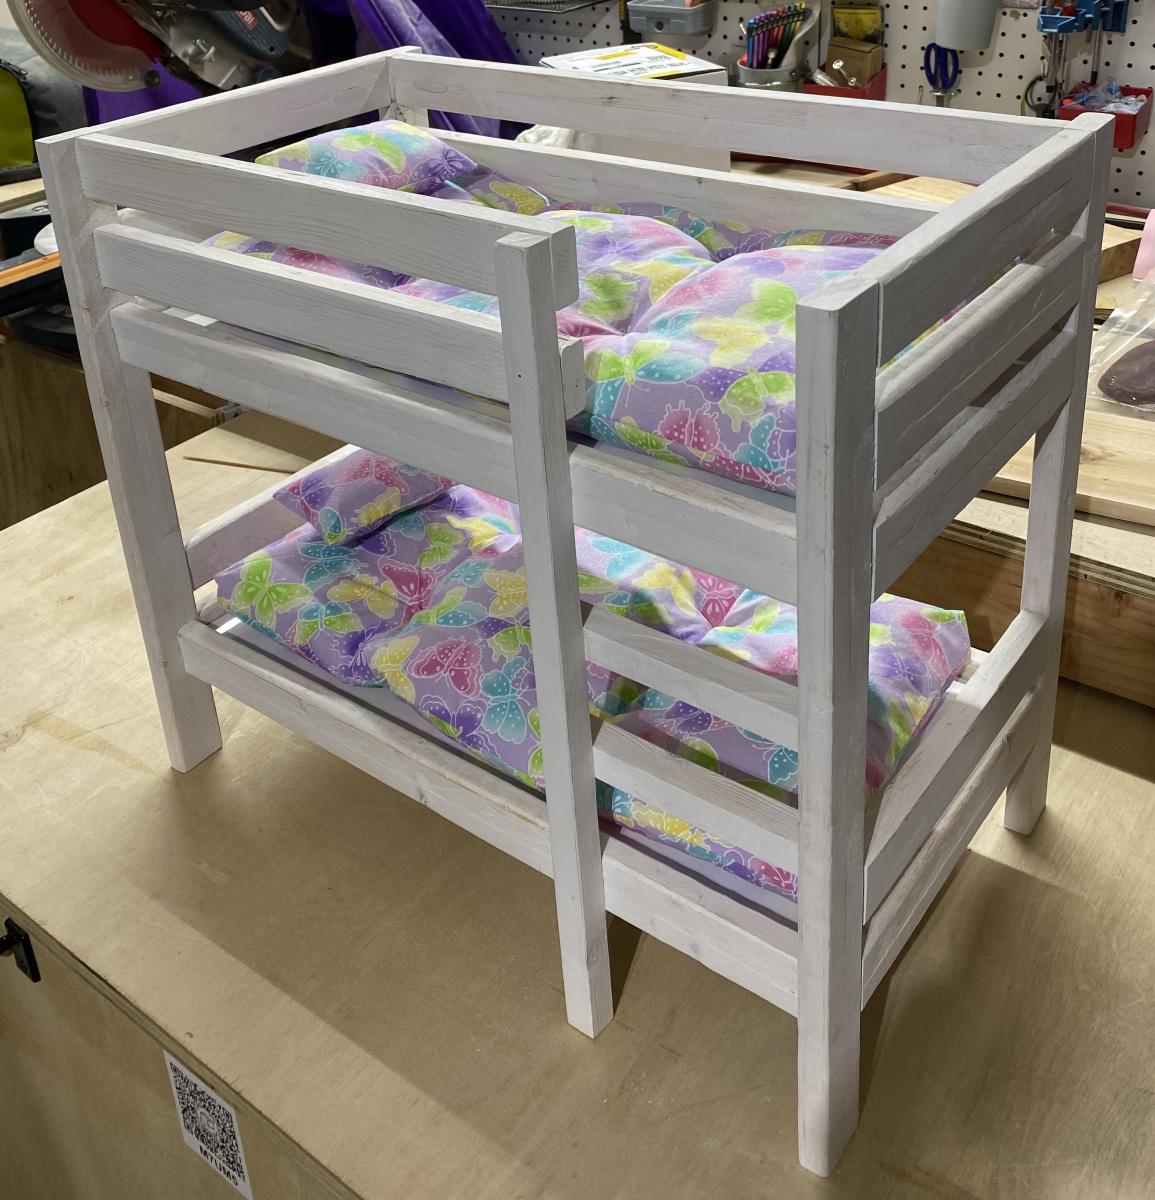
What a fun project! I used Ana’s plans for the bunk beds and the mattresses. The bed is finished with a whitewash.
Thu, 12/23/2021 - 20:08
Looks fantastic, love the finish, thank you for sharing!
Fri, 12/24/2021 - 14:36
Thank you! As you can see by my workbench, we are blessed by many of your plans.
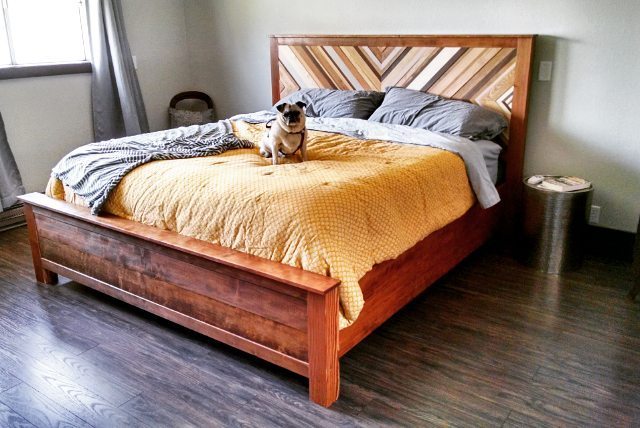
King bed made out of CVG hemlock with doug fir posts. Headboard chevrons are mix of oak, cherry, maple, hemlock.
Pug approved.
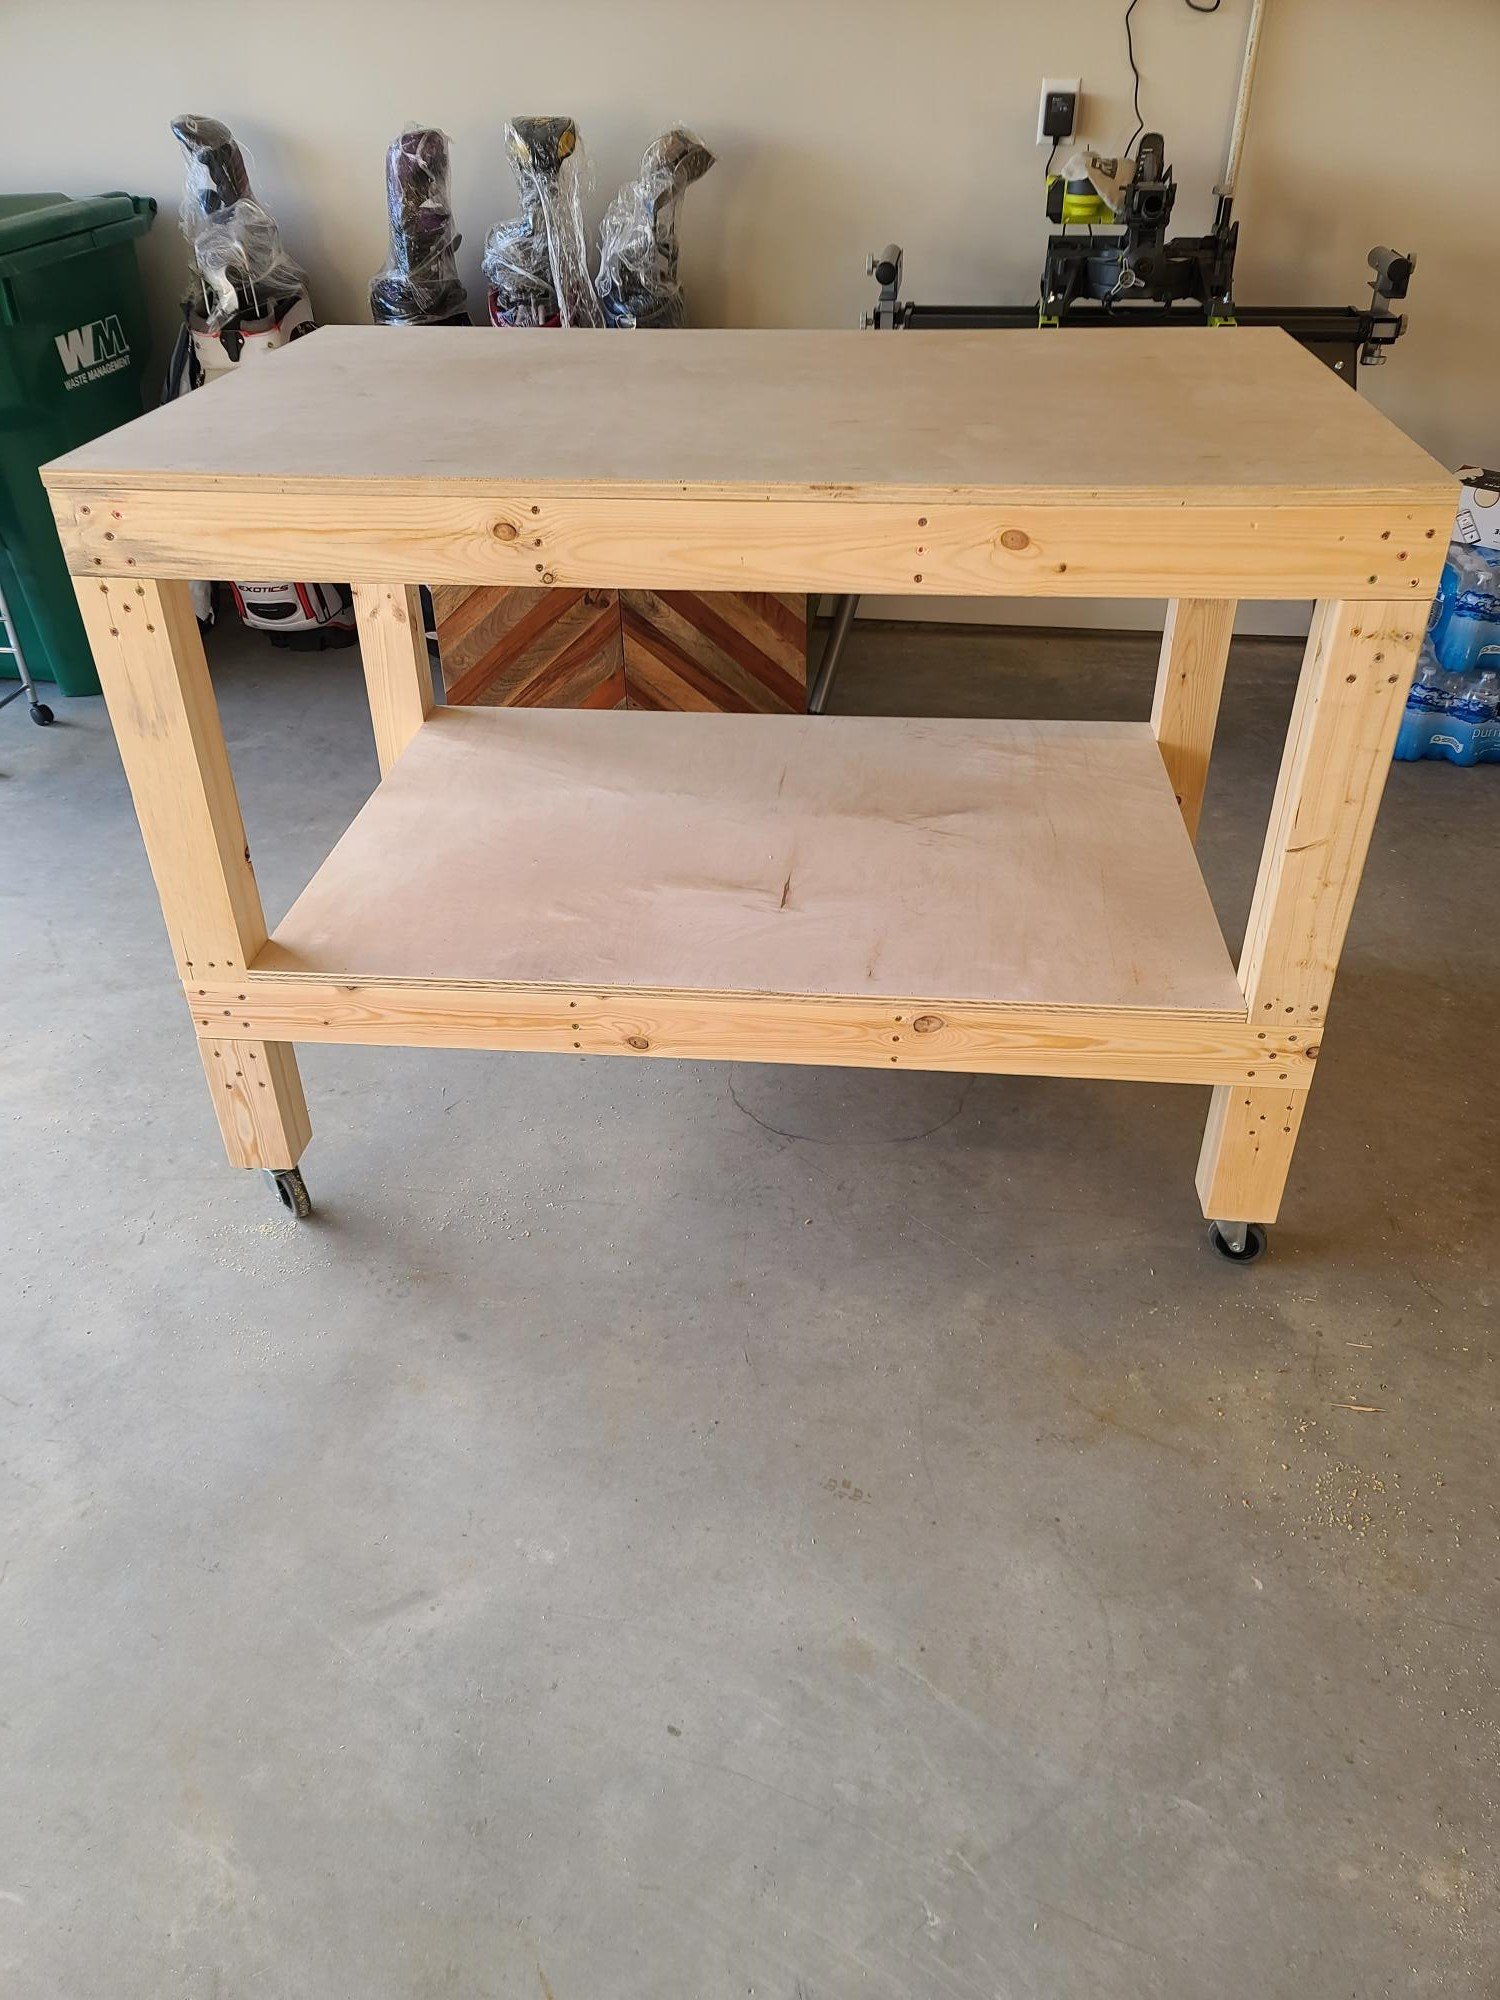
This was my second project, with so many more projects in mind, figured I needed to get started on a Workshop bench. This was a fun and easy project and such a great plan.