Community Brag Posts

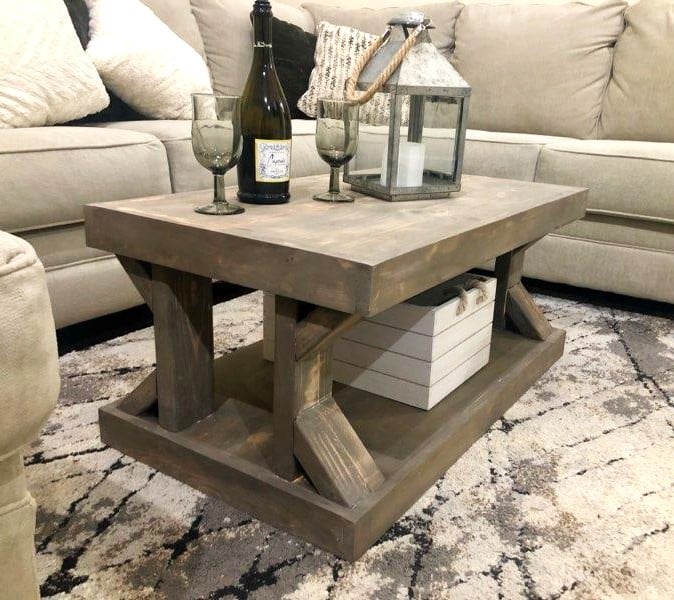
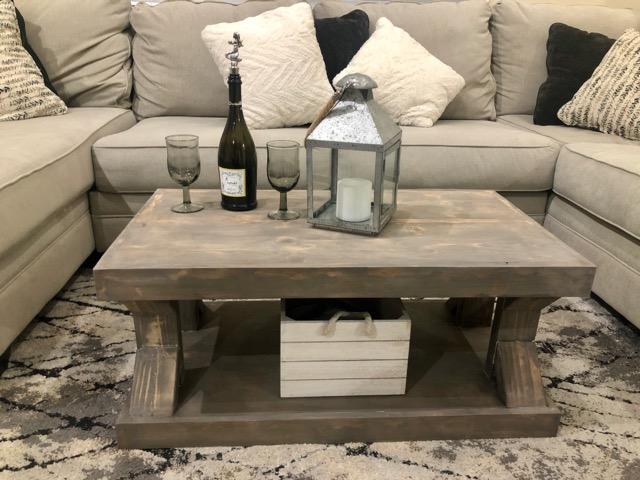
Farmhouse coffe table

Submitted by vmederos on Fri, 10/04/2019 - 14:22

This was great easy project I could do for my wife while she was at work and surprise her before she came home. I use the same color recommended stain but added the valspar white glaze to makenit more gray and weathered look. Sealed with a matte finish.

Estimated Time Investment
Afternoon Project (3-6 Hours)
Recommended Skill Level
Intermediate

Comments

Outdoor Patio Furniture

Submitted by Anonymous (not verified) on Tue, 06/20/2023 - 09:32

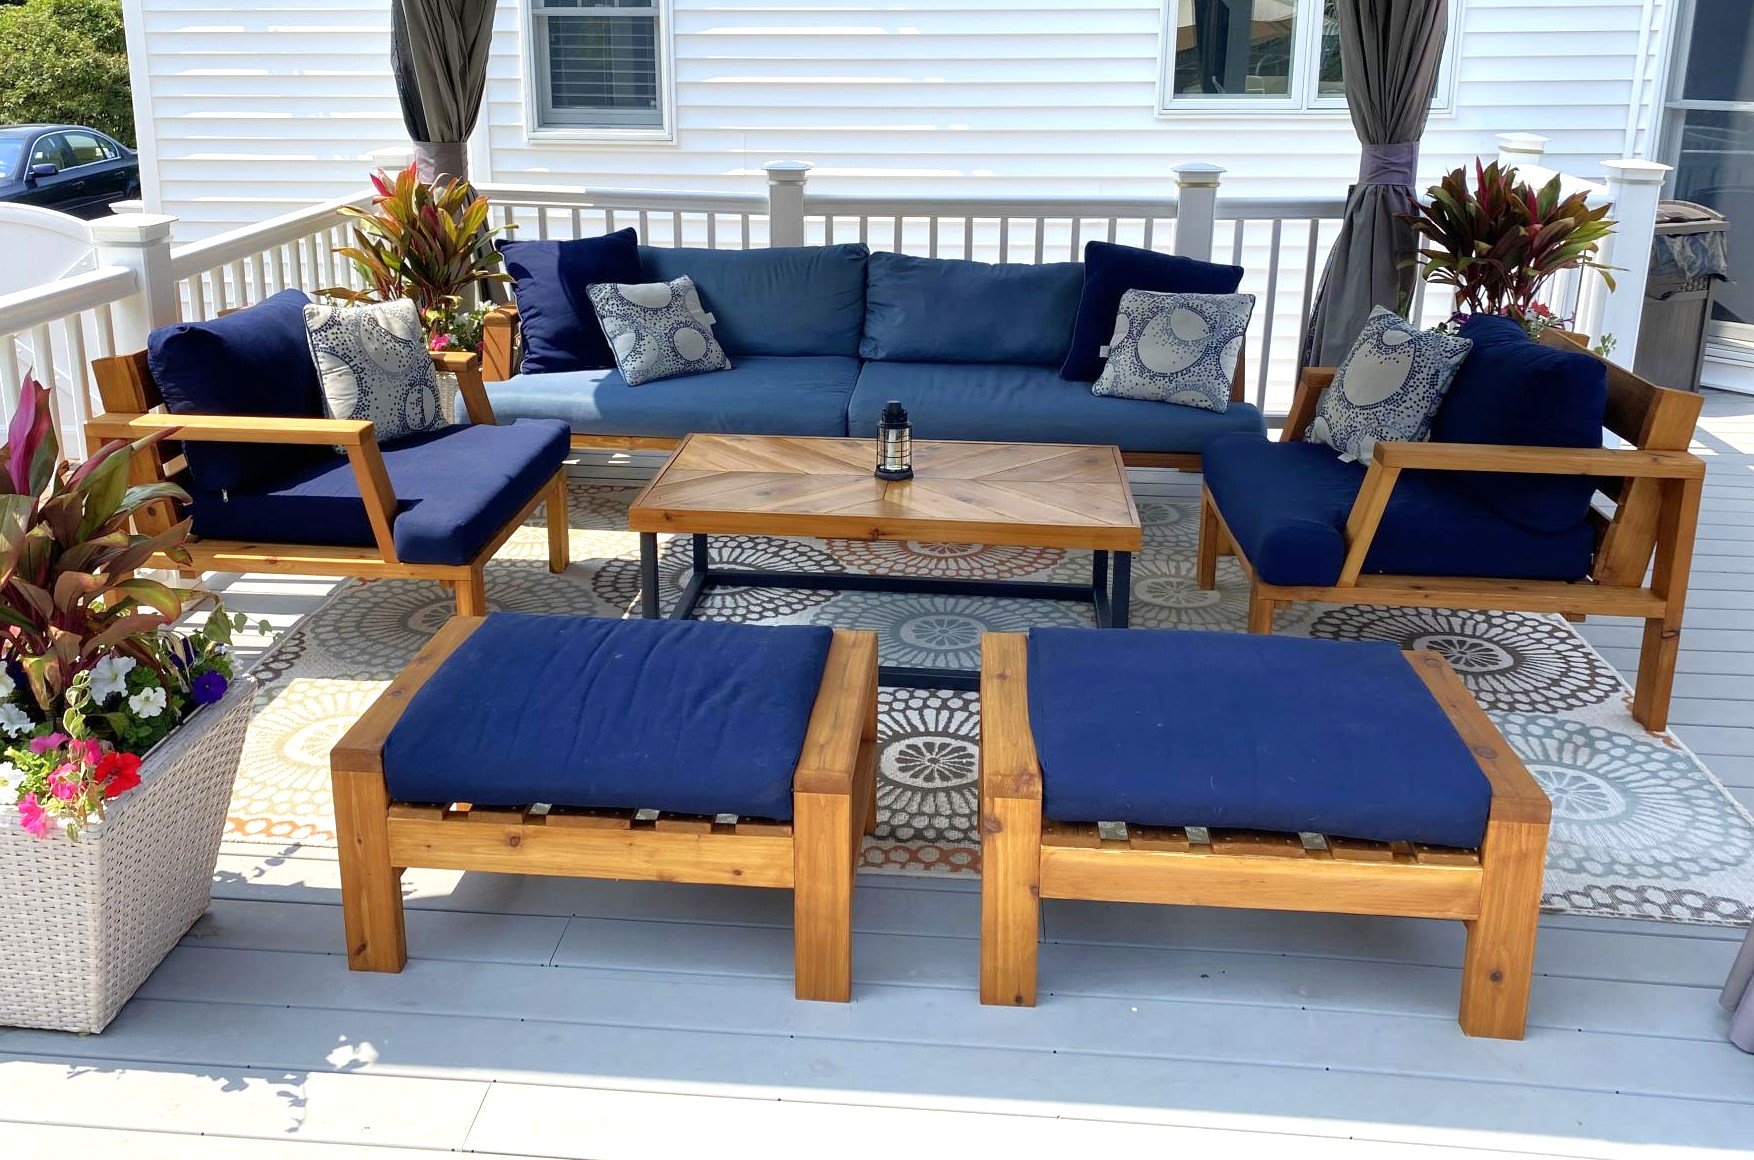
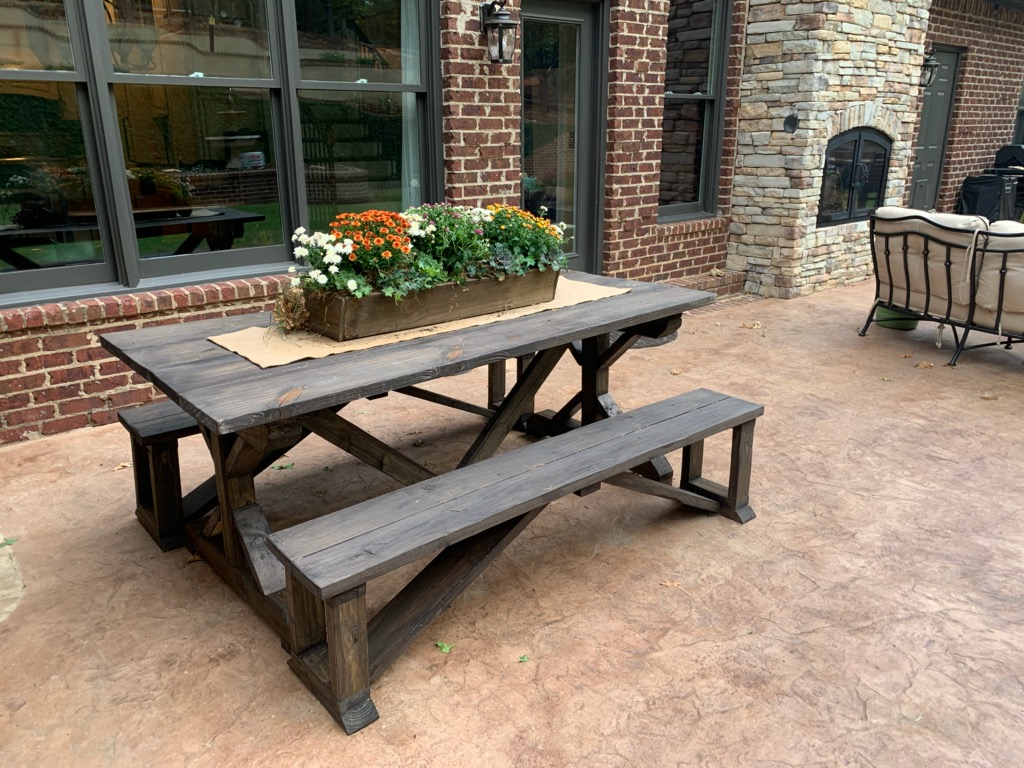
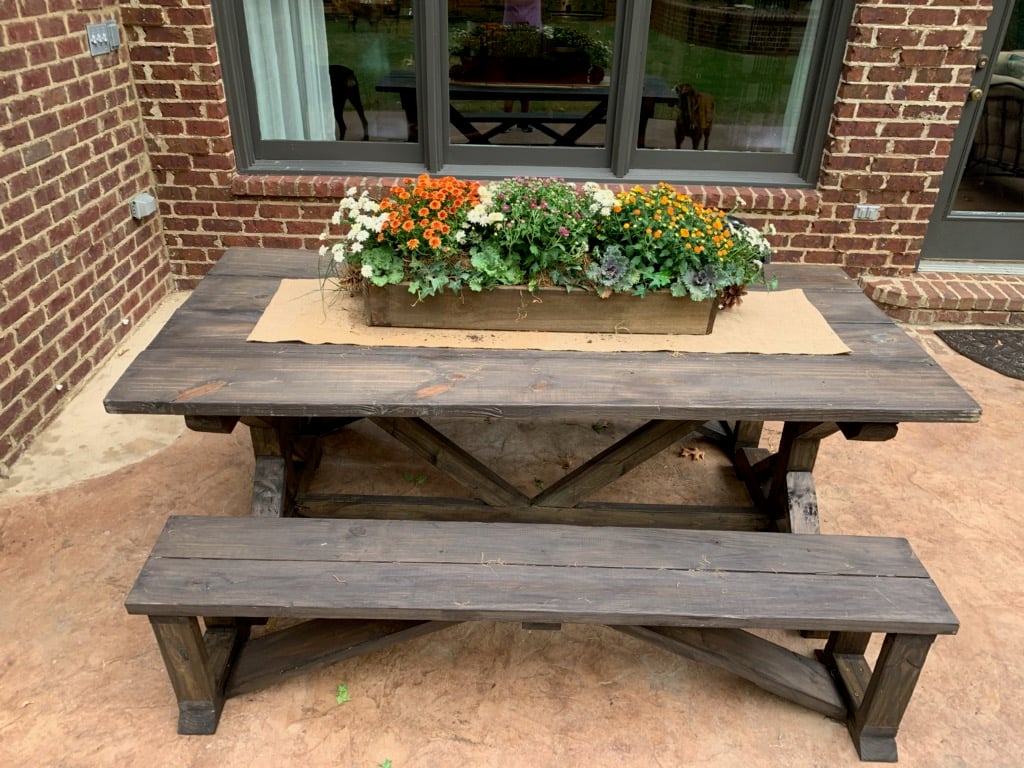
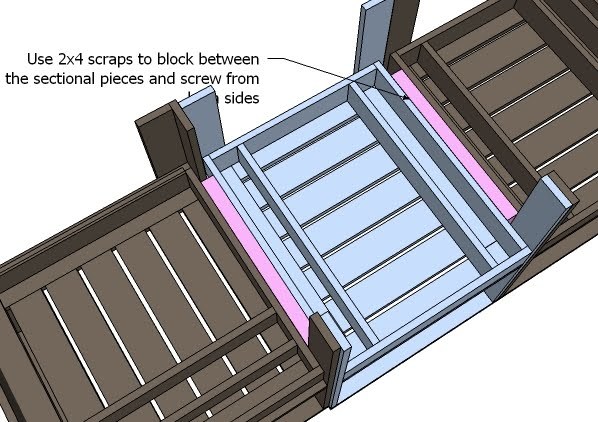
Our outdoor furniture from Costco was falling apart but the cushions were still in great shape so I decided to design the furniture around the existing cushion dimensions. I used all Cedar wood and stained it with Australian Timber Oil Honey Teak stain. The table design was from a picture I saw on another site.

Comments

Seasonal And Holiday

Folding Worktable

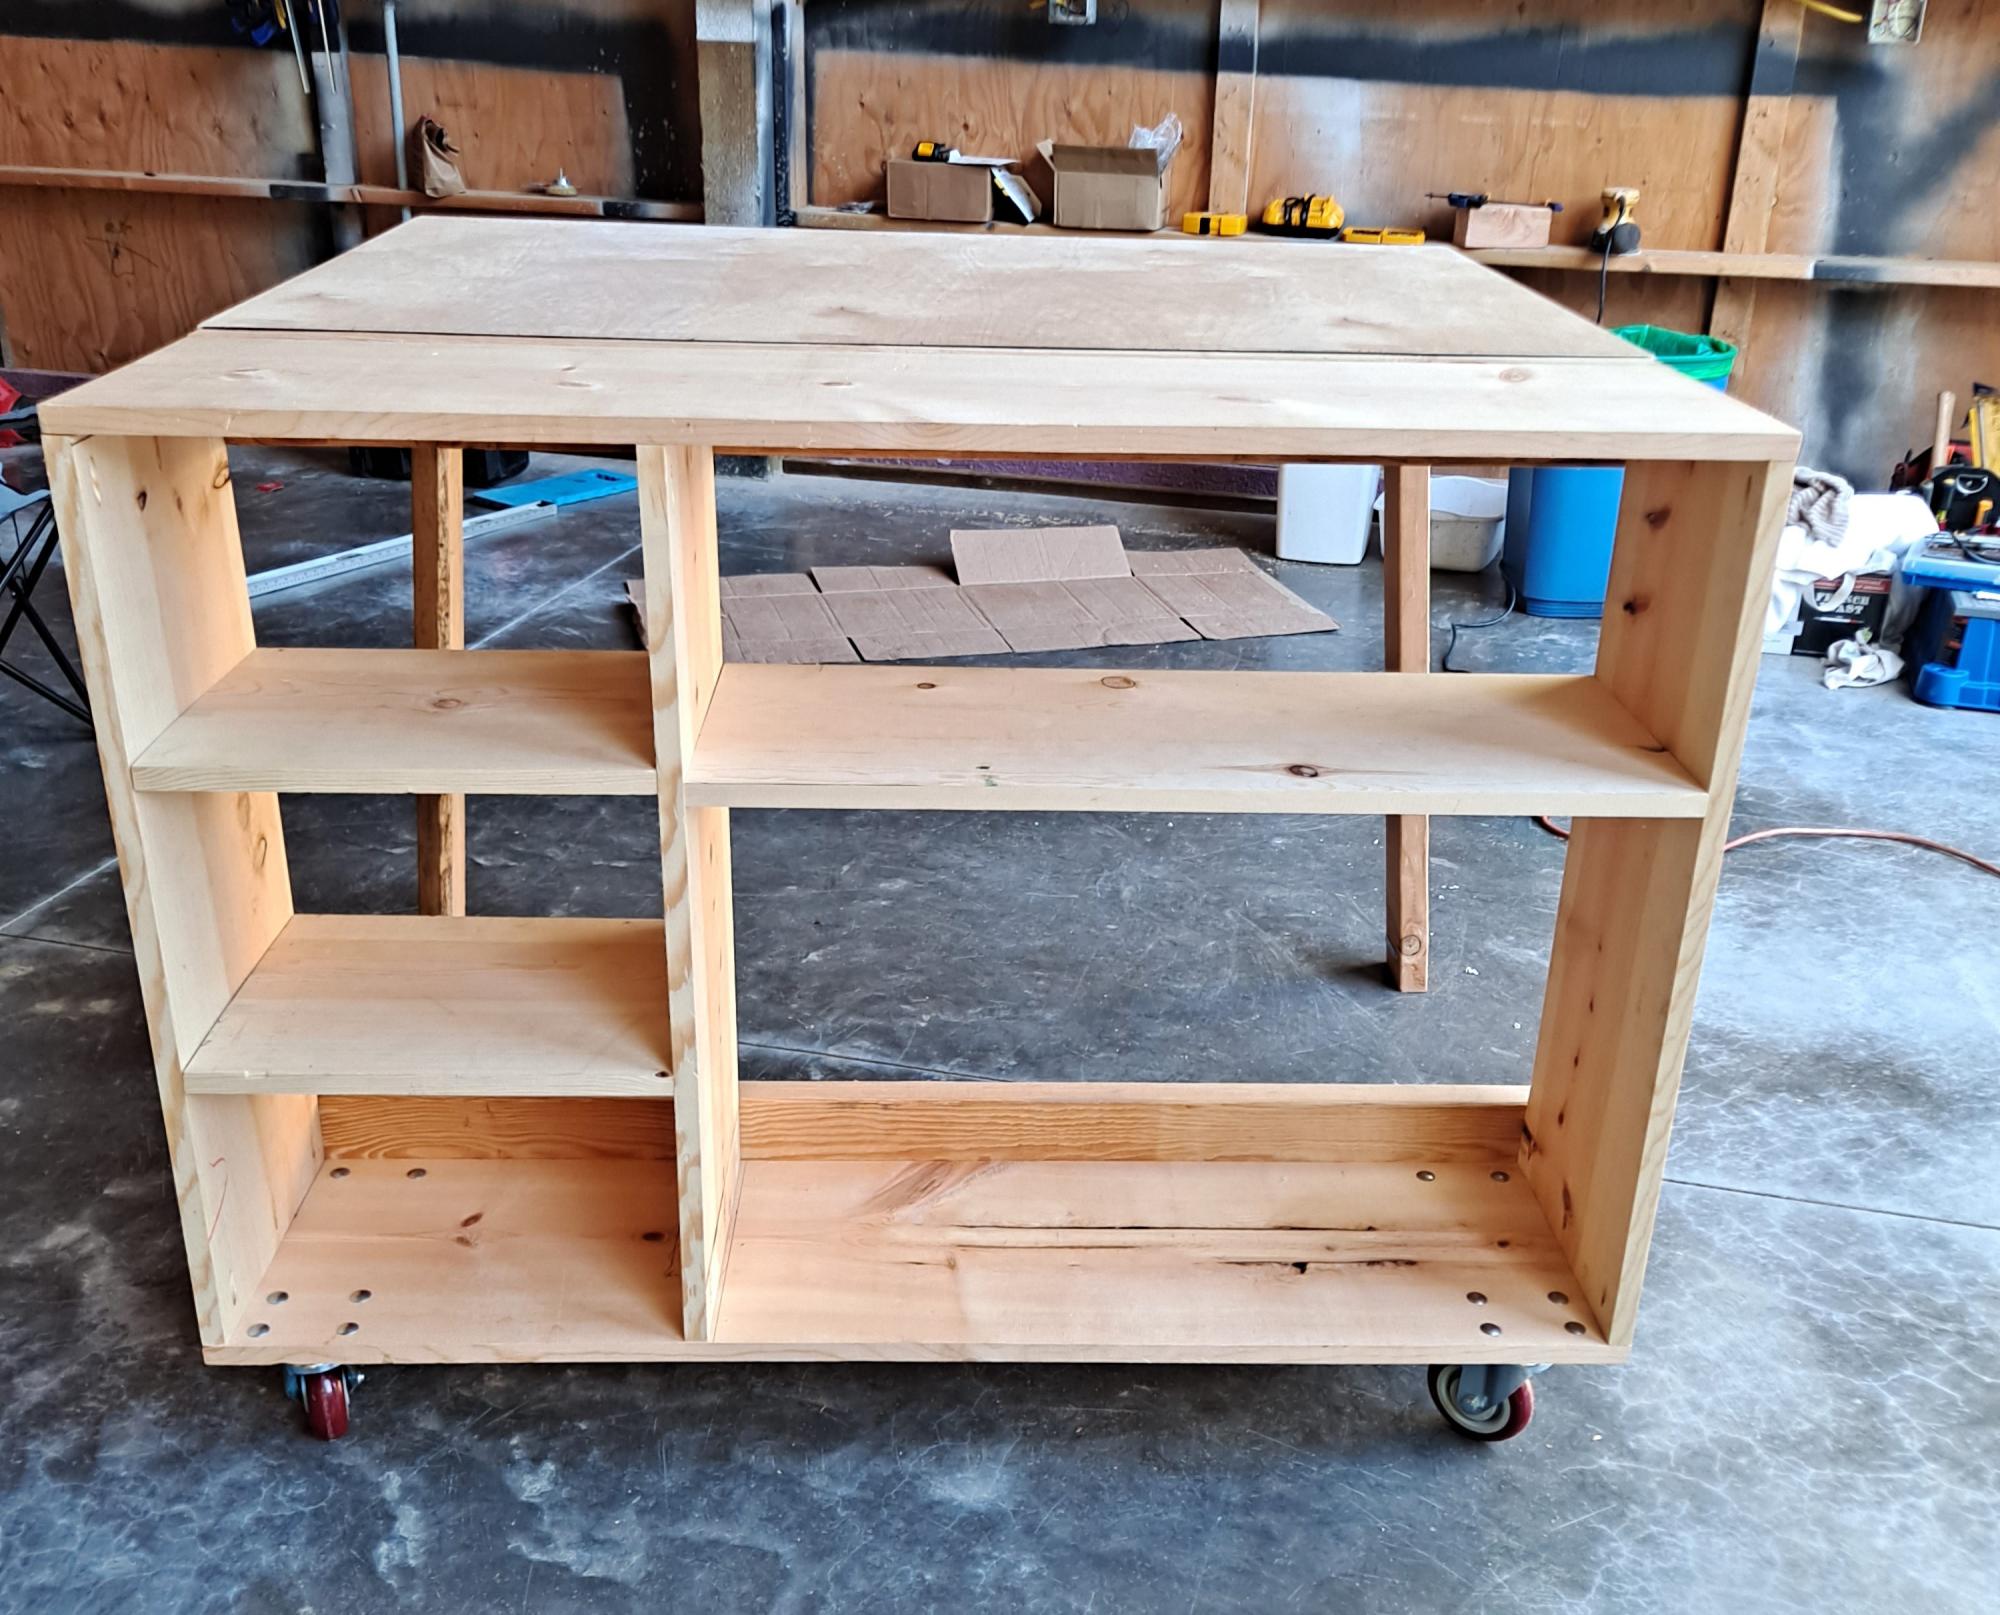
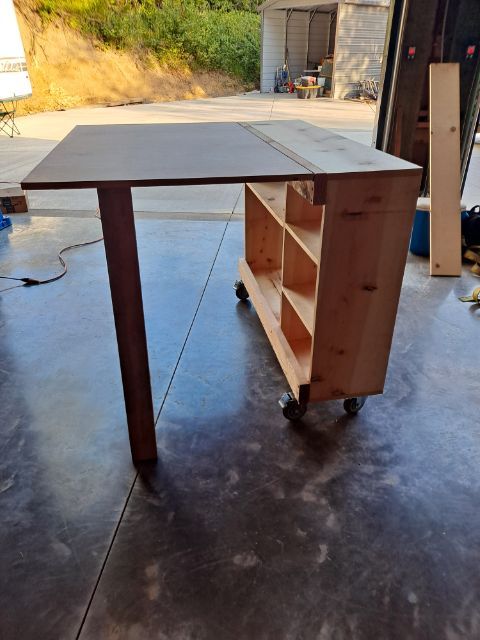
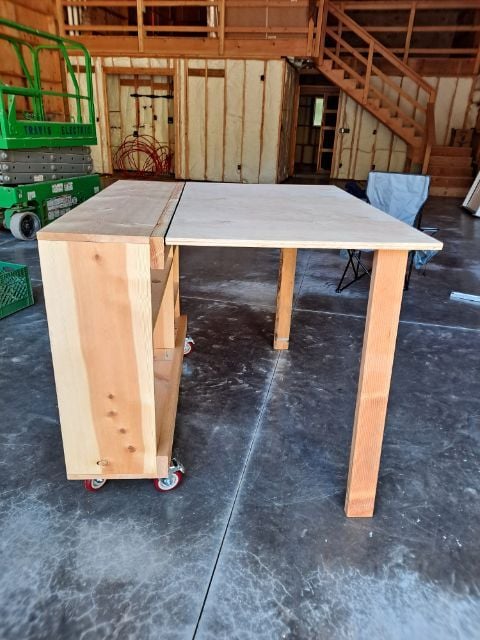
Made the portable worktable as my craft table. I'm limited on space so the fold down table was just the key. Thank you Ana. You are an amazing carpenter & inspiration to me. You make your plans so easy to read & follow. Thank you so much. I can't wait to make more of your plans. ❤️

Jodi Inman


Built from Plan(s)

Made it! Thanks Ana White for the easy to read plans!

Submitted by Anonymous (not verified) on Sat, 10/12/2019 - 07:14

I used Ana's plans for the idea but used all reclaimed wood that I had or found in the dumpster at construction sites.

Estimated Cost
$25 for the screws and glue
Estimated Time Investment
Day Project (6-9 Hours)
Finish Used
Wood stain
Recommended Skill Level
Intermediate

Simple Shower Stool

Submitted by lbrown on Sat, 02/18/2012 - 11:43

I love my 3' x 5' shower and with all that space I thought that having a little spot to sit down would be really nice. After looking around online and at some stores I couldn't find anything that I liked that was also reasonably priced so in the end I decided to make my own.

For details about how I built it check out my blog: http://www.homeandawaywithlisa.com/blog/2012/2/18/simple-diy-shower-sto…

Estimated Cost
Under $20
Estimated Time Investment
An Hour or Two (0-2 Hours)
Finish Used
I used a dark grey spray paint primer on the stool first before applying two light coats of black spray paint.
Recommended Skill Level
Starter Project

Comments

lbrown

Wed, 02/22/2012 - 17:17

Cedar would definitely be a great option. For the finish I used Rustoleum outdoor spray paint which is supposed to stand up to the elements. I figured that would help it stand up to the water in the shower.

Stable with upgrades!

Submitted by rjreiffer on Wed, 12/25/2013 - 19:23

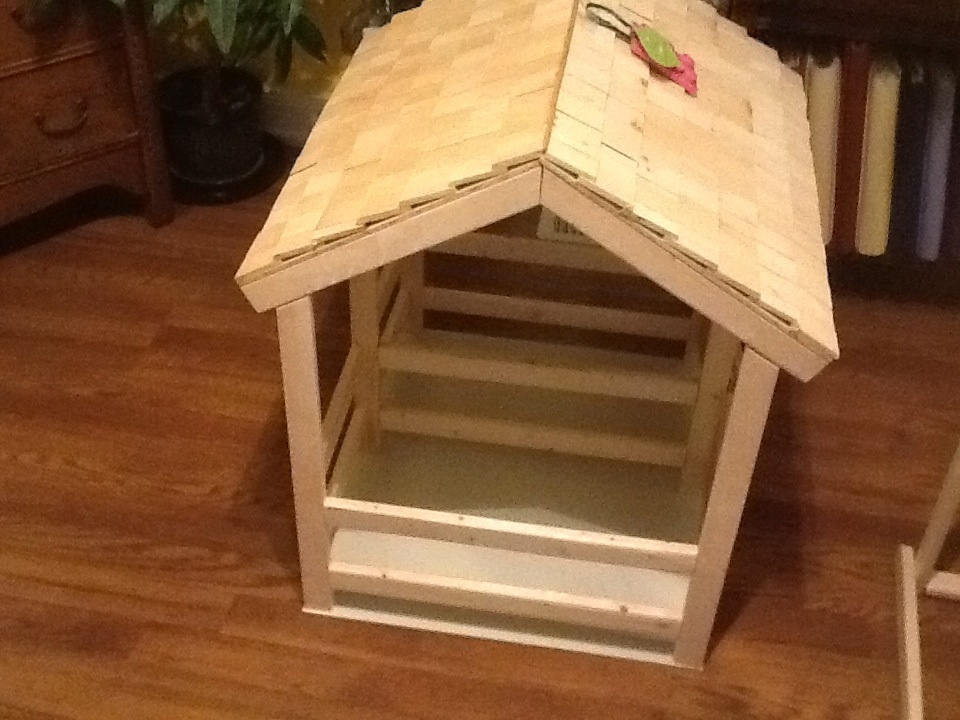
This was an upgrade from the Ana's project on the stable. I made the shingles from cut thin strips of wood nailed to a 1/4" roof with a pin nailer.

Estimated Time Investment
Afternoon Project (3-6 Hours)
Finish Used
Everything in Ana's list plus varying sizes of 2" high by 1.5" wide (or less) to make the roof.
Recommended Skill Level
Beginner

X Desk

Submitted by RHgaijin2 on Wed, 10/30/2019 - 19:47

X Desk built without drawers and a Batman themed desktop

Built from Plan(s)
Estimated Cost
$50
Estimated Time Investment
Week Long Project (20 Hours or More)
Finish Used
Black stain on legs
modge podge desktop
polyurethane
Recommended Skill Level
Beginner

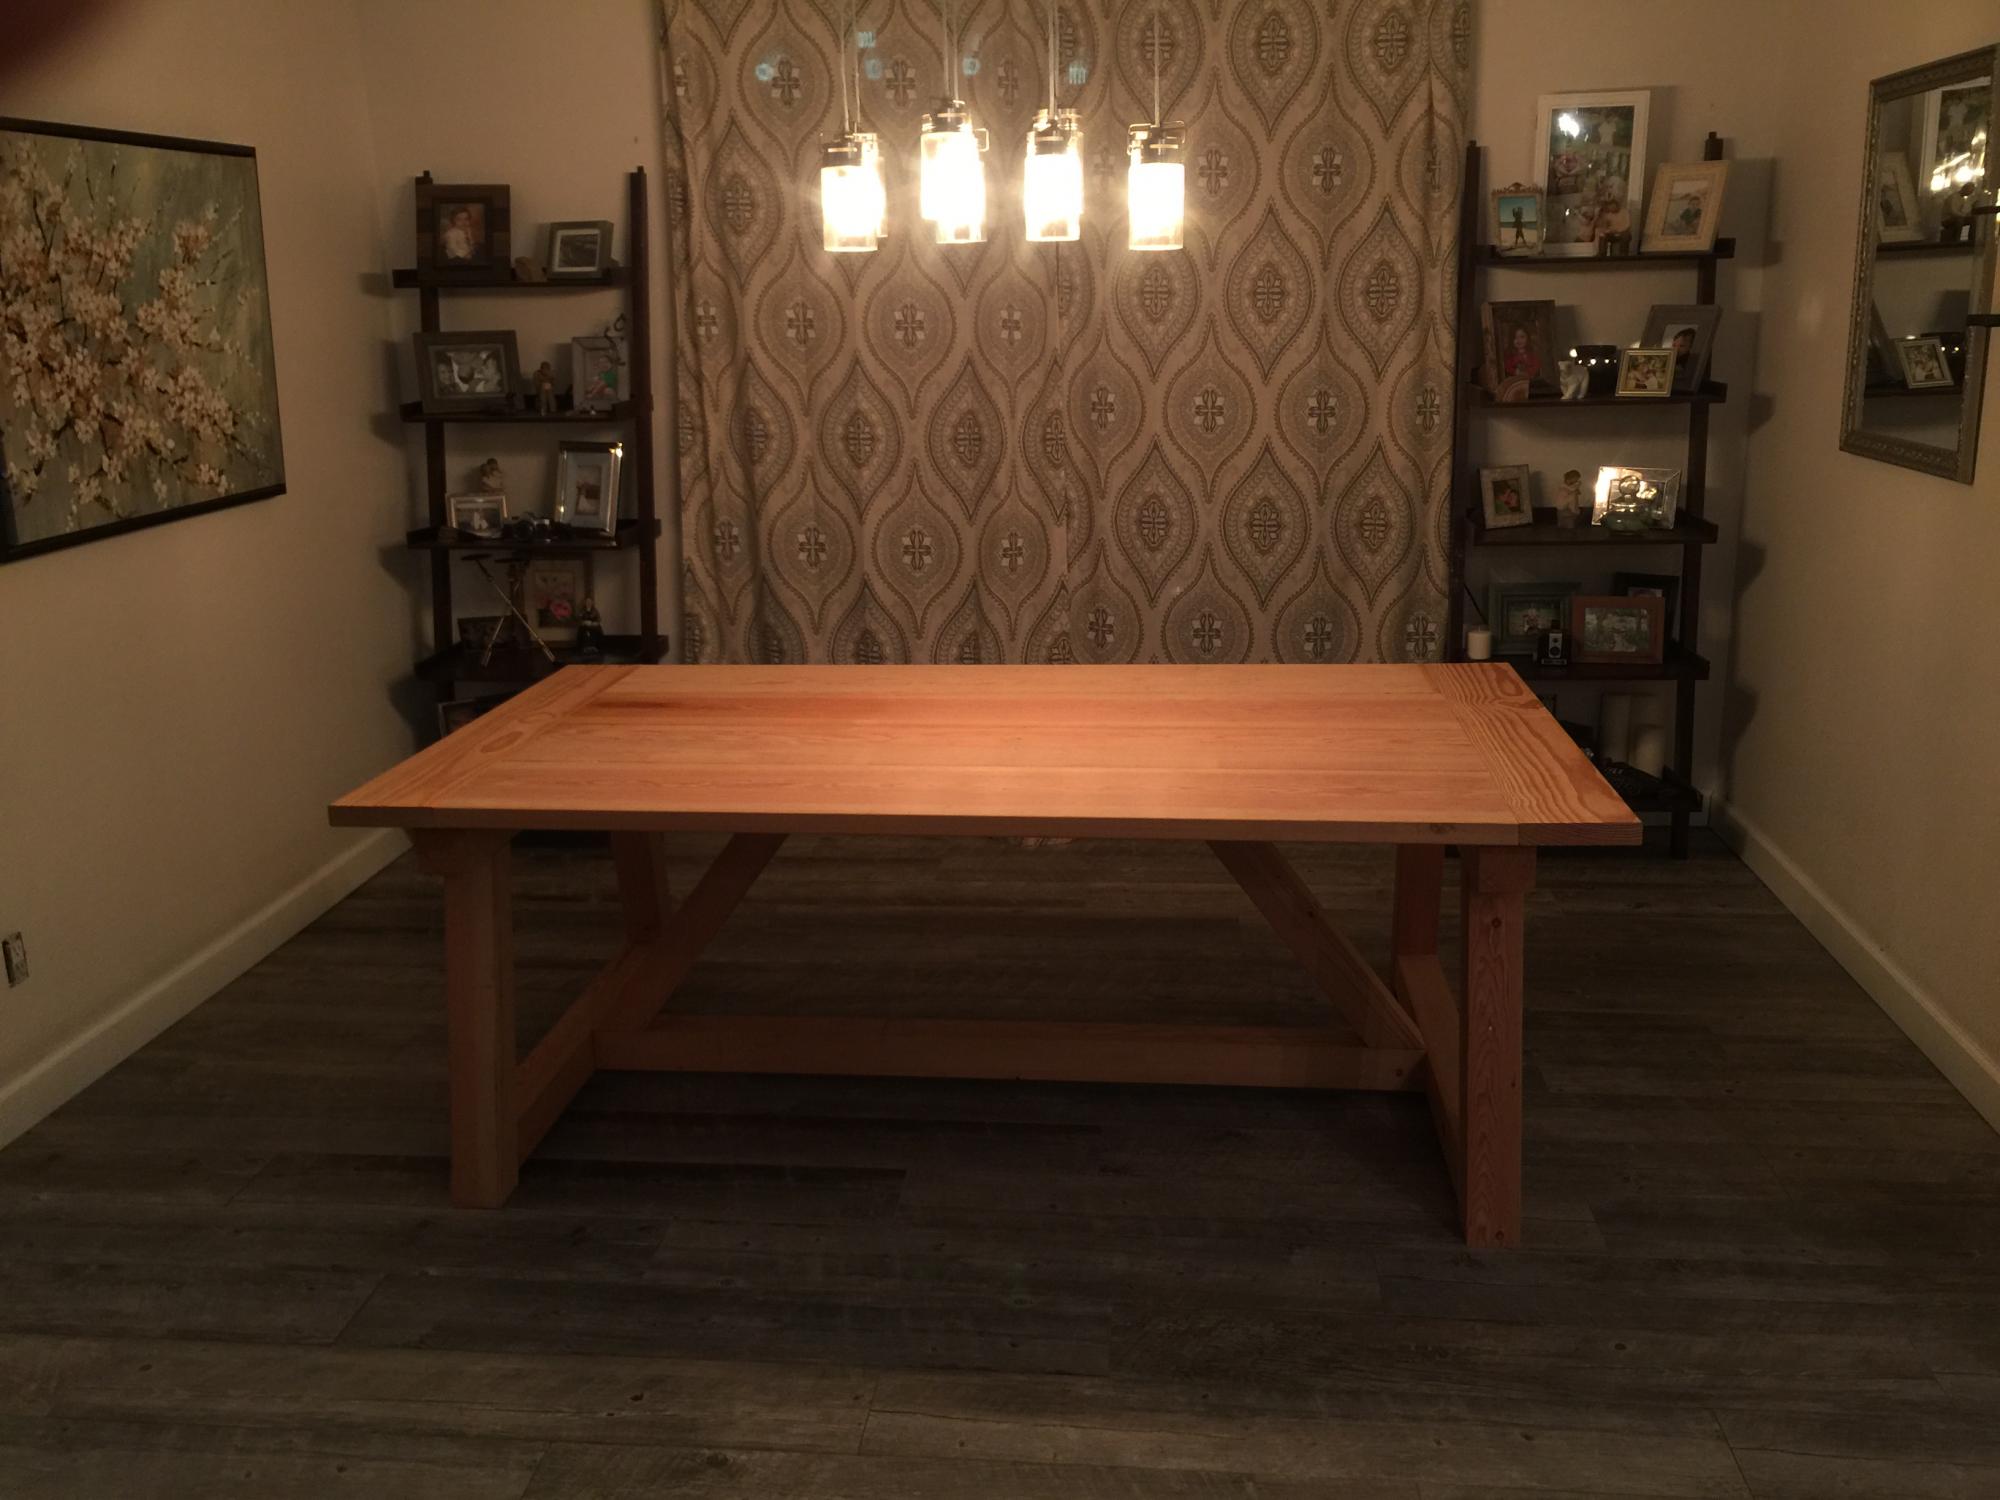
Benchwright Dining Table

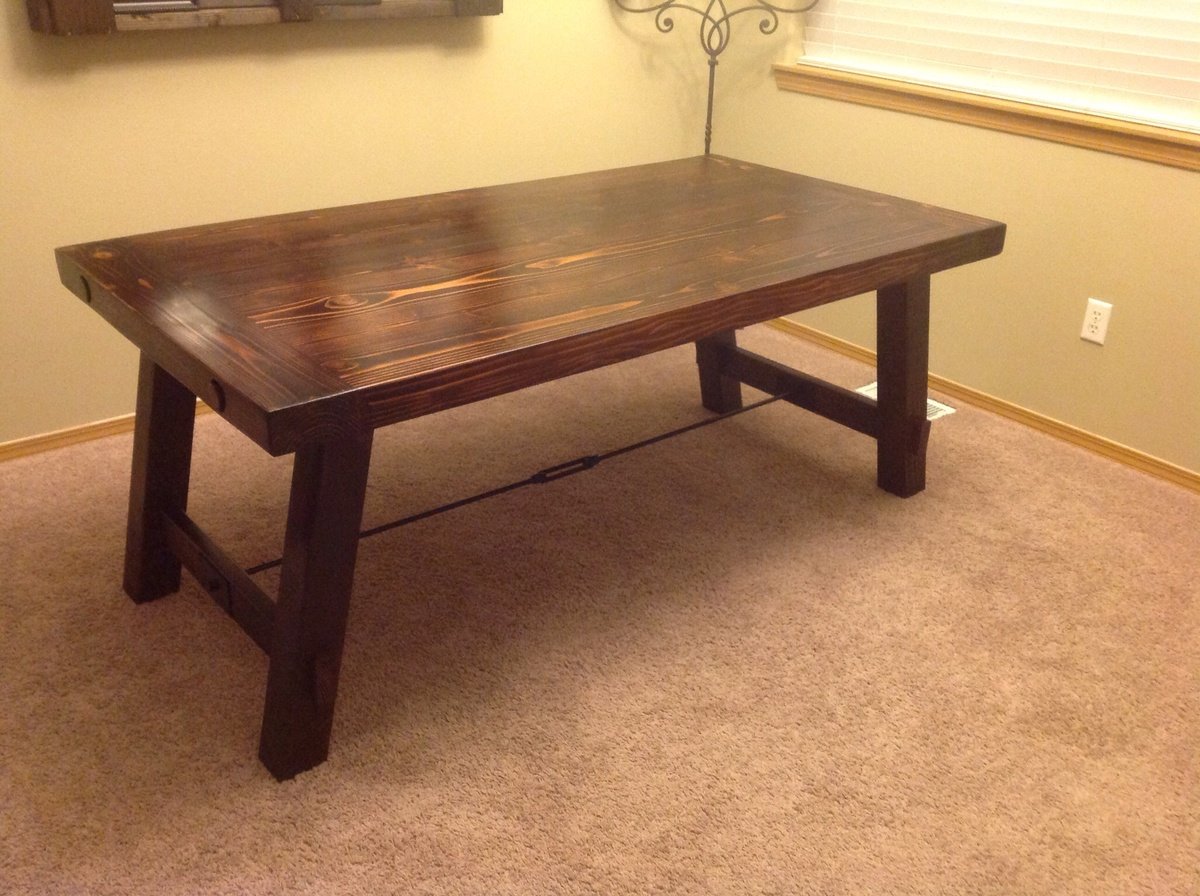
This was my first project and I completed it all by myself! I think it came out well :) My husband did not like the original table despite my love of it. I asked him if I made the table if I could then have it. So what started out as a dare (my husband thought I would not be able to do it) became a reality. I am really excited to tackle more projects and have gathered quite a few upcoming projects to complete.
I did a slight variation of the plans, I used 2x6s for the top and 4x4s for the legs. I located a planer and was able to remove the rounded edges of the boards. I wanted the thickness of the PB table so the thicker boards were my choice. I also used a solid welding bar threaded on both ends for the rod.

Estimated Cost
100.00
Estimated Time Investment
Weekend Project (10-20 Hours)
Finish Used
Minwax Red Mahogany satin finish polyurethane
Recommended Skill Level
Intermediate

Comments

Adam Martin

Mon, 06/09/2014 - 23:04

I like your version of this!

How did you attach the table top to the leg supports? Or aka, what does the underneath of the table look like? And how did you attach the breadboards to the long boards of the tabletop?

My email is [email protected], since that is probable faster than commenting back and forth on here.

MrsCoreyOrvold

Thu, 01/01/2015 - 21:12

To get the wider top I glued two 2x6 together than planed them so they look like one solid piece. I didn't really follow any plans just kept building a little at a time. I don't really think you can mess anything up if you just keep doing a little at a time. Let me know if you have any other questions! Love to help :) Happy building!

Modified Square

Submitted by Anonymous (not verified) on Thu, 04/14/2016 - 21:46

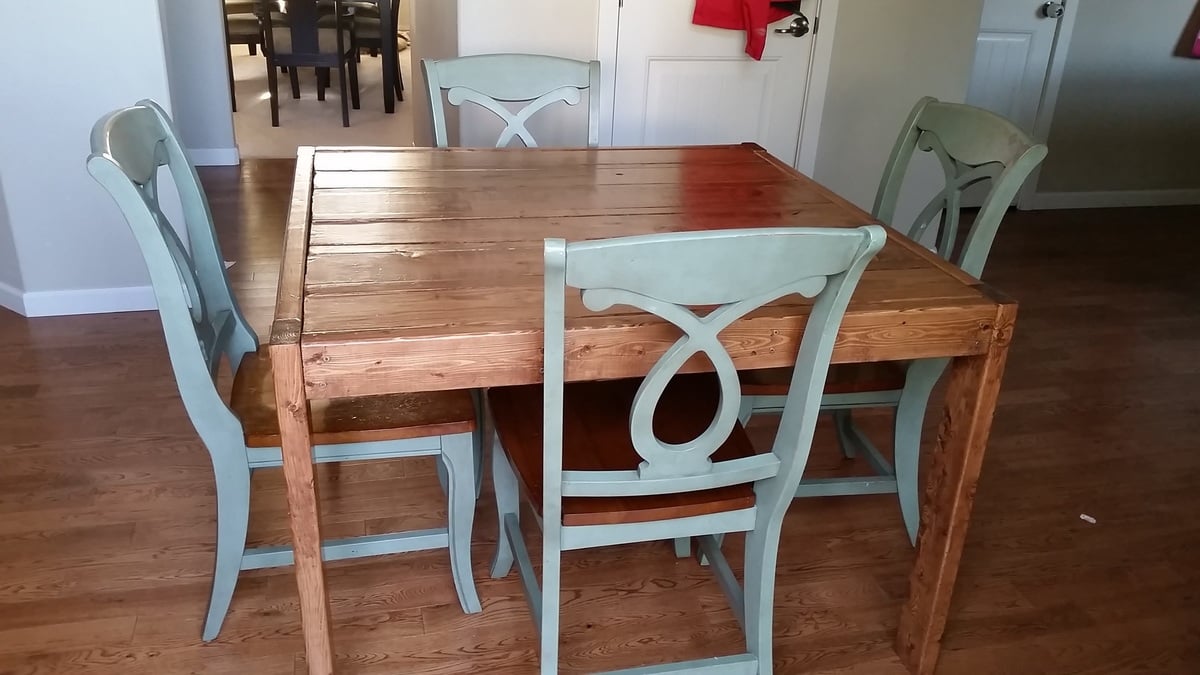
We modified this table to make it larger for our growing family. It measures 42" (10 inches larger than the original plan). We added 10 inches to the length of the 2X6's and added 5 2X2's to increase the width of the width of the table. We love the interest it added to the table. 3 coasts of minwax cherry and three coats of minwax helmsman poly.

Estimated Cost
$80
Estimated Time Investment
Day Project (6-9 Hours)
Finish Used
Mixwax Cherry Stain
Minwax Helmsman Polyurethane
Recommended Skill Level
Beginner

Simple Bunk Bed Triple Bunk

Submitted by Anonymous (not verified) on Wed, 04/20/2016 - 07:07

I loved the look and design of Ana's Simple Bunk Bed but due to limited space in our home, needed a triple bunk bed. I wasn't interested in the hassle of a trundle so I decided to modify the simple bunk bed plan and make it a triple. I have to say, I was a little worried about how sturdy it would be but this plan is so solid with the 4x4 posts that there is no need to even even think about that for another second!
I changed the ladder so that it was attached to the side rails of the bunk bed as someone had posted they did earlier and decided to add another little ladder for the middle bunk so my little one wouldn't have to leap from the ladder to get into her bed. ;D

In order to do a triple in our home (with 8 ft. ceilings), I needed to bring the height down so I made the bottom bunk sit on the floor with the legs only being as long as the height of the headboard. I also made all the headboards and footboards only as tall as the footboards in Ana's original Simple Bunk Bed plans.

This was my first build and there are definitely things I would do differently to make this work better if I had it to do all over again. I would make the legs a little shorter on the 2nd and 3rd bunk so that there is more head room for the person on the top bunk.

All in all though, I had a great time building this and can't wait to try some more of Ana's plans!!!
Estimated Cost
$450 including hardware
Estimated Time Investment
Week Long Project (20 Hours or More)
Finish Used
White paint, not sealed
Recommended Skill Level
Intermediate

Comments

wbmclaurin

Mon, 11/01/2021 - 21:30

Do you happen to have the exact plans for this triple bunk? I saw that you modified the simple double bunk to fit your space but I'm wondering if you drew up plans wih measurements to make it easier for beginner folks.

Simple Bed - Twin used as a daybed

Submitted by lrollins05 on Fri, 05/04/2012 - 07:54

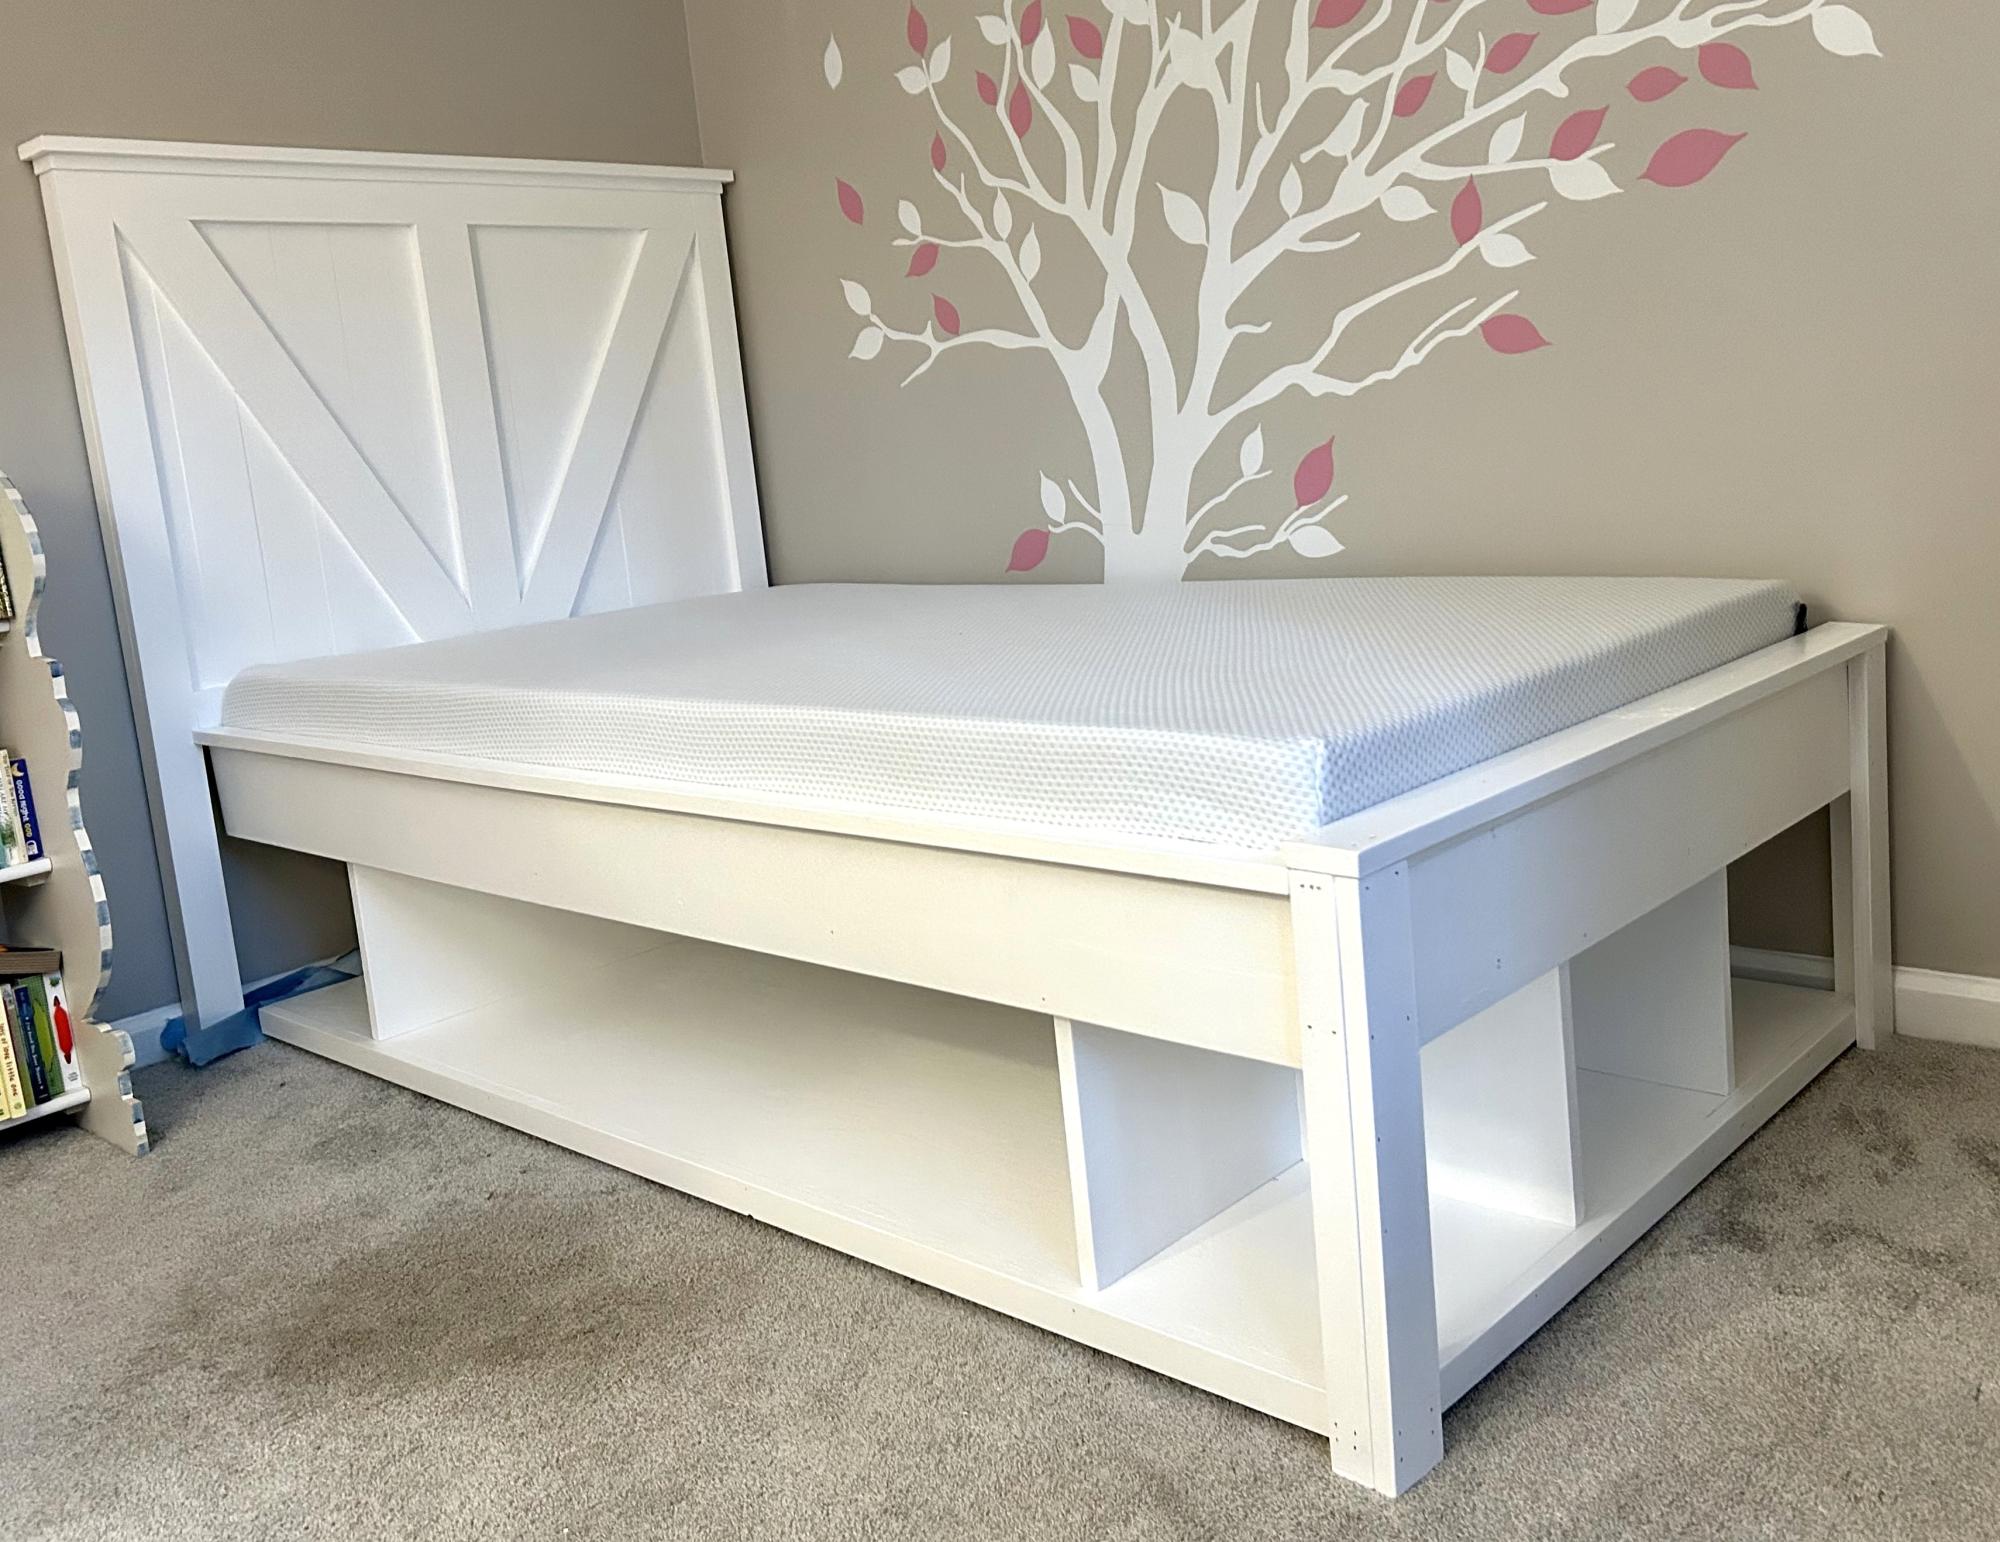
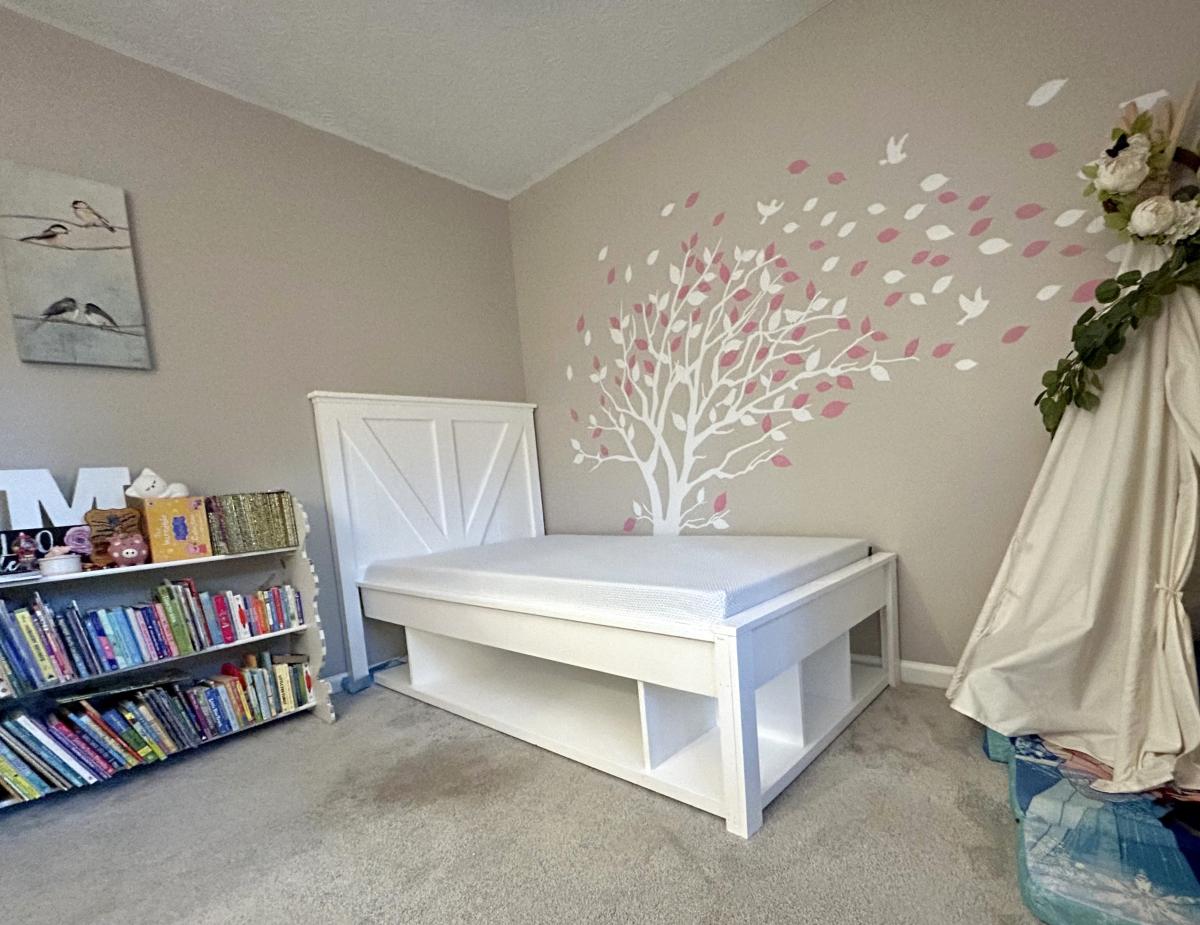
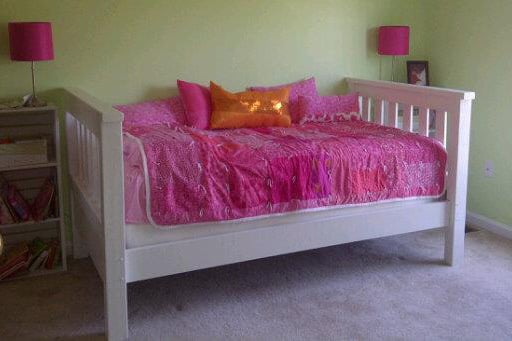
My dad used the plans for the Simple Bed - twin size and built two. Then he took the headboards from both to build the bed for our daughter's room. It sets against a wall, so it looks like a daybed since both ends are the same height. She loves it! The other bed will have both foot boards and will be used in our son's room when he is old enough for a twin bed. Our daughter loves the bed and our son can't wait to get his....and we all love that Pap made it just for them! :)

Built from Plan(s)
Finish Used
Painted with interior white latex
Recommended Skill Level
Intermediate

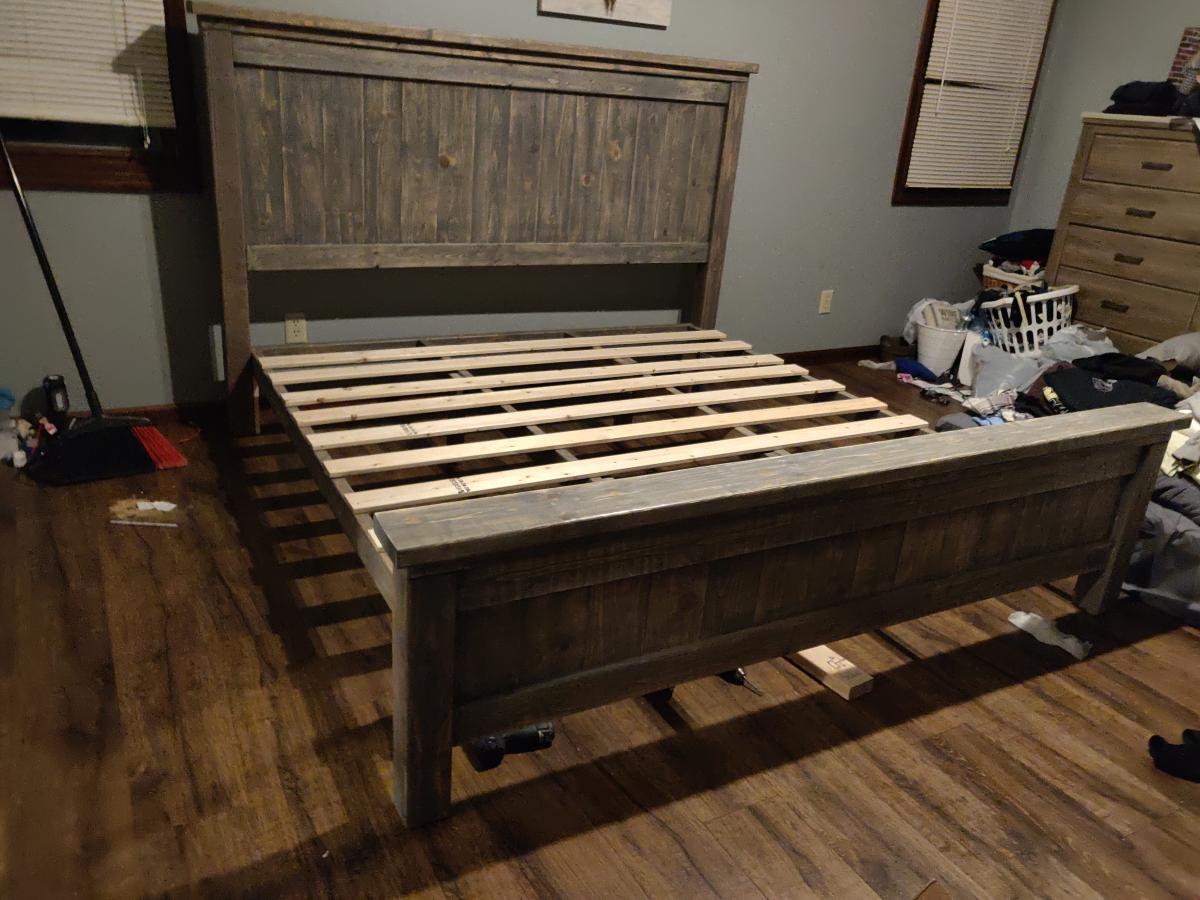
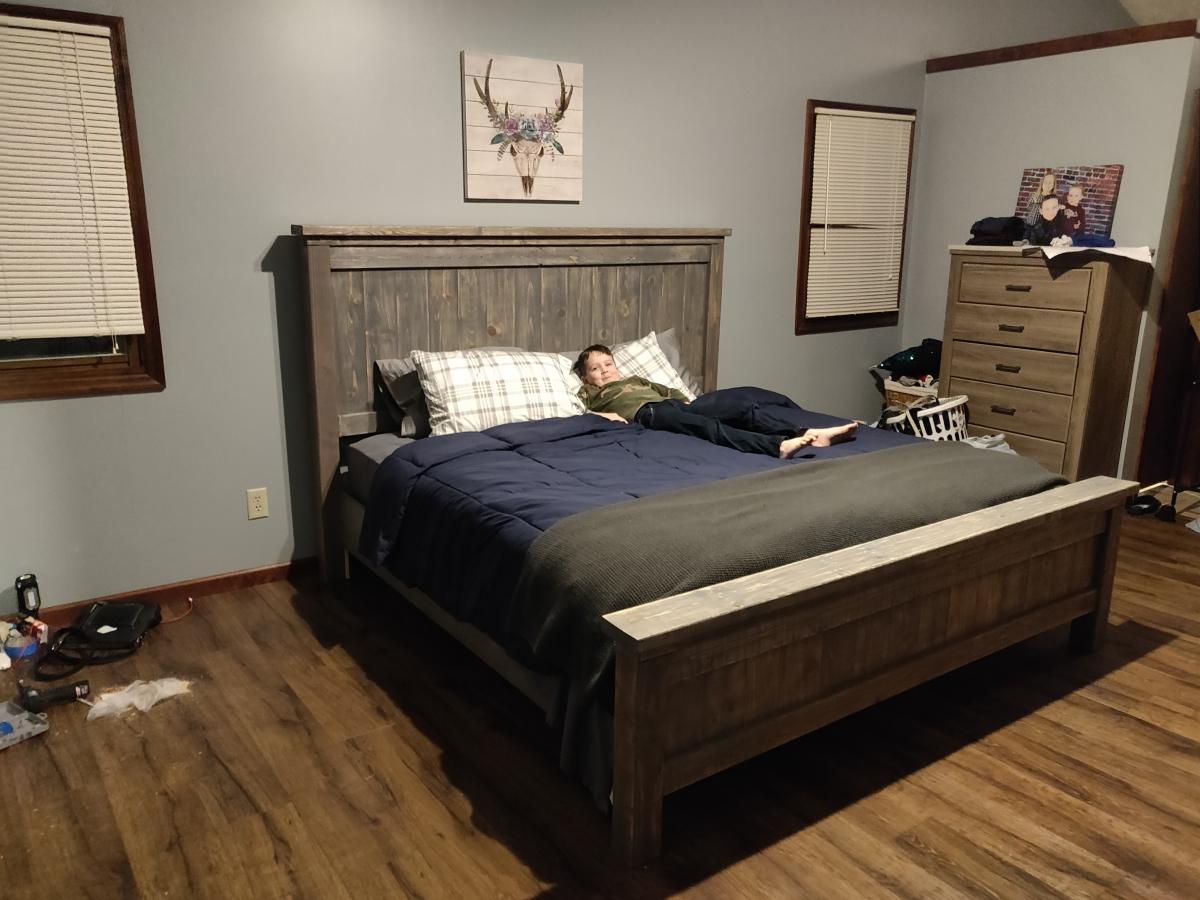
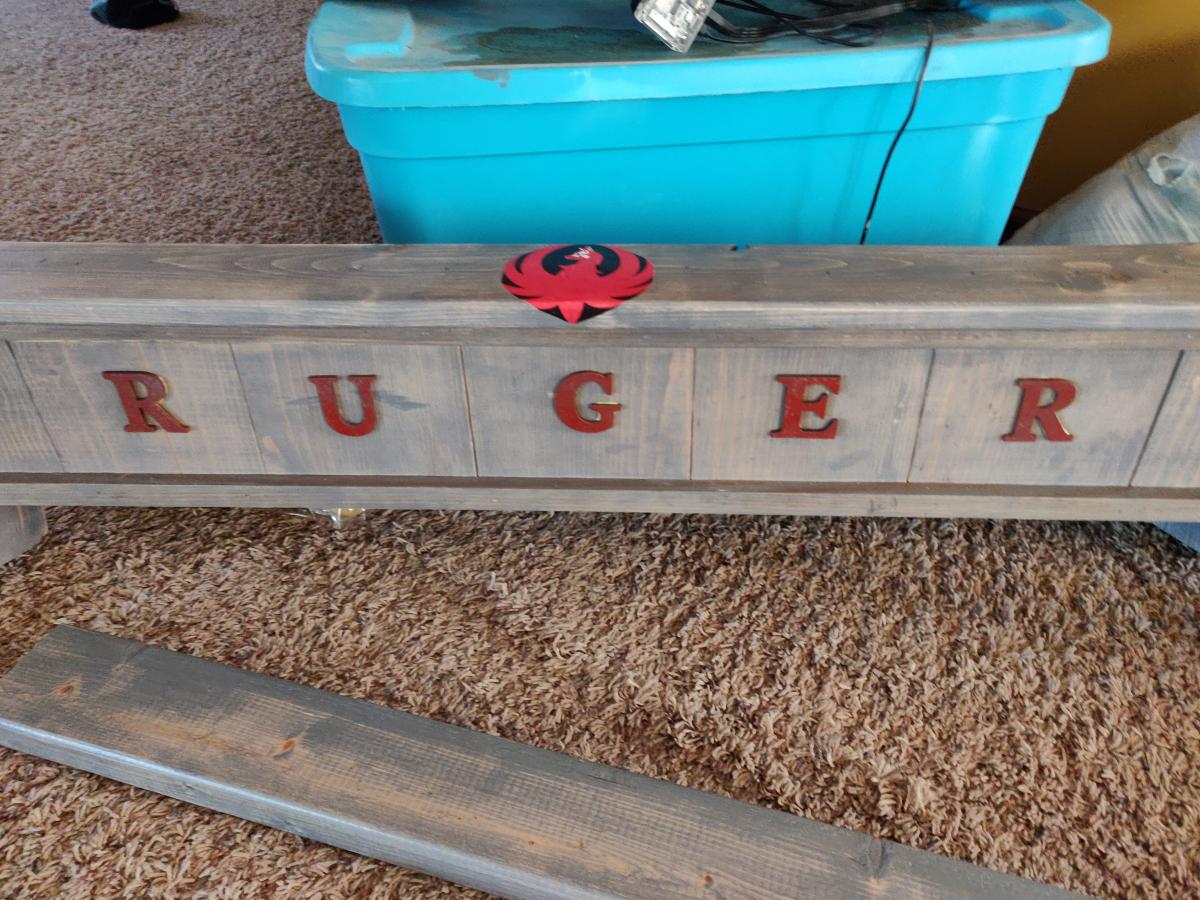
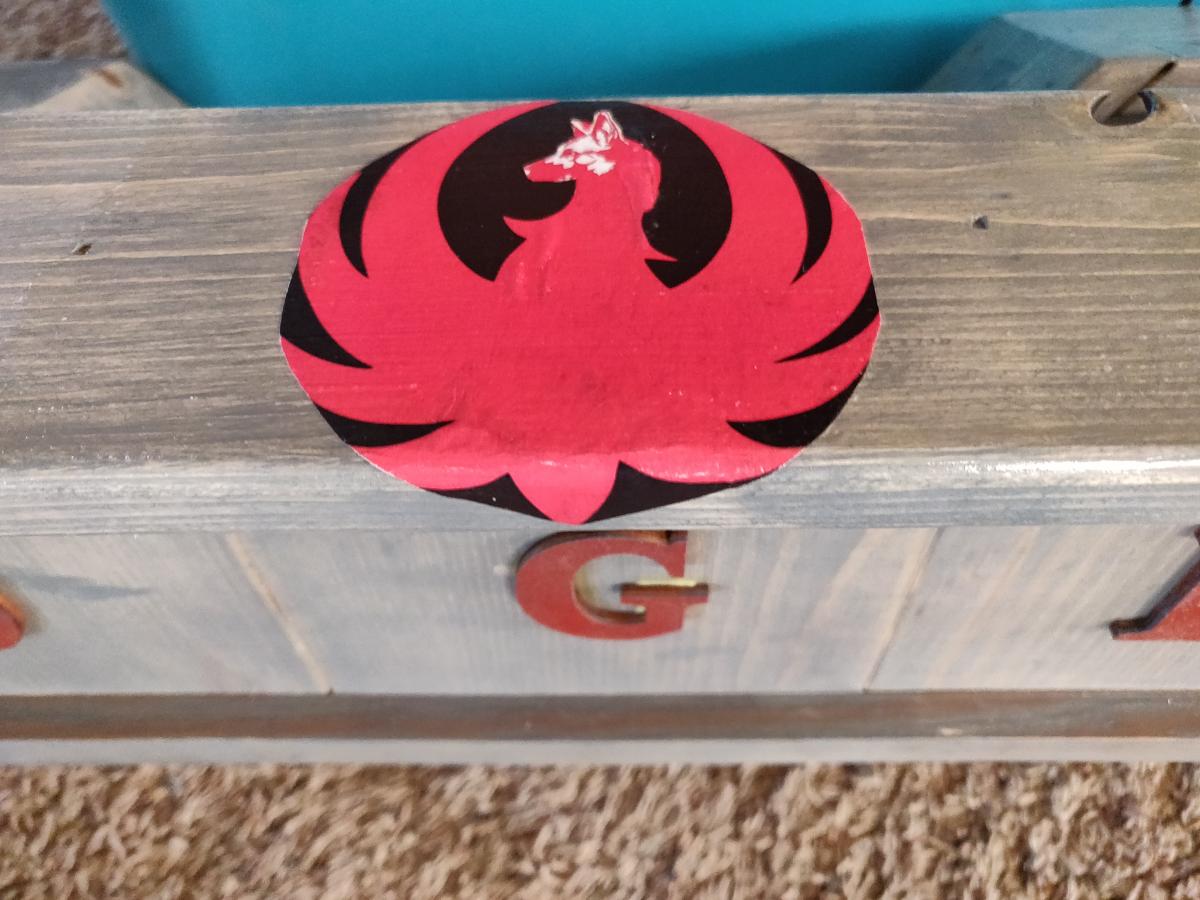
King size Farmhouse bed and a additional bed for Ruger the dog

Submitted by sxewhodey on Sun, 03/01/2020 - 09:27

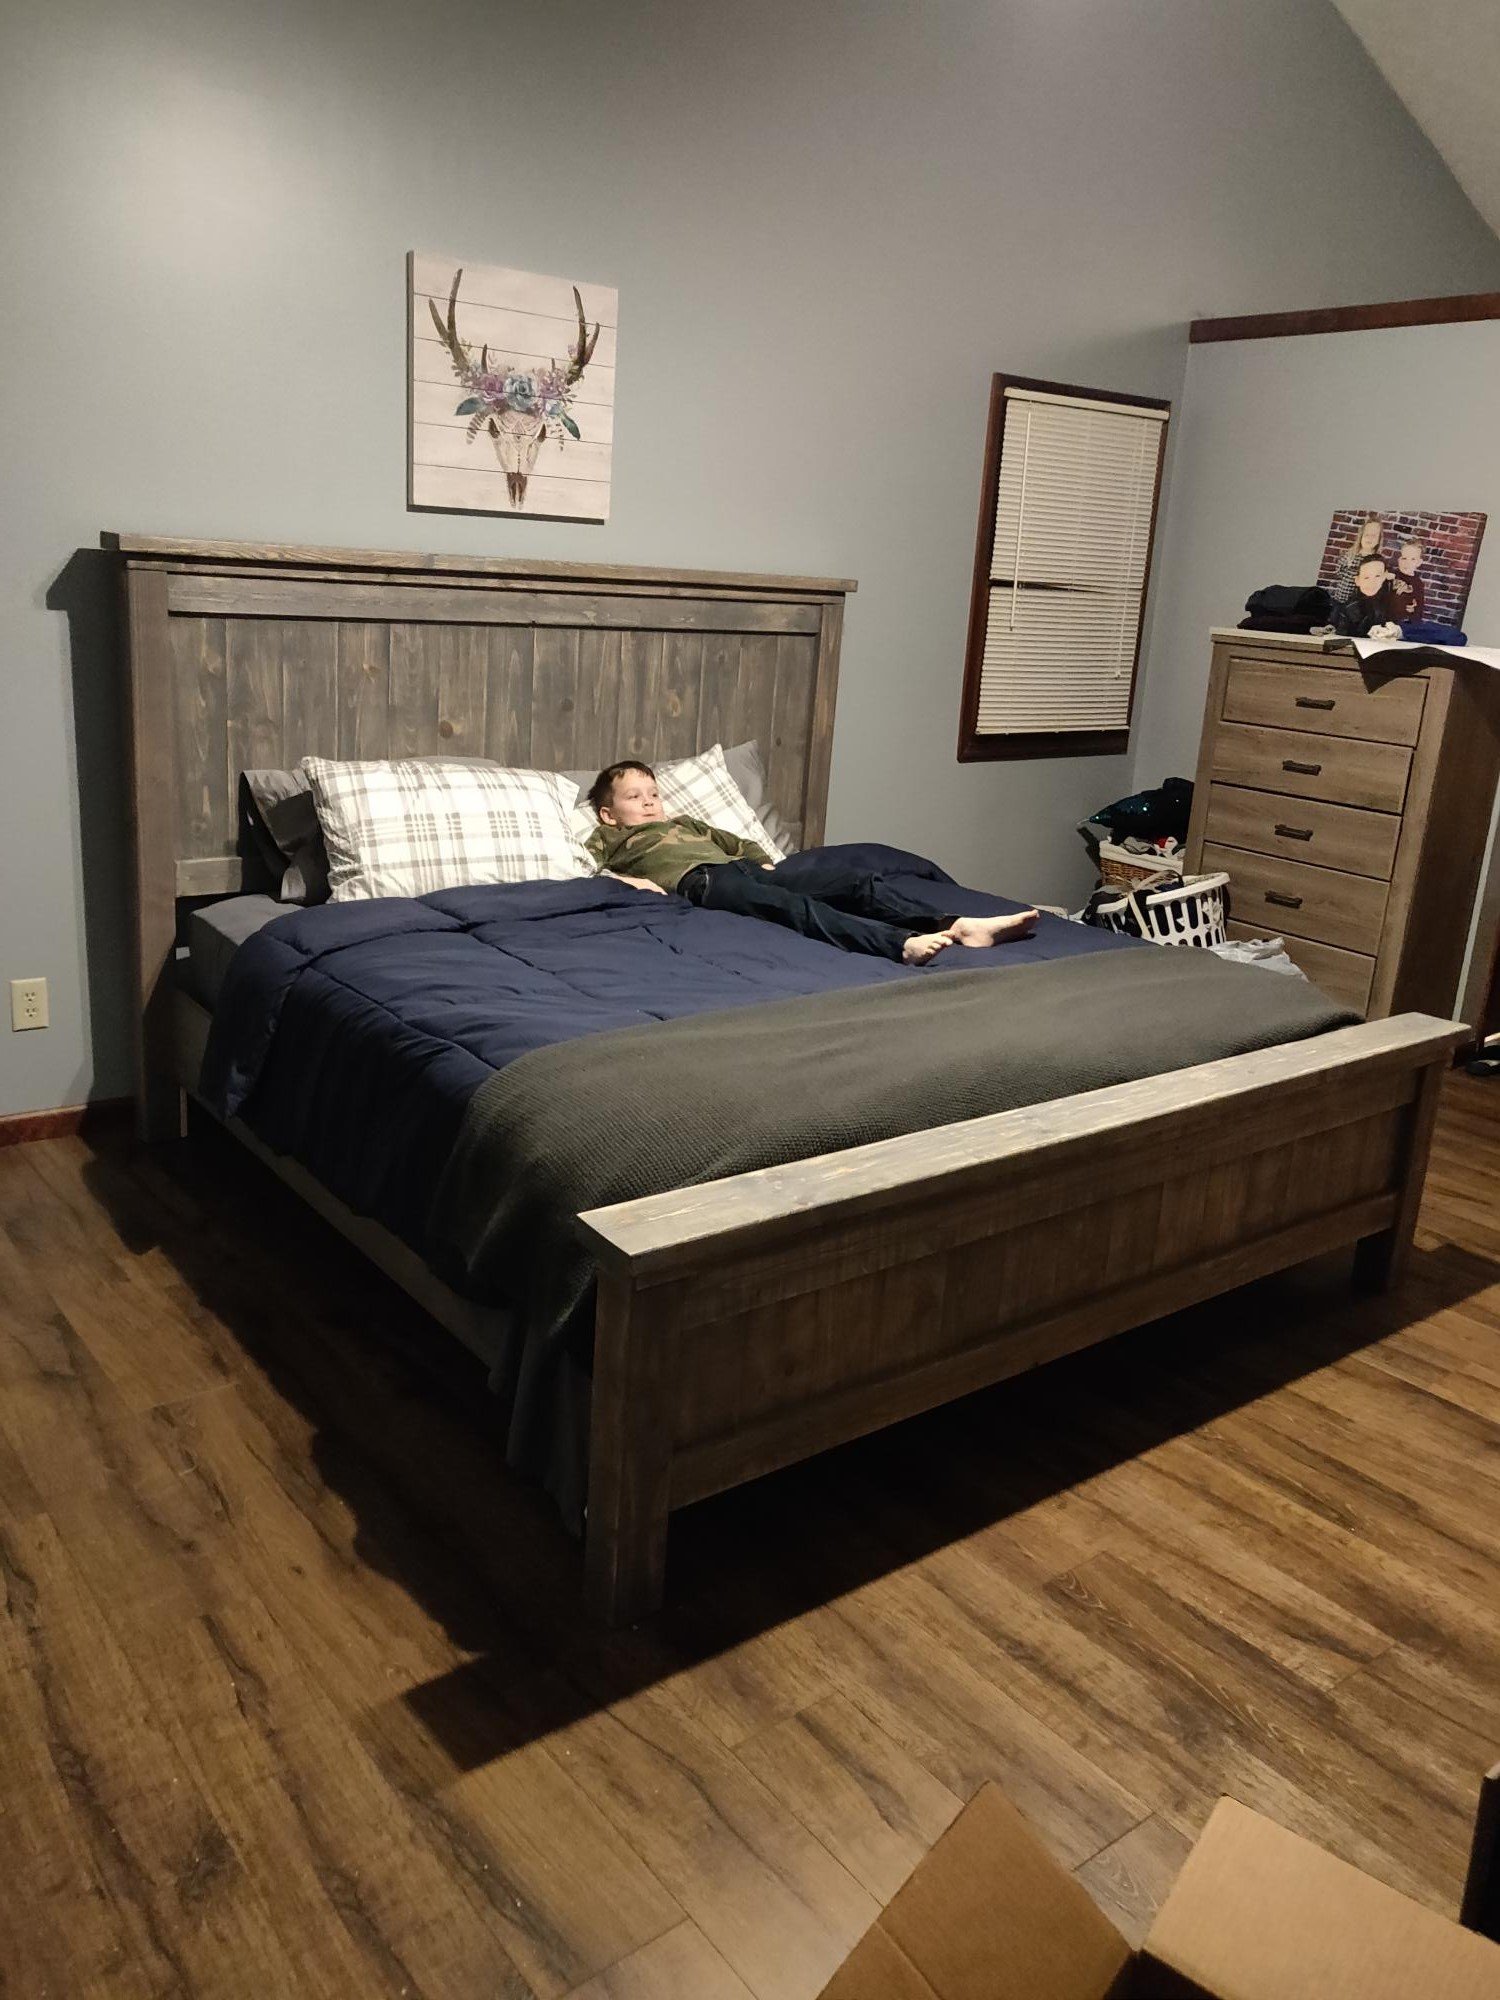
We got to move into our new house and commited to a mattress straight on the floor until we got our bedframe built. Exactly one month later and we are feeling human again in our sleeping arrangements, lol.

The sofa table desk and end tables is next. I am hoping to get a good floating media center plan soon too using a cleat system. * Hint, Hint

Estimated Time Investment
Week Long Project (20 Hours or More)
Finish Used
Classic gray
Recommended Skill Level
Intermediate

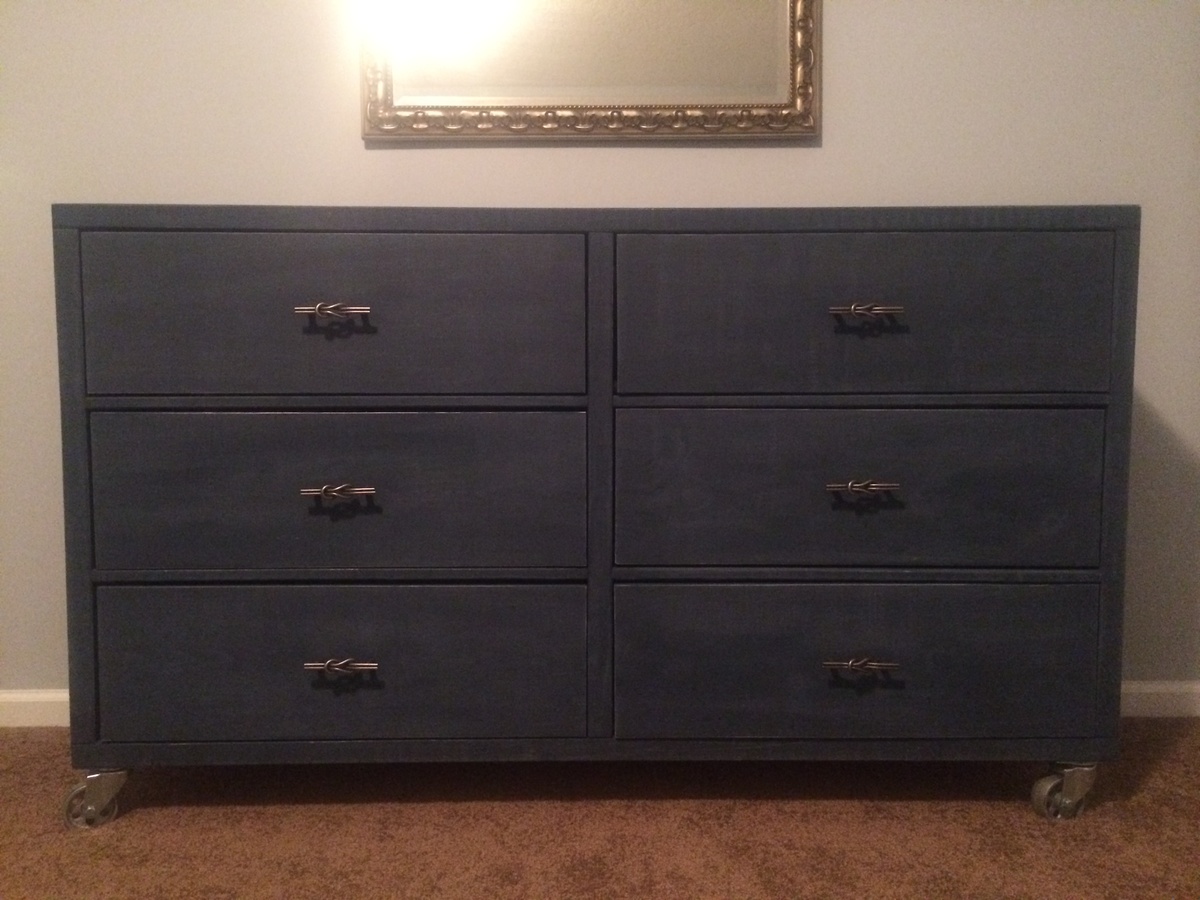
Rolling Rustic Wood Dresser

Submitted by AmJoy37 on Tue, 02/25/2014 - 20:50

We need bedroom furniture desperately! So, I decided, for my second build I would start in our bedroom! The dresser first, because I was going crazy without a place to put my clothes!

Built from Plan(s)
Estimated Cost
$220
Estimated Time Investment
Weekend Project (10-20 Hours)
Finish Used
Homemade chalk paint
Recommended Skill Level
Beginner

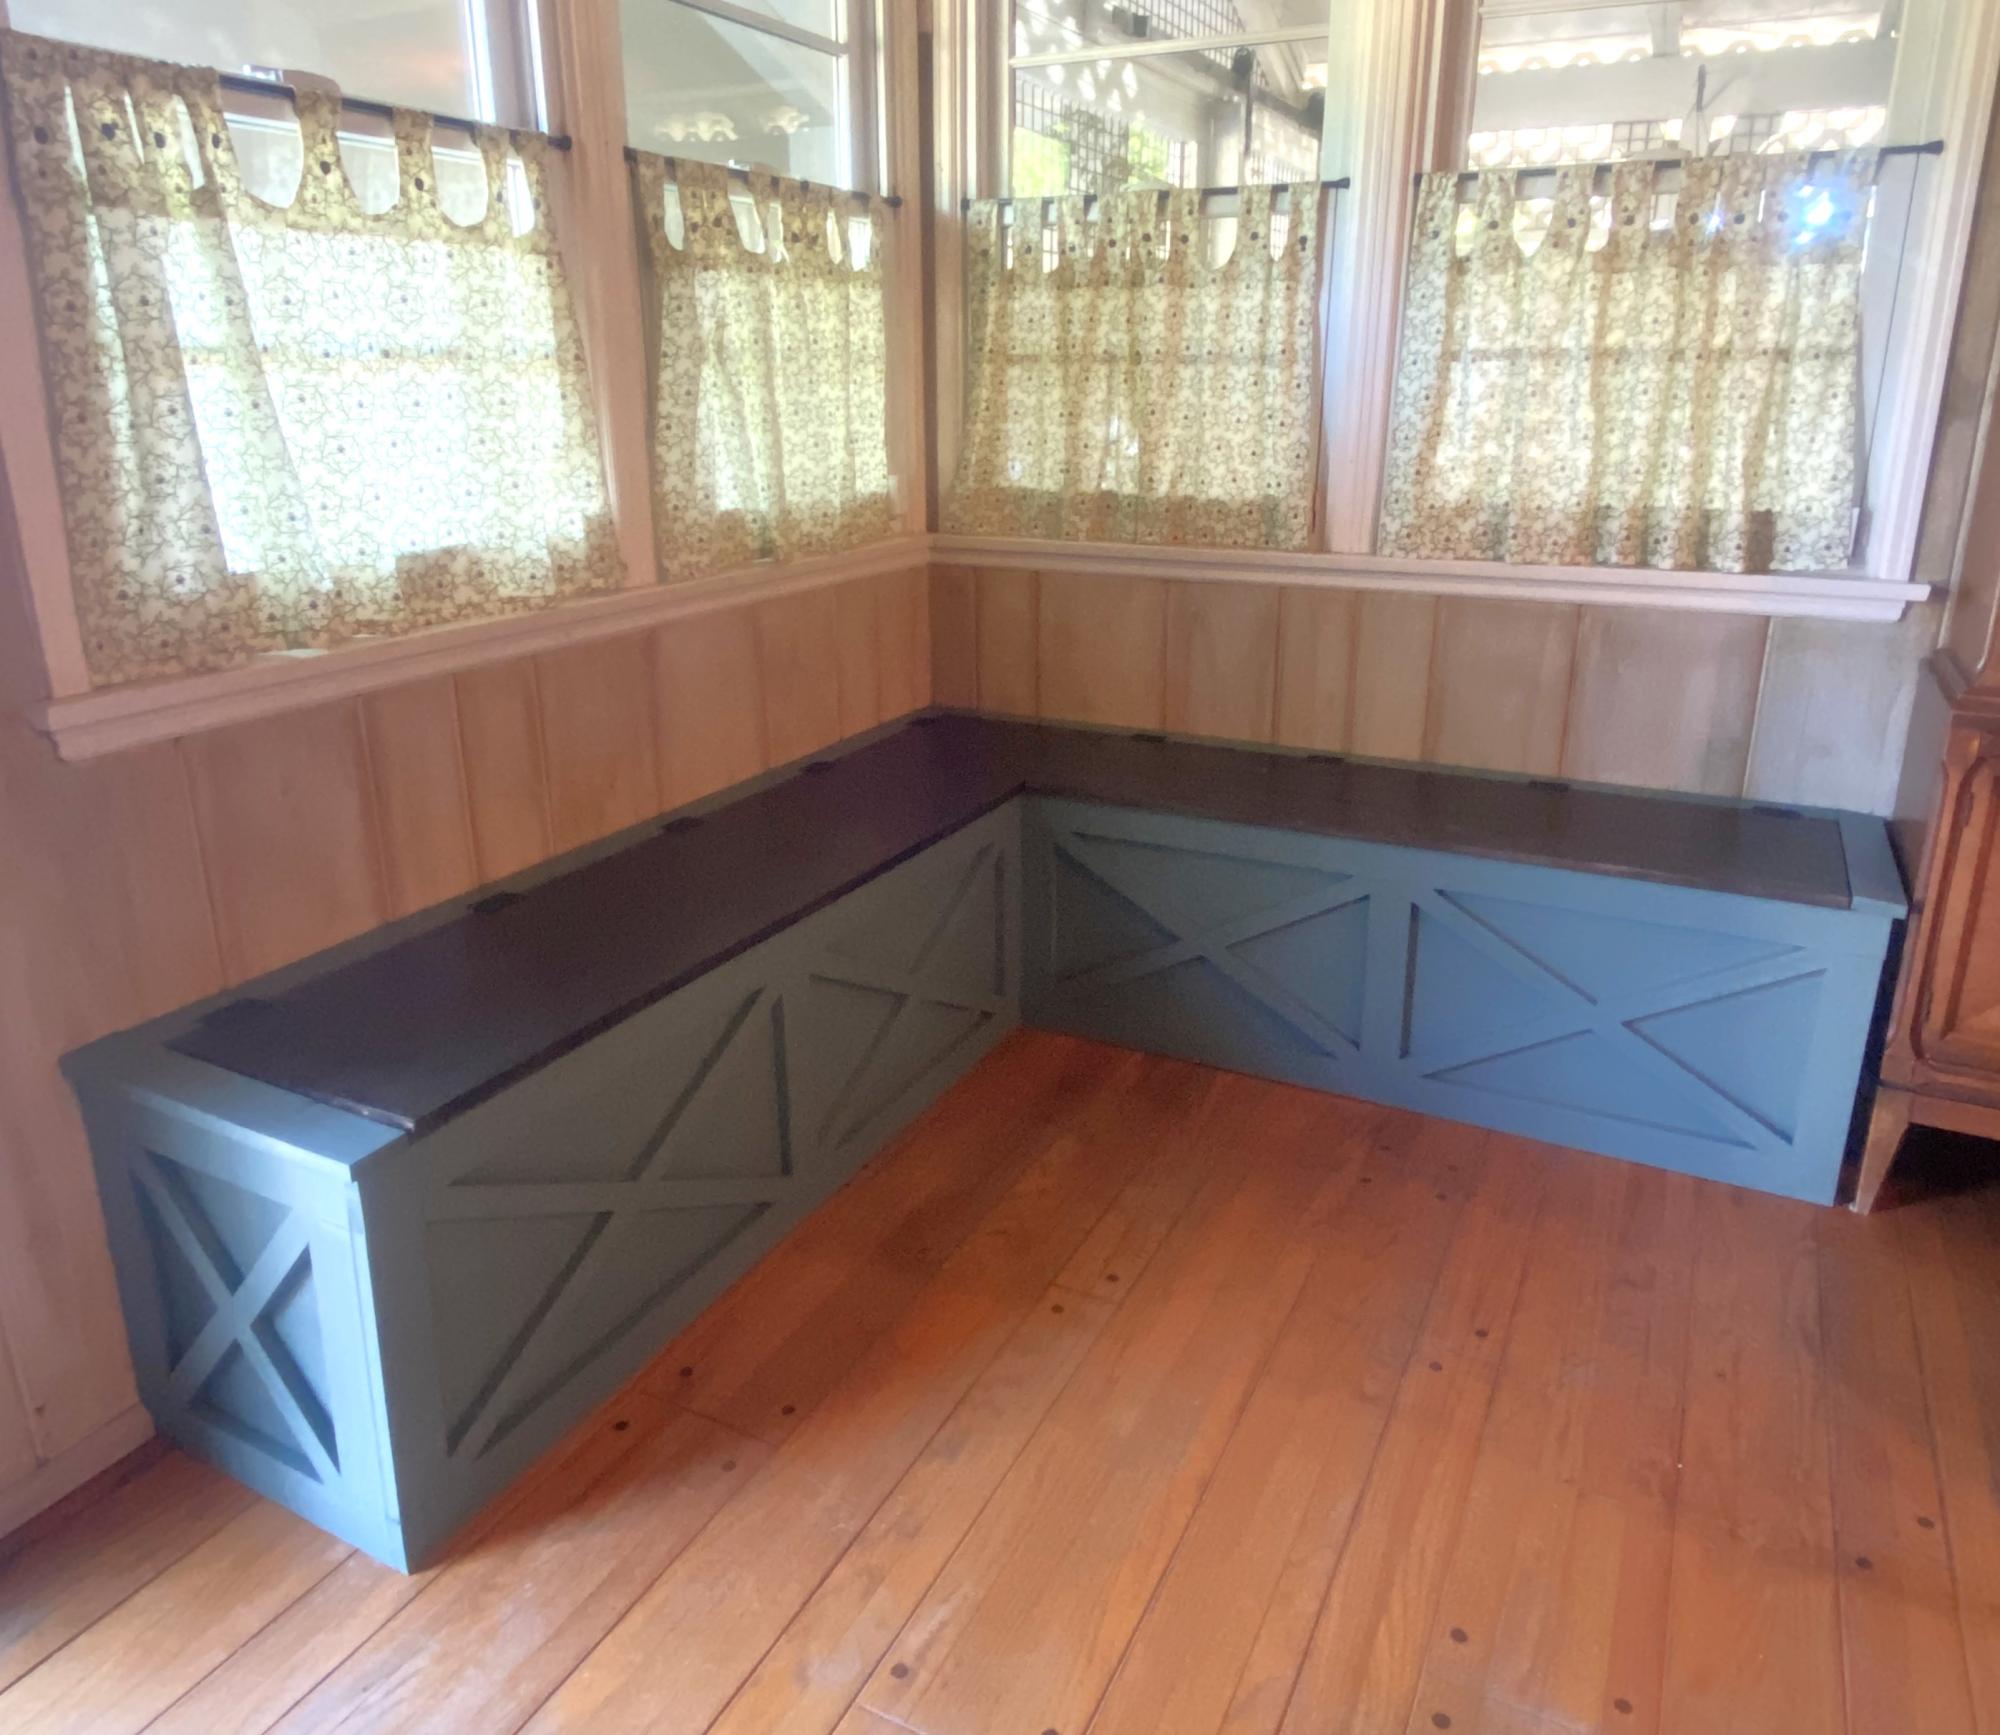
Rustic Banquette Bench with Storage

Submitted by Anonymous (not verified) on Sat, 11/04/2023 - 14:16

I needed some extra storage space and have always wanted a storage bench in this corner of my dining room. It took me a week to build from start to finish. I’ve never done any woodworking before, so this plan was good for me, as it was easy to follow with the color coding. The only thing that was “off plan” were the X’s on the face of the bench. I had some leftover 1x1 trim, from a handyman project a few years back, that I was happy to use up. It fit perfectly and I had just enough for all X’s. My biggest challenge with this project were the lids. They have a very minor bow, so one of the corners isn’t flush. But, it’s not enough to bother me or need to re-do the lid. All-in-all, I’m super happy with this banquette and may have caught the woodworking bug!

Rustic X coffee table

My first project and I love how it turned out

Built from Plan(s)
Estimated Time Investment
Weekend Project (10-20 Hours)
Finish Used
Drift wood stain on top, cotton white chalk paint on base
Recommended Skill Level
Beginner

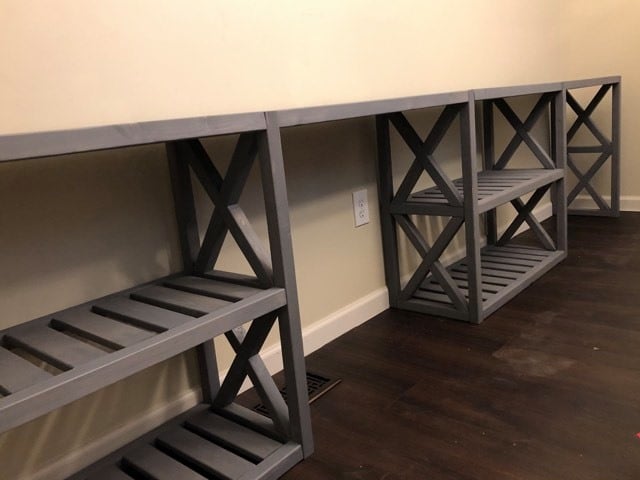
Farmhouse Console Table

Submitted by scrapngurl on Sun, 04/19/2020 - 15:01

My husband and I both work from home and we don't have a lot of space. I was getting frustrated that he was always working at our dining room table, so I wanted to create dedicated work areas for both of us. I really liked the style of the farmhouse console table, so I modified the plan to add a second desk on one end. They are very functional and did not take up a lot of space. Best of all, they were very affordable!

Built from Plan(s)

Comments

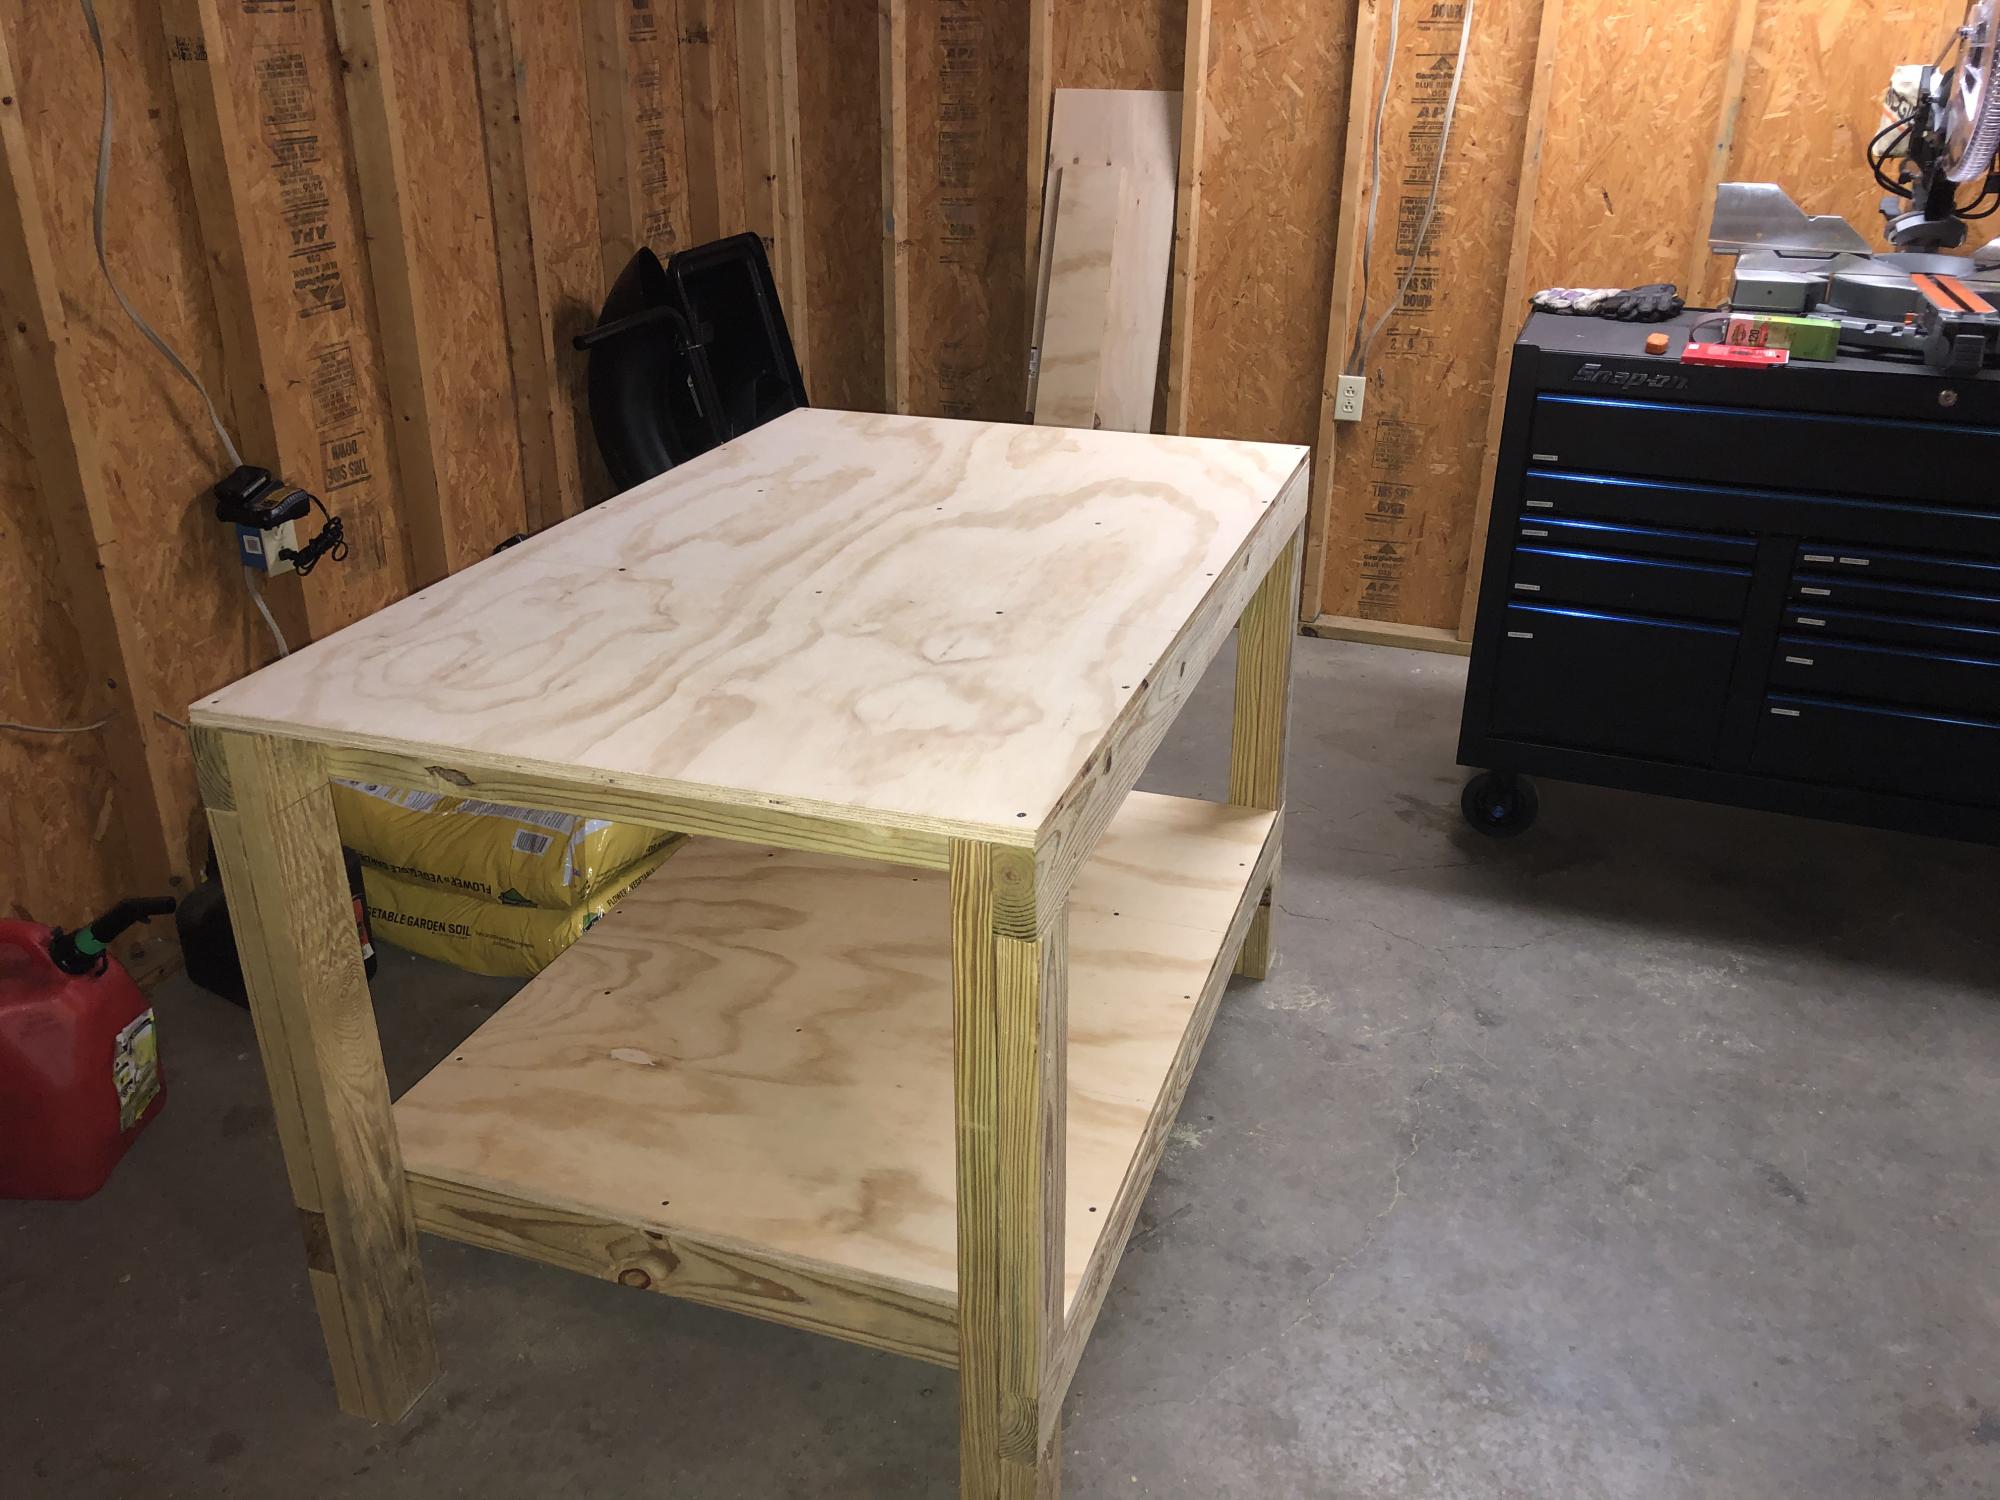
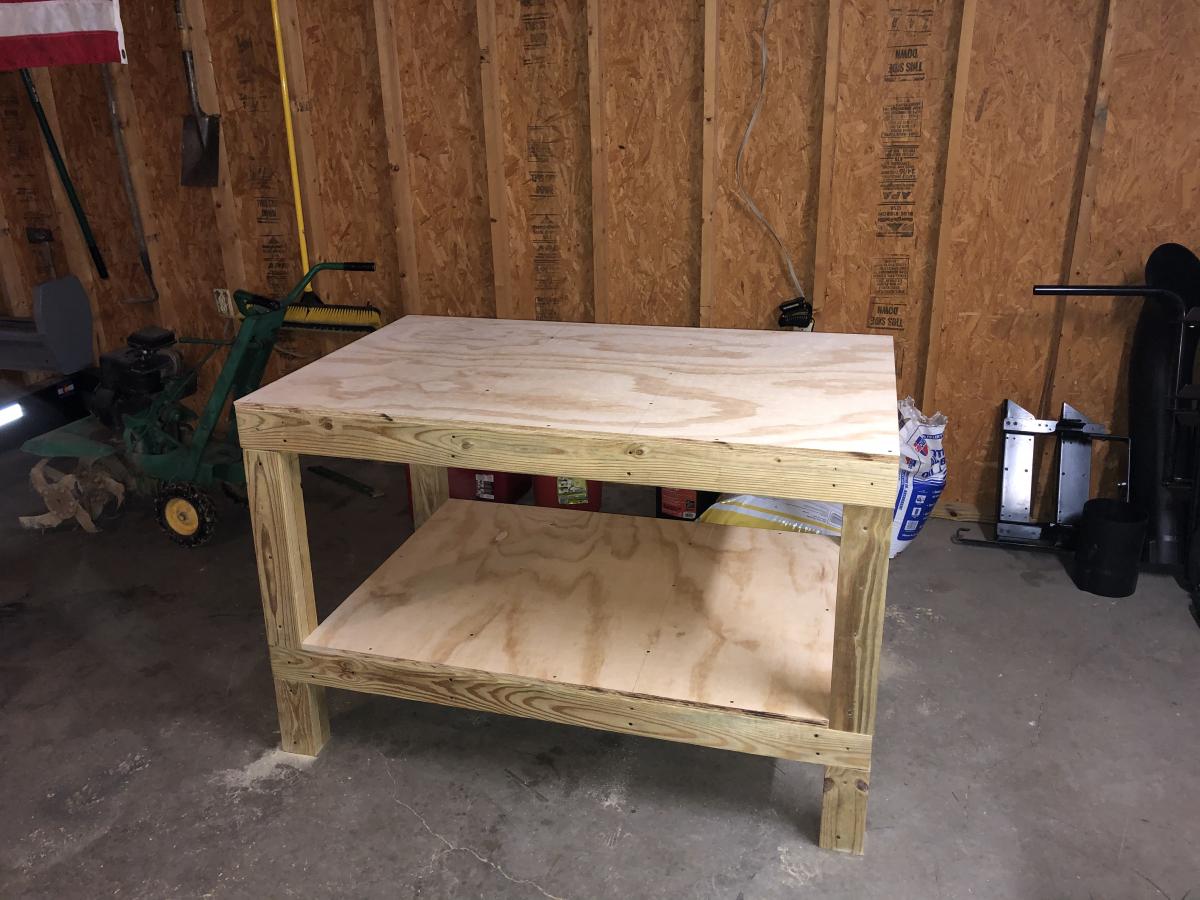
Workbench

Wasn’t too awful bad. The cuts were basic and easy to duplicate. I would recommend having some clamps to hold the supports in place while you try to screw them together. Otherwise, this table is pretty heavy duty and a lot bigger than I thought it would be. I sprung for a more durable and harder wood top, oak so the cost was about $25 more.

Estimated Cost
100
Estimated Time Investment
Day Project (6-9 Hours)
Finish Used
None
Recommended Skill Level
Beginner

Modern slatted bench

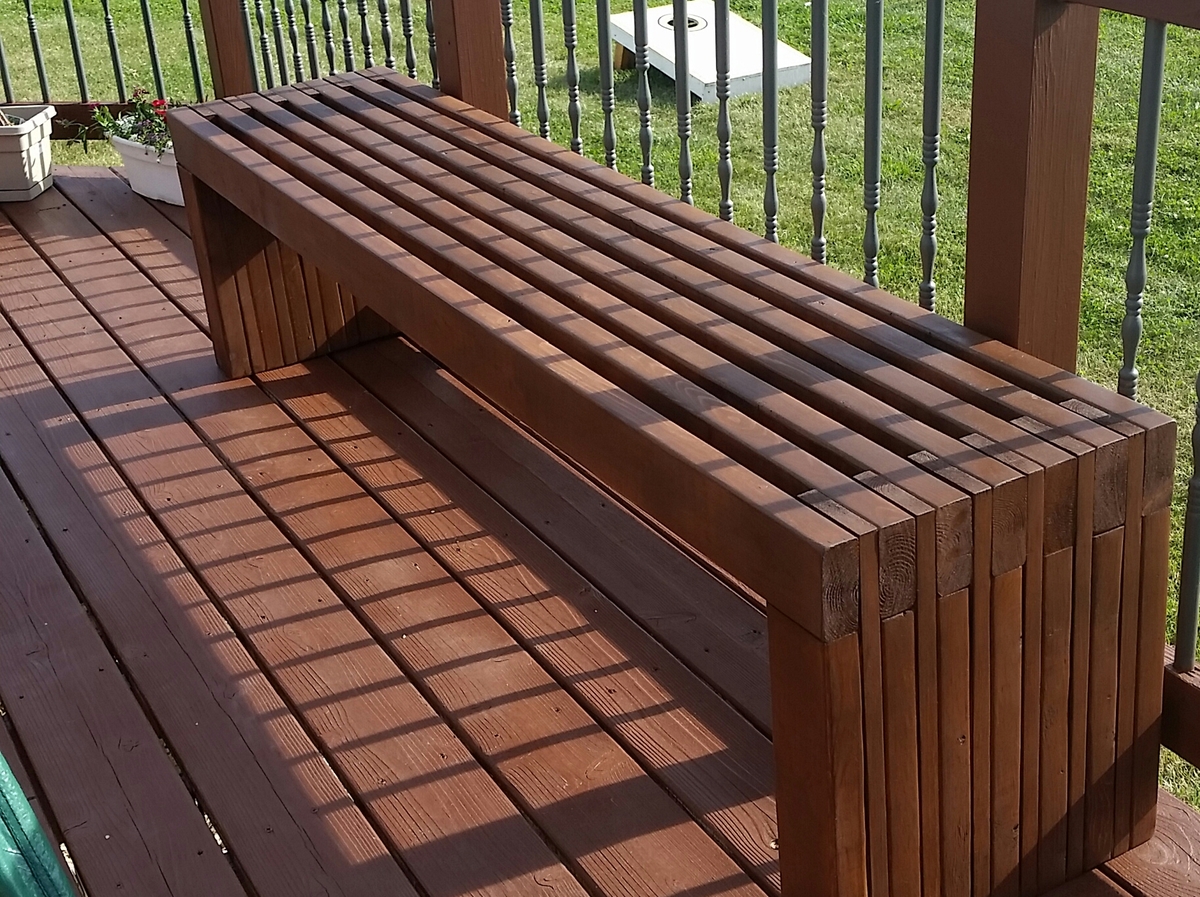
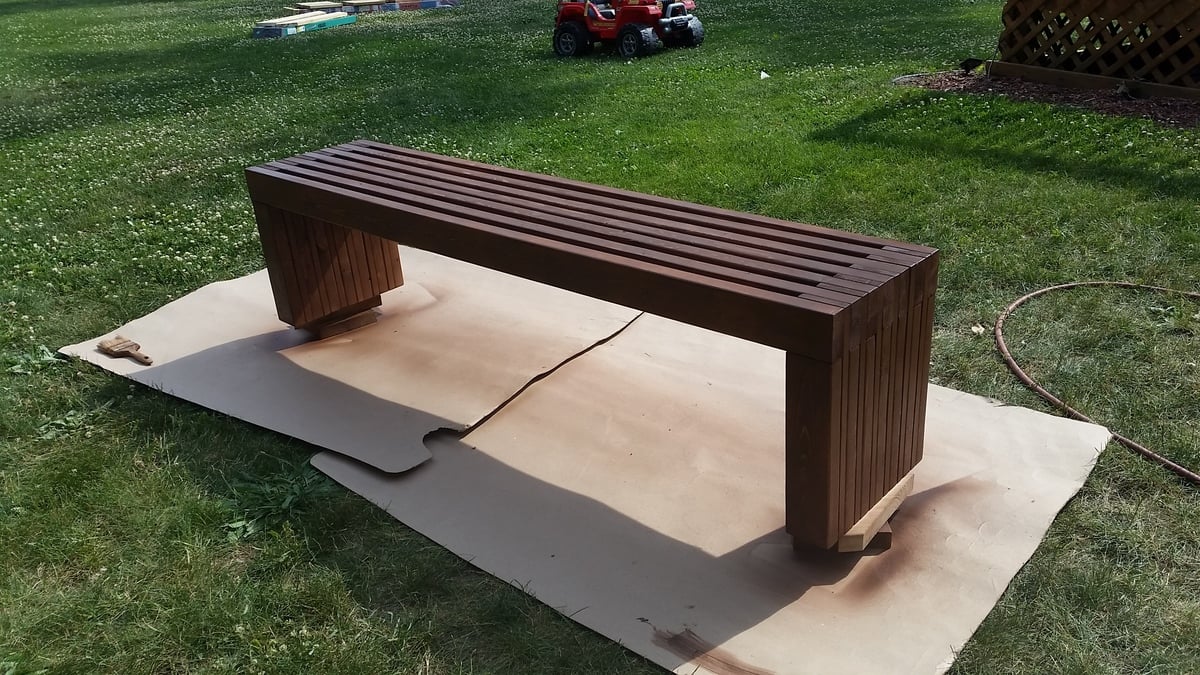
Submitted by Whimwhams on Mon, 06/27/2016 - 11:51

I made this for my sister the day before her house warming party. It was a pretty easy build. I used wood glue and 2" nails. Using a nail gun, this came together pretty quickly. I do wish that I had wide enough clamps to hold everything in place while it dried, because there were a few gaps due to some imperfect boards. I used 104" stud length boards, so I only need to purchase 7 instead of 9. this was enough to make the cuts for the top and both leg pieces from each board. the price was the same and we had limited space in our van for boards, so this was a better option for us. I used a sprayer hooked up to an air compressor to apply the stain and was able to get in between the slats fine with this method, brushing over it as I sprayed. Luckily I chose the same color as her deck not knowing, so it matches great. Now I need to make one for myself! :)

Estimated Cost
$40
Estimated Time Investment
Afternoon Project (3-6 Hours)
Recommended Skill Level
Starter Project
Back