Community Brag Posts
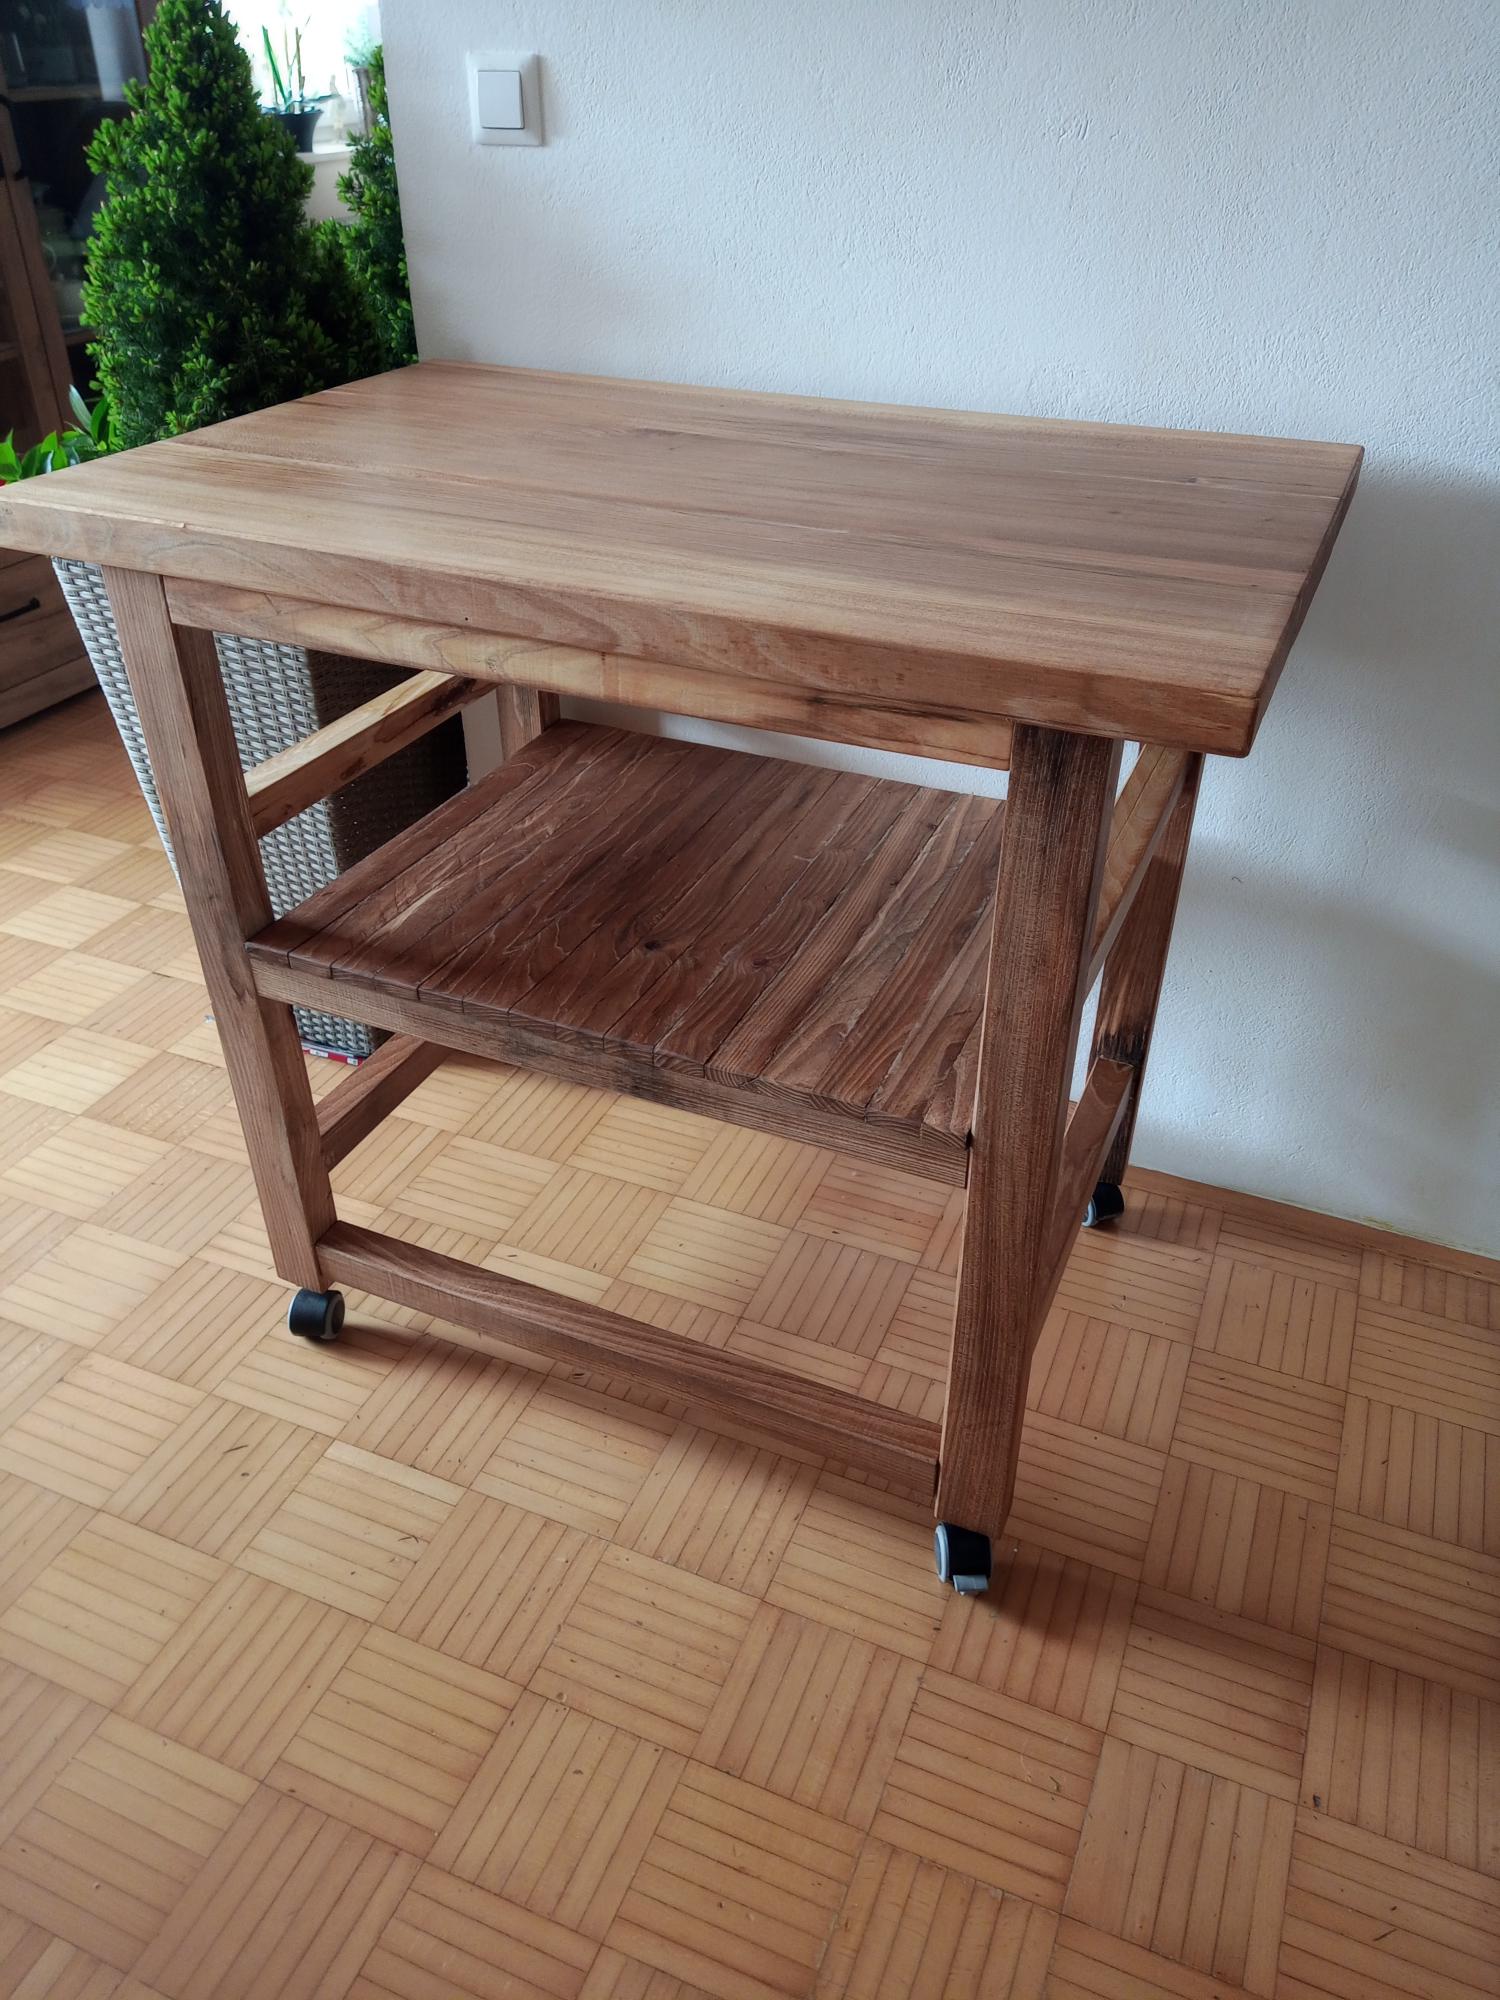
Sturdy Workbench with Shelf
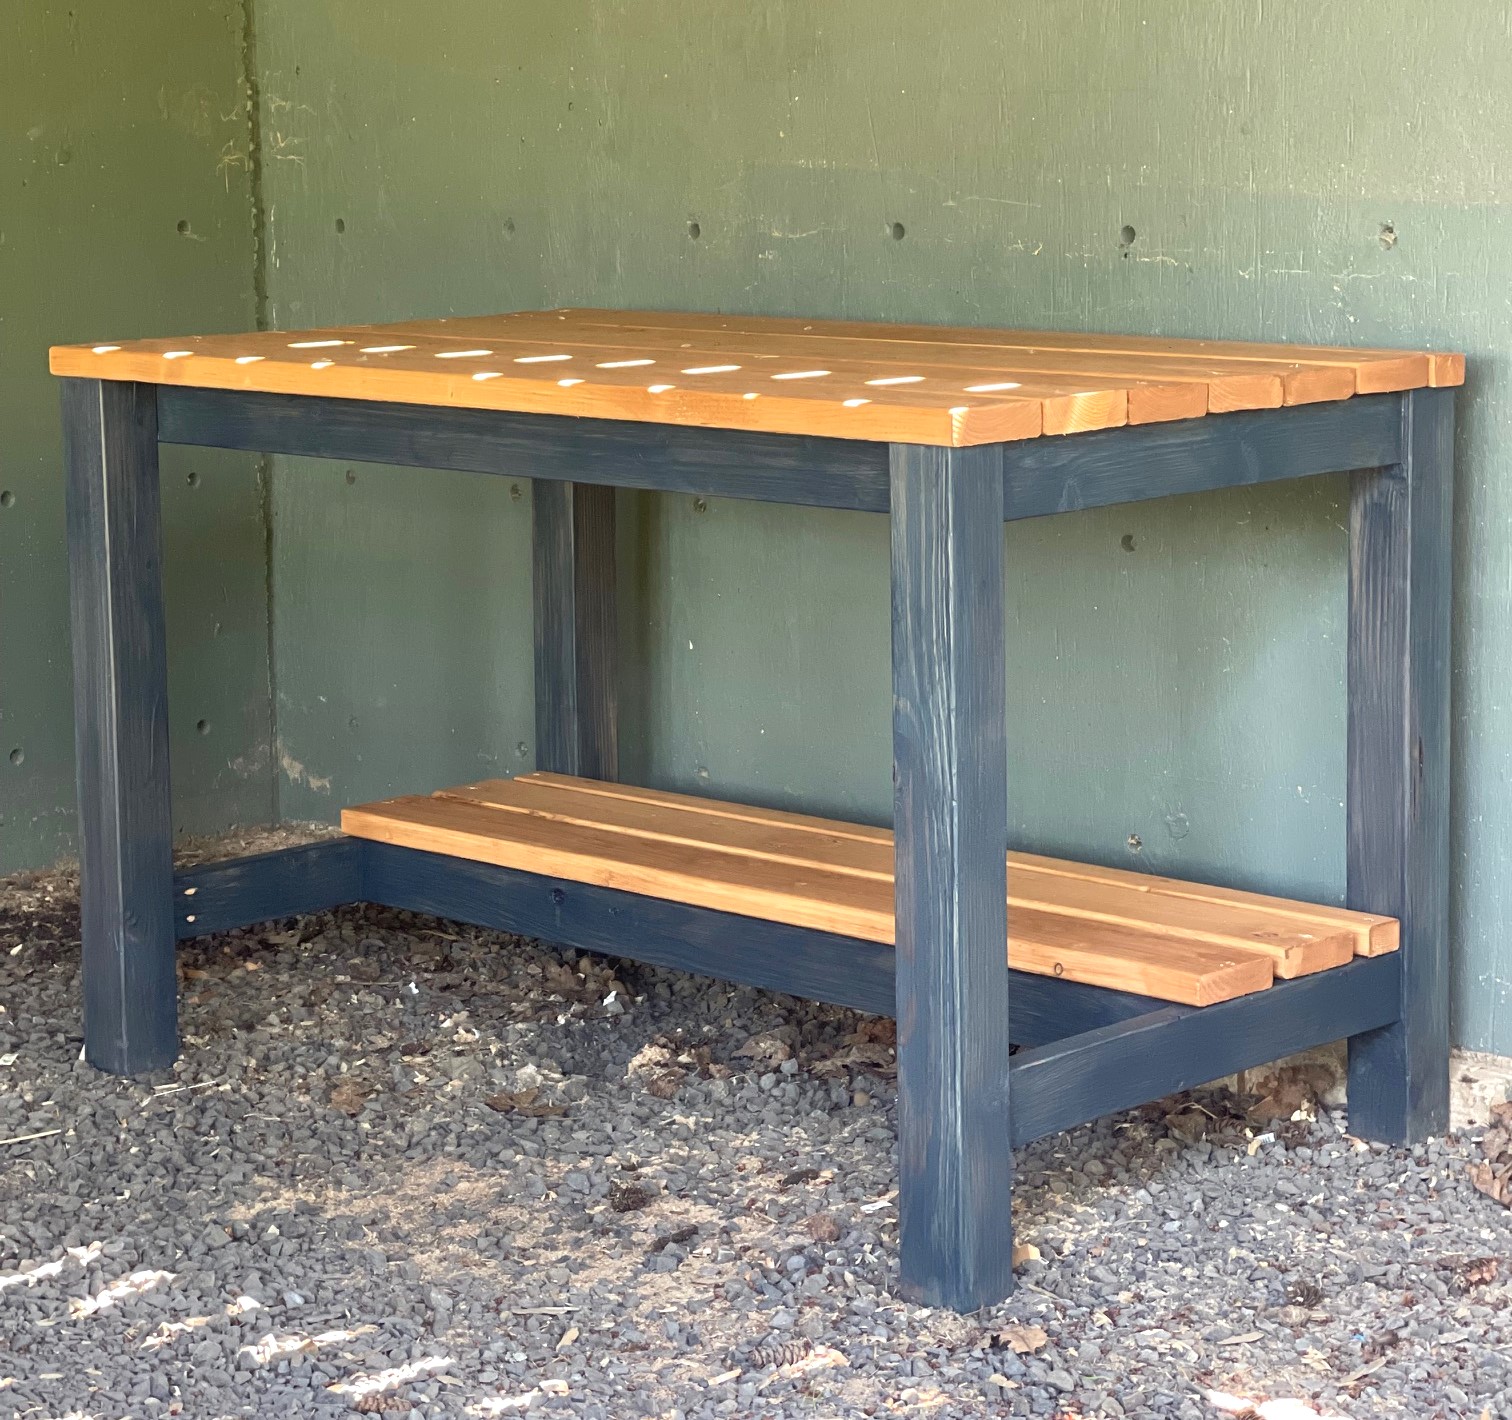
Wanted to build a sturdy workbench with 4x4 legs, so I used Ana's plans linked below with a few mods!

Great First Build!
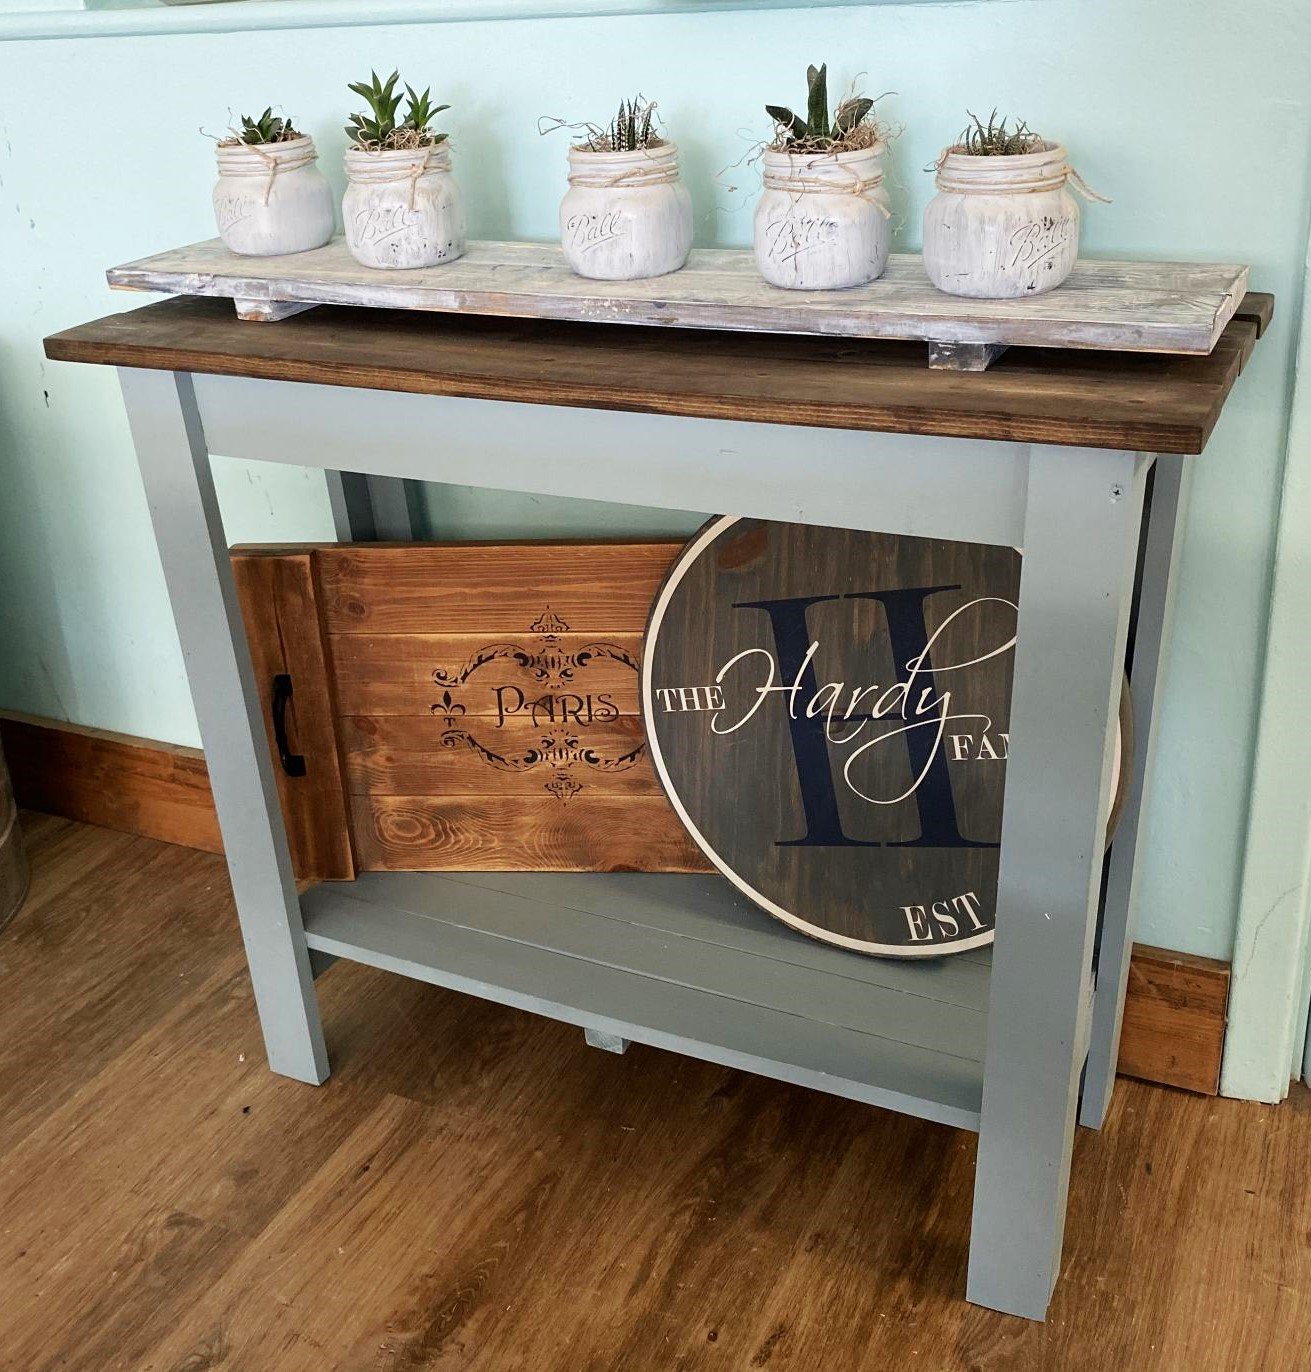
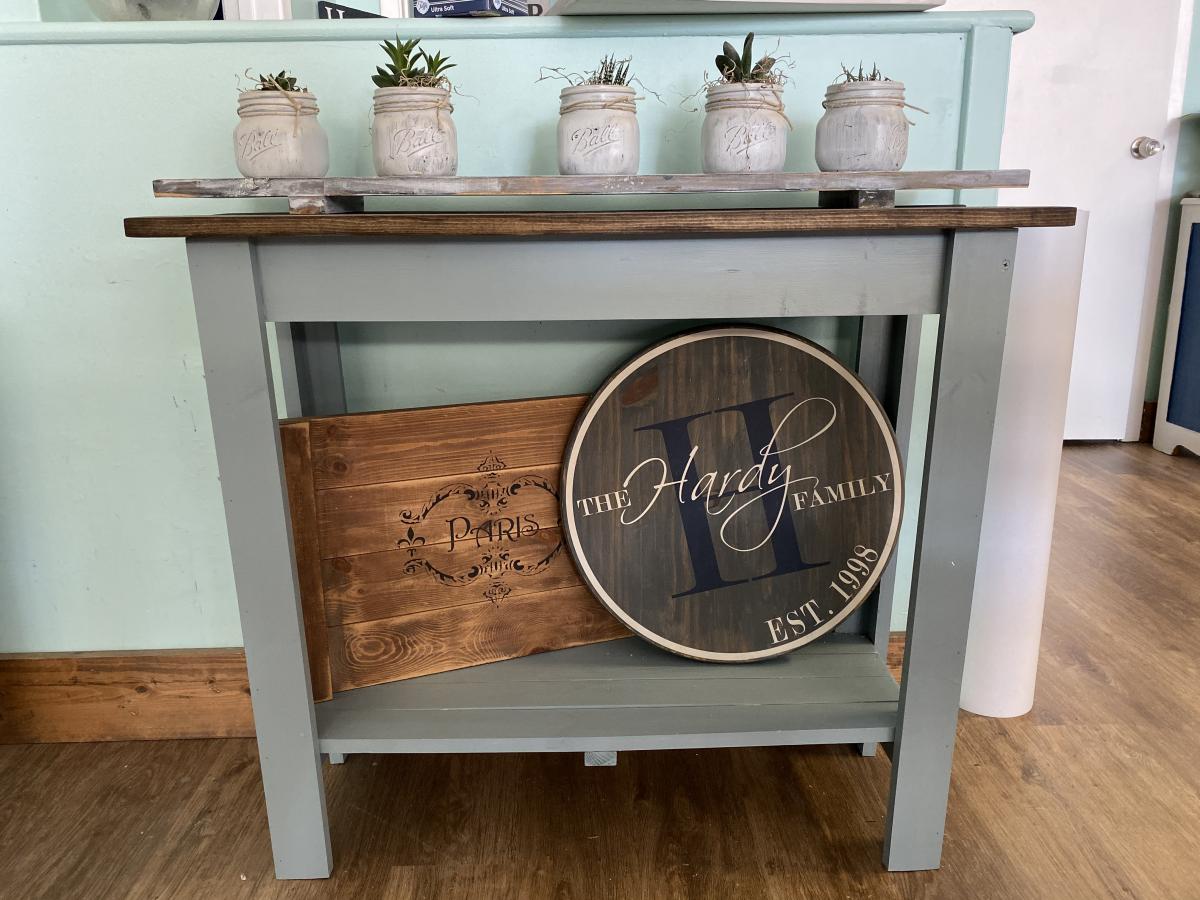
I own a DIY workshop where I teach people to make signs. I always get compliments on my tables which I built from plans on Ana White. I wanted to teach a workshop on a simple first build project to show ladies how easy it is to learn to build your own furniture! This console table was perfect and each person who built one was so proud of the results!
Comments
Wed, 10/02/2019 - 09:54
What a perfect little…
What a perfect little console! I love the paint color.
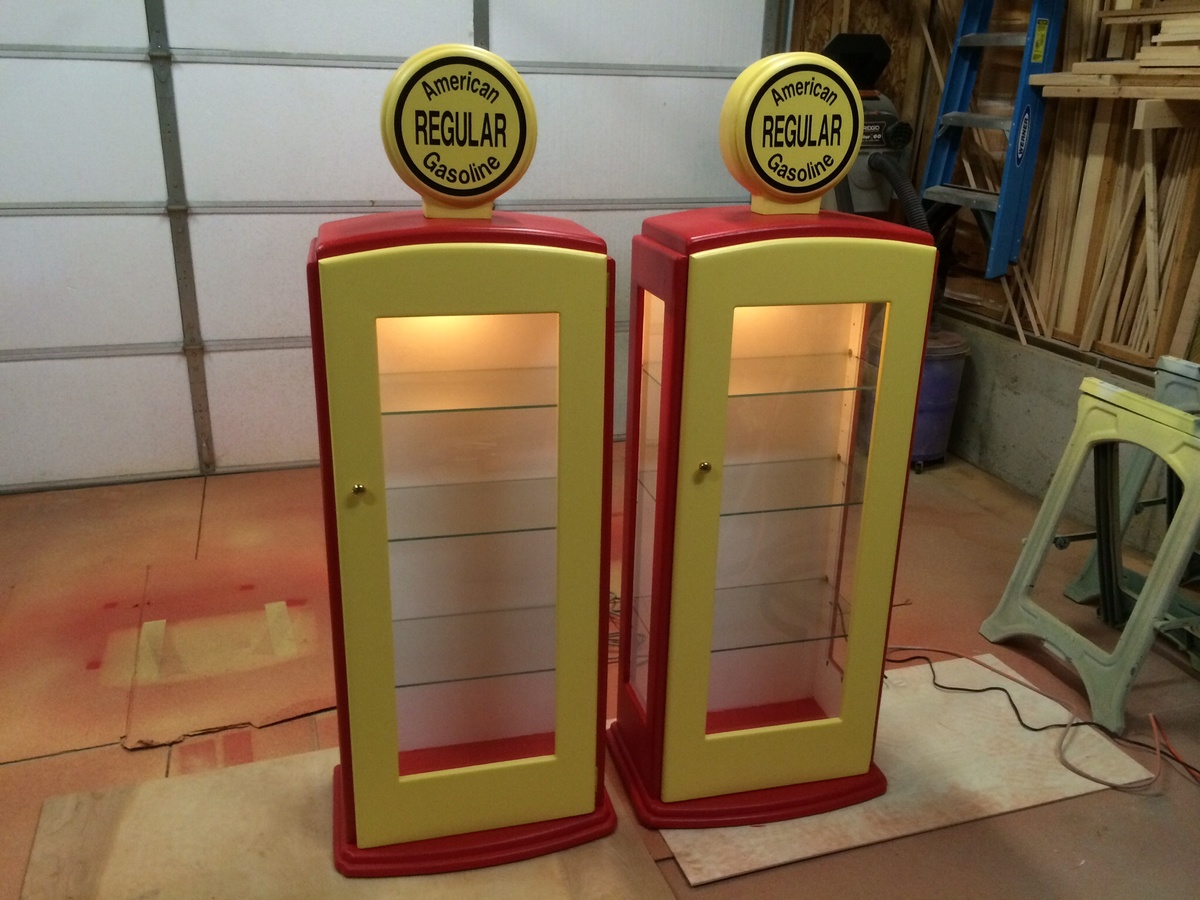
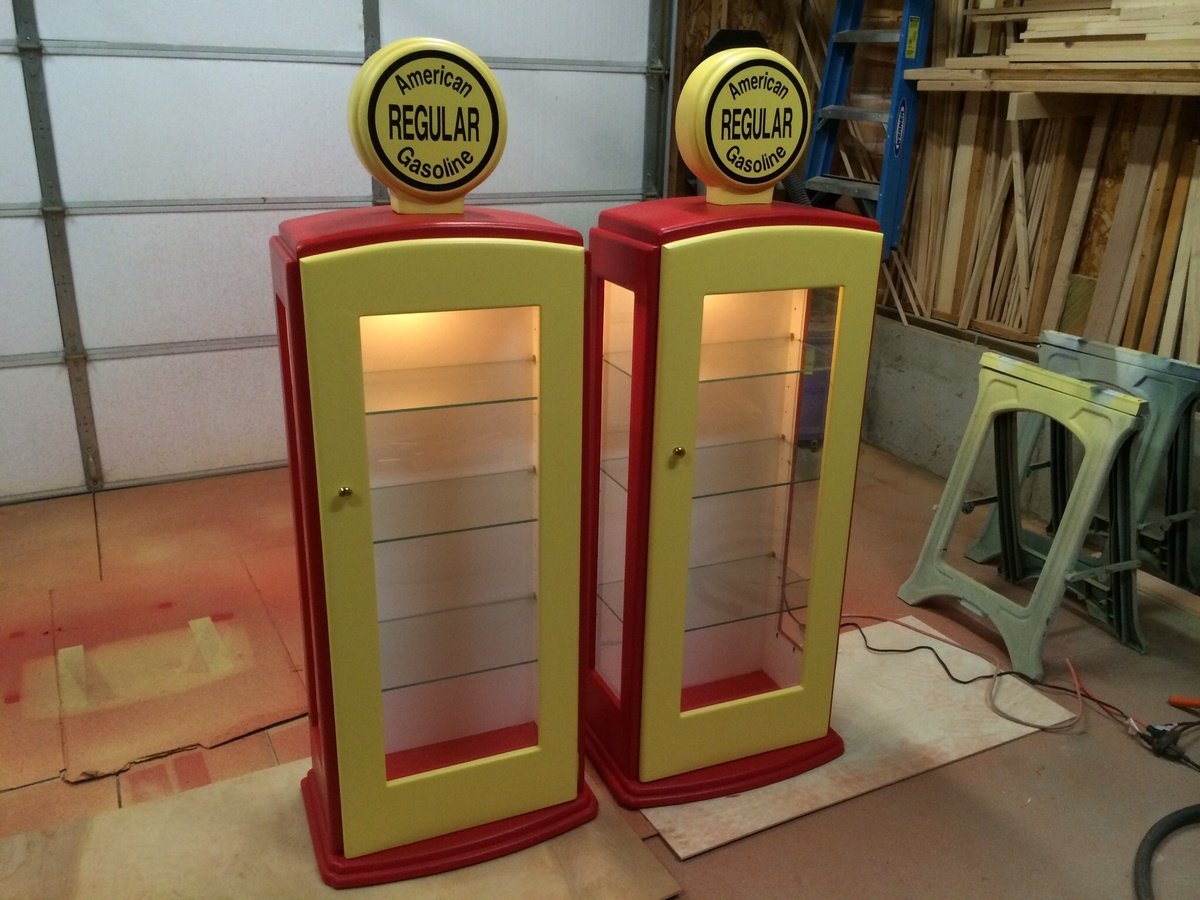
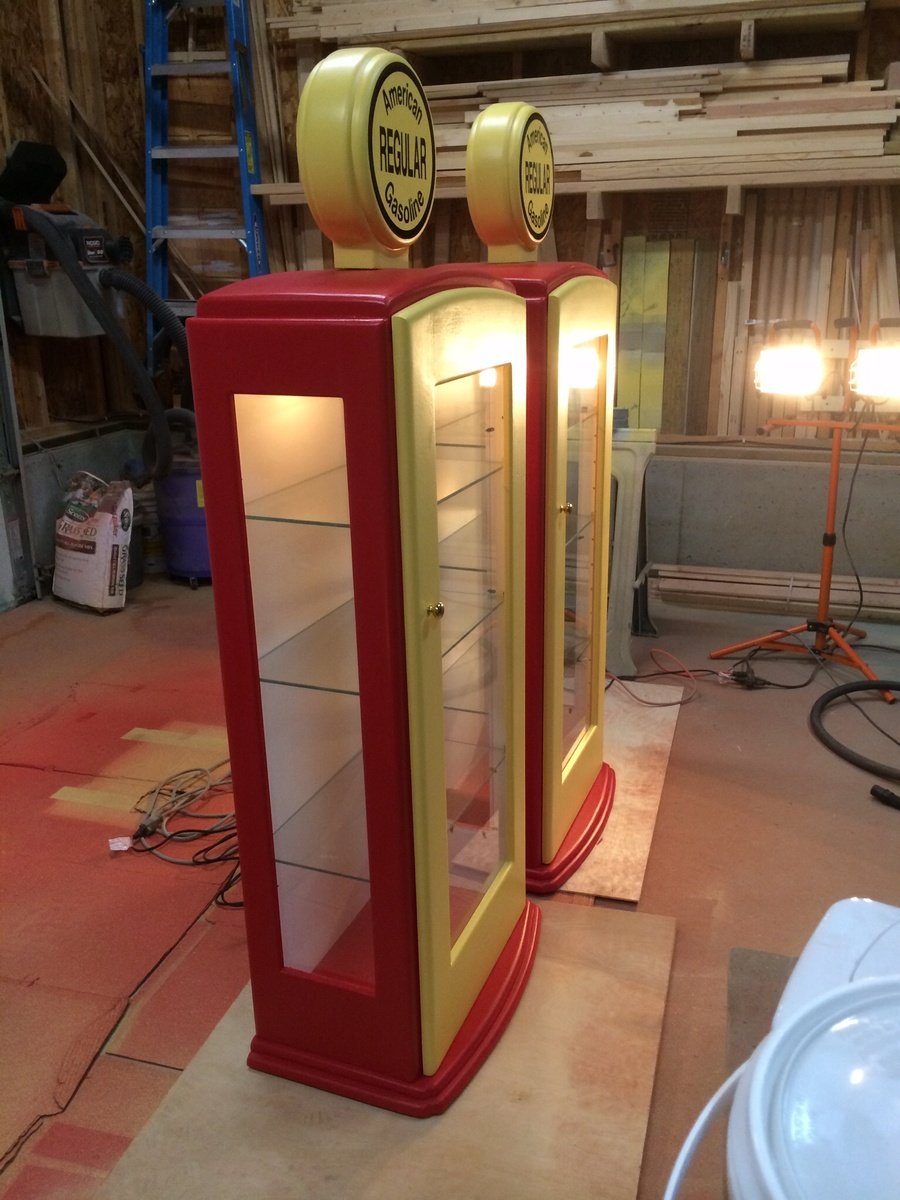
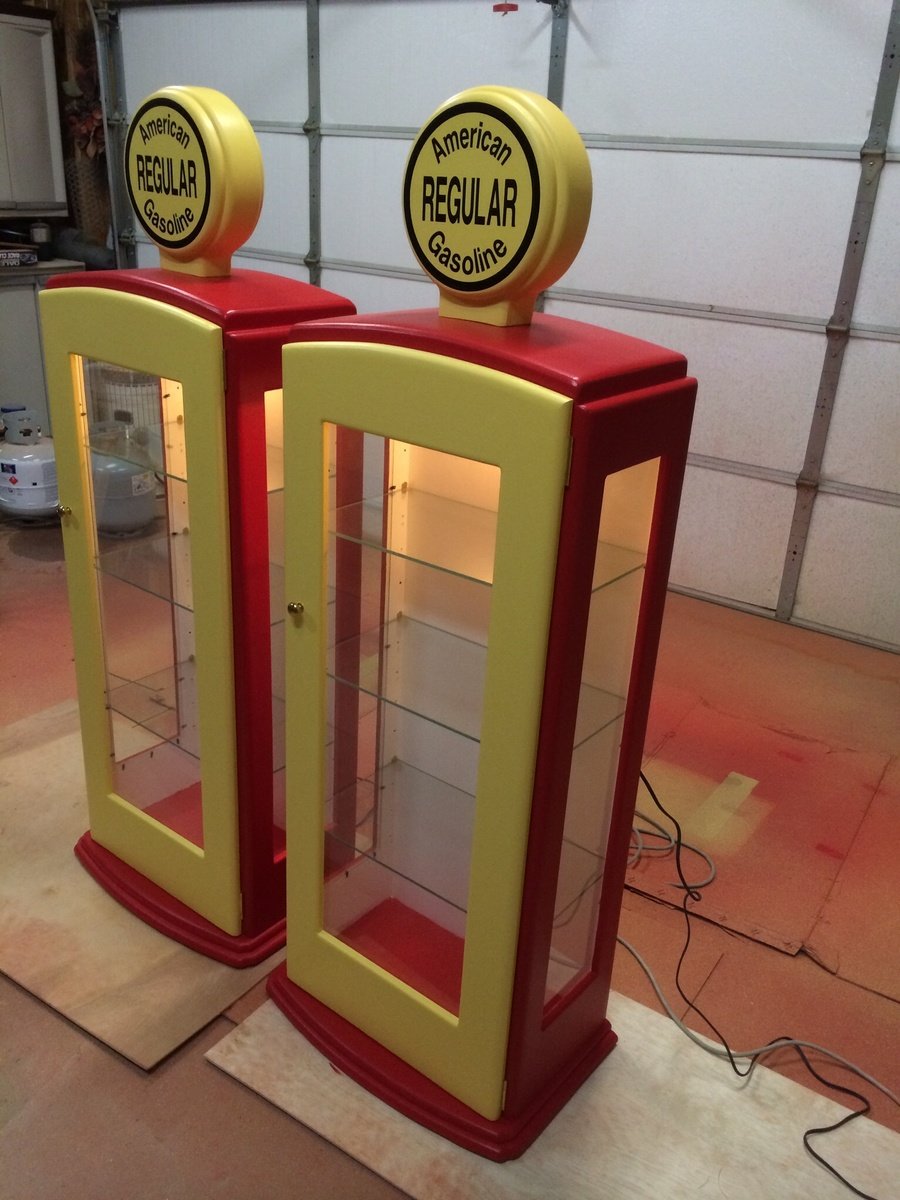
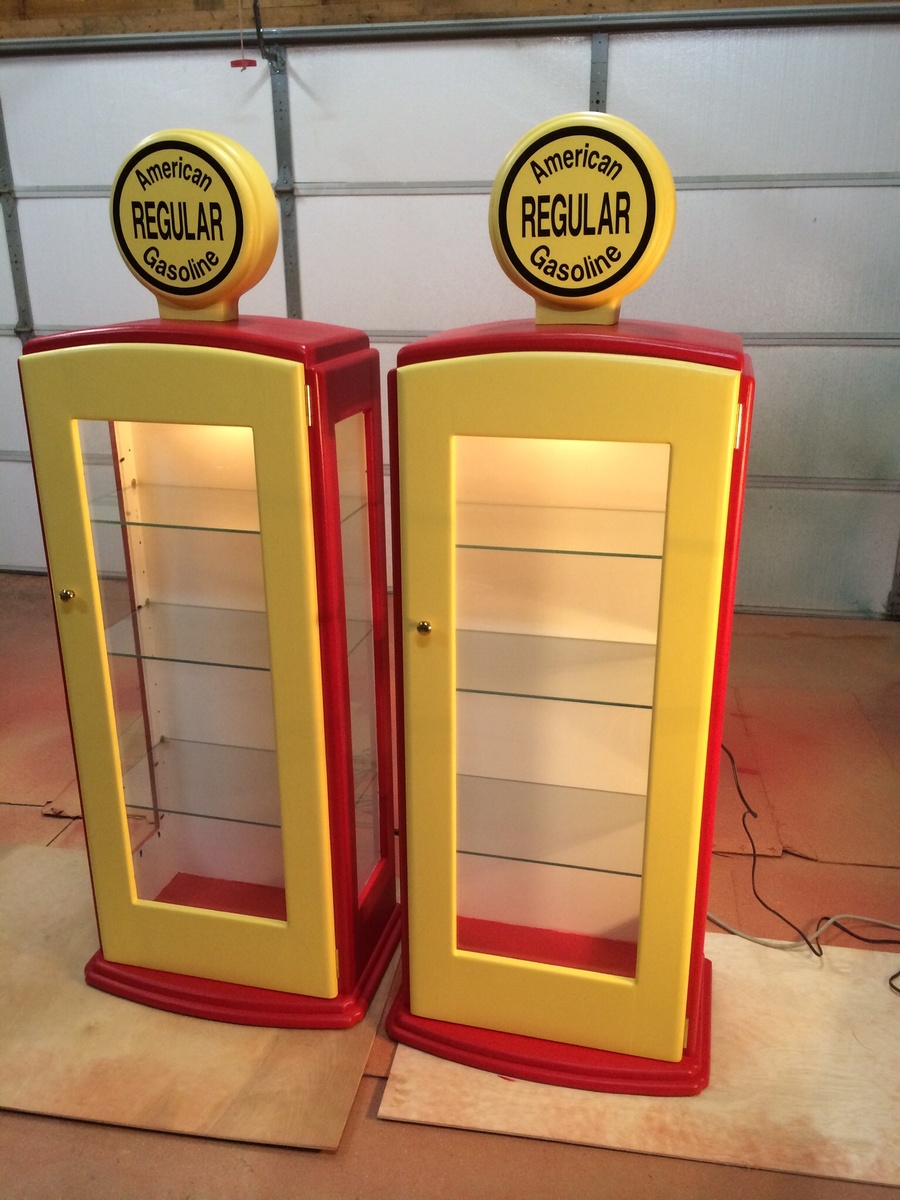
Gas Pump Curio Cabinet
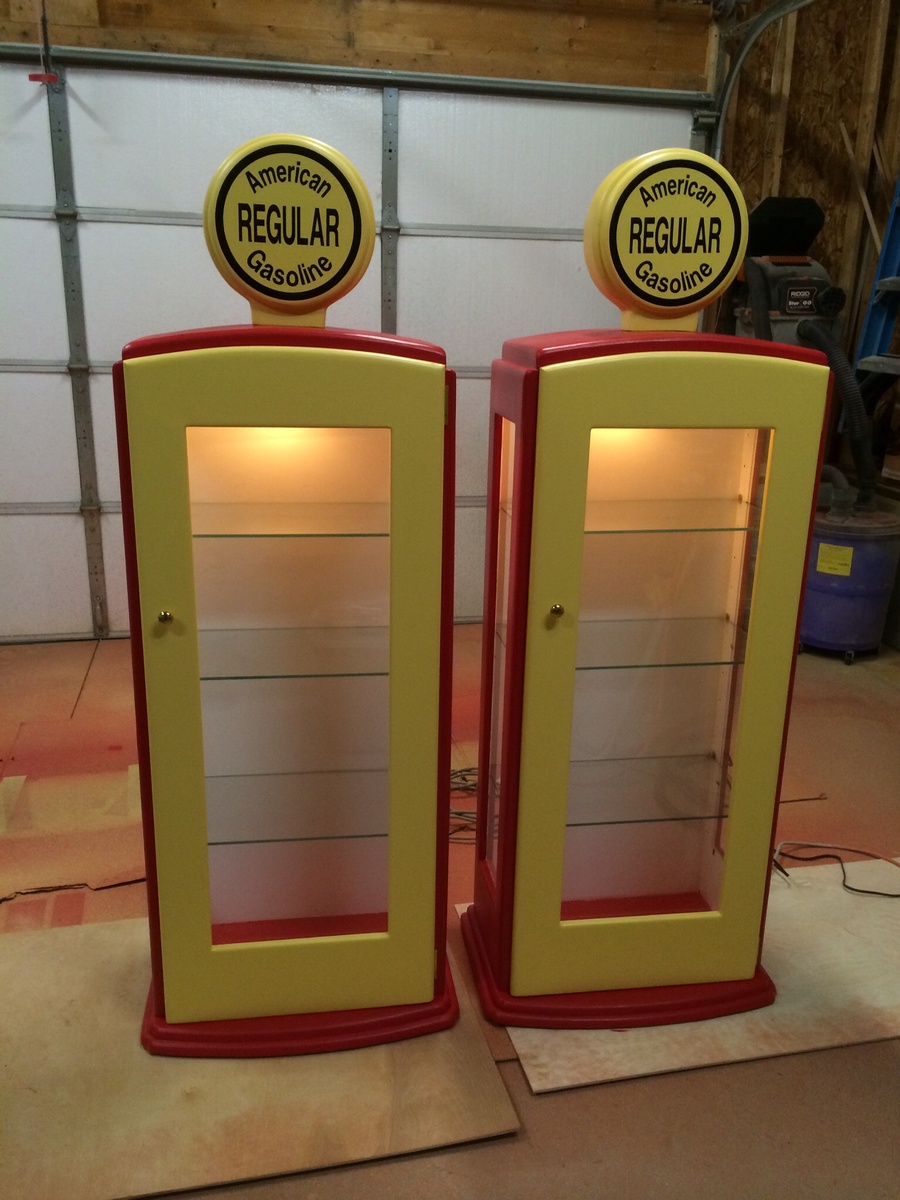
Theses cabinets were built for a customer from plans they had found online. The hardware was ordered with the plans for an extra expense and the glass was made to order. Hope you enjoy them thanks for looking.
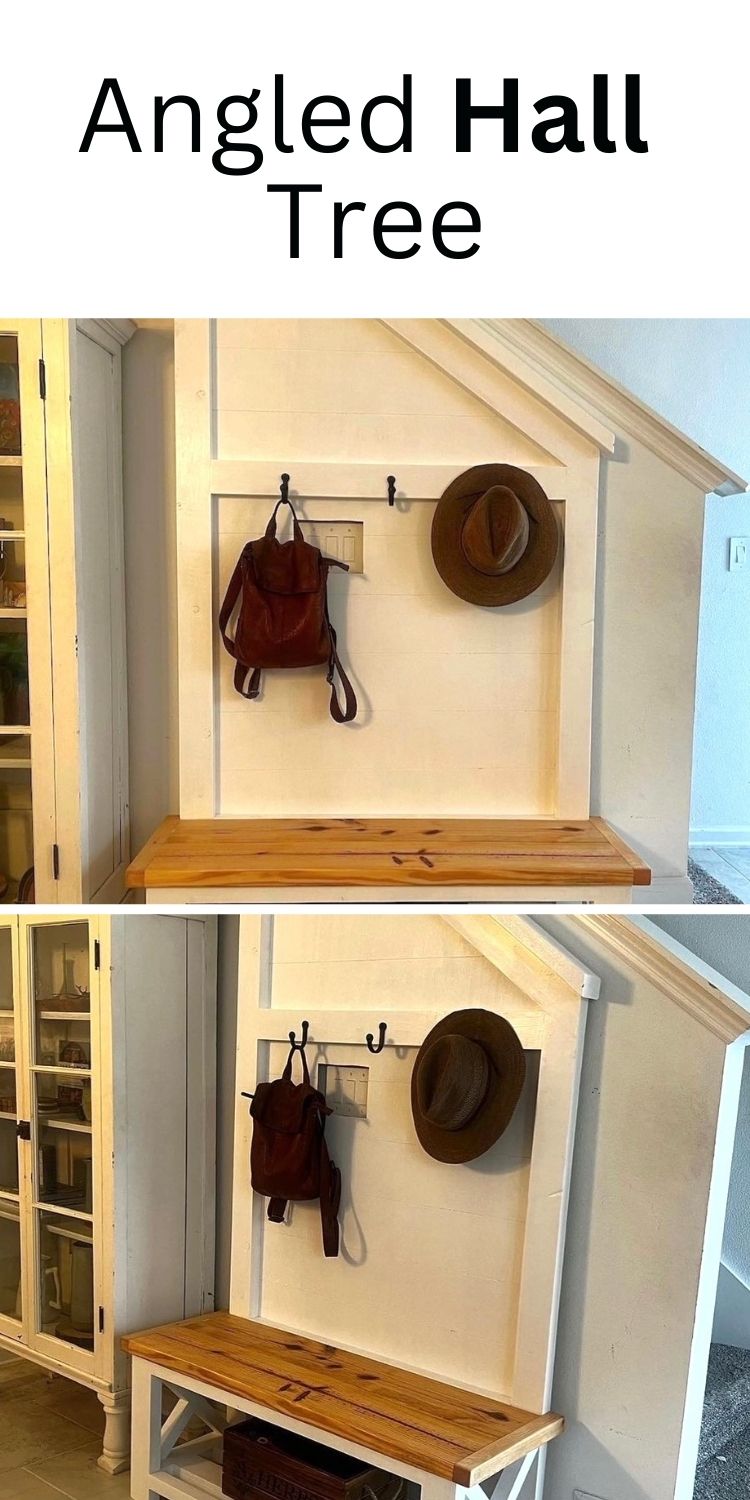
Angled Hall Tree
My latest diy furniture project. Inspired by Ana's bench tree. I had to use some creative thinking to match the angles on my stair banister.
Carlos
Pin For Later!
Panel Bed for Ray
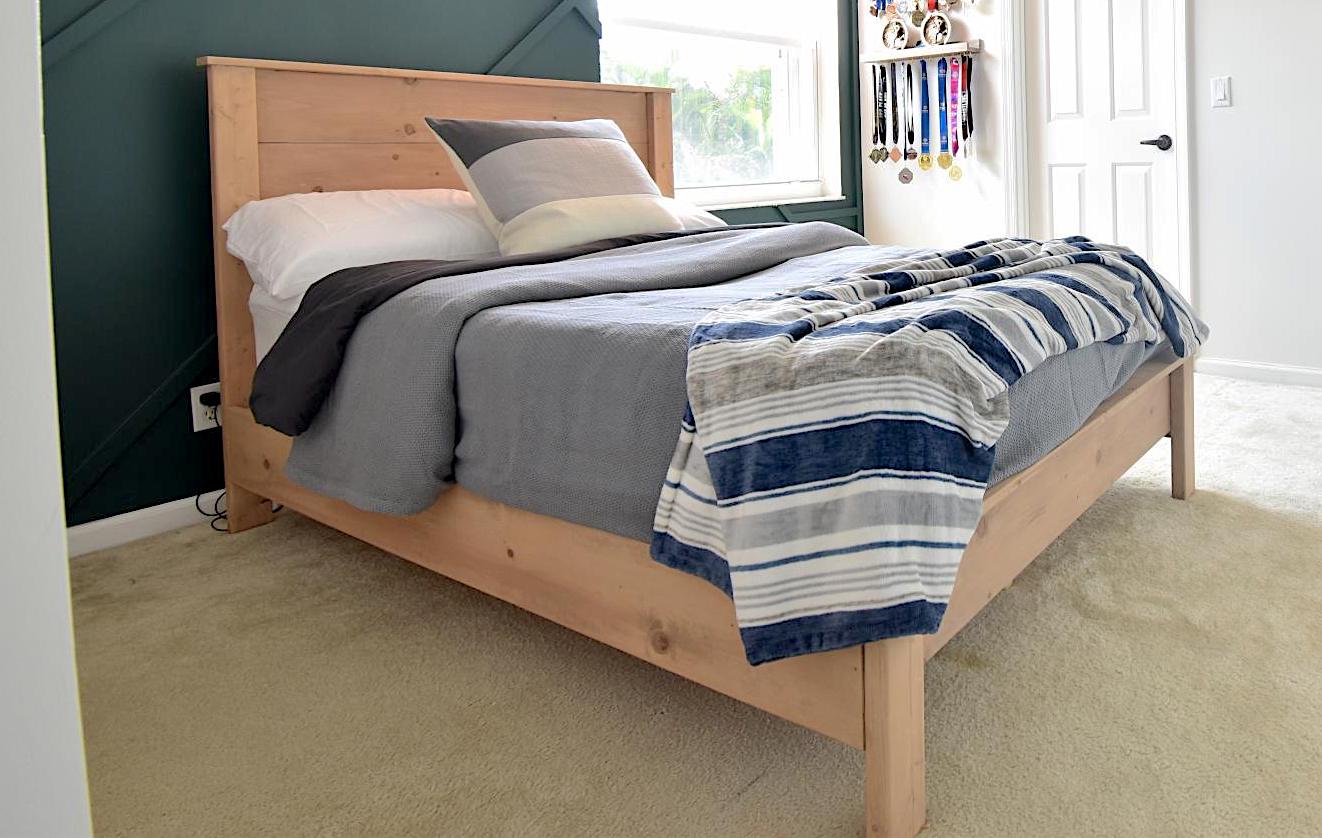
I made this bed over a weekend while I “room crashed” my oldest’s bedroom.
I’m so happy with the result. I experimented with stains mixing two, well layering colors.
That was a lot of fun!
I hope to write a blog post about it one day. I will add it to my ever-growing To Do List.
Let me know if you have questions. I love talking about building and all things DIY!
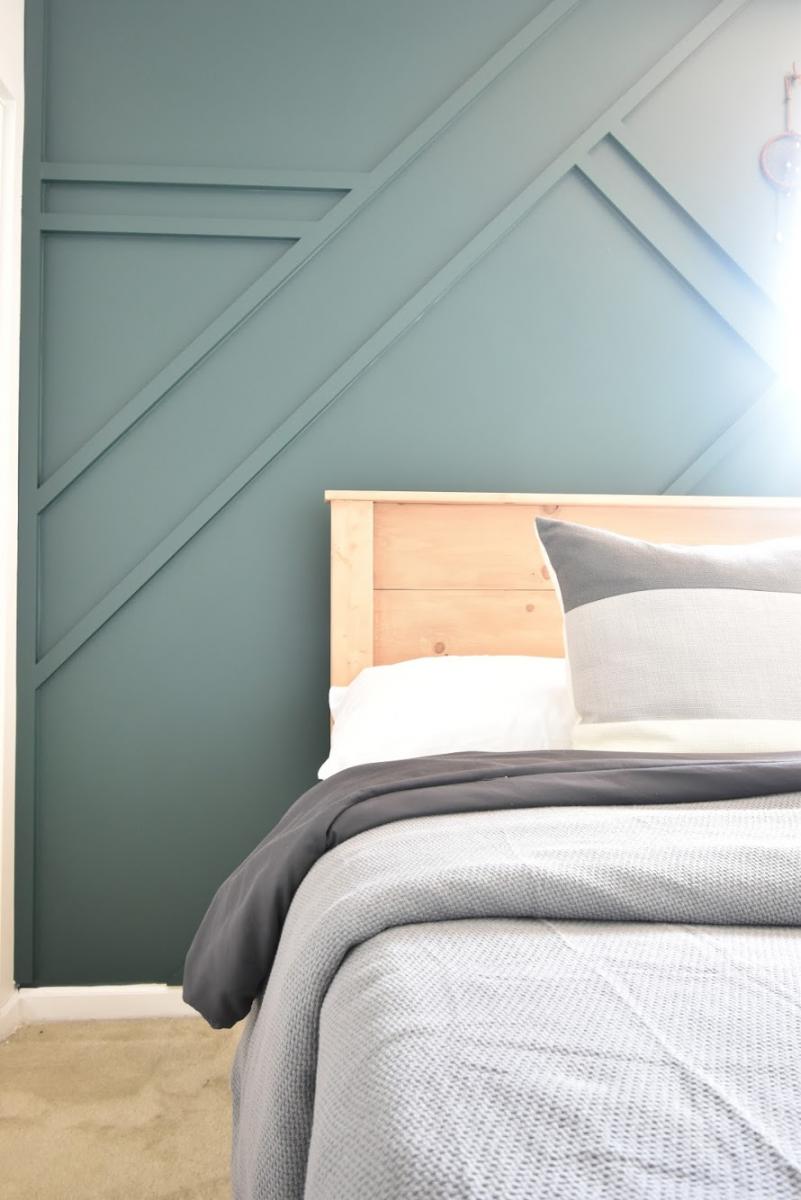
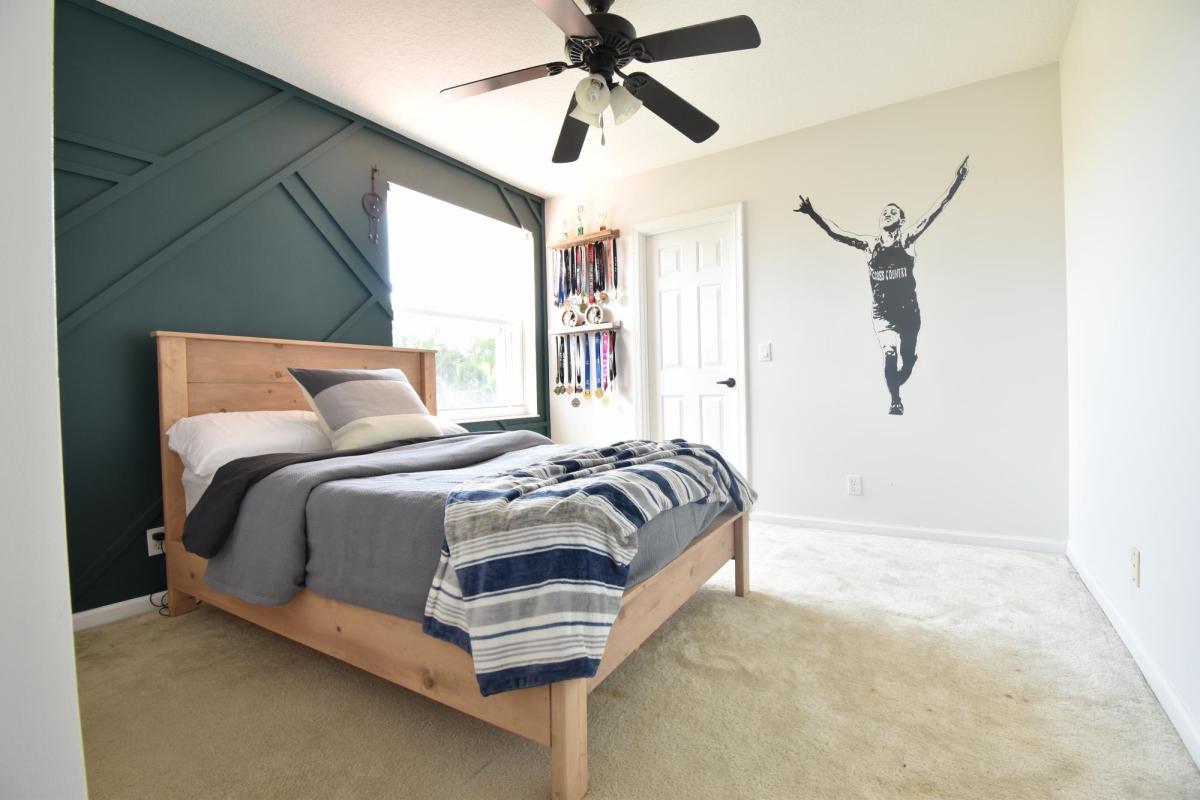
I applied the Simply White (didn’t remove excess) and then I added the Early American on top. Let it all sit a bit and wiped off the stain.
This left a beautiful color.
Comments
Sun, 10/06/2019 - 15:57
You are amazing! Thank you…
You are amazing! Thank you so much for adding a brag post!
Benchmark Media Console
This was a great project to do. I have a family member that paid that full price for the real Pottery Barn piece. I then made this one and showed it to them. Ha!
I used Alder ply but because of the expense I only bought 1 sheet which will run $90-$105 from Menards or Home Depot. Other lumber yards ran up to $140. I got all the pieces out of 1 sheet except for the 2 adjustable shelves which I used birch ply. And you can't even tell. I was going to make my own jig but just bought the Kreg pocket mini jig. Invaluable! and about $20. I found the overall cost from the plans to be under reality. Acrylic, hardware, and hinges will run you $70-$80 easy. But I guess if you use cheap pine or something than maybe you can be close to the estimate.
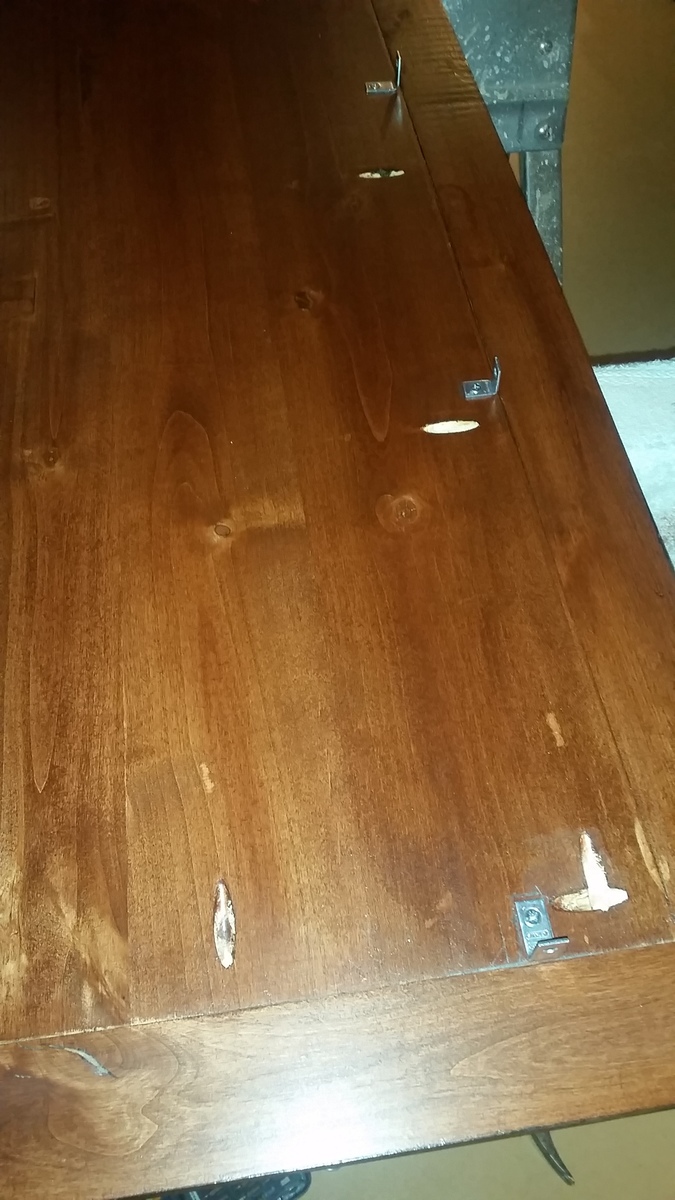
As queried by others, I too found the plans to specify how to attach the top. I used tiny "L" brackets around the underside perimeter and attached them with my screw gun to the frame (pic attached). For the doors, I didn't like the idea of just screwing the acrylic glass to the inside of the door so I routed the inside and attached some plastic tabs I found in the screen door section of HD to hold them in place. (pic attached). You could also use small mirror clips installed upside down.
I wrestled with the color choice for a long time but finally found the Minwax Gel Stain Mahogany (which is different than regular stain mahogany) to be the right color. After staining and a coat of sealer, I glazed, let dry, then sealed some more. Finished it off with some supa-fine steel wool and paste wax.
I love this piece now because I only glued certain pieces so that I can take it apart and put it back together as I am moving soon. (out of country). The European hinges were a bit of a pain to mess with since they have some movement to them and only lateral adjustments, no vertical. But it came out great. (I think)
Thanks so much for these plans!![]()
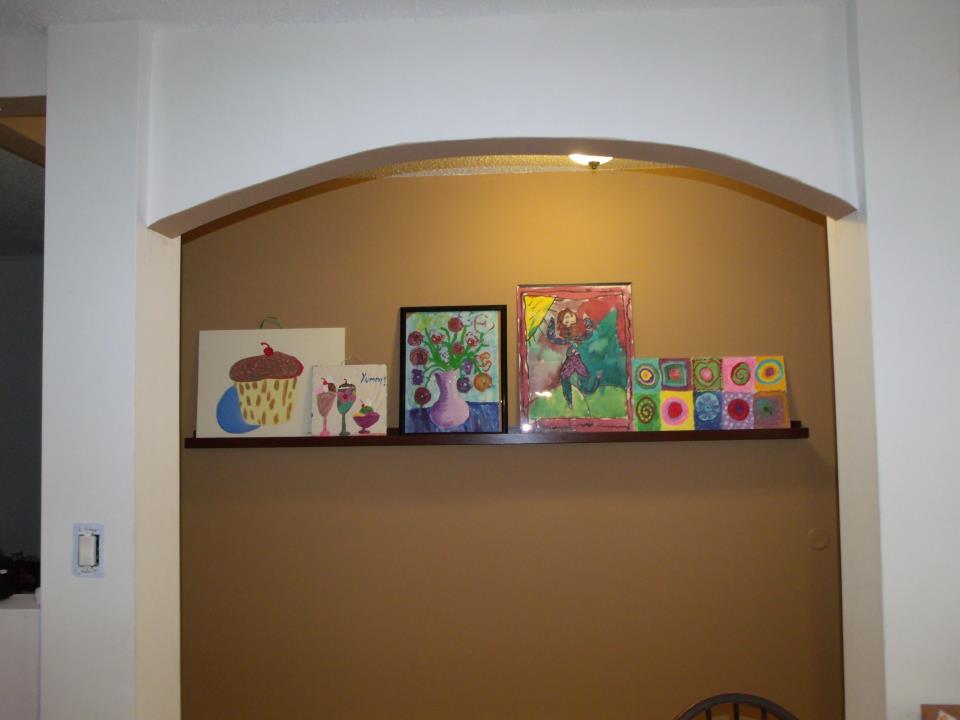
$10 ledge and first build with a kreg jig!
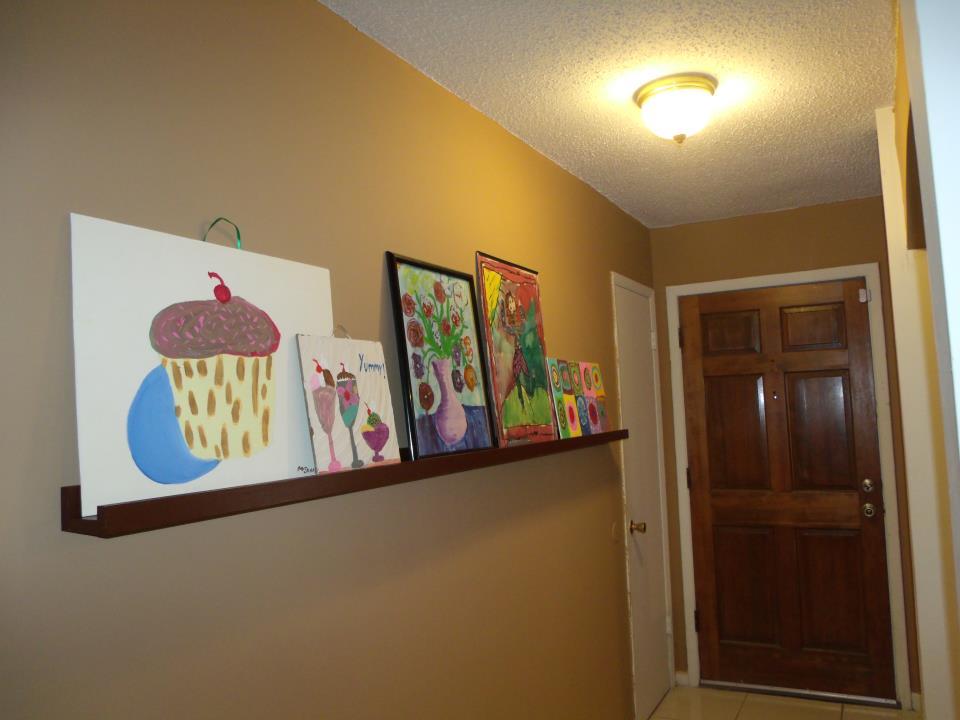
$10 ledge and first build with a kreg jig!
Comments
Mon, 04/23/2012 - 22:15
ewqff
It is nice that you posted something like this [url= http://www.pandawill.com/usb-car-charger-for-mp3mp4mobile-cell-phone-bl… ] USB Car Charger [/url] and I am quite lucky to read it. Thanks for posting this!
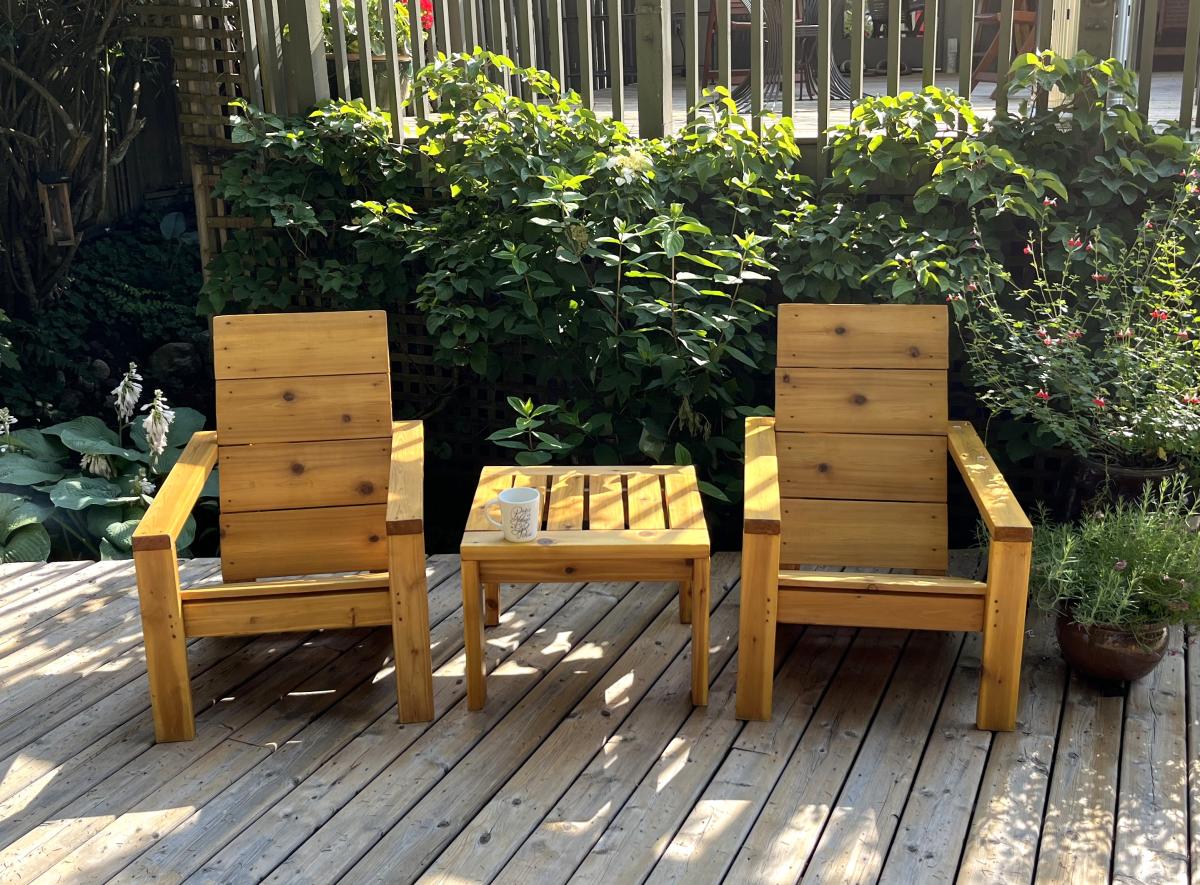
Outdoor Chairs and Side Table
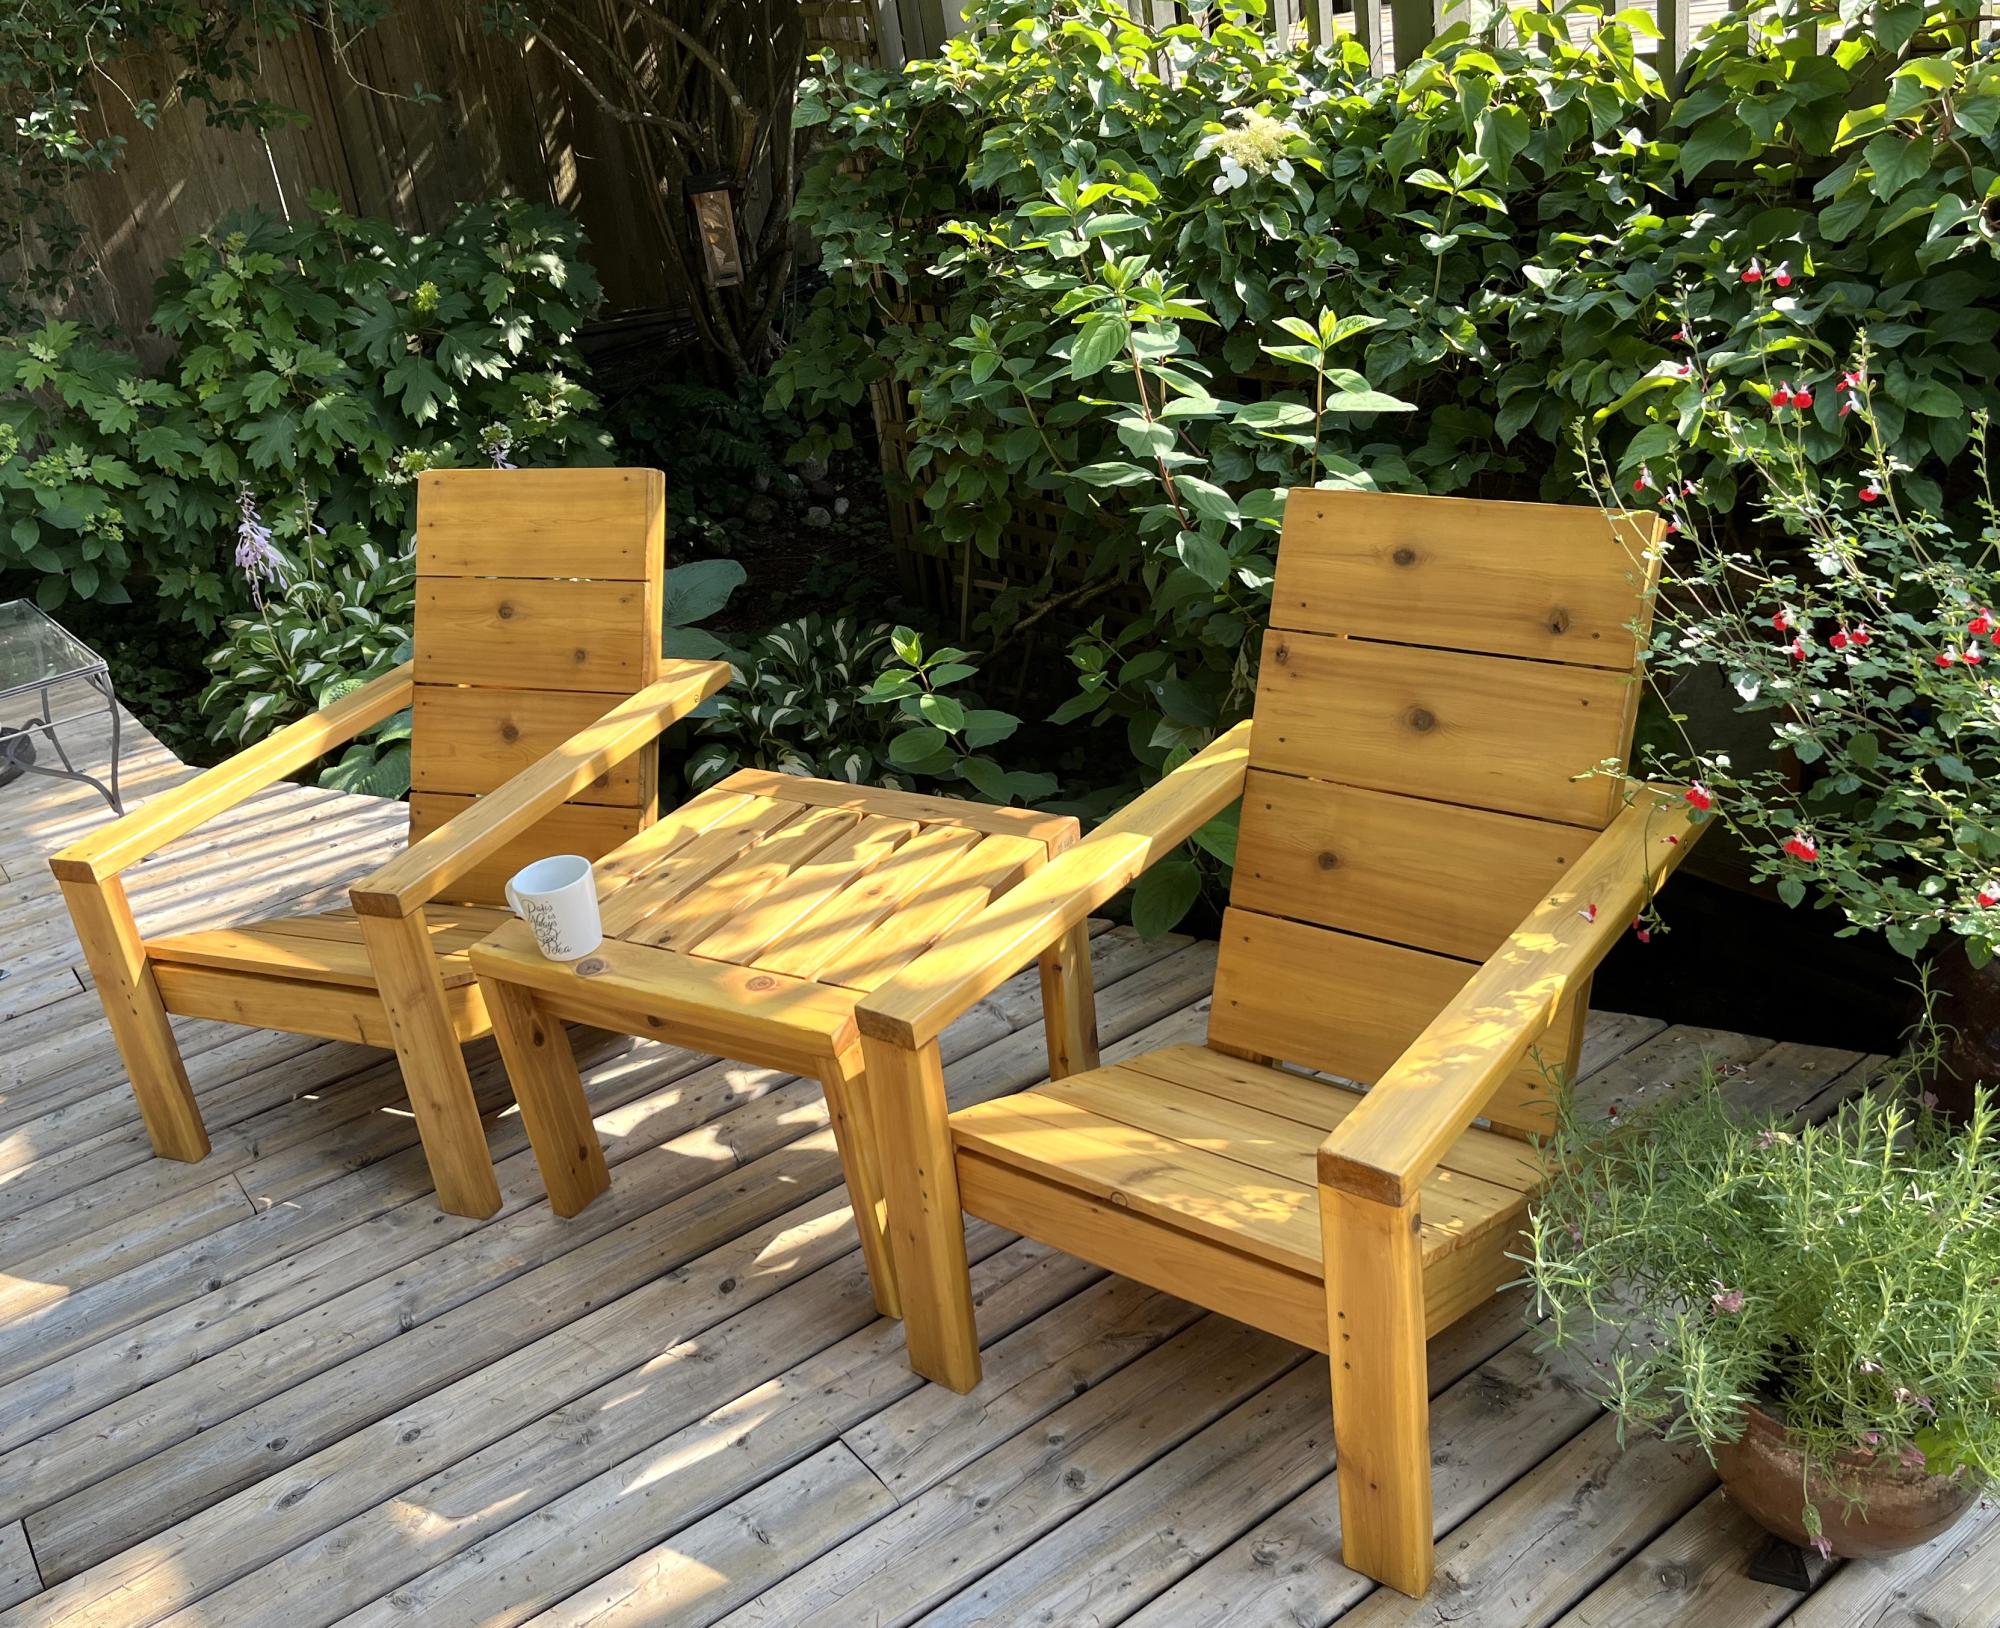
Used a clear cedar stain and mostly used jig holes
On the chairs added a 6 inch screw to hold the chair arms securely to the back in case someone sat on the arms.
Matt
Horizontal Murphy Bed
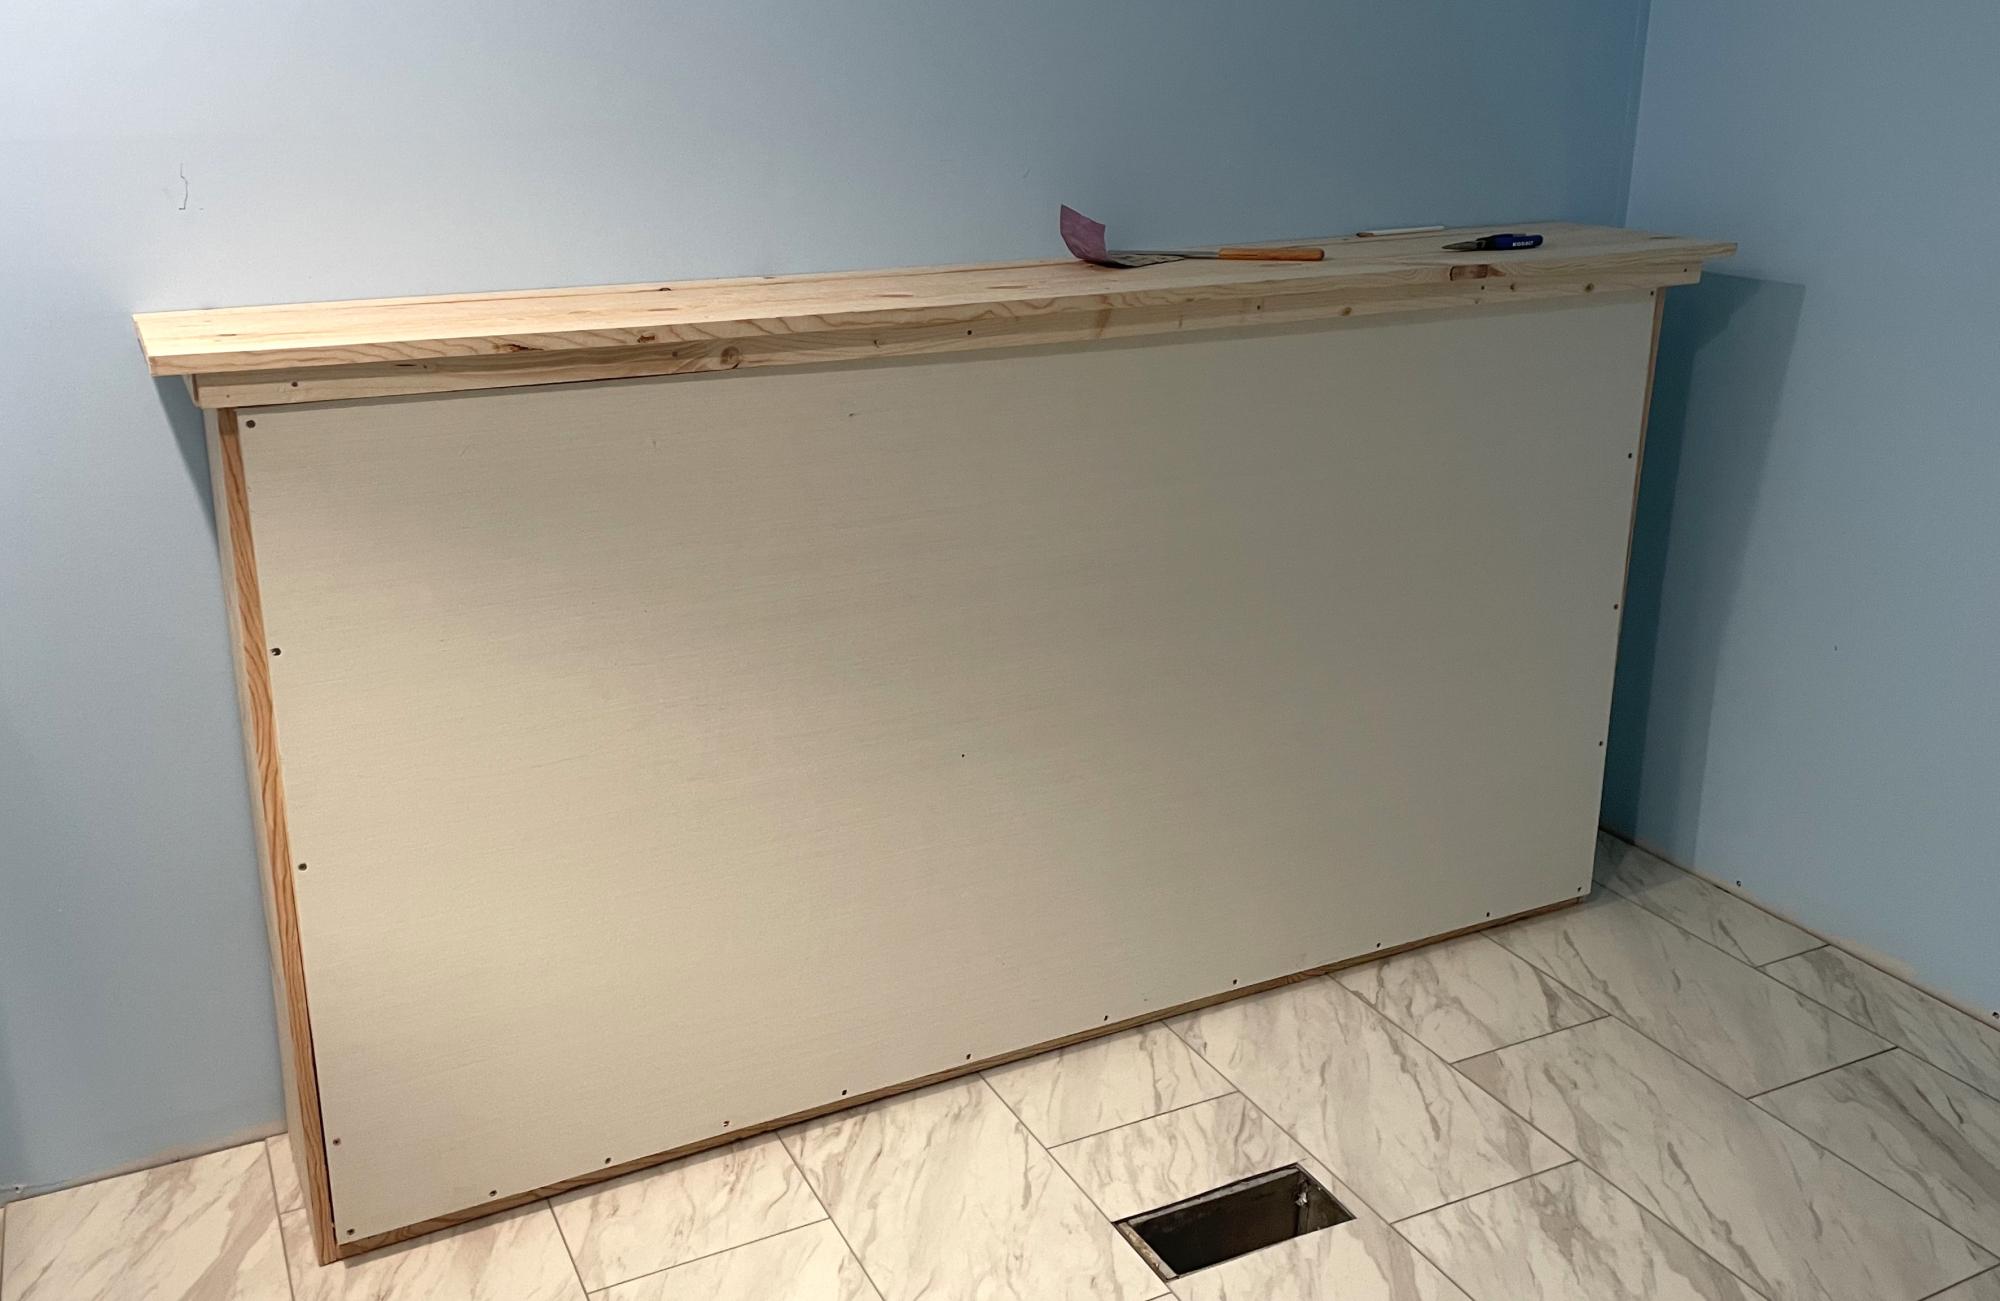
We are remodeling our 3 bedroom house into a 4 bedroom. In doing so, my youngest is getting the smaller room. We decided to go with a Murphy bed to allow more play time space. I do not particularly like the fact that this bed doesn’t sit off the ground but overall love the simplicity of making it. We turned it horizontal and just love the overall product. I can mot wait to make something else from this site!
Tams
10 dollar ledge
We built three different sets of these ledges one set for each of the kids and one for our bedroom. We requested some sample paint off line in some colors we choose so the paint was free. Very simple to make and finish. We drilled holes 16 on center to hang them off the studs to allow heavier items down the road. Picked up the wood from the home store cut them down and sanded with 180 than 220 grit sandpaper then slapped on the paint.
Comments
Outdoor Sectional
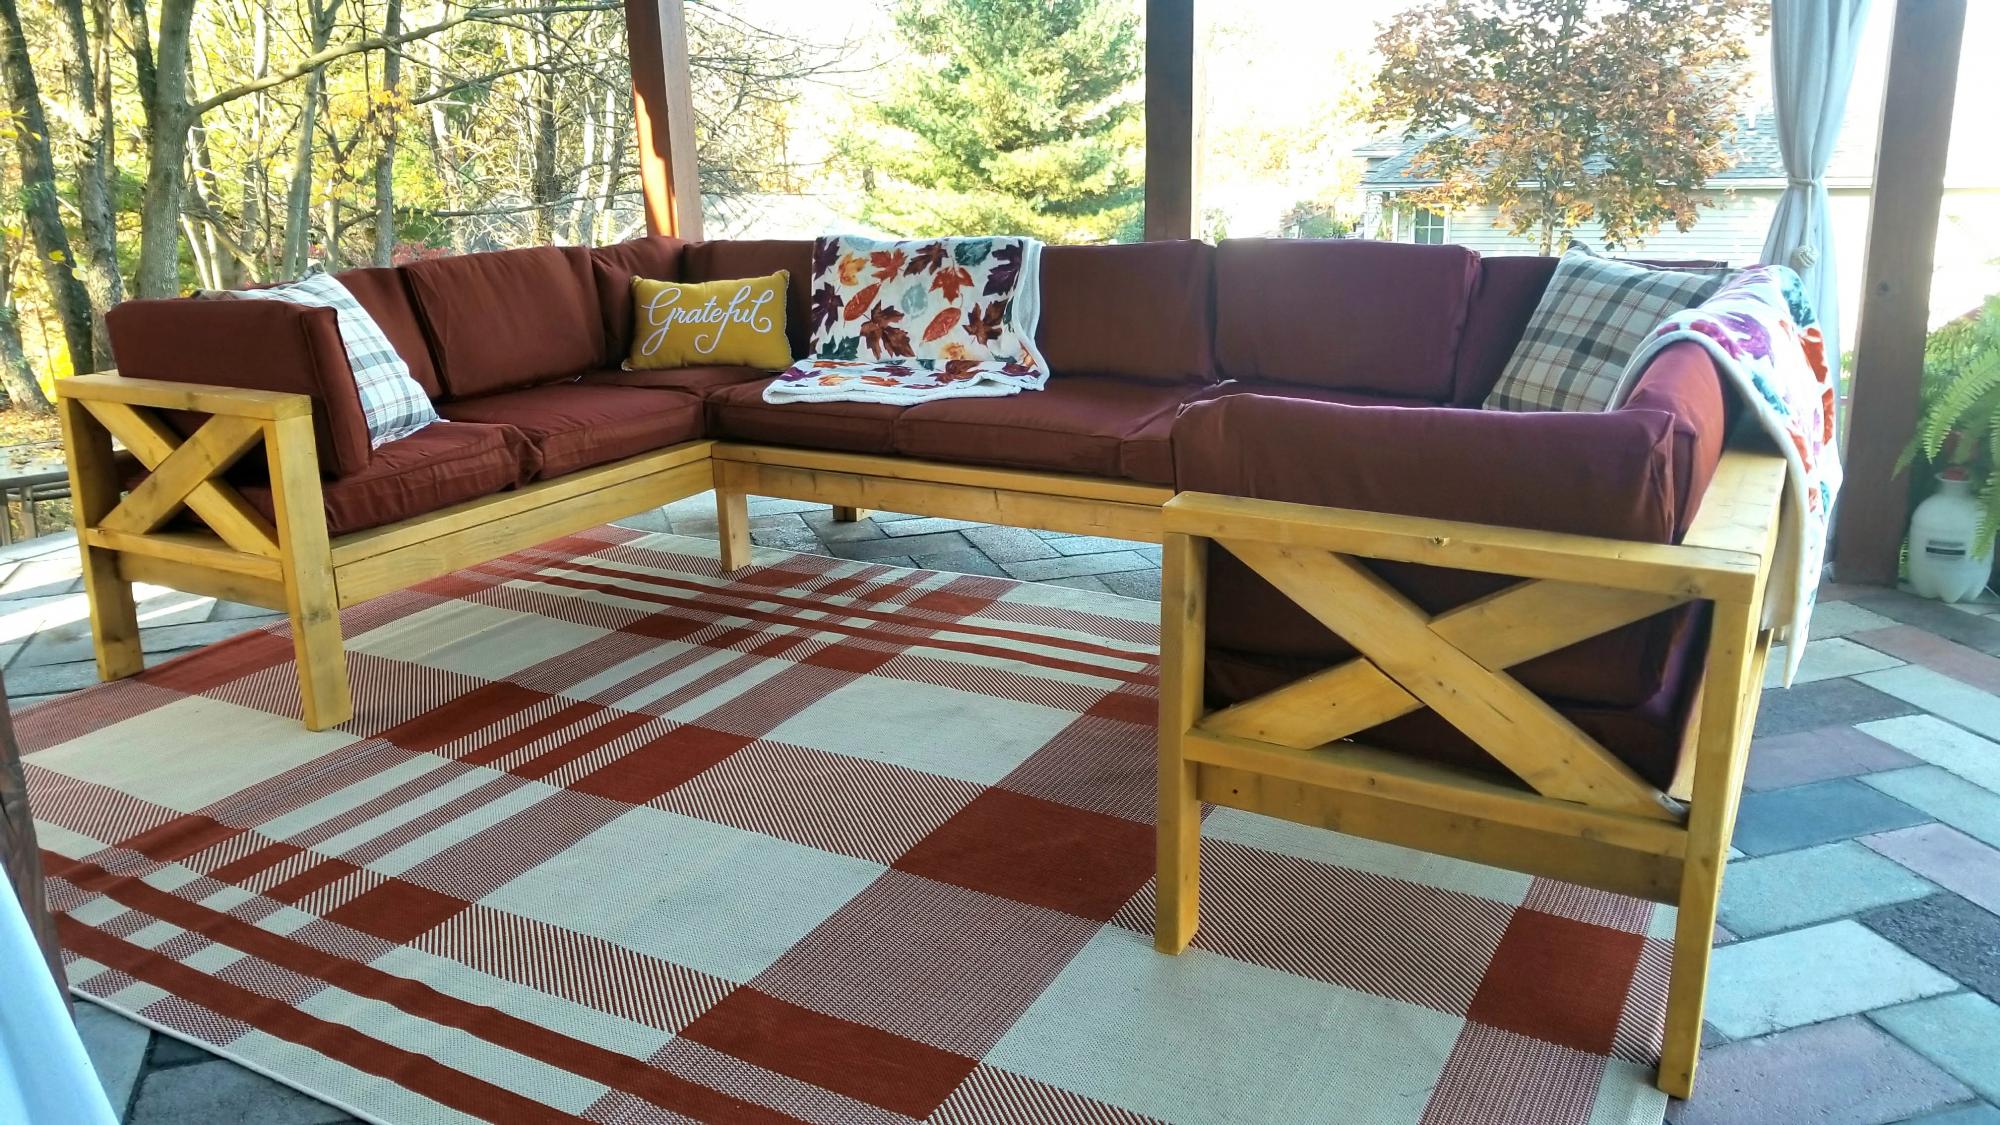
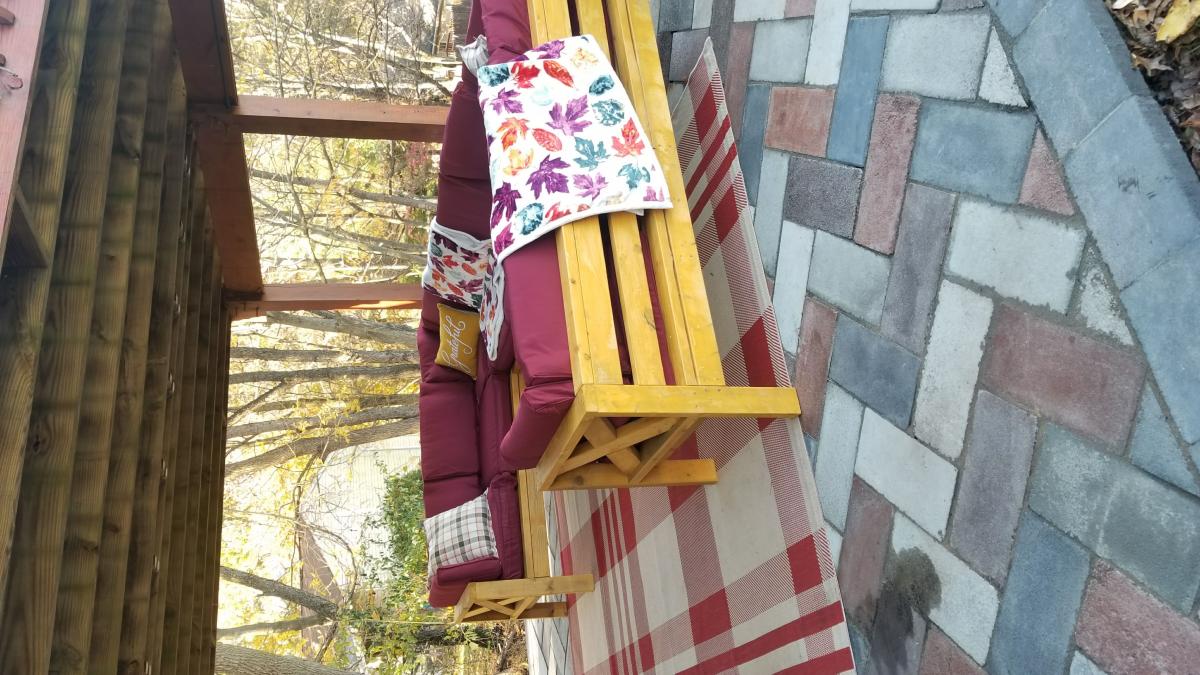
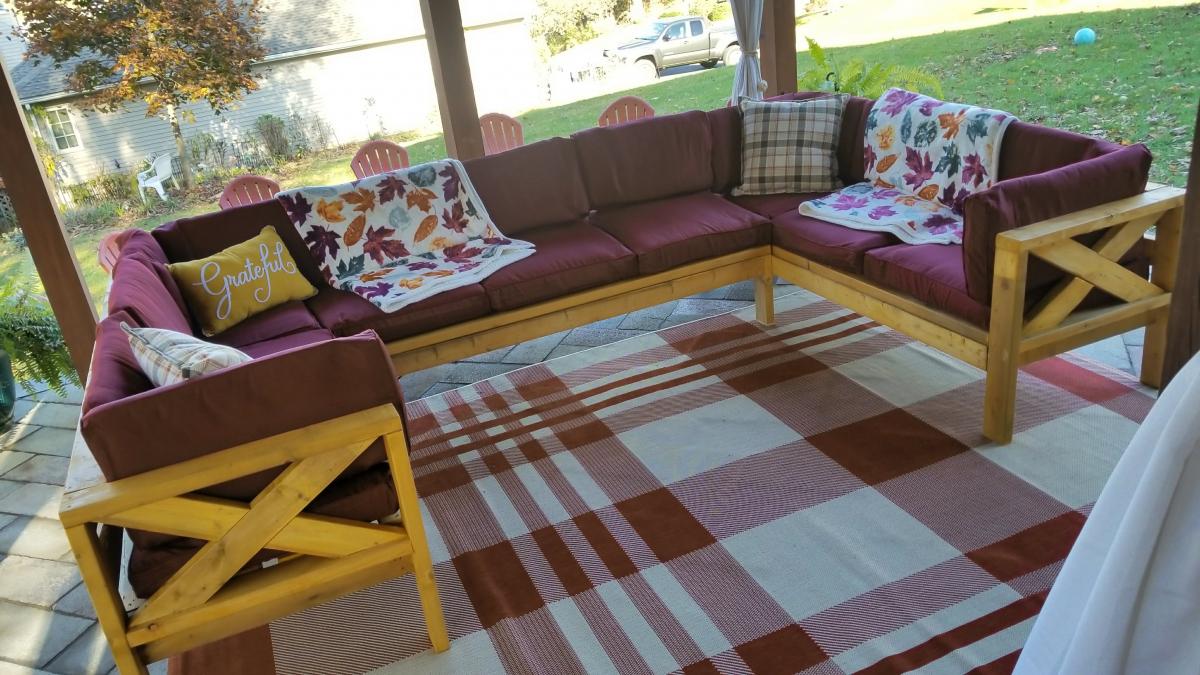
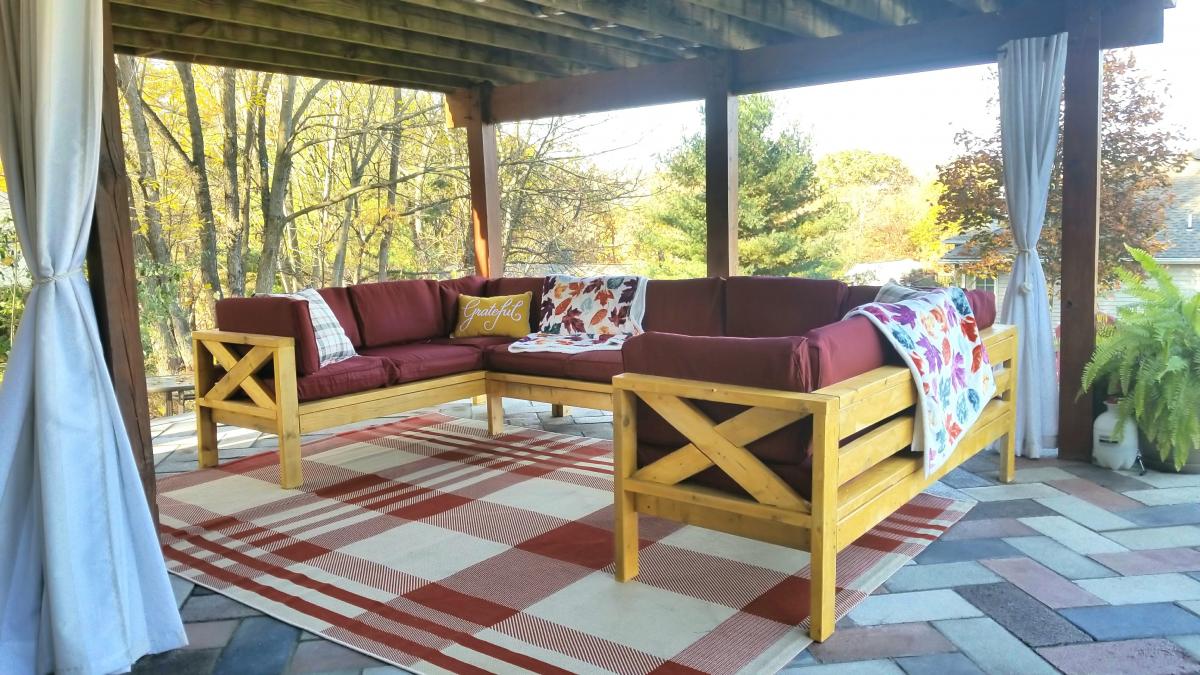
Just put the final stain on the outdoor sectional and I'm so psyched at how great it came out. Believe it or not, this is a very beginner piece (just 2x4s, NO pocket hole screws, all straight cuts- x ends optional) and anyone can do it with a circular saw, some clamps, a sander and an impact drill. Just takes some planning ahead of time. I bought the 2x4 wood and the cushions off Facebook Marketplace to save money so the total cost of this whole sectional was only $140 (wood, cushions, stain, screws). If you price similar new wood sectionals (U shaped, 9 seats) they're well over $1500+. Now, my sectional isn't as perfect as a brand new sectional but I do feel way cooler for saving a ton of money and doing it myself. In all it only took 4 days, working no more than 2.5 hours per day from start to finish to build this and stain it. It's made up of three pieces and I finished one piece a day and stained on the last day. You can make it while your toddler naps;-P Or if you had no other distractions you could bang it out in one long day. As for any of Ana's outdoor sectional plans the biggest expense is going to be the cushions. The cheapest new ones I could find were $40 a set (a 25" seat and a back cushion). That would have made this at least $400 in cushions ALONE! So what I did instead and I recommend this for anyone trying to save cost on this project is that I got a whole bunch of cheap and random cushions off Craigslist and Facebook Marketplace and then I bought cushion covers off Amazon. https://amzn.to/2BRBeeZ I cut some of the cushions to fit the covers and added stuffing to others.
I Built Drawer Dividers to Store Water Bottles
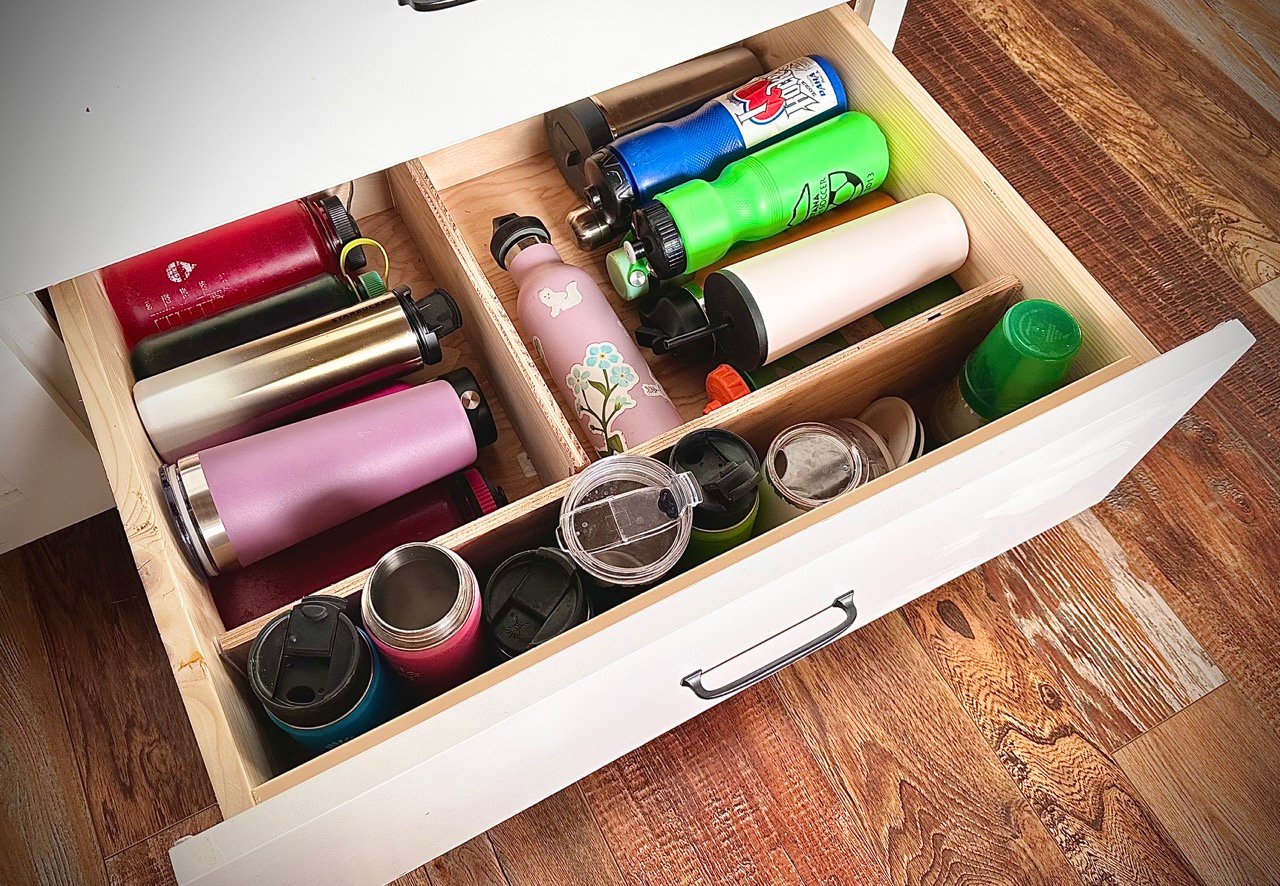
I used the Stick on Drawer Divider tutorial to divide up a drawer for water bottles. The custom drawer dividers allowed me to divide up for different sized water bottles. I used ripped 1/2" plywood for the dividers. Total cost was about $10.
This drawer makes me so happy now!
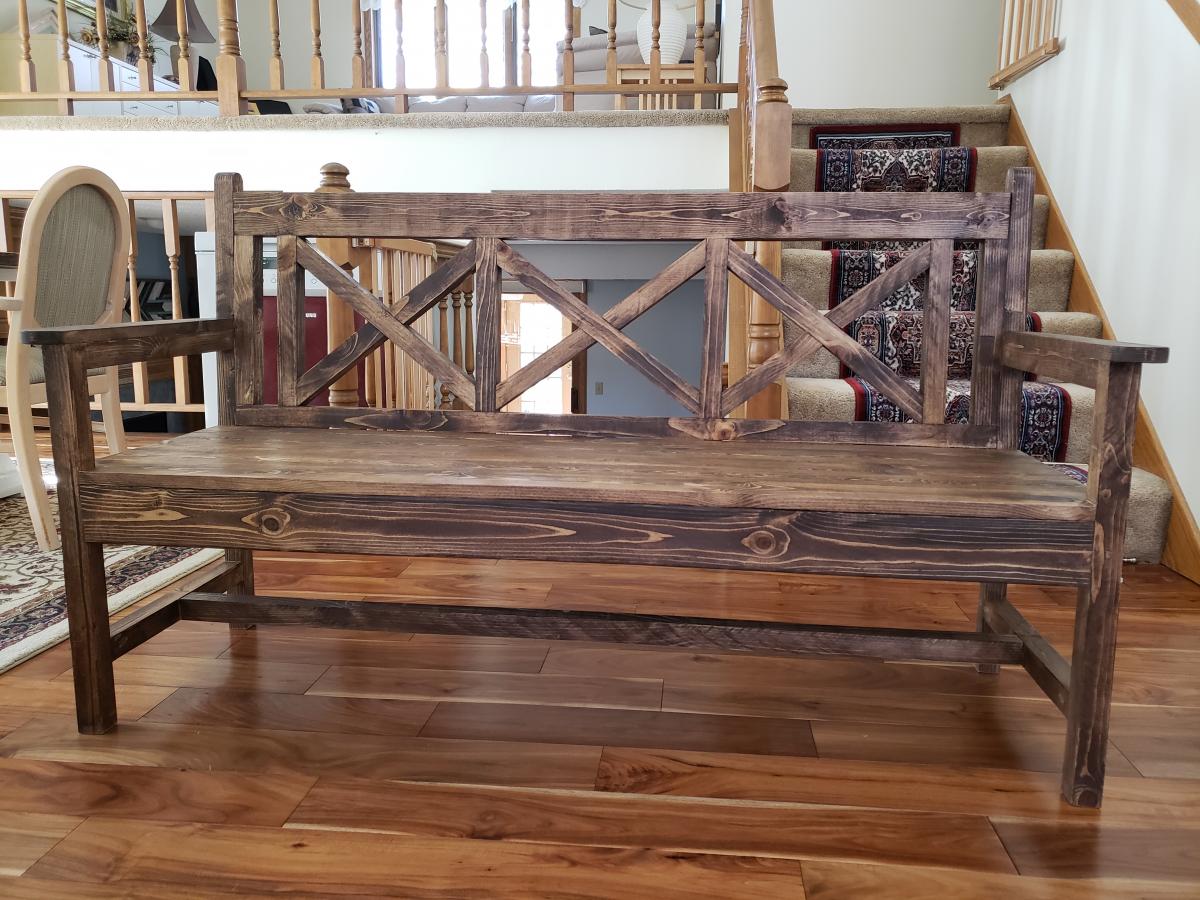
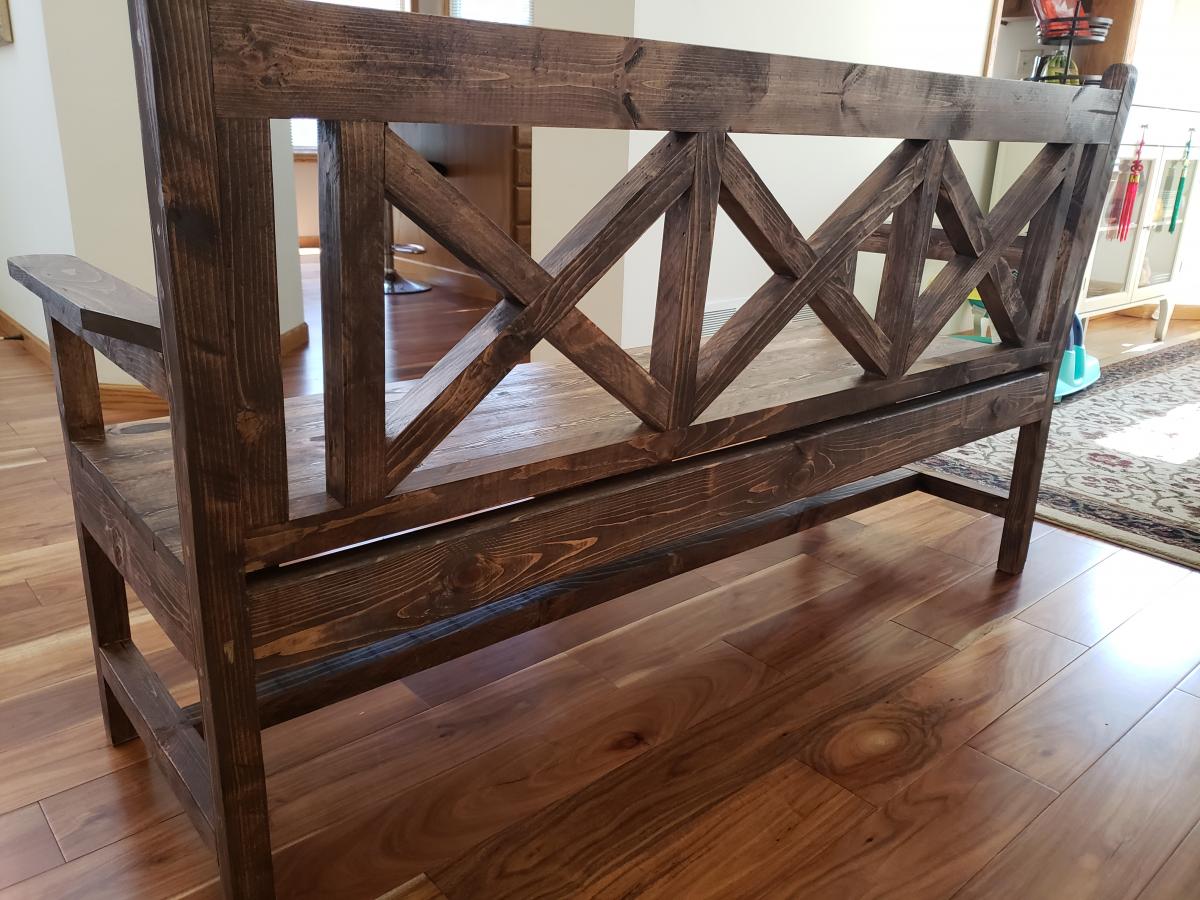
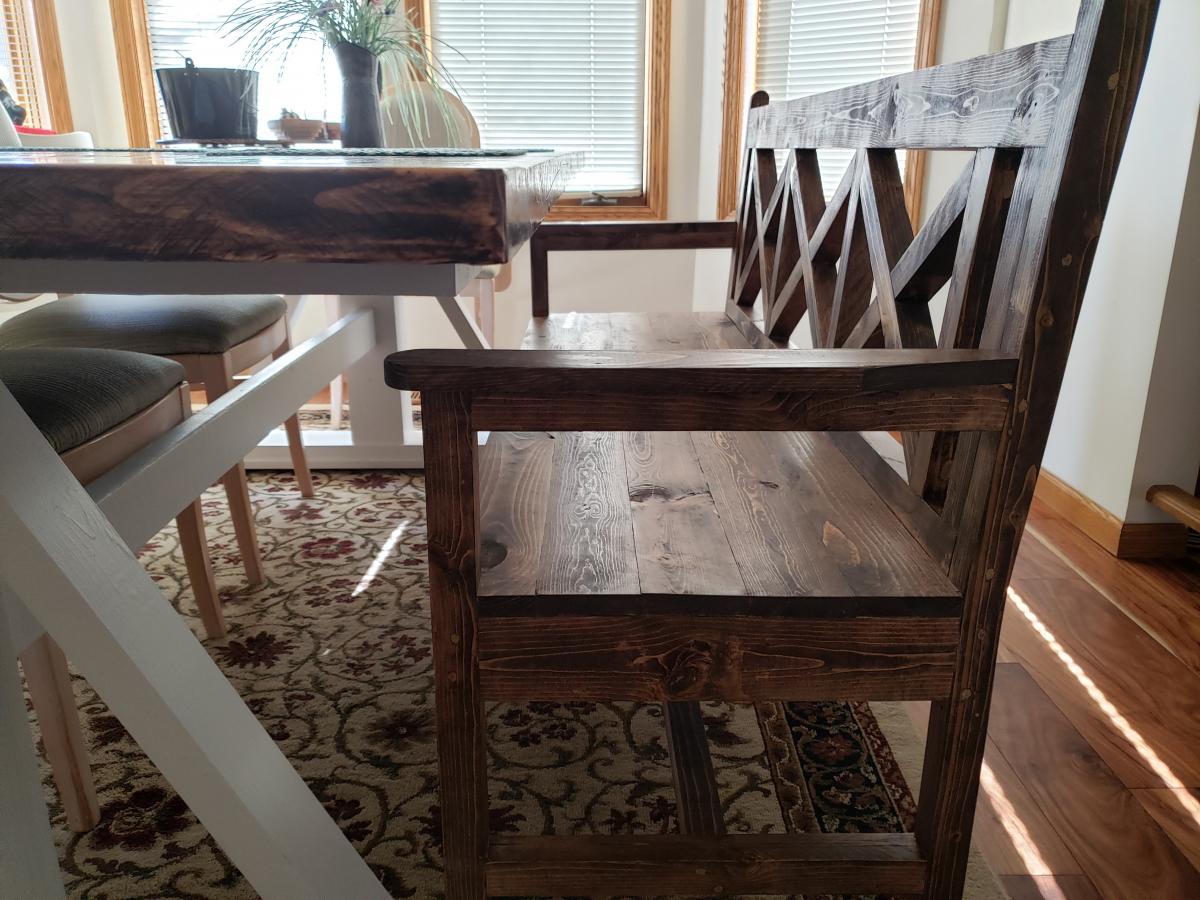
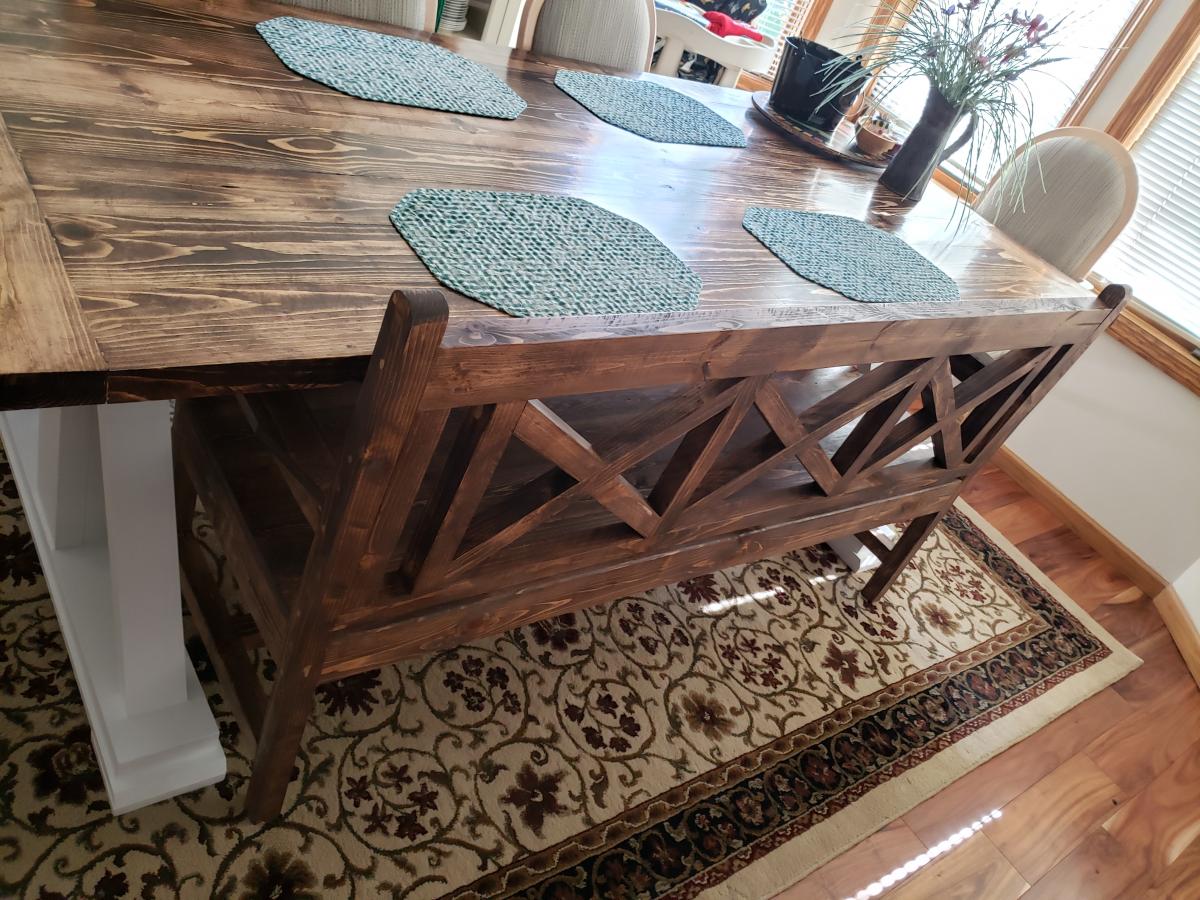
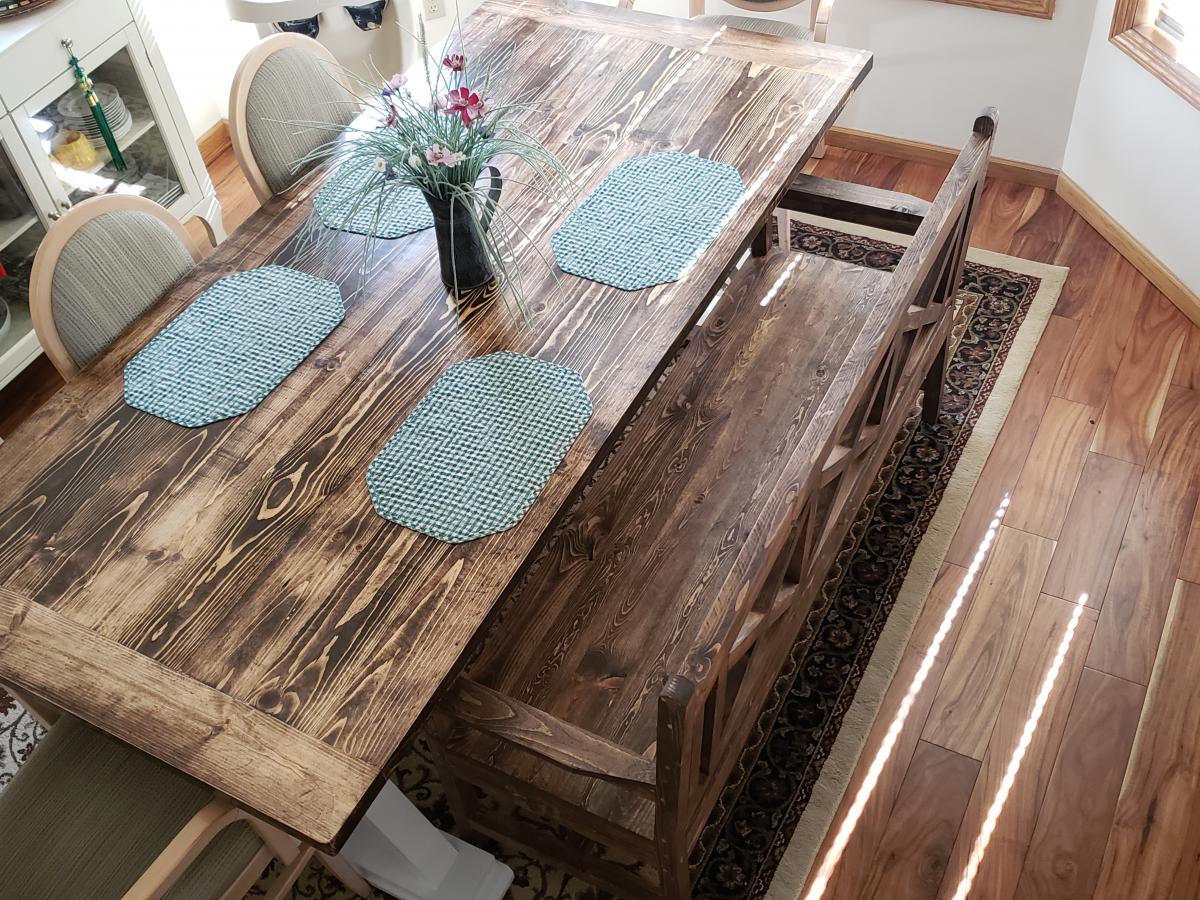
Farmhouse Dining Bench with back support - 3 seats version
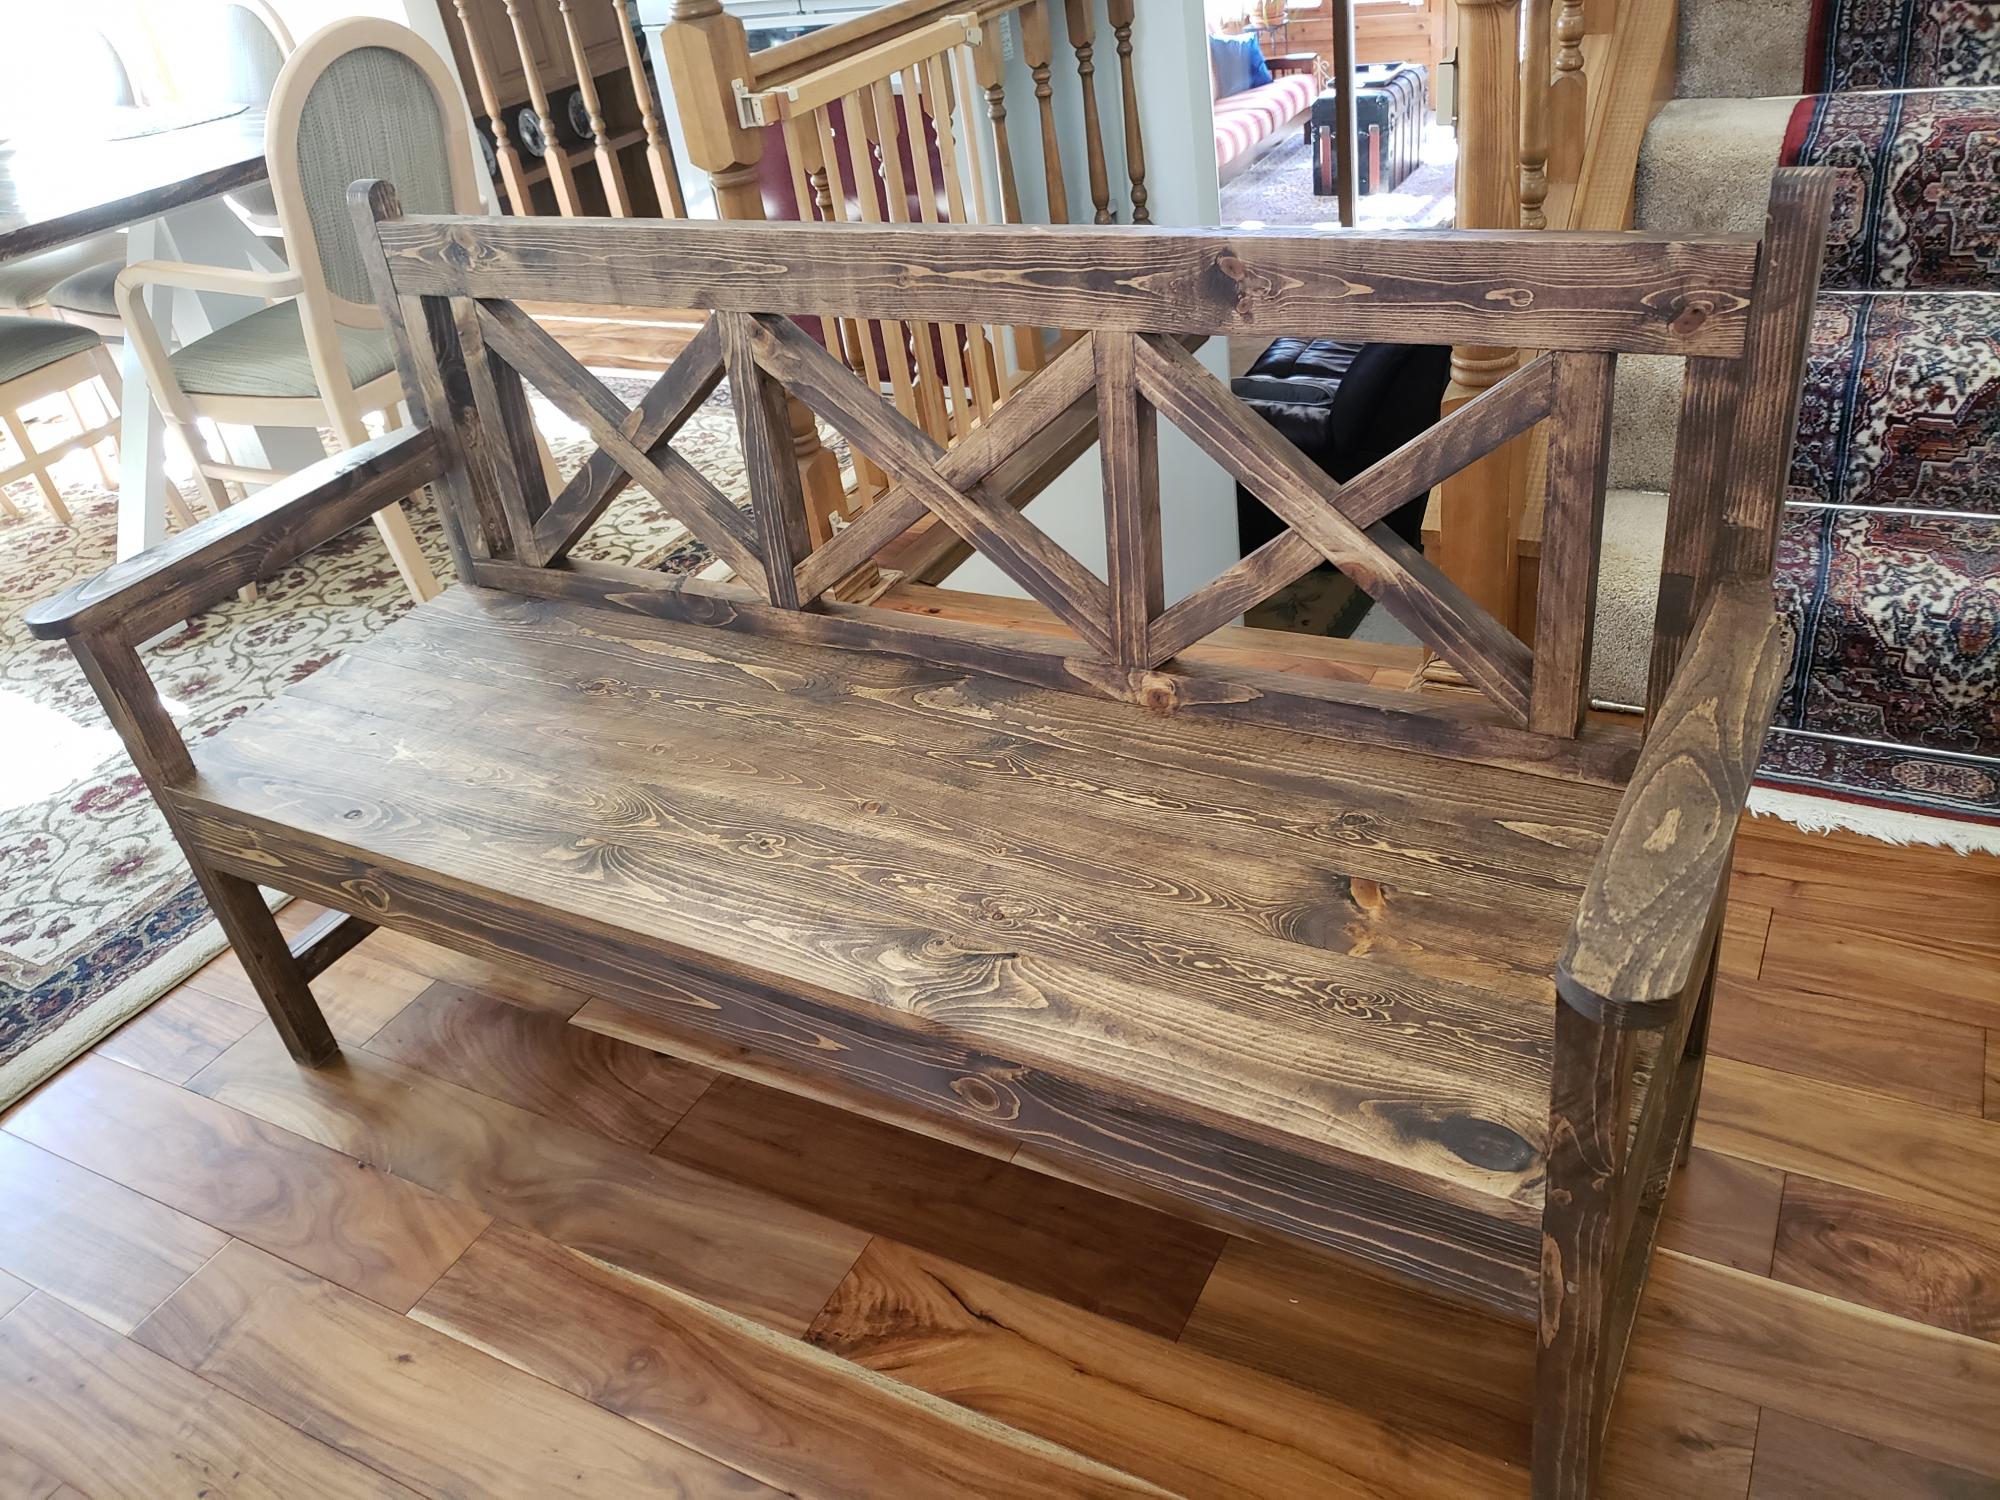
I made this bench for my Farmhouse dining table, modified for 3 seats.
Entry Way Storage Hall Tree
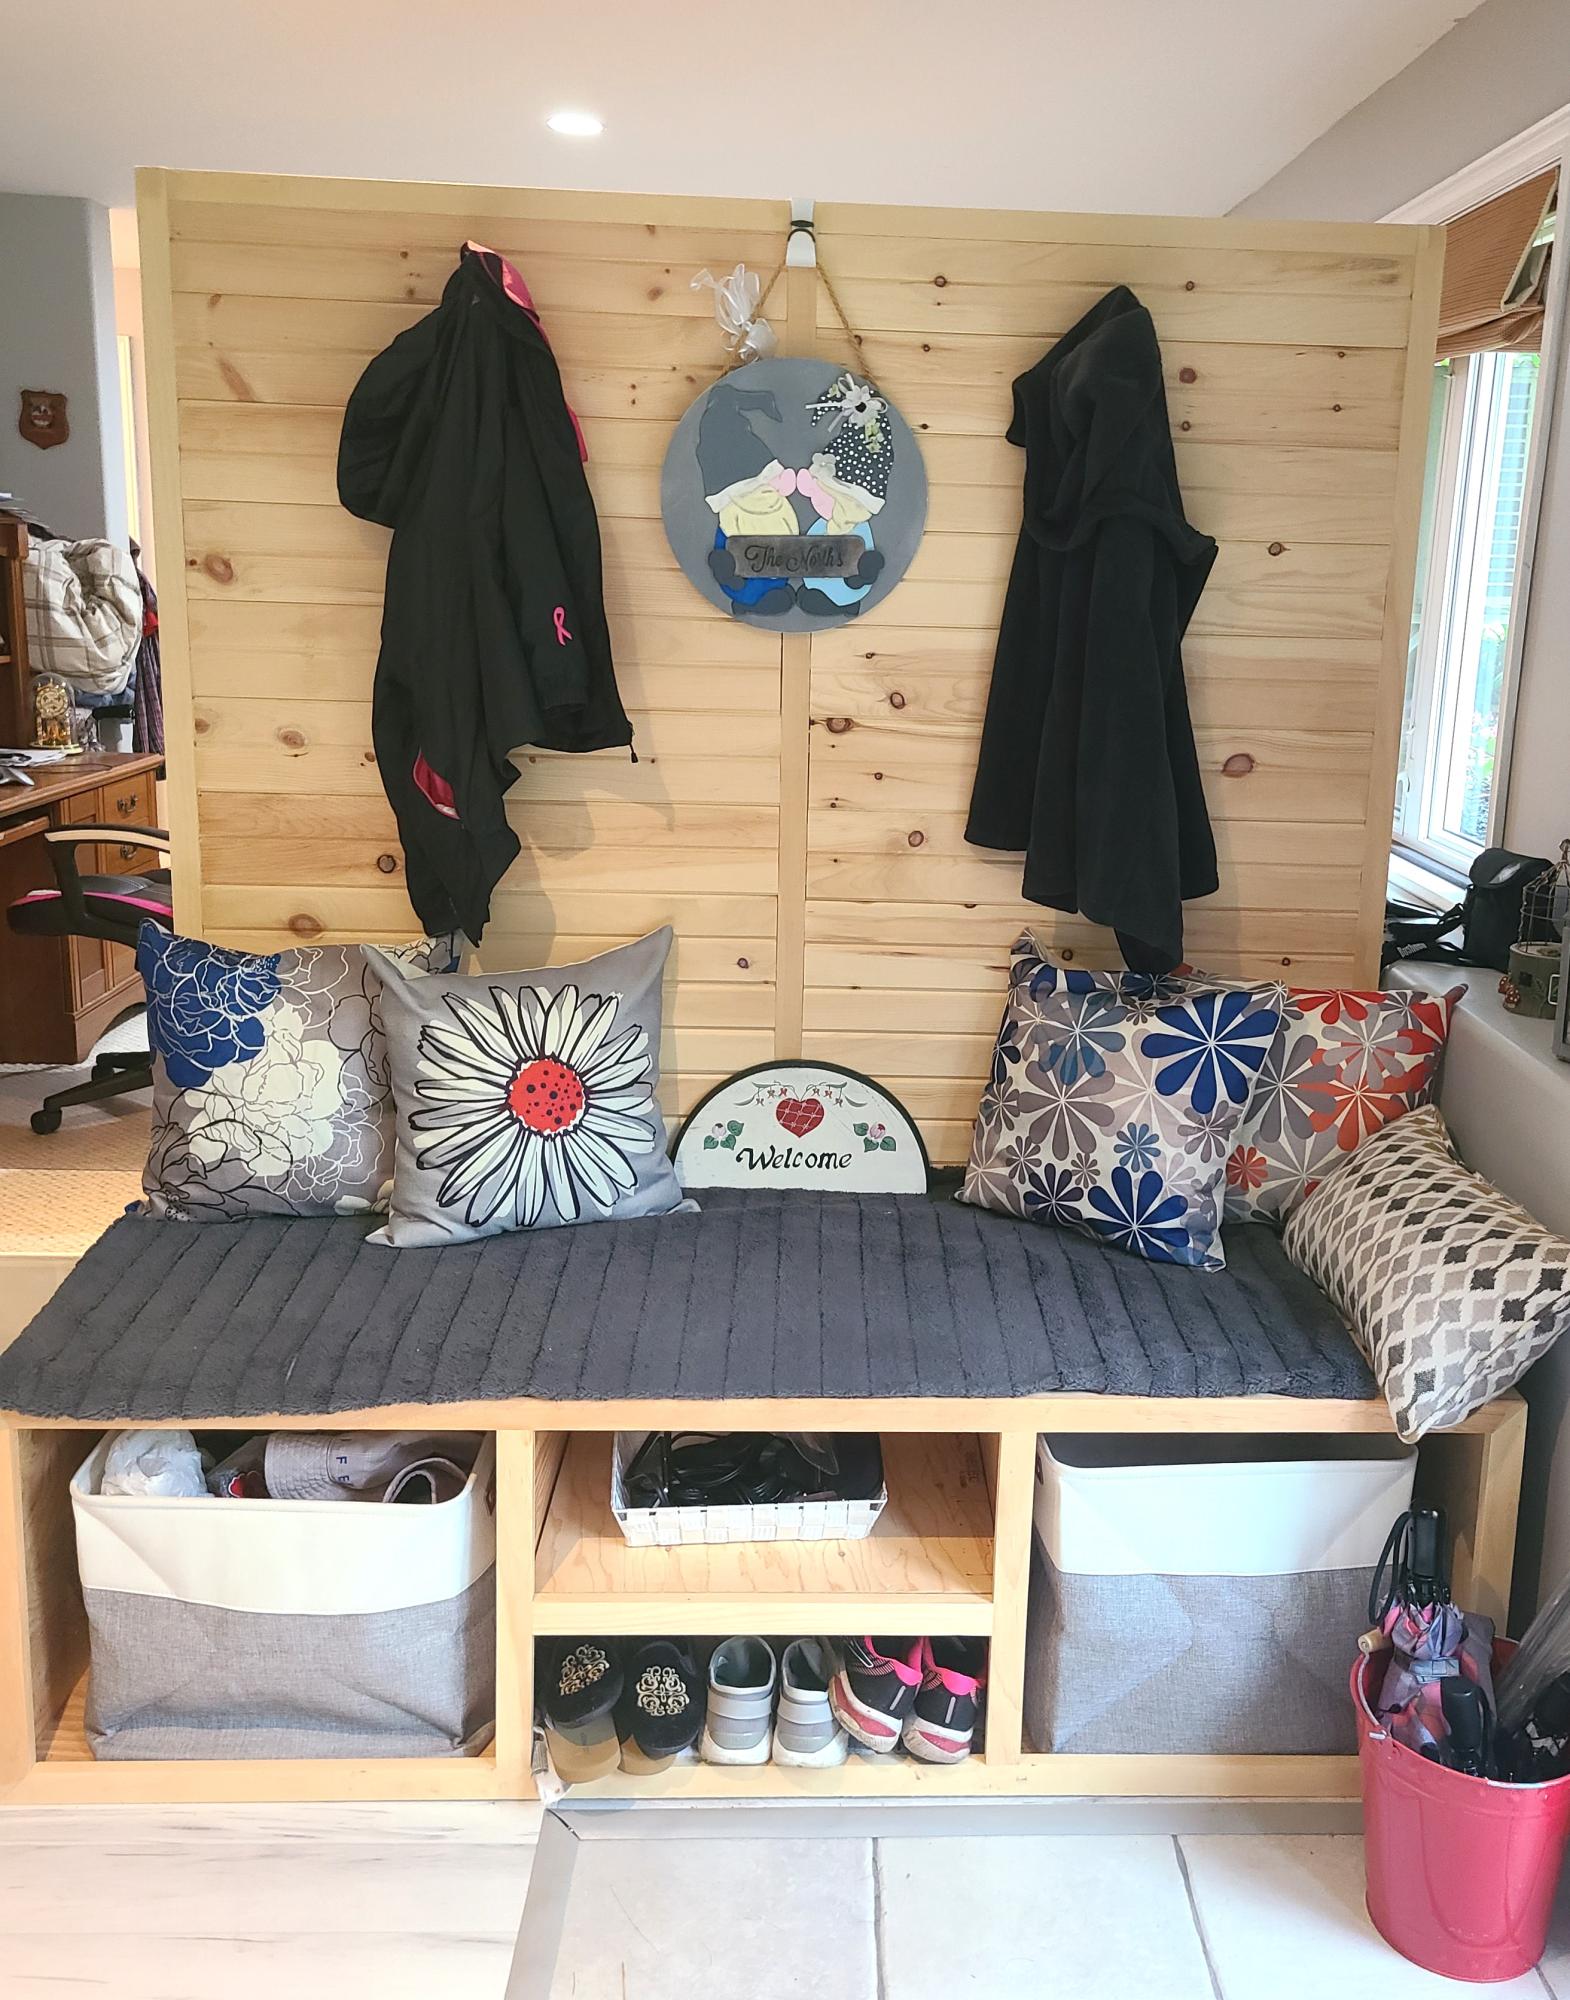
My first attempt at any furniture. My mother has been asking for one of these for a long time. I finally got to it
Todd North
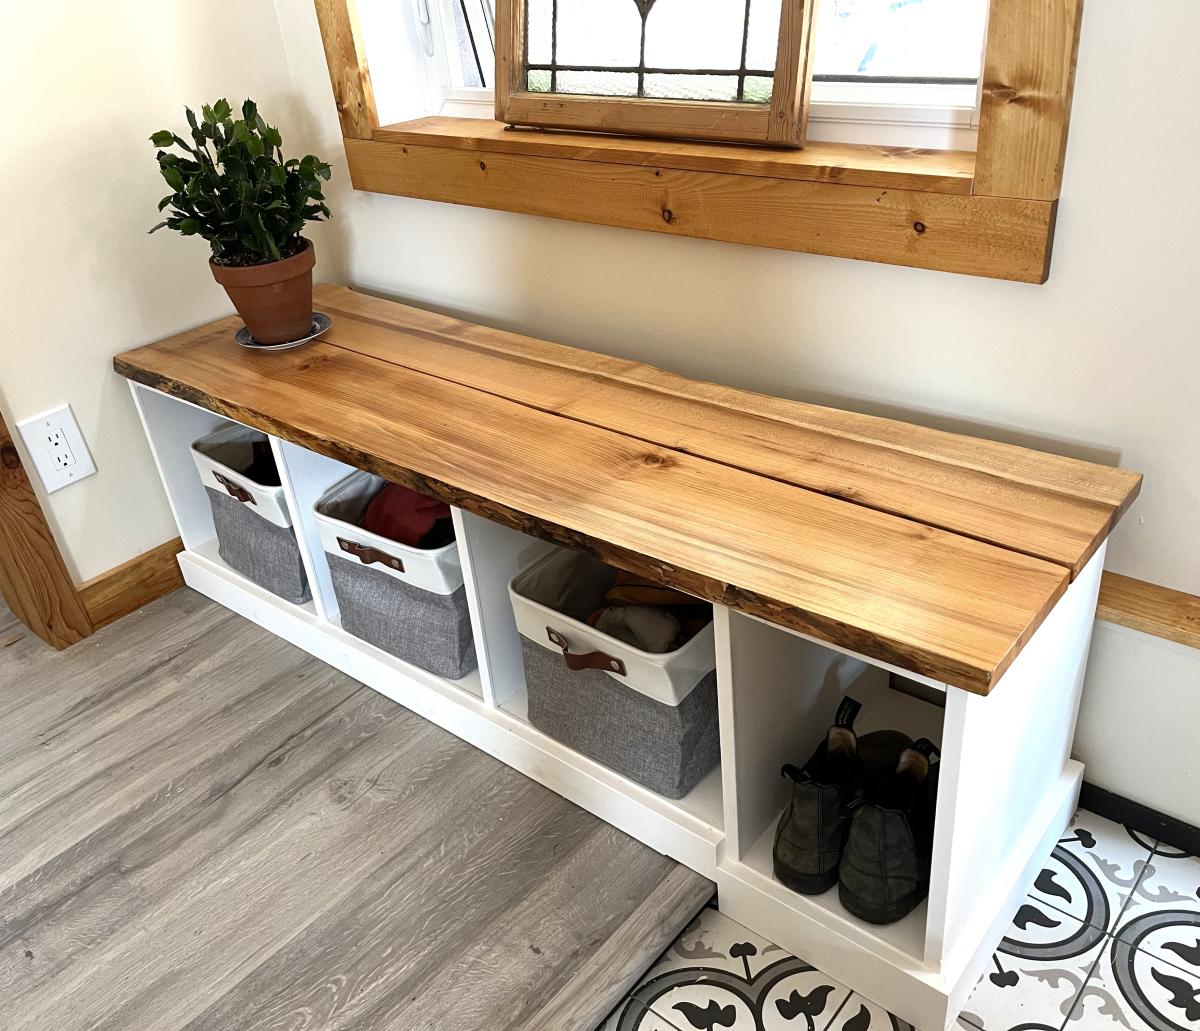
Live Edge Custom Built Entryway Bench
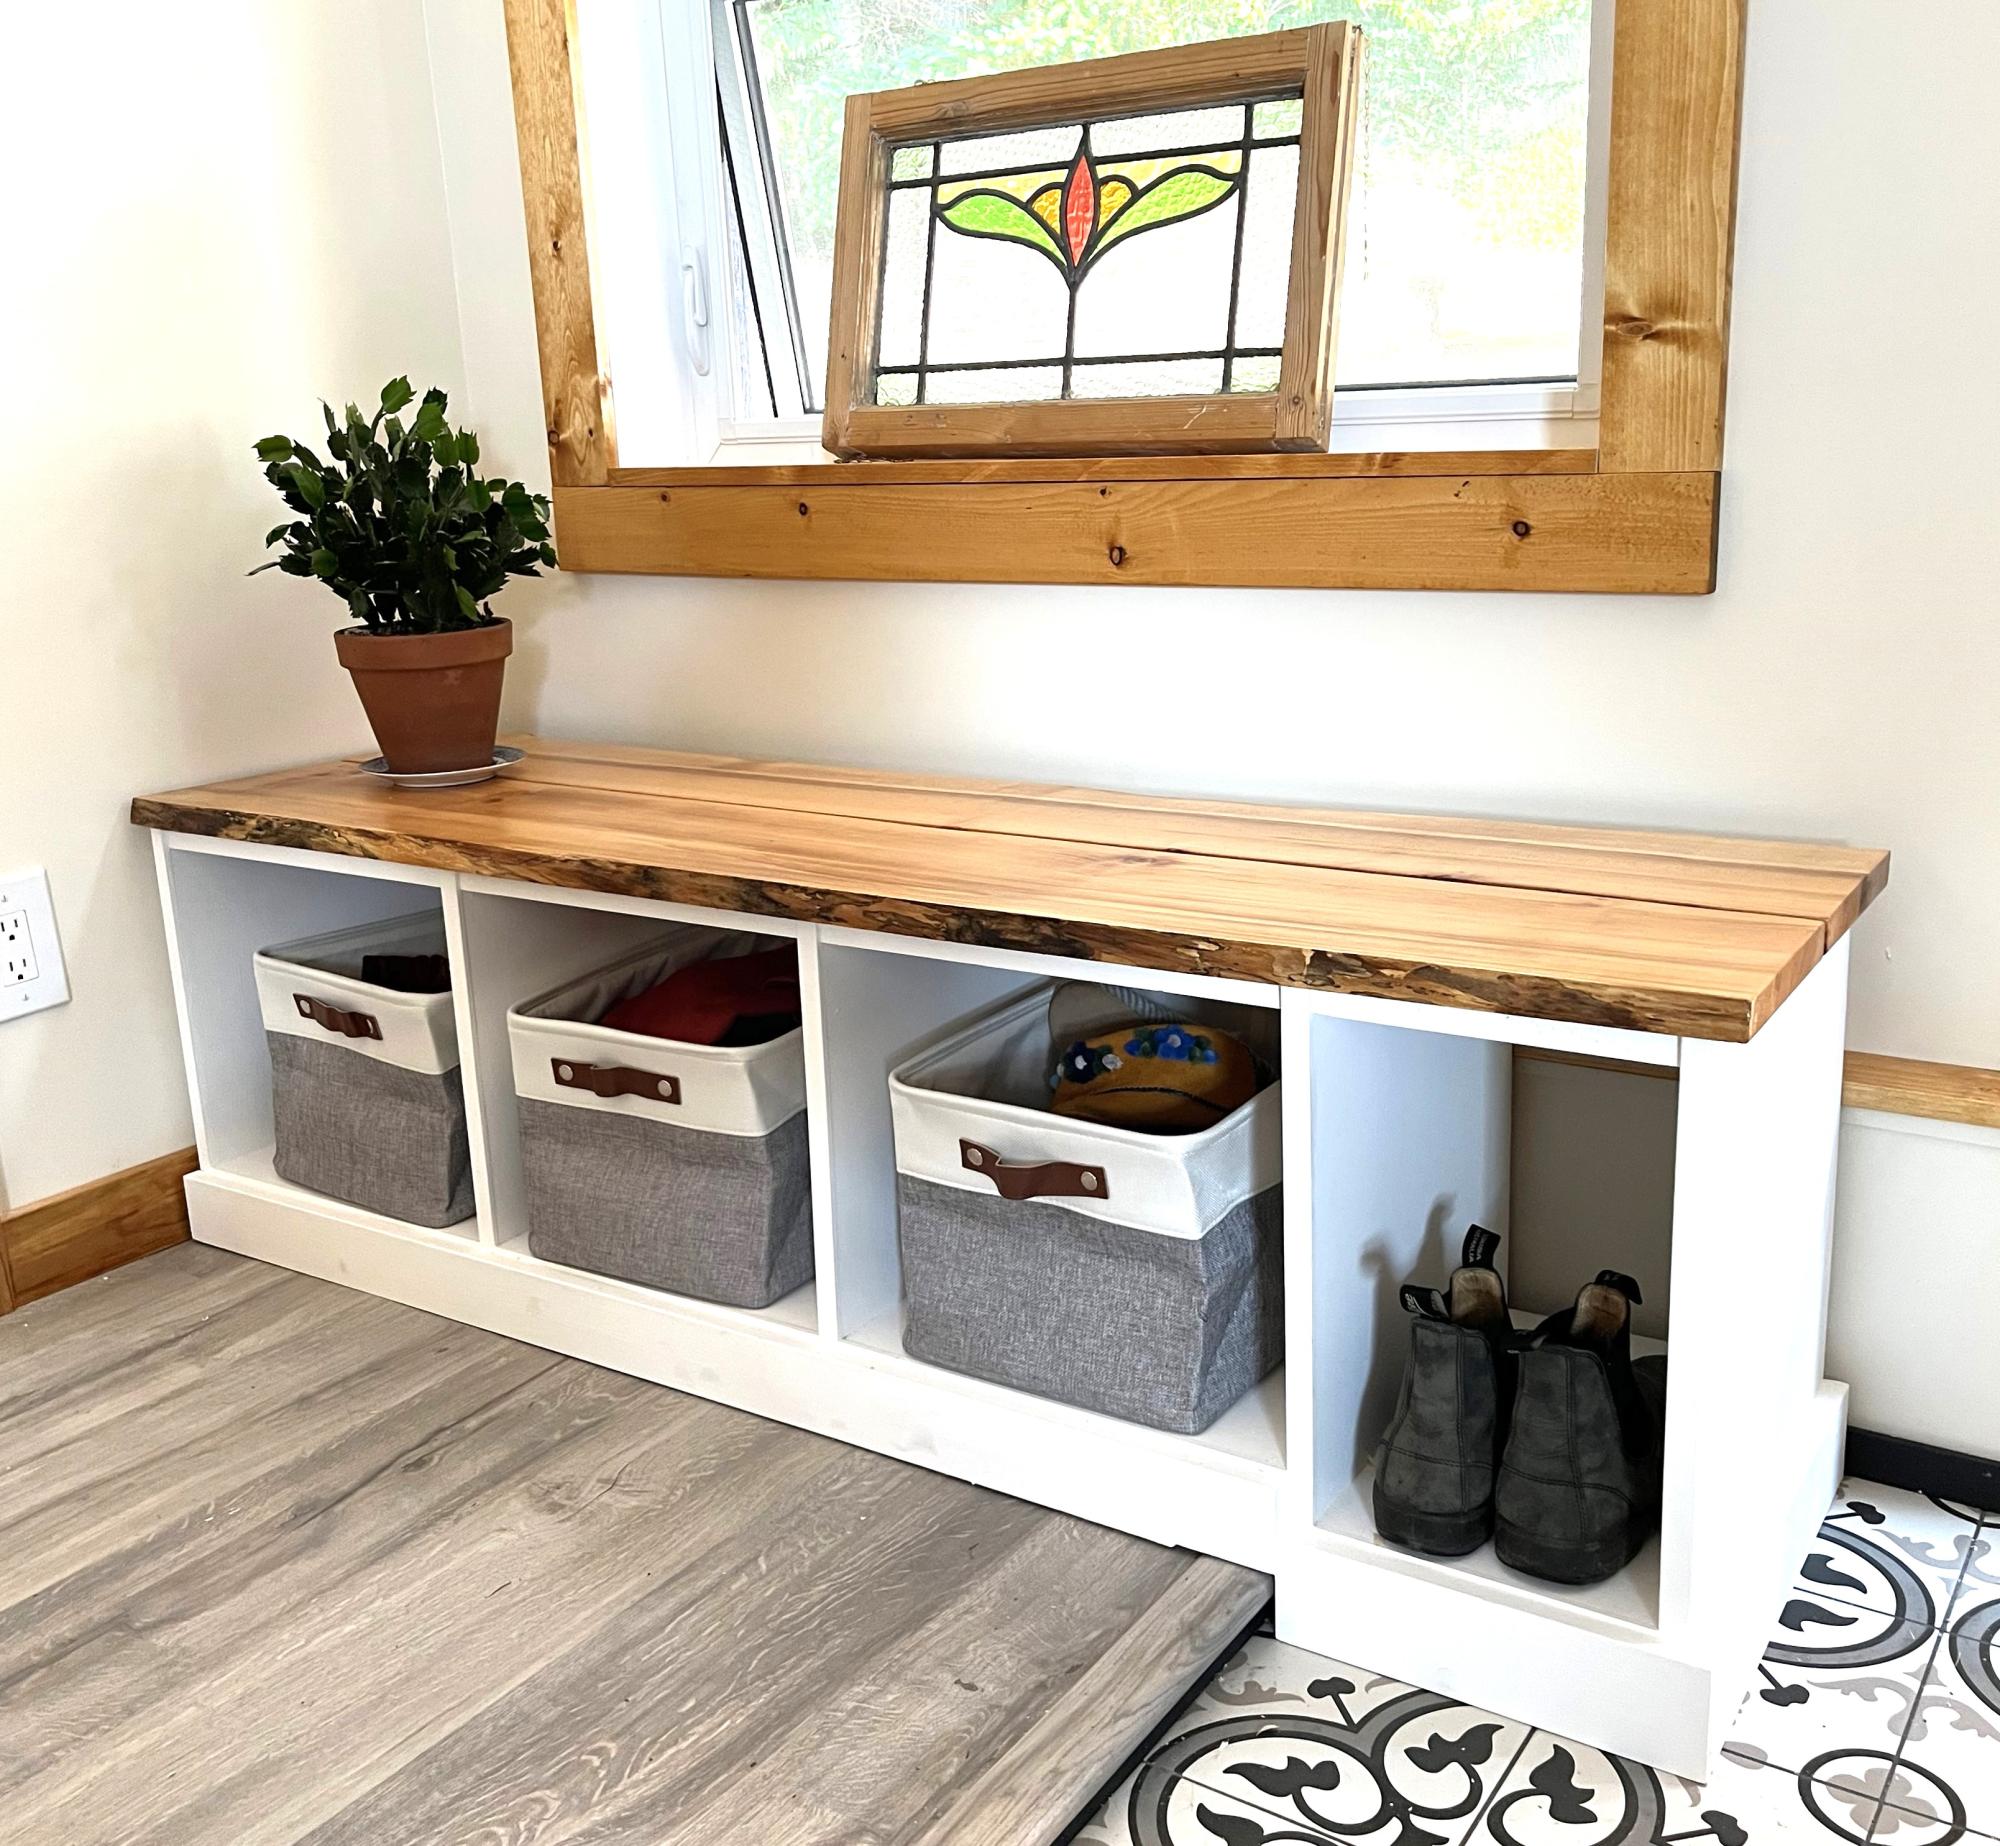
Entryway Bench. I customized the plan with a maple live edge top and a fourth bay that had to be modified to extend the right side of bench down to lower level floor. Worked out perfectly! I am a total amateur woodworker but impressed with how easy it was and how professional it looks.
web: floatingislandsstudio.com
Simple Bunk Bed Triple Bunk
I loved the look and design of Ana's Simple Bunk Bed but due to limited space in our home, needed a triple bunk bed. I wasn't interested in the hassle of a trundle so I decided to modify the simple bunk bed plan and make it a triple. I have to say, I was a little worried about how sturdy it would be but this plan is so solid with the 4x4 posts that there is no need to even even think about that for another second!
I changed the ladder so that it was attached to the side rails of the bunk bed as someone had posted they did earlier and decided to add another little ladder for the middle bunk so my little one wouldn't have to leap from the ladder to get into her bed. ;D
In order to do a triple in our home (with 8 ft. ceilings), I needed to bring the height down so I made the bottom bunk sit on the floor with the legs only being as long as the height of the headboard. I also made all the headboards and footboards only as tall as the footboards in Ana's original Simple Bunk Bed plans.
This was my first build and there are definitely things I would do differently to make this work better if I had it to do all over again. I would make the legs a little shorter on the 2nd and 3rd bunk so that there is more head room for the person on the top bunk.
All in all though, I had a great time building this and can't wait to try some more of Ana's plans!!!
Comments
Mon, 01/13/2020 - 09:09
Plans for stackable triple bunk bed
This is absolutely gorgeous. How has it held up? If Would you mind sharing the plans for this as I too have low ceilings and will have to tweak the dimensions a bit.
Thank you.
Mon, 11/01/2021 - 21:30
Written plans?
Do you happen to have the exact plans for this triple bunk? I saw that you modified the simple double bunk to fit your space but I'm wondering if you drew up plans wih measurements to make it easier for beginner folks.
Simple Bed - Twin used as a daybed
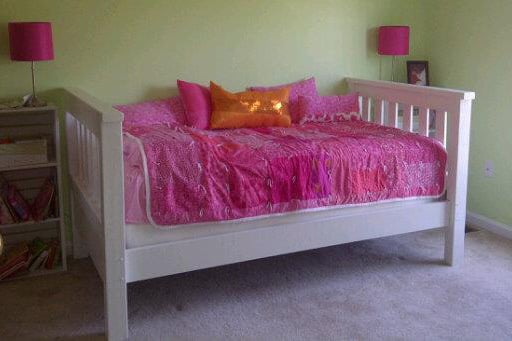
My dad used the plans for the Simple Bed - twin size and built two. Then he took the headboards from both to build the bed for our daughter's room. It sets against a wall, so it looks like a daybed since both ends are the same height. She loves it! The other bed will have both foot boards and will be used in our son's room when he is old enough for a twin bed. Our daughter loves the bed and our son can't wait to get his....and we all love that Pap made it just for them! :)
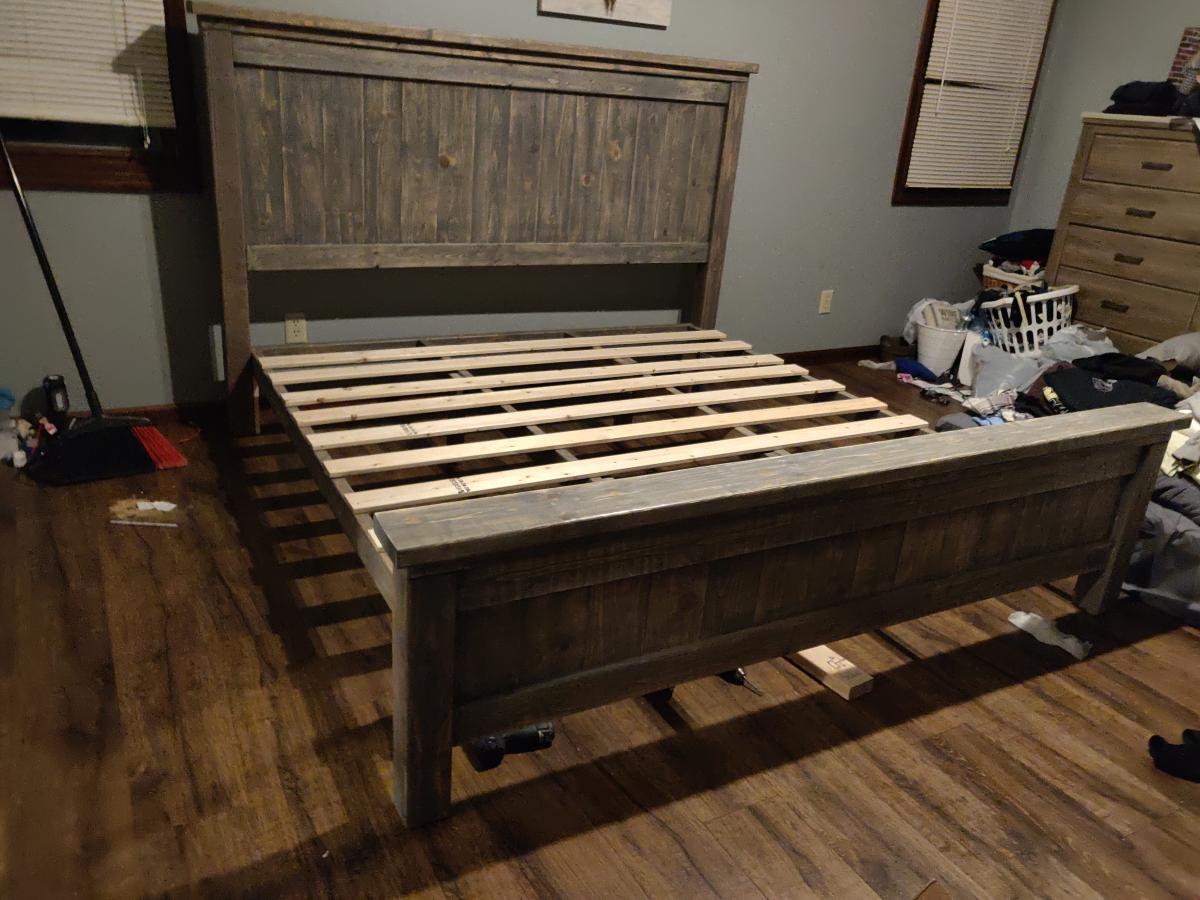
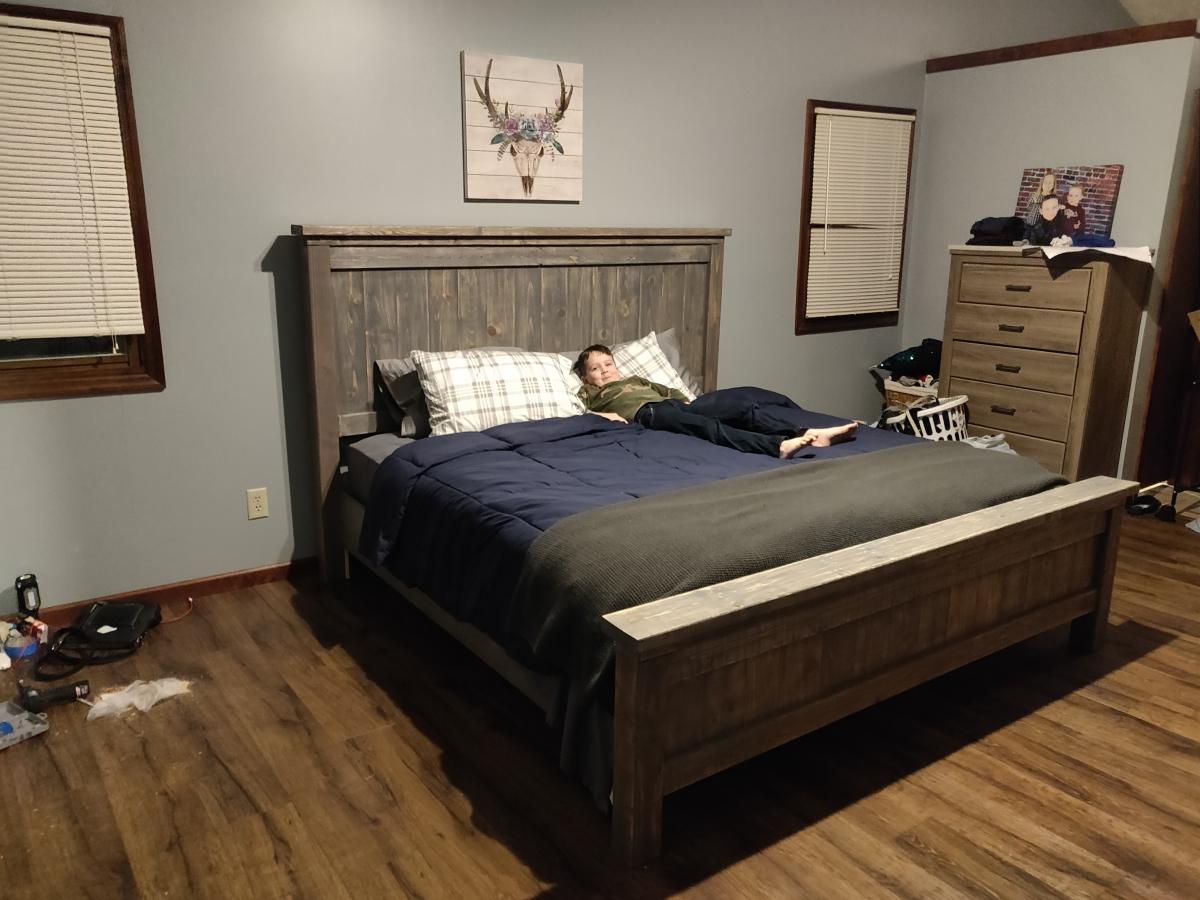
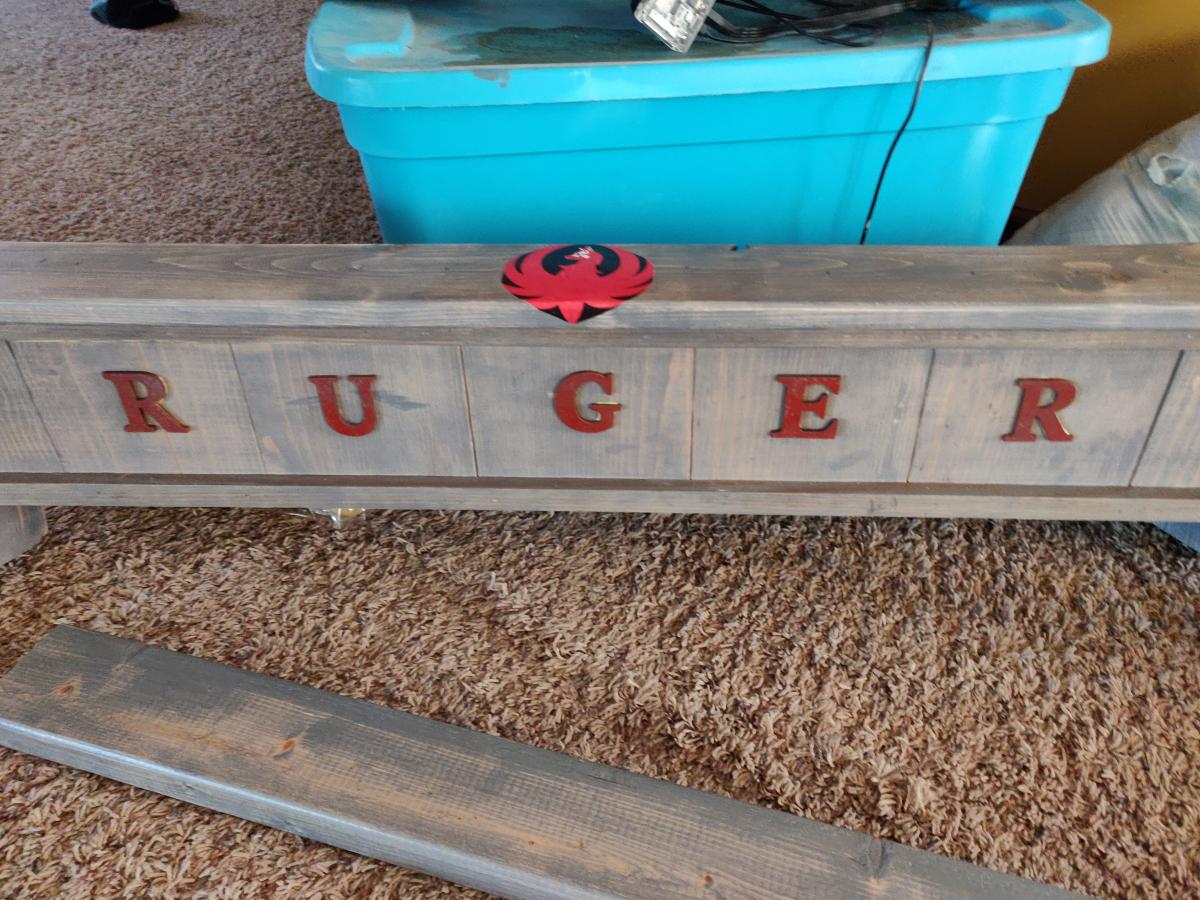
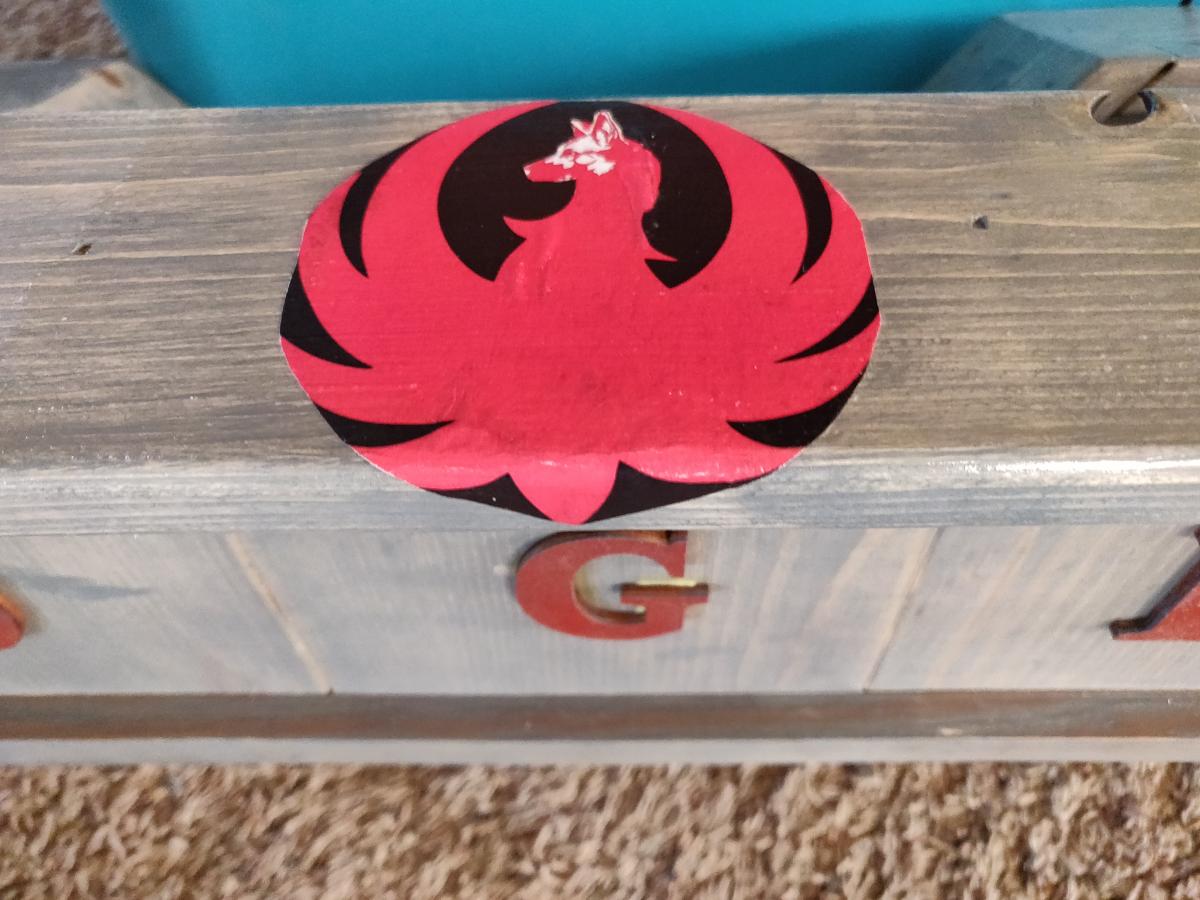
King size Farmhouse bed and a additional bed for Ruger the dog
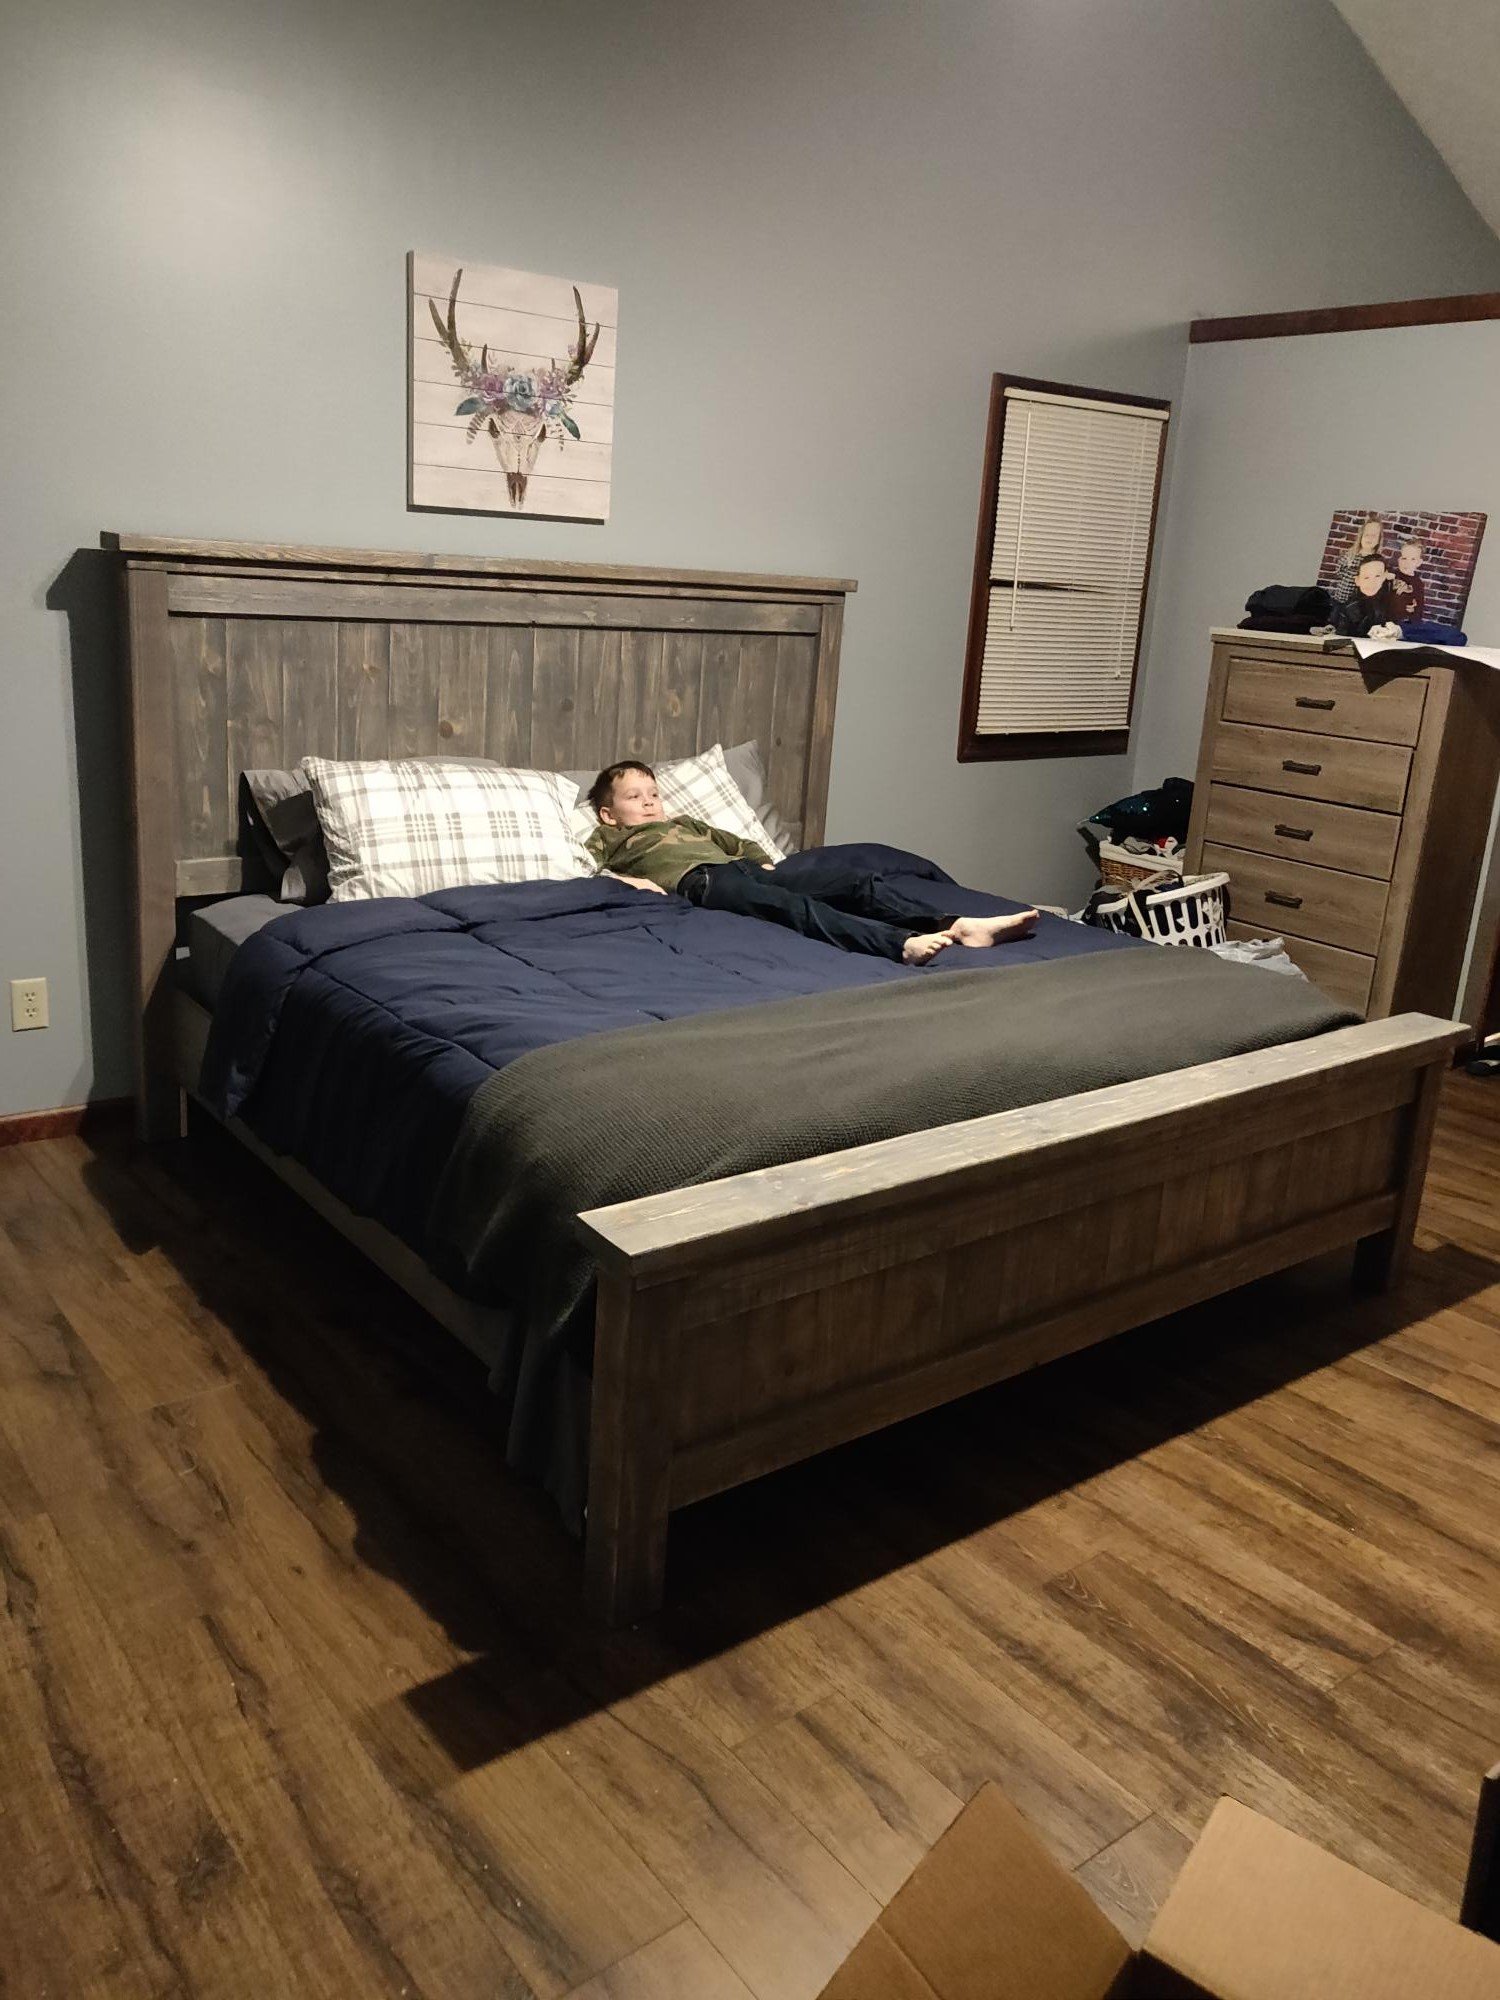
We got to move into our new house and commited to a mattress straight on the floor until we got our bedframe built. Exactly one month later and we are feeling human again in our sleeping arrangements, lol.
The sofa table desk and end tables is next. I am hoping to get a good floating media center plan soon too using a cleat system. * Hint, Hint
Rolling Rustic Wood Dresser
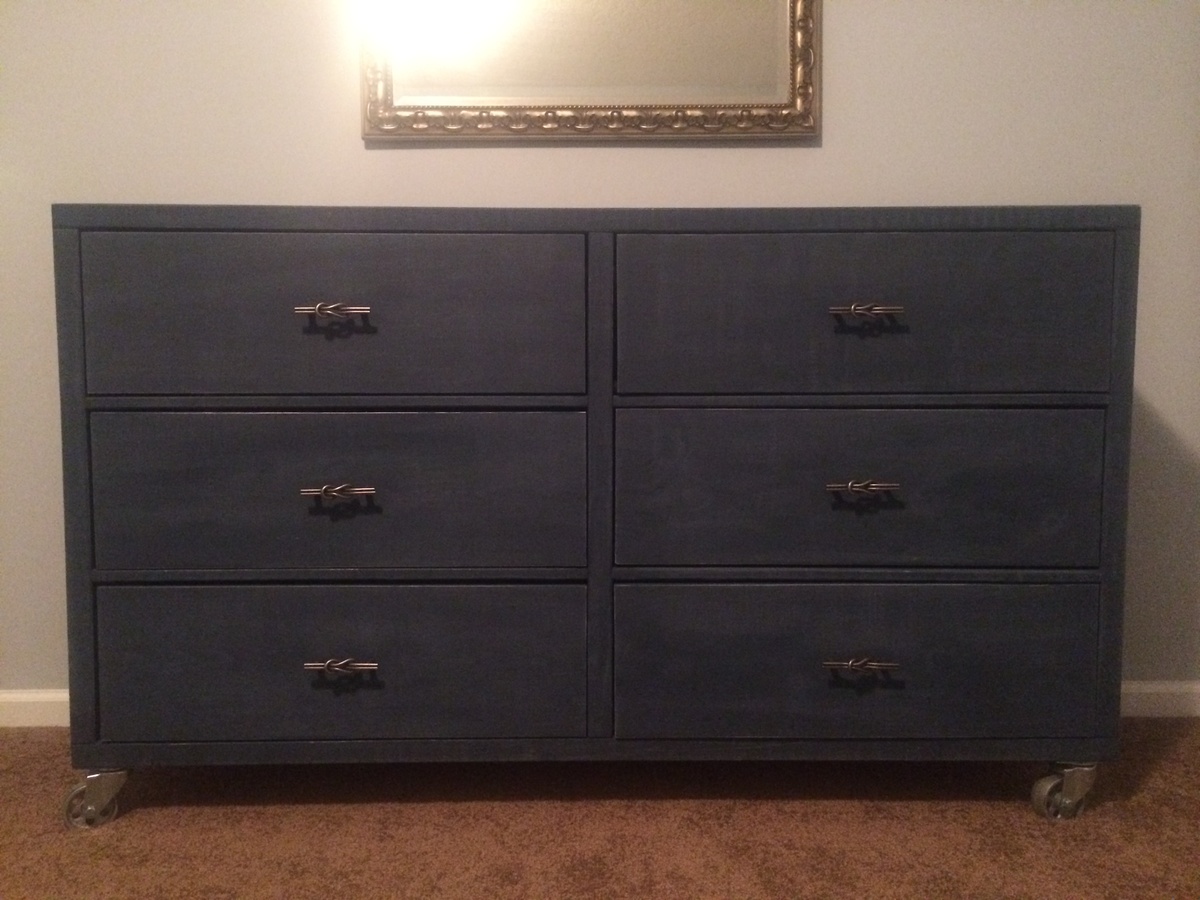
We need bedroom furniture desperately! So, I decided, for my second build I would start in our bedroom! The dresser first, because I was going crazy without a place to put my clothes!

Comments
Ana White Admin
Sat, 04/22/2023 - 09:53
Beautiful first project!
Thank you for sharing, you did an amazing job! Can't wait to see your next project.:)