Community Brag Posts

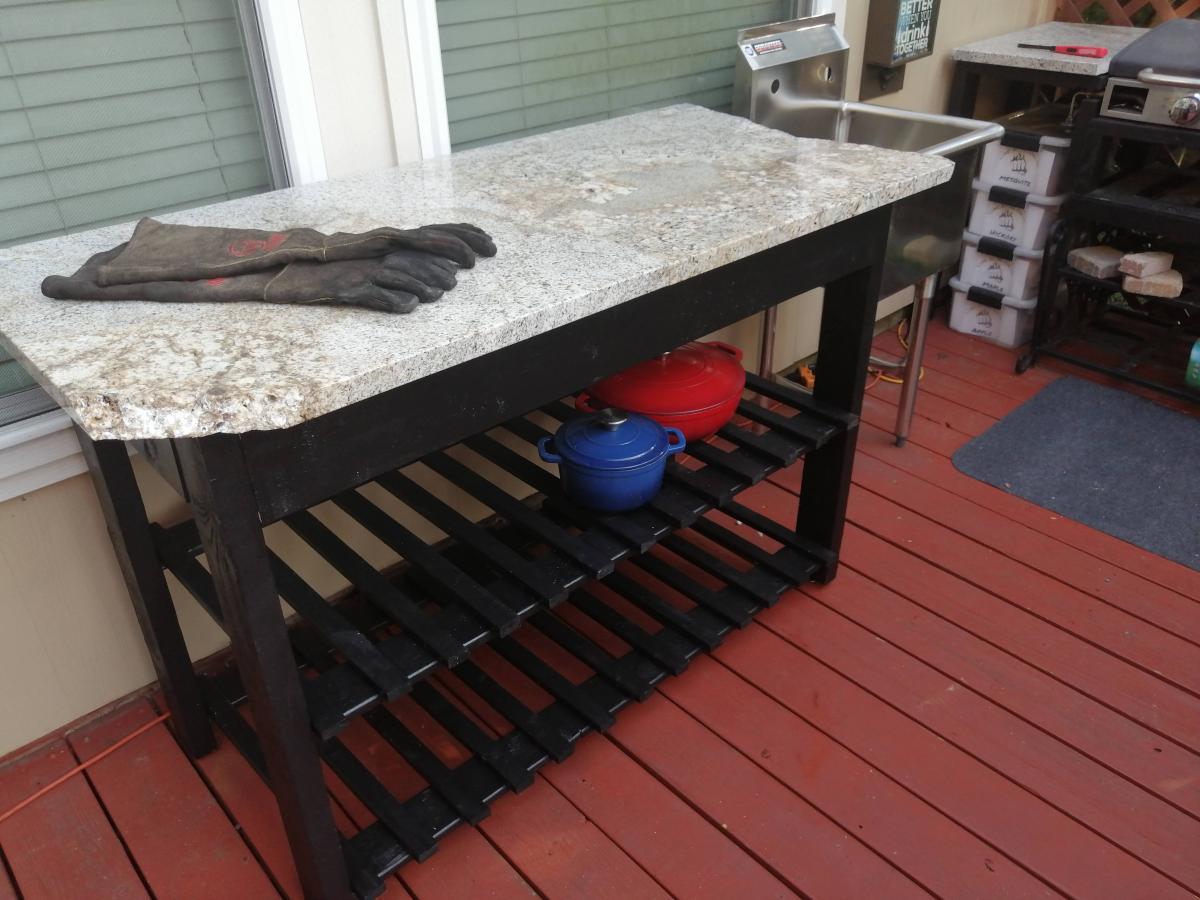
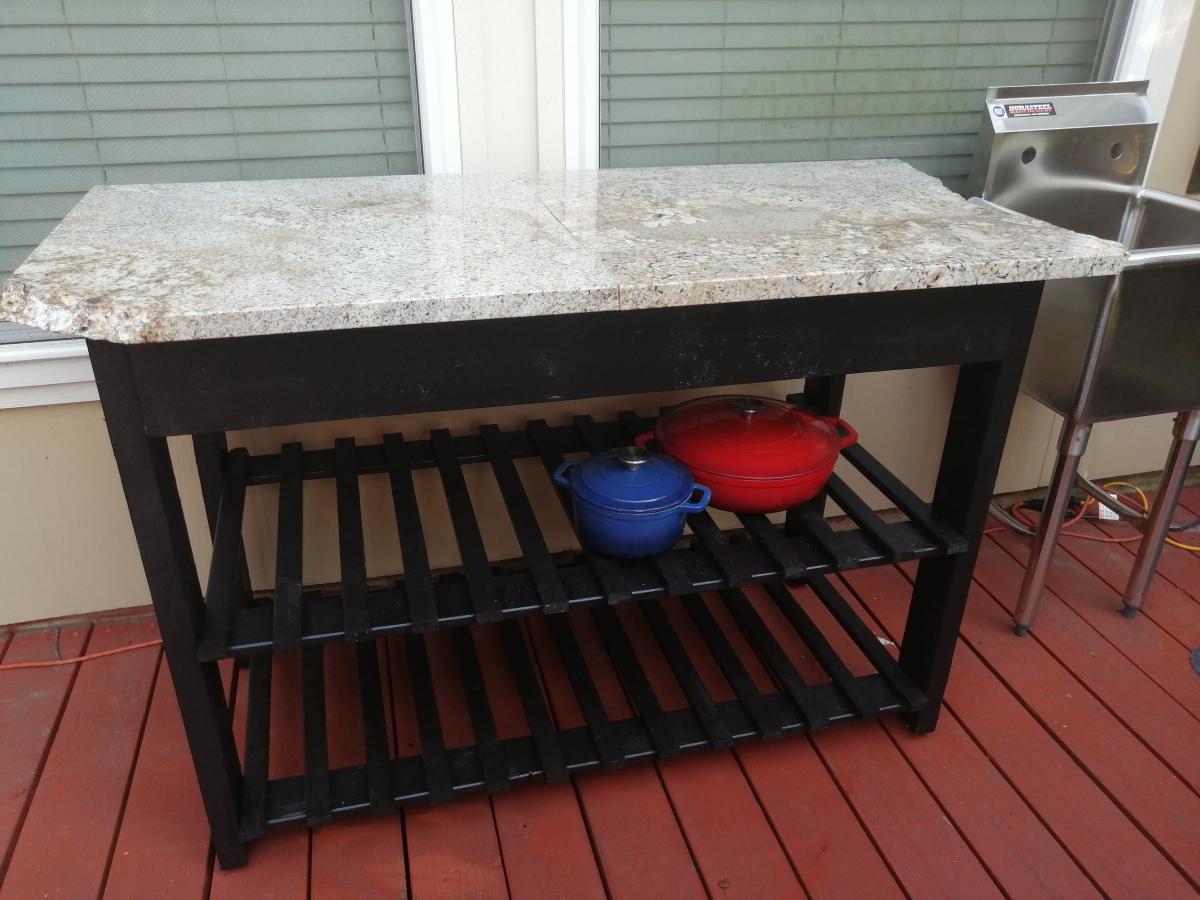
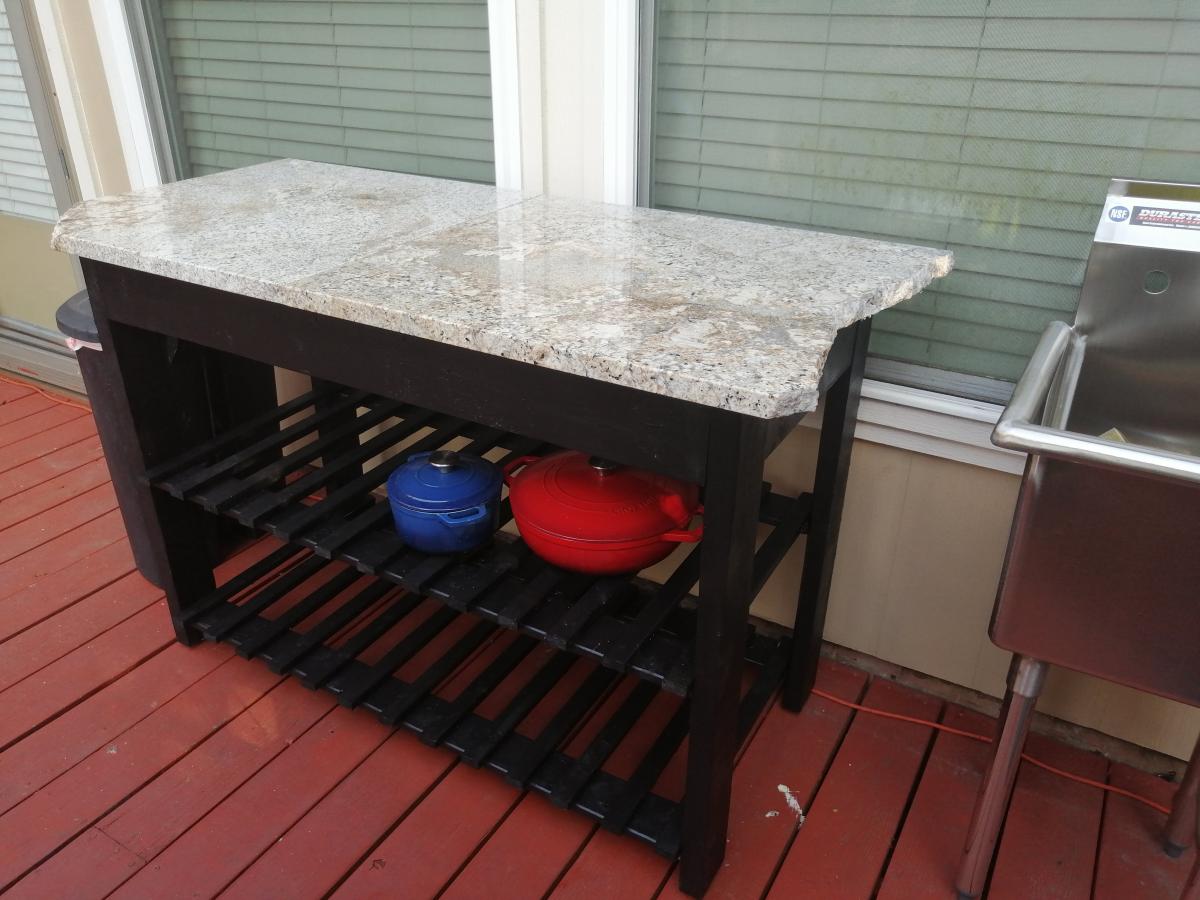
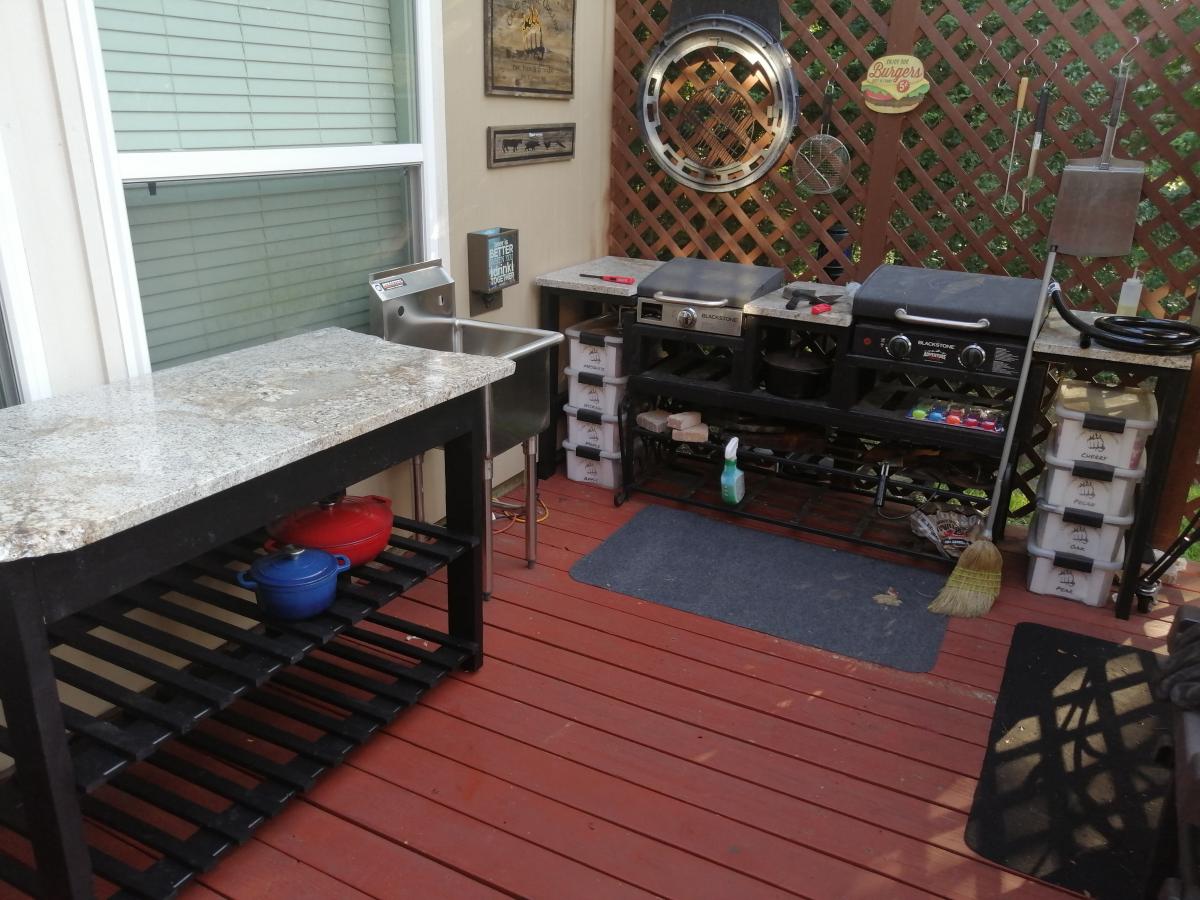
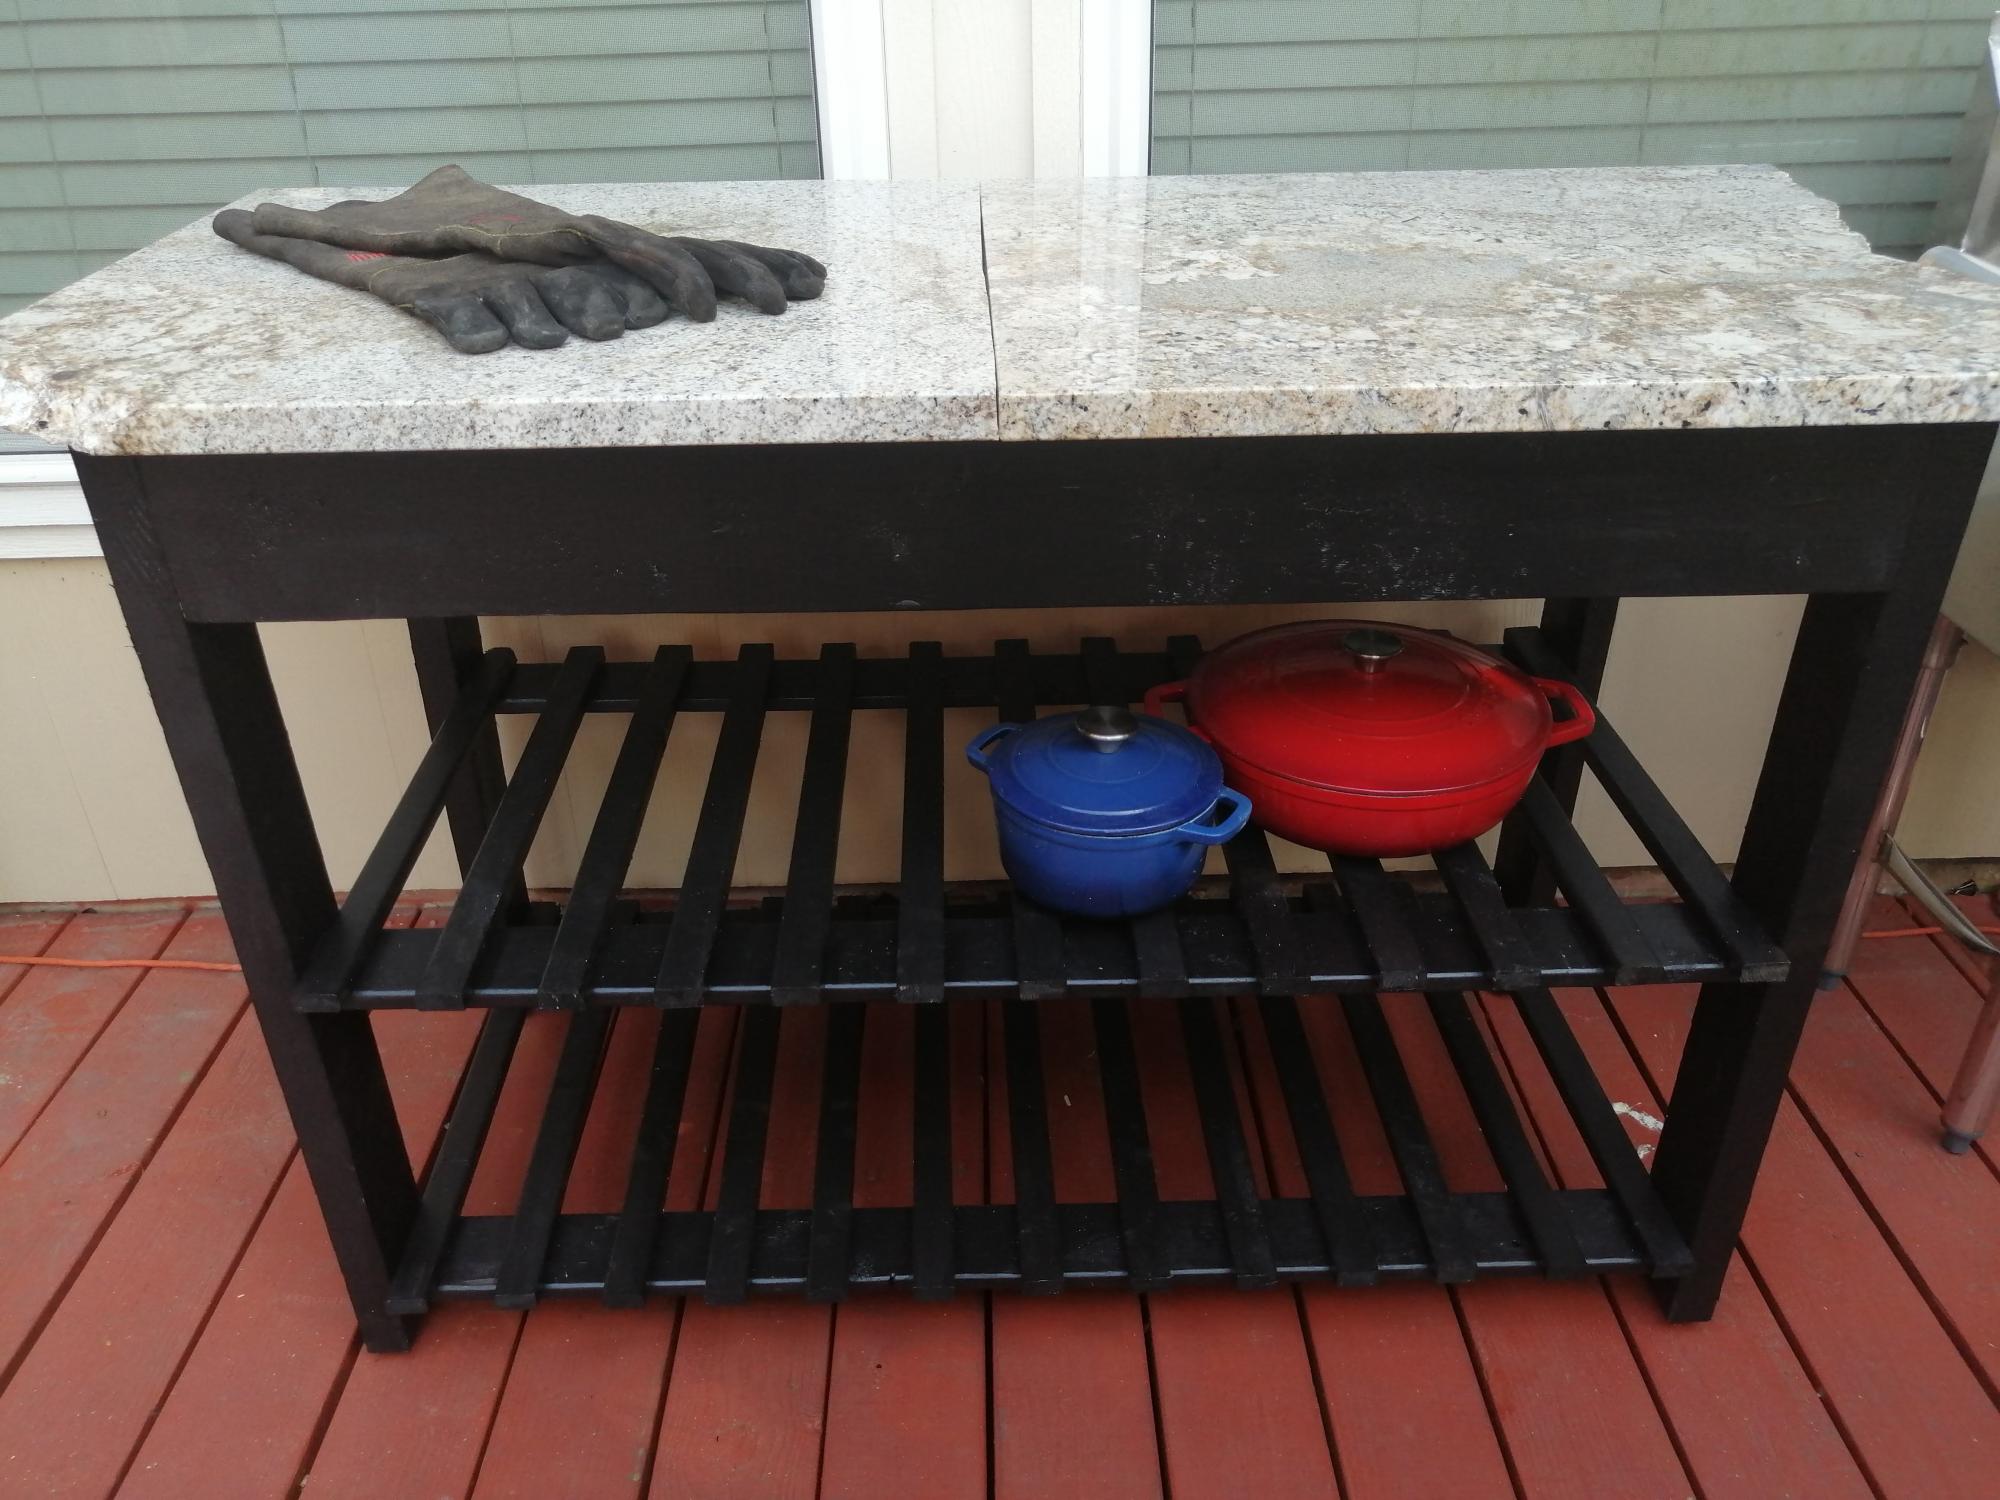
Outdoor Kitchen Island using remnant Granite

Submitted by gerrell on Wed, 06/23/2021 - 18:07

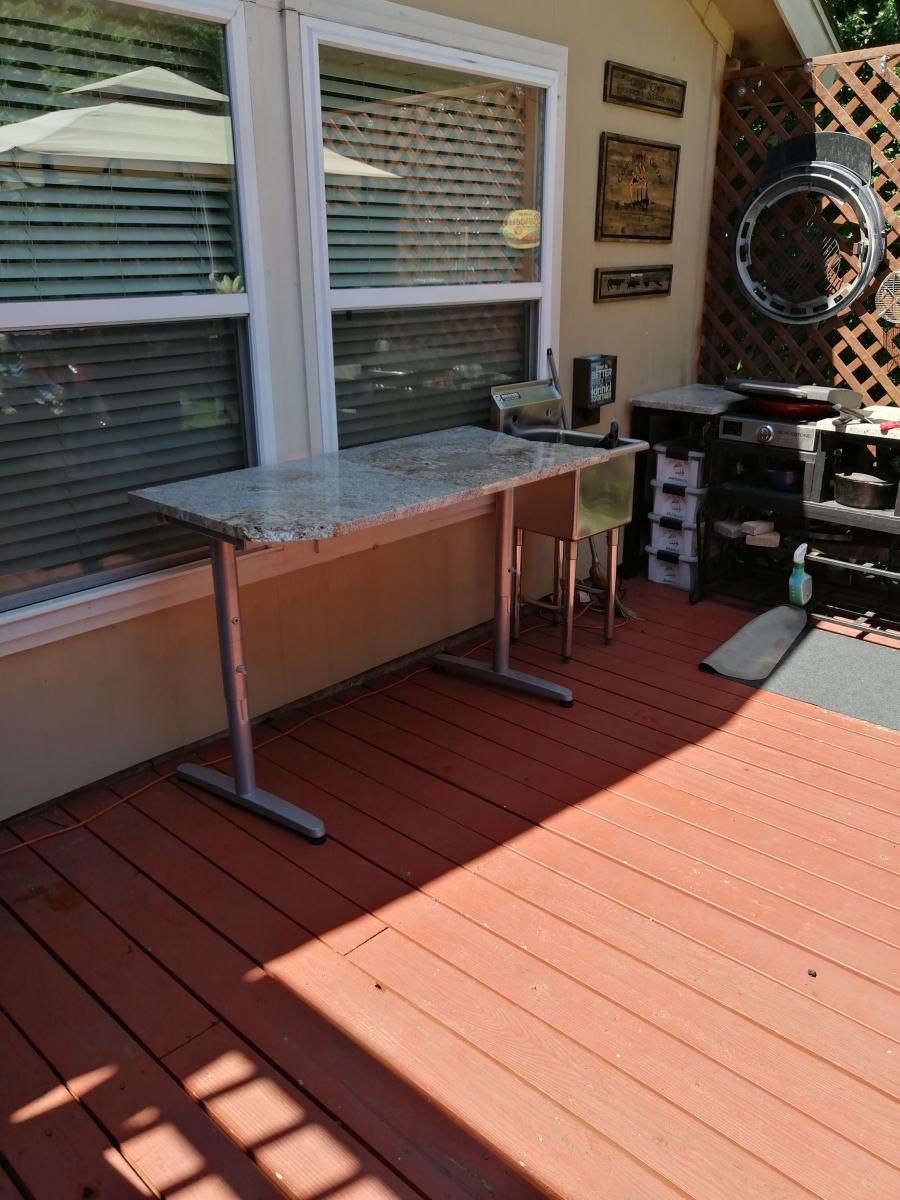
I've had these granite pieces that I got incredibly cheap from a remnant place last year for another project. A few weeks ago, I put them on some spare IKEA desk legs to make a workspace on my deck. I hated the look AND they were a little wobbly.
I spent some time searching the web and thankfully stumbled upon these plans. I modified the dimensions to fit the granite tops, used fewer pickets on the shelves and painted the whole thing black.

I think it looks great and adds awesome outdoor counterspace on the grilling deck!

Estimated Cost
$100
Estimated Time Investment
Weekend Project (10-20 Hours)
Recommended Skill Level
Beginner

Comments

Camp Loft Bed for the Little Lady

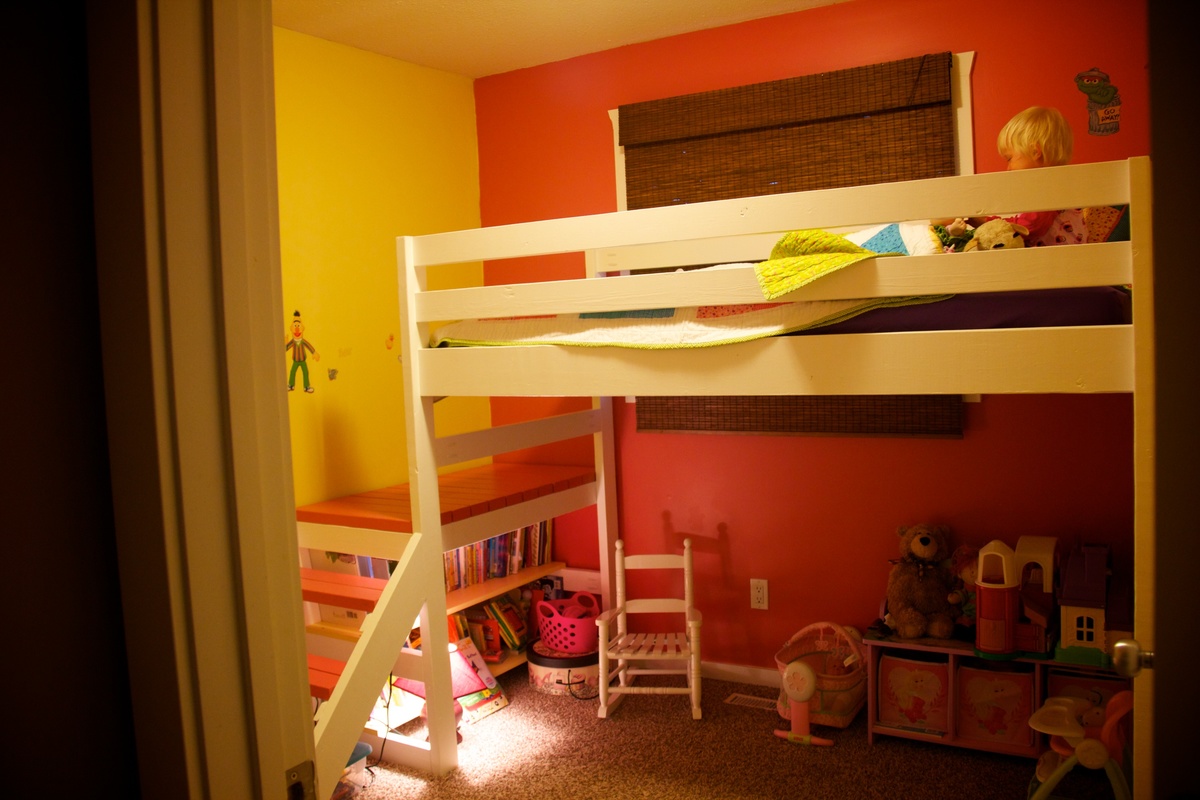
I came across the Camp Loft Bed on Pinterest a couple of months ago. My daughter was still sleeping in a crib, but I knew that she would need a big girl bed by summer. Since her room is small (inside walls measure just under 9'x9'), i thought a loft bed would be ideal.
I have NEVER done a DIY. I don't even own tools. But my step-dad is very handy, so I asked him to be my consultant and helper to tell me if I was doing things the wrong way! Fortunately, he was able to lend me a miter saw, some aluminum saw horses, and the odd screw (when I seemed to run out).

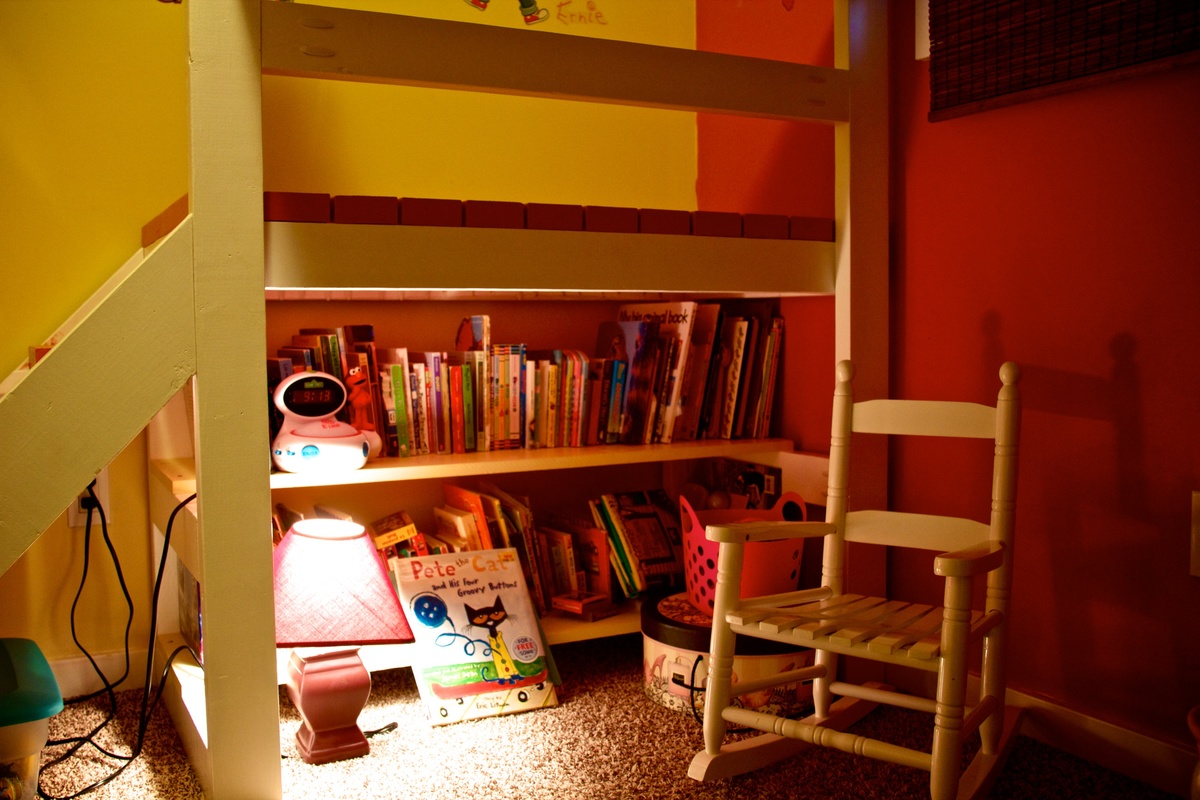
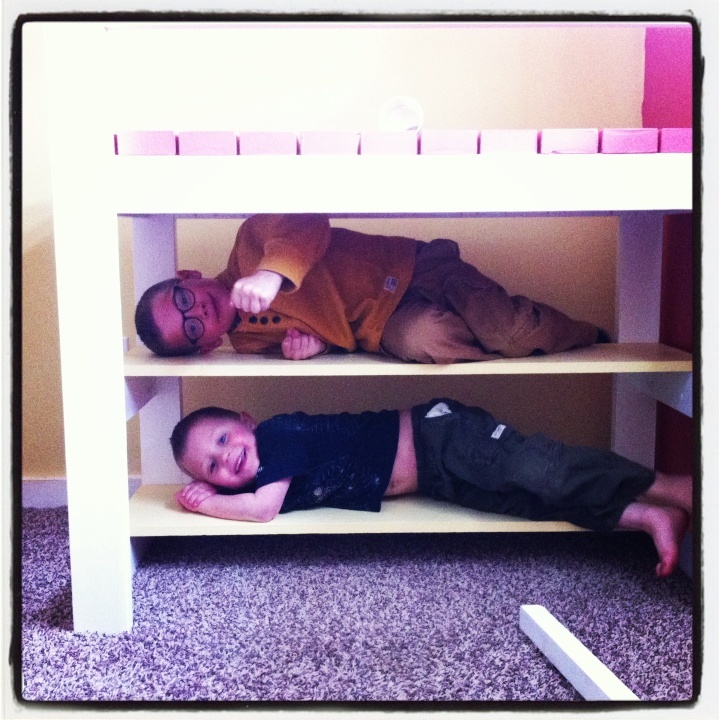
From start to finish, this was a 7 day project. I used construction grade spruce for my lumber, which cost me just shy of $100. I also went back the next day and bought a couple more 2x4s to make two shelves under the platform, which was another $30. I then pre-drilled with my new favourite tool the Kreg, and proceeded to sand, prime, and paint all of the pieces before assembly. With assembly being in my daughter's room, and having nice fresh paint on her walls and carpeted floors, I did NOT want to be finishing the bed in there, but there was no way I could move it into her room completely assembled. I did all the finishing BEFORE assembly.

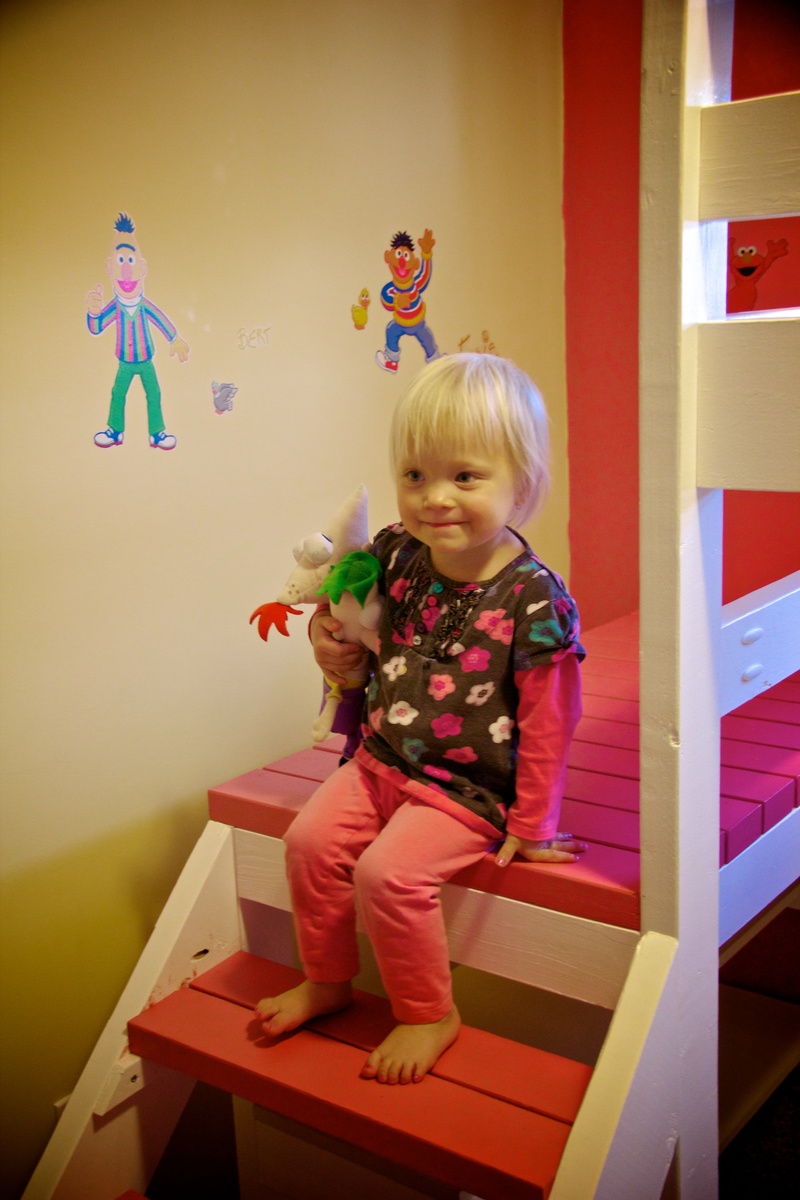
Sand, prime, sand, paint, paint, paint. That process took three days, obviously not the entire day. Painting goes relatively quickly, but with boards, you paint one side, let dry, roate 90 degrees, paint, let dry, etc. I also had to work a couple of days in between as well. I went with Benjamin Moore Aura paint and that required three coats. I used to some leftover pink and yellow for the platform and shelves, but if I consider the cost, the paint set me back another $100.
I also had to order in the proper screws and I bought some of the white Kreg plugs to cover the exposed holes. Hurray for amazon! Even selecting the free shipping, the screws arrived within 4 days.

Assembly day:
My step-dad and I worked from 10:30-1:30. By this time, the bed and platform were completely assembled and in place. My daughter, however, needed to nap, so I put her down in her brother's bed, and we took a couple of hours off for lunch!
We then worked from 5-8:45 pm building the stairs, cleaning the room, measuring and screwing down the slats for the mattress, then making the bed and getting it ready for sleep. It seemed like a much longer day because in between, I had to run out and pick up a twin mattress, some extra screws, help my son play his new Skylander game, and deal with three kids trying to "help" with construction!

All in all, I am very pleased with the bed, with the plans, and with my first DIY. My kids are all in love with the bed and we spent a lot of time shooing them out of the room while we tried to assemble it.

Tips:
If I were to make this bed again (if my sons have their way, their beds are next!) I would not paint the wood, opting instead for a stained more natural look. I love the colours for my daughter, but what a pain all that painting and rotating the boards was. Paint was also a more expensive option for finishing.
That being said, if I do paint, I will NOT paint the ends of the boards that will be joined via pocket holes. In some cases, the boards were just a smidge too long to fit and we had to take the back to the saw and shave off the layer of paint in order for the board to fit.
I also opted to buy firm twin mattress as opposed to the plush ones. The plush mattresses add a lot of height and I was worried about my daughter having a bit too much fun up there and possibly tipping out from a high mattress. Stick to thinner mattresses on loft or bunk beds!
Estimated Cost
$250
Estimated Time Investment
Week Long Project (20 Hours or More)
Finish Used
Benjamin Moore Aura paint
colours: white, glamour pink and cornsilk (for the two shelves)
Recommended Skill Level
Starter Project

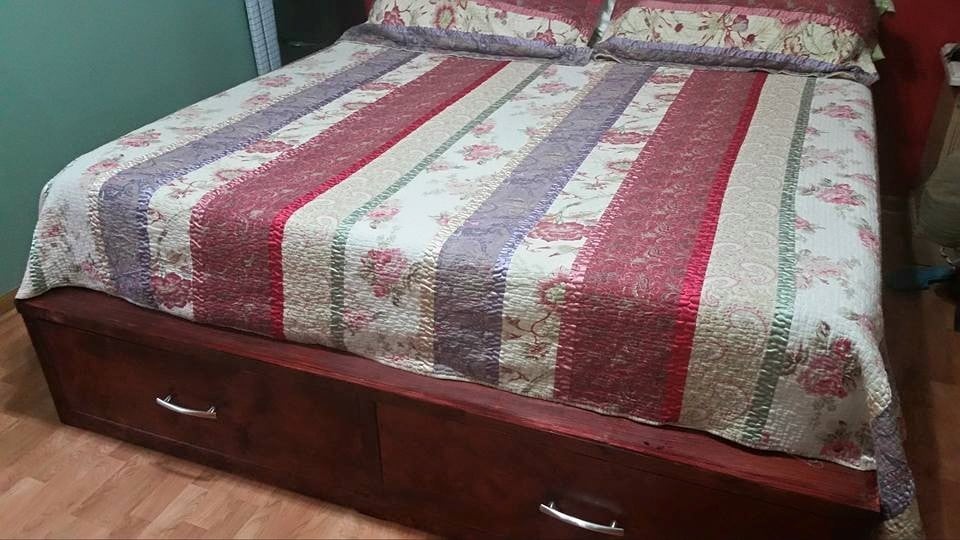
PB Inspired Queen Storage Bed

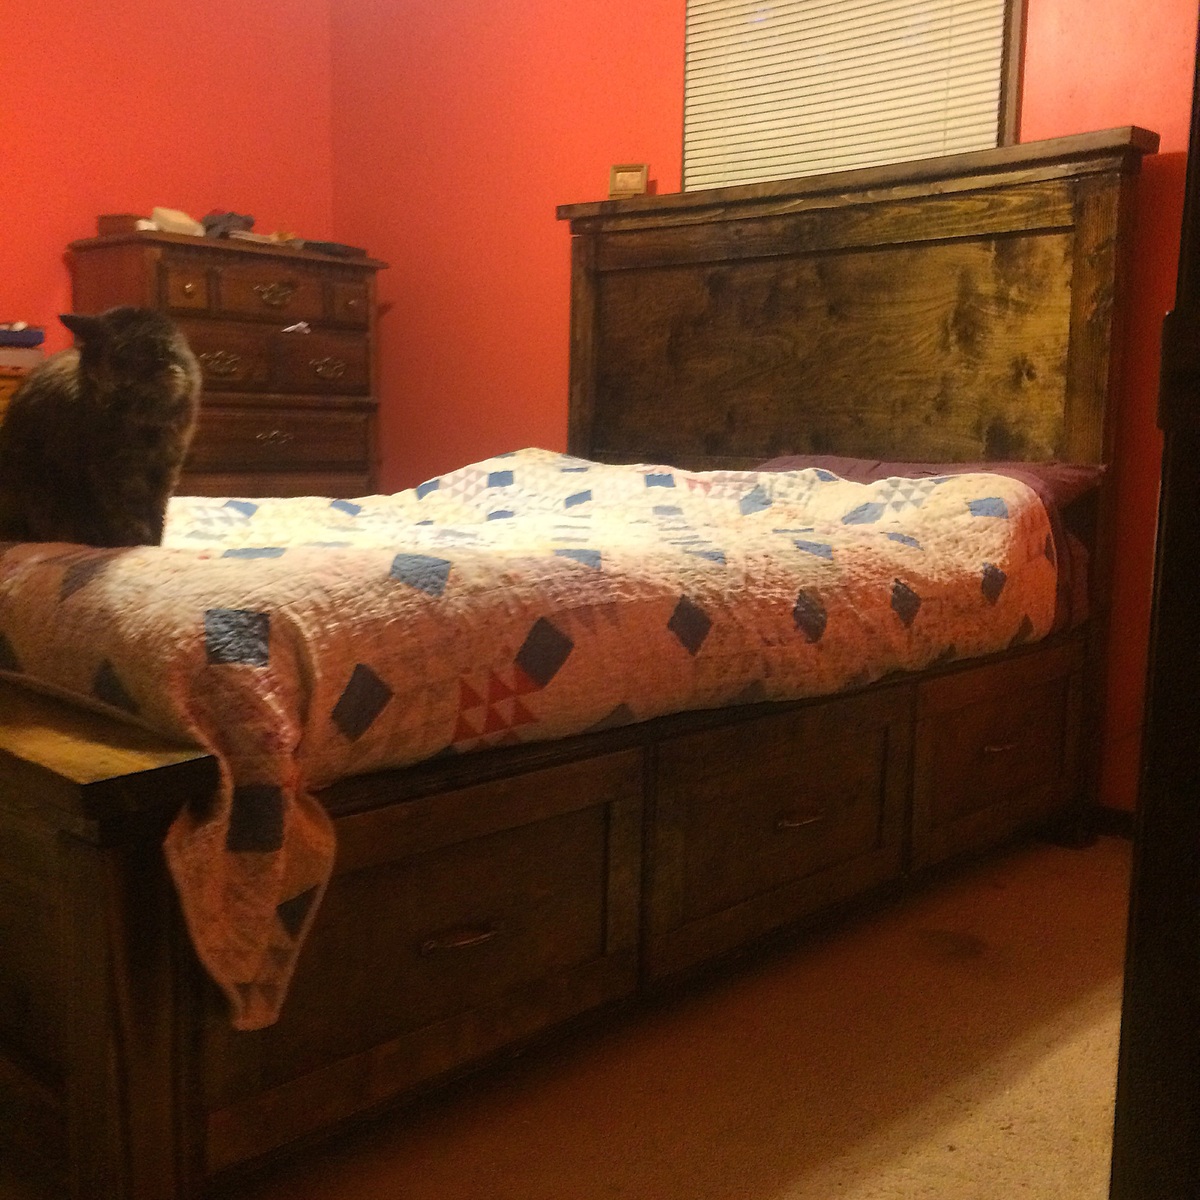
 A local South Floridian found me through Pine+Main. She needed two beds for her older kids. Client hired me to build two queen size storage beds based on the Sumatra Storage Beds from Pottery Barn. These beds took over eight weeks to build. My first time making drawers boy was that a challenge. I installed full extension drawer glides to access all the content in the drawers. Bed comes together in 3 pieces. It is stained Varathane's Dark Walnut. And the top coat is the Rust-Oleum Triple Thick Polyurethane in a matte finish. Built with Purebond plywood. These beds are super heavy and super strong.  

Estimated Cost
$900
Estimated Time Investment
Week Long Project (20 Hours or More)
Finish Used
Varathane Dark Walnut and Rust-oleum Triple Thick Poly
Recommended Skill Level
Intermediate

Redwood Planters

Submitted by powerof2 on Thu, 09/09/2021 - 21:39

Planters from Easy Build DIY Planter Box. Some modifications, but essentially direct from the plans. I used redwood fence pickets for the slats, finished the frame with an "ancient oak" stain and the faces with spar varnish diluted with paint thinner.

Comments

Wide Short Pine 1x12 Bookshelf

Submitted by ariela on Wed, 03/09/2011 - 03:15

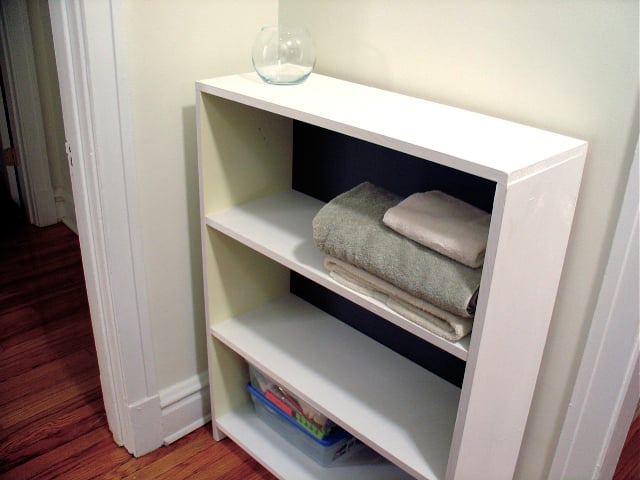
This was my first project ever, and while there are a few things I could have done better (don't judge the imperfections!) the shelves still came out beautifully. I followed Ana's plan exactly, painting the backboard a charcoal grey before attaching, and the shelves themselves white with light lemon yellow on the inside-sides. If I were to make these again, I would want to sand the shelves down more and use a higher gloss paint or sealer. The matte finish is more difficult to clean when it gets dusty, which happens pretty quickly!

Built from Plan(s)
Estimated Time Investment
Afternoon Project (3-6 Hours)
Recommended Skill Level
Starter Project

Outdoor Sofa and Sectional

Submitted by Anonymous (not verified) on Fri, 07/14/2017 - 00:22

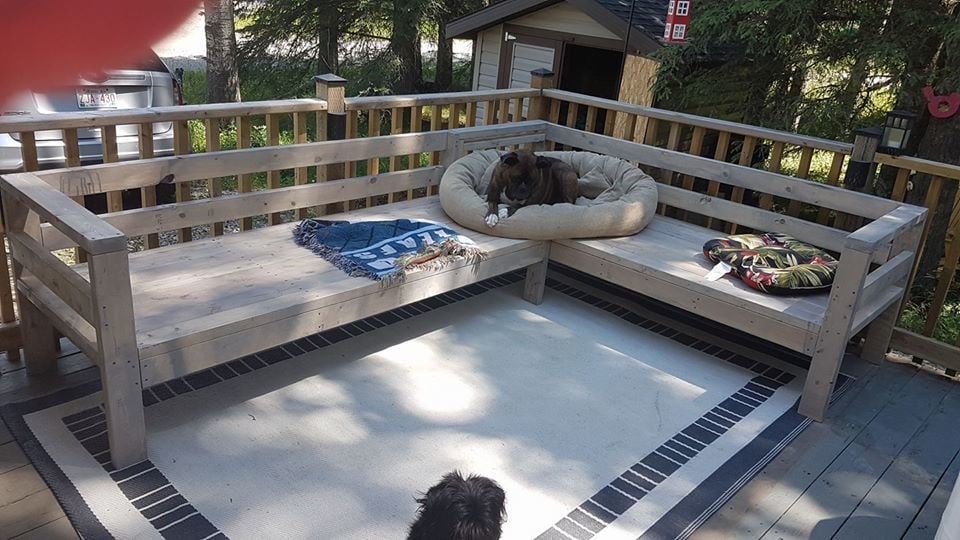
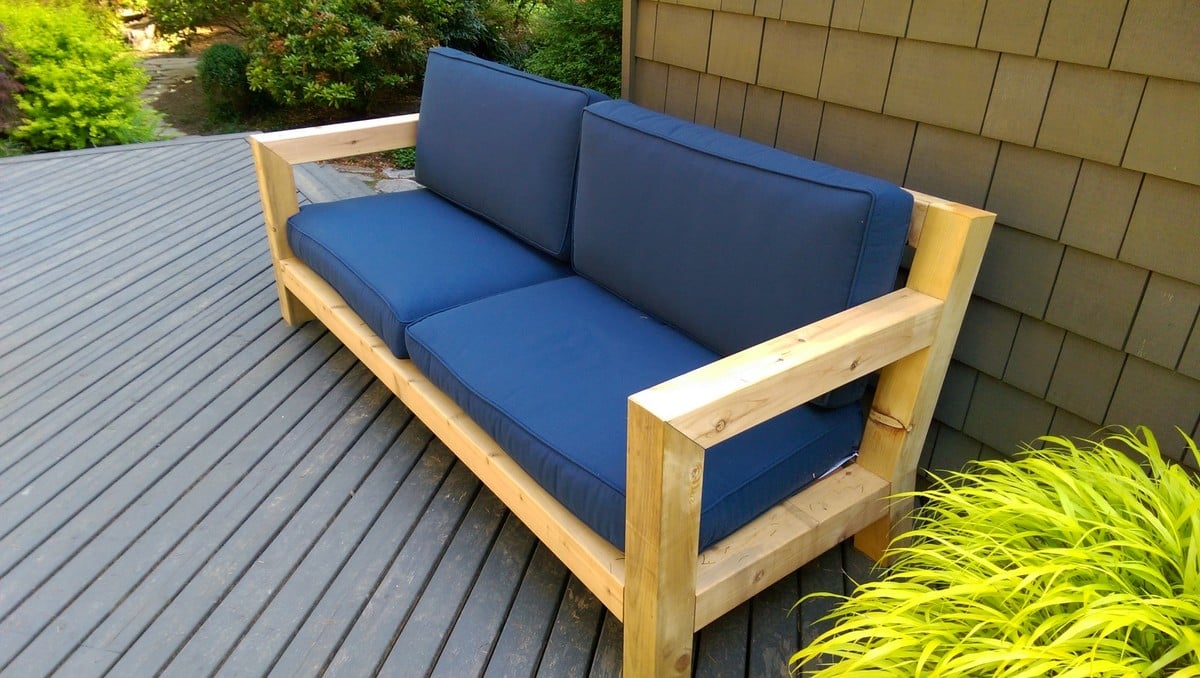
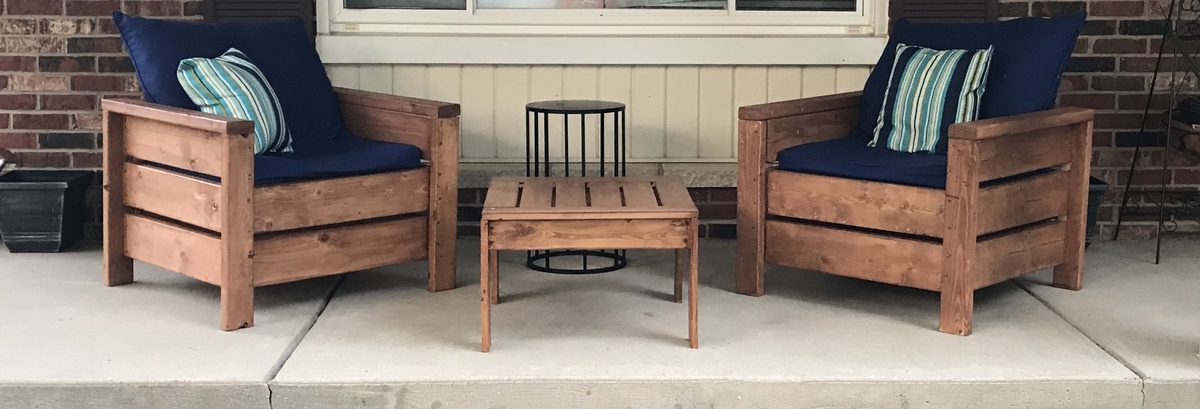
I haven't really done anything like this, came out quite well. I modified the back for what I think is better comfort, added side supports to hold throw pillows in place and added 2 extra 2x4's to seating surfaces. The sofa I built in an afternoon with an extra pair of hands to line things up and hold them in place. The sectional took a little longer to complete as my helper was off building his own couch (after he saw how simple it was to do). I also didn't use a pocket jig (couldn't find one in rural hardware store) but a countersink drill bit for all screw holes. 

Estimated Cost
in Canadian, for the sofa and sectional about 220 with stain.
Estimated Time Investment
Weekend Project (10-20 Hours)
Finish Used
latex semi transparent stain
Recommended Skill Level
Beginner

Comments

Sideboard

Submitted by JoeP on Wed, 04/08/2015 - 11:06

My wife has been asking for a sideboard since we moved into our new home.  I started it some time ago and finally finished it.

Estimated Cost
Can't remember
Estimated Time Investment
Week Long Project (20 Hours or More)
Recommended Skill Level
Beginner

Platform bed

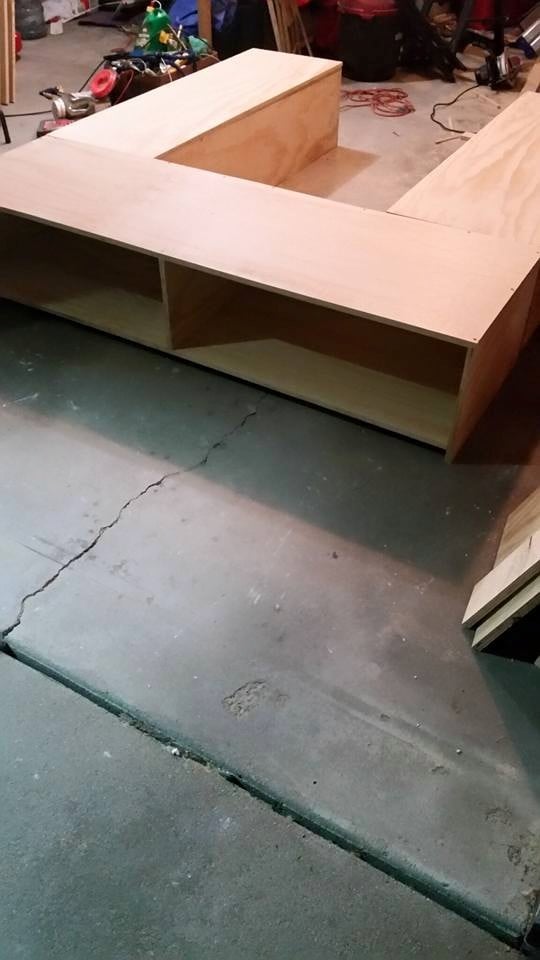
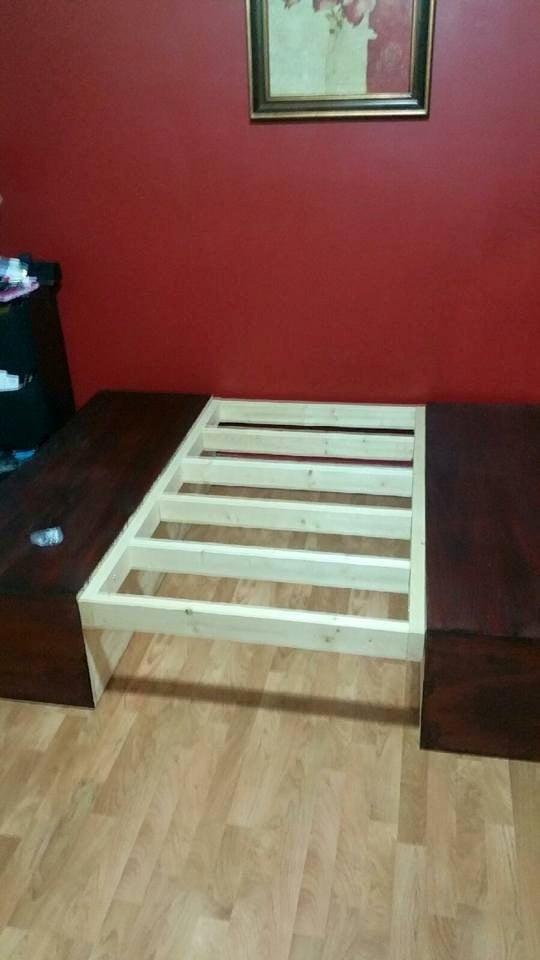
My first build!!!! I live in an apartment, so I was nervous to undertake any project... luckily I was able to borrow a garage one weekend to build it, and then moved it in and finished it. It took more than just the weekend to complete.  It probably took me a lot longer than if I had more experience and knew what I was doing...I stopped every two minutes to double check myself and reread the directions lol. I'm so happy with how it turned out. I used the IKEA center beam from my old bed for the center support, and cut wood slats for my mattress to rest on so I don't have to use a box spring. It looks so much more expensive than it was. my  next project is a headboard...as soon as I have a space to build it in :)

Estimated Time Investment
Weekend Project (10-20 Hours)
Finish Used
Minwax polyshades- satin honey. I used minwax wood conditioner as well.
Recommended Skill Level
Beginner

Kids Country Bench

Submitted by Jenny Anne on Mon, 03/14/2011 - 14:26

Hi! I made the Kid's Country Bench for my first ever woodworking project. Making this bench was the first time I've used a jigsaw (purchased for this project) and the first time drilling a pilot hole. My husband answered a couple of questions along the way, but I did all the work myself and am so proud. I did change some dimensions to accommodate pretty baskets I wanted to use. This is going to be very helpful for corralling two little boys' shoes in my entry.

Built from Plan(s)
Estimated Cost
$50
Estimated Time Investment
Day Project (6-9 Hours)
Finish Used
I really wanted to stain this and prime and paint later as a last resort, if needed. My concern was the wood putty. I didn't get the "stainable" stuff since I've only heard bad things about it. I got some that would supposedly blend pretty well. You can see that it's too dark for my stain, but I'm ok with that in the end. I think it' makes it look like reclaimed wood or something. You can also see on the end where I drilled two holes in the wrong spot (oops!) despite measuring twice, cutting once. (That doesn't help if you're measuring the wrong number!) :-)
Recommended Skill Level
Starter Project

My Little Garden

Submitted by HOWsMom on Mon, 05/18/2015 - 09:52

I started with Ana's raised garden beds, but due to limited funds, opted to cut down the size of the beds to be able to use a smaller amount of lumber.

I also used 2x4's screwed together instead of 4x4 posts for the legs.

Estimated Cost
$100 CDN
Estimated Time Investment
Weekend Project (10-20 Hours)
Finish Used
Thompsons Water Proofing - clear
Recommended Skill Level
Beginner

Custom Pantry Spice Rack

Submitted by Anonymous (not verified) on Mon, 12/06/2021 - 02:56

After special ordering glass spice jars for my cupboard I came across your plans for this spice rack and decided to attempt the build. Plans were very well written and easy to execute with a few customizations. I opted for brass rods to hold the jars in place and lined each shelf with shelf liner to ensure the jars don’t move when the pantry door swings. I am very pleased with the outcome and will be making a matching rack for my aluminum foil, plastic wrap, etc.

Built from Plan(s)

Comments

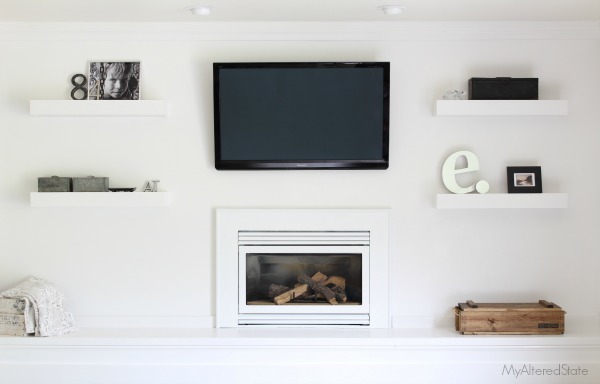
Fireplace Wall Remodel

I needed a solution to my shelving problem. I wanted something clean looking, modern, and white to flank both sides of my fireplace. Count on Ana White to come up with a plan. Within seconds of sitting down to surf her site, I found that perfect plan to build four floating shelves.

Built from Plan(s)
Estimated Time Investment
Day Project (6-9 Hours)
Recommended Skill Level
Intermediate

Shou Sugi Ban (Yakisugi) Cornhole Boards

Submitted by Anonymous (not verified) on Sun, 12/26/2021 - 14:48

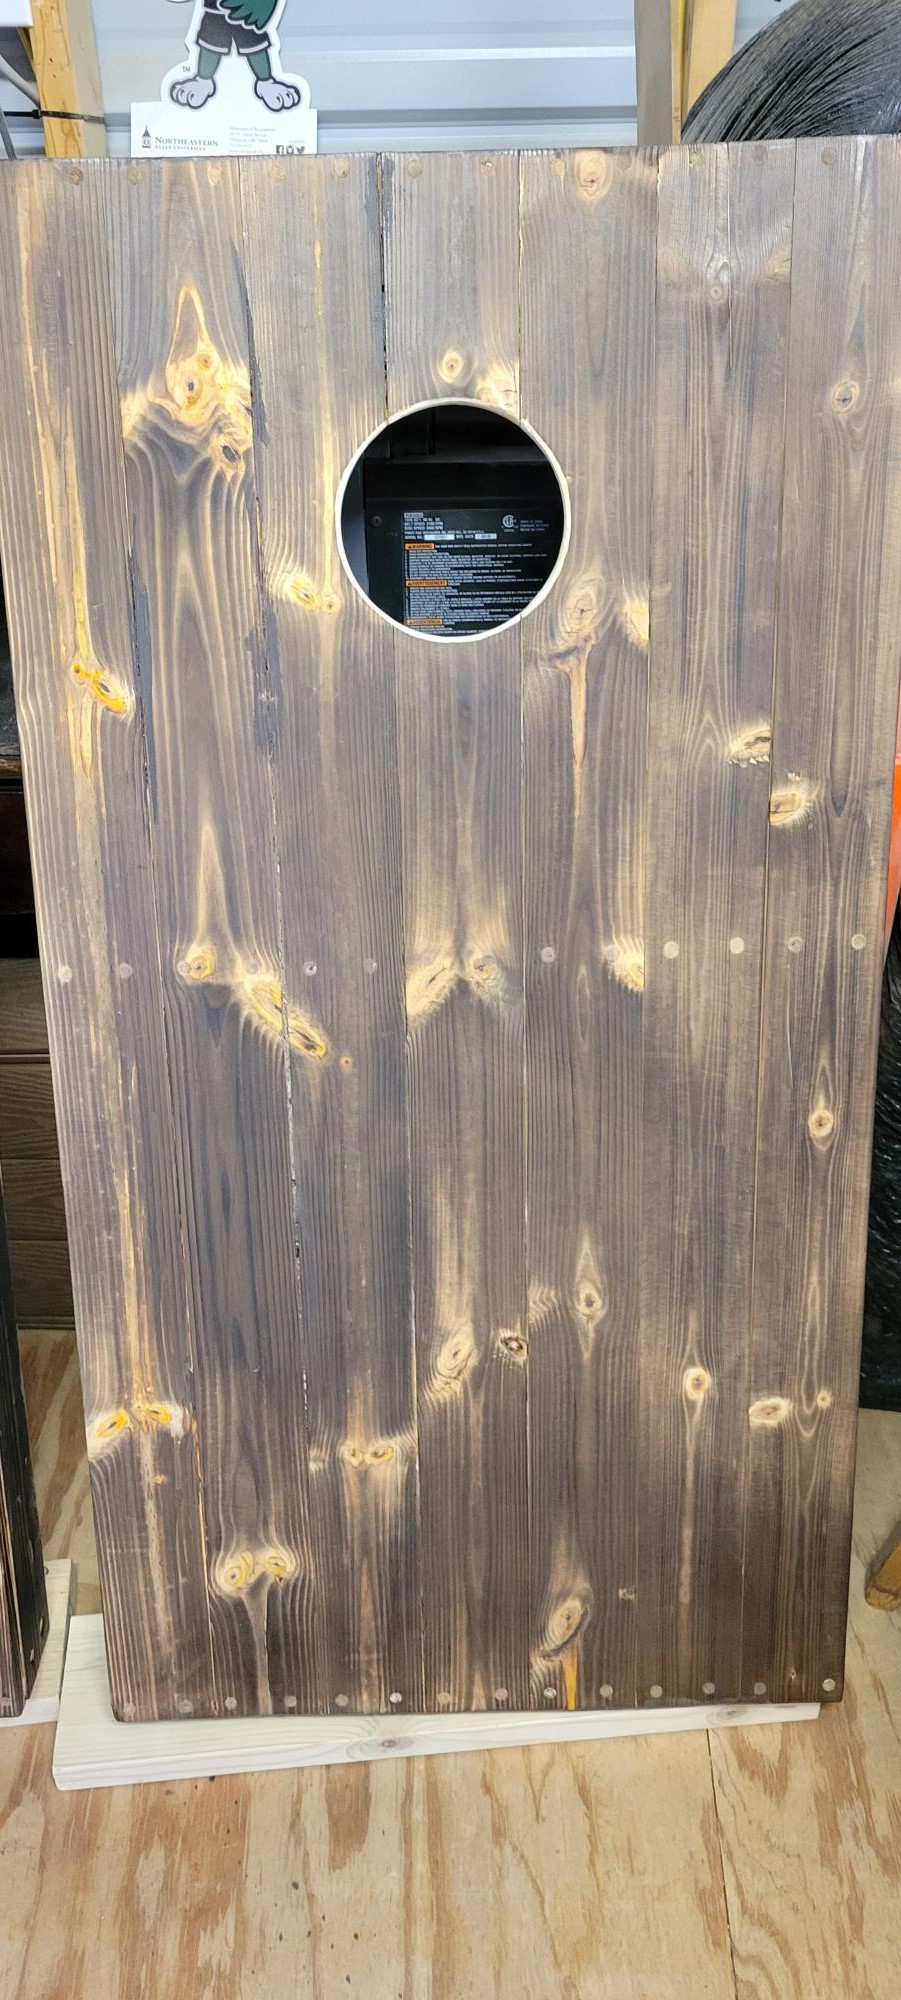
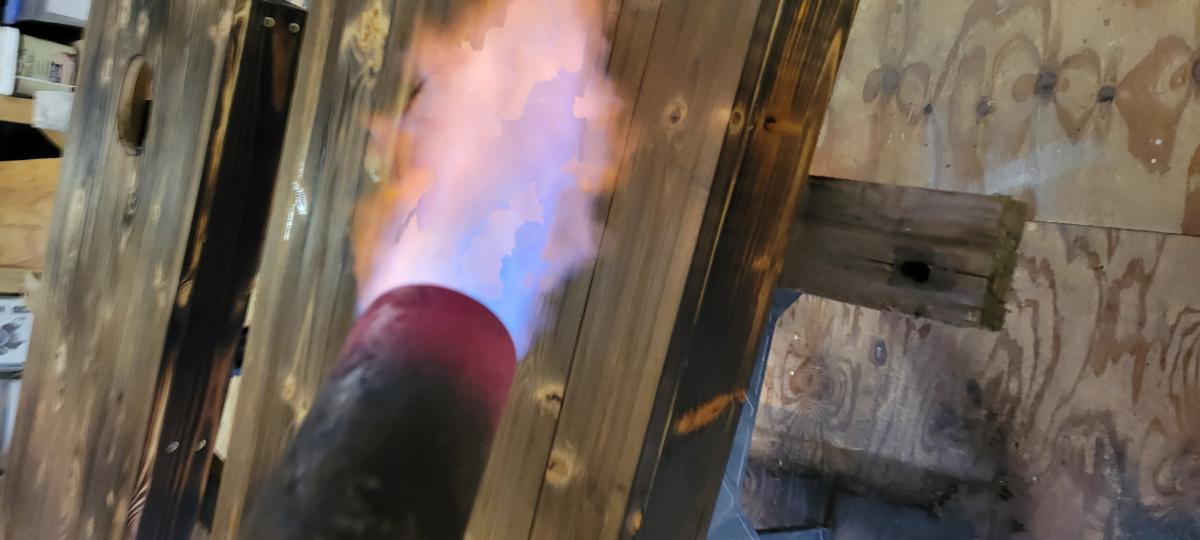
I'm James Farquhar, designer, and fabricator. This is the second set of cornhole boards I built this year. This set is the regulation size of 48" x 24" according to the American Cornhole Association. It is made from fir 2 x 4 s and pine 1 x 4 s (6 per board). Each board is glued with Titebond II and countersunk Torx top screws (#8 1-1/2 inches). It is coated with Minwax polyacrylic (8 layers sprayed on) and Howard's bee's wax (3 layers). The boards are secured with 3-inch toggle latches in pairs. Kayak carrying handles with four screw ports; I used the same Torx Screws I used to put the boards together, extra for strength. The total weight of the boards is 60 pounds. I used a Texas Flame Thrower to Shou Sugi Ban (Yakisugi), as a finish.

Comments

King Storage bed

Submitted by Pbelton40 on Mon, 07/20/2015 - 06:57

From start to completion, it was exactly two weeks.  One of those weeks, I was sick and didn't get a chance to do much.  I believe we picked the hottest days to work on this project, so we were taking more breaks than actually working.

Built from Plan(s)
Estimated Time Investment
Week Long Project (20 Hours or More)
Finish Used
Bombay Mahogany stain
Recommended Skill Level
Beginner

Modern Rustic Outdoor Sofa Inspired by RH Merida

Submitted by susanshamp on Sun, 04/01/2018 - 14:19

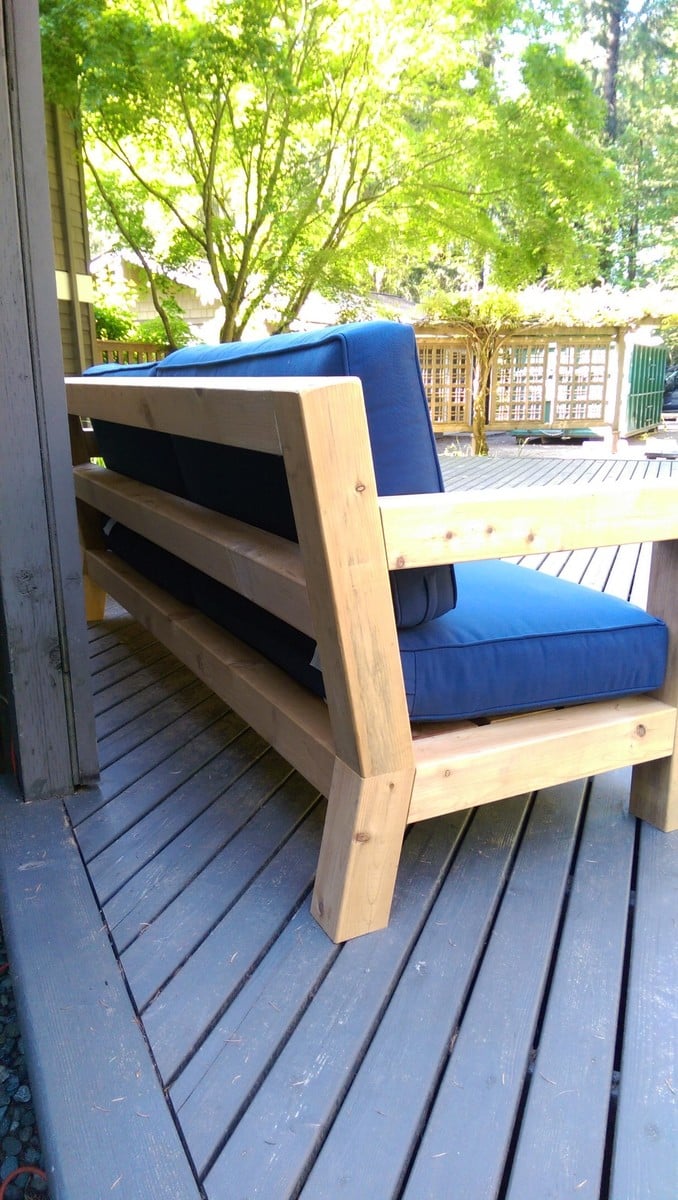
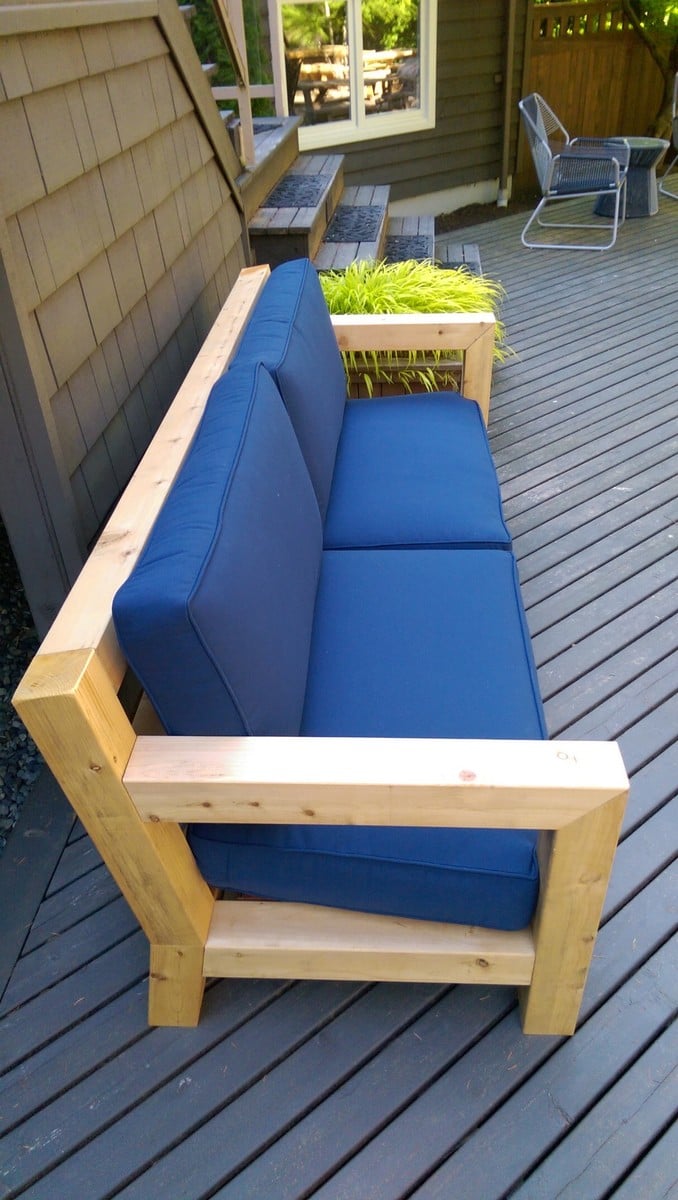
I was in love with the RH Merida set because of its clean lines and modern style. Also, the plan seemed simple enough that I could re-create it without a pattern. The only thing that I did not like about it is the lack of arms. I really like to have a place to put my arm or my beverage :) - so I added arms to the design.

Estimated Cost
$150
Estimated Time Investment
Day Project (6-9 Hours)
Finish Used
Natural
Recommended Skill Level
Intermediate

Comments

bogle

Wed, 05/20/2020 - 10:45

This is Awesome. I'm halfway in the middle as i thought I could complete without plans. Do you have any plans could share. Please....

I love how it turned out!

Submitted by hoffer5353 on Sat, 06/25/2011 - 20:47

This was my second project since college 8 years ago and I am so pleased how well it turned out.
My son really wants a bunk bed so I promised him I would make the simple twin bed to complete the set. Eventually that is...May also make a trundle too.
Thanks!

Estimated Cost
Less than $150.00
Estimated Time Investment
Weekend Project (10-20 Hours)
Finish Used
Minwax-Red Oak,
Minwax-Polyurethane-Semi Gloss
Recommended Skill Level
Intermediate

Handmade by Tim

Submitted by Tjmac924 on Tue, 08/25/2015 - 17:36

Really handy for getting more storage space without taking up extra floor space

Estimated Cost
$500
Estimated Time Investment
Week Long Project (20 Hours or More)
Finish Used
MinWax Dark Walnut,
Recommended Skill Level
Advanced

Comments

Tjmac924

Tue, 08/25/2015 - 17:39

A plate (biscuit) joiner is really helpful for building the cabinets, especially if you're going to have the drawers. 

My laundry basket dresser with doors

Submitted by jensimmons on Sun, 07/03/2011 - 20:19

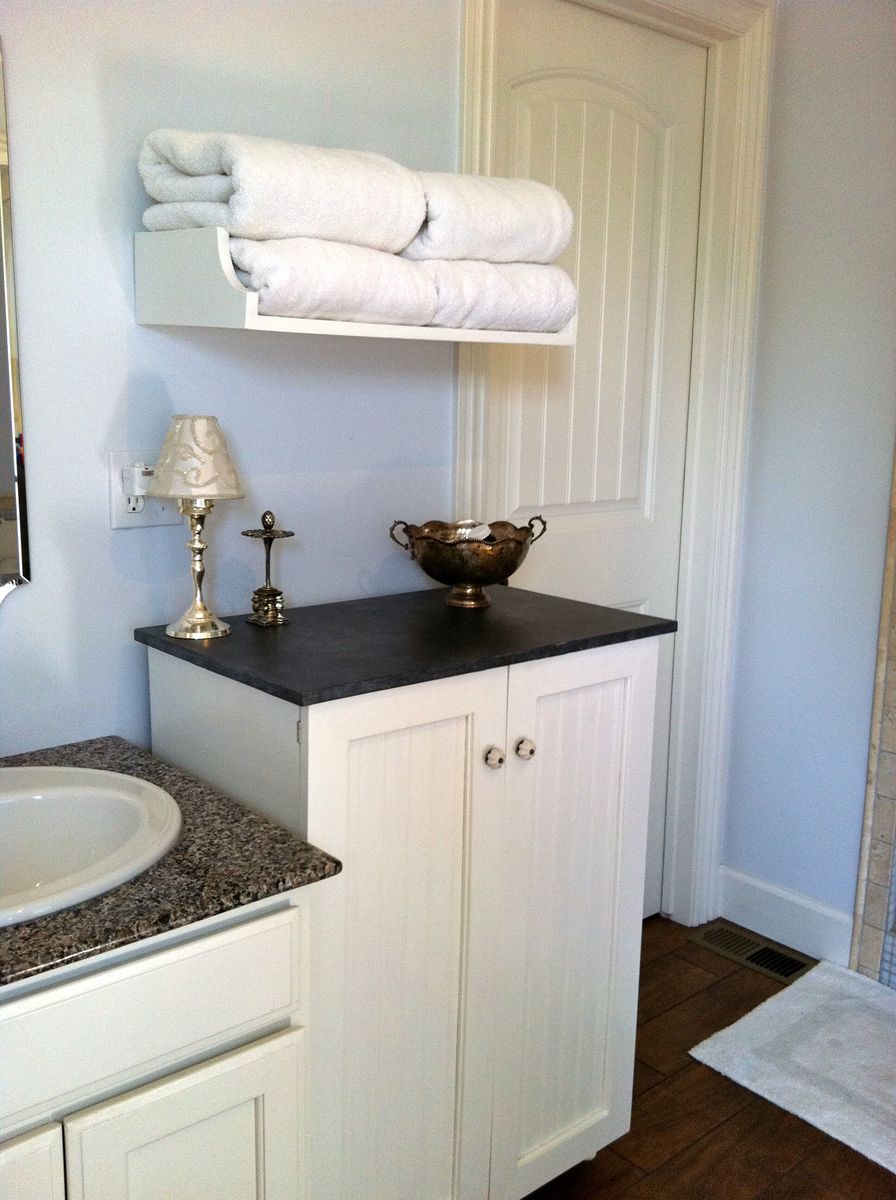
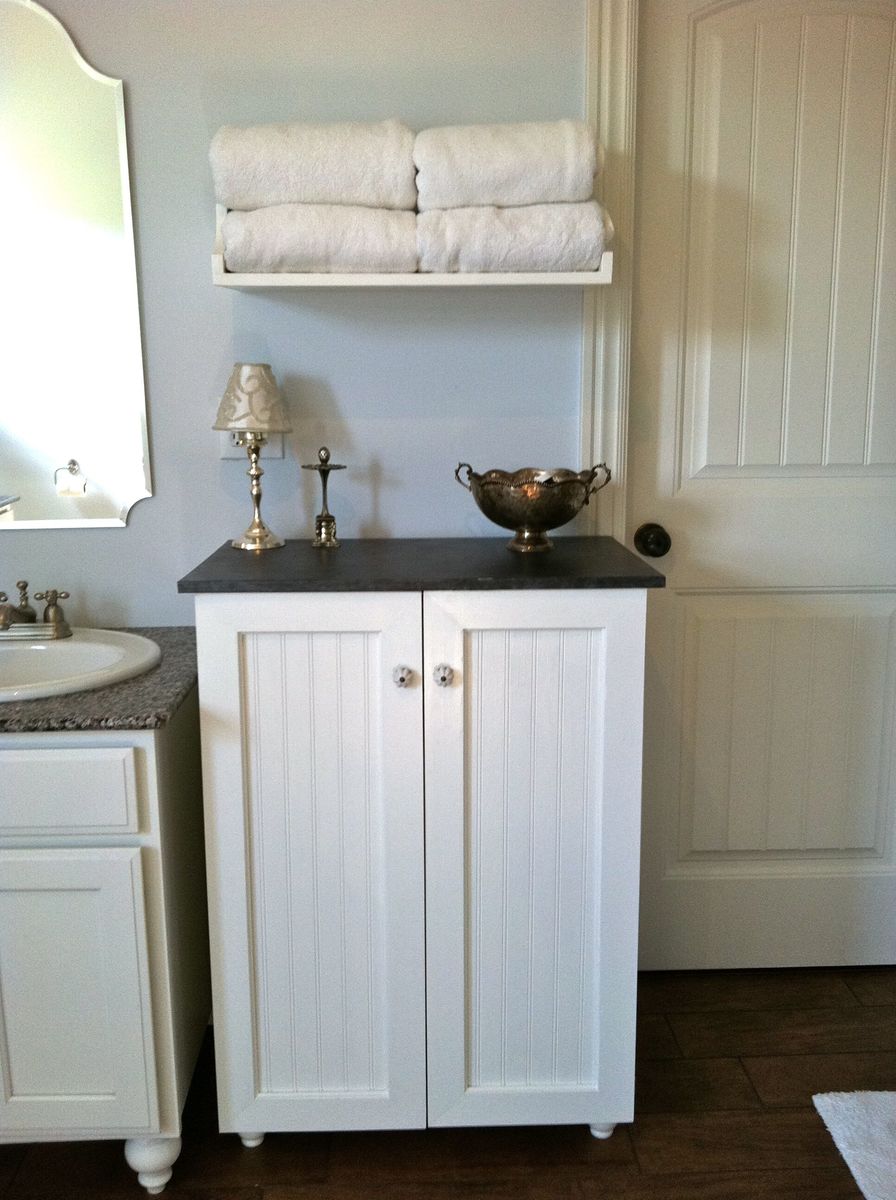
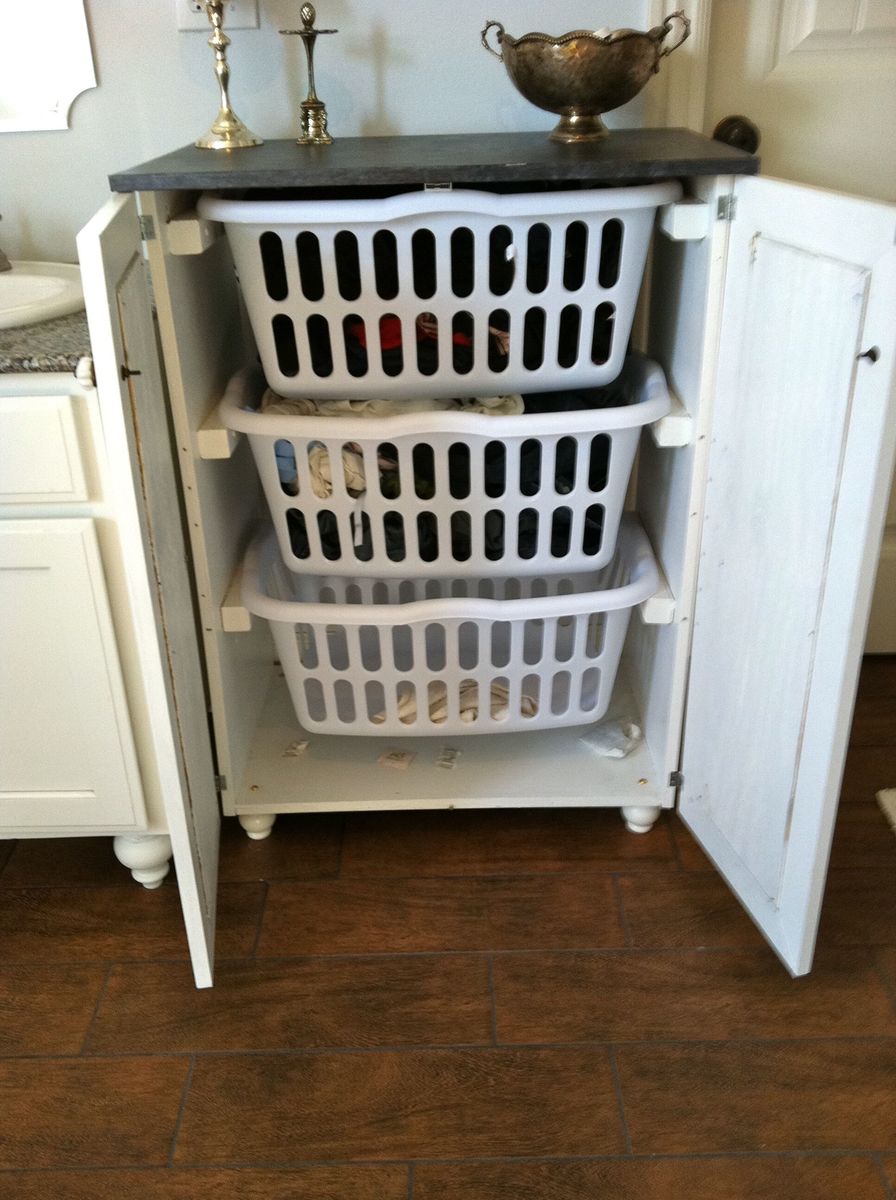
I wanted to use our laundry basket dresser as a collector for dirty laundry in our bathroom, and wanted it to have doors so it would blend in better. I also made the shelf above for our towels. It is painted white with a faux-zinc finish on the top. I made the top slightly larger so it would overhang and added cute little bun feet. My talented friend Carli helped me build the doors (and by helped I mean I handed her things while she impressed me with all her tools and skills!) and frame.

Built from Plan(s)
Estimated Cost
$75-100 (can't remember exactly)
Estimated Time Investment
Weekend Project (10-20 Hours)
Finish Used
white semi-gloss paint, zinc faux finish: layer 1 dark charcoal paint, layer 2 dark pewter metallic glaze, layer 3 white paint thinned with water & rubbed on/off.
Recommended Skill Level
Intermediate

Comments

Guest (not verified)

Fri, 07/29/2011 - 23:37

this is perfect! i totally need a bunch just like this! I love the added doors!

Pam in Colorado (not verified)

Sat, 09/17/2011 - 12:48

This is the look I'd like, fit the baskets and hide them behind doors until you are ready to do the laundry. These could be made for bedrooms, bathrooms, toy rooms (okay, toys instead of dirty laundry)...

Guest (not verified)

Fri, 11/11/2011 - 08:05

I absolutely love this! Could you please add instructions on how to make/paint and install the doors? I am a newbie to making my own furniture. Thanks!

Guest (not verified)

Wed, 01/11/2012 - 08:29

I love this idea! I will have a new bathroom soon and I think this will get used! What are the dimensions, or what style cabinet would you suggest to look for? TIA!

Jennifer Simmons (not verified)

Fri, 02/17/2012 - 05:57

The dimensions are the same as Ana's plan: http://ana-white.com/2010/11/laundry-basket-dresser except that the top is slightly bigger (3/4" overhang on front/sides) to look more like a countertop. On the doors we just made a frame w/ angled pieces, routed a notched line on the back & glued/nailed some beadboard in from the back. Sorry I can't be much more detailed on that, a friend did most of the doors for me!

Guest (not verified)

Sun, 02/19/2012 - 07:42

I actually got the plywood to do this project and I was going to add doors. I looked at the baskets suggested but it seems they would stick out the front. I was just curious, did you use different baskets that would fit inside the cabinet or did you make the cabinet slightly deeper?

Jennifer Simmons (not verified)

Sat, 02/25/2012 - 05:36

Actually I discovered the same problem after it was built. I just didn't put a back on and they stick out a tiny bit in the back. I actually kind of like it that way because it lets some air in (being in the bathroom and putting towels in I could see it getting mildewy without much circulation). But if I had gotten the baskets first I probably would have made it about 2" deeper, then leave some open space, but not all, on the back.