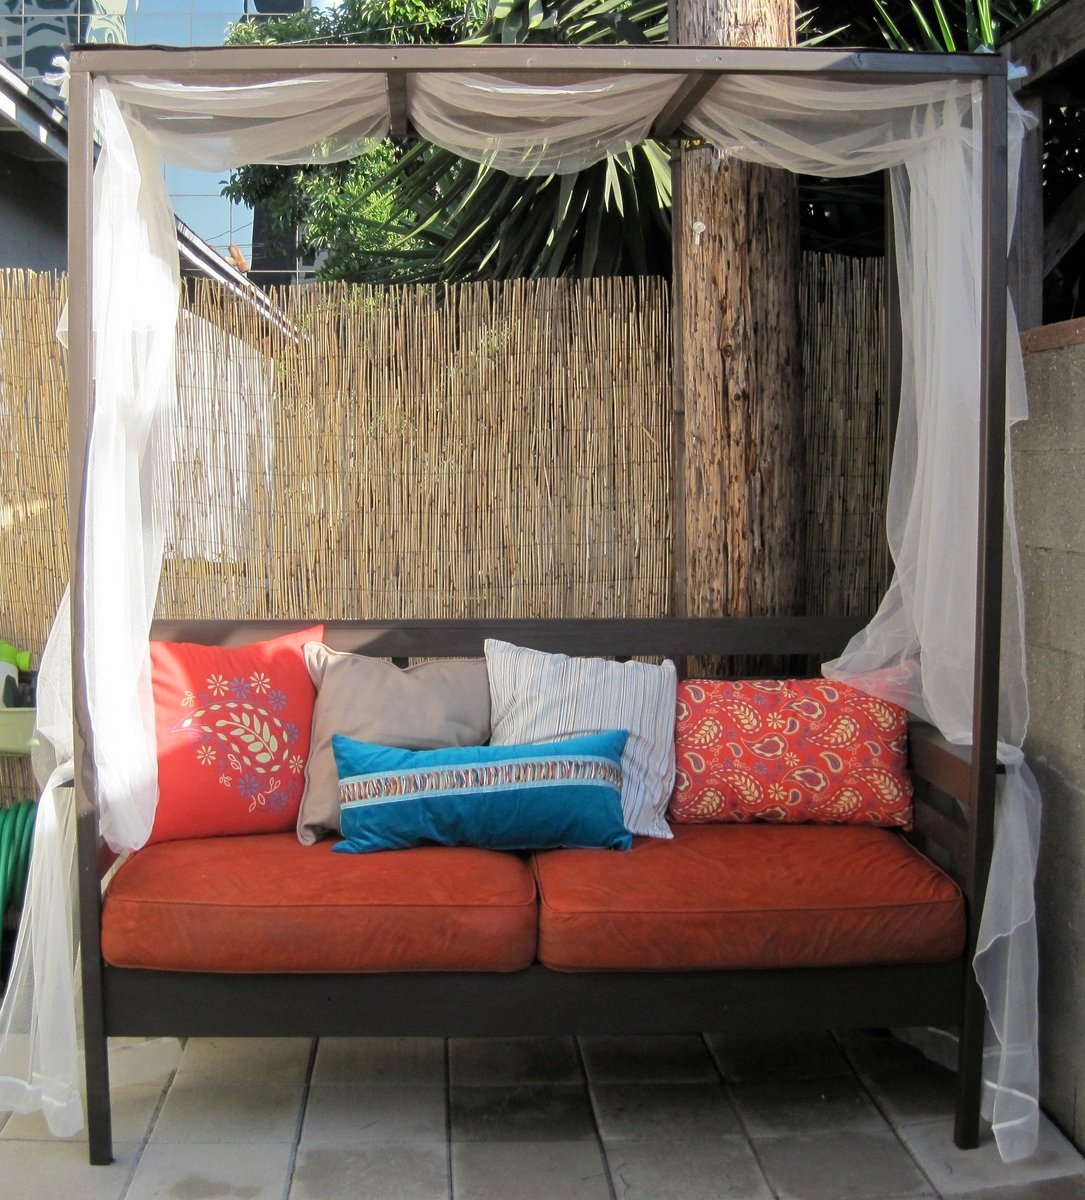
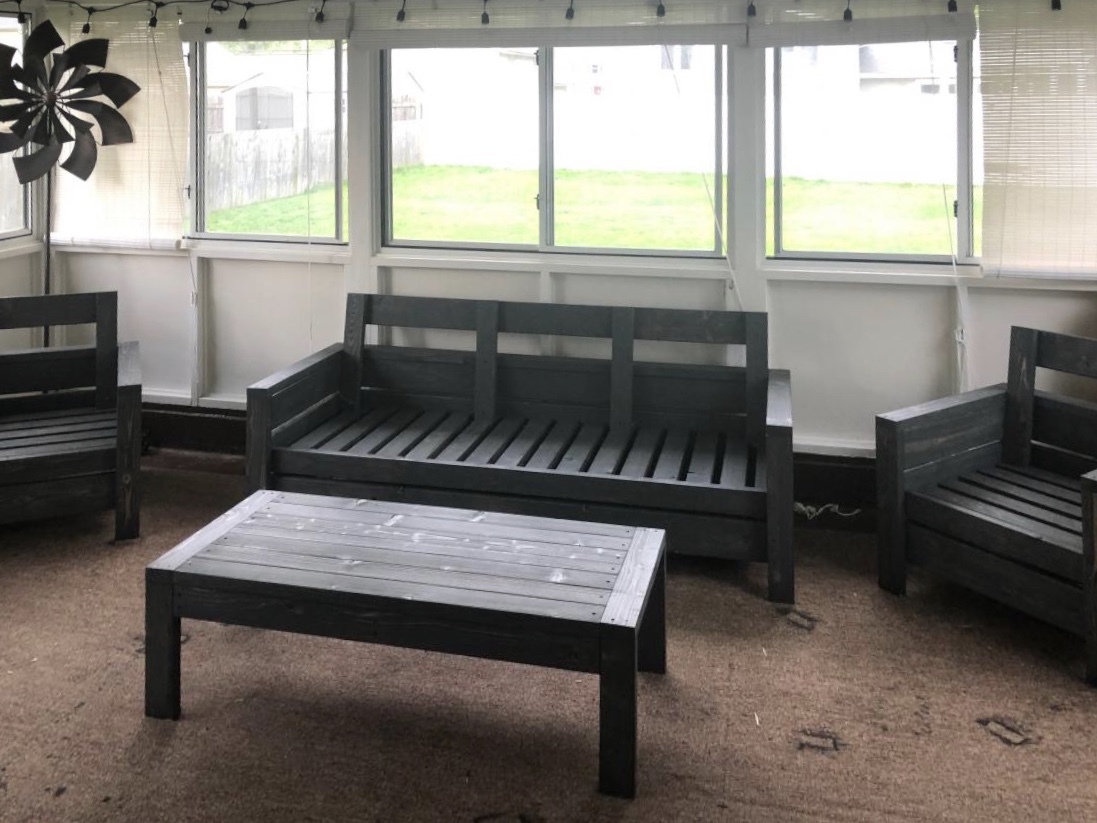
Thank you anawhite.com for this project! It was exactly what I was looking to build for my outdoor space. The outdoor daybeds with this look are WAY too expensive for us to buy and these plans were just what I needed!
My husband and I built (and painted) this project over one weekend. Not included in that time are 2+ hours shopping for materials on the friday night before and extra hours over the next few days to buy pillows, tie on the drapery, and finish the cushions.
We actually changed the plans to make more of a smaller 'daycouch' rather than a 'daybed' because we had some old cushions from a loveseat we just got rid of that I wanted to repurpose. It worked out great for our small space. If you do change the proportions keep in mind that a 1X3, 1X4, etc., are not exactly 3", 4", etc.
This project is totally doable, so go for it! The only things I would recommend are that you have some skills with power tools, know a little about carpentry (the directions are pretty spartan), and paint the pieces beforehand (if you have the patience; it really does cut down time on painting all those slats).
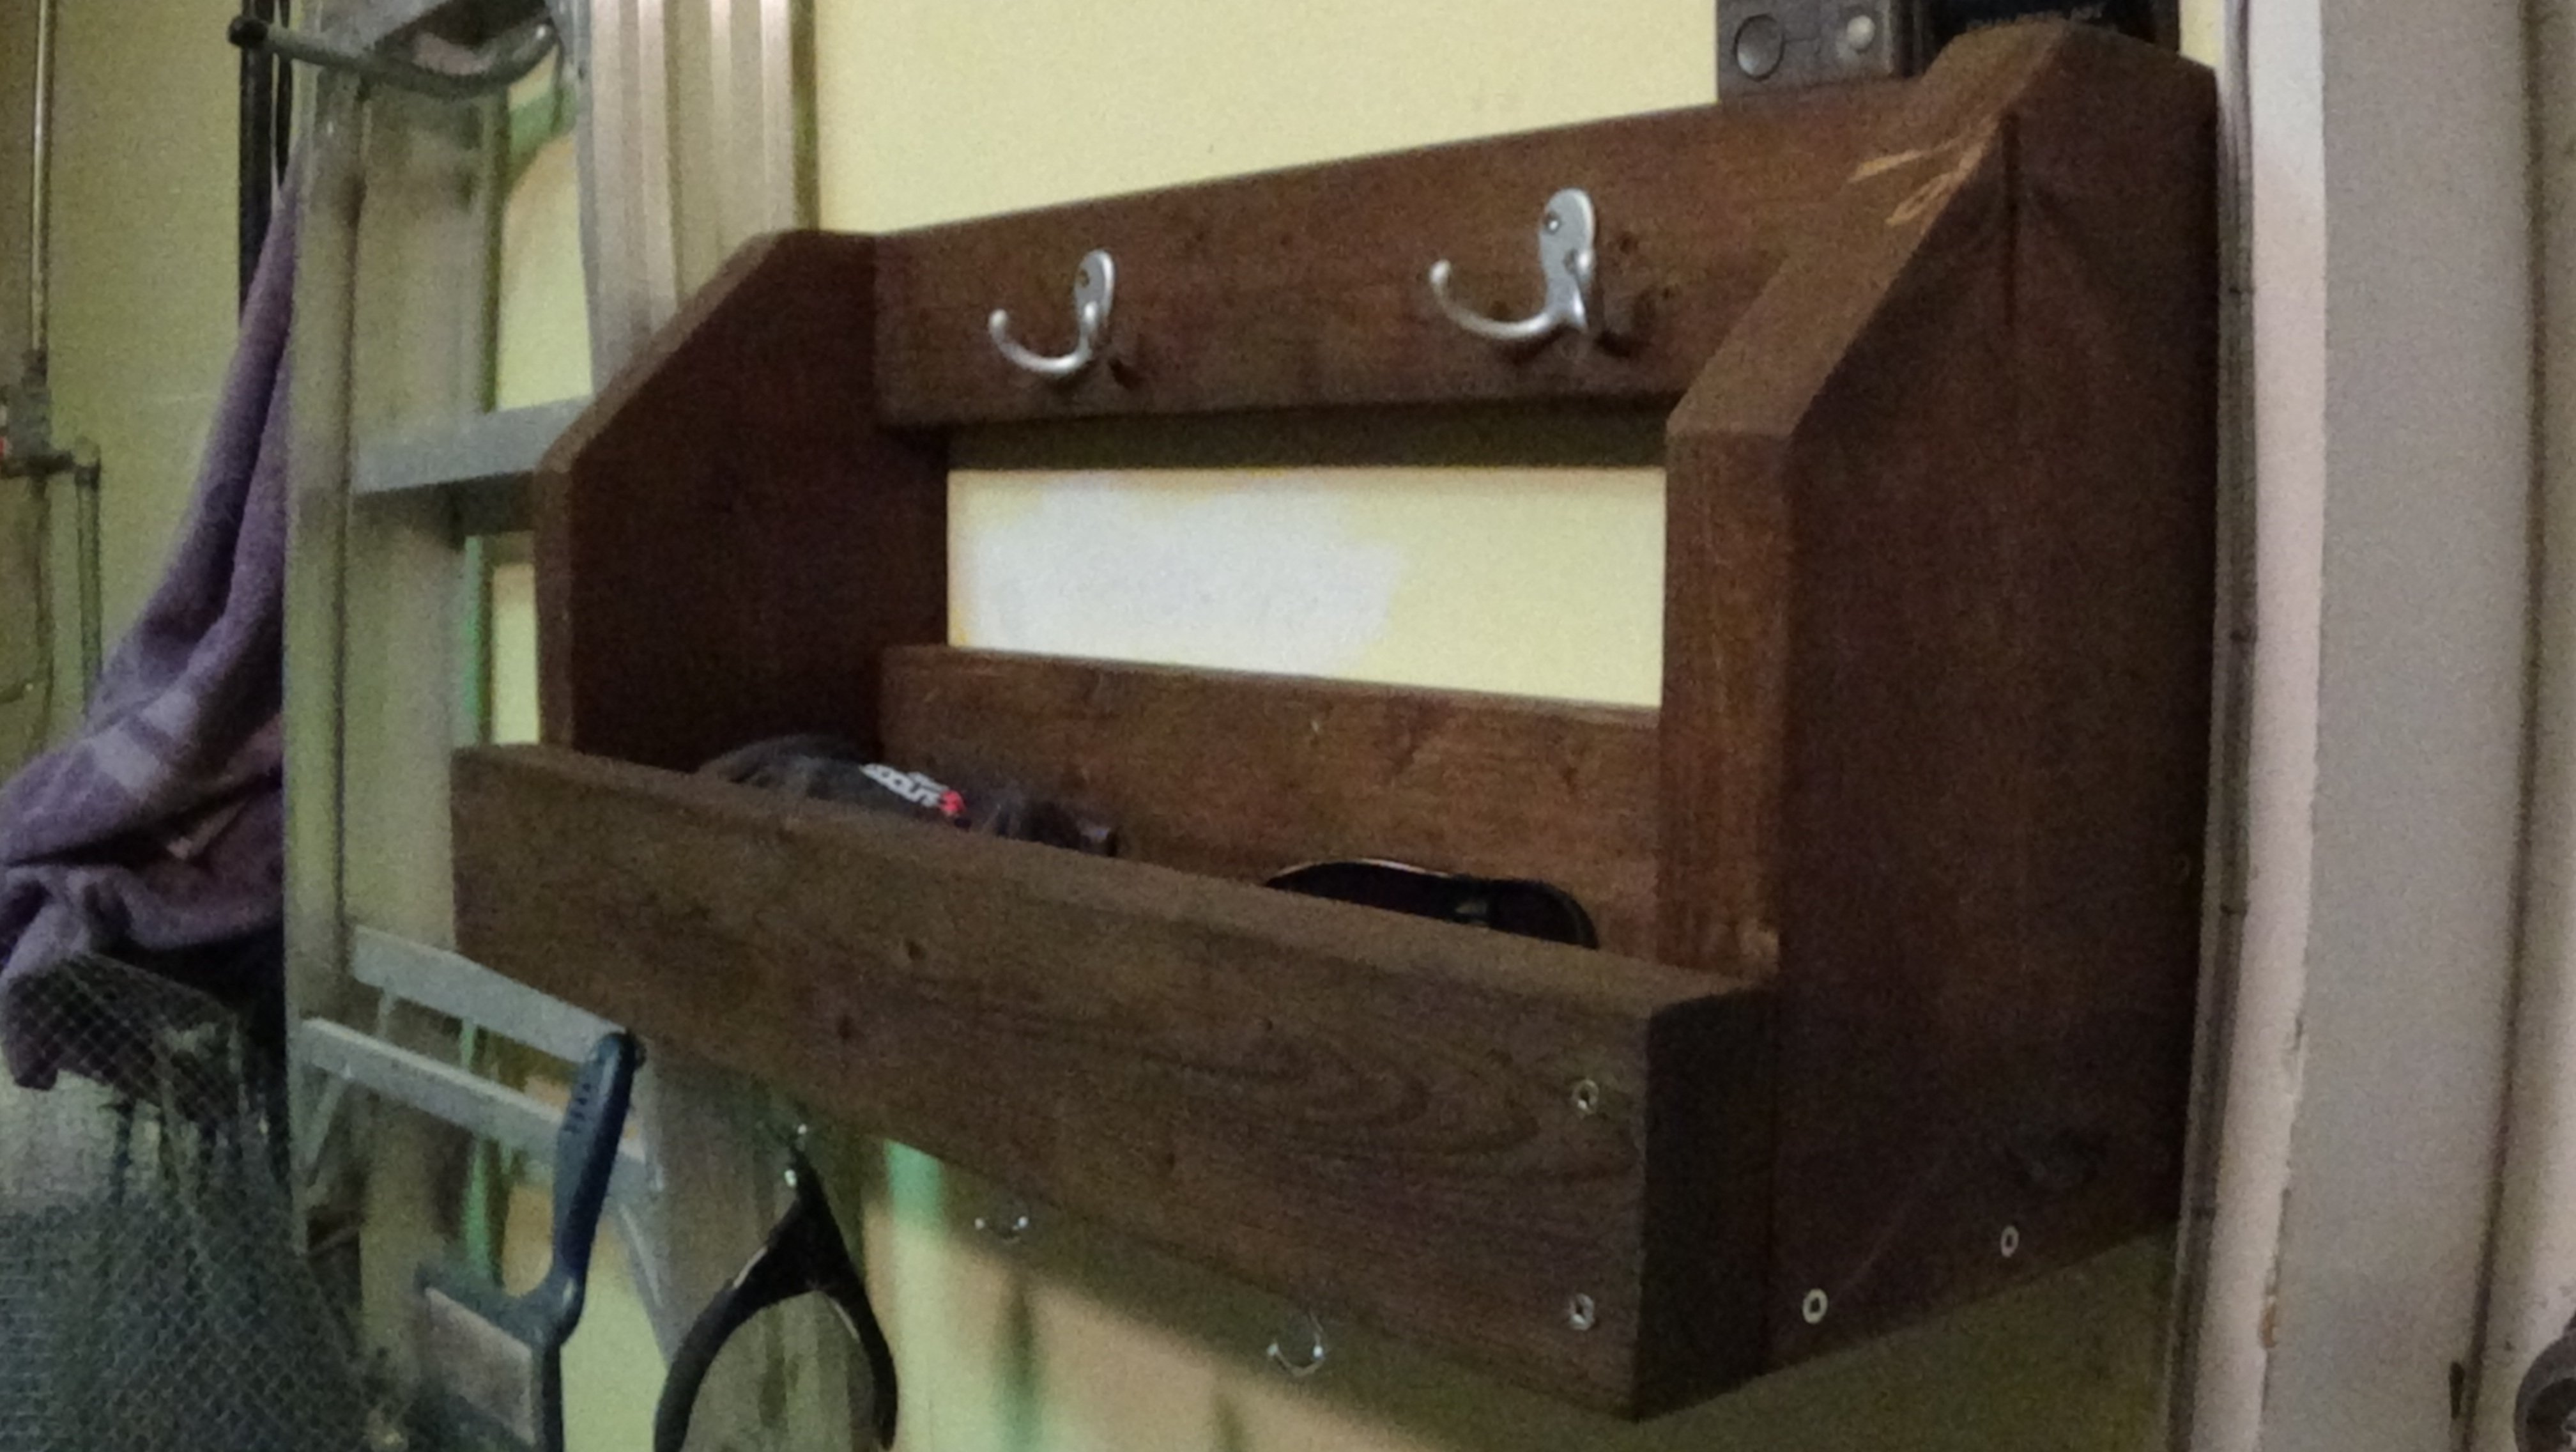
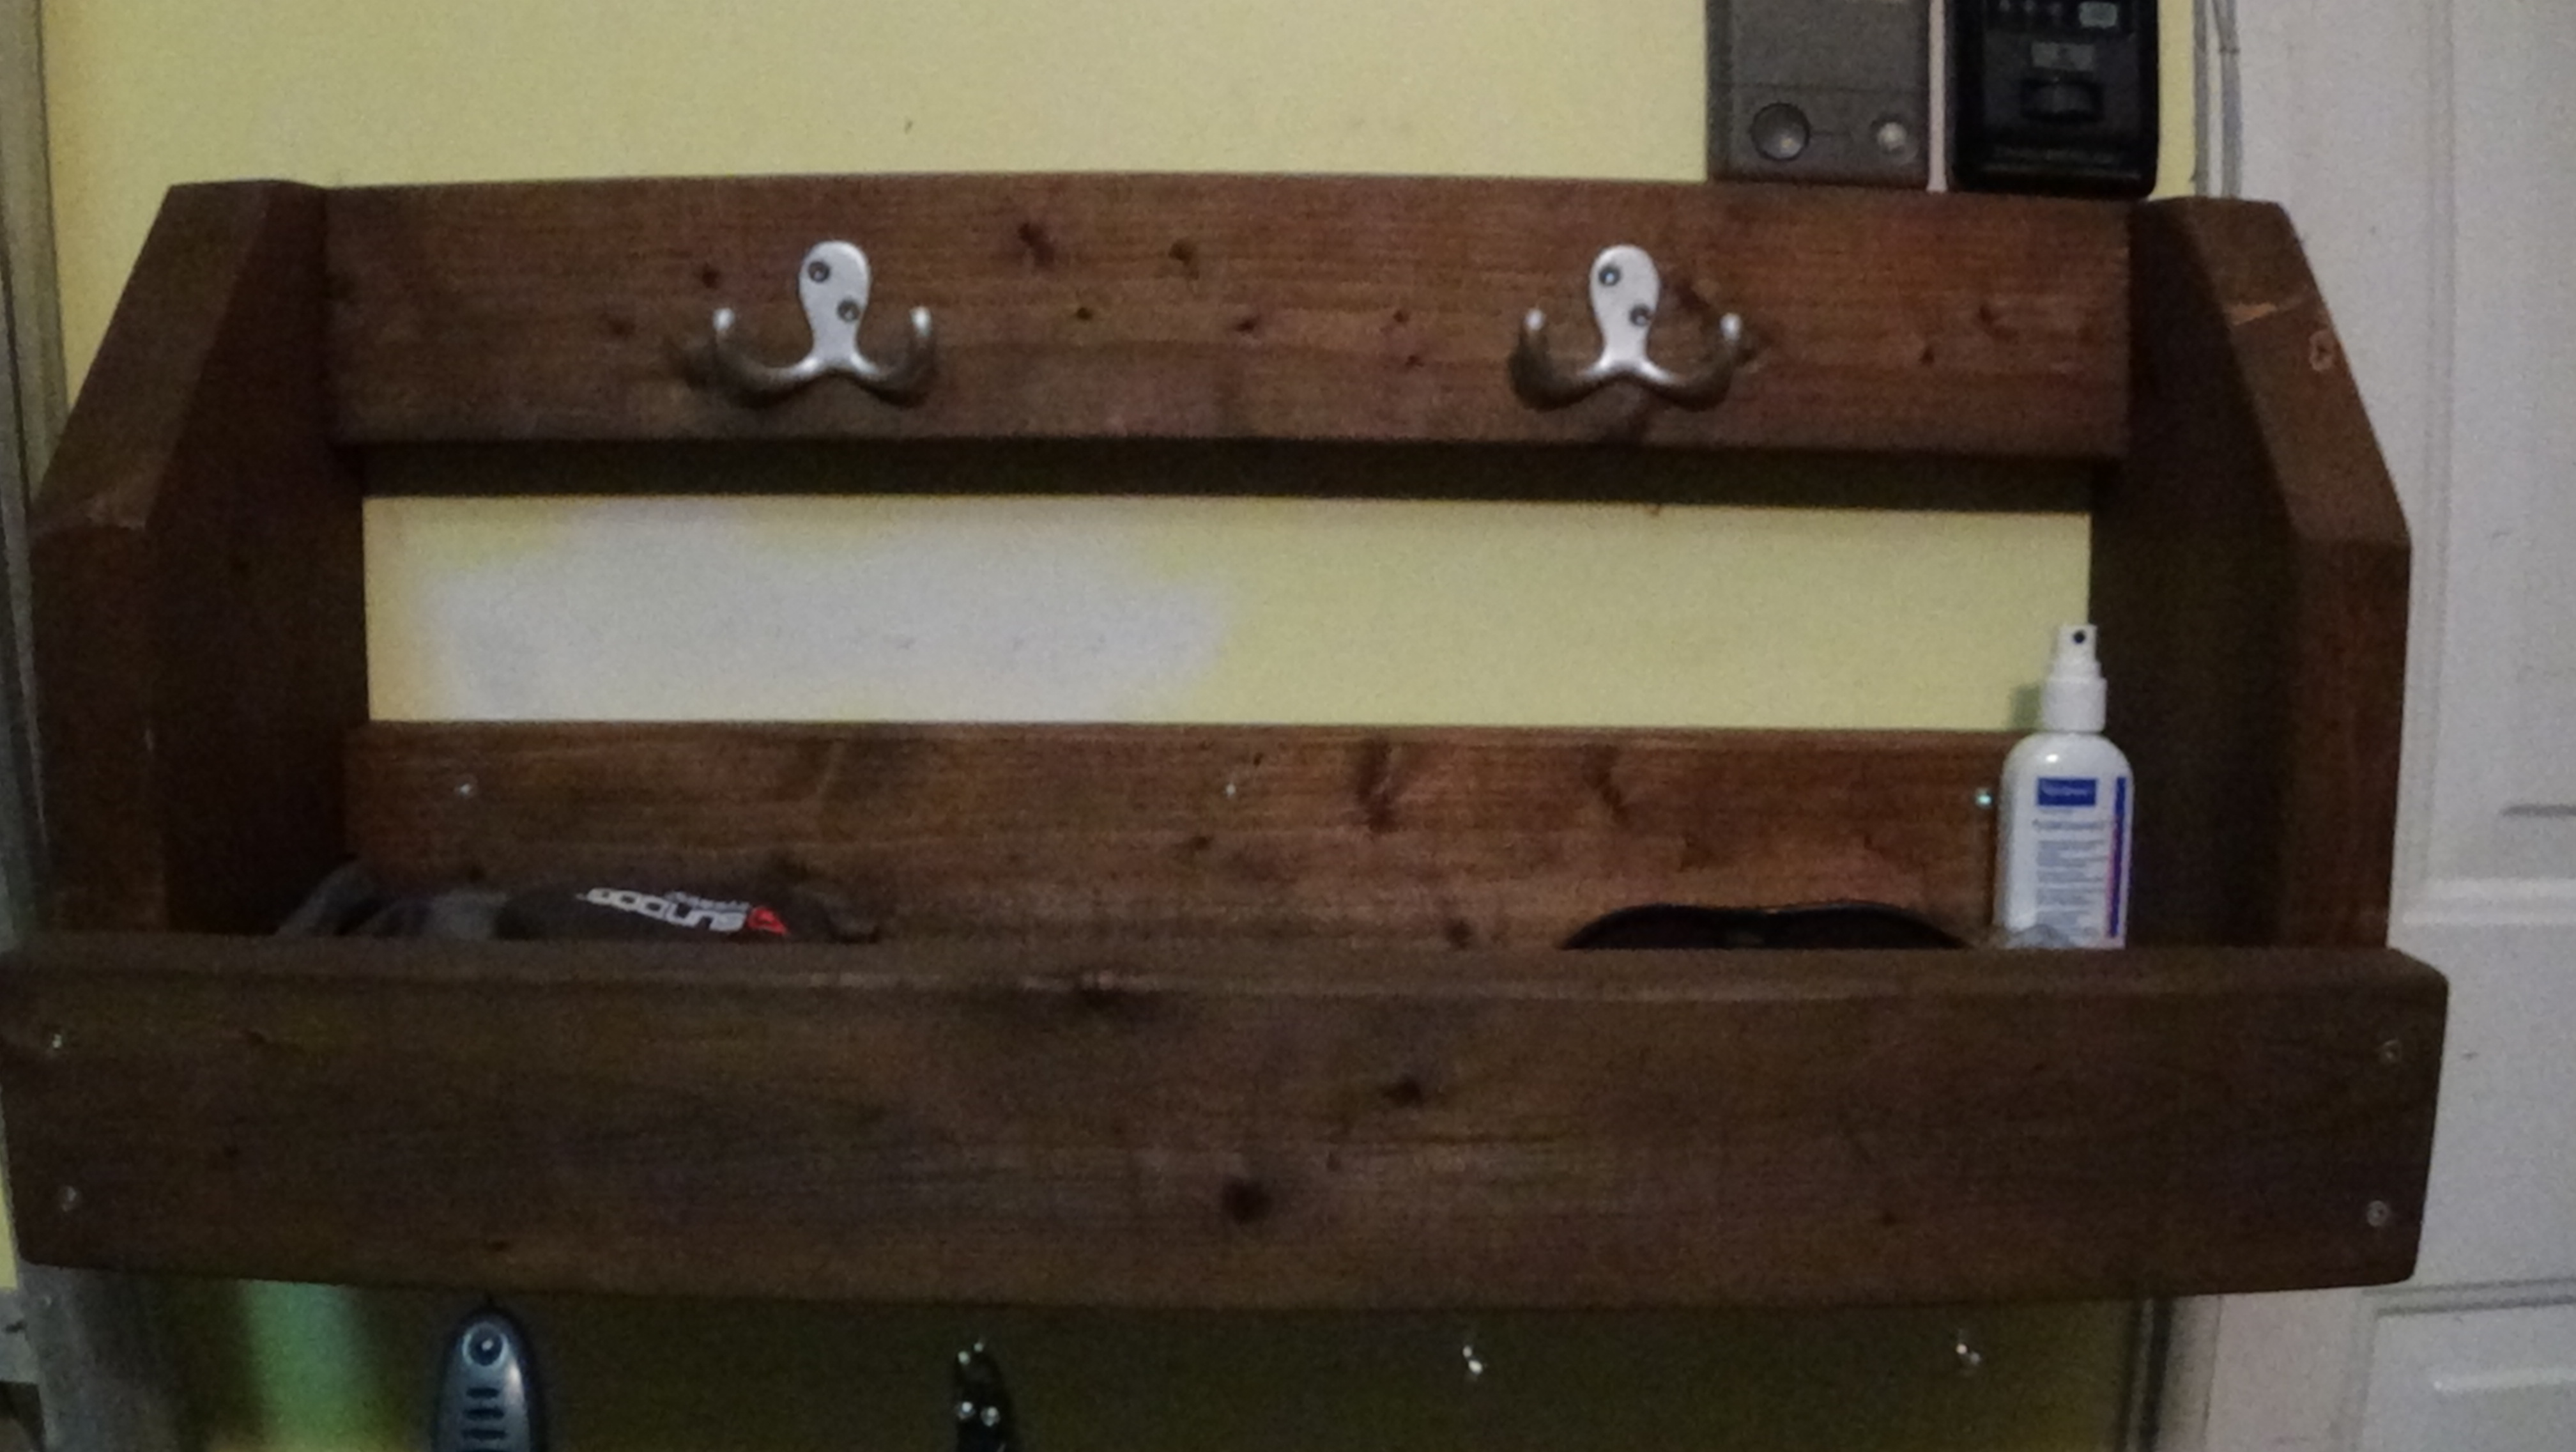
*Important note: the materials list is missing 2 2"X4"X8" (for the 2 cleats) that you need to complete the project.


Comments
alpinecwt
Wed, 01/15/2014 - 09:34
Awesome!!!
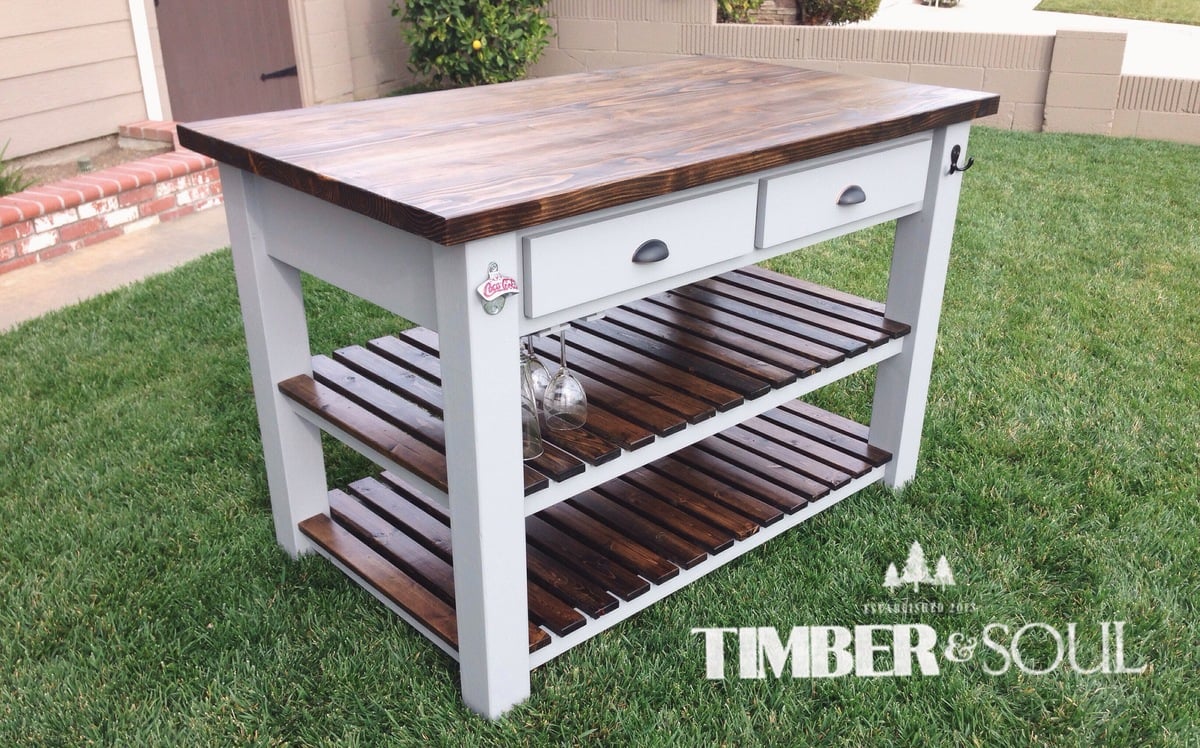
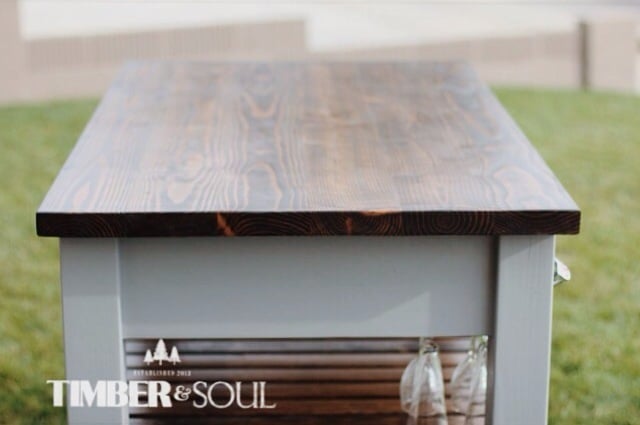
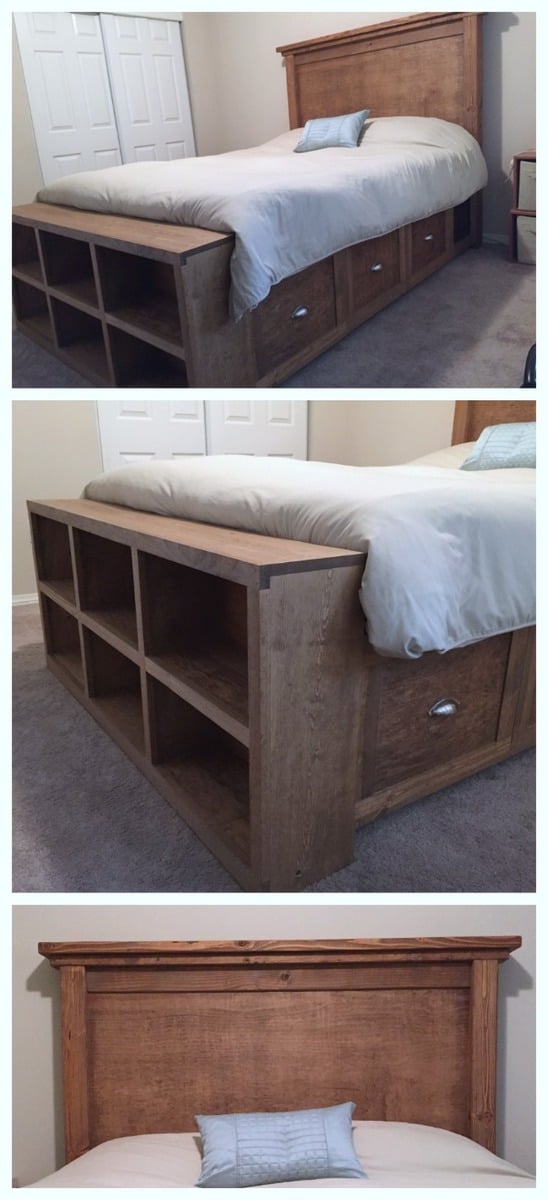
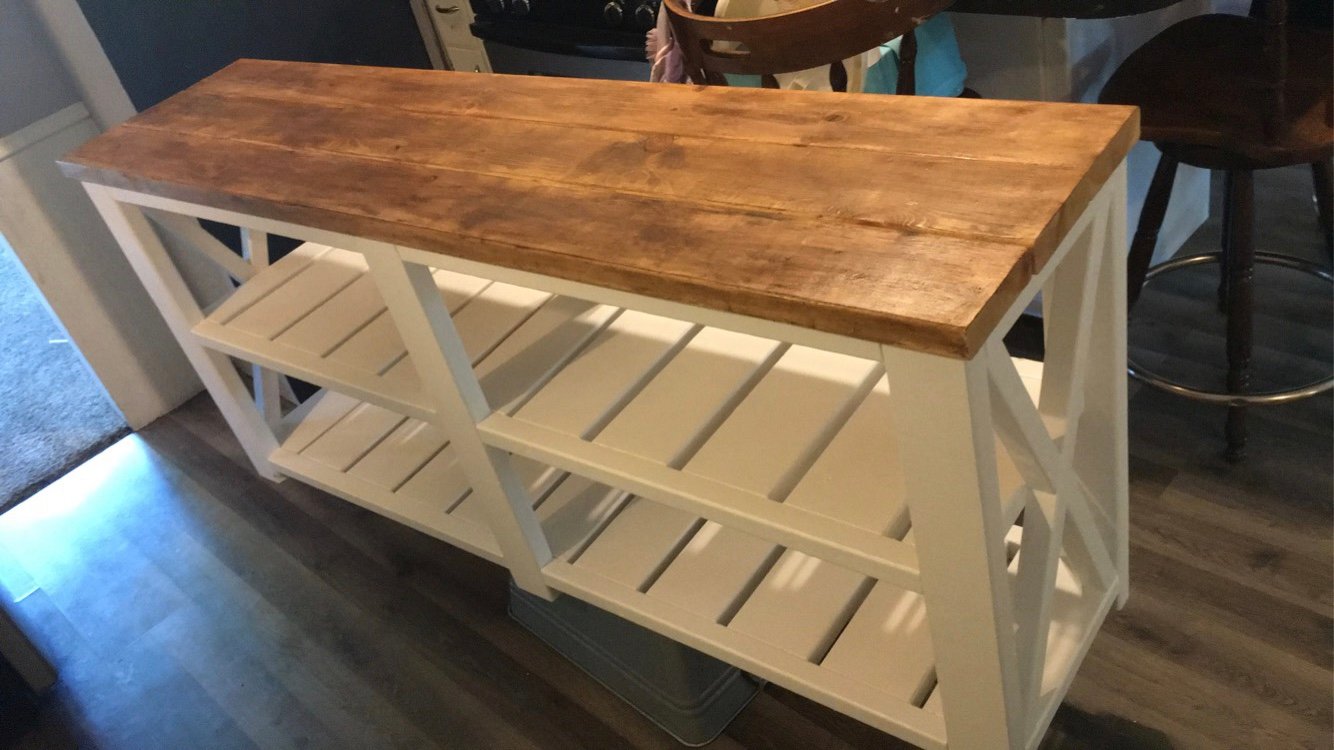
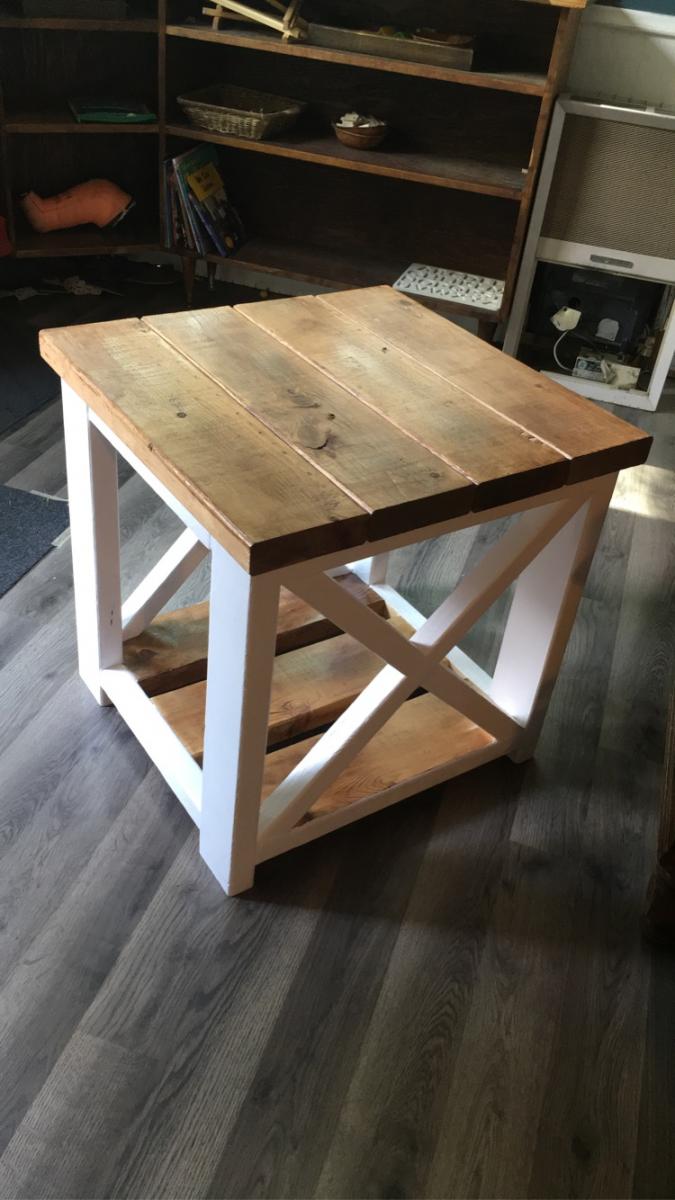
Really like the contrast between the stain and the paint. Great job on your new kitchen island.
dragonsbb16
Tue, 09/02/2014 - 12:19
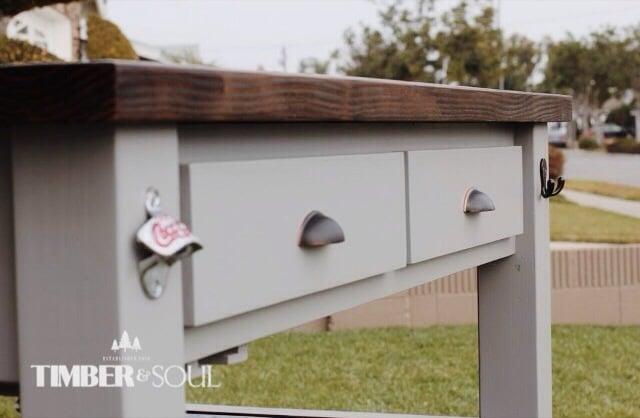
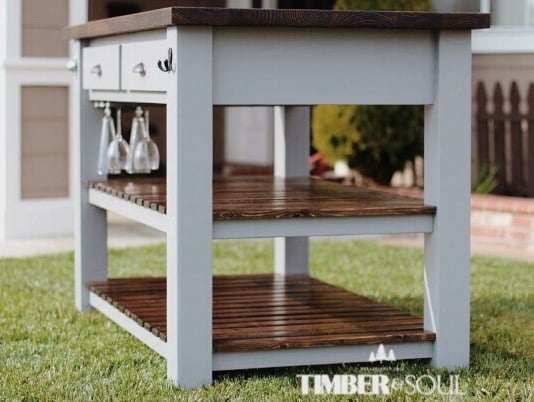
Pocket Screws?
Did you use pocket screws for the shelf supports? Also, what were your dimensions for the shelf supports and shelf tops? They look like about 2 1/2" wide for the tops and 3" for the supports. Thanks in advance.