Pottery Barn Benchmark Media Stand
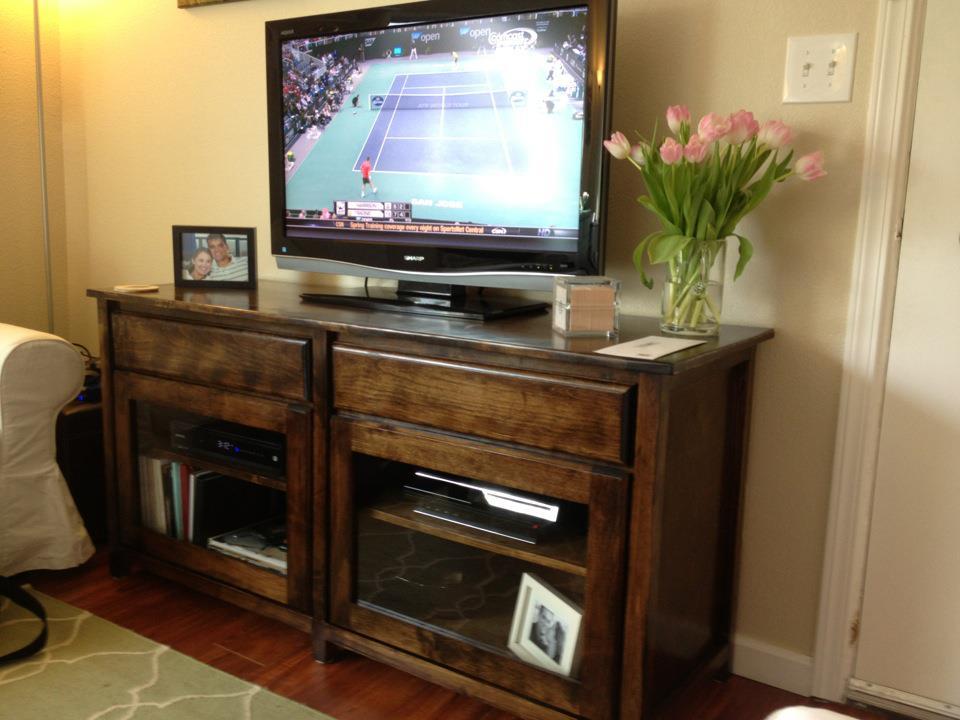
My dad and I built the Benchmark Media console!We made a few minor adjustments but pretty much stayed to the plan.

My dad and I built the Benchmark Media console!We made a few minor adjustments but pretty much stayed to the plan.
Fun little bench to make for our front porch. We liked it so much we built 2 more smaller ones one for each of the kids to go with mommy and daddy's bench. Bought all the material at the home store and decided to use stain since it was going to stay outside. Used the same method with all my other projects sanded using 180 than 220 grit, wood filled all the cracks and the Kreg Jig made this simple.
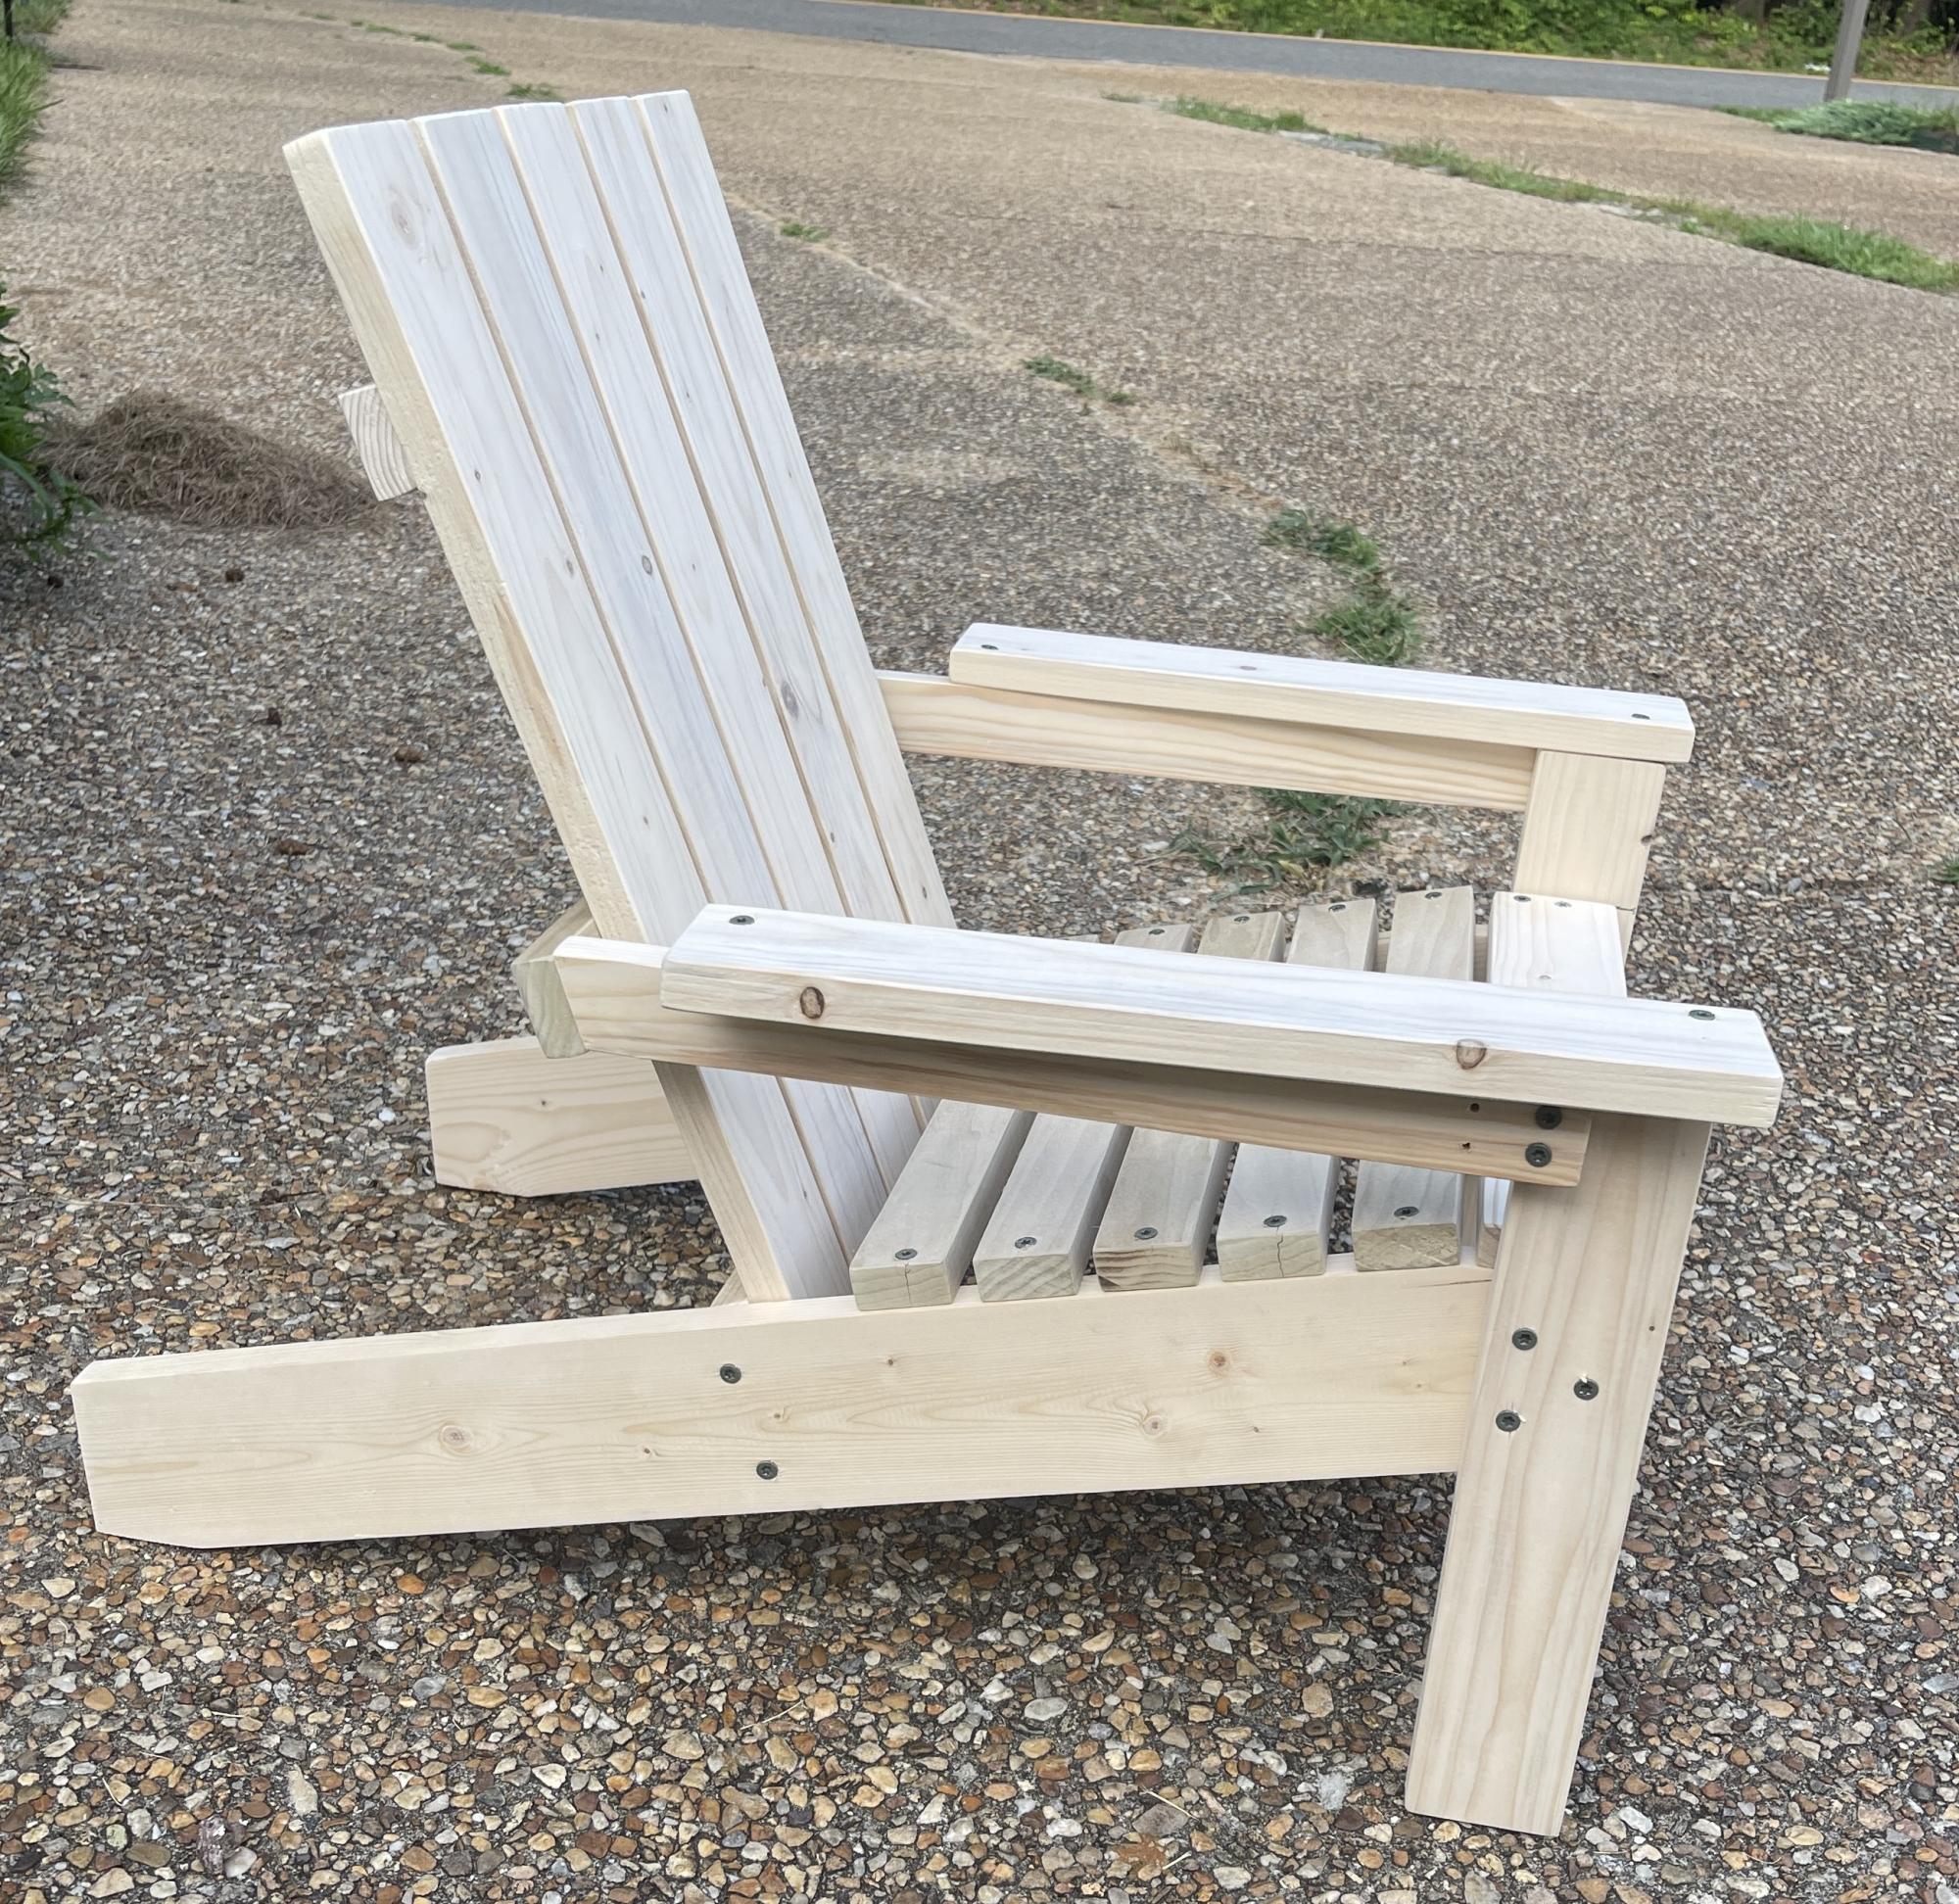
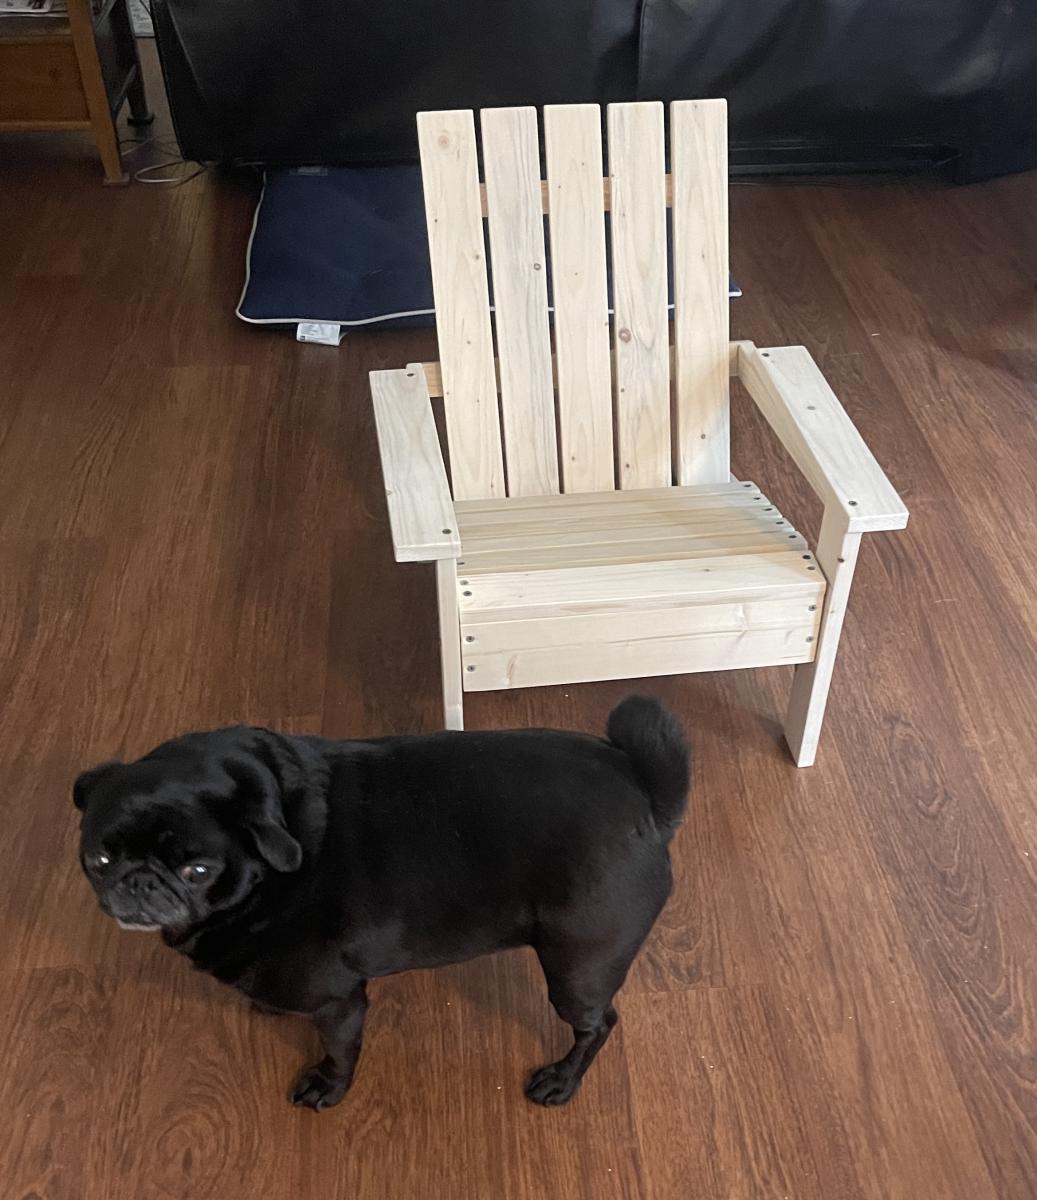
I loved making this chair for my granddaughter! My pug is for size reference! Thank you Ana White!
Chris Dowling
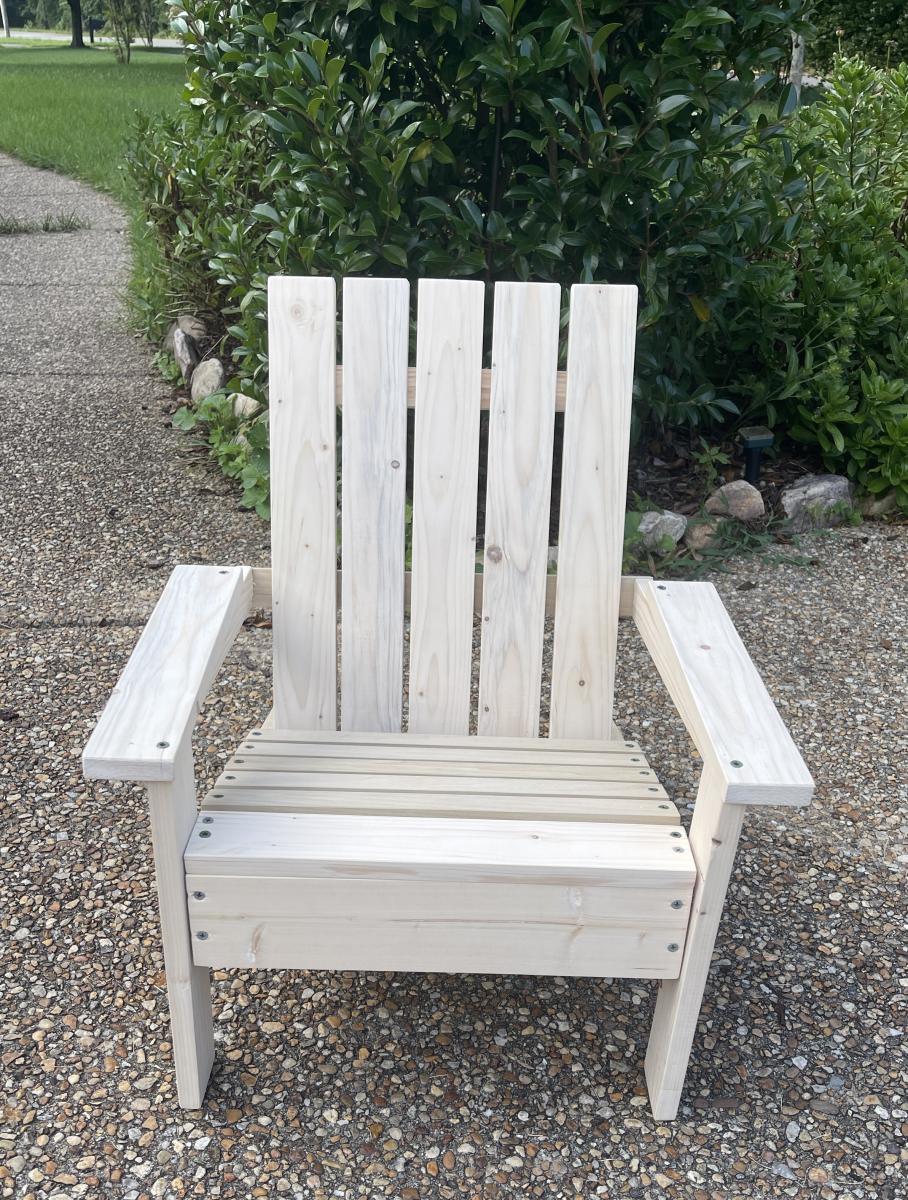
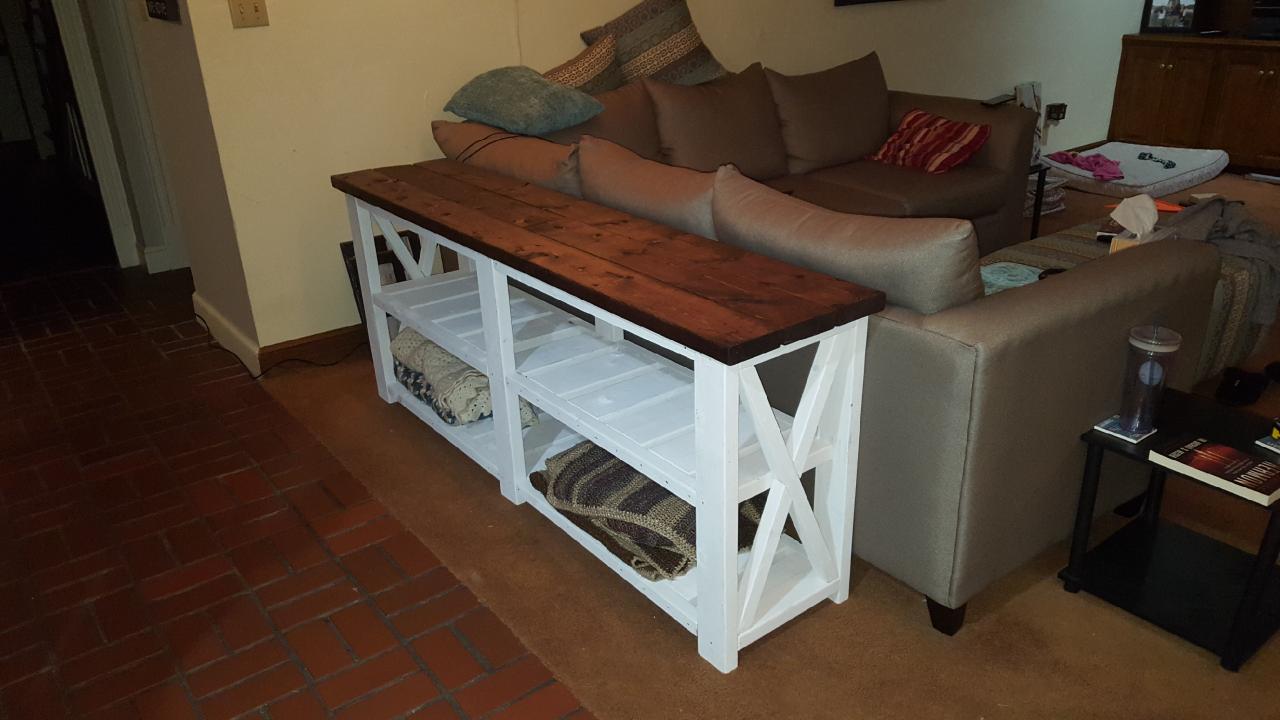
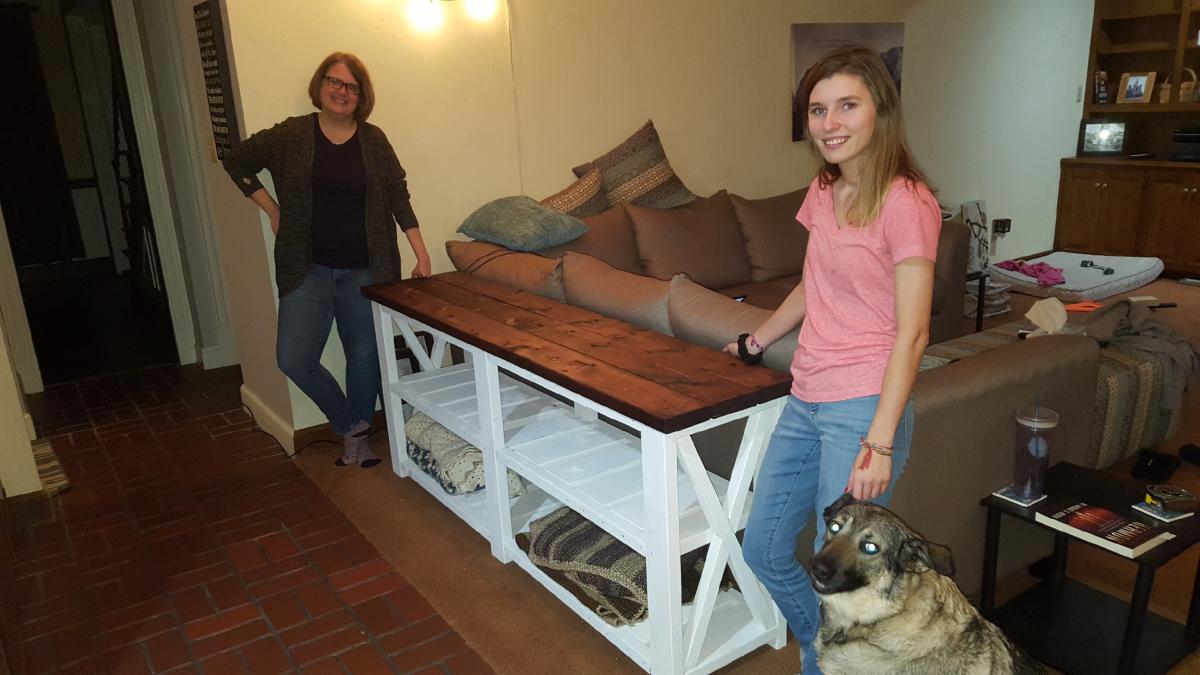
This was my first furniture build, and my 20 year old daughter did it with me! We made some rookie mistakes, but we love it! Super excited to make some matching end tables and or coffee table!
Fri, 04/17/2020 - 11:16
Great first project, love that your daughter is working with you!!!
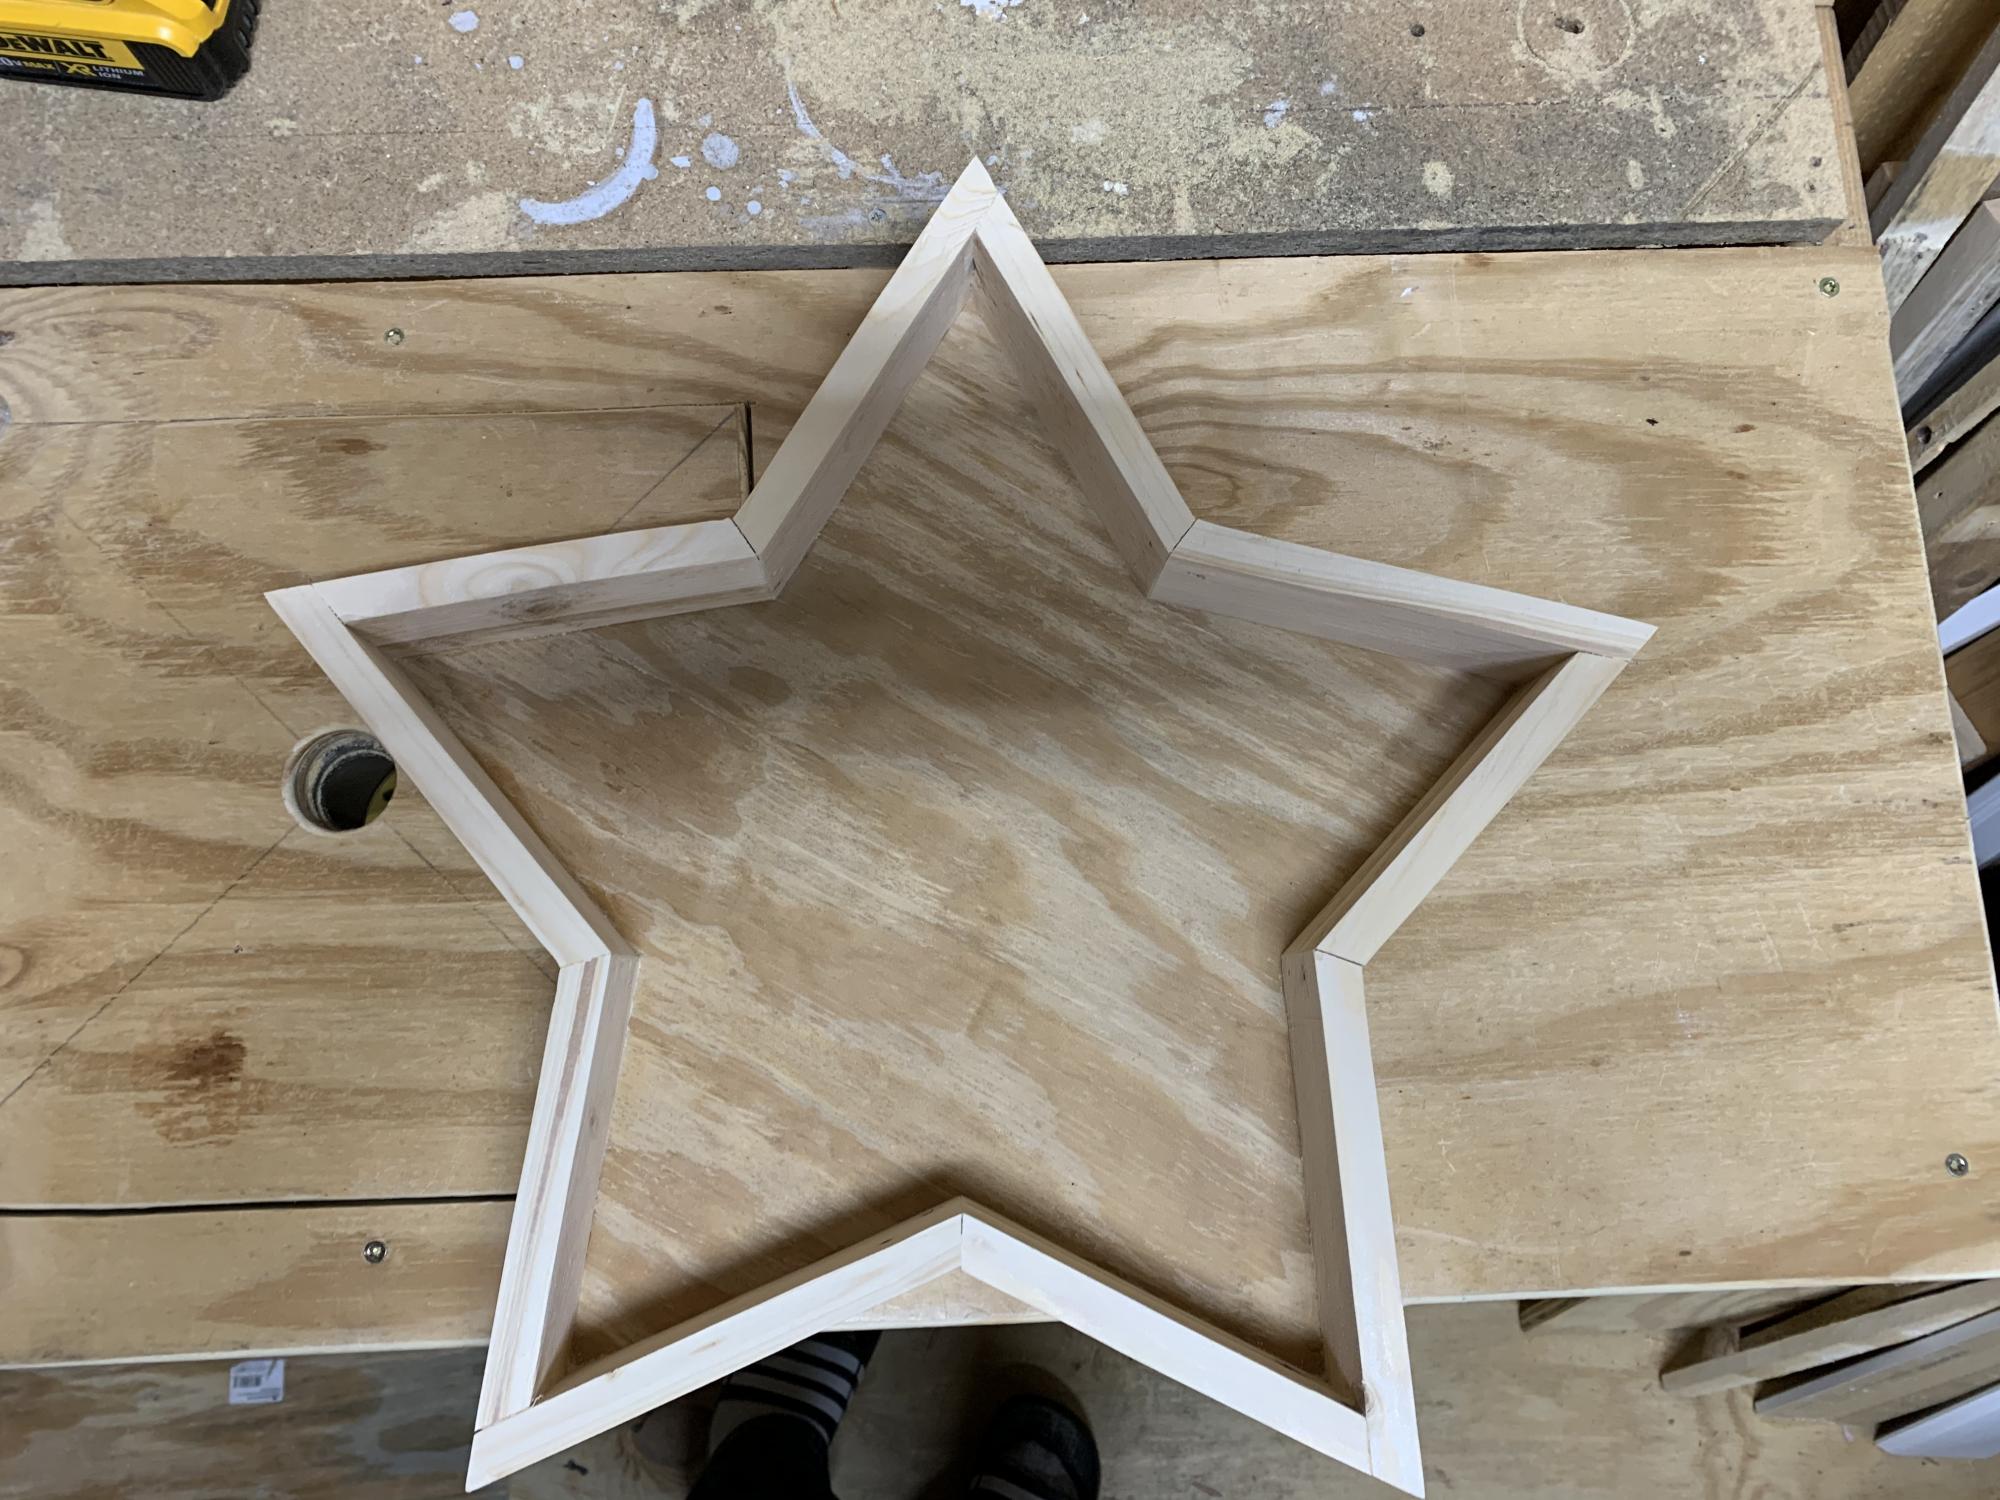
First project in my back porch turned into a makeshift wood shop
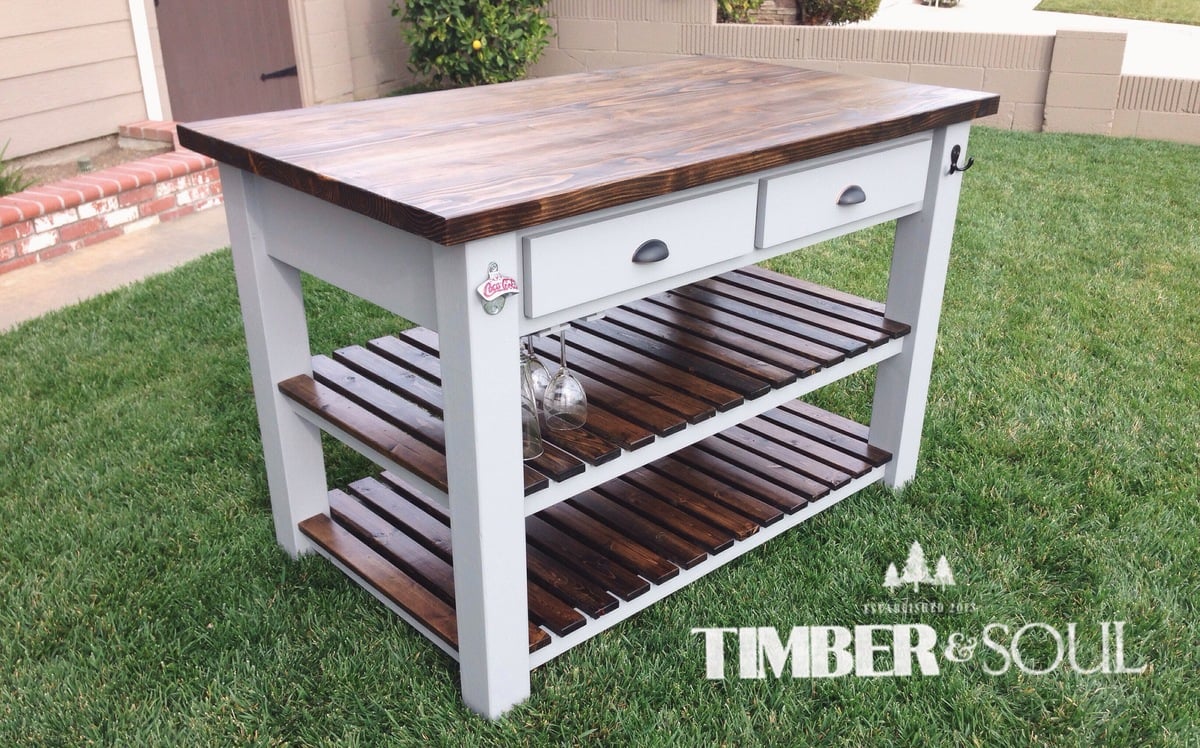
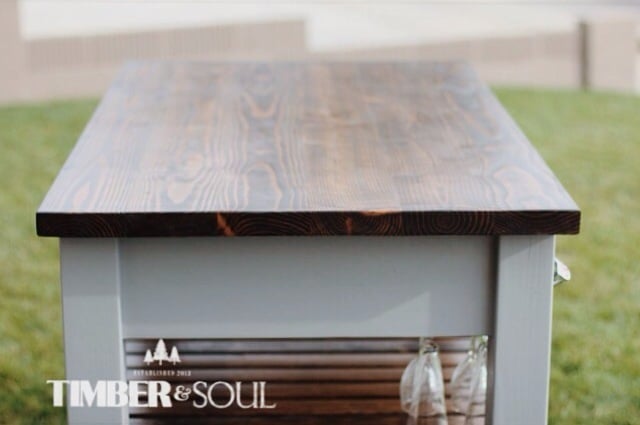
Kitchen Island built from ana white's plans. I attached a wine rack to the underside and changed the design of the shelves to support more weight.
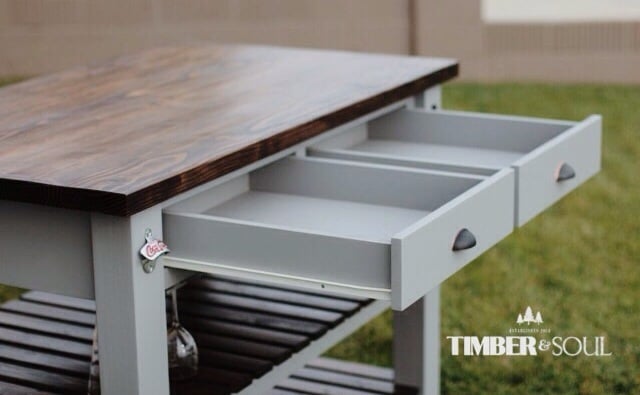
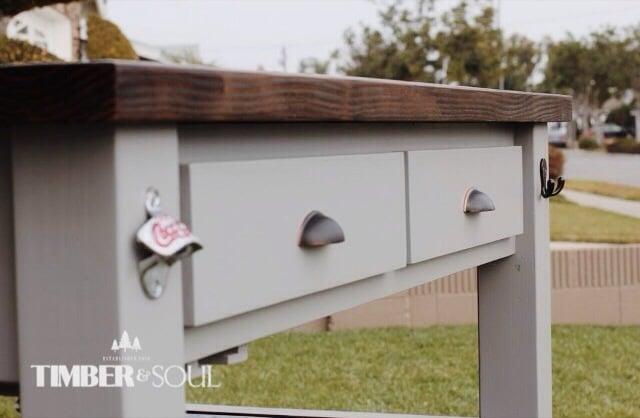
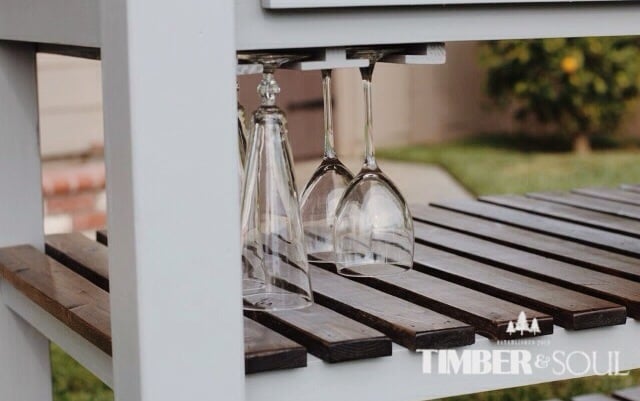
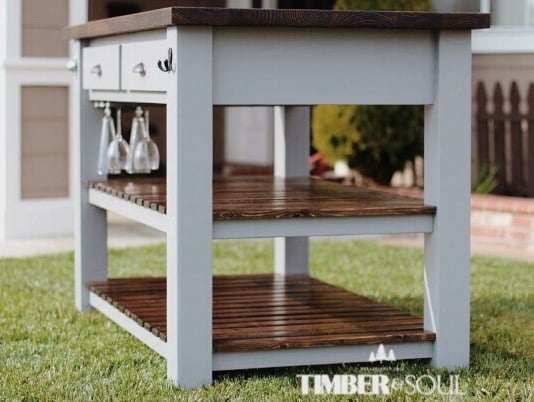
Wed, 01/15/2014 - 09:34
Really like the contrast between the stain and the paint. Great job on your new kitchen island.
Tue, 09/02/2014 - 12:19
Did you use pocket screws for the shelf supports? Also, what were your dimensions for the shelf supports and shelf tops? They look like about 2 1/2" wide for the tops and 3" for the supports. Thanks in advance.
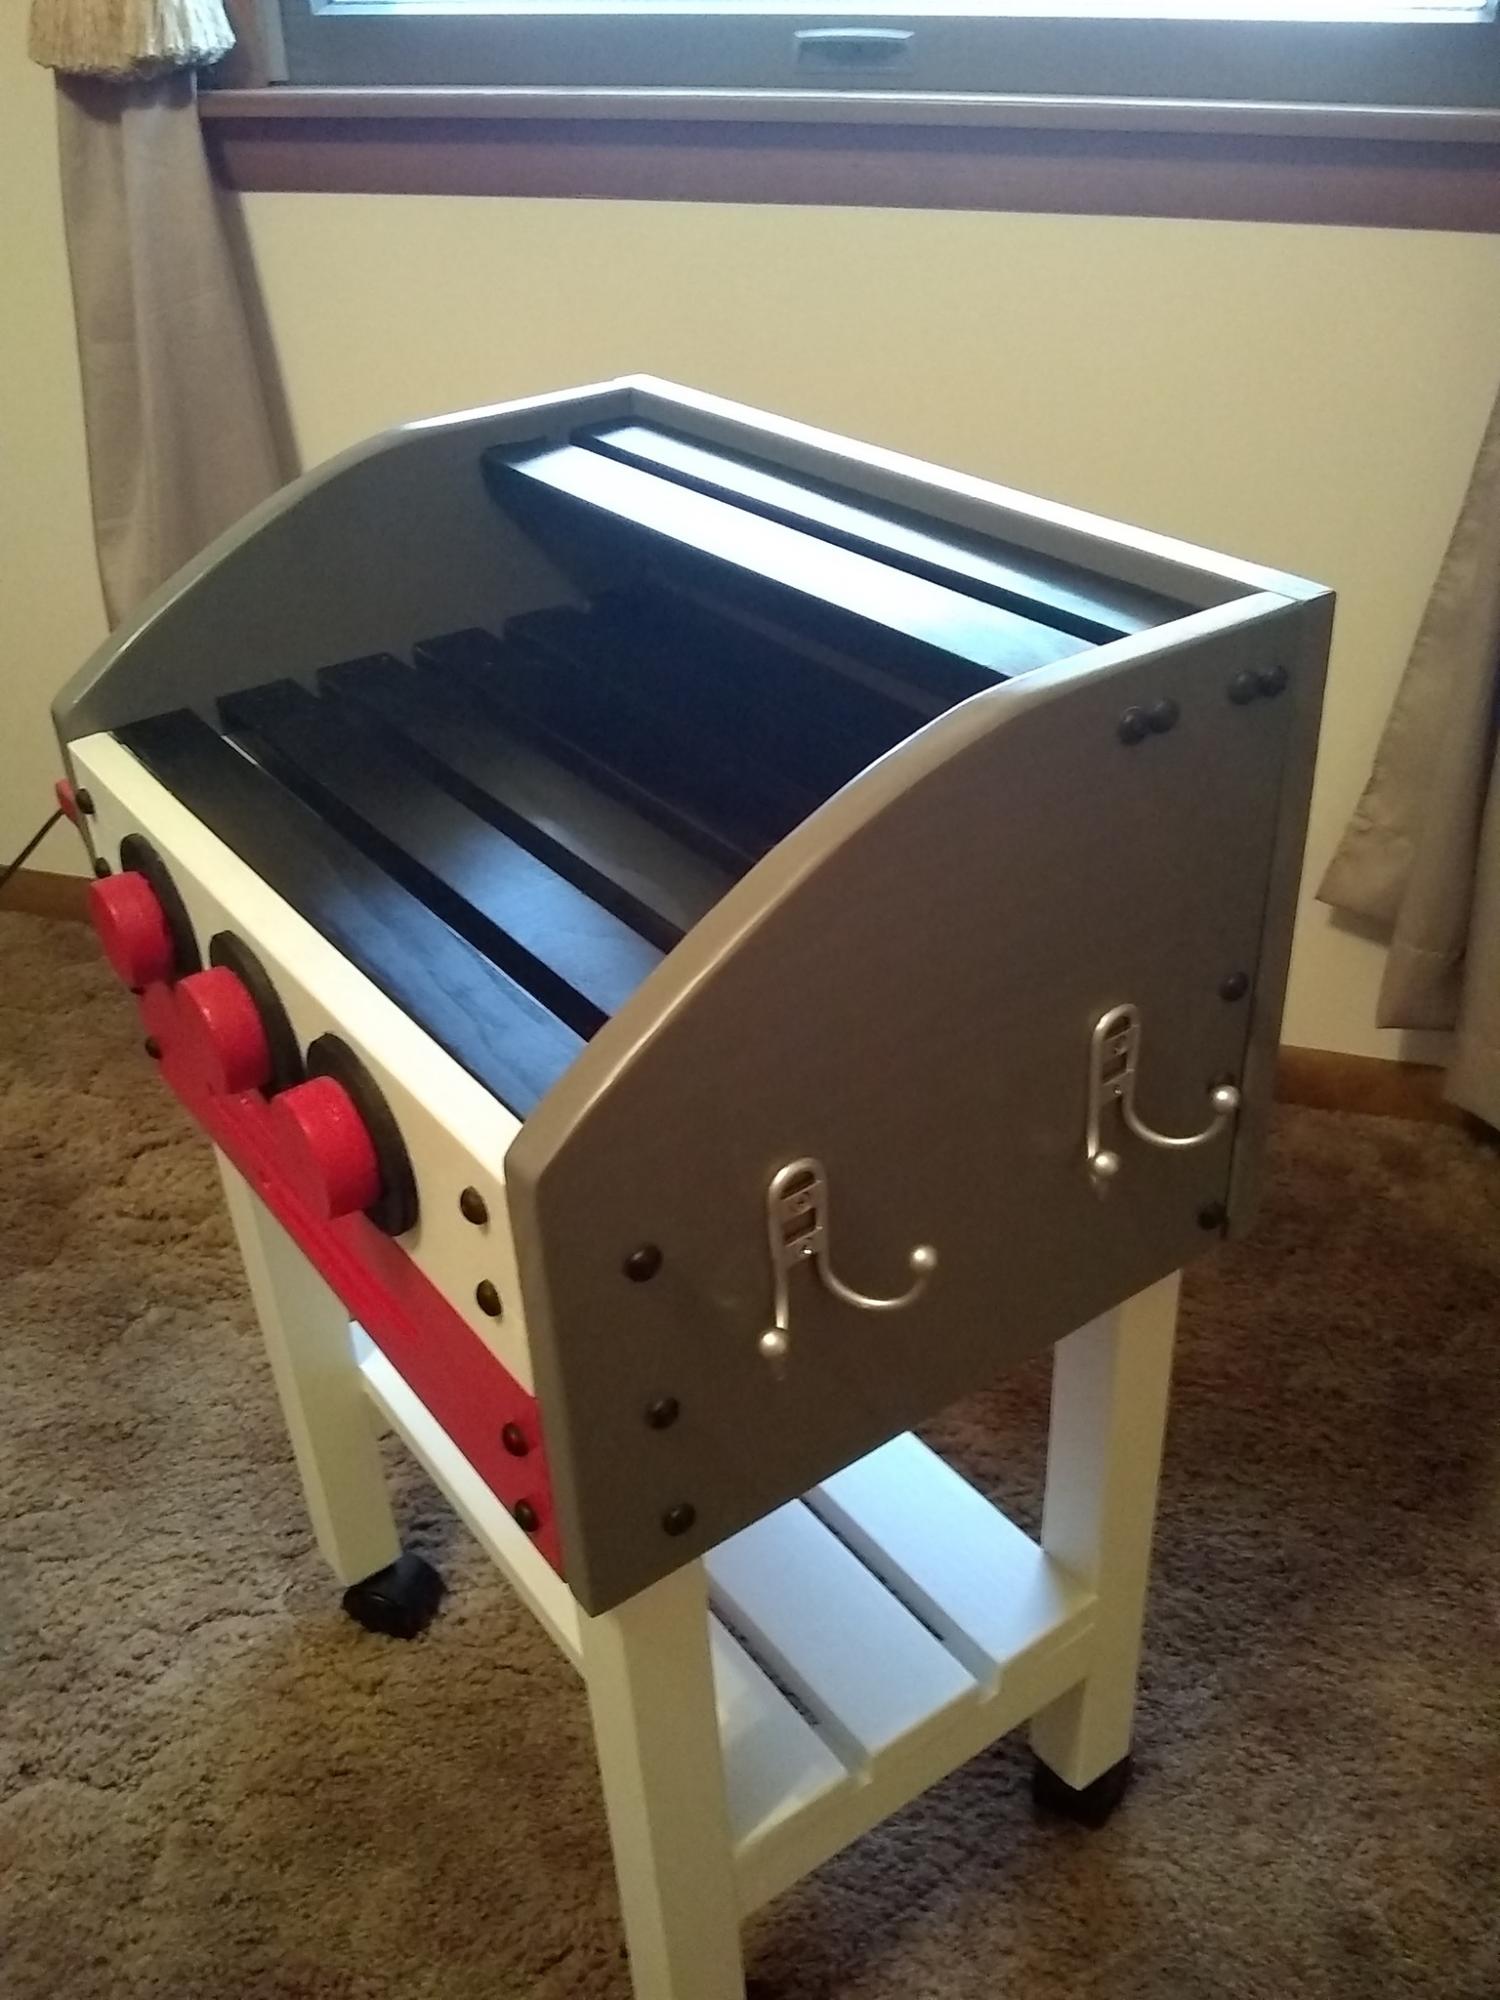
As in a lot of plans I made them to fit my needs. This one was no different. I love Anna and her site. Sometimes things are not always clear. With simple knowledge you can solve most of the problems. I made this version for my 5 year old niece for Christmas. I decided to use 1x12 in place of the plywood . It was easier to work with and made it much stronger With the solid wood I think I lost 1/4 inch in height. I also had extra 1x3 boards I used them for bottom shelf. For the dials I used what I had. I used my hole saw and filled in center with filler. It was cheaper than buying a dowel. I think it is easier to mount the shelf before you put the sides on. Top grill I stayed with 1x2 I thought it looked much vetter that 1x4 board. I finished it off with castors I think that put the icing on the cate and made it even better. She loved it.
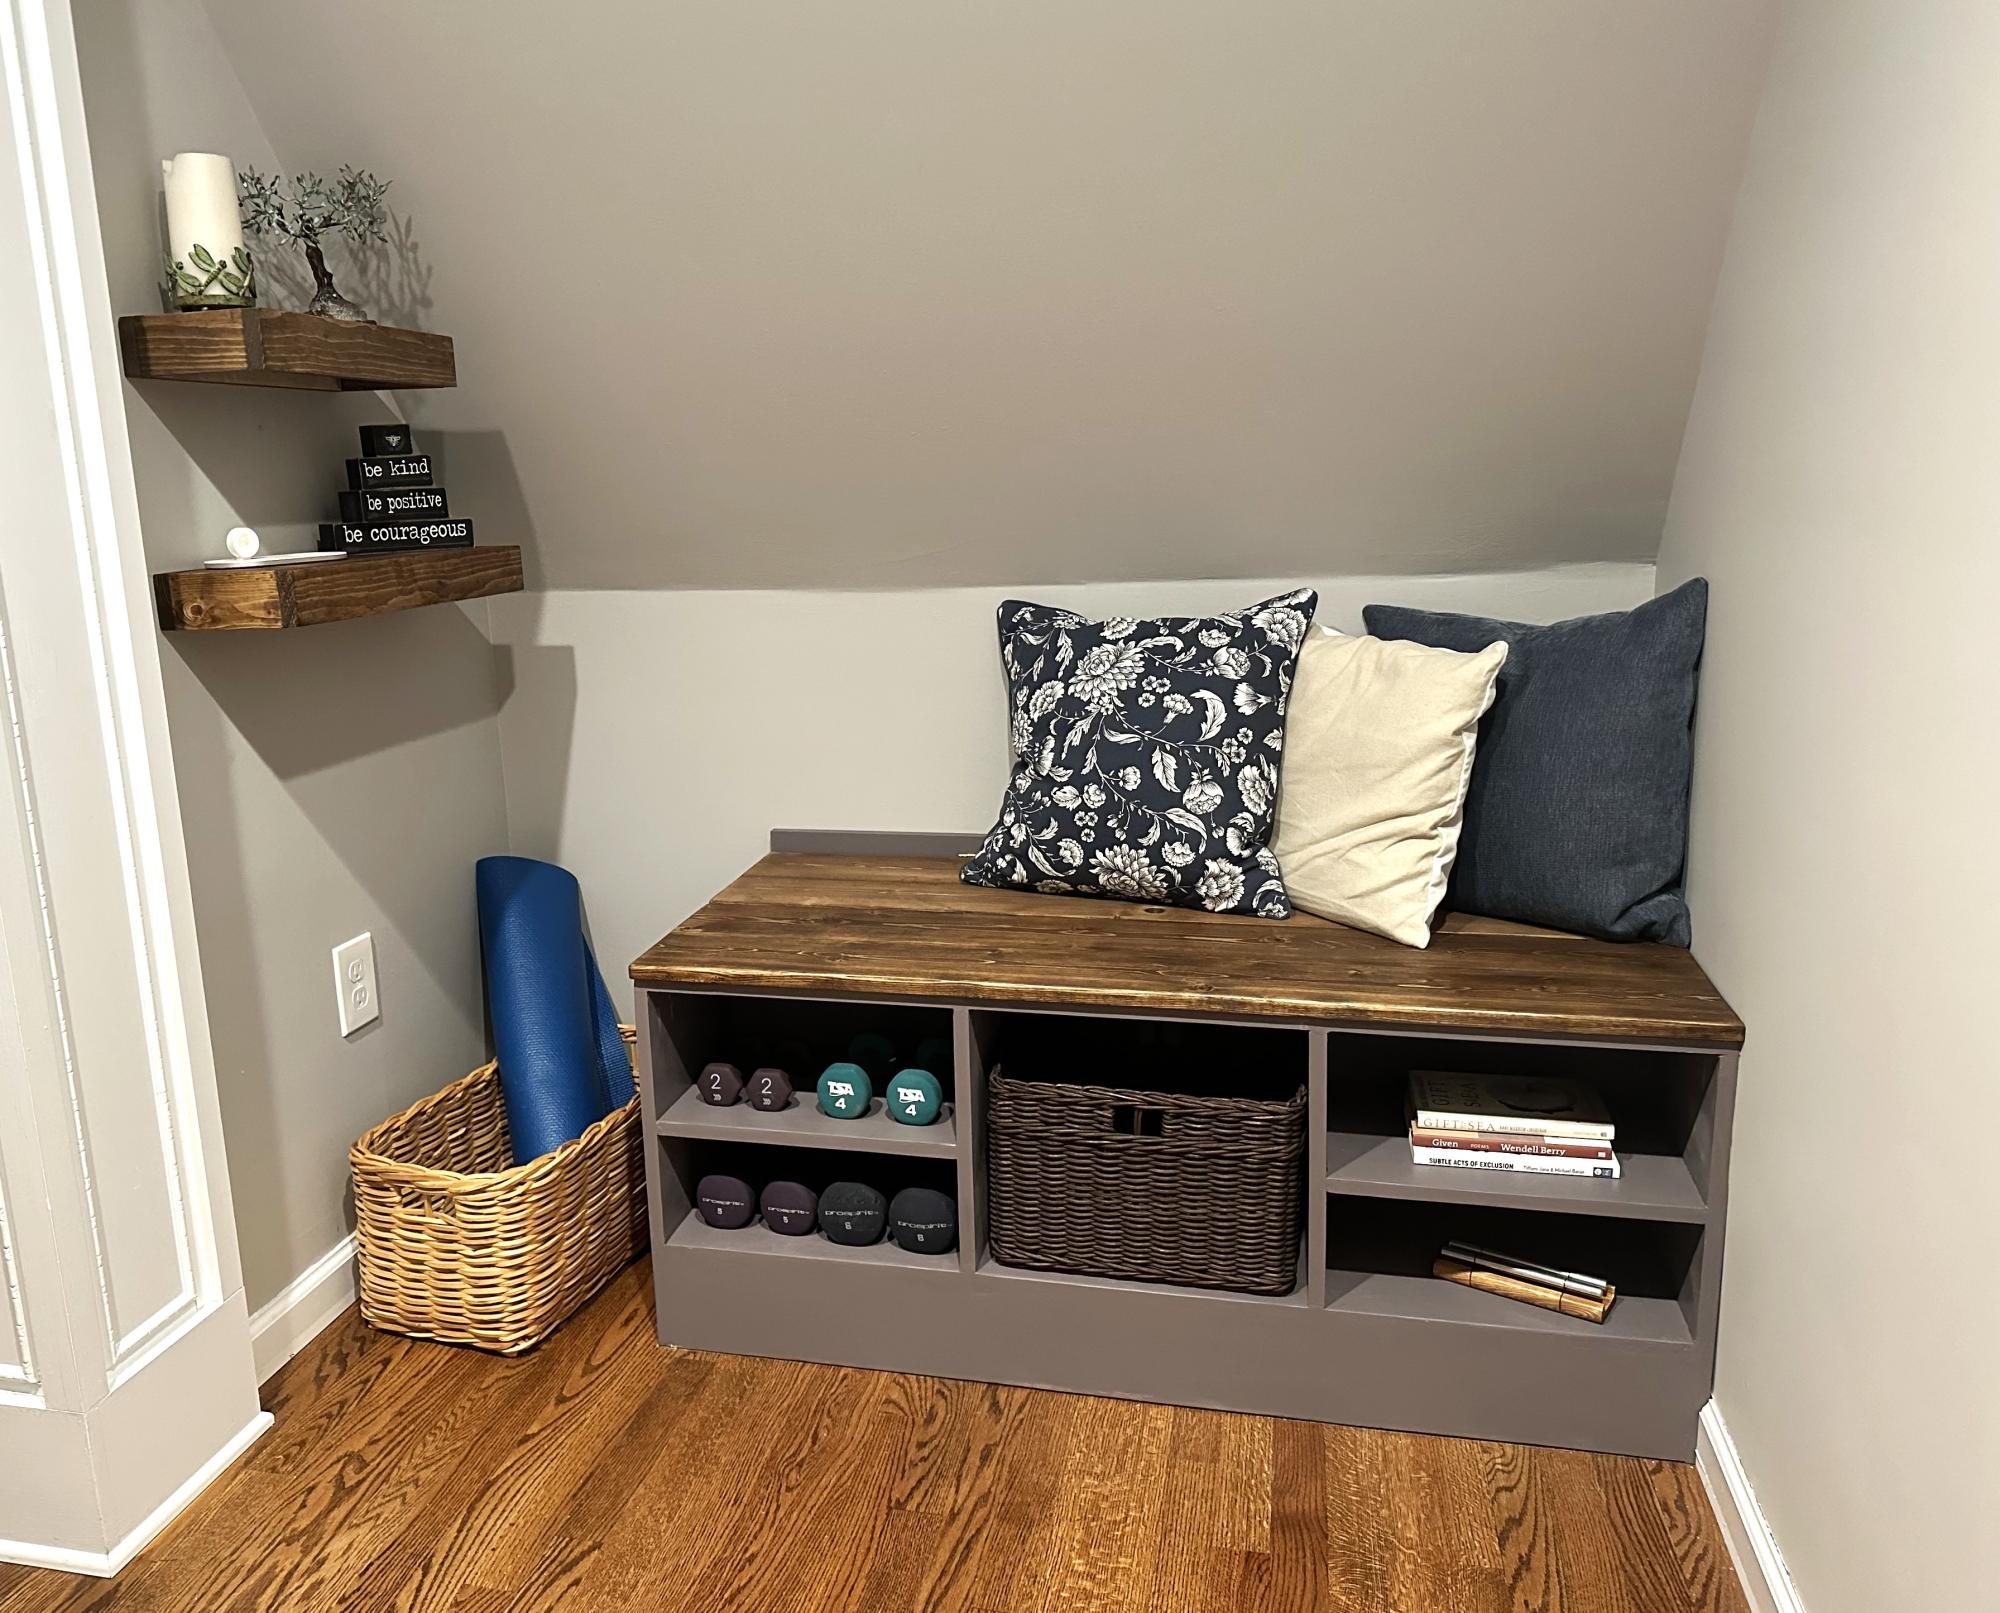
Exercise/Yoga nook. Built using the base plans from Ana's Shoe Bench Front with Hidden Storage and Easy to Build Floating Shelves.
I found these plans online and was just waiting for the kids' grandpa to come out and build it. Could be built in one afternoon (depending on how many trips to your local Home Depot, and availability of the correct tools)
Modifications from original plan:
6x6 instead of 4x4
Brackets to hold patio umbrella for shade
Added seat gussets for additional support
Added "wooden flange" around bottom of box to run lawnmower on
One additional center back support on each bench
One centered handle (instead of a handle on each end)
Stapled landscape weed barrier fabric onto the bottom
Sanded all exposed edges
Materials:
4@2x10x8'
12@1x6x6'
2@2x6x12'
8 hinges
2 handles
3 1/2" decking screws (for attaching 2"x boards)
1 5/8" decking screws (for attaching 1"x boards)
2+ 1 1/4" 2-hole straps for metal conduit (for attaching patio umbrella*)
*Our patio umbrella pole was 1 1/2" diameter, but 1 1/2" straps had too much play, so we used 1 1/4" straps and misc flat washers to adjust the snugness to the pole
Cut lengths:
2@2x10 cut to 72" (long sides of the box)
2@2x10 cut to 69" (short sides of the box)
Cut one each of the following out of a 12 footer:
2@2x6 cut to 75" (long side "flange")
2@2x6 cut to 64" (short side "flange")
No cuts were made to the 12 1x6's
Used one leftover 2' from the 2x8x10's ripped in half cut to 11.5" for arm rests
Used two leftover 2' sections from the 2x8x10's ripped in half cut to 21" for back supports
Used the last 2' cutoff to make two seat gussets (cut about 9 1/2" off and then ripped it at 45 degrees)
Used the remaining piece (ripped in half length-ways) to attach to the center of the backrest for additional support and as the attachment point for our handles
We decided to do one handle in the center of the backrest so one reasonably strong adult could open the lid
The bottom "flange" was assembled with the box upside down. Basically a 2x6 screwed to the bottom edge of the box allowing 1 1/2" overhang all the way around
After making cuts, but before assembly, we recommend using a quarter-sheet pad sander (or similar) with 60 grit paper to break all of the edges and round over any ends or corners that will be in contact with sandbox users
Followed other general assembly instructions
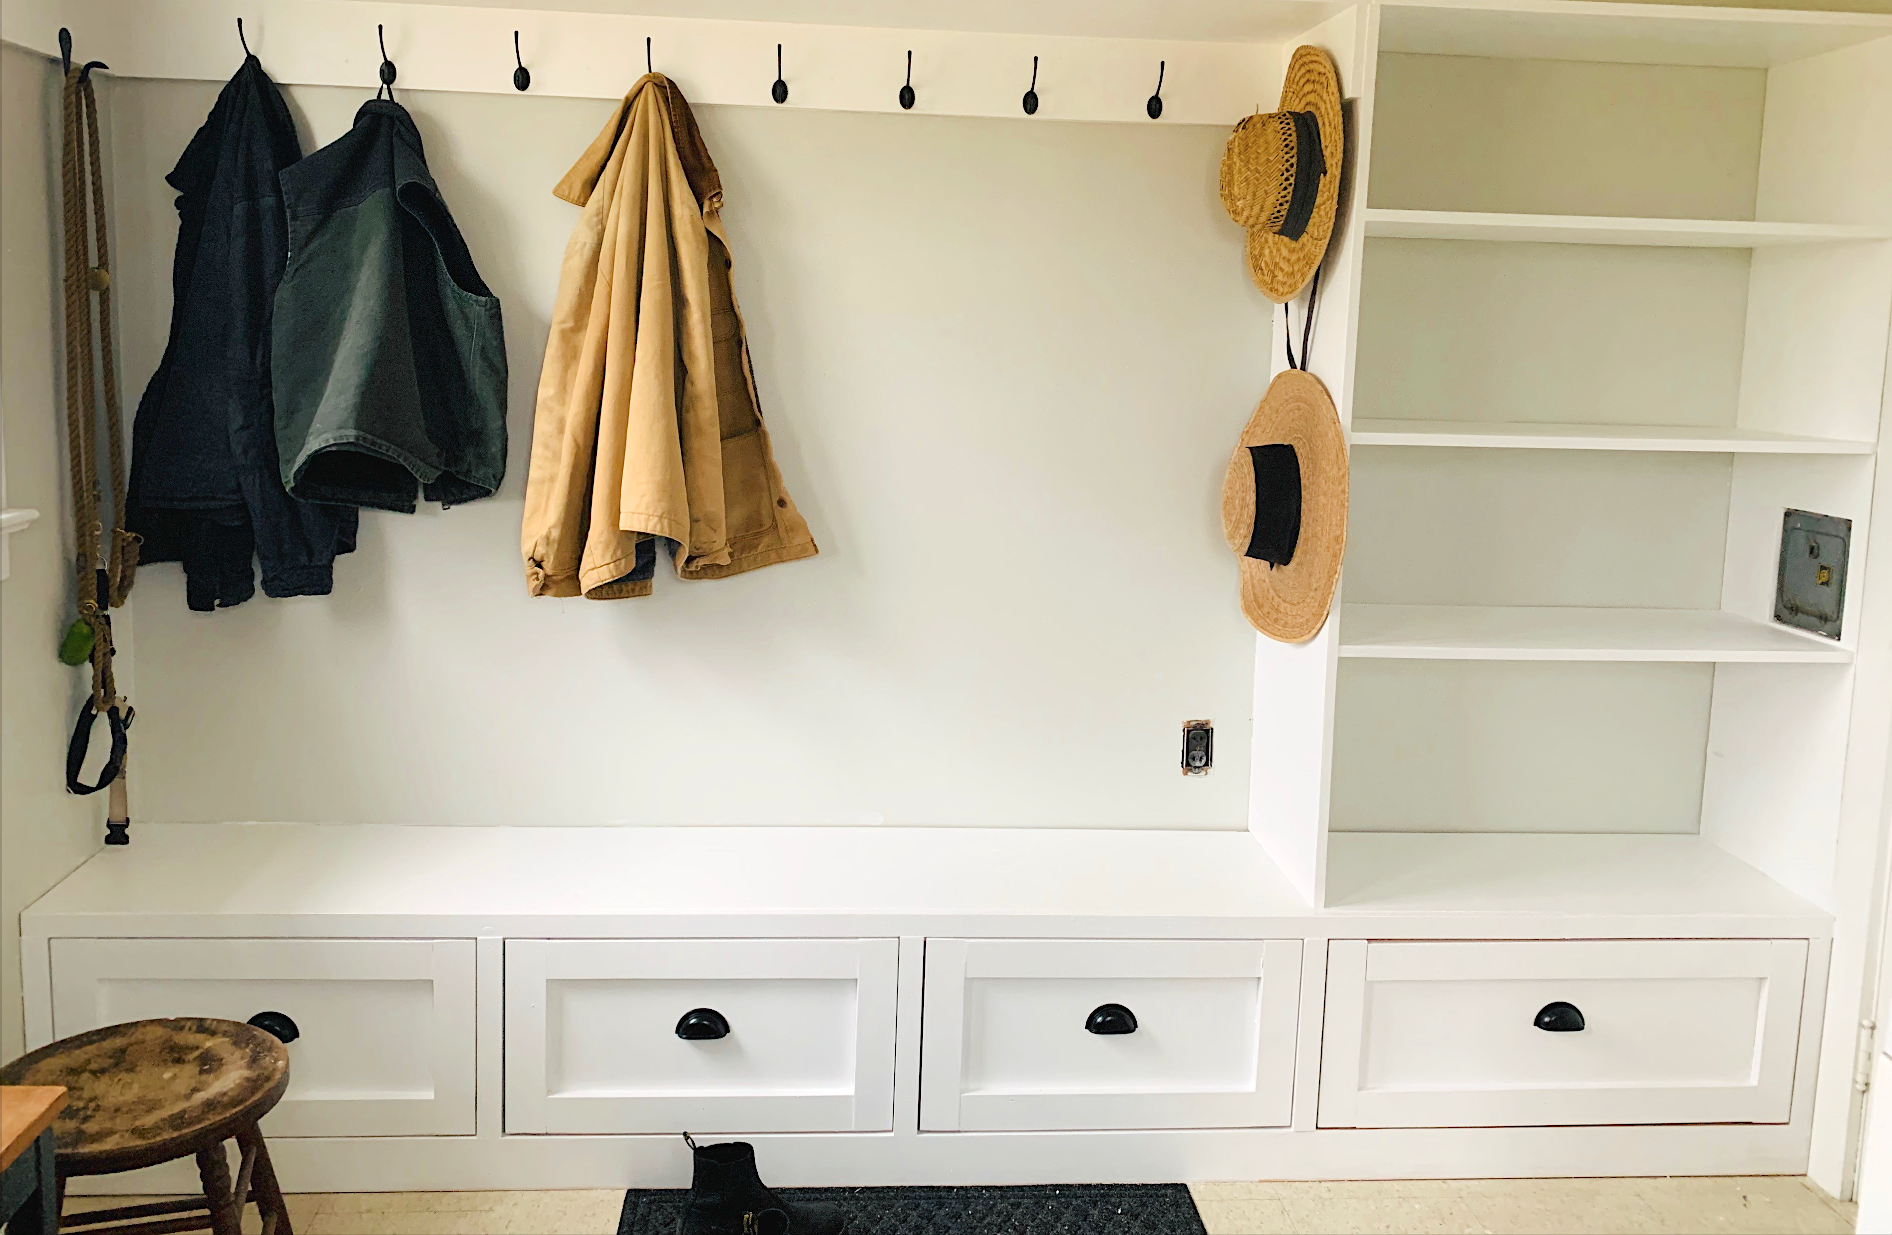
We built upon the mudroom bench plans. The length dimensions had to be modified to fit our room, but for the most part we stuck to the directions. We switched to metric for this project and it was the best decision. Make sure you have a Kreg Jig.
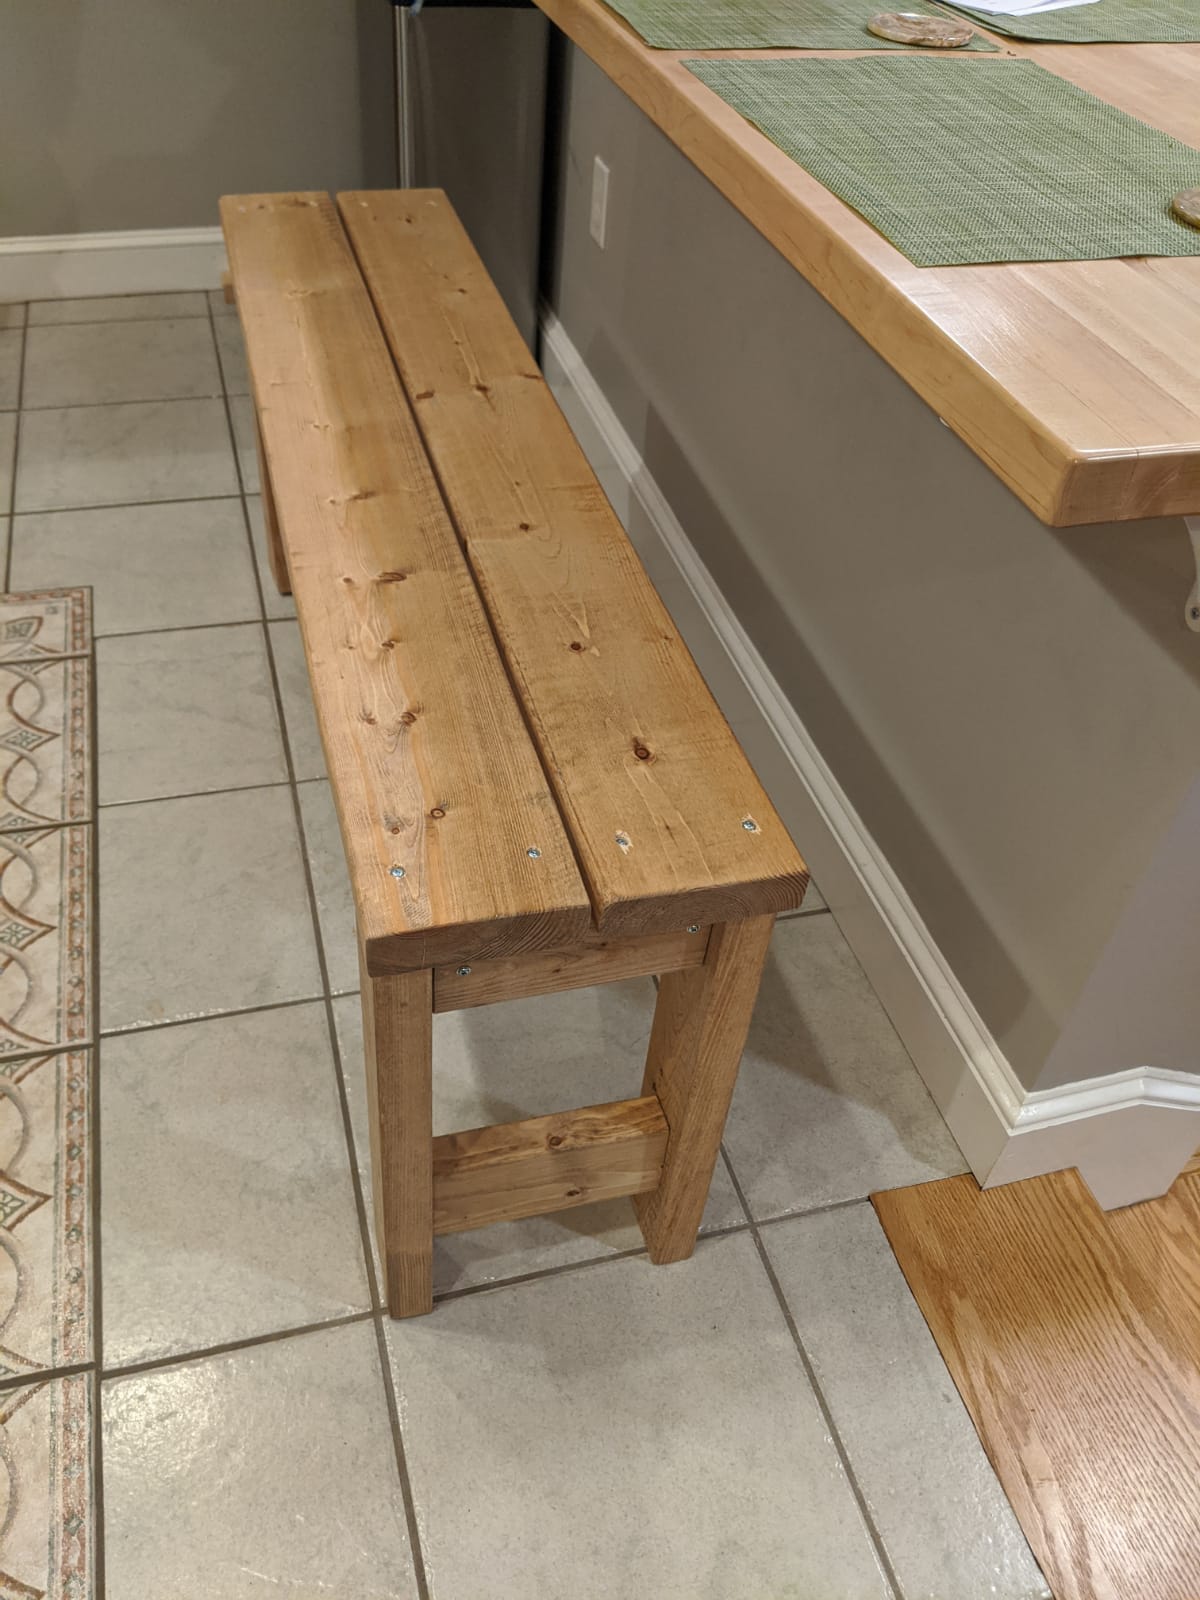
We finally finished our first project - definitely made mistakes, but learnt a lot. I feel ready for tackling the next one
My first big project. Great for beginners.
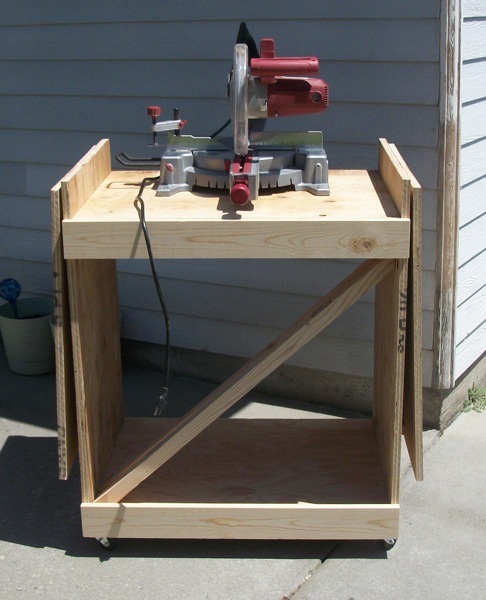
Love this plan, it was easy to do. I did modify it a little as did another member with longer support arms. I just purchased an extra 2x2 and cut it to fit! Thanks for the great plans!!! Hope to see more shop furniture on here soon!
In reply to This is just great!!!! by Ana White
Thu, 06/14/2012 - 01:00
Always love to get feedback and when the Queen Bee of Building comments with a compliment, I'm just thrilled!! Thanks a bunch for posting the plans!!!!
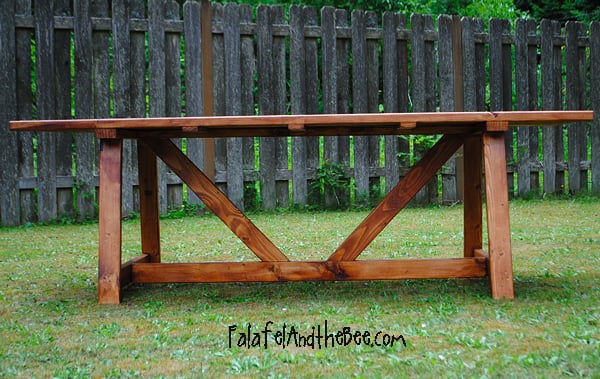
This is my second large wood project...and both from this blog! The plans were fabulously easy. This was the first time I used my miter saw, and it was a great way to break it in.
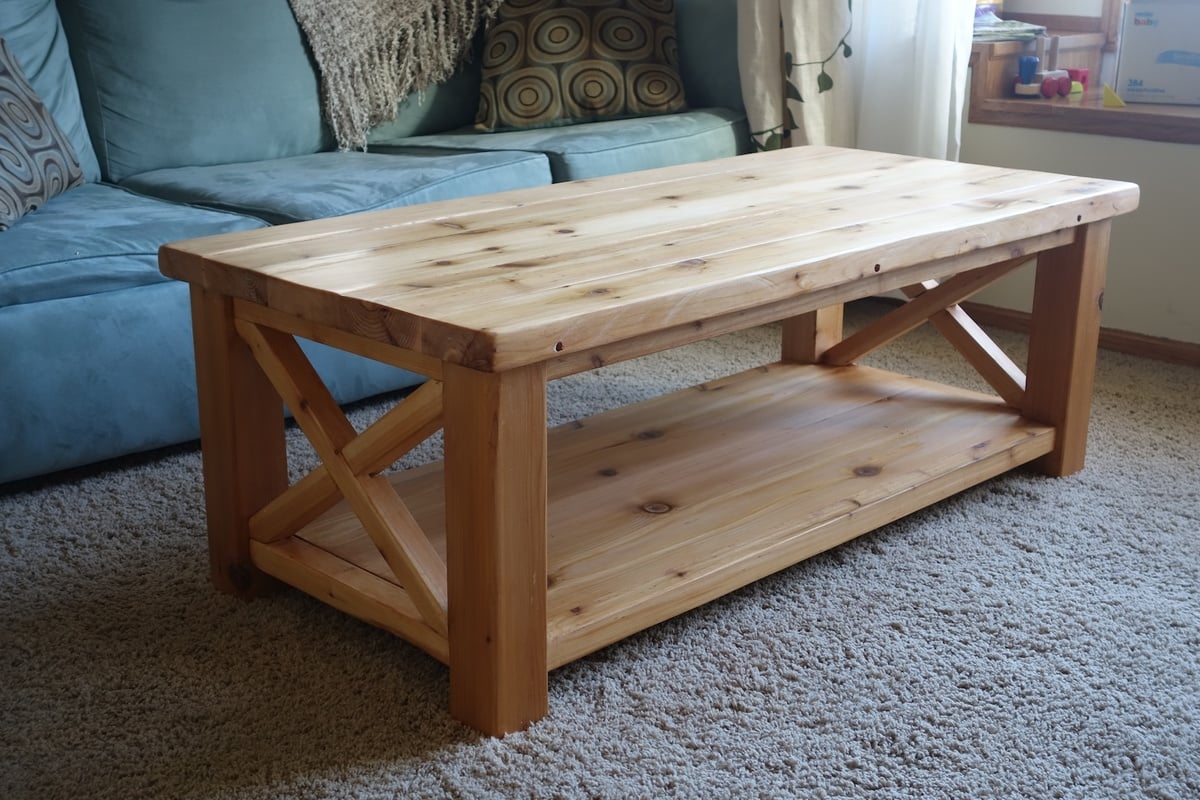
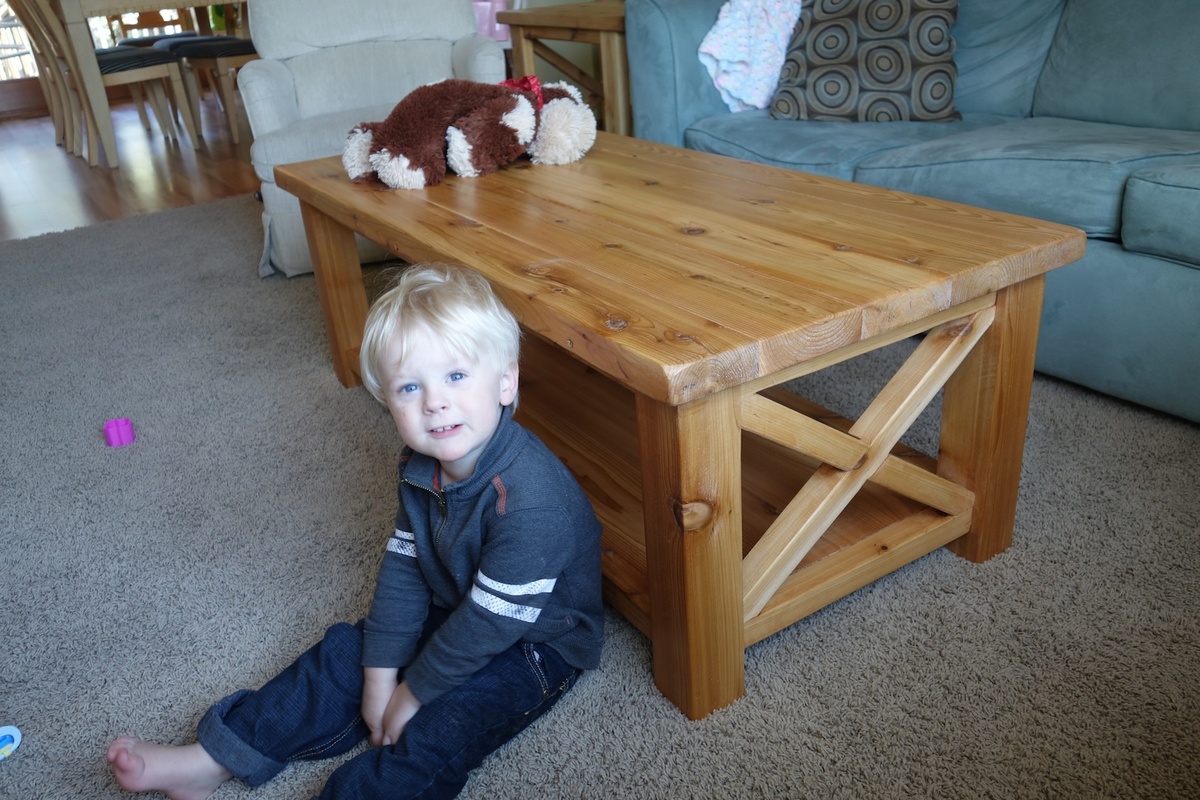
This is my first real piece of furniture I've built. We decided to build it in Western Red Cedar because our local home improvement store had a good selection of it. It was pricier than pine, but it holds stain really well and is really beautiful.
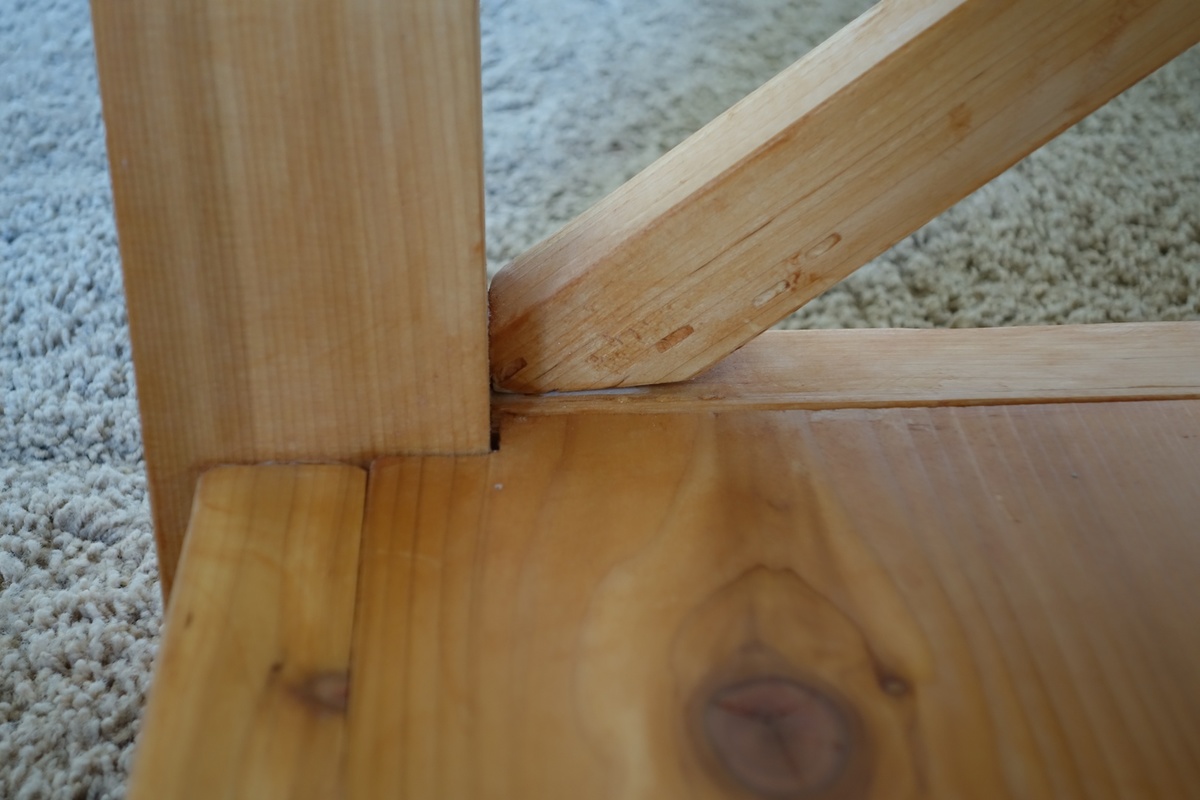
I modified the plan and bought a 4x4 for the legs, then I cut that down to 3" x 3" exactly with my table saw. That way it doesn't look like a standard cut of wood, but something more custom. As a result I had to put corner notches in my bottom piece so that it would fit in with the legs. That was tricky to do, but would have been easier if I had a jigsaw
I made a few measuring errors and had to correct it by trimming down the table top so there was only an inch overhang on the edges. So this is actually a few inches less deep than the plan called for, but it worked out ok I think.
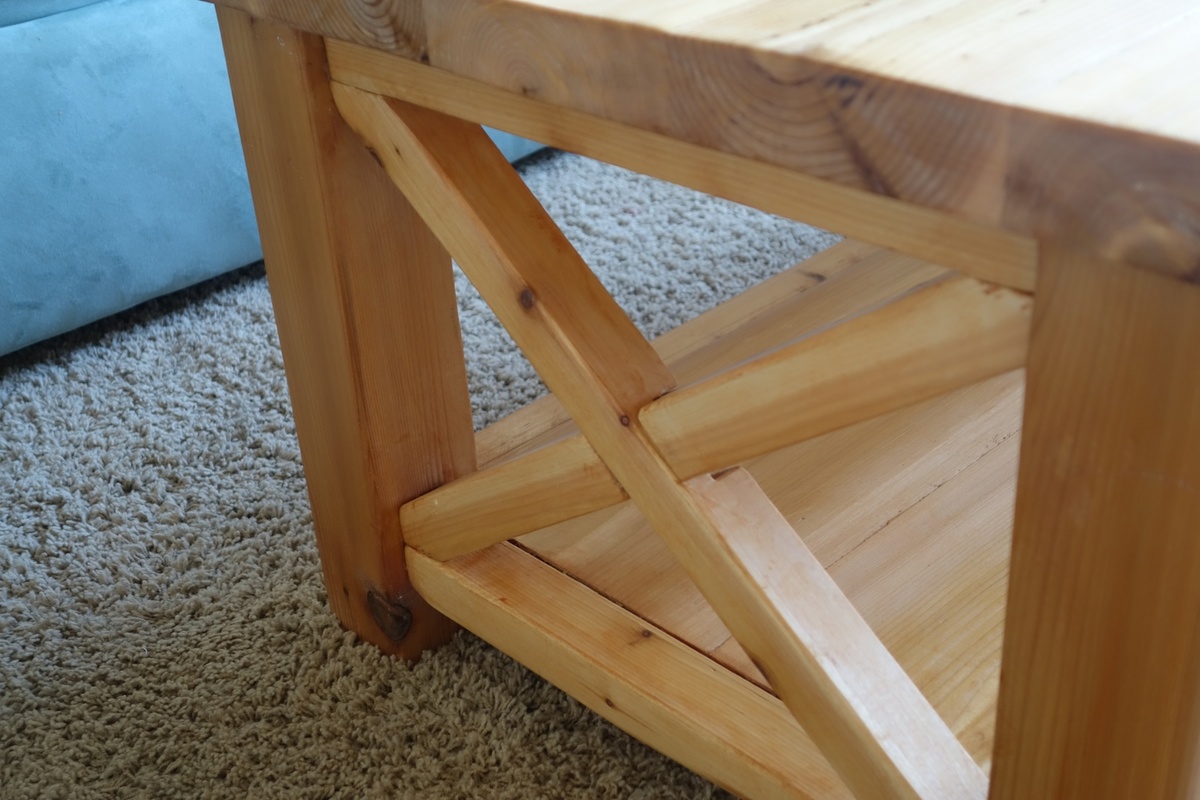
With the X's I laid them on top of the legs and traced a line to cut rather than trying to cut an exact miter. I also traced it so that I'd cut a bit off of the top and side of the corner so that it fits in nice and snug on both edges.
I also traced the intersection lines. Then I set my table saw (don't have a circular saw) to 1/2 an inch and just cut out several notches in between the intersection lines so the to X pieces could overlap each other. A "halved joint" I believe it's called.
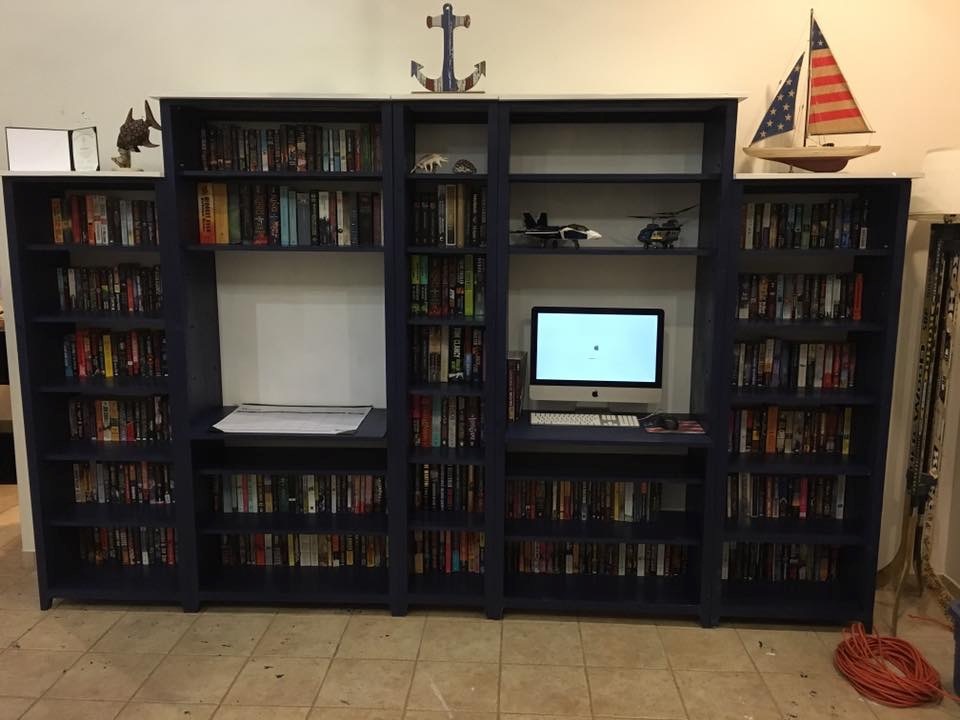
Wife wanted bookcases for all our books and a desk/work area for her calendar. I decided to modify the Channing Bookcase to suit our needs. We built 5 of them to fit the wall. We did not attach the back trim piece on the shelves to give them a recessed look. Convinced the wife to let me buy the Kreg K4 system, which saved my sanity for the over 500 pocket holes we had to drill in this project. Thanks for the plans!
Tue, 05/26/2020 - 14:10
Lovely! This gives me hope that I may be able to create the piece I want for my living room space. We own so many books.
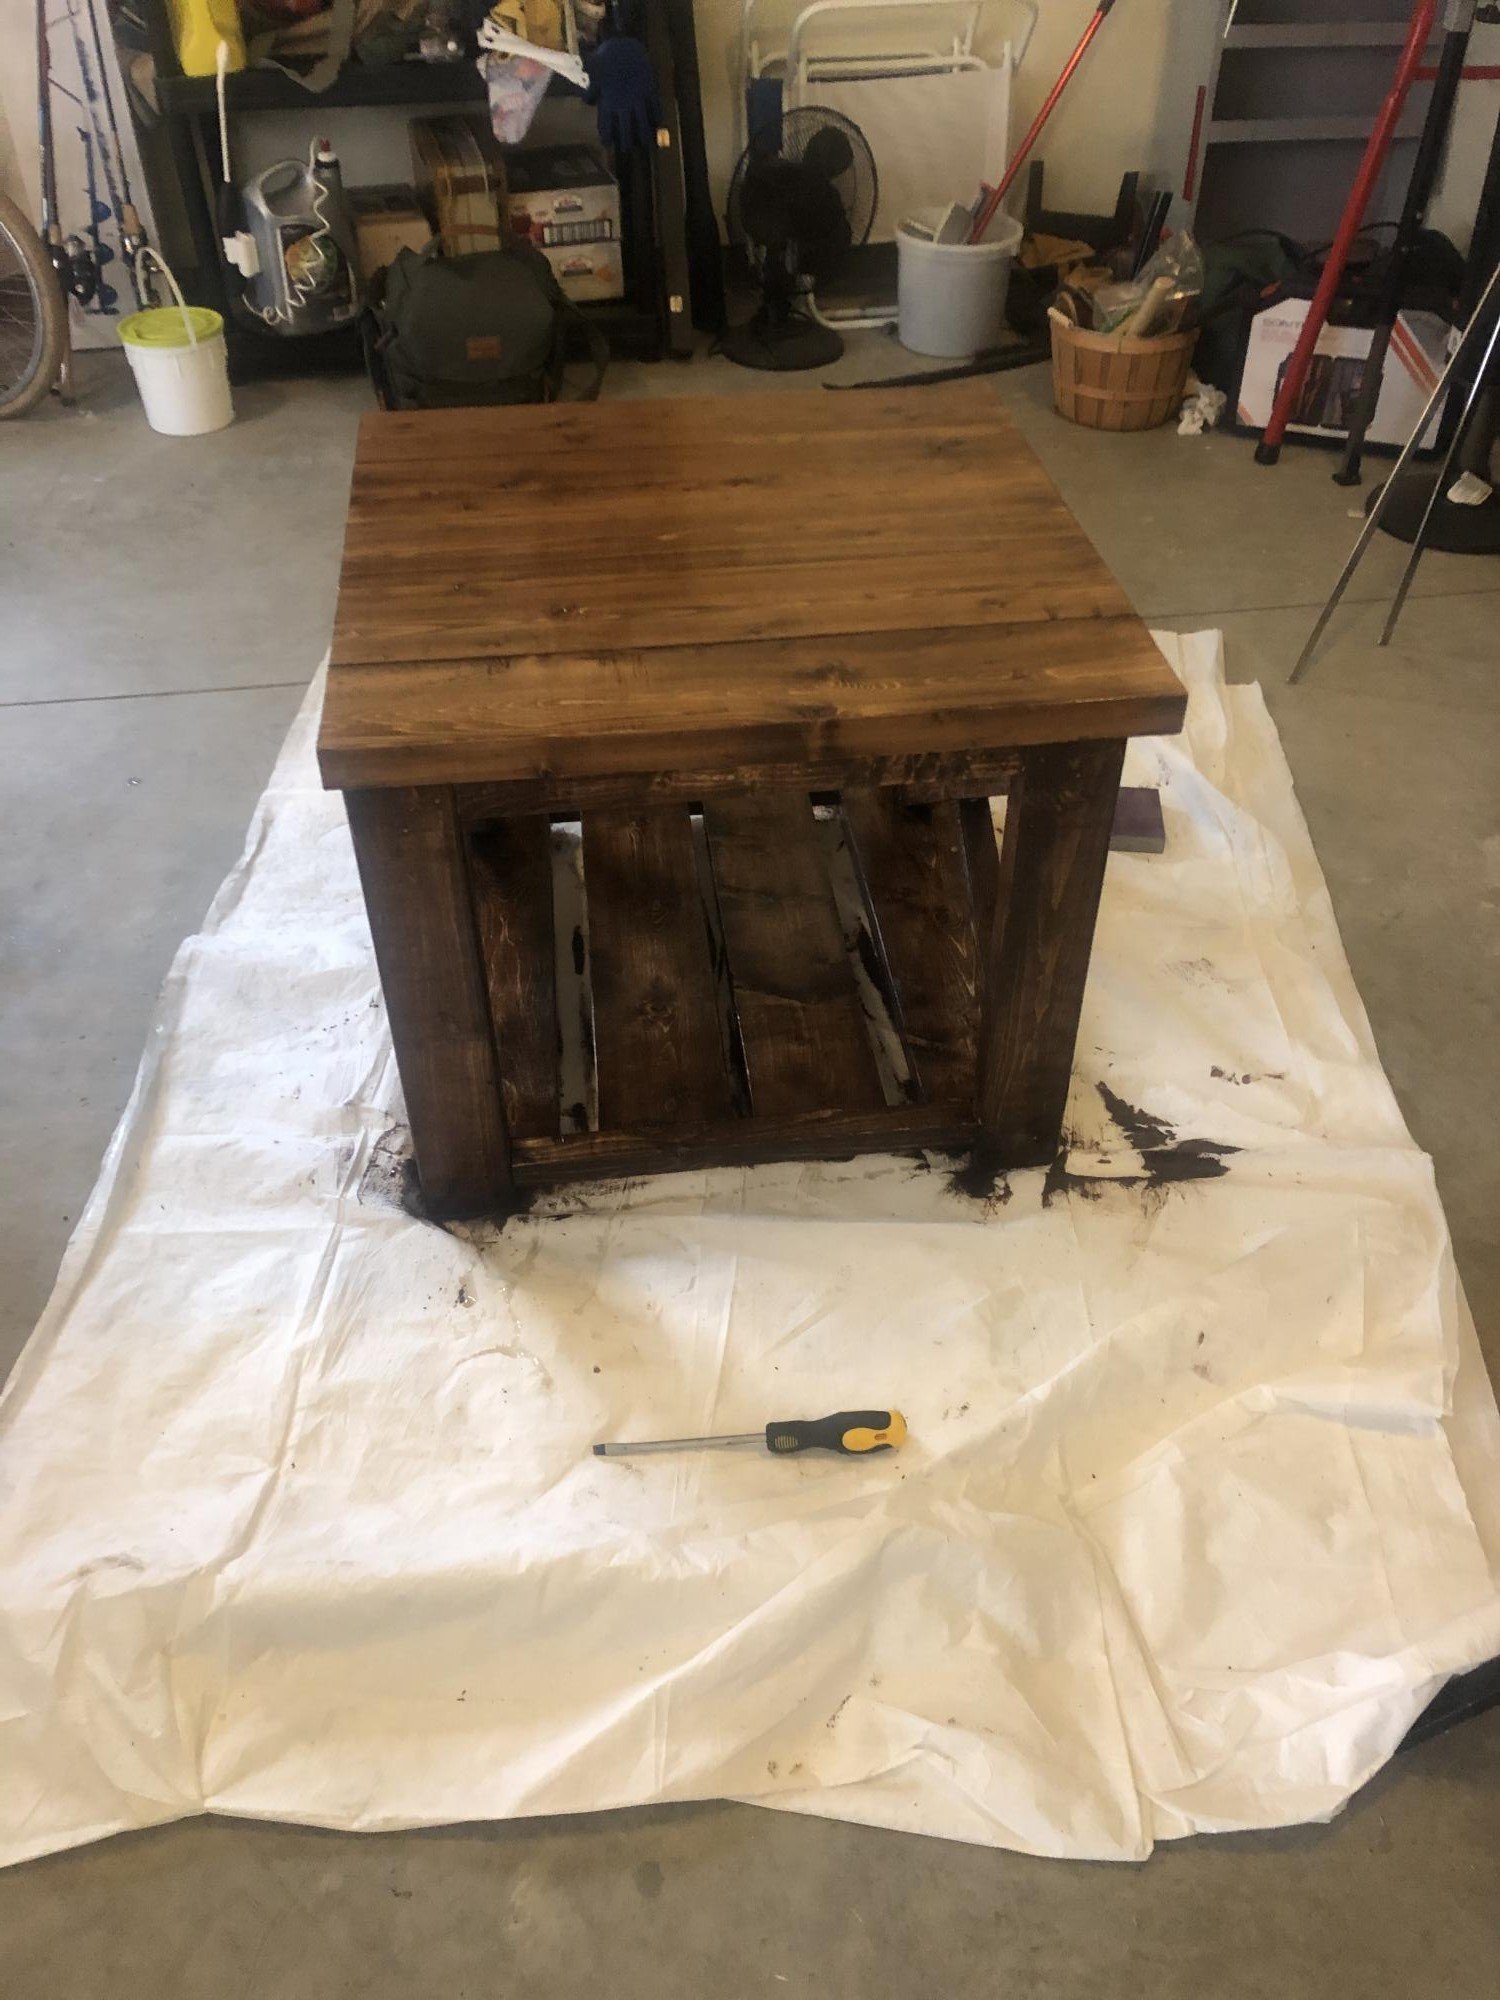
Doing the whole set of rustic coffee/end tables 1st one done! Thanks for the plan!

My first Ana White project. My friend Shelley and I are RN's, and she got me hooked on woodworking. I started with cushions from Lowes ( in the sizes that you recommended)to see if I loved the sectional for a few years. I loved it so much I decided to have custom Sunbrella fabric ones made. Even though the custom ones were more expensive, it has been worth it. They go perfect with my California Mission style home. Now I want to add the armless one and make it a U-shape. I did add a piece at the bottom back of each sofa to hold the cushions in. The seat cushions would slide out the back when sitting on the sofa. I made the coffee table to match. Our family loves it!
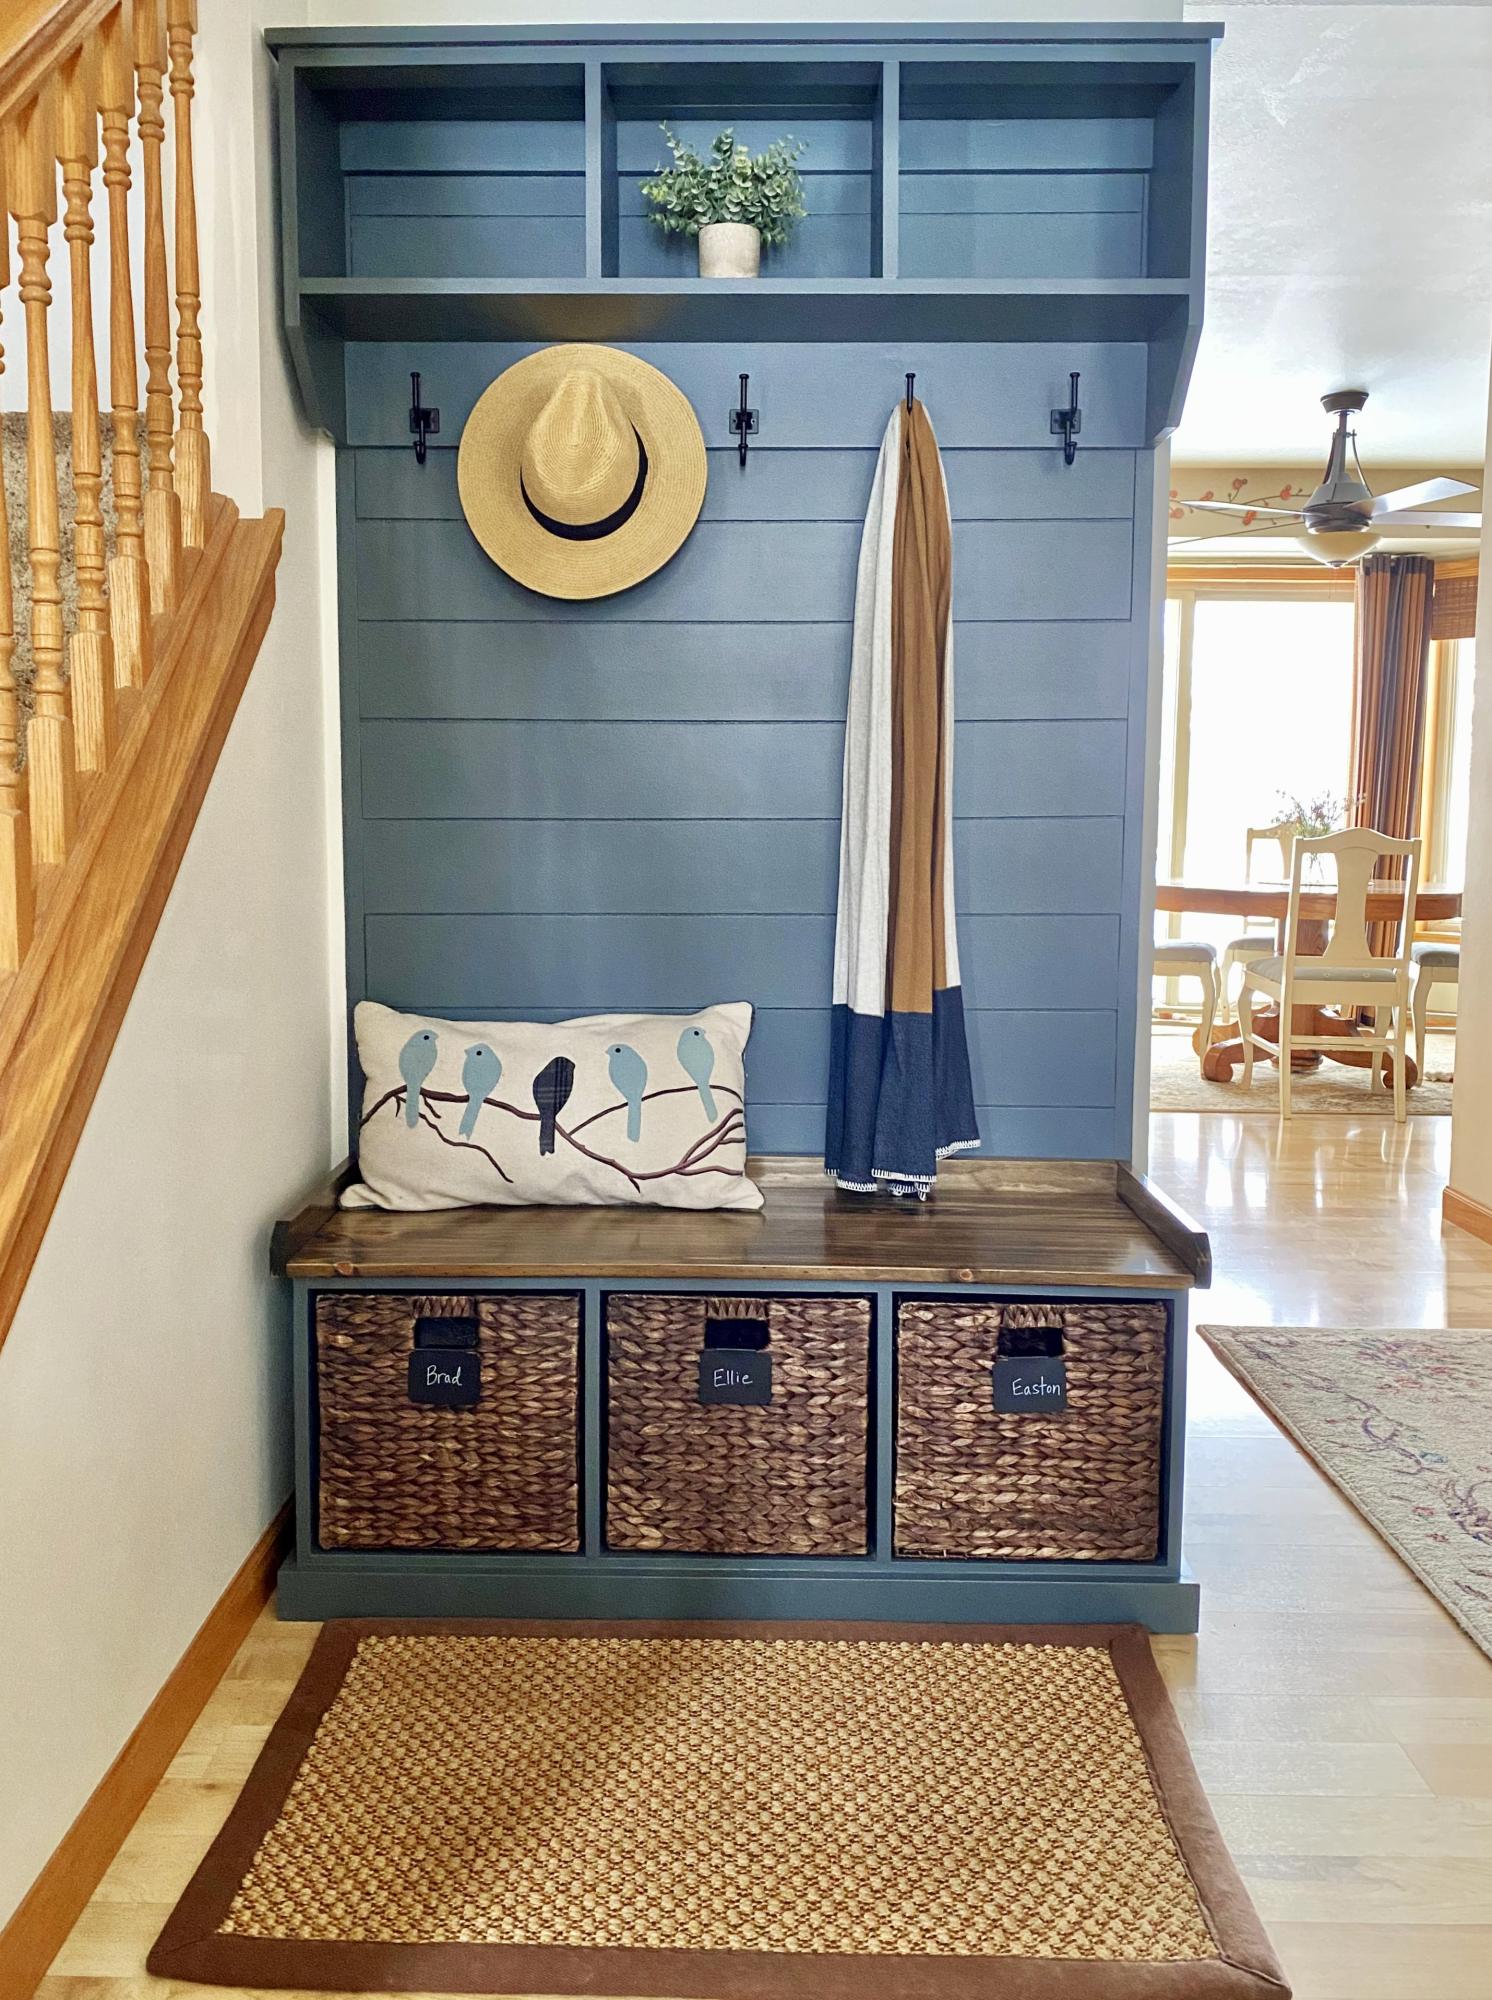
I used plans for the Essential Entryway Bench and Shelf with Hooks, tying them together with a shiplap panel. This was my first big project using a Kreg jig and Rip-Cut. Many more to come!
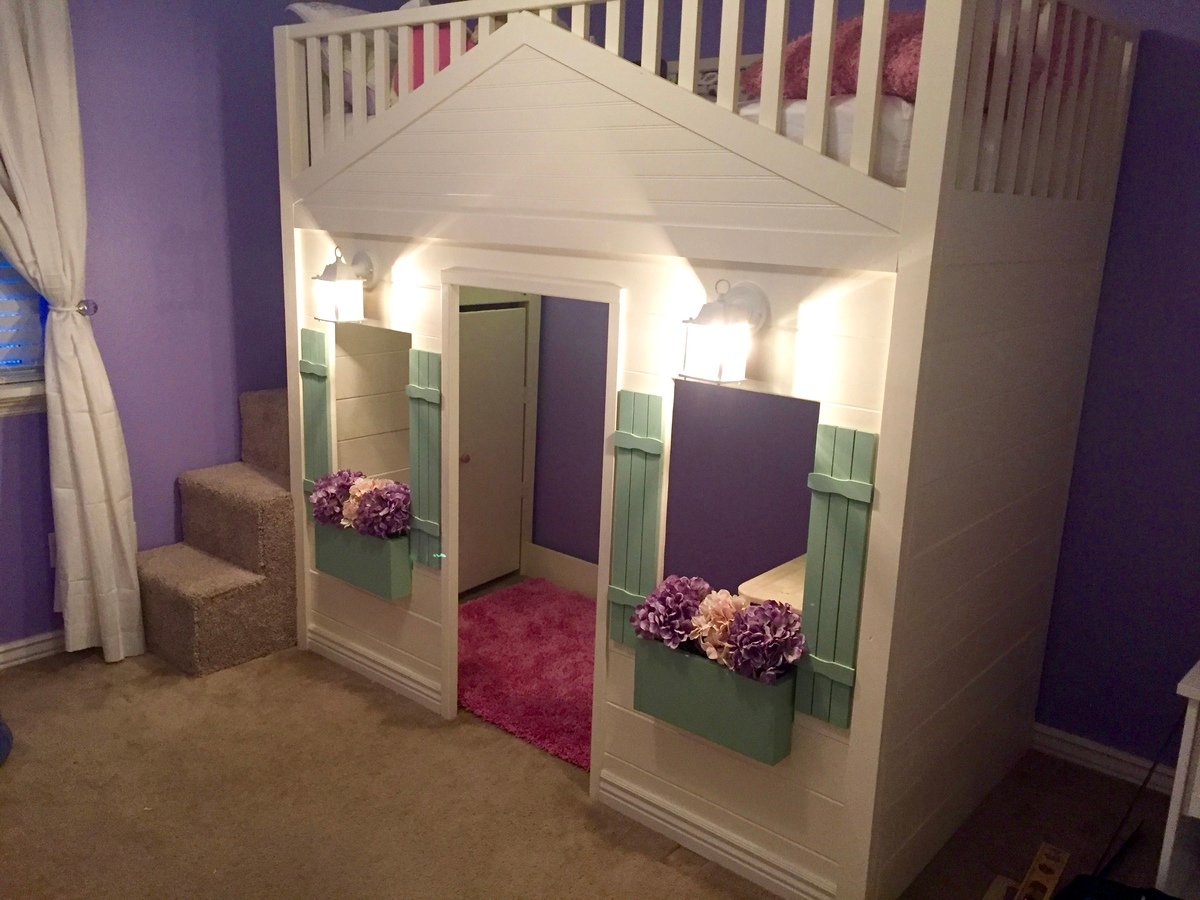
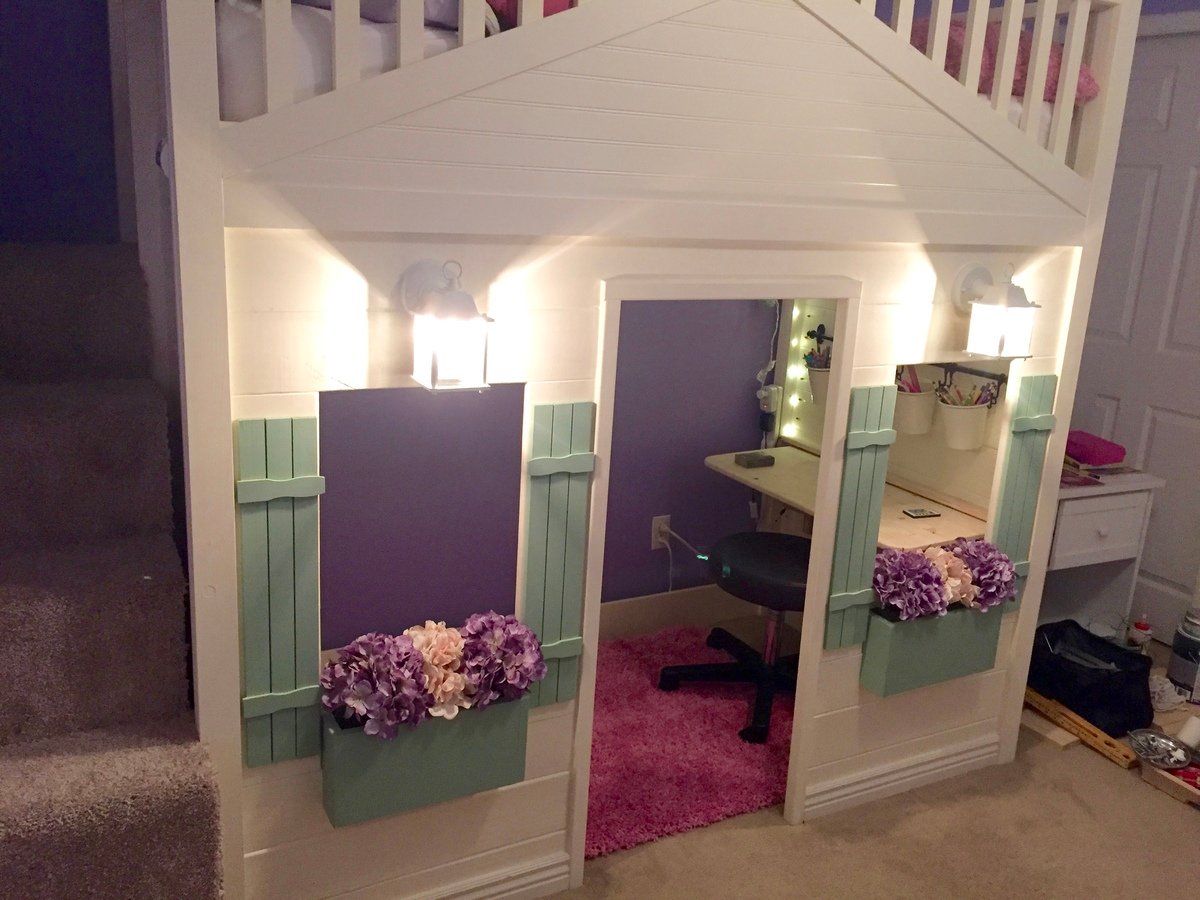
We took the loft bed plans and modified a bit for our daughters bed. We made it a little taller including the doorway. Instead of a ladder we did a set of carpeted stairs with entry to the underneath space through a door on the inside and added a light for a 'secret' hideout. Everything else were just some added features. We built flower boxes and added foam blocks with silk flowers. For the gable we used bead board. For the shutter we used small wood strips and the horizontal pieces are just the free paint sticks from lowes cut down. We then added wired in lights hooked up to her light switch. (she loves this part) Then he built a fold down desk that can be opened or closed for when they want to play in there. The school supplies we used the rod and tin buckets from Ikea kitchen area. Over it took about 6 weeks to do everything between watching the kids and working. Cost for materials and the extras came to a little over $600.
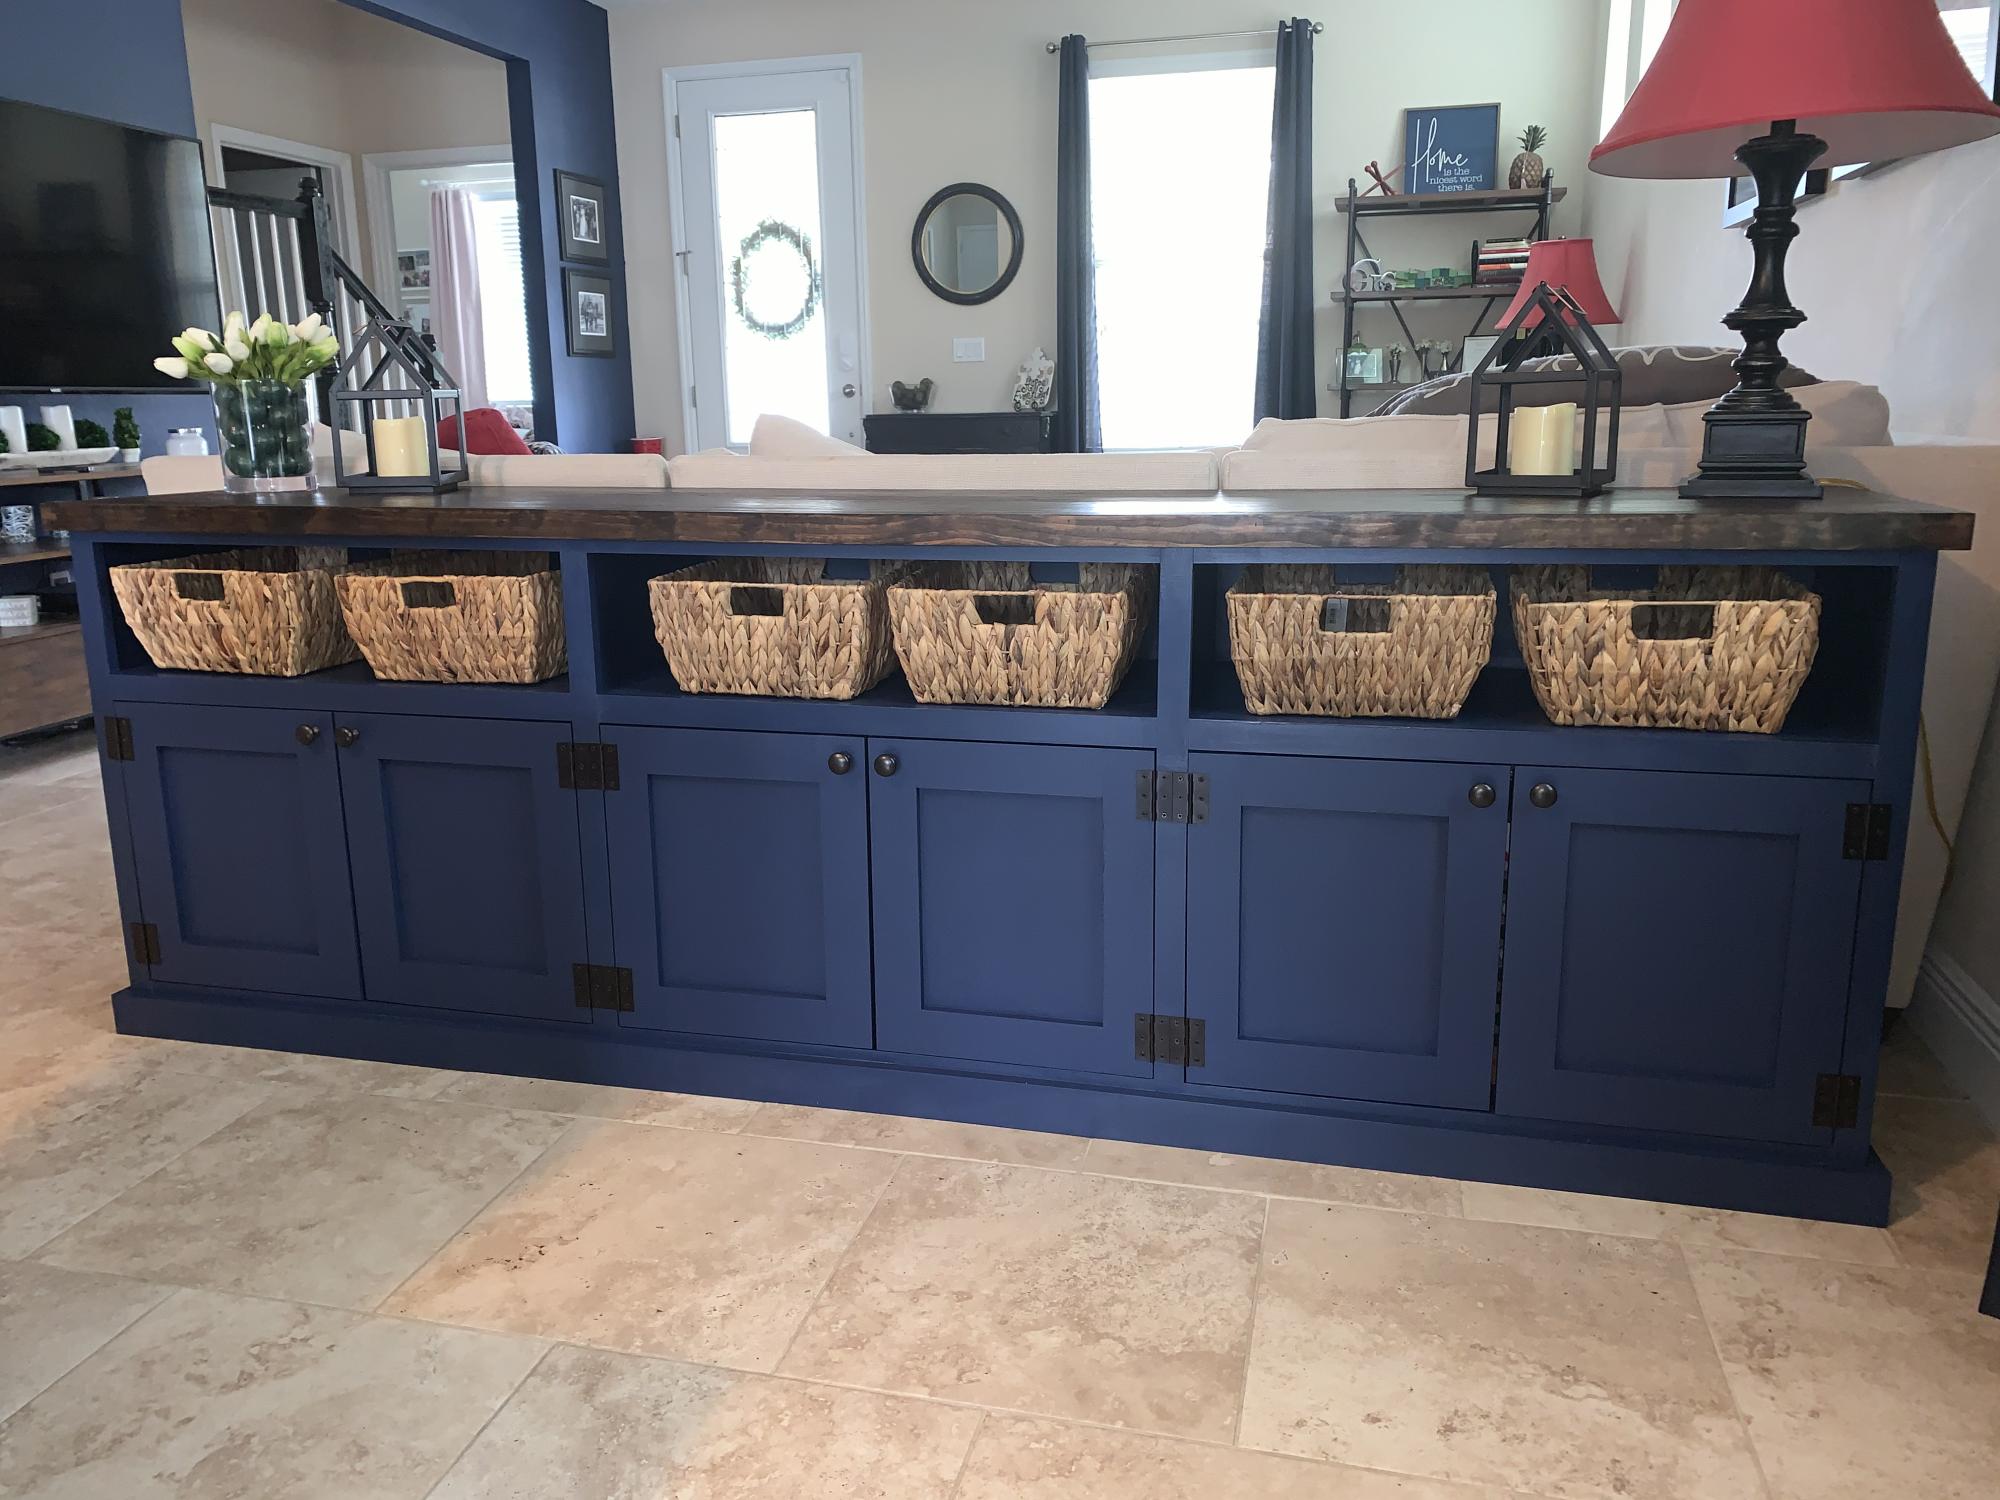
Used the plan for a double-entry console to make a triple cabinet to go behind the couch and serve as a board game console and sideboard for the dining room.
Lowered the total height to 34 in to fit behind the couch. The total length is 8 feet.
For the plywood top I edged them then pine boards to make the top look more like a solid piece of wood and stained it.