Community Brag Posts

Gallery-style ledge

Submitted by seesaw on Sat, 05/21/2011 - 10:21

This was a super easy and quick project. I actually lengthened it to 36 inches. I can't decide whether I need two ledges or not, but it won't take long if I need another one! My only suggestion- VERY straight boards are a must!

Built from Plan(s)
Estimated Cost
$4.00
Estimated Time Investment
An Hour or Two (0-2 Hours)
Finish Used
Minwax natural oak
Recommended Skill Level
Starter Project

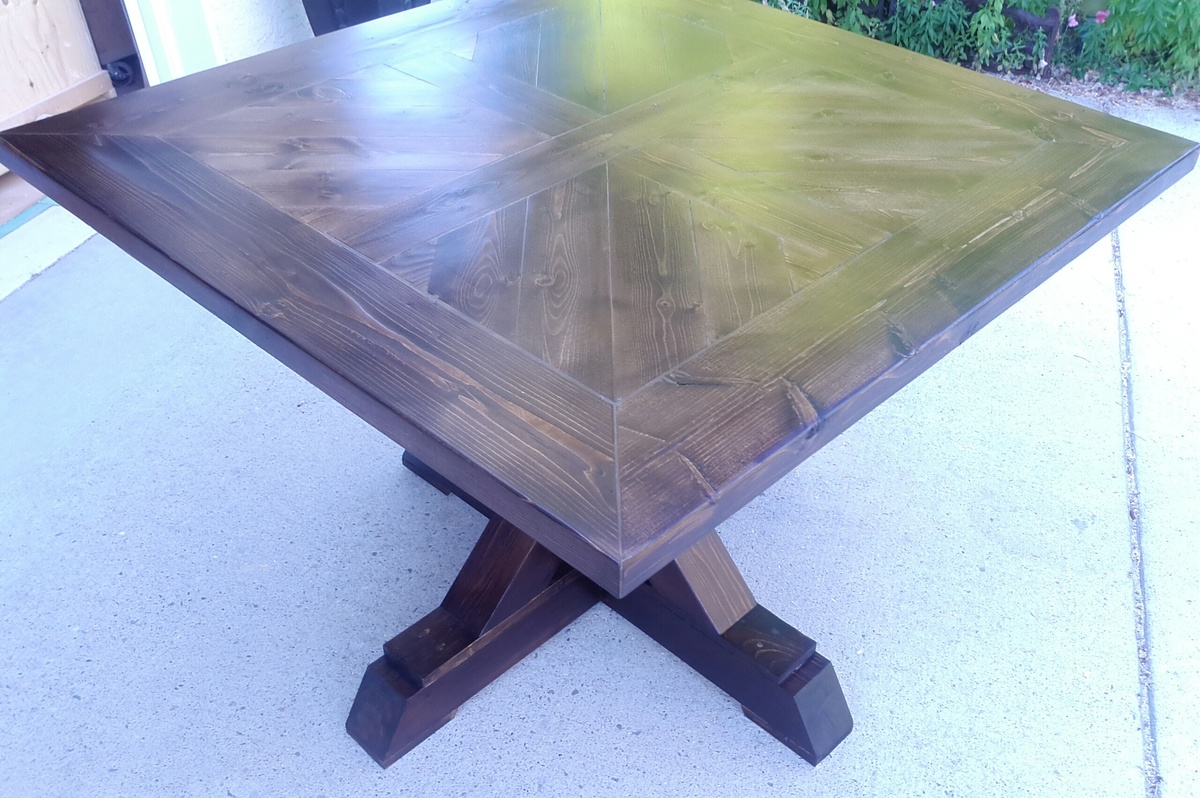
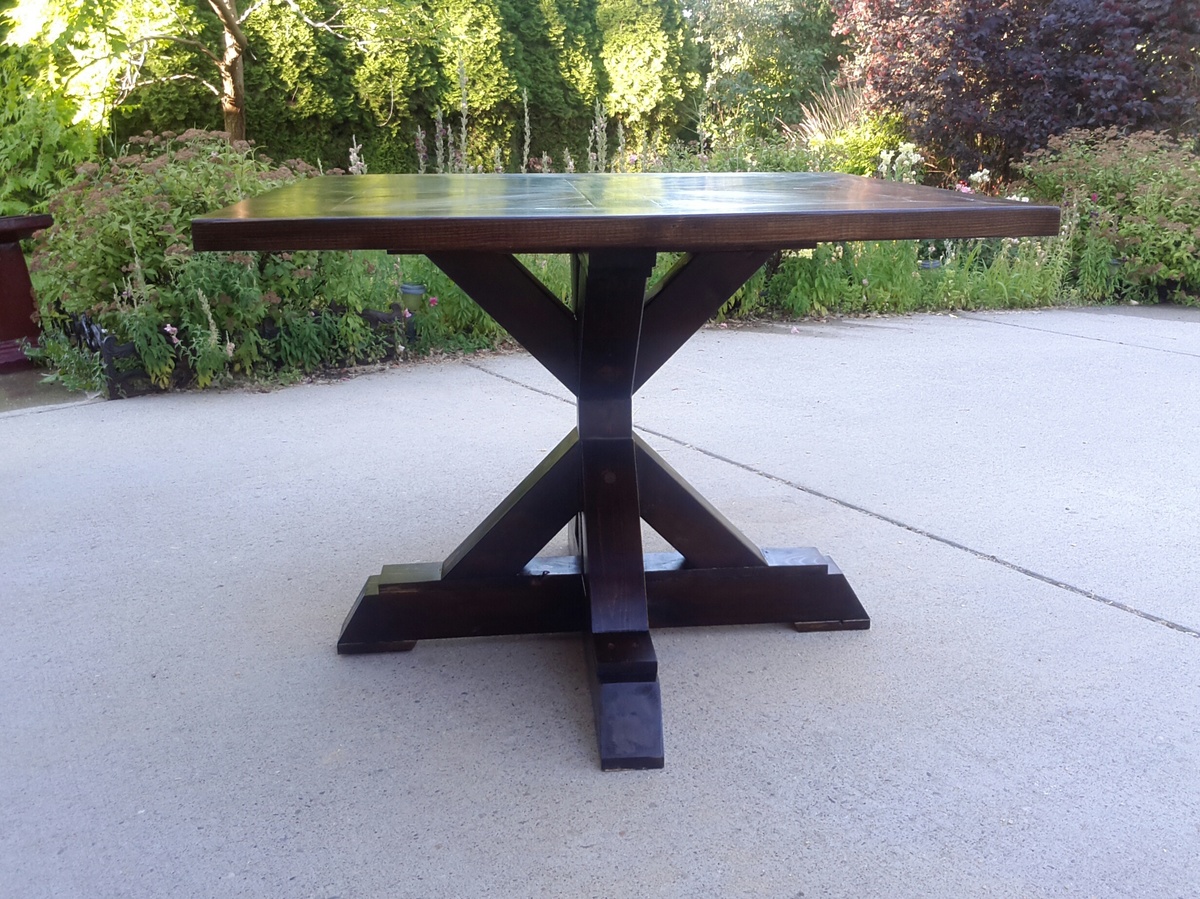
X Base Pedestal Table

Submitted by nickfmc on Thu, 07/25/2013 - 08:51

Needed a small table for our new house so I decided to build one, I followed the design fairly close. The only creative difference and I'm going to pretend I meant to do it was that I rotated the squares 90 degrees.

A few tips / things to look out for:

- The angled legs are tricky to line up/attach but you can use alot of woodfiller there to fill in the gaps and you can barely notice it once it is all together.

- When attaching the slats to create the squares for the top, add 5 pocket hole screws to each side, when you go to attach them you will thank me, 3 on each side of them doesn't hold as tight as you need it too.

- on the underside of the top I also added some scrap squares of 1x4 under the small triangles to stop them flexing, attached to the 2x6 with pockethole screws.

- Palm Sander - should be listed as required tool, to level out the top after assembly I went through a pack of 120 grit discs.

- There is not much room for error if you only have 2 8 foot 2x6's so cut them a couple blade widths bigger than you measure and sand them down to exact size.

as I used SPF for the table top I think I am going to get a piece of tempered glass cut for the top to protect the soft wood and give me an easy surface to clean.

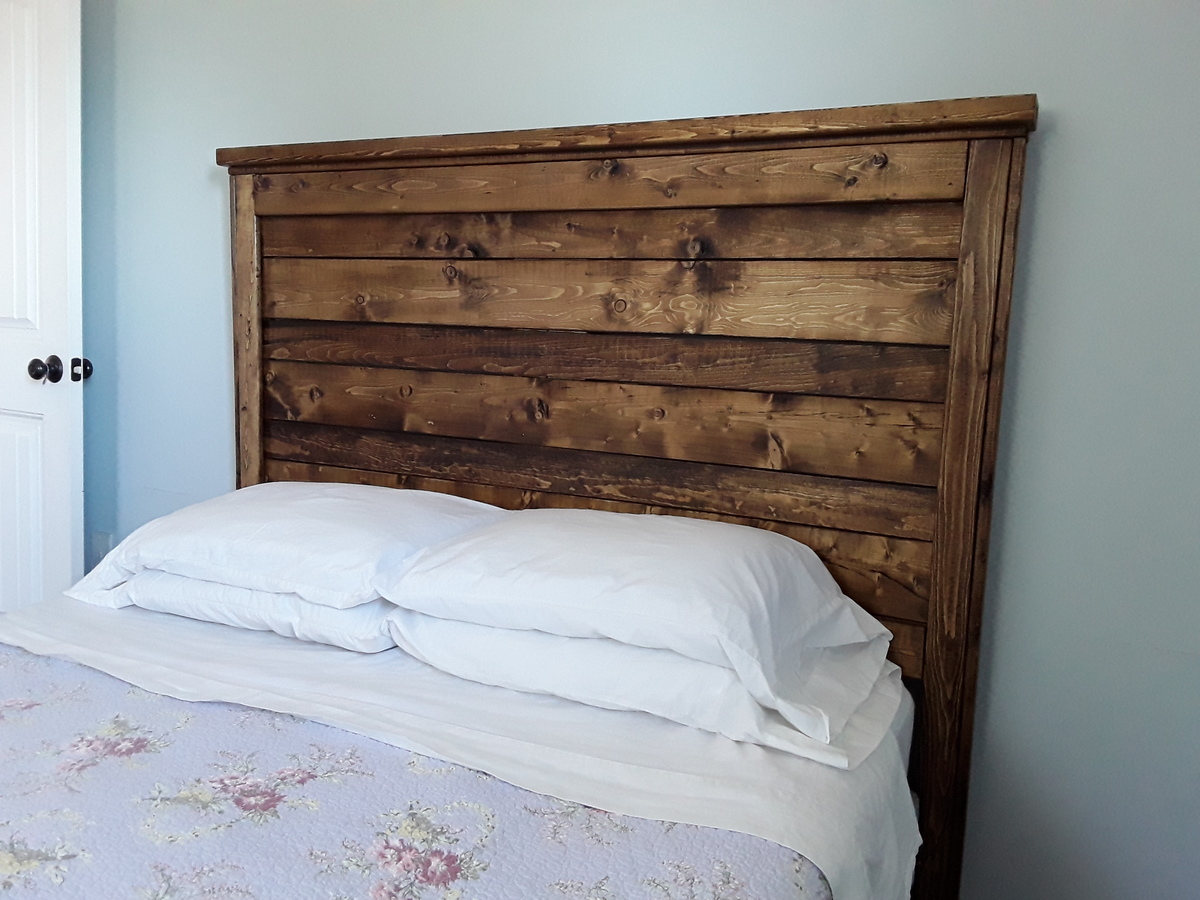
Estimated Time Investment
Weekend Project (10-20 Hours)
Finish Used
Wood Conditioner, Dark Walnut stain 2 coats base 1 coat top, Satin Polyurathane 3 coats top 1 coat base. Only advise here would be to apply your first coat of stain to the base using a rag not a foam brush so you can get into all the corners and angles.
Recommended Skill Level
Intermediate

Comments

nickfmc

Thu, 07/25/2013 - 20:17

I used minwax oil based dark walnut stain. But a coat of wood conditioner first seamed to help allot
sgilly

Fri, 07/26/2013 - 13:52

Thanks, I think the conditioner is an important step - one I've made the mistake of leaving out on way too many occasions!

psteve4

Wed, 10/09/2013 - 08:25

NICKFMC

On the table top did you fill in the seems where the boards meet with wood filler? It looks like there may be something between them and it has a very smooth appearance. I don't really want the gaps to show on mine and was wondering how you got yours to look so smooth.
Great job on the table! and thanks for any help you can give me!

Paul

step02

Wed, 01/29/2014 - 11:57

I really liked how the inner squares are turned 90 degrees. The table looks less rustic, a bit more polished. I believe your extensive sanding contributed to the finished look.

One bit of advice. You may want to start with a more aggressive sandpaper to make edges flush. You can start with a 60 or 80 grit and then work your way up to 120 or 150.

jmp1518

Sun, 11/20/2016 - 16:42

Hi all, 

I made a table almost identical to this with the top being more farmhouse style. My problem is that a friend of mine offered to buy one of these if I make one for him. I never know what to price things at when asked to make for friends. I always let my feelings of friendship cheapen the cost. I would greatly appreciate some help in what price point to set a table like this at. Thank you in advance for any help.

Simple Bar Stools

I used Ana's idea for the plan, but modified it slightly to stand up to my wrecking crew (aks the kiddos). I posted a step by step plan with photos on my blog if you want to use the information for yourself.

Estimated Time Investment
An Hour or Two (0-2 Hours)
Finish Used
Walnut stain and three coats of poly
Recommended Skill Level
Beginner

Comments

jsle_bel

Tue, 07/05/2011 - 08:26

I tried posting on your blog but for some reason it wouldn’t allow me.

Okay, I seriously LOVE them! I'm in the process of making my own pub table for outside entertaining and was considering altering Ana's stool plans....now no need to! Thanks for posting, I'll just need to lengthen the legs a little and for that reason reinforce it a bit to make them sturdy (I've got three boys and a daughter that can be a rough as the boys). Thanks again and I'll be back to check out future posts. Check me out at: http://laundrywillwait.blogspot.com/

~Jen

Rustic X Console

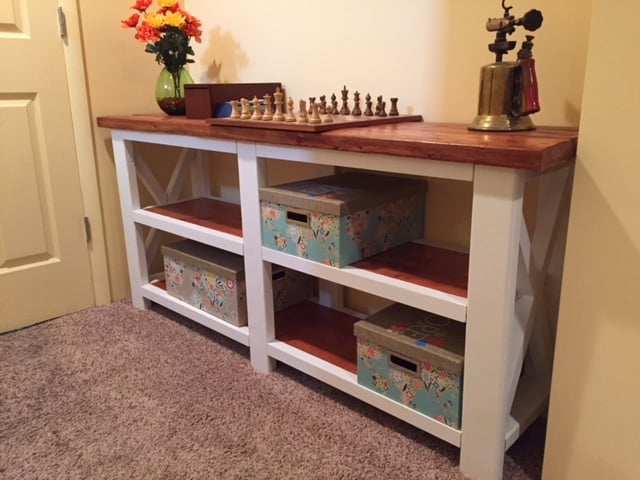
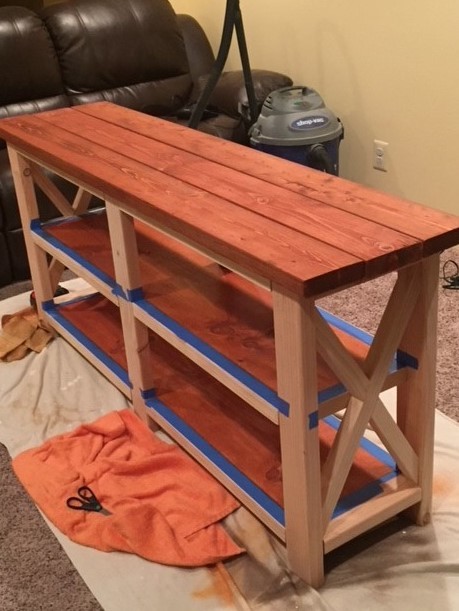
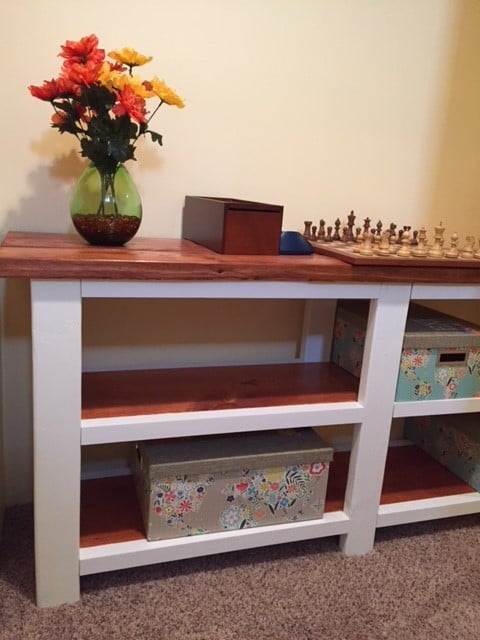
This was my first project after discovering the "Ana White" web site.  After looking through the brag photos I zeroed in the Rustic X Console.  I was specifically inspired by the photos from "Celeste808" and "aDIYguy".  It also gave me an opportunity to try out my new Kreg Pocket jig. I hope you like the pictures.

Built from Plan(s)
Estimated Cost
I figure i spent about $95 in materials at the local Home depot. I already had some items at home that I used.
Estimated Time Investment
Weekend Project (10-20 Hours)
Finish Used
Miniwax Gunstock #231, Miniwax fast drying Polyurethane (1/2 pint), Behr-ultra Pure white eggshell finish paint and primer in one (quart)
Recommended Skill Level
Beginner

Rustic Farmhouse Table

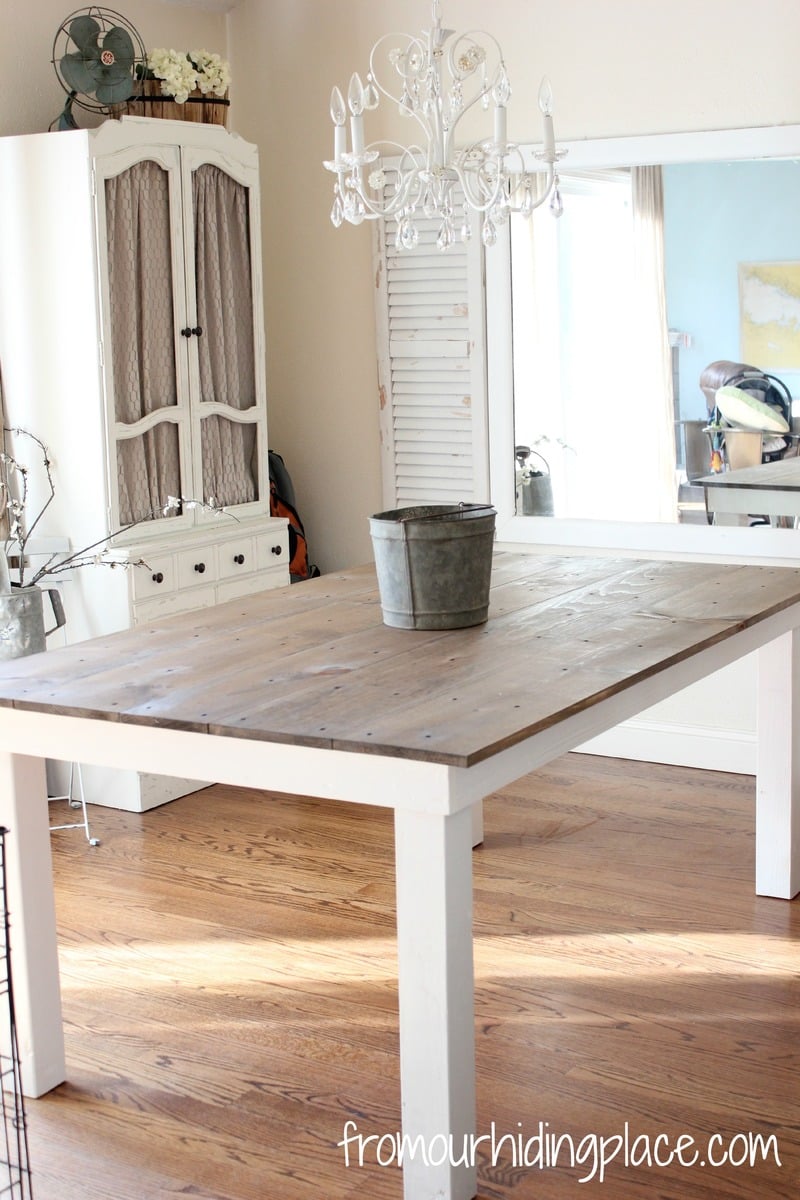
Using Ana White's Rustic Table plans, I recreated her design by modifying the measurements to fit my dining space. I did not use wood glue, as the plans call for, and simply left the wood screws visible which I felt added a rustic touch. The top is stained with Minwax Special Walnut #224, and the bottom is painted Simply White by Benjamin Moore. The table measures 72"x42" and is 30" high. It can comfortably seat six chairs.

Built from Plan(s)
Estimated Time Investment
Afternoon Project (3-6 Hours)
Finish Used
Minwax Special Walnut #224
Polycrylic
Benjamin Moore Simply White
Recommended Skill Level
Beginner

Comments

snomii

Sat, 09/07/2013 - 12:22

I love your choice of colour! It's the perfect backdrop to a nice dinner full of colour! I'm getting inspired to try this now!

Fancy X Desk

Submitted by gsligh on Tue, 08/20/2013 - 09:46

I modified the plan by using a hardwood plywood 4X8 sheet cut down to a 72" by 28" size. I put hardwood trim around the edges for a smooth appearance. I stained the top with a Minwax poly shield oak finish and painted the base using a glossy enamel paint "Inkwell" from Sherwin Williams. The seamless top makes for a better writing surface.

Built from Plan(s)
Estimated Cost
$120
Estimated Time Investment
Week Long Project (20 Hours or More)
Finish Used
Miniwax oak polyshield and enamel paint "Inkwell" from Sherwin Williams. Using enamel paints makes the project take longer because of drying times in between coats.
Recommended Skill Level
Beginner

Back to school desk

Submitted by bhoppy on Sun, 08/25/2013 - 09:09

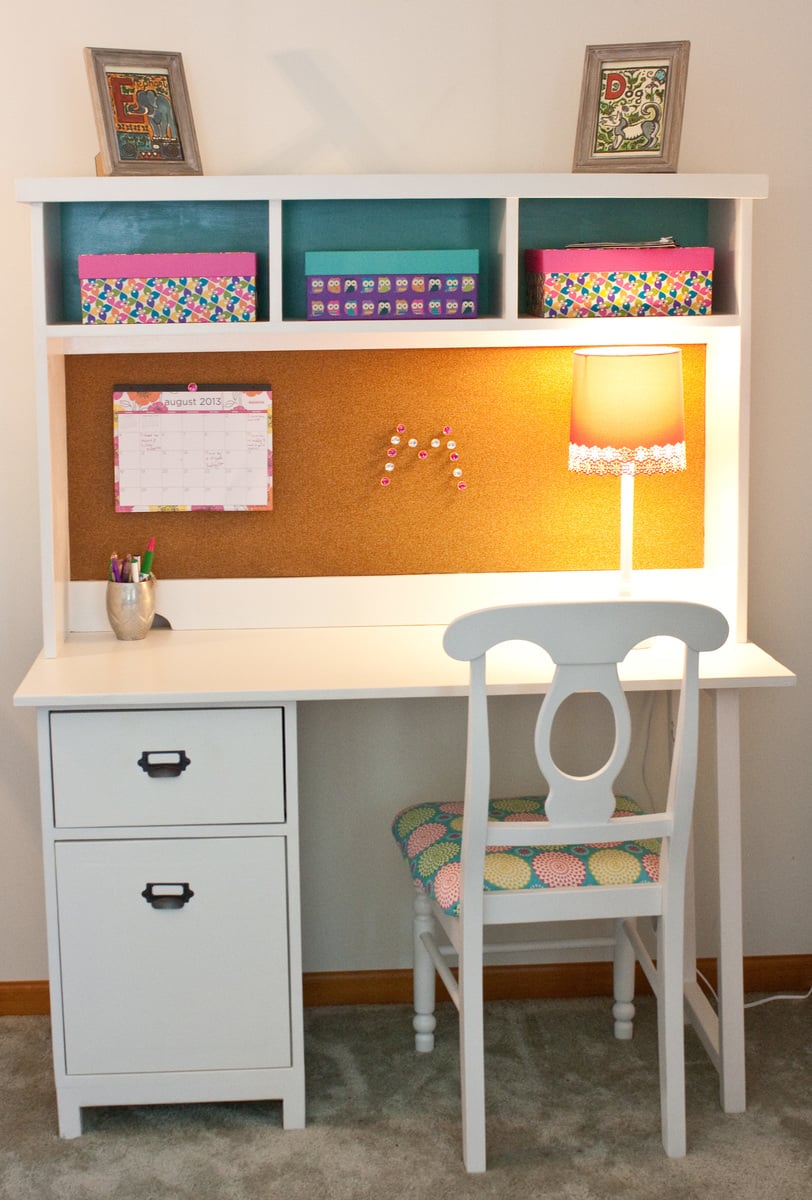
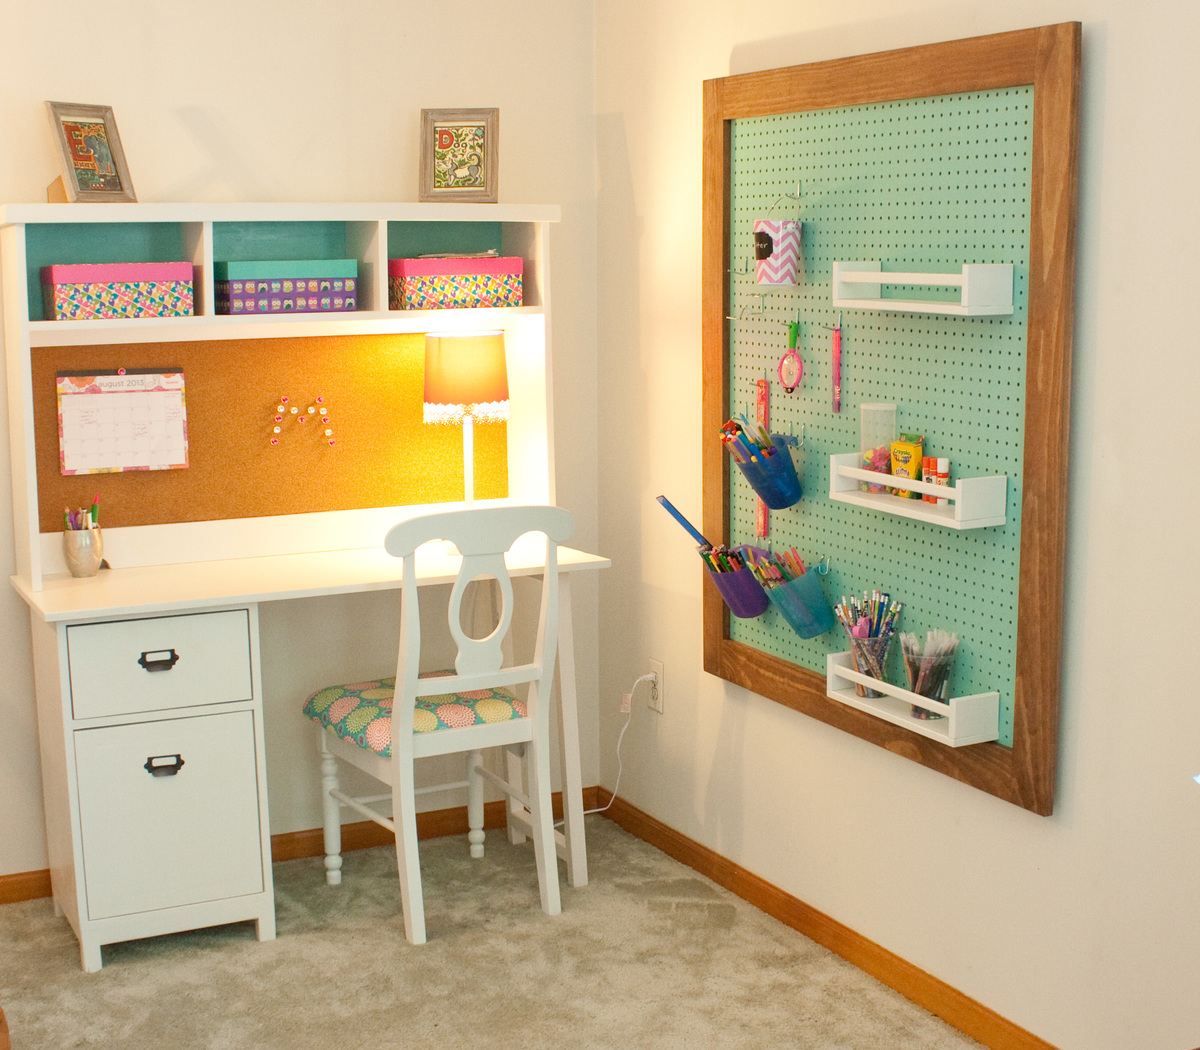
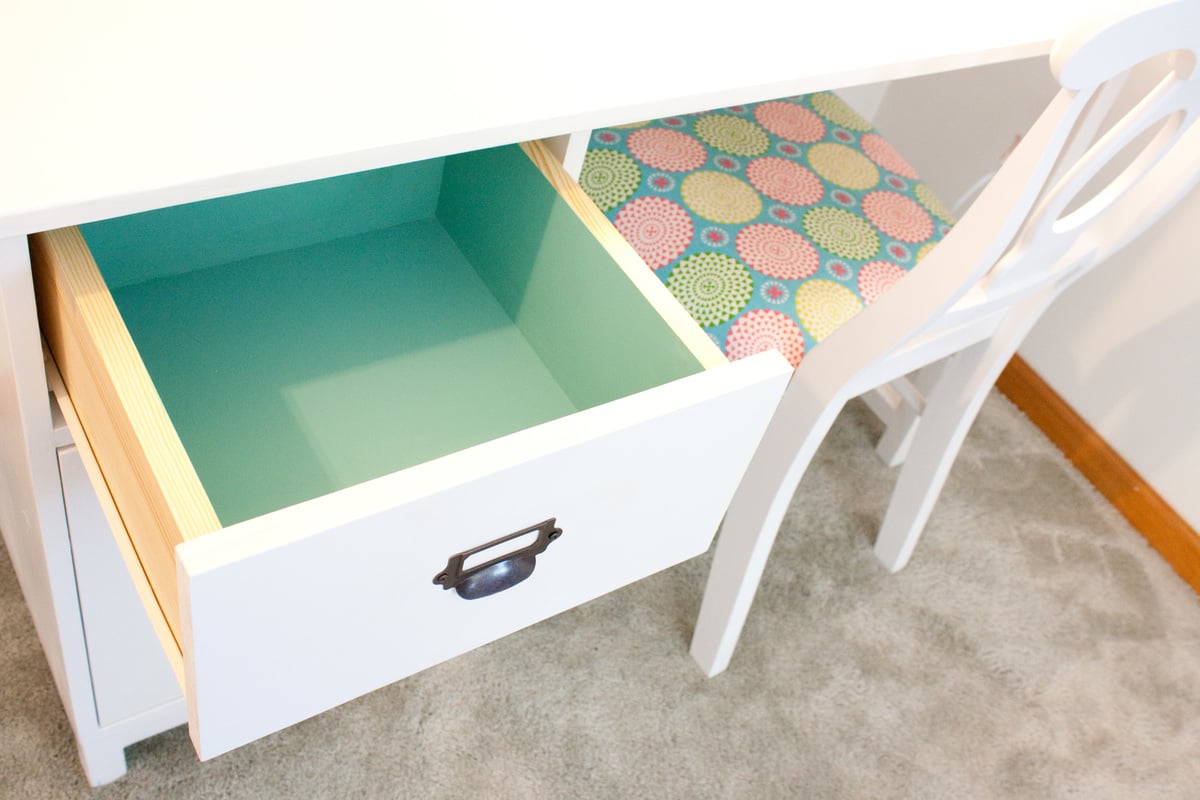
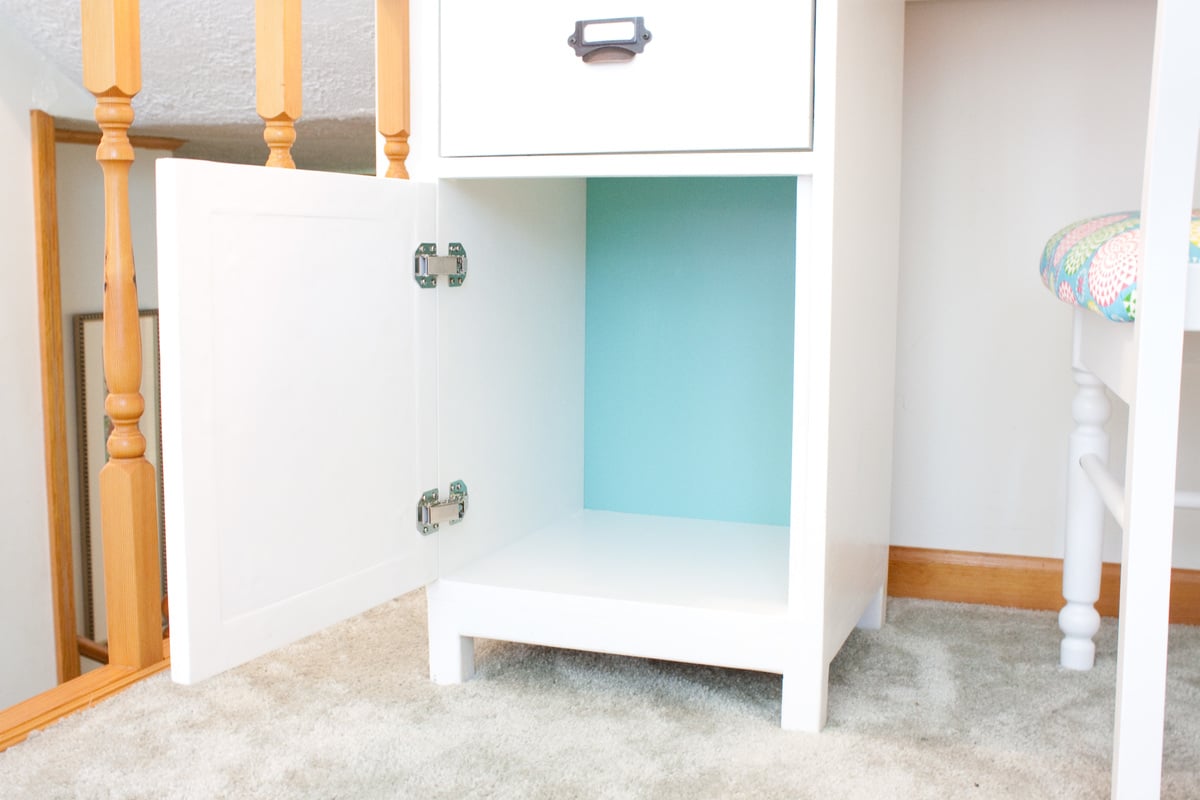
I made this for my 6 year old who just started the first grade. The only modification I made to the plans was to make a couple cutouts in the hutch for cords. I also added cork which comes in a 24 by 48 inch roll.. I ordered all the hardware from the same place that Jaime from That's my Letter suggested in her build post. This was my first drawer and it was intimidating but it was fairly easy and cute as it can be:-) The plans were very easy to follow! I got the idea for the peg board organizer from the Shanty 2 Chic website. It's just 1x4 frame around the pegboard. The chair was a craigslist find I painted and made a cushion for with some foam and cute fabric. I'm really happy with how it turned out and look forward to the day when my daughter will actually use it. LOL

Estimated Cost
100$
Estimated Time Investment
Weekend Project (10-20 Hours)
Finish Used
The paint is Olympic satin white with the primer already in it but I also used Kilz oil based primer since the wood was bare. I really thought it made a huge difference. The tealish color is actually just oops paint from Lowes I already had. I used 3 coats of satin Polycrylic on the top.
Recommended Skill Level
Intermediate

Comments

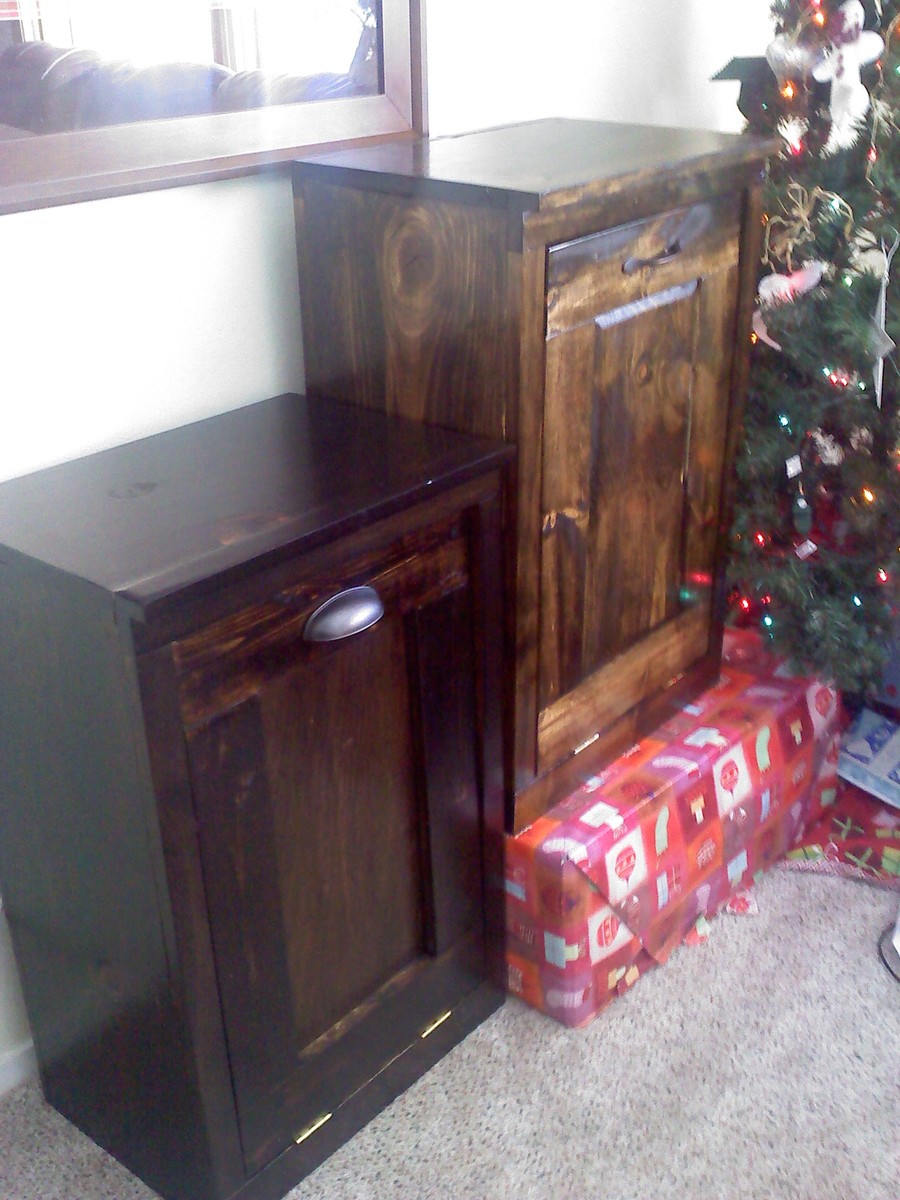
I couldn't be more happy about a garbage can!

Submitted by hoffer5353 on Mon, 08/01/2011 - 12:29

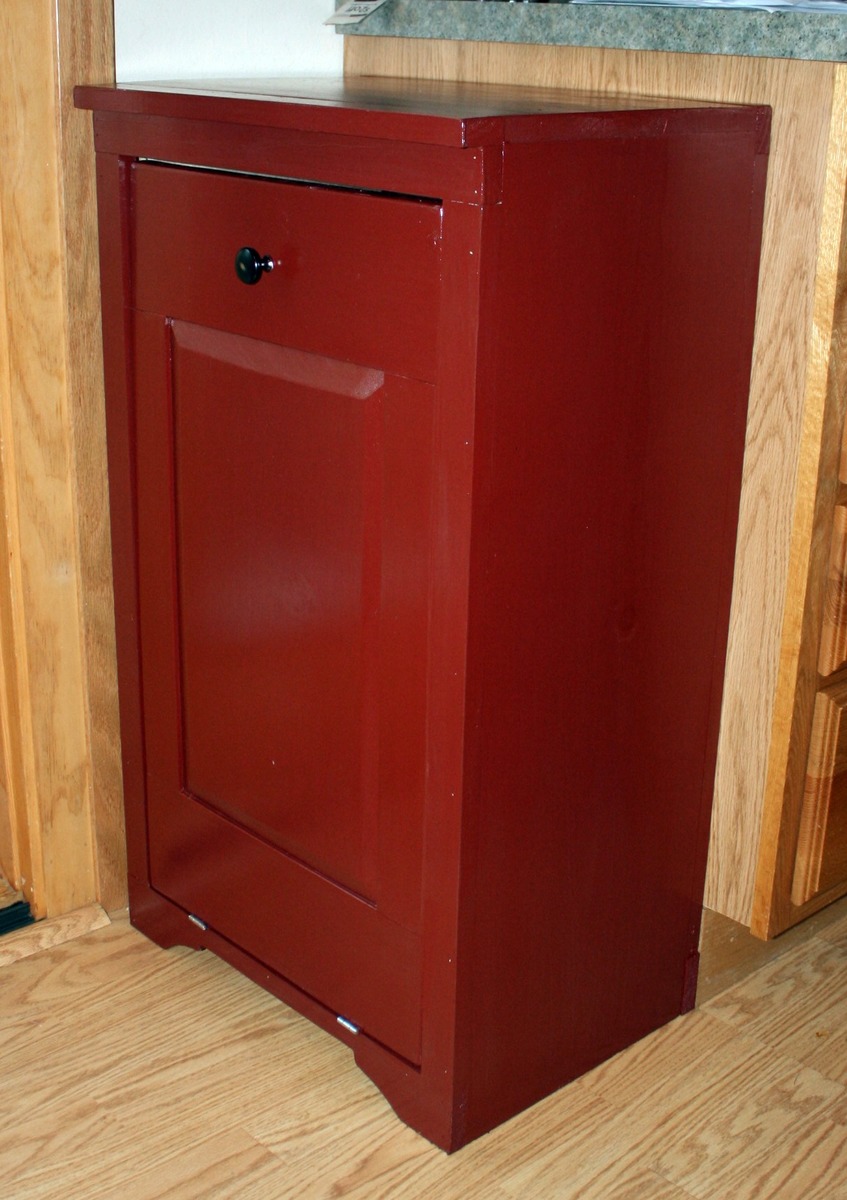
I started this project thinking that I would put in a rental home we were working on. But after I completed it I couldn't part with it.

I found the plans to be easy to follow! I watched the videos and tackled the raised panel doors. I wanted to add some height so added a few inches just in-case. I couldn’t bear the thought of completing this project and my garbage can not fitting. So I did use 1x6 for the rails and found it didn't look too bad.

I put a lot of thought about what color and finish I wanted. I thought about distressing it but couldn’t decide on the color or technique. So I decided on Color Place paint that I had left over from another project. I am going to find a spray paint that matches and do the inside.

I choose an oil rubbed bronze knob that I had left over from a kitchen remodel, added a magnetic closure as well as a door safety chain. I have lots of little hands and toes that I don’t want getting smashed. I like the idea that if I want to open it all the way for cleaning all I have to do is unhook the safety chain.

Over all I am so pleased with how it turned out. It keeps the garbage and smell in and curious fingers out! My kids love to put stuff in the garbage now!

I spent a weekend with a visiting friend and made one as well as completed two more for Christmas gifts.

Thanks Ana

Estimated Cost
$30-35
Estimated Time Investment
Afternoon Project (3-6 Hours)
Finish Used
2-3 coats-ColorPlace-Redwood semi-gloss exterior
1 coat-Minwax-Polyurethane-Semi Gloss
Recommended Skill Level
Intermediate

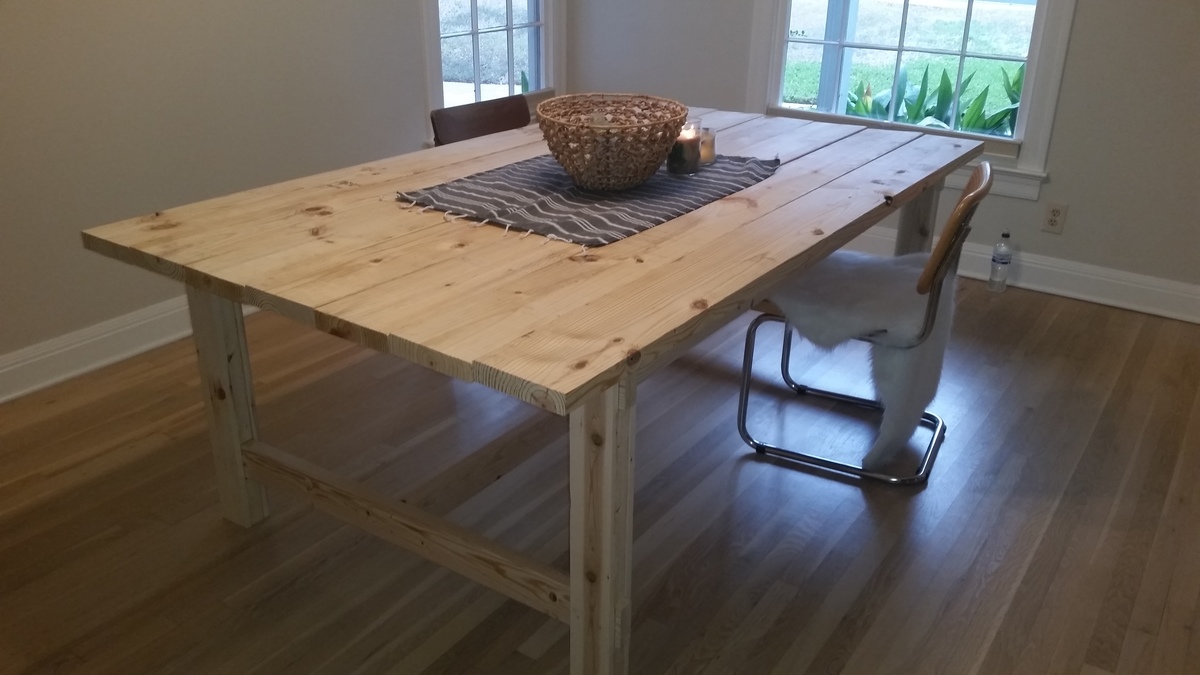
Farmhouse table

My daughter in law and I built this table,  together in Austin,  during my visit there!   We had such an awesome time,  together.   This was made from Ana's book, A Handmade Home. 

Estimated Cost
98.00
Estimated Time Investment
Afternoon Project (3-6 Hours)
Finish Used
Clear minwax
Recommended Skill Level
Beginner

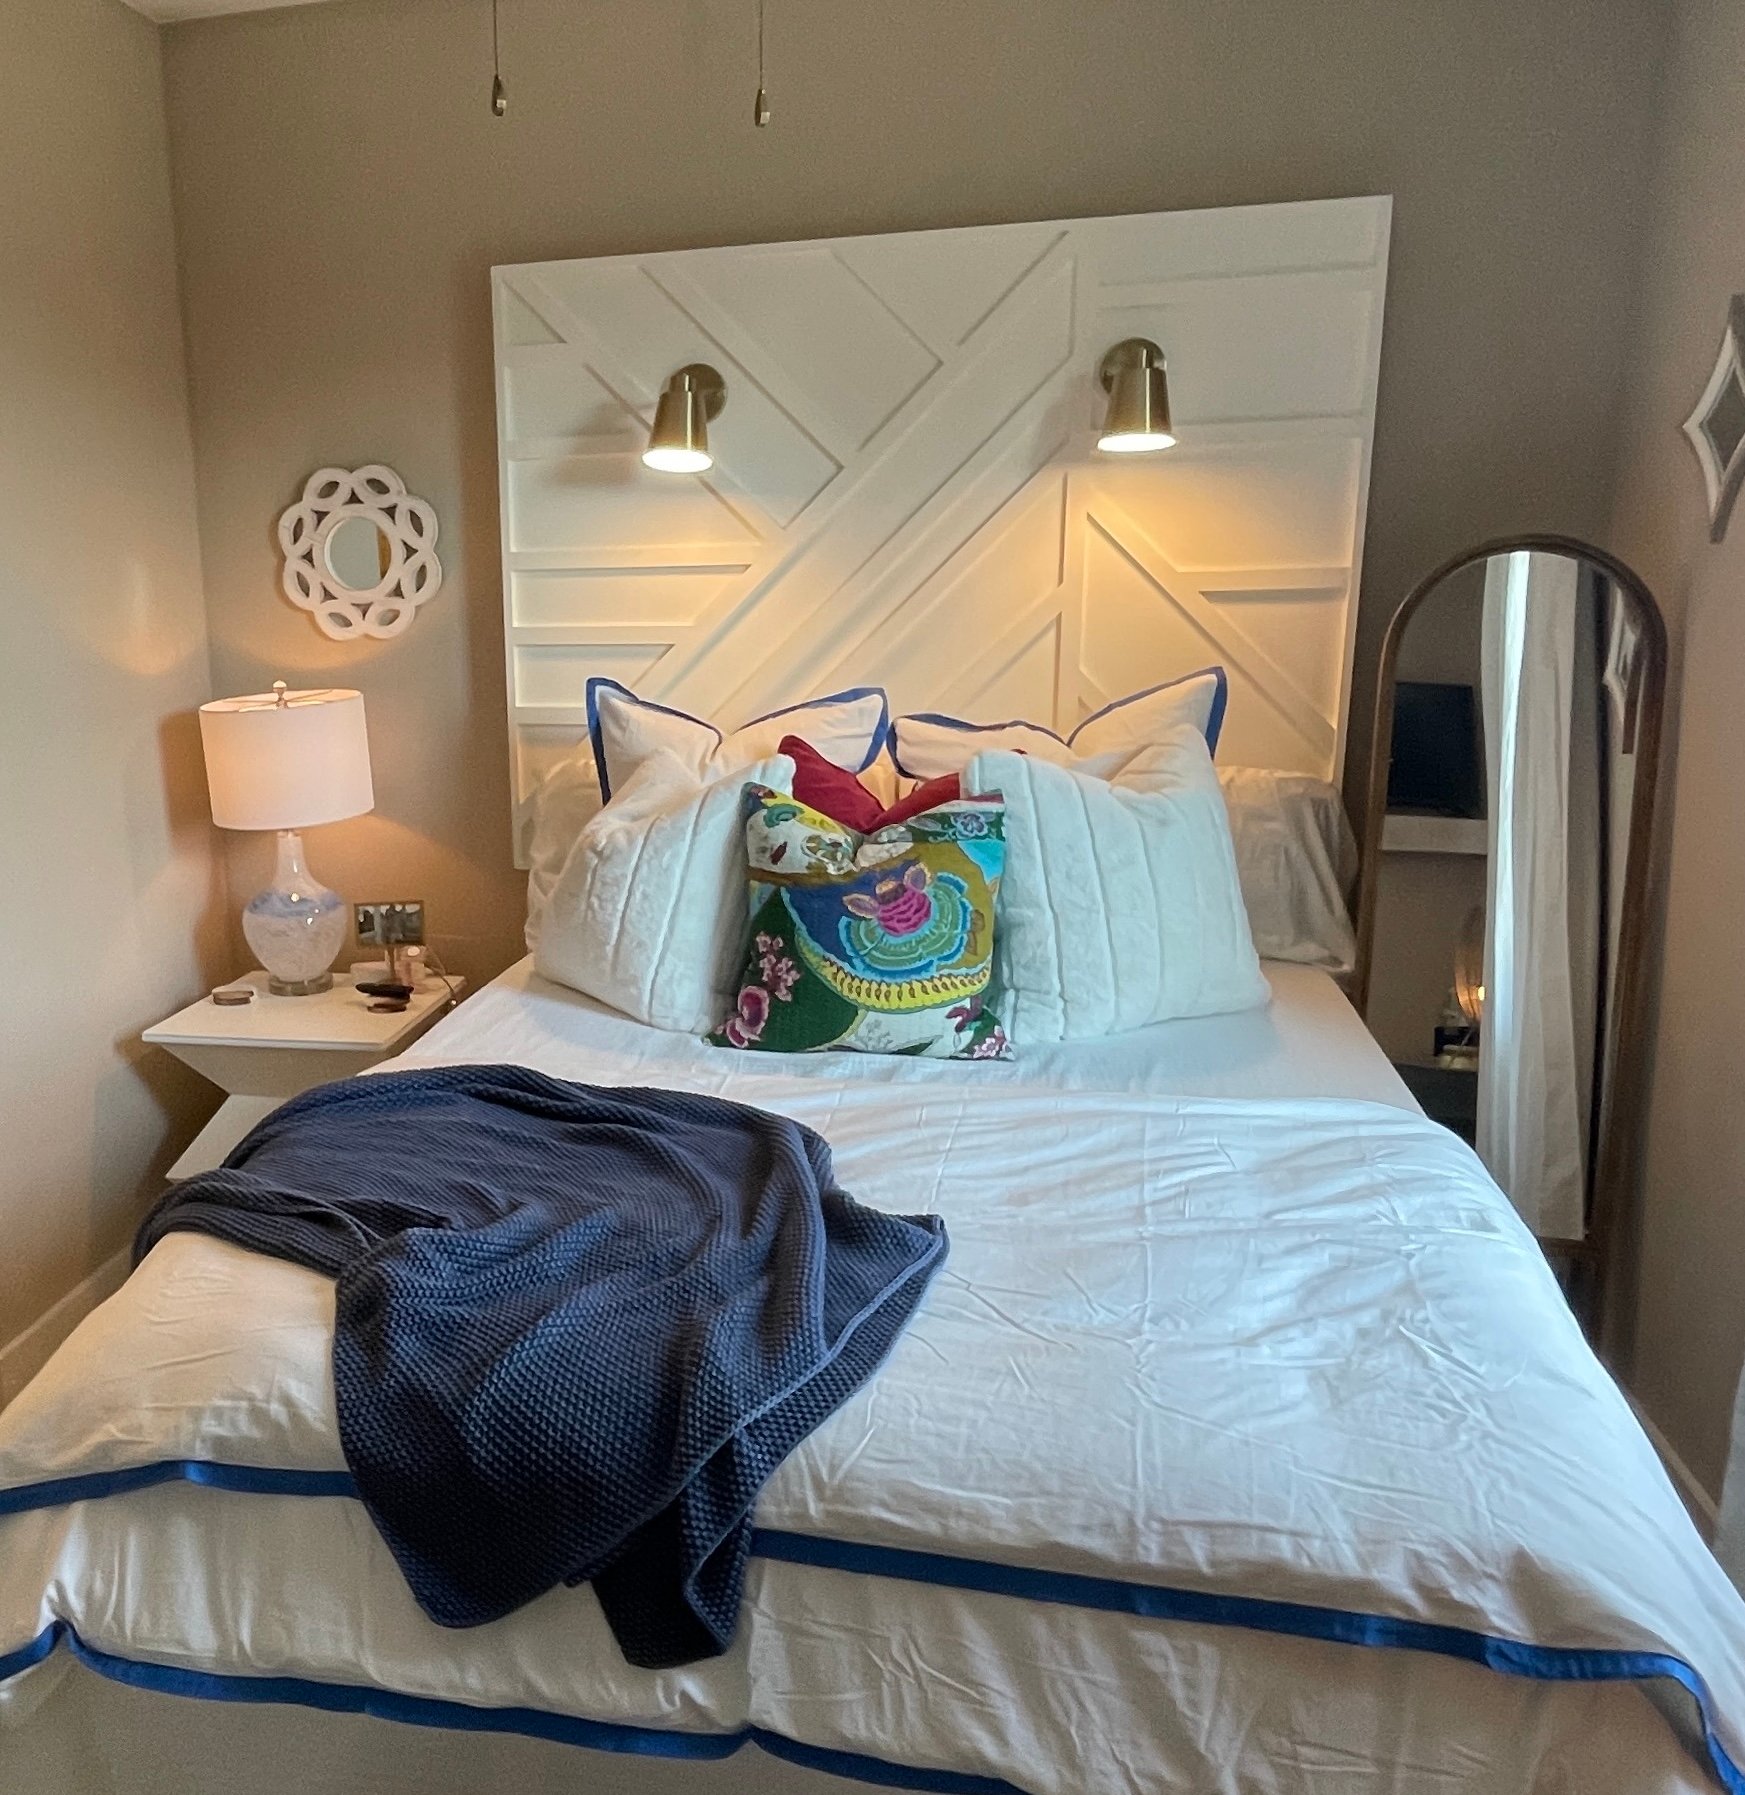
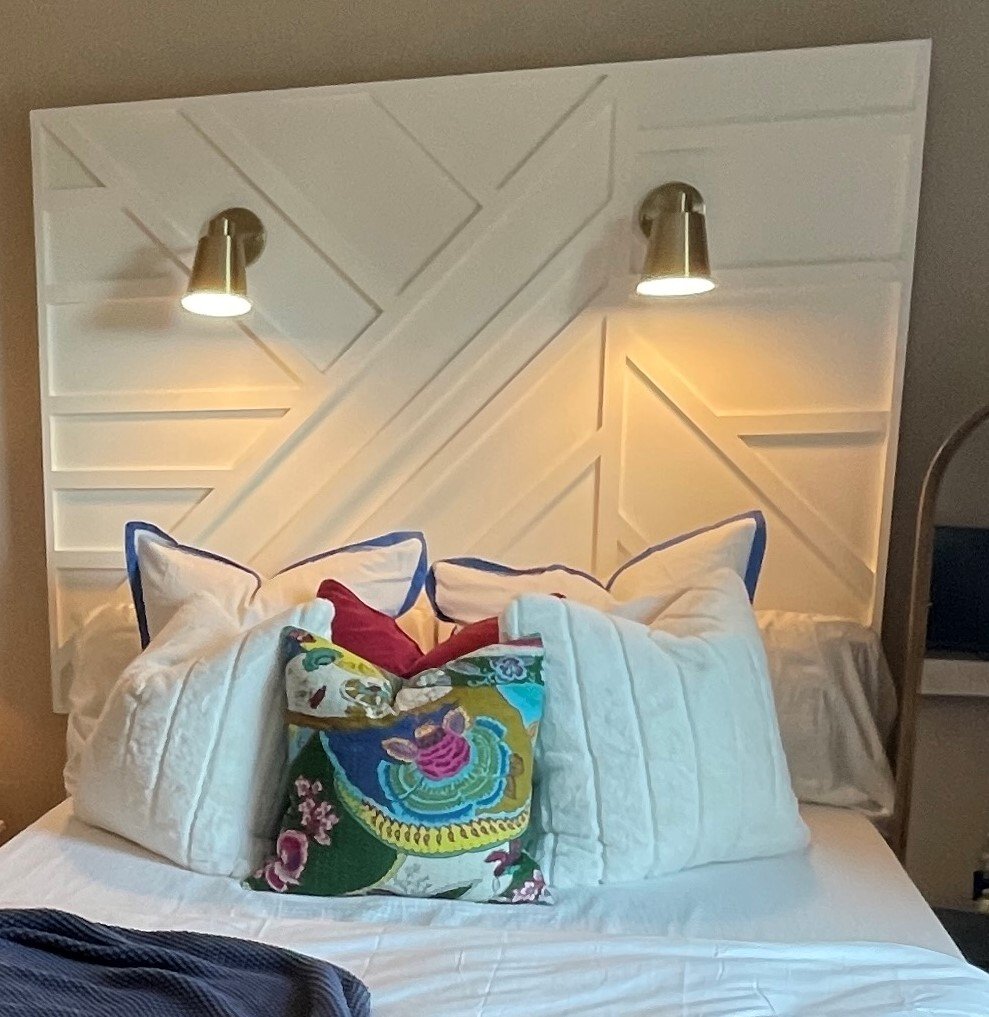
Modern Headboard w/ Sconces

Submitted by Anonymous (not verified) on Tue, 08/16/2022 - 08:22

Love the modern look of the headboard so I adjusted the dimensions a bit to add more height. I built this for my daughters first college apartment and wanted to capitalize on space know that her room would be small - so I added the sconces for extra lighting in her room. I turned out great and was so happy to find the inspiration on Ana's site!

Built from Plan(s)

Comments

WHAT ANA INSPIRES!!!

Submitted by redhead_61 on Fri, 08/26/2011 - 09:36

I had a friend doing a class for a church activity on refinishing furniture. I think she mentioned to our leaders that I build furniture so two weeks ago she emailed me to see if I would be willing to participate and take a little time to talk. I said of course, and then in my true fashion of loving a good get-together and having a tendency to overdo things, I said, "we could even do a little project too".

I went onto this site printed off 5 projects under $30 and let anyone that wanted sign up. I figured the easiest way to let people build a project in an hour and a half was to pre-cut and pre-drill everything (Thank you to my new Kreg jig that let me rock that part out no problem)

I ended up cutting and drilling for 26 orders!!! EEK! I was a little like a mad hatter running around helping people that had never even held a drill before (so please excuse the LACK of pictures, including none of me doing anything at all :( ) But I think it turned out awesome and everyone was so excited.

I just wanted to post this as a little tribute to Ana for all the amazingness that you are. Thank you for helping those scared to even start.

Estimated Cost
under $30
Estimated Time Investment
An Hour or Two (0-2 Hours)
Recommended Skill Level
Starter Project

Comments

ferbit

Fri, 08/26/2011 - 10:03

What a fun idea!!! Looks like everyone was having a fantastic time!

Ana White

Fri, 08/26/2011 - 11:26

Thank you so much for sharing this! I can remember when my little sister took woodshop in high school, and we all looked at her like "what is woodshop" and "why on earth would you ever want to take woodshop - woodworking is for retired men!". Not too many years later, I was wishing I had taken wood shop!

This is so amazing to see because you are teaching these beautiful and courageous young laddies skills they will use throughout their lifetime. Not to mention the confidence to tackle other traditionally male trades. And I'm willing to bet, their daughters will be using drills too!

I'm so honored to know you!

And might I add, those projects look GOOD!

romanweel

Sun, 02/03/2013 - 12:17

MAN! I want to do something like this! What a wonderful thing to do to bring all those ladies together! (And tell Miss Red Shirt, I want a T just like hers! "Be Kind"!) Way to rock it out, all of you!

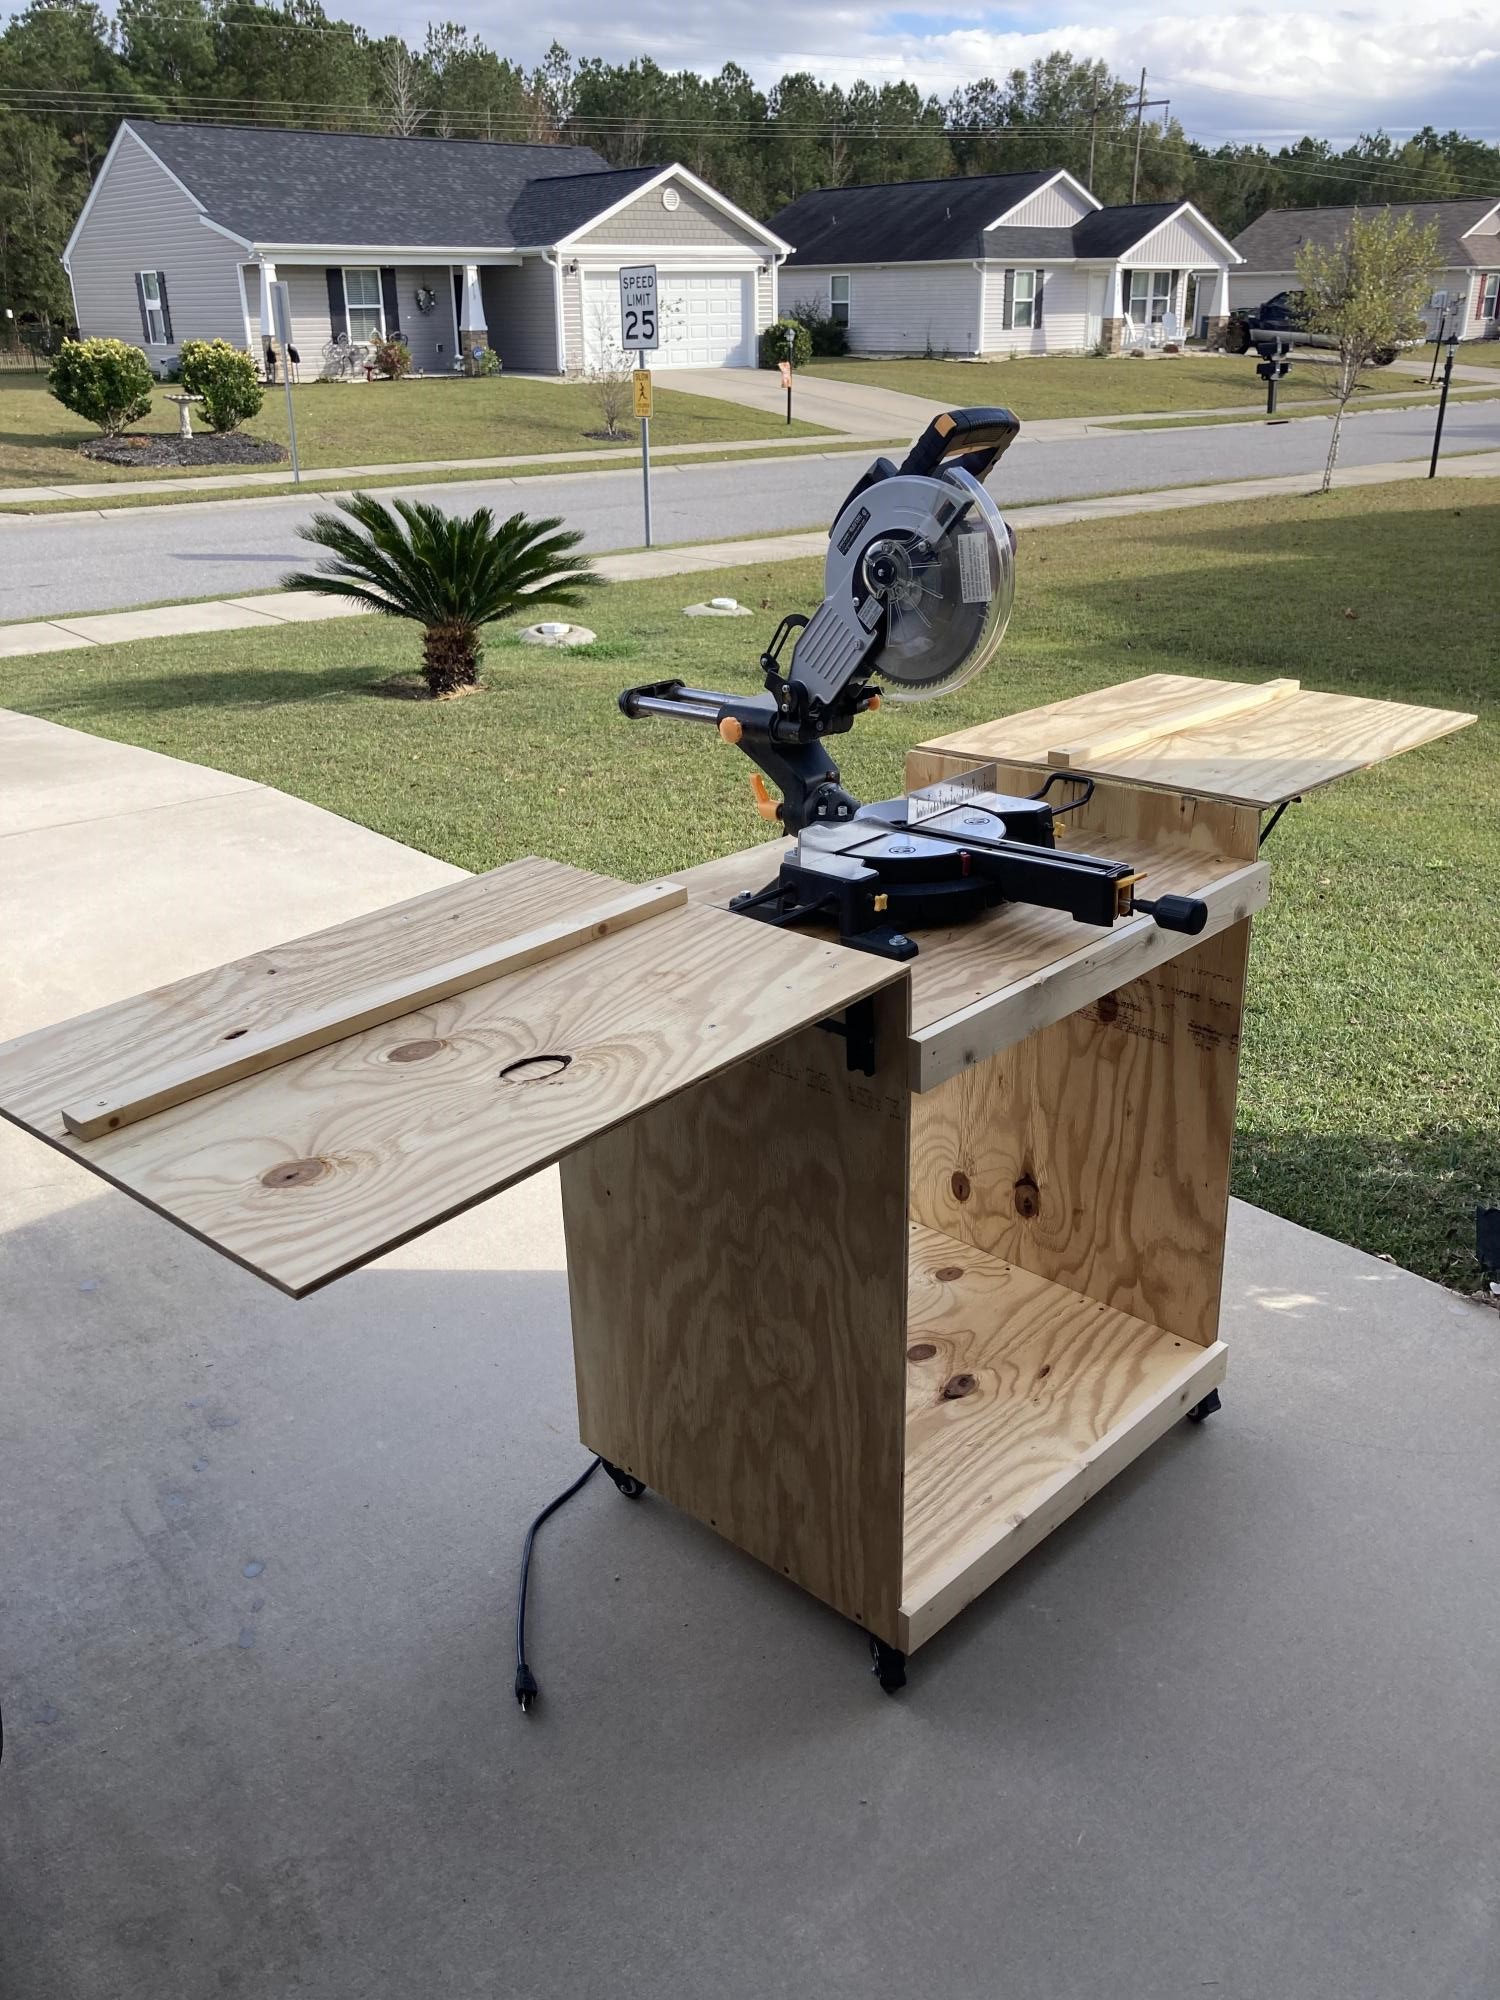
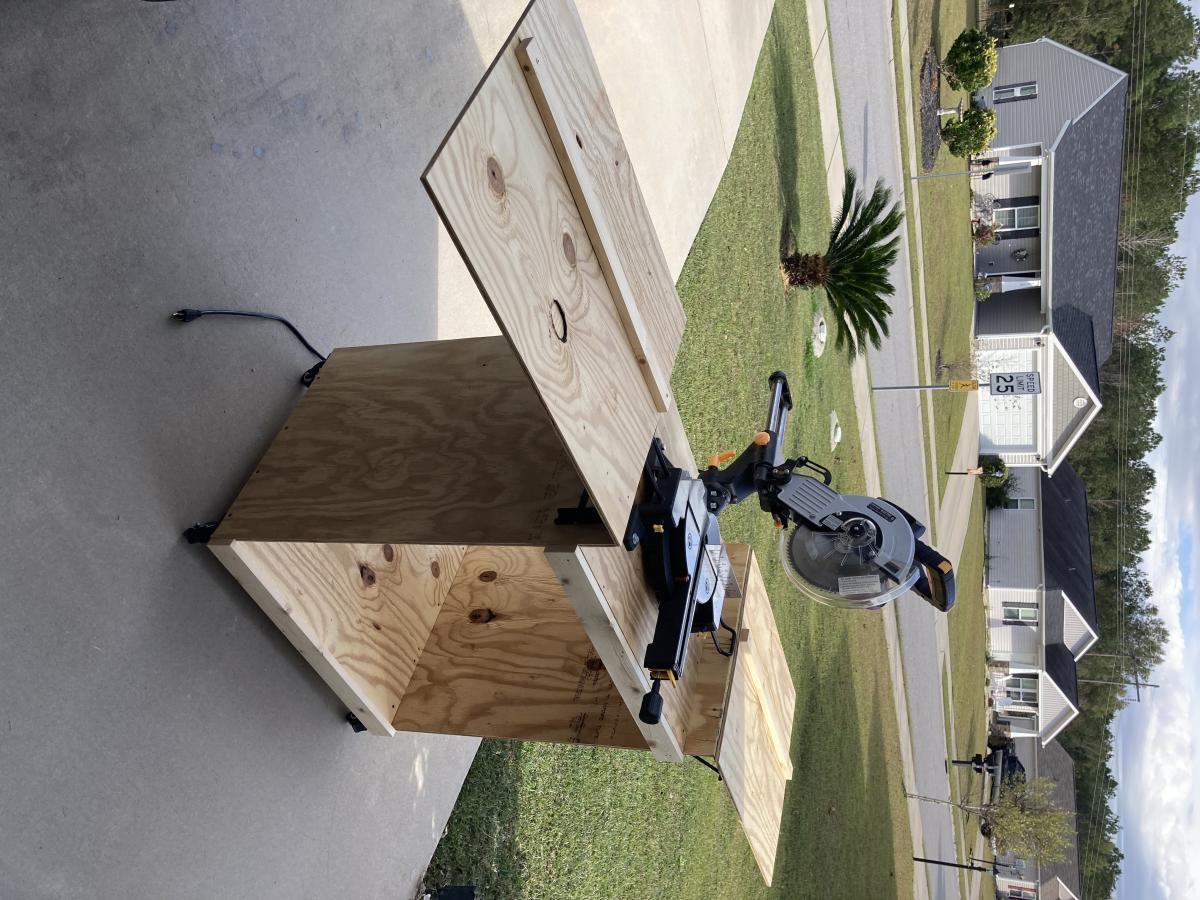
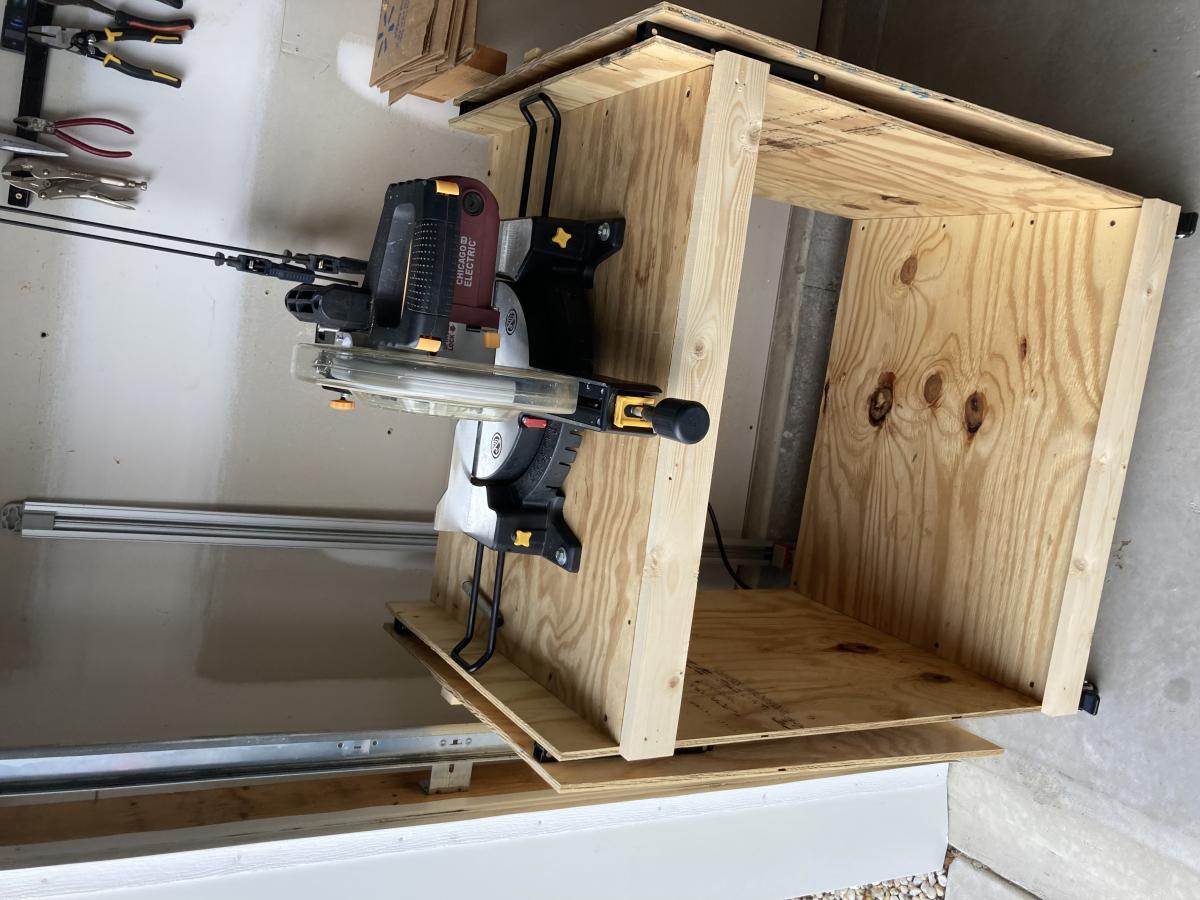
Miter Saw Cart

Submitted by Anonymous (not verified) on Wed, 11/16/2022 - 07:16

I had my mitre saw on a stand I had purchased and it was ok. Hard to move around, but it supported the saw ok. Frustrated over having to drag it around every time I was using it. This cart is smaller than the old stand and easier to move around.

Built from Plan(s)

Comments

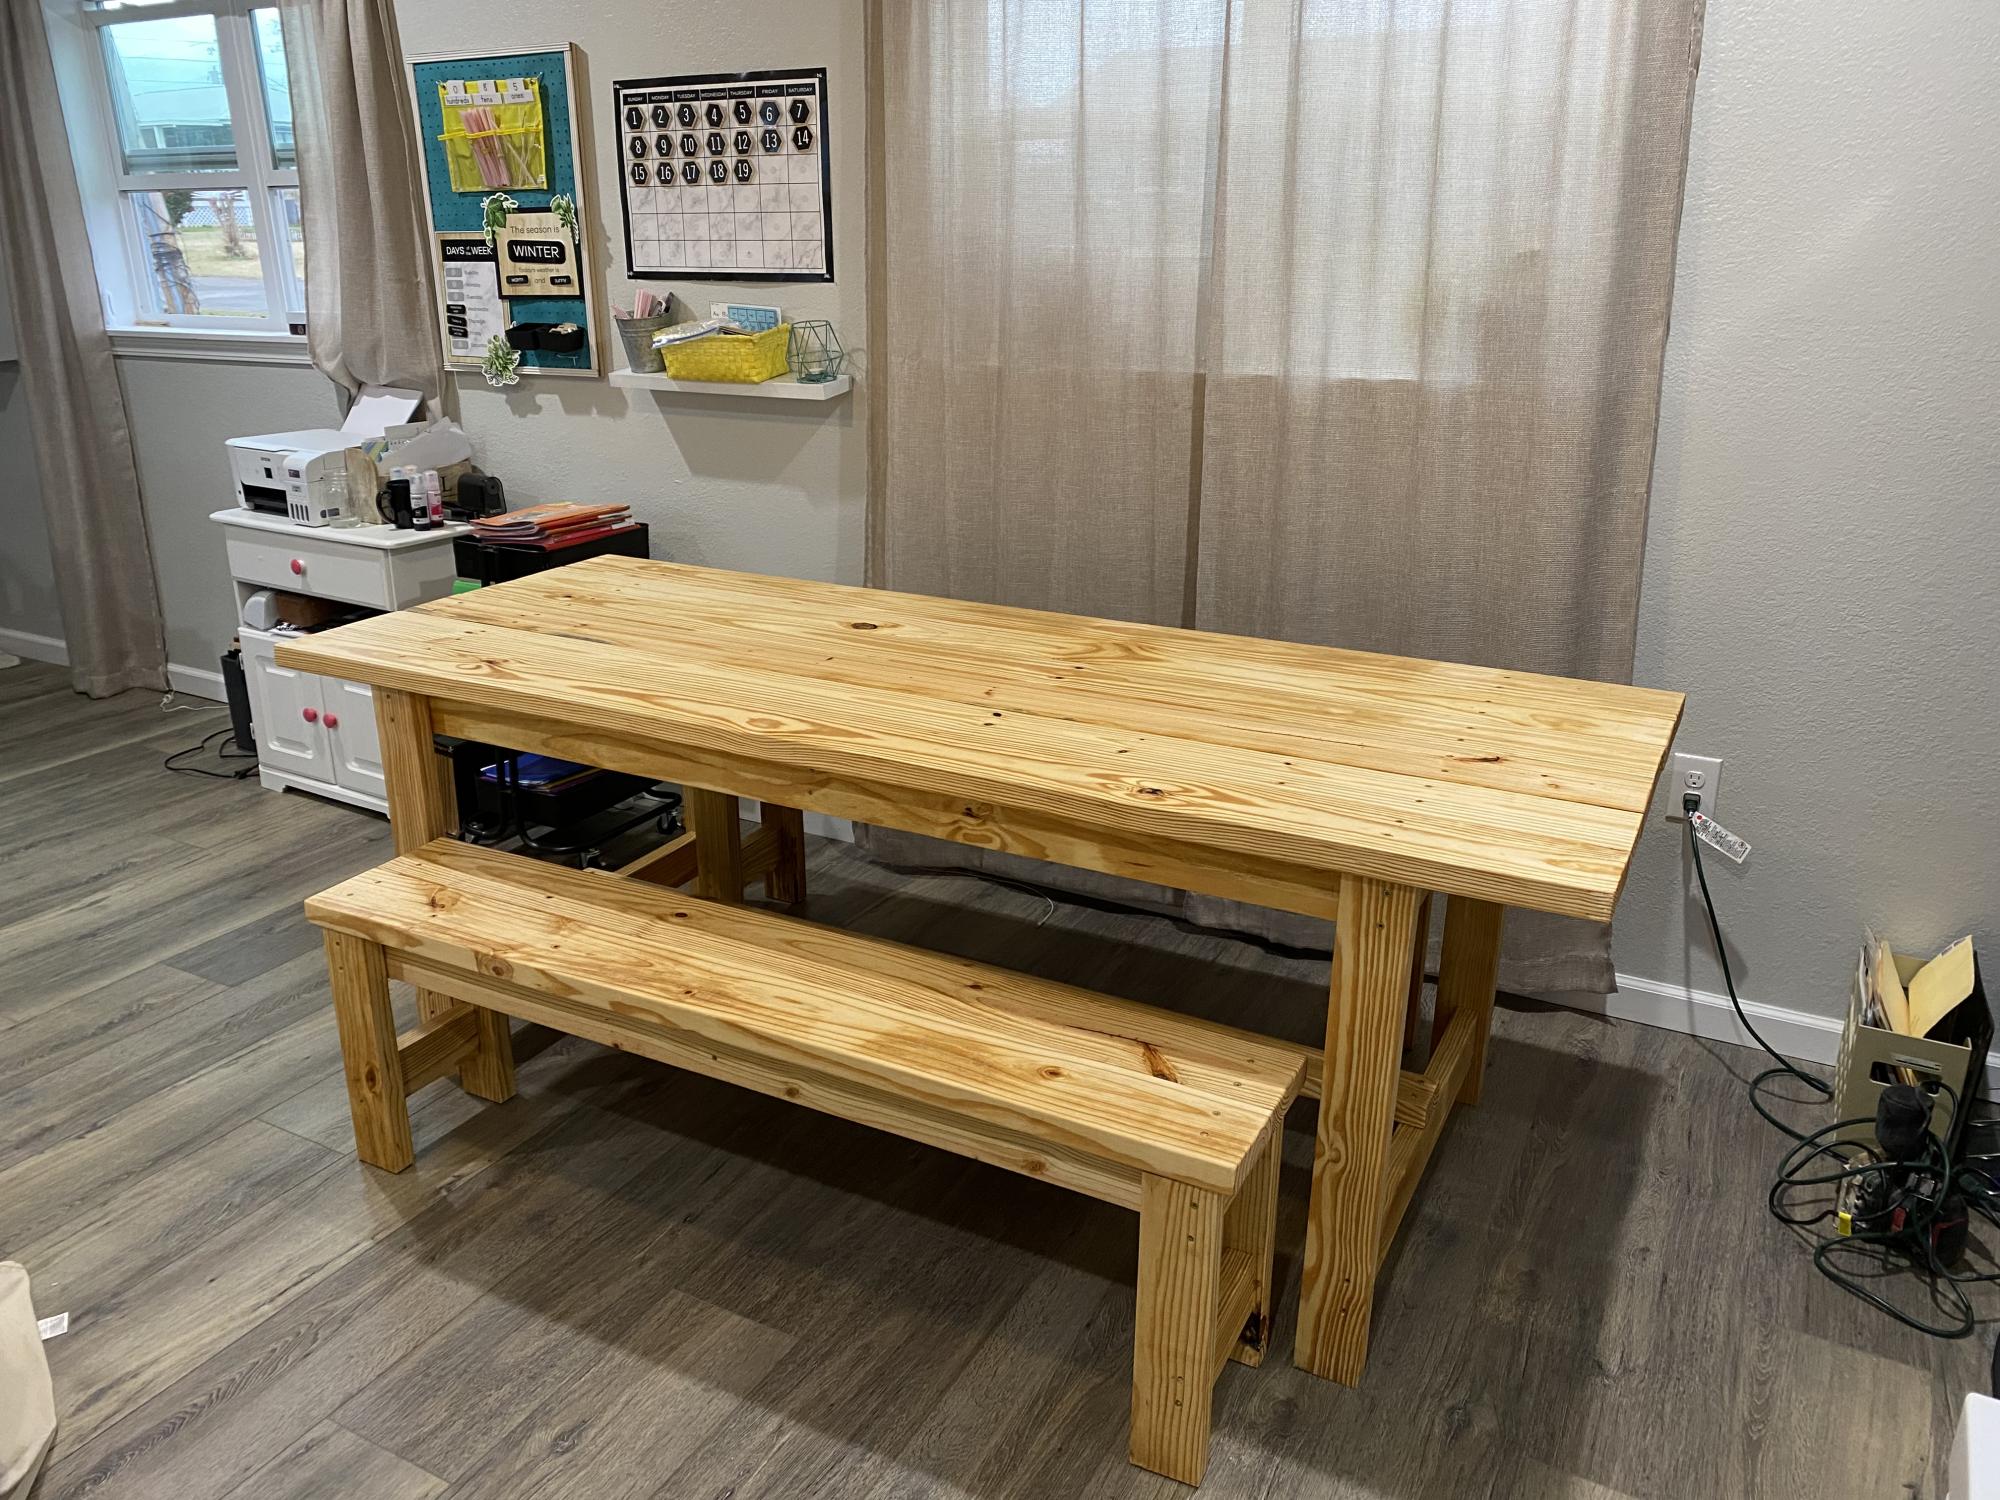
Simple Farm Table

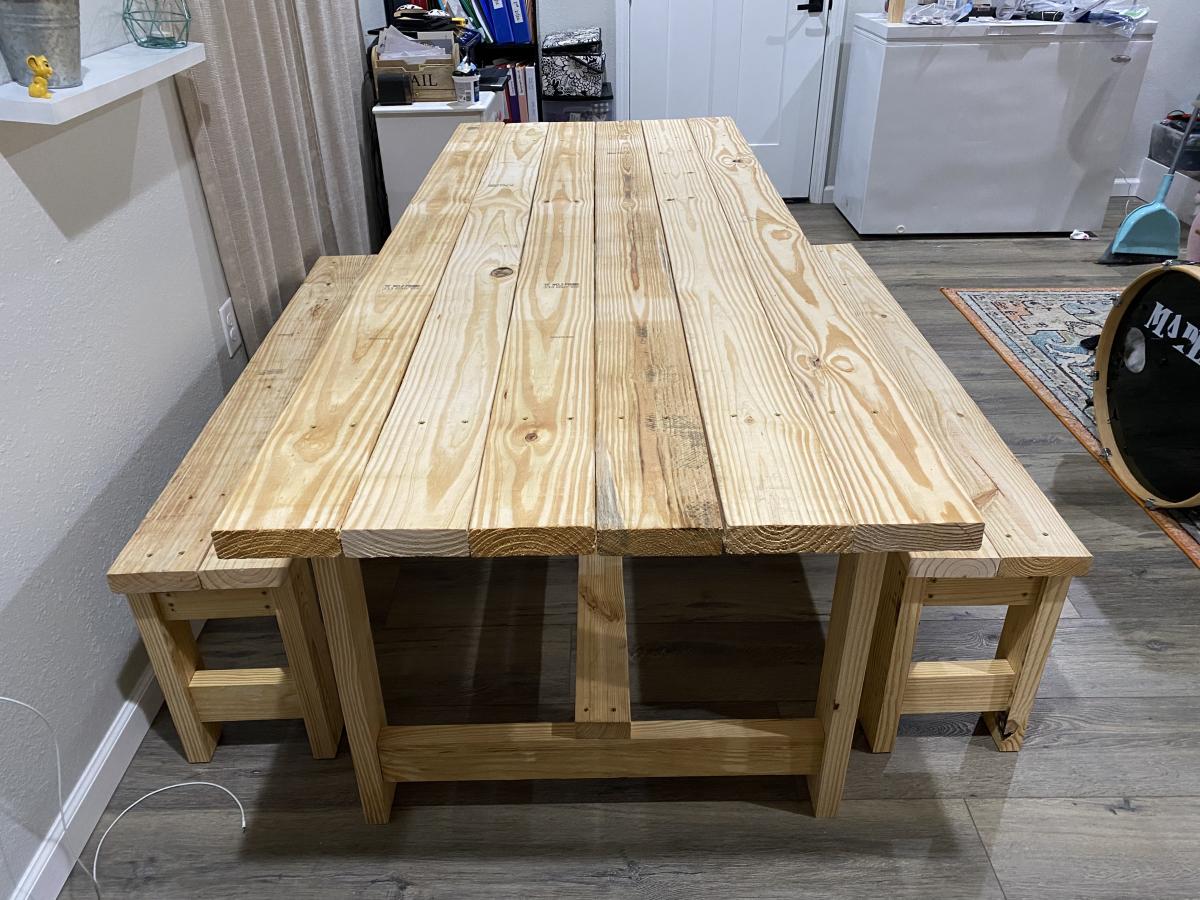
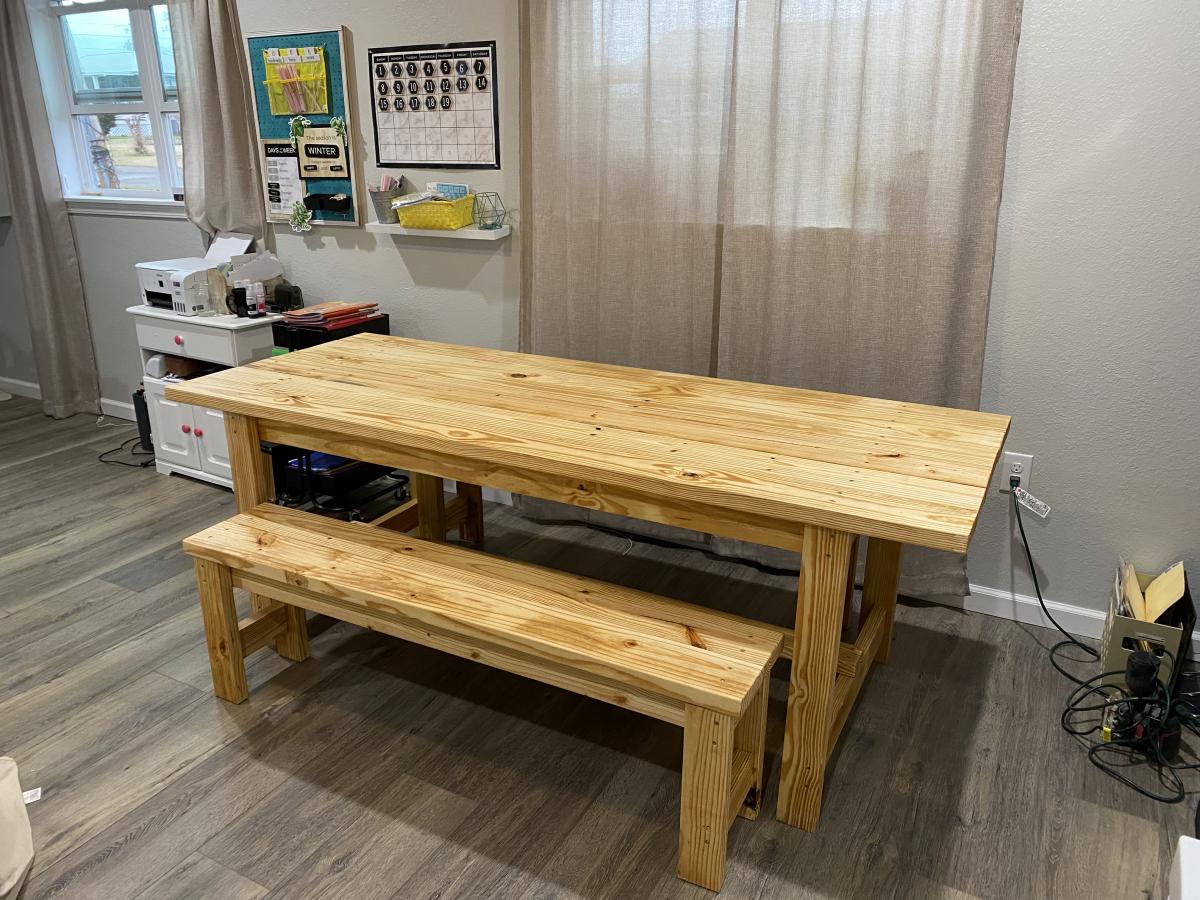
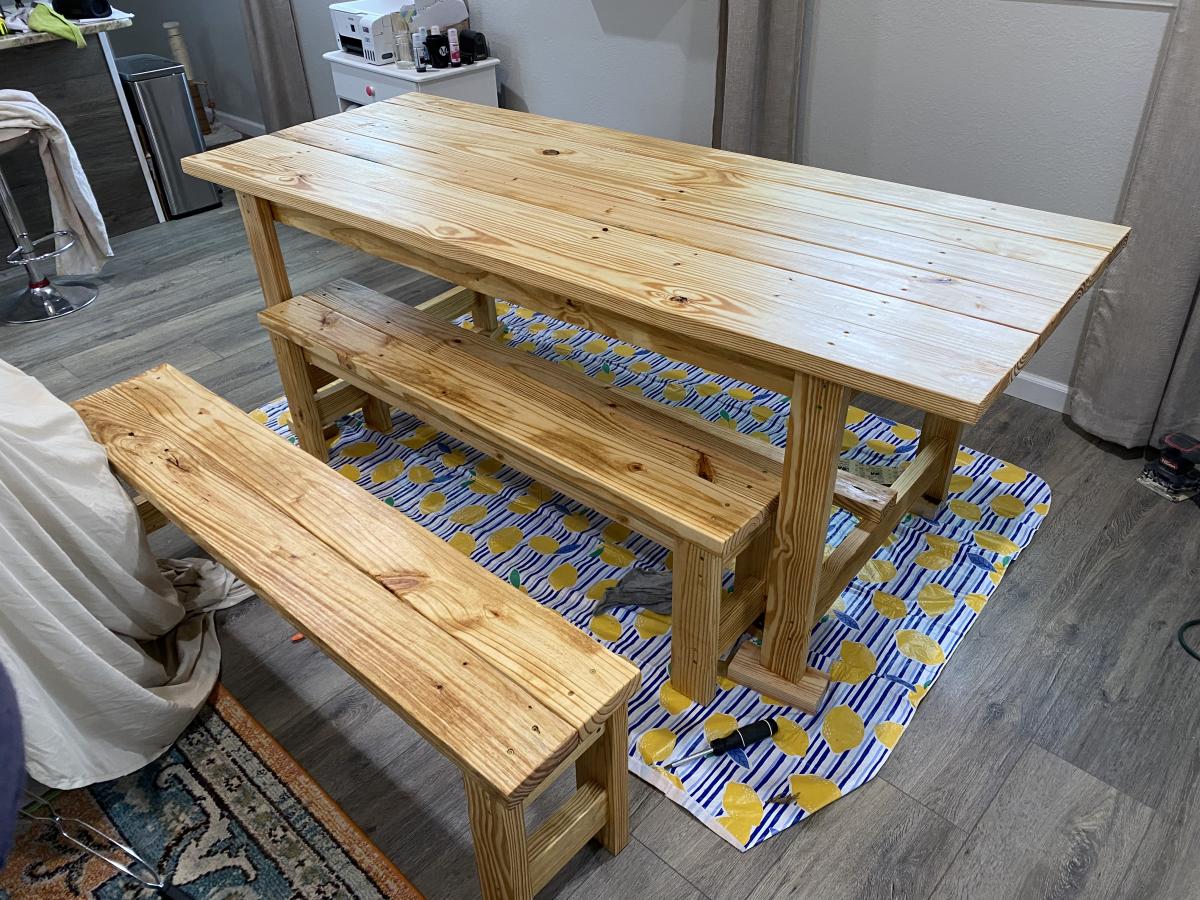
My mom and o completed this weekend project together! It was so fun to complete! The table is customized to 7ft and the benches made smaller than the original plans so they slide under the table when we’re not using it. We made it for our homeschool room. The kids are excited for this space already and we all have the room we need to get our work done! Under $200 start to finish! I used a prestain to prep the wood and then stained with watco danish oil in a natural finish.

Comments

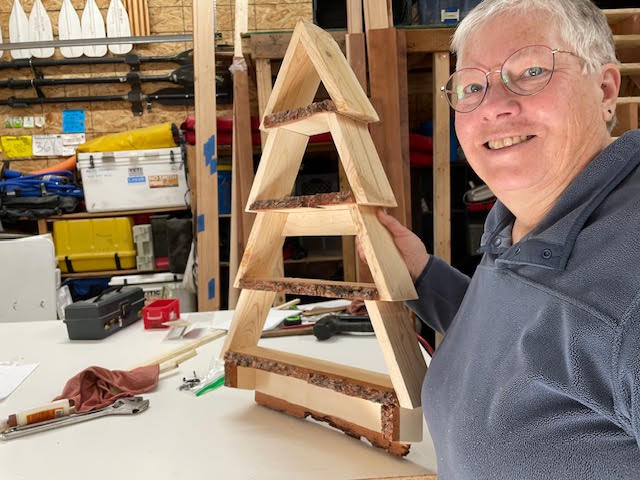
Wine Rack with Live Edge Wood Top & Shelf

Submitted by Anonymous (not verified) on Wed, 02/08/2023 - 10:23

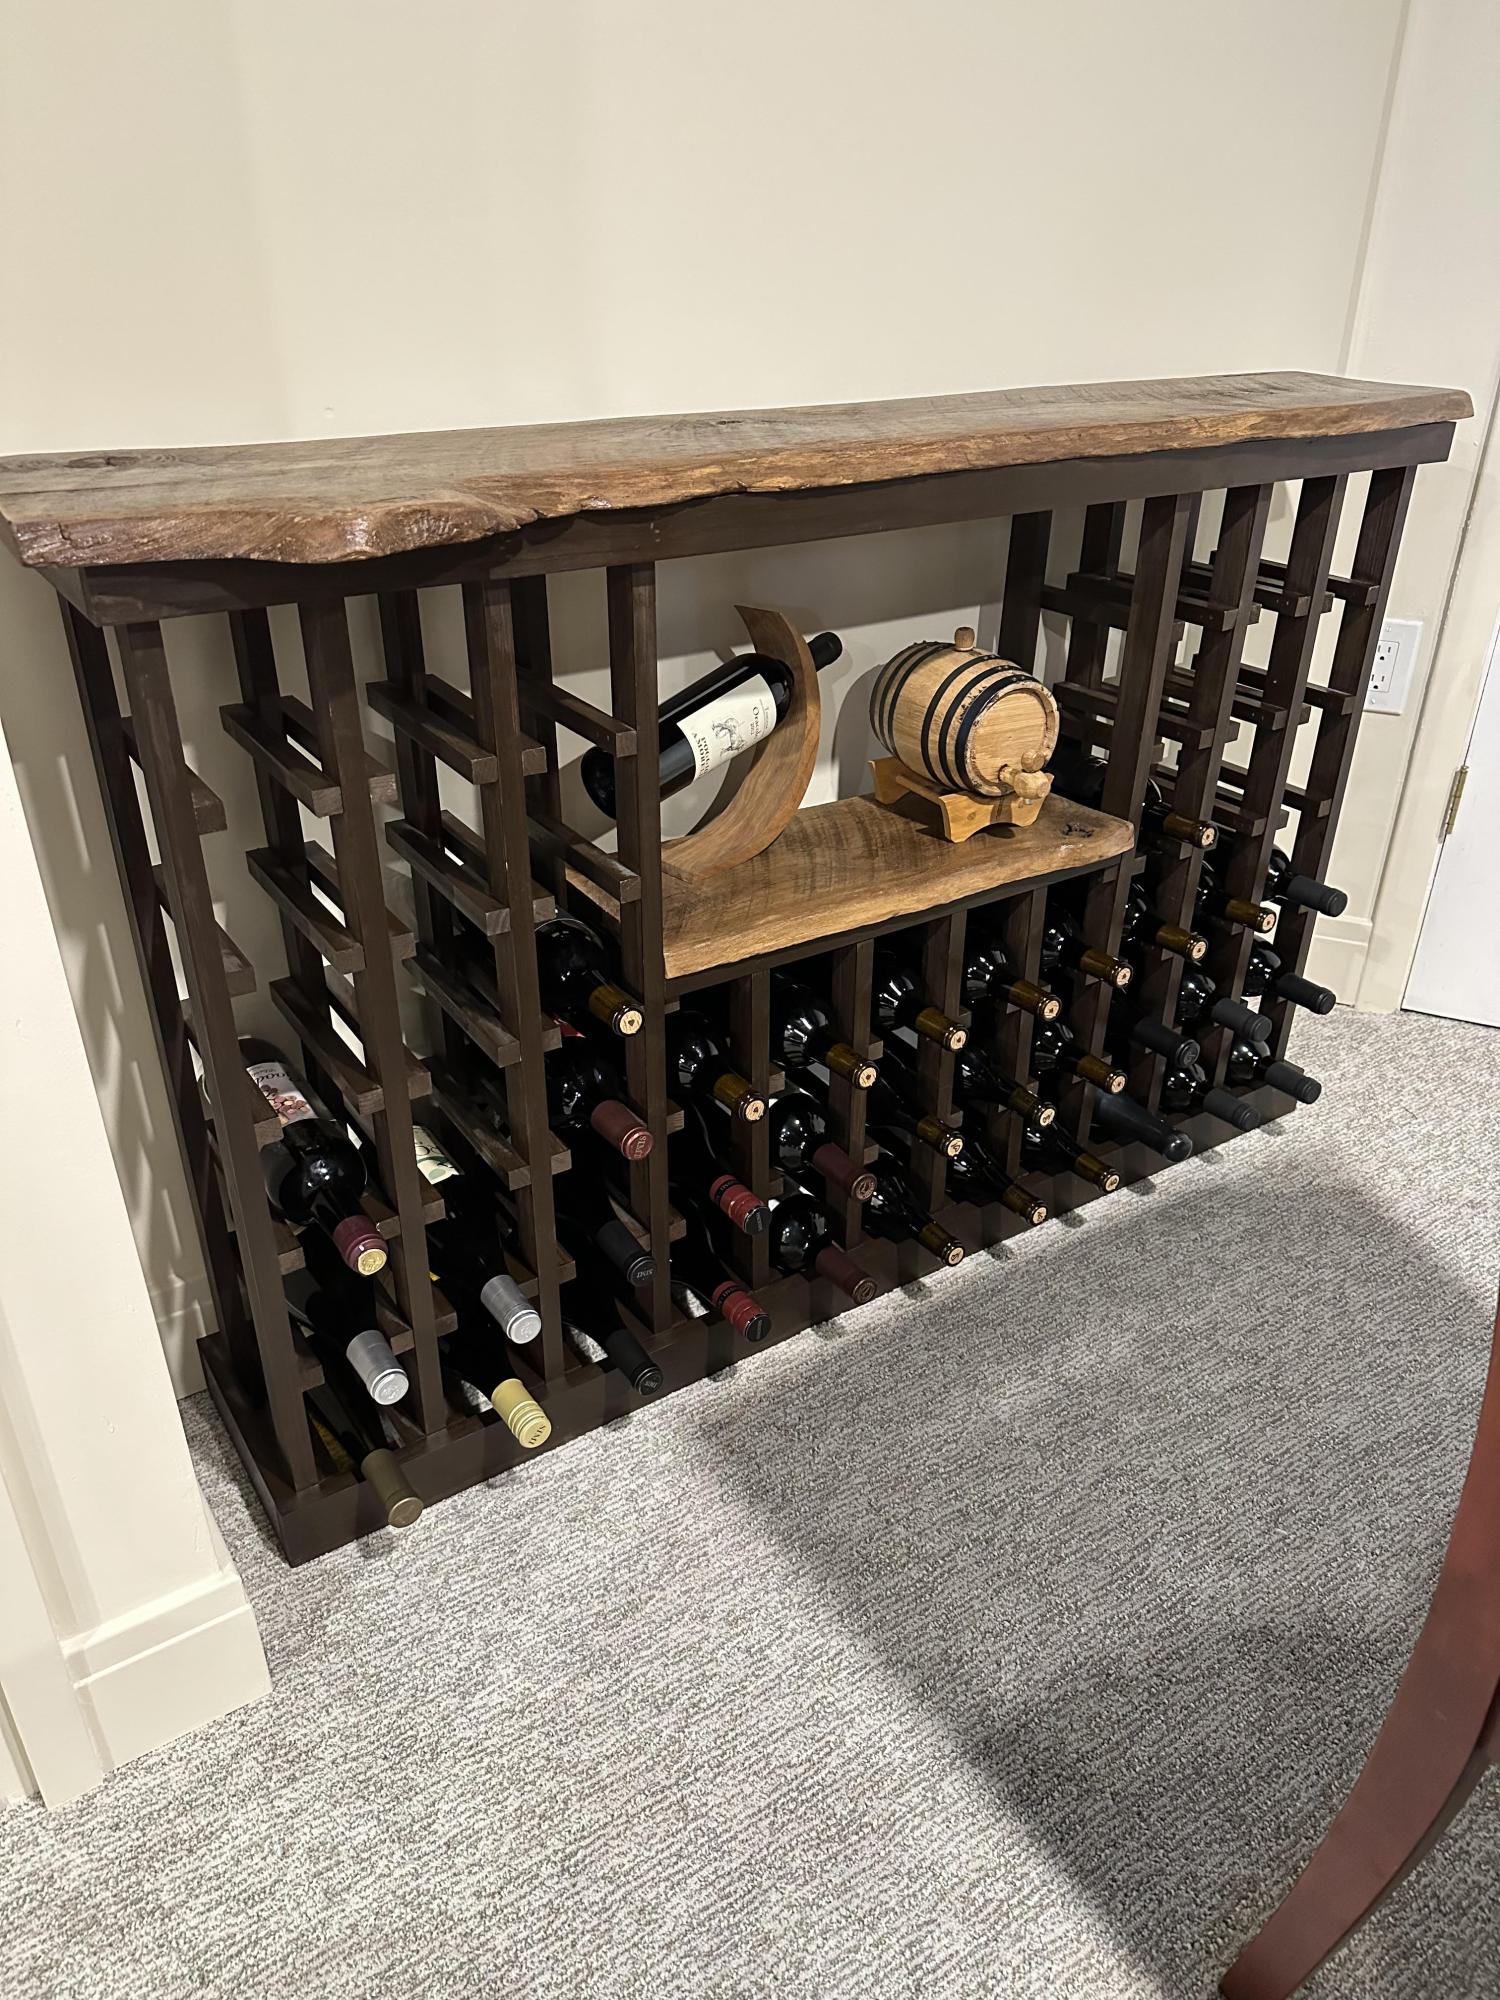
Made this wine rack for our basement rec room using live edge wood, 1x2s, and 3/4in wood dowels. Full dimensions and write up at the link below!

Comments

Fireplace with recessed TV mount

Submitted by medicscott on Thu, 02/16/2023 - 07:46

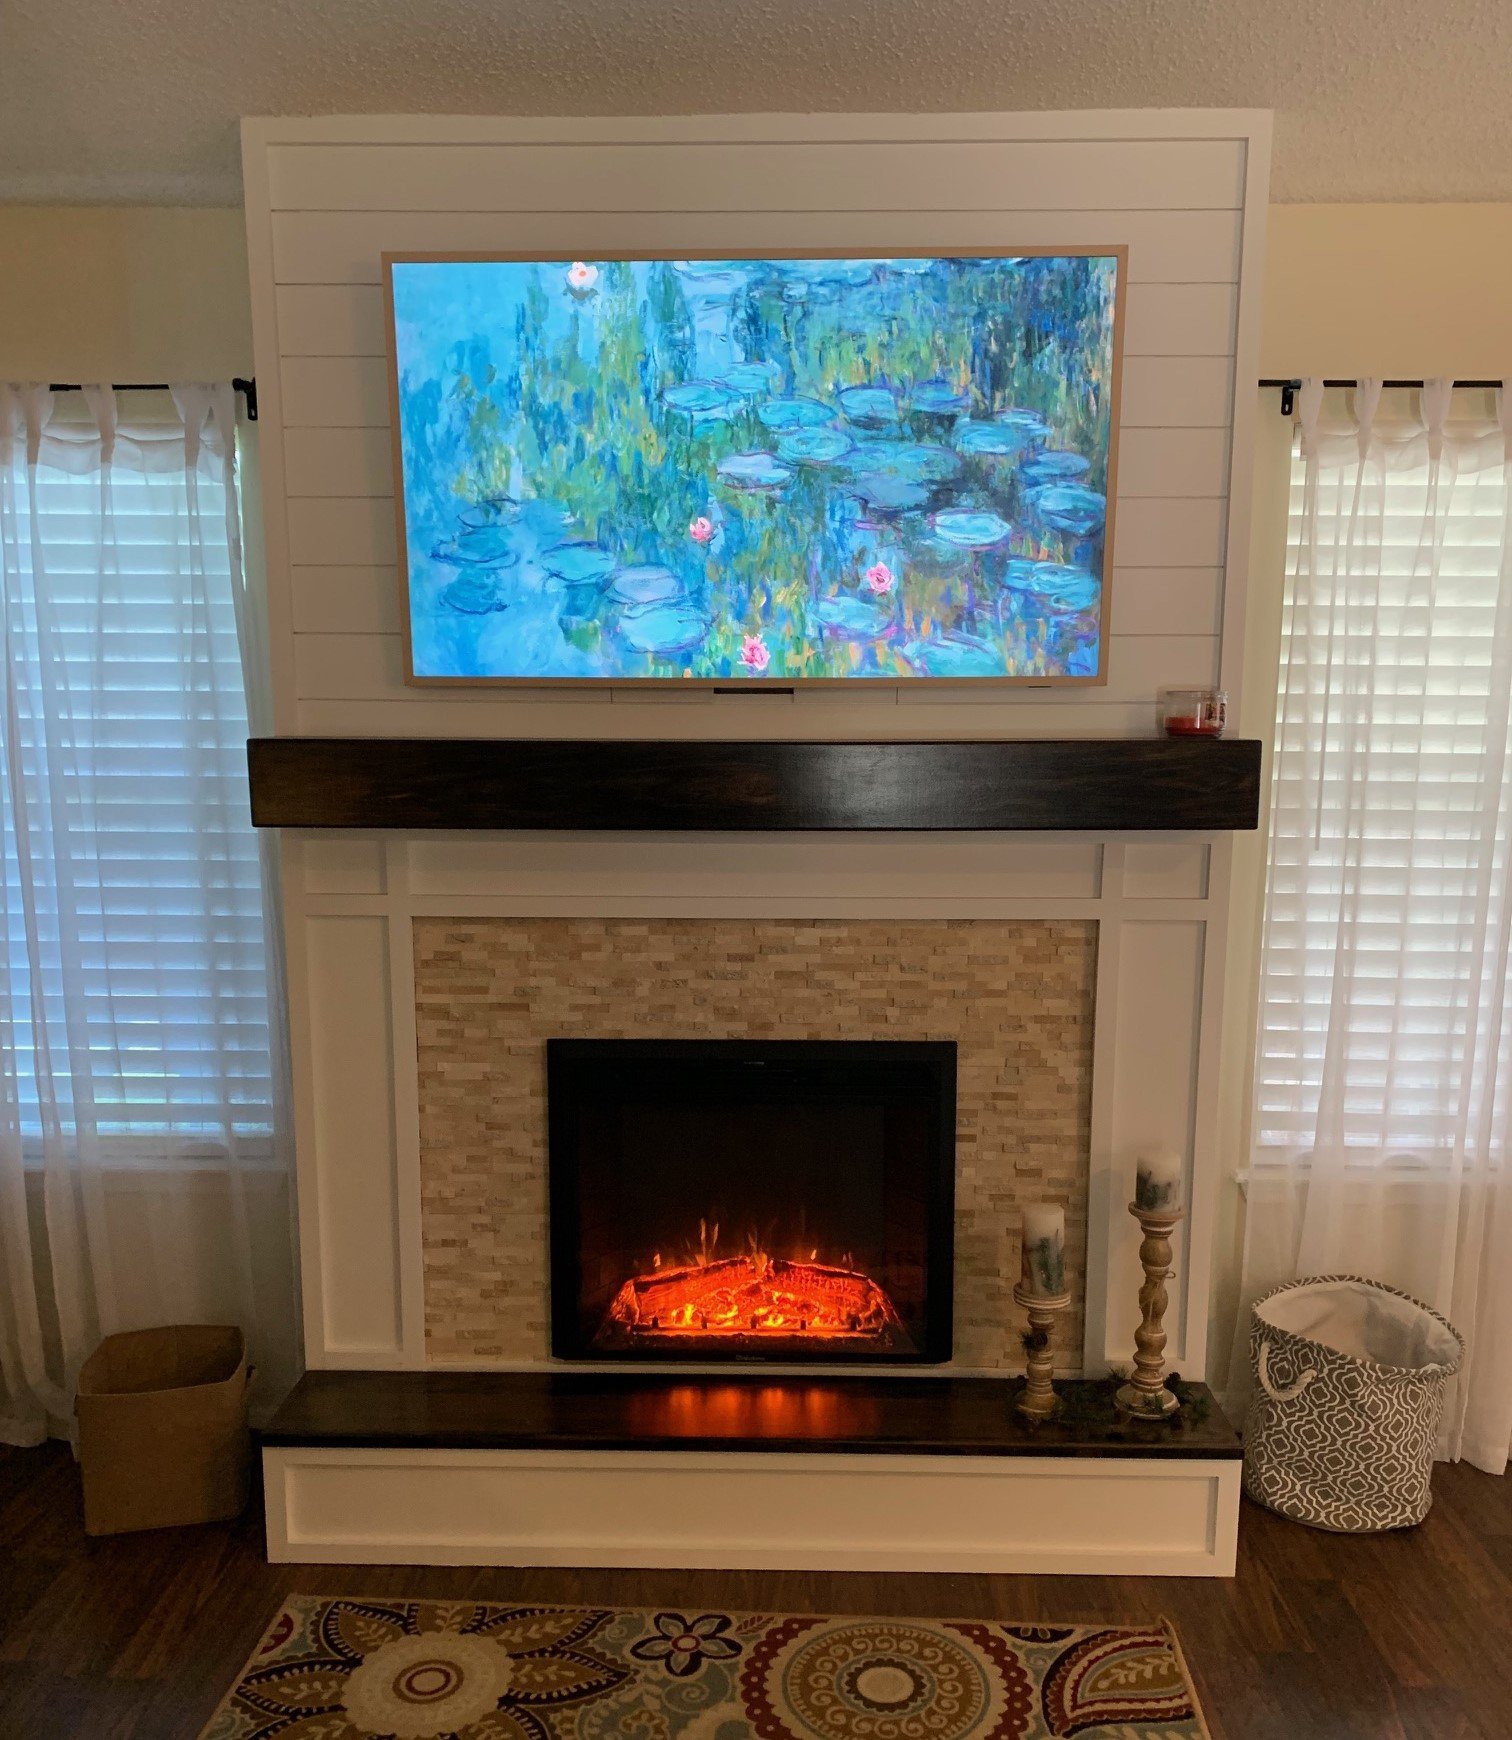
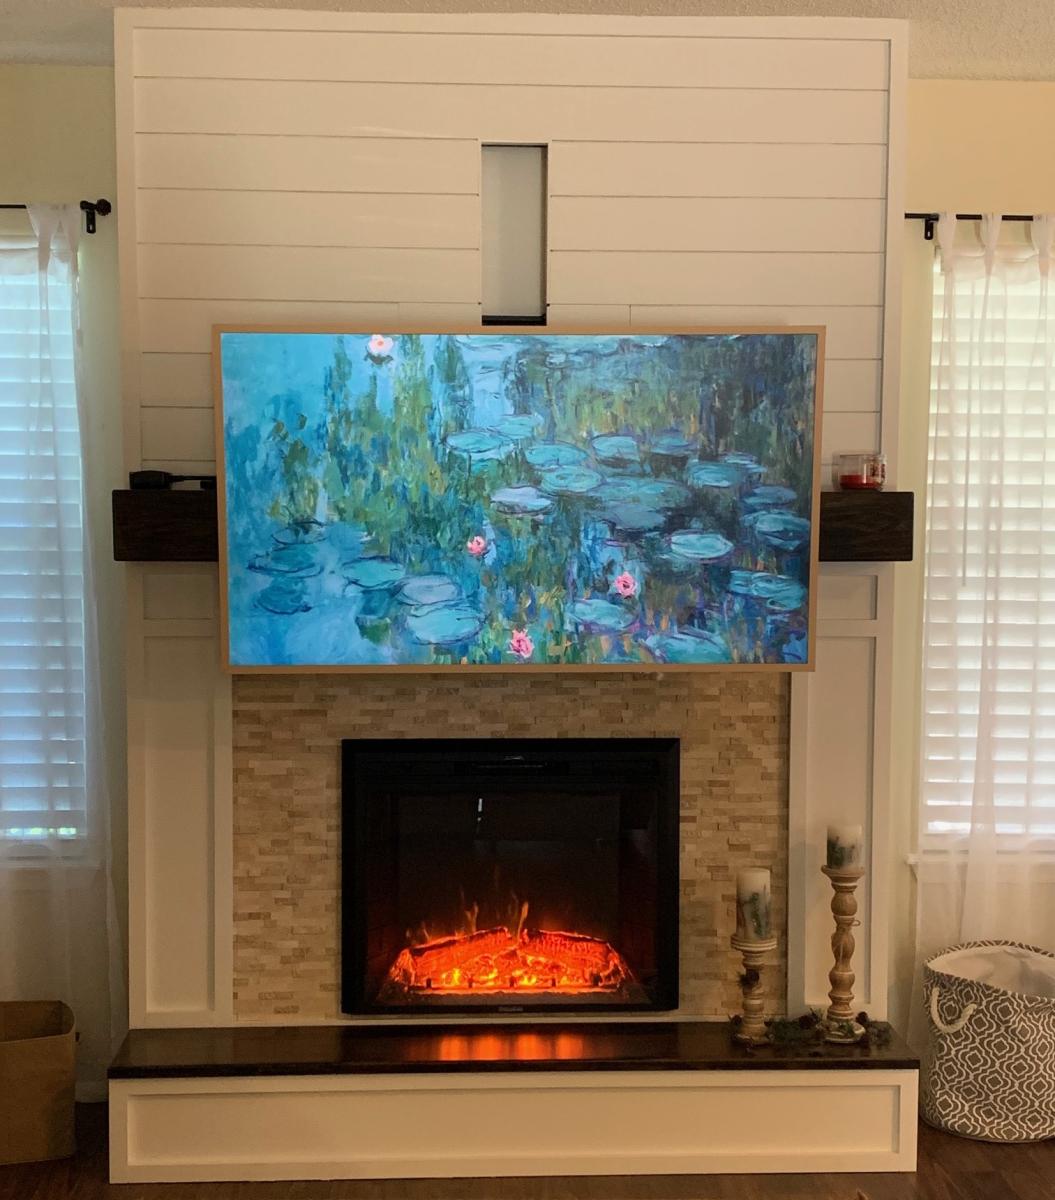
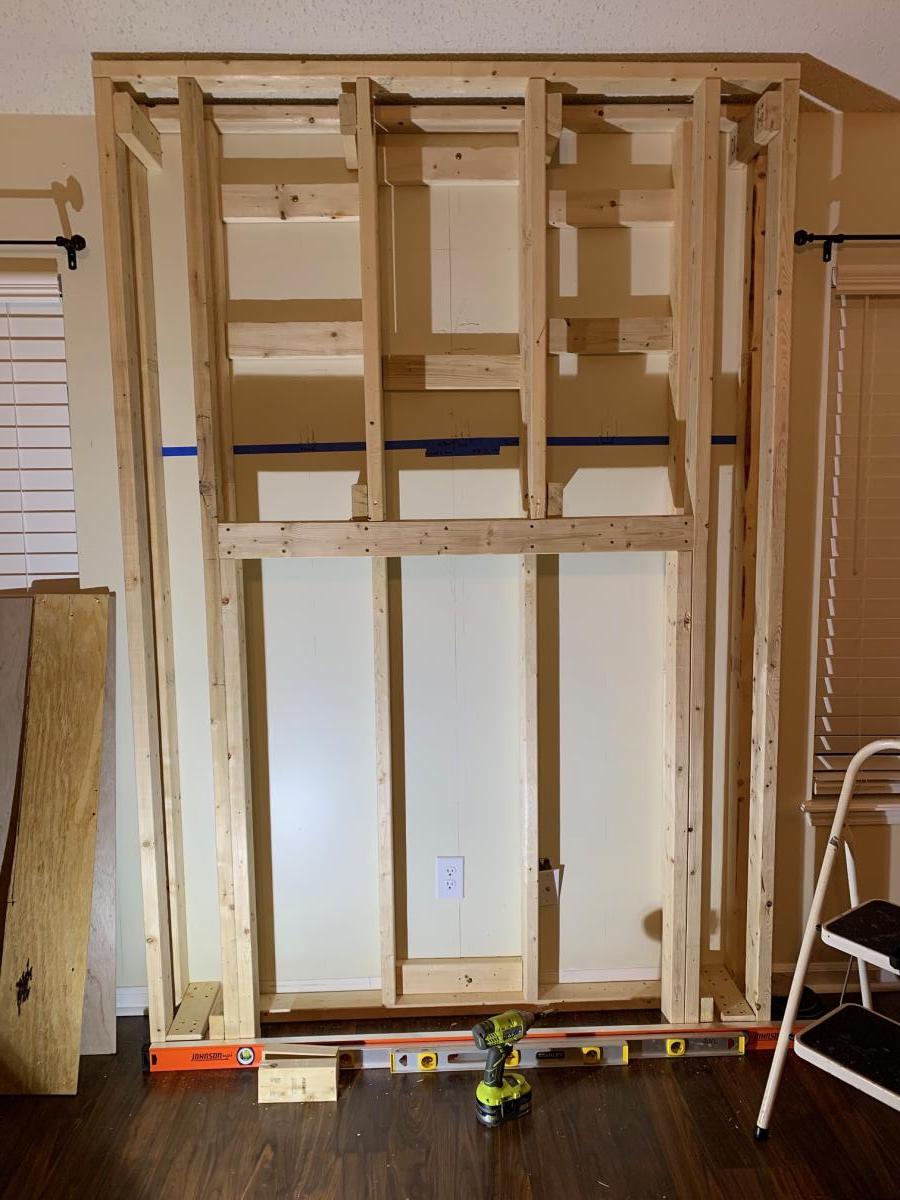
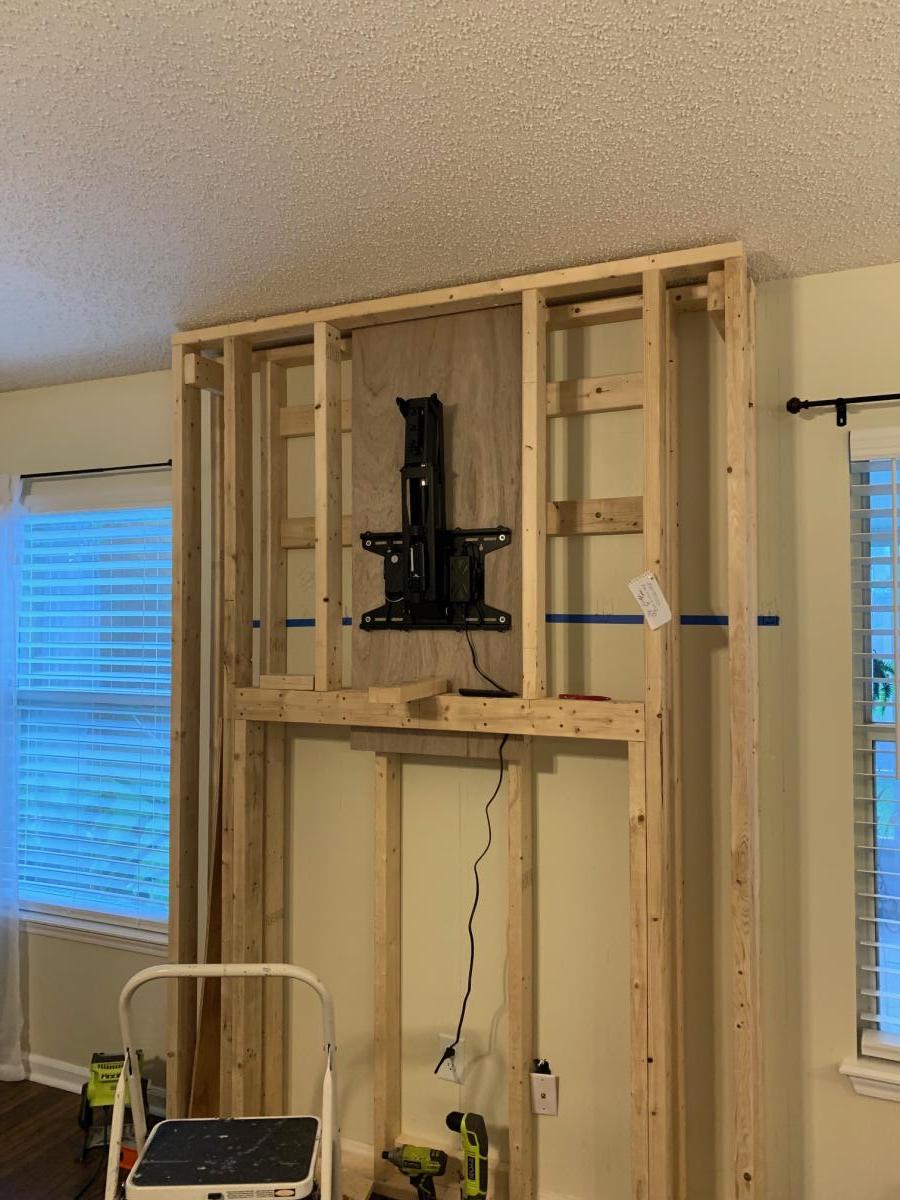
This is a very custom fireplace that I built for my wife as a 40th wedding anniversary gift. It is built around a Samsung 55” Frame TV and a Vivo motorized mount. The motorized mount allows the TV to be lowered to a better viewing height than the standard above mantle position which is usually too high for comfortable viewing.

In order to maintain the flush mount effect with the TV in art mode, I recessed the mount into the fireplace. That required building a “back” frame for the TV mount then the outer frame for the surround. I covered the outer frame with ½” OSB then ship lap. The mantle and hearth is made from Poplar with walnut stain and Polyurethane satin top coat. The hearth opens for storage.

This was sourced from several different plan sets with a lot of customization and input from the Technical Support Staff at Vizo-US.

Comments

Ana White

Thu, 02/16/2023 - 09:46

Happy Anniversary!
This is a beautiful, well thought out project.
I was hoping someone would do the recessed mount, and you nailed it! It's so much better with the tv flush like yours.
Also love the motorized mount.
Thank you very much for sharing photos.
Ana

Modern Farm Table with a Twist

Submitted by Anonymous (not verified) on Thu, 01/07/2016 - 18:04

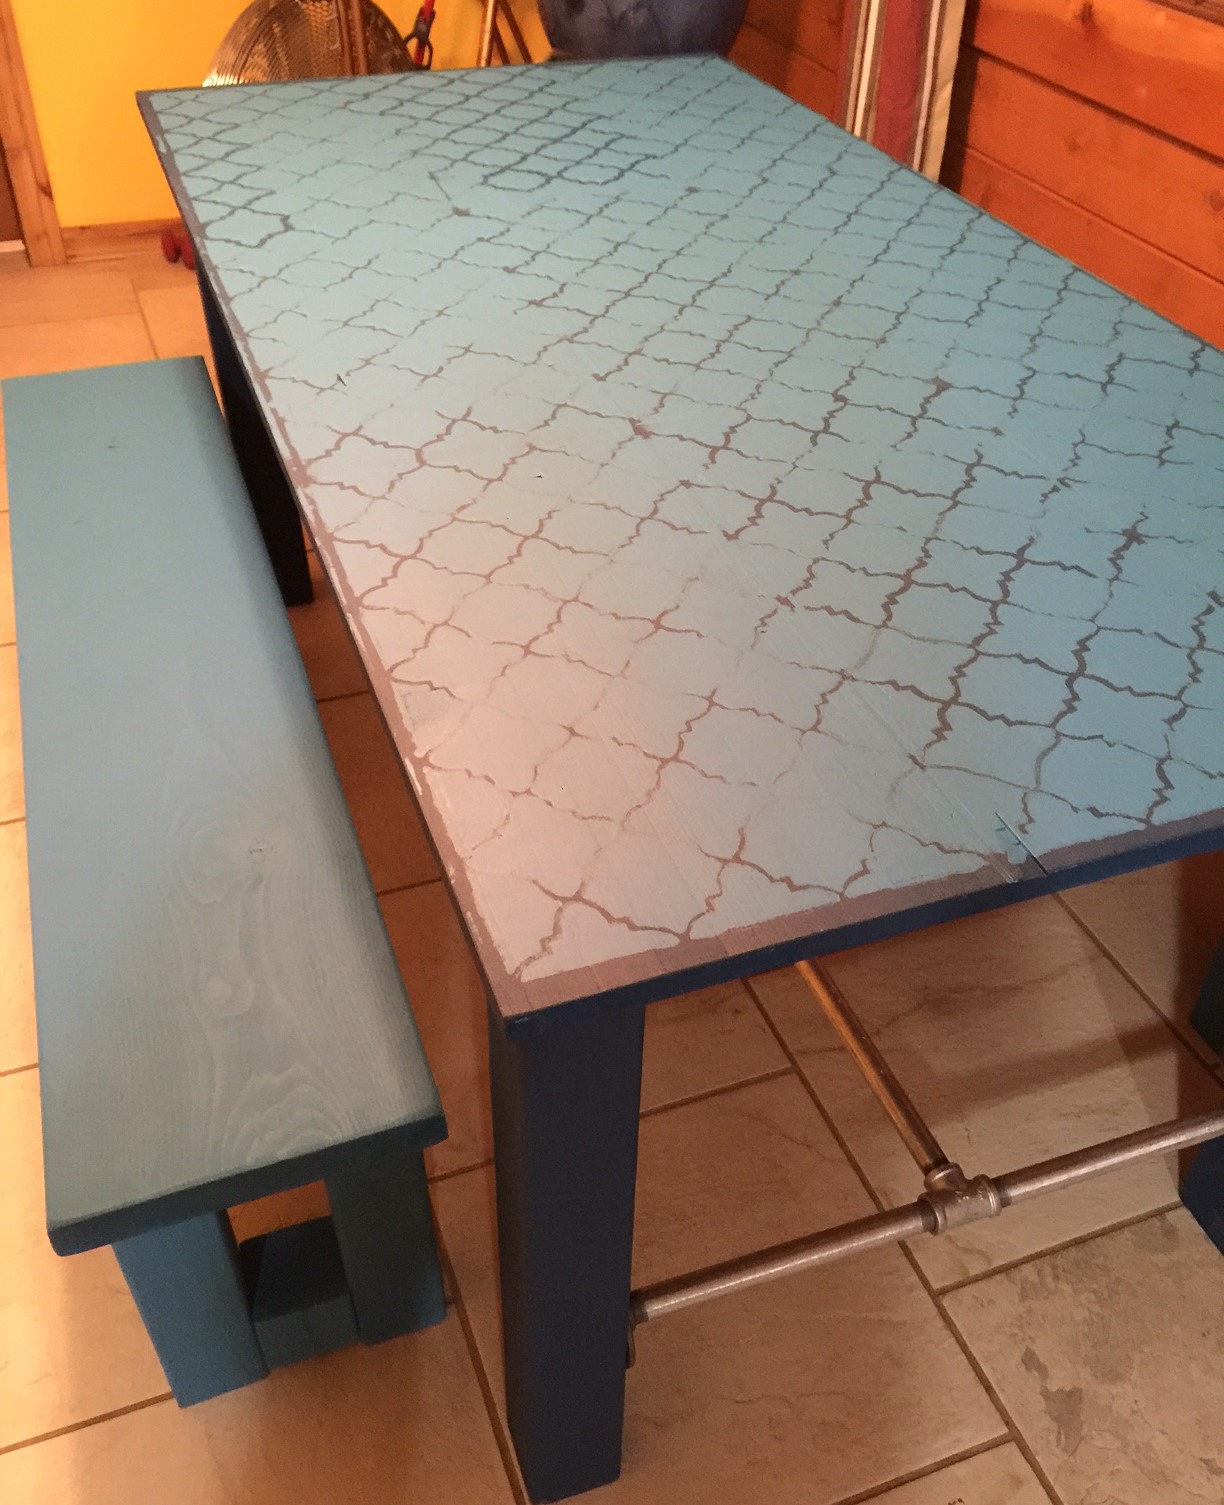
We wanted to build a farm table with benches to accommodate a few more people in the same space. This plan was easy to use. We modified a couple of the supports to metal piping to change the look up. We also painted the table and used a stencil to create a old world feel to it. It was a very fun project!

Built from Plan(s)
Estimated Cost
$200
Estimated Time Investment
Weekend Project (10-20 Hours)
Finish Used
1 Qt Carribean Sea from Glidden
1 Qt Galapagos from Behr
Minwax Polycrylic Semi-Gloss Finish
Tile stencil for table top
Recommended Skill Level
Beginner

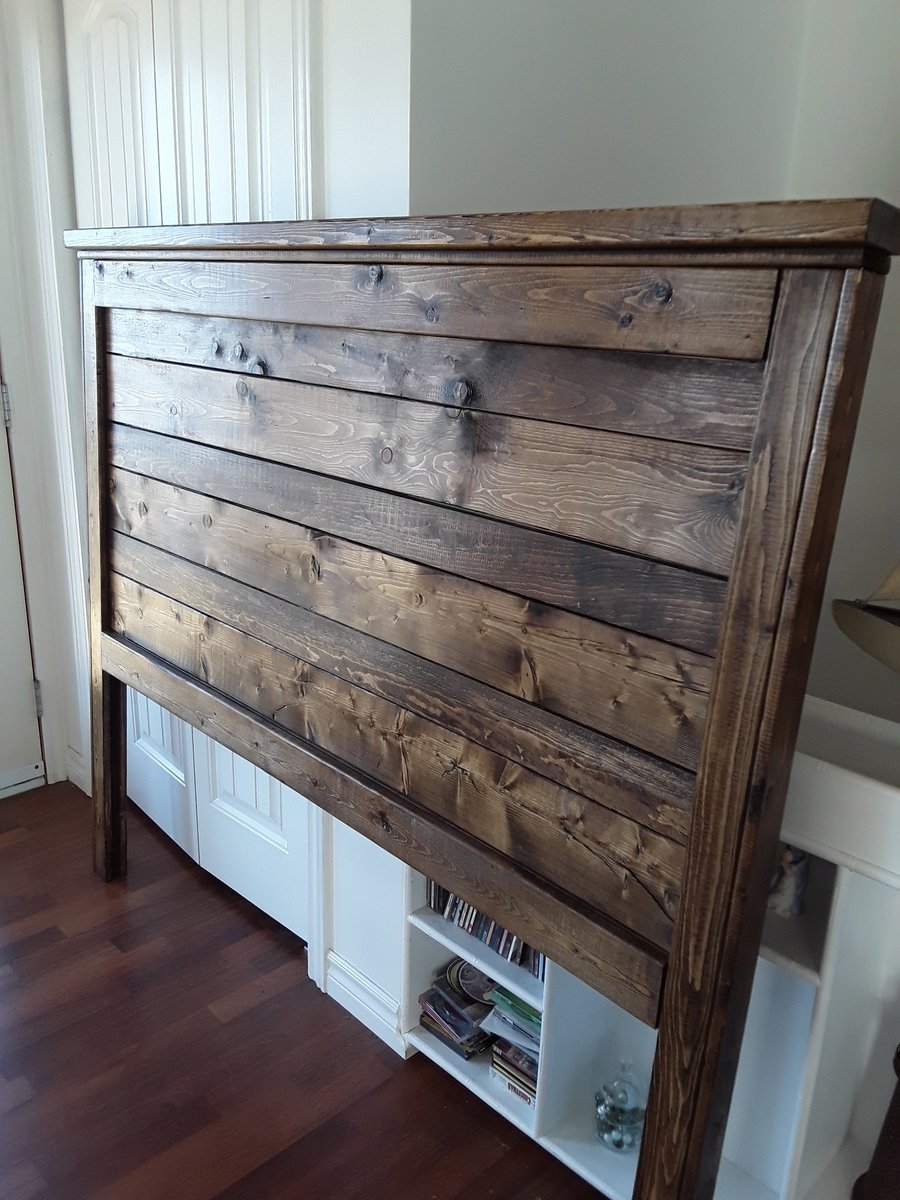
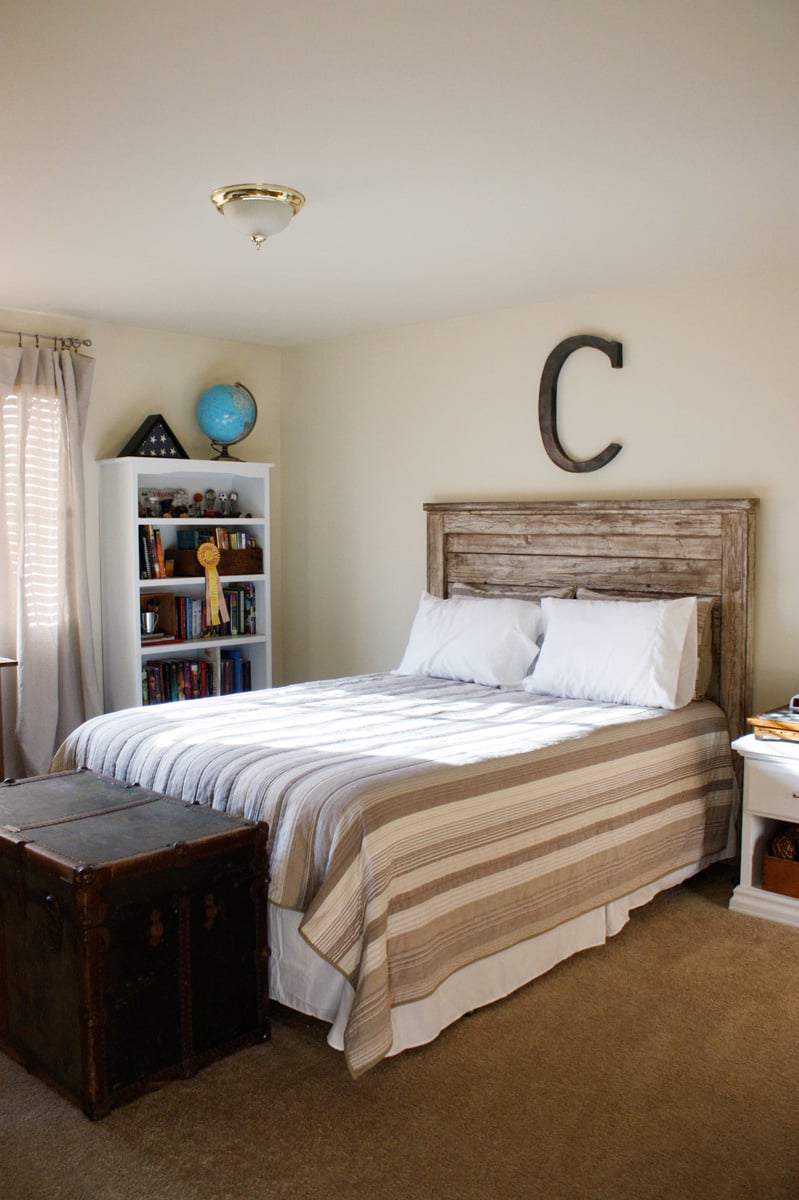
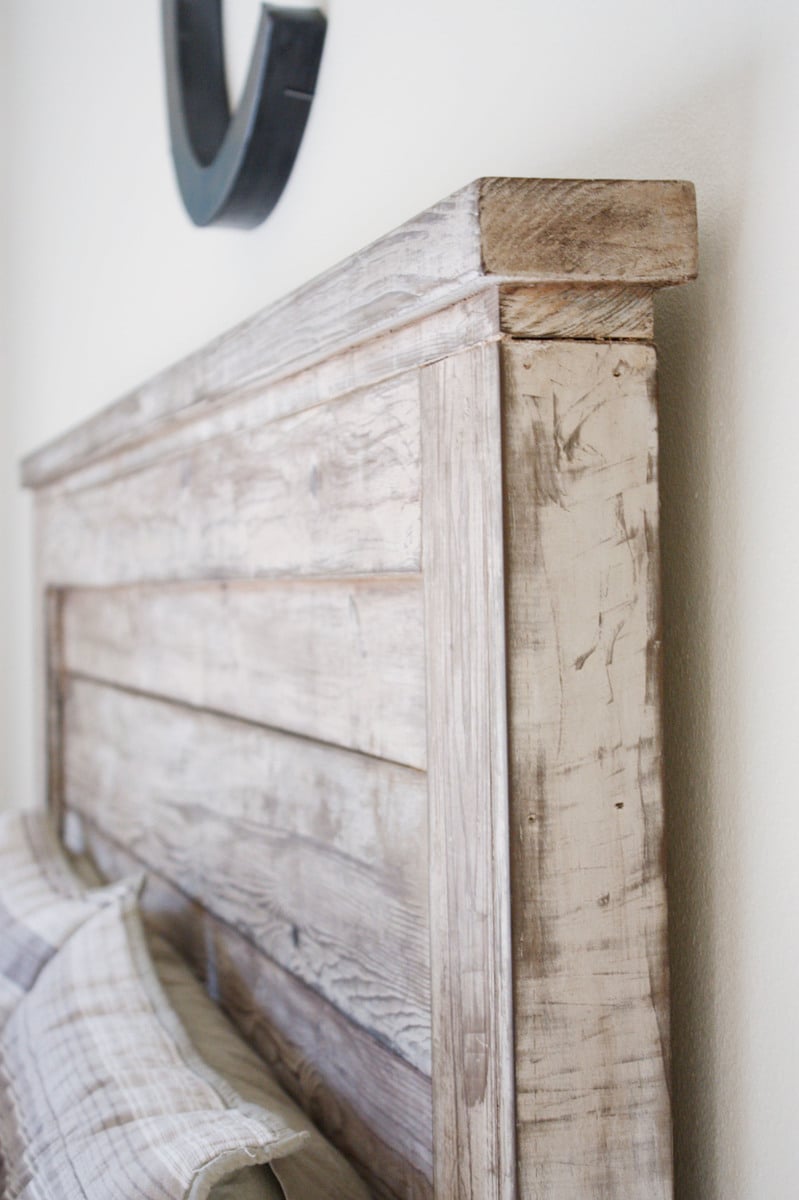
Rustic Headboard

Submitted by beingbrook on Wed, 11/09/2011 - 08:26

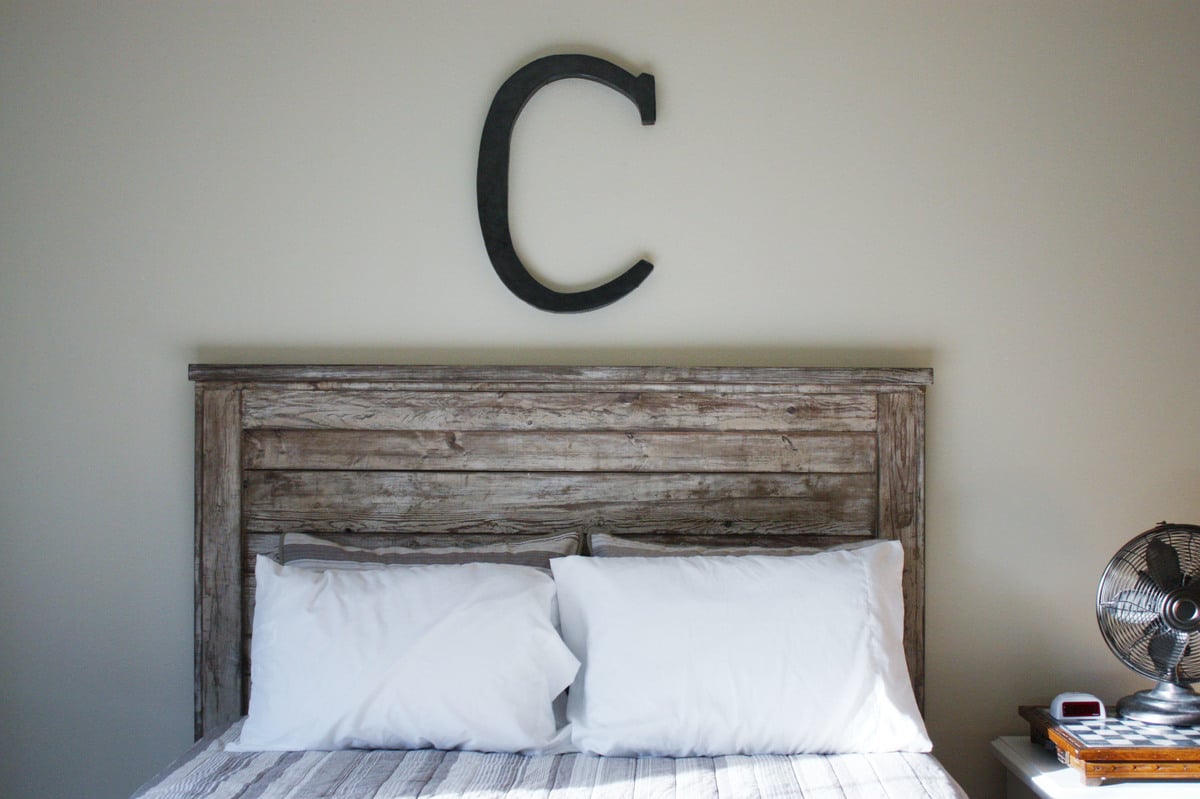
Rustic headboard built in an afternoon. Total cost was only $35!

Estimated Cost
$40-60
Estimated Time Investment
Afternoon Project (3-6 Hours)
Finish Used
Oxidized the wood using tea followed by steel wool/vinegar mix. Finished with Annie Sloan clear wax. A detailed explanation can be found at my blog: http://beingbrook.com/rustic-headboard-aged-wood/
Recommended Skill Level
Starter Project

Comments

scott56

Wed, 11/09/2011 - 12:46

I thought the 56 in headboard was a little excessive. So I cut it down a foot. If you decide to do this take 6 inches off the top and the bottom so it looks portionally correct. Another thing I did that was not mentioned in the what I have read so far was use kregs joints to connect the inner panel. If you build it from the back you will not see any joints except the top ones on the foot board. I patched them with that elmers patch stuff and are no longer visible. Minus all the sanding I built two beds in a half day.

Ava-Drew

Wed, 11/09/2011 - 15:52

I was thinking of doing this headboard for the farmhouse storage bed. Did you use 4x4s or build the legs the way they are in the plan? I have several 3x3s for legs that I was planing on using with the kreg. How easy was it to get the boards lined up with the kreg?

Guest (not verified)

Tue, 11/15/2011 - 10:34

how much did you sand this headboard?

thanks

Brook@BeingBrook (not verified)

Tue, 11/15/2011 - 10:39

We sanded the boards before building since we got the cheapest grade of lumber they had. I also sanded it about 10 minutes after I removed all the paint stripper.

Brook@BeingBrook (not verified)

Tue, 11/15/2011 - 11:51

No just used a power sander. Was going for a rustic wood look so didn't worry about the sanding being perfect. Just wanted it smooth enough not to snag anything.

Mario (not verified)

Wed, 06/06/2012 - 12:37

Congratulations !!! and thanks for inspiring us by posting these photos of a terrific job!

I was just wondering..how did you manage to get the perfect light brown - chocolate tint shown on these photos??

I've followed the process described (oxidized the wood using tea followed by steel wool/vinegar mix) to the point. However, the result is grey tinted. even tried applying the process to different types of wood and applying less mix..even sanding it after the project dried and applying the clear wax..Same GREY result..

Please help!!

Brook @ BeingBrook (not verified)

Wed, 06/06/2012 - 13:26

Different woods will give a different finish. This project turned out a little browner than the other times I've used the tea/vinegar treatment. Probably because it was previously painted and then stripped. You can also buy dark wax that will help change the color. You might try finding a stain that is the color that you want and staining your project. Good luck!

Ante

Wed, 07/10/2013 - 12:53

where does the white come from in your wood. did you strip pre primed pine then tea and oxidation? thanks,ante