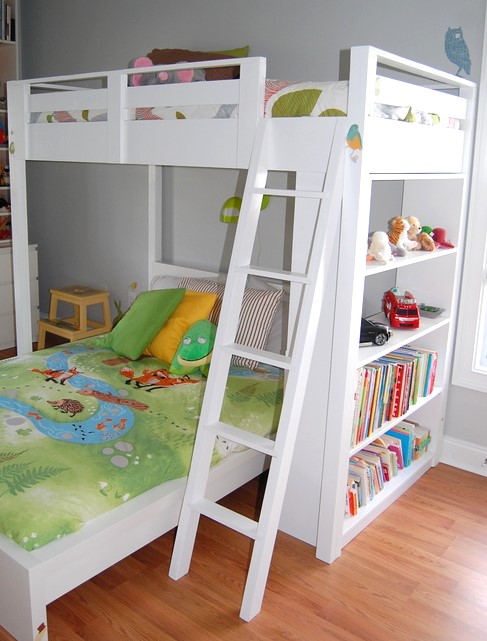
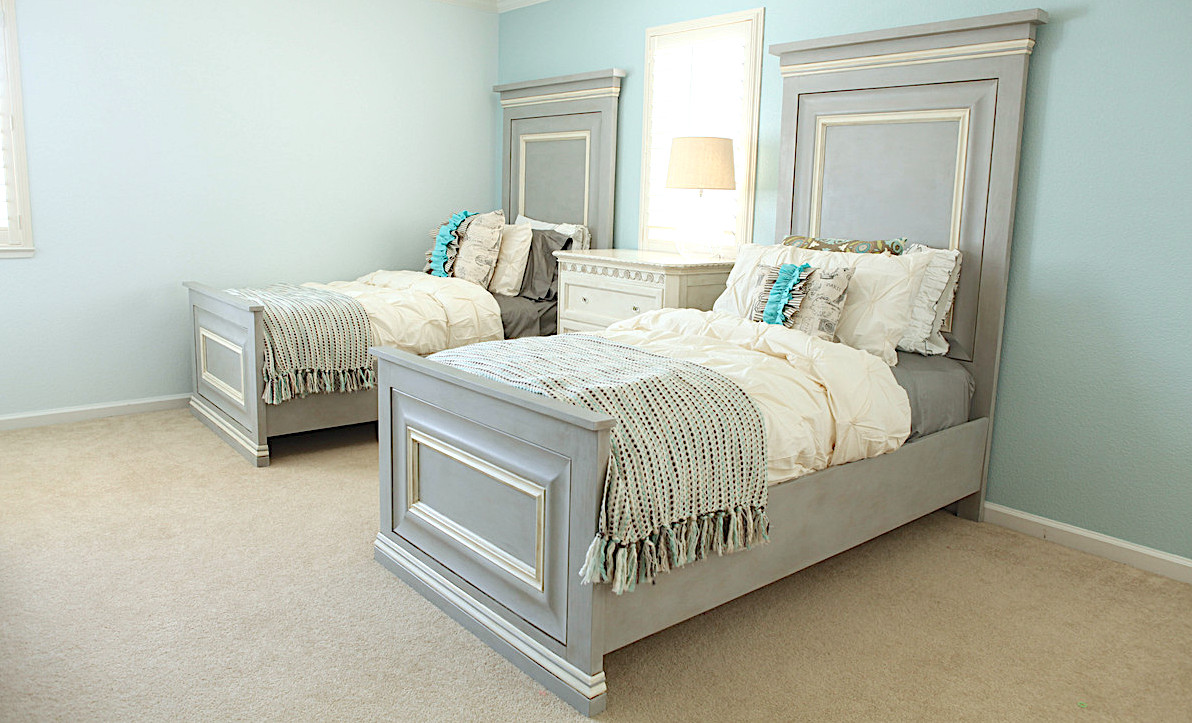
Twin Loft Beds for Twins
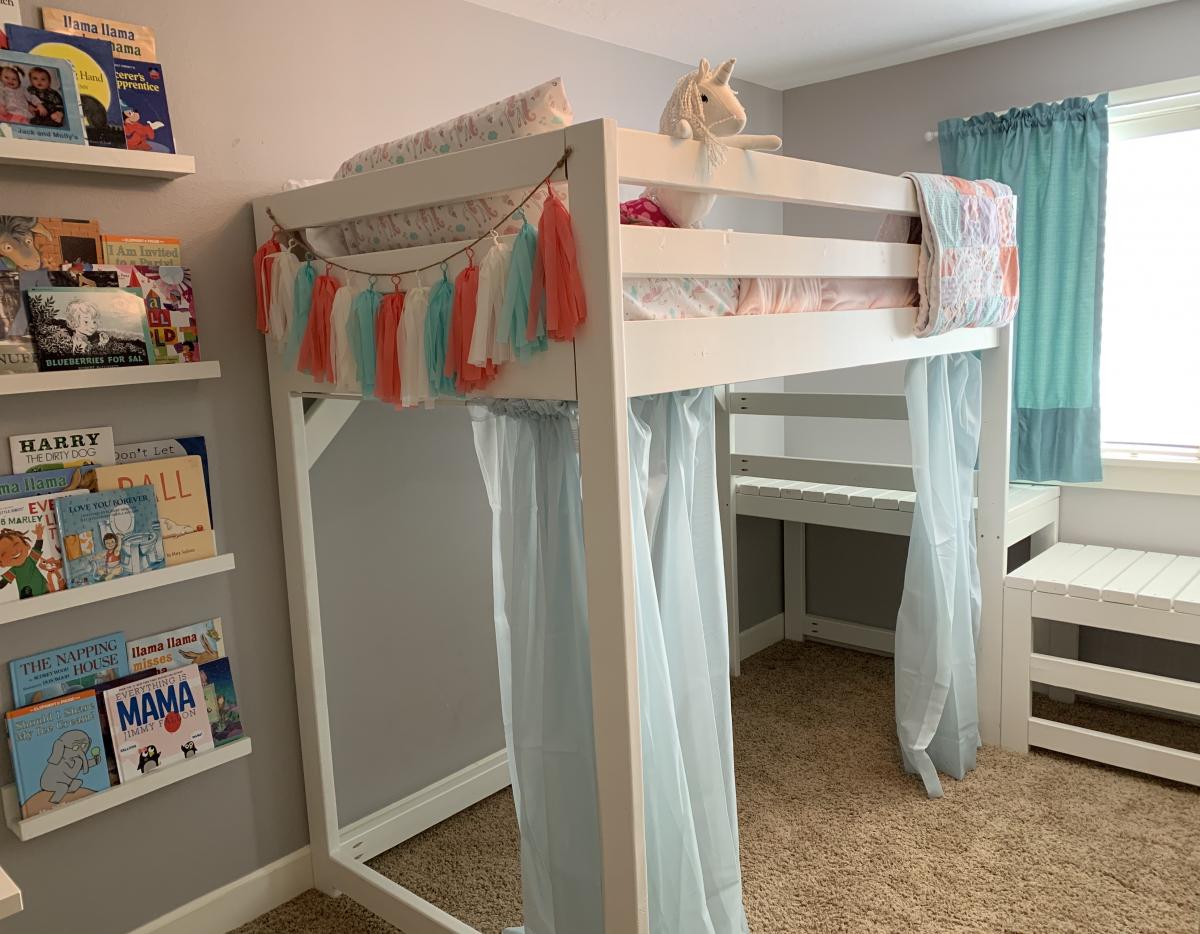
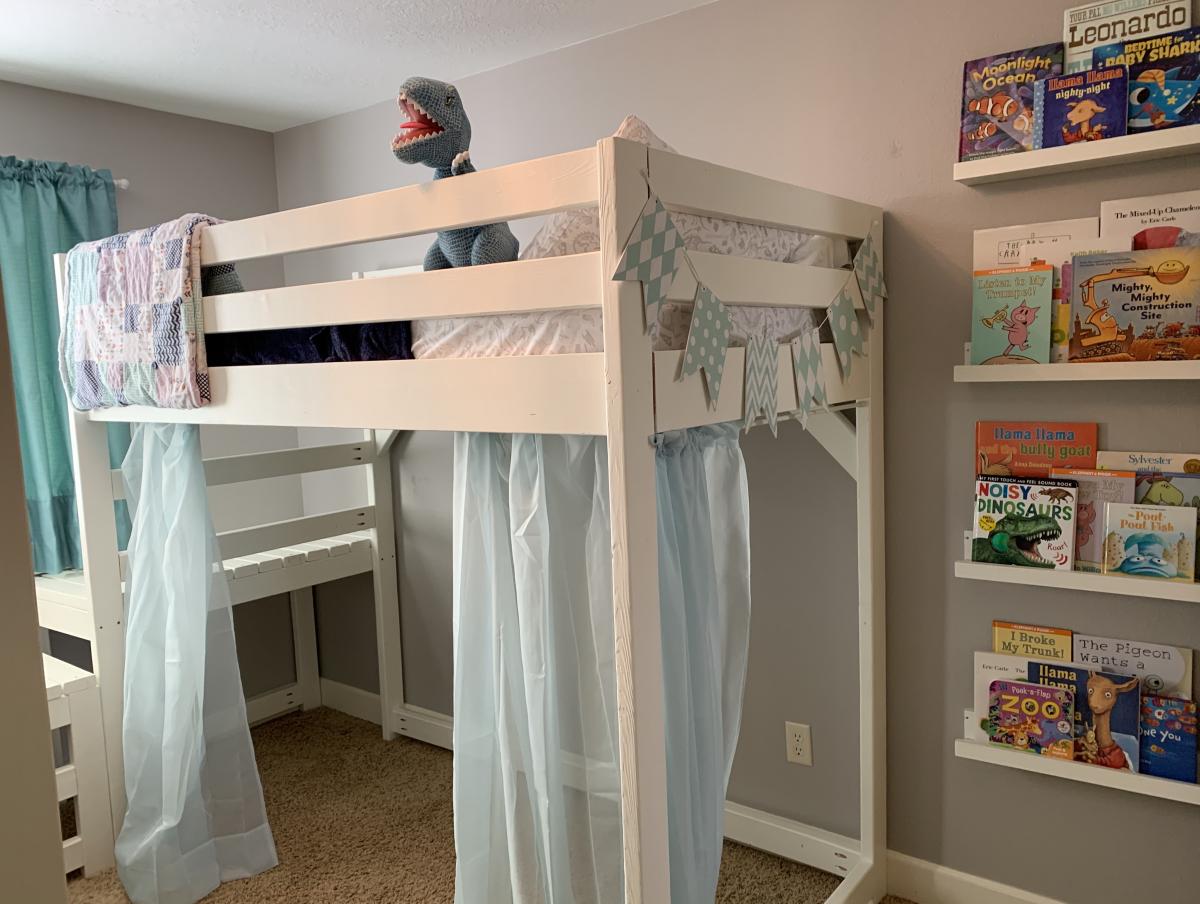
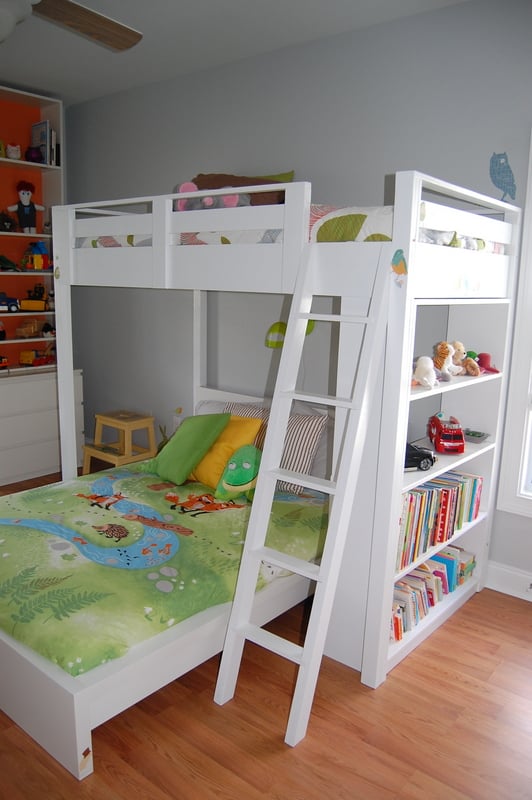
My twins just turned four and were still sleeping in their toddler beds, so it was time for an upgrade. They still want to share a room so we knew we needed to maximize space and open up some room for them to play. We chose the Camp Loft Bed but raised the height to 72" (with 53" of headspace) so we might be able to add a desk underneath when they get older.
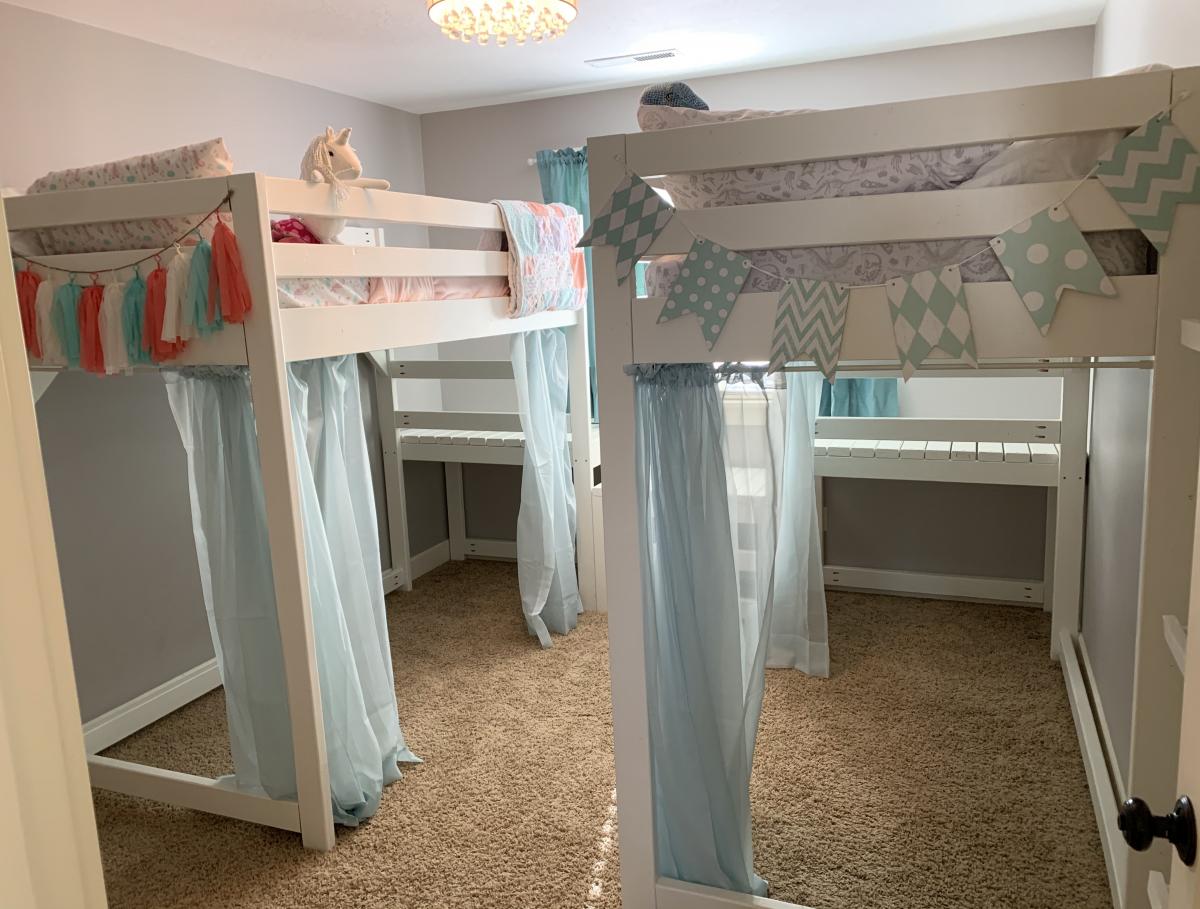
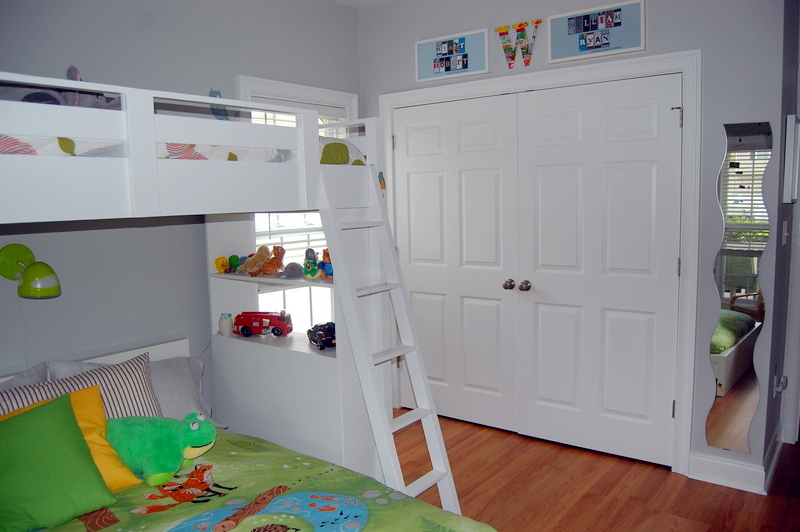
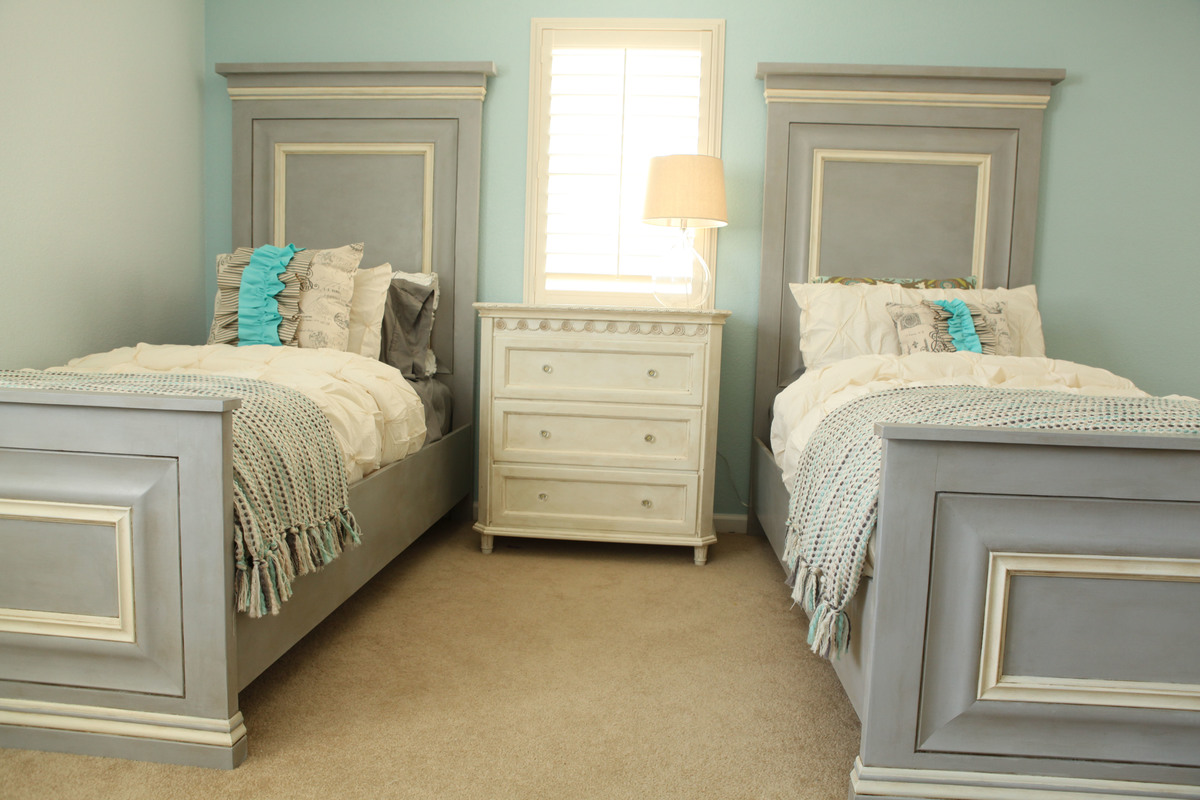
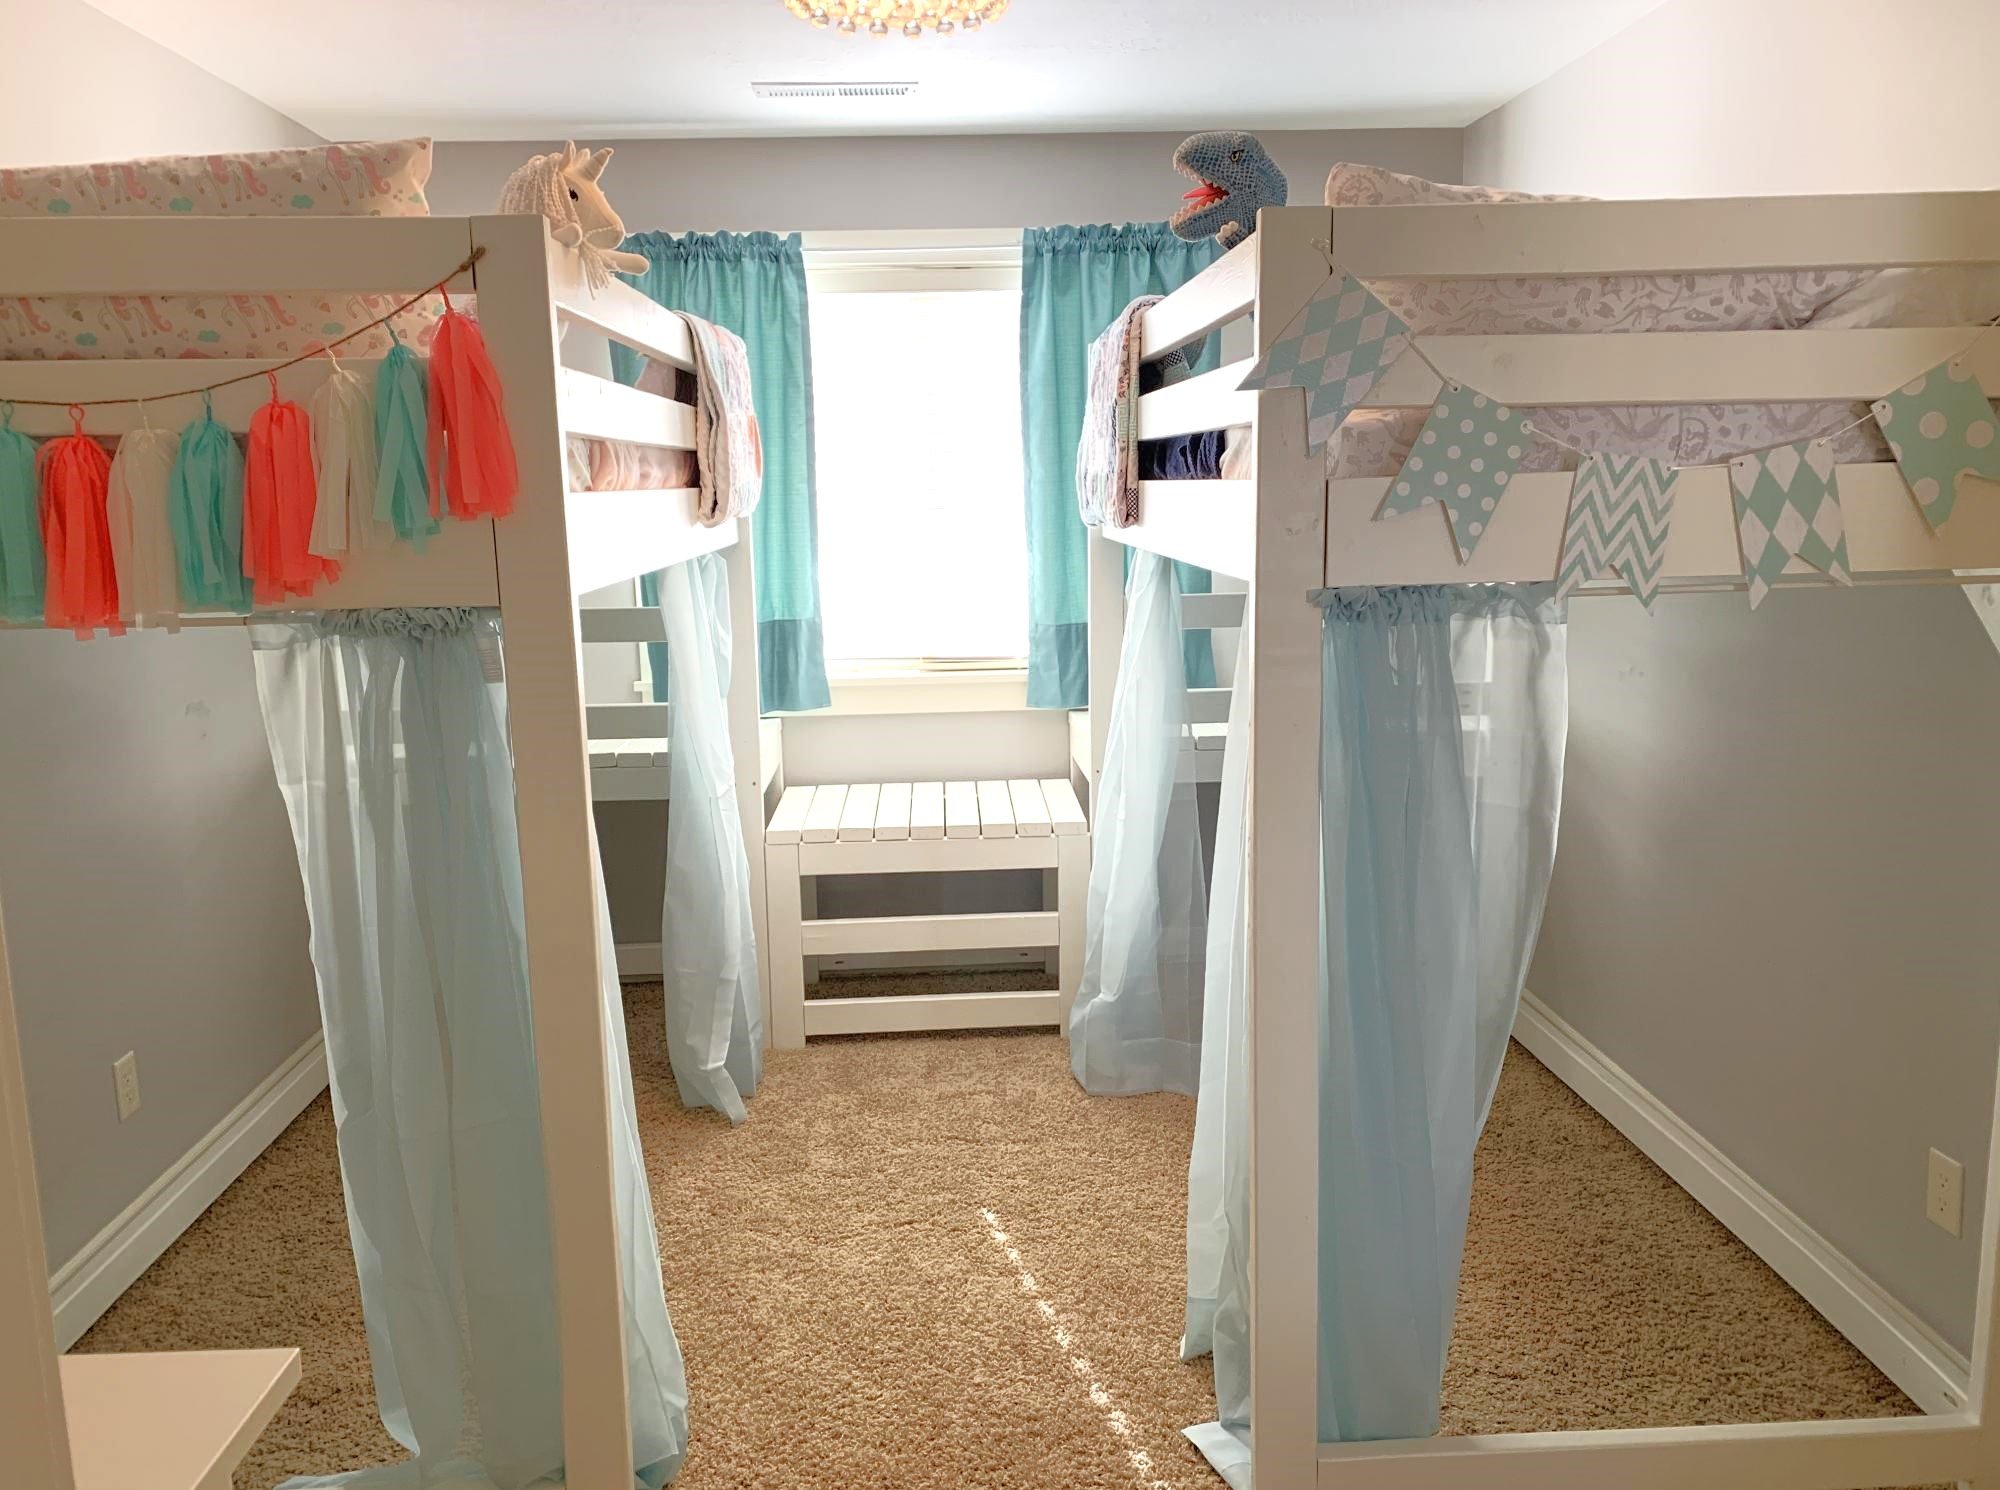
Essentially, we made two loft beds with the platforms but omitted the stairs. Then we built a slightly lower platform to put between the two beds, which acts as a step down. Then instead of making stairs that jut out into the room, we added two 2x4s as ladder rungs to the lower platform. This also acts as a tunnel for the twins to crawl under to go between each other's play spaces. This also makes it so the beds can be easily separated if we ever need to put them in separate rooms.
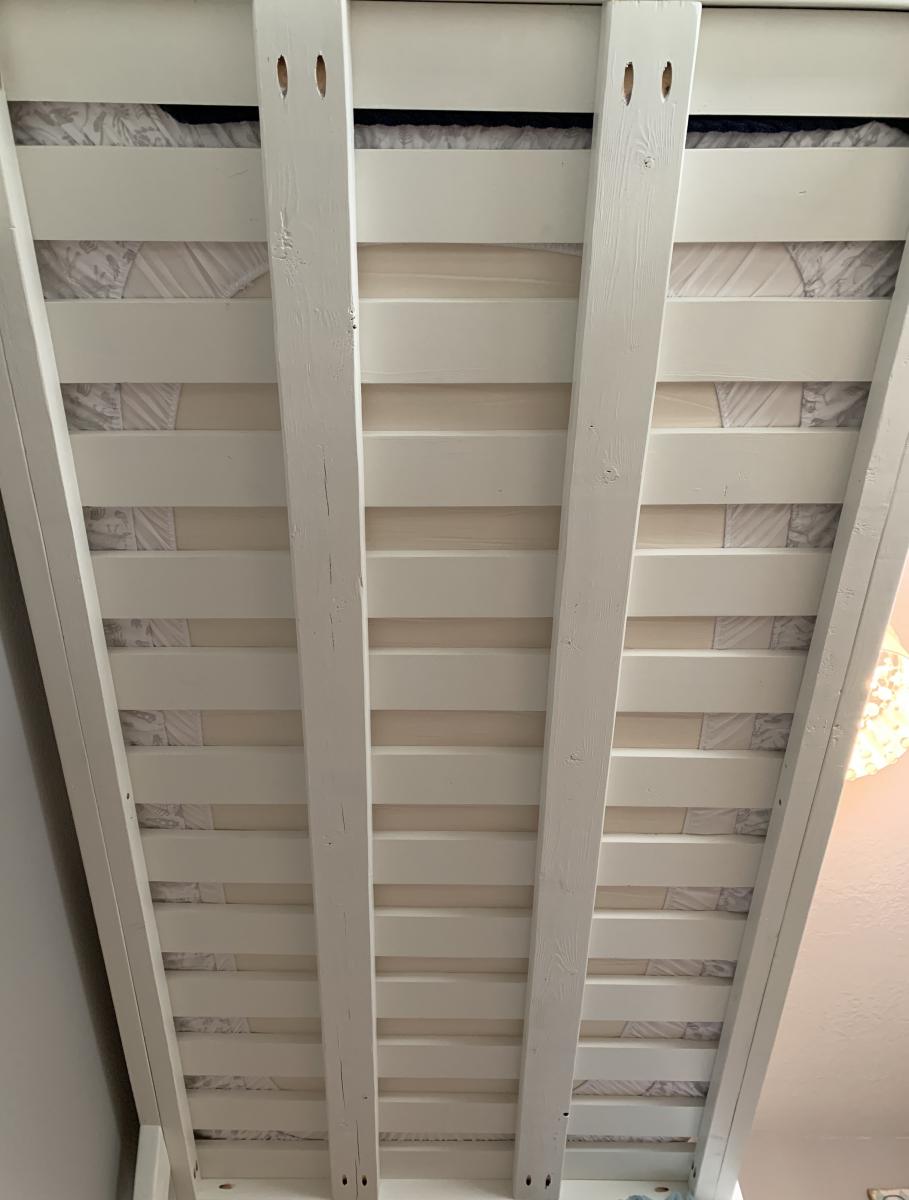
When it was complete we noticed one of the beds was a little wobbly, so we added diagonal braces in the corners and another 2x4 across the length of the bottom to help stabilize it. We also chose to use 1x4 pieces of pine as the slats for the mattress to lay across, but they didn't feel like they would support our weight if we wanted to read to them in bed. So we added two more 2x4s underneath the slats the entire length of the bed, which has added a ton of support.
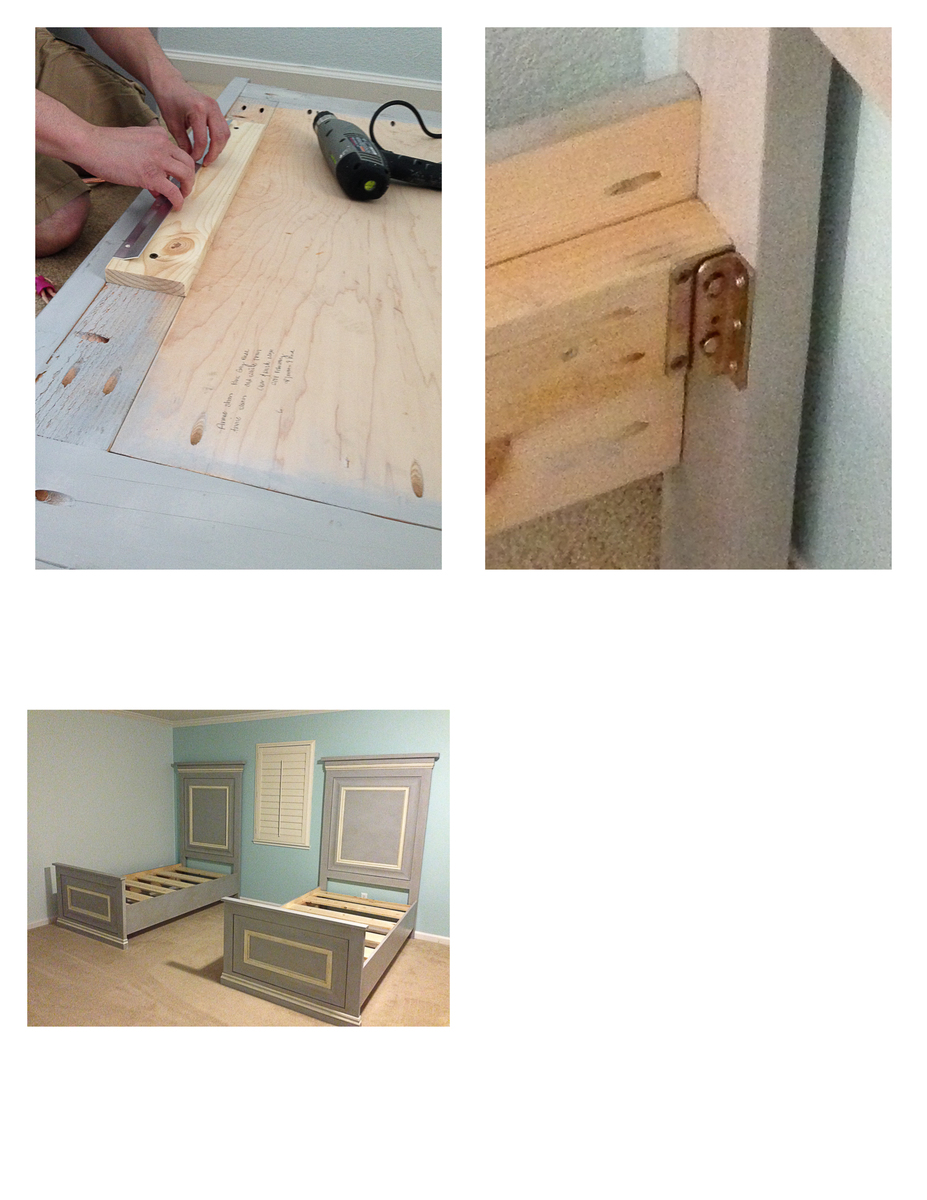
We stopped keeping track of exactly how much it cost, but it was close to $400 for both beds combined. And it took most of my husband's free time for two weeks, but most of that was painting two coats of paint on every piece before assembling. First he cut all the pieces to size, drilled the holes with a Kreg Jig, and then painted. To make the painting more efficient, he put a bunch of screws into boards so he could paint all the exposed sides of the lumber, flip, and leave them to dry. Then we assembled the beds in their room.
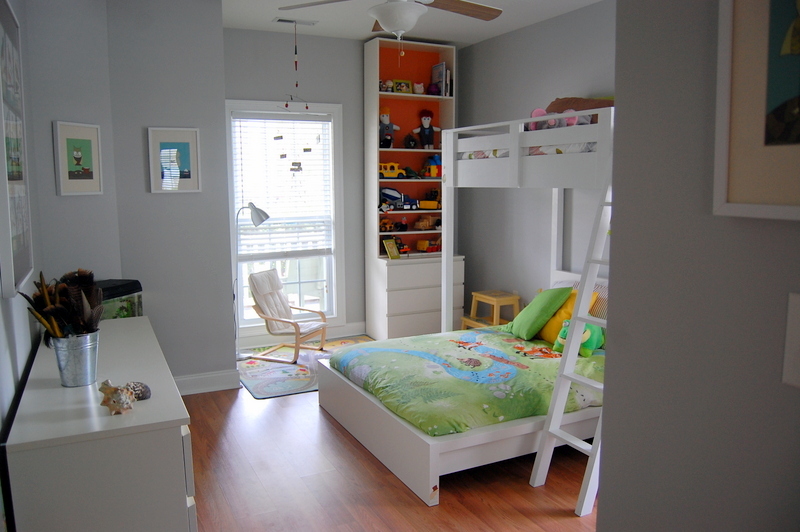
The twins love their new beds, and we love how much more space they have to play in their room! We were worried the room would feel too crowded but with the openness of the plan and the space that was opened up underneath, we think it turned out great! Now we can move in a bunch of their toys and reclaim some of our house! Thanks for the great plans!