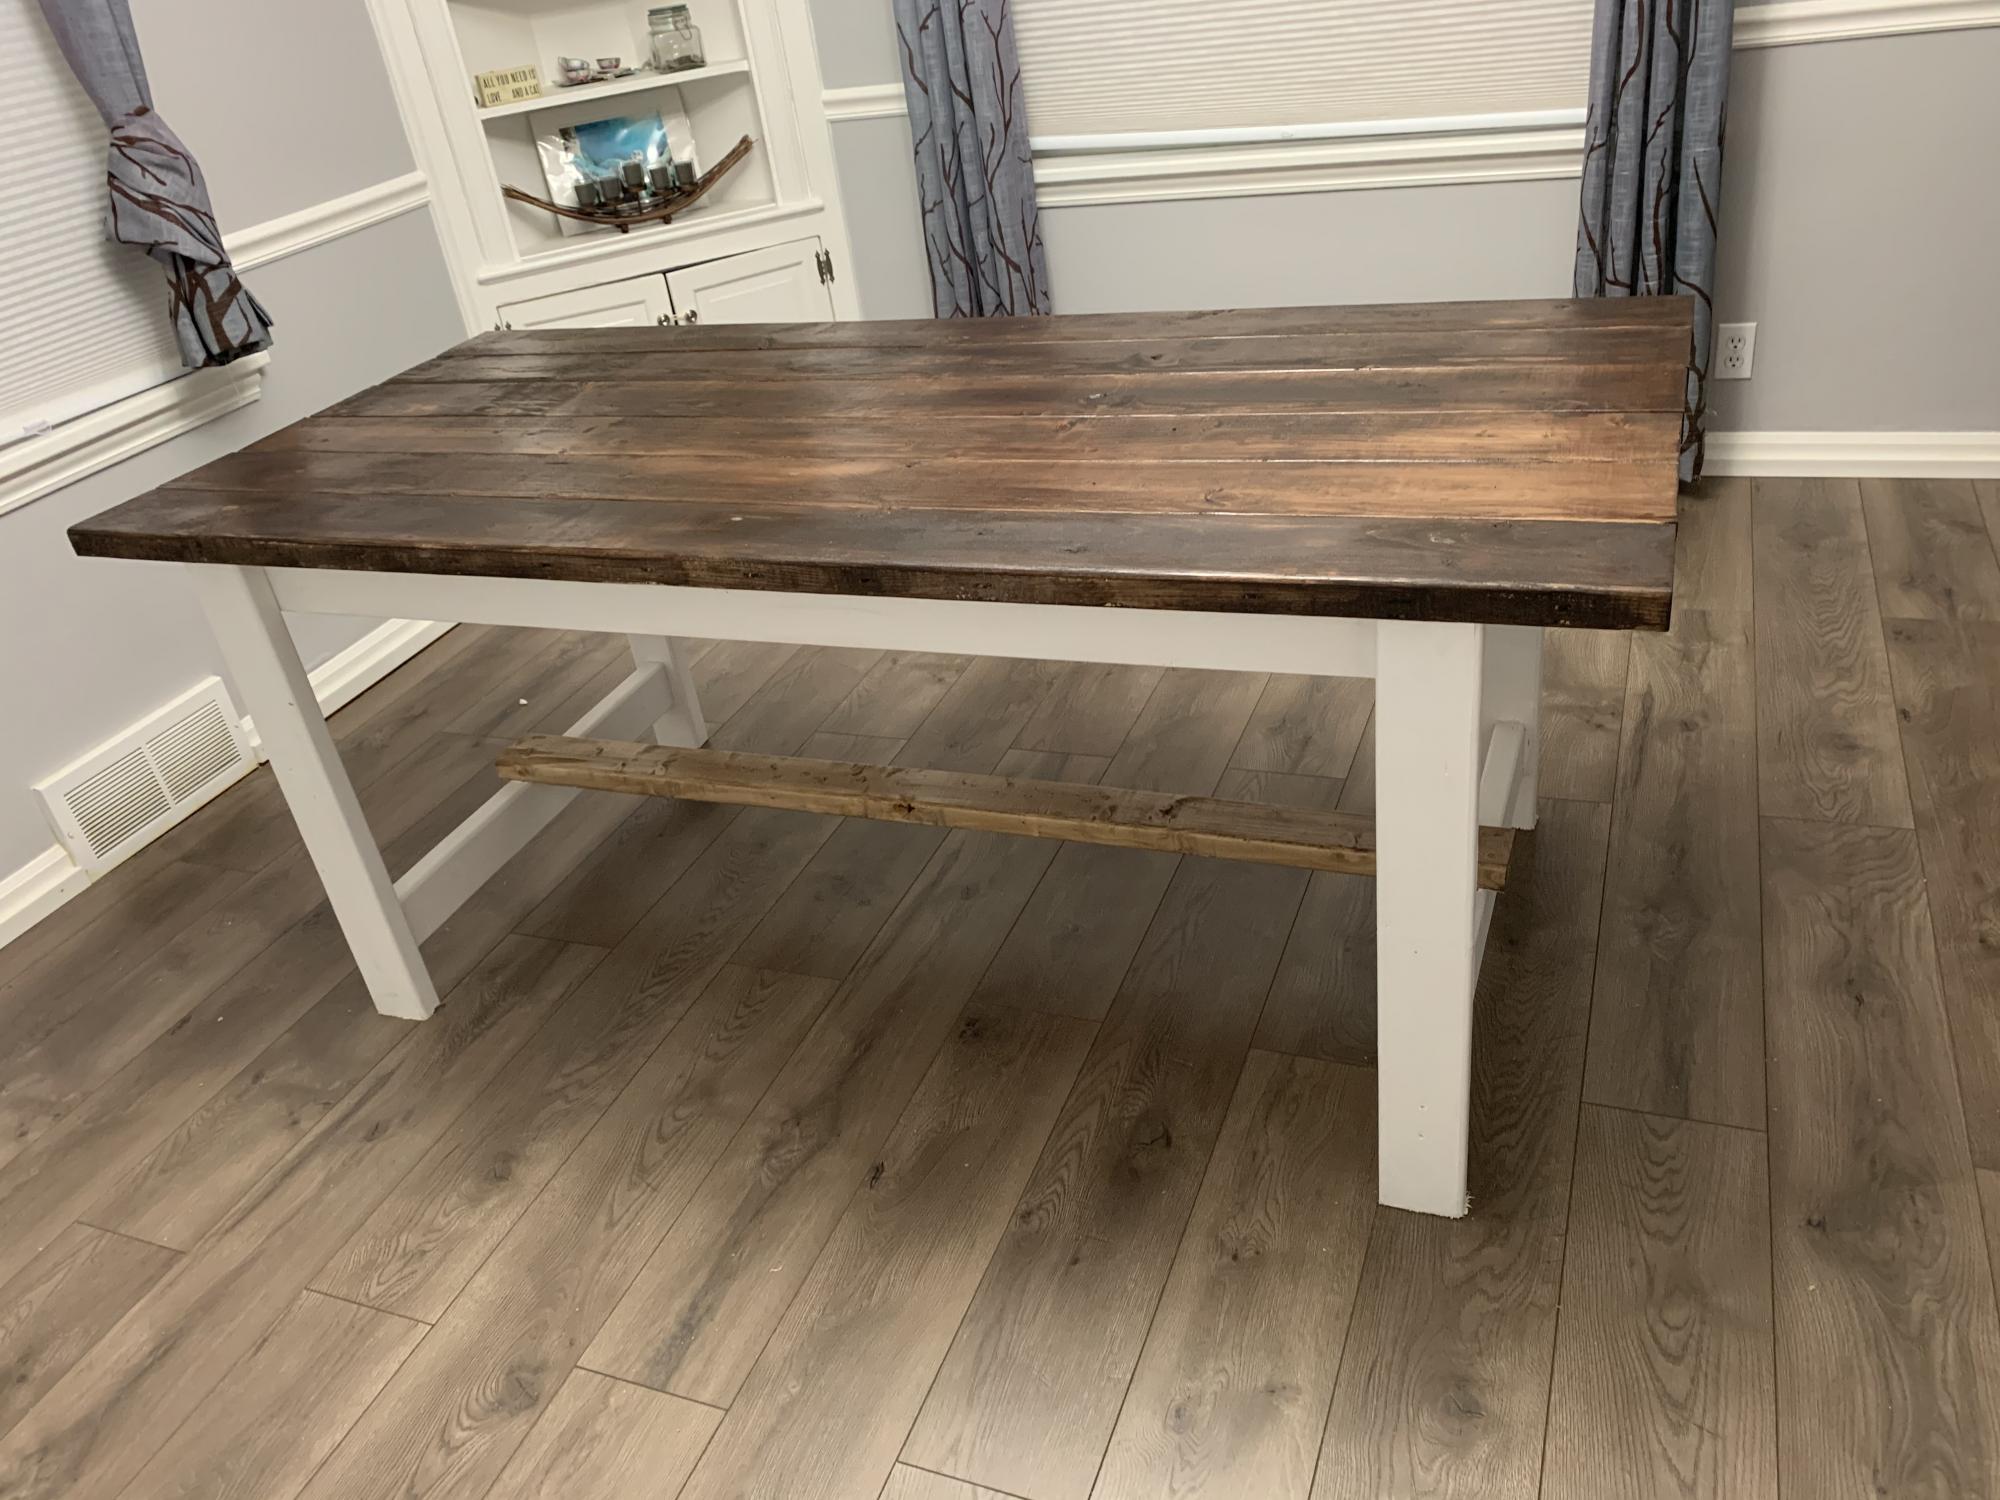
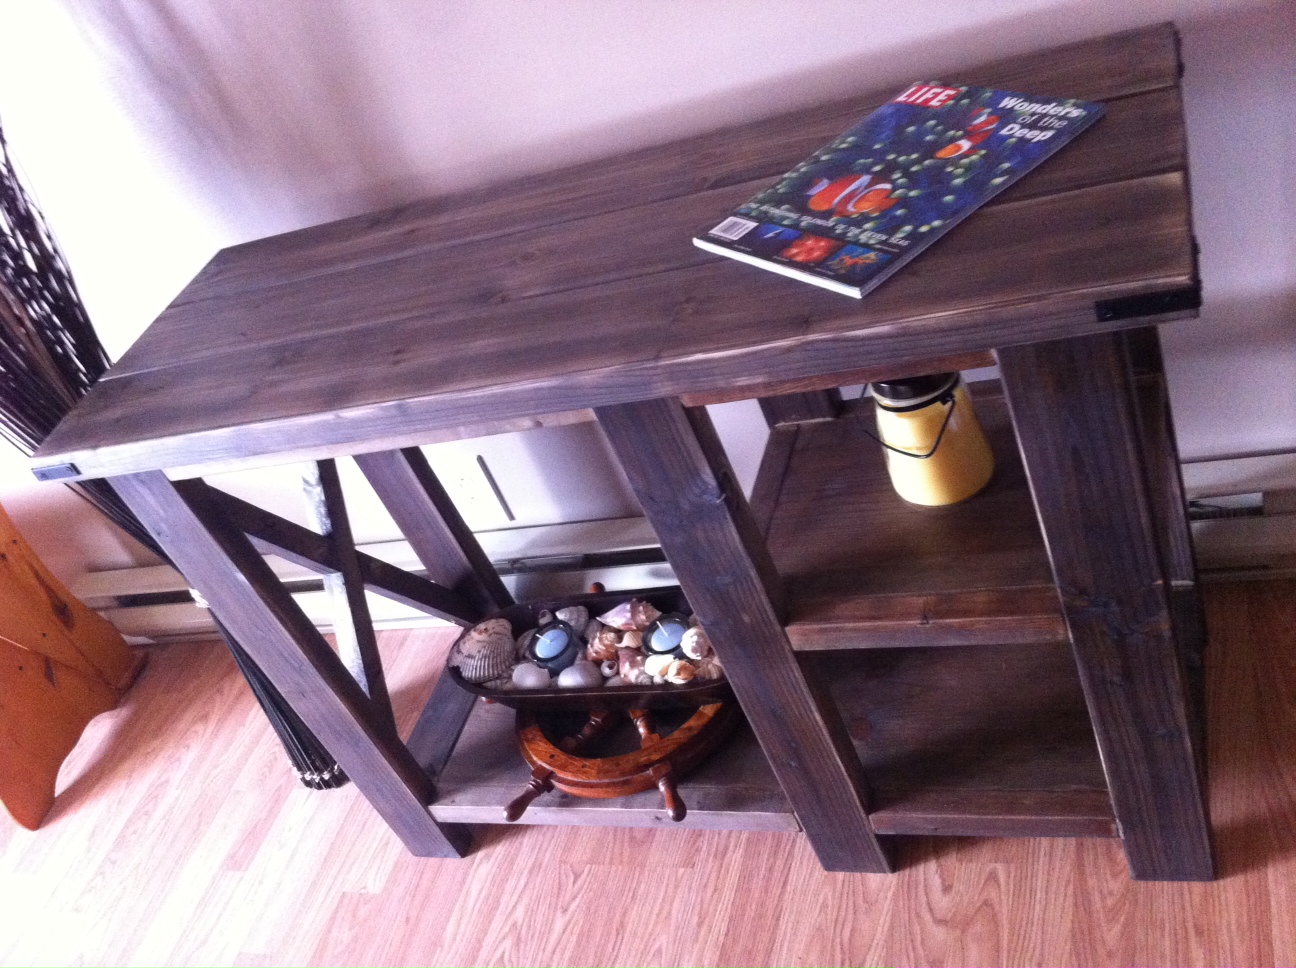
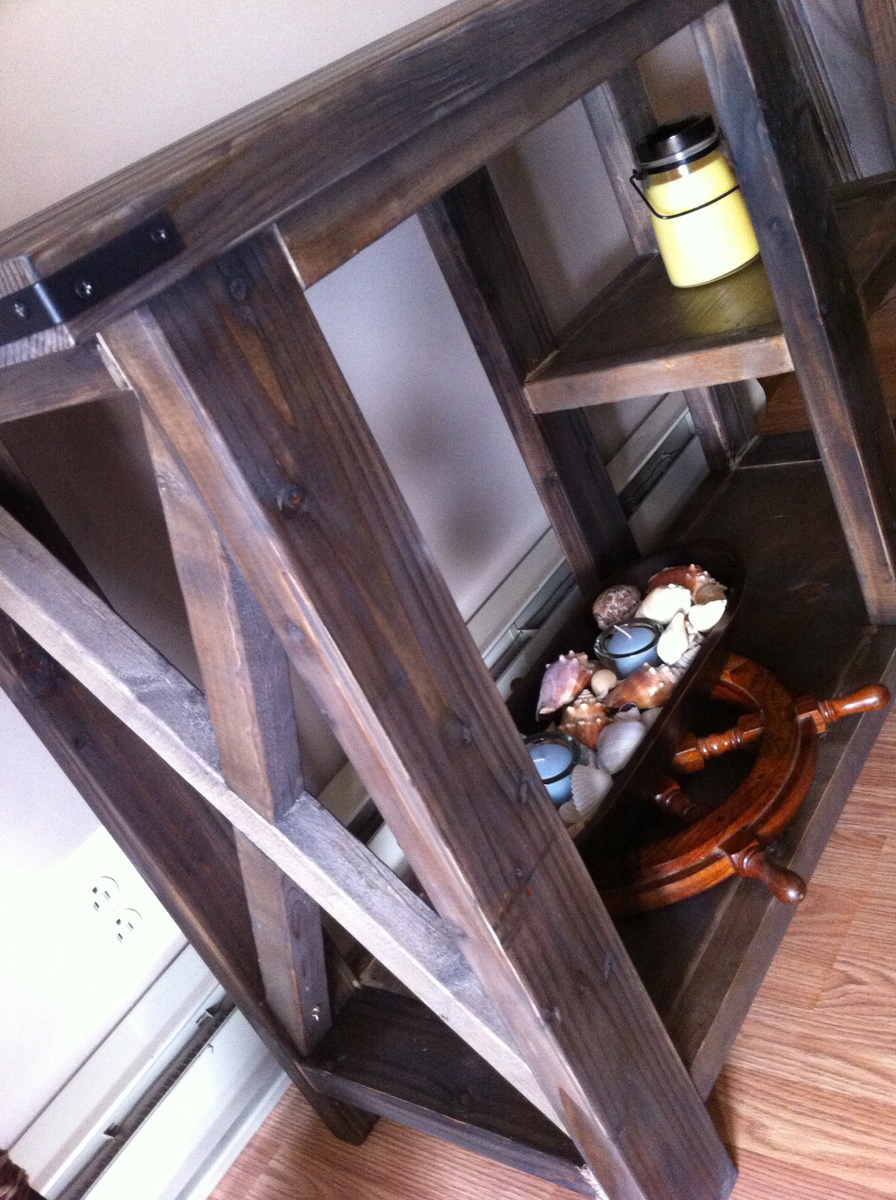
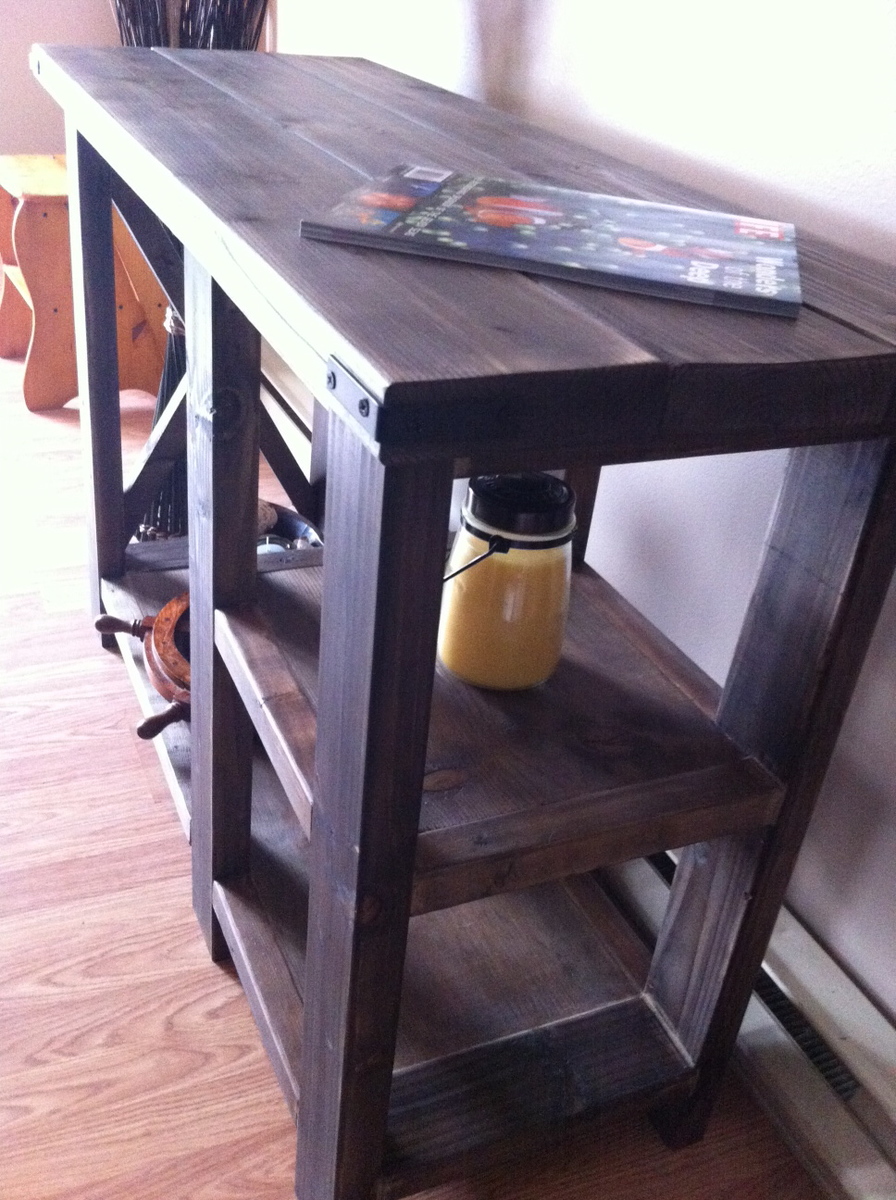
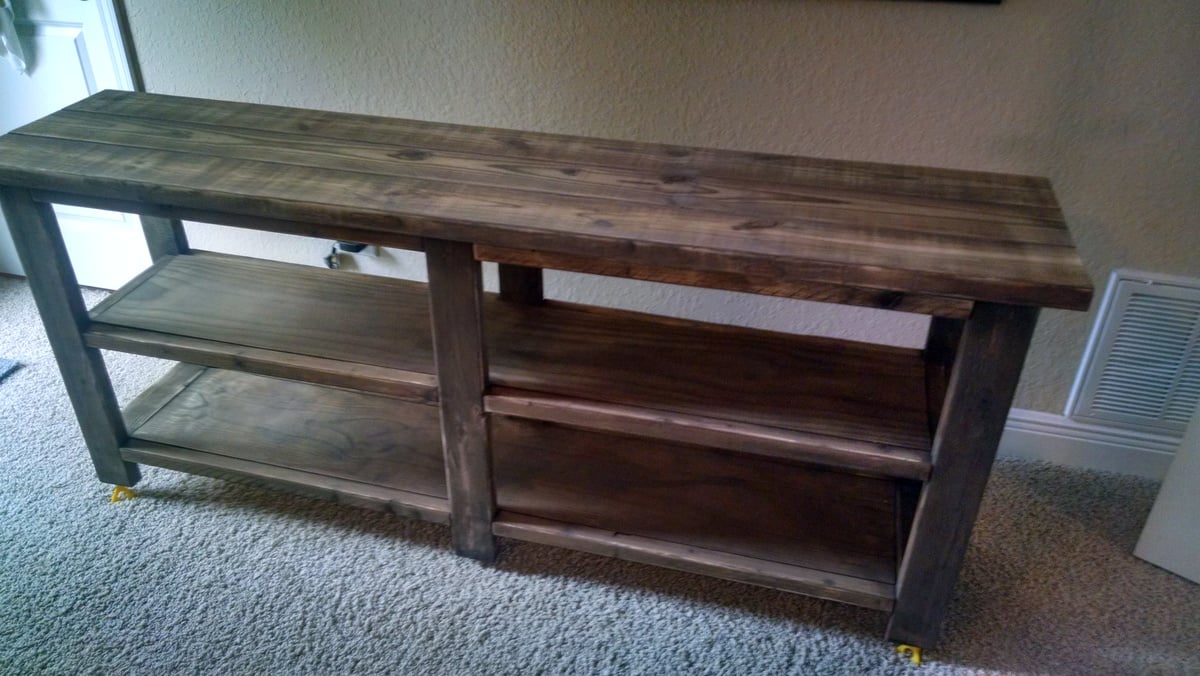
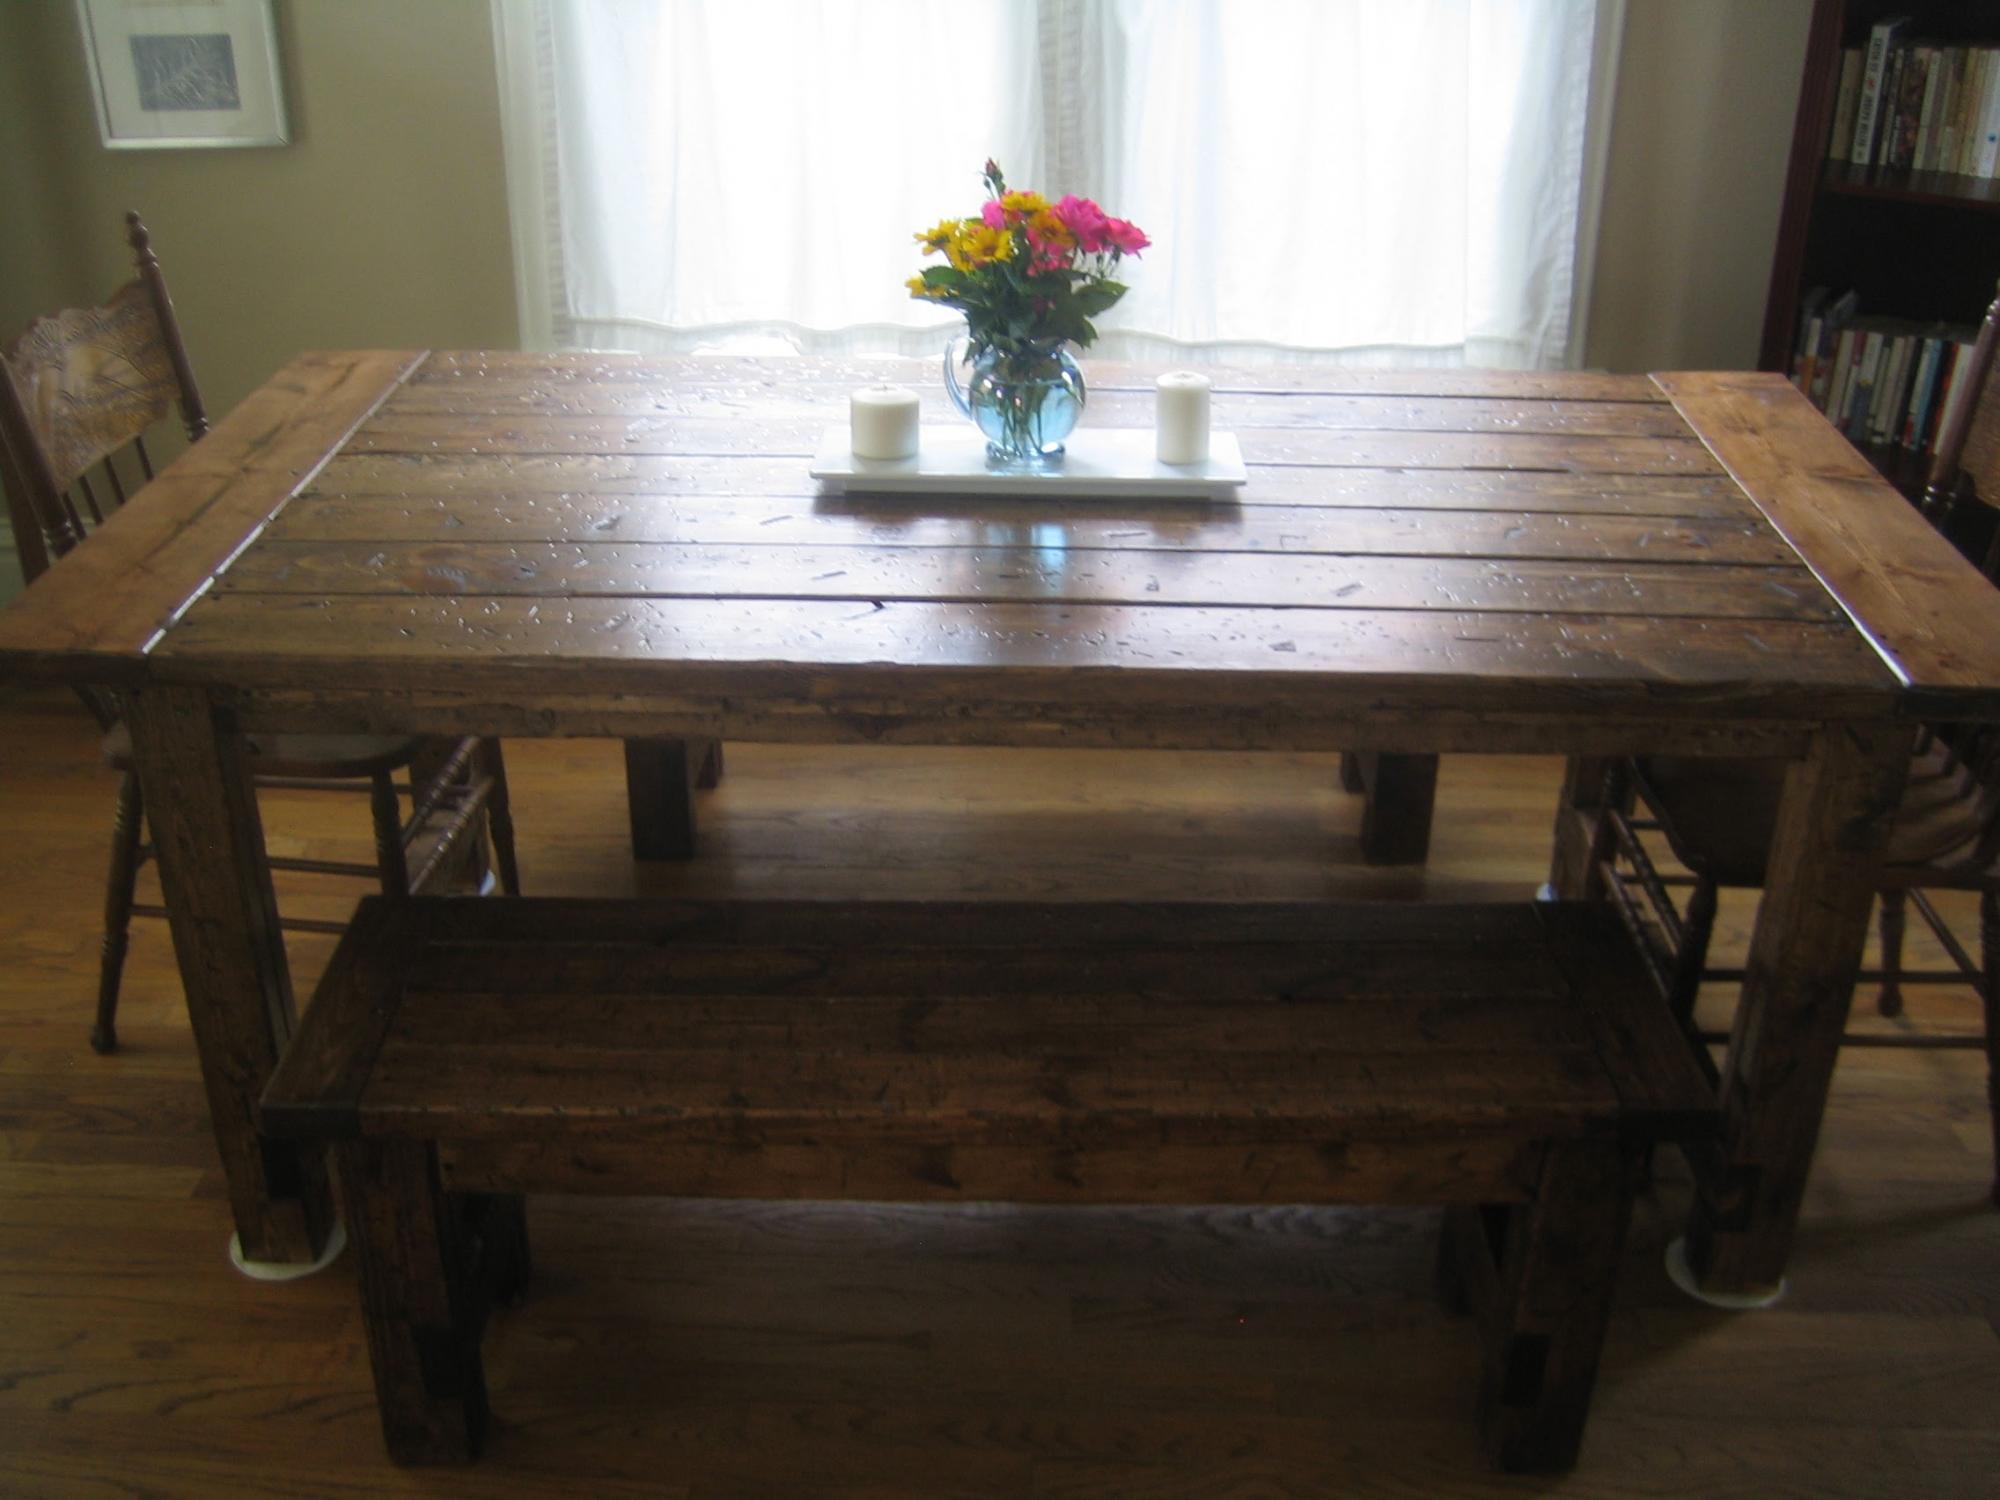
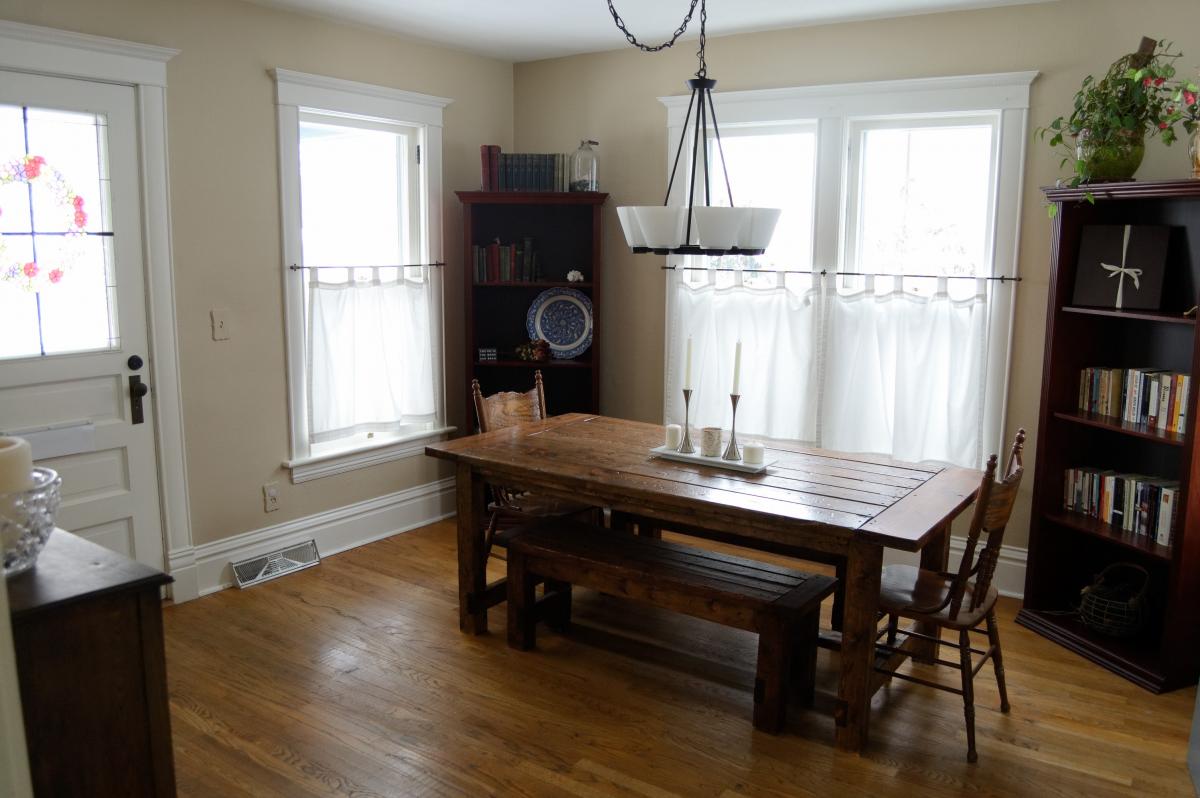
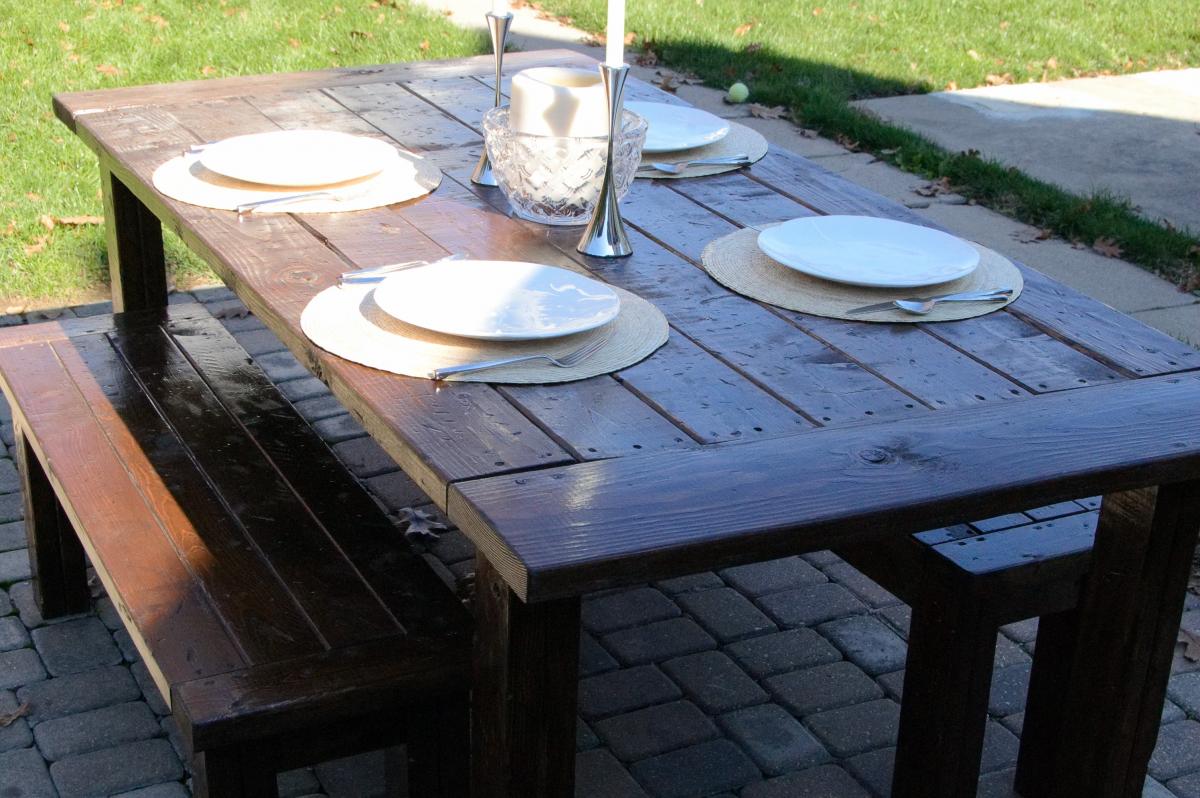
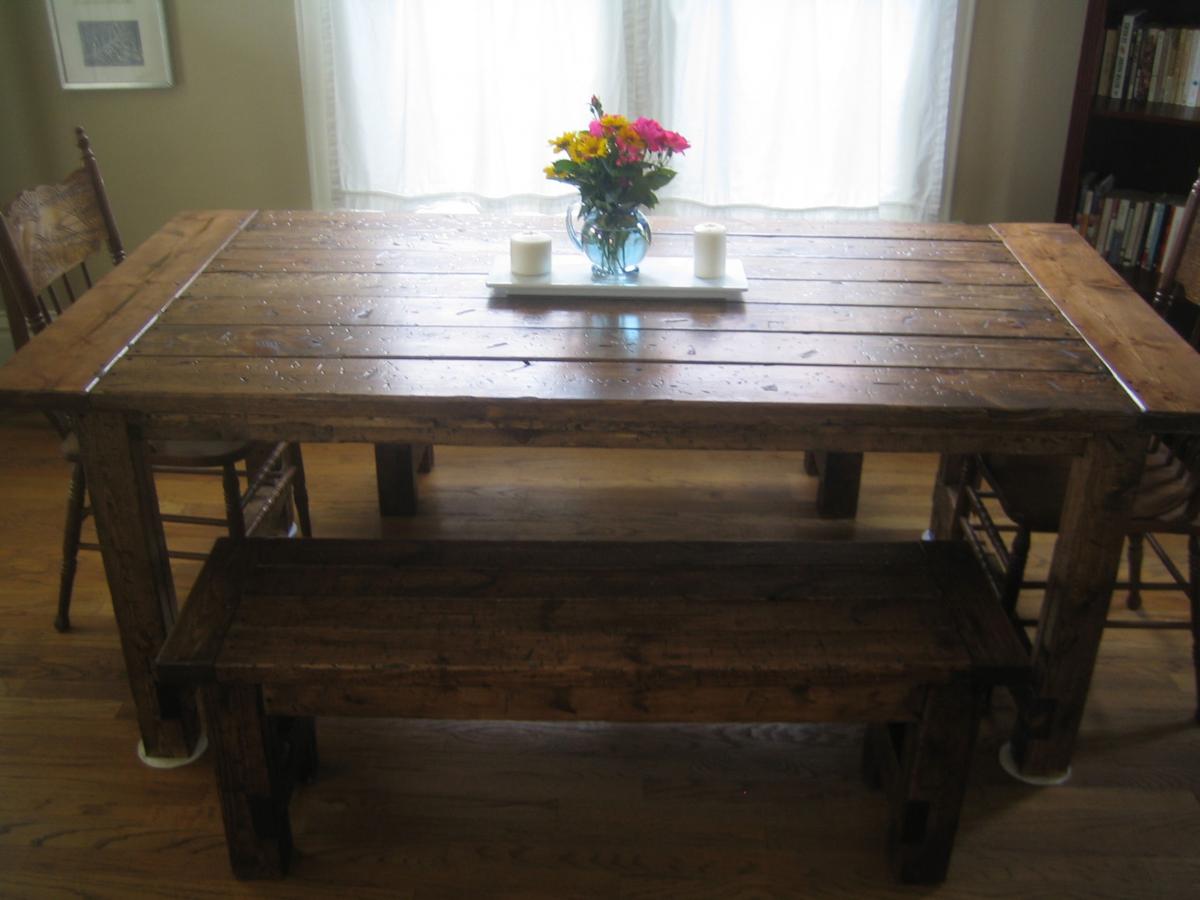
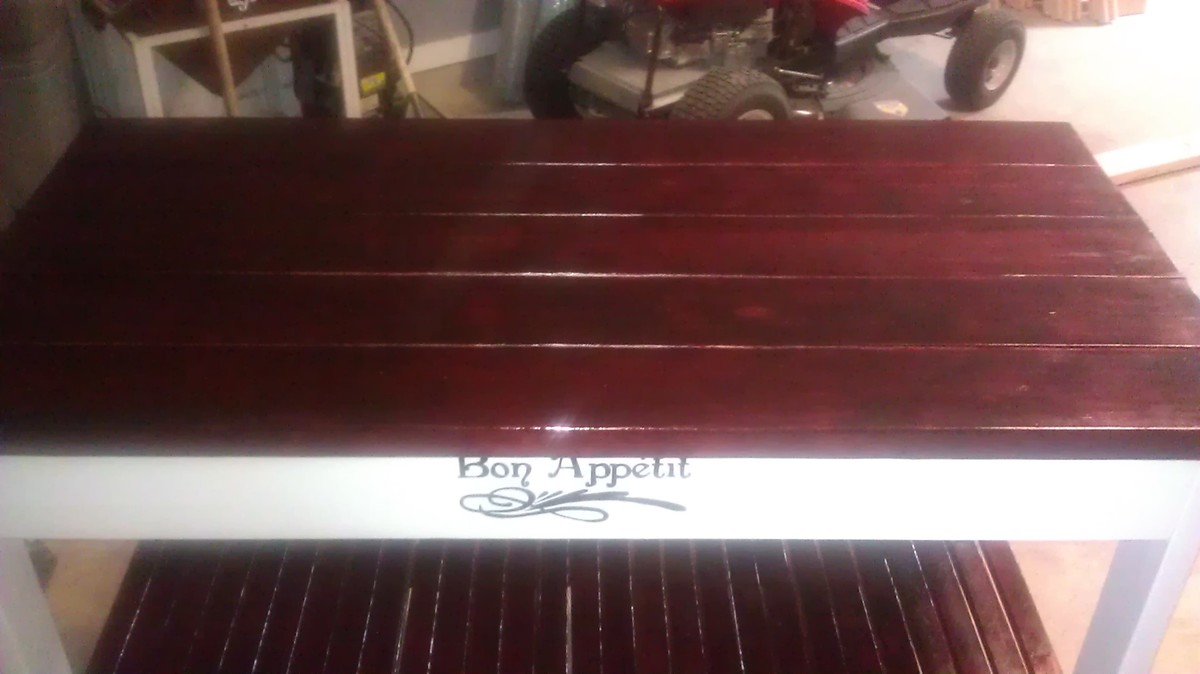
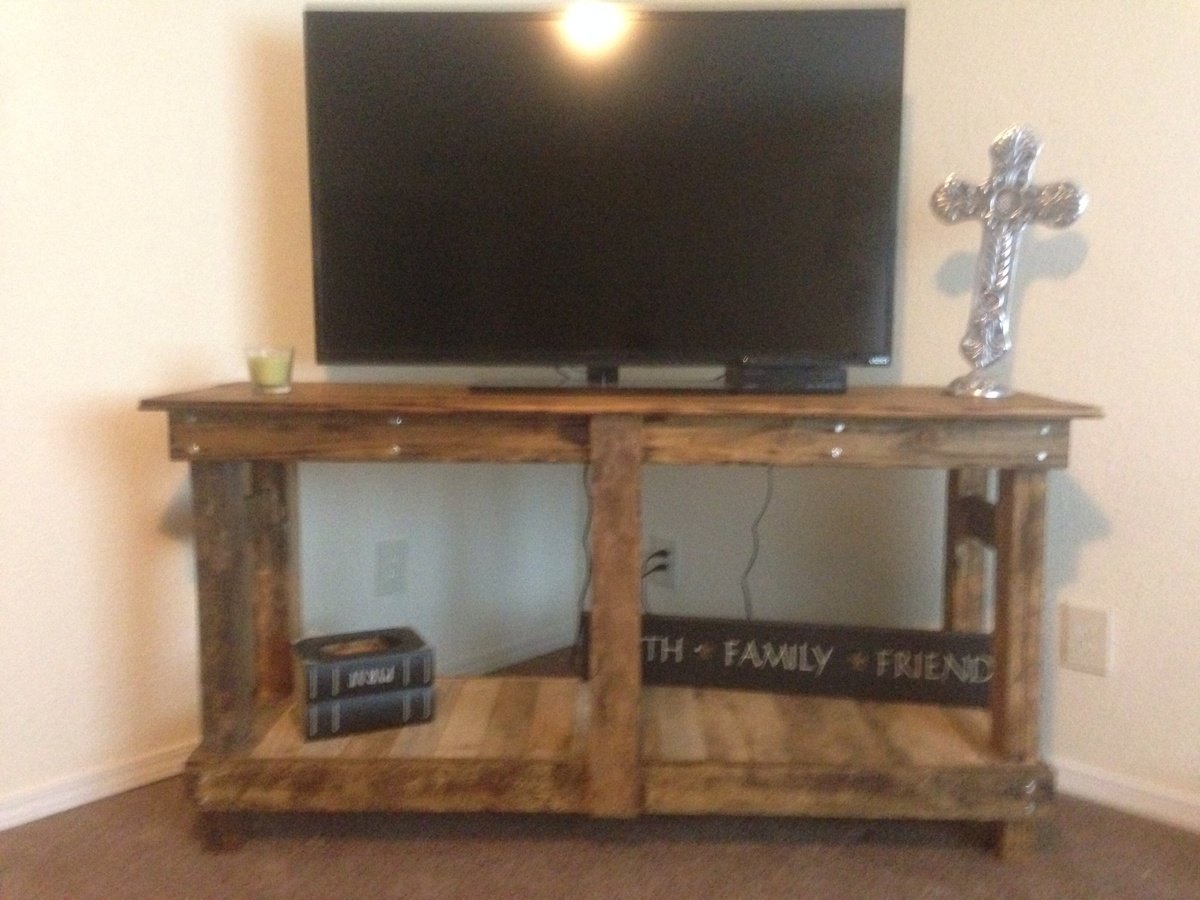
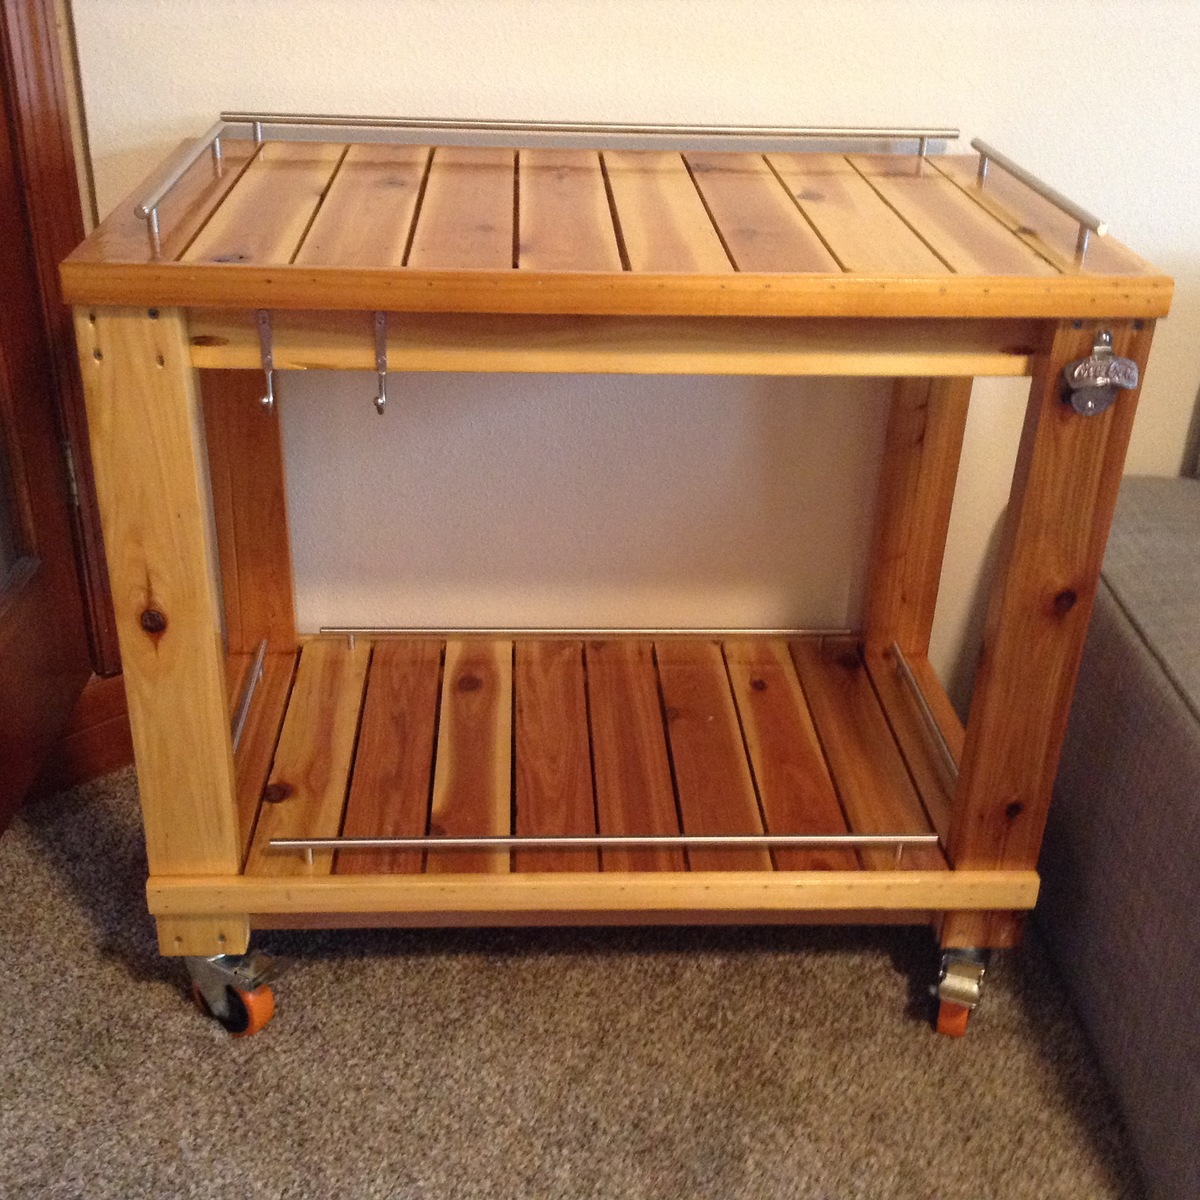
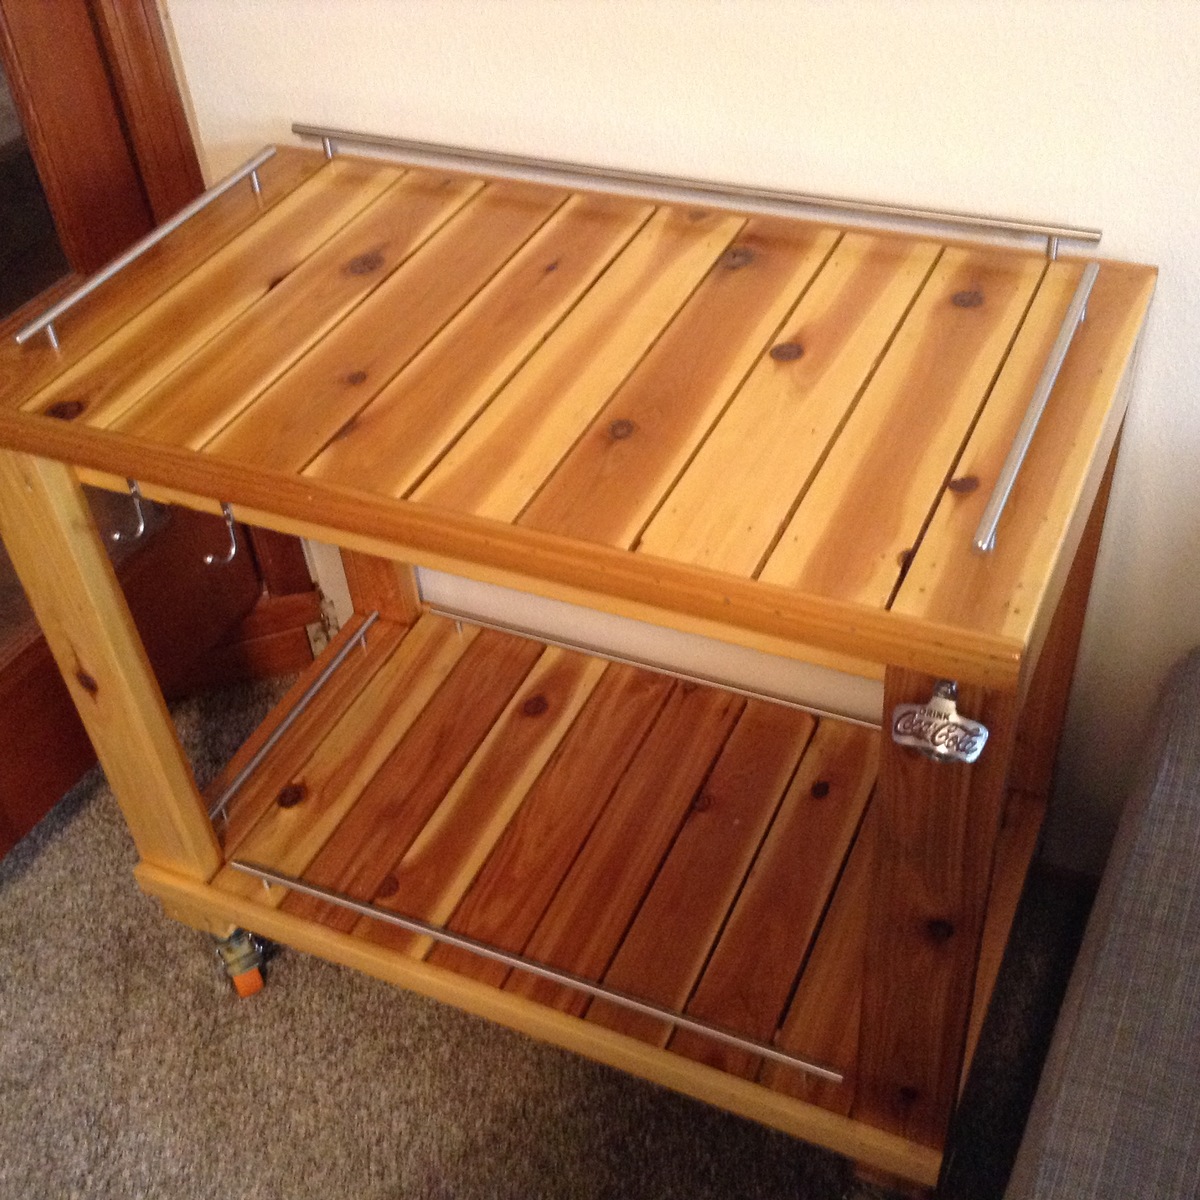
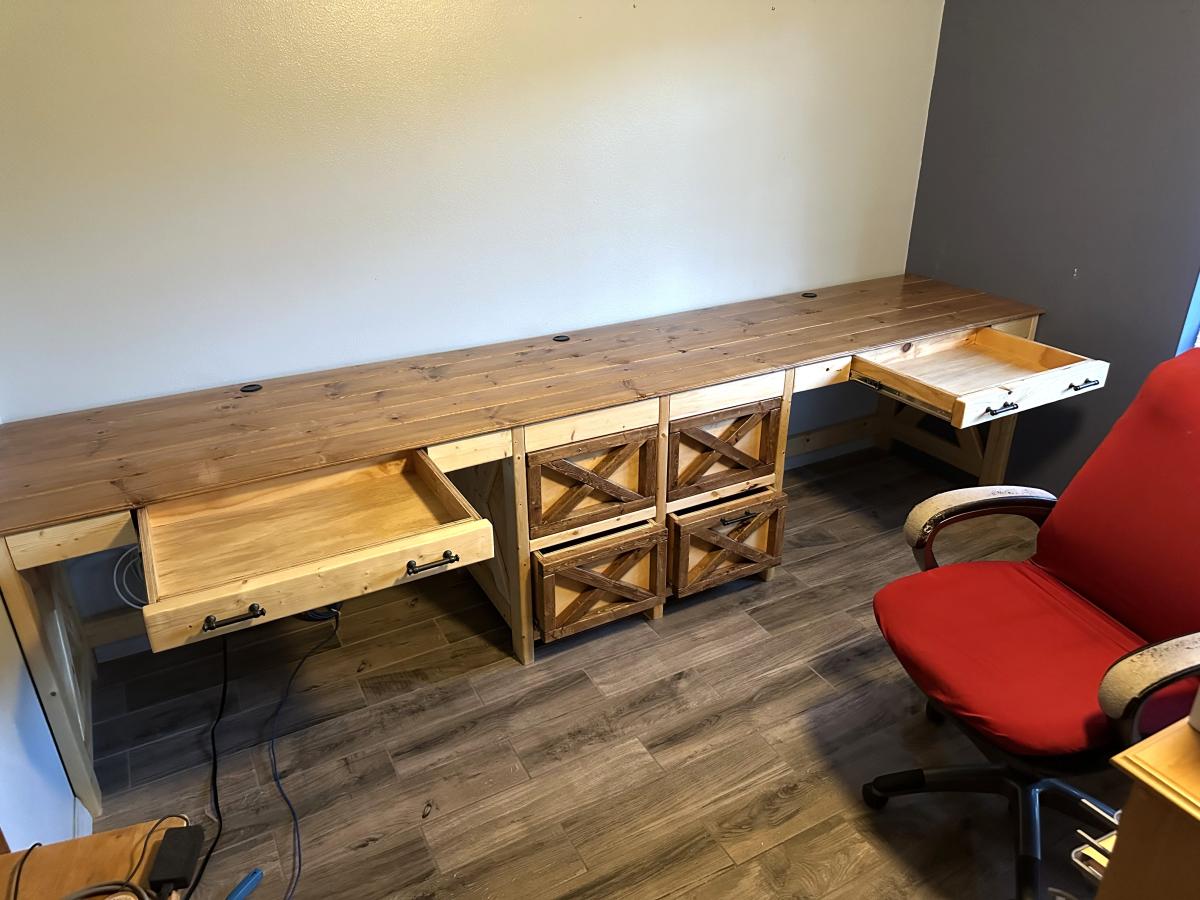
Farmhouse bench / table project

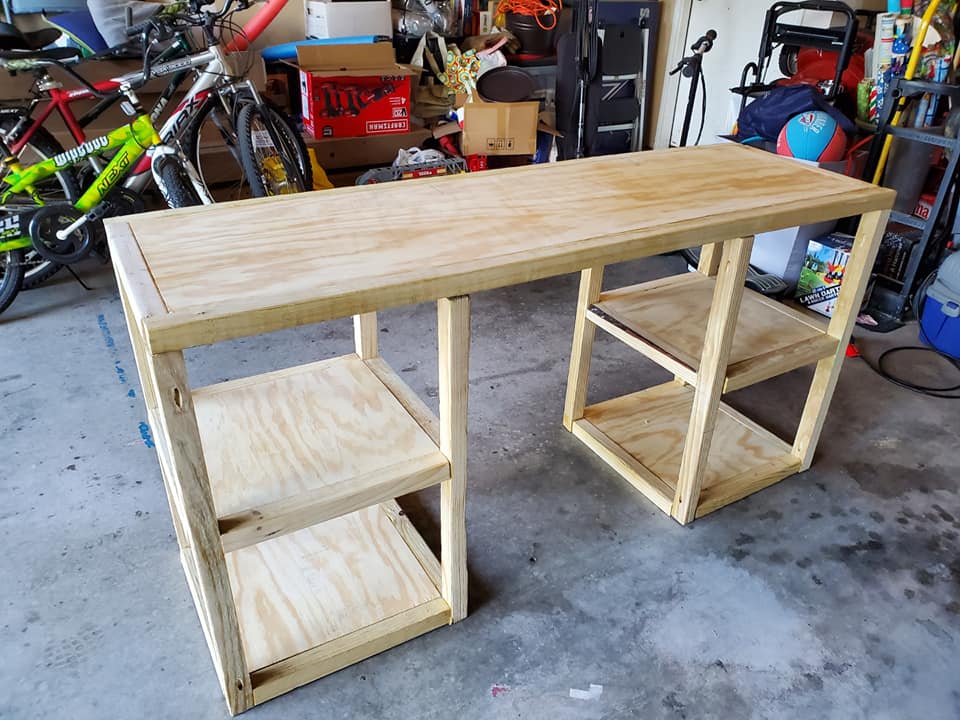
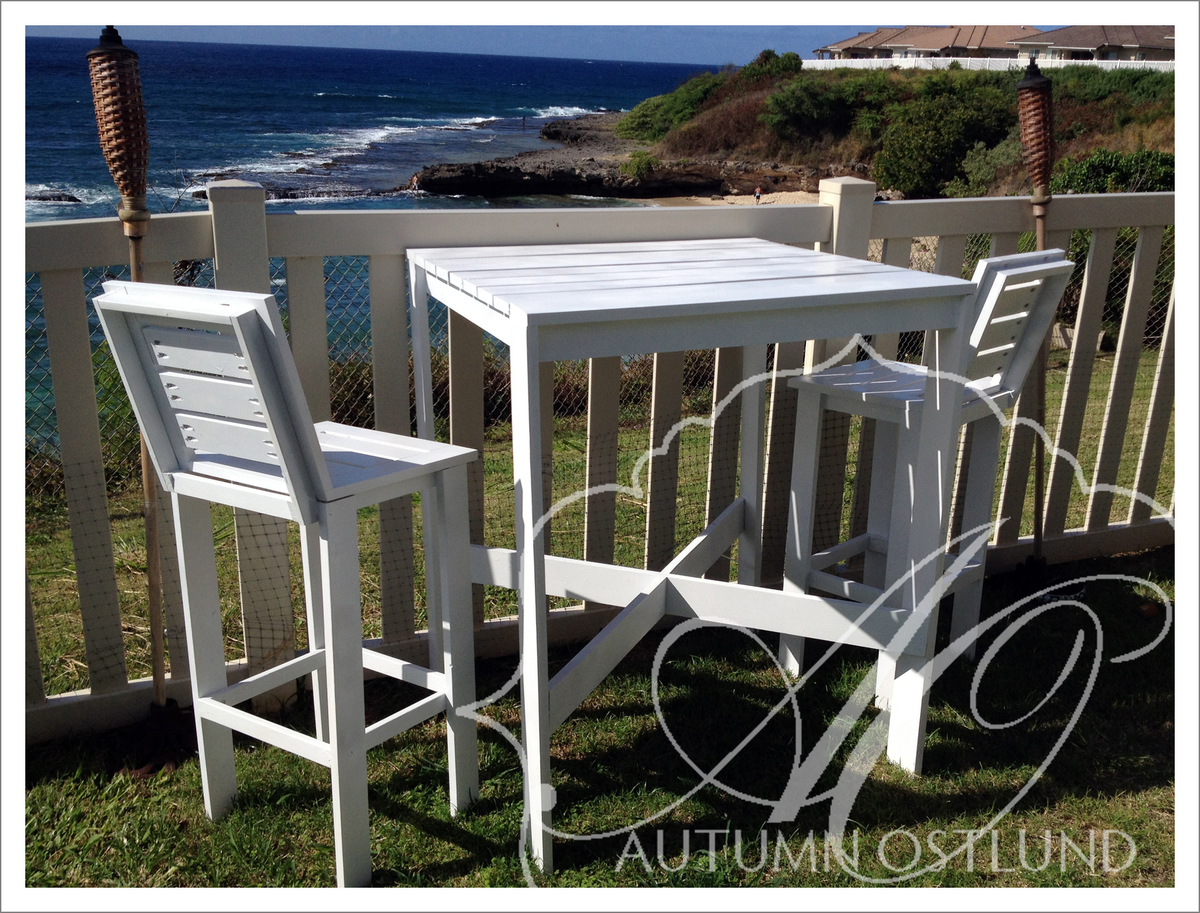
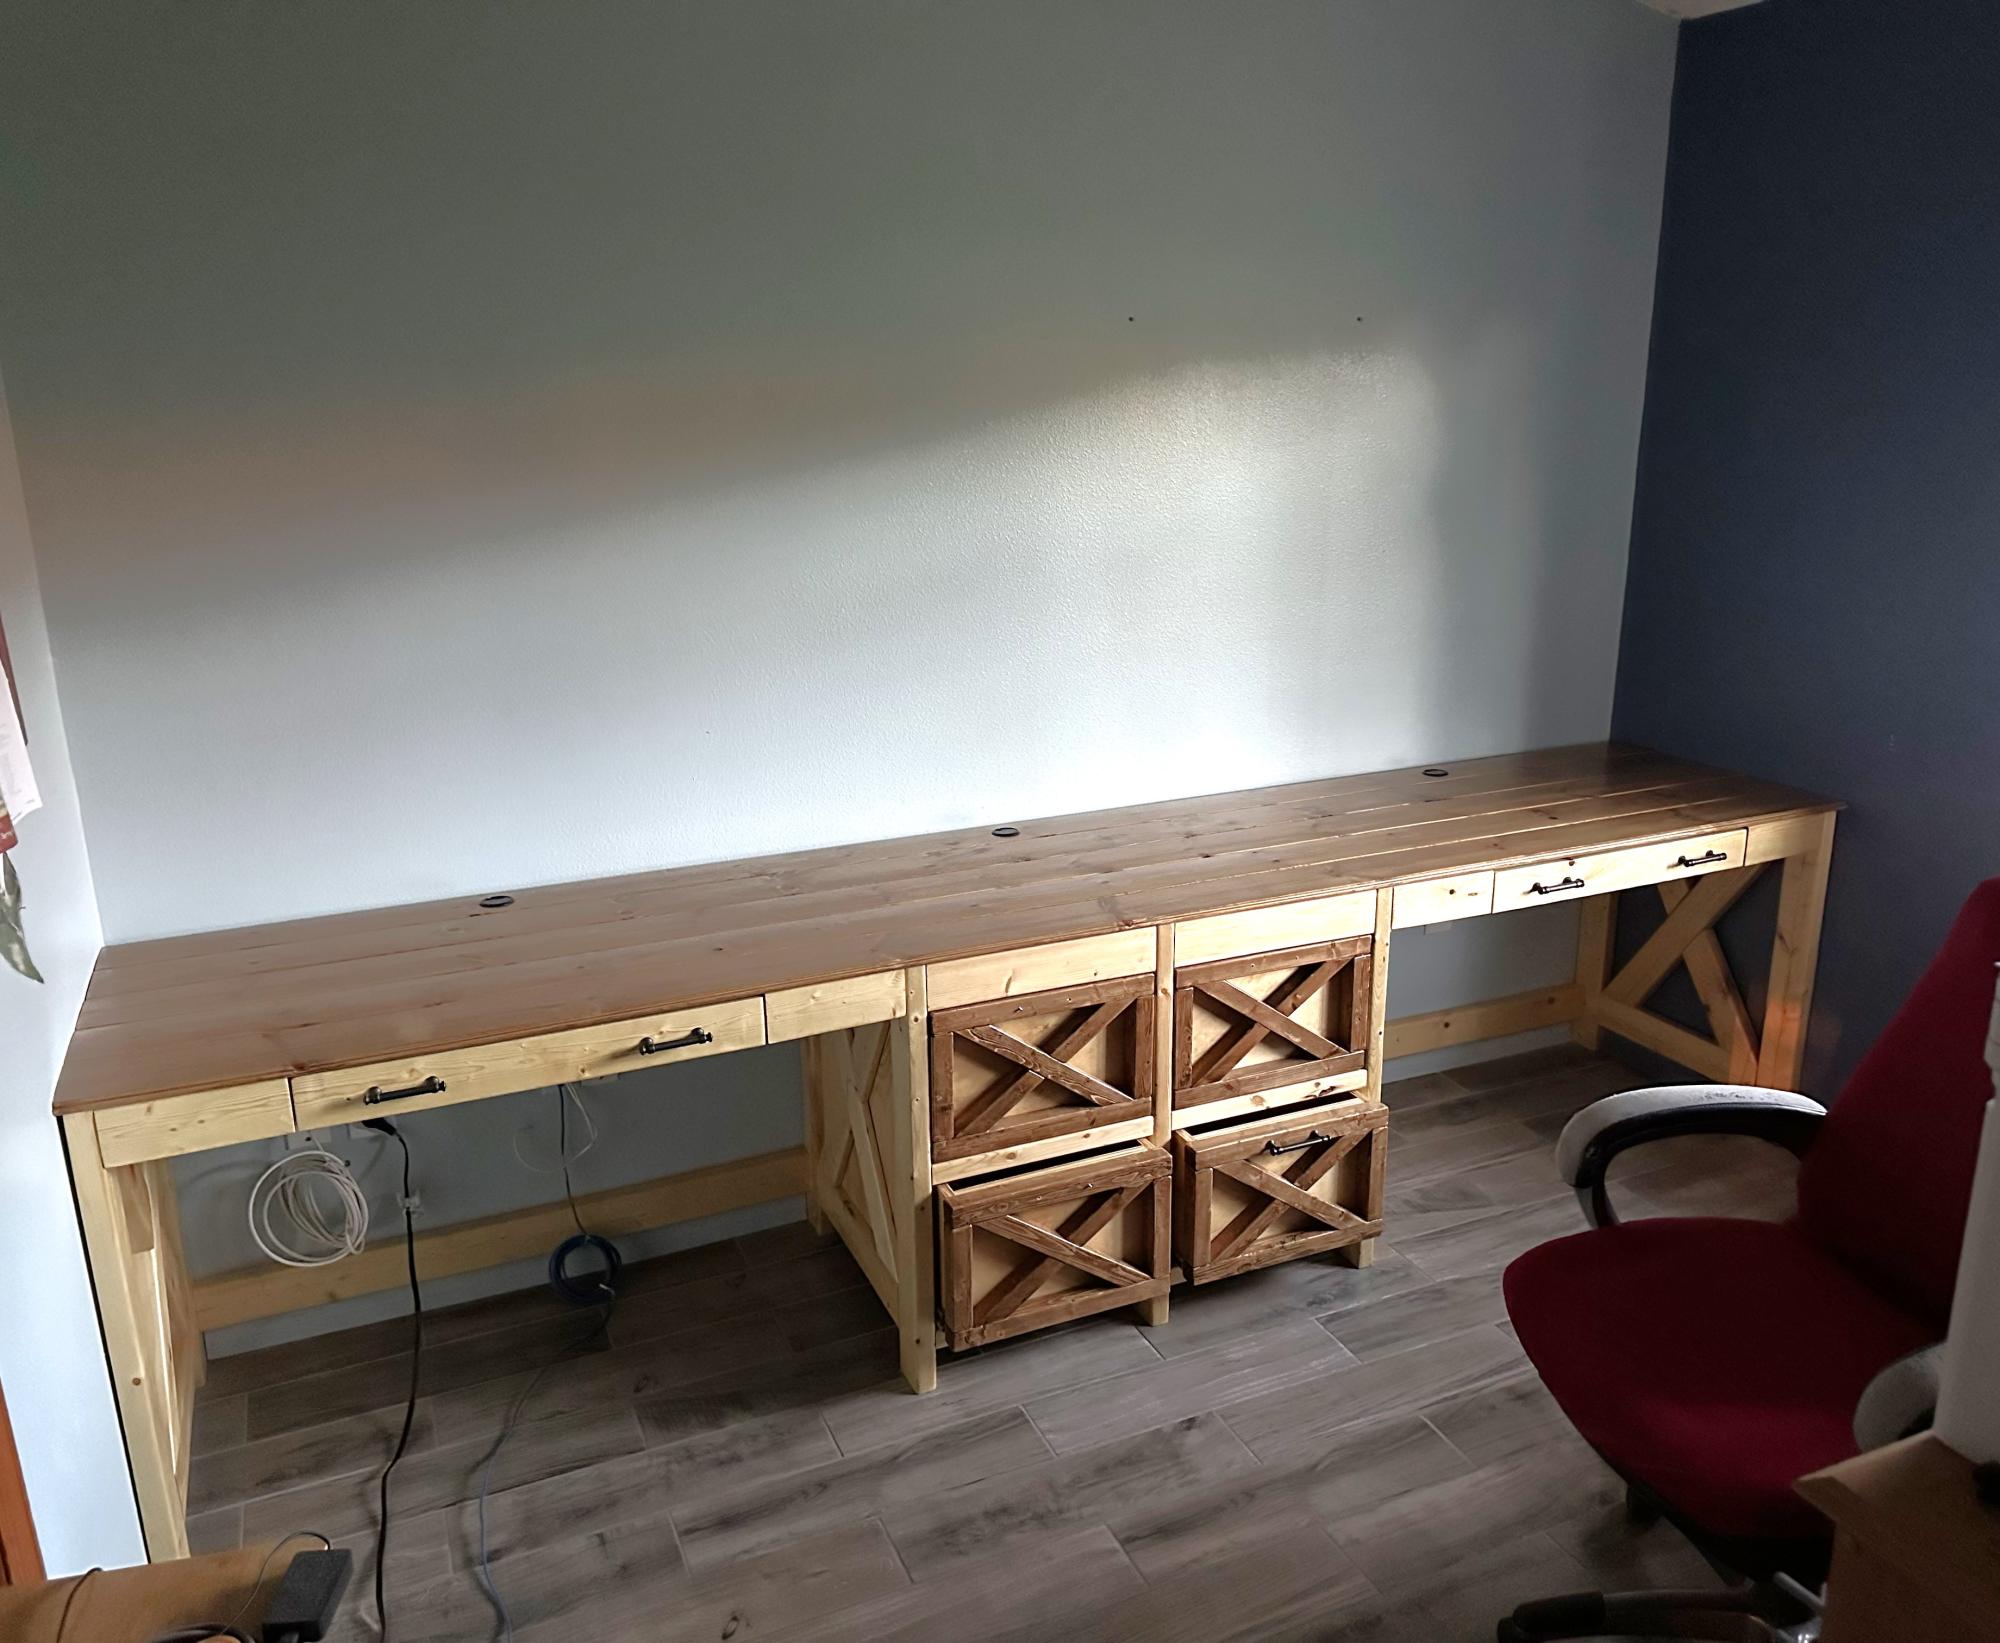
The table and bench project were awesome. I got a lot of inspiration from these, and have built 4 table so far. After posting the first one on Facebook, everyone wanted one. The one thing I would recommend is to really pay close attention to the lumber you're buying, make sure it straight and the edges are not chipped, to ensure all yourights seams match up, and your project ends up square. A tip to alleviate all this, is to buy everything wider than you need, and rip it straight through your table saw. What I mean is, if the table top calls for 2x10's, then buy 2x12's instead, and rip them down to 10 inches, so you're seams match up perfectly. It may cost a tad bit more, but you will definitely be happier with the end result.

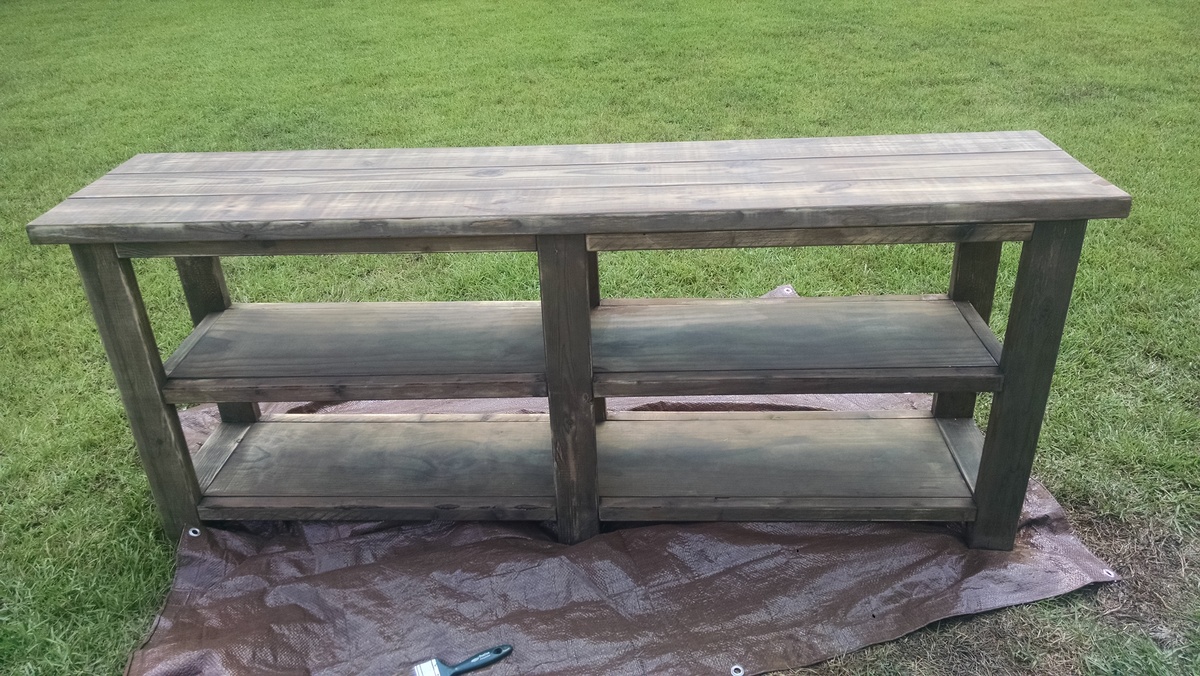
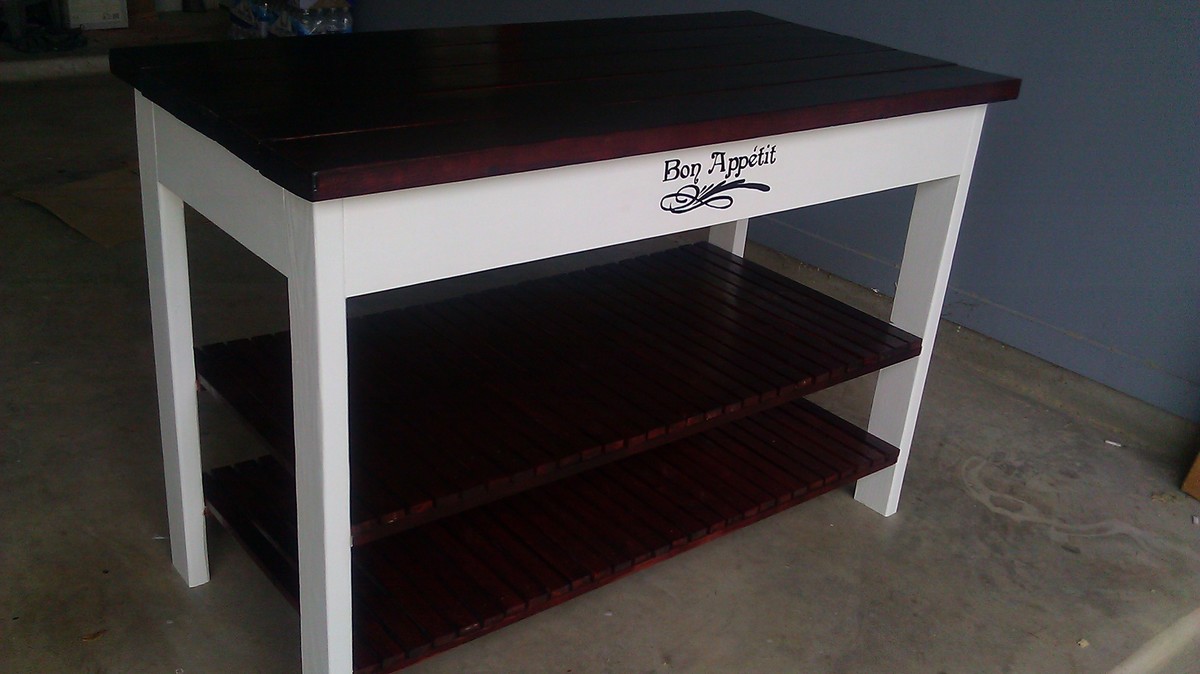
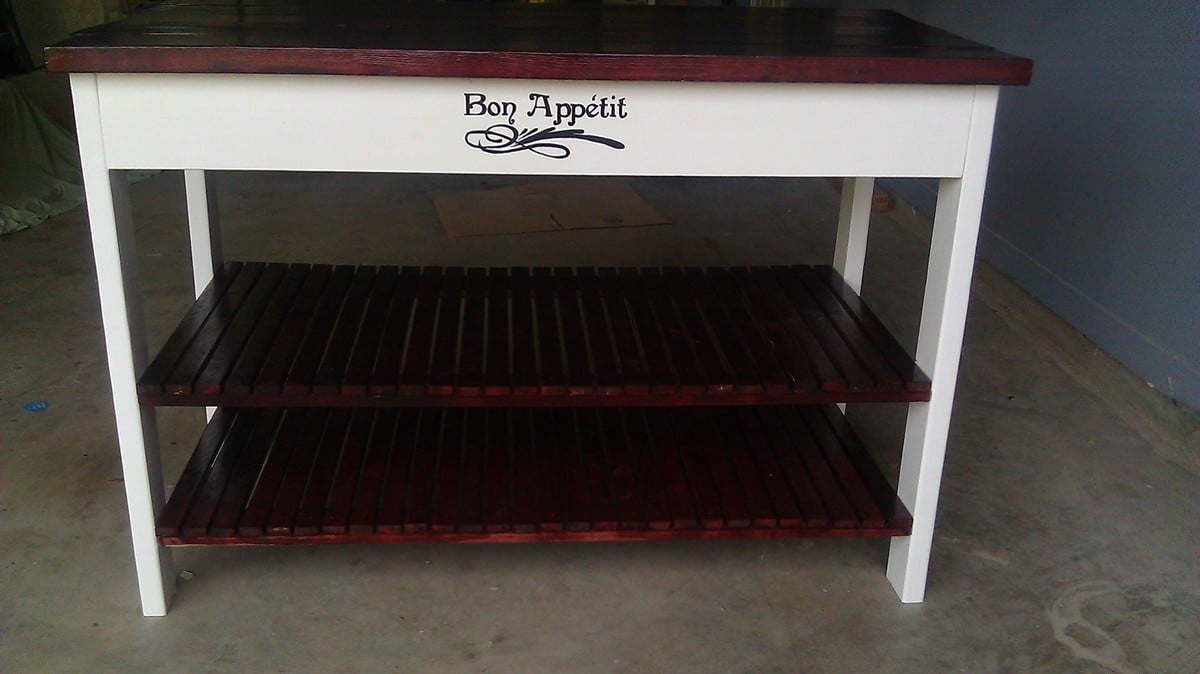
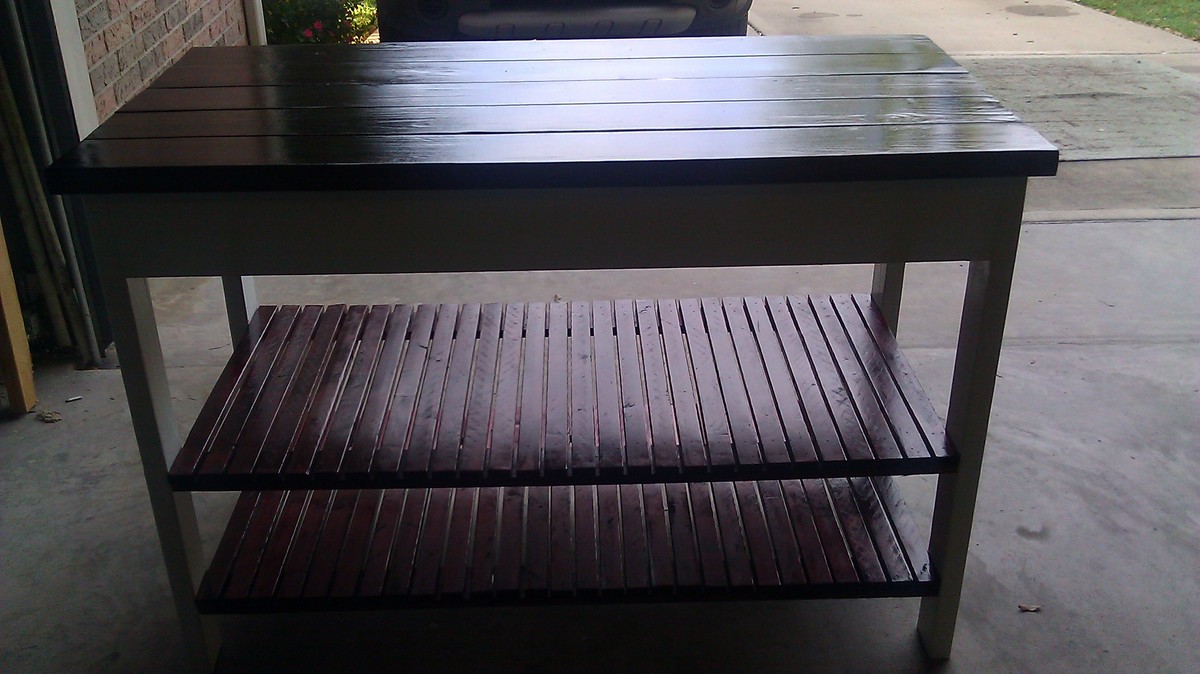
Finish Used
Stain and white paint
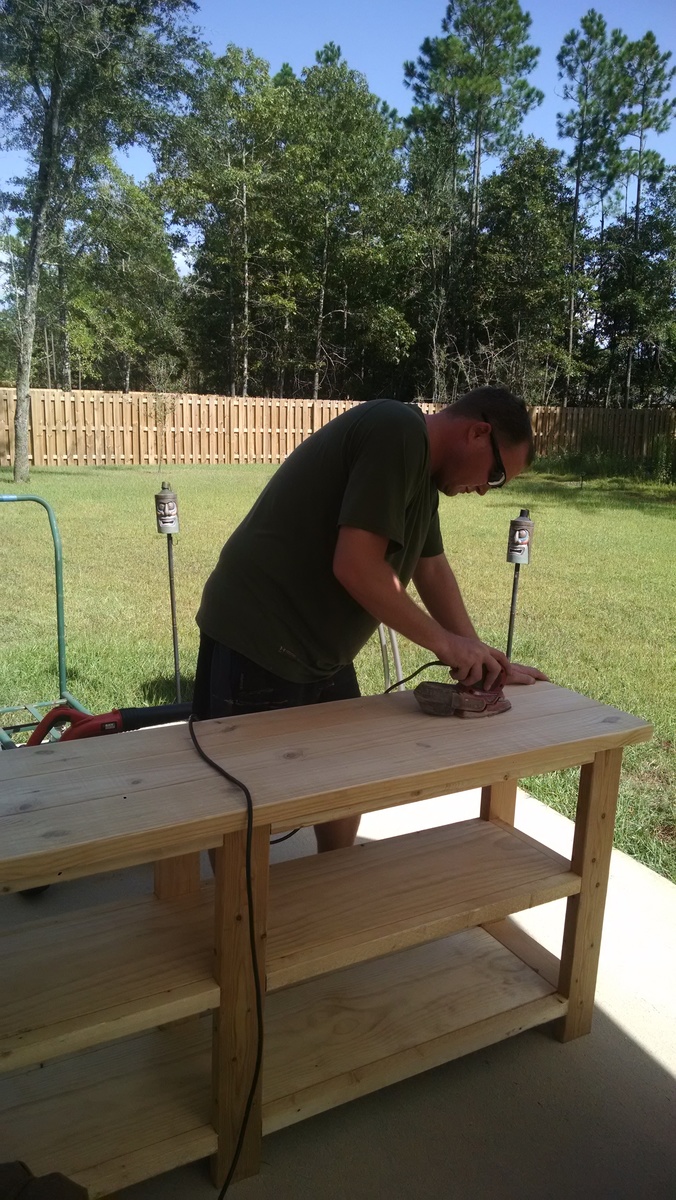
Recommended Skill Level
Beginner