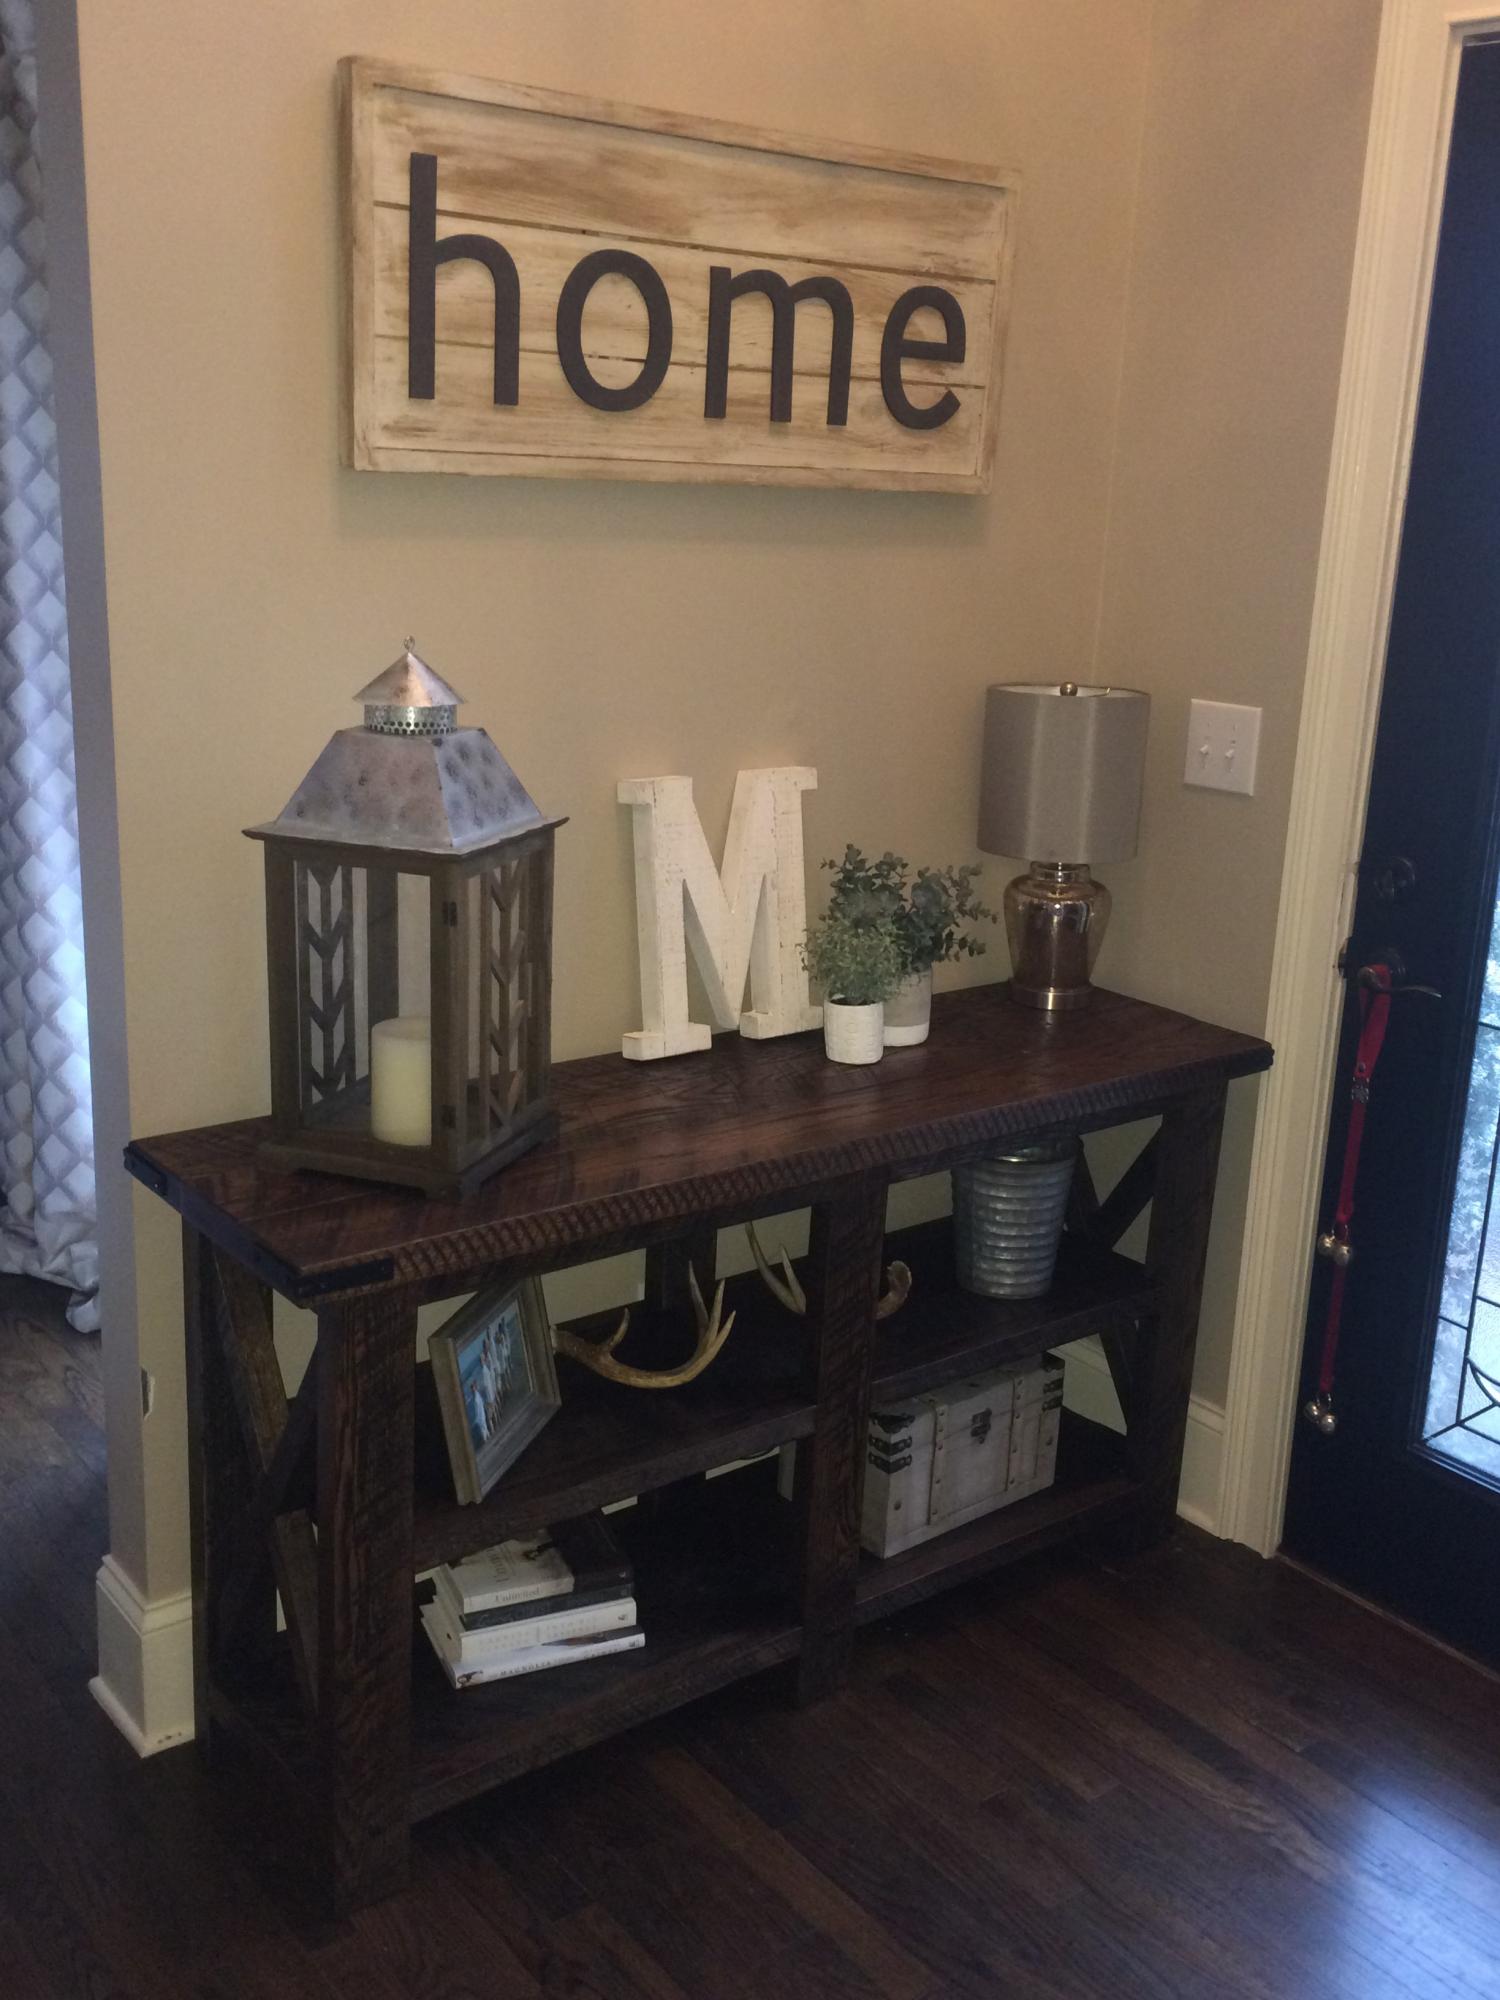
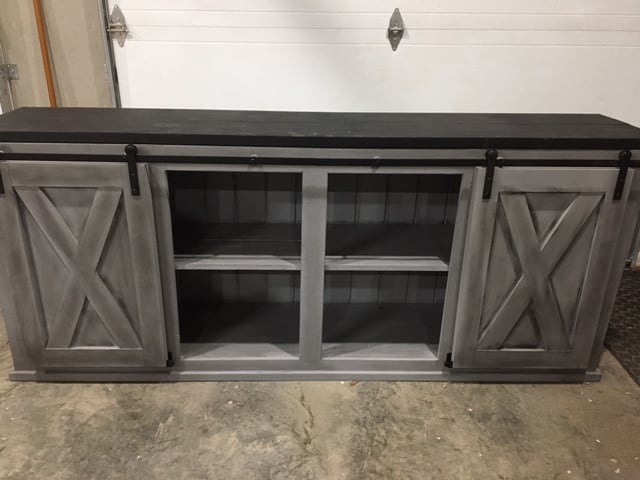
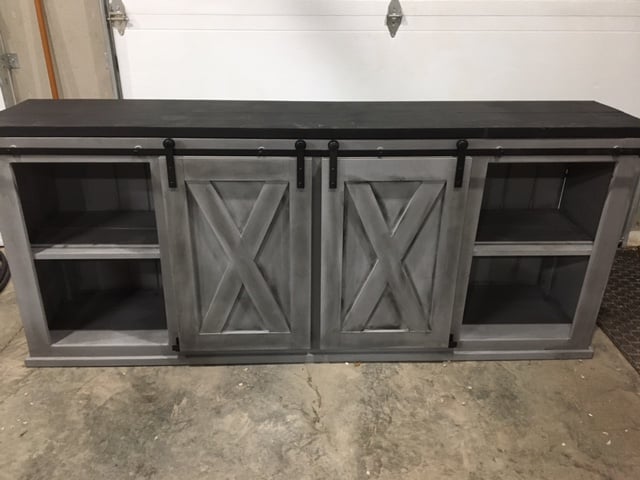
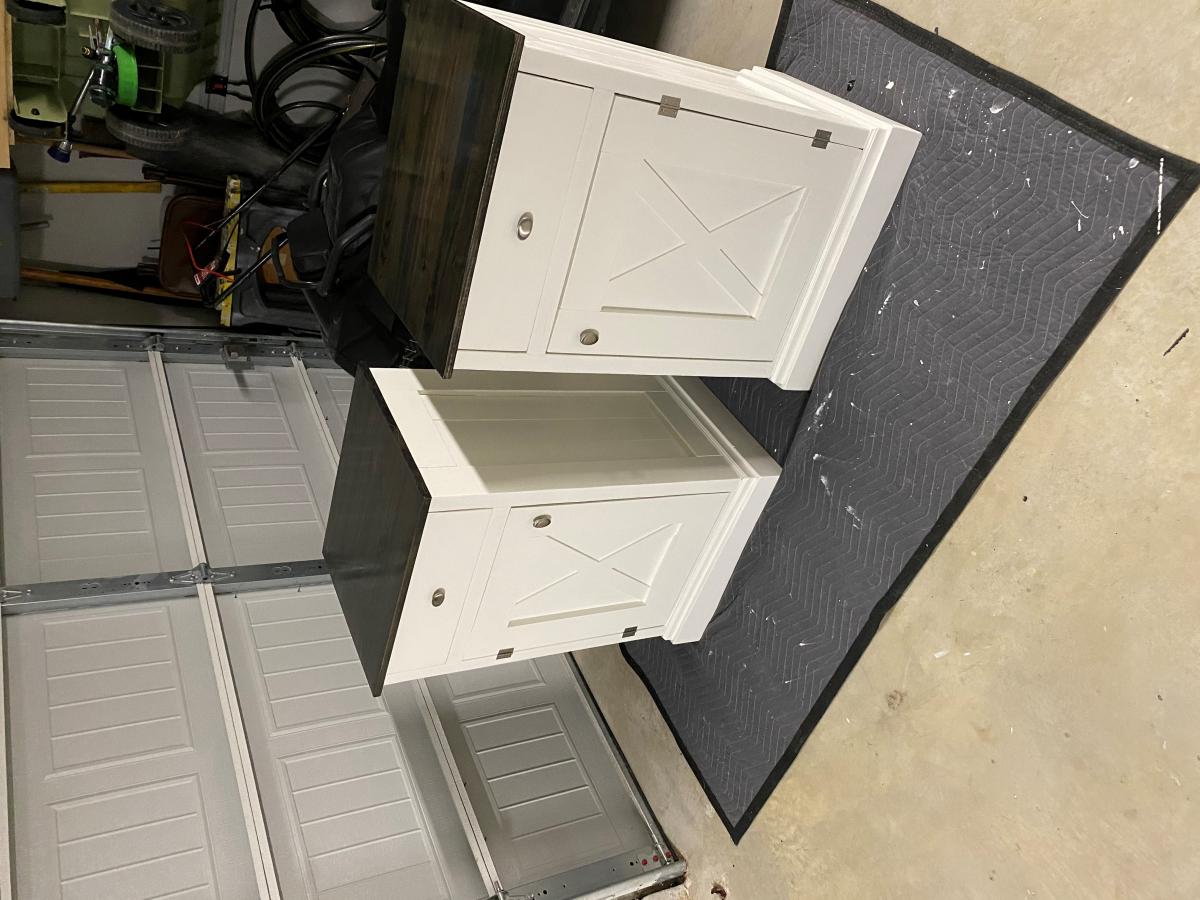
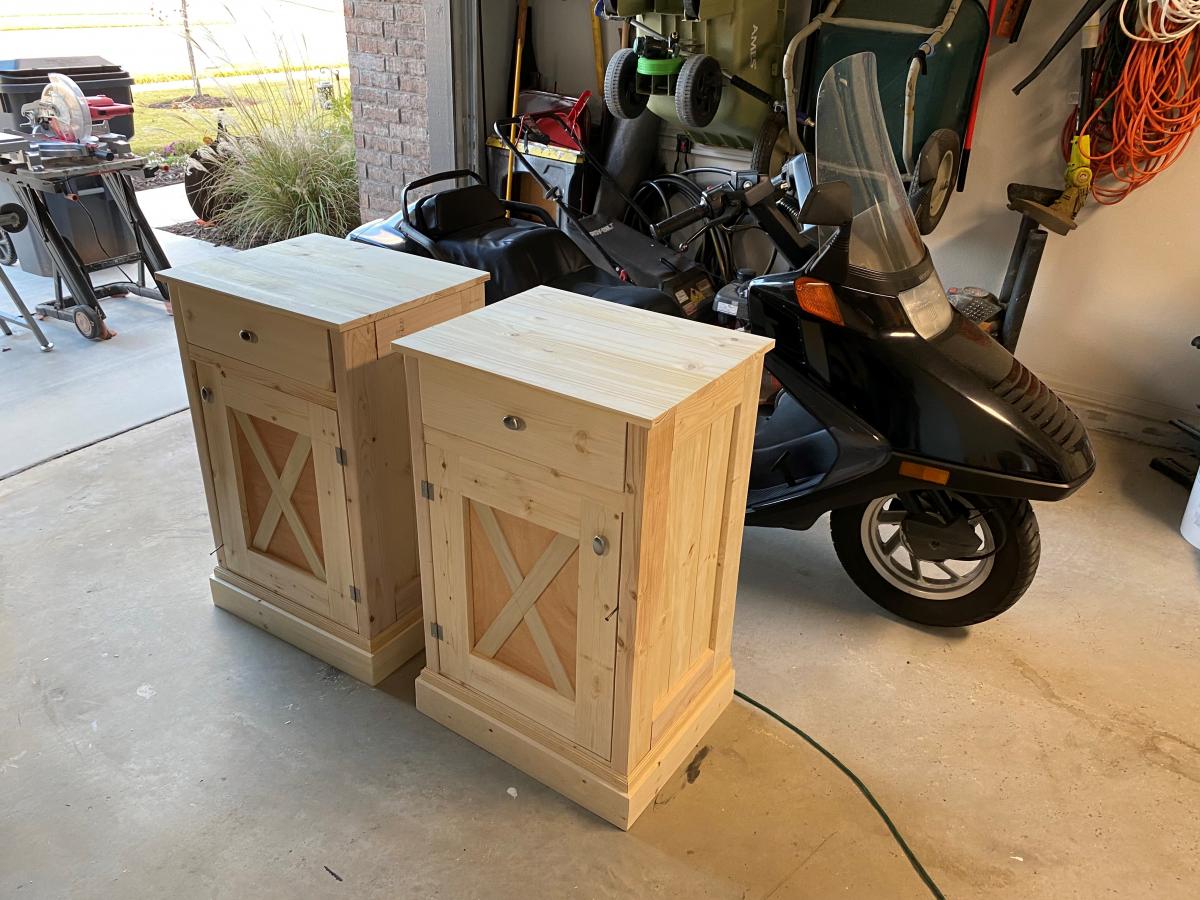
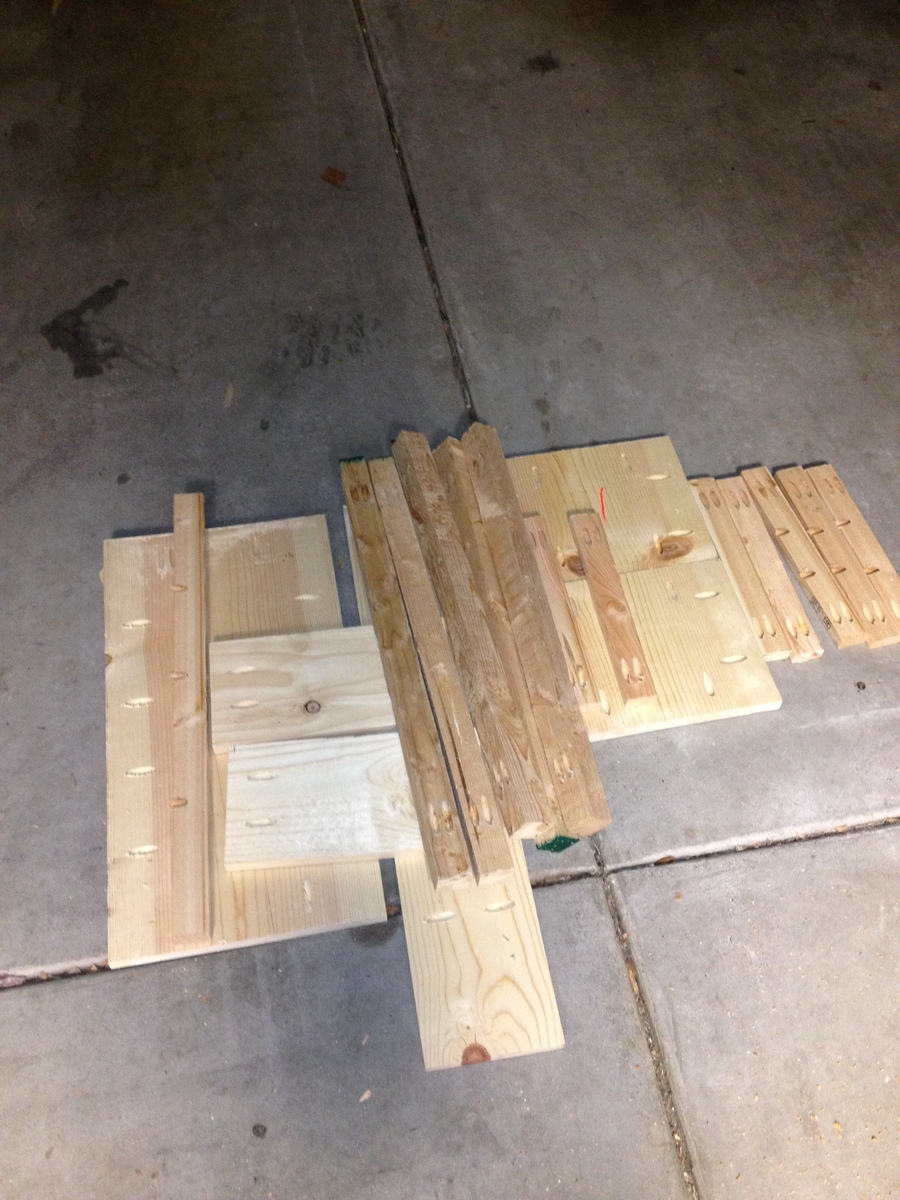
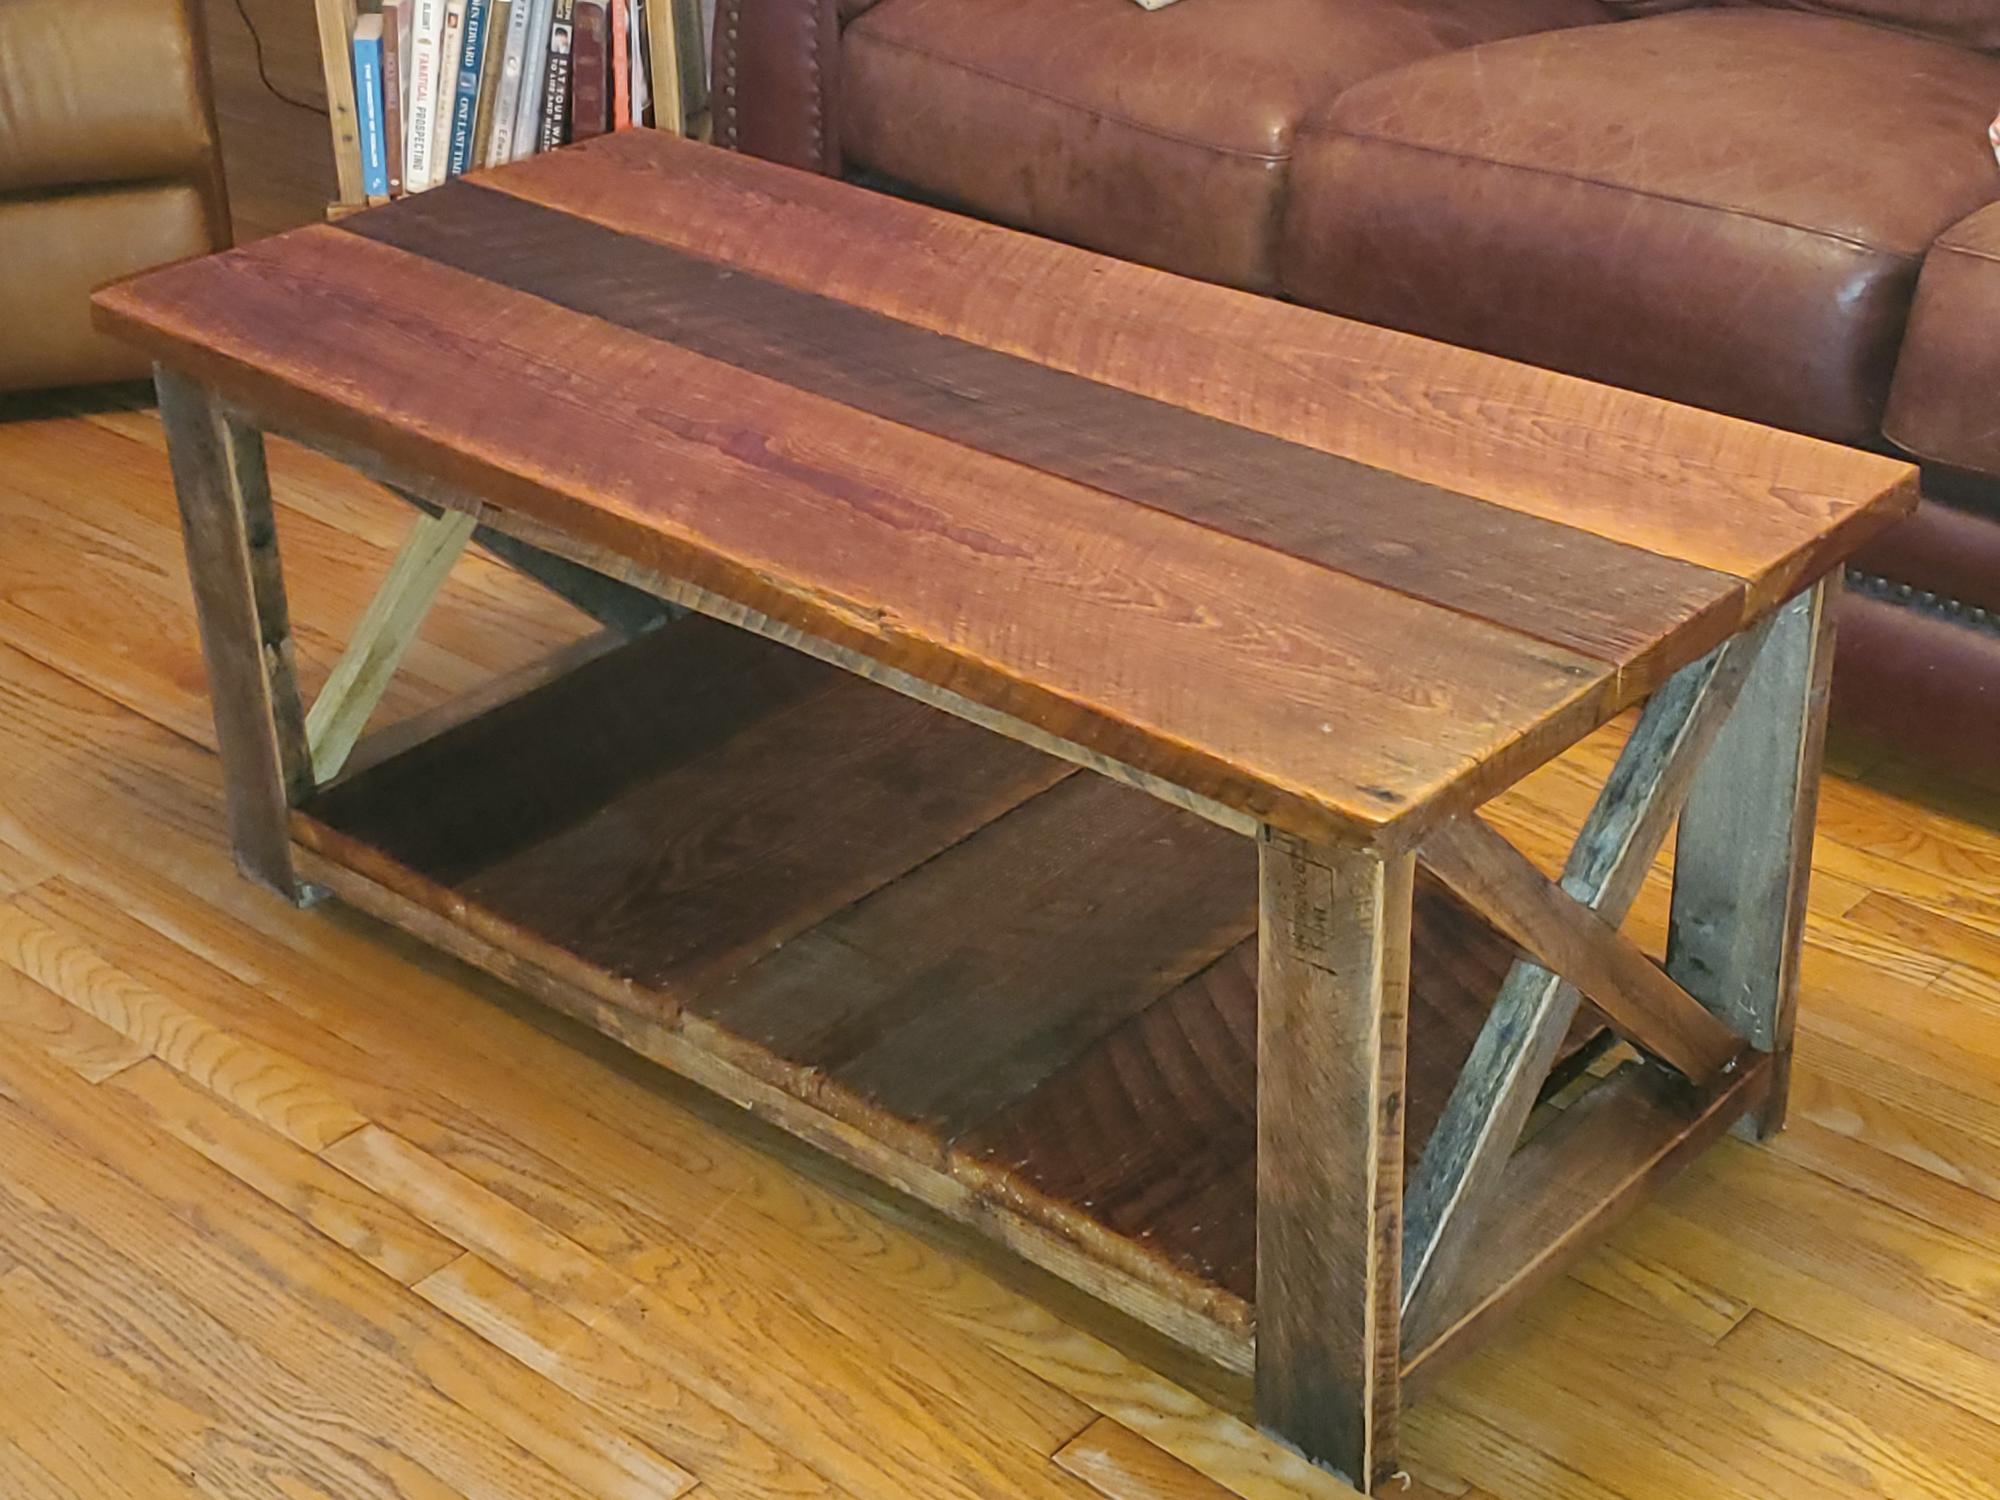
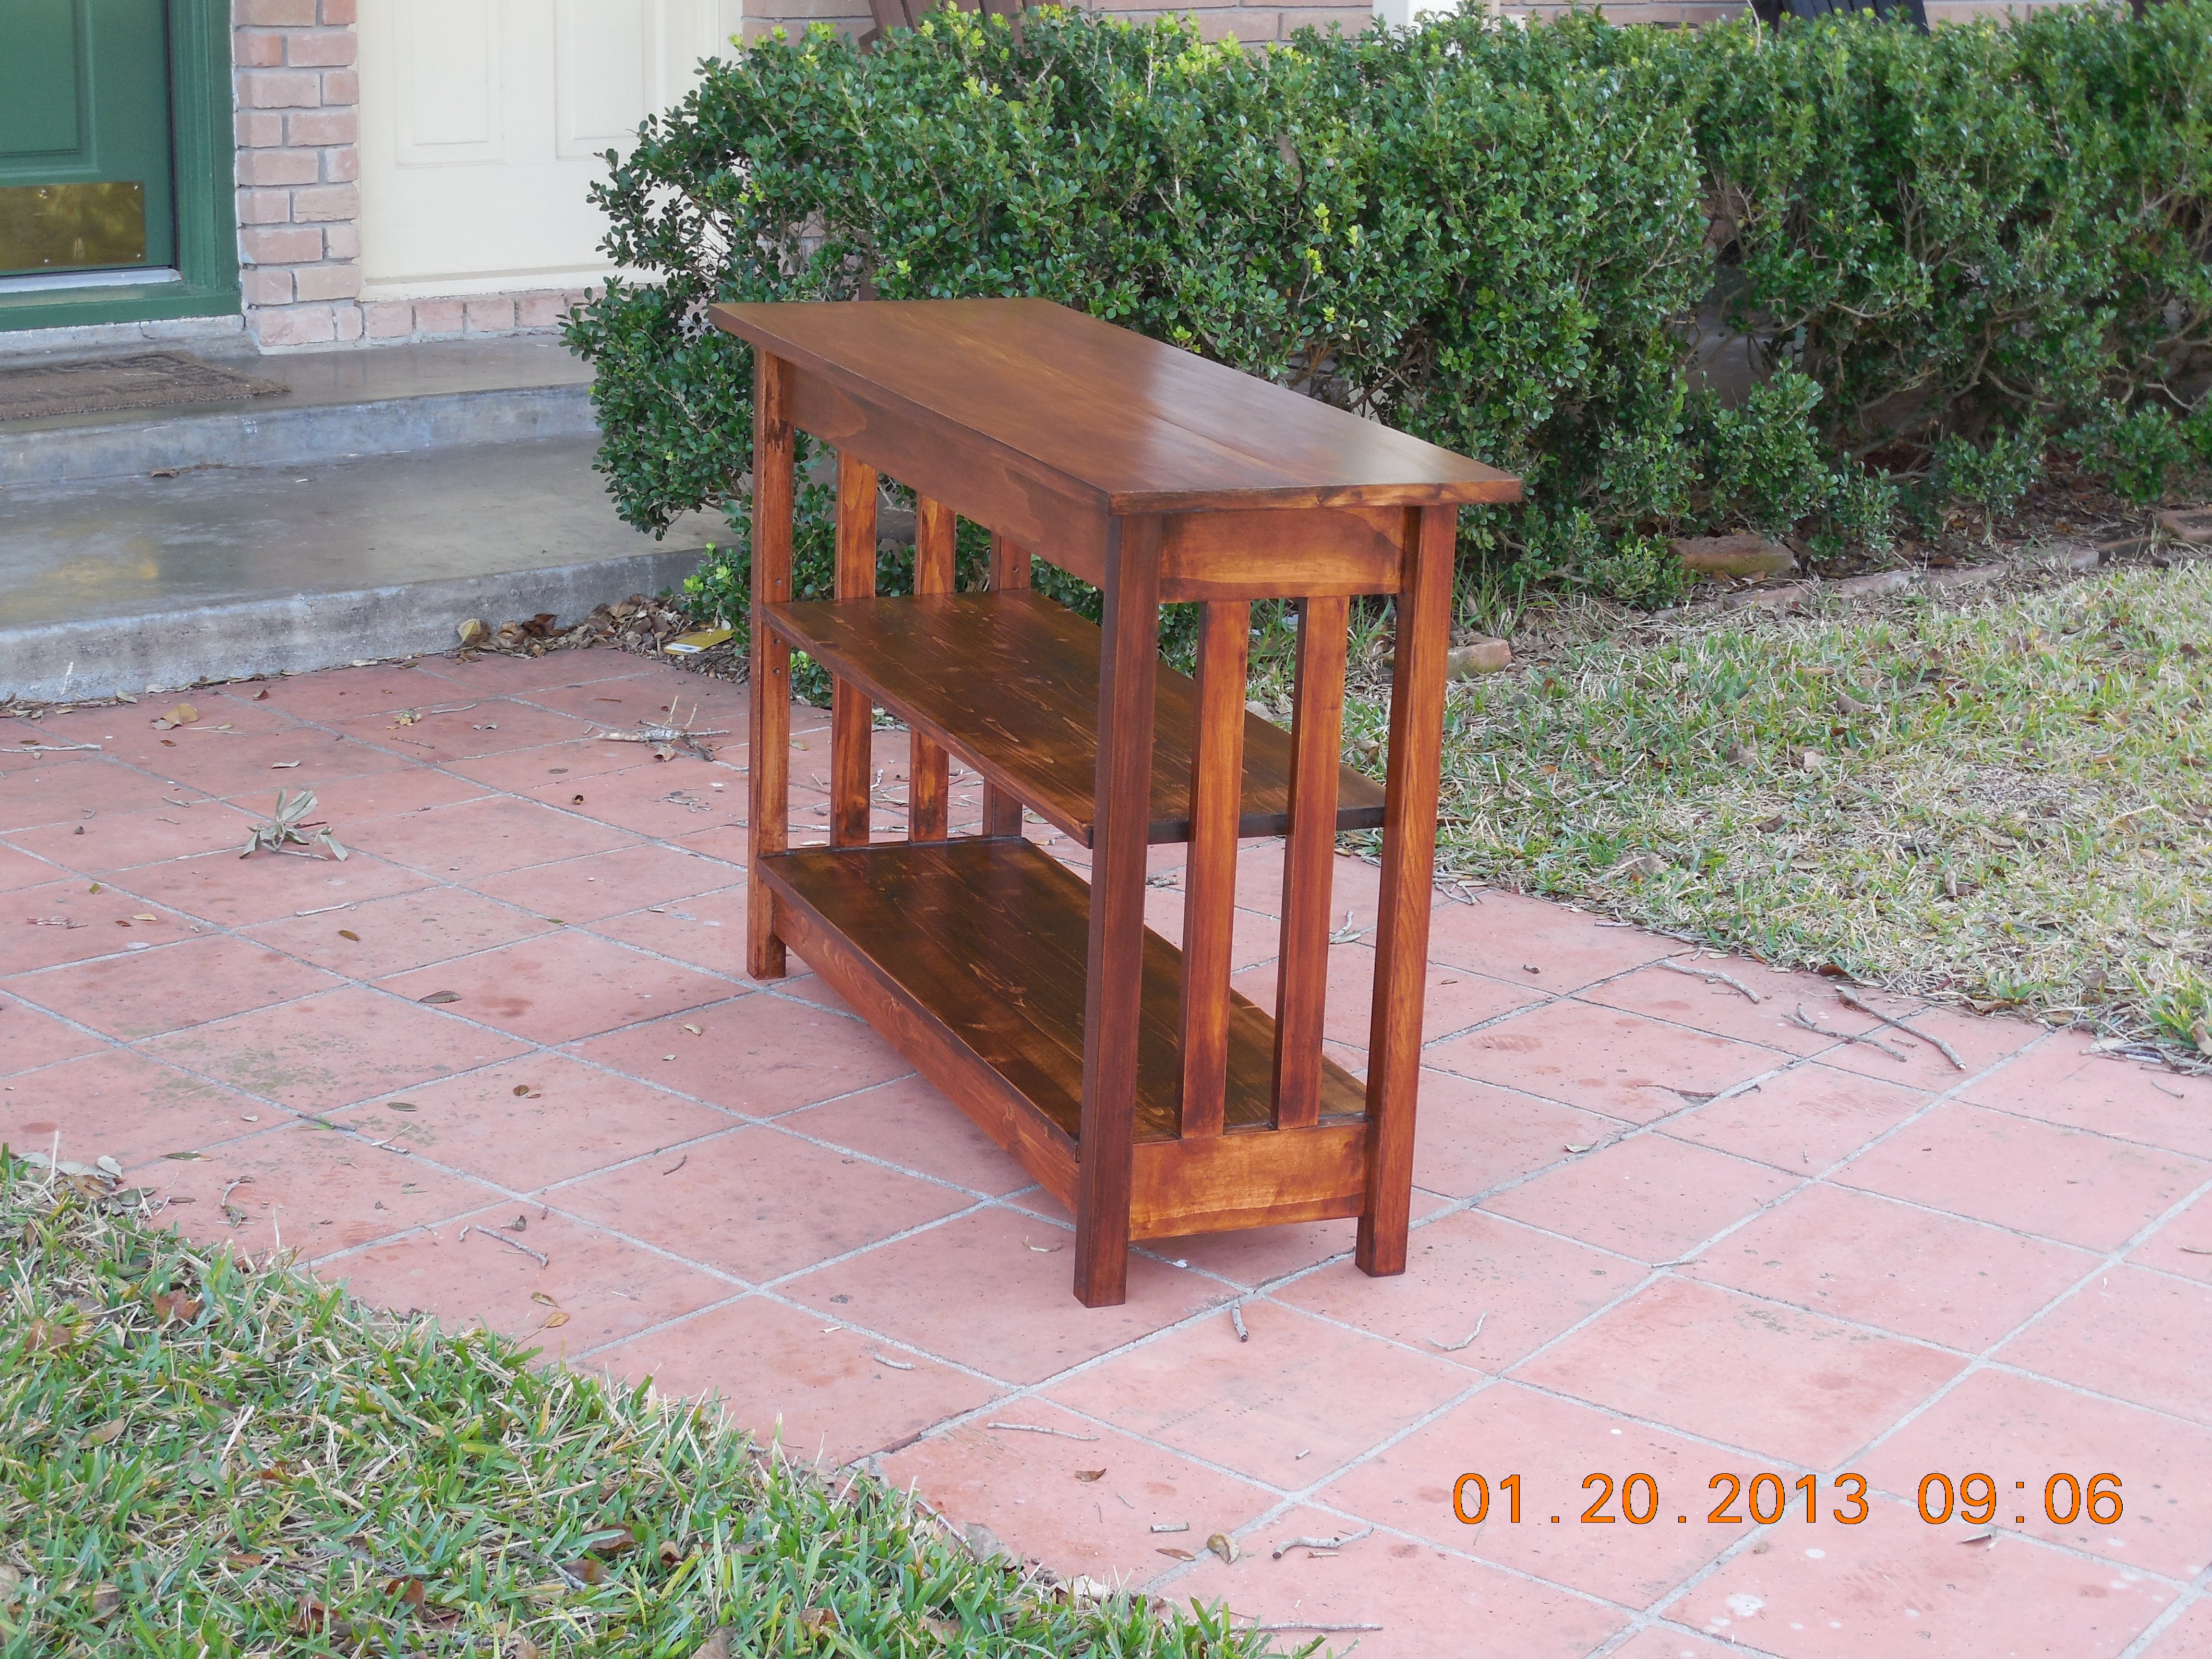
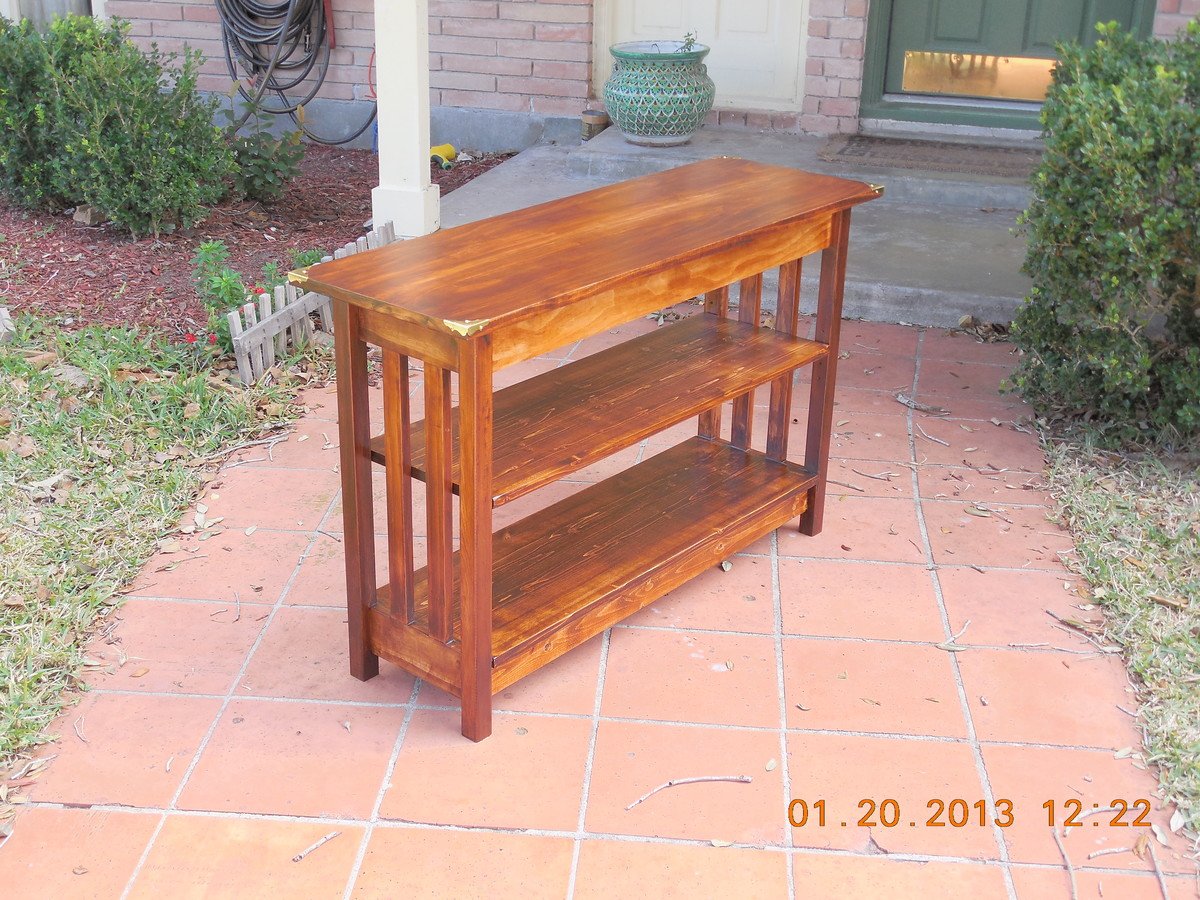
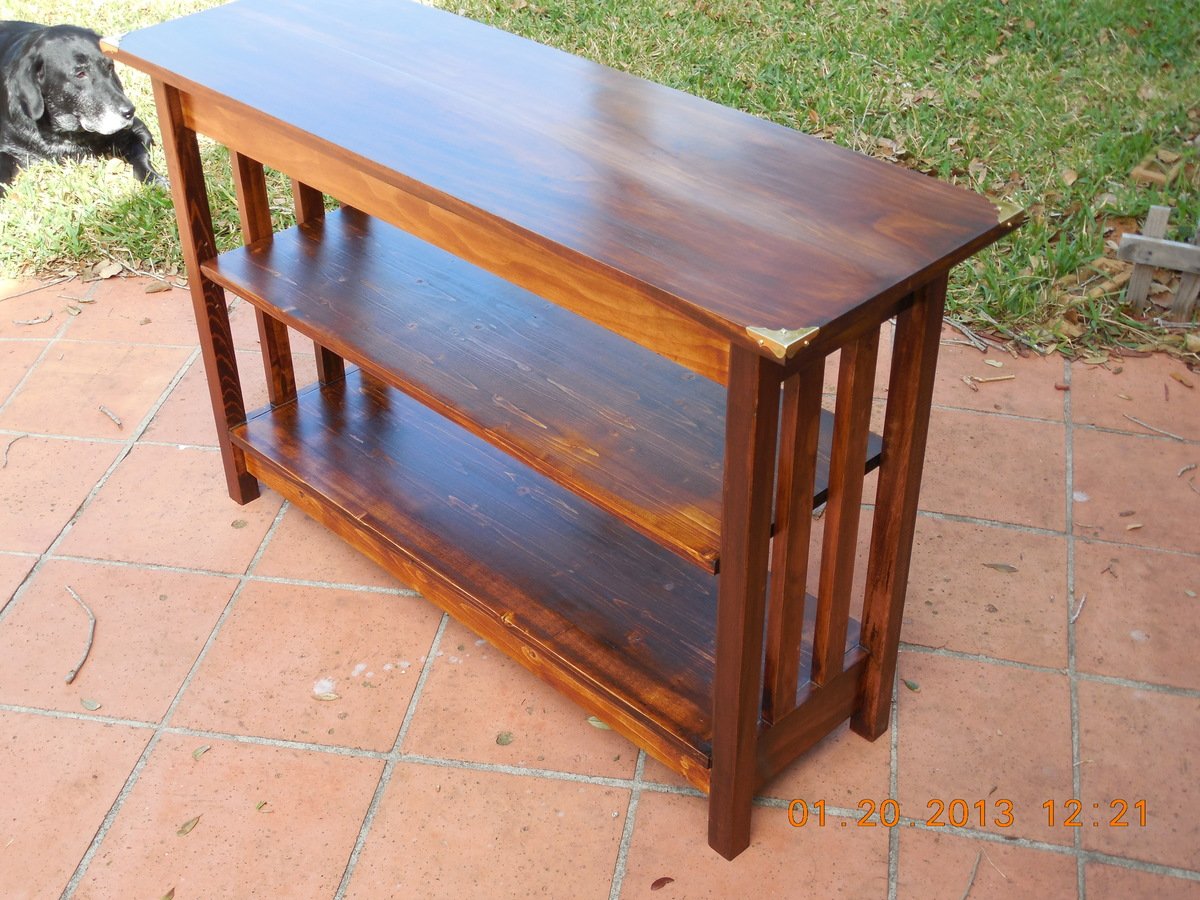
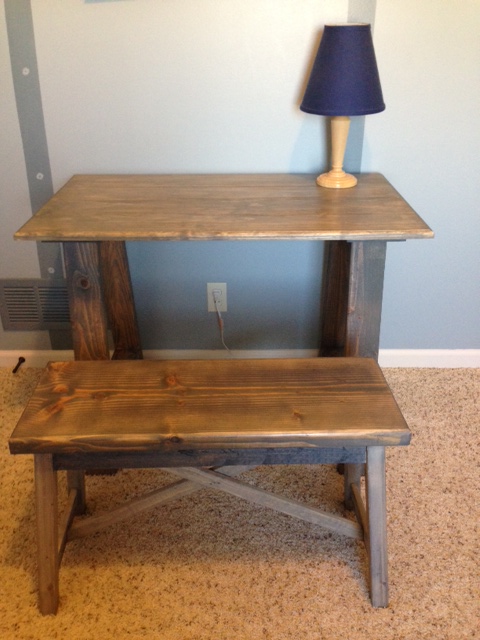
Great Weekend Project!
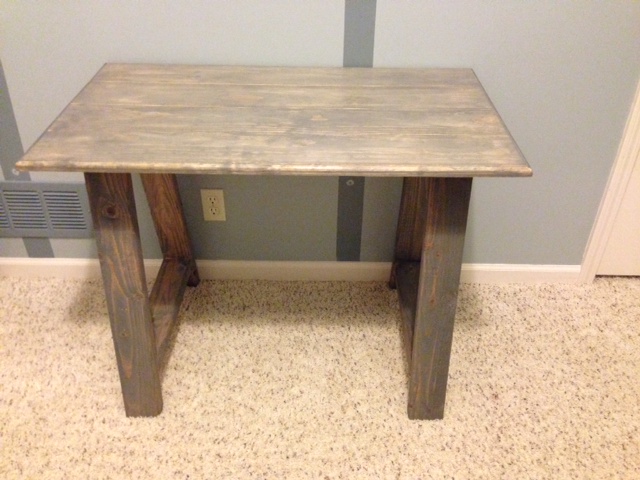
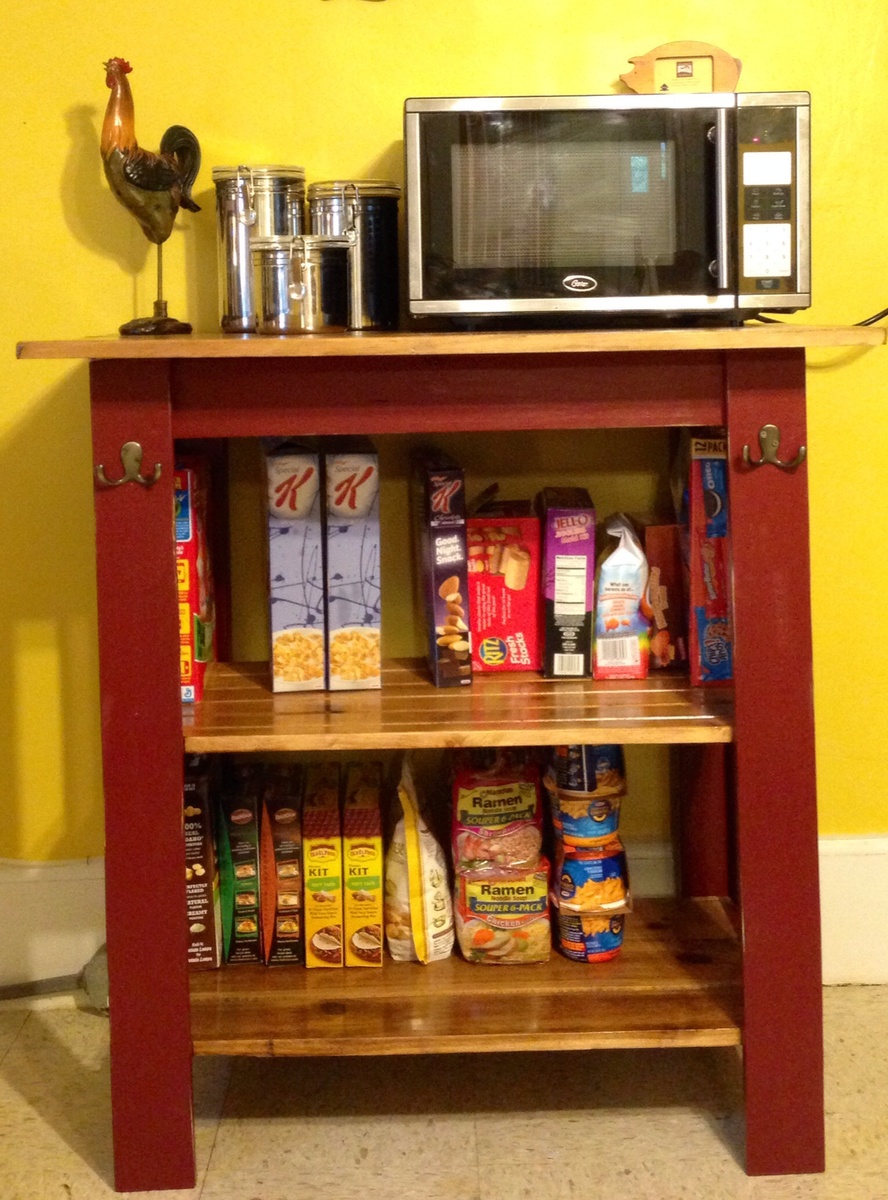
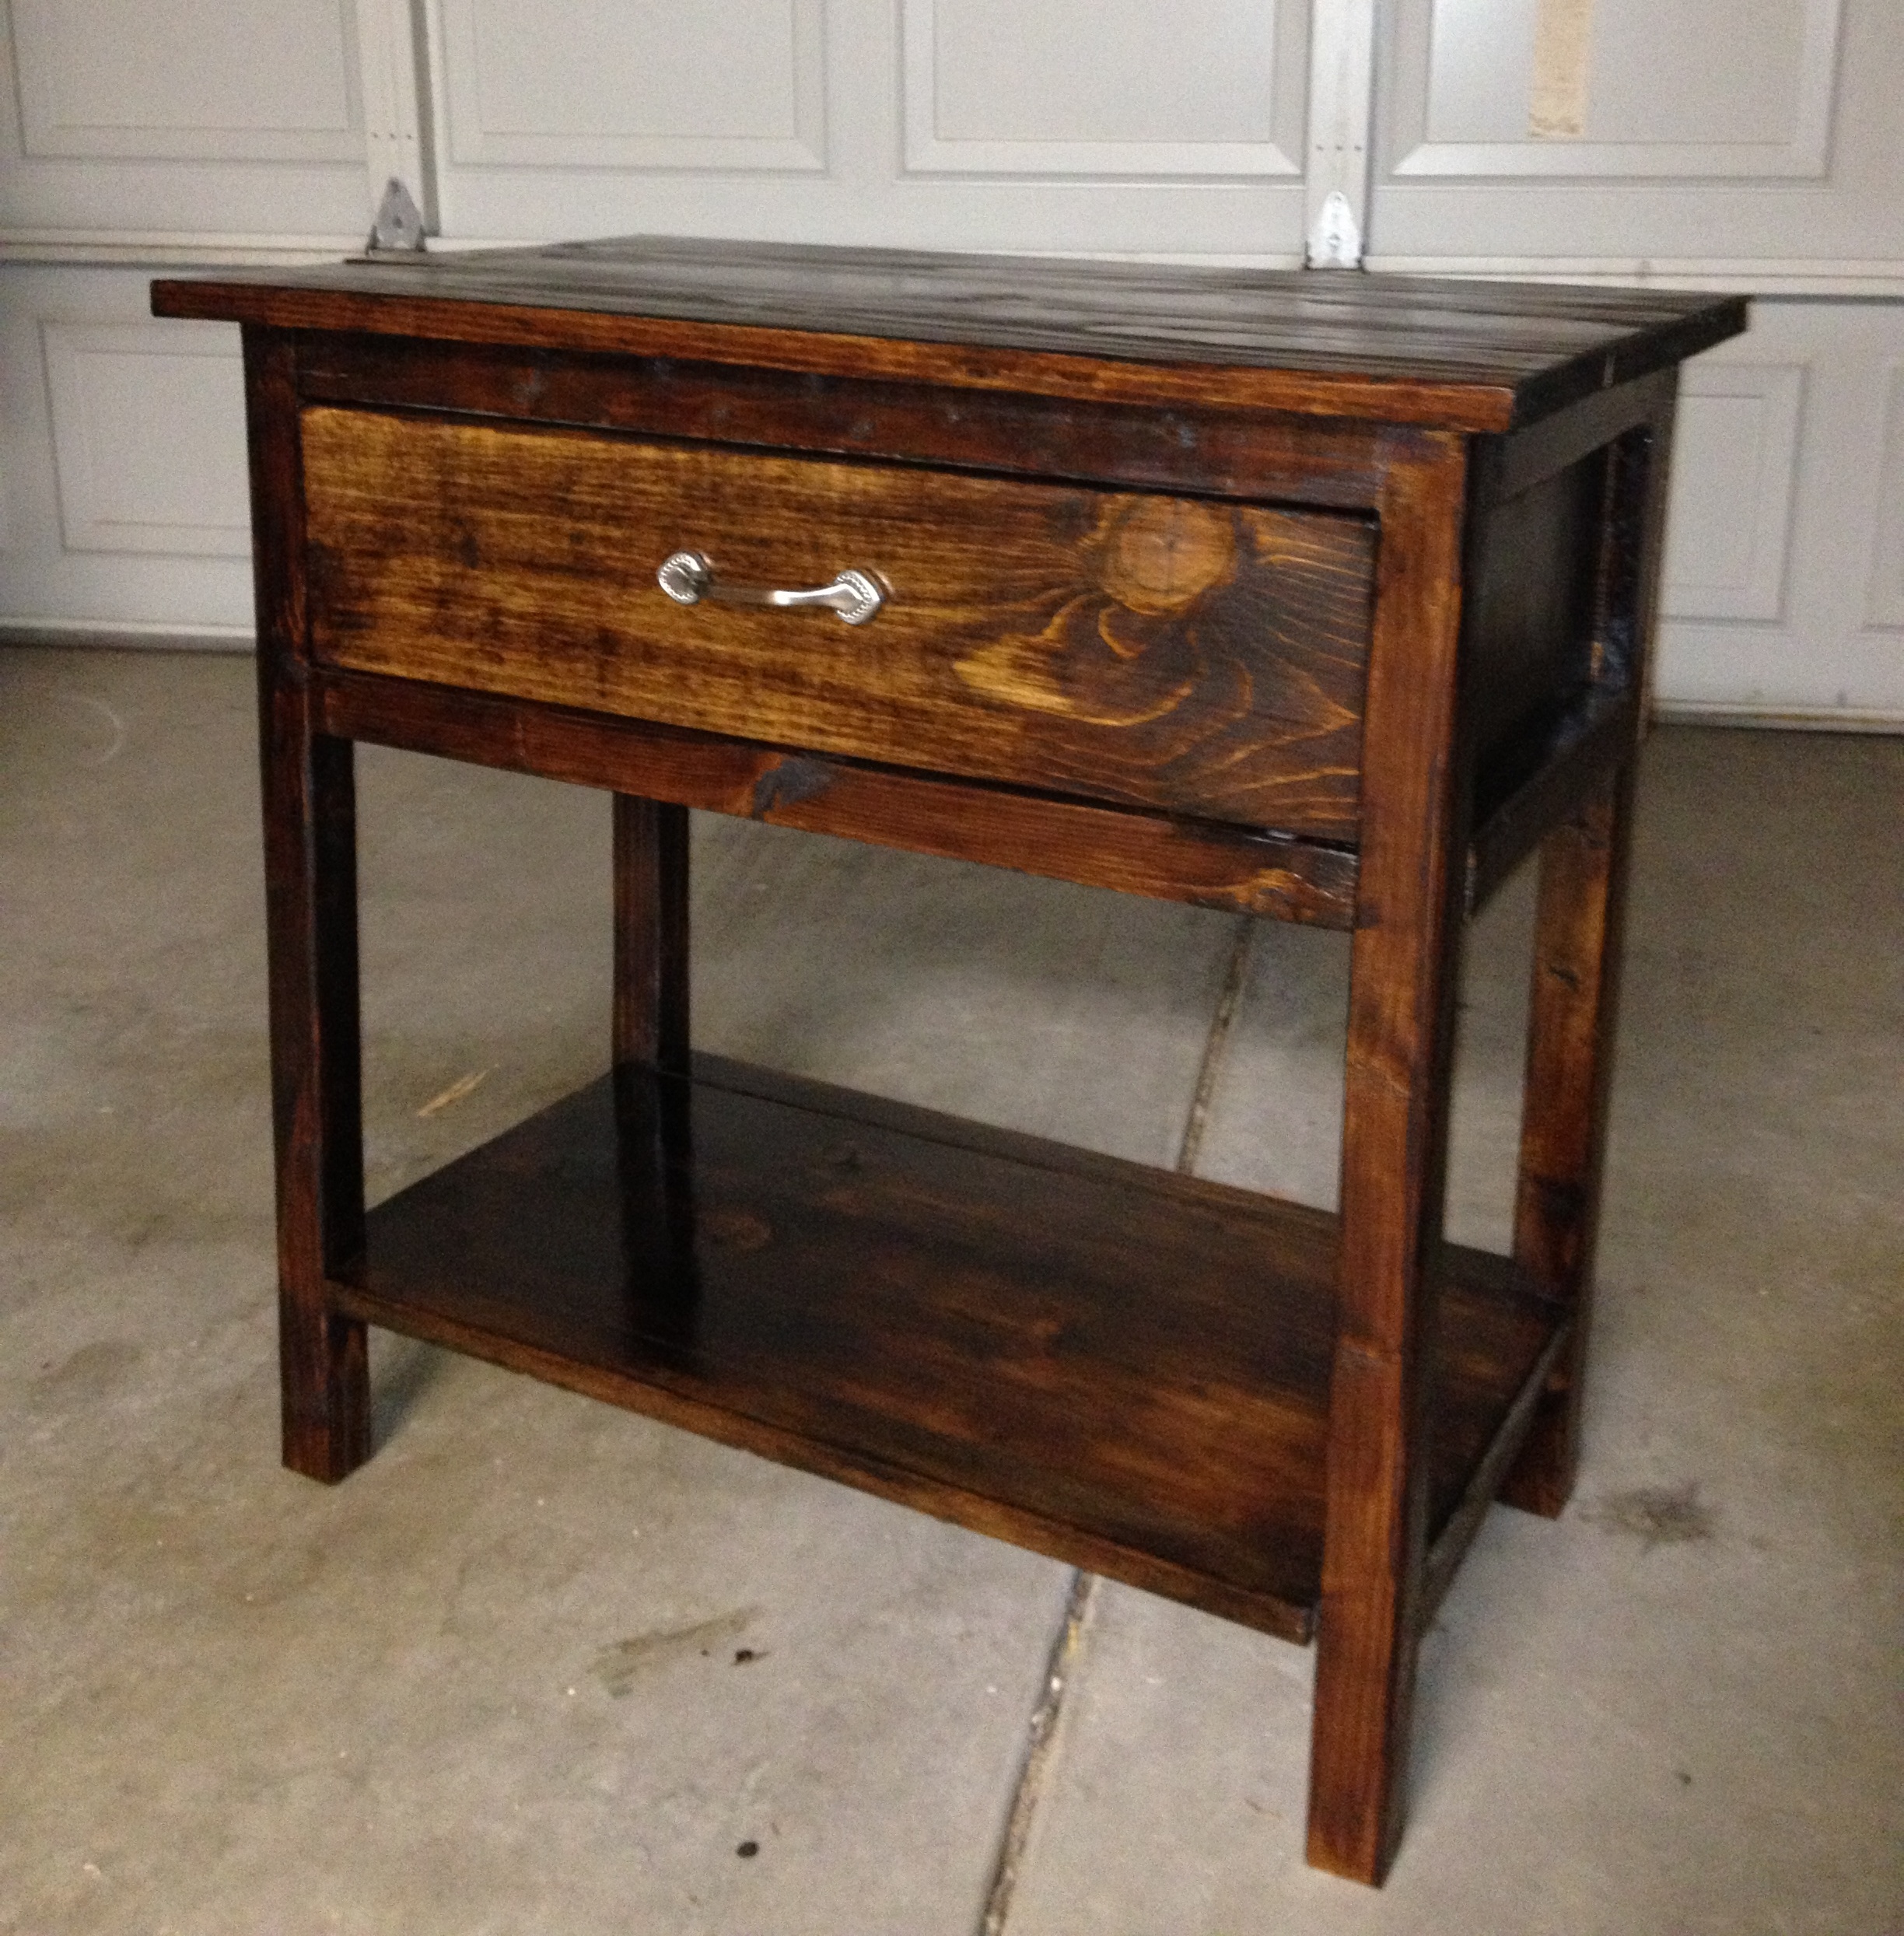
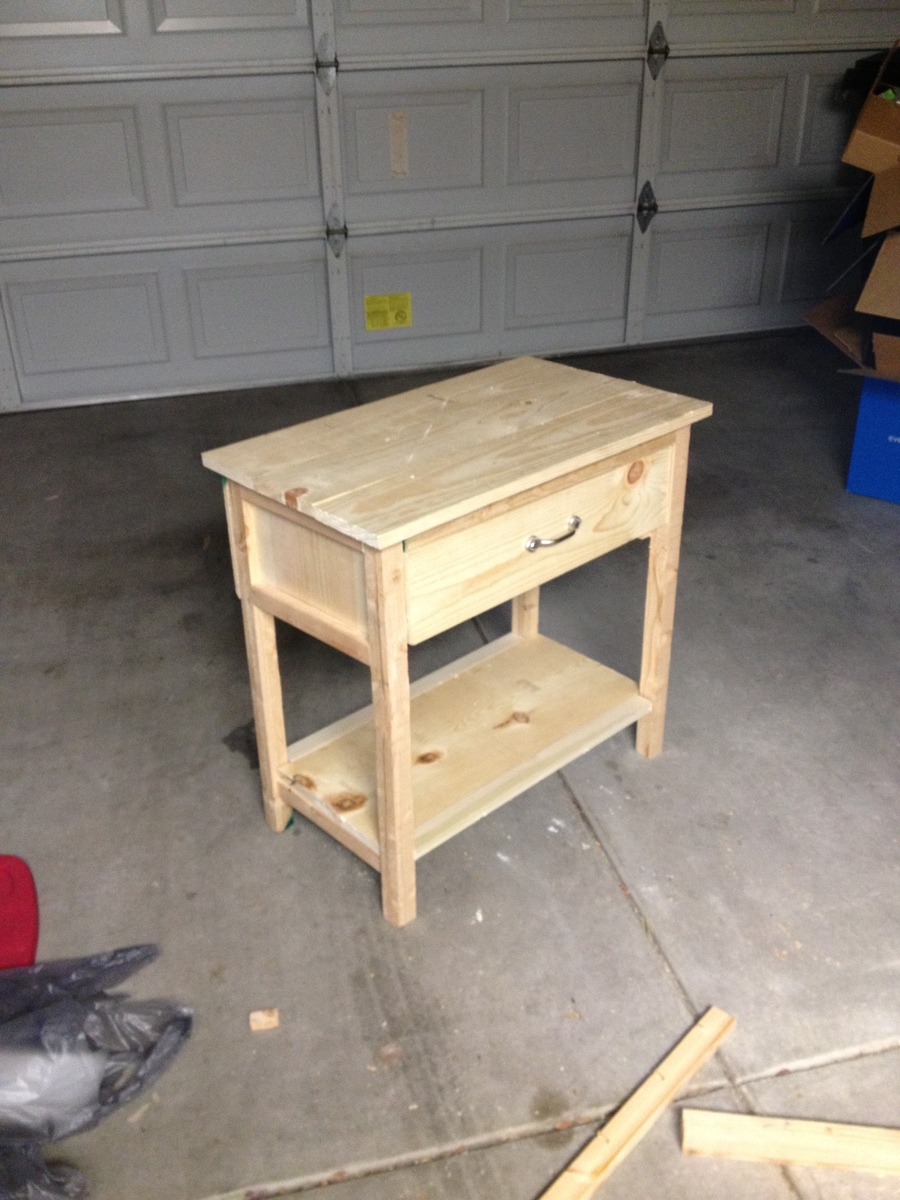
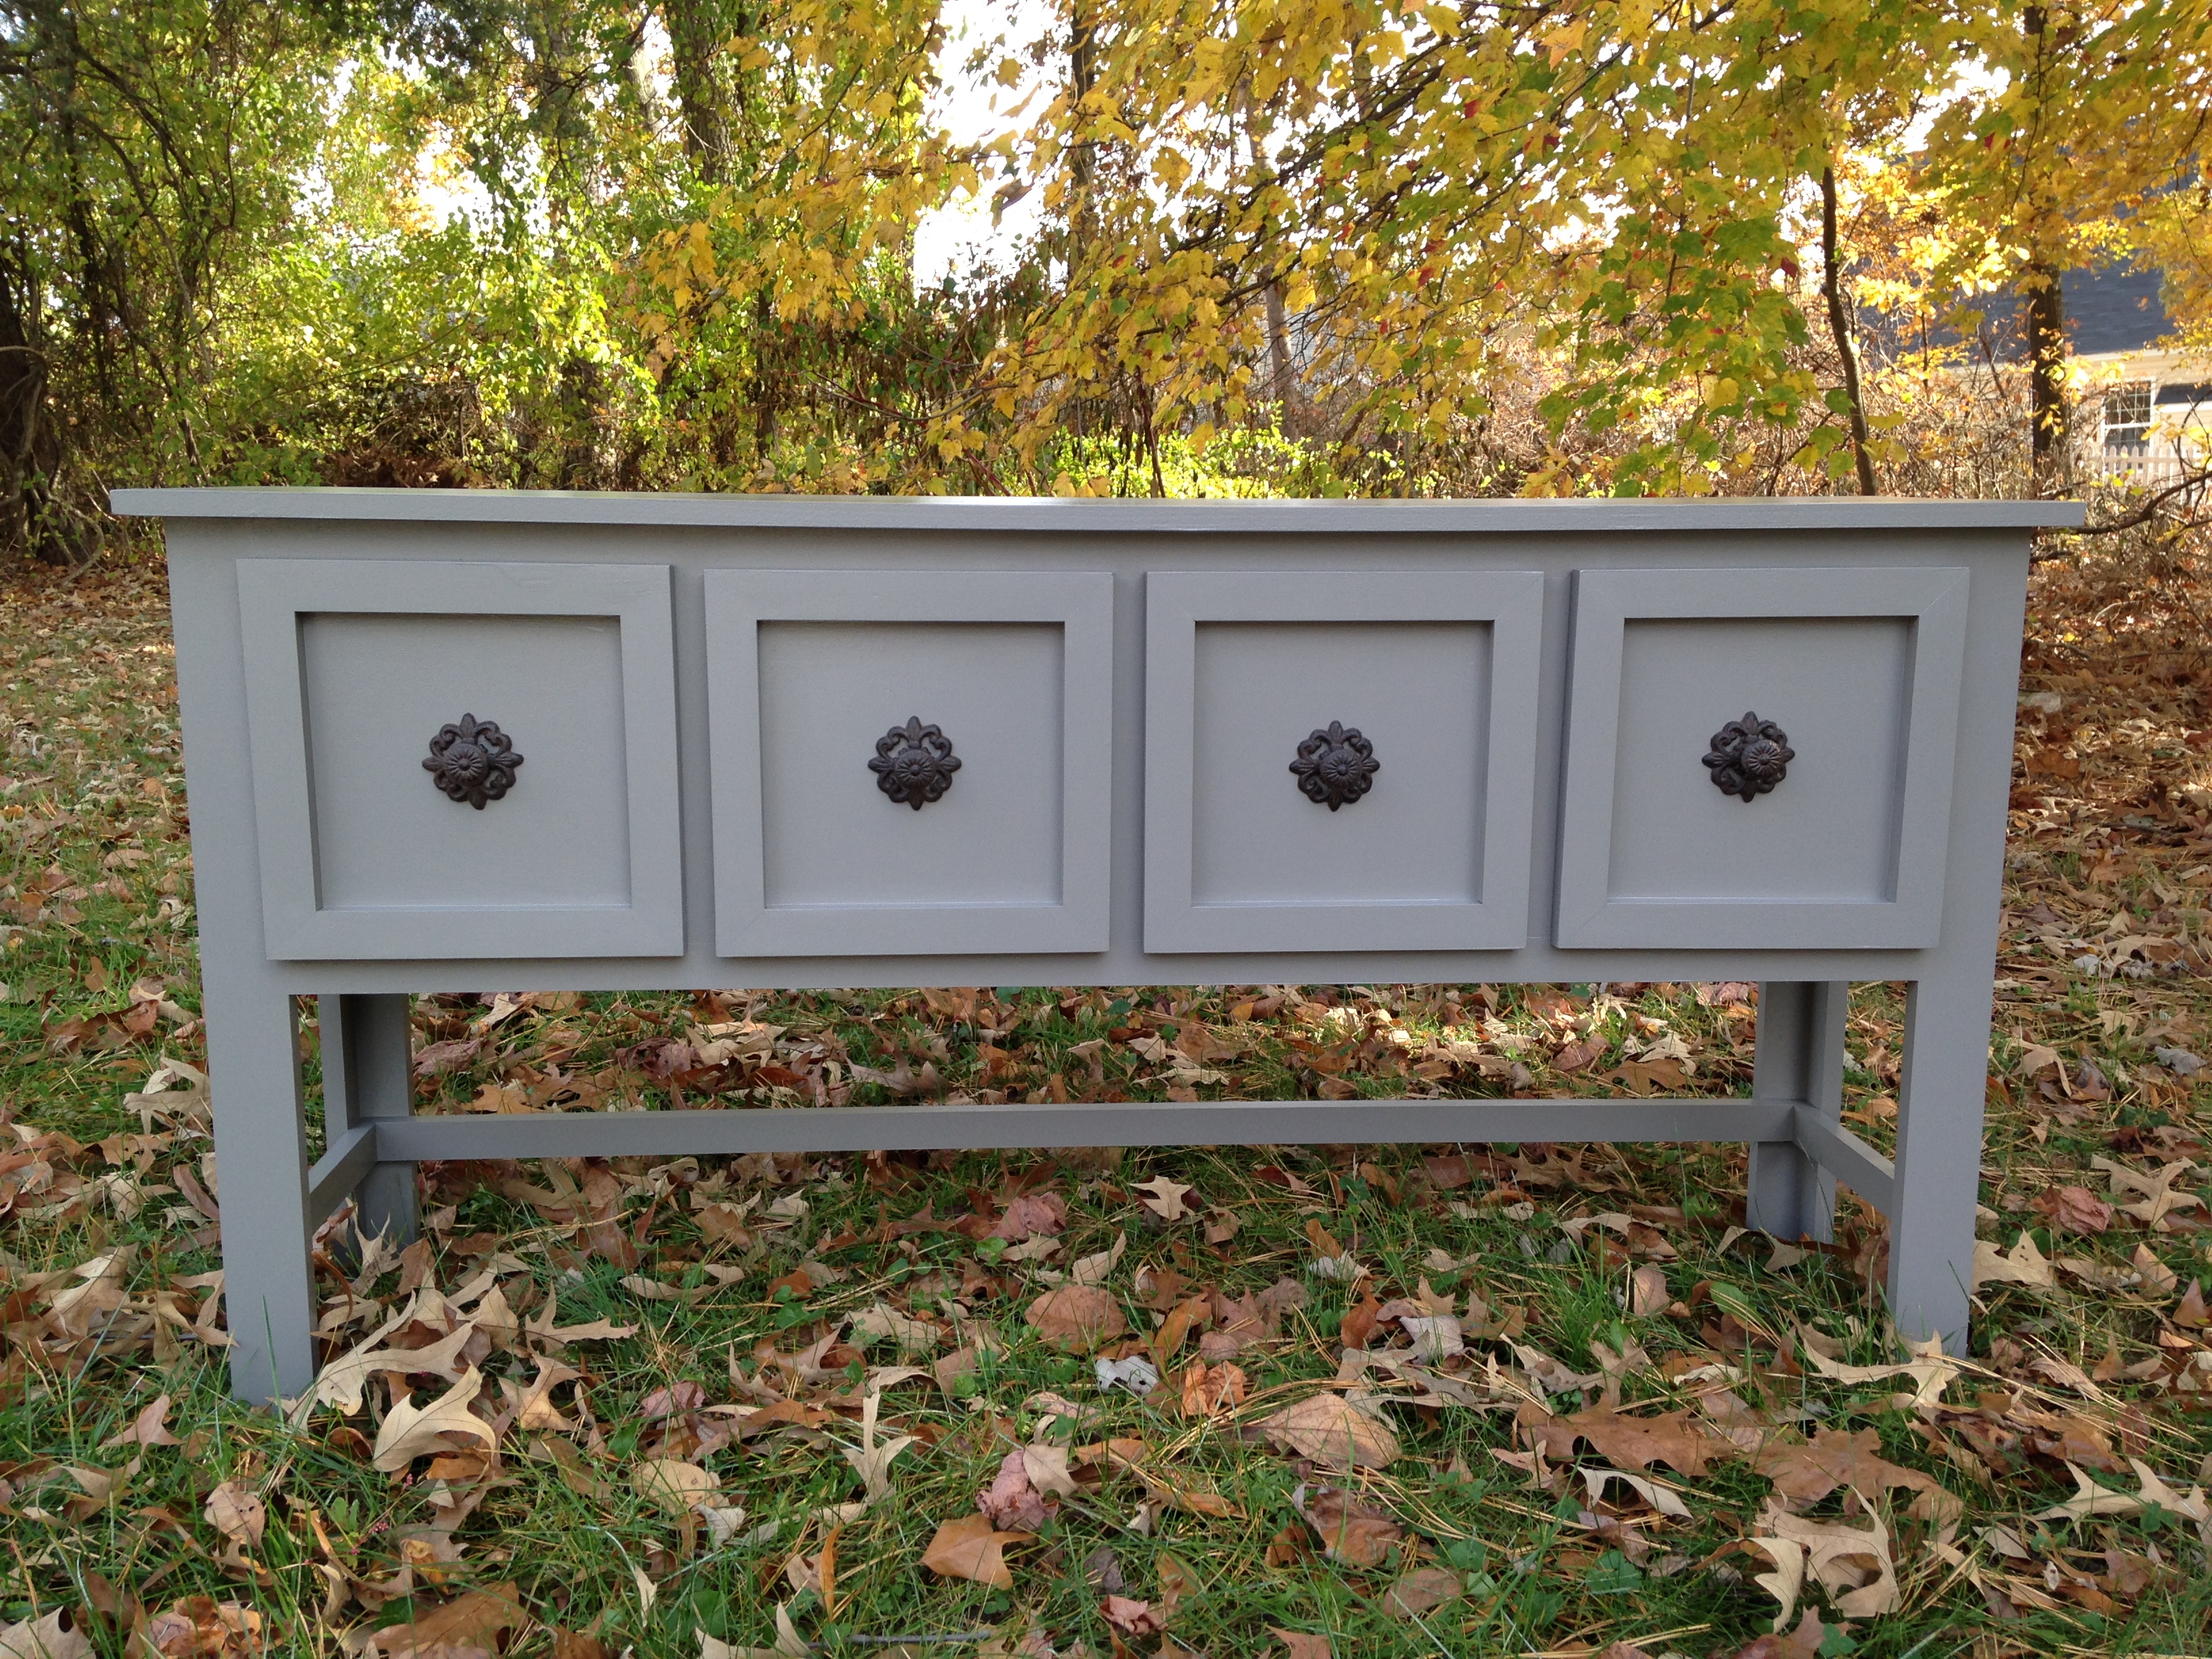
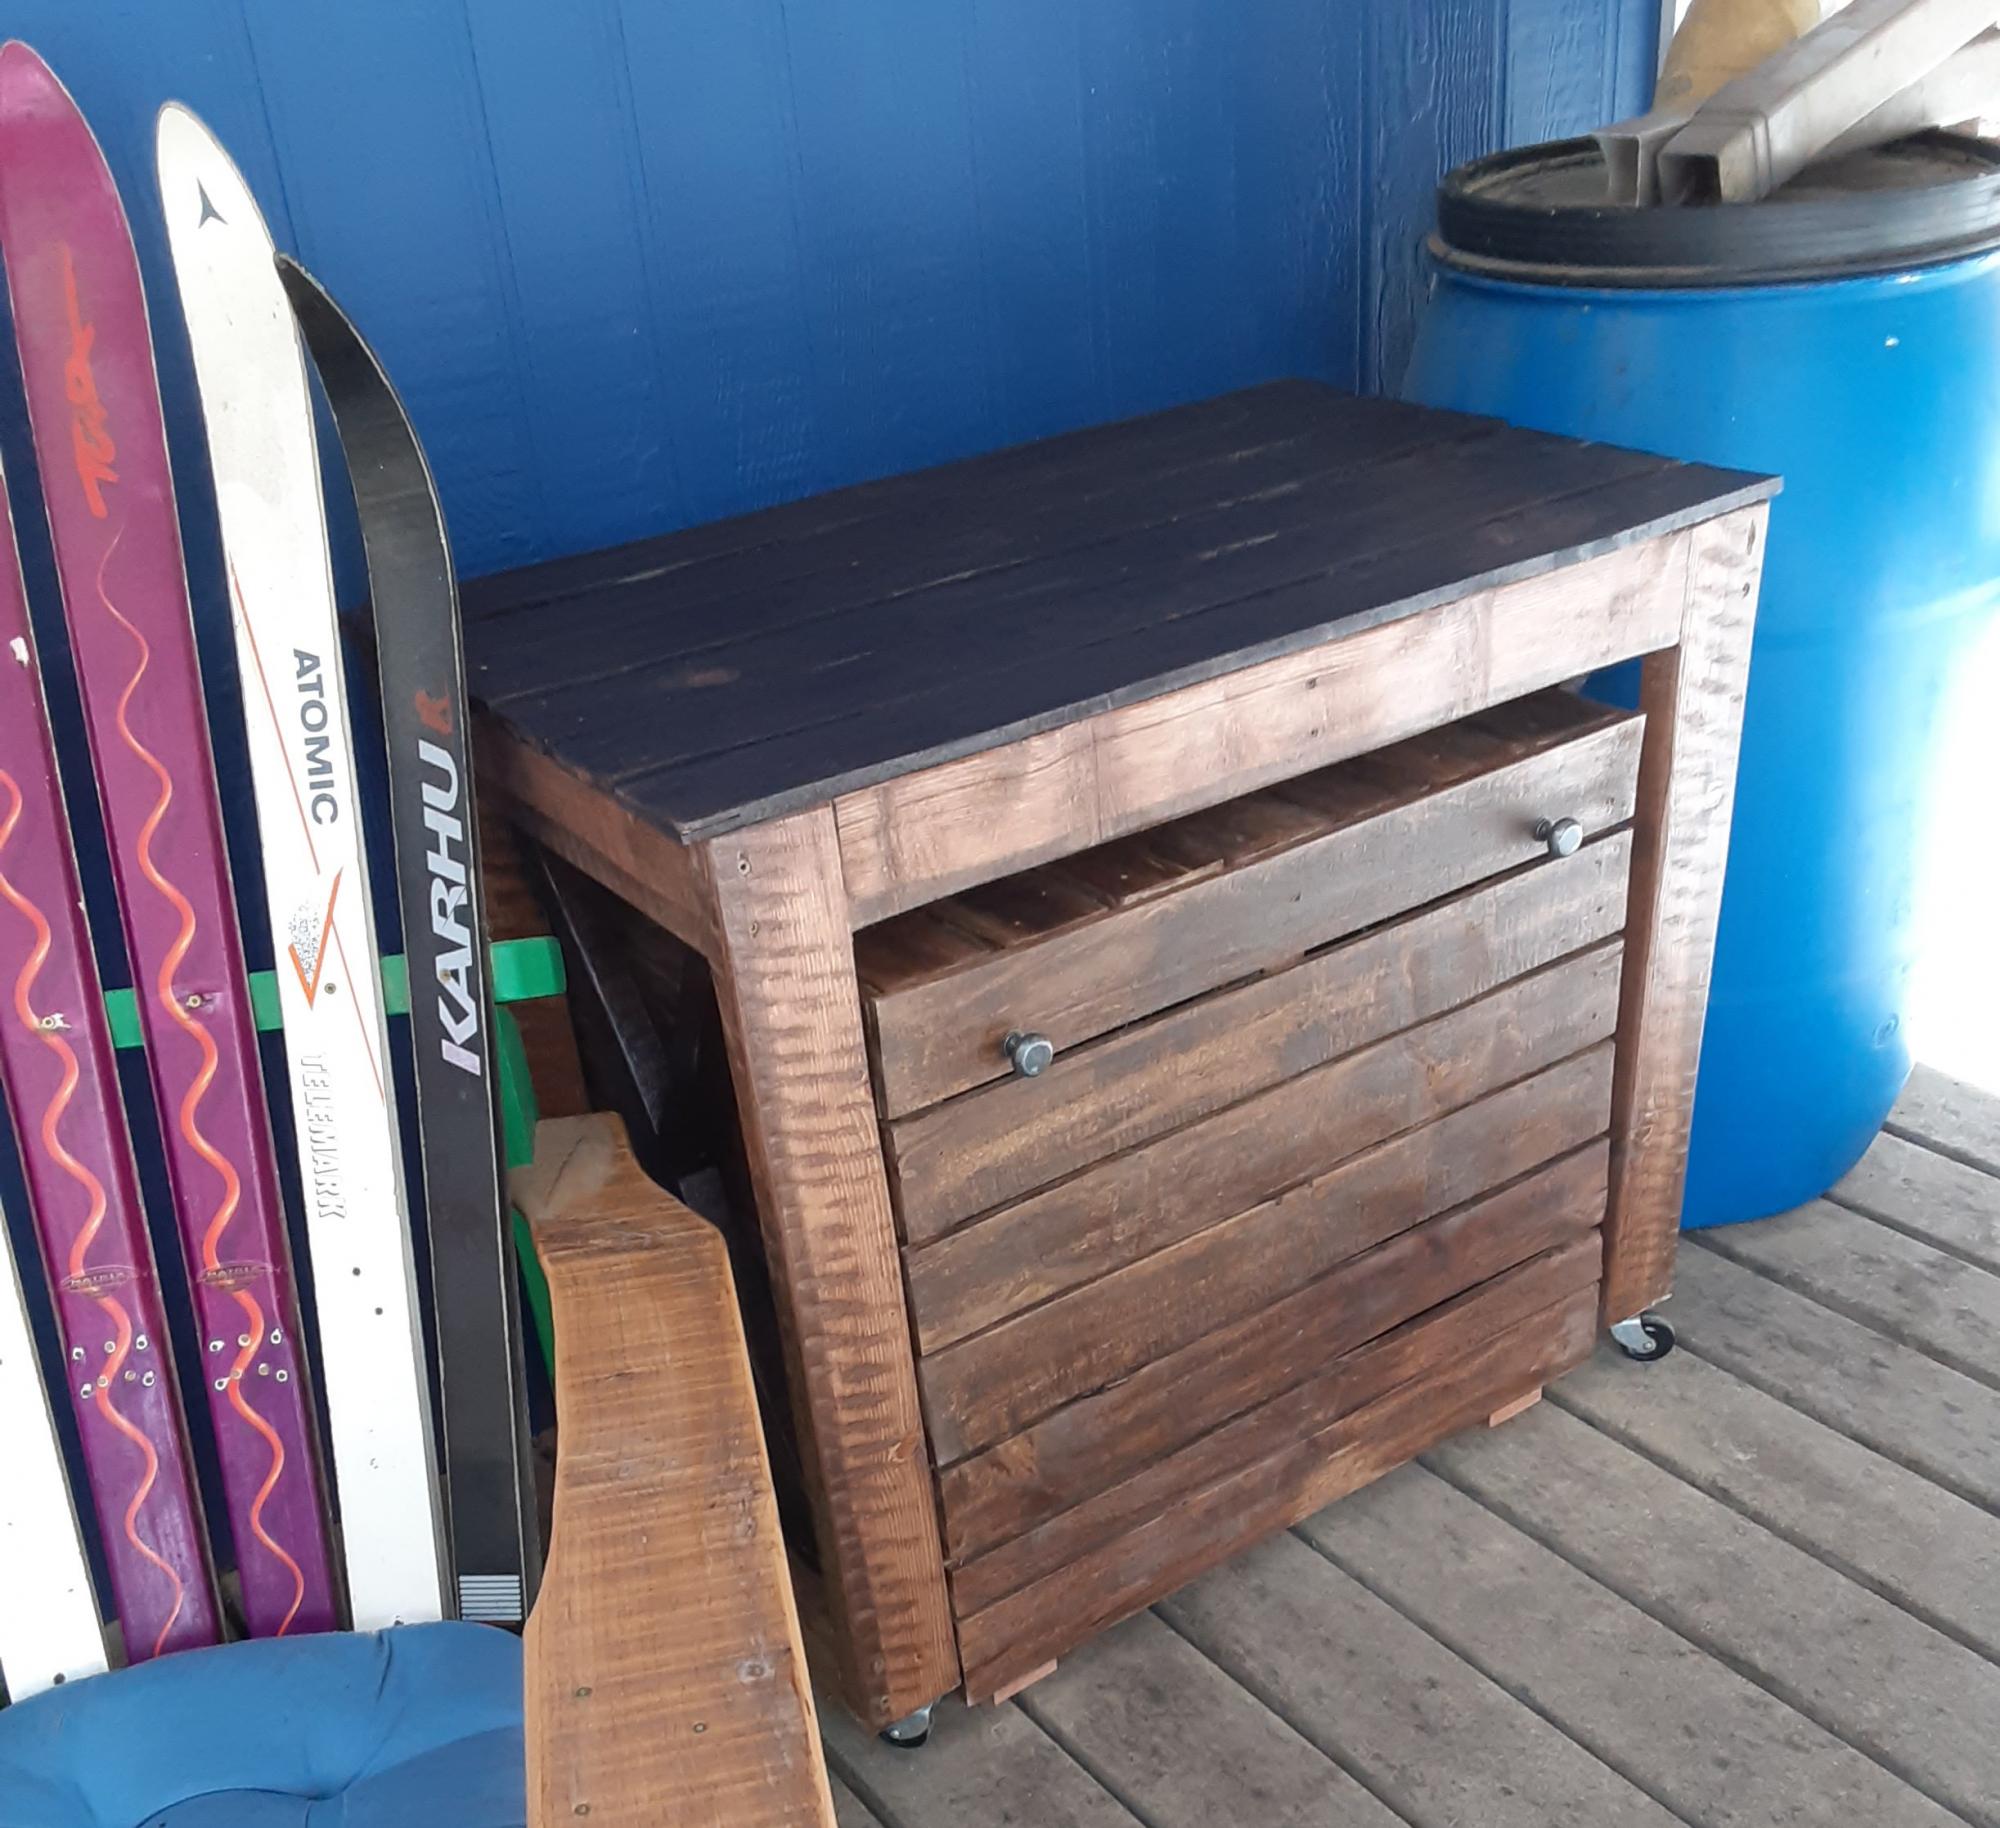
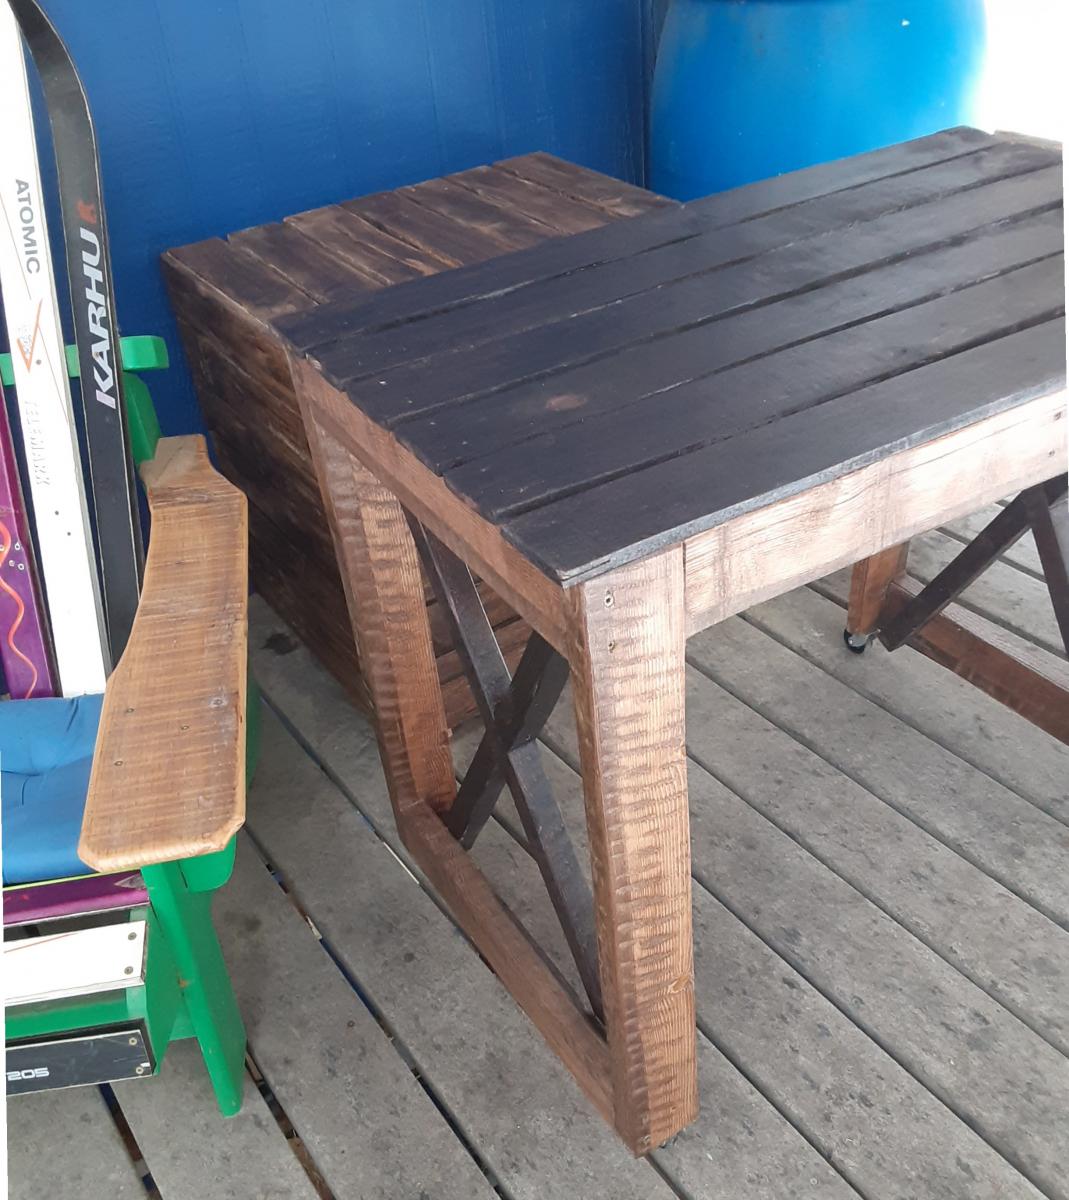
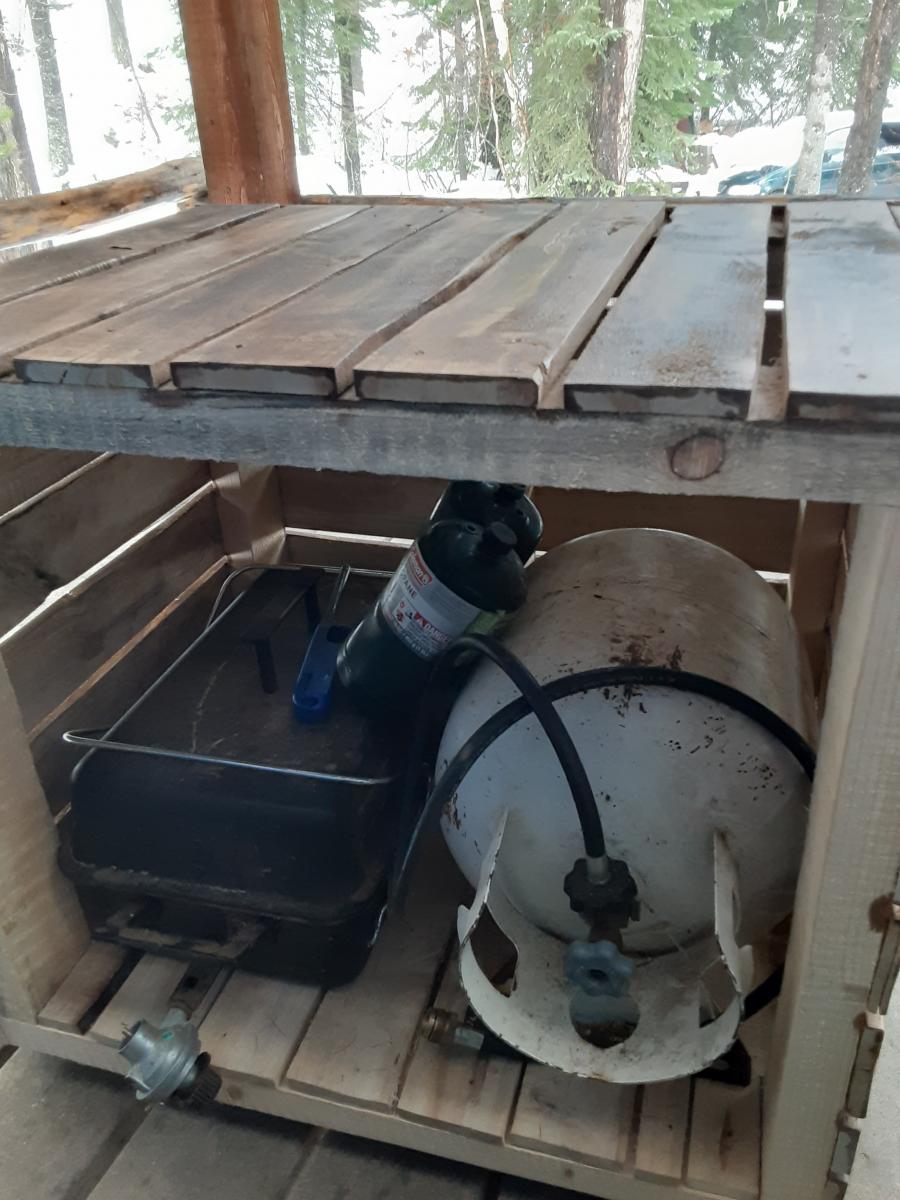
I used 1x6’s as opposed to 2x6’s for the base as well as the 19” pieces thus I cut the length of the legs to 27 3/8 the difference of 1 ½ inch from the plan. In addition, the plans did not specify as to the placement of the legs on to the 19” pieces and thus I attached the 17 ½ bottom shelf braces and then attached the legs to the top. I finished the project with MinWax Classic Gray stain which gave it an antique finish followed by a finishing wax.
Built from Plan(s)
Estimated Time Investment
Afternoon Project (3-6 Hours)
Recommended Skill Level
Beginner