Full size Daybed (Hailey hybrid)
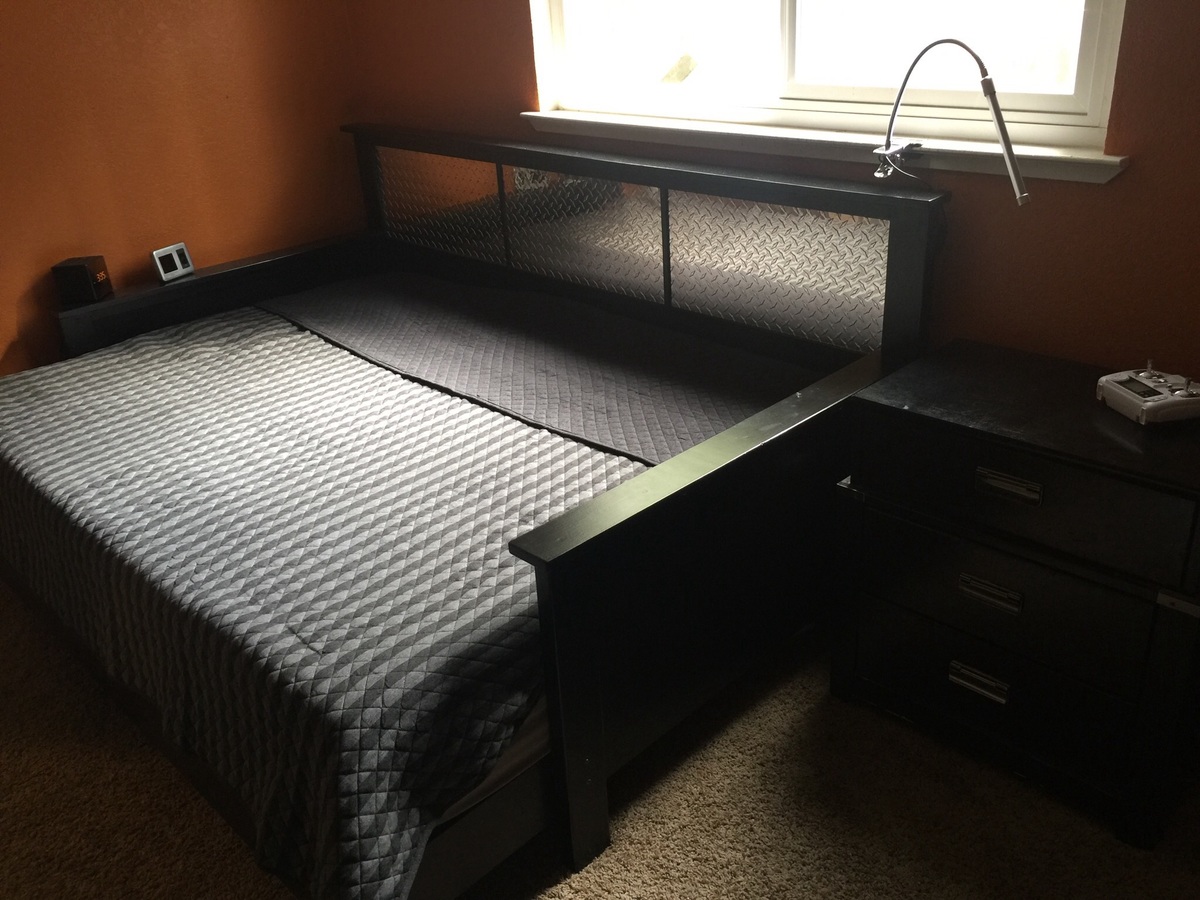
This is a hybrid between the Hailey daybed and the Hailey platform bed. My son is in love with this bed! Used aluminum diamond plate for the headboard.
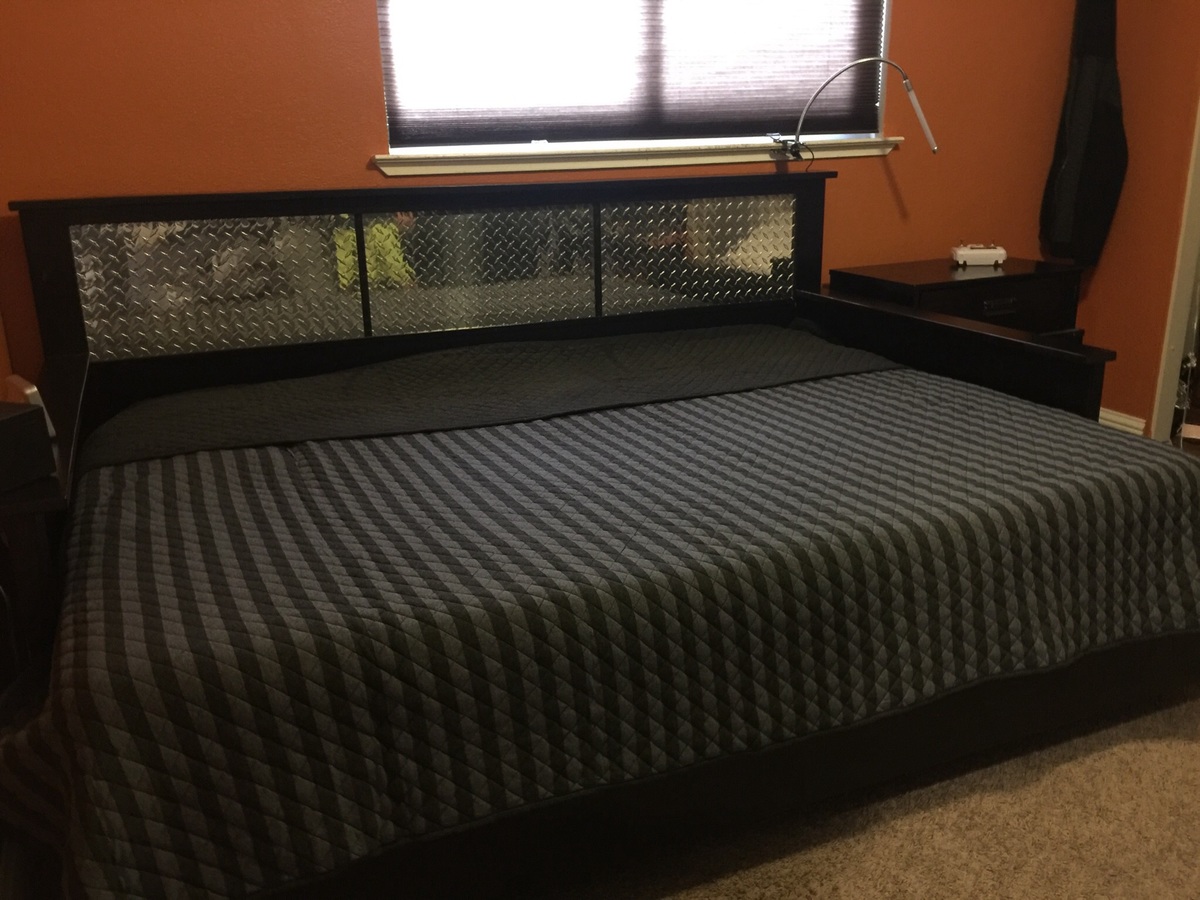

This is a hybrid between the Hailey daybed and the Hailey platform bed. My son is in love with this bed! Used aluminum diamond plate for the headboard.

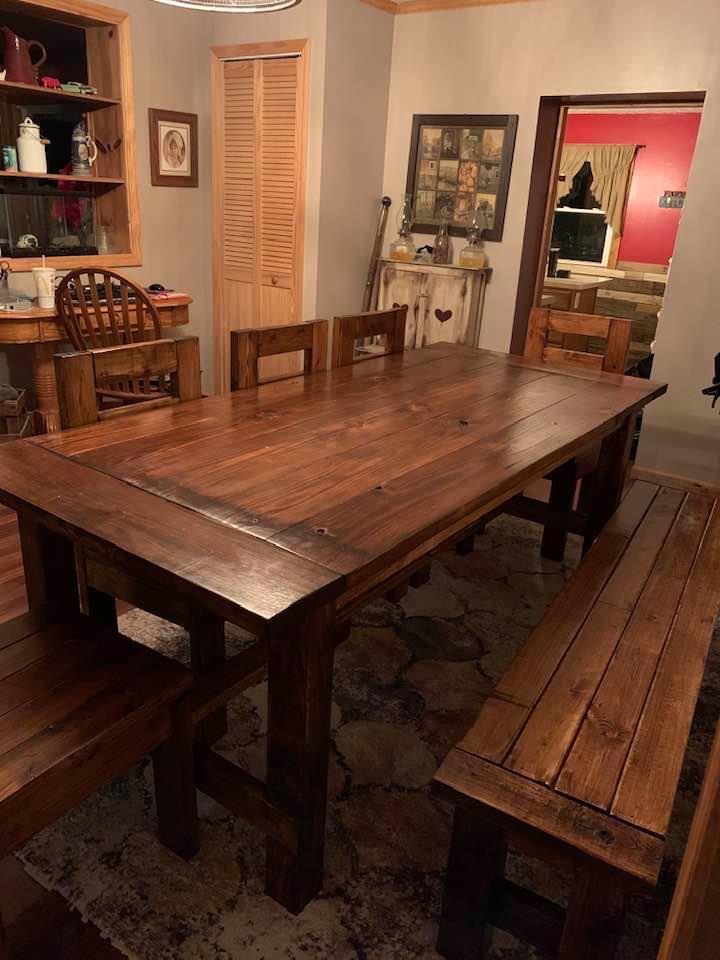
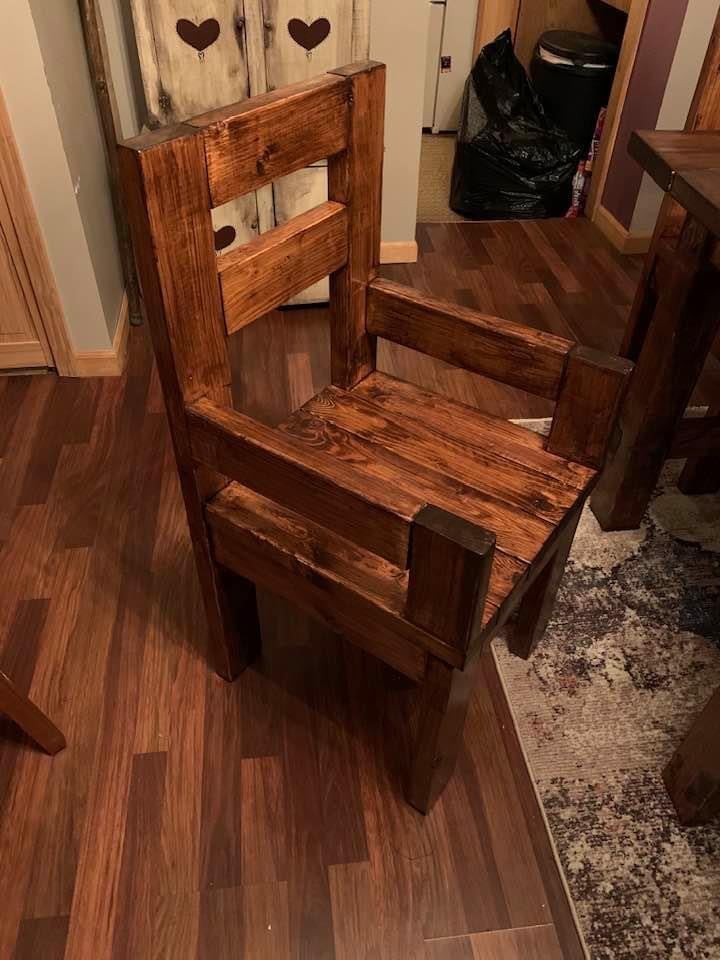
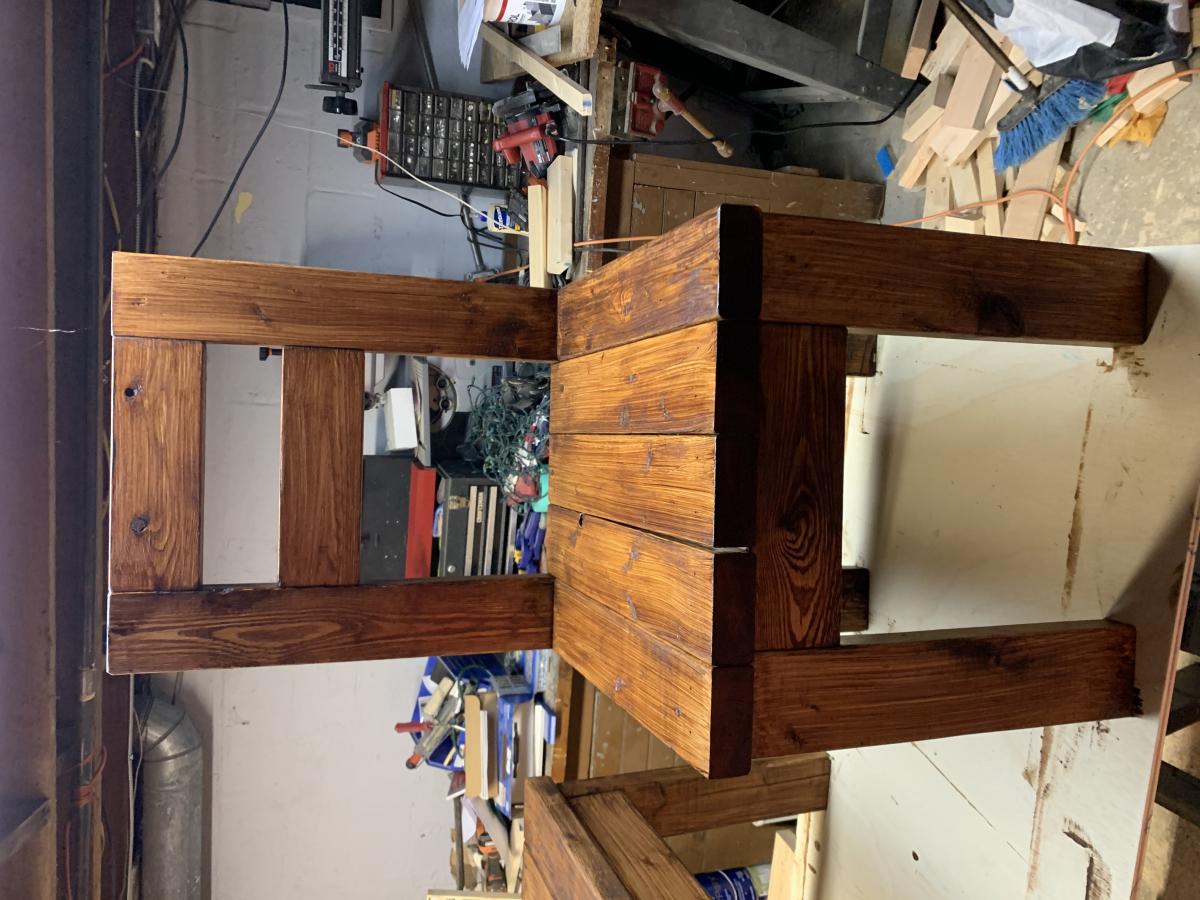
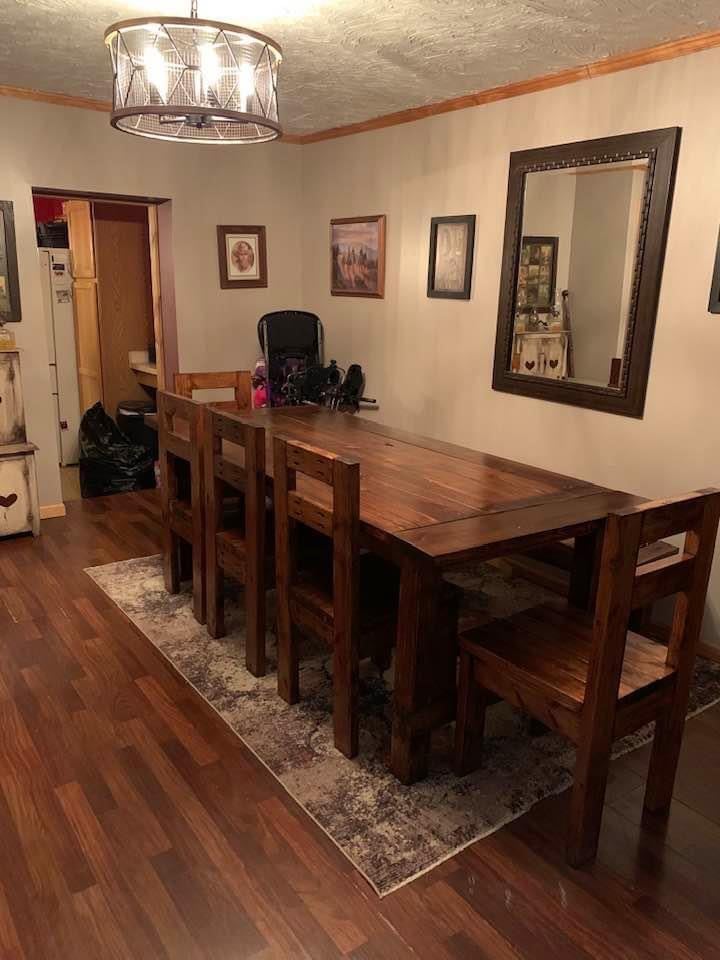
Started with building the table for our ever expanding family. We priced out a new table and chairs at the price of $3700 and was able to build the table, bench and 5 chairs for $400. The table is perfect for our big family and very solid. The bench and chairs went together fairly easily. I adapted 1 of the chairs for my son who has to have arms to keep him safe. Great for any family.
2x4 chairs are from morelikehome.net day 4 build
We built our first DIY project together using the plans for the simple outdoor dining table. It was so much fun we are on to more projects.
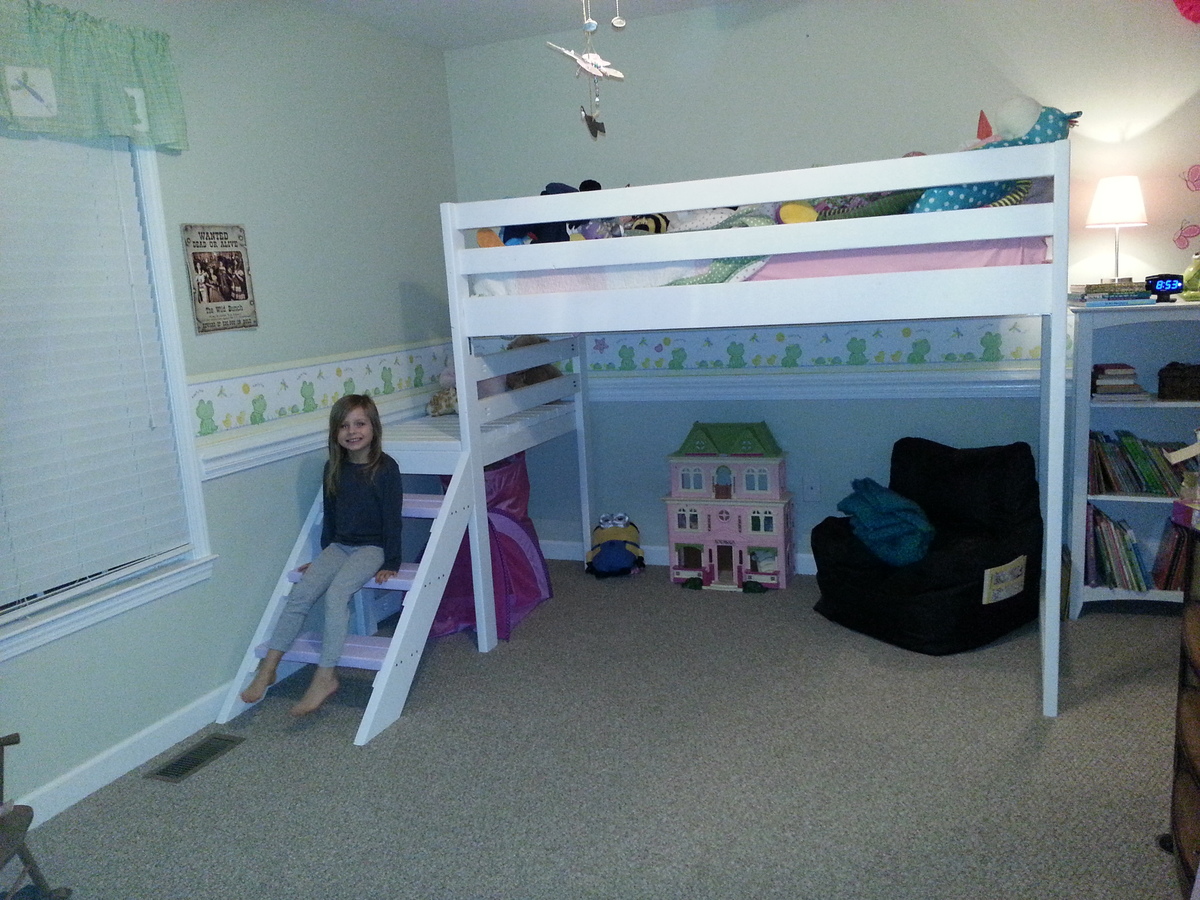
We had a blast building this bed for our daughter. It was our first build and I think it turned out perfect! Thank you Ana White for the inspiration and fantastic directions to get us through! Now onto the next project!
Amy
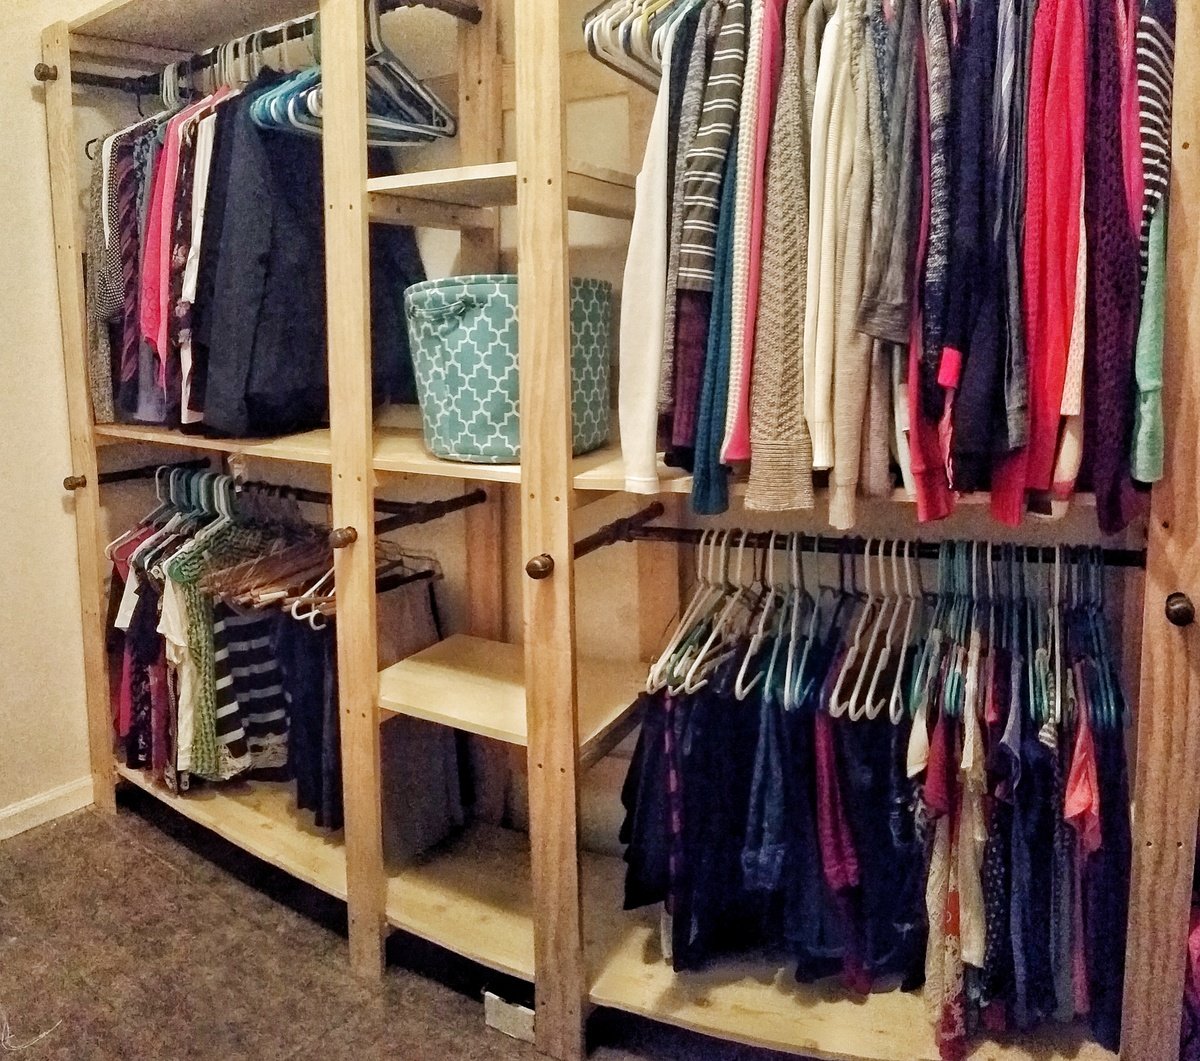
I used 8 ft precut boards for shelves and modified the design so there was enough room for two racks on each side. In addition I screwed 1x4 to the studs to secure the shelving to the wall. I have a 5 year old climber so it was best to be proactive and secure it. It was easy project took about 4 hours to complete. I plan to paint the vertical boards a medium gray and stain the shelves a dark coffee color.
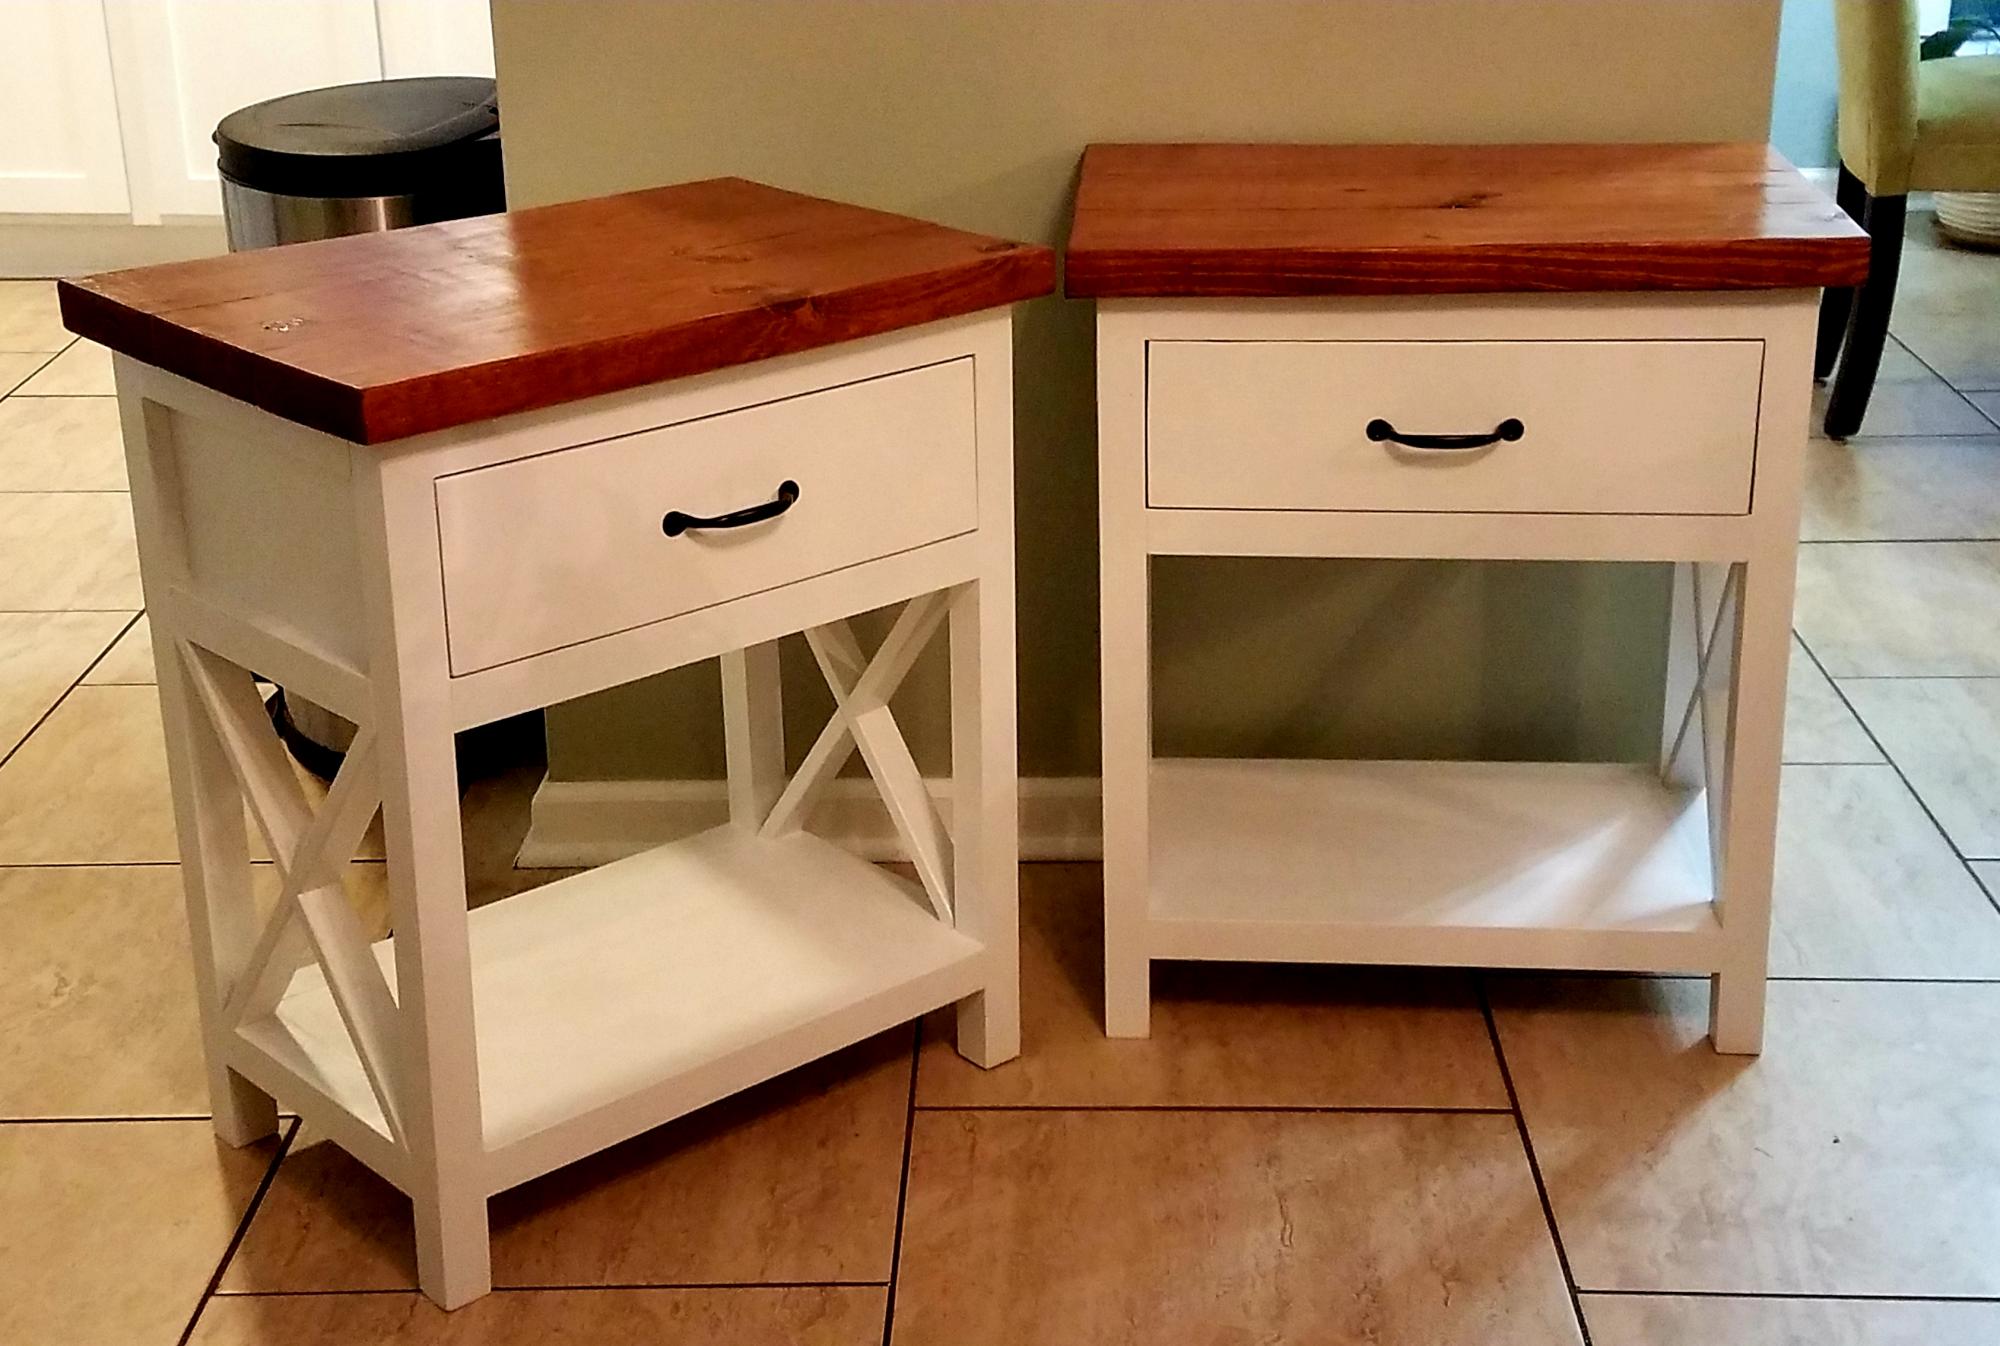
Made these for my niece as a wedding gift. These were one of the first of many of these I have made.
Fri, 02/26/2021 - 09:54
Love this build and your finish! Great job, what a wonderful gift!
Always been interested in wood working and found this site that is incredibly easy to follow with awesome plans - Thanks Ana.
This was my first project and overall the wood cost about $50 with left overs. I used framing wood SPF and the friendly workers at Home Depot explained all about wood and finding wood that isn't shaped at odd angles or bent.
I bought a Mitre saw 10 inch blade for $99.
I bought the Kreg Jig for $99.
Gel Stain costs $25 for a large can (I used on another project).
To my amazement a box of screws costs $30 but you get a few hundred.
So some of the the things to watch for - for any newbies like me out there:
If you buy a very powerful drill careful not to push really hard or you find your screw goes through 2 inches of solid wood and you are left with a gaping hole.... resulting in you starting over again...
If you don't set your kreg jig to clamp down on your wood, with the wood being level at the base of the kreg jig, the wood raises slightly. This results in your drilled hole to go deeper and screws to pop out the face of your project... nice surprises when you are sanding.
Fri, 03/01/2013 - 21:27
Looks nice!
Thanks for the hints about the Kreg Jig for those of us who haven't quite made the plunge yet.
Sat, 03/02/2013 - 14:38
Your work looks great as I was reading about your adventure I couldn’t help but chuckle and node my head yep.
Welcome to the wonderful world of woodworking land of the bold, adventurous, self confident, and satisfied people
Modified the design to allow me to roll lawnmower directly in the end. Fun project.

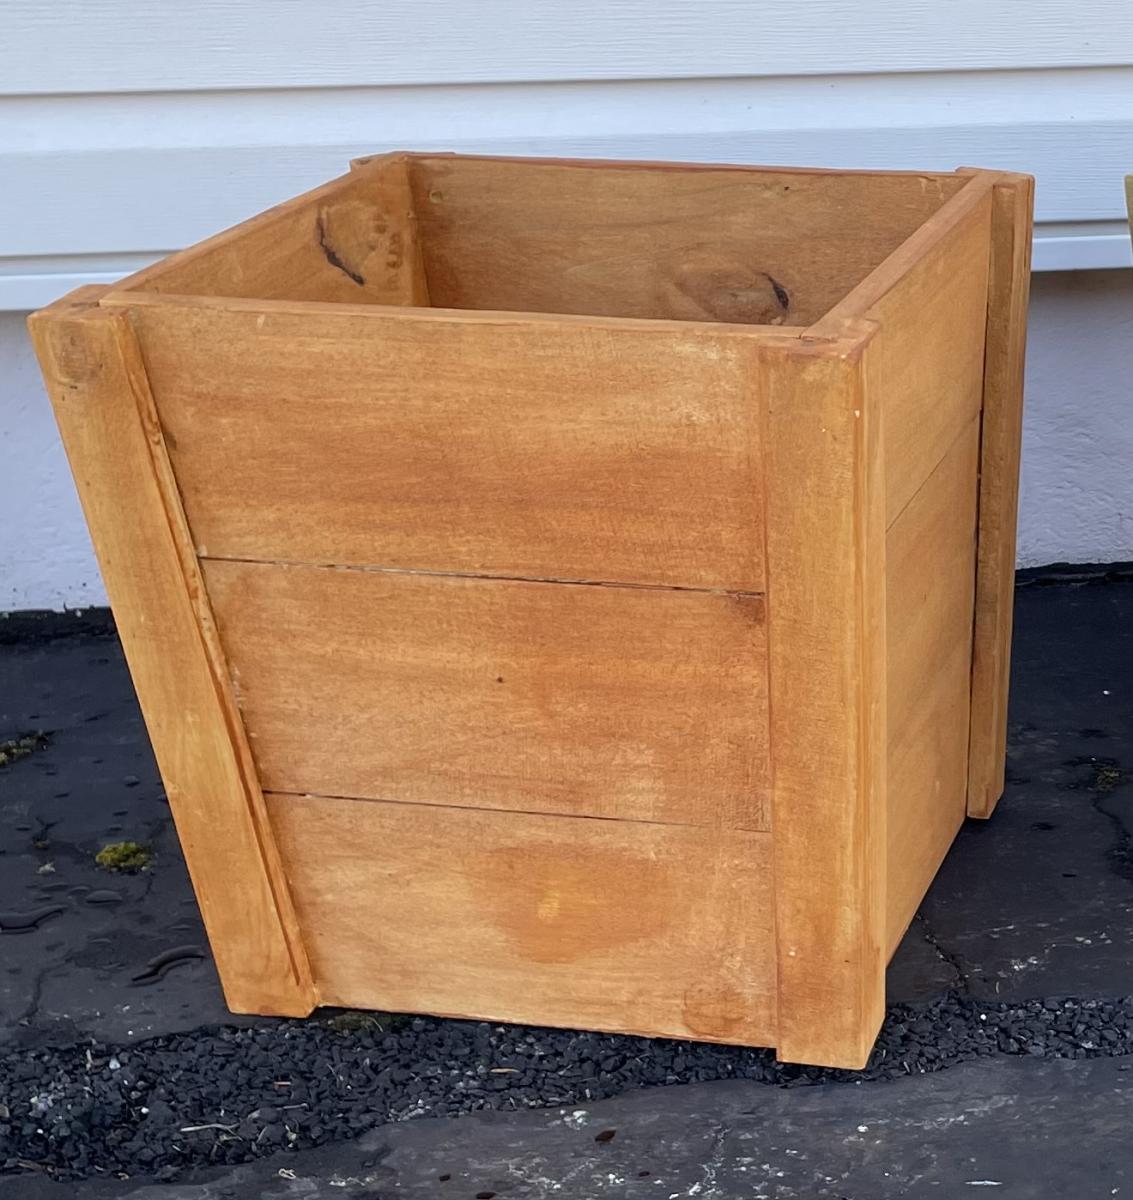
I created these 16" cedar patio planters using Ana's plans. I bought four 6' cedar pickets from Lowe's for $1.98 each or under $8 for the lot. I used the extra picket to cut our my 1x2s and 1x3s so the whole construction is made of cedar including the pieces to hold a potted plant. I used Behr's clear and cedar finish to complete the job in under 1 hour. Thanks Ana for the motivation.
Fri, 03/05/2021 - 11:10
Looks great and doesn't break the bank! Thanks for sharing:)
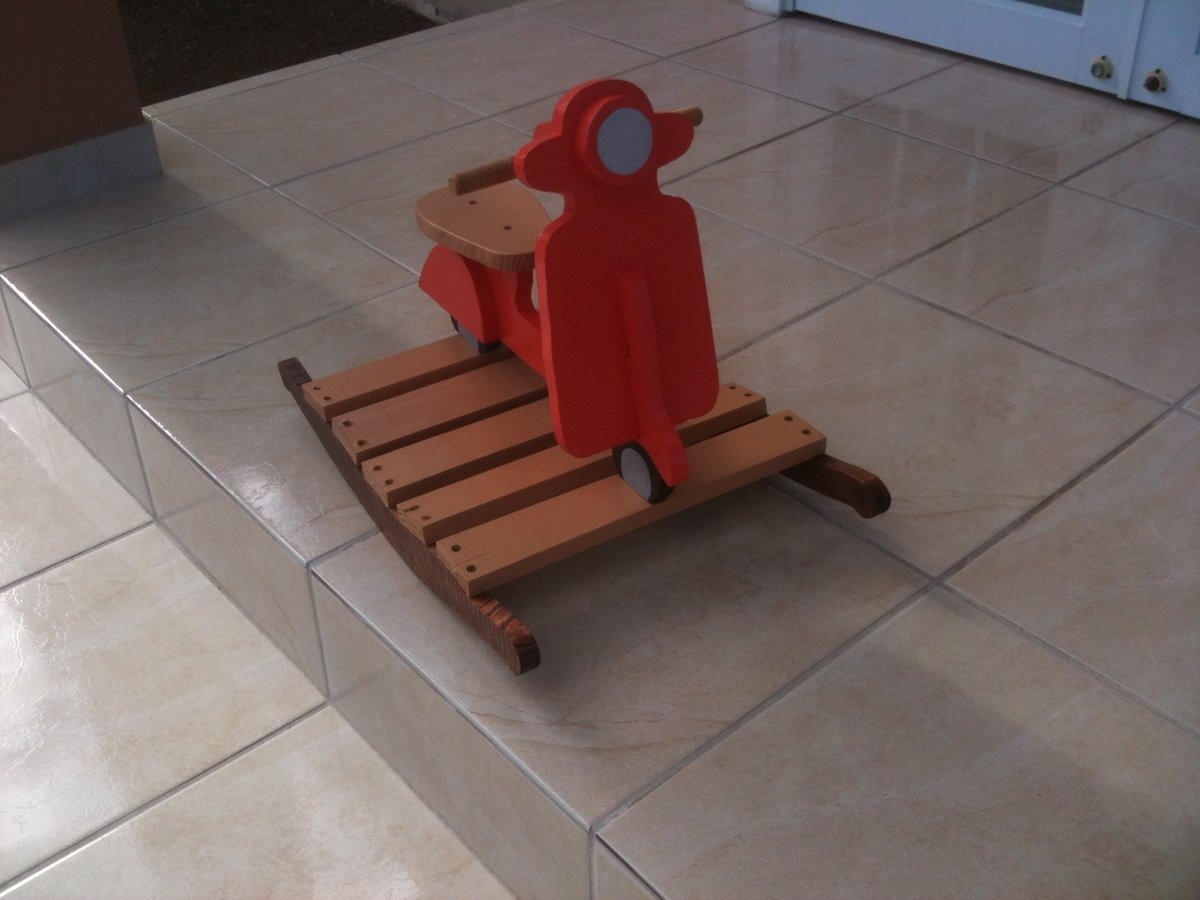
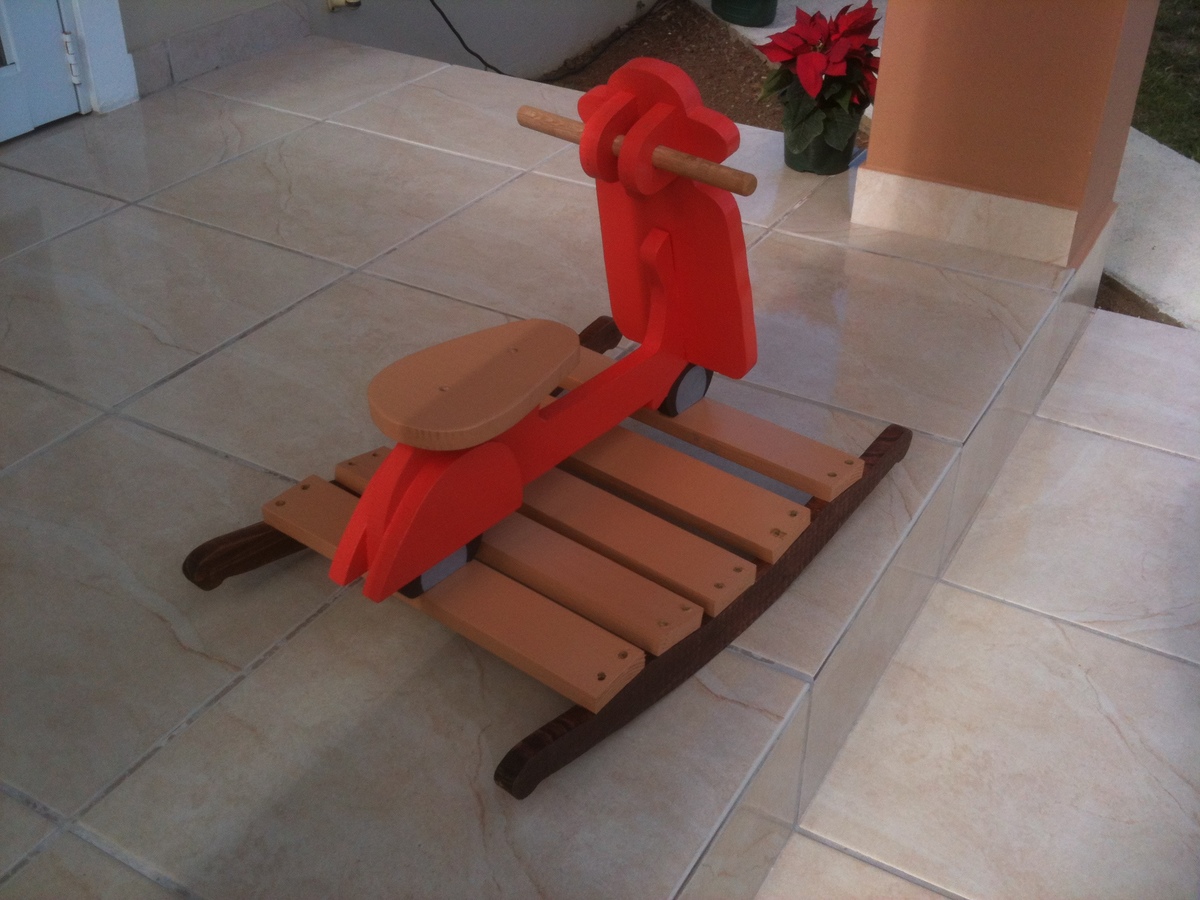
fun project for begginers, I made this one for my grandauther she's just a year and a half old and she loves it. This was a good chritsmas gift...
For some time I've wanted to build a sturdy coffee table for our family room. I've also been experimenting with and bulidng lots of furniture for the kids rooms with low cost, paint grade, maple veneer plywood. I love the ease of working with this material and results have been great. I never thought that raw edged plywood furniture would have a place outside of the kid's bedrooms until I saw this slab of bamboo counter top at our local big box store and I got the idea for this piece. Although I still would'nt consider this "fine furniture", I think it turned out pretty cool. The design is my own, and it's the first time I've tried flaring legs in two directions which was real easy to do with a bandsaw. I have the plan drawn up in sketchup if anyone is interested.
Fri, 01/09/2015 - 13:33
What a cool project! Love the bamboo top! To do your table legs, did you glue the plywood pieces into a block and then cut with the band saw? Beautiful job!
Fri, 01/09/2015 - 14:11
Hey Thanks for the comment. Yes the legs are just 4 pcs. of 3/4" plywood glued together then cut out on the band saw.
A few things that would be helpful - power tools! Nail gun, drill and table/miter saw would all be helpful. I also would stain the pieces beforehand and touch up after. But overall, SO pleased with the final result.
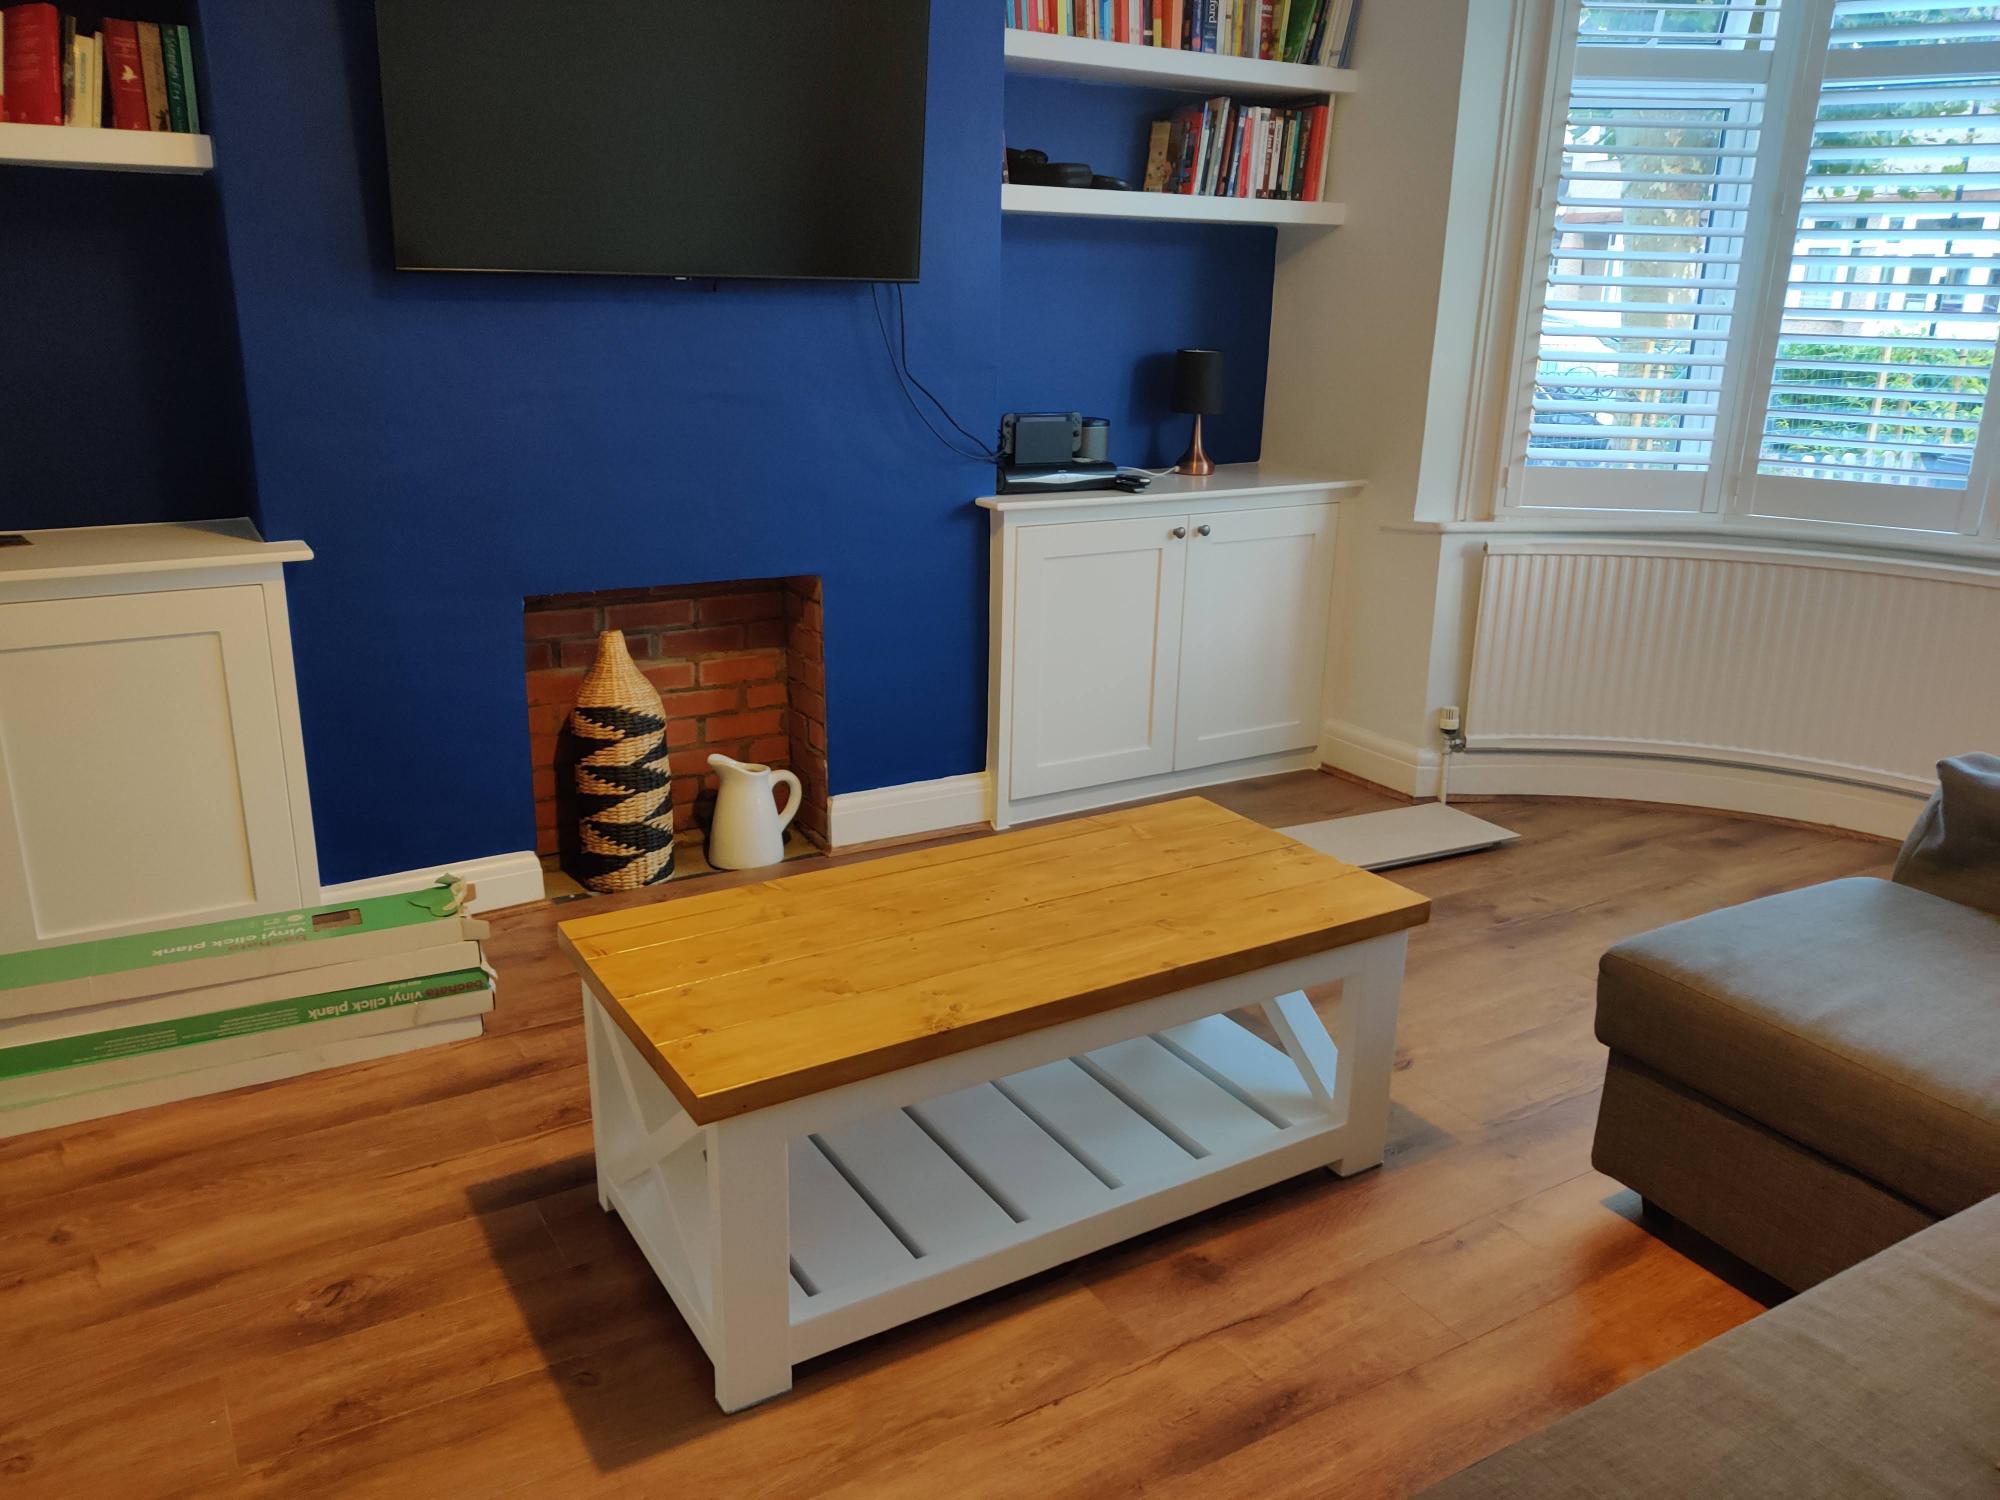
This is my first ever woodworking project and I'm really pleased with how it looks! Thank you for the plans, they were really clear and the video was the perfect guide for someone like me who had never done this before. Assembly took a couple of weekends I think. I had to predrill holes and I found the cuts for the x a bit difficult to do so had to try a couple of times. But definitely doable and very satisfying to have built something!
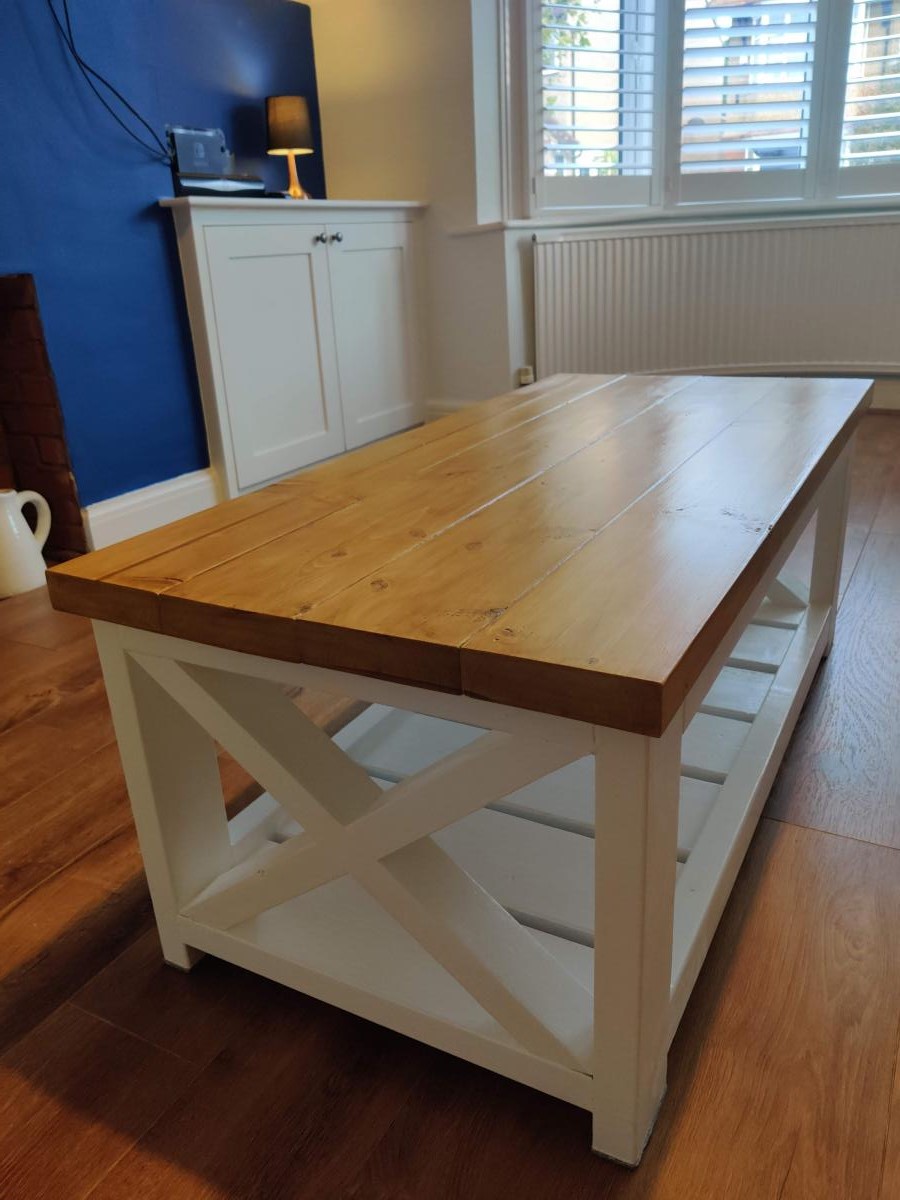
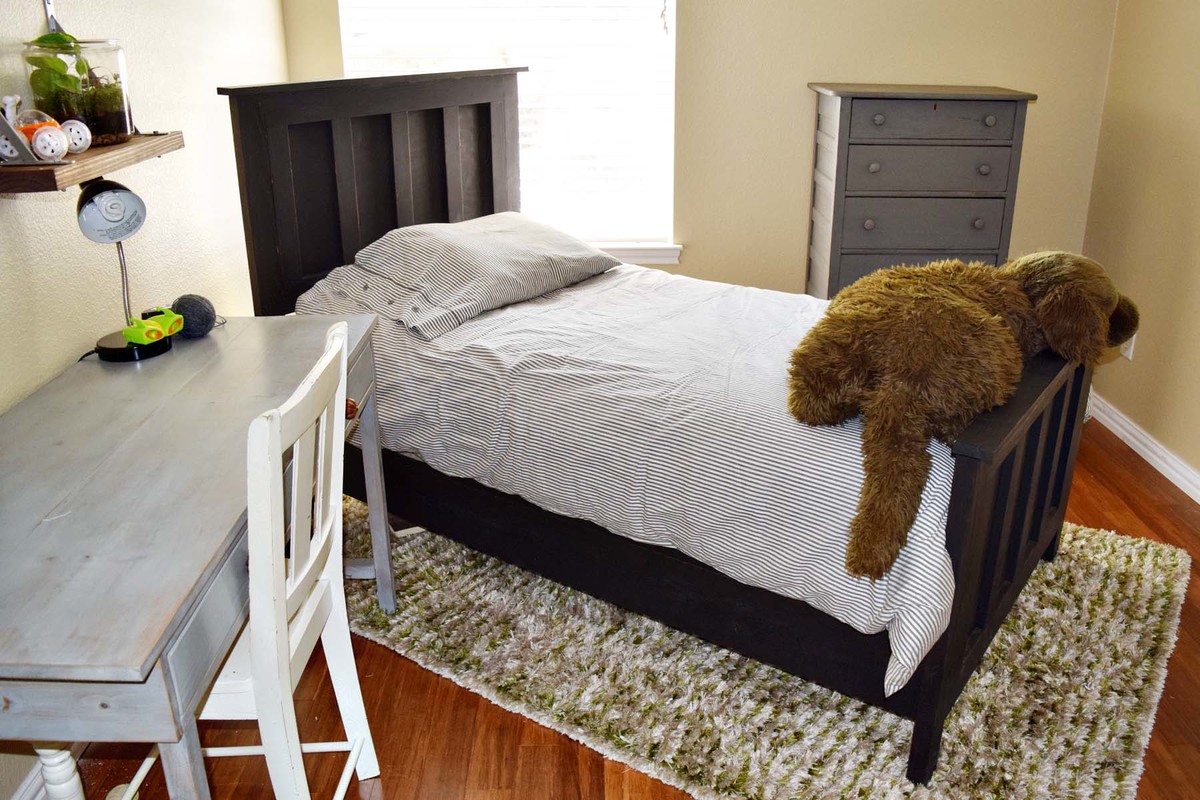
My son used to have a flimsy headboard and frame that drove me crazy so I decided to build him a bed from these plans. I couldn't be happier with his bed. I used pocket holes and everything has been holding up quite nicely. Love these plans.
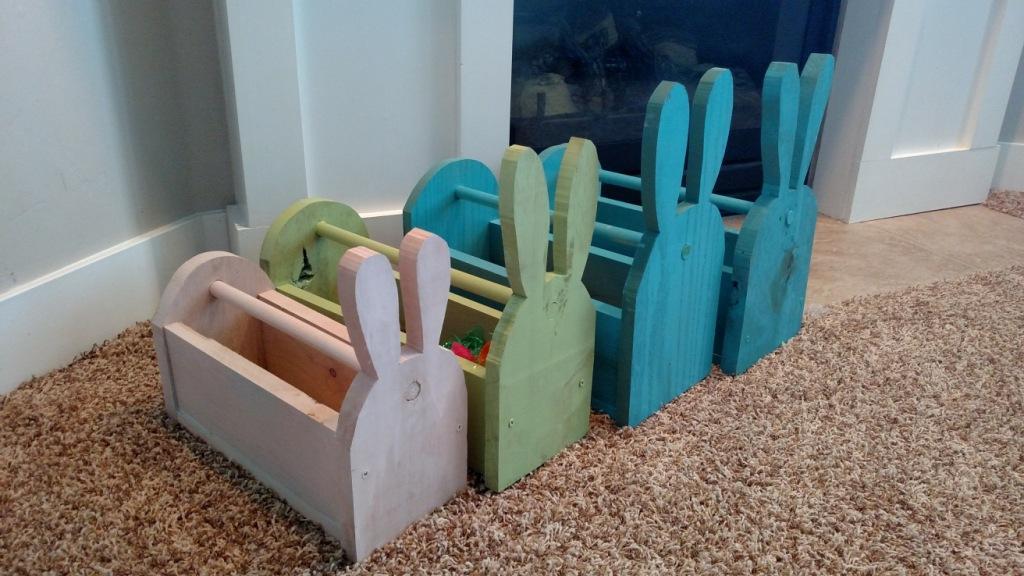
Check it out on iamhardware.com ! Thanks Ana for the plans!
Sun, 03/08/2020 - 20:58
This is great starter project for the diyer I want to personally thank you ana for this plan I'm a modest wood worker and sell my stuff for profit I will say these were a big hit in my area with selling 50+ baskets which is the most I've built of one thing in all my 7 years of woodworking these are the cutest little baskets thanks again
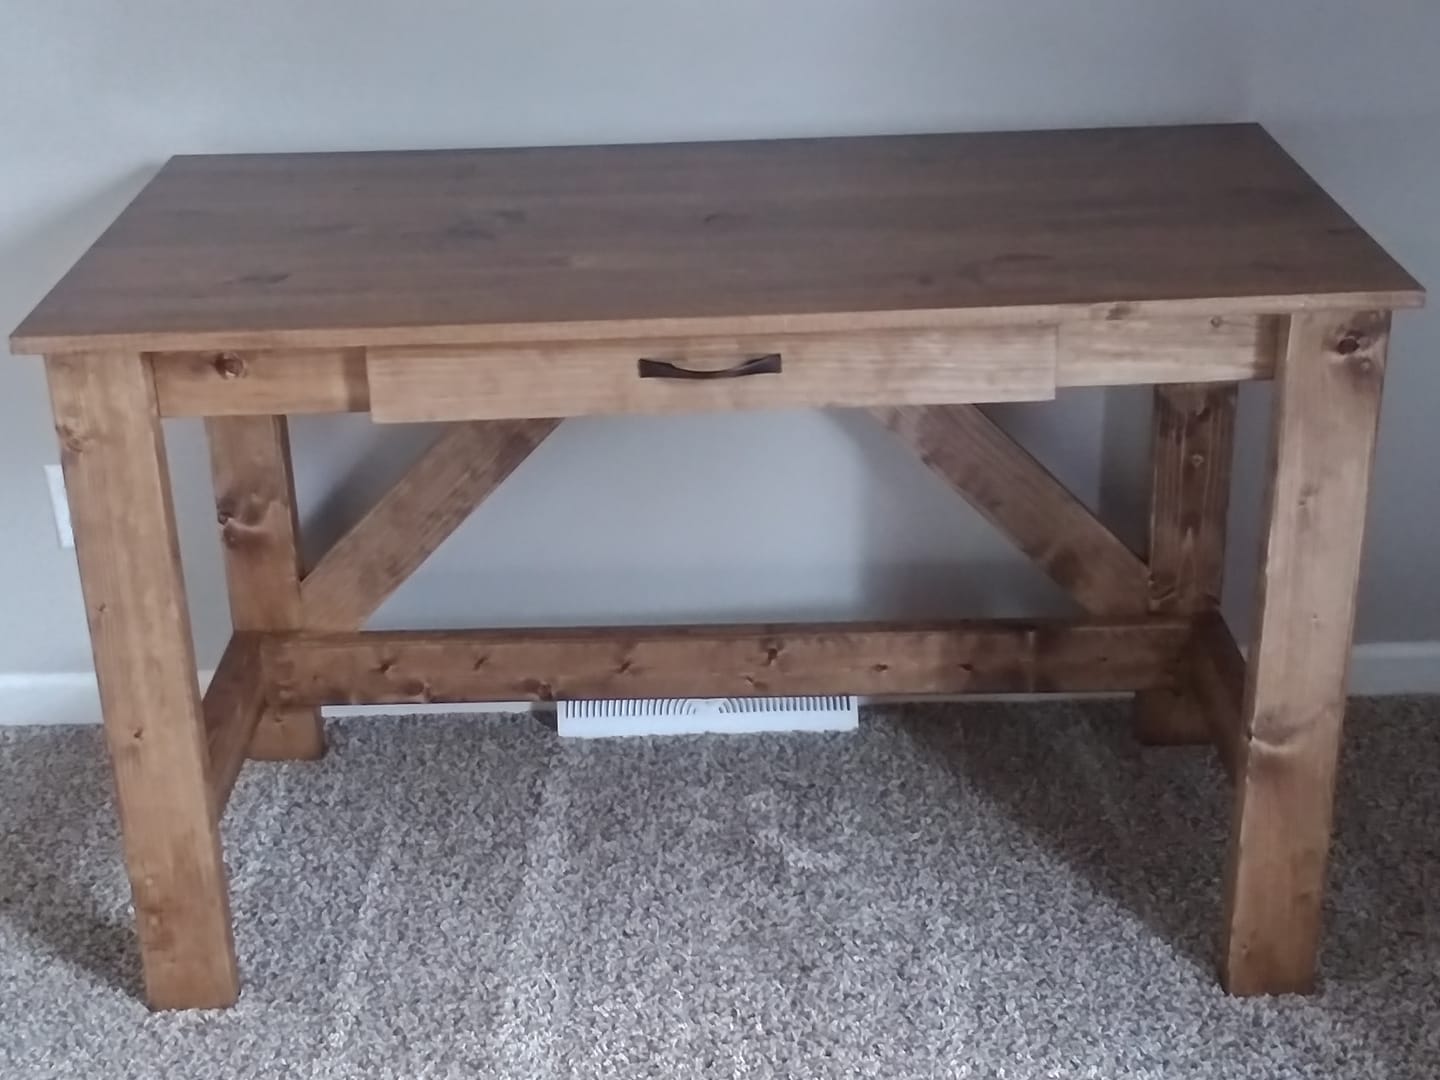
Made for the spare room. Followed plan except for the top where I used a premade edge glued board.
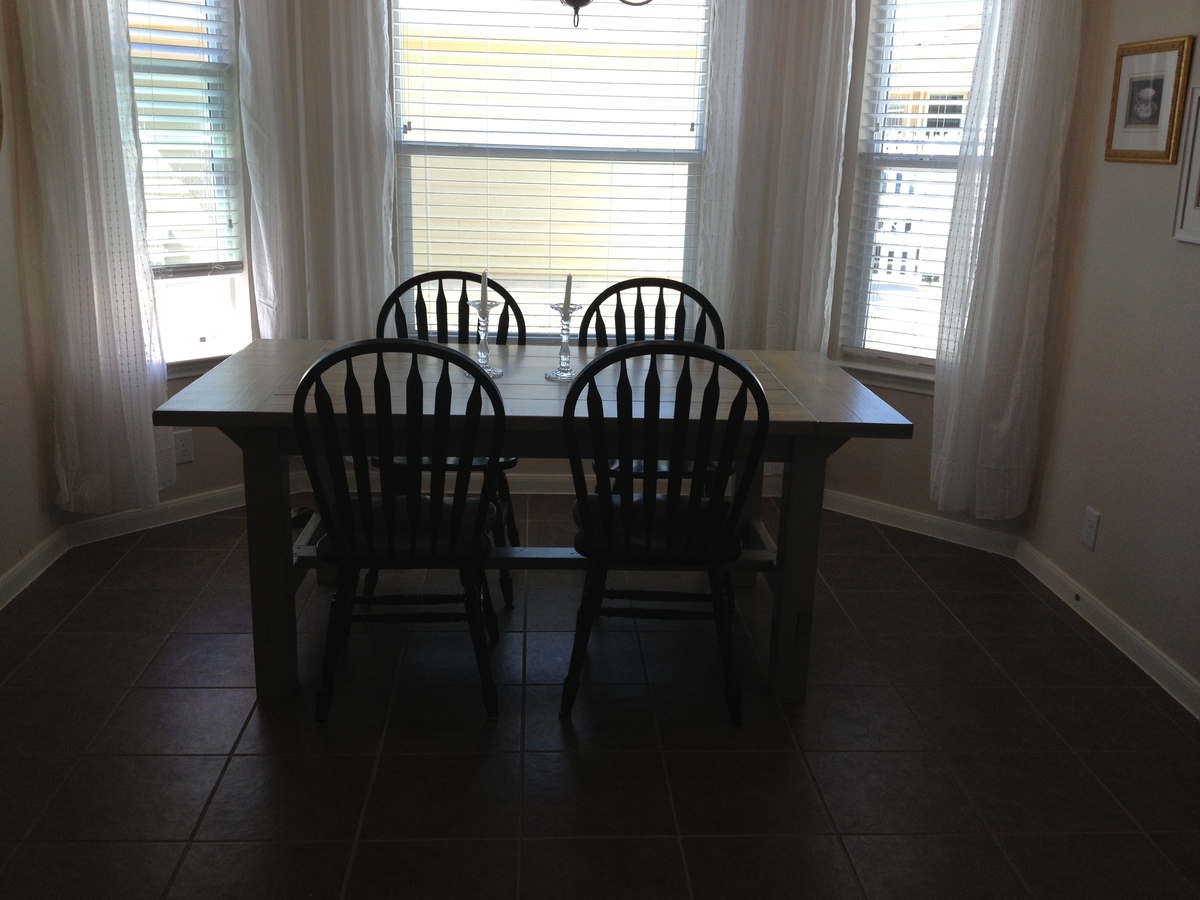
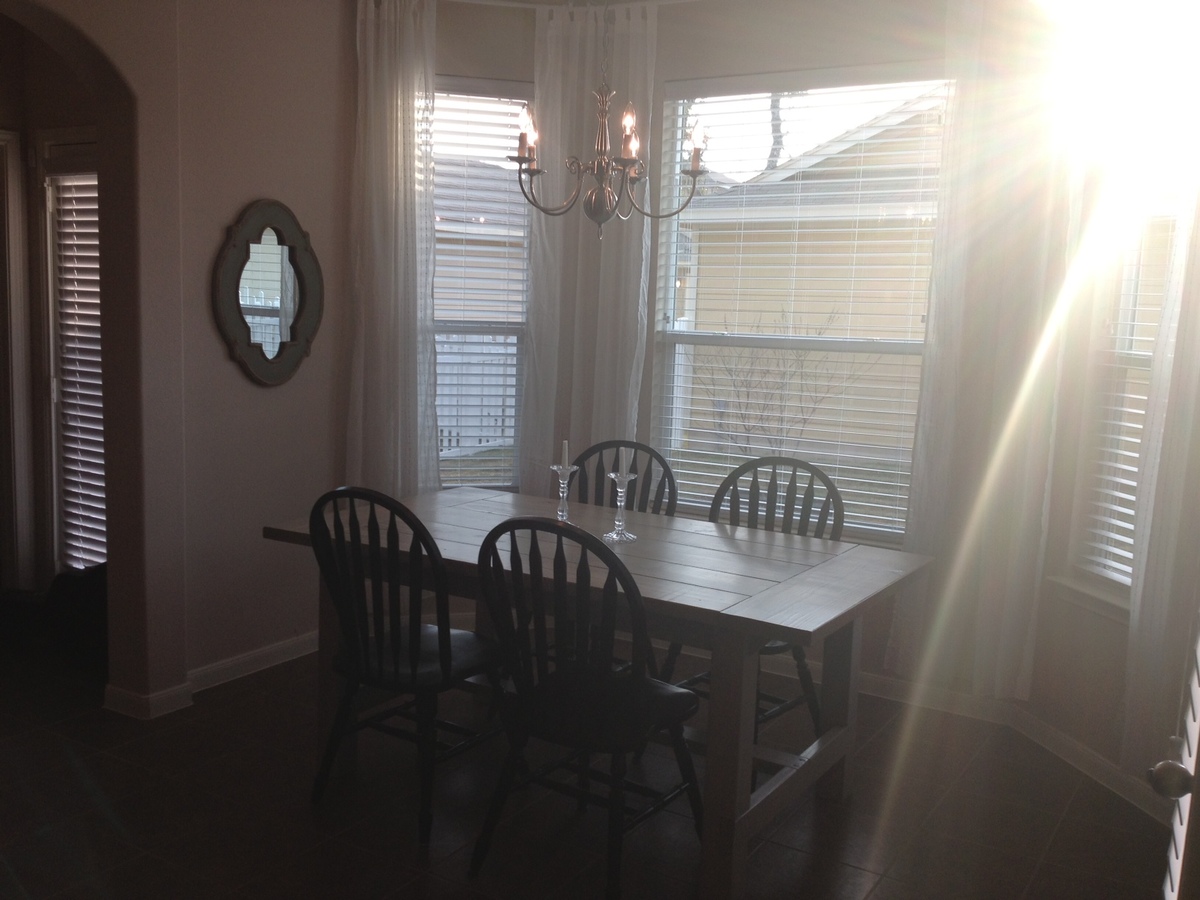
My husband and I recently bought our first home right outside of Austin, Texas. One of my favorite features of the house were the beautiful bay windows in the kitchen. I wanted to have a table that accented the windows and created a centerpiece in the kitchen. I stumbled upon this blog, found the Farmhouse Table, and decided I was going to build this table! With the help of my dad, I was able to complete my first wood-working project, and I couldn't be more thrilled with the way it turned out!
Sat, 10/19/2013 - 10:44
I was wondering if this table was white? I cant tell by the lighting, but I was looking to make this table for myself stained white. Yours is the first I've seen that looks white, if so could you tell me the color of the stain? Thanks the table is beautiful!
Modified the plan in order to use 12 inch drawer slides and to fit the 1X24x48 project panel found at Lowes. The 2 inch swivel casters and drawer hardware were found at Home Depot.
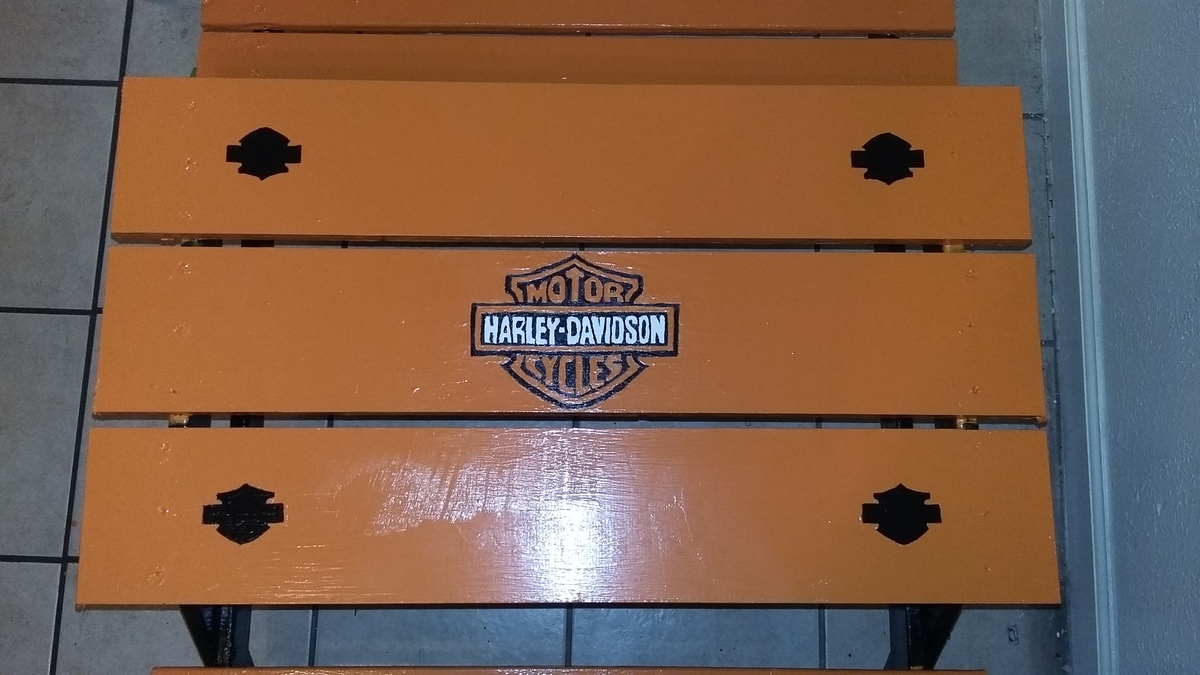
Simple to build, took longer to paint it than it did to build it!
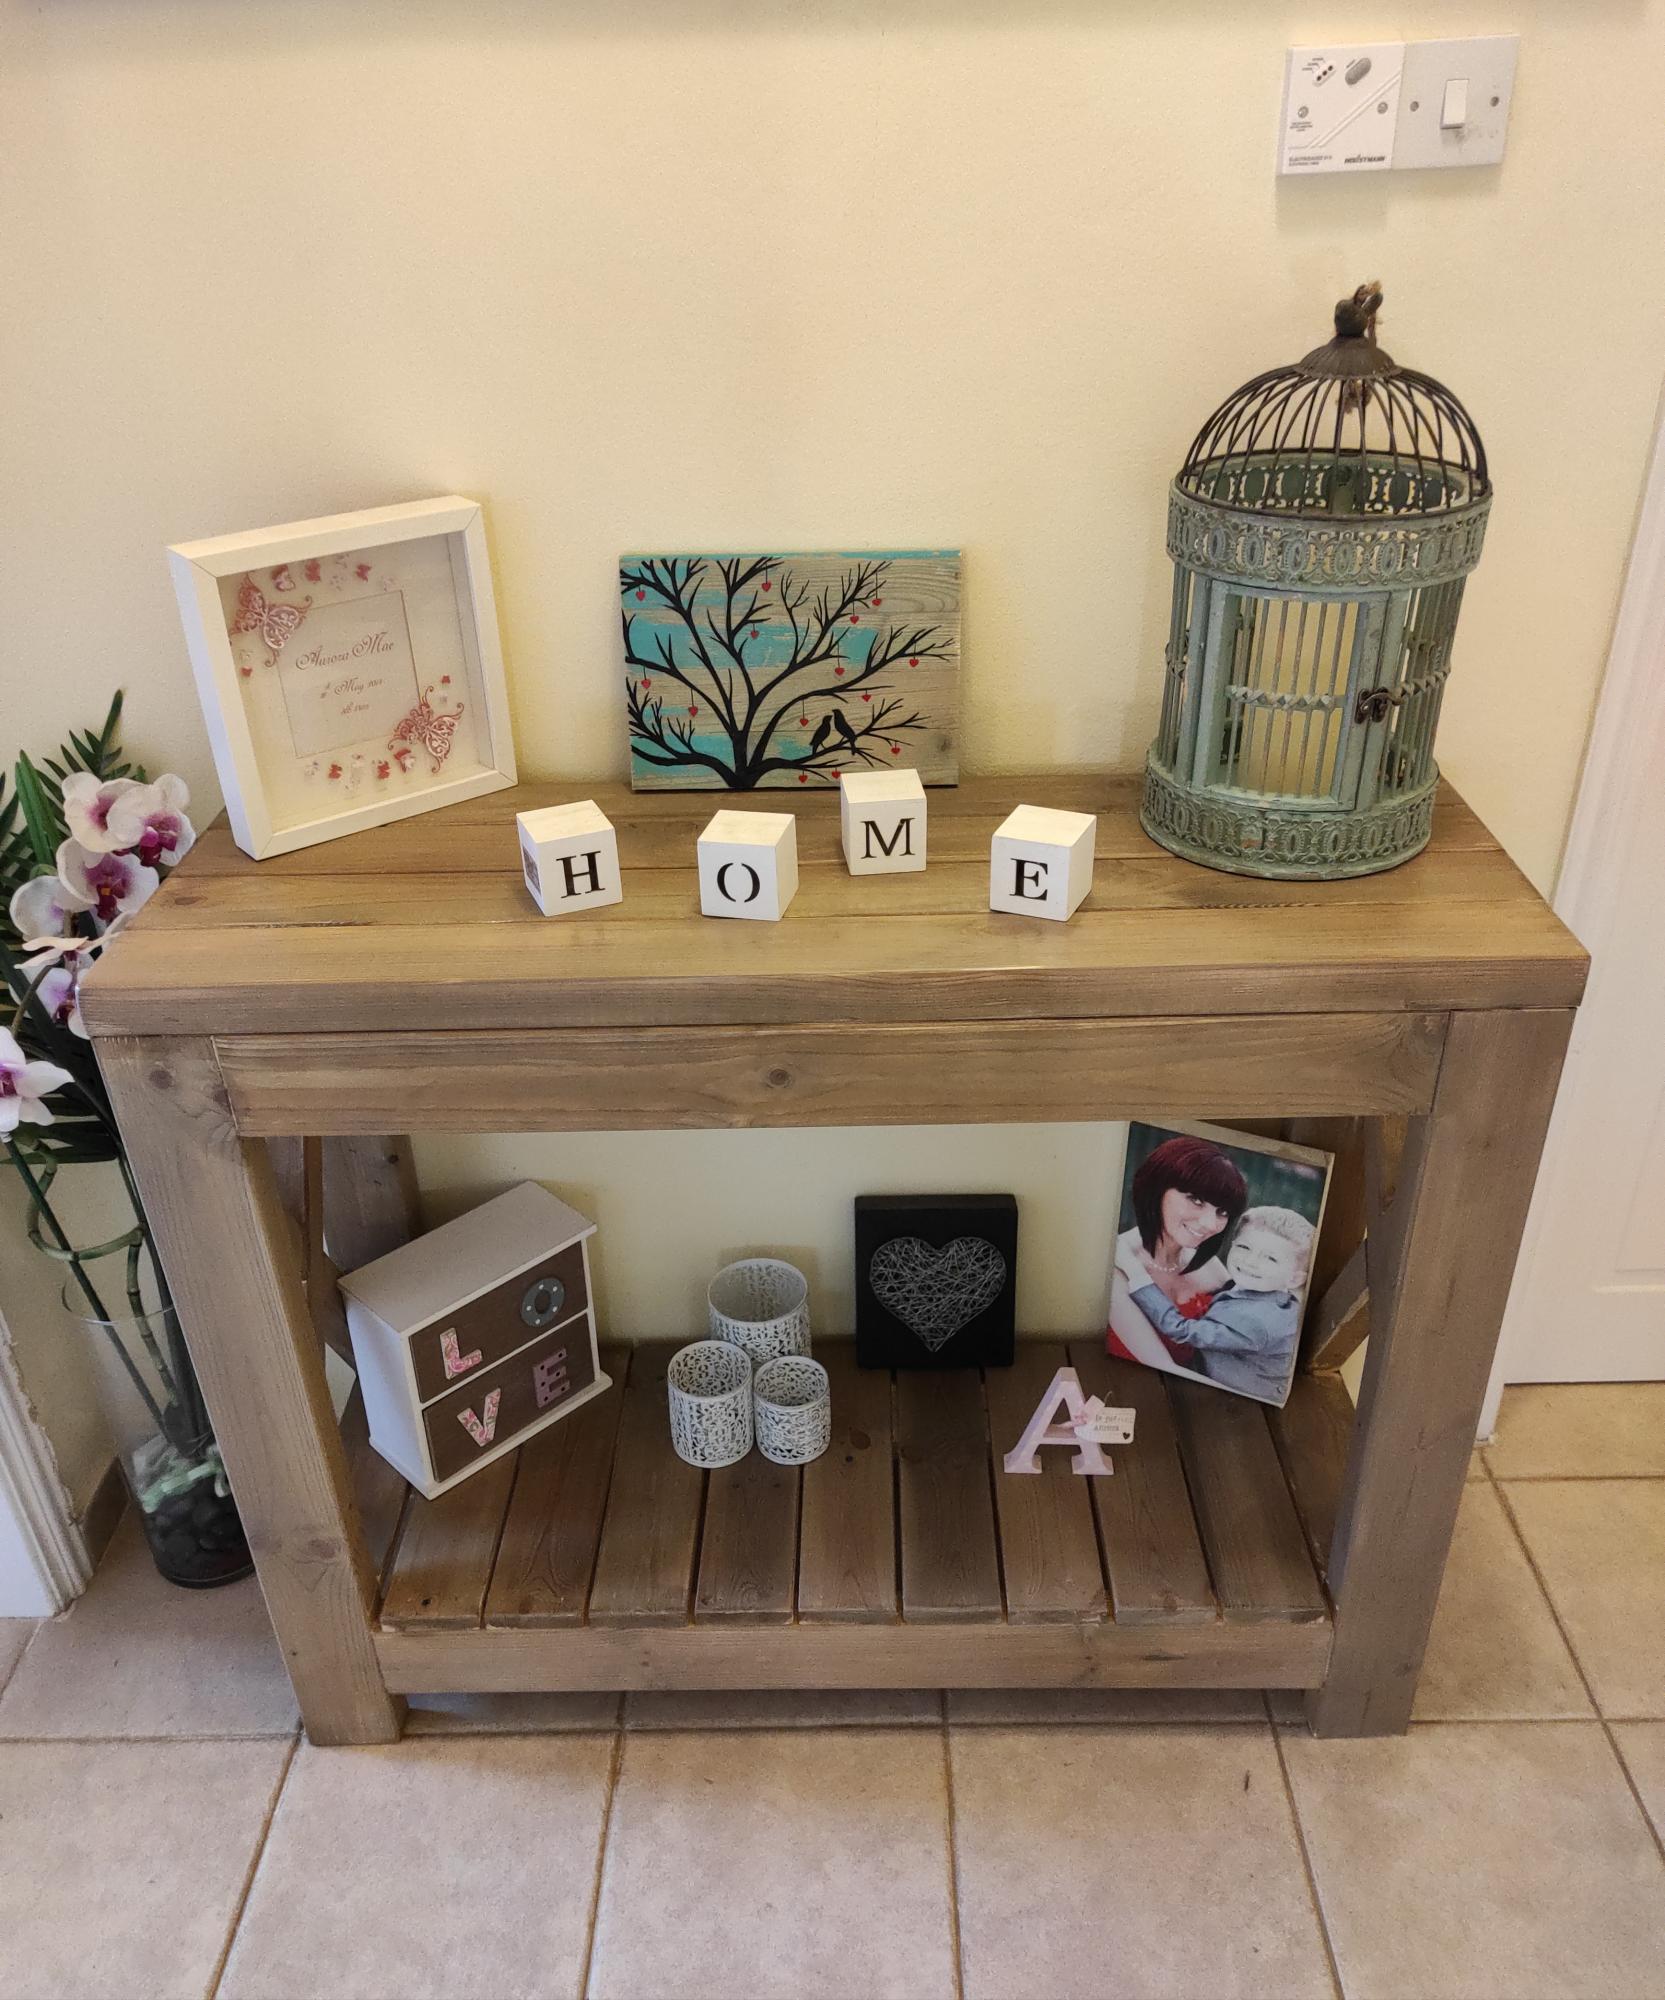
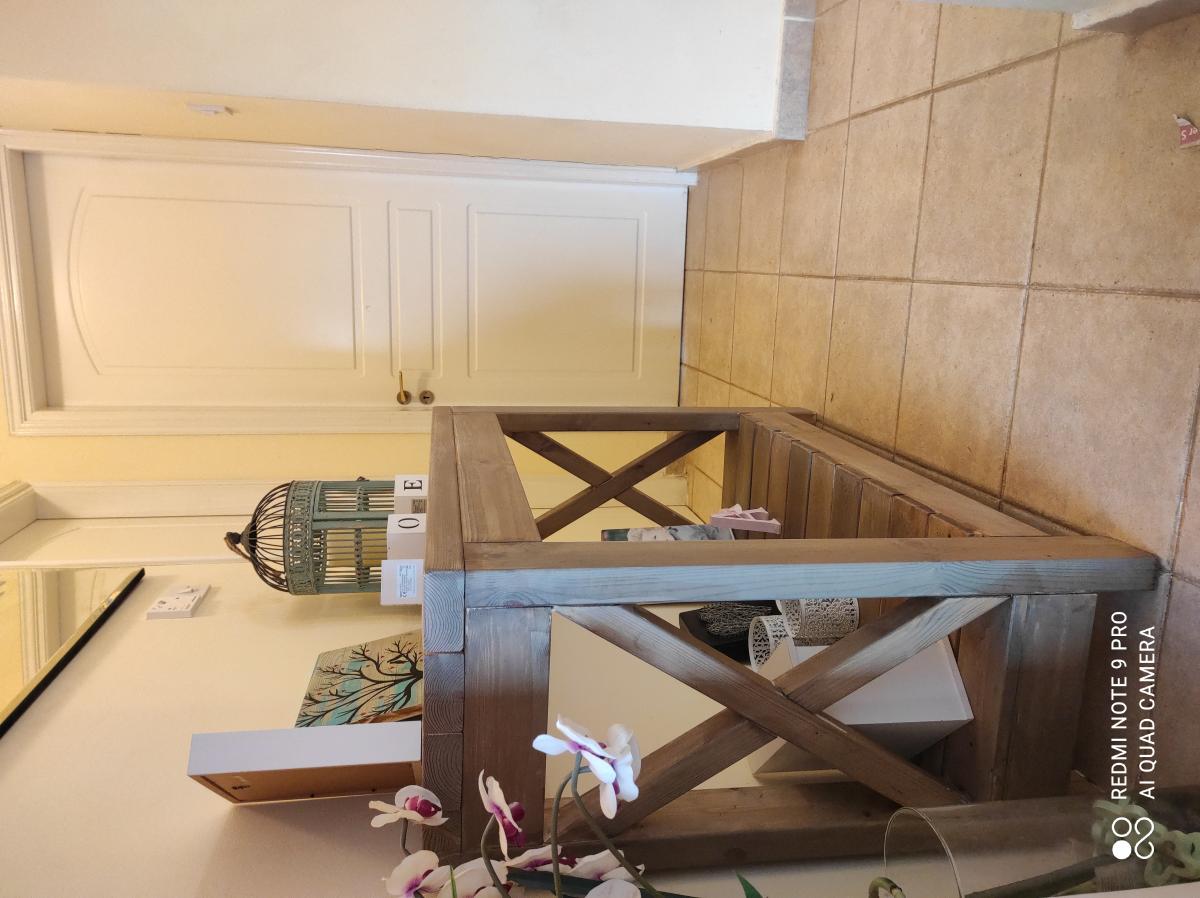
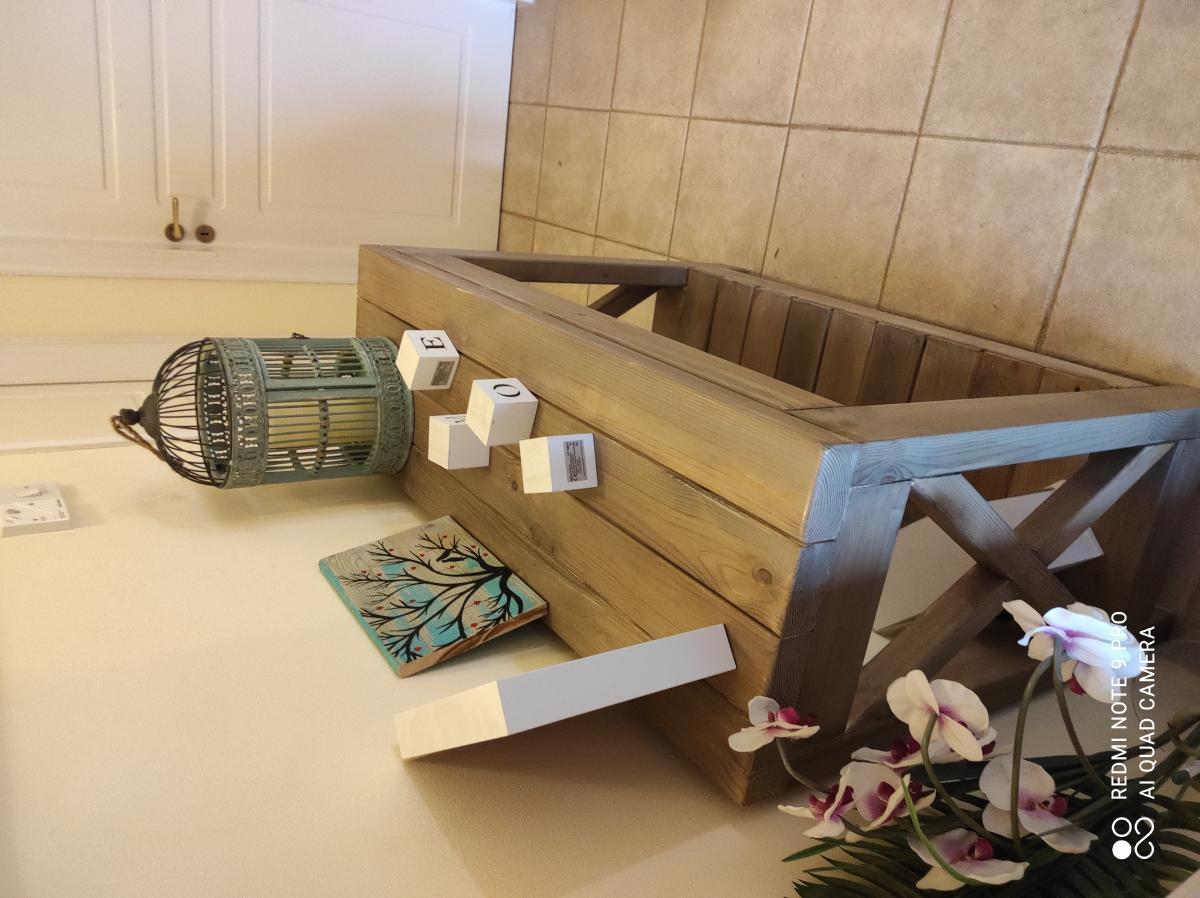
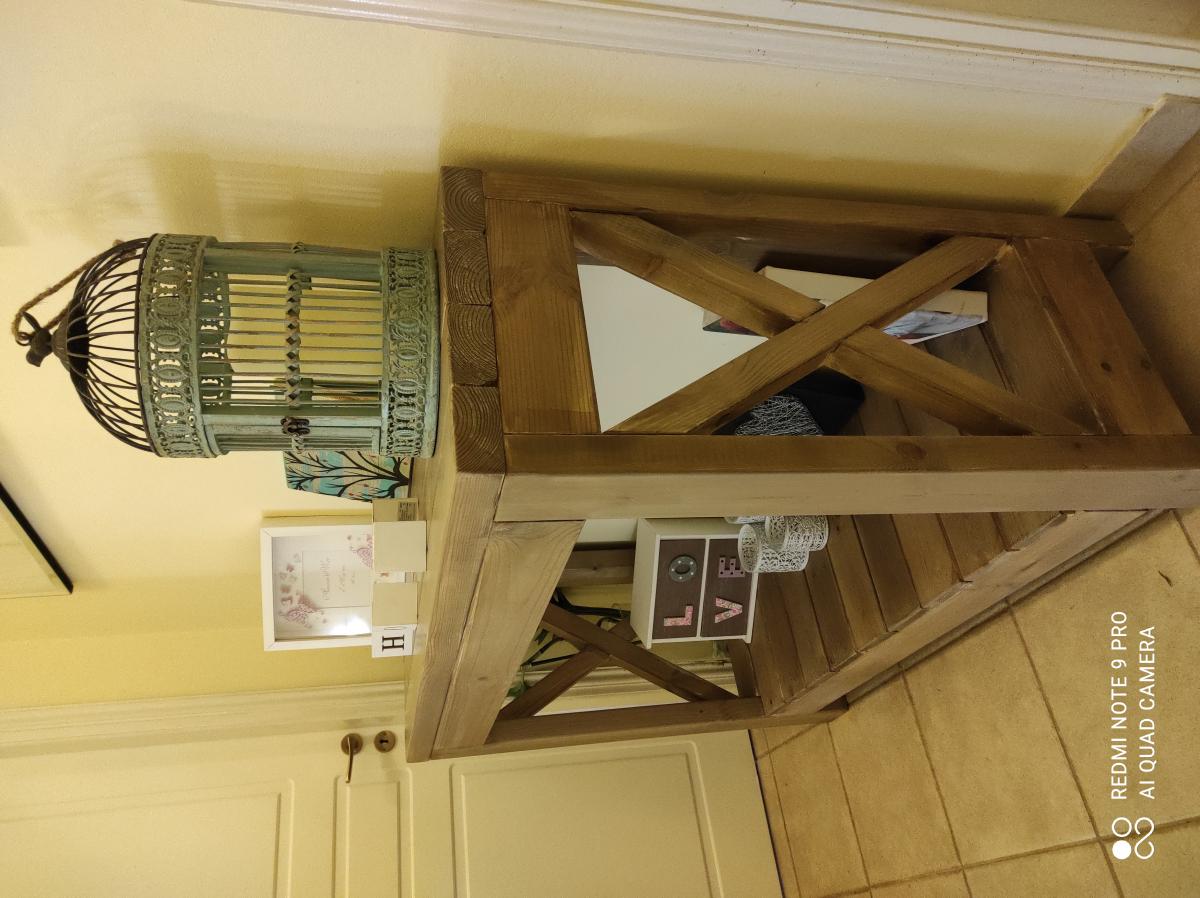
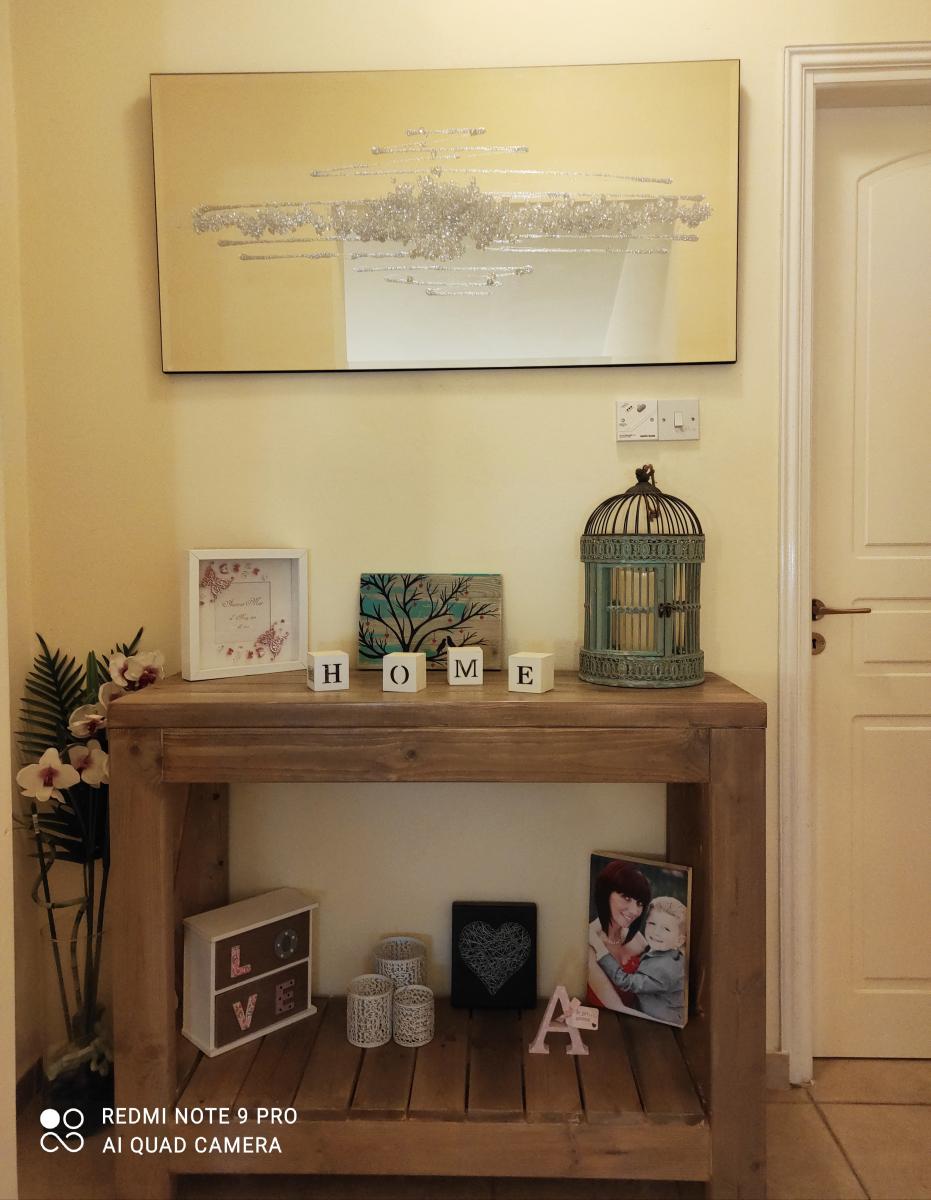
Based on the rustic x console plans with a few small changes to cater to the space available.
Built entirely from 2x4 with the exception of the X's which are 2x2; I choose to use half-lap joints to make these, ordinarily I'd have these a lot neater but chose to leave them visable to add the the rustic feel.
For the finish I've oxidised the wood with a steel wool and white vinegar solution and then applied a light grey wash over the top.
