Community Brag Posts

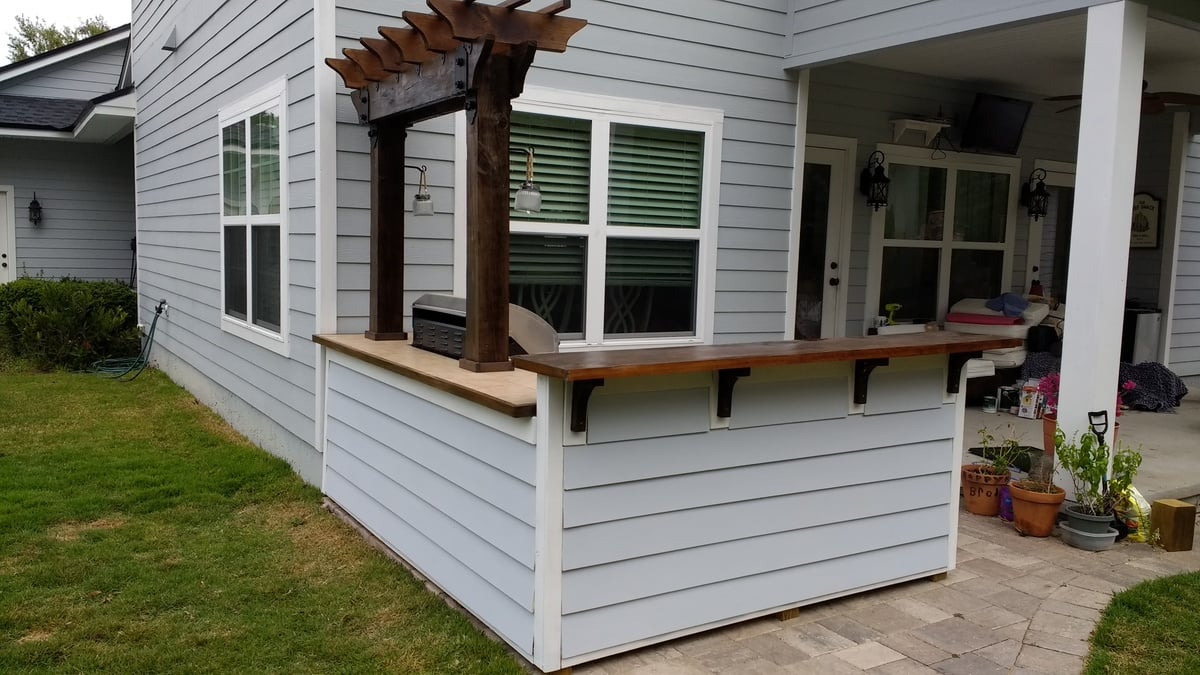
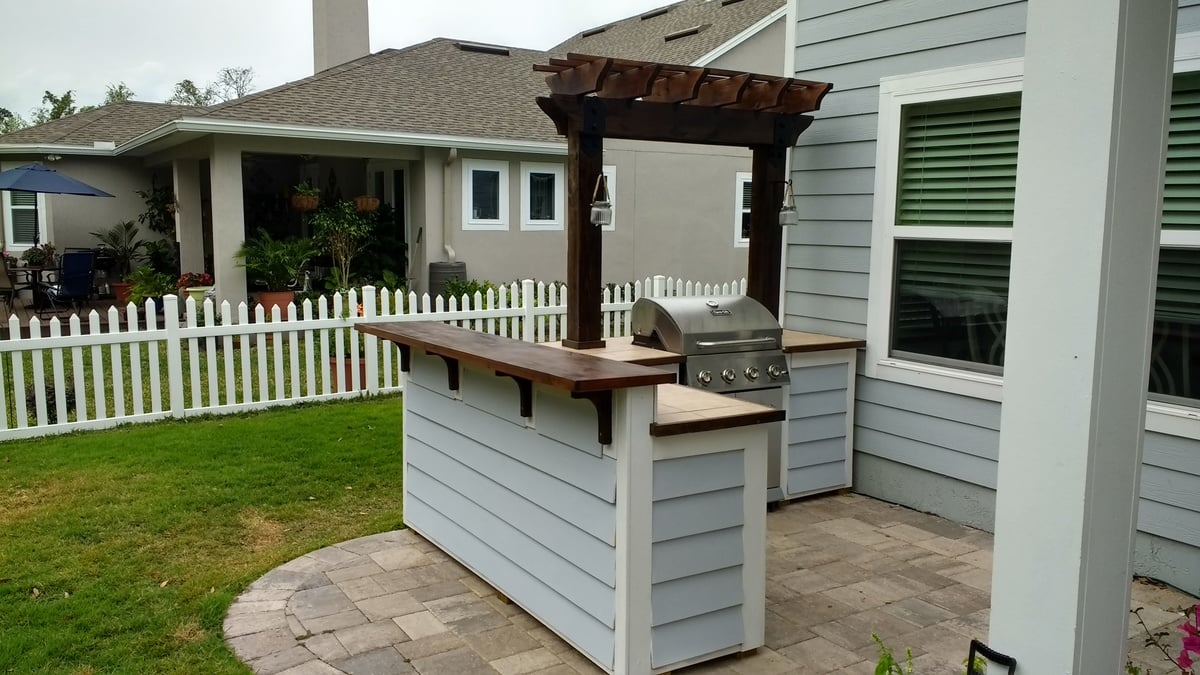
Outdoor bar grill surround with 2 post pergola
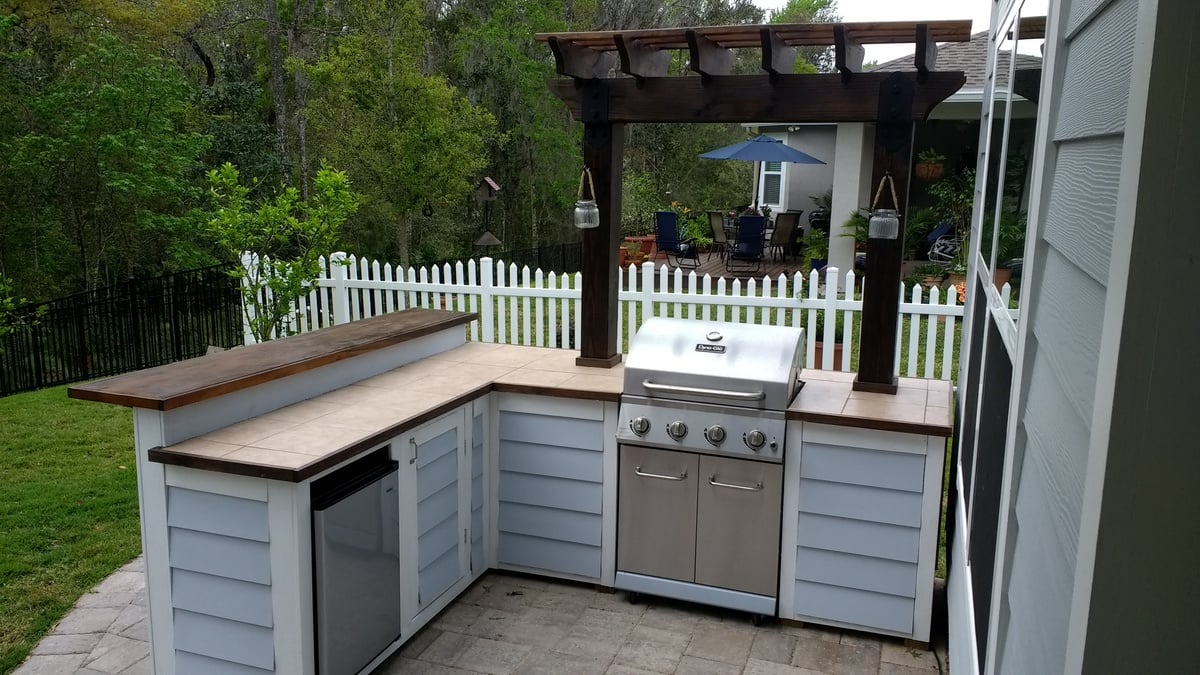
I wanted to build an L shaped outdoor bar with a 2 post pergola over the grill.  I couldn't find any plans online that would fit the space I had, so I decided to build it myself with custom dimensions.  The top bar is approx. 7'3" across, and 15" wide, while the distance from the right edge (next to the house) to the end of the bar is approx. 9'1".  

I framed it with PT lumber and the 2 pergola posts are sitting on top of the pavers and supported internally within some of the framing studs.  Since the pavers sit on top of concrete, I didn't feel the need to dig up the existing pavers and achor them in the ground.  

I used hardiboard for the exterior and tiled the lower section of the bar.

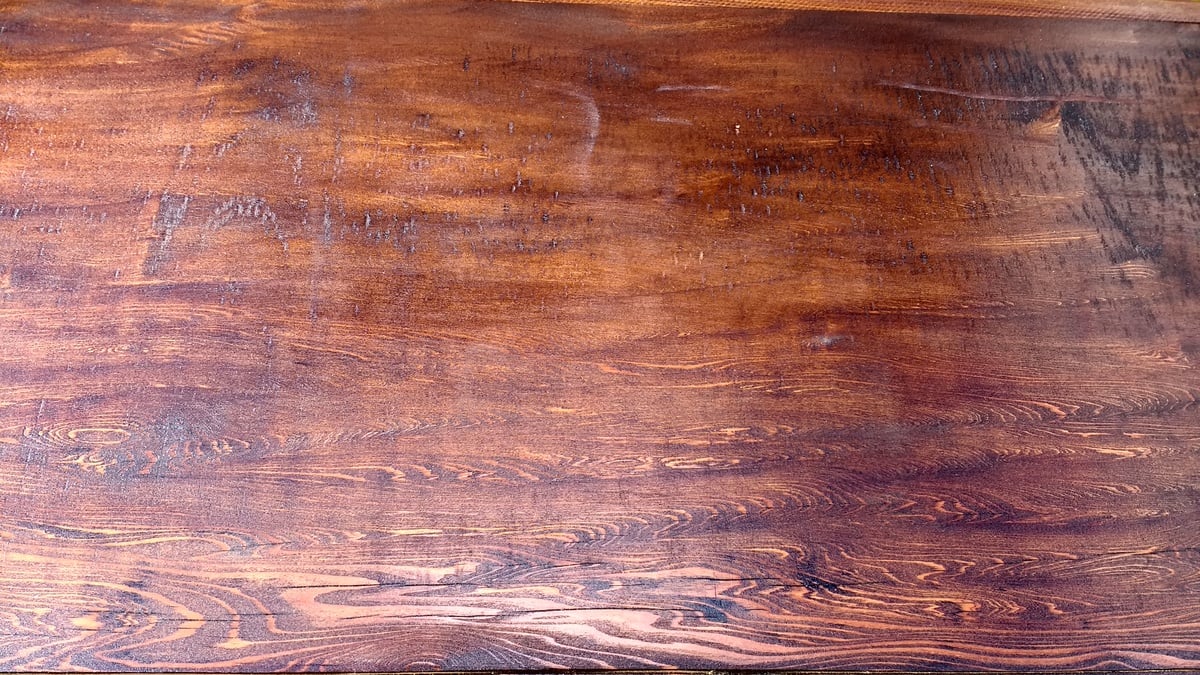
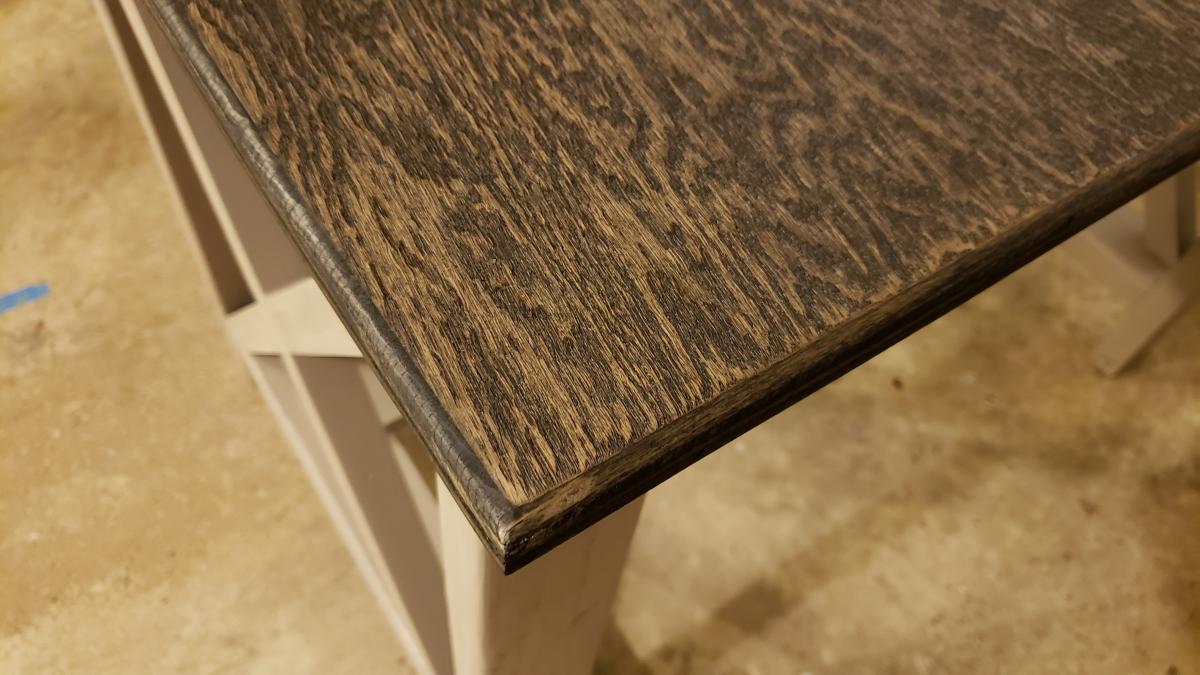
For the actual high bar top, I wanted to do something unique, and found a 900 year old scrap slab of Cypress at a local lumber yard.  One side was smooth, but underneath was gouged out from different saw cuts and very uneven.  I screwed a piece of 3/4" PT plywood underneath and trimmed it with 1-1/2" Cypress.  I stained the whole thing with a dark honey colored stain and put a generous amount of poly on it once it was dry.  There are a few cracks and nicks on it, but once it was stained, it looked awesome.  
Estimated Cost
I lost track after a while, but I would say $600-700.
Estimated Time Investment
Week Long Project (20 Hours or More)
Finish Used
Minwax honey colored stain for the bar top. Minwax provincial stain for the pergola and minwax dark walnut stain for the oak trim.
Recommended Skill Level
Intermediate

Comments

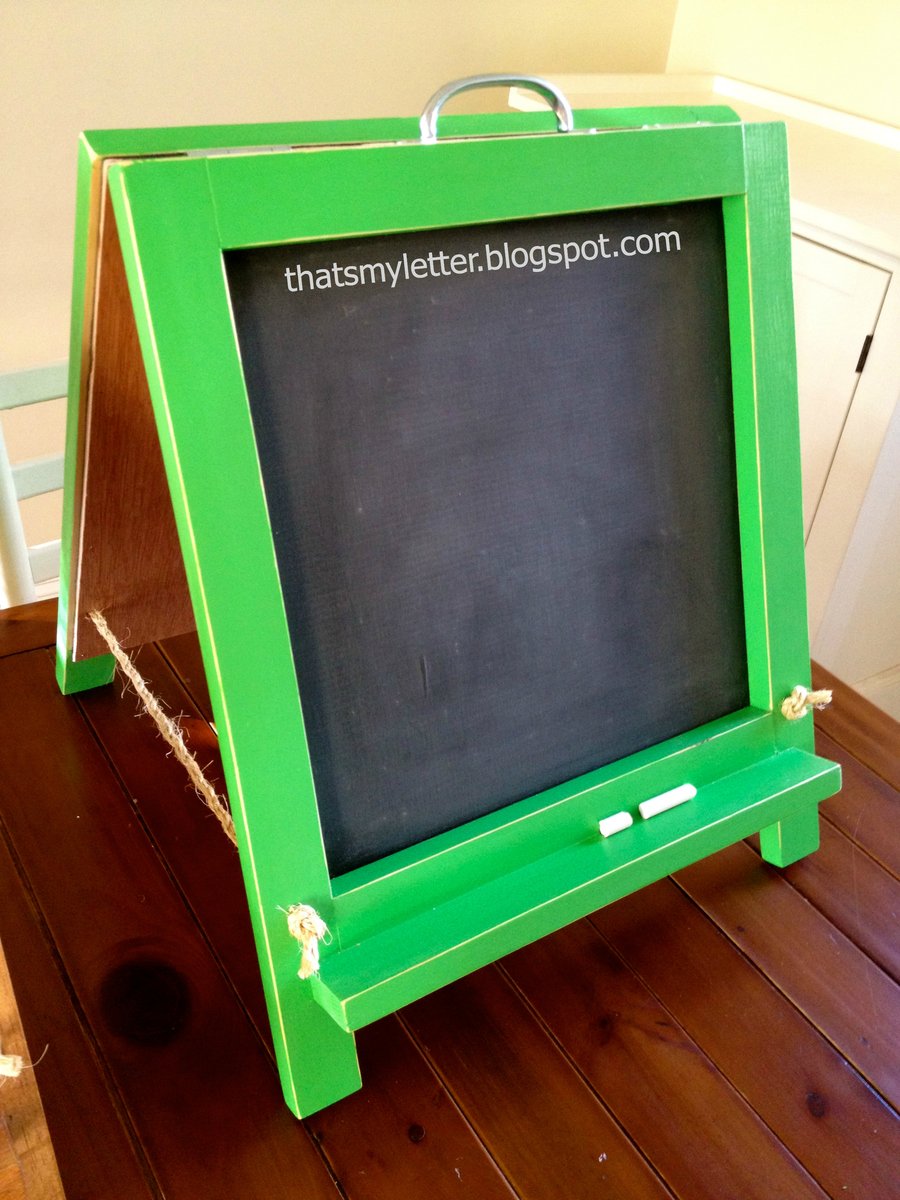
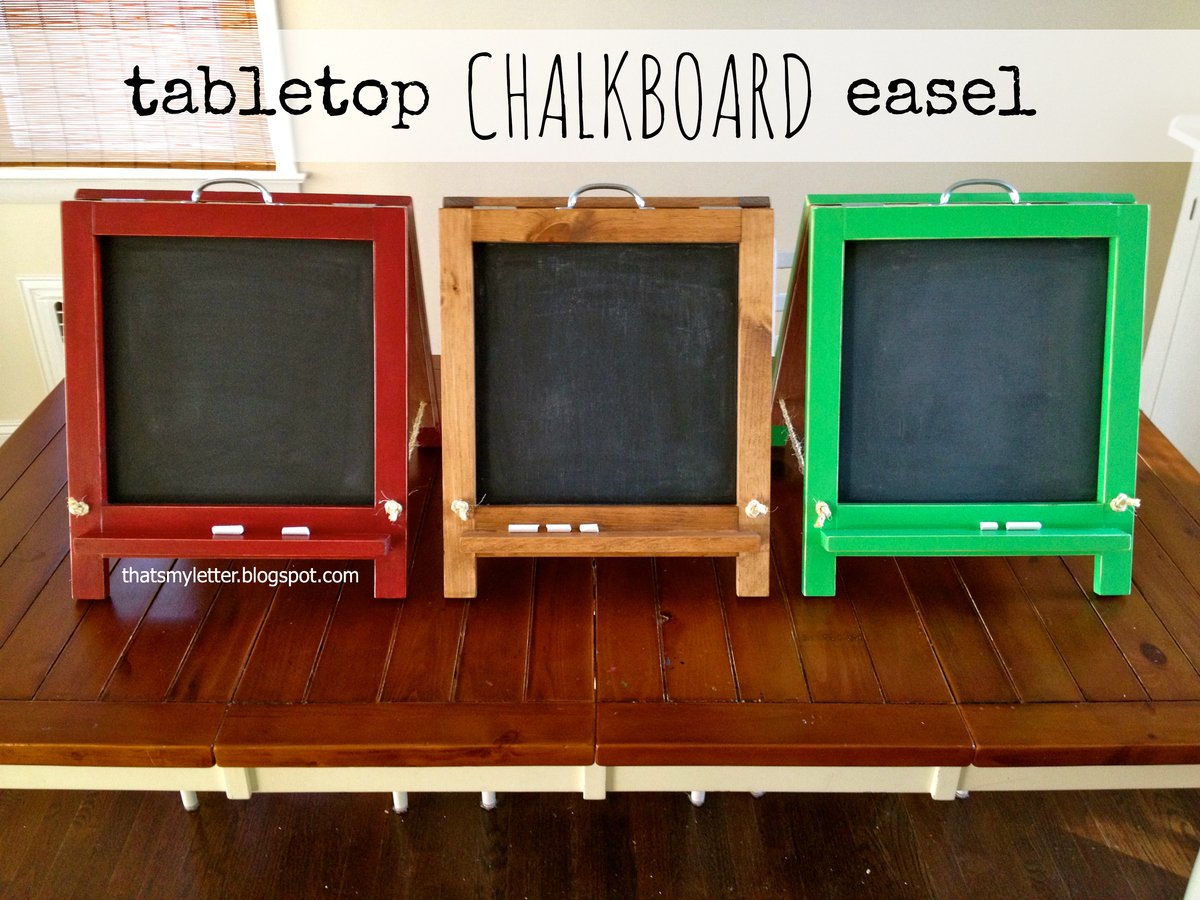
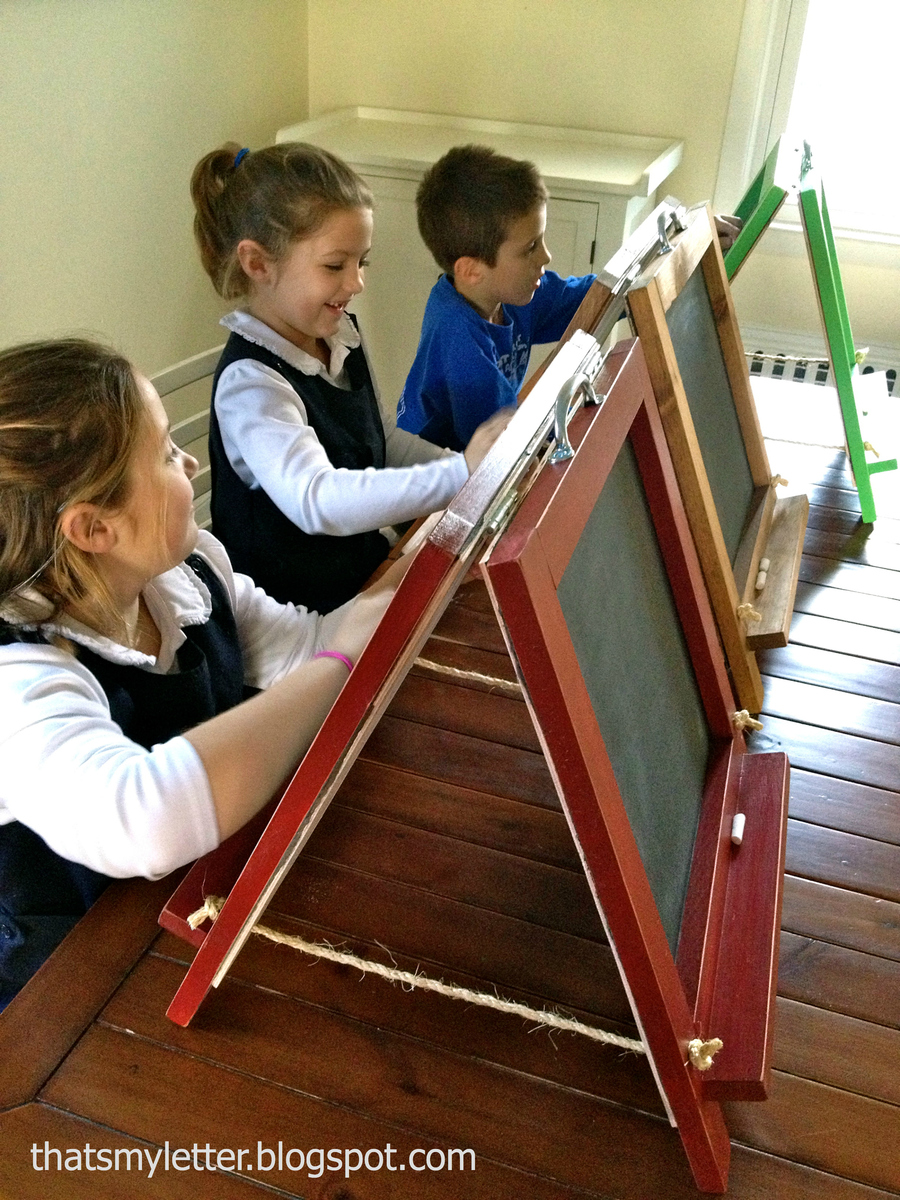
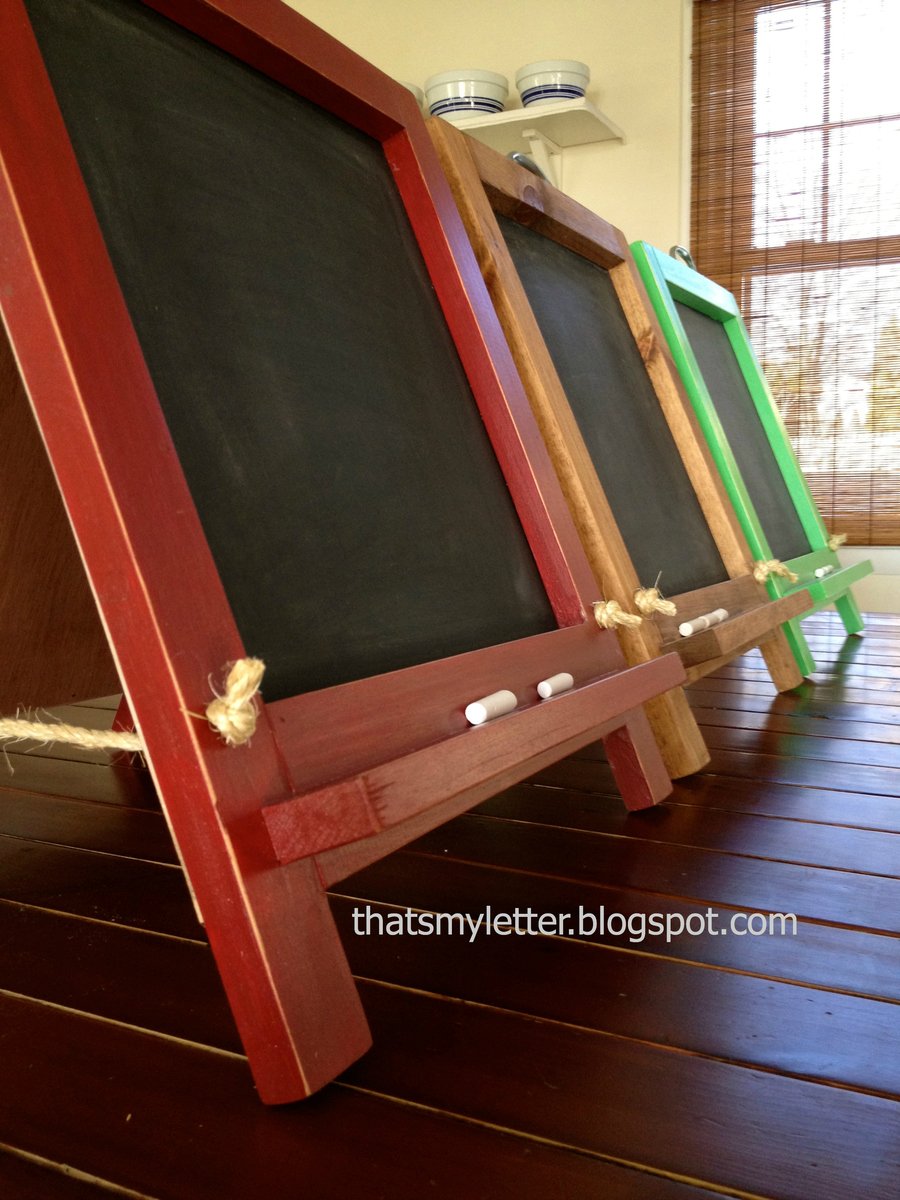
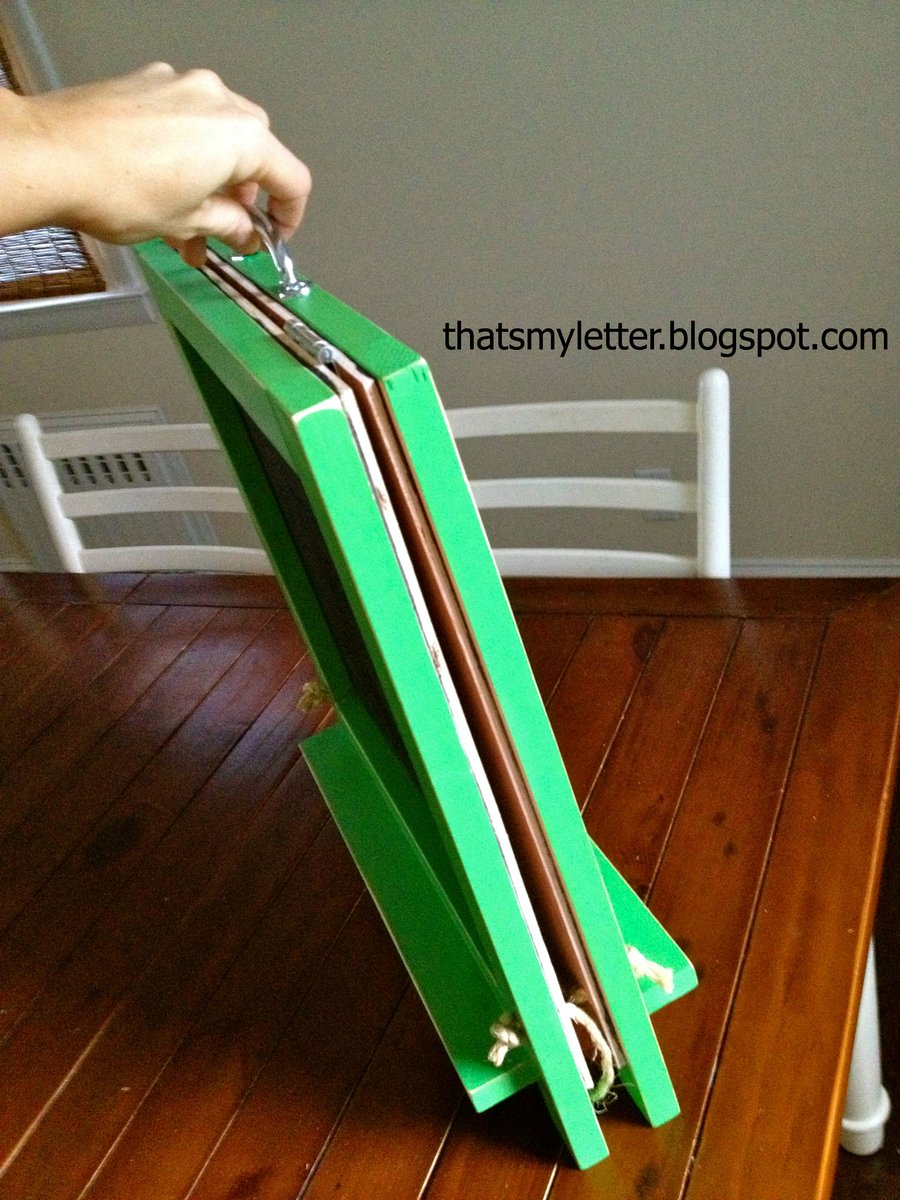
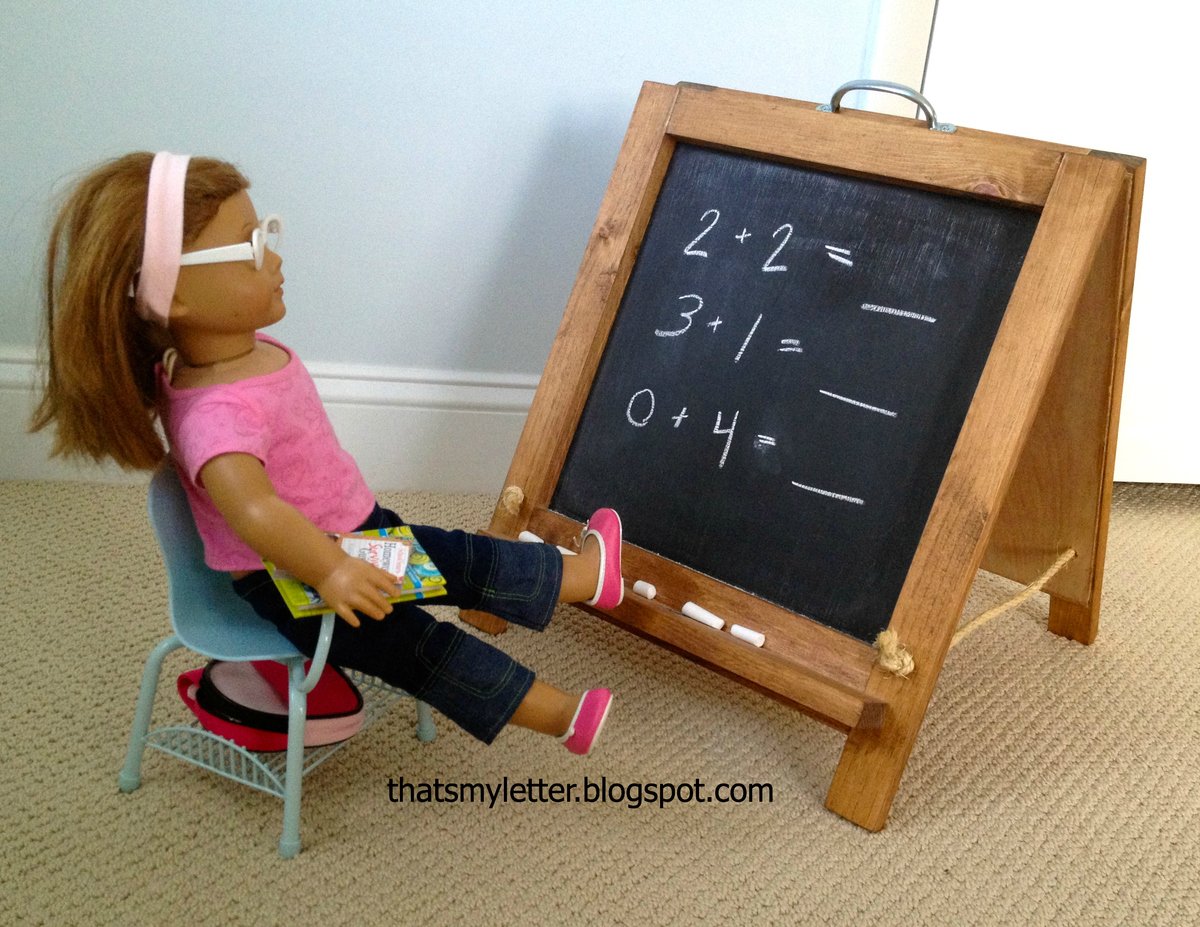
tabletop chalkboard easel

A mini version of the original folding chalkboard easel. A smaller chalkboard space at 13" x 13" this size is perfect for tabletop use and easy carrying for kids.

Estimated Cost
$20
Estimated Time Investment
An Hour or Two (0-2 Hours)
Finish Used
1. Paint two coats (green = Glidden lucky shamrock, red = Behr tile ted) or stain = Minwax Early American
2. Seal clear satin poly.
Recommended Skill Level
Beginner

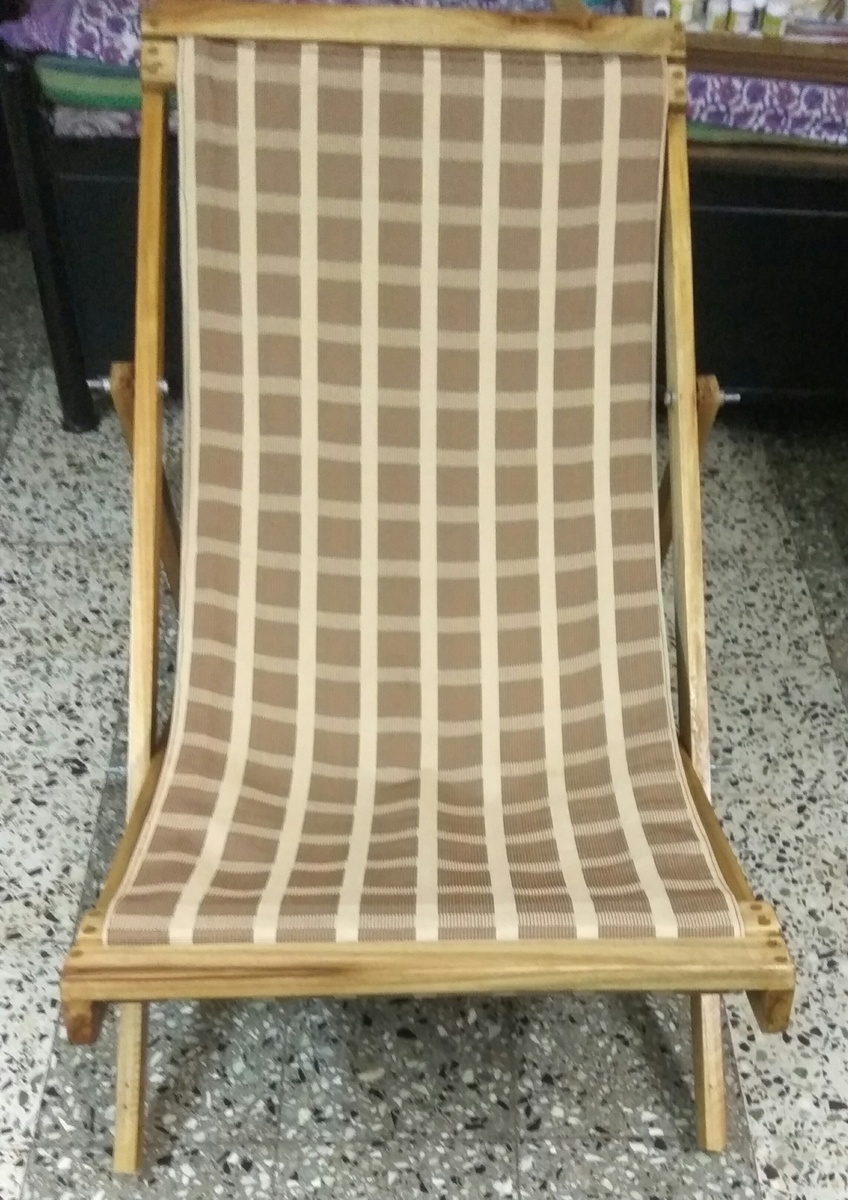
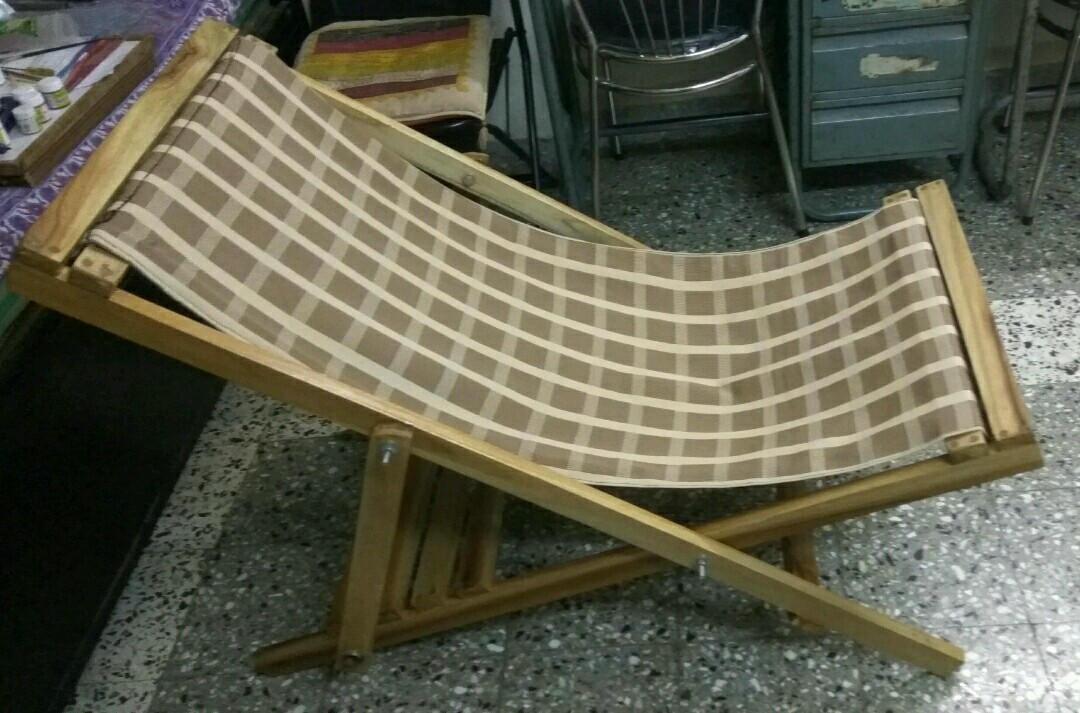
Deck chair Build

Submitted by Anonymous (not verified) on Mon, 03/13/2017 - 20:14

Dear Ana, 

I built this Deck chair as per the plans on your site. Super easy for amatuer beginners like me. Enjoyed making it. Thank a lot!

Estimated Time Investment
Weekend Project (10-20 Hours)
Finish Used
Yellow wood stain with Varnish
Recommended Skill Level
Beginner

First project!

Submitted by Bradley832 on Fri, 02/08/2013 - 21:38

Just finished the legs on my first project tonight. Instead of using the Krejig I found a really nice pocket hole jig that had some amazing reviews at my local Harbor Freight. Turned out really nicely if I do say so myself. I intend on finishing tomorrow as far as building goes. Will probably sand and stain a dark espresso in the next week or two.

Estimated Time Investment
Afternoon Project (3-6 Hours)
Finish Used
Will post more as it gets finished
Recommended Skill Level
Starter Project

Mudroom Bench Built-In

I wanted to revamp my mudroom and need some storage so I built a bench and designed it as a built-in.


Please check out my DIY blog:

http://www.woodworkingfourdummies.com/blog/2nd-post


thanks,

Ian

Estimated Cost
$150.00
Estimated Time Investment
Weekend Project (10-20 Hours)
Finish Used
White semi-gloss paint with a water based polyurethane
Recommended Skill Level
Intermediate

Wiccan Altar

Submitted by Anonymous (not verified) on Thu, 03/16/2017 - 18:12

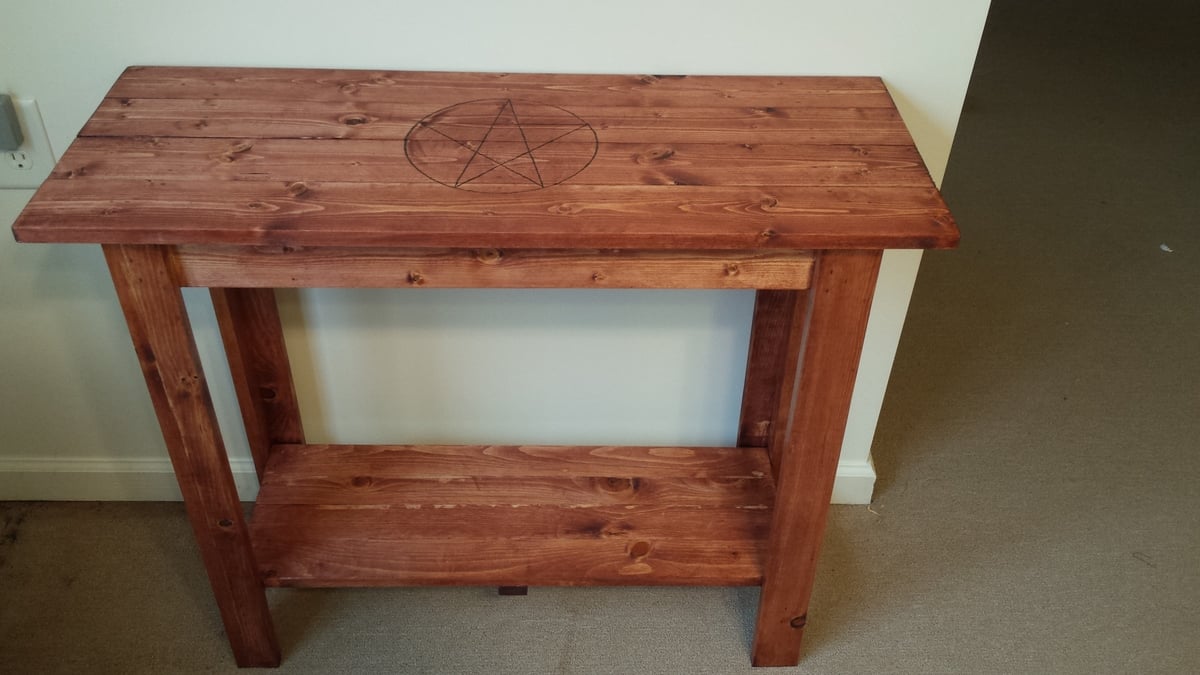
I took the plan from this and rather than have a two tone with paint, I stained the entire thing and used my wood burner to burn a pentacle in the top. My wife loves her altar.

Built from Plan(s)
Recommended Skill Level
Starter Project

Corner Desk - from Farmhouse Desk plans

Submitted by james_e on Wed, 01/13/2021 - 14:15

My wrist has not taken well to the work at home requirement of the pandemic. So, I decided to replace my desk with a similar one that I have at work. Only, this one is much prettier.

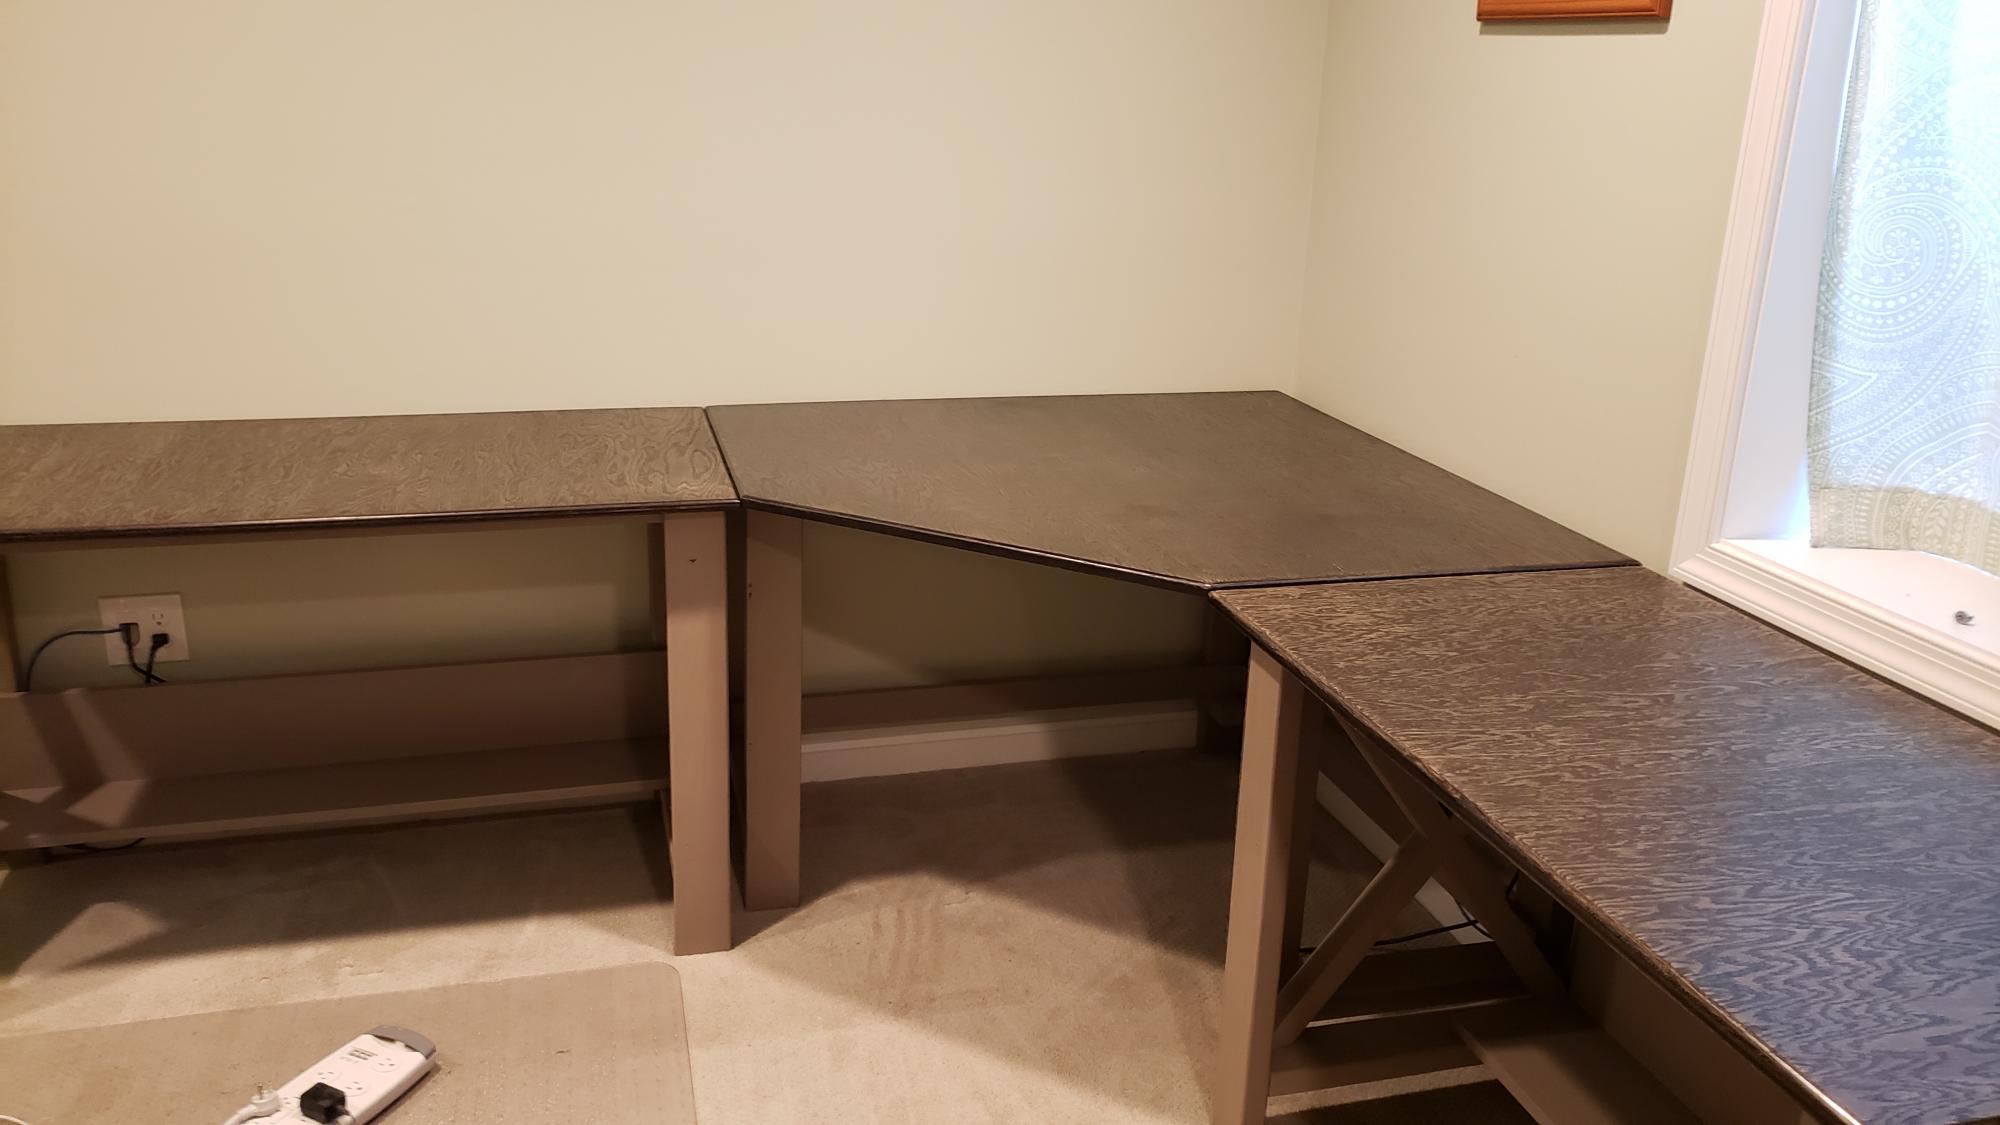
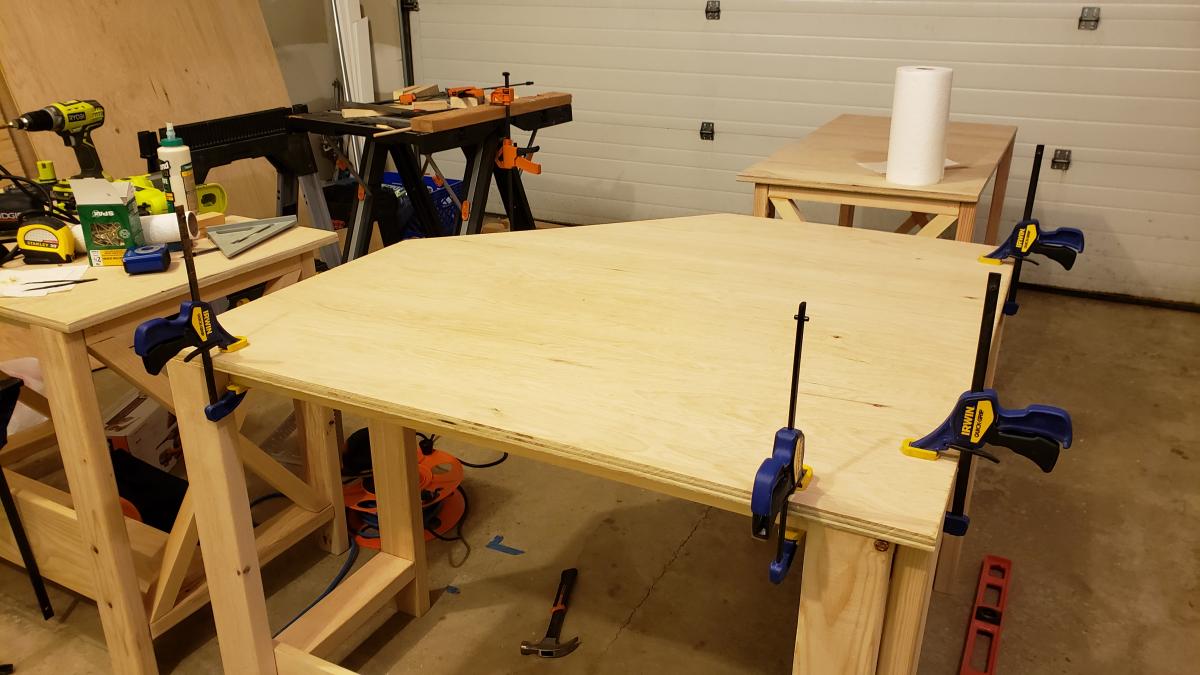
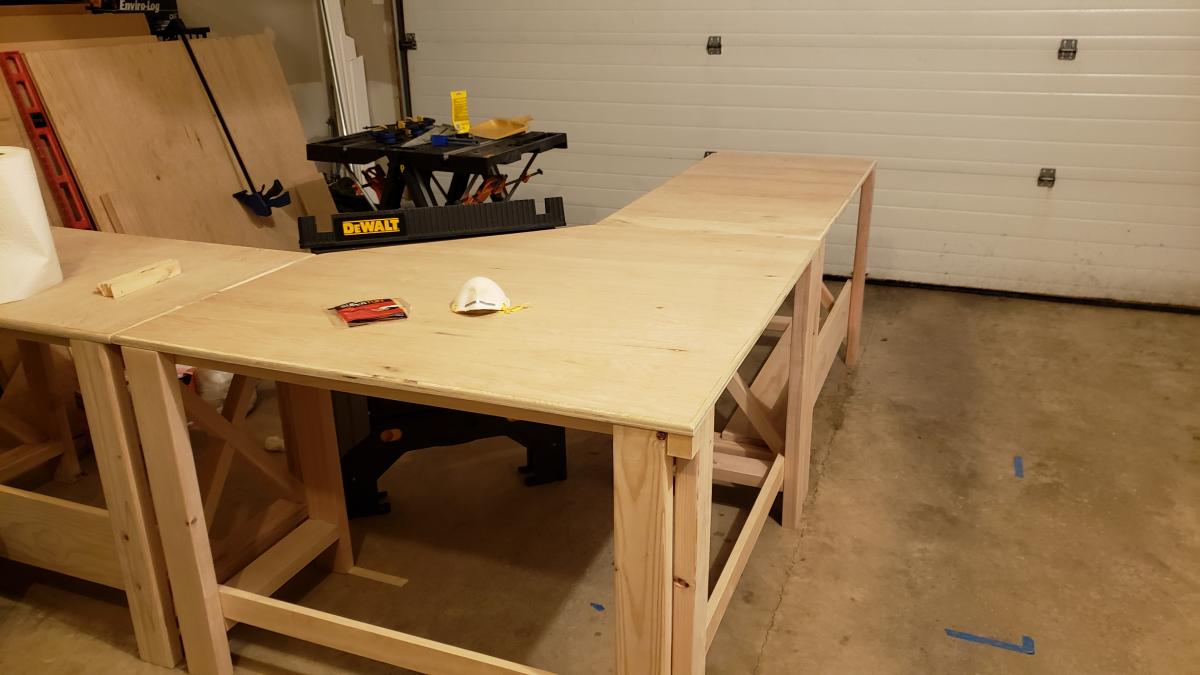
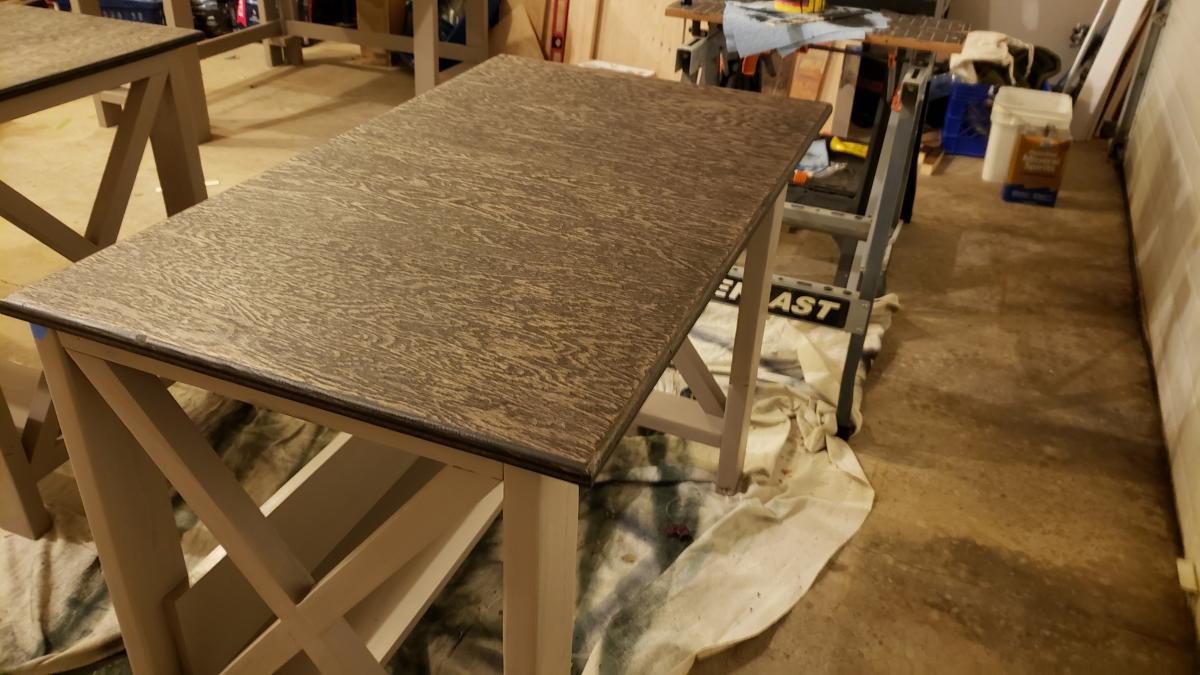
Essentially, I built two desks using the farmhouse desk plans. One of them I made less wide than the plans by simply making the horizontal pieces 36" instead of the plan's 47 1/2".

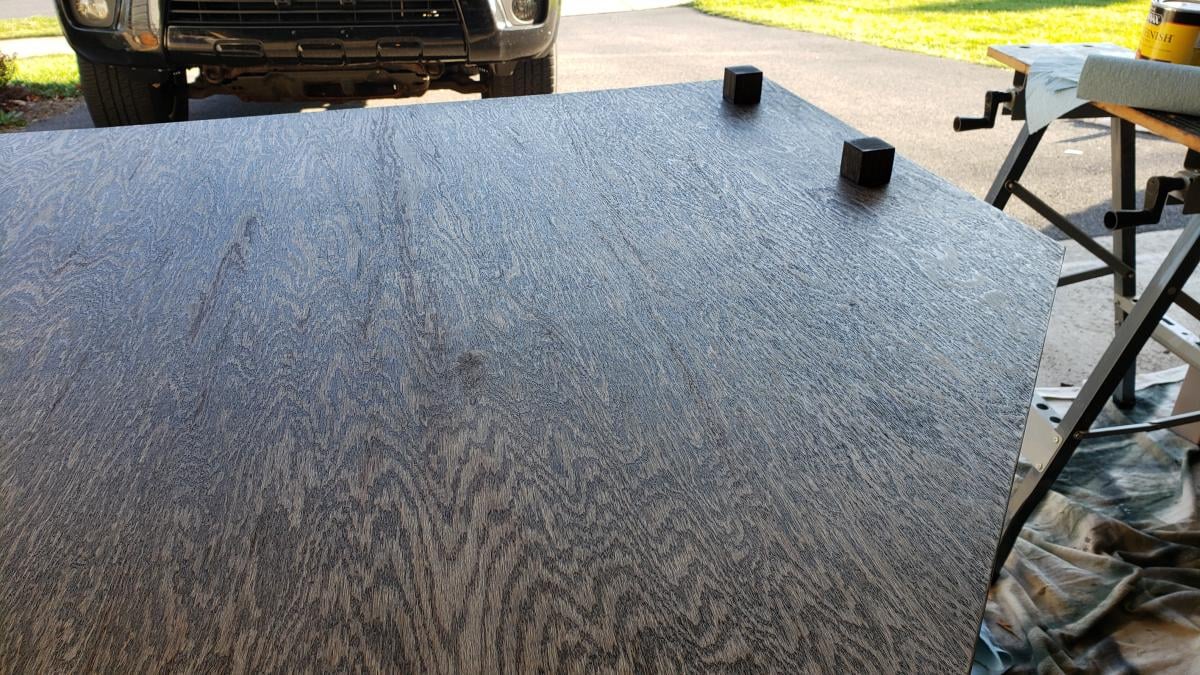
For the middle portion of the corner desk , I based it off of the Office Corner Desktop plans. I made just the middle portion for those plans, but made the edges 46" instead of 38" for a deeper desk as well as to allow more room for my legs not to hit the uprights of the farmhouse desks. I made the corner desktop detachable, so it was easier to fit down the stairs to the office, using some small ~2" cubes placed on the bottom. They just serve to keep the desktop from moving around on the frame. The base of the middle portion I made up using the same ideas used to create the farmhouse desk frames.

I made plenty of mistakes along the way as I'm a software engineer, not a carpenter. I think next time I'll buy a miter saw, most of these cuts were by hand and aren't as straight as I'd like them to be. But, I like to work with my hands and this has made my day job less painful while I'm working from home.

Estimated Cost
$200
Estimated Time Investment
Week Long Project (20 Hours or More)
Finish Used
Minwax oil based Ebony 2718, then satin poly
Recommended Skill Level
Beginner

Accoustic Guitar Becomes a Custom Wine Rack

Submitted by Sasquatch on Mon, 02/11/2013 - 15:24

Music and wine have always gone well together, but never quite like this...
Like most of my projects, this one was inspired by giving an old object new life. In this case, the guitar was one I had used in my job for a few years before it started to fall apart. As soon as the nut fell off, and one of the tuning pegs broke, I decided it was time to expedite the deterioration. Surprisingly, it's not that hard to get the neck of a guitar off it's body. Some light heat from an iron applied above the 14th fret softens the glue. Pry gently and you're free!
One of the main design features in my work is that I put a lot of thought in to the hardware. On most of my pieces, the hardware is either extremely obvious, or not there at all. In this case, I chose huge, bulky bolts to hold the neck on to the base. I've always been intrigued by the way things work, so I tend to want the mechanical aspects of art to be thought provoking. Juxtaposing the industrial look of bolts against the elegance of a musical instrument was really fascinating to play with. This kind of balance is what inspired the name 'Industrial Zen'.
More pics at www.orenpersing.com

Estimated Time Investment
Weekend Project (10-20 Hours)
Recommended Skill Level
Intermediate

Comments

Wounded Marine

Tue, 02/12/2013 - 07:08

I really like this idea. I have a family member who loves both wine and playing guitar. I just might have to steal this idea. You did a great job!

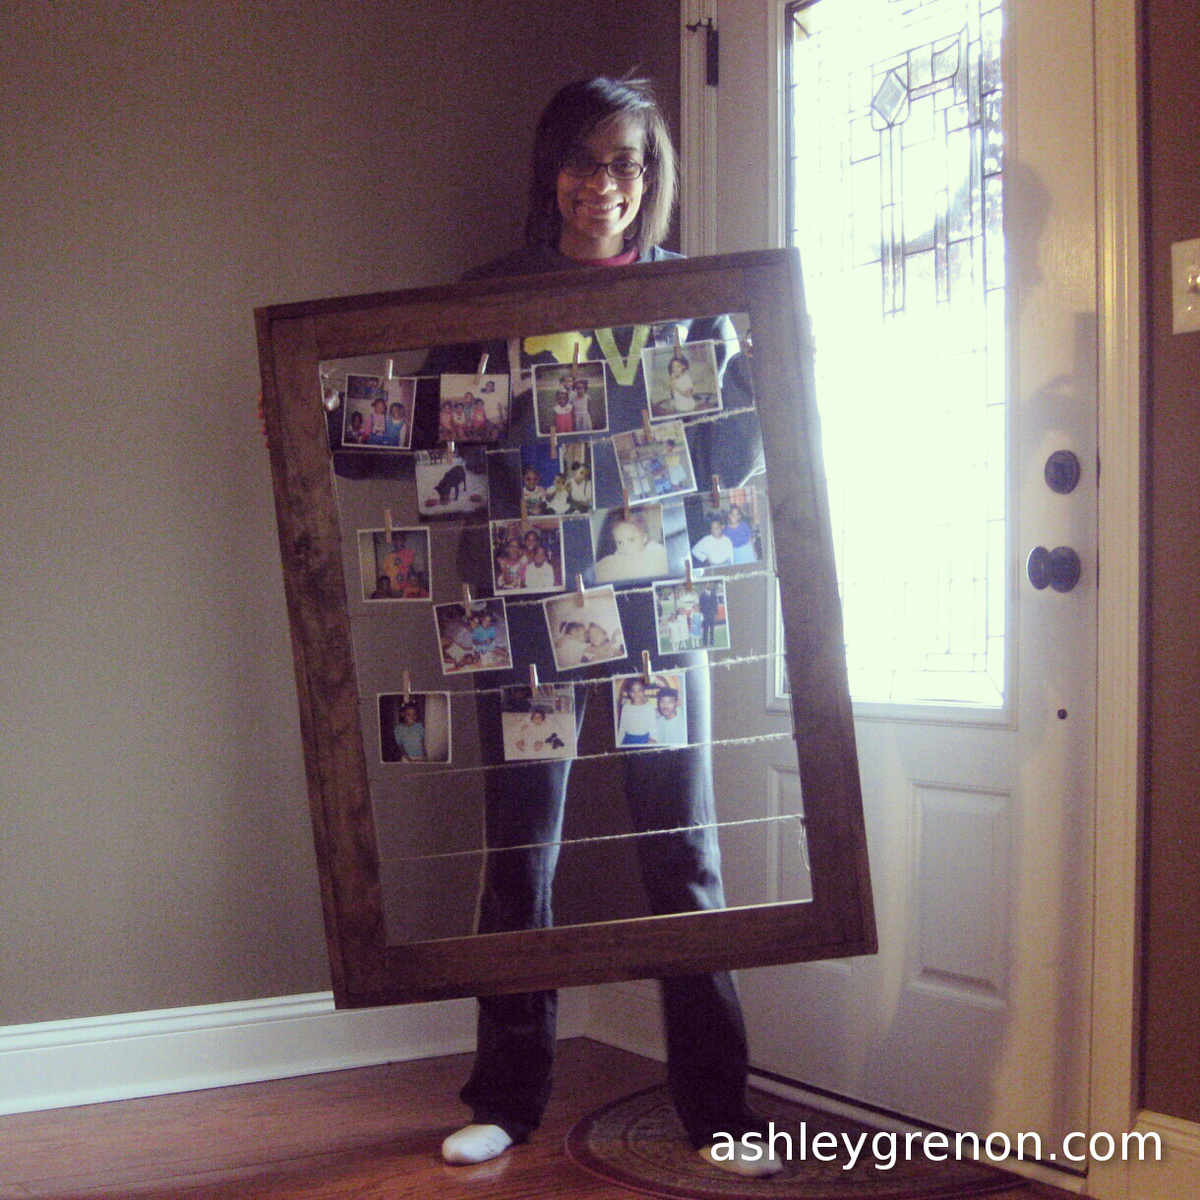
Ashley Makes: Clothesline Picture Frame

This was a quick weekend project.  I built two:  one for myself and another for a sister.  I really like this frame.  It's a neat way of displaying photos.  

You can check out my blog for more build details.

Estimated Time Investment
Afternoon Project (3-6 Hours)
Finish Used
Rust-Oleum's Early American with 2 coats of Minwax Poly Spray
Recommended Skill Level
Beginner

Comments

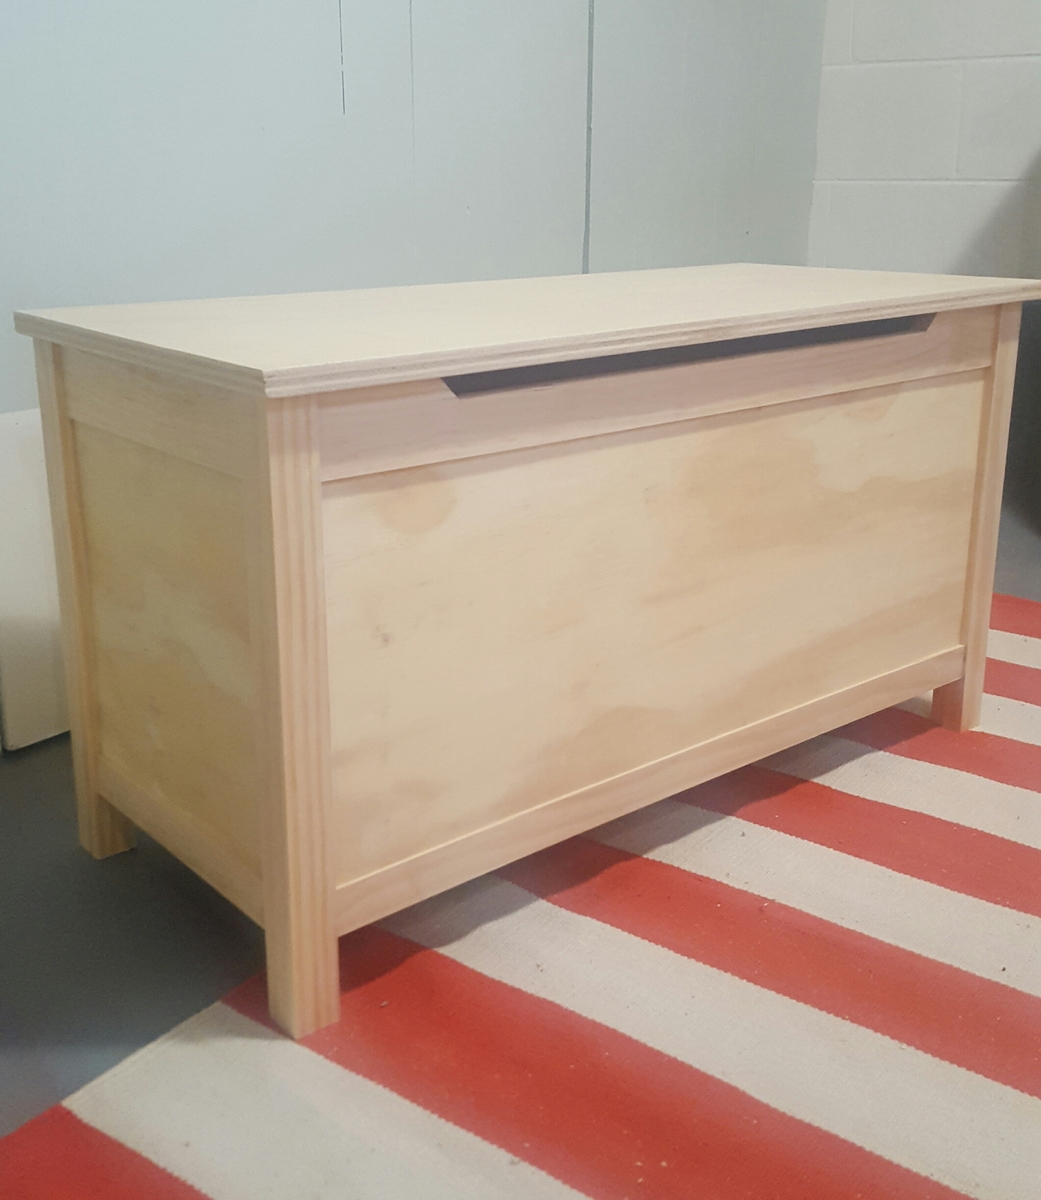
Modern Toy Box

Submitted by Anonymous (not verified) on Sun, 03/19/2017 - 14:32

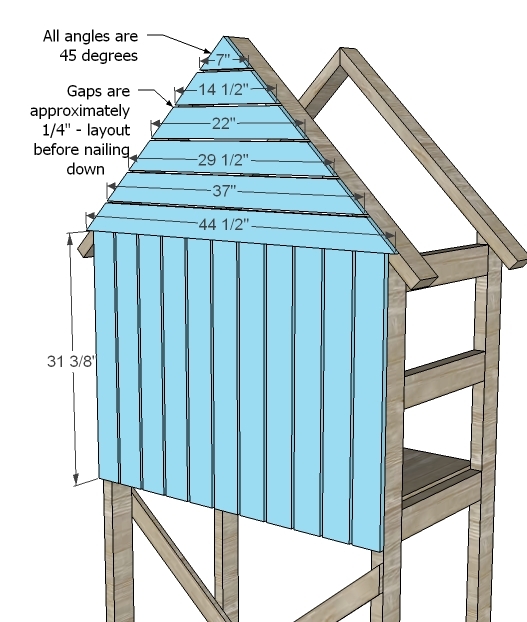
I had a wonderful time making this toy box and learning new techniques. Having access to a table saw really made this project turn out awesome. I was able to get 1/4" shims made that allowed for easy, precise offsets. The family just loved it!
Built from Plan(s)
Estimated Cost
$100
Estimated Time Investment
Weekend Project (10-20 Hours)
Finish Used
ProClassic white paint
Recommended Skill Level
Intermediate

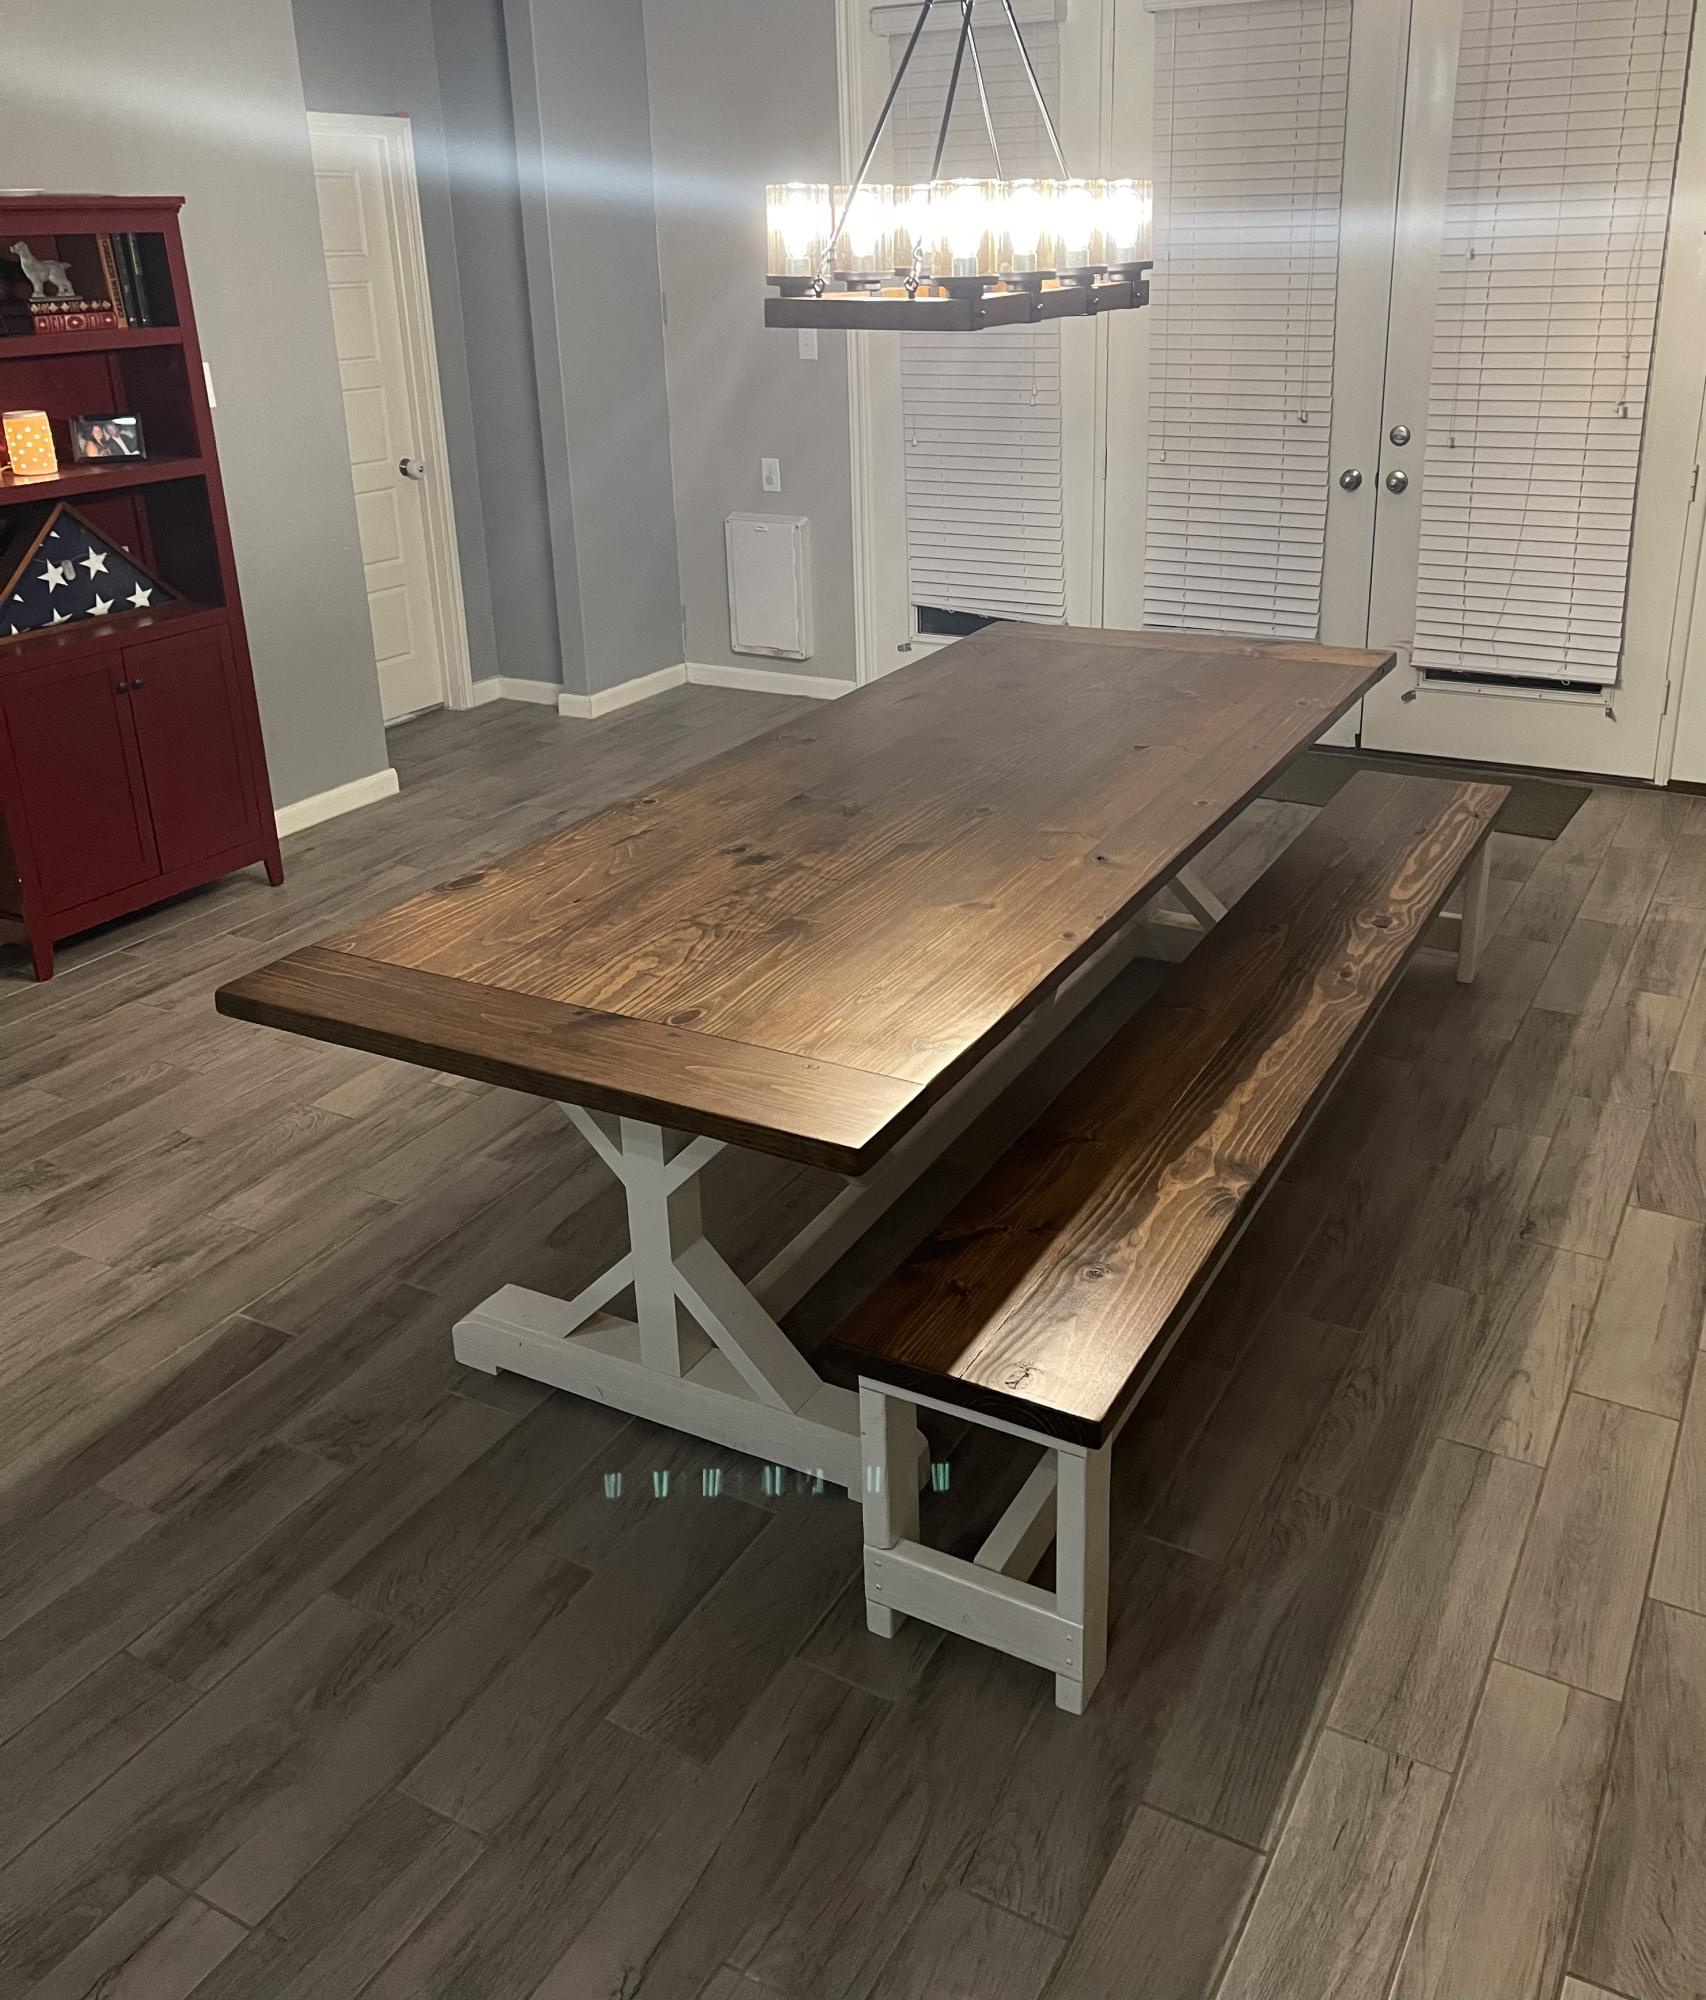
9 ft Fancy X with Bench

Submitted by Anonymous (not verified) on Mon, 01/18/2021 - 19:08

9 ft fancy x farmhouse table with breadboard ends.

Built from Plan(s)
Estimated Cost
$500
Estimated Time Investment
Week Long Project (20 Hours or More)
Finish Used
Minwax early American mixed with special walnut.

Base: rustoleum spray paint in heirloom white.
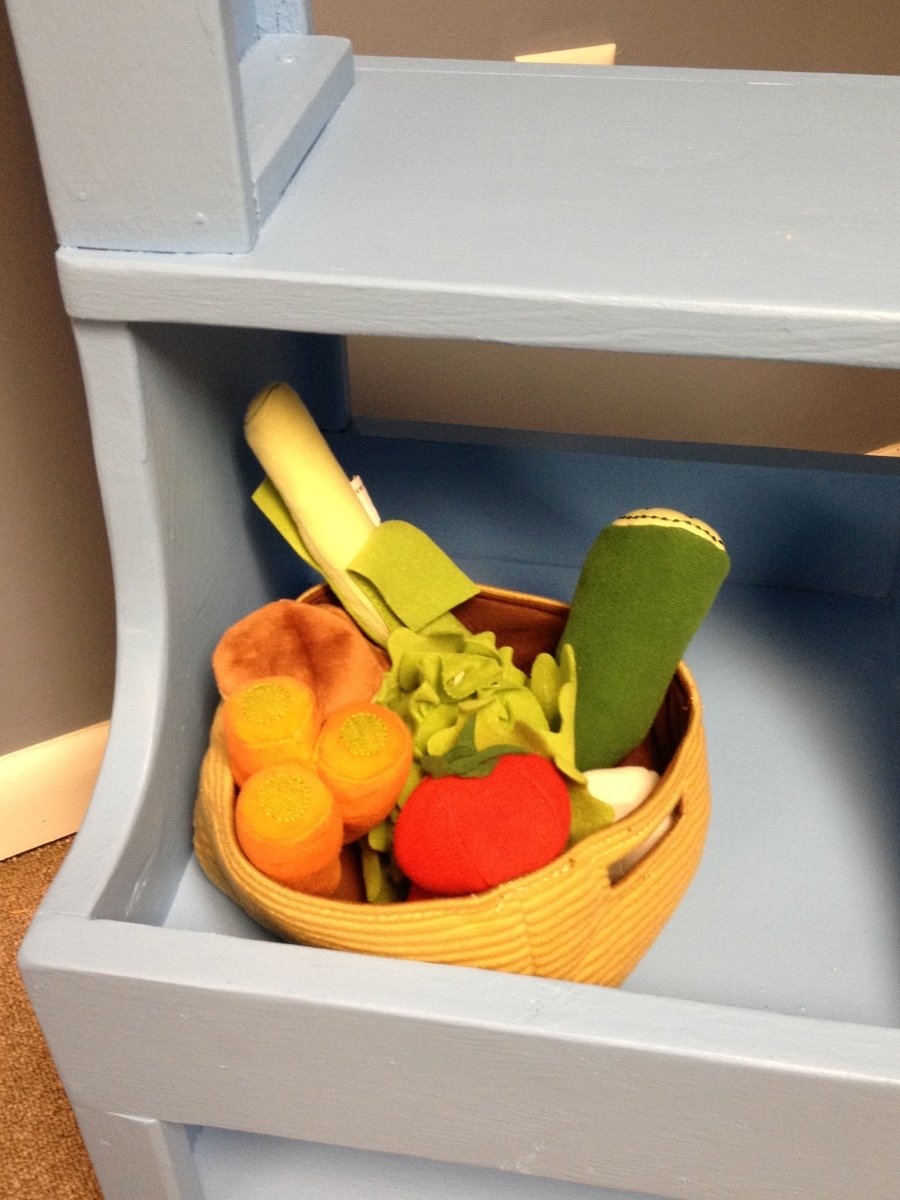
Both sealed with Minwax polycrylic satin finish.
Recommended Skill Level
Intermediate

Comments

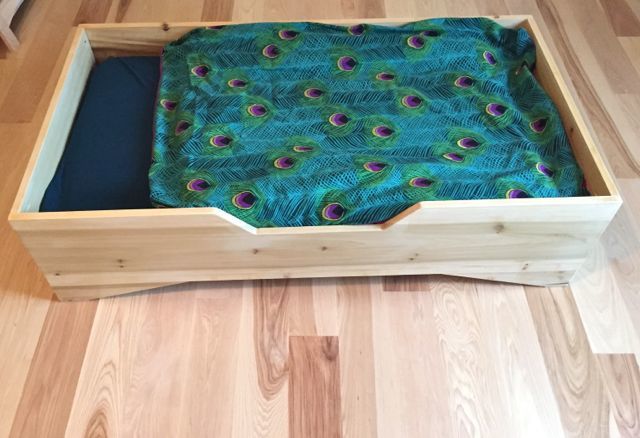
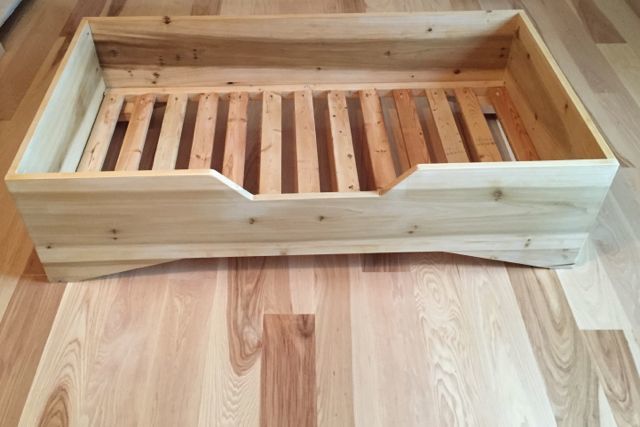
Toddler Bed

Submitted by Delilah on Sat, 12/20/2014 - 10:52

We used the idea of the traditional wood toddler bed but modified it to get the look we were going for.

Built from Plan(s)
Estimated Cost
150
Estimated Time Investment
Weekend Project (10-20 Hours)
Finish Used
minwax natural wood stain and satin poly
Recommended Skill Level
Beginner

Comments

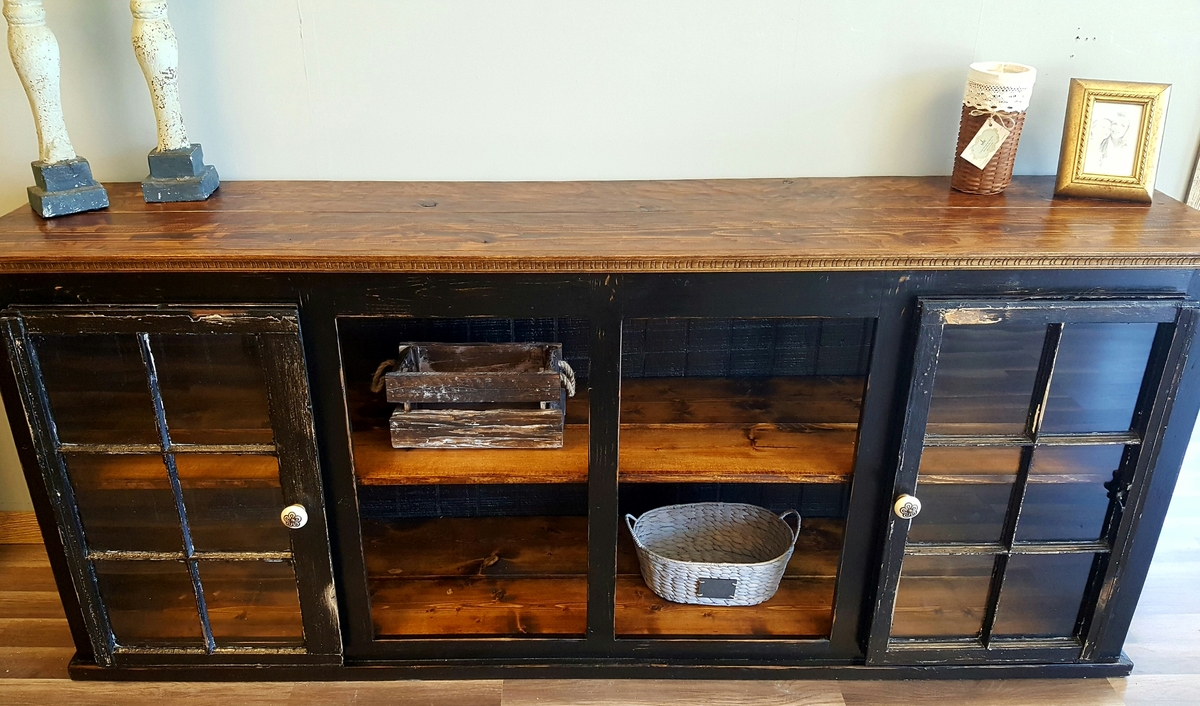
Grandy console

Submitted by Anonymous (not verified) on Tue, 03/21/2017 - 06:13

I took a different direction on the doors instead of using the barn doors I used old wooden windows in place of them. 

Built from Plan(s)
Estimated Time Investment
Weekend Project (10-20 Hours)
Recommended Skill Level
Intermediate

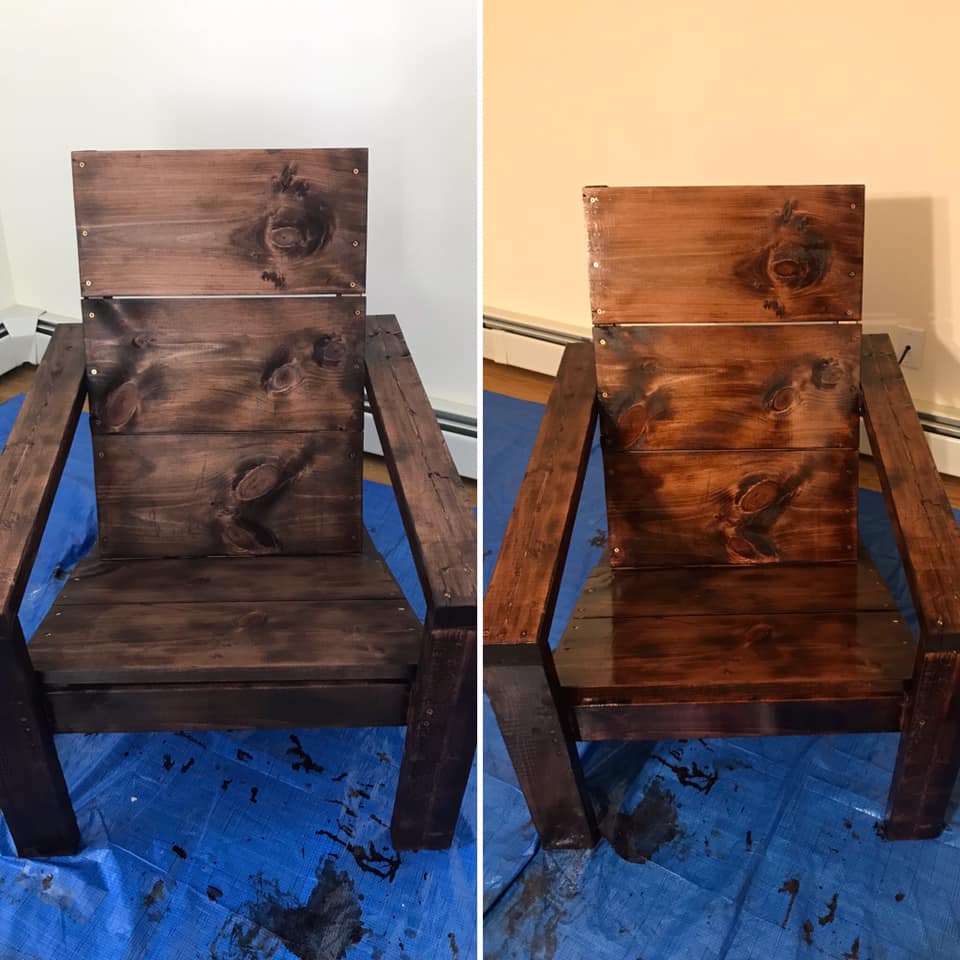
Rustic Adirondack Chair... Nailed it!

My first project using Ana's plans and they were easy to follow! I feel great about the project and plan to expand on it. I may double the width and make a little Adirondack bench seat!

Estimated Cost
$50 with hardware
Estimated Time Investment
An Hour or Two (0-2 Hours)
Finish Used
Mahogany stain and polyurethane

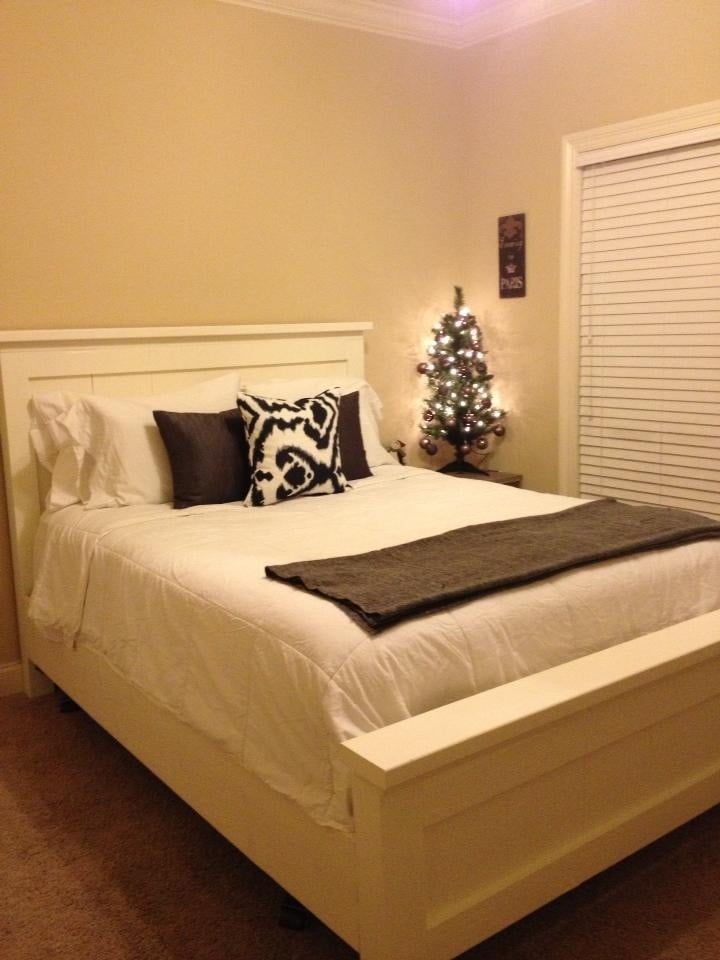
Farmhouse queen sized bed

Submitted by Miaya39047 on Sat, 02/16/2013 - 21:27

This project cost about 120.00 to make and about a weekend to build it. Plans make it very easy and it's beautiful and sturdy. I painted it antique white and used 1 coat of polycrylic on it.

Built from Plan(s)
Estimated Time Investment
Weekend Project (10-20 Hours)
Recommended Skill Level
Beginner

Comments

Seasonal And Holiday

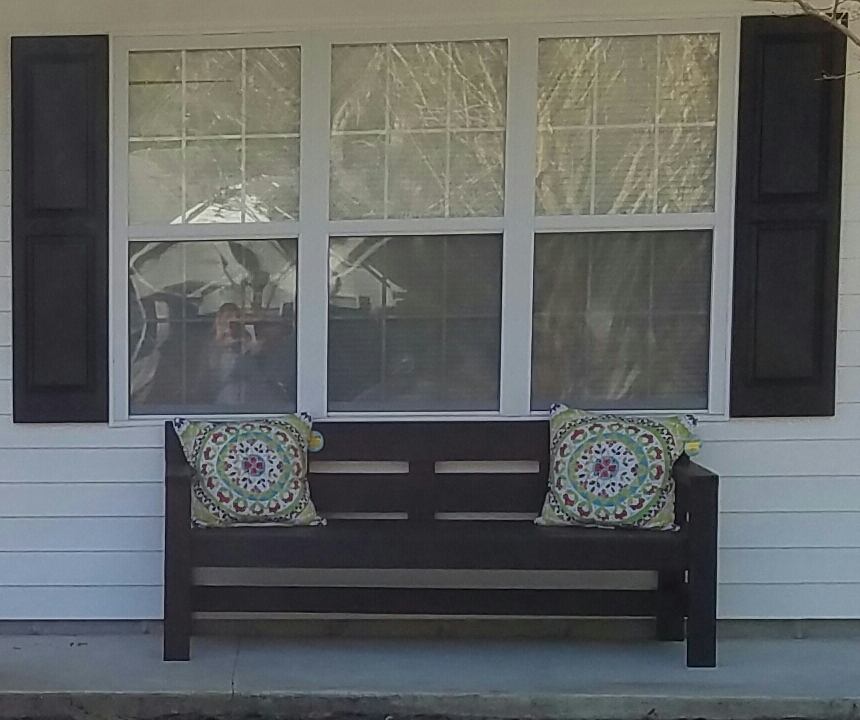
Modern bench

Submitted by Anonymous (not verified) on Fri, 03/24/2017 - 16:11

easy and fun .. our front porch loves it

Estimated Cost
40
Estimated Time Investment
Afternoon Project (3-6 Hours)
Recommended Skill Level
Beginner

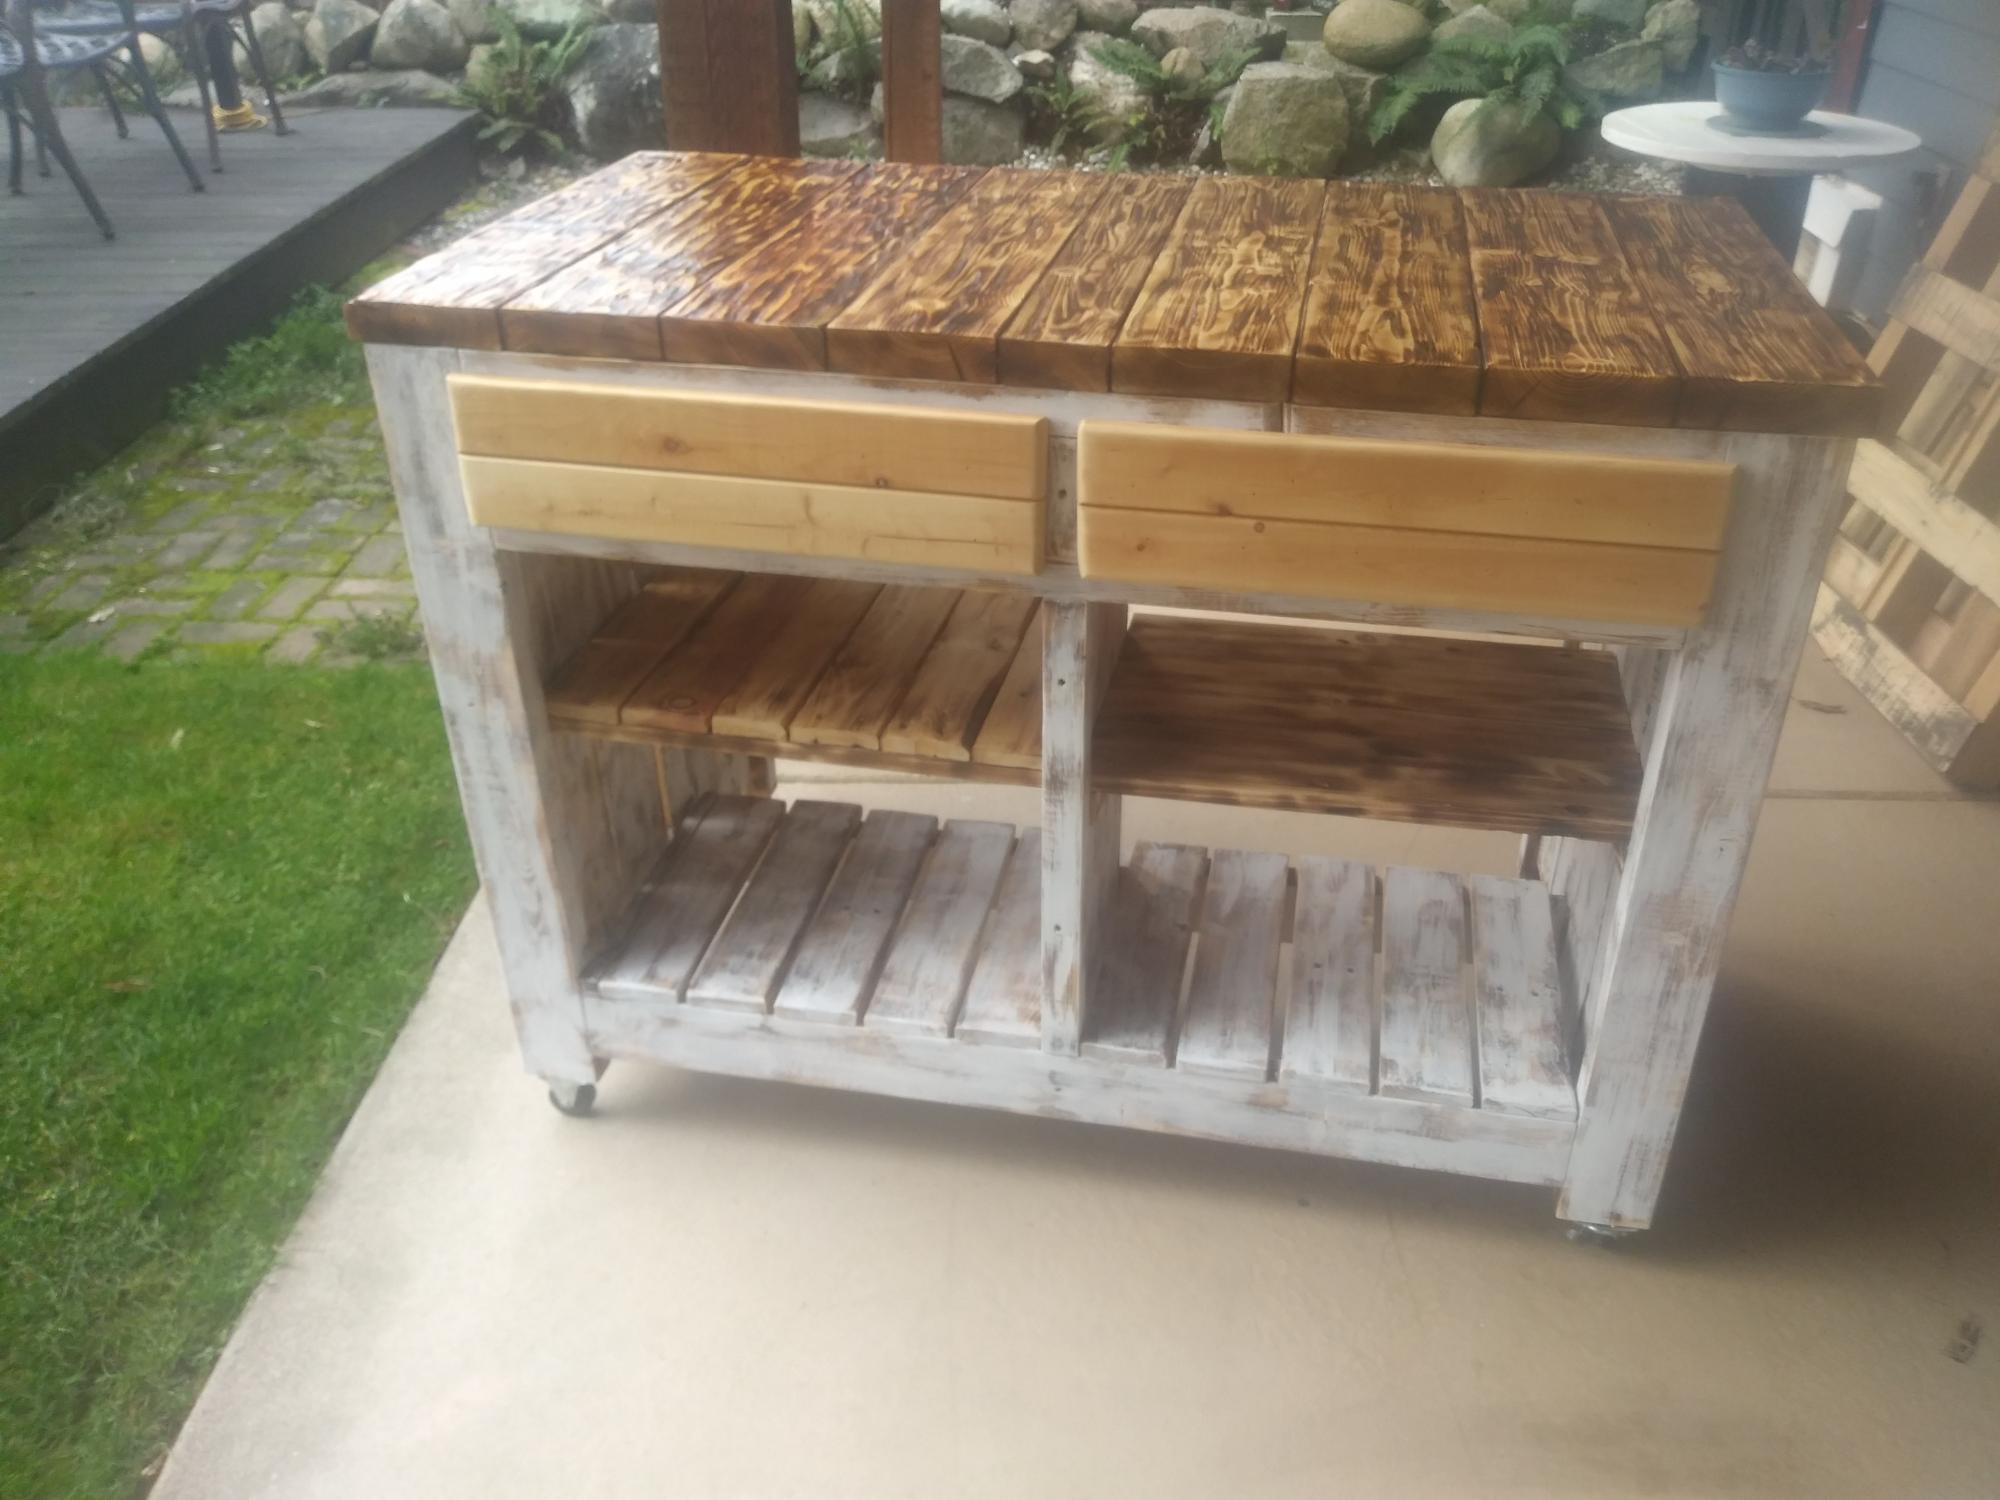
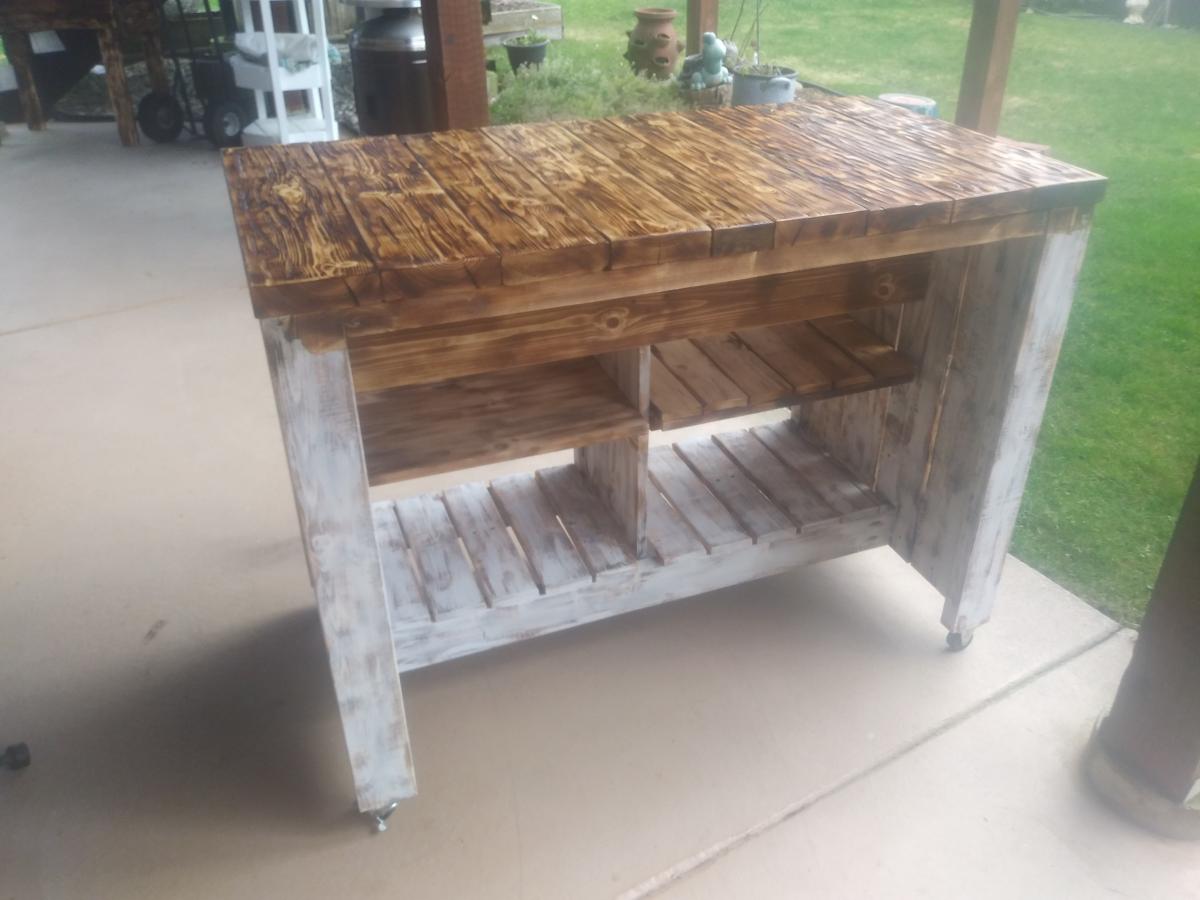
Kitchen Island with pallet wood

Submitted by Anonymous (not verified) on Sat, 01/23/2021 - 19:35

After following Ana Whit and other bloggers for a long time i figured my skills were at a level to try an advanced build like the Kitchen Island.. But i also wanted to challenge myself even more and was determined to make it from as much reclaimed wood as i could, mainly pallet wood.
With a lot of modifications to make it work i think I got a good result from these plans.

While i used as much reclaimed wood as i could, i still needed some clean 2x4's , 2x2's

Built from Plan(s)
Estimated Cost
$50
Estimated Time Investment
Week Long Project (20 Hours or More)
Finish Used
I burned the top and used a cup wire brush on an angle grinder to get the effect of barn wood. then a couple coats of lacquer on the top. And a spray finish of polyacrylic for everything else.
chalk pain ( linin) to do the White wash
Recommended Skill Level
Advanced

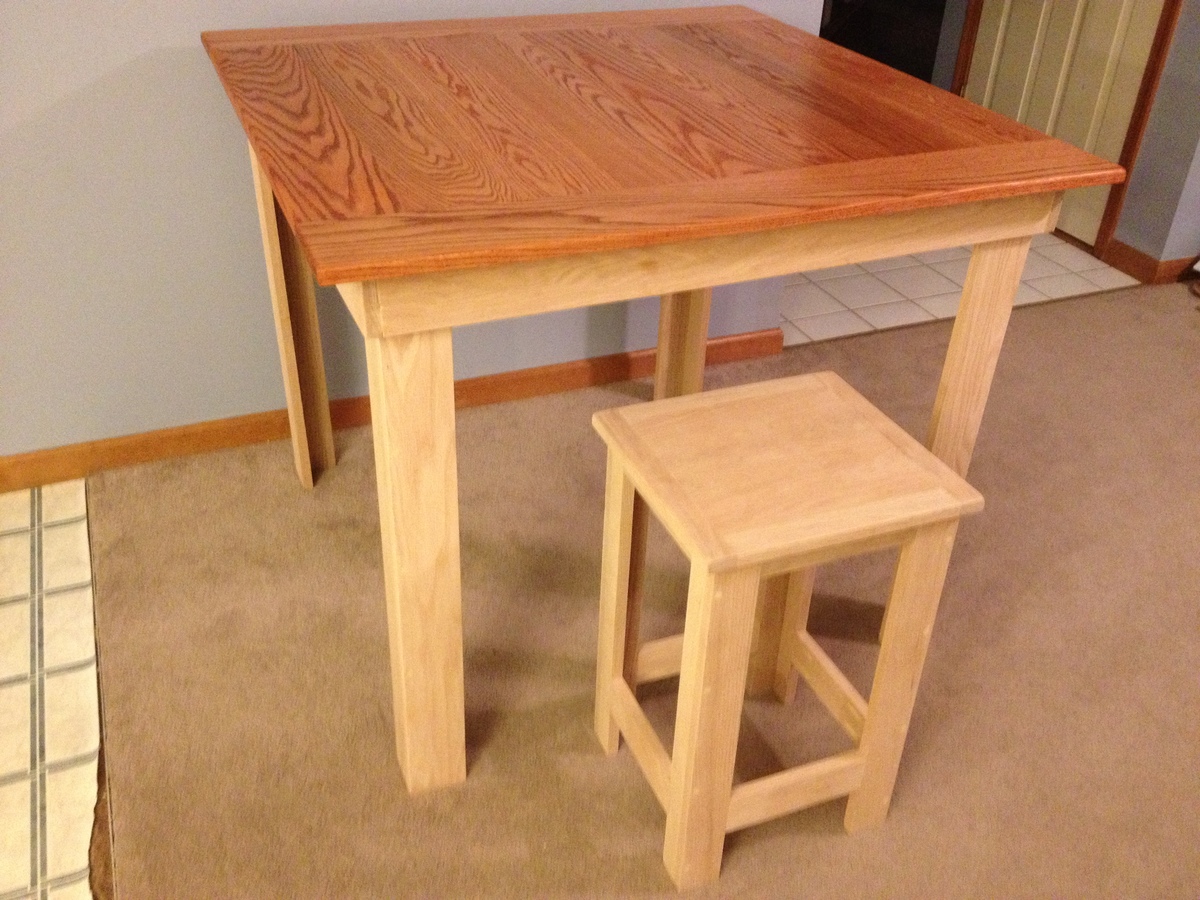
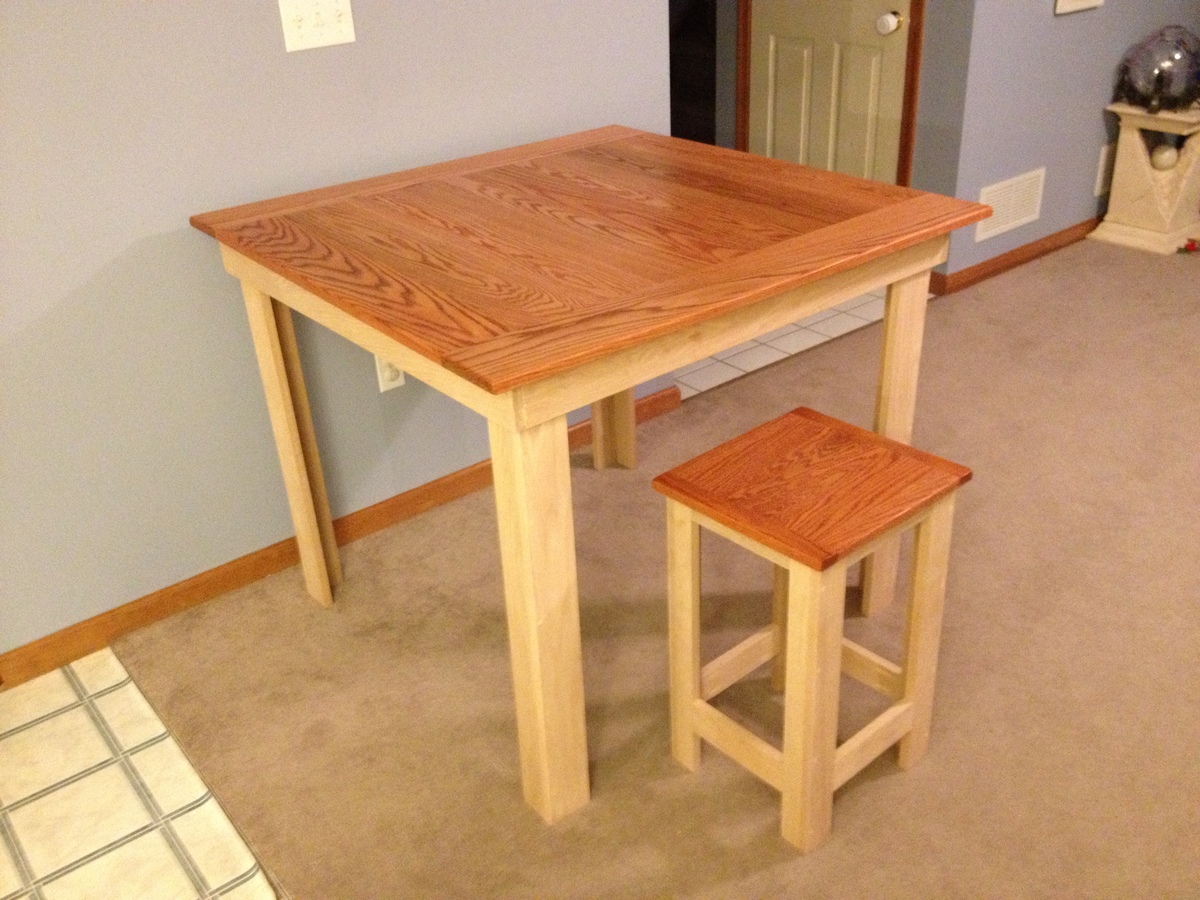
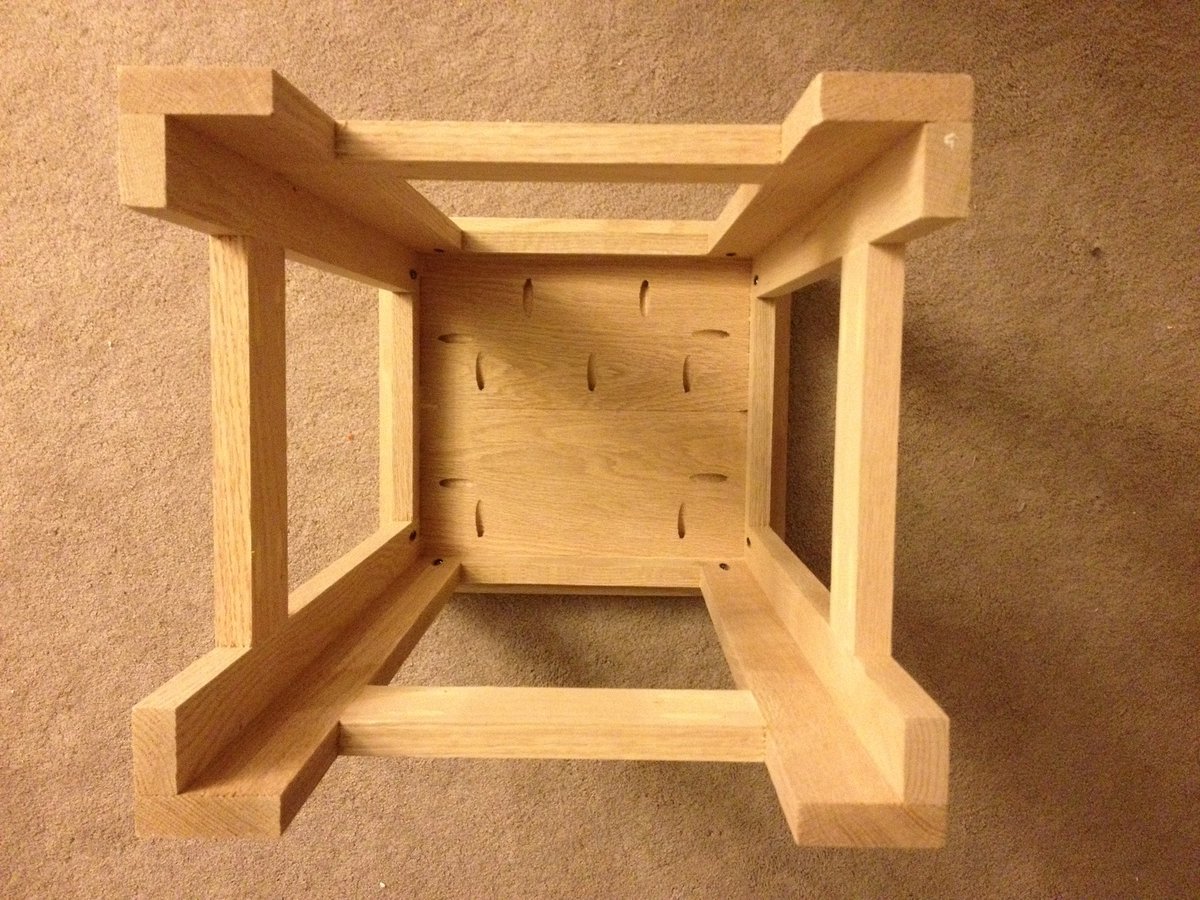
Pub table Stools

Submitted by adecesare4 on Mon, 02/18/2013 - 11:33

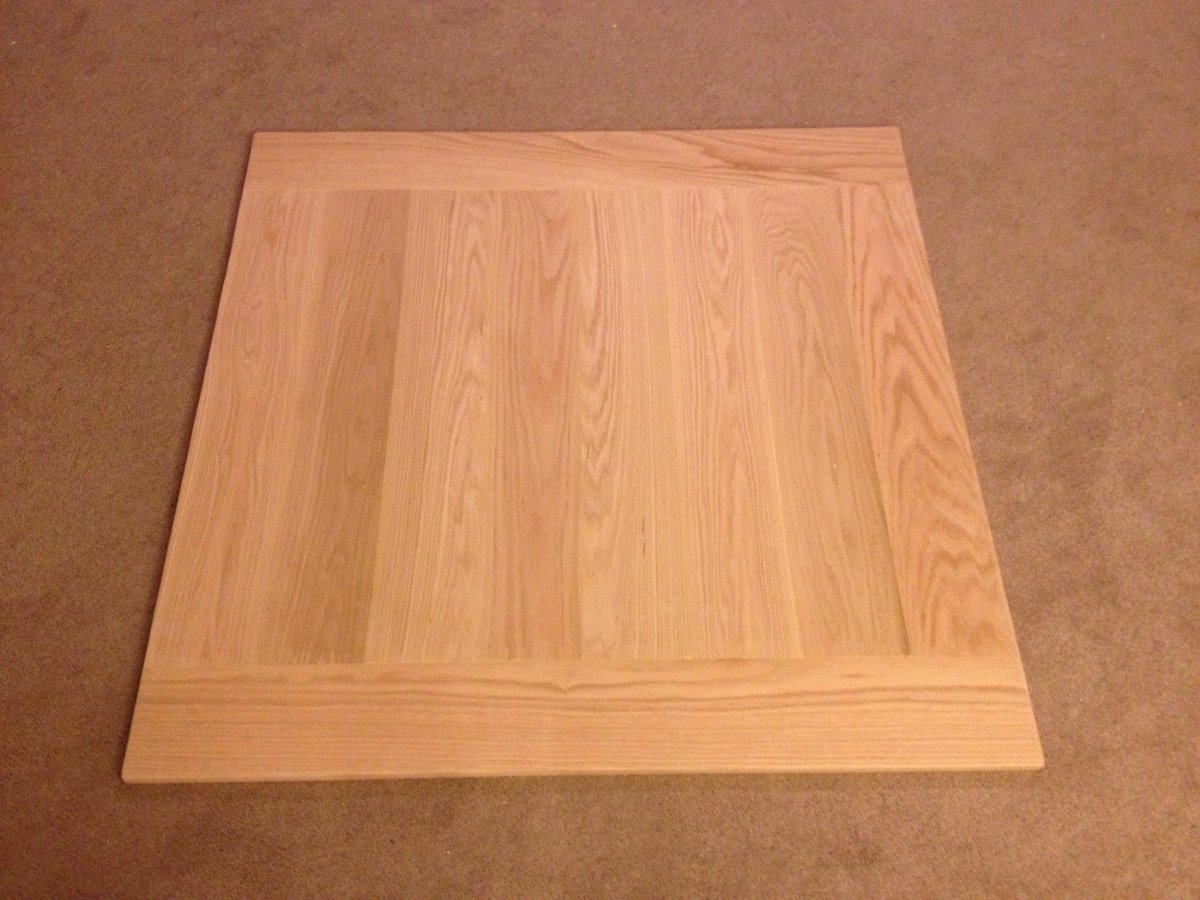
As stated in my table post, I just wasn't happy with what I was finding in the stores as nothing seamed sturdy nor made out of solid material. So I built a pub table and these stools to match.

I combined the stools from multiple projects and eventually just made my own measurements and mimicked the table construction that I made.

Although more expensive, I used Oak so it is sturdy and will take more than normal wear and tear (as I have three young boys under 10)

Estimated Cost
maybe $40 a stool
Estimated Time Investment
Weekend Project (10-20 Hours)
Finish Used
Rustoleum Traditional Cherry
Minwax Polyacrylic
Recommended Skill Level
Intermediate

Comments