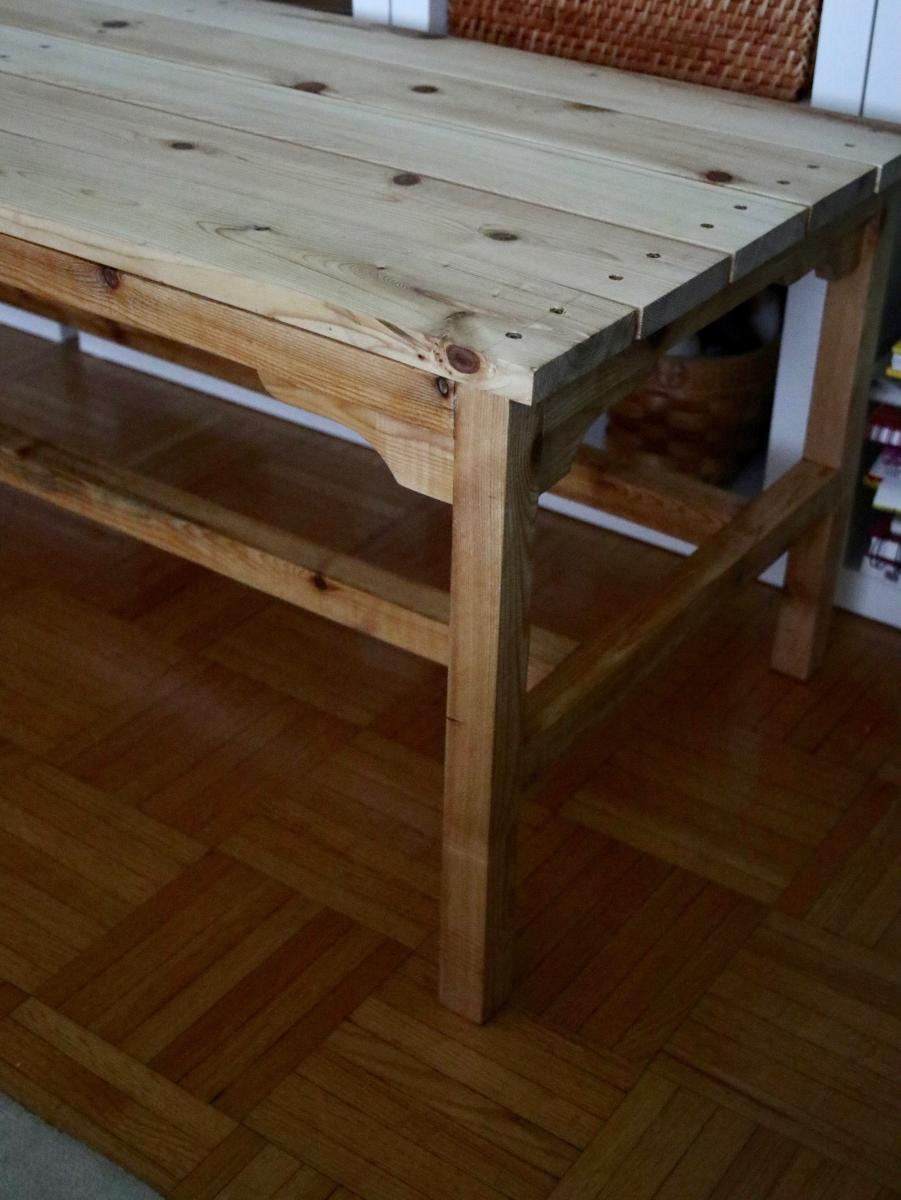
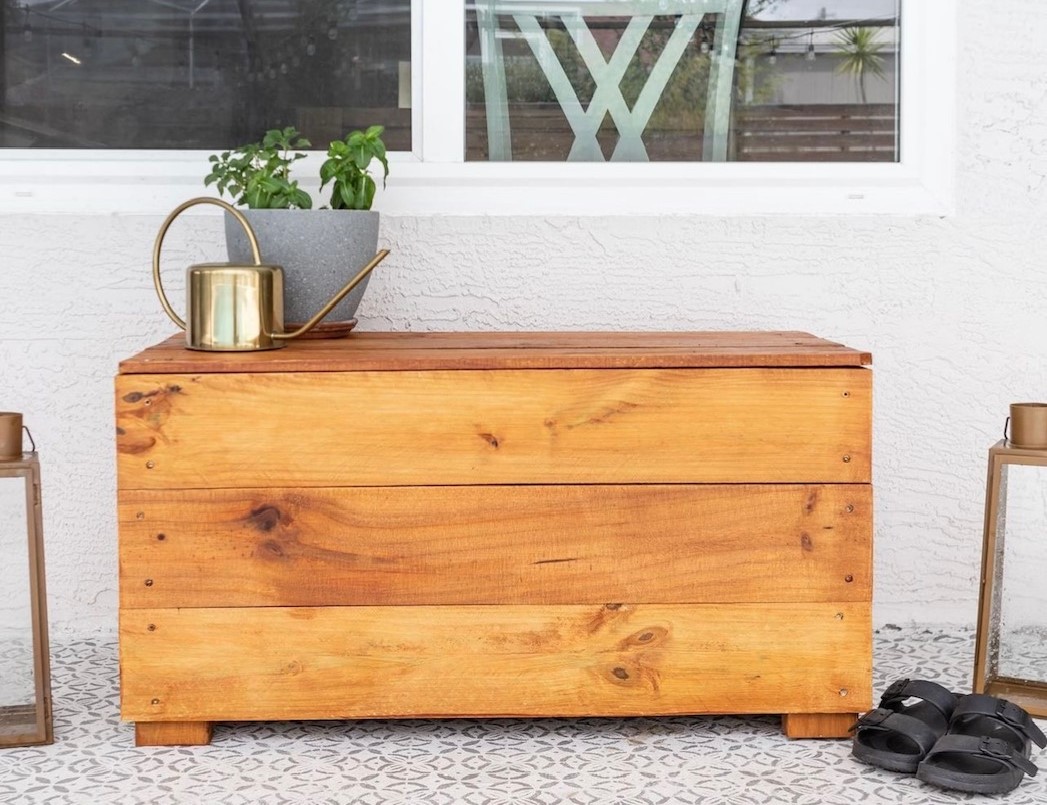
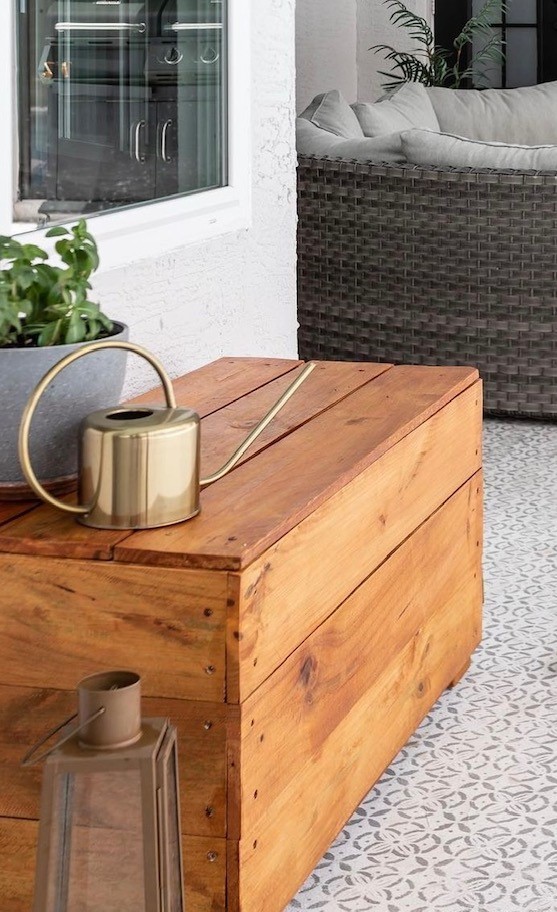
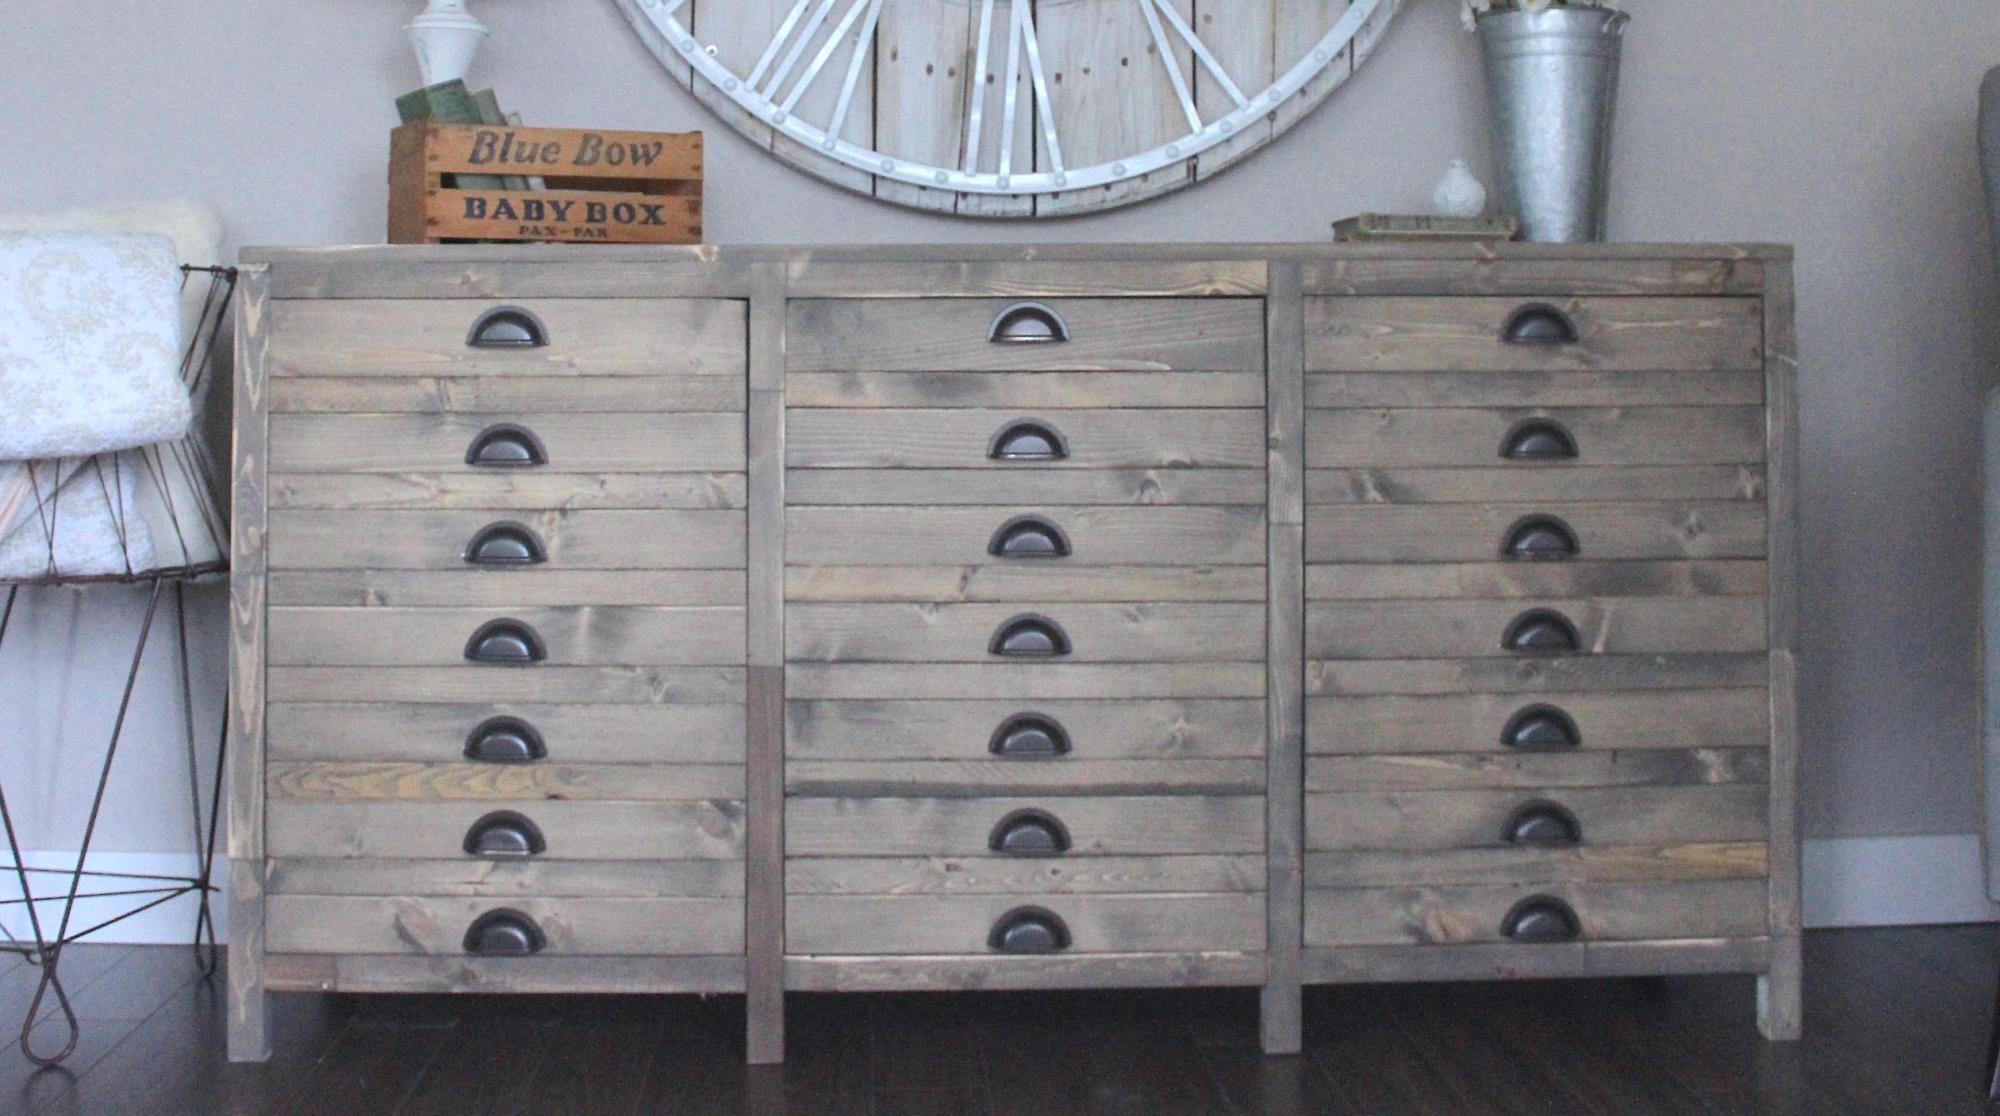
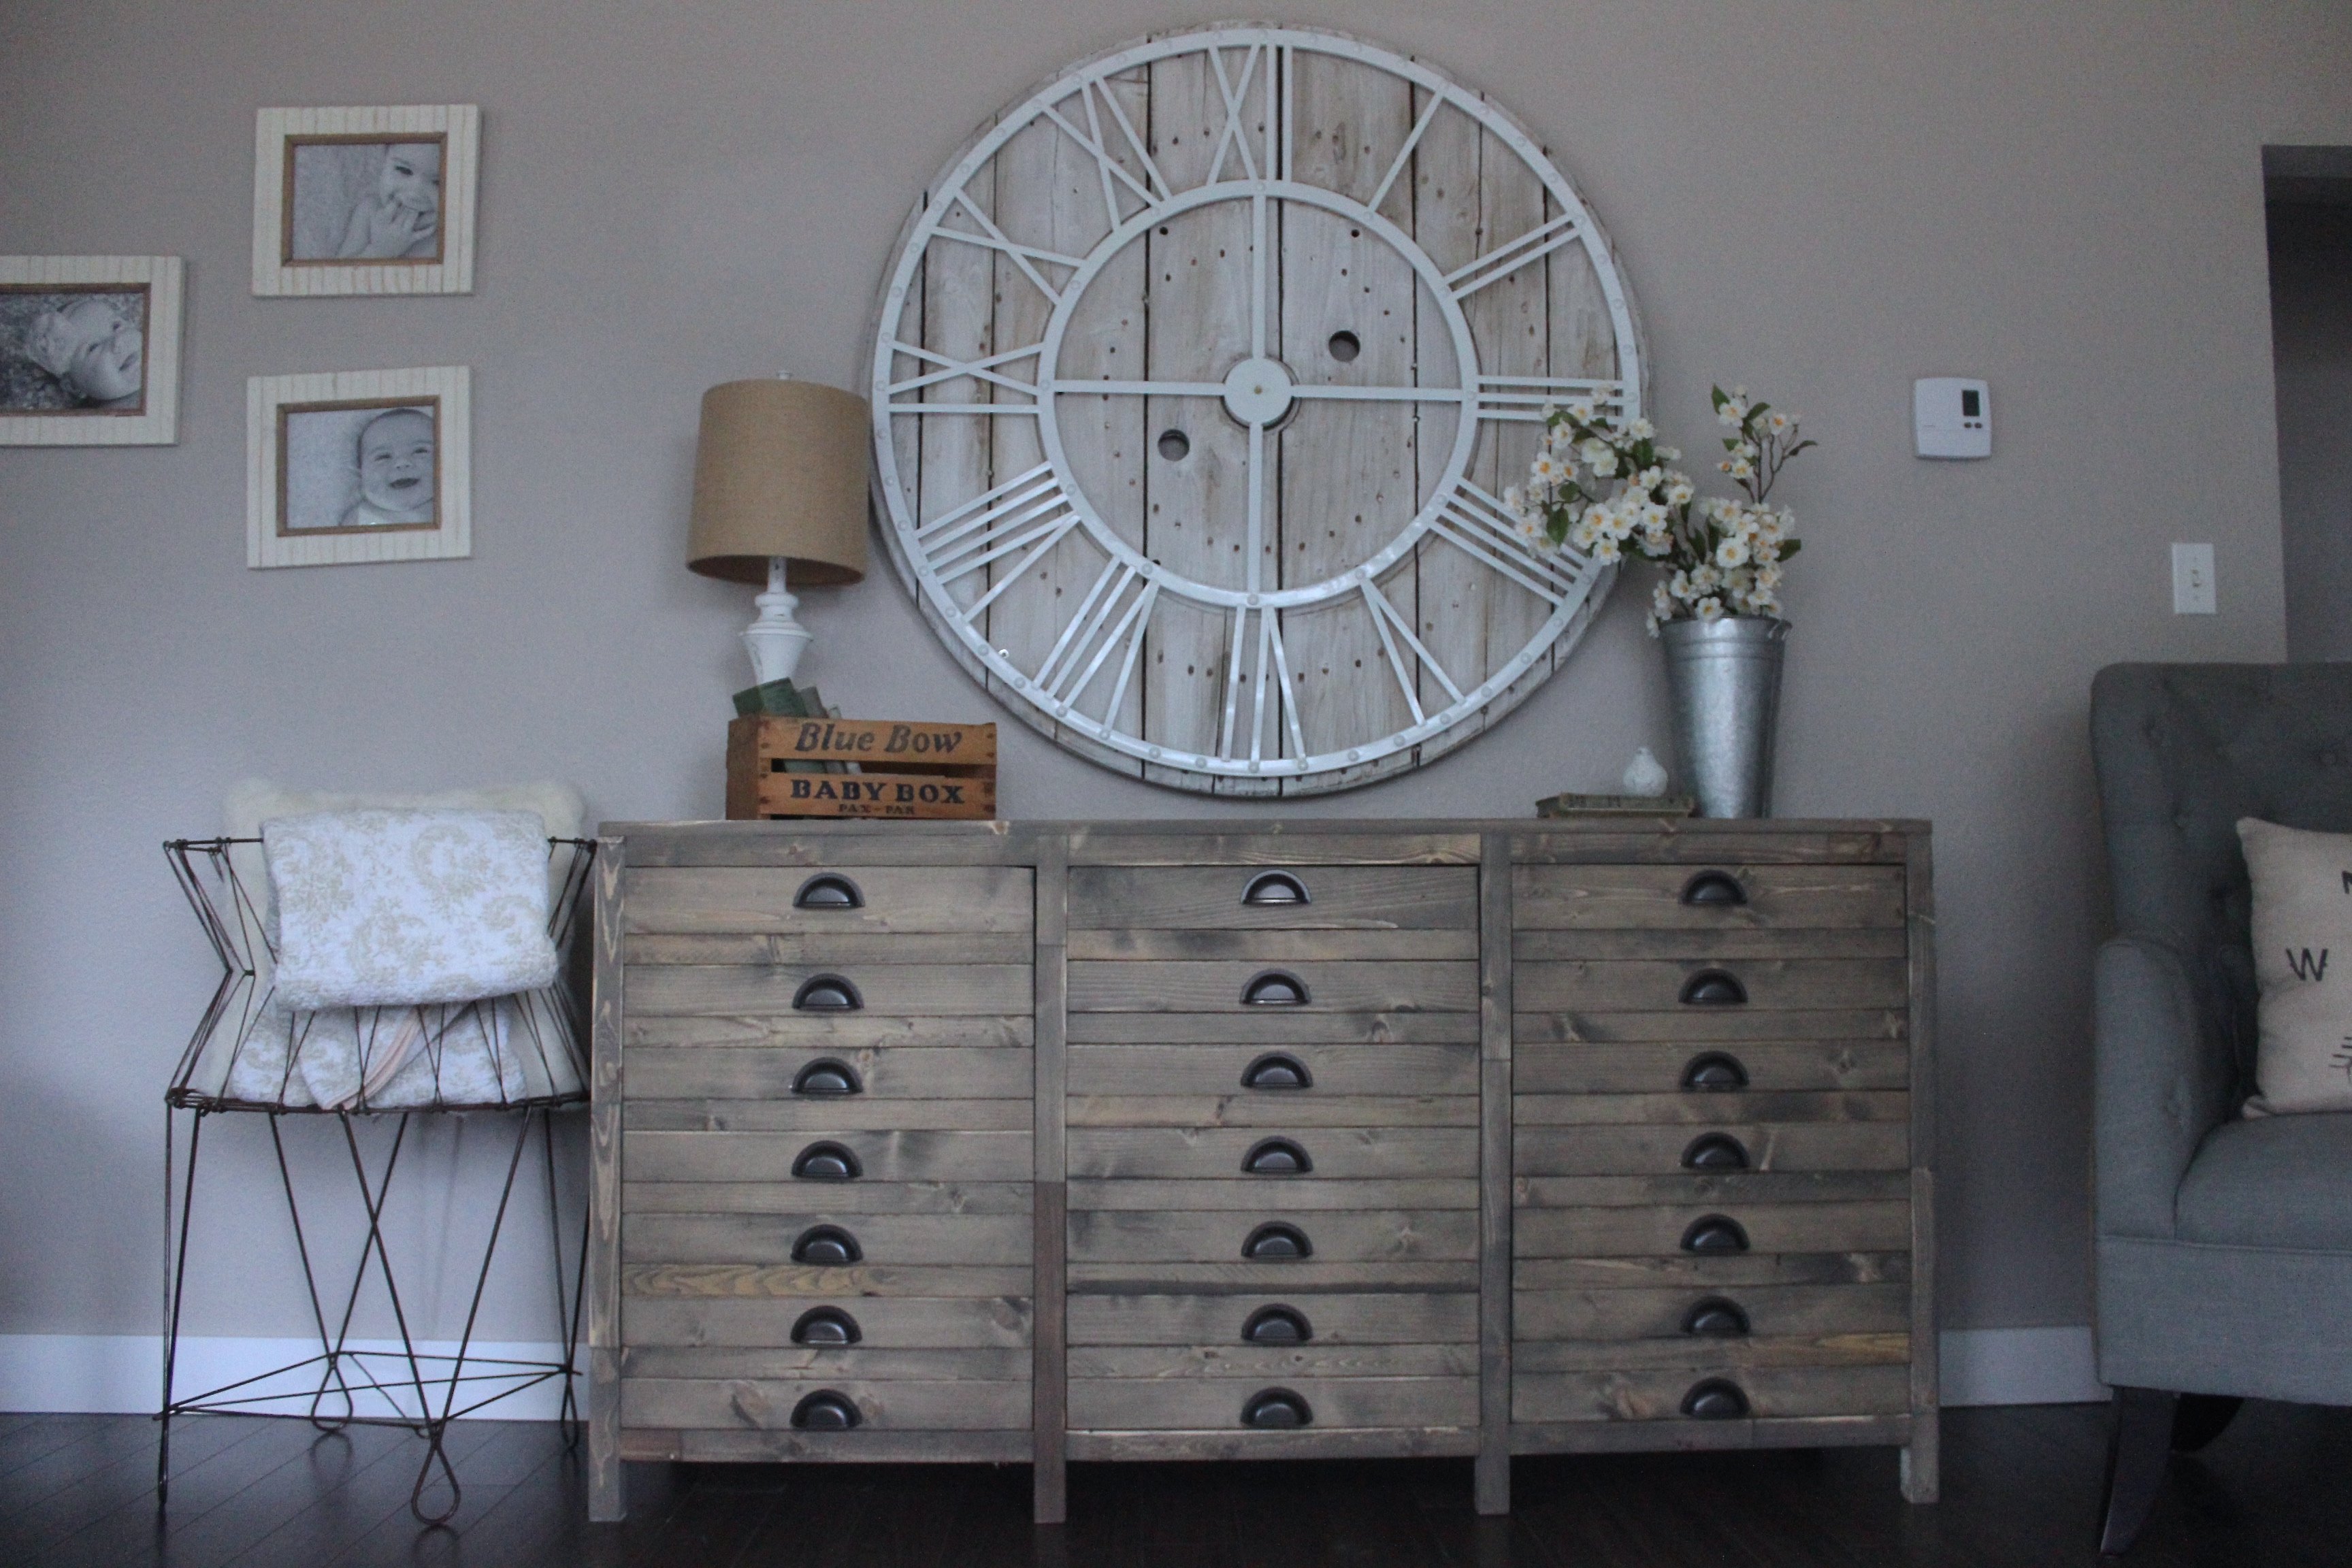
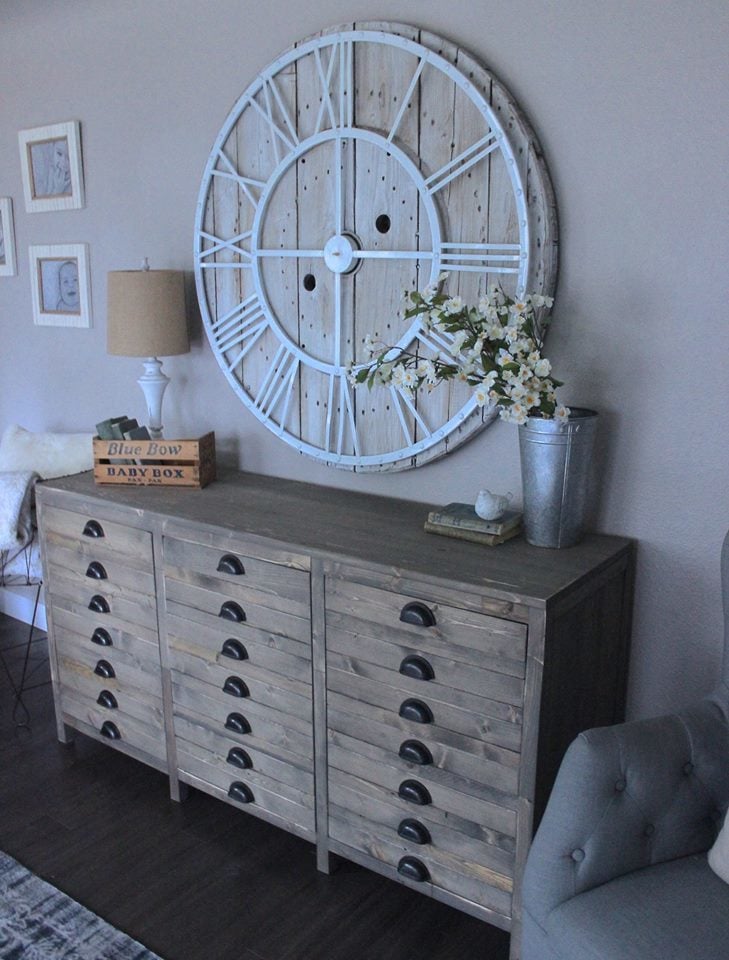
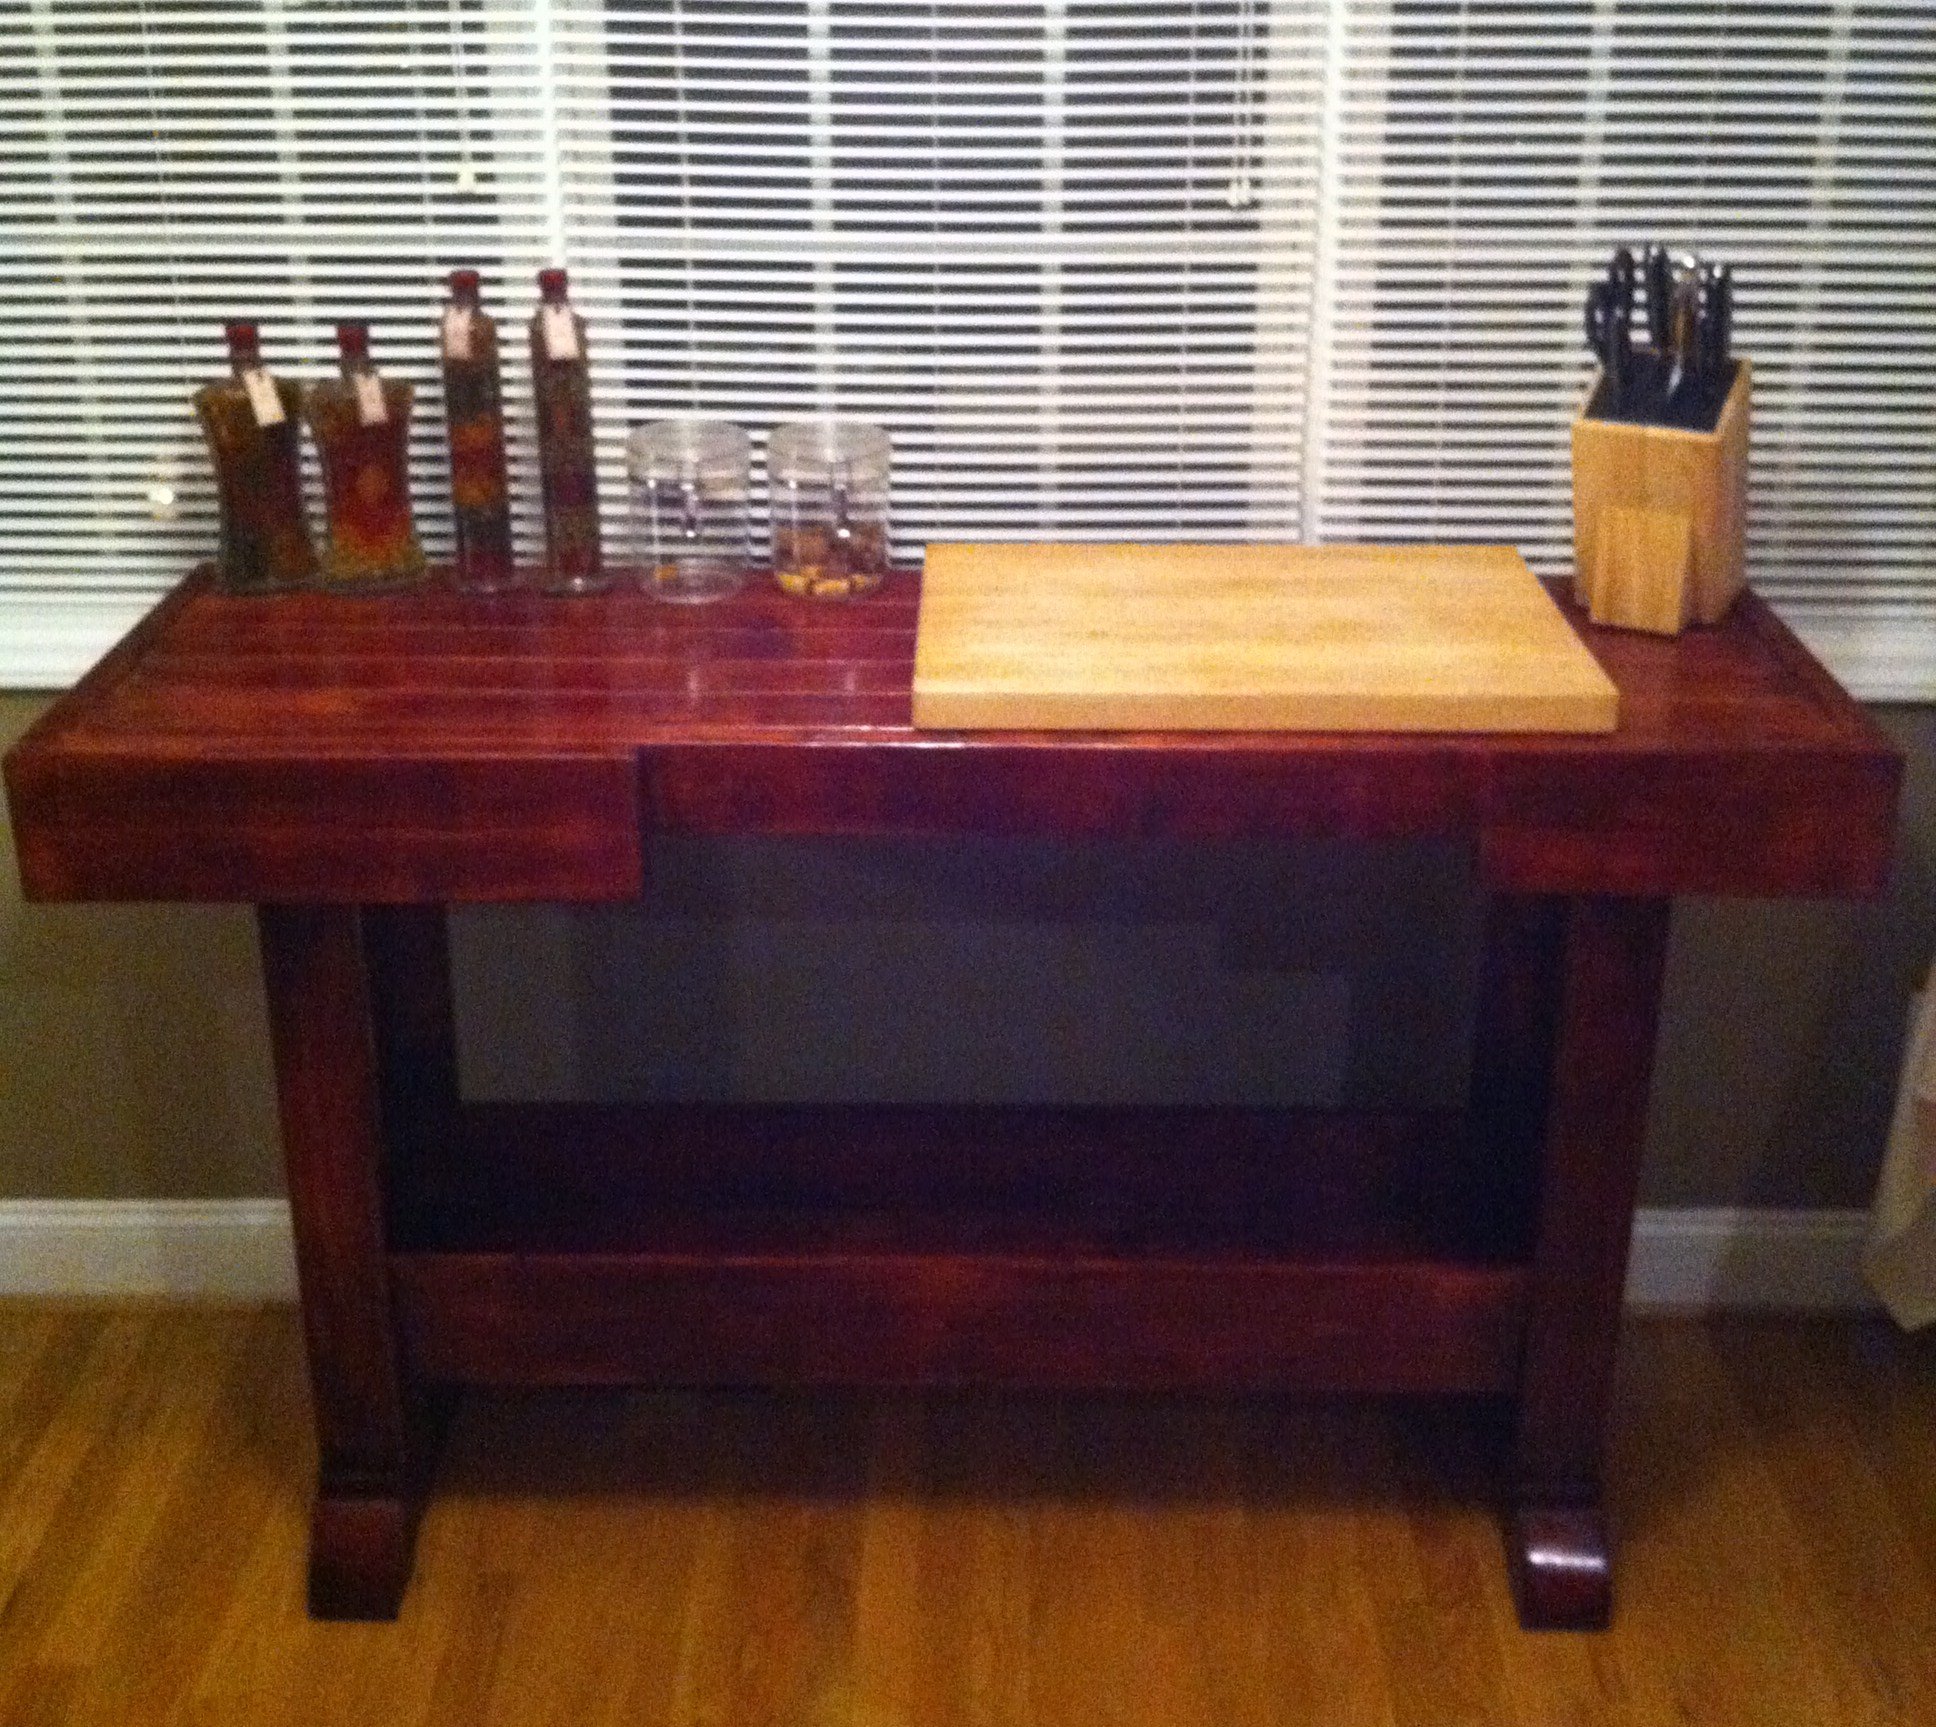
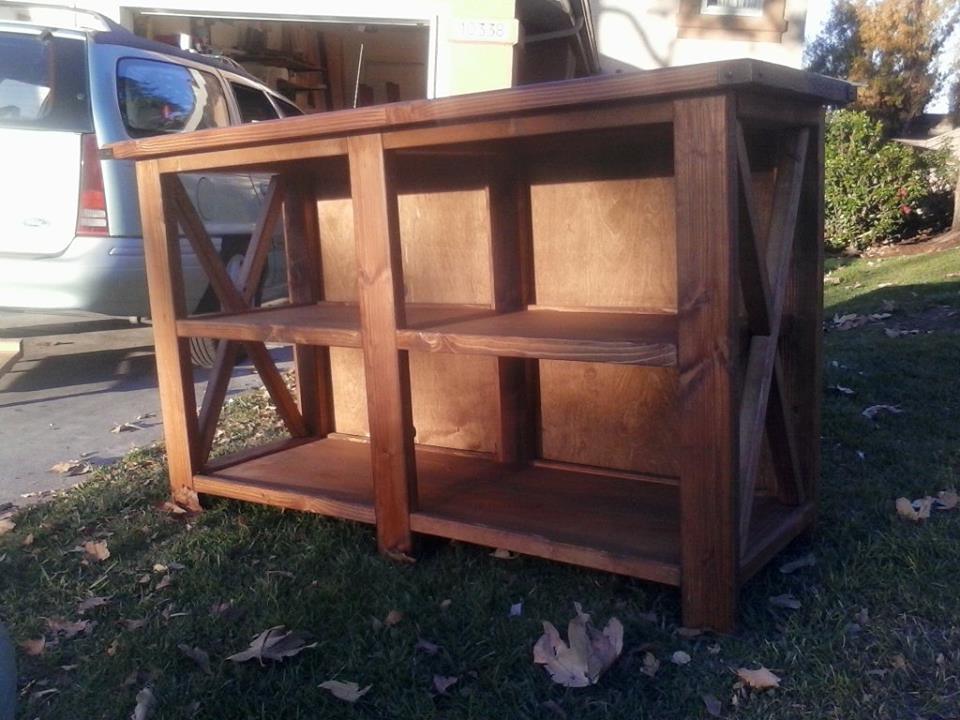
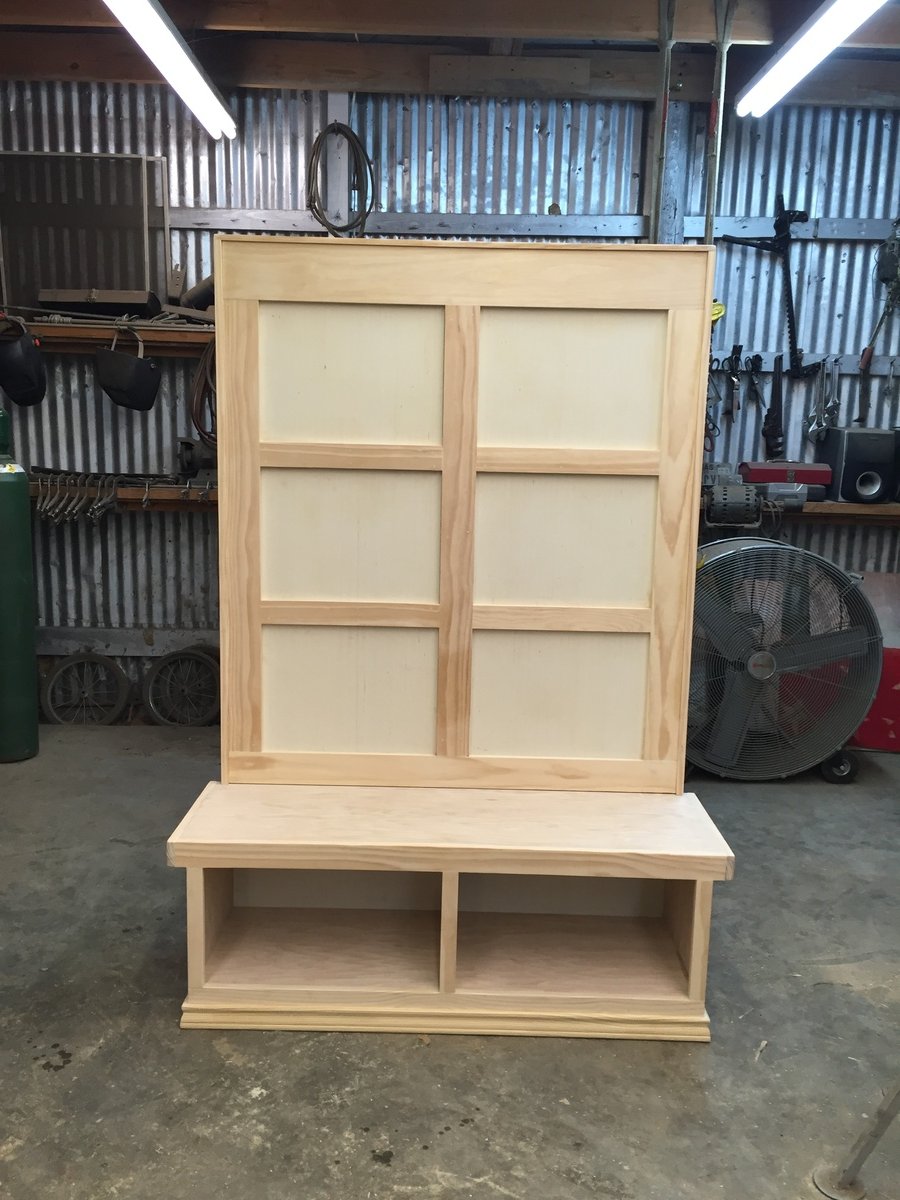
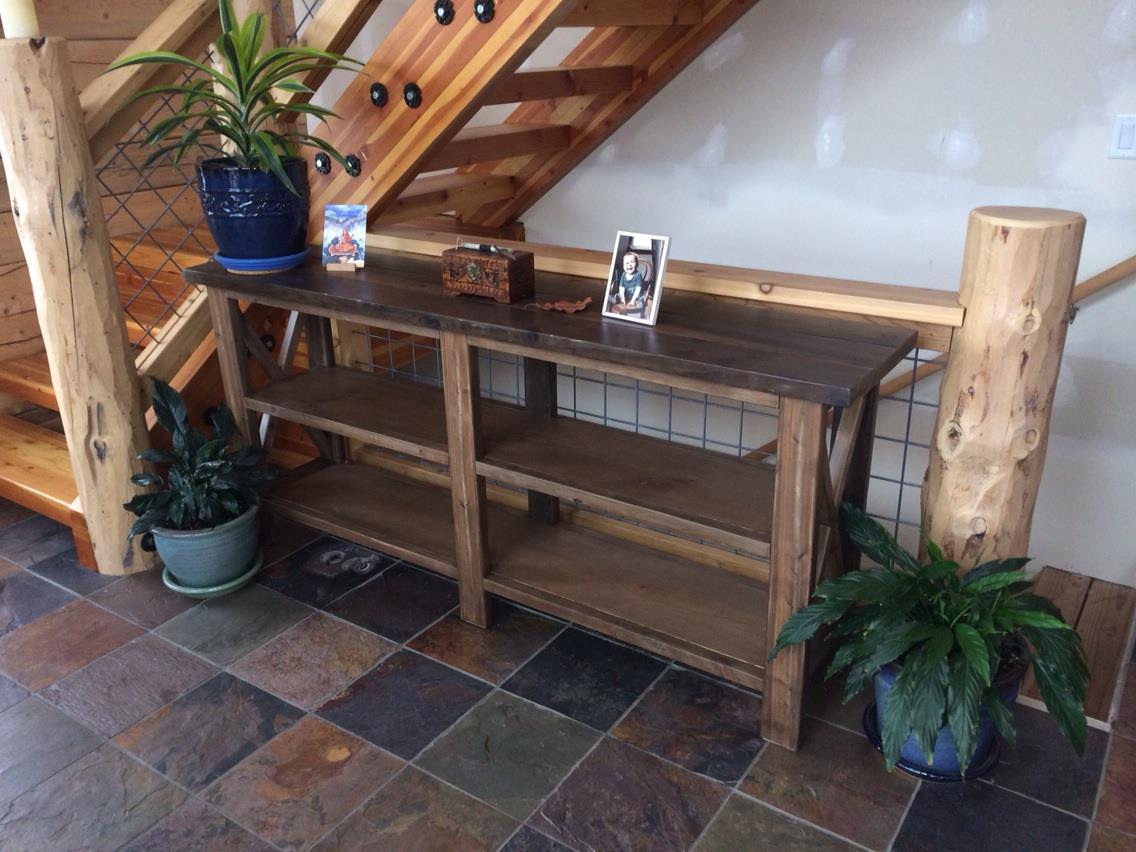
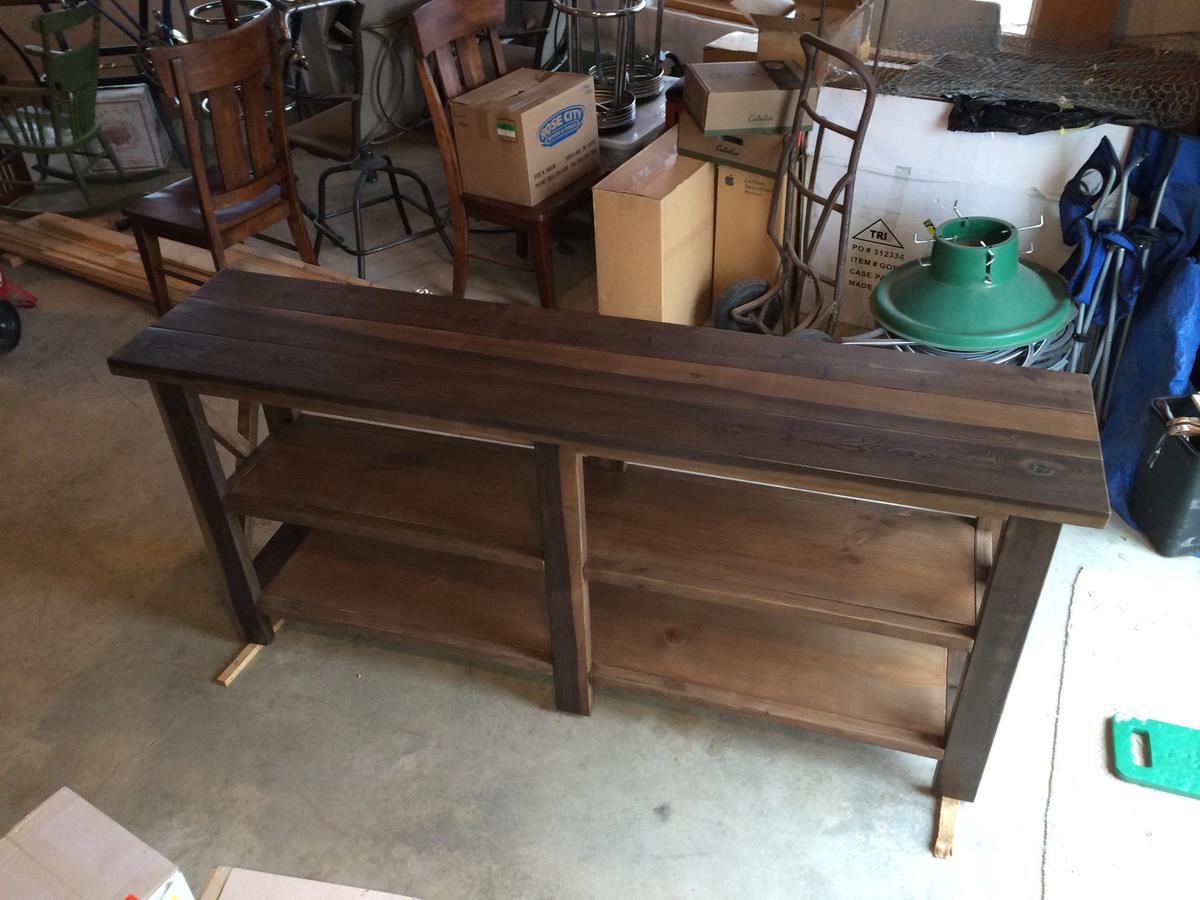
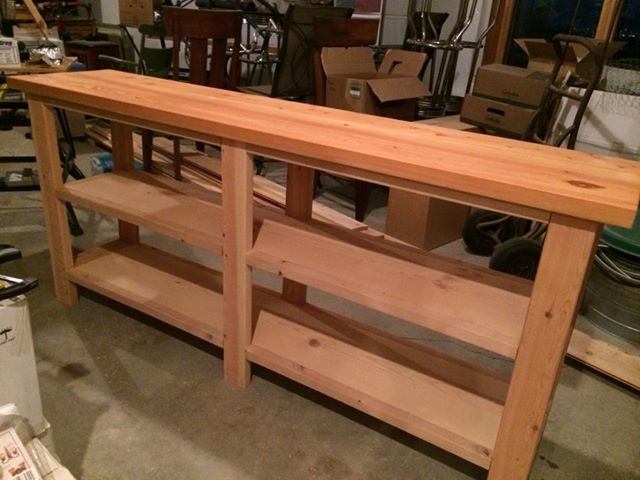
Variation of Planked Sideboard

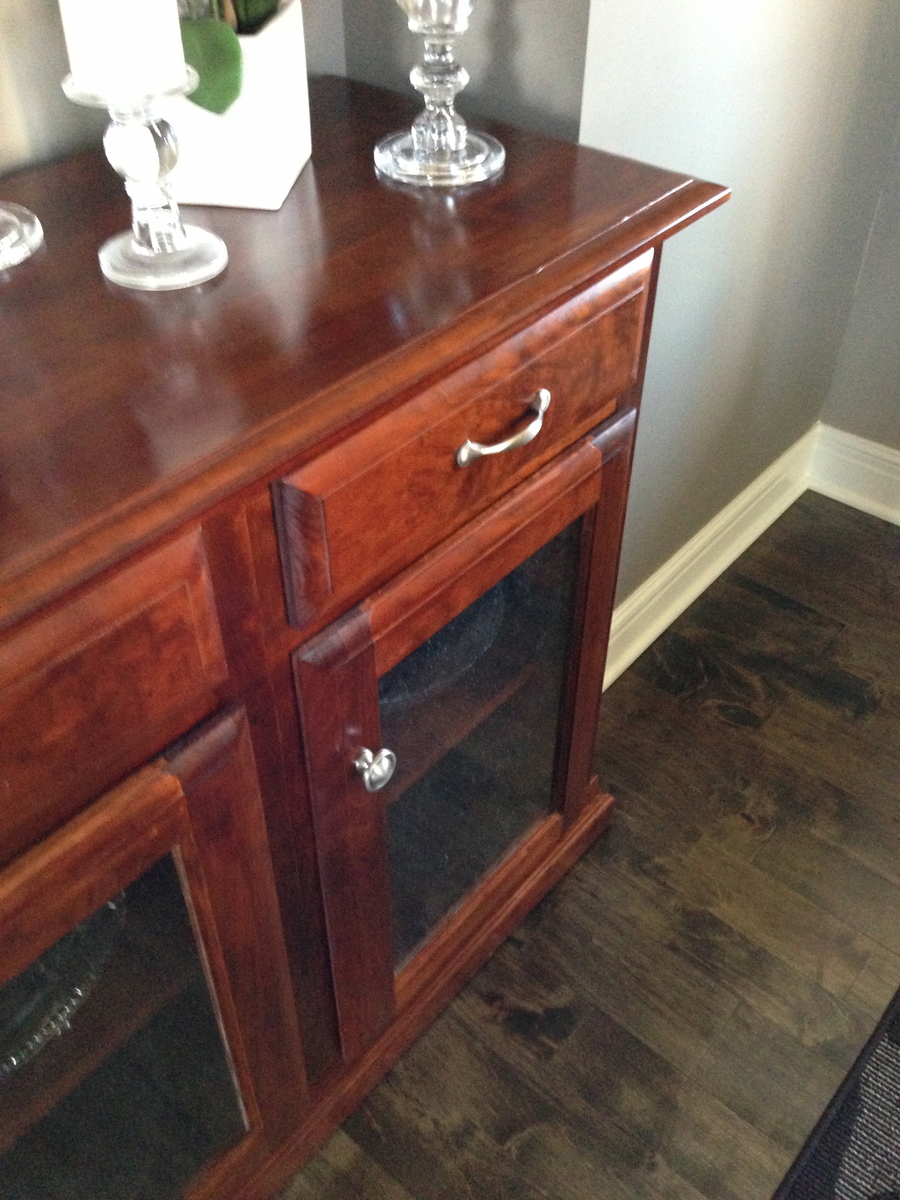
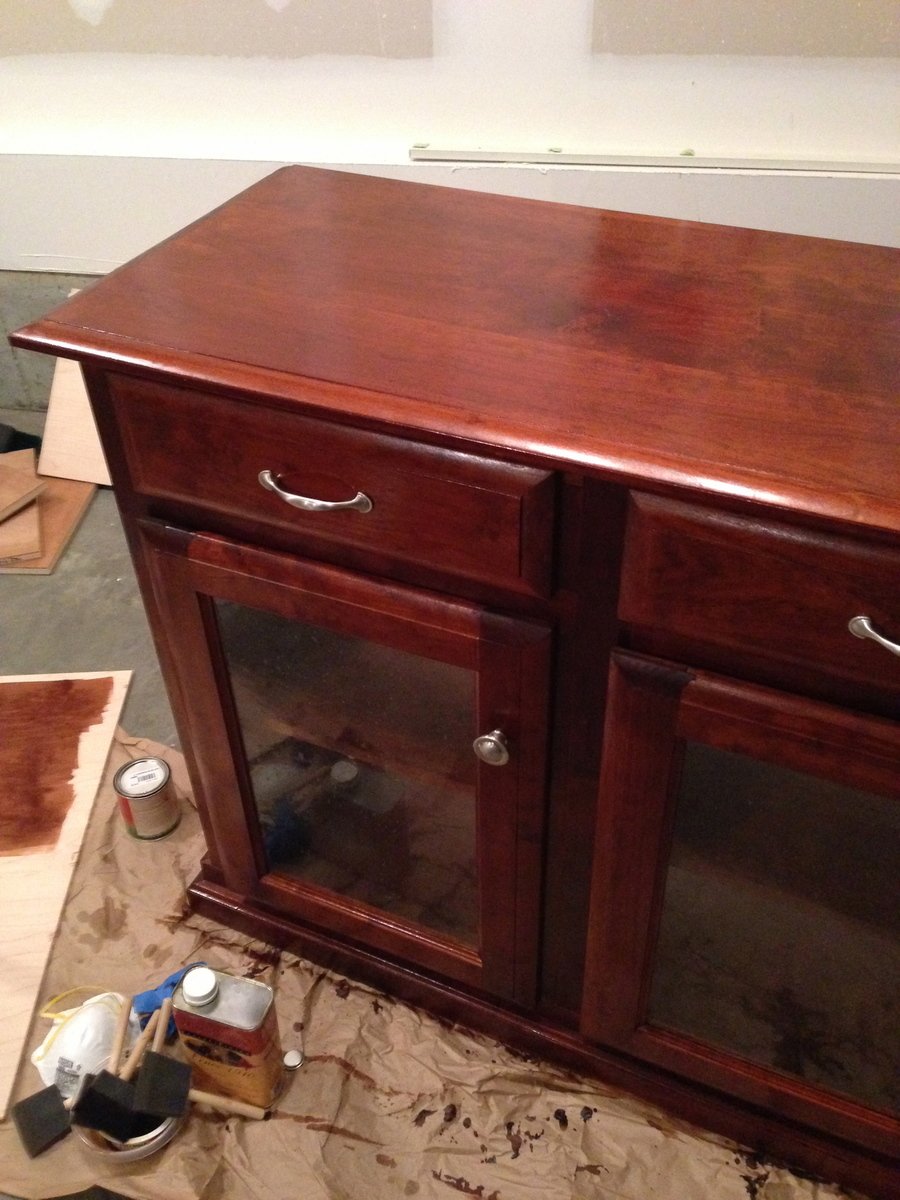
Worked on this piece on and off for about 4 months! Was hard, but worth every penny. Spent about $300 on materials. Has seeded glass inset cabinet doors with soft close hinges. 80" long x 34" high x ~ 20" deep (I think). Bought black cherry through a specialty lumber supply (I highly recommend cherry!!). Used a cherry dye on it, and Waterlox original to seal it.
Built from Plan(s)
Estimated Time Investment
Week Long Project (20 Hours or More)
Finish Used
Water based cherry dye (1 coat) followed with top coat of waterlox sealer (3 coats)
Recommended Skill Level
Intermediate


Comments
spiceylg
Wed, 11/27/2013 - 11:20
Gorgeous!
Looks like showroom quality!
Shorty
Wed, 11/27/2013 - 16:51
Wow!
It's gorgeous, good work!
Linda7
Wed, 11/27/2013 - 18:59
Amazing!
This is probably the most professional appearing project I have ever seen on this site--both in building and in finishing! I love cherry finish, and this one gorgeous! Kudos!
joeyrego
Sat, 11/30/2013 - 12:22
Details
Hey johnhawkfan56,
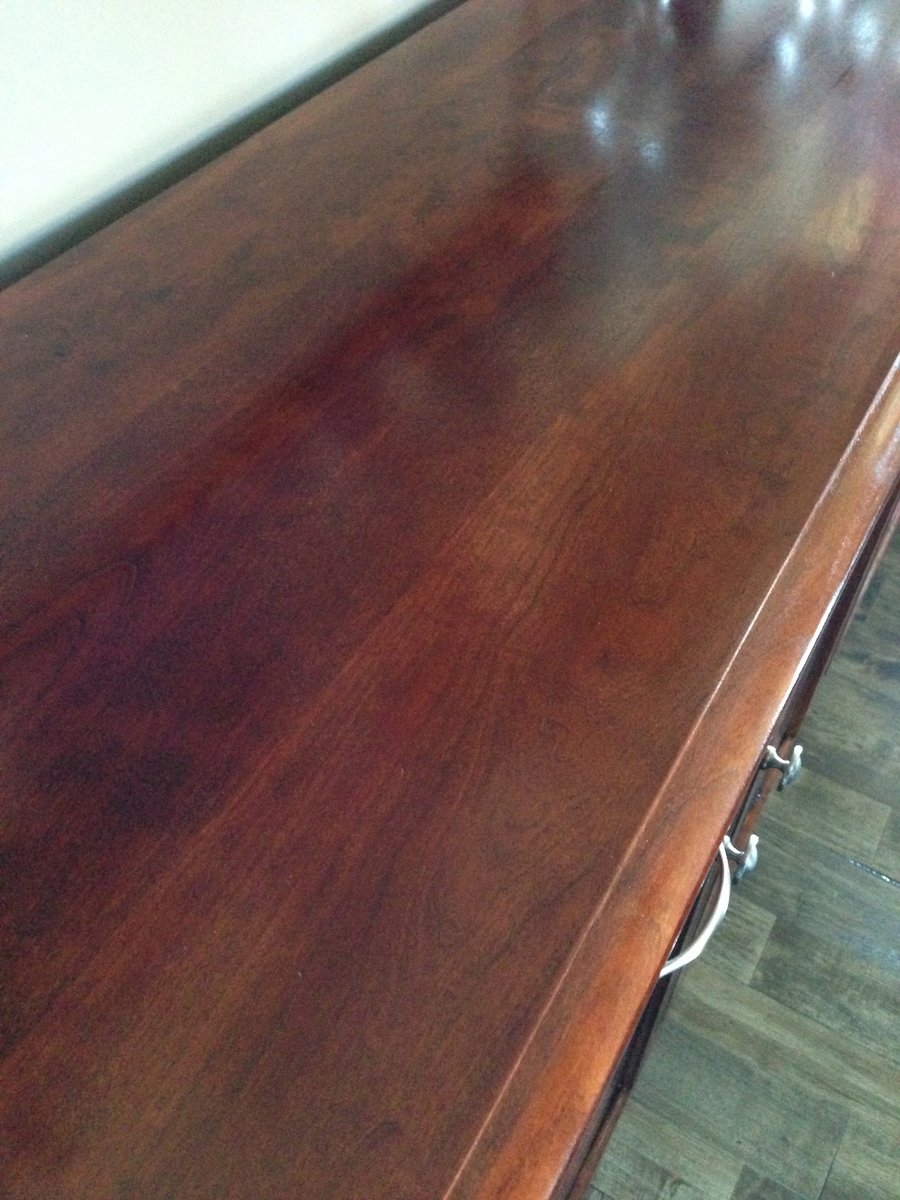
It looks awesome man. Great job! Got some questions. Would you mind telling me a bit more about the top? I'm assuming you used 3-4 boards glued together? Would you mind sharing some details about making and gluing up the panels? Did you use pocket holes or maybe biscuit joints to keep them even? Did you use a jointer or a thickness planer for the boards? Lastly the finish is incredible. Any pointers or tips on applying the dye or Waterlox?
Thanks
Joey
jayhawkfan56
Sun, 12/01/2013 - 13:08
Joey- Used a biscuit joiner
Joey-
Used a biscuit joiner to put top boards together, it was 3 boards of differing widths. A lot of times with the different woods (cherry, walnut, etc) the boards aren't as uniform. Don't have a planer or jointer, so just got lucky/used some heavy sanding with orbital to smooth things out. The finishing was really easy. Go to a specialty wood shop and ask for cherry dye that penetrates the wood well. Only one coat is needed. Keep in mind, some folks don't recommend dyeing or staining cherry because sunlight naturally darkens the wood to that color. For waterlox, make sure it's in a well ventilated area. I sanded to 240 and did not sand between coats. 3 coats would be enough. Waterlox on cherry alone looks fantastic as well, but it's not that red right away.