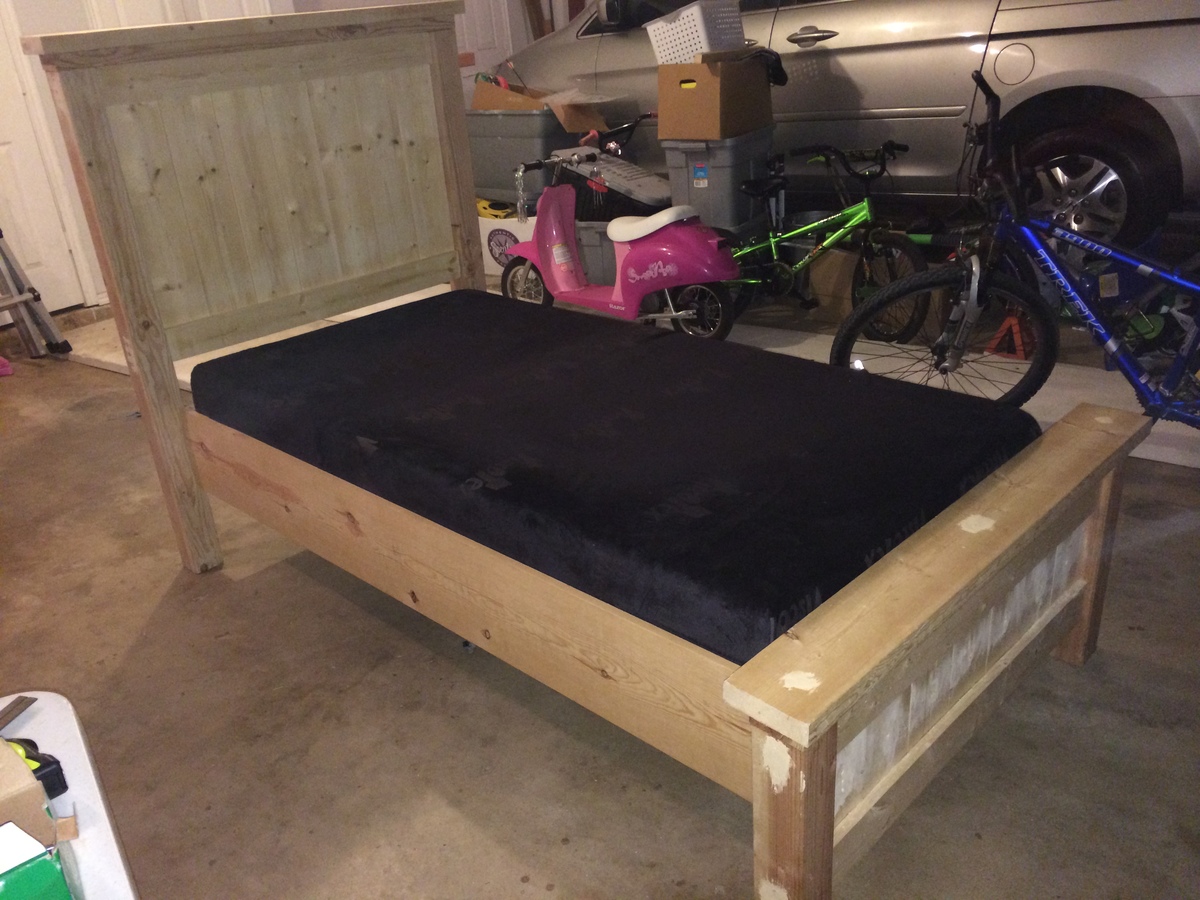
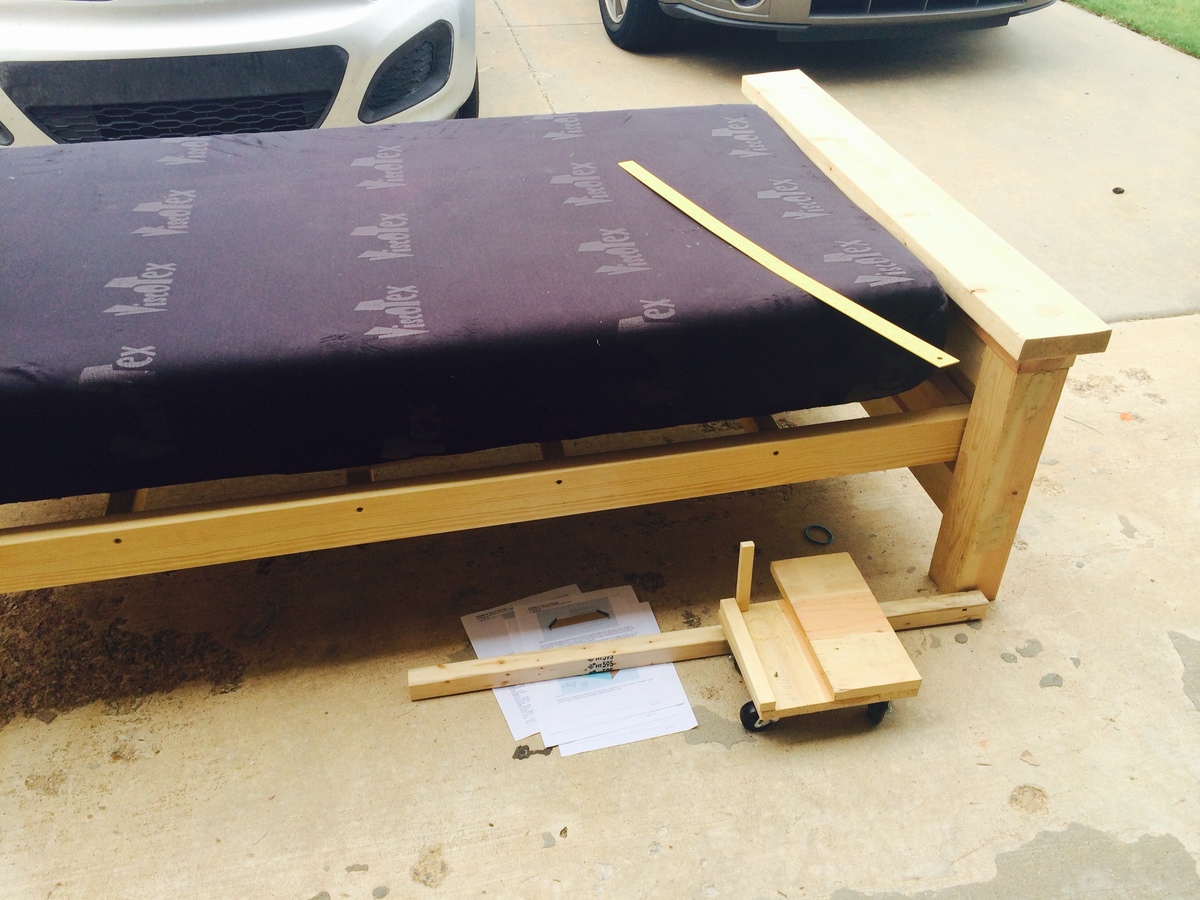
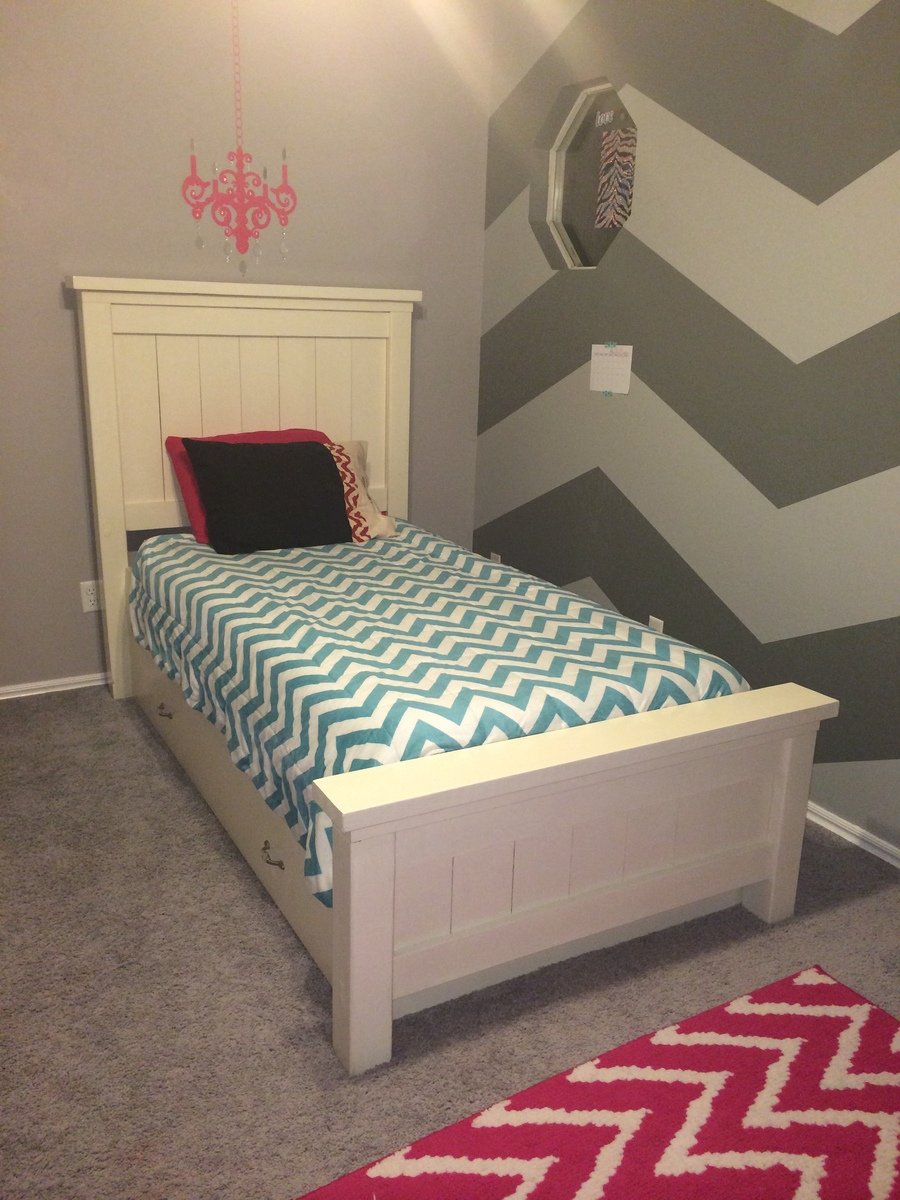
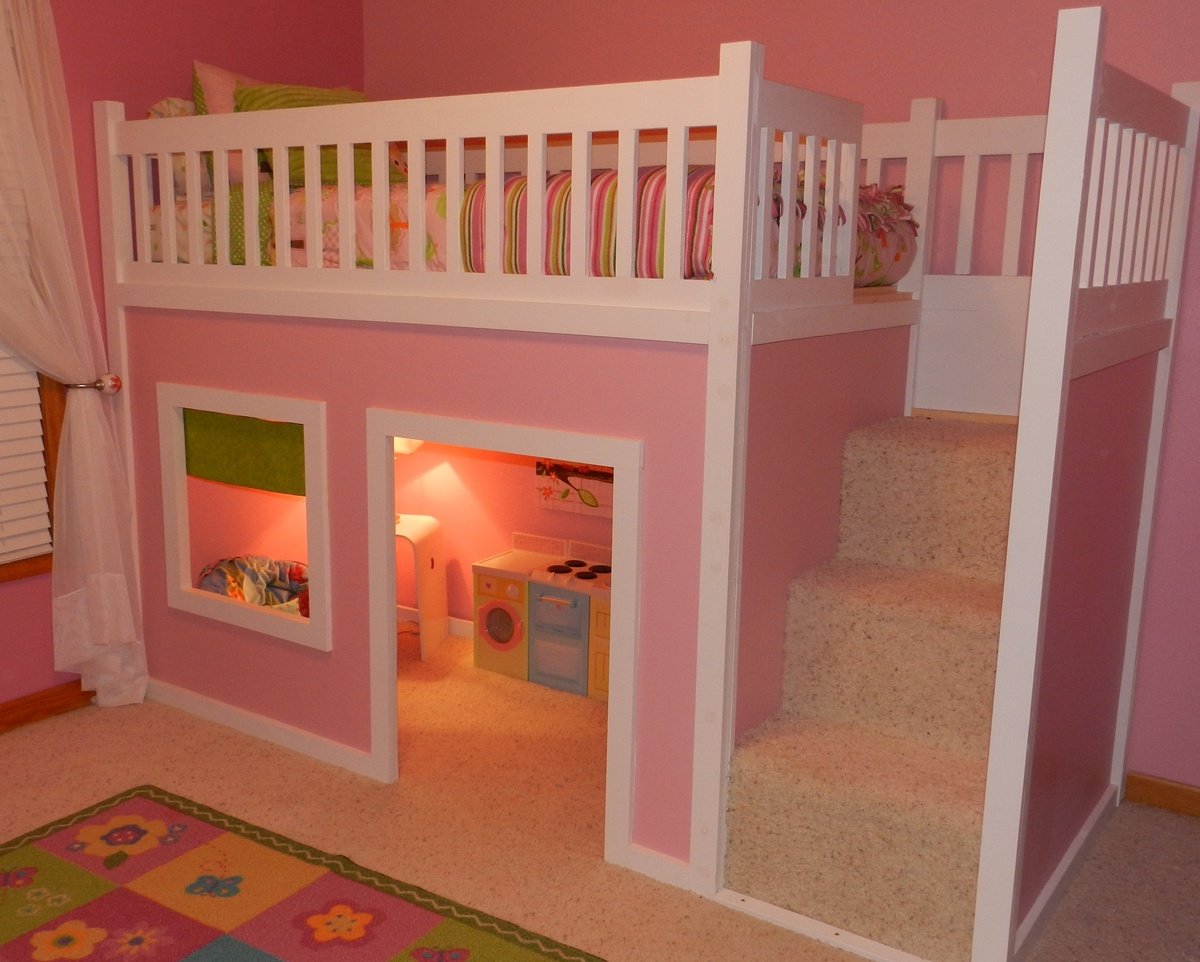
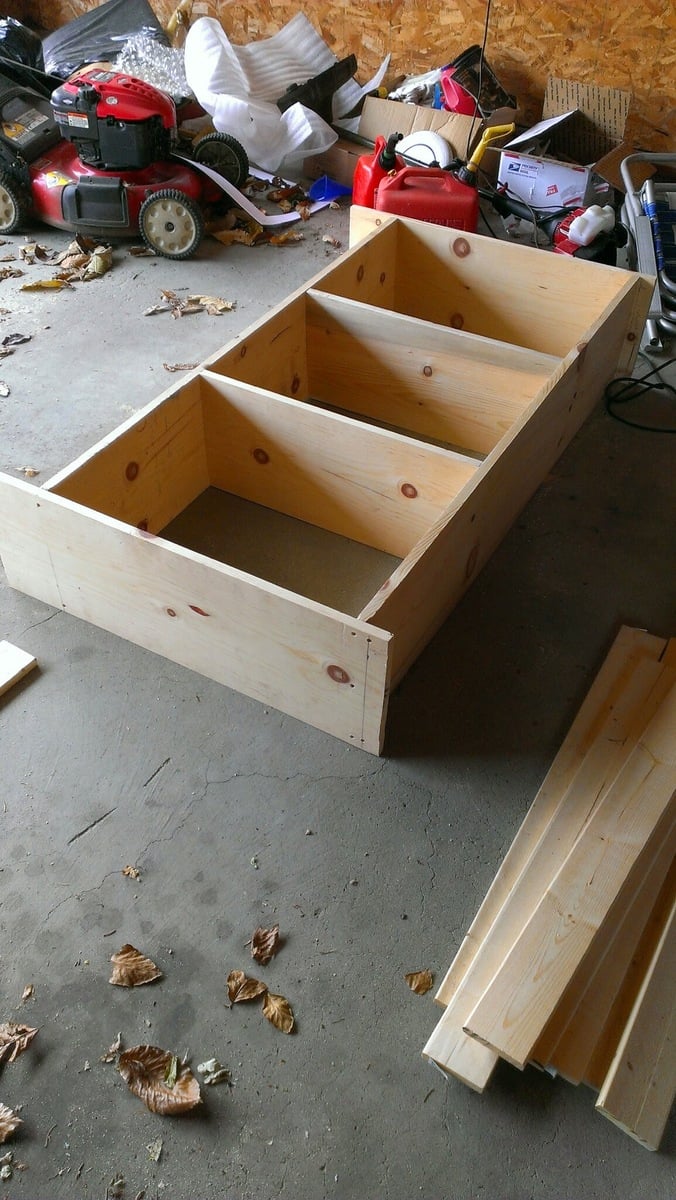
Twin Farmhouse Bed with Trundle
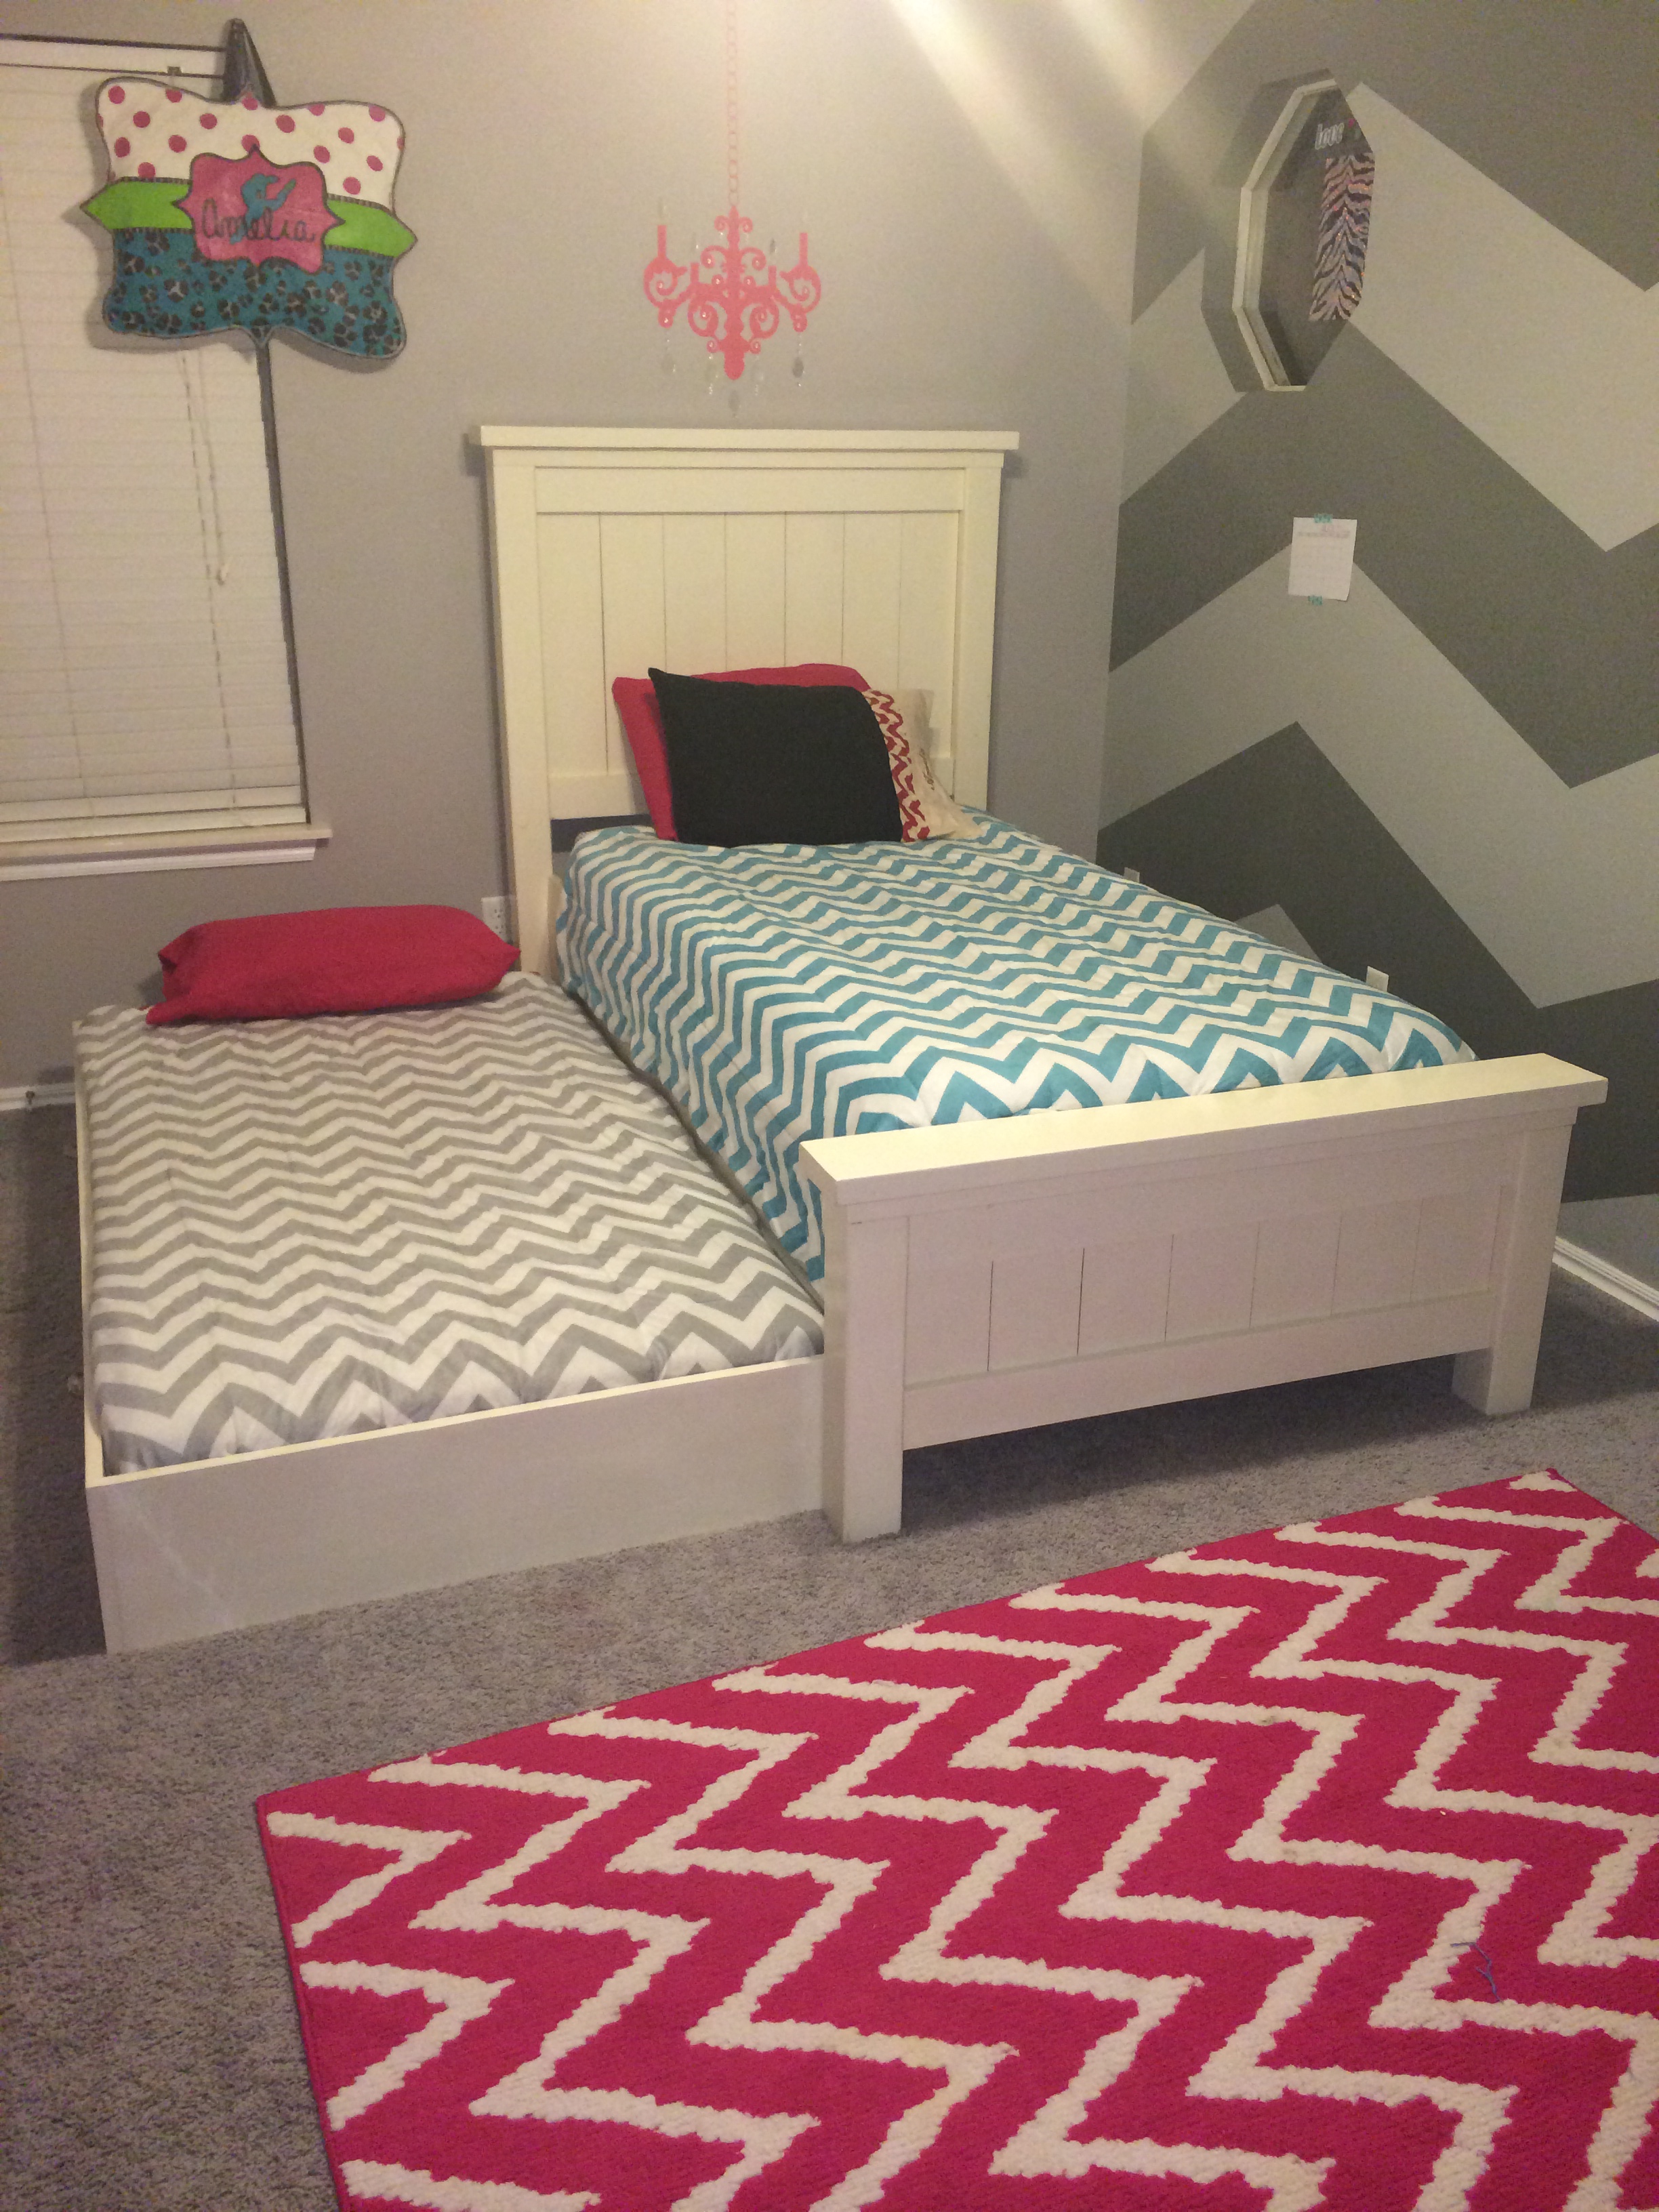
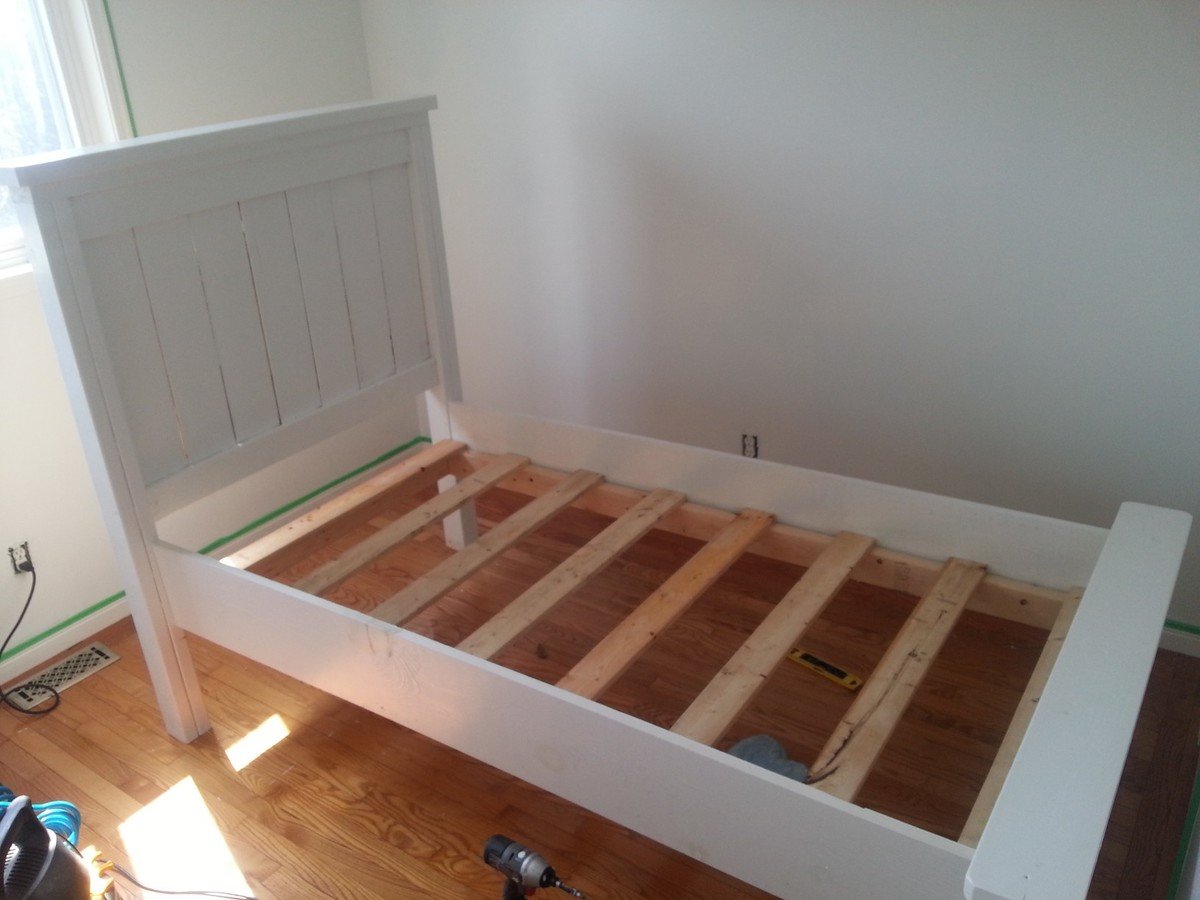
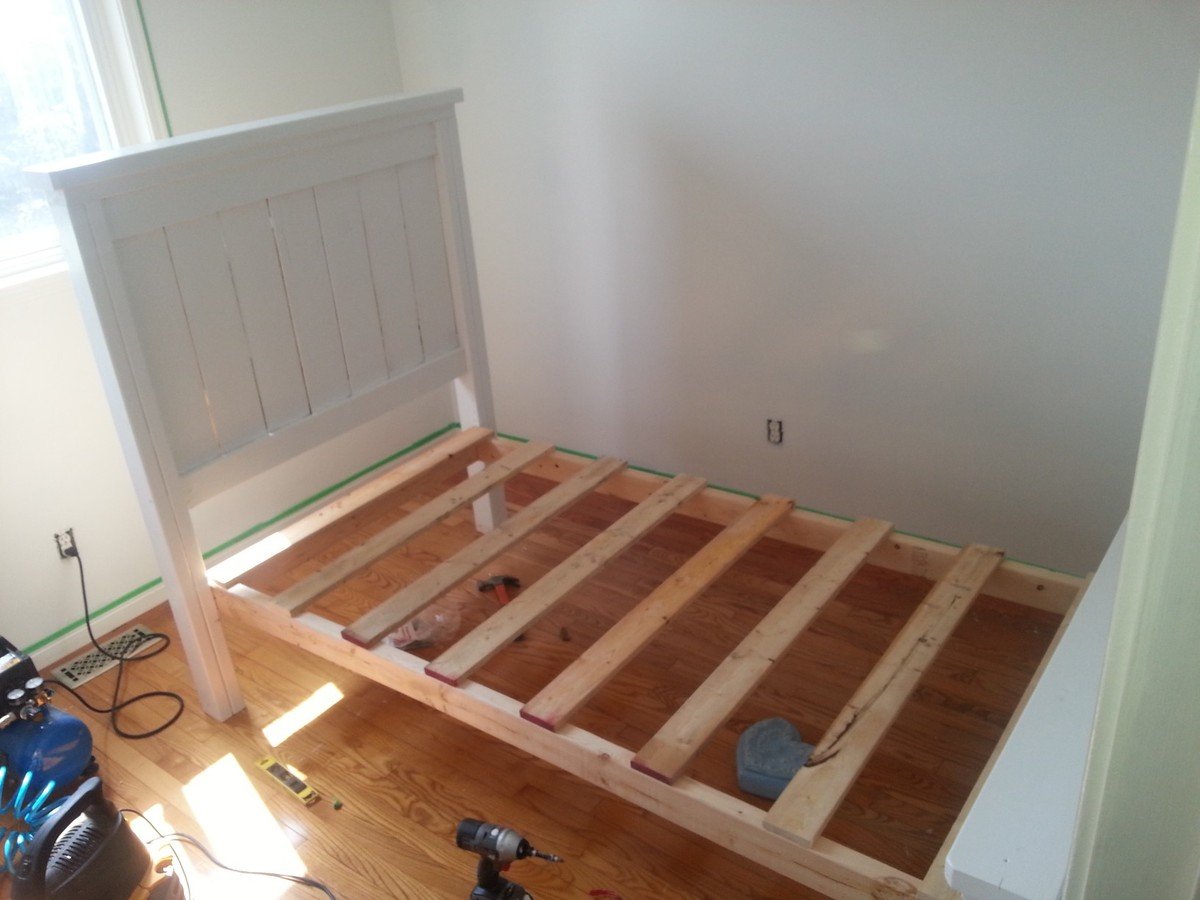
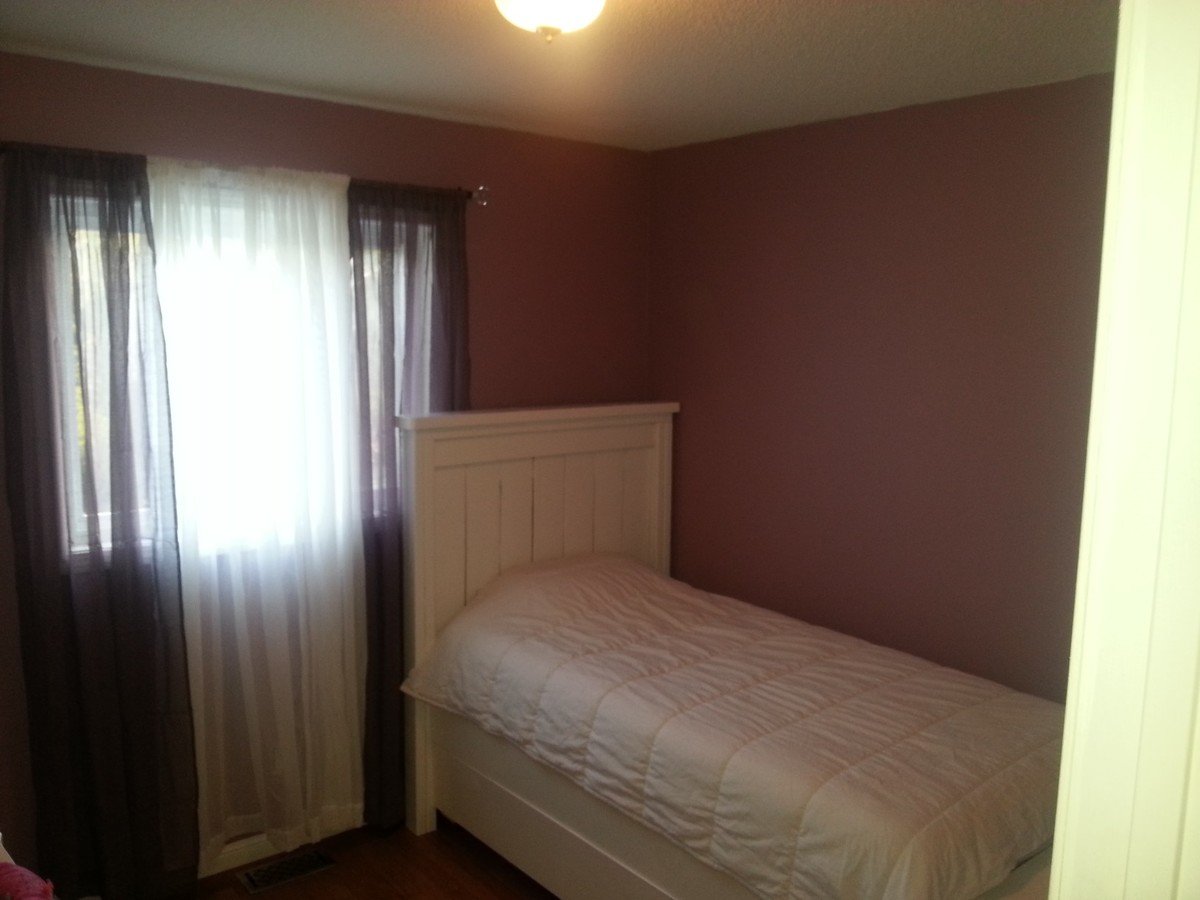
We made the traditional Twin Farmhouse bed using Ana's plans. We did modify the height of the headboard and foot board in case we decide to move the bed to under her window.
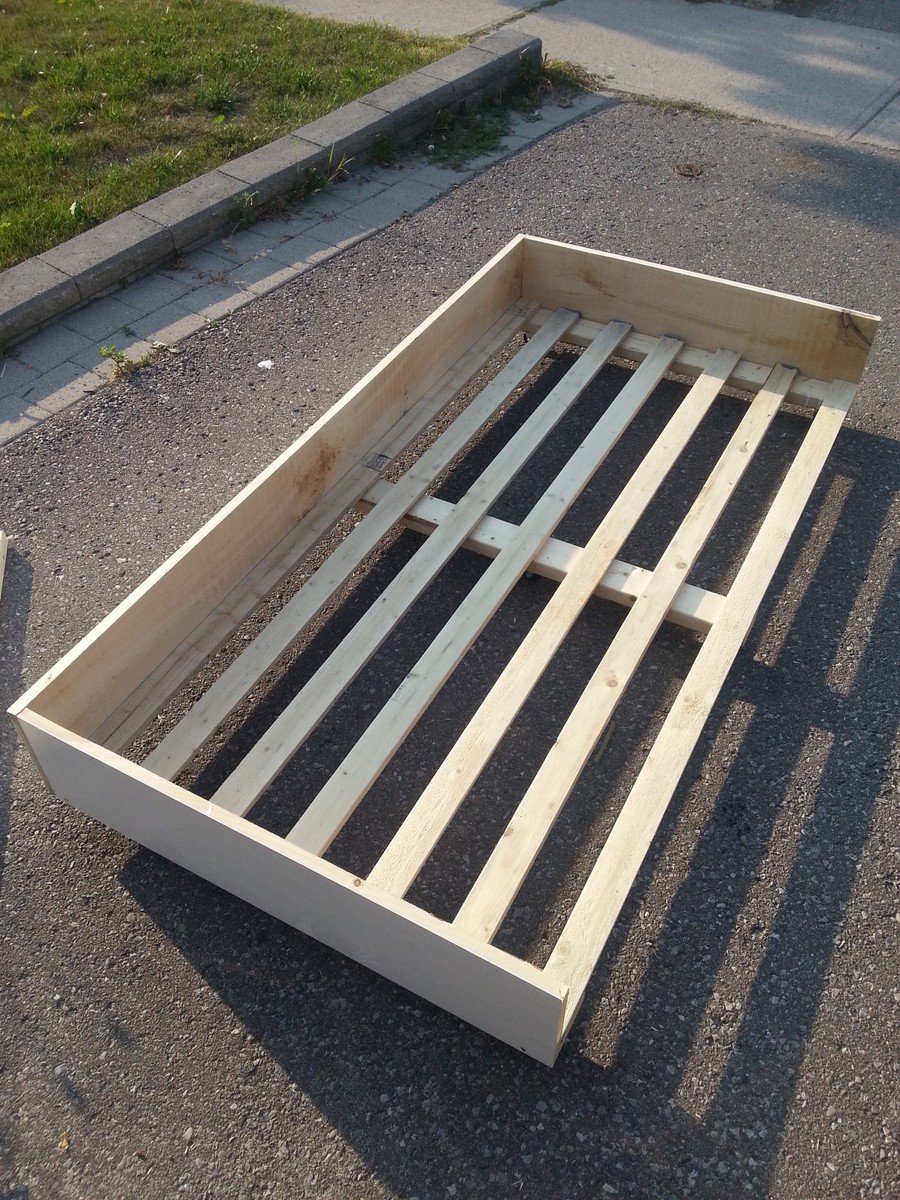
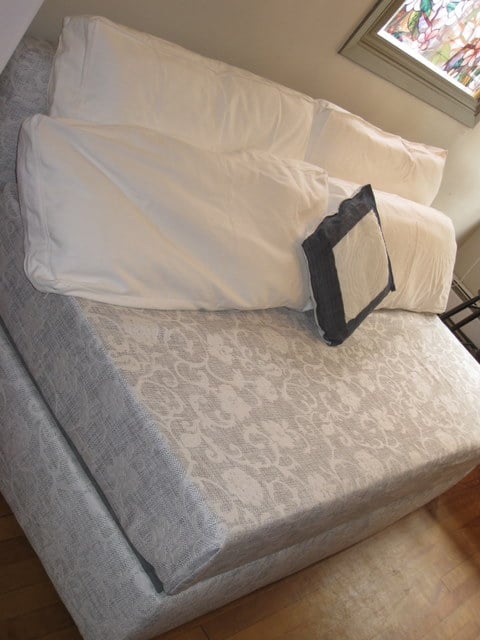
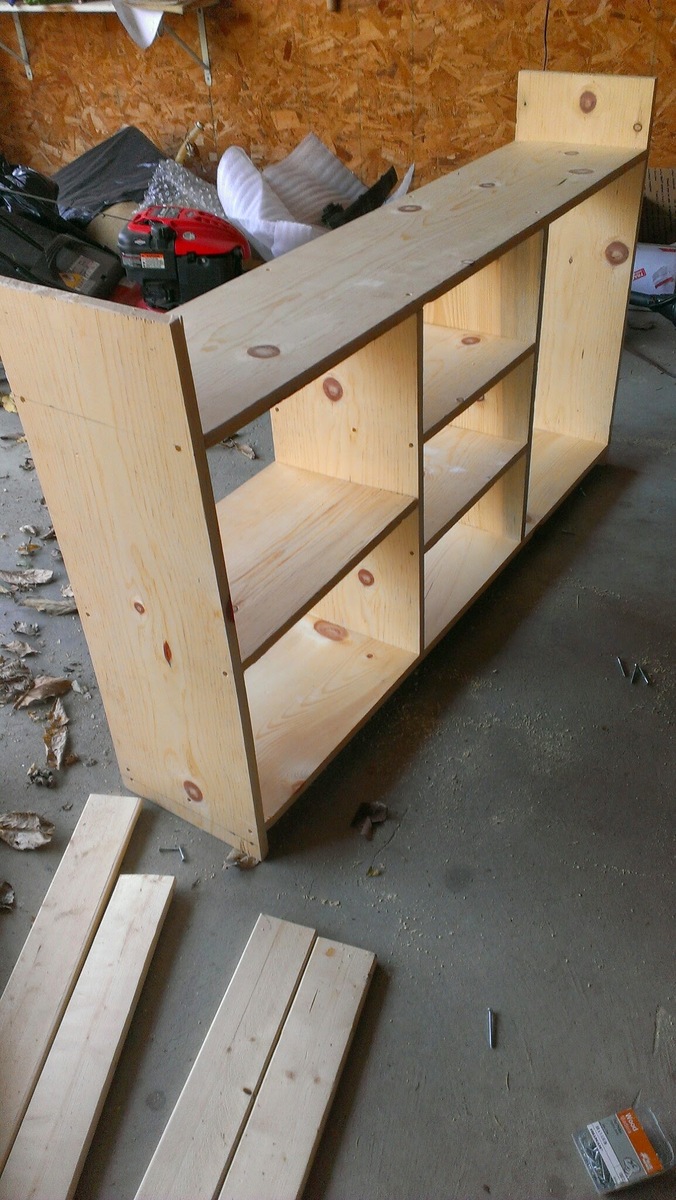
I was very particular about the sizing and placements of the sideboard/trundle. I did not want a big gap between the mattress and the trundle. Also, did not want the actual bed mattress to sit down too far into the 1X10 and look like a crib.
Very happy with the results. Thanks so much, Ana!!!
Built from Plan(s)
Estimated Time Investment
Week Long Project (20 Hours or More)
Finish Used
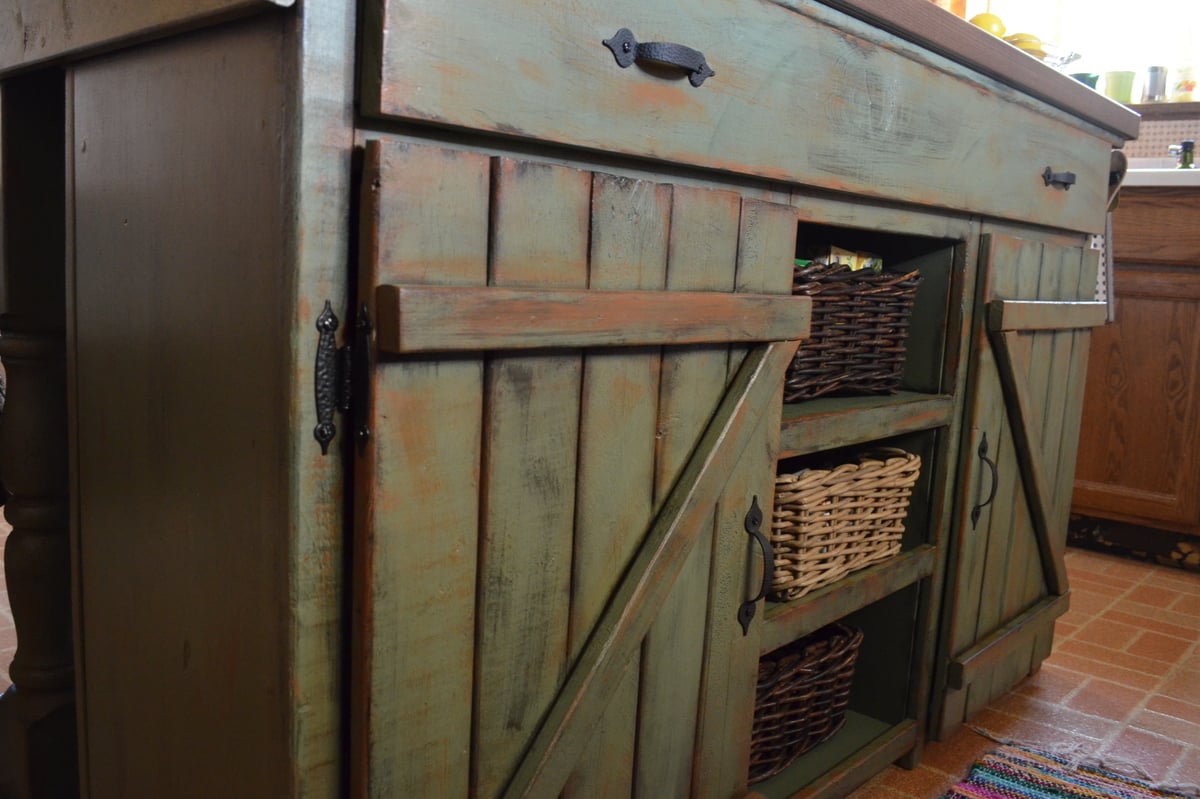
2 coats Valspar Antique White, semi gloss
2 coats Minwax Polycrylic
2 coats Minwax Polycrylic
Recommended Skill Level
Beginner


Comments
ladybug618
Mon, 08/18/2014 - 05:01
bottom of trundle?
This looks great! I see you have carpet (as do I) did you use caster wheels? It looks like it's resting on the floor. I want t build but, I'm concerned about the ease of sliding. Tips appreciated.
Thanks in advance.