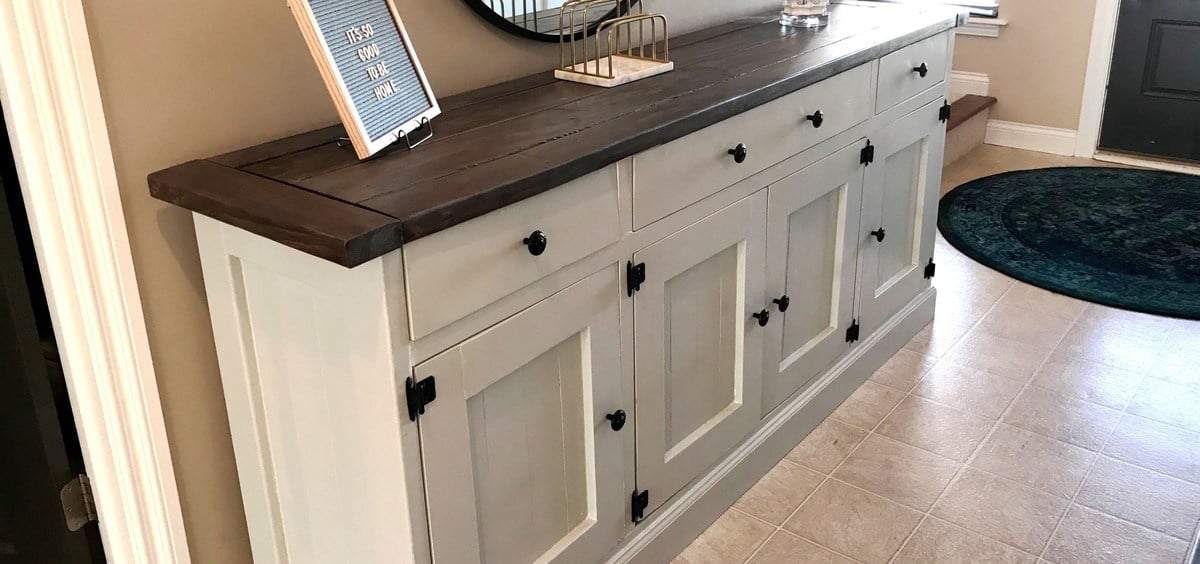
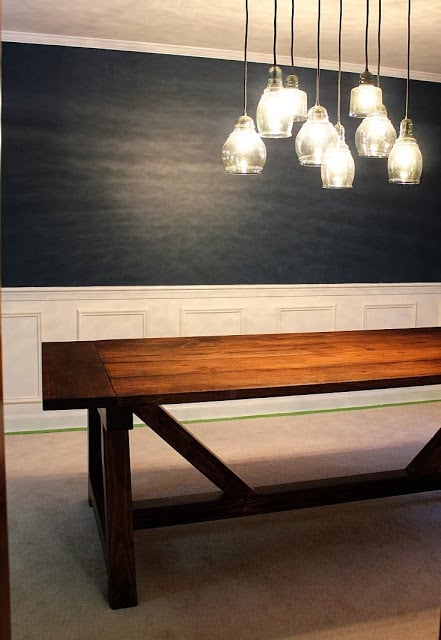
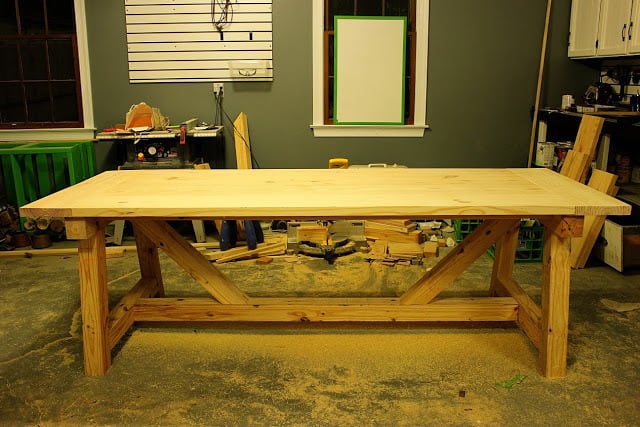
Customized Corner Desk
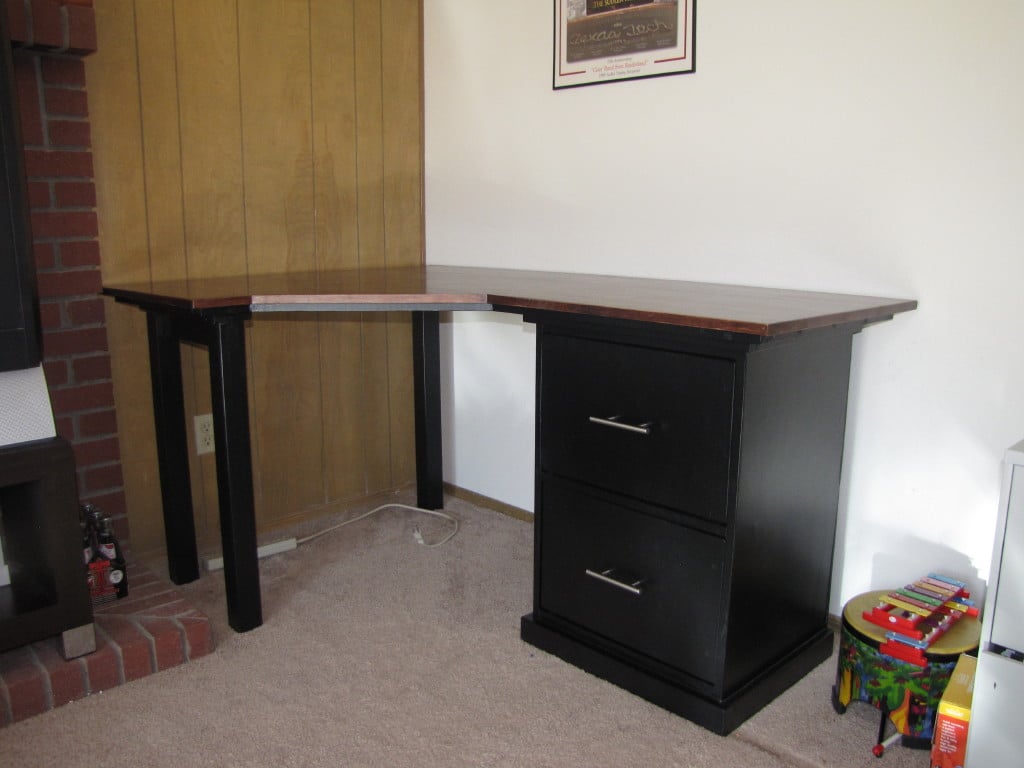
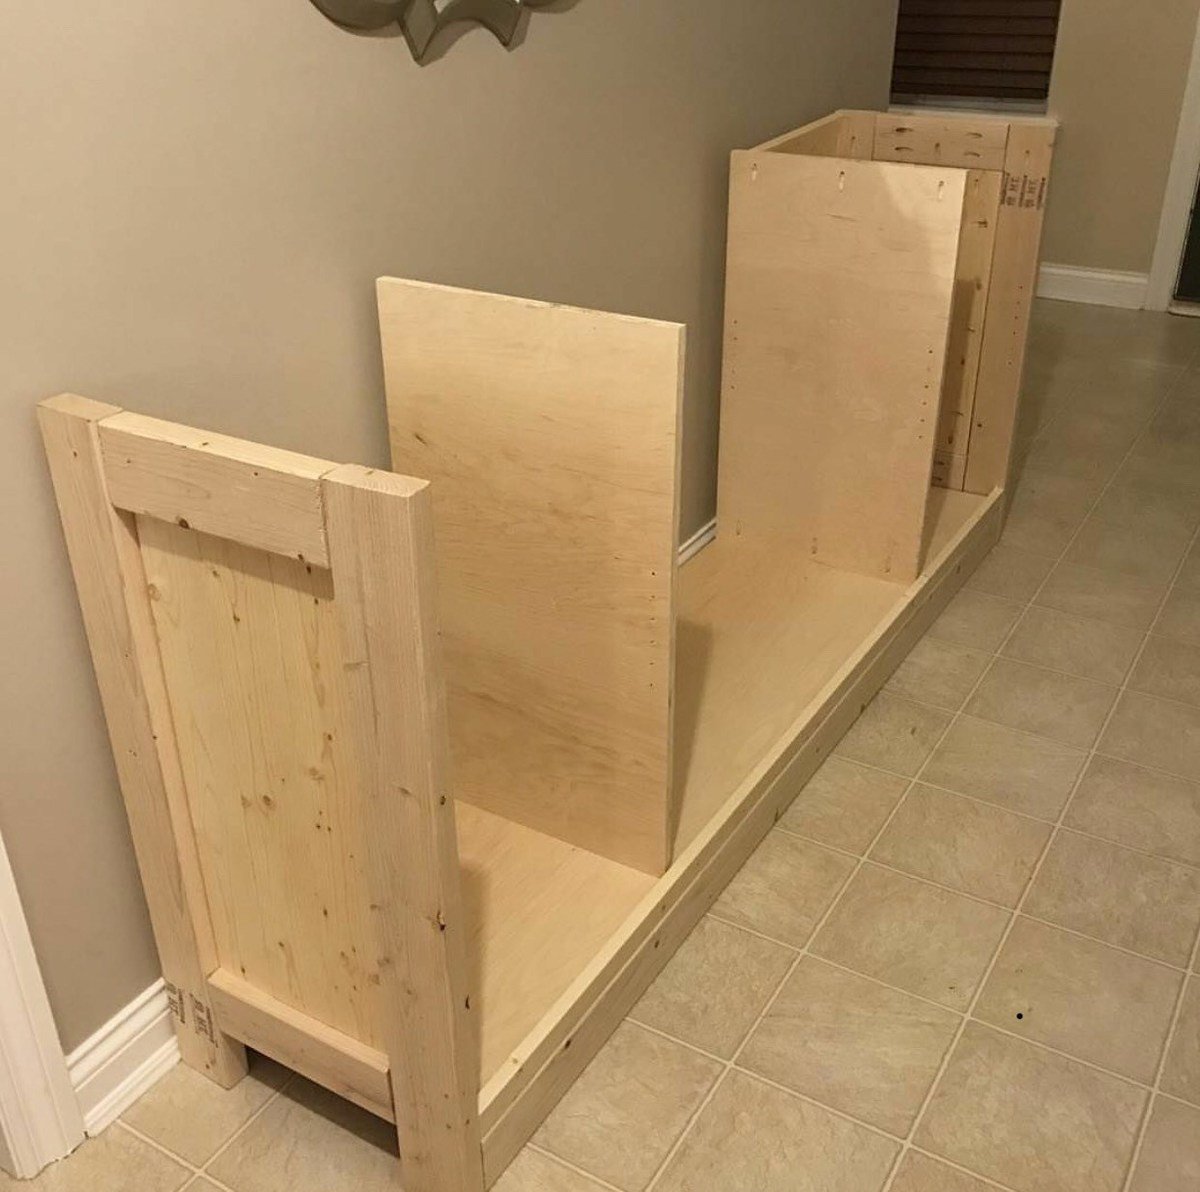
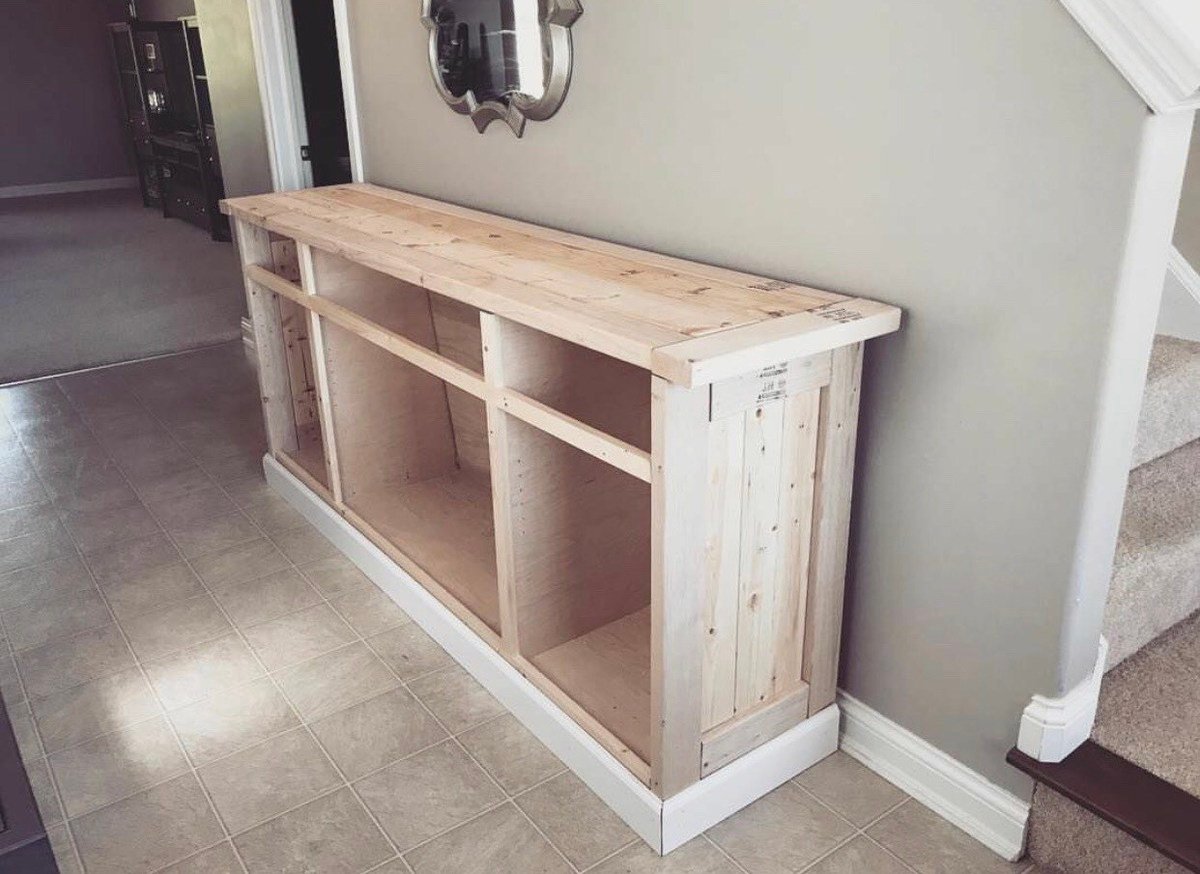
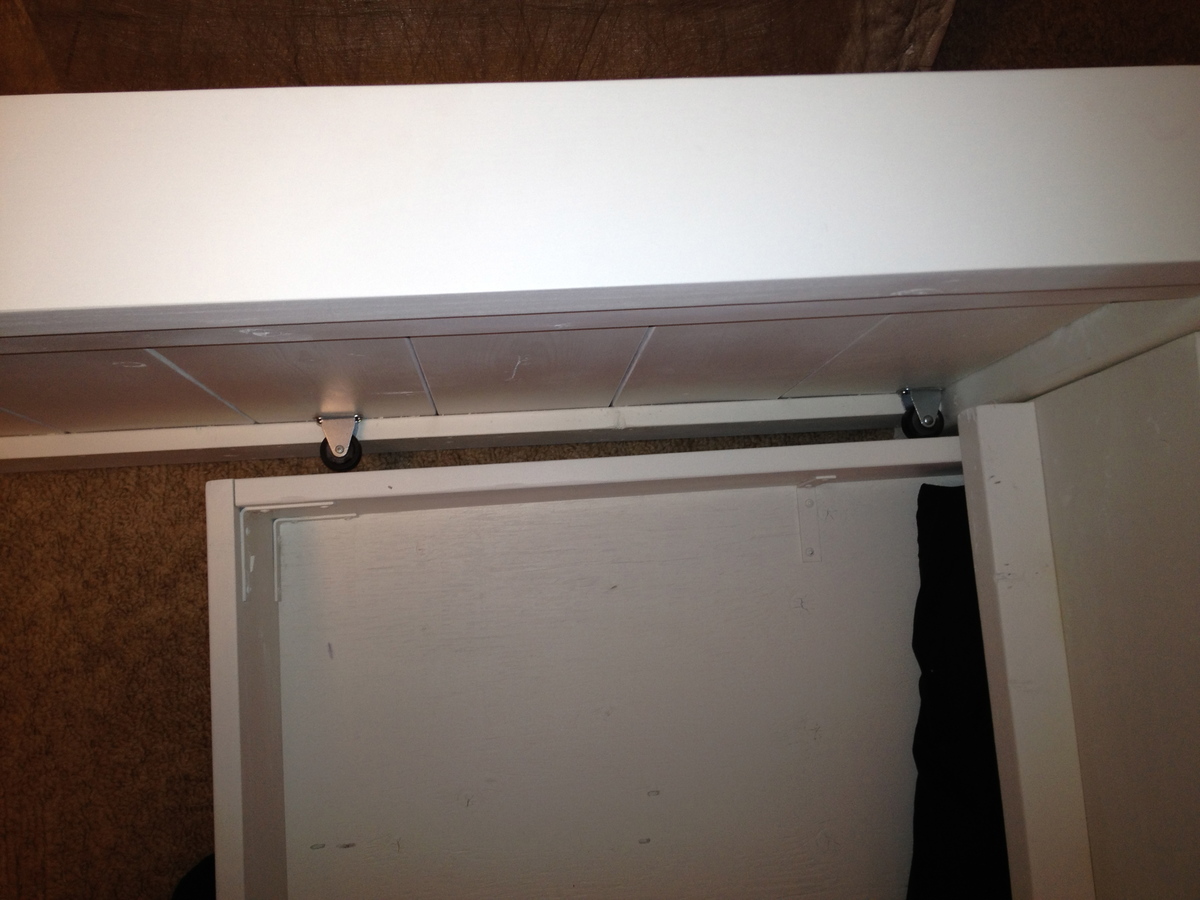
This was my first build I have wanted to get this particular desk from Pottery Barn but don't have the space for it. I used the corner desk plans but on one side I used the plans for the legs used on the smaller desk. Since it wasn't too big I made the desktop one piece. All in all it was pretty straightforward. The only problem I had was when I put the legs on the wrong side, I didn't realize until after I had used wood filler and painted.
Built from Plan(s)
Estimated Cost
$175.00
Estimated Time Investment
Weekend Project (10-20 Hours)
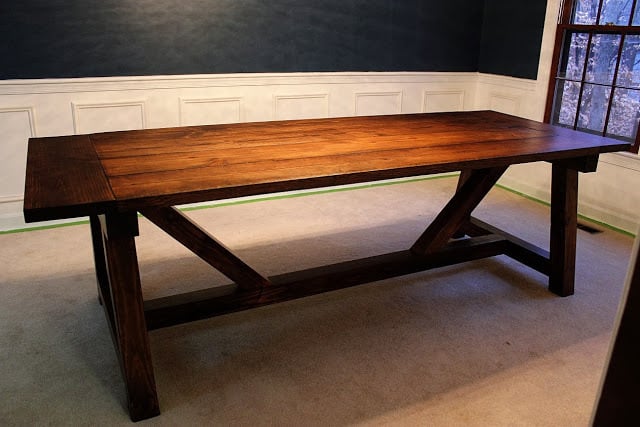
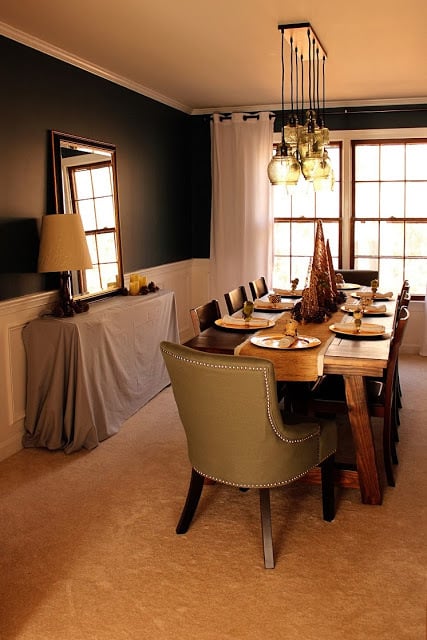
Finish Used
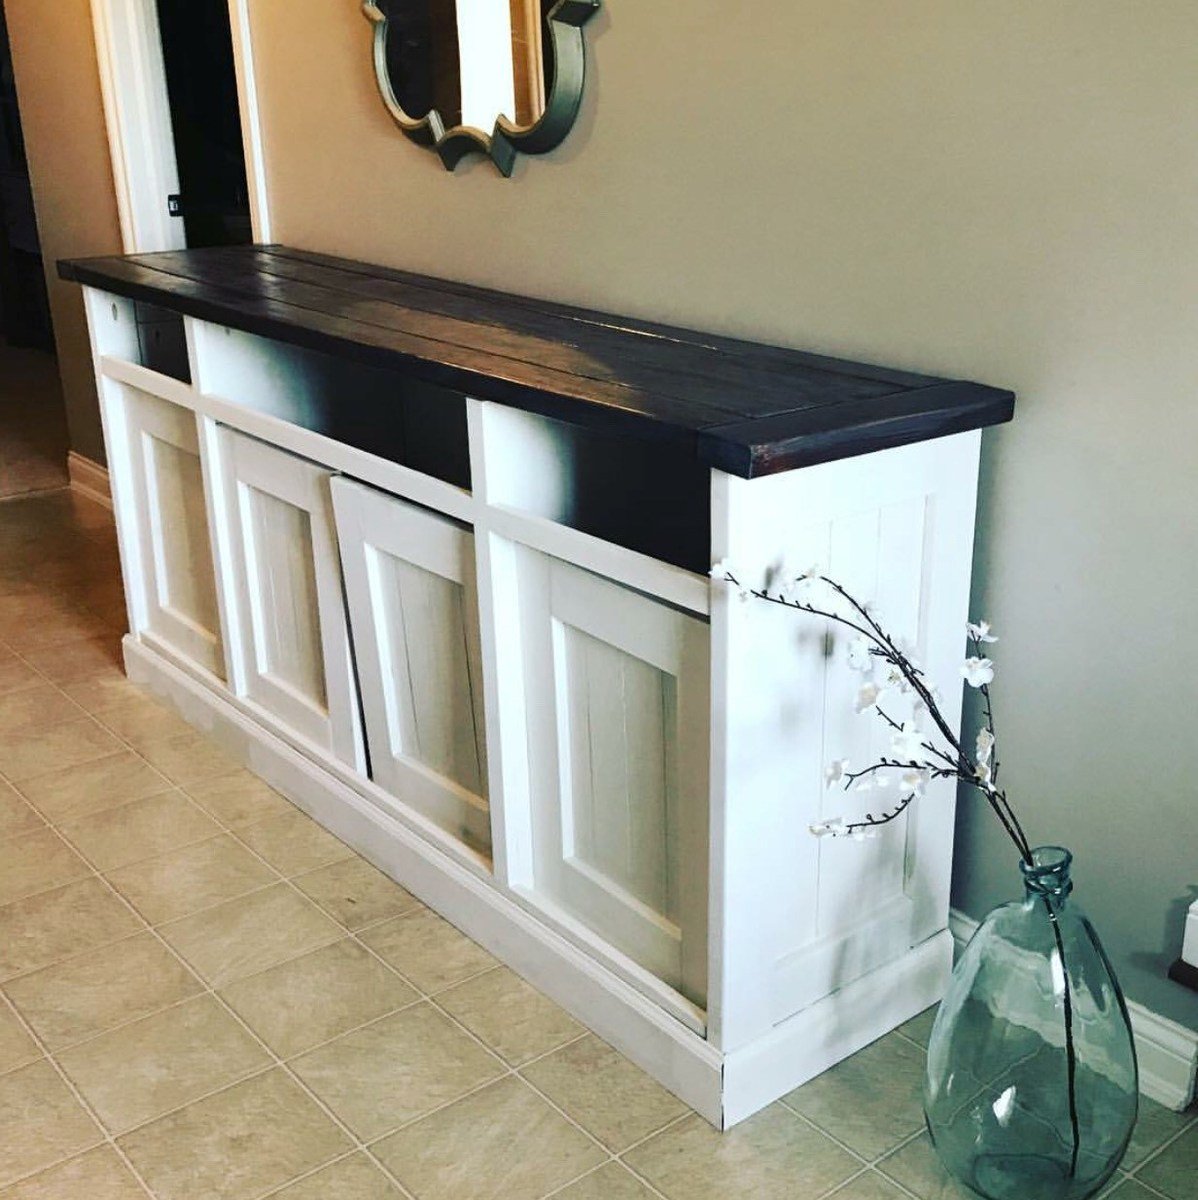
For the desktop I used Red Mahogony Minwax Stain and Minwas Wipe-on poly. For the base, used a Benjamin Moore paint for Metal and wood in black.
Recommended Skill Level
Beginner