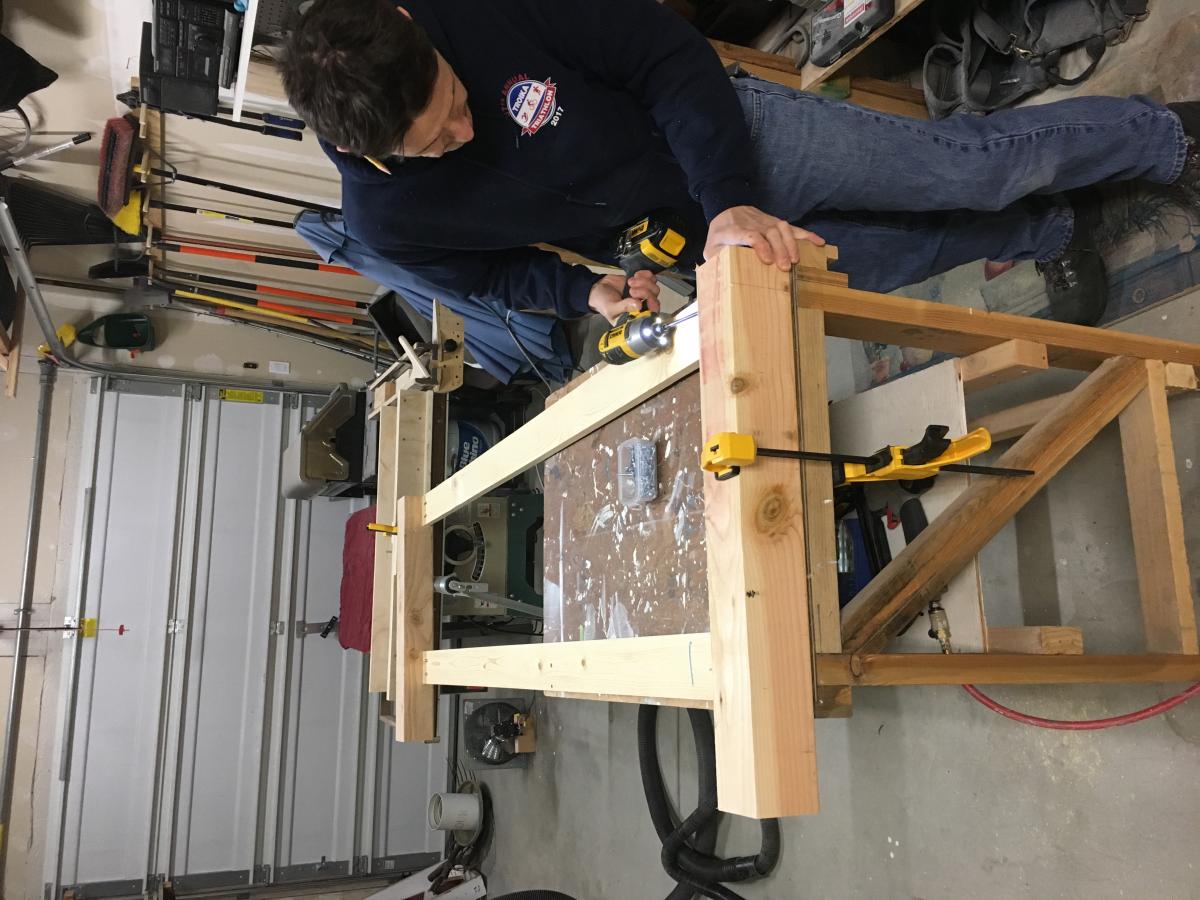
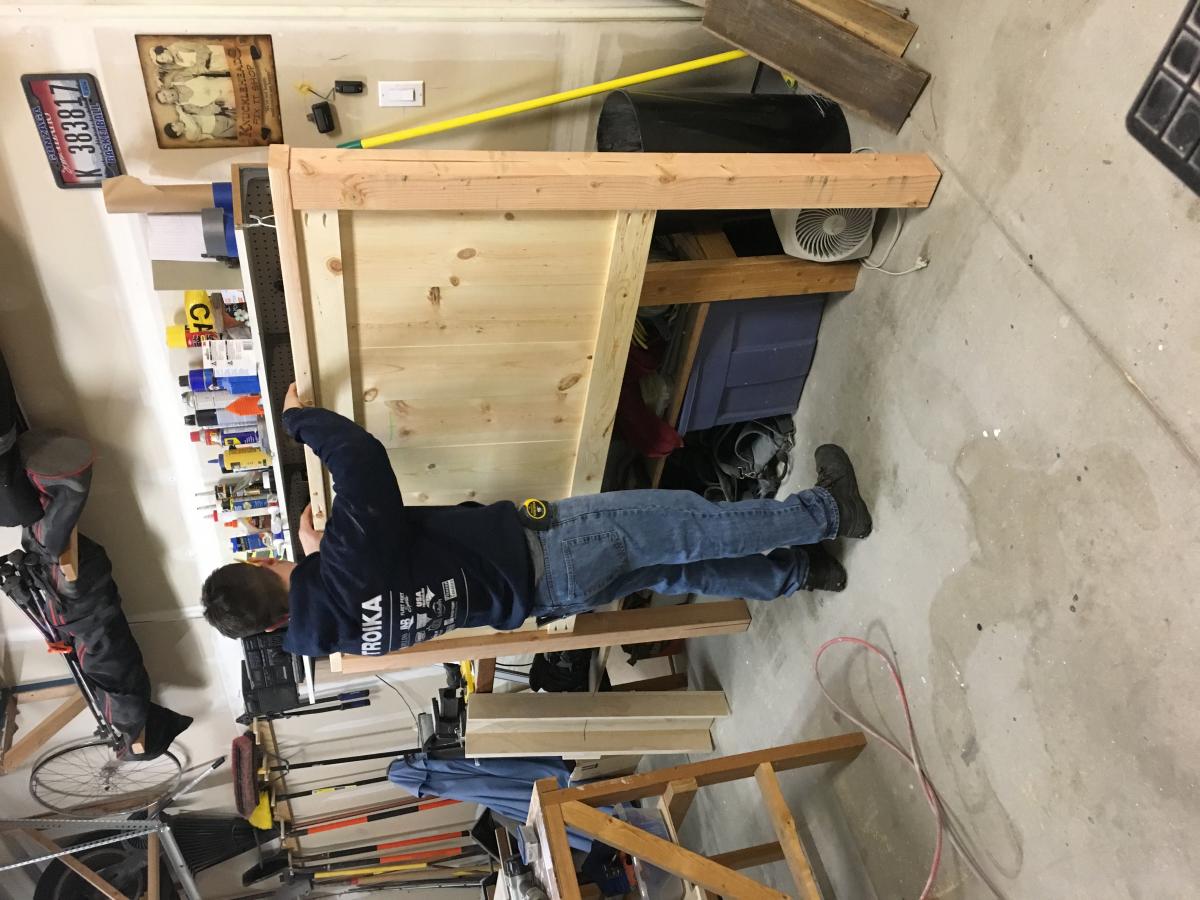
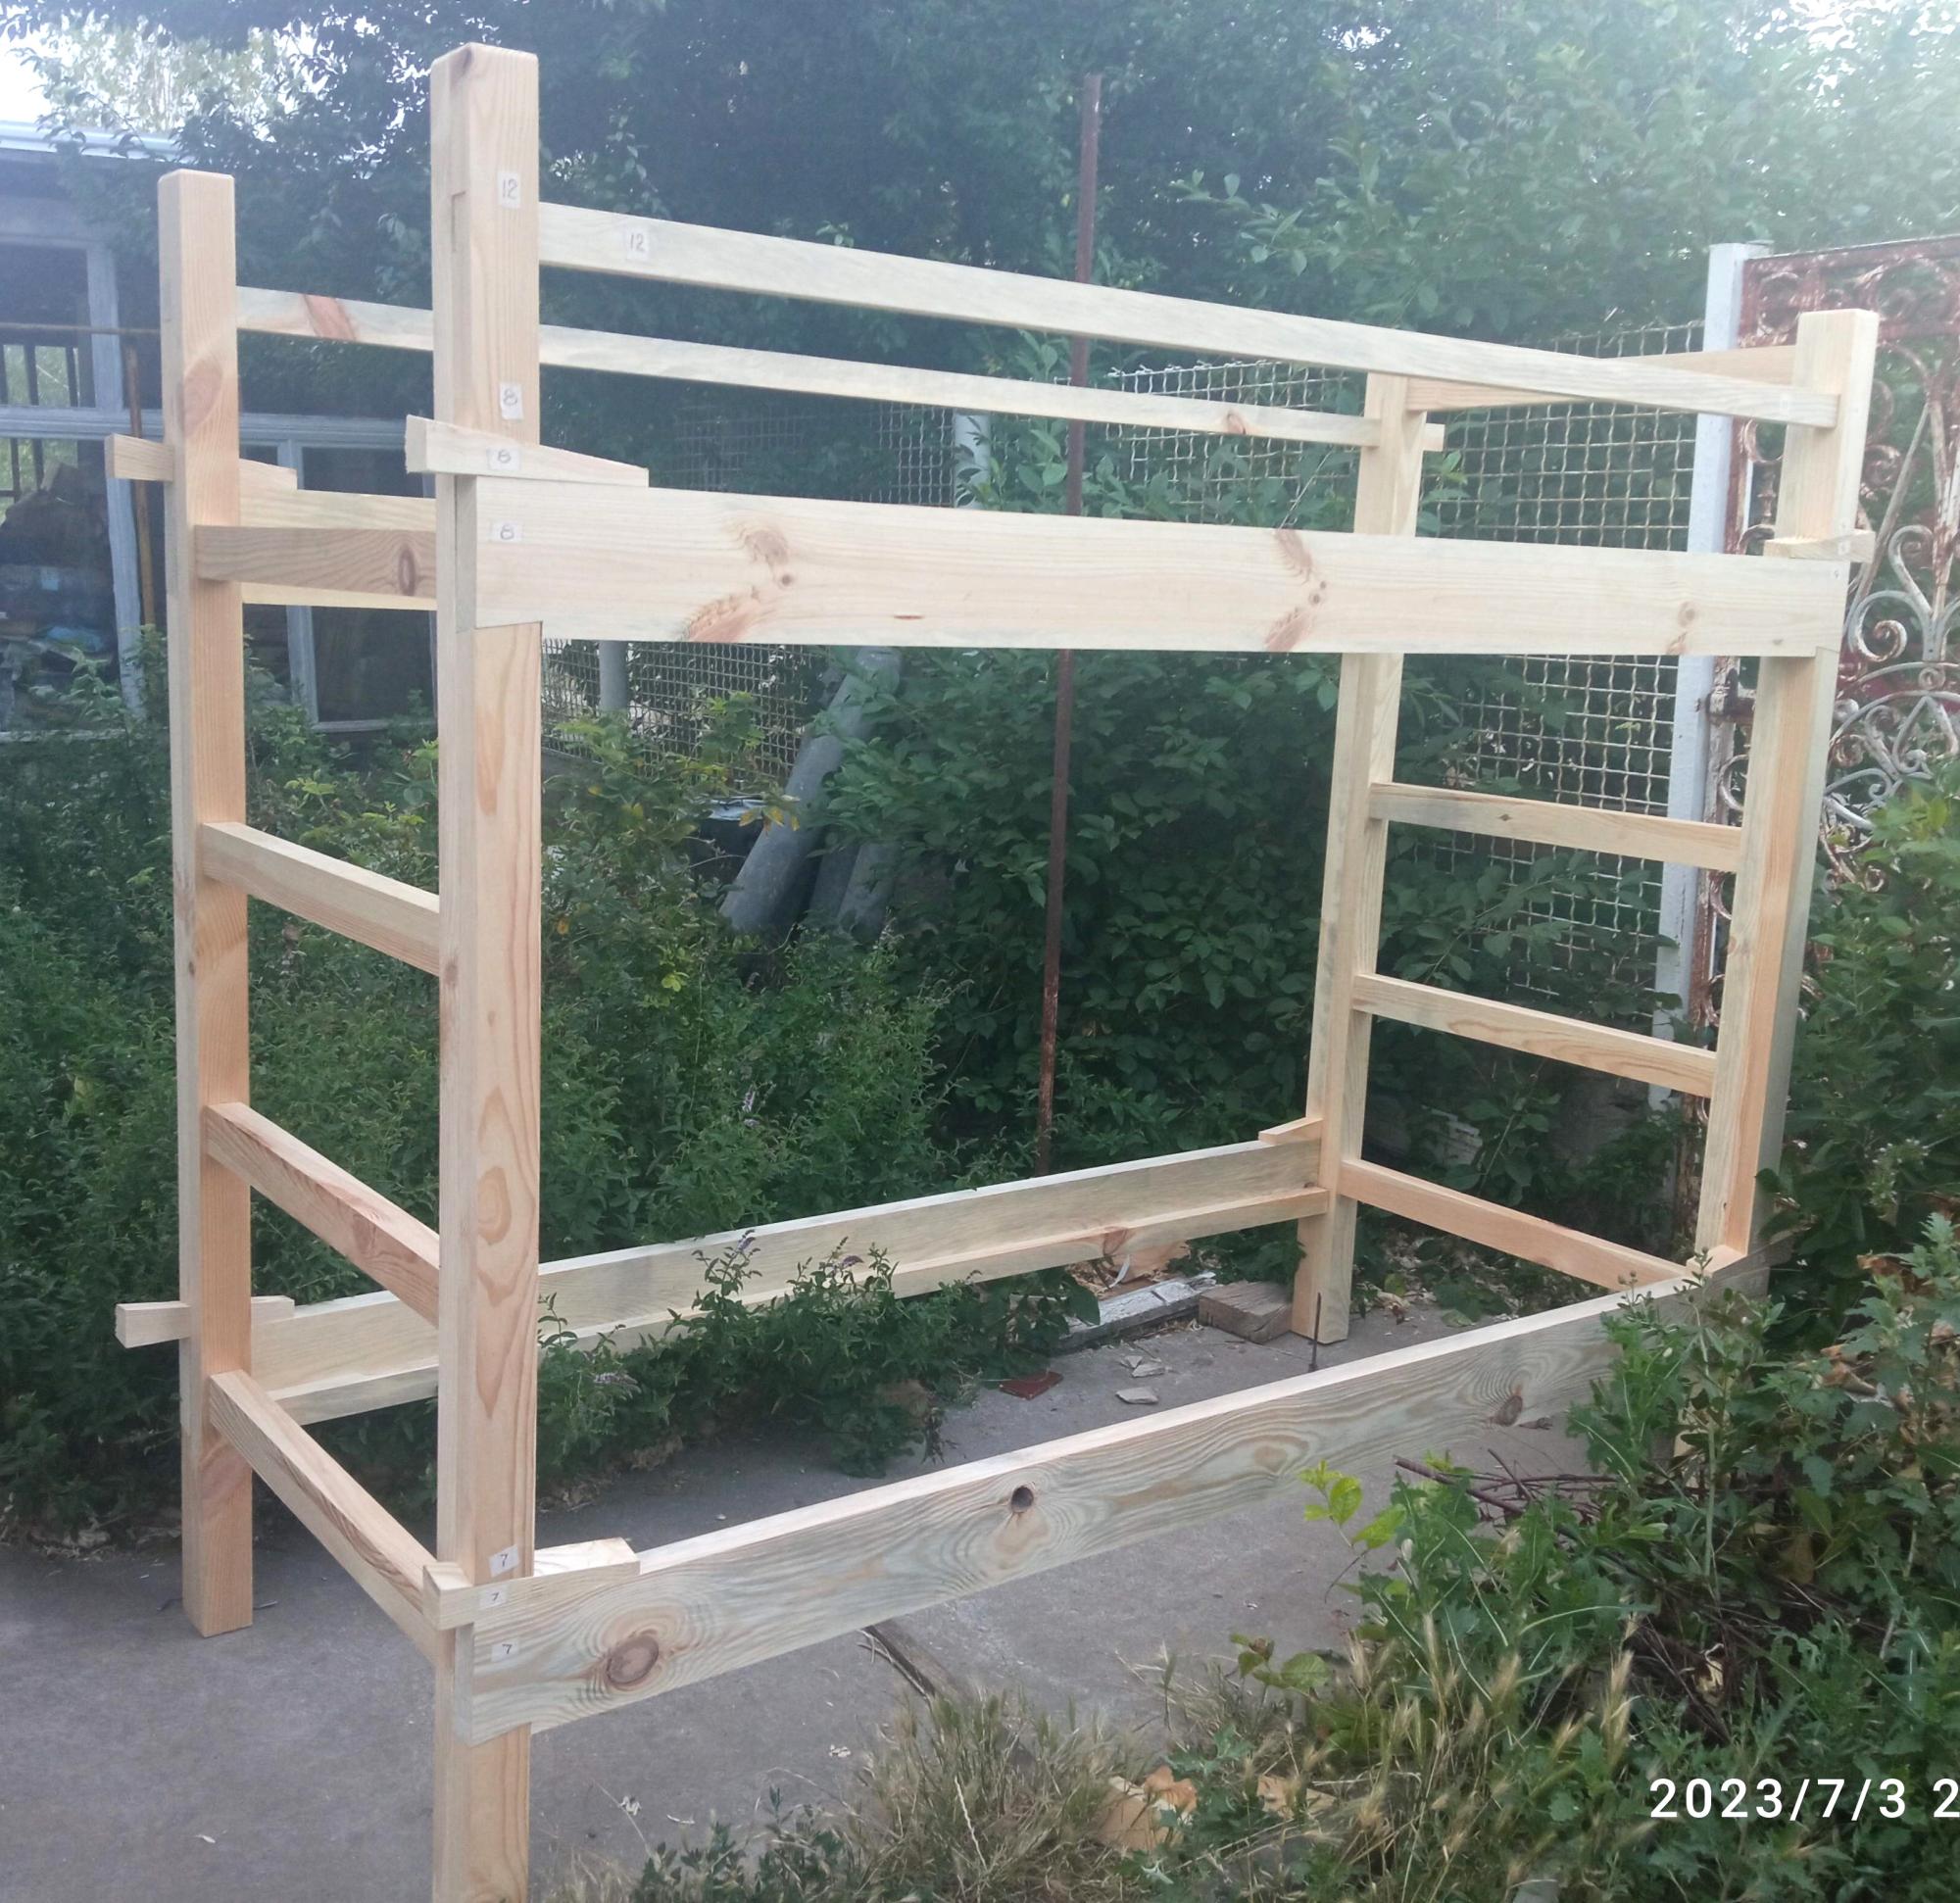
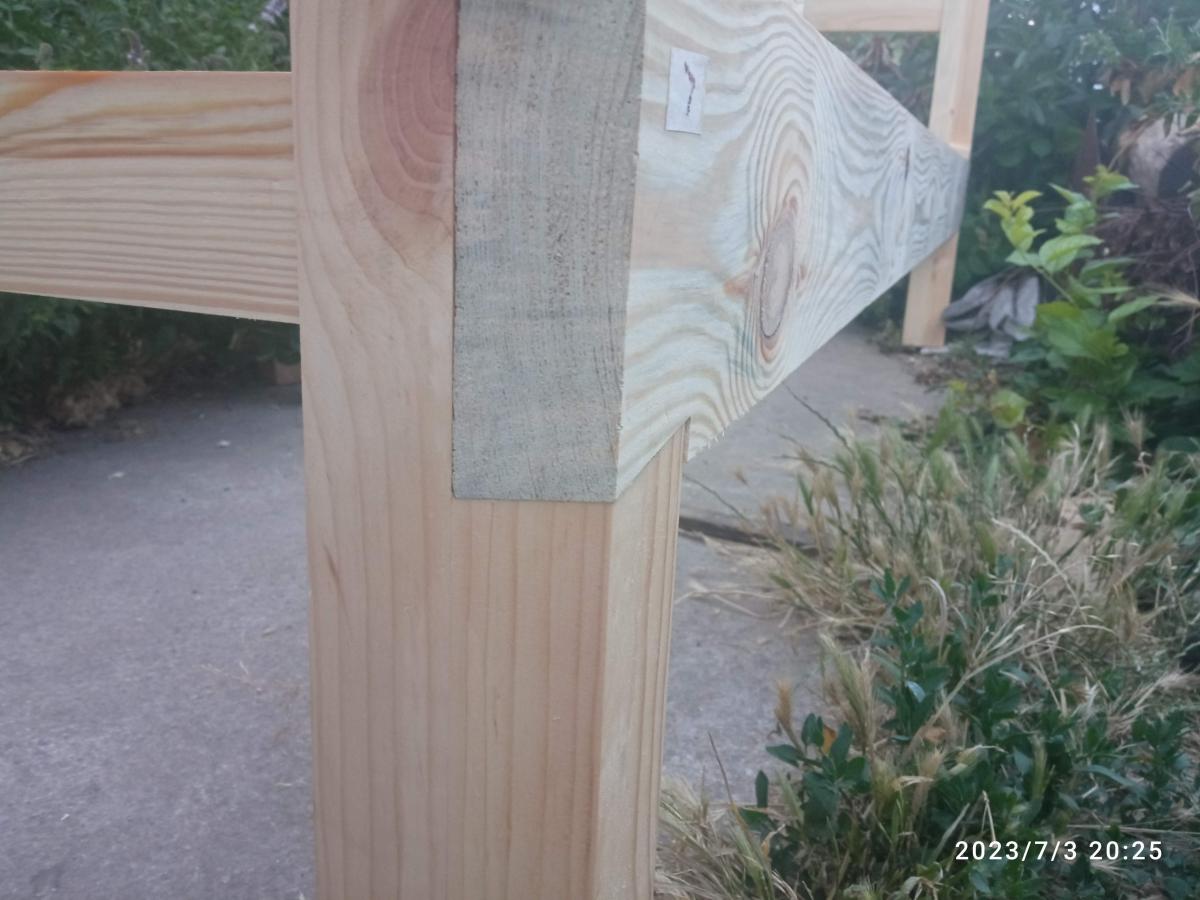
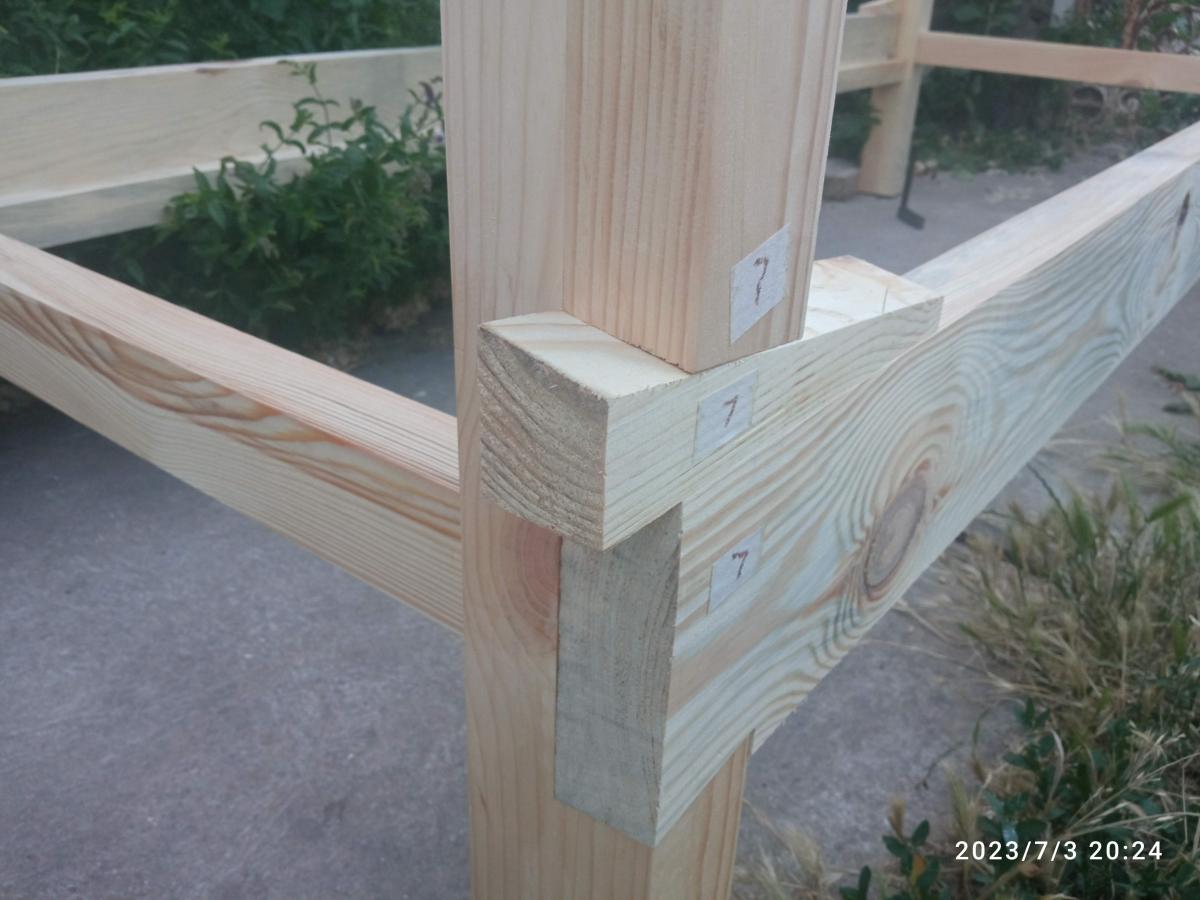
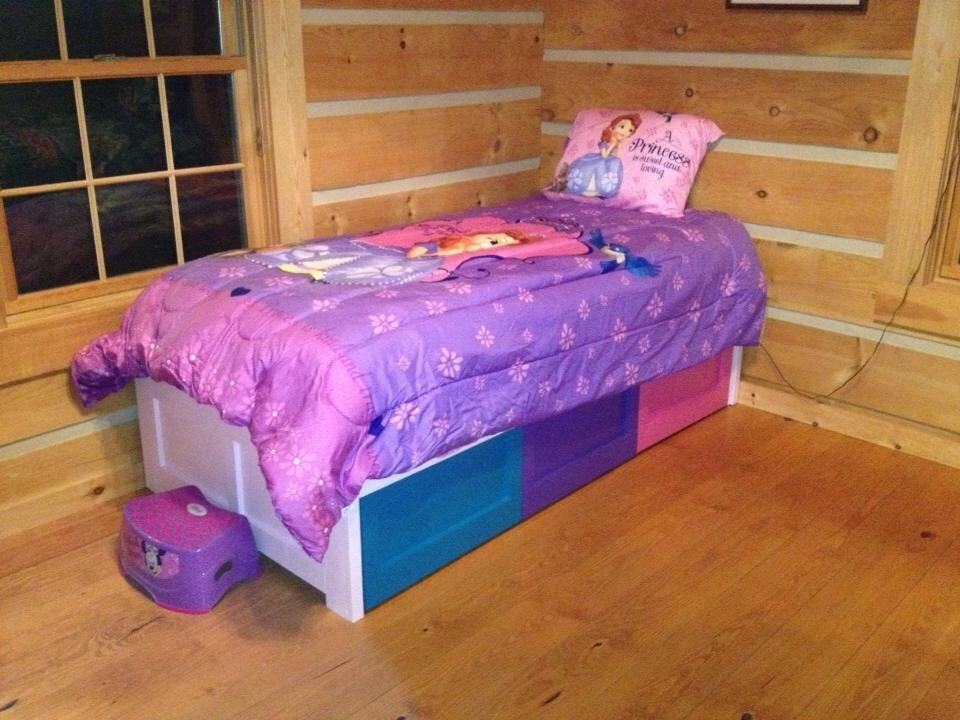
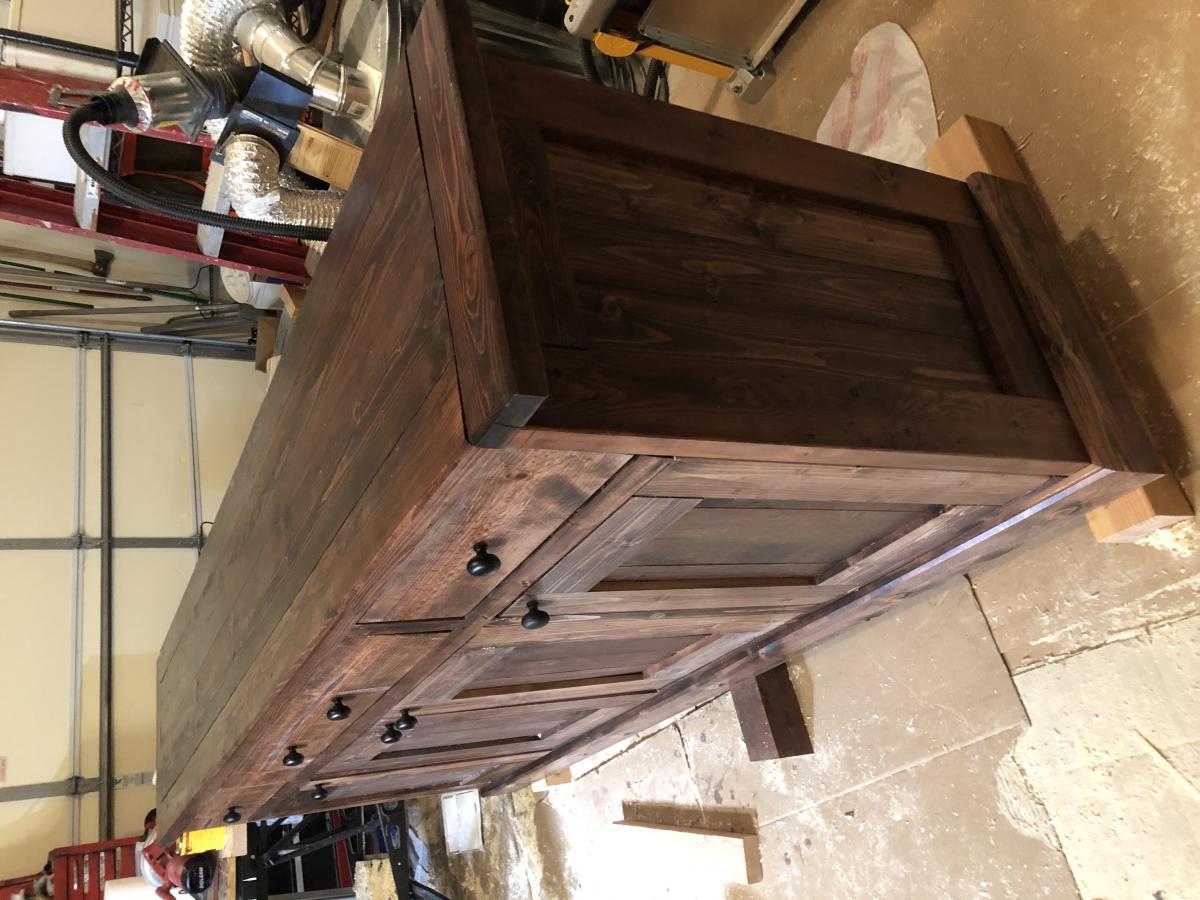
King Farmhouse Bed
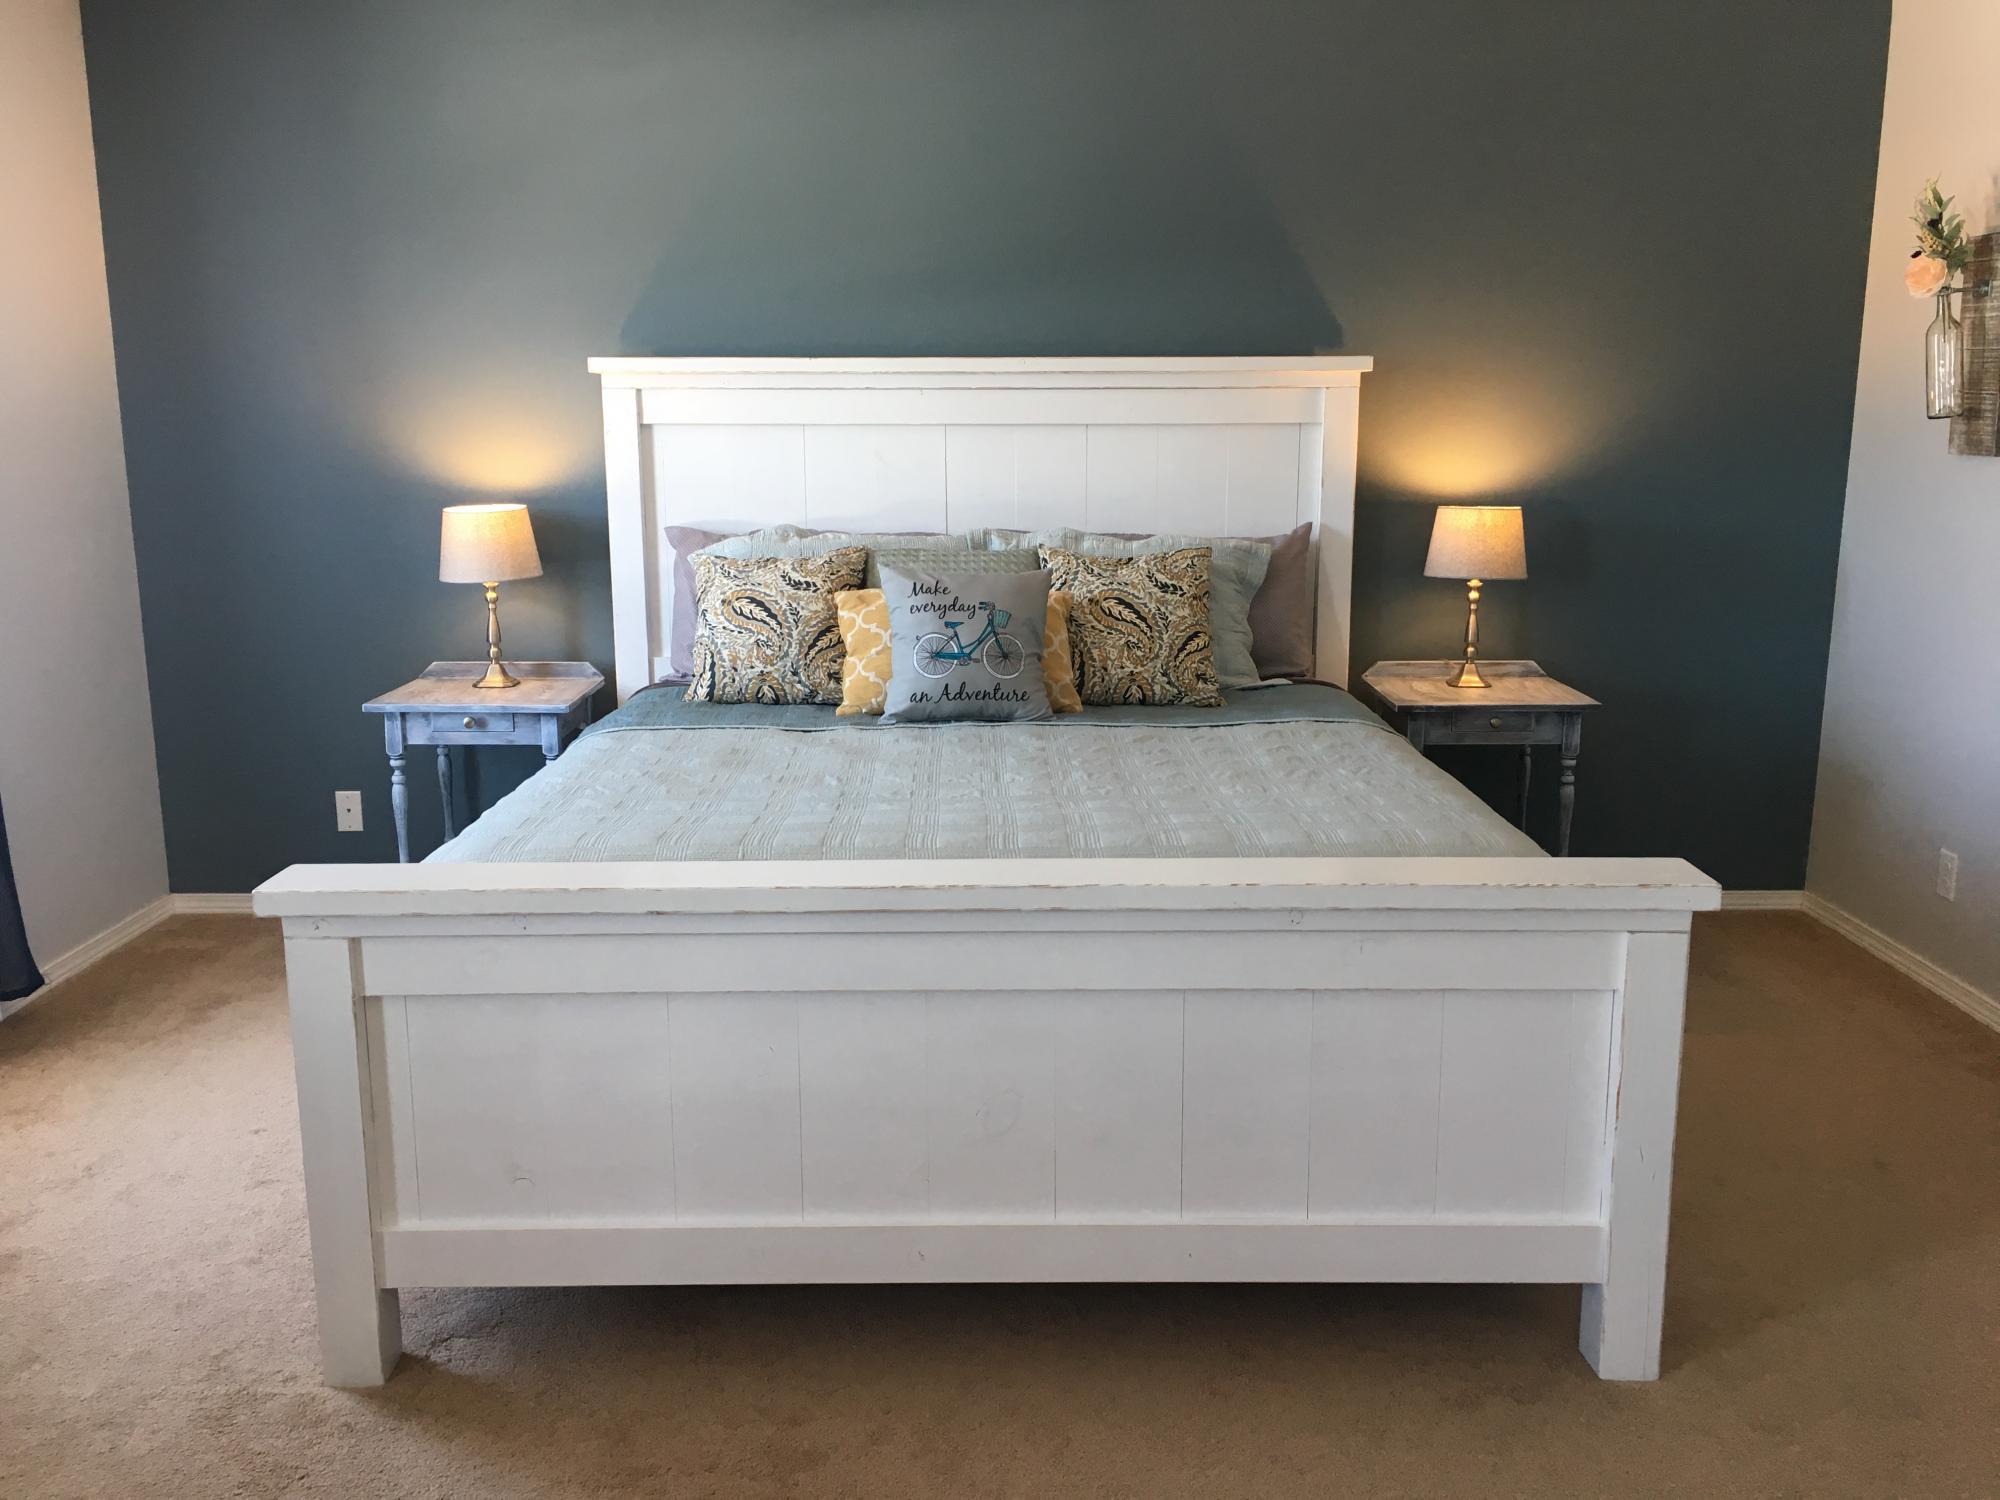
Fun weekend project to build together. We are loving the fresh look to our master bedroom.
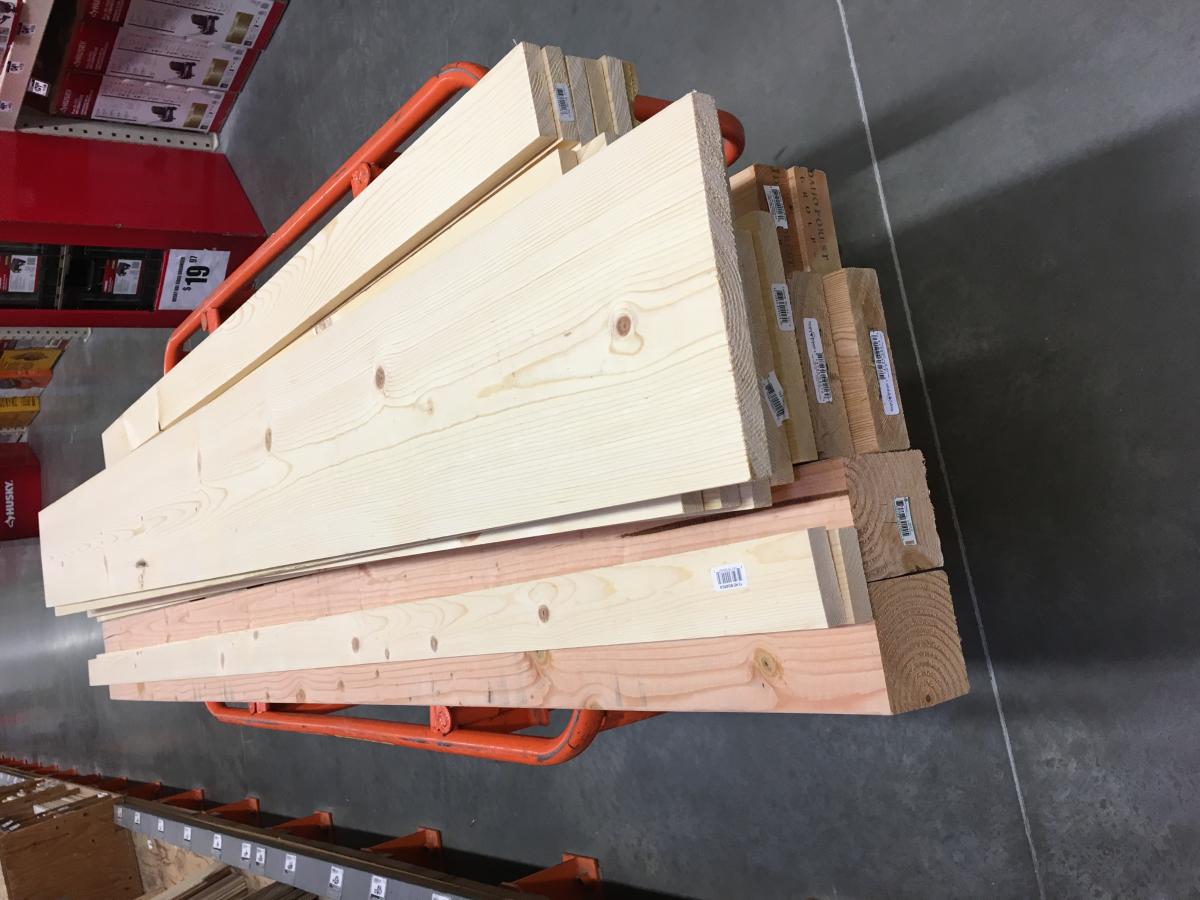
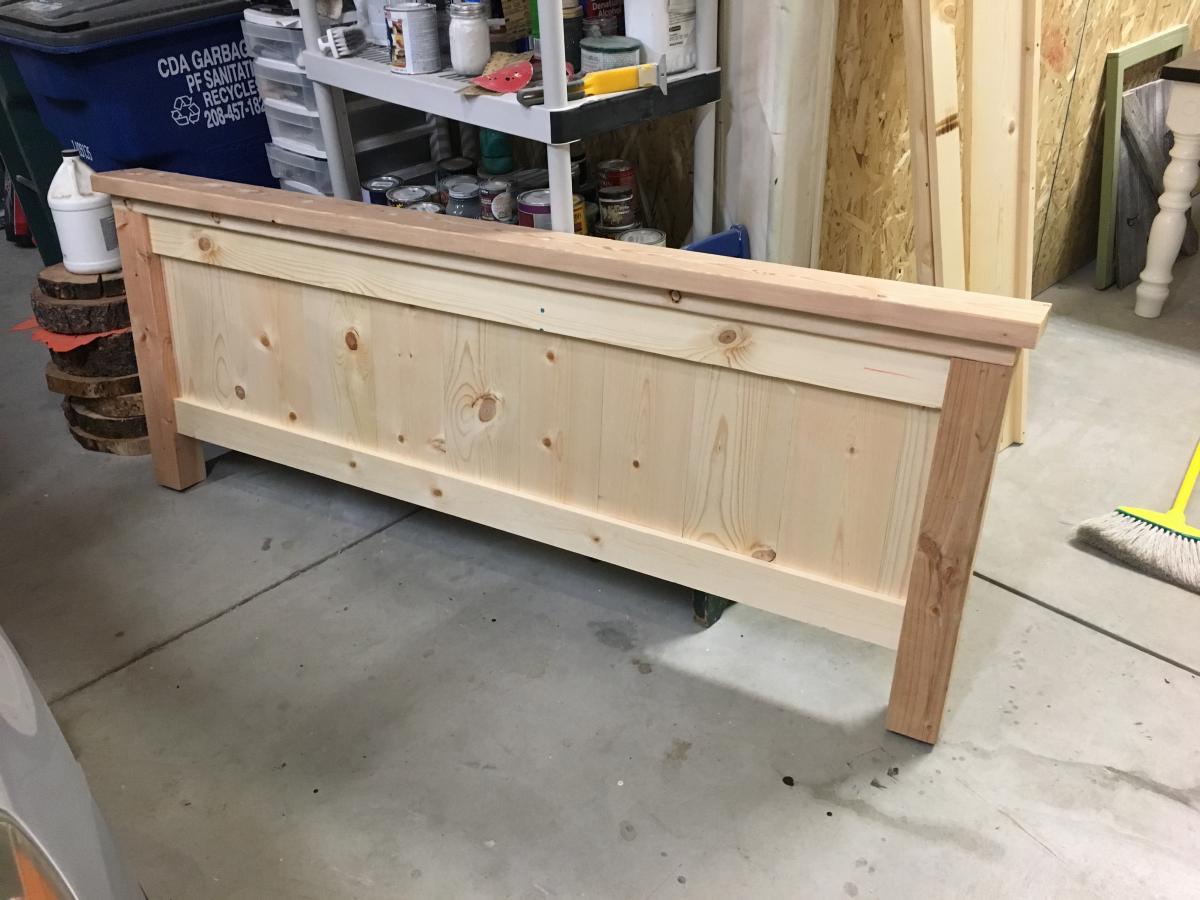
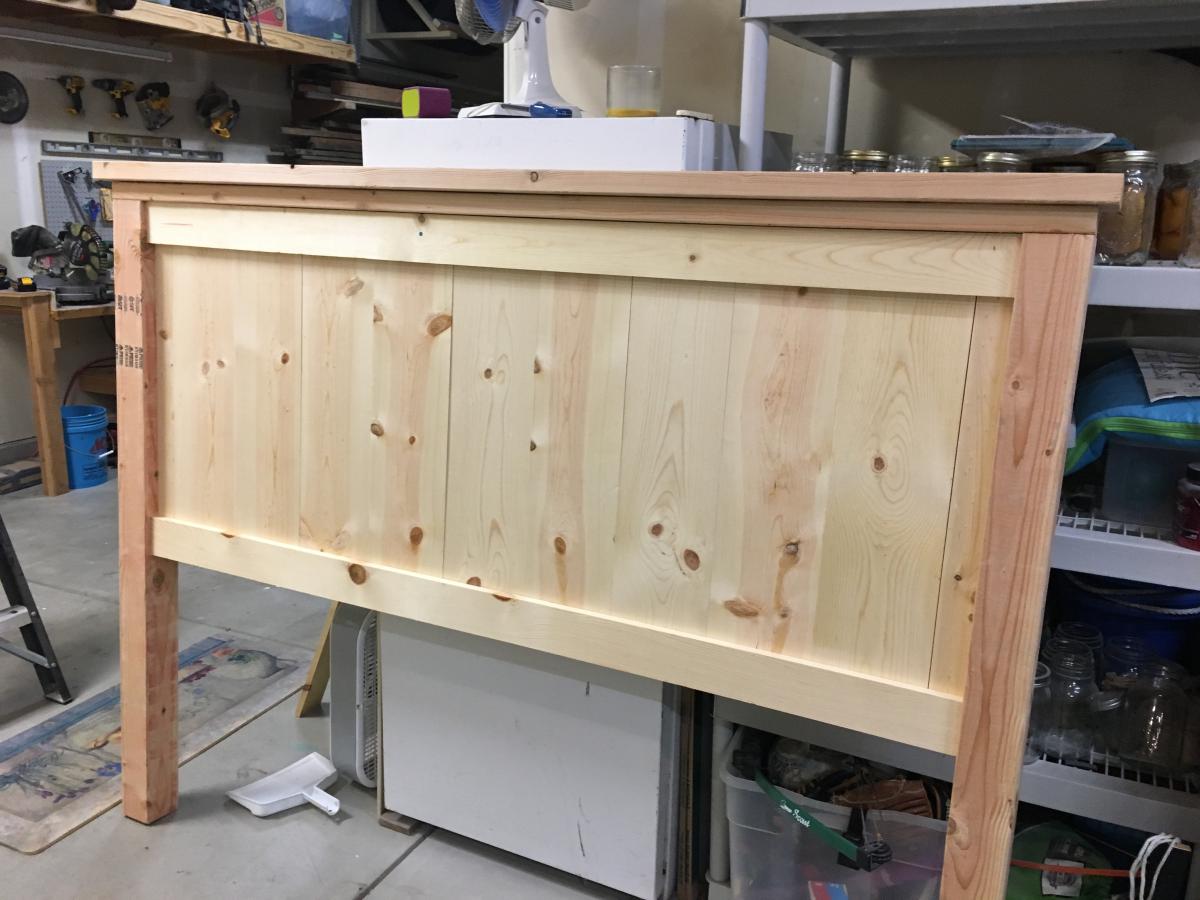
Built from Plan(s)
Estimated Cost
350
Estimated Time Investment
Weekend Project (10-20 Hours)
Finish Used
General Finishes Snow White milk paint with Satin Topcoat
Recommended Skill Level
Intermediate


Comments
Ana White
Wed, 10/02/2019 - 09:52
It's beautiful!!!
It's beautiful!!!