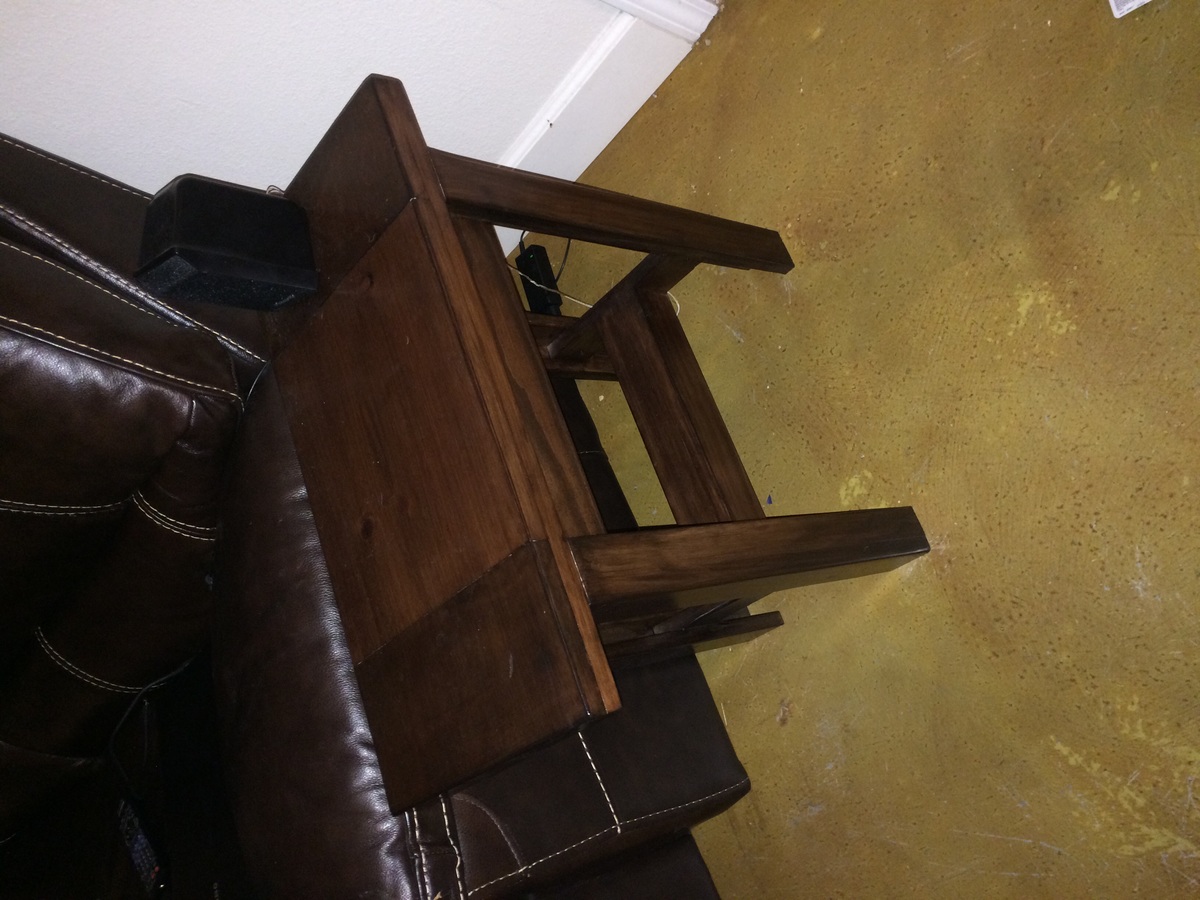
End Table
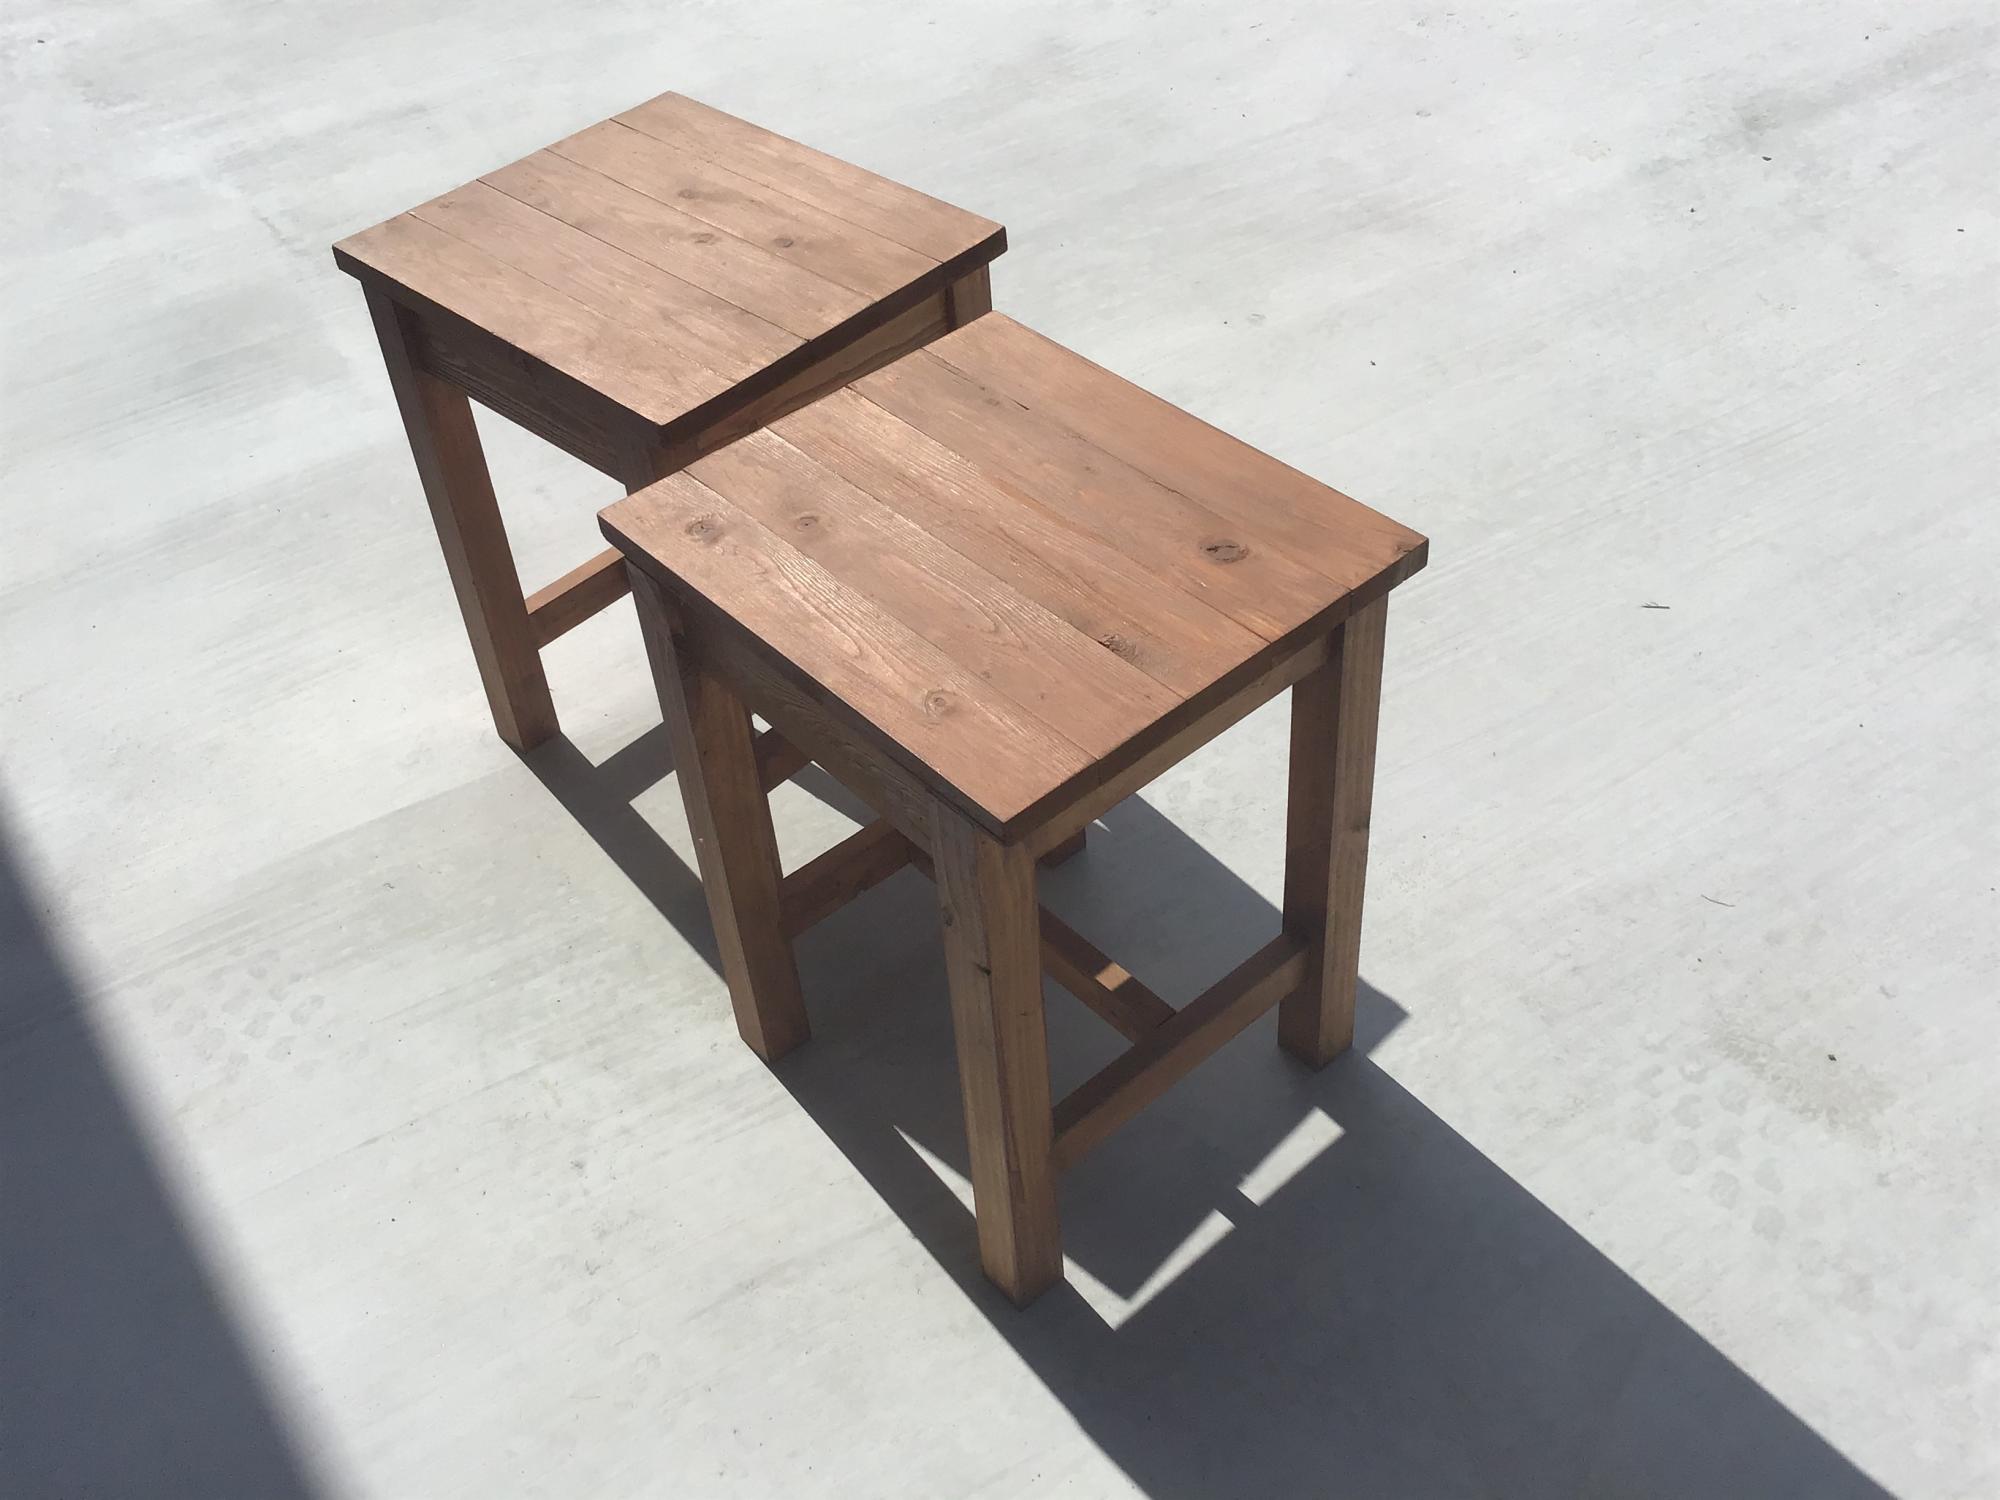
My first wood project.........
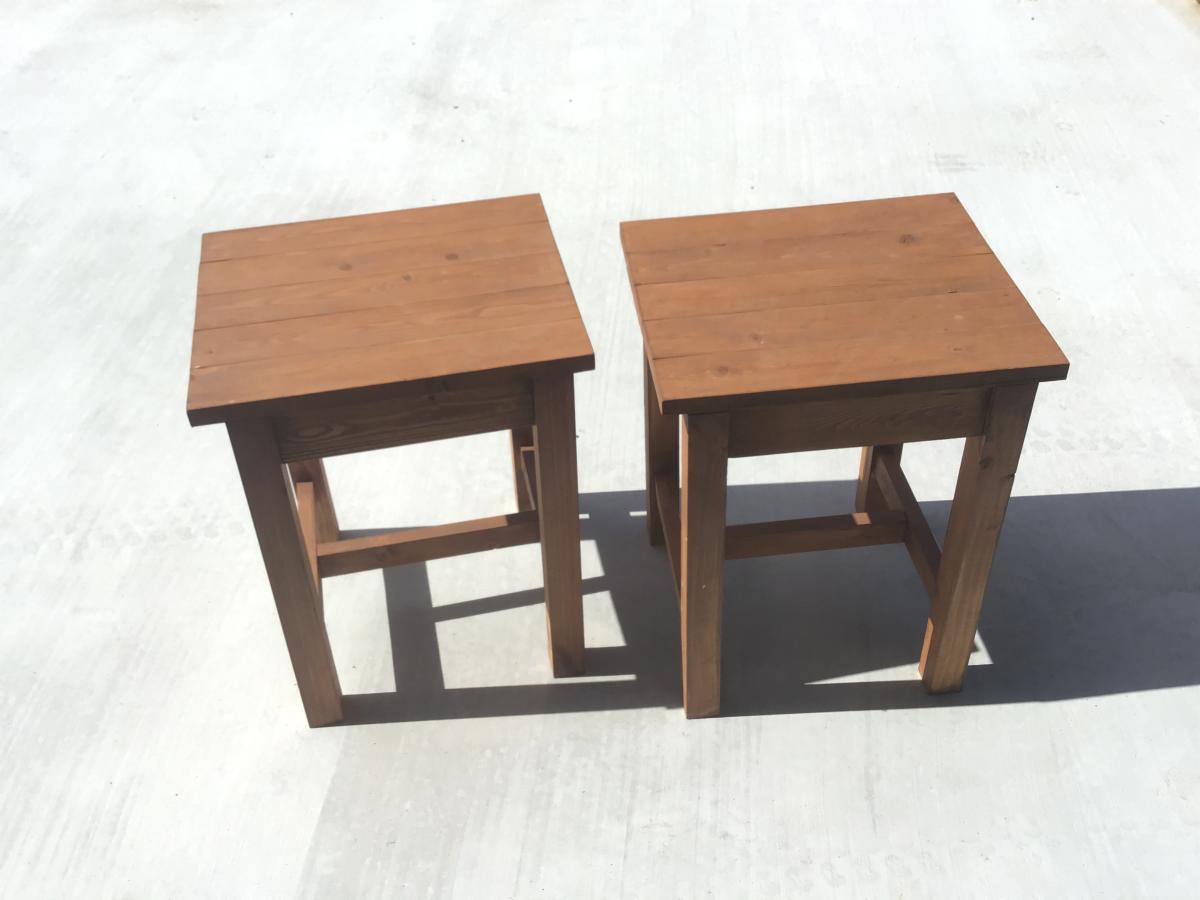
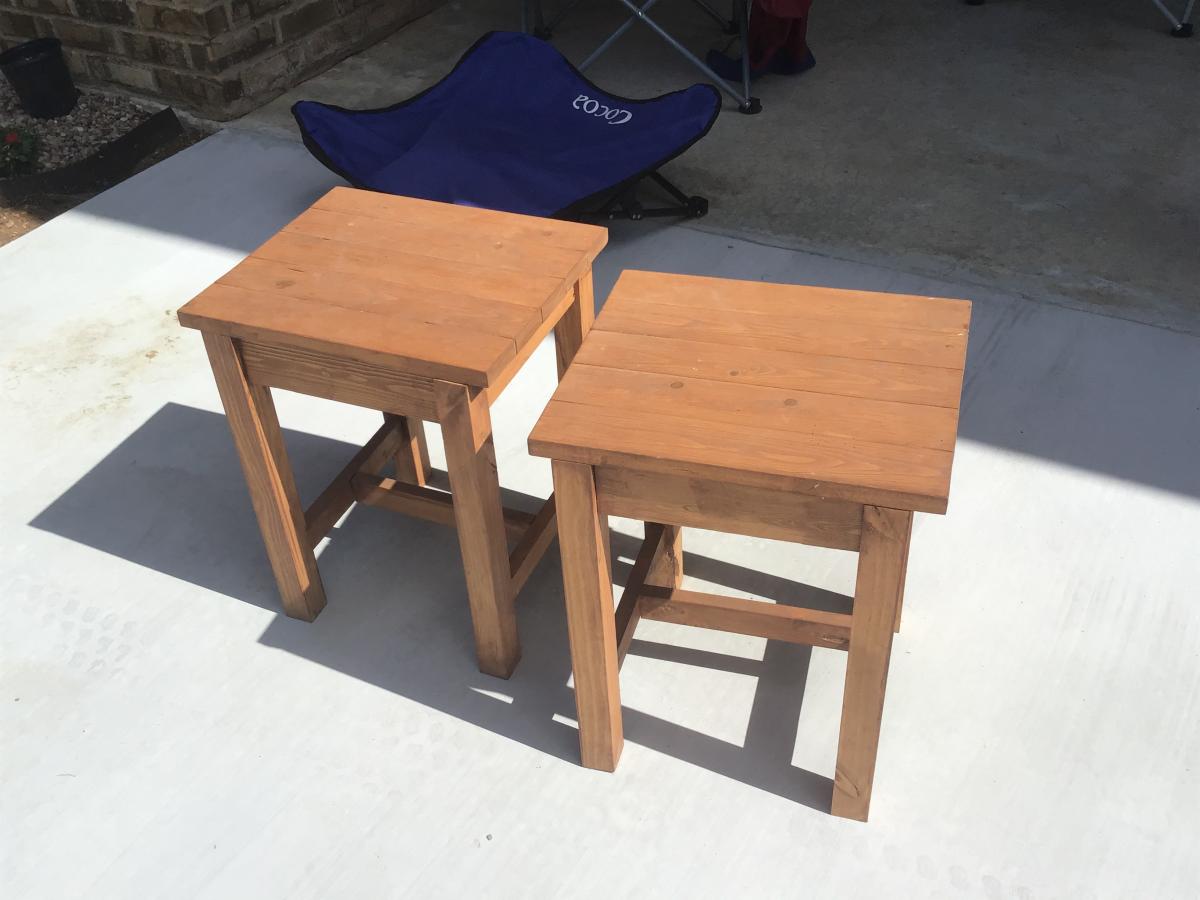

My first wood project.........


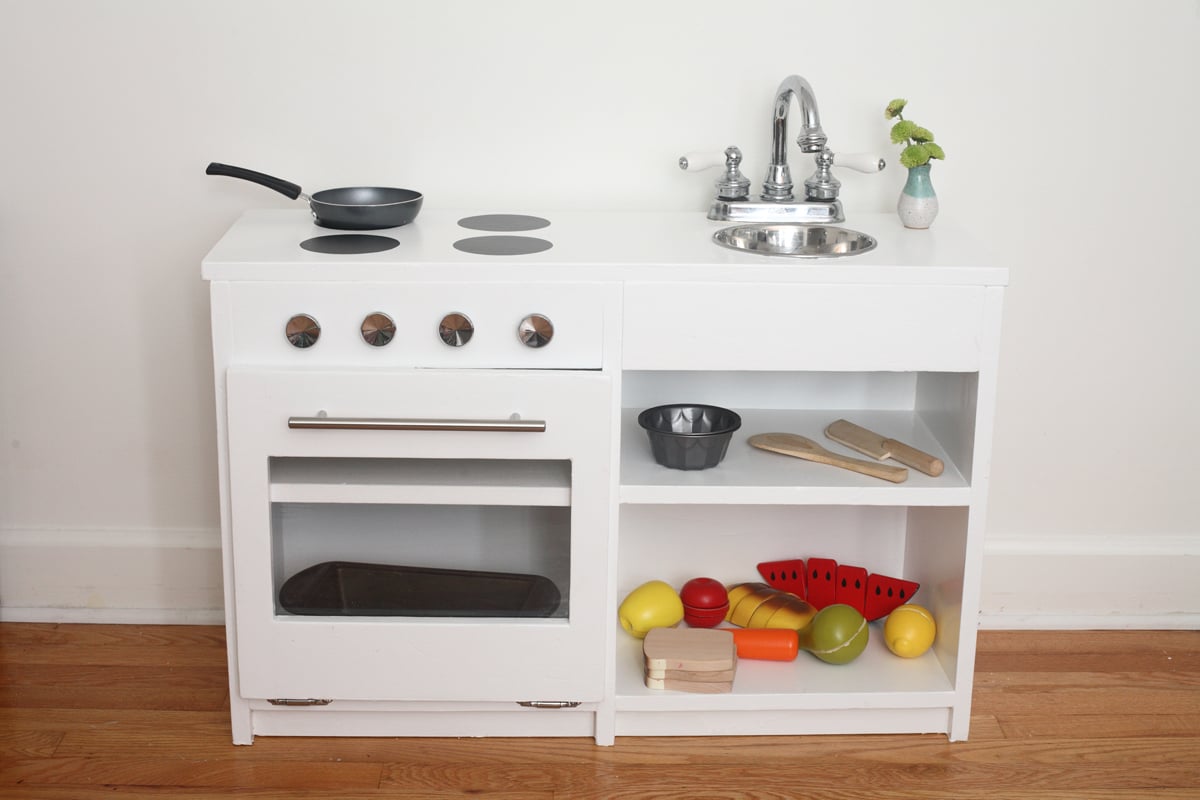
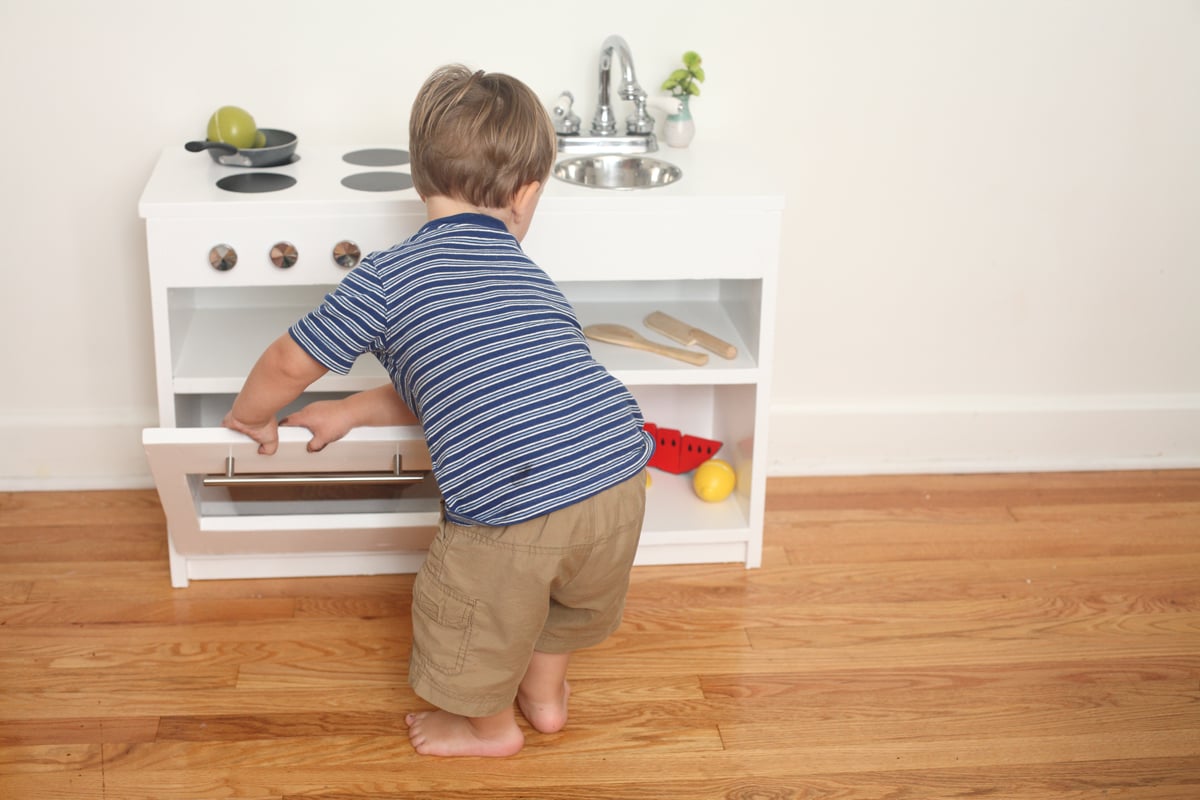
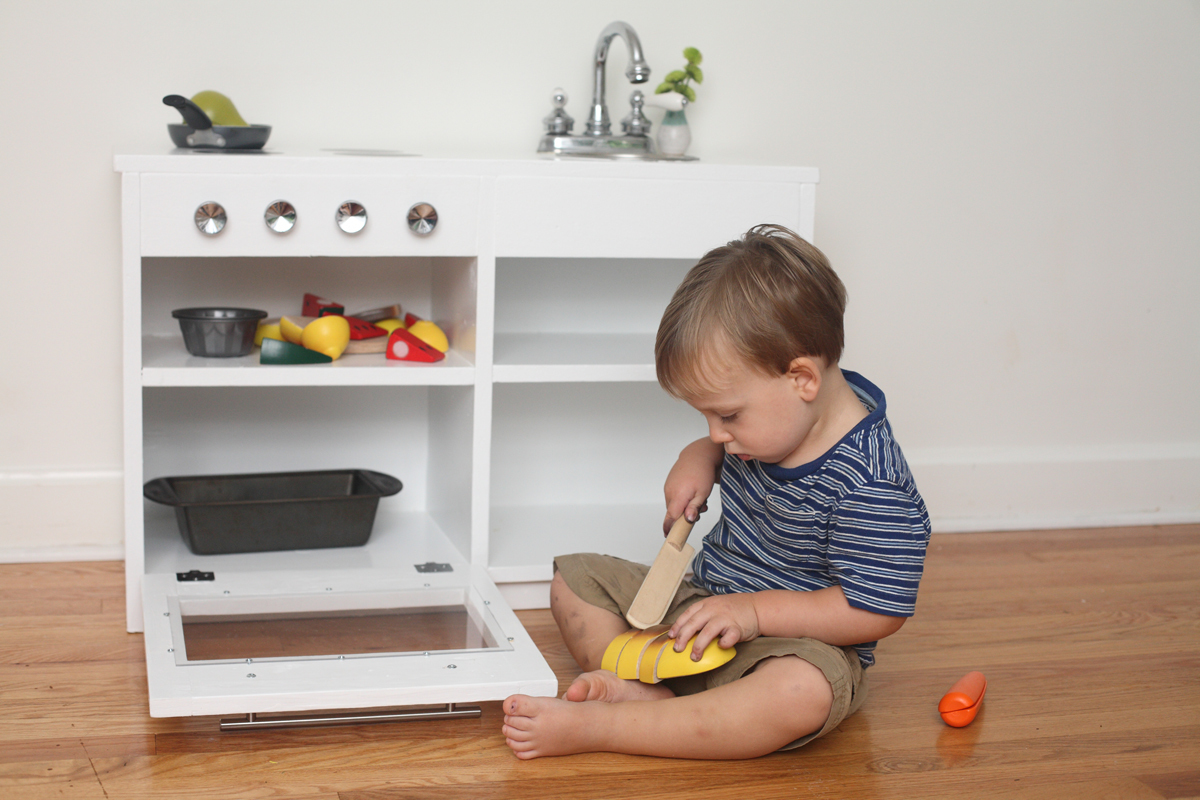
I combined the play sink and play stove into a one-piece kitchen by having them share a side. I found a bathroom faucet at my local Habitat ReStore for $15 (and that included a sink I didn't even need!). Time investment does not include painting. Here's my cost breakdown. Lumber: $25 (I used some scraps.) Faucet: $15 Dog bowl: $7 Hardware: $13 Primer and paint: $19 Screws: $4 Sandpaper: $5 Plexiglass: $3 Prepping dinner while my toddler works in his play kitchen beside me: Priceless.
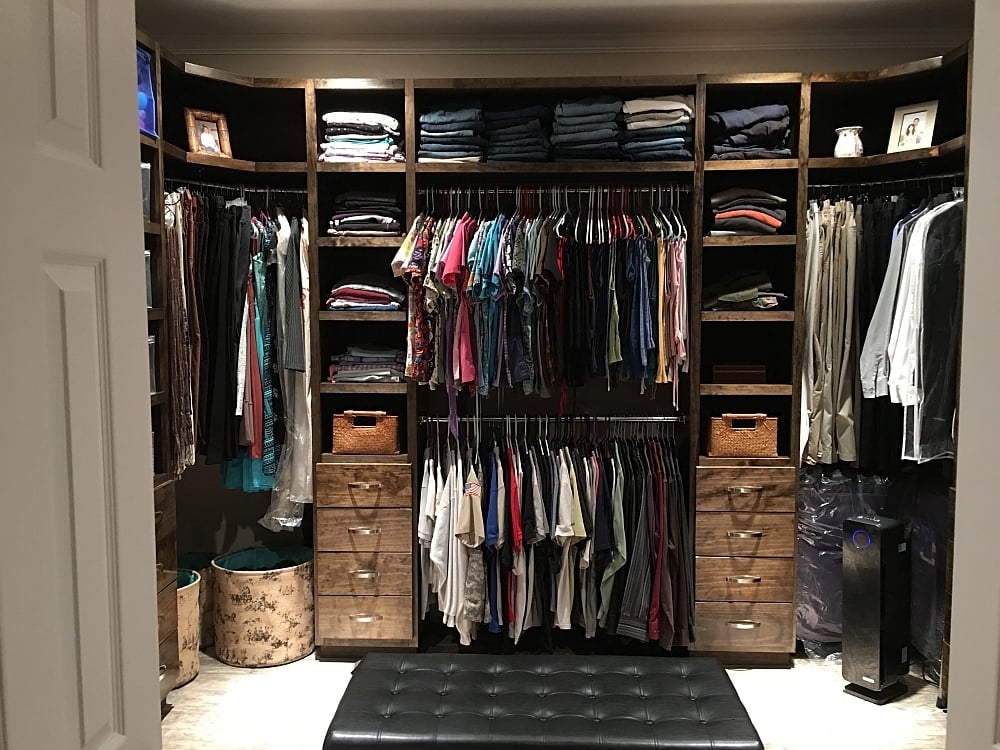
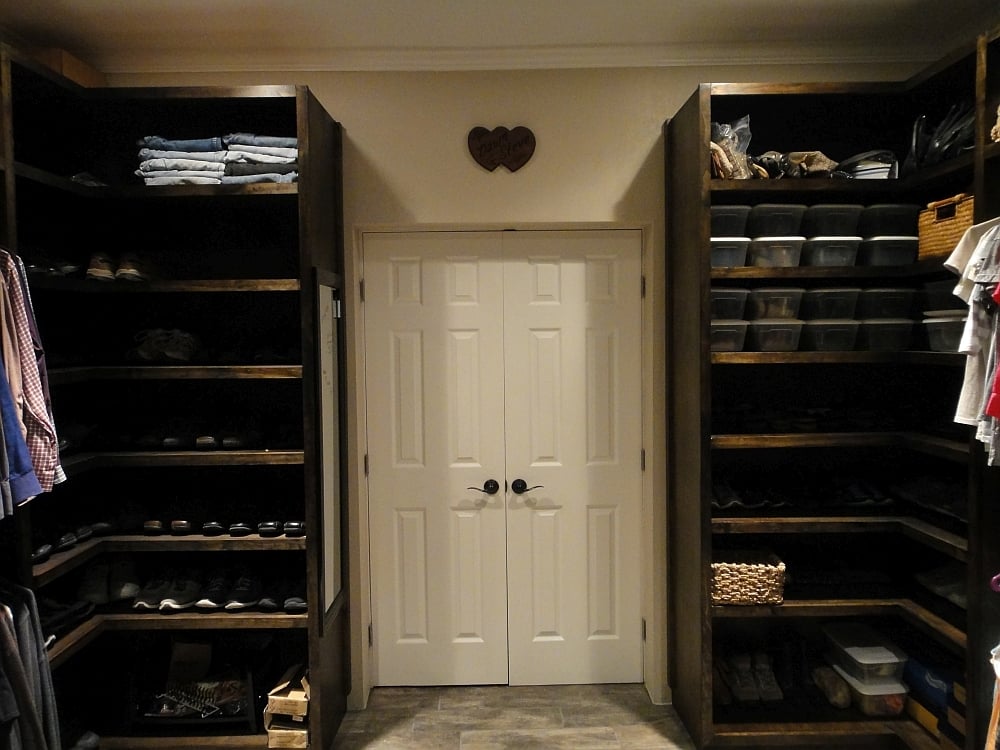
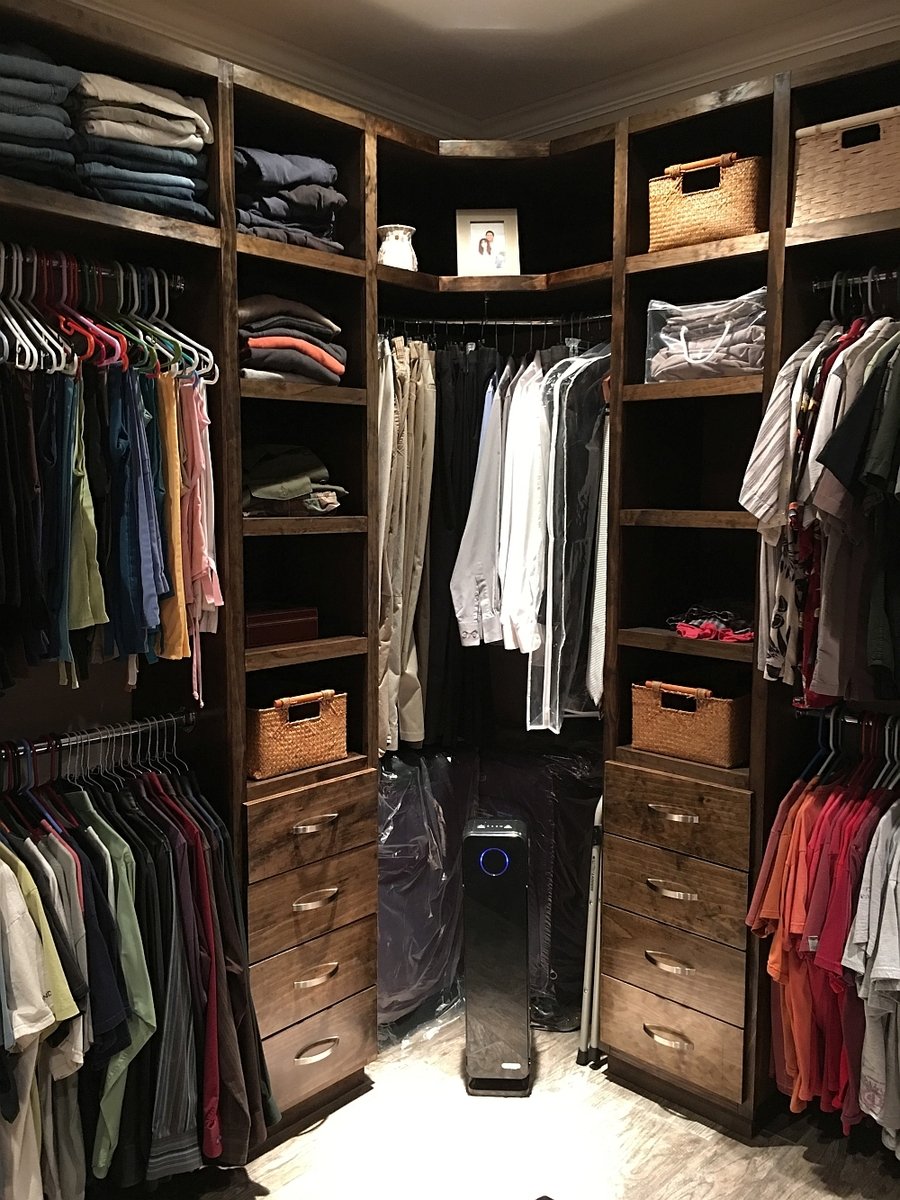
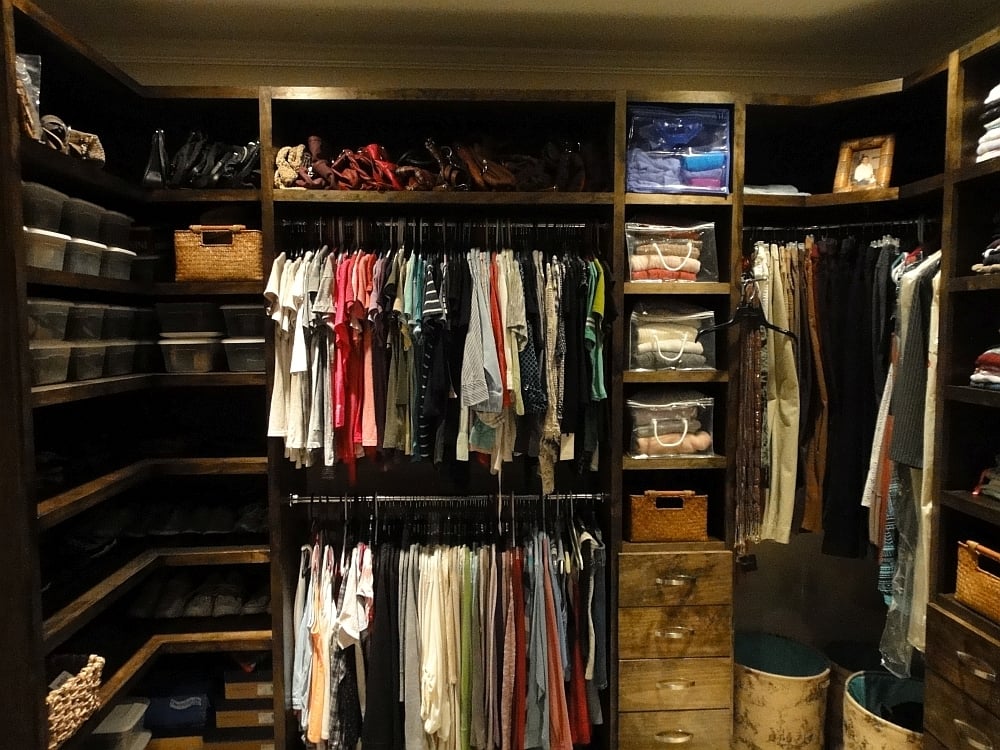
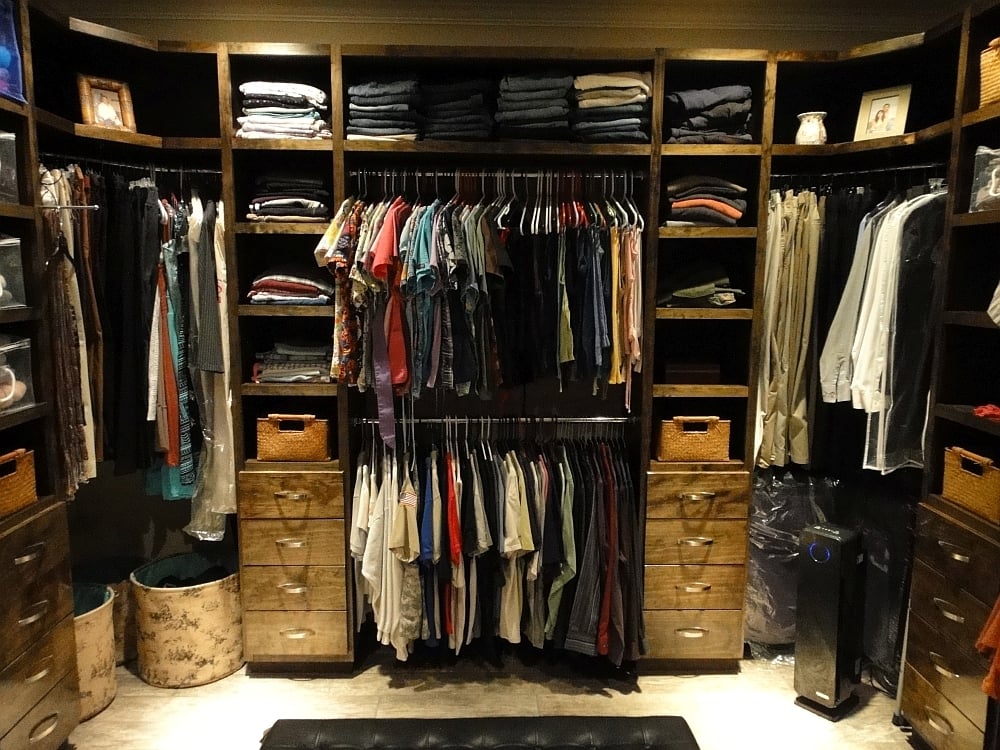
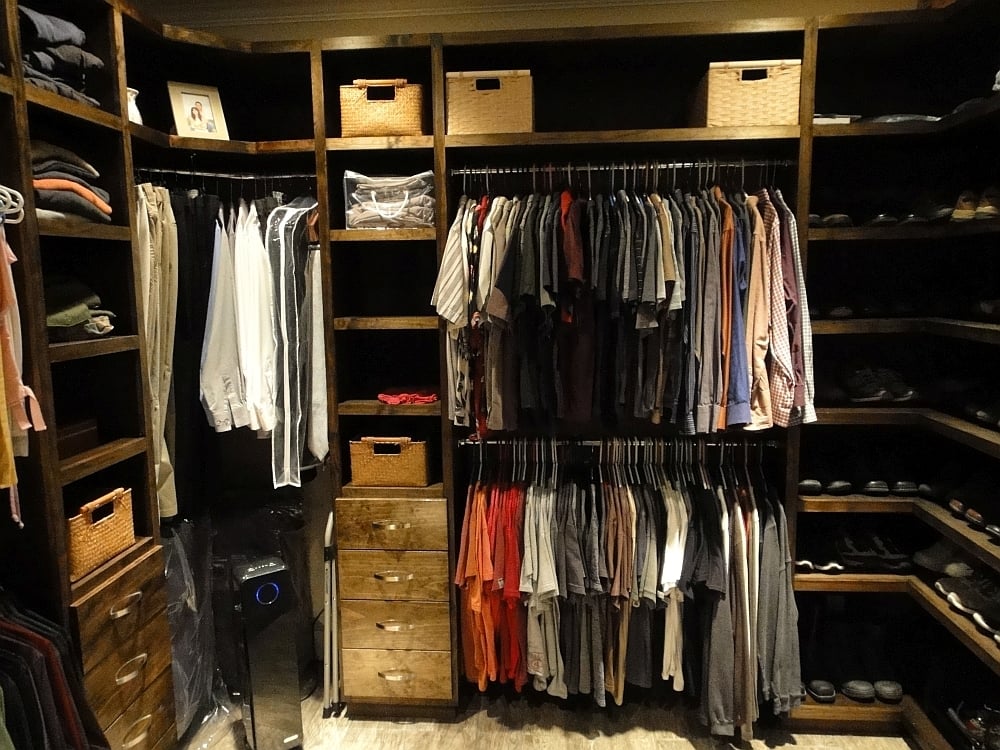
I expanded on the plans I found at Ana White and made this closet. They are 8' high, and made from Birch plywood and 1x2's from my local Home Depot. I ended up using 12 sheets of plywood and 18 1x2's. Sanded and stained with Minwax Jacobean and Satin clear on the unit and semi-gloss on the drawers. I intalled soft-close drawer slides that I found on Amazon for $120 for 15 pairs which included the rear mounting brackets, which I highly recommend using as they save you a ton of labor and make it much easier to install the slides.
What I like most about my work, is that I found regular hanging rods that were too expensive or just plain did not fit the end sockets. I used galvanized fence rod typically used for the top of chain link fences, and simply brushed them with 0000 steel wool and then polished them on my buffing wheel. If you want the brushed look, simply don't buff them. What was best about using fencing rods, was that it cost about a dollar a foot and was much stronger than buying the actual chrome rods which were over three times more money.
For the corners, you will see that they are three angled rods, which you can not buy anywhere. So, I purchased 1" galvanized electrical conduit. and bent it with a tubing bender. I simply measured what I needed, and put two 45 degree bends in the rod, installed 1" sockets on each end, and a center rod support for the middle. These two were polished with 0000 steel wool and then polished to a chrome finish. They look amazing, and the best part is that it cost $6 for a ten foot piece, which was more than enough to do both corners. You cannot beat the cost of using fence rods and electrical conduit for closet rods.
I plan to install a small drawer island in the middle later as I require a need for more drawere space.
Thanks to Ana White for the help. I already have a few more next projects lined up using her ideas here.
Tue, 10/18/2016 - 10:26
That is one lucky wife and one heck of a build! Thanks for sharing:)
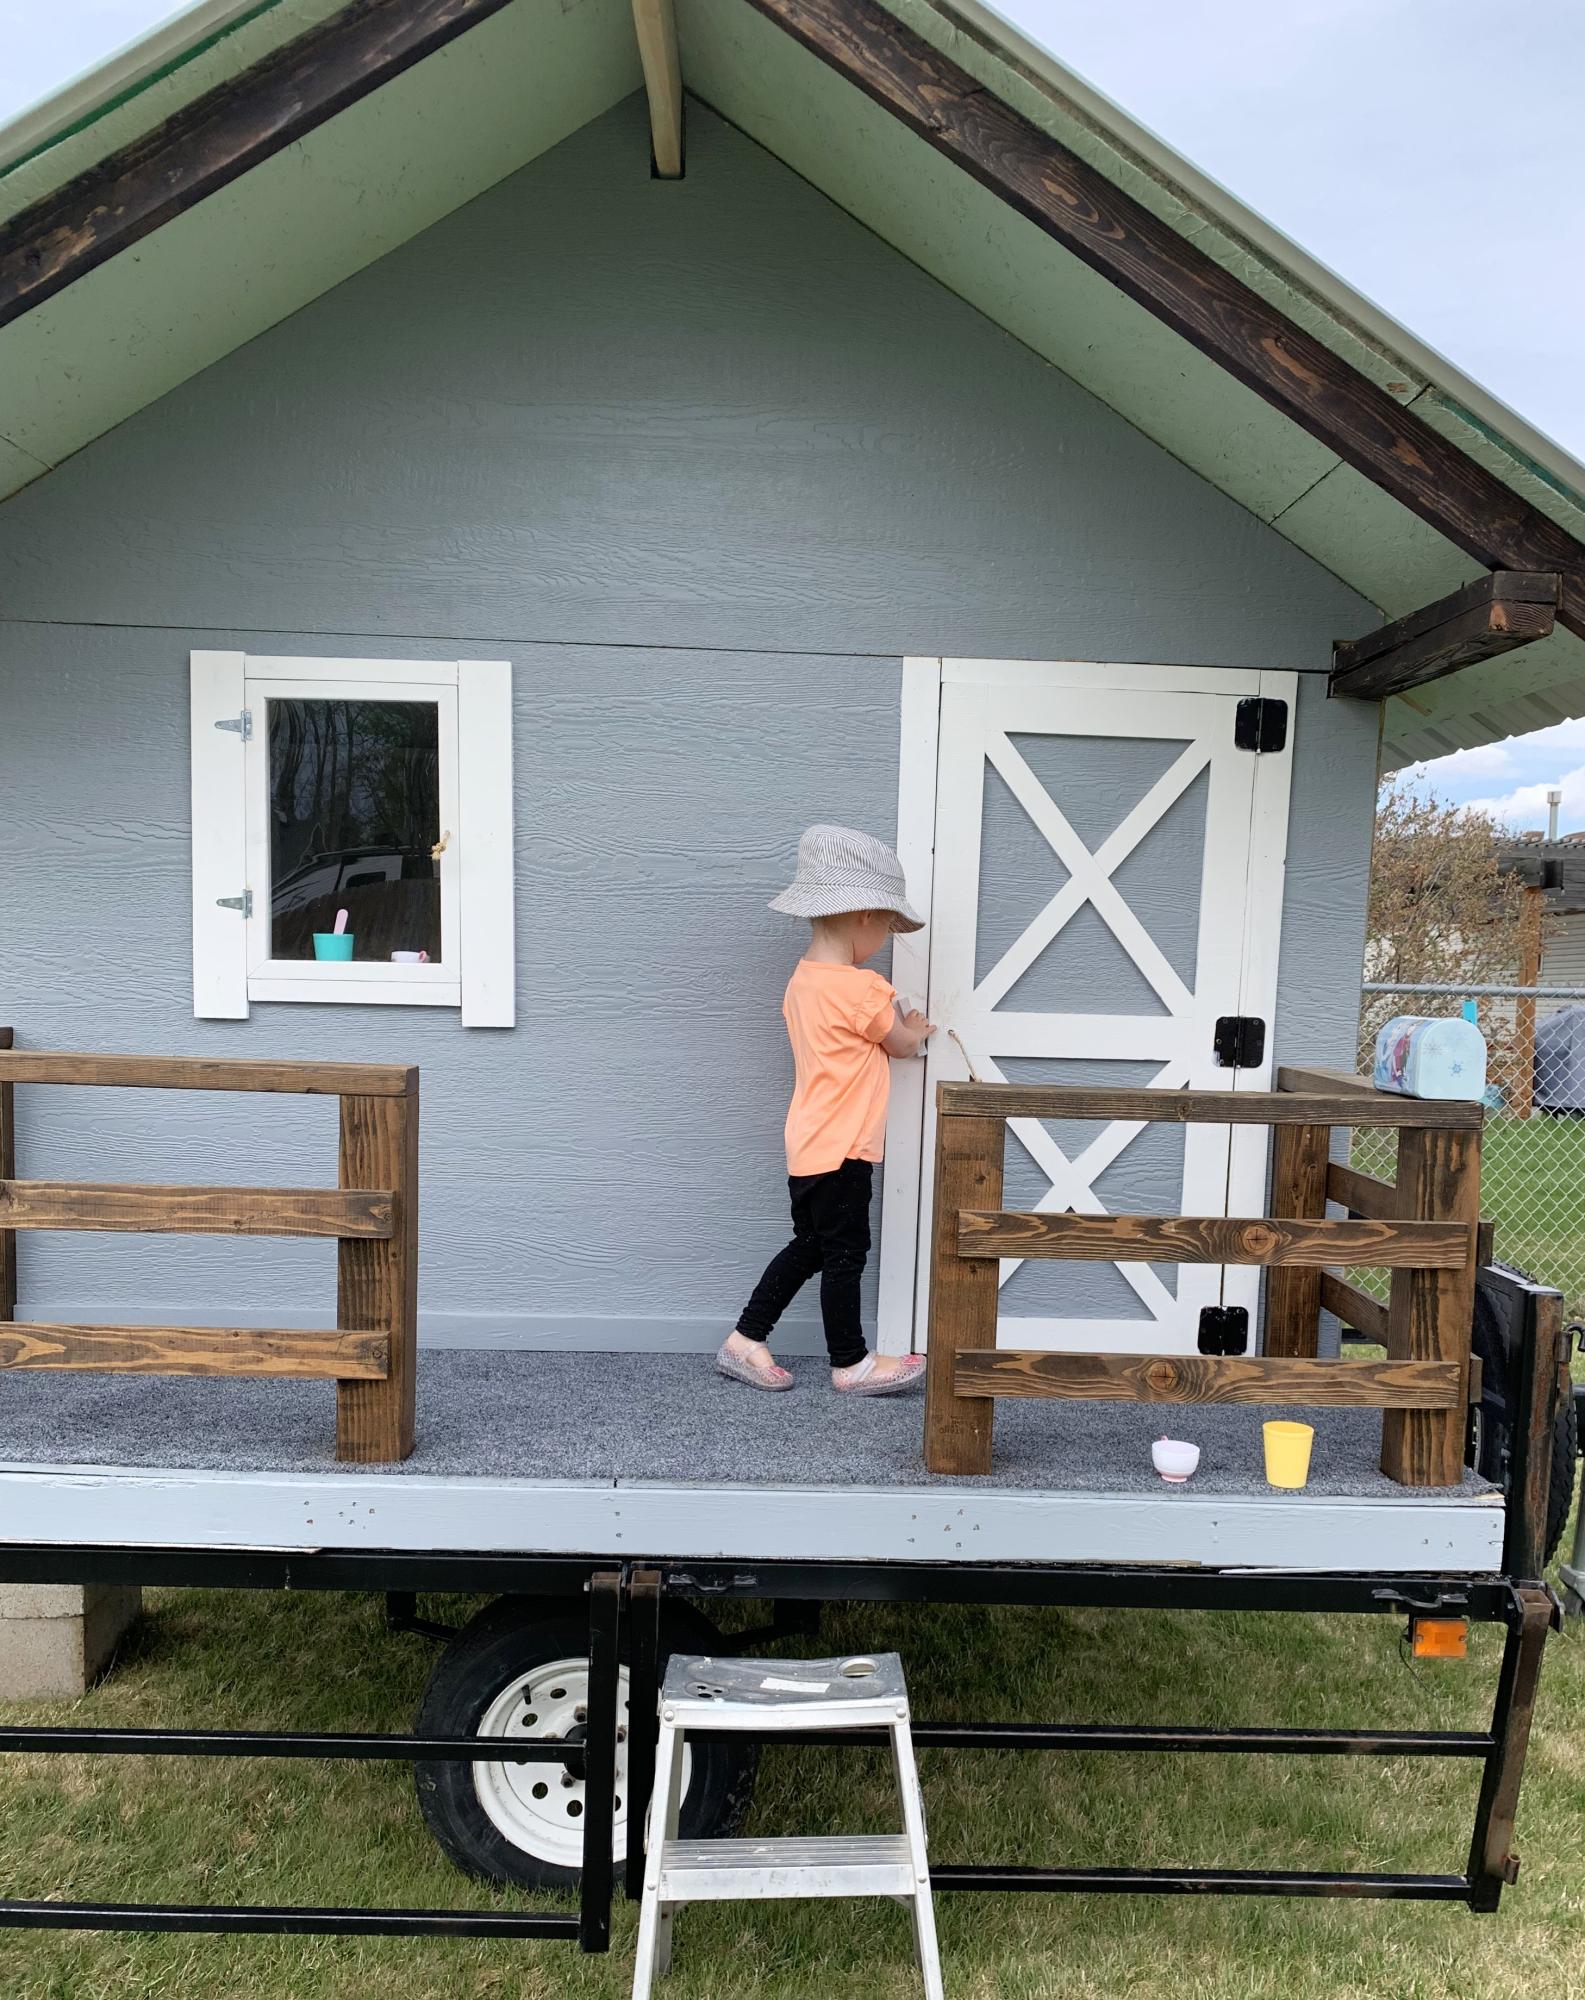
I had just retired and wanted to make a playhouse for my 2 year old grand-daughter. I always wanted one as a kid and wanted to build one for my kids but never found the time.
This was made mostly out of scrap wood that couldn’t be used to build a house and I was lucky enough to get permission to take whatever I needed. Learned a lot doing it. Thanks to my boyfriend for letting me borrow his nailer.
Cindy
This was my first project at building some sort of furniture. we wanted a stool that really fits out toilet bowl shape, the height, etc. and 2x6's worked perfectly. I could have bought 2x12's for the sides, but it would have cost significantly more and with the inside support board it is plenty sturdy.
I bought 2# 2"x6"x6 foot coarse pine boards from Home Depot (not the expense Select Pine boards. They cost about $6 each. Then I bought a 100 count package of Kreg 1.25" coarse screws.
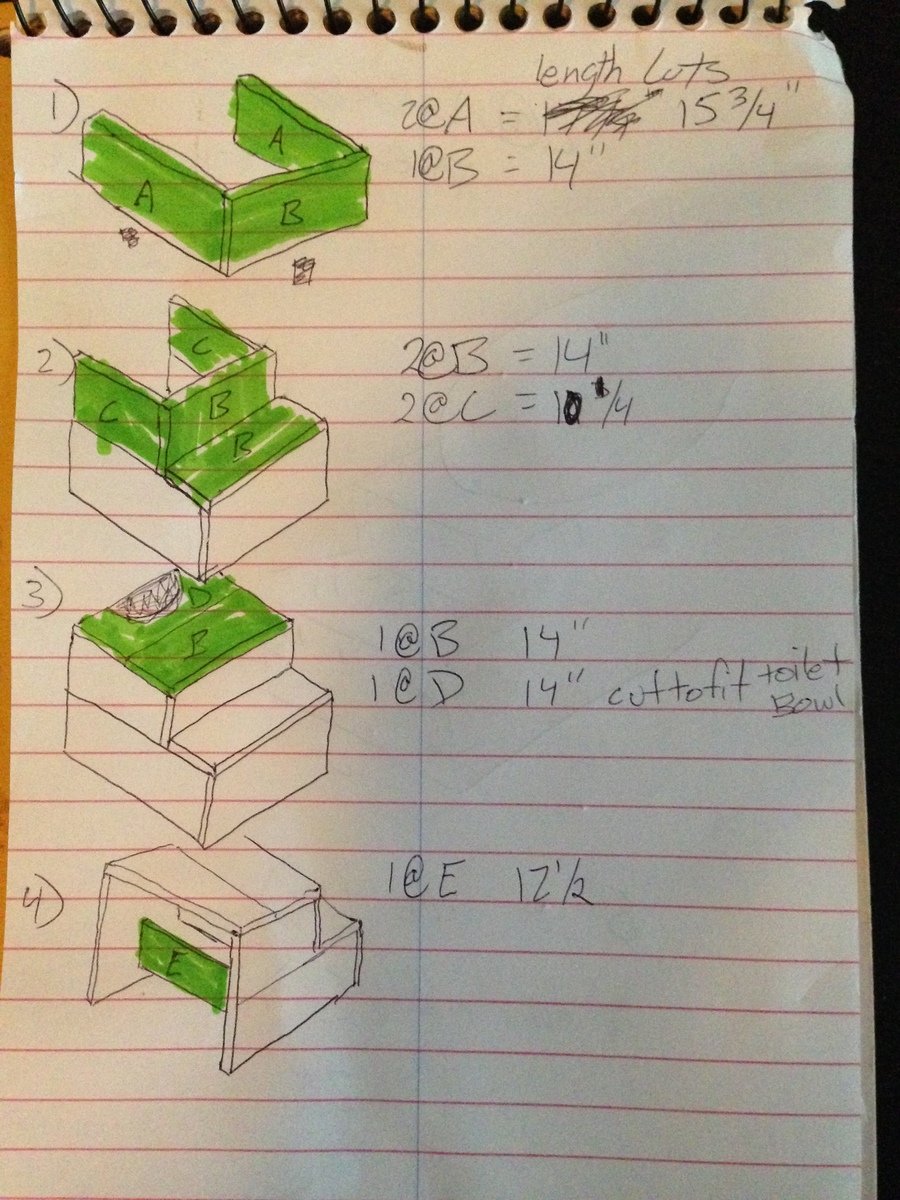
Cut lengths
2 @ 15 3/4" for lower sides
2 @ 10 1/4" for upper sides
5 @ 14" for steps and fronts
1 @ 12 1/2" for inside support
I used my Kreg Jig and connected all the pieces along with wood glue. I sanded the whole thing down after and tried to round/smooth the corners.
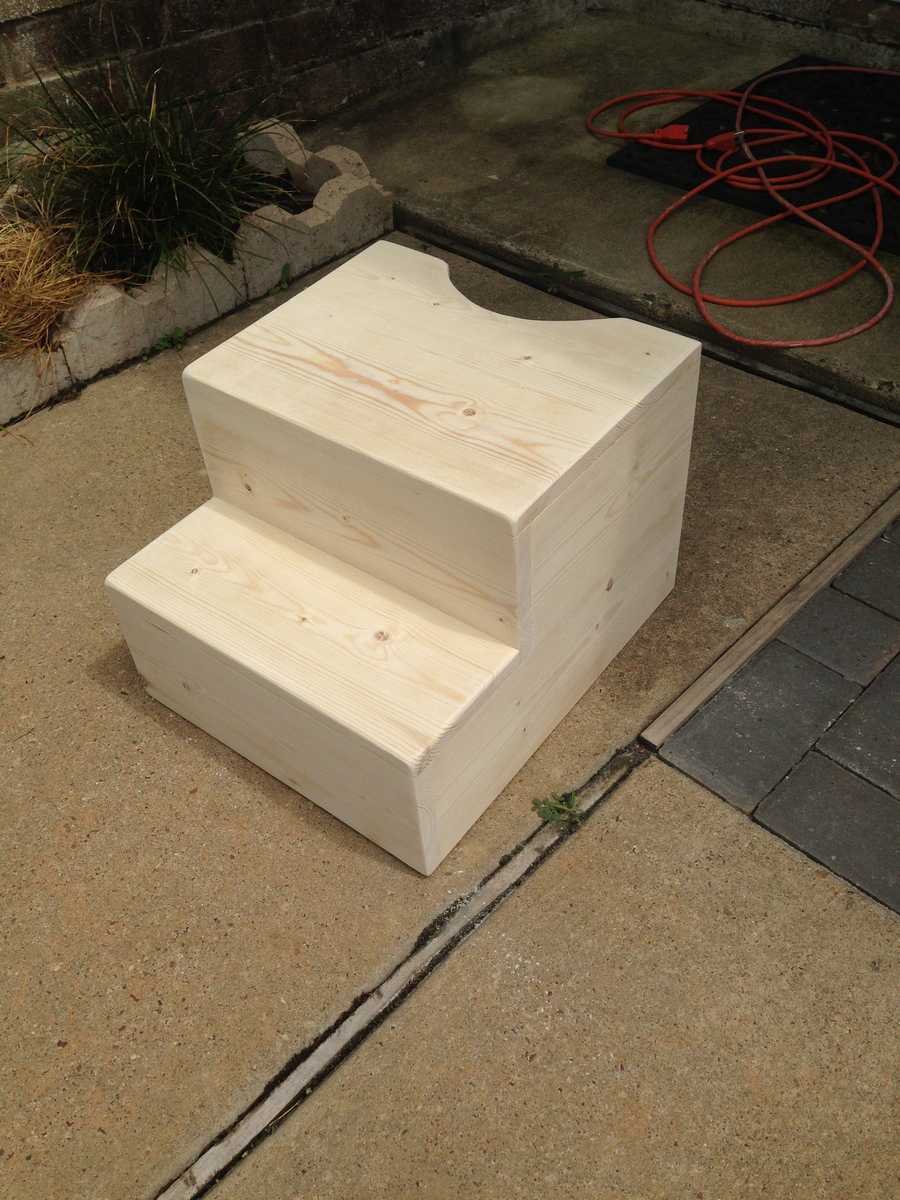
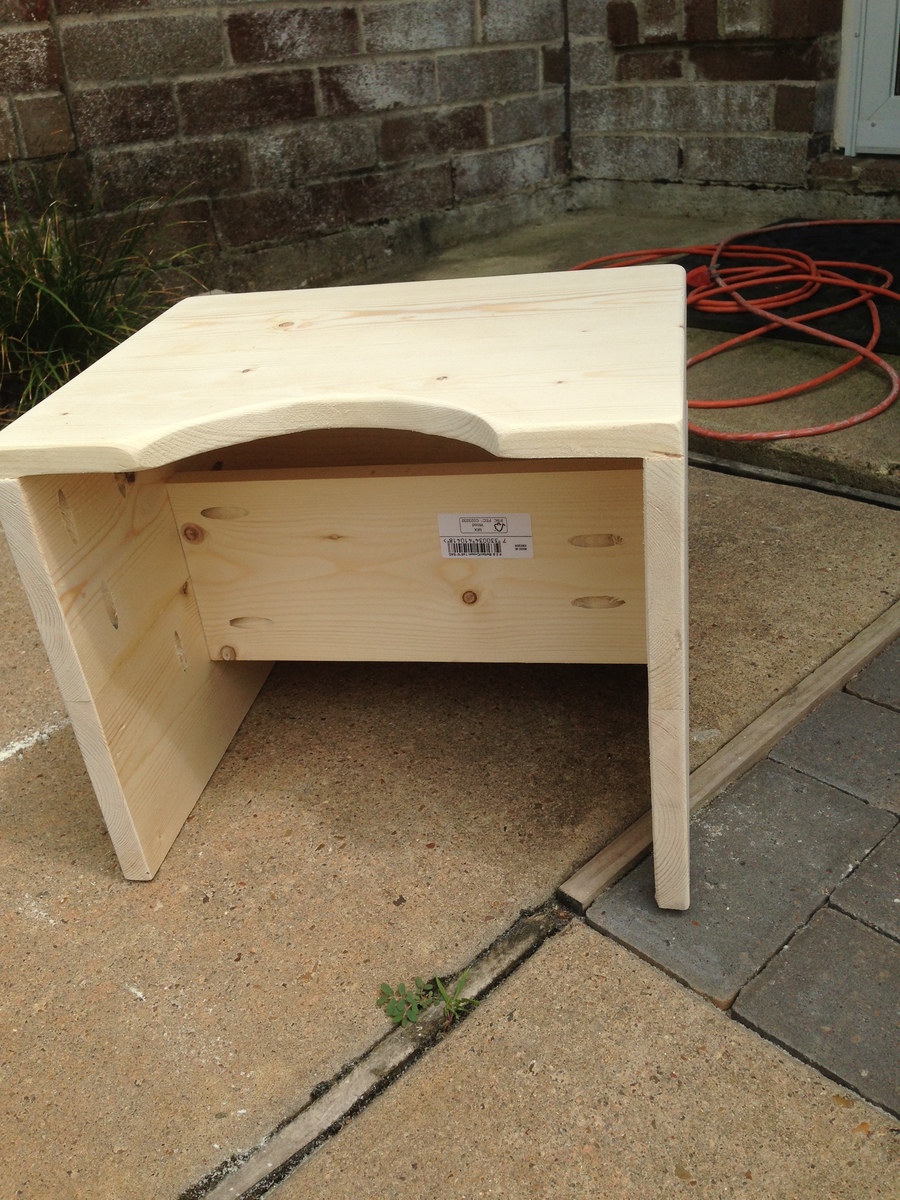
Tue, 03/01/2016 - 10:29
Does anybody have plans for a potty seat. I would like to build a childs chairs that has a ptty
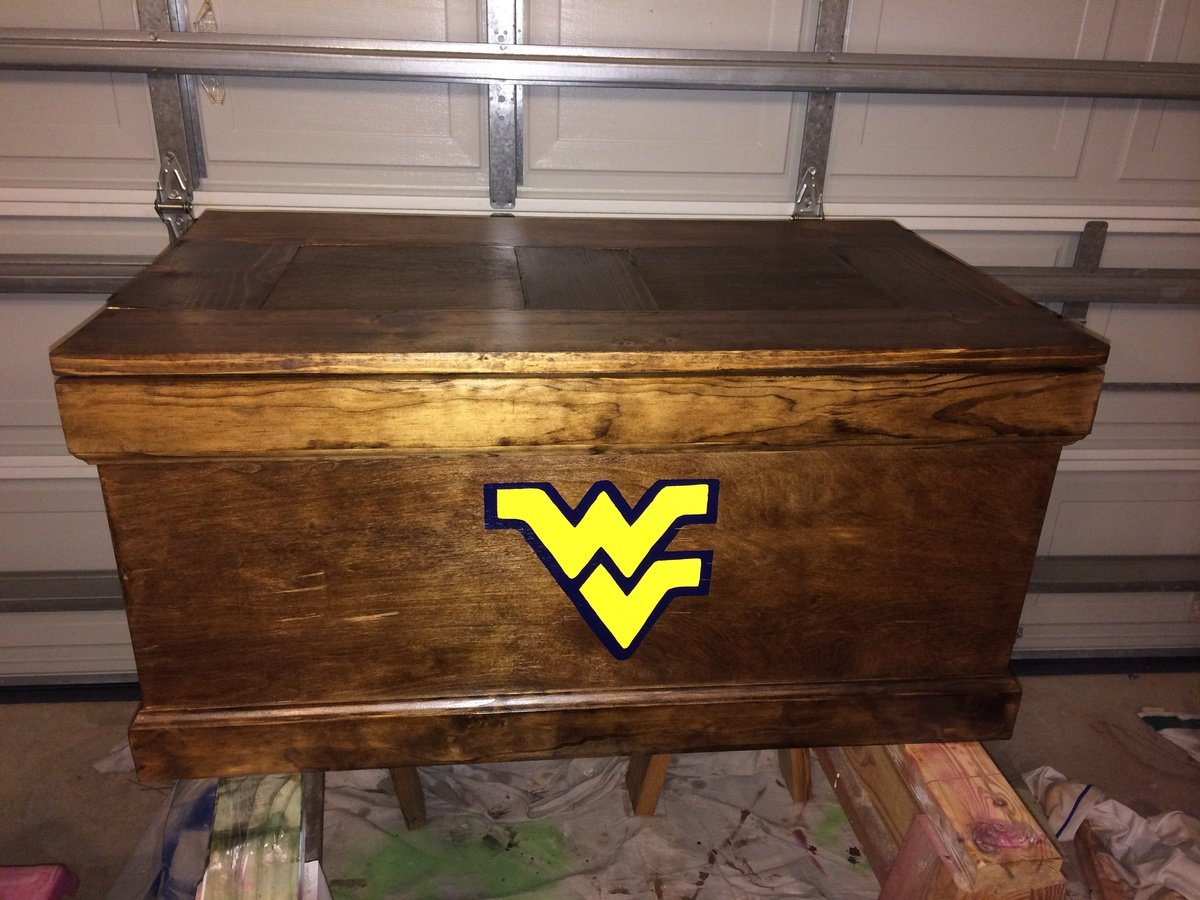
Toy box for our kids that someday will become a blanket box or something else around the house. Customized with the S for our last name. Use a piano hinge and folding lid support on one side. Made another for our friends with the West Virginia logo.
Thu, 04/16/2015 - 08:37
Hello, I just built this same trunk and it turned out great. However, I had a hard time finding a set of soft stay support hinges for the inside. Did you install any and if you did could you tell me what kind (brand) and also a picture of how your hinges look on the back of the trunk and when it is open. That would be great. I went to the original site and asked but they don't respond.
This is the second of the Simplest Stool design I retrieved from Ana's site and built. I love the stool for its ease of construction and beautiful lines. Get your measurements spot on and it goes together in a flash. I did use a 15 inch diameter project round for the seat. I built it upon the request of a friend so they have to finish it. Lots of PHs in this small stool so I wish that Kreg or someone would produce PH inserts that easily fit where you have 11/4 inch ph screws.
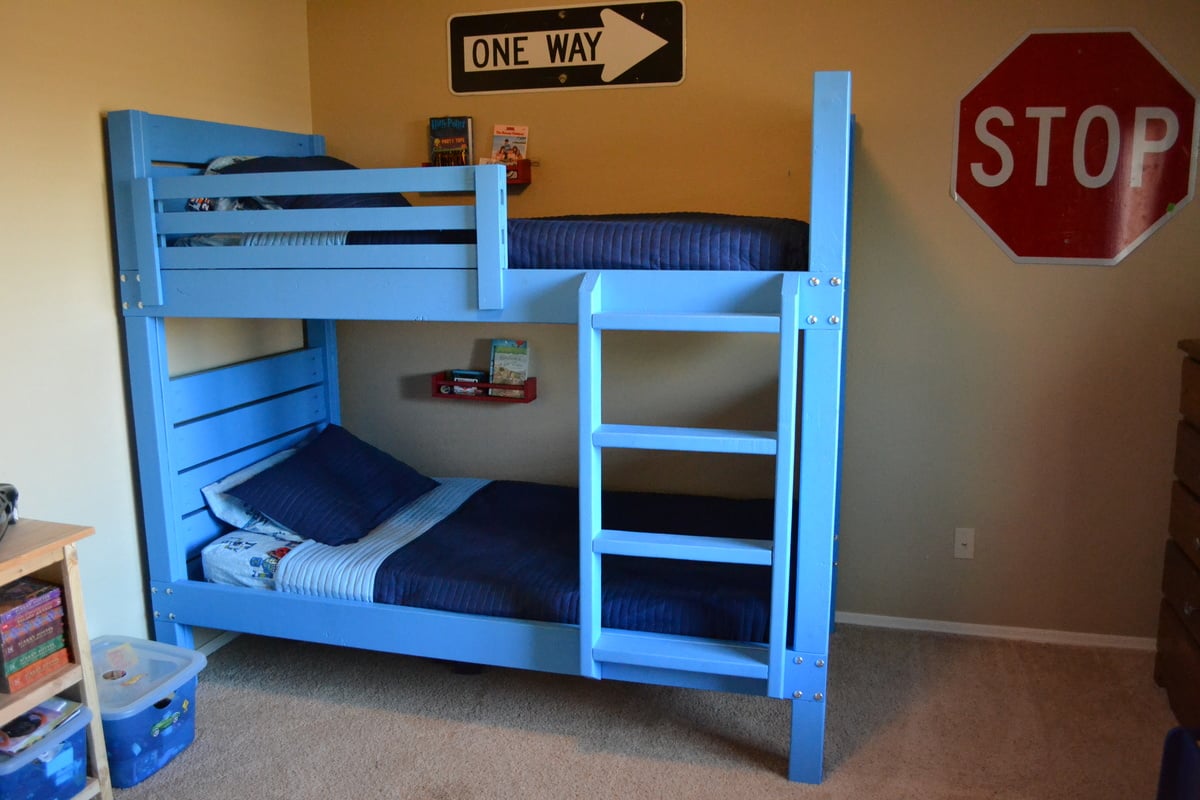
After building the playhouse loft bed, I found this project to be very easy. I built the bunk beds at 37/38 weeks pregnant, so that should tell you how simple it is to construct. The total cost came in under $300 and I was able to use some of the scrap wood I already had in my garage.
I did run into some trouble with the slanted ladder. Even though the pieces were cut to the exact measurements in the plan, the sides of the ladder were too short for the bed. Being very pregnant and impatient, I just modified the ladder so I wouldn't have to waste the pieces I'd already cut.
You may also notice that I didn't fill and sand my pocket holes on the end pieces yet. That was also me being very pregnant and impatient. I'll go back and do that later when I have more time. Despite the little bit of finishing work remaining, this was pretty much a 2-day project. Cutting and construction was fast (one day) and finishing took another full day.
I used Valspar "Blue Burst" paint from Lowe's to finish the bed. I used bolts to attach the side rails because we move frequently so I wanted the bed to be easy to disassemble. Overall, this was a very easy and fun project!
Sun, 11/11/2012 - 21:37
Love how you whipped this together! I stumbled upon your post as I started working on these bunk bed plans today (I can't read the dimensions on the diagrams from a printout, so i open up the plans on the iPad). I had to finish up the ladder and side rail today. I was stumped yesterday evening with the same ladder issue. Why was it coming up short? It was really annoying considering it took me a while to figure out a 60 degree angle on my miter. I decided to try changing my ladder angles to 22.5 and 67.5, as I still wanted a leaning ladder, but I thought a reduced angle would work better. Didn't have to scrap my boards either, whew. Love how quickly you put this together! Coincidentally, I'm 33 weeks pregnant, but moving terribly slow compared to you.
Mon, 11/19/2012 - 07:25
I'm glad I'm not the only one with the ladder issue! I couldn't figure out what went wrong. I also tried to adjust the angle but my boards were just a tiny bit too short and I was not wanting to run to the store to get more. I do like the leaning ladder better though. Can I just say that I love that you're building this bed while pregnant too? That's awesome! :)
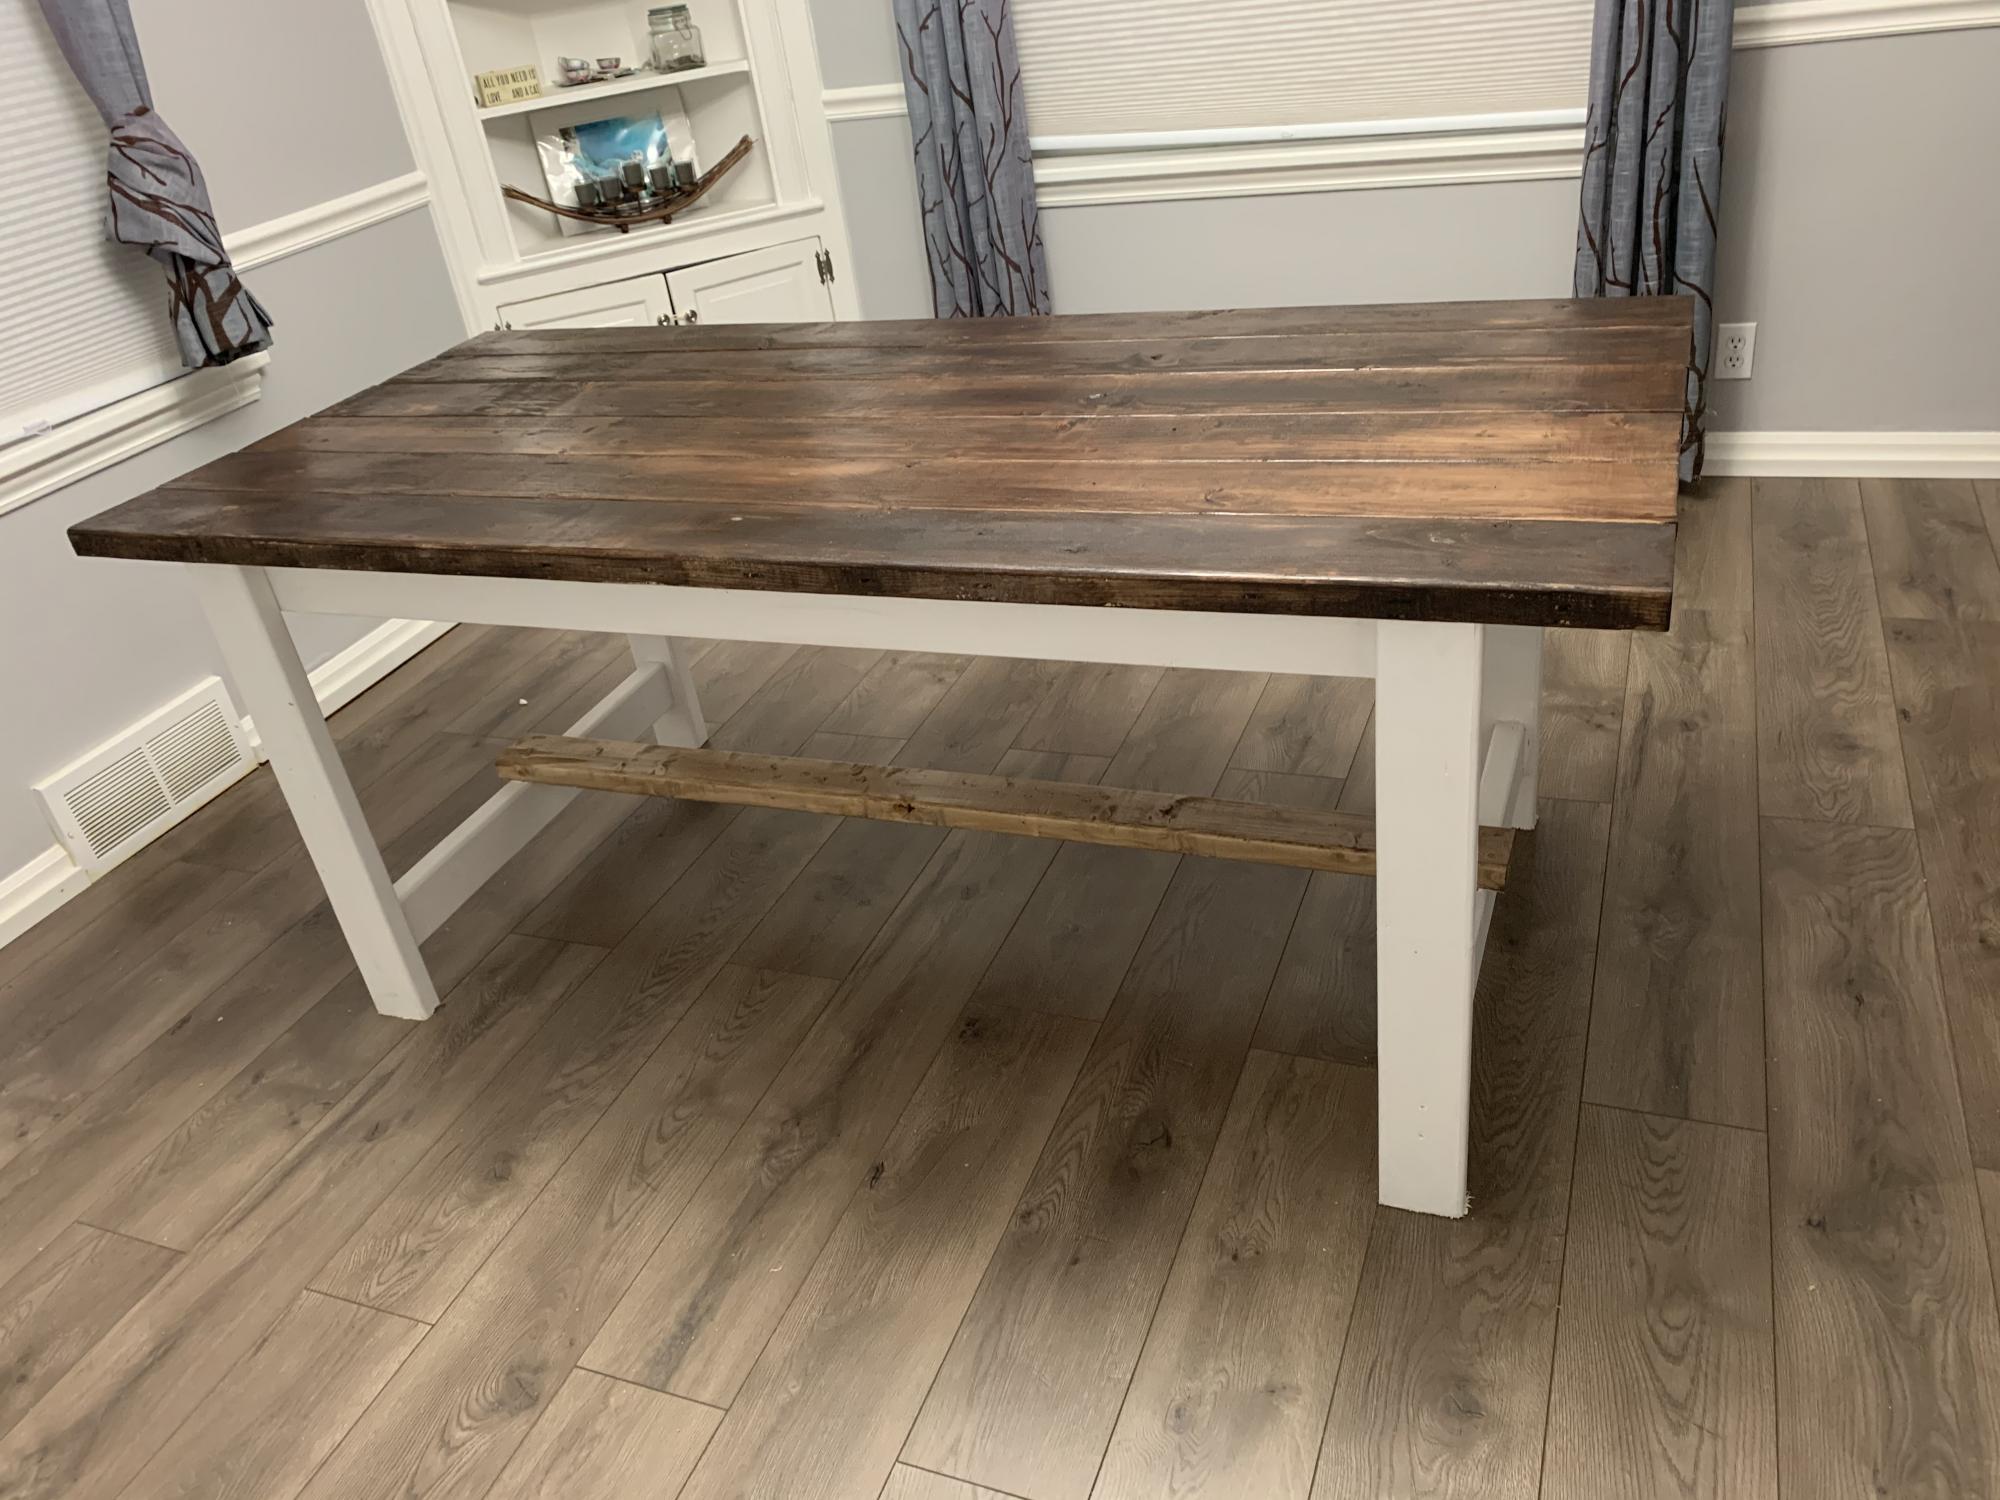
Diy farmhouse table
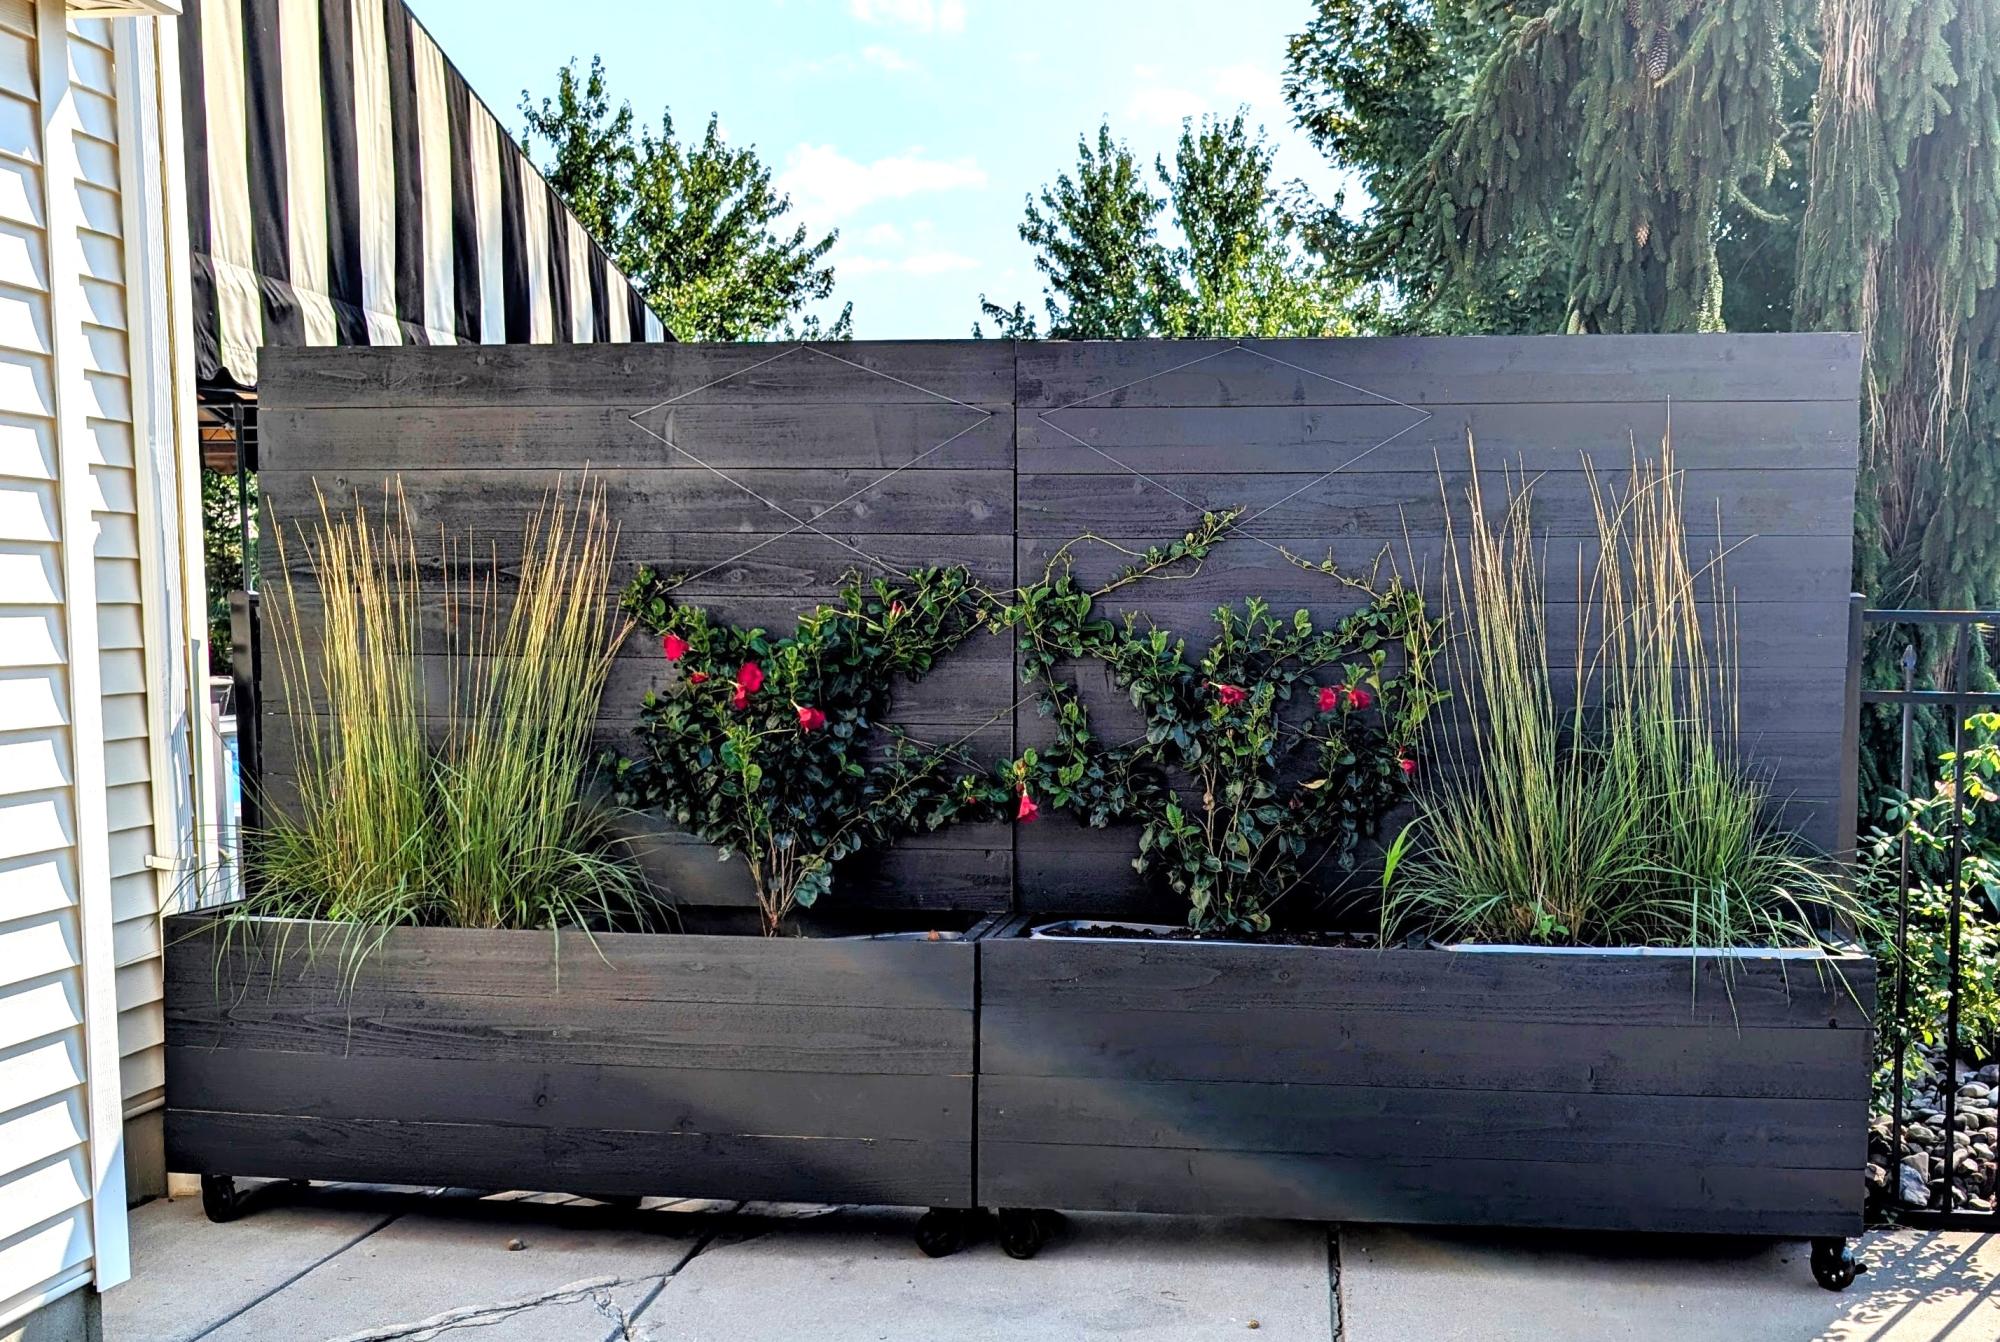
We built two of Ana's privacy planters for the top of our driveway to obstruct the view of our yard and pool from the street. We added heavy-duty casters for mobility, and cedar pickets to cover the back as well, since that side would be directly behind our eating area. Because of the casters, we had some trouble with stability, so we added cinder blocks to line the bottom, then on top of those, we used large storage bins inside of the planters as "liners" for the dirt and plants. It's the perfect solution for us, and we were able to construct both planters over two days- one day to build, another to apply the stain!
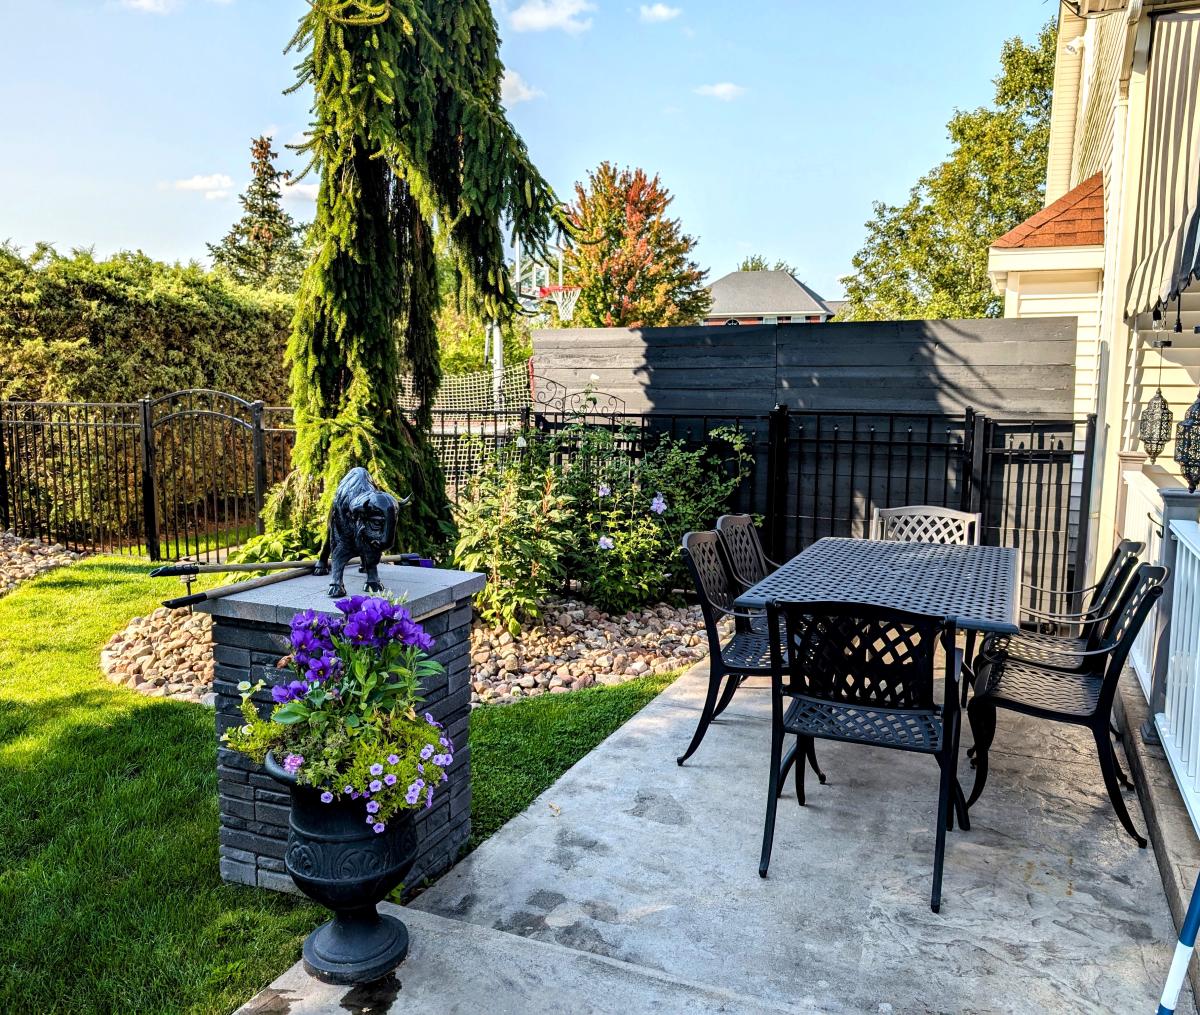
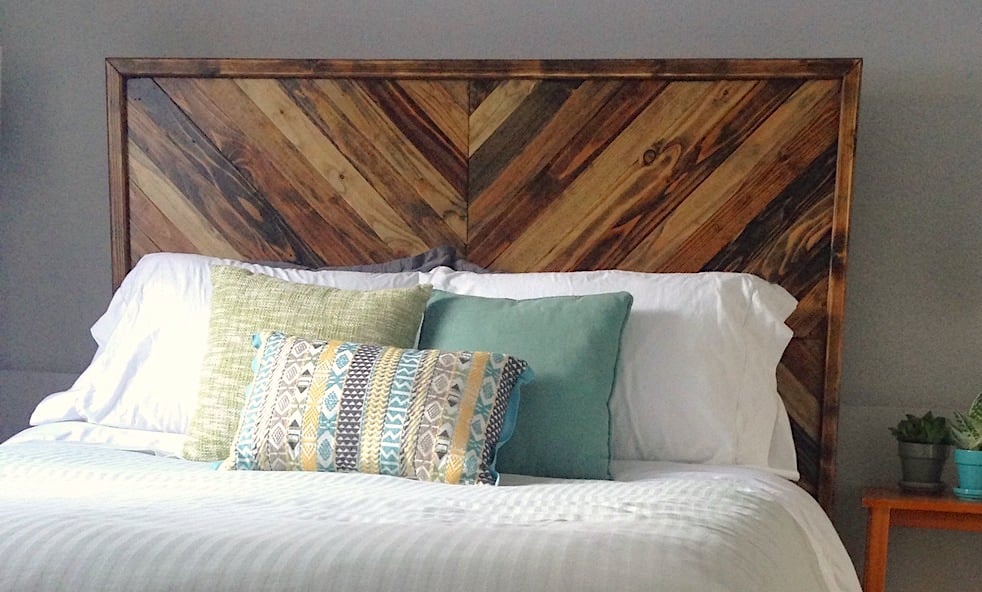
This was my first build and I am so happy with how it turned out! The plans from Jen Woodhouse were extremely easy to follow and I would definitely recommend this project to others!

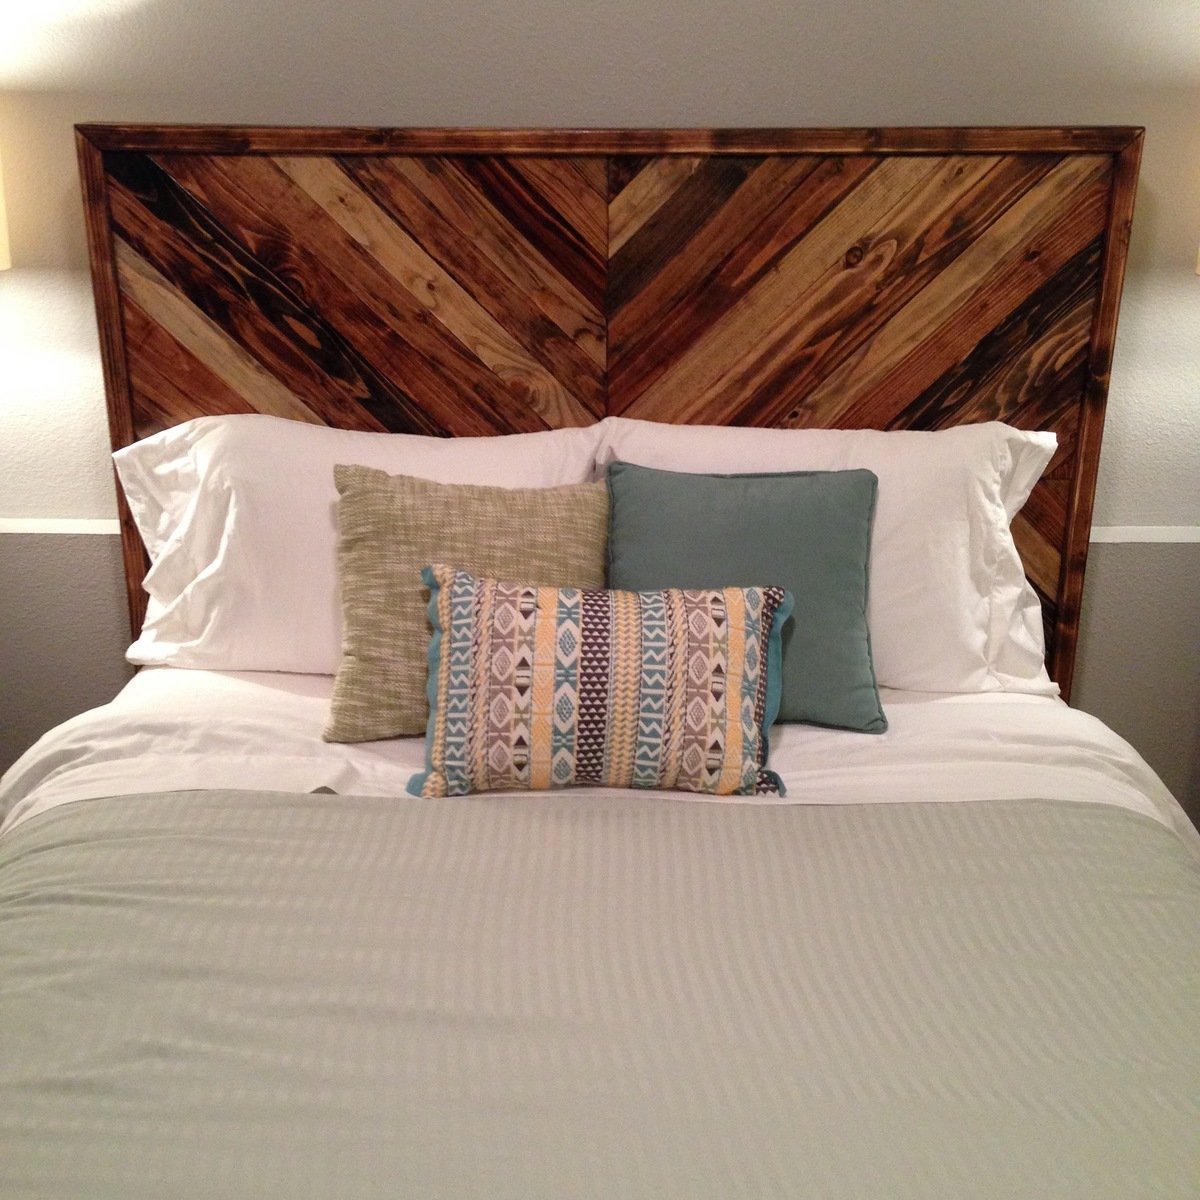
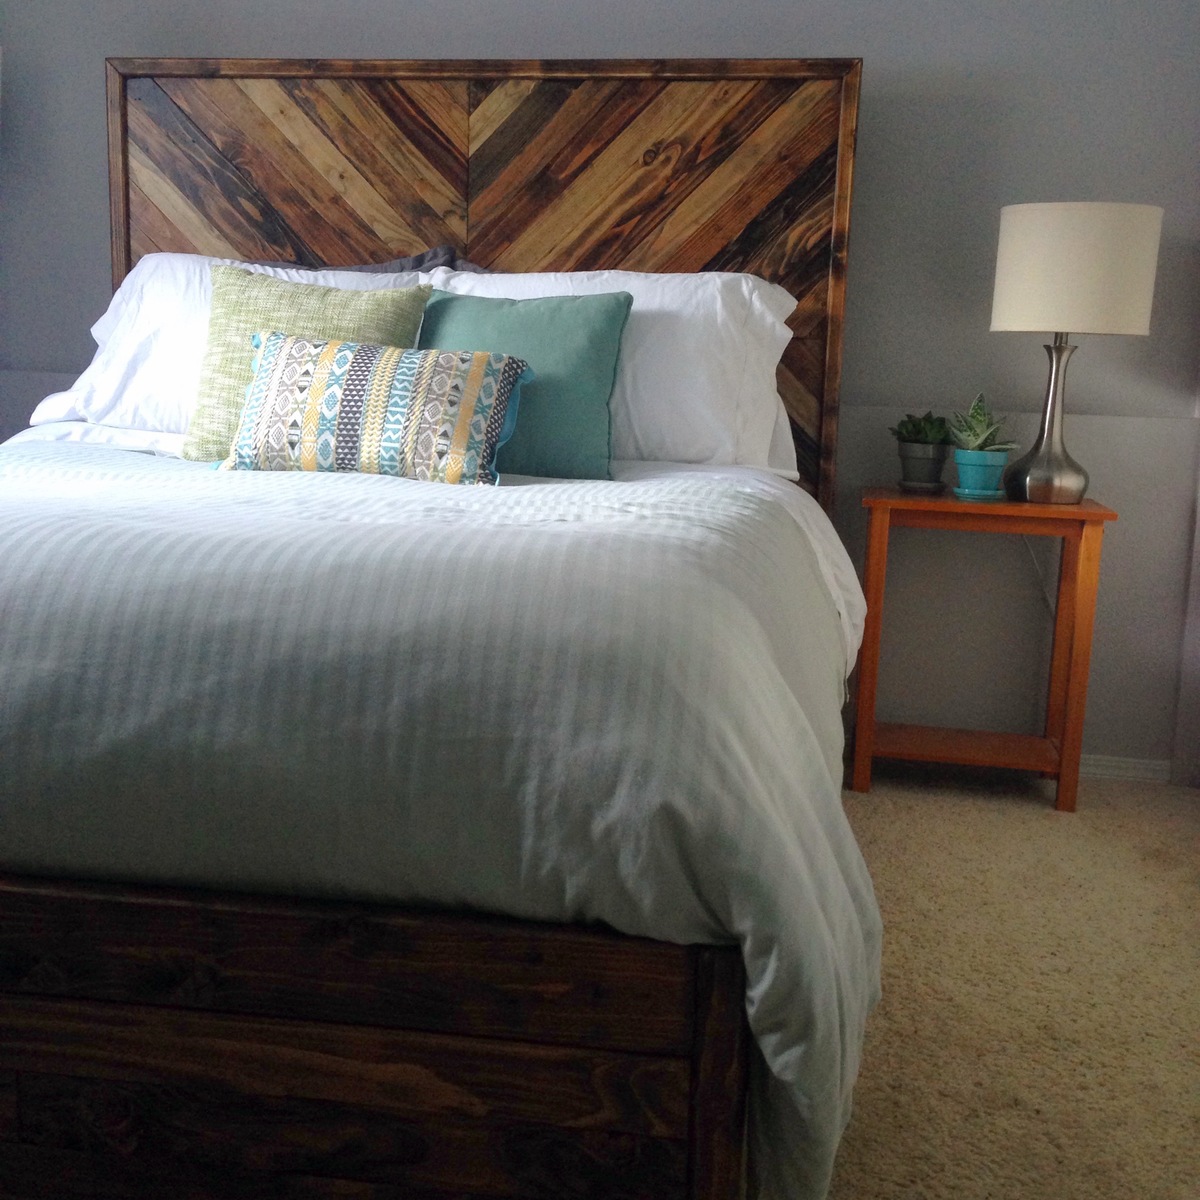
"These “built-in” bookshelves are a fun IKEA hack and just about every book we have comes from library book sales and thrift shops. There’s nothing like paying 50 cents or $1 to find out you discovered a rare gem of a book worth hundreds! Our desk is also a #diyproject made with an Ana White plan." - rootedchildhood on Instagram
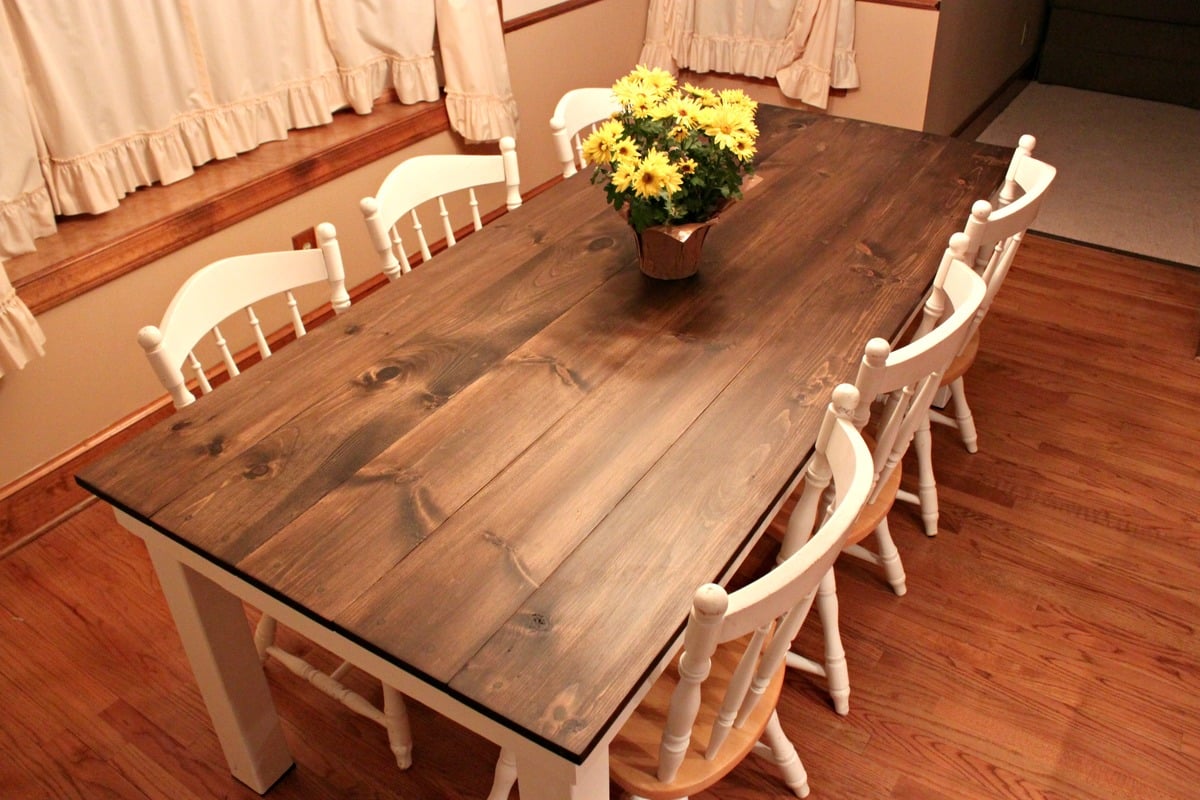
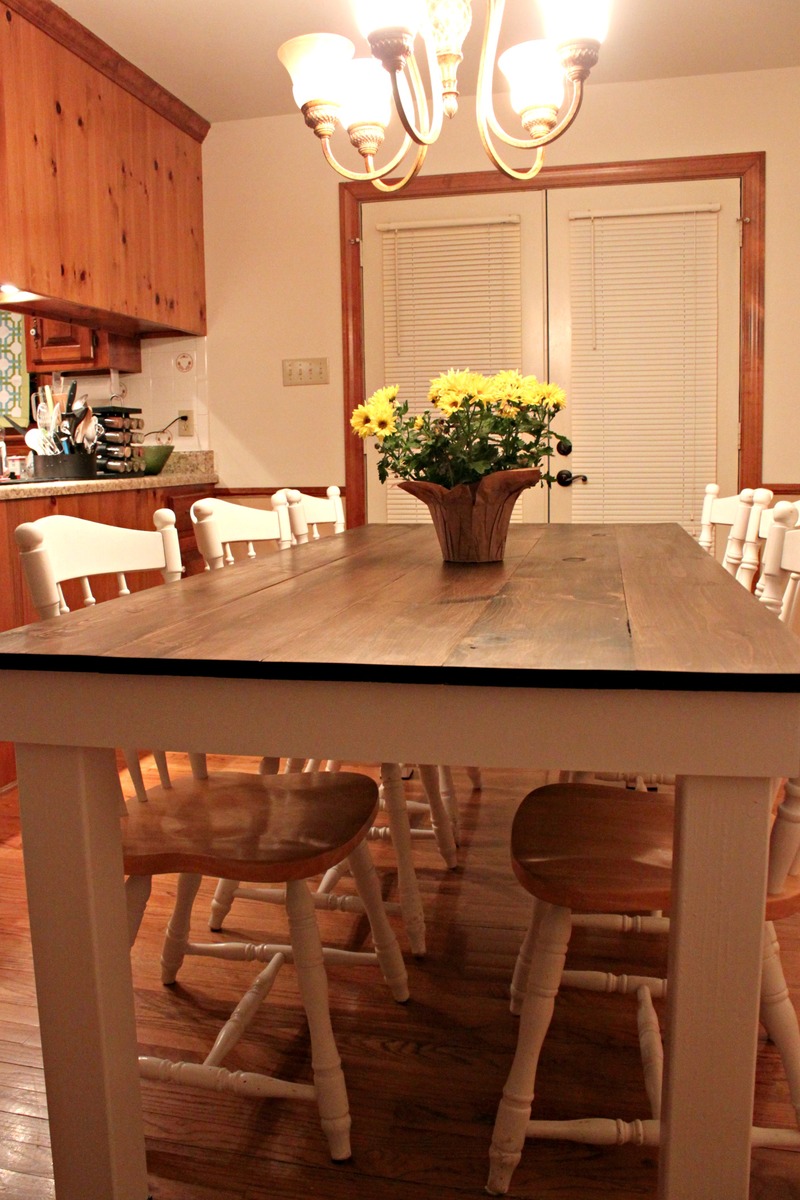
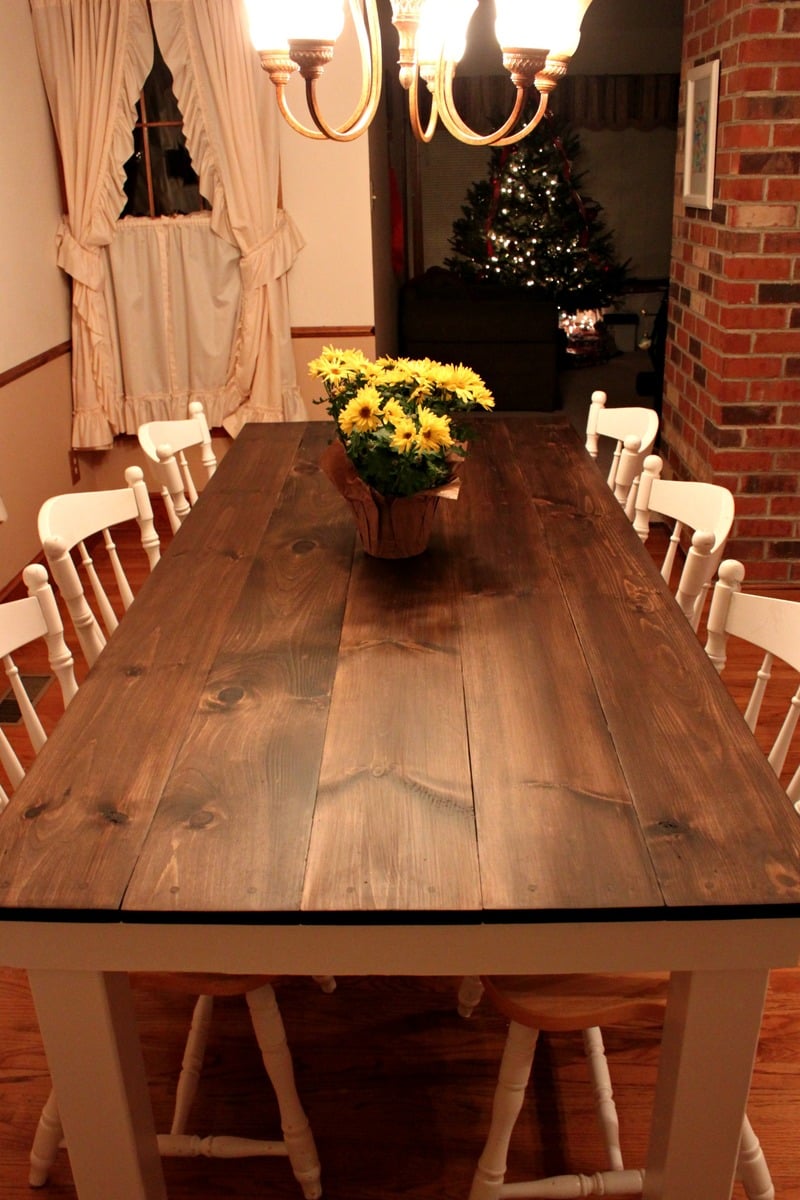
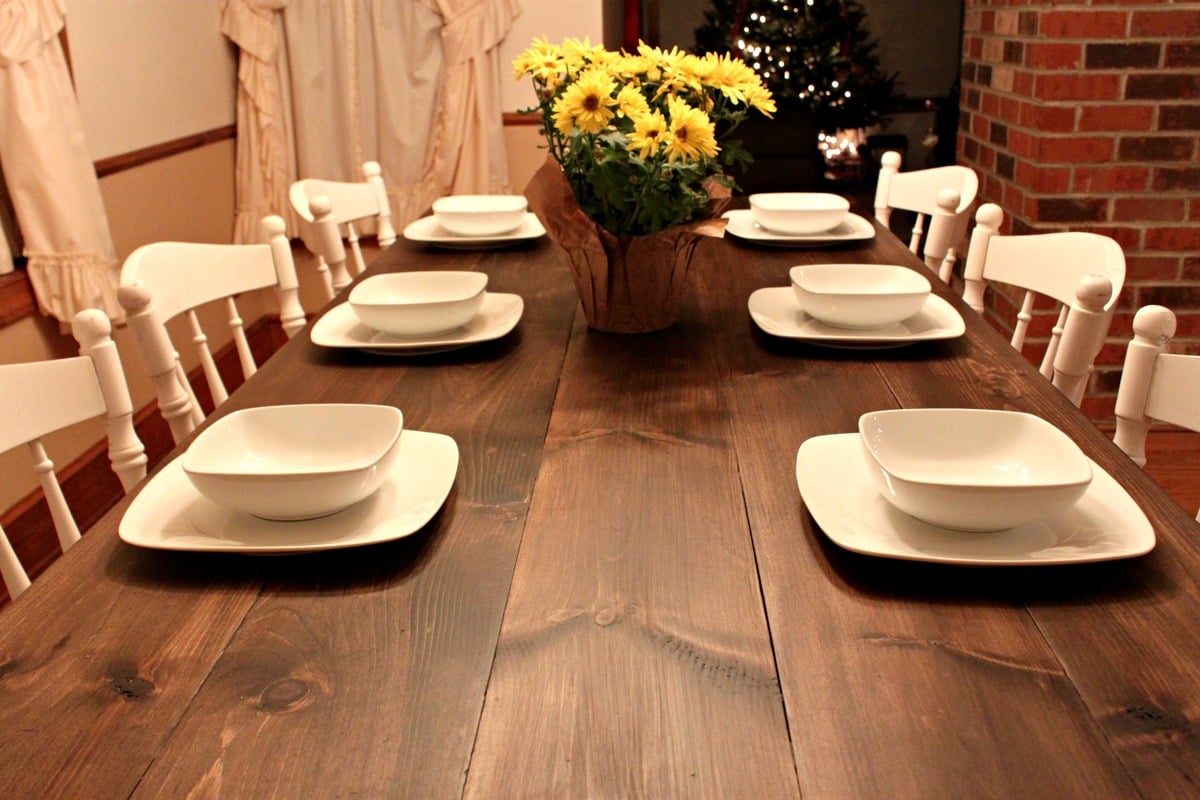
My husband and I love entertaining, but our small kitchen table was just not cutting it for both our space and our hosting abilities. We decided that instead of searching for the perfect table and spending a ton of money, we would just build our own table. We found that Ana's Rustic Table plans best matched what we were looking for, but my husband being the detailed person that he is didn’t just want to take her measurements and run with them. So we taped off the floor around our old table to decide how large we wanted our own table to be.
 We basically followed Ana White’s plans to a T.
  Until it got to the legs. Ana White used 2×4′s for her legs, but we decided we liked the look of chunkier 4×4 legs instead.
  We also did things in a different order, like attaching the legs to the apron before attaching the table top. This did make everything way easier when it came to painting, no tape needed.
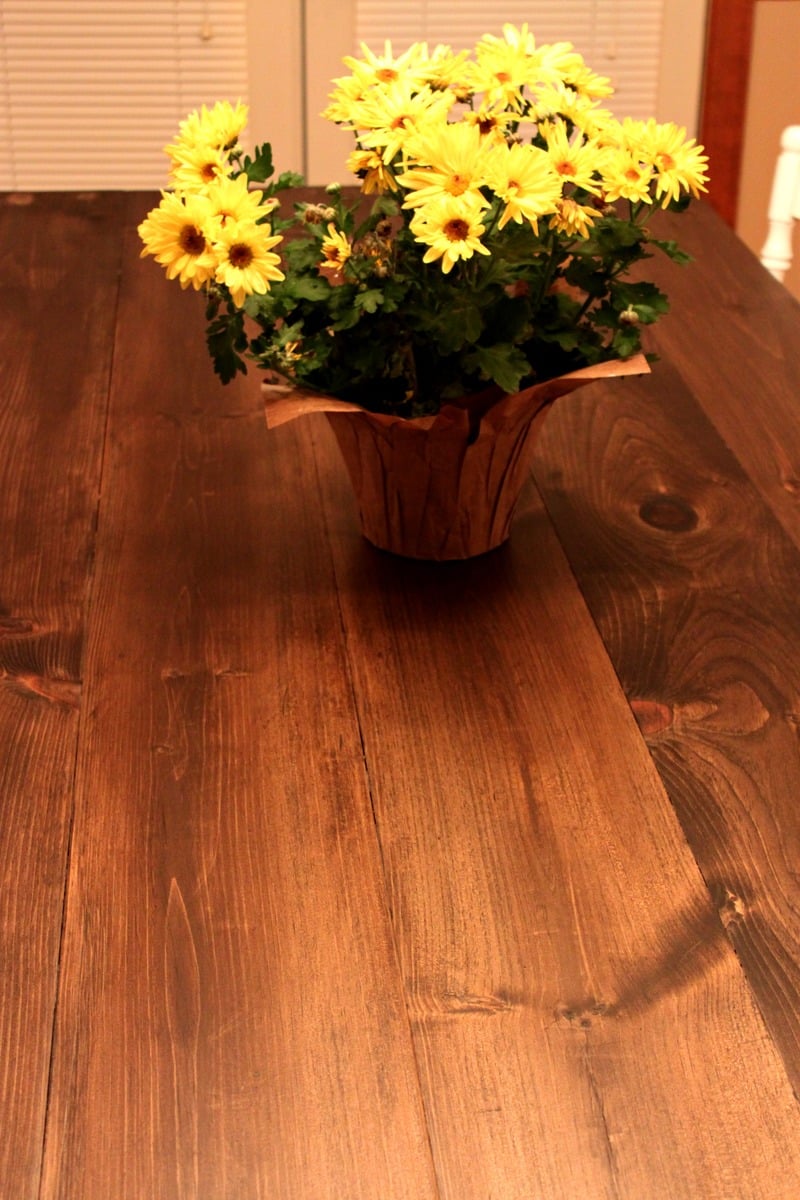
  We also stained the bottoms and sides of the tabletop boards before attaching them to the apron. After the top was attached I stained the top side and applied about 3-4 coats of Matte polyurethane. I like the matte finish because it doesn’t add any sheen and makes things look even more rustic; however, we’ll have to add a regular coat of poly as well because the matte is too soft for something that will see such rough use over the years.
  And now for what you’re all wondering about, how much did this project cost us?
Mon, 12/31/2012 - 09:43
Your table is gorgeous! You did an amazing job.
I am getting ready to attempt my first two projects, bookshelves and a buffet table. I had a couple of questions about how you got such a consistent stain.
1) The Stain - What kind of stain did you use? How many coats did it take? Did you use a conditioner first?
2) Wood filler - How did you get the wood filler to match the stained areas so well? What kind did you use?
Thanks for the advice! I was thinking I would have to paint the buffet but after seeing your table I think I may actually attempt the stain.
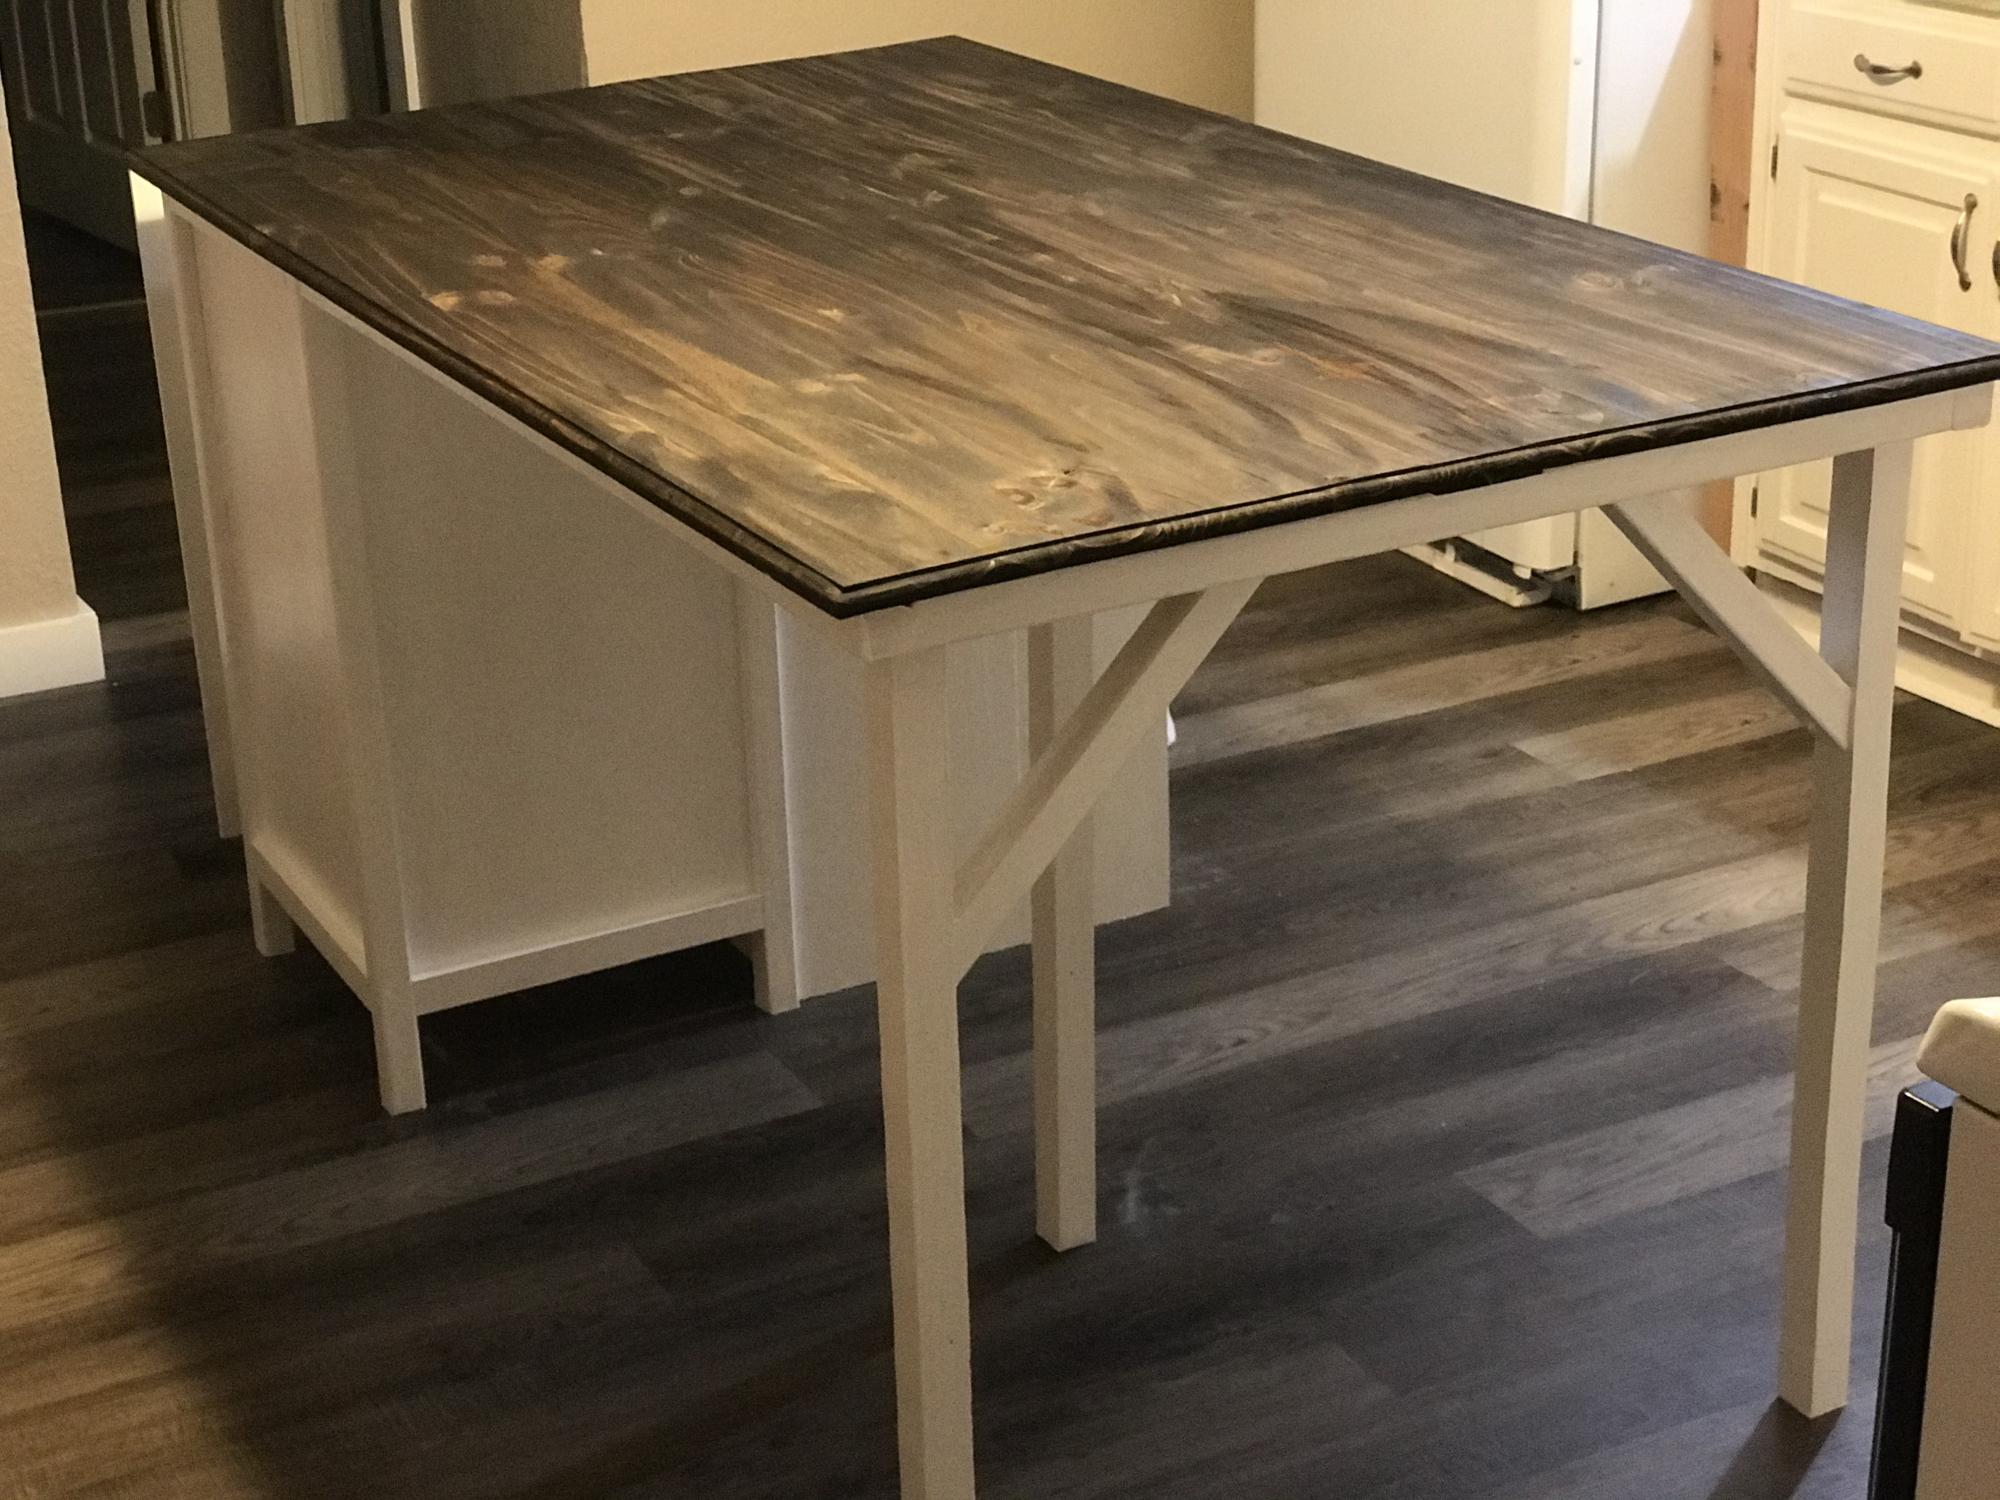
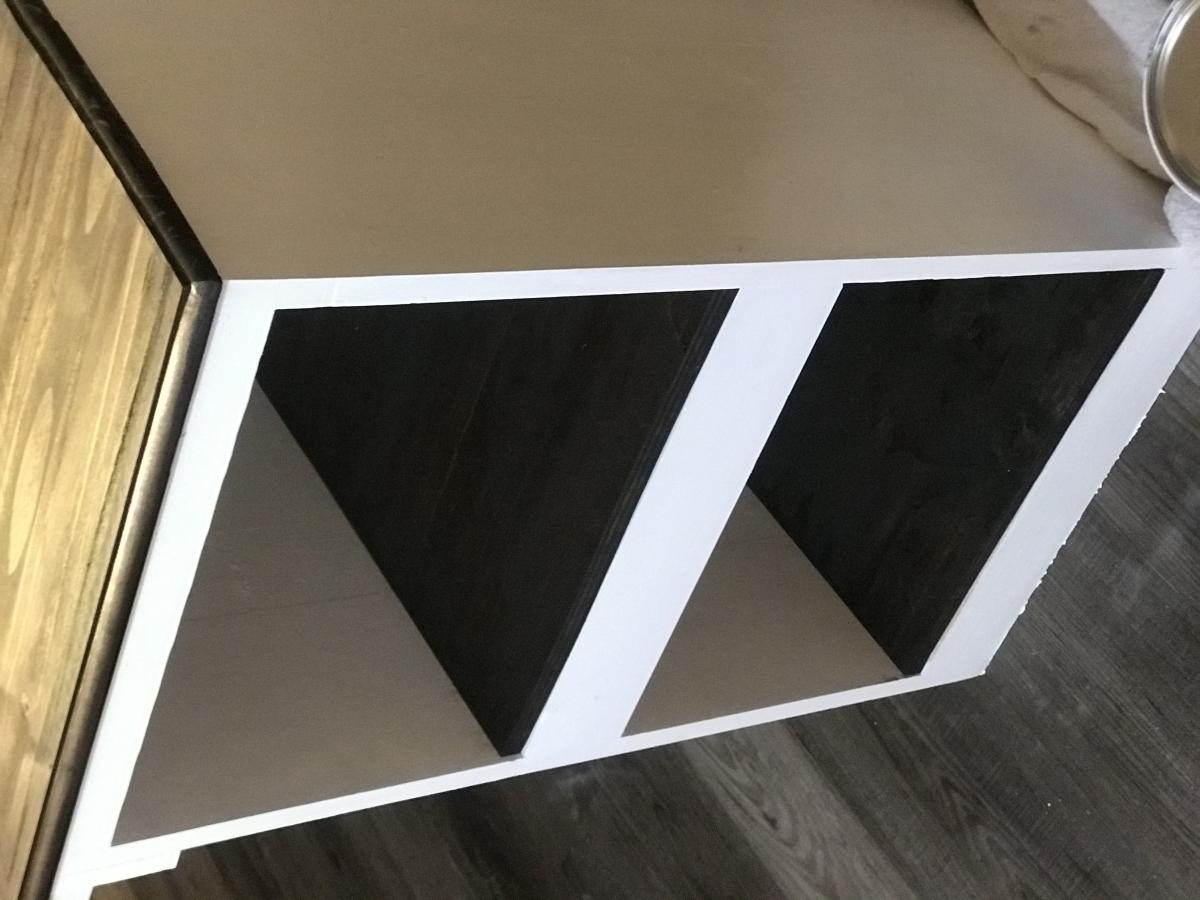
I’m very excited for my first project. Not to be boastful, but I am very proud of myself. So my wife decided she wanted a kitchen island. I began from the top of the plans and about halfway through I realized I have a small kitchen. The wife came in and said “that’s way to big). So I had to make a lot of adjustments. For instance, the 4x4 legs became 2x2. I was afraid it would not be sturdy enough, but it turned out nice. I left out the portion of the plans for the range and just made a bigger shelf to accommodate my wife’s mixers and other large kitchen items. Instead of a second shelf I made a slide out trash can (single instead of double). It fits the kitchen well and more importantly the wife loves it. Now to build stools. Thanks to your site Ana, I was able to make a place for my family to have dinner together. My daughter helped me with this project and has been asking when we will start our next project.
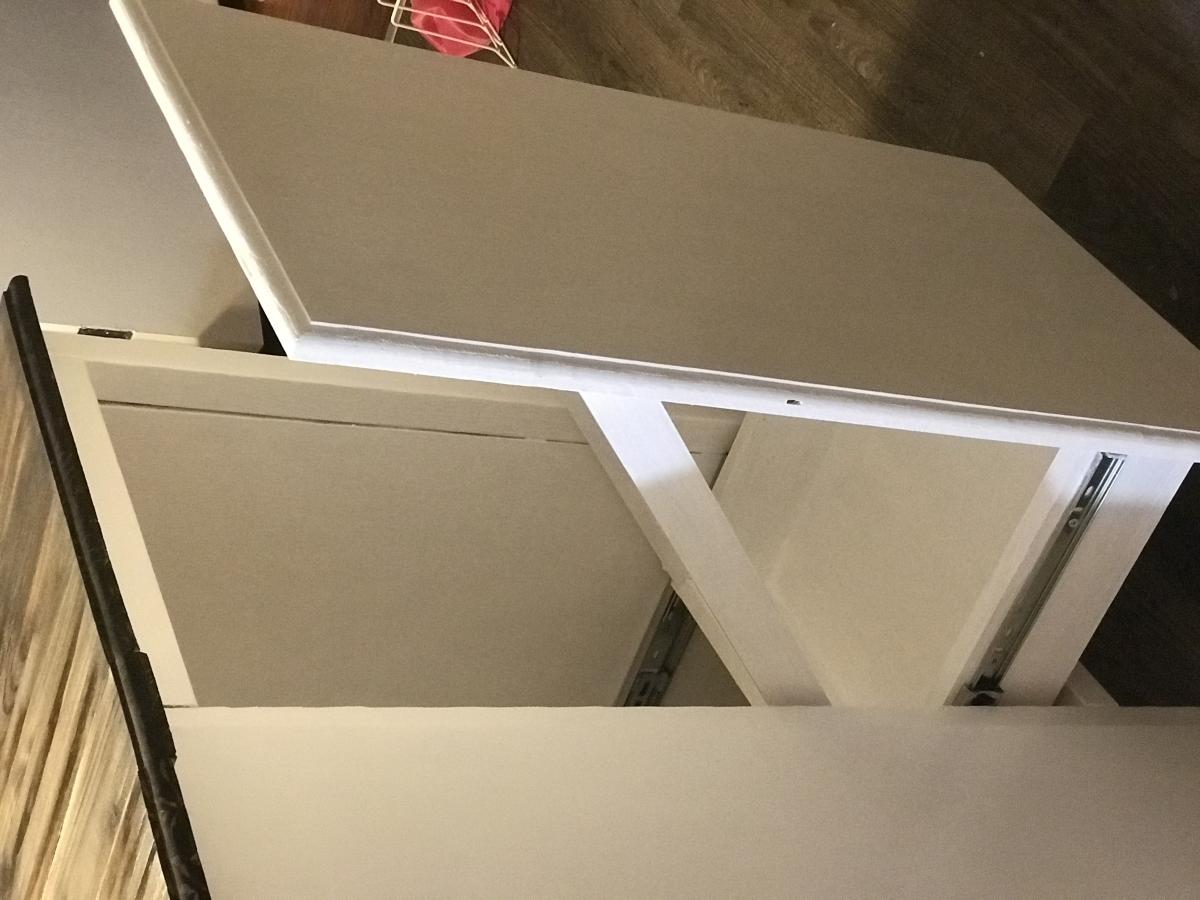
Sun, 10/18/2020 - 12:50
You did a fabulous job, huge pat on the back! Can't wait to see your next project!
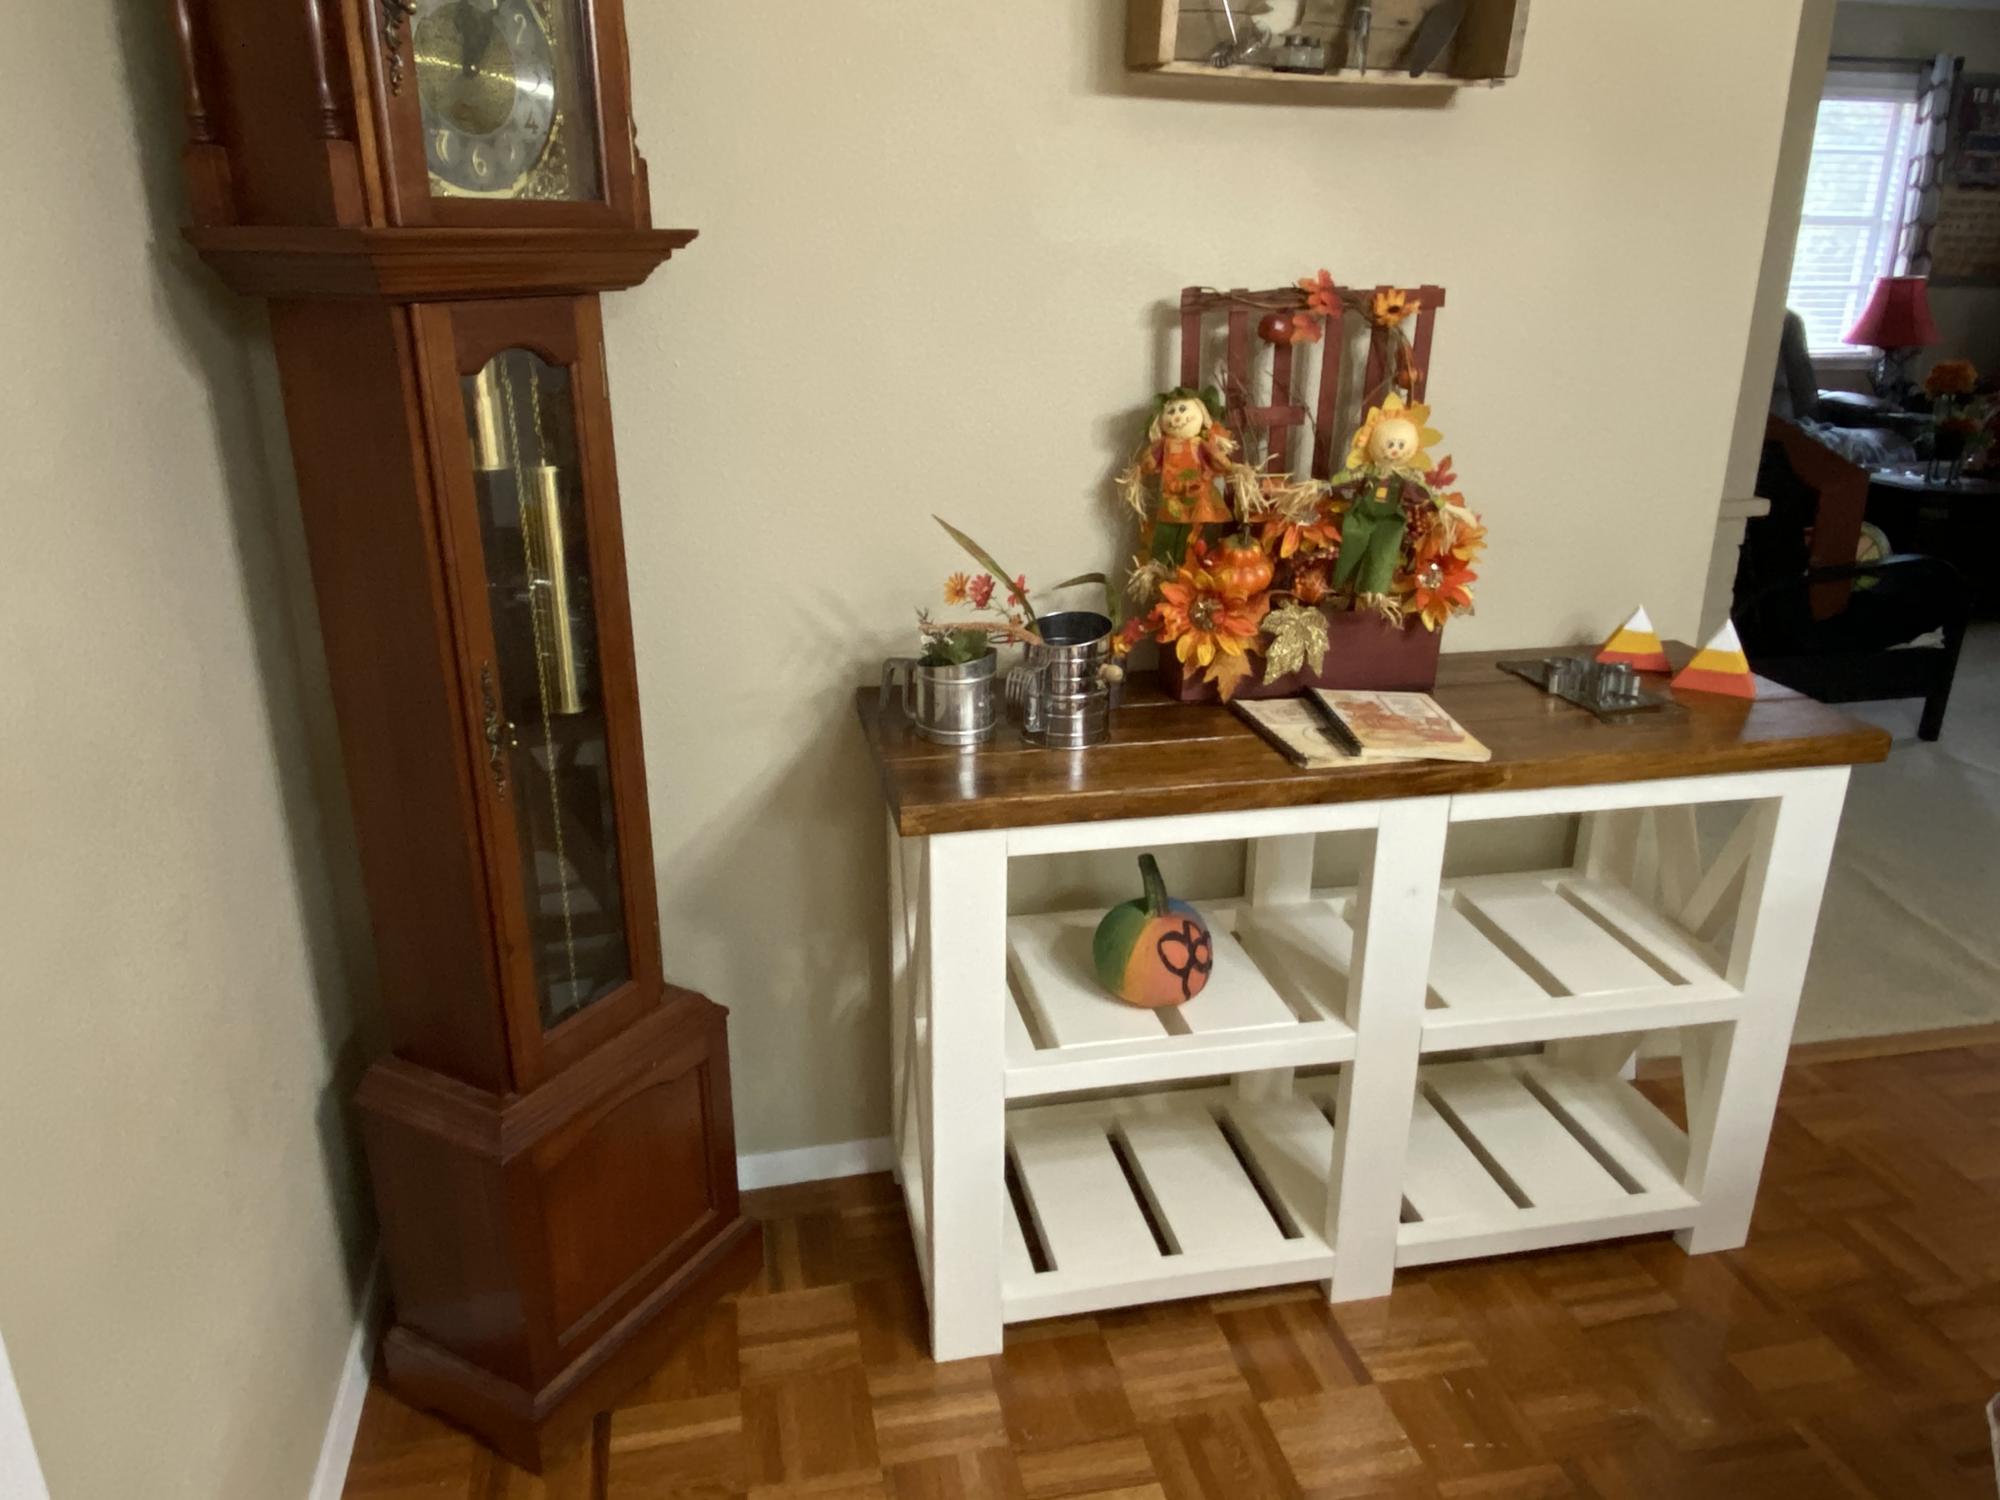
My wife wanted a console table for our dining room but the original plans were too big for the spot next to the grandfather clock, so I shortened them a bit and this is the result.
Tue, 10/27/2020 - 11:56
Love the two tone finish and great mod to make it work for your space!
Took the fancy hall tree bottom and added Mimi's hutch to the top. Added a little bead board to the bench and top edges to cover up the plywood, and voila! My wife's Christmas gift.
I used 1x6’s as opposed to 2x6’s for the base as well as the 19” pieces thus I cut the length of the legs to 27 3/8 the difference of 1 ½ inch from the plan. In addition, the plans did not specify as to the placement of the legs on to the 19” pieces and thus I attached the 17 ½ bottom shelf braces and then attached the legs to the top. I finished the project with MinWax Classic Gray stain which gave it an antique finish followed by a finishing wax.
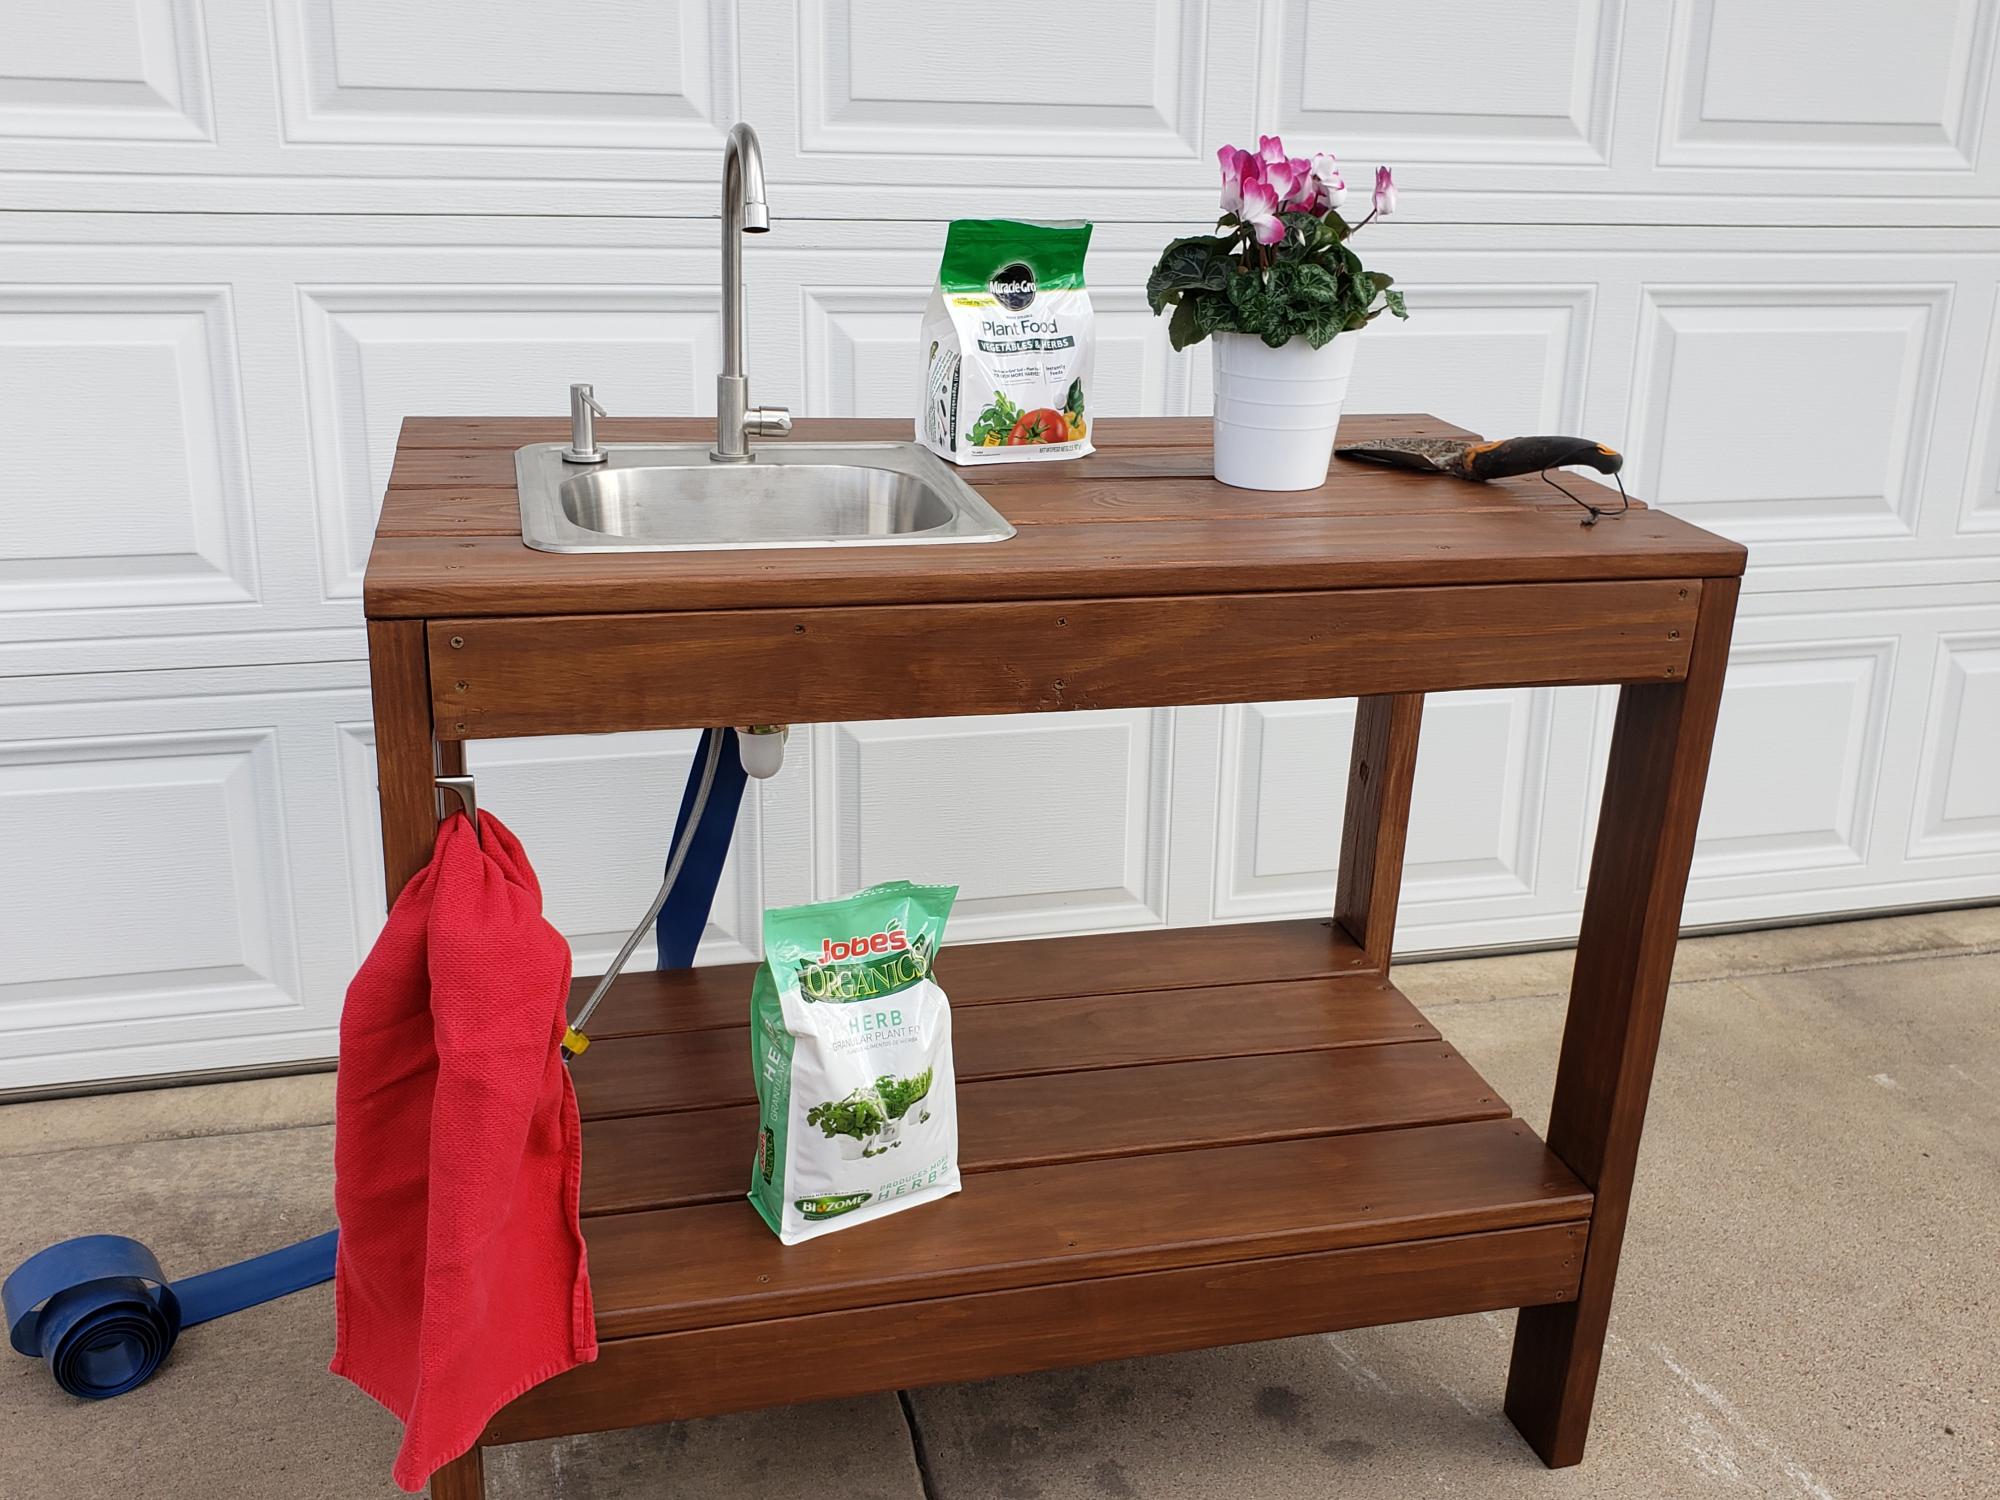
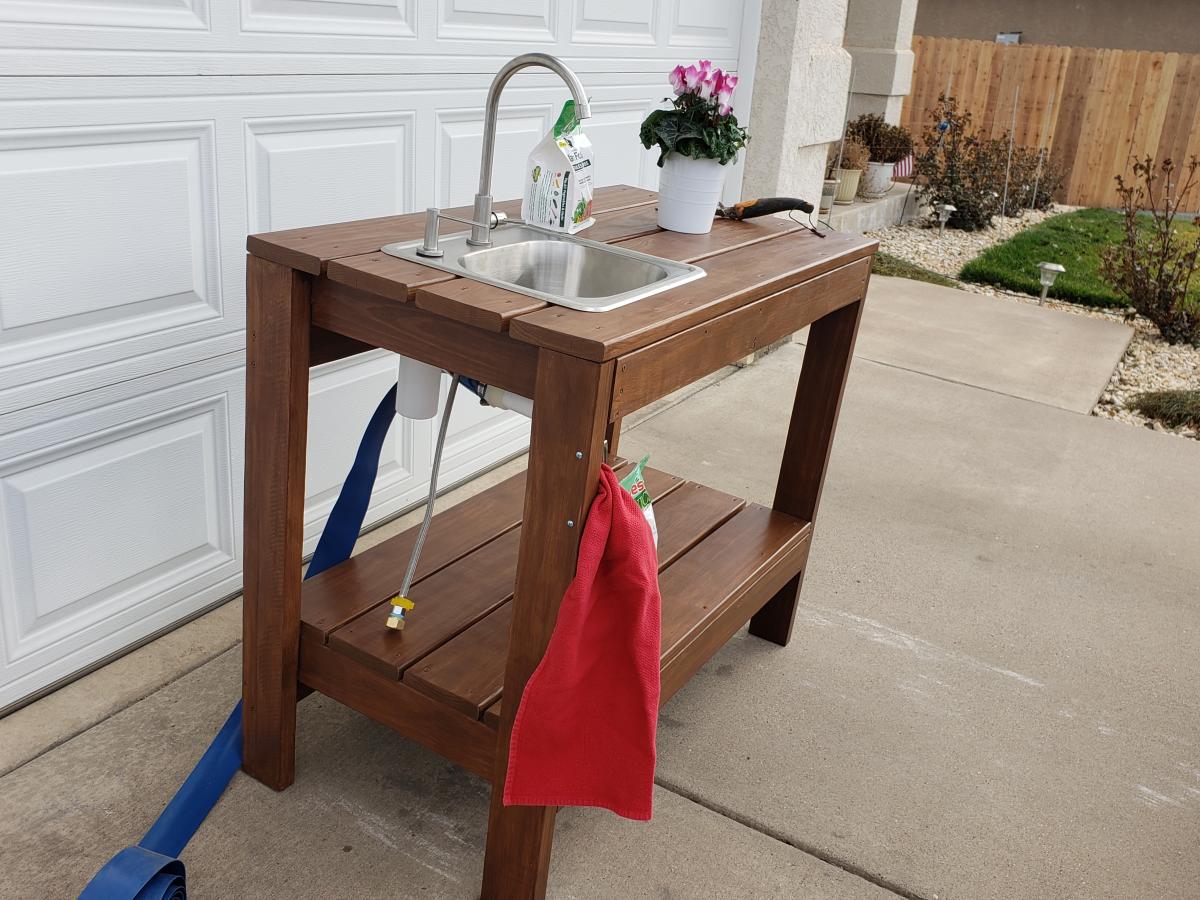
Added an outdoor sink to the potting bench.
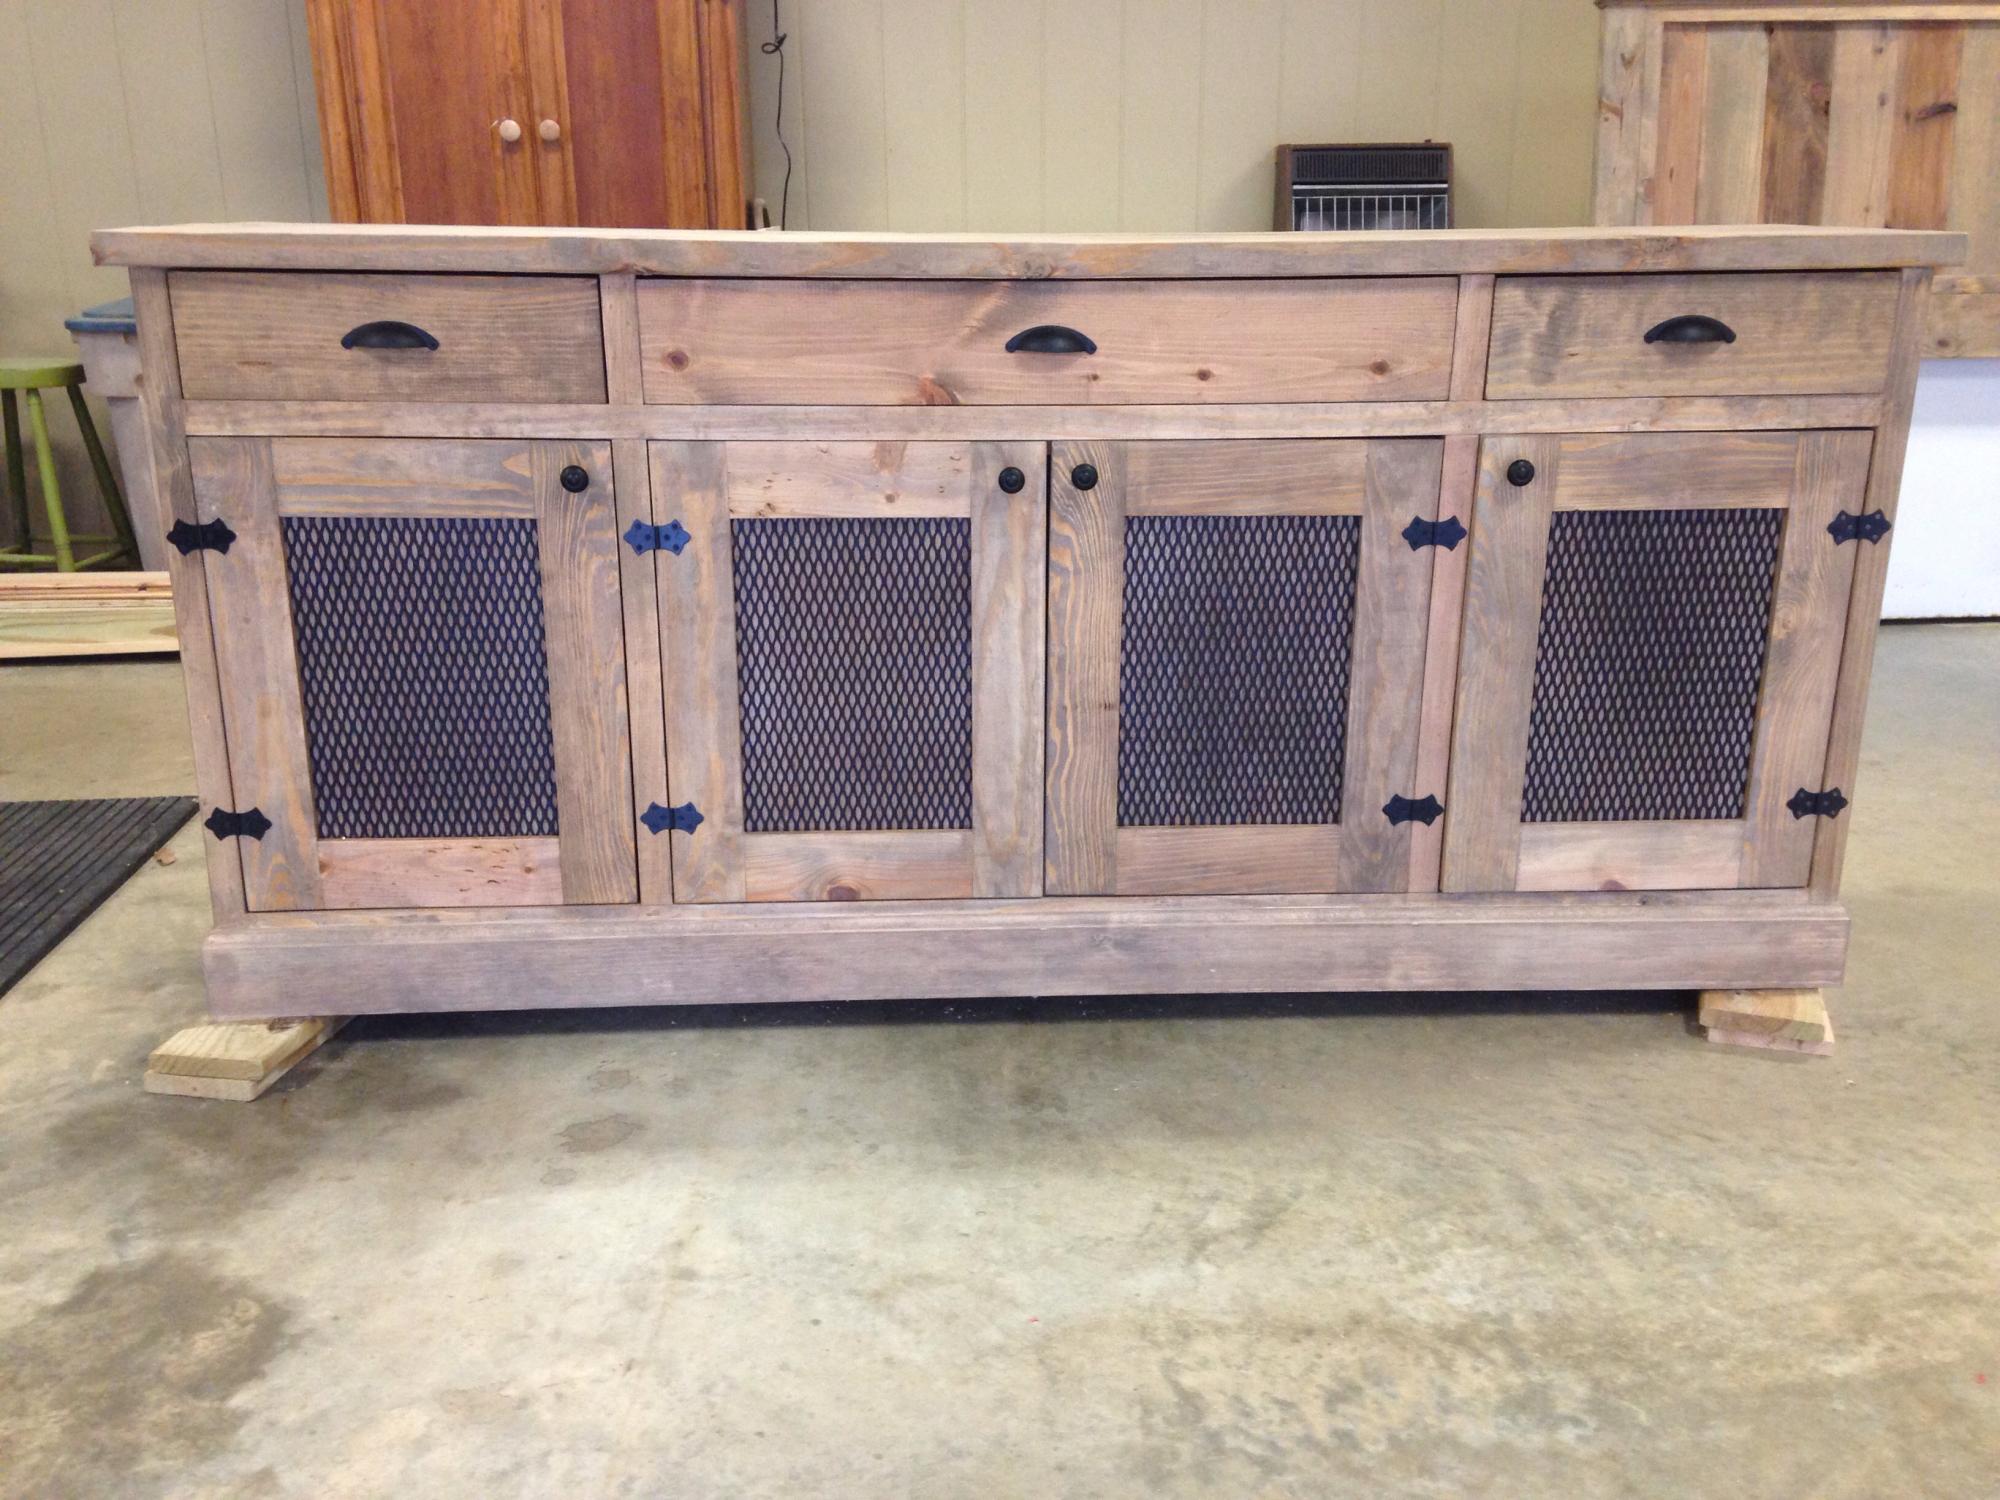
I really loved this plan of Ana's so I decided to build it for myself. I love the stain color on the one Mid Atlantic Rustic built and they were so kind to tell me the color and it turned out perfect! I will say if I ever built another I will make some adjustments with the doors and drawers and have them sitting on the outside of the facing. Those things were the devil for me!! I have only been building on my own for 6 months, so it was tricky for me. THE PIECE IS HUGE!!! I also added 2 2x4 supports under the bottom,
Happy Building
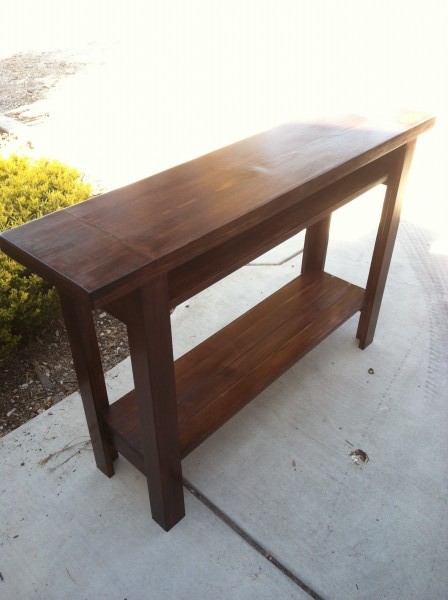
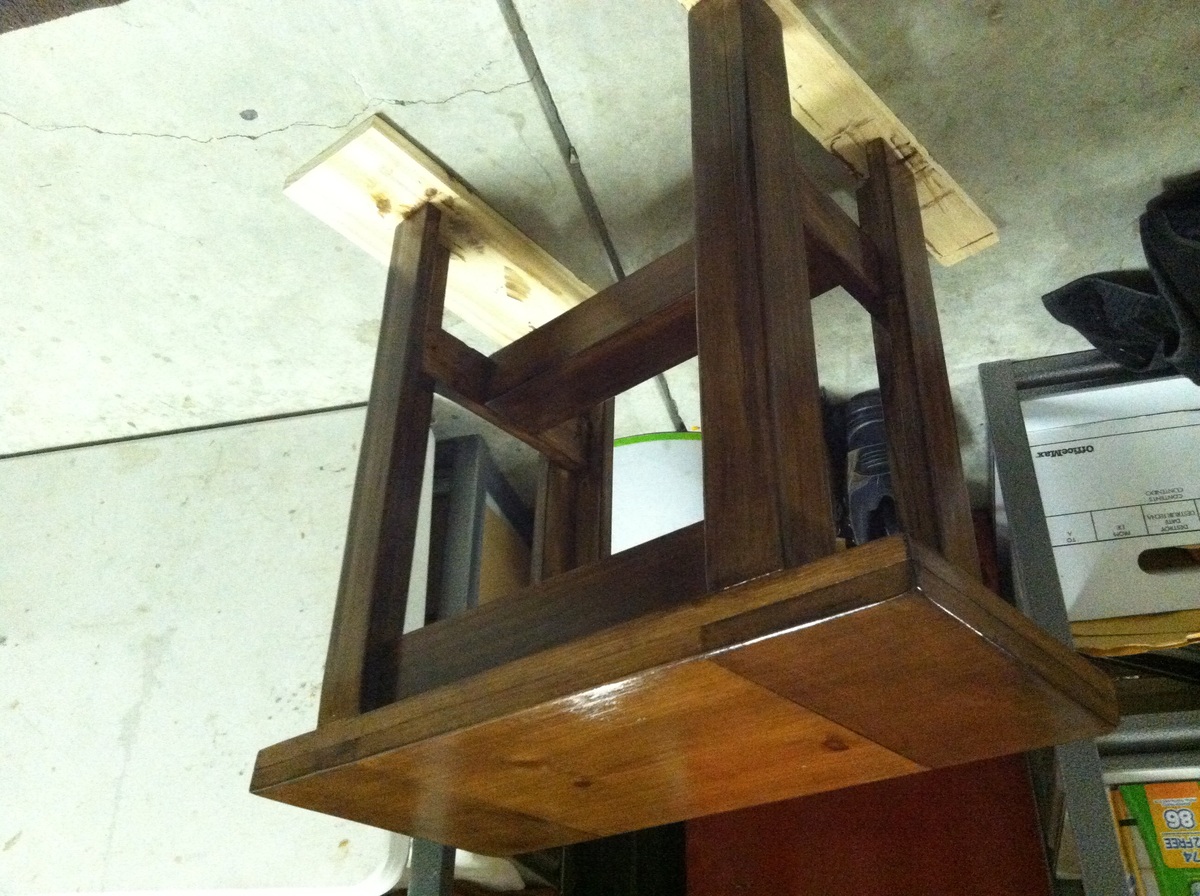
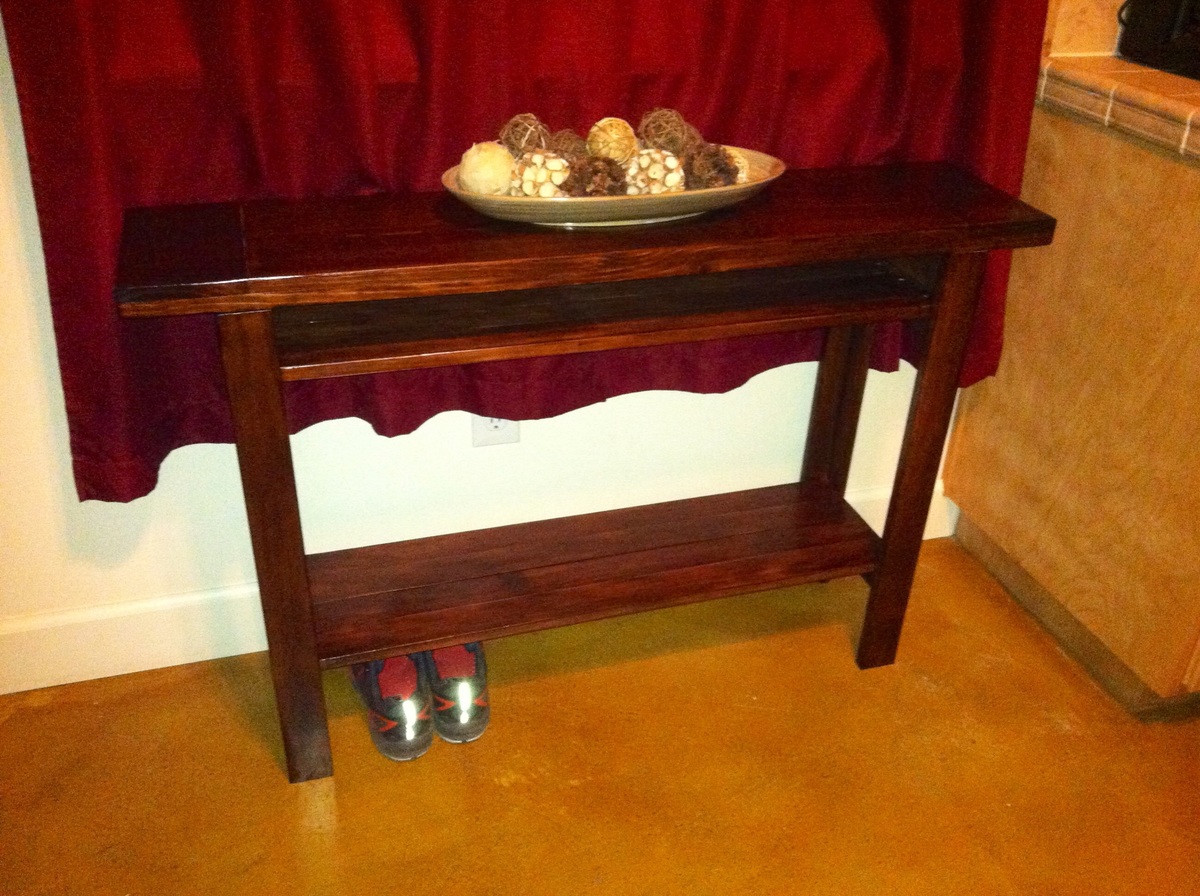
tryde console table with a twist... Added shelf above and below. Created a smaller version for a matching side table. Double layered top with staggered wood pattern. I receive compliments every time someone new comes over. Solid piece of furniture. Looks very expensive.
Thu, 12/04/2014 - 22:52
Fabulous! I love the dark stain! Thanks for sharing!
This is my first solo and most ambitious project. I only had some help with getting the doors hung. I combined my long-time love of machine embroidery and my new found love of woodworking to create the doors on this project and really make it something special. I'm going to be using this piece in place of a chest of drawers in my bedroom.
Fri, 12/12/2014 - 13:21
What an awesome project! Love the finish, and the design on the doors. How did you do the door panels? They're lovely!
Mon, 12/15/2014 - 12:13
Wow that is really awesome! I love the stain and the way that this turned out!