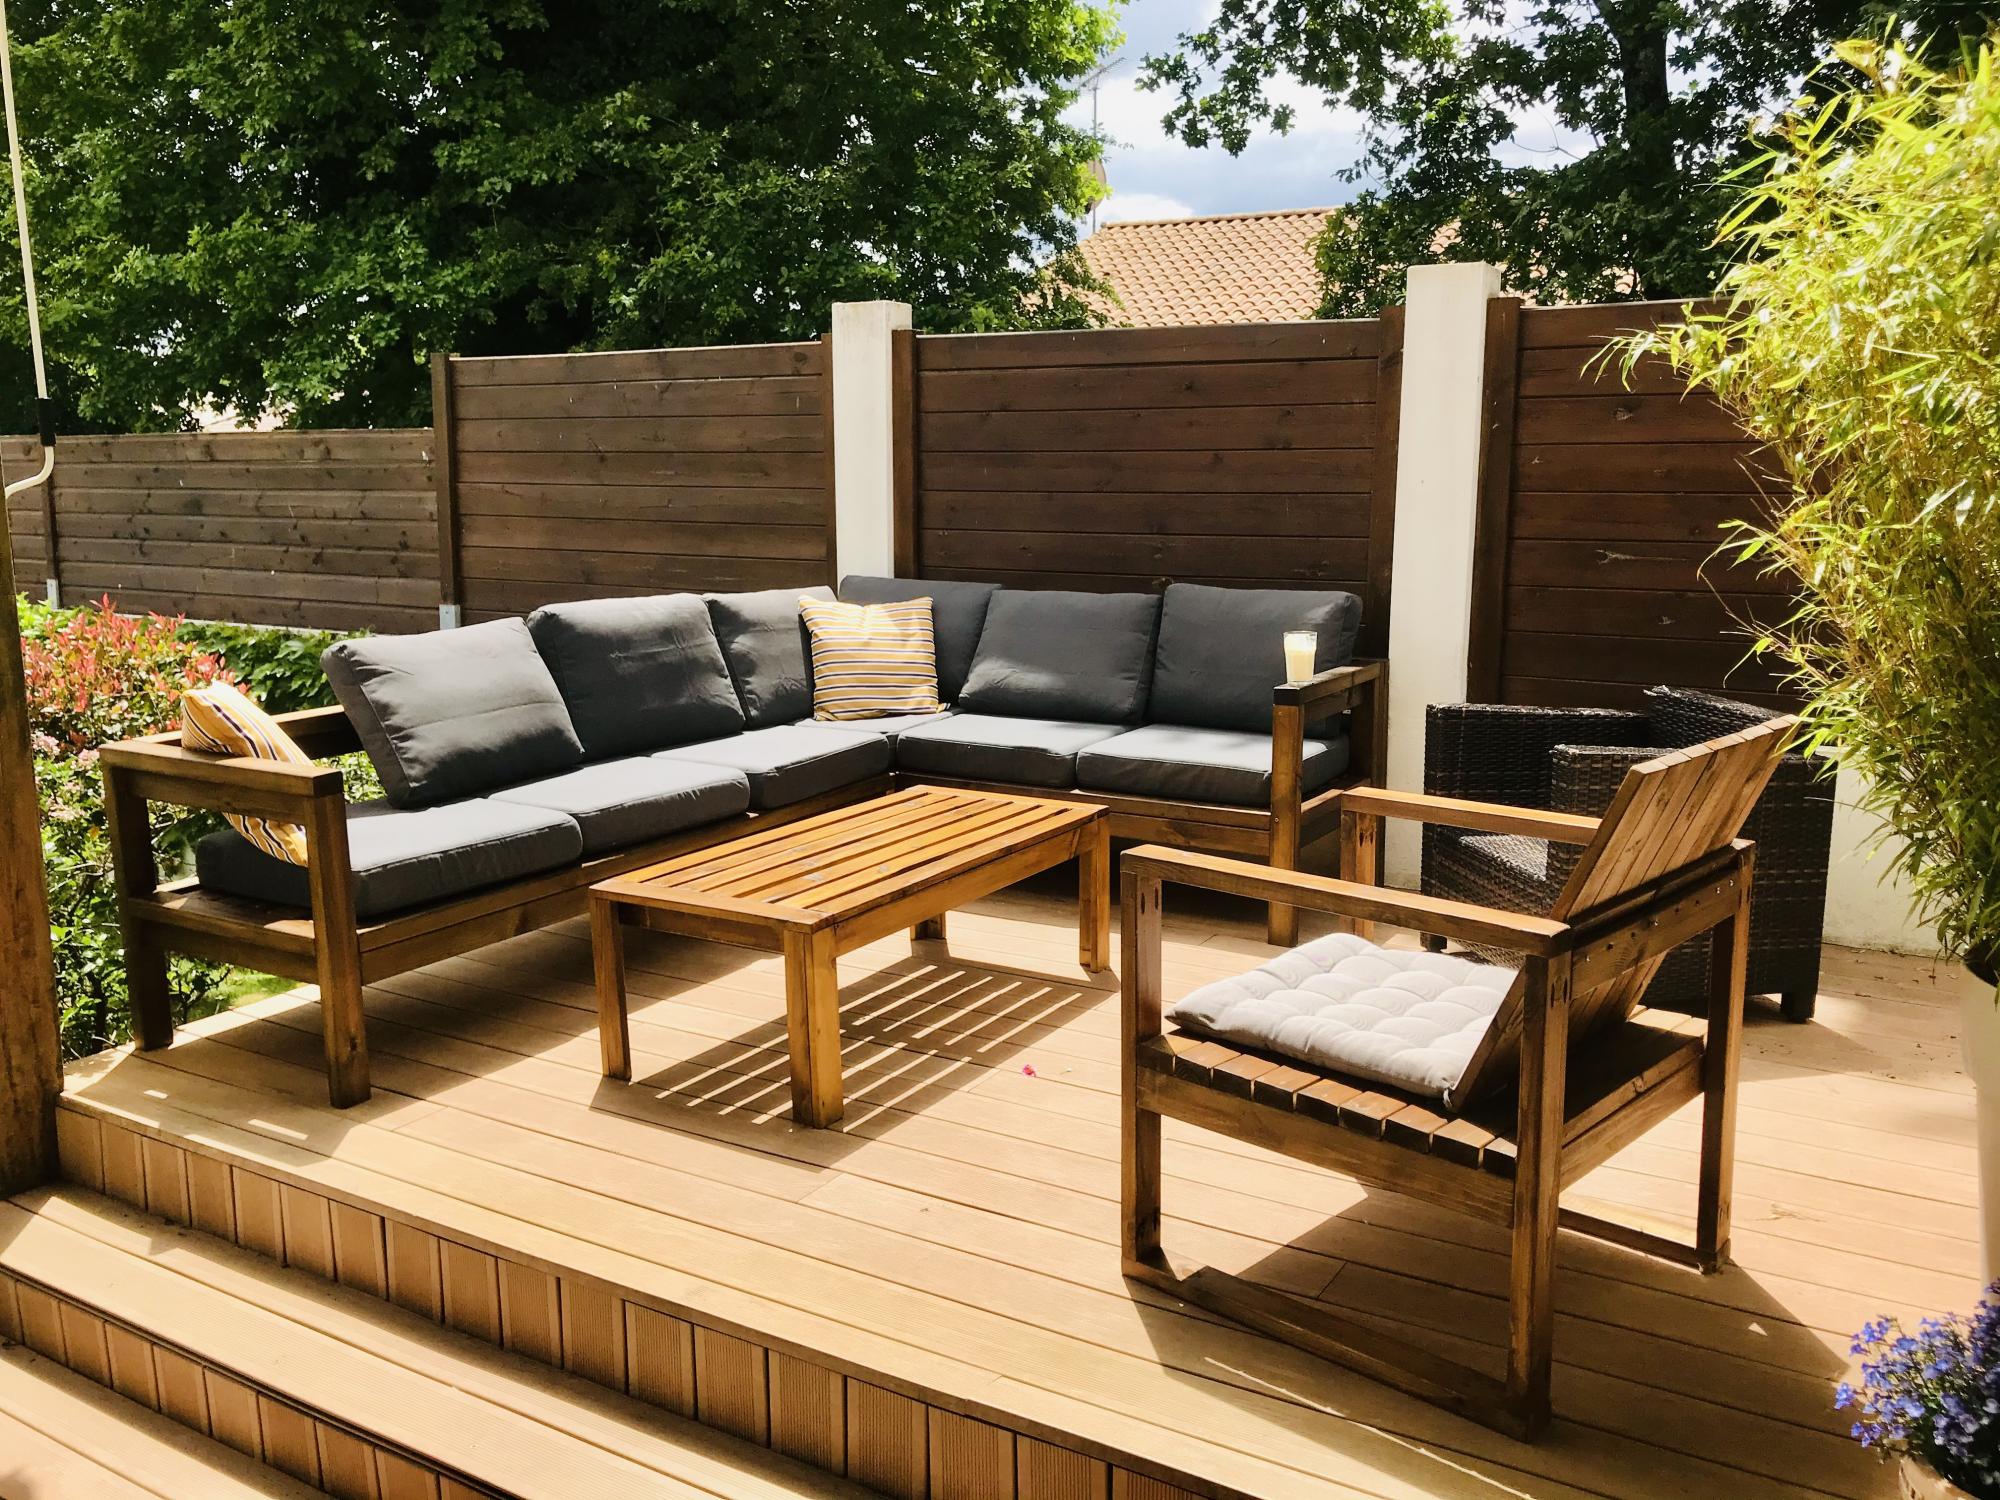
Outdoor sofa
Thanks a lot for the free plans. We enjoy out new deck !
Built from Plan(s)
Thanks a lot for the free plans. We enjoy out new deck !
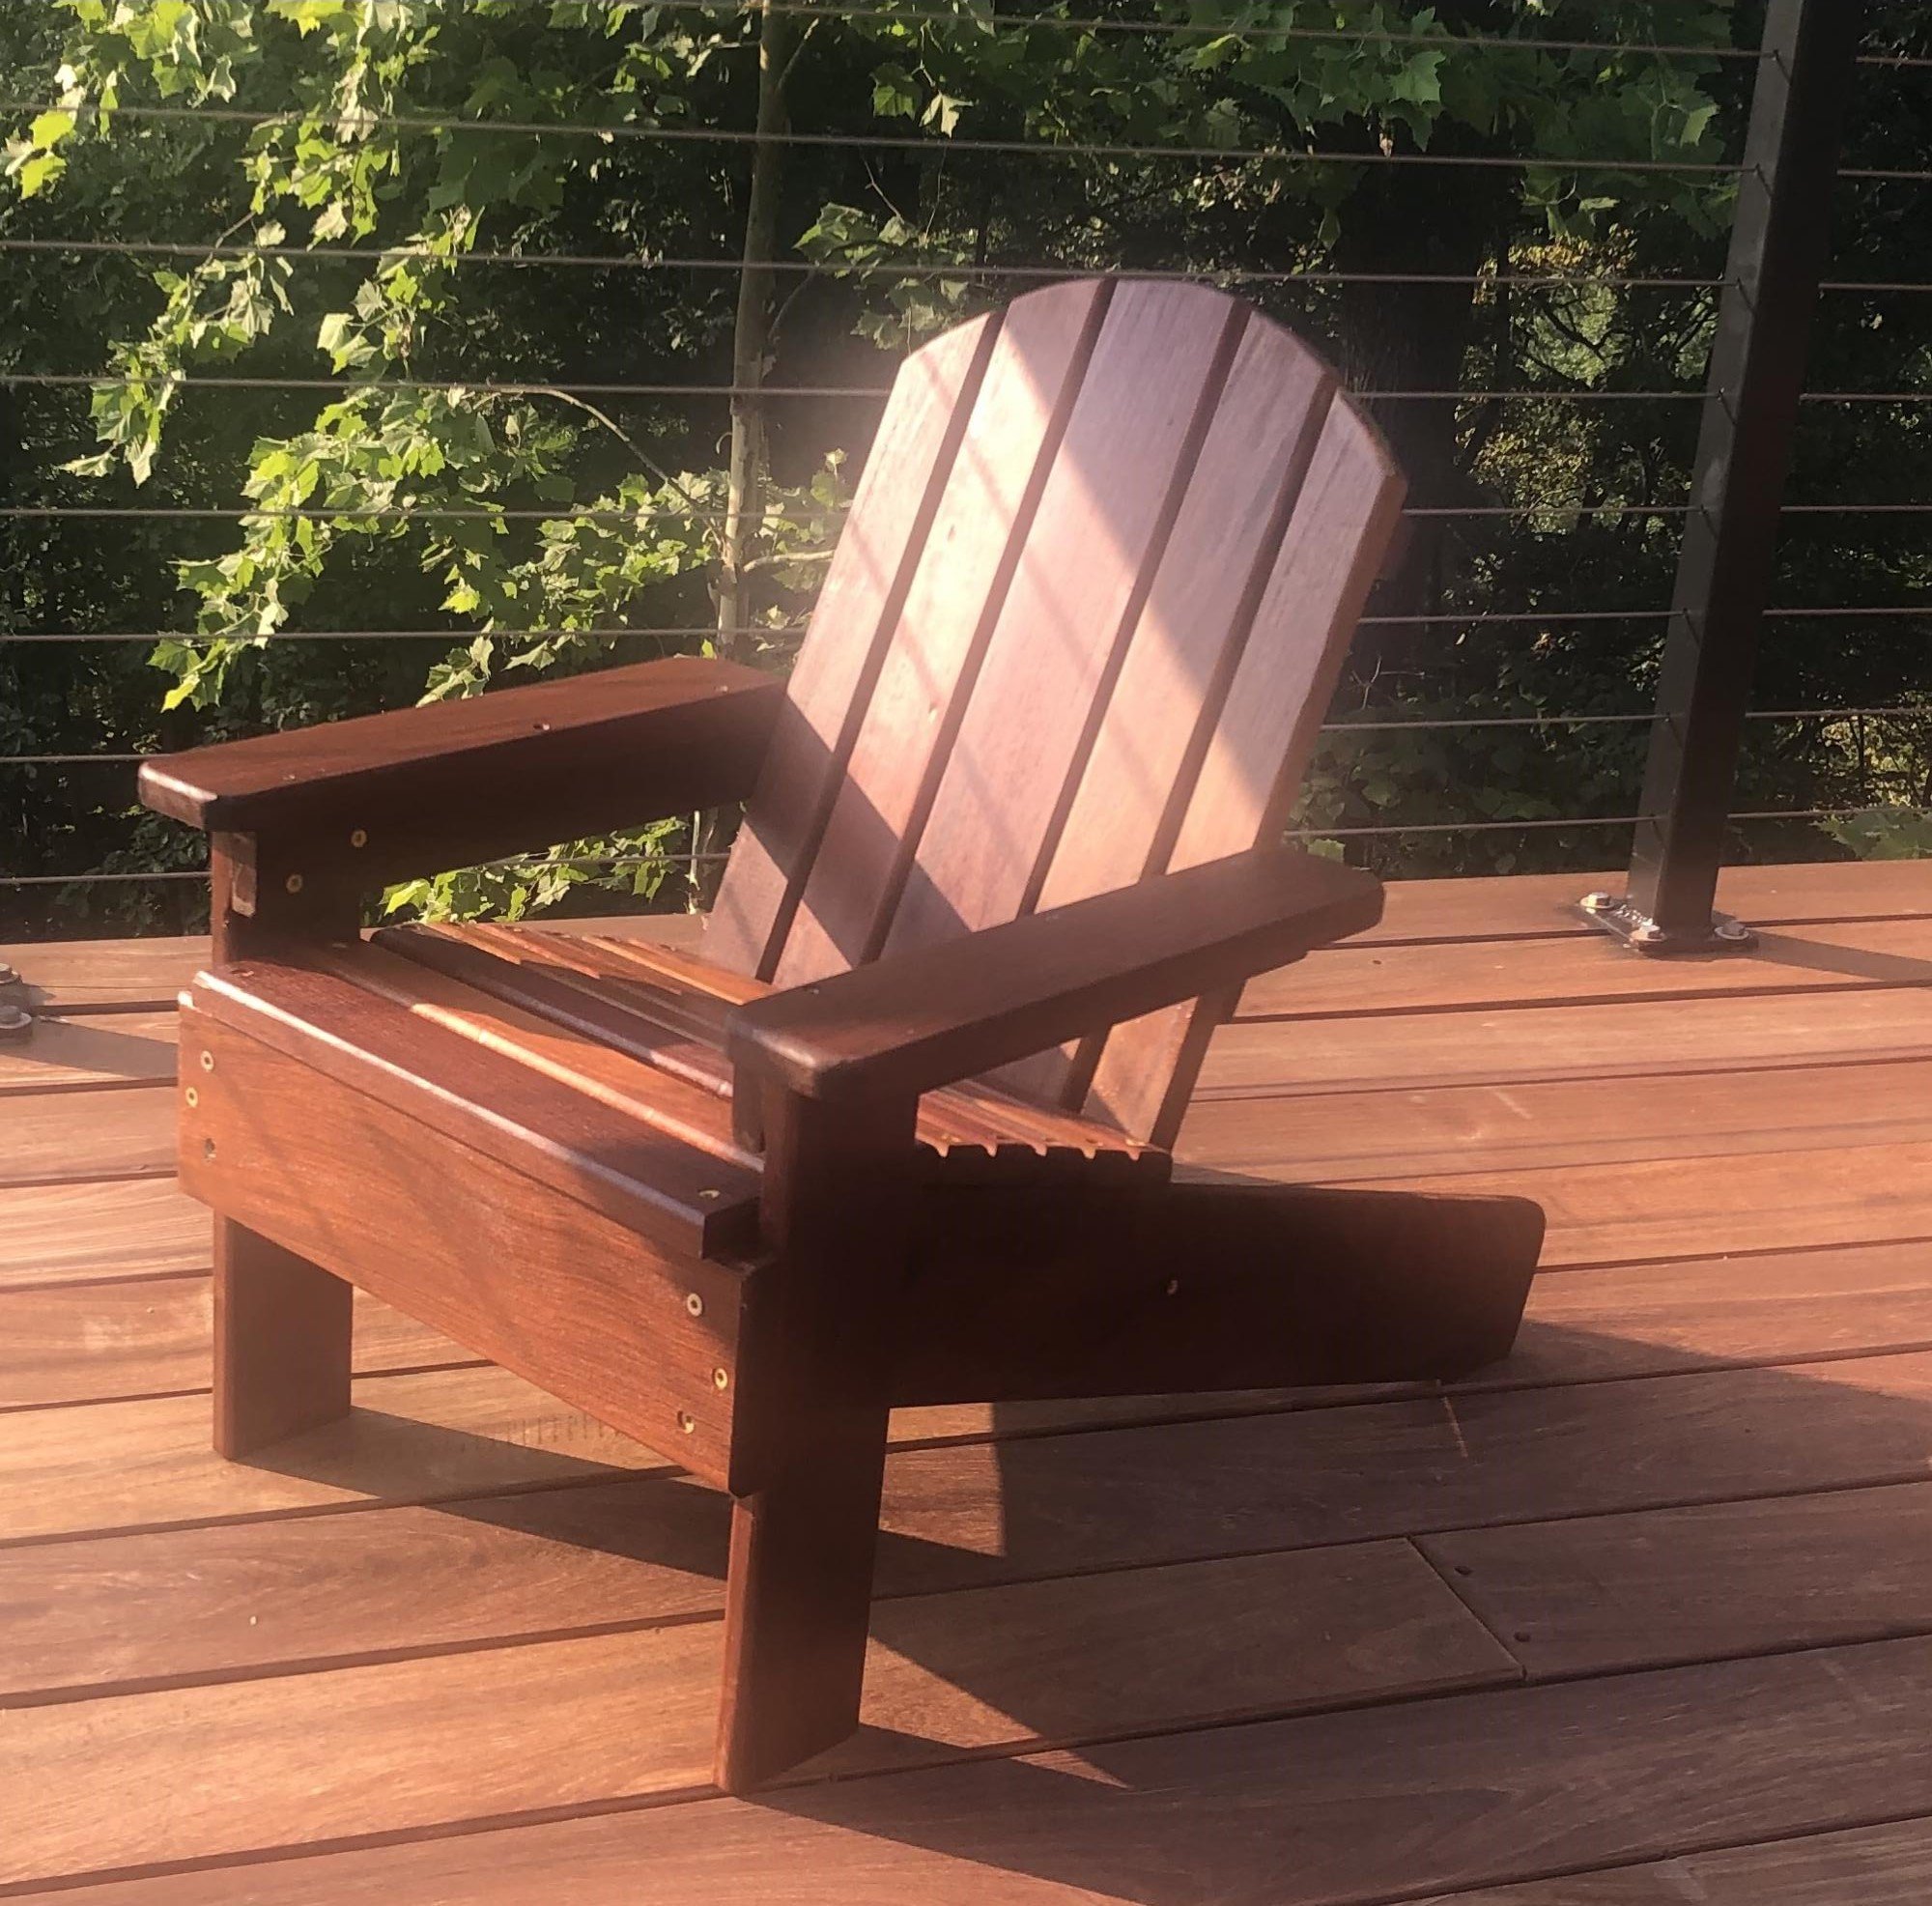
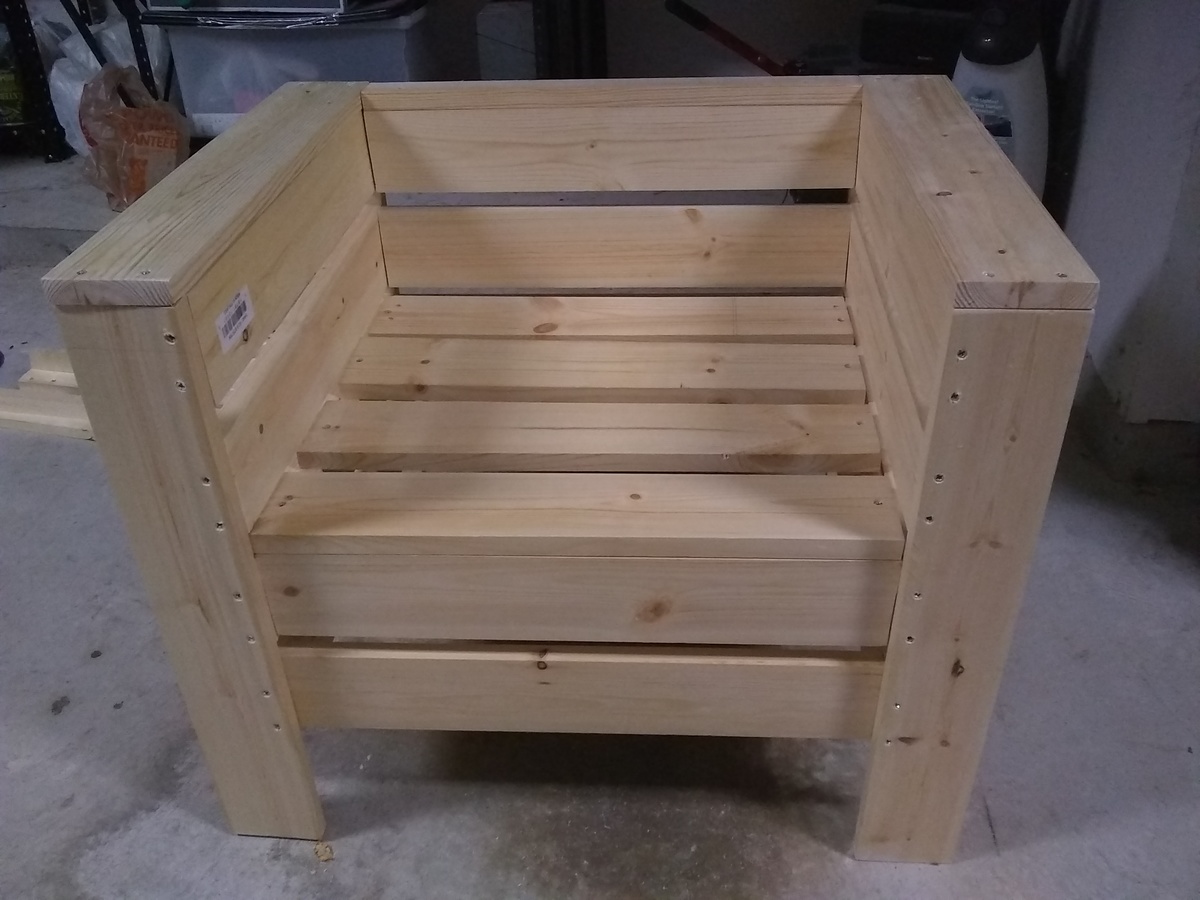
This little chair turned out really well. The only significant changes I made to the plans were to cut the back slats in an arch, round the corners on the arm pieces, and round-over all of the exposed edges.
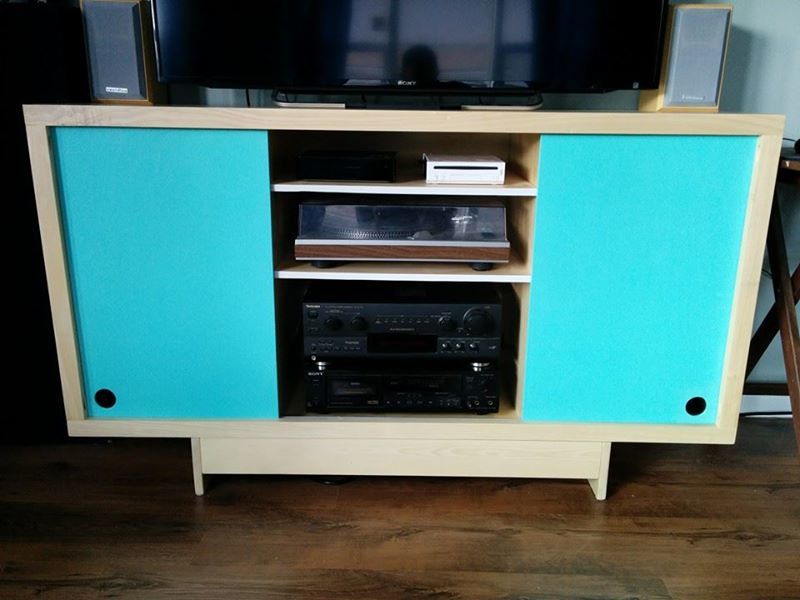
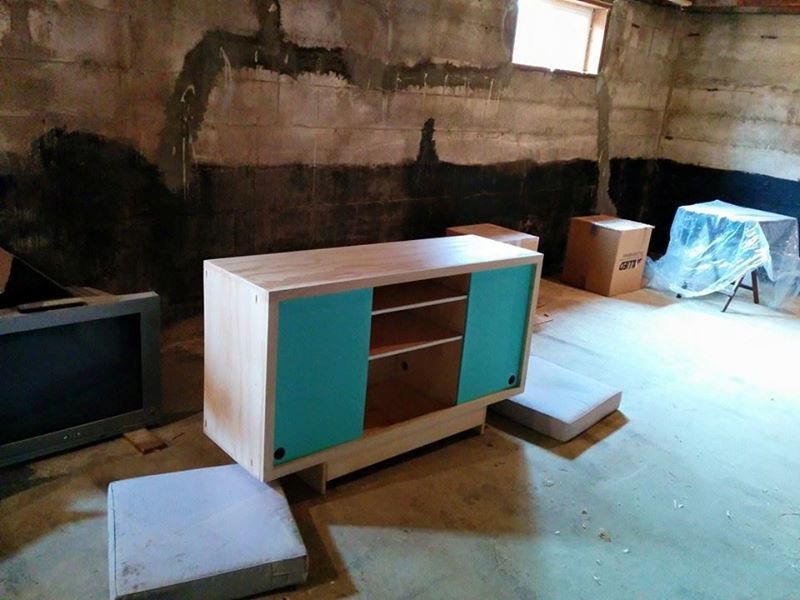
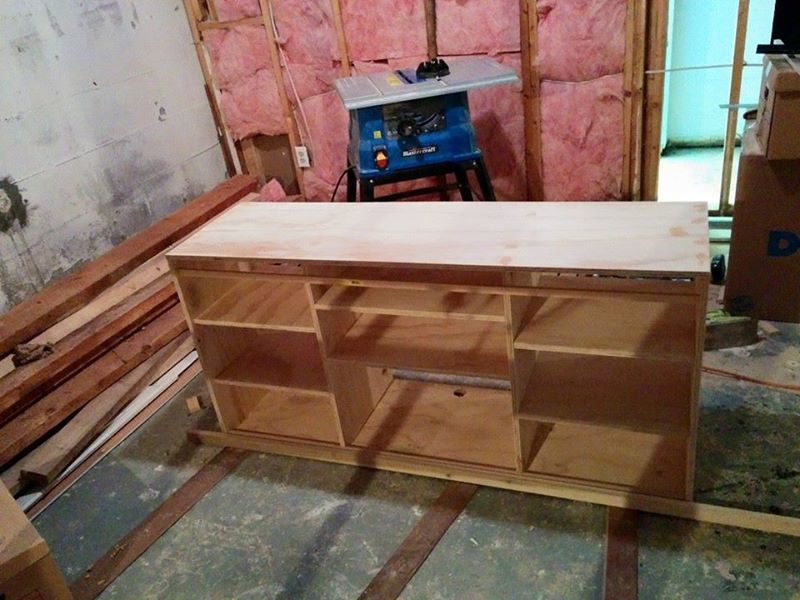
I followed the Emersen Console plans, but with a few changes. The biggest in that I went with sliding doors because I didn't want the doors to open into the living room. This meant having the doors run between the face trim and a guide I tacked into the inside. I also adjusted all of the measurements to fit what I was planning on stuffing into it. I drilled a 3 inch hole in the bottom for all of the cords to run to the power bar and left a gap between the shelves and the back. I kept the wood light to contrast with my floor and painted the doors blue for a mid-century modern-ish feel.
Thu, 07/23/2015 - 08:30
Hi , I've been looking a console with sliding doors , how did you install the guide? did you do it with a router?do the doors run in one same guide or there are 2 guides and one door runs behind the other? Thanks !
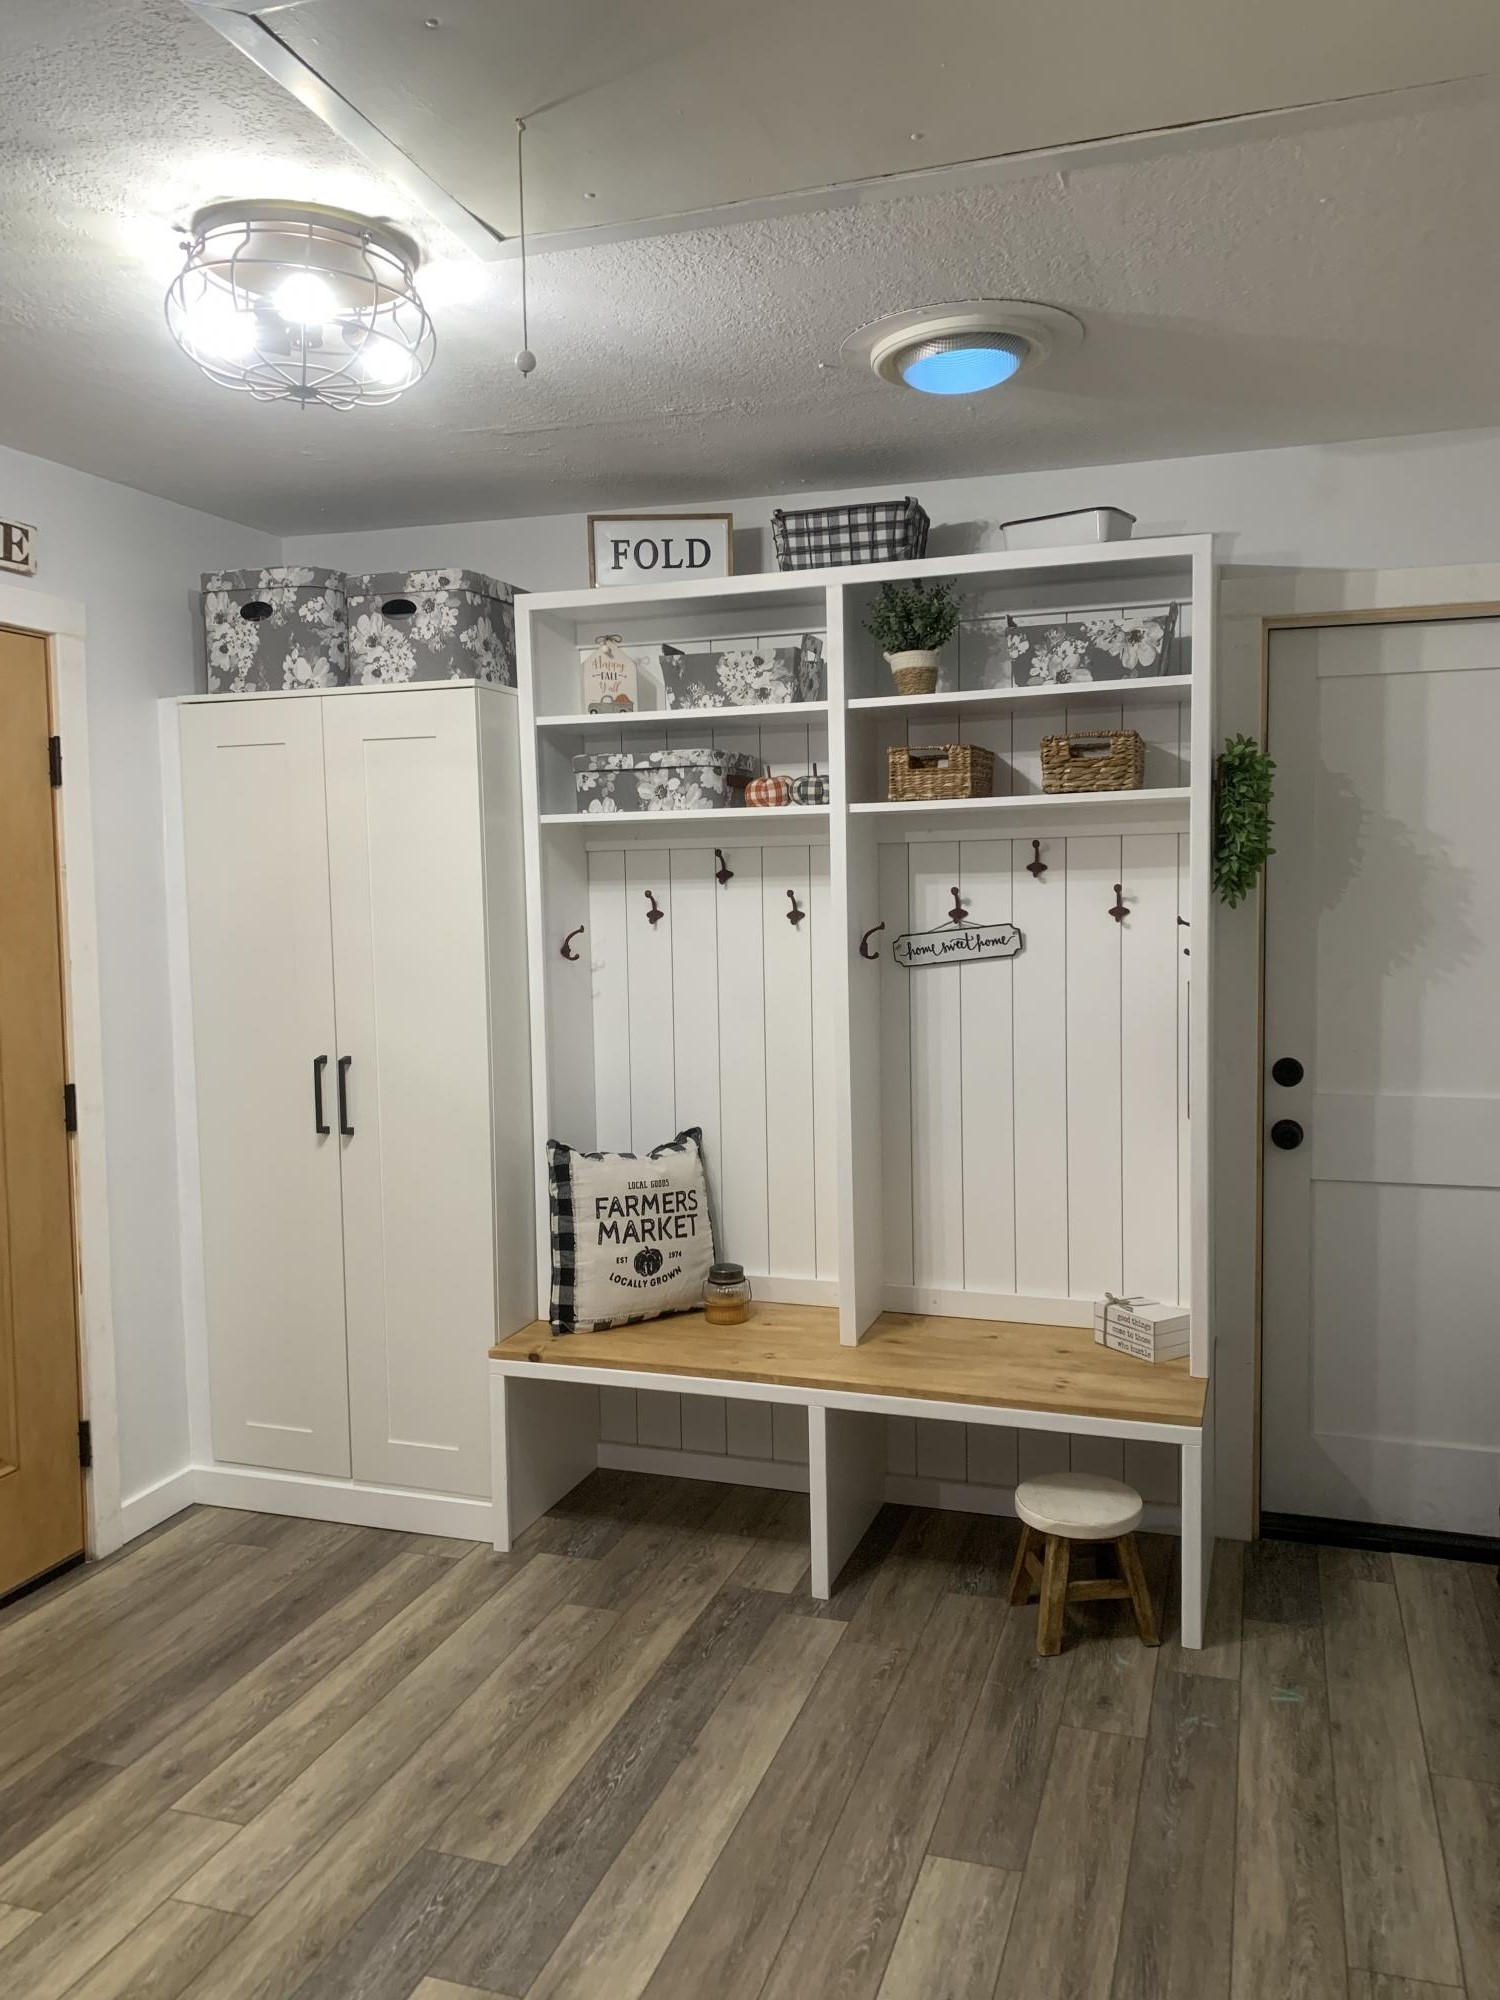
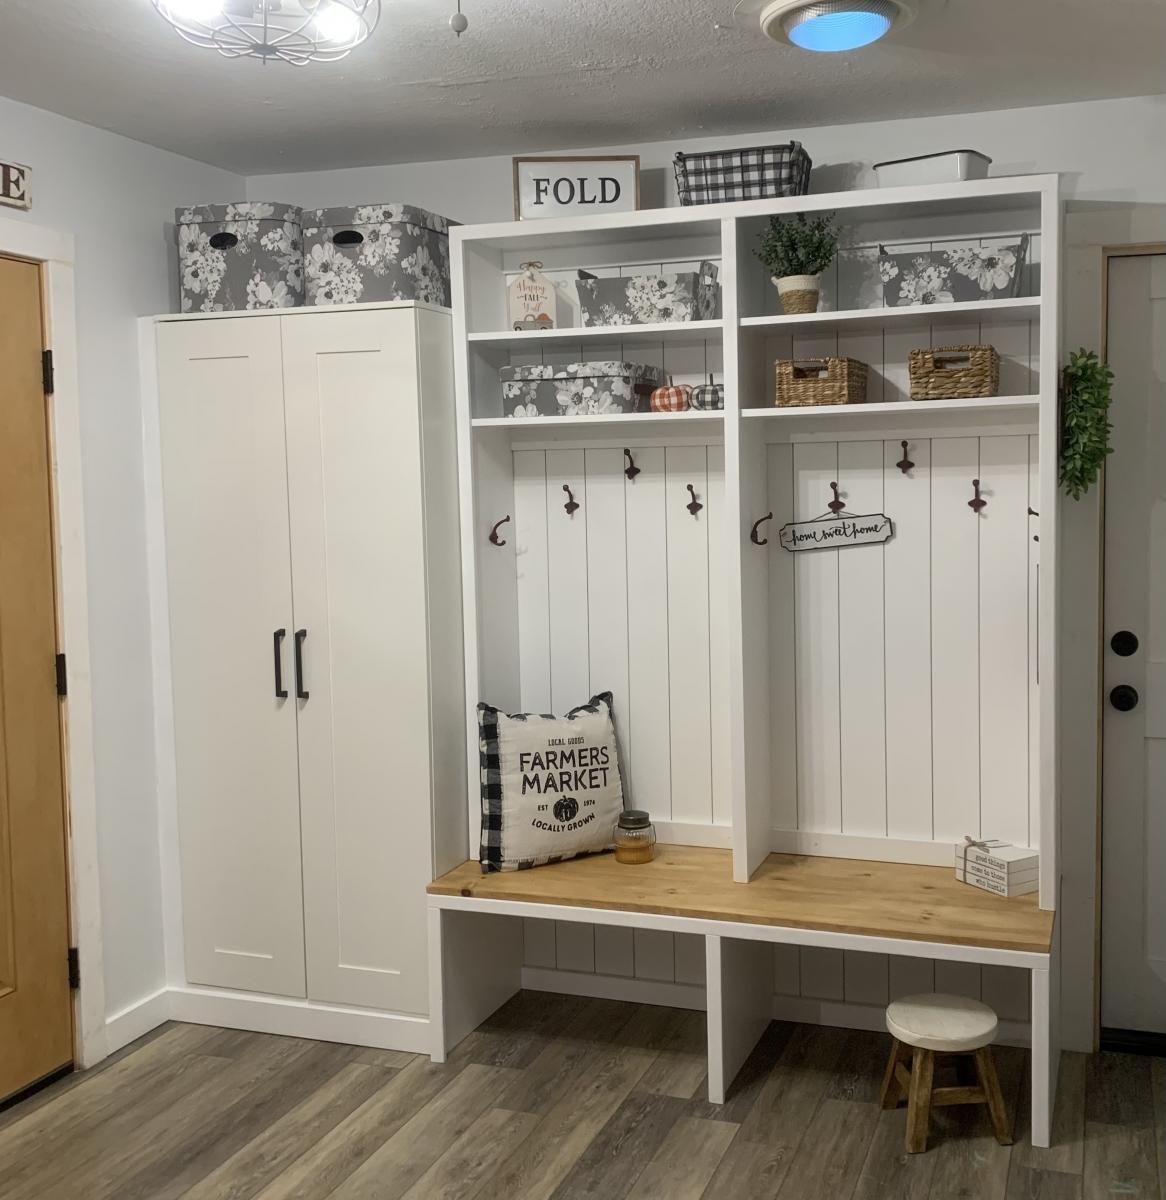
This is my laundry room and it is about 12x10. It looked so bare with only the washer and dryer. So I thought making this a mudroom also. I live in the mountains and have snow 3 to 4 months a year. This will be perfect. I purchased an IKEA cabinet built it in and added the Ana White plans with two bays.
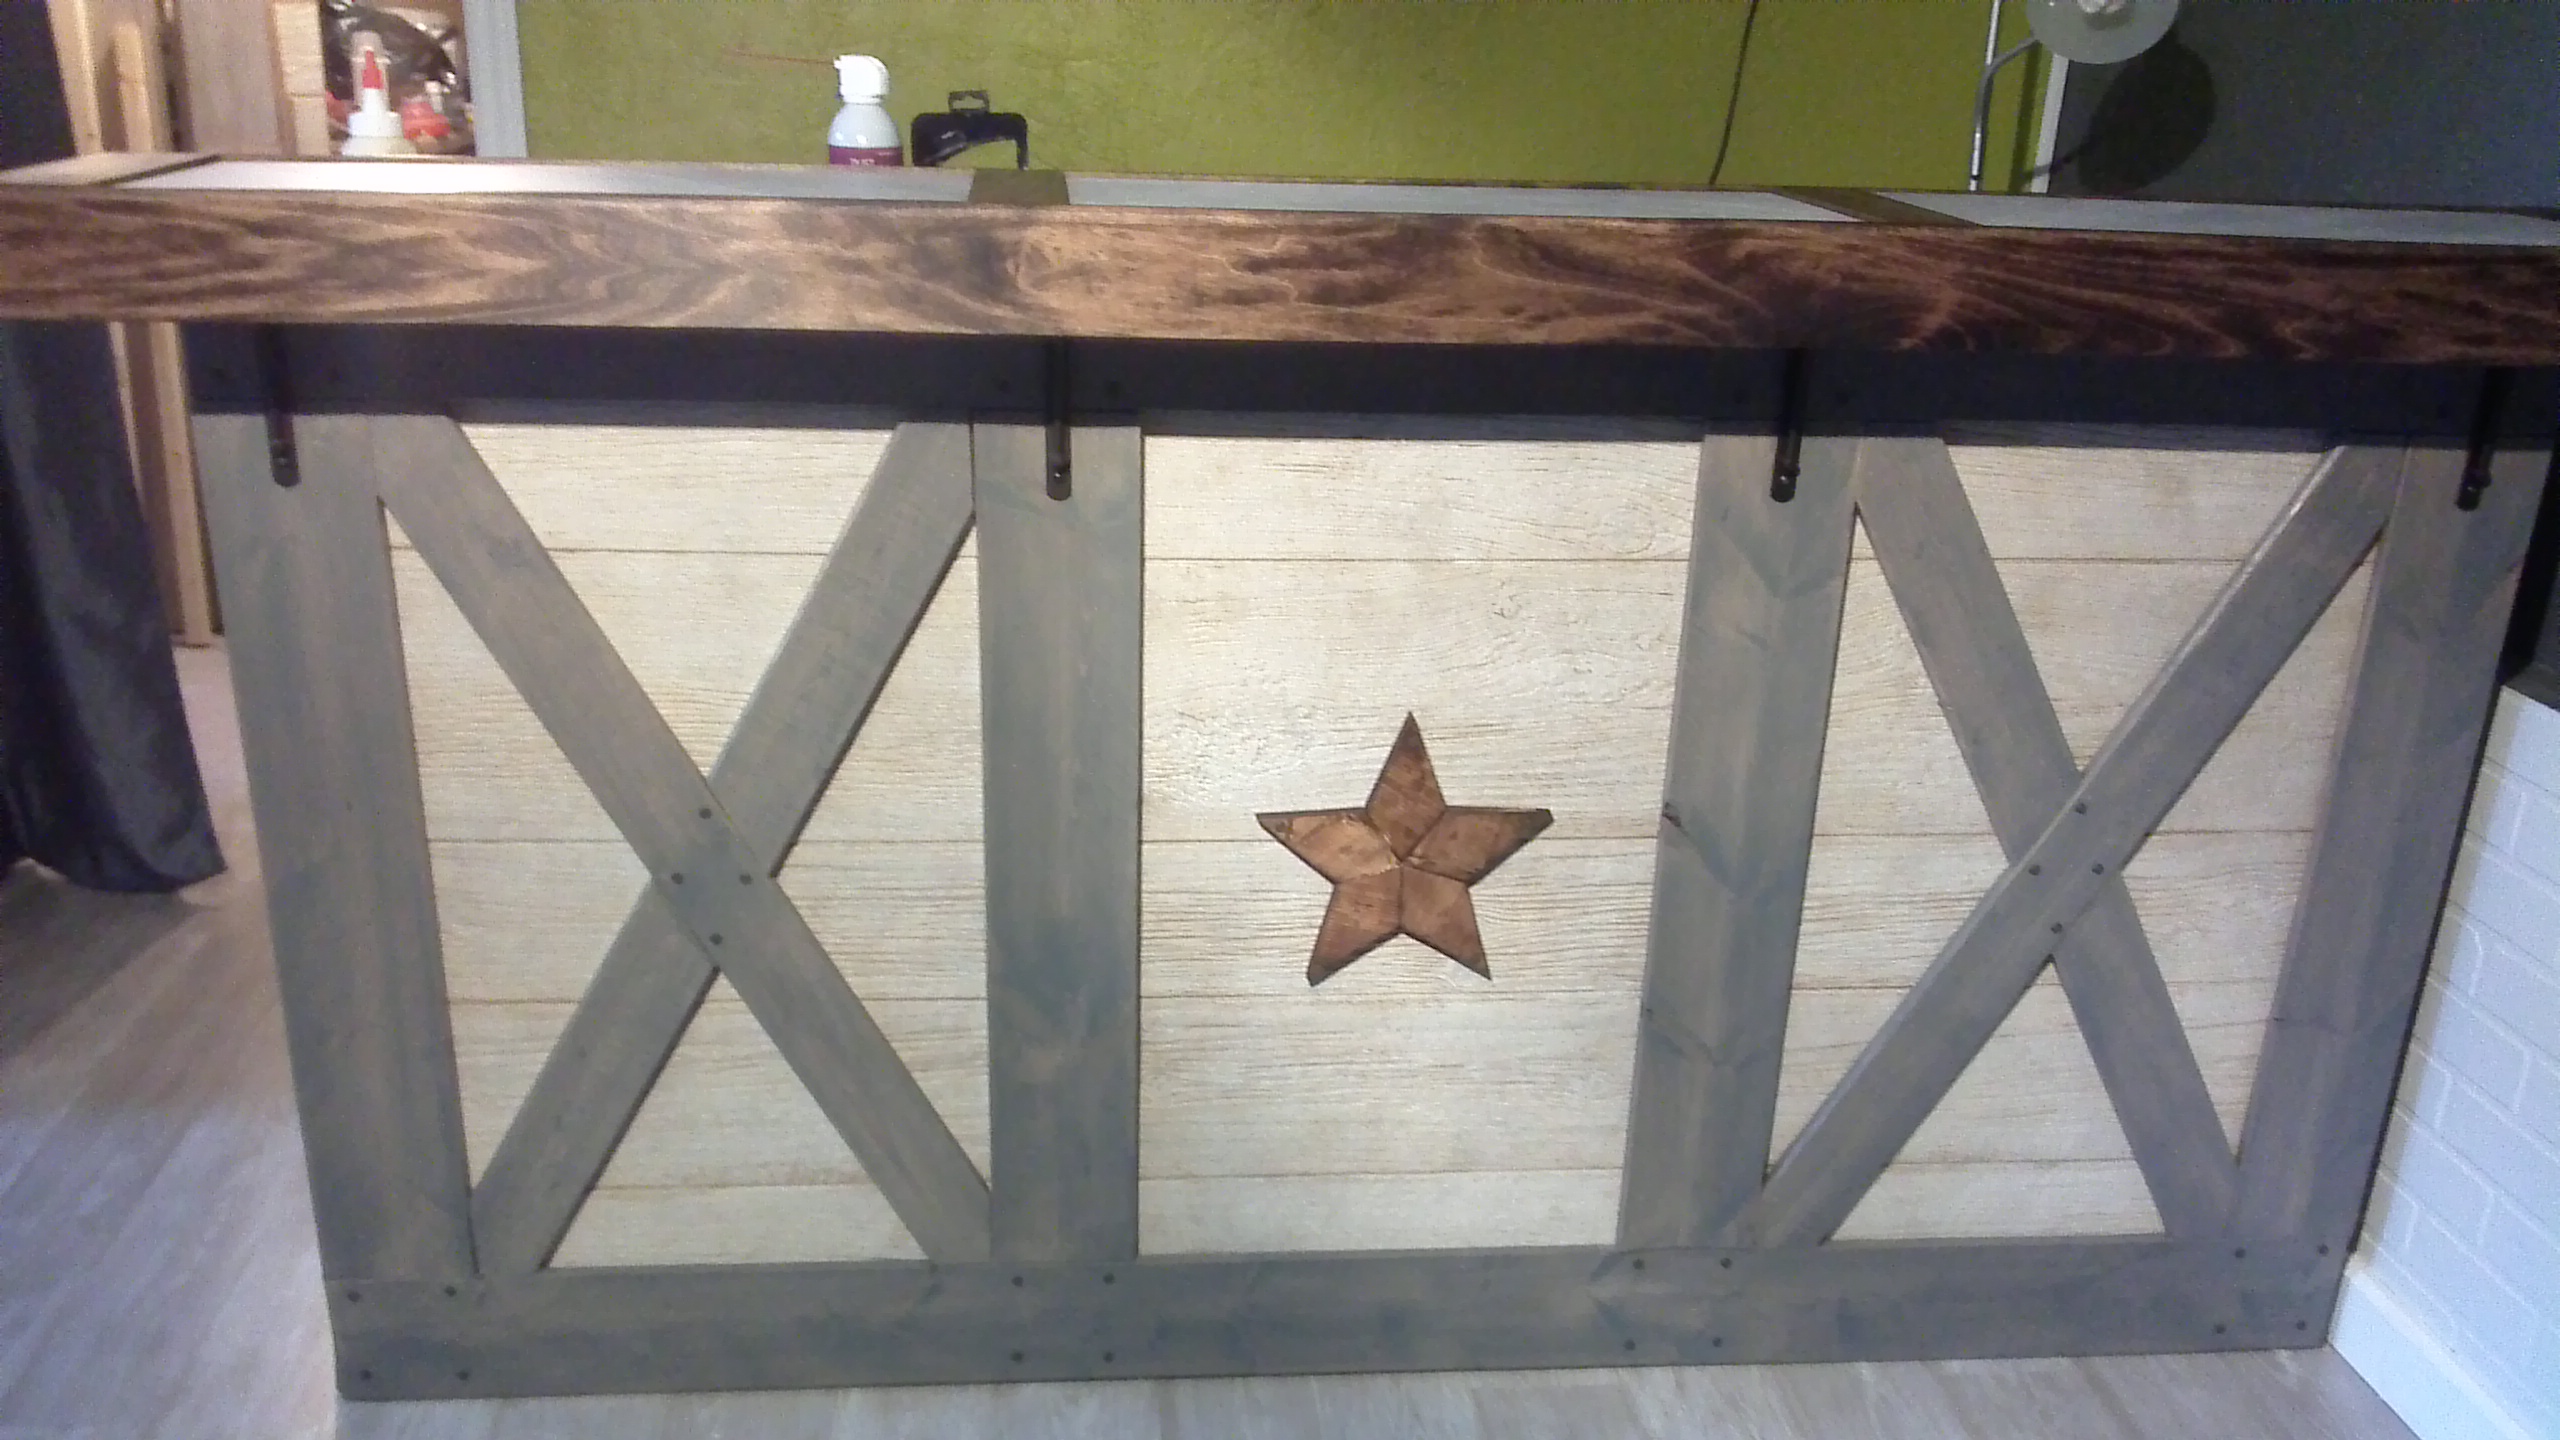
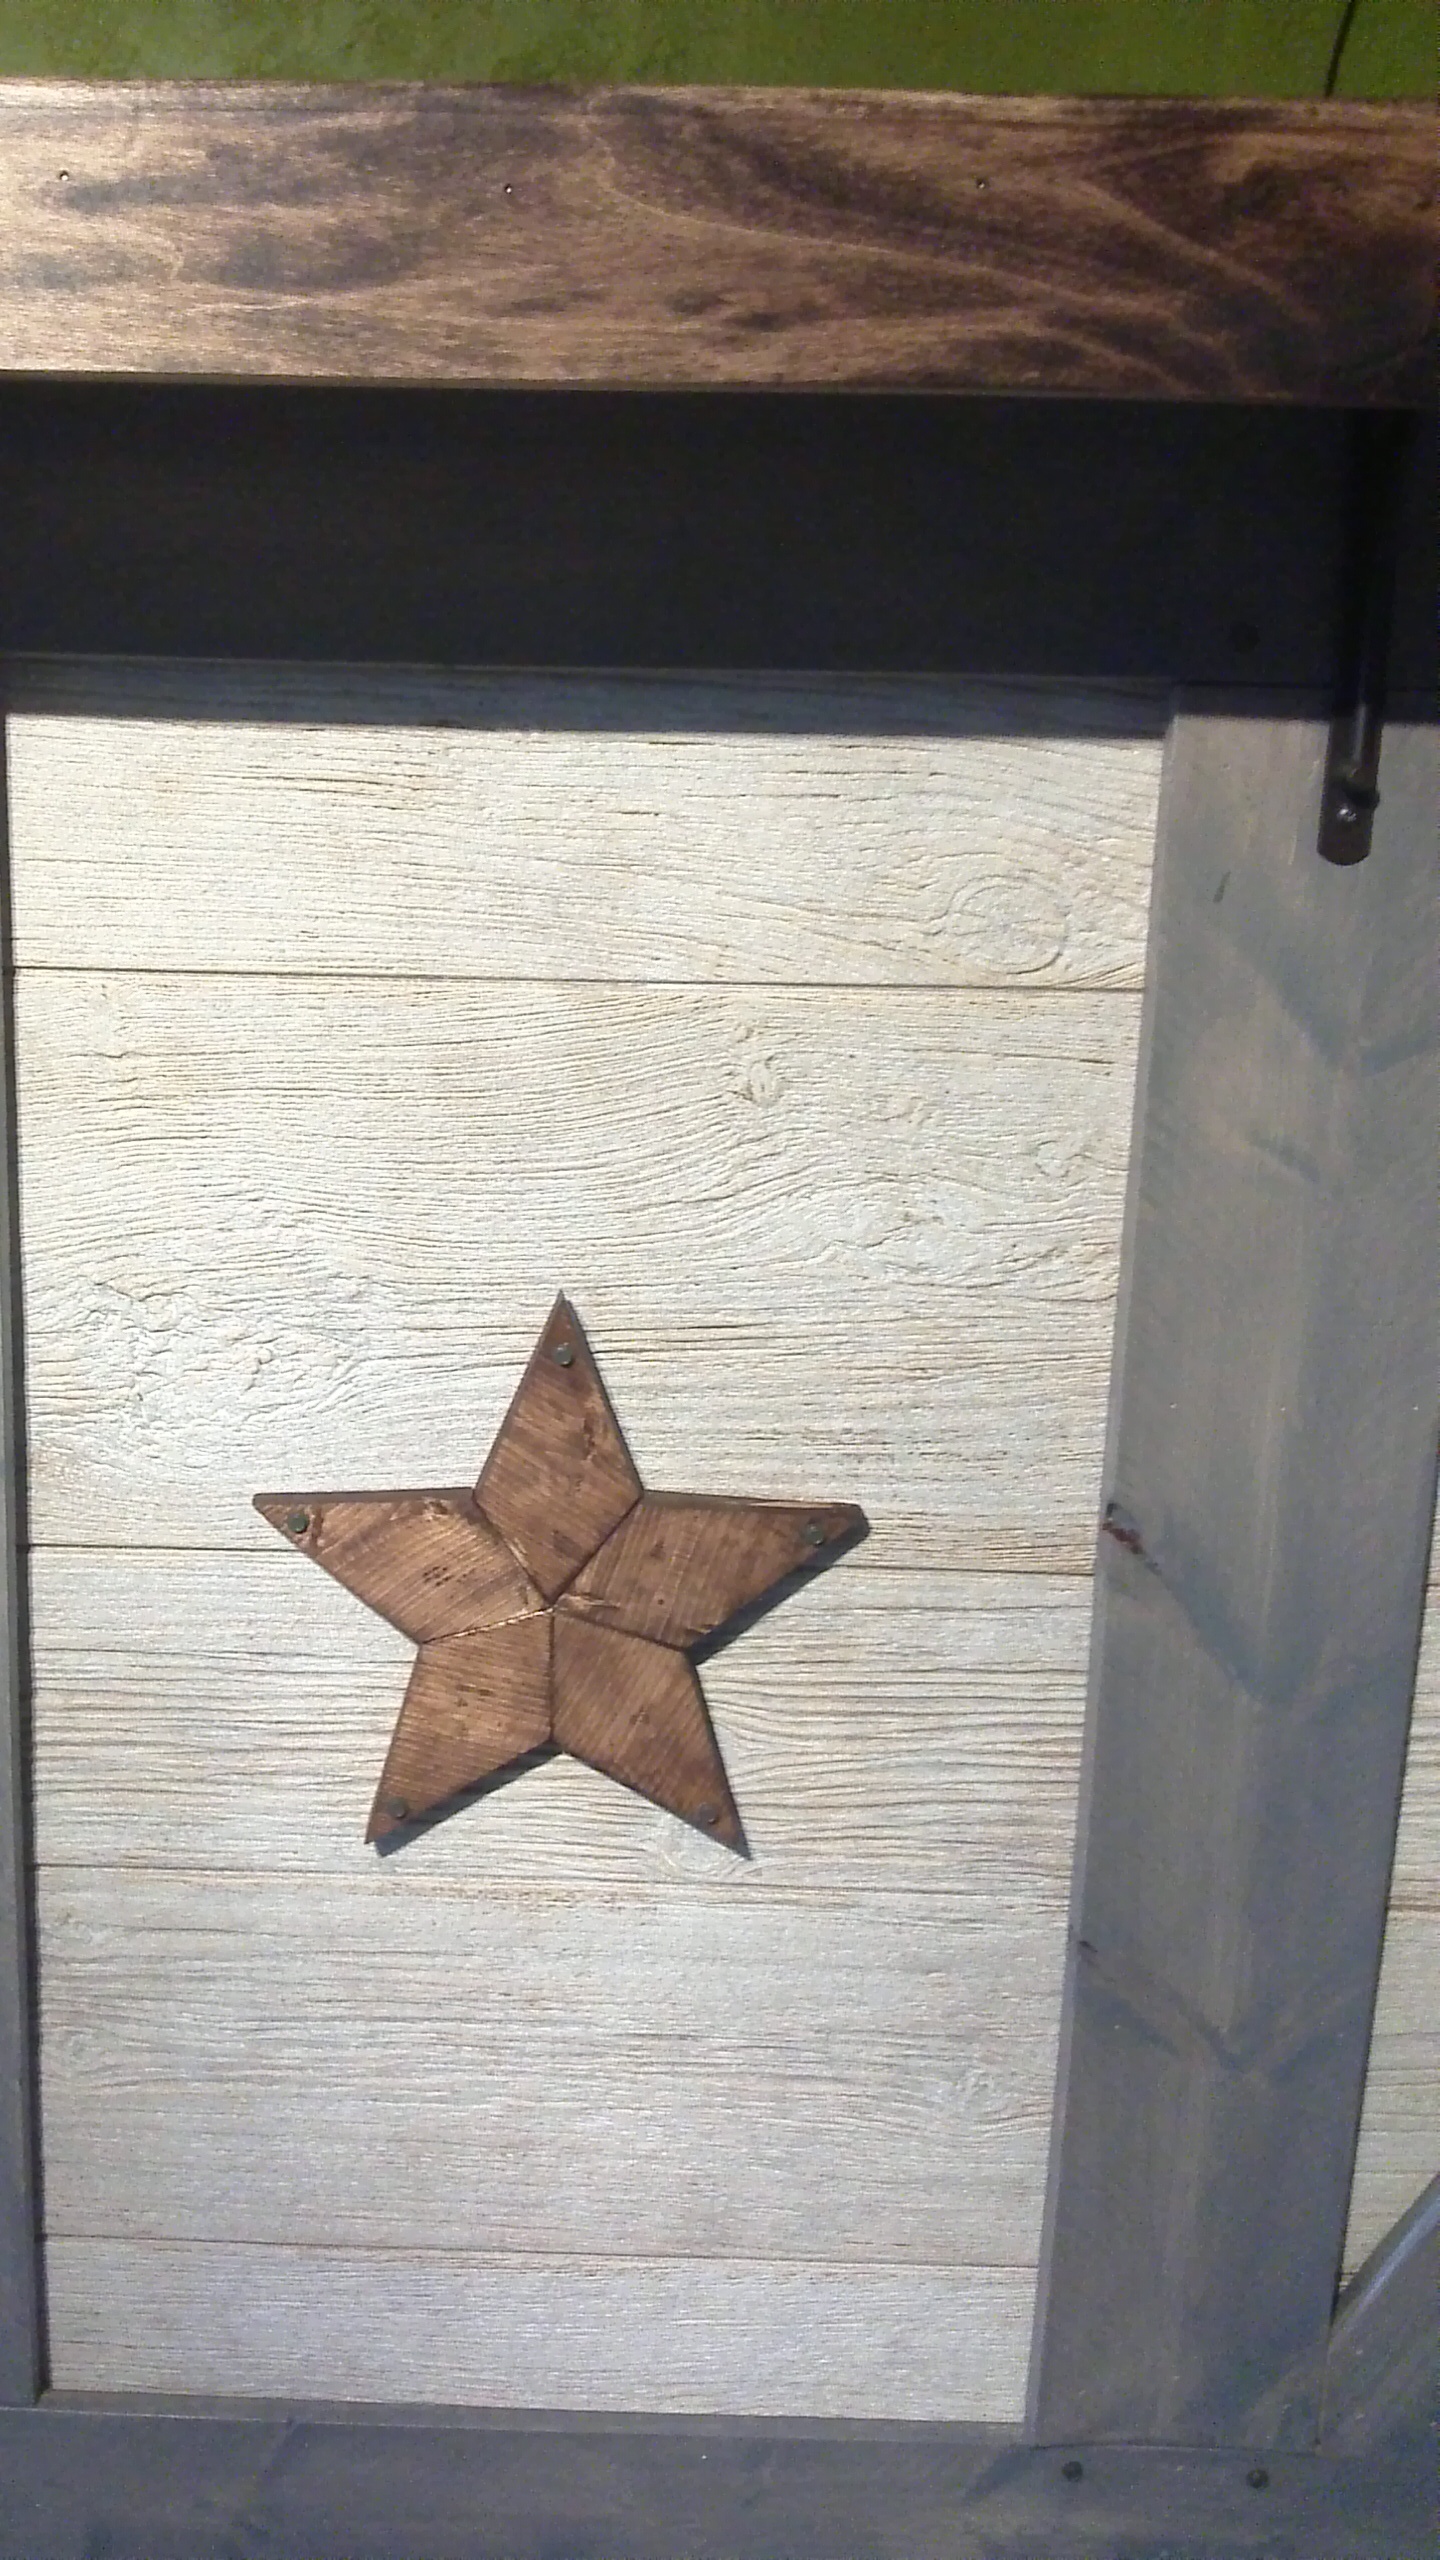
This plan worked great to add a finishing touch to the front of our rustic barn themed bar project. Love it!
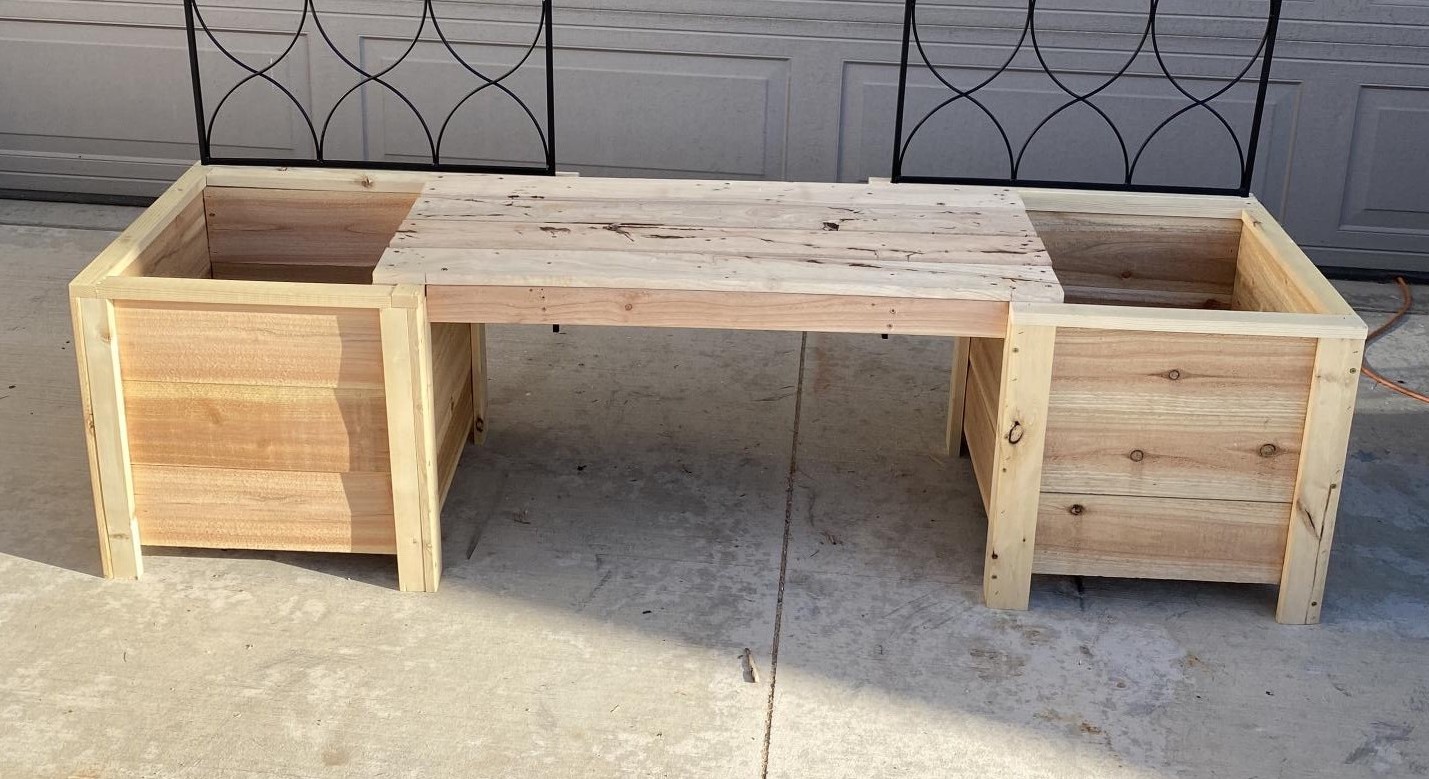
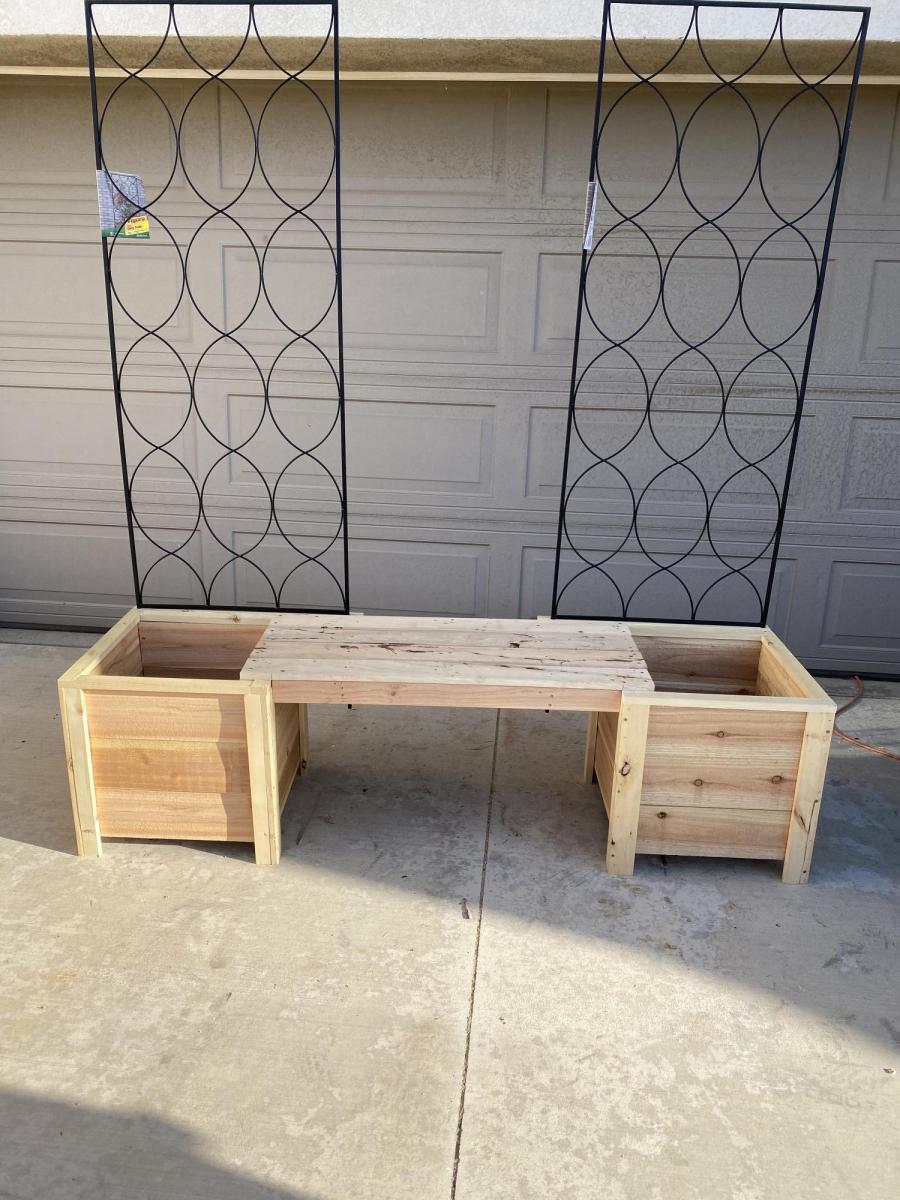
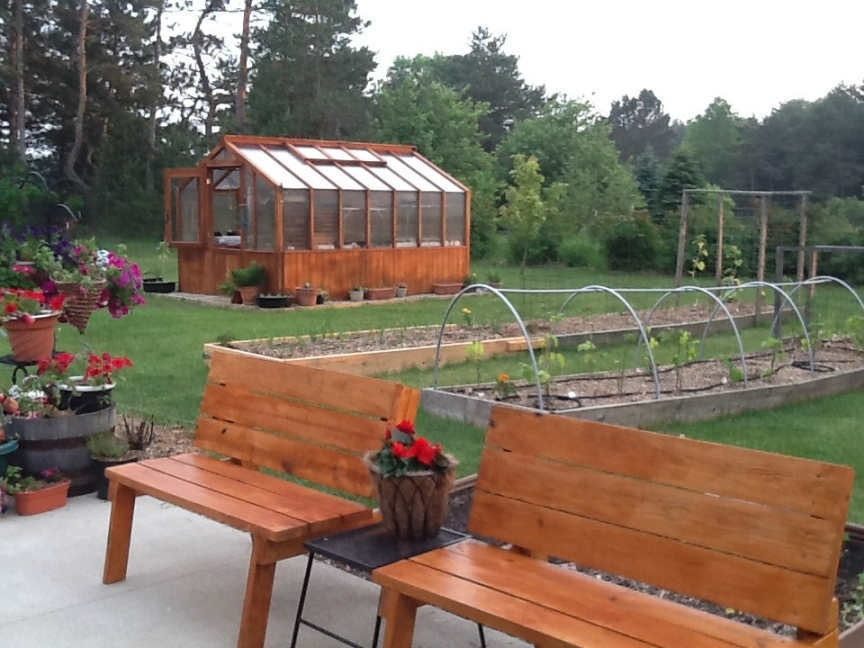
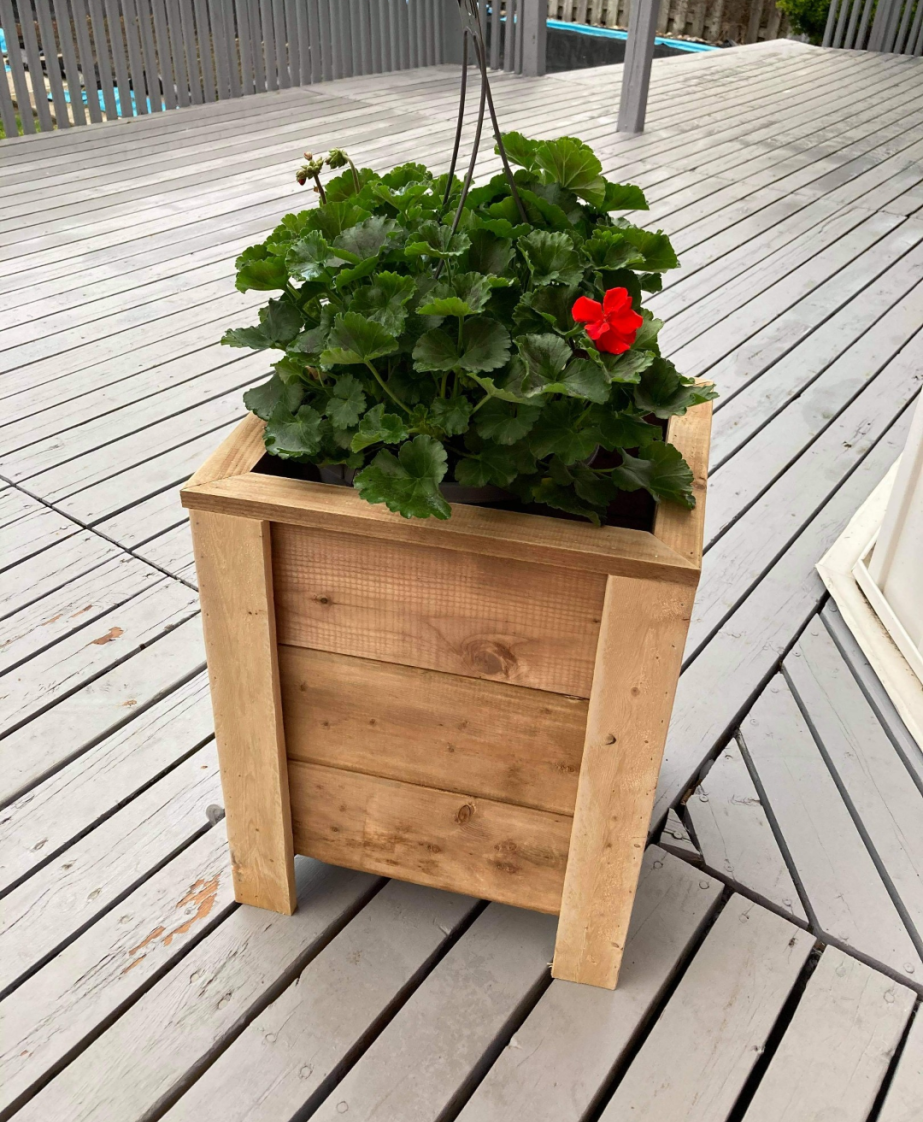
I made the boxes from plans, but added bench and trellis from my own design.
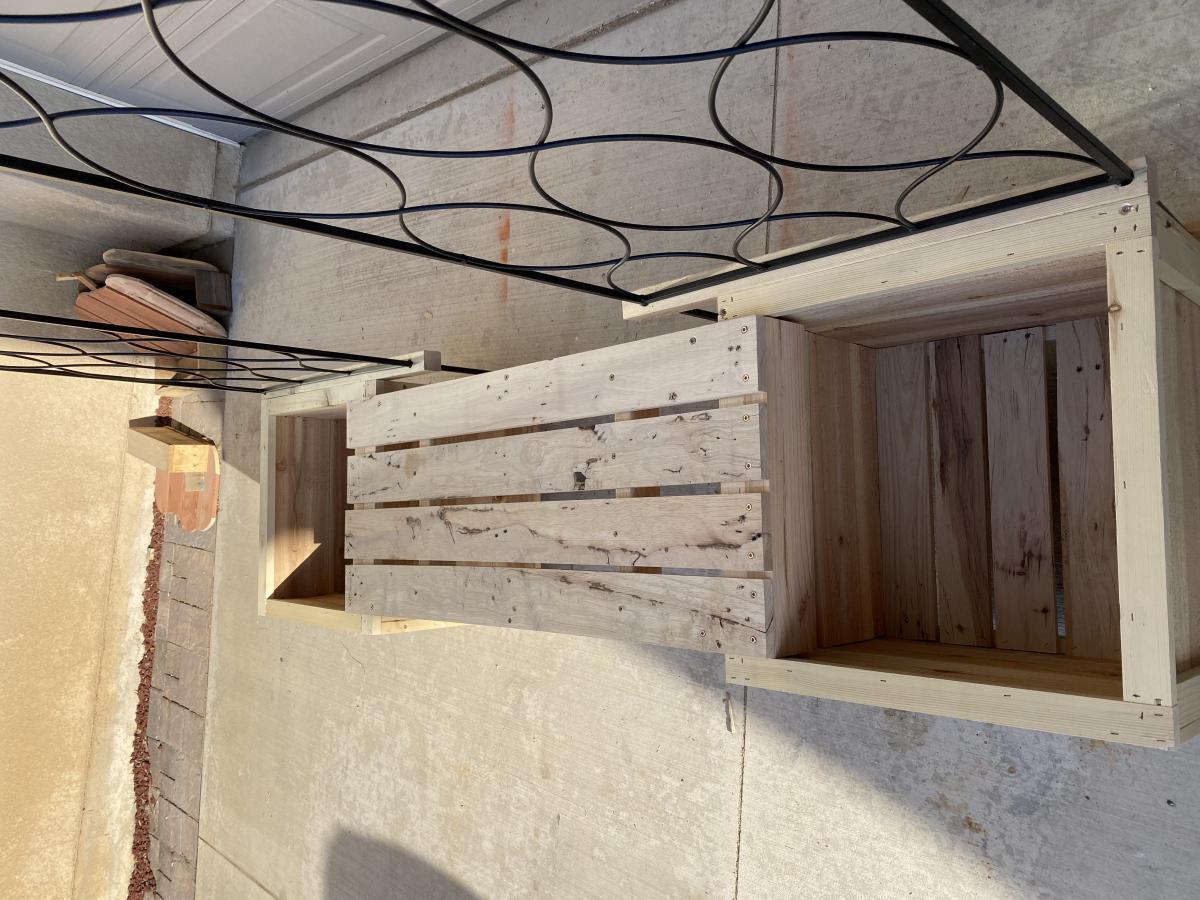
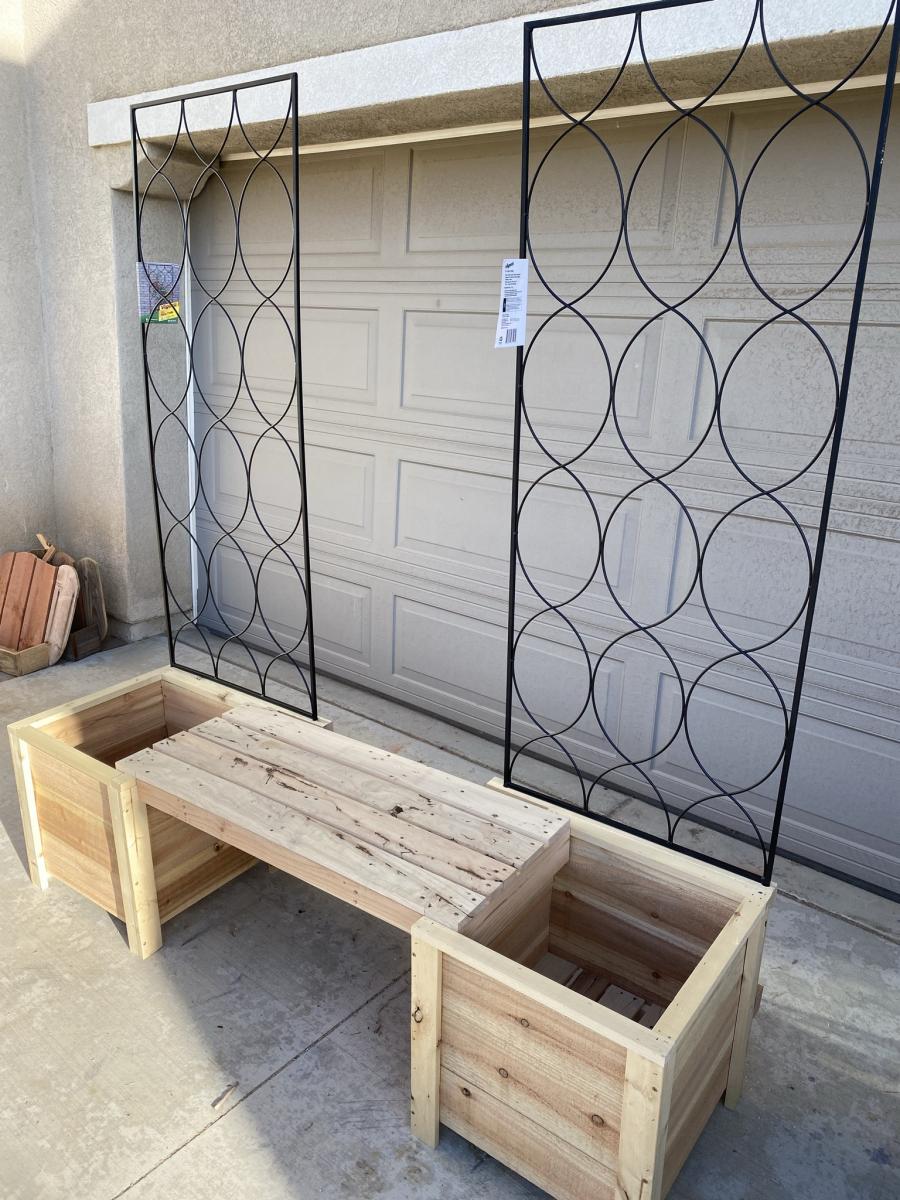
This project was amazingly simple and fun, and I love the outcome!
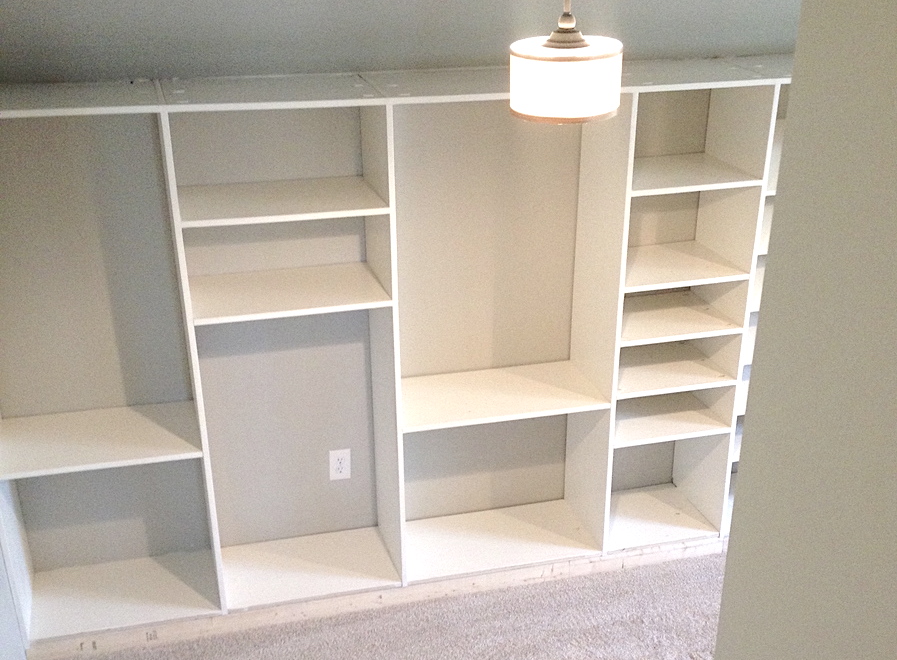
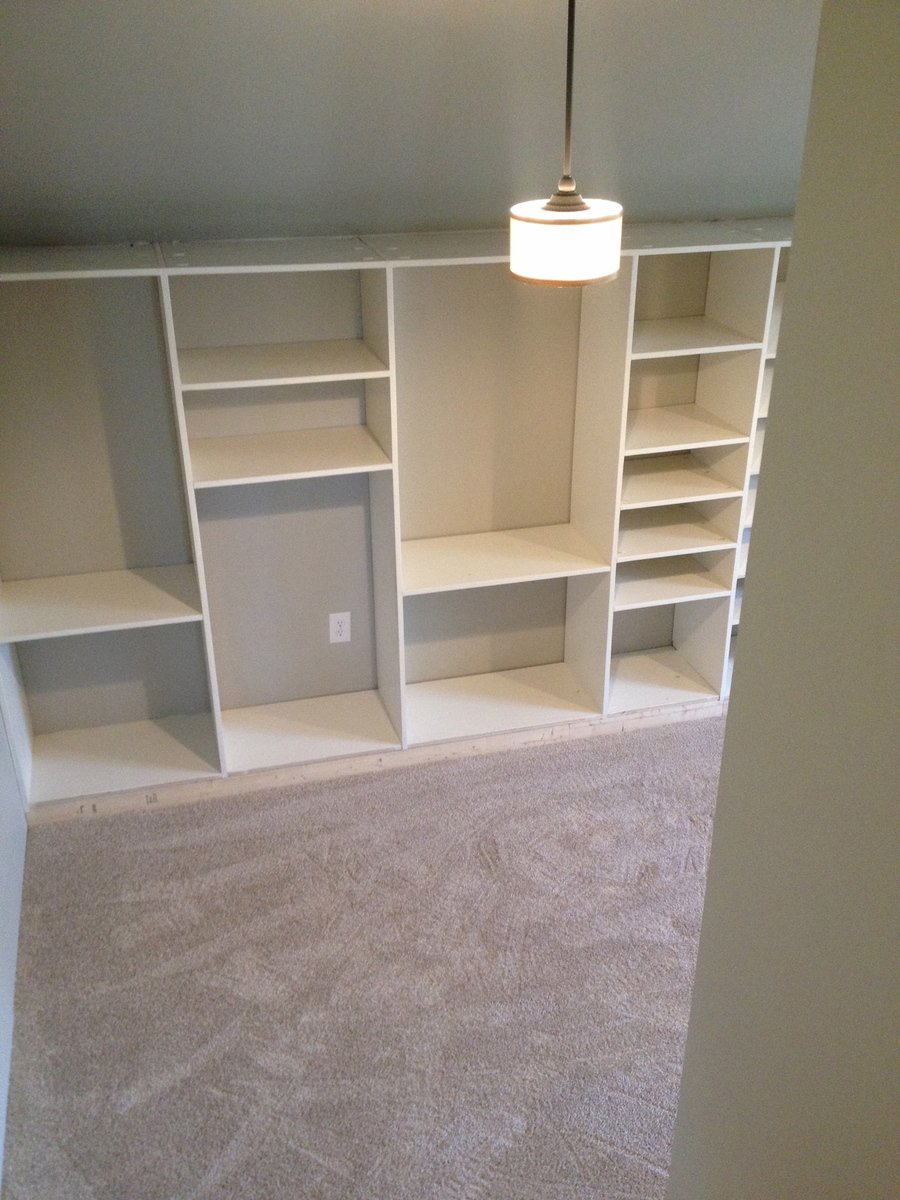
We used an unfinished attic space above our garage that was connected to our bedroom to make a walk-in closet with great shelving. This project took a lot of time but we are so happy with the results! There is a side for my husband and a side for me. Although it is hard to see we also incorporated a small door/bookshelf into the room to allow us access to attic storage space.


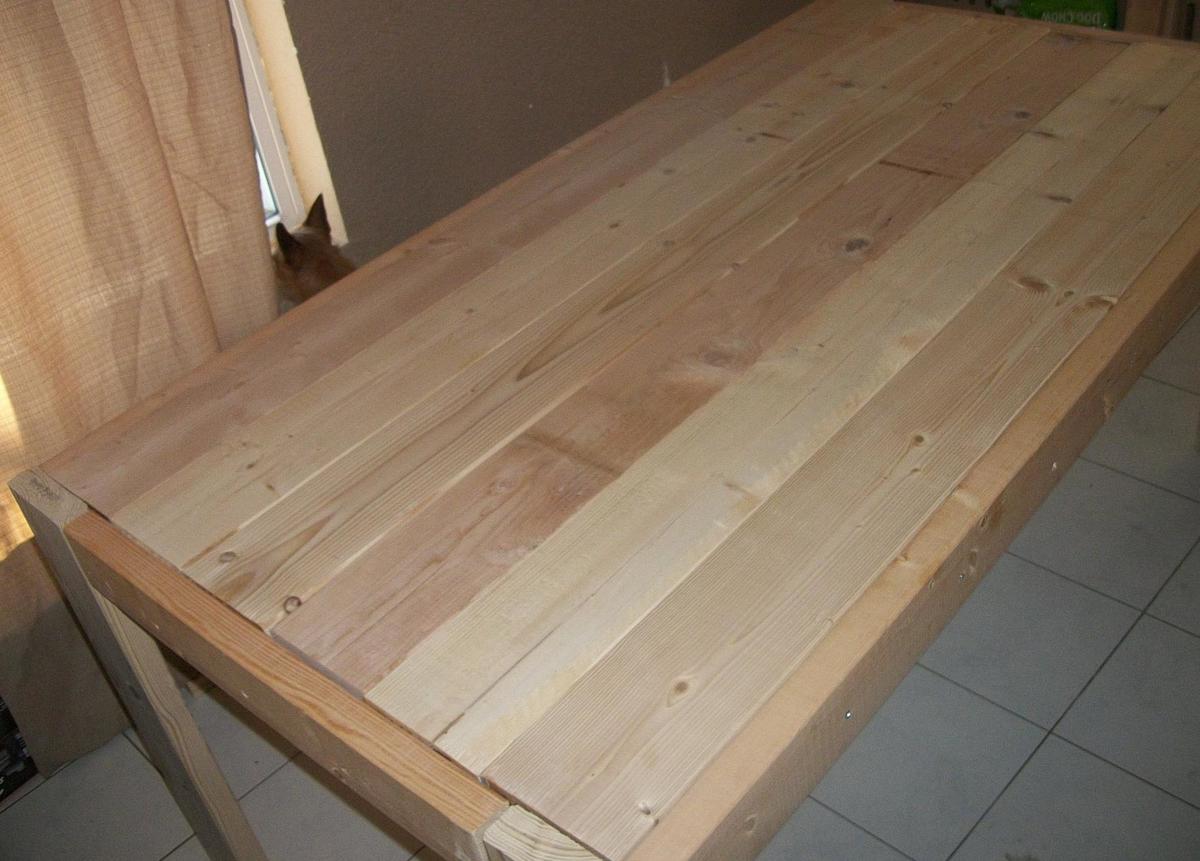
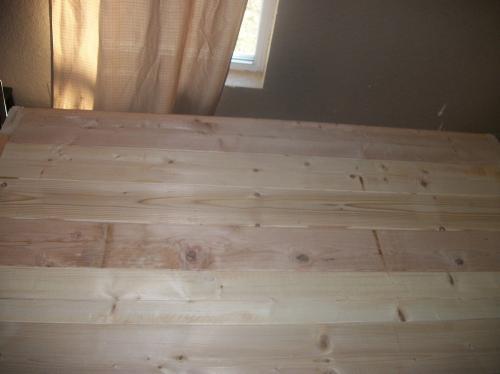
I have added hundreds of plans on my to do list, and some of them may have been a little easier, but I really wanted this table. Badly.
So, my husband and I, decided one weekend to build the Modern Farmhouse Table. Even though we have a saw, we decided since this was our first project, we would have Lowes cut our wood. Big mistake.
When we got home, we organized the wood as to what is what, and measured. It was while we were measuring, when we noticed that a lot of the wood was cut wrong :(
So let that be a lesson...ALWAYS CUT YOUR OWN WOOD!
We went ahead and put the table together, and even though there are some gaps, which I'm planning on filling, I am proud with it.
It's been 3 weeks since we've built the table, and I still have A LOT of sanding to do, and I still need to finish it, but I am proud of what my hubby and I built together so I have to brag!
Next on our list is to build the benches...

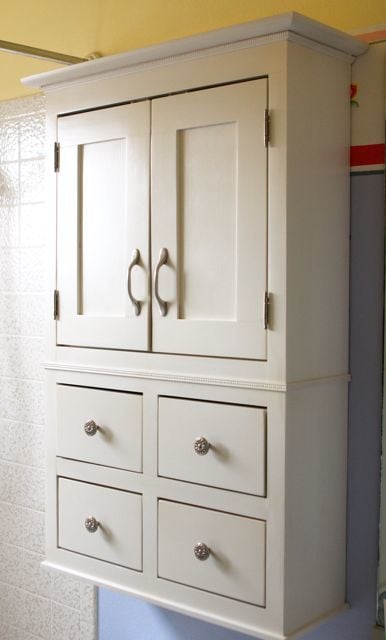
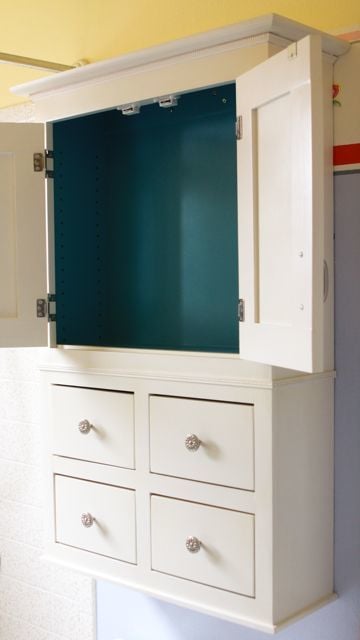
Overall measurements: 24x40. I followed the same basic steps as the nursery armoire, but on a much smaller scale and with a 1x3 added to the back for hanging the cabinet on the wall. I sketched this out on my own and built it to fit above the toilet in my girls' bathroom.
For the first time, I used my table saw to route a space for the 1/8" MDF cabinet backing and drawer bottoms. I will probably use the same method again, but the MDF has to be absolutely square for it to work.
Also a first for me, I used a shelving jig to drill perfectly spaced shelf pin holes on the inside of the cabinet. I love the jig and the accompanying drill bit (from Woodcraft -- orange and blue do not carry it) and I'm looking forward to using it a lot more in the future.
The white latex paint finish is covered in Krylon "crystal clear" spray, which is (sadly) not actually crystal clear. I really like its durability and ease of application (re-coat after only one minute!), but will only use it on darker colored projects in the future. I'll have to sand, paint again, and recoat with my old standby, Minwax Polycrylic, to get rid of the yellow tones in the "crystal clear" Krylon spray.
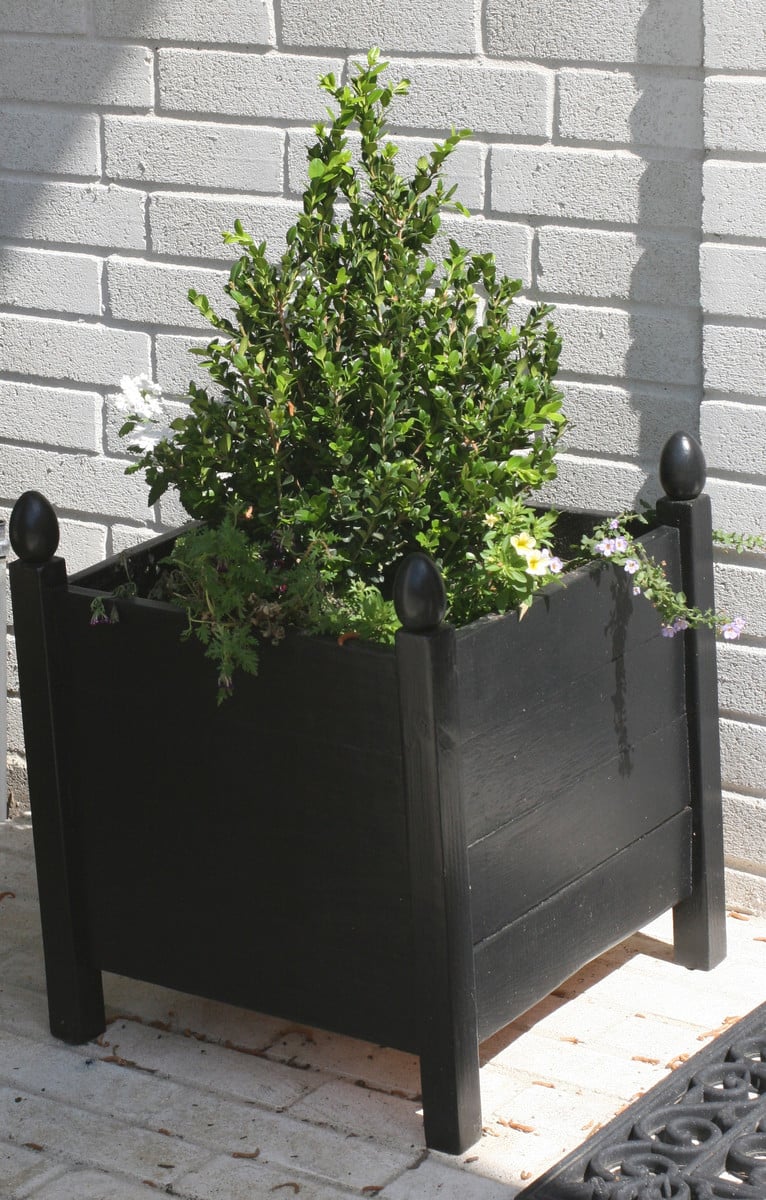
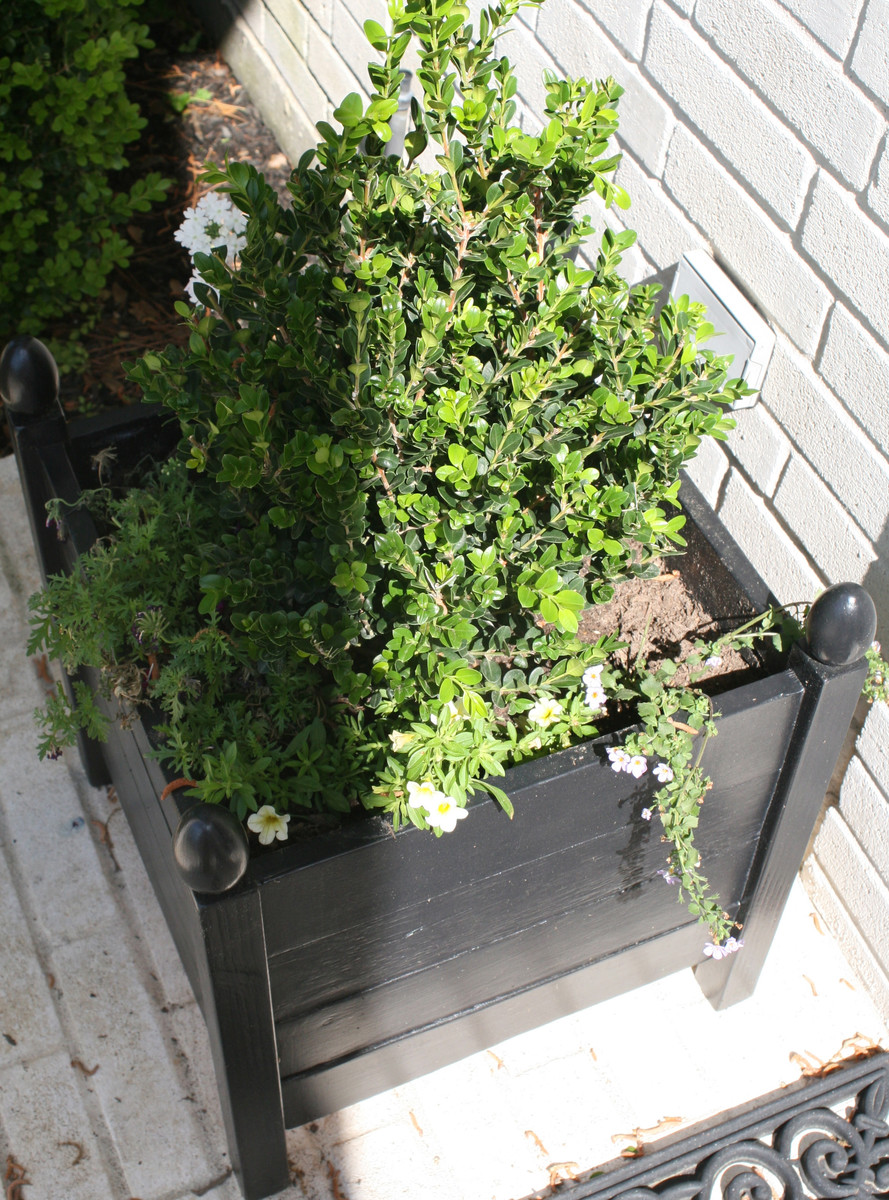
This was a fun easy build...I took the toy box plans and used 1X4s instead of solid sides and bottom. I cut the legs short and put finals on.


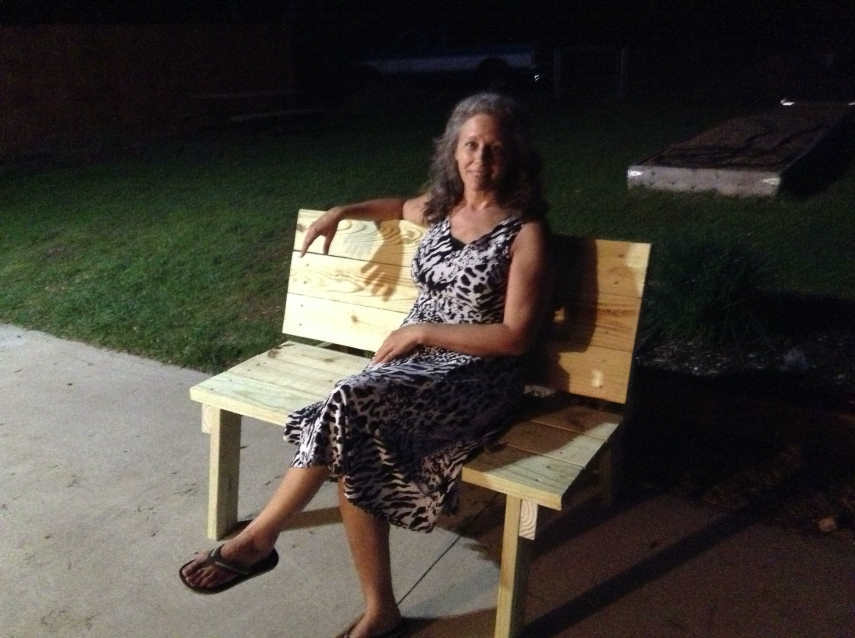
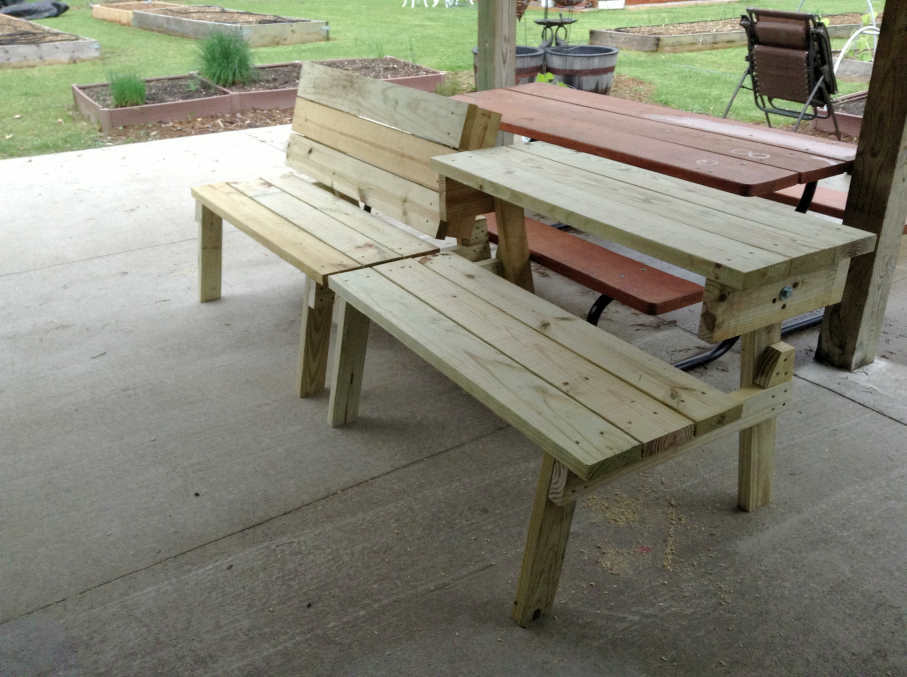
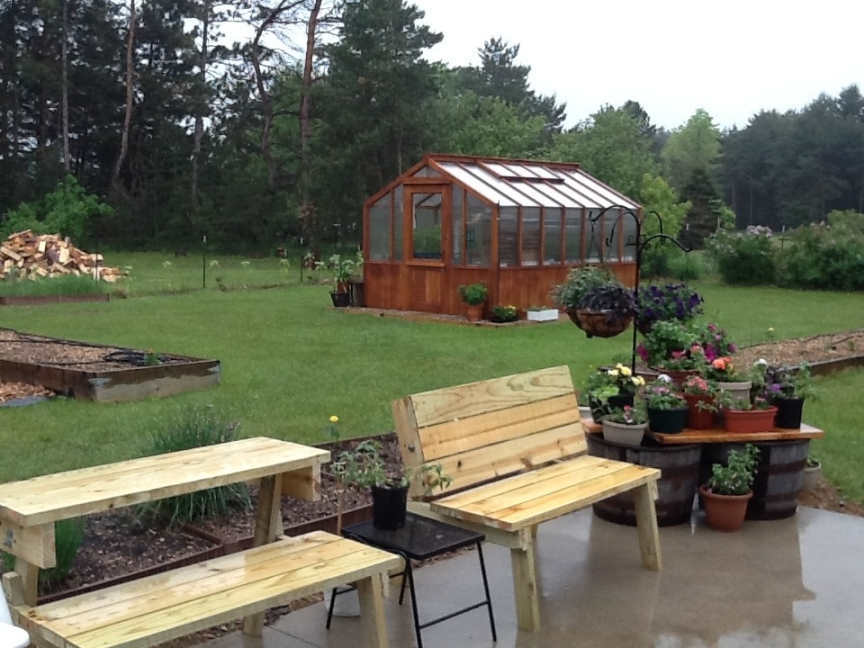
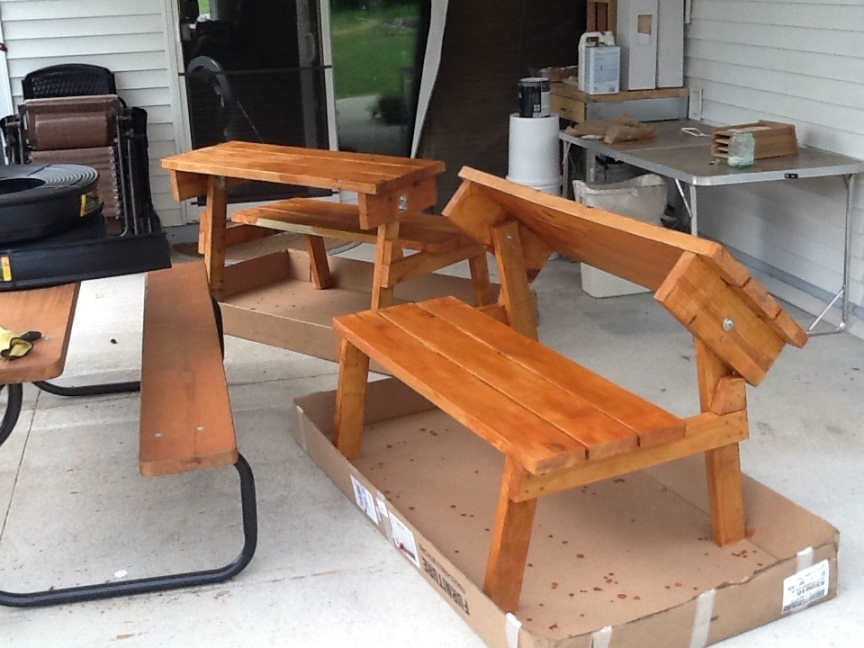
I saw a type of this for sale at Costco for $109 (for just ONE bench, not a pair). It' looked nice, and I almost bought it, but it had metal legs and trim and I wanted more of a natural look to go with my Cedar theme that I have going in my back yard garden/patio/greenhouse area. After seeing it in the store, I did an online search to see if I could find something a little more organic in nature... imagine my surprise when Ana's version of the bench/table came up! I looked over the plans and thought... well, I made the modified Farmhouse Table via her excellent instructions, I can surely do this! I did make a small change, I cut small pieces of wood to use as stops for the backs of the benches, instead of using holes and bolts to hold the backs at an angle that is comfortable. You can see this in the pictures, they are just beyond the back of the seat boards, on the leg supports. Thank you Ana! It was easy, quick, and they look SO good on my patio. I will be making more, maybe even selling a few because so many have asked me if I might :) I figure the cost was about $65 for both benches. A great deal and a fun project! Patrick really has to refrain himself from wanting to "help" me, but I am determined to do it myself... and low and behold! With Ana's generous free plans and inspiration, no problem!
Wed, 07/17/2013 - 13:11
Oh, great job!! I love it. The back stops for the bench is a great idea because those bolts are expensive! I'm going to do the same. Thank you for the idea!
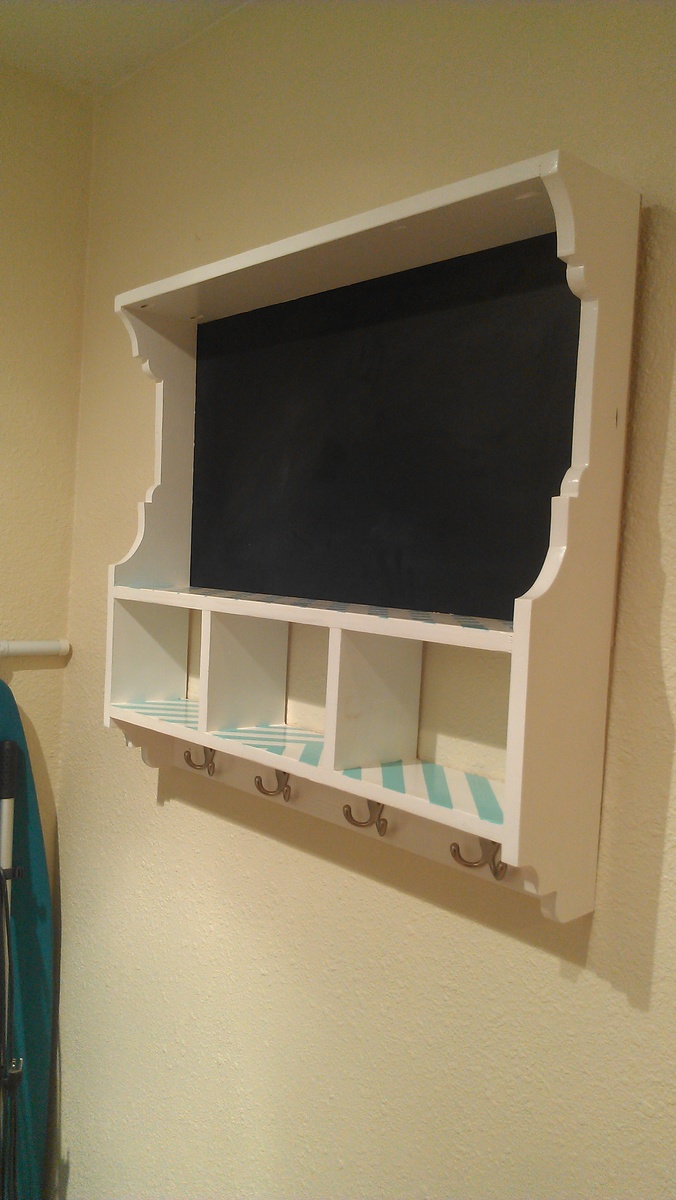
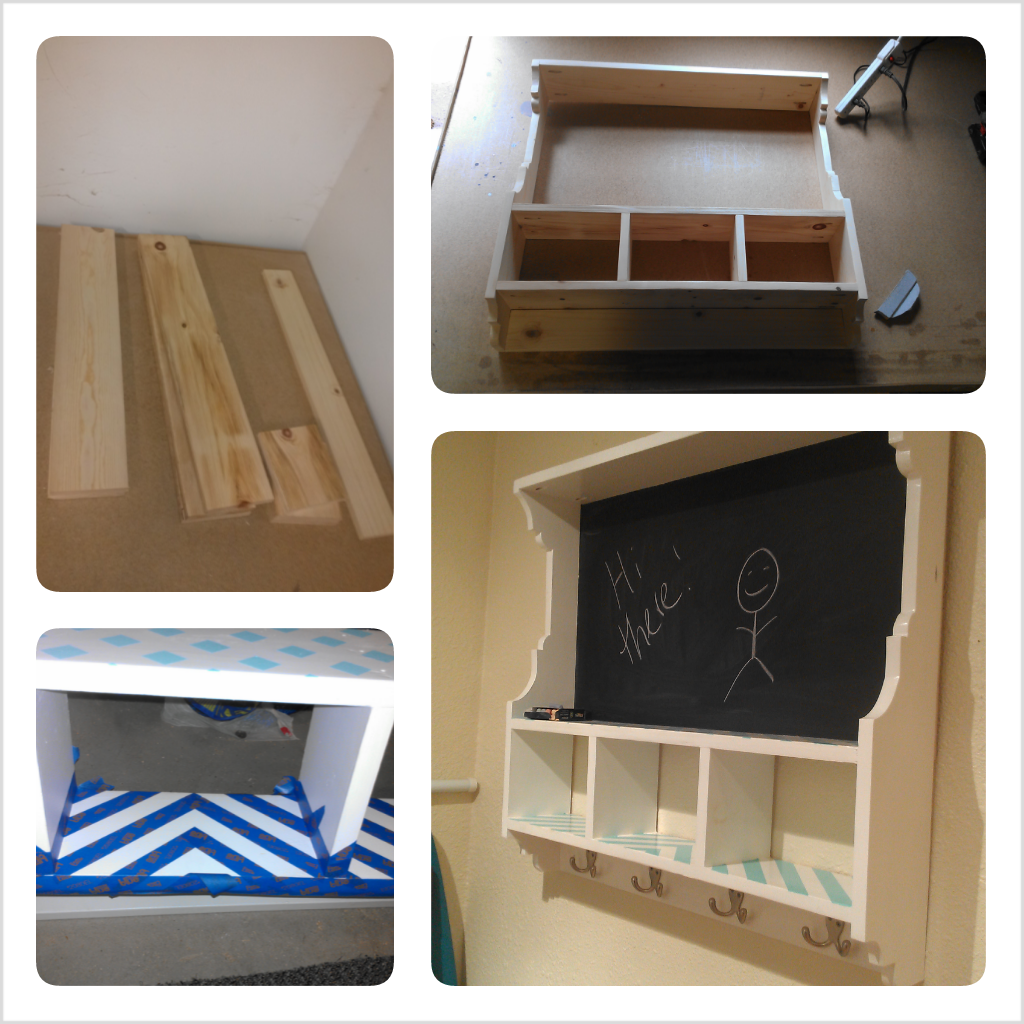
This cubby was my very first project! I just finished remodeling my kitchen, all that was missing was a place for my keys, dog leashes etc. My little house doesn't have a proper entryway so I created a "welcome station" with this cubby. The trickiest part was definitely cutting the sides, but I was able to get those tight circles with a little forethought and a lot of sanding :) I used leftover paint and samples from choosing colors for the kitchen, so it automatically coordinated with the rest of the decor.
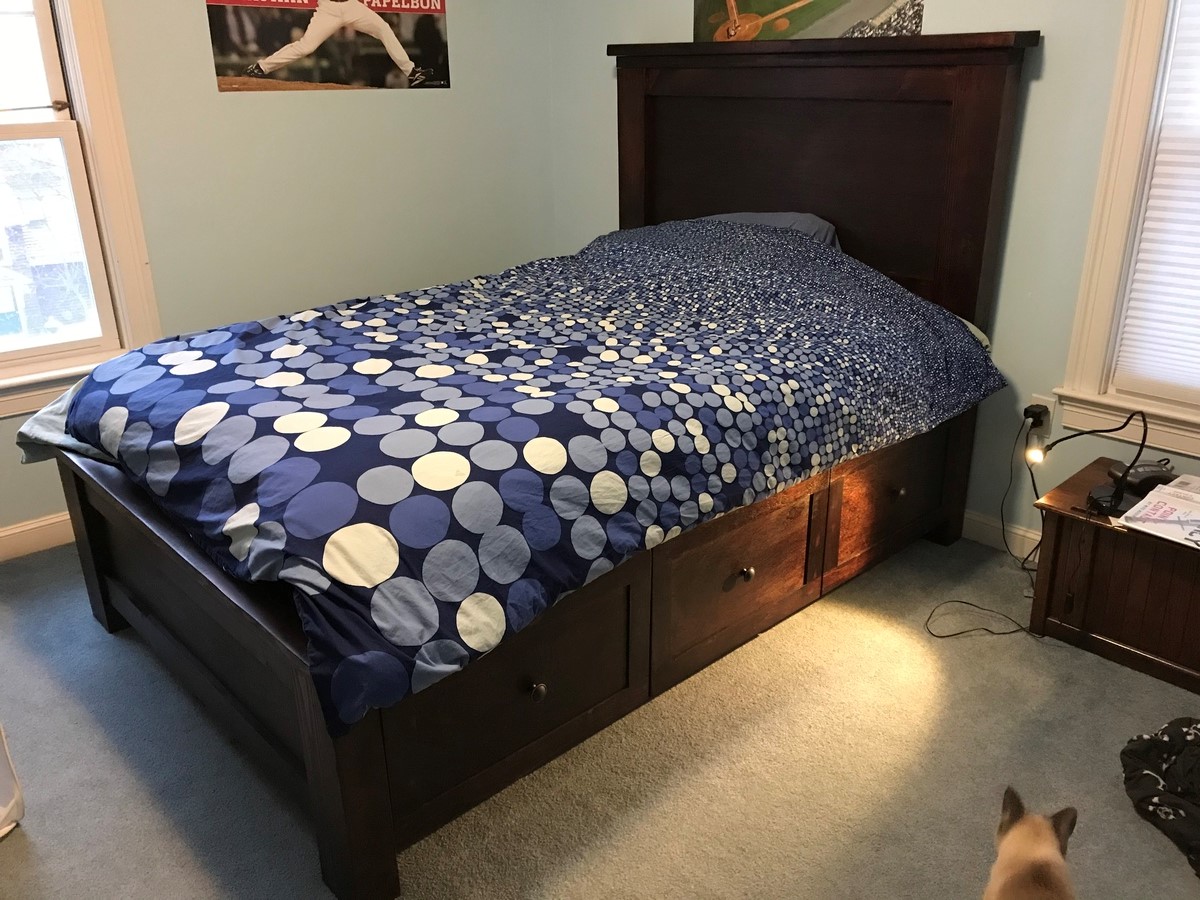
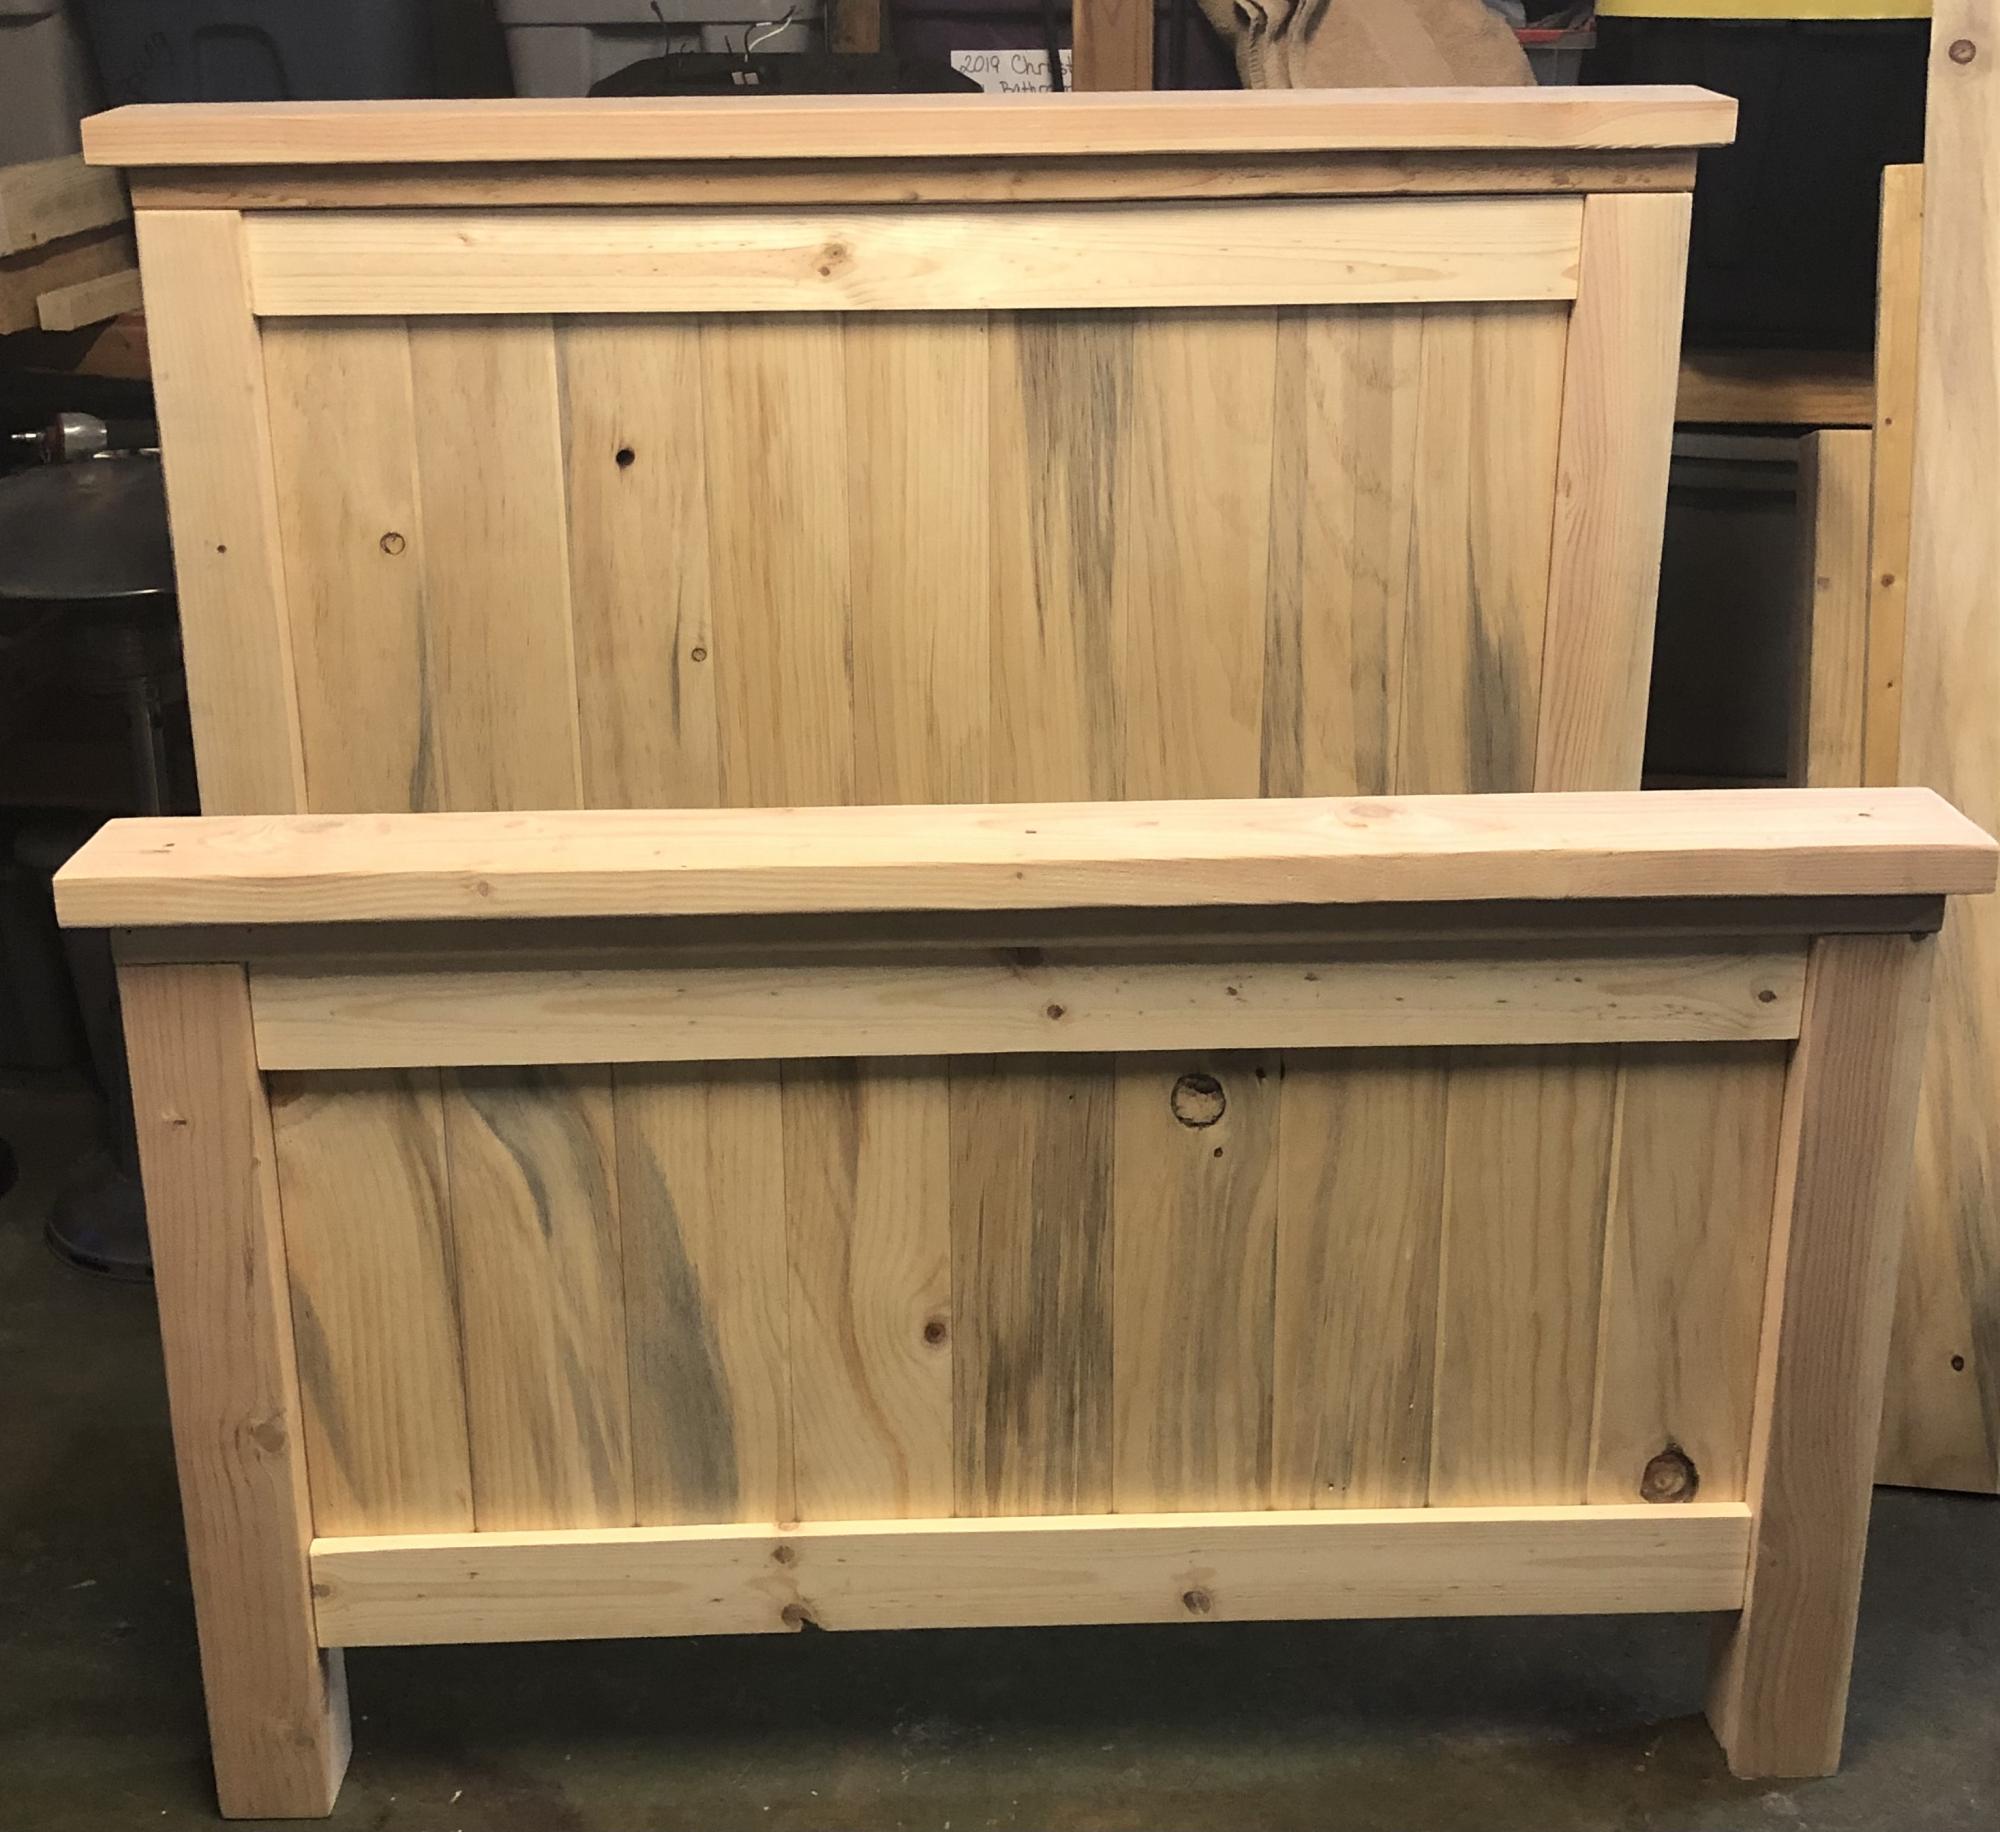
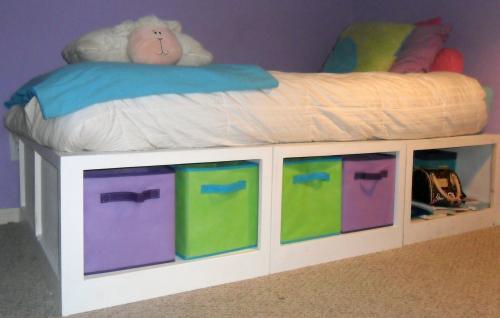
Made the standard full farmhouse bed with storage, but did a couple modifications. 1) Didn’t use drawers, but wanted closed, not open cubbies. I made the drawer fronts and then attached with full overlay hinges and magnetic catches do they open from top down like a horizontal cabinet. 2) built the slats as two, one piece slat frames which sit on the cleat so that they can easily be removed for the extra long term storage between the cubby boxes. Just lift mattress and the two pieces of slats and lots more space.
Loved how these plans were so easy to follow and certainly appreciate the accompanying video.
Tue, 12/21/2021 - 10:20
Thank you for sharing, love the raw look and the build is fantastic!

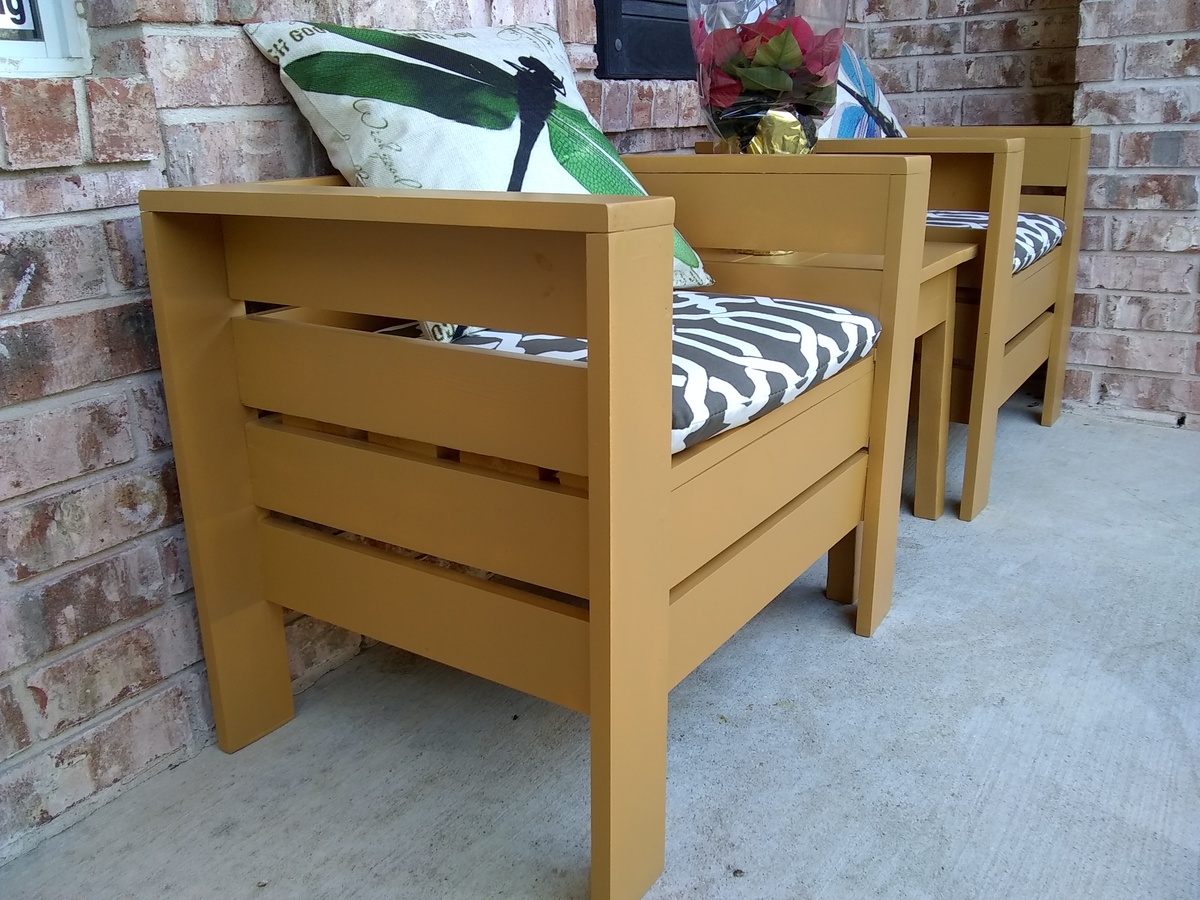
I needed chairs that would fit on my narrow front porch. This plan was great because I was able to resize it to 20x20. I used 1x4s that I already had and some wood glue. They turned out solid. I made the tryde table with left over wood. That one is 17.5x17.5. Super happy with the results. We are doing the garage shelves right now. I have a list of other things I want to make thanks to Ana's wonderful website.
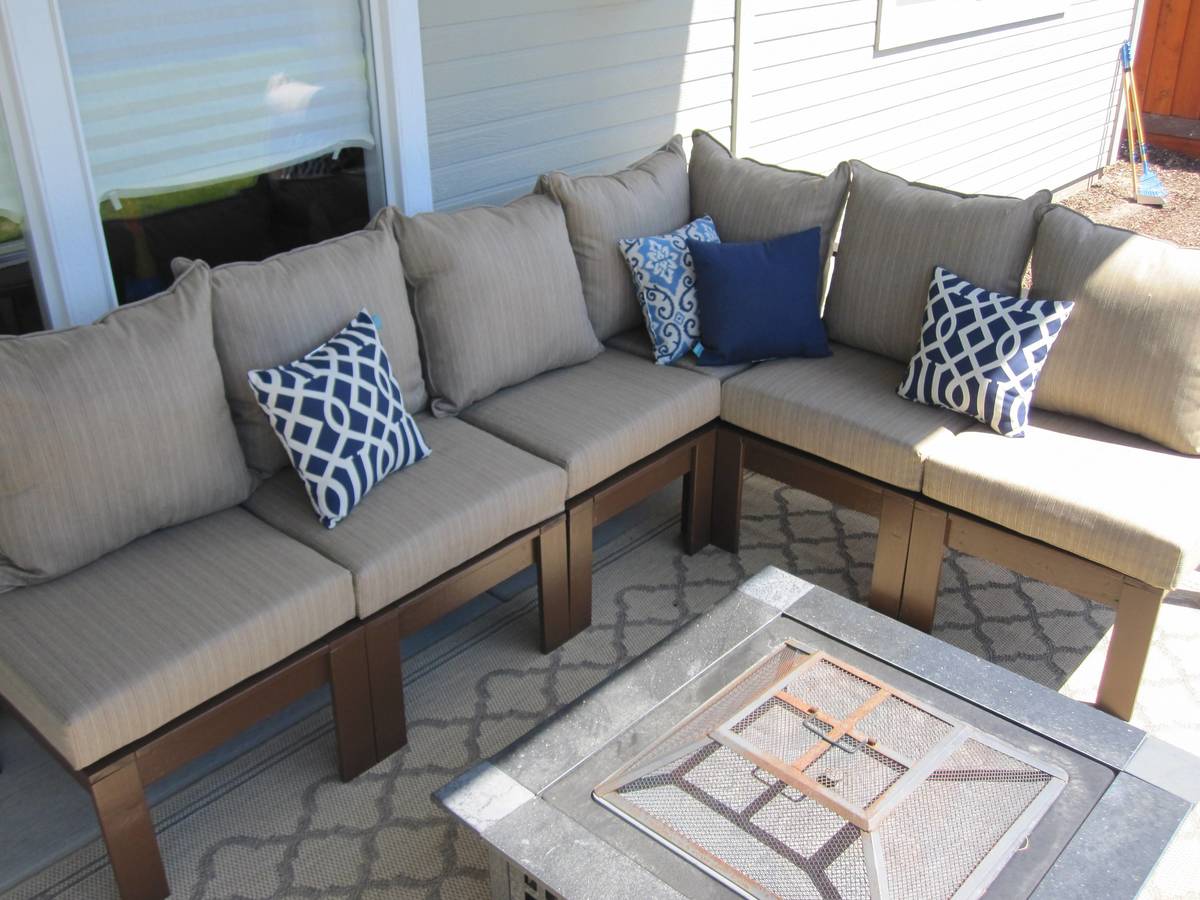
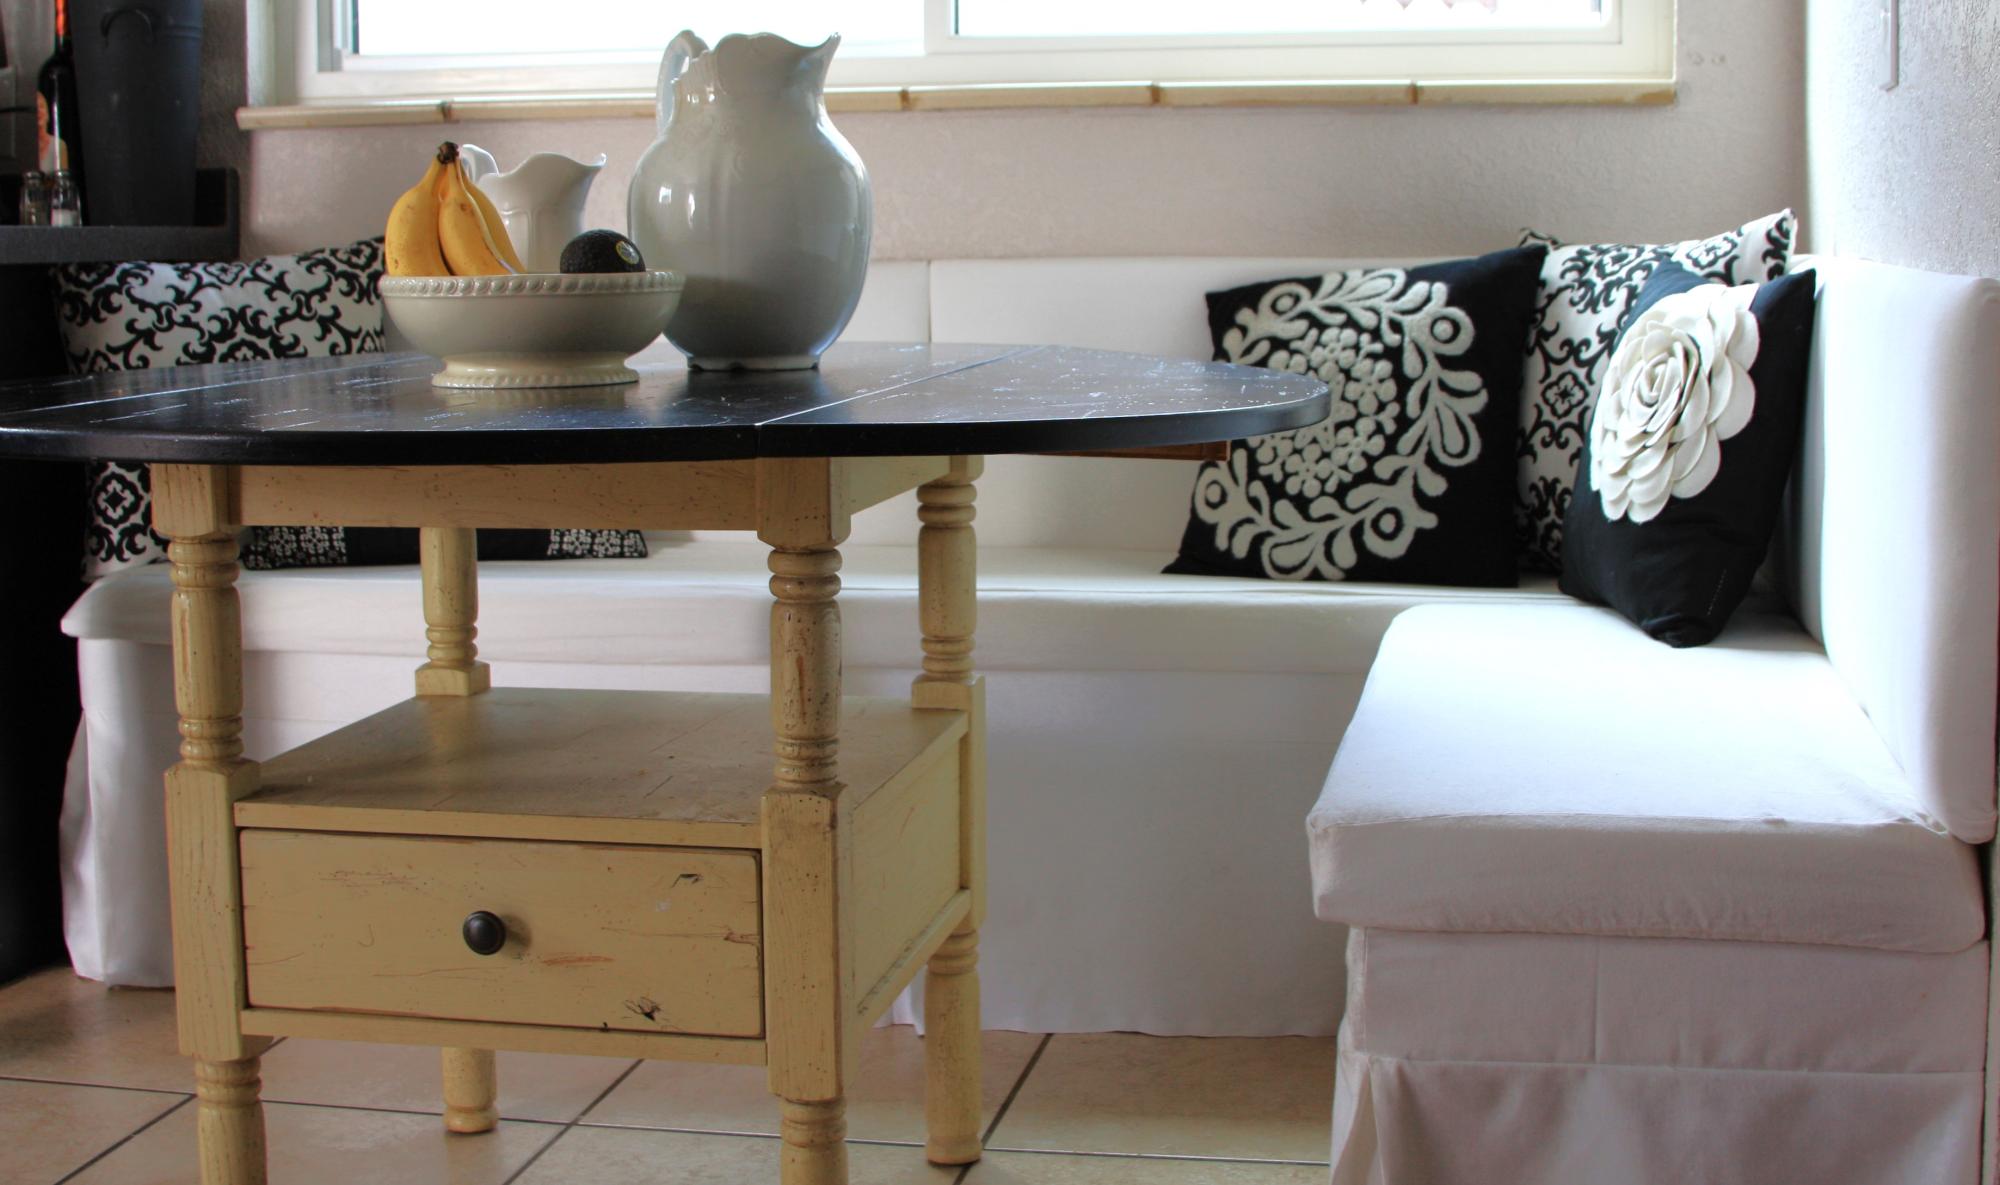
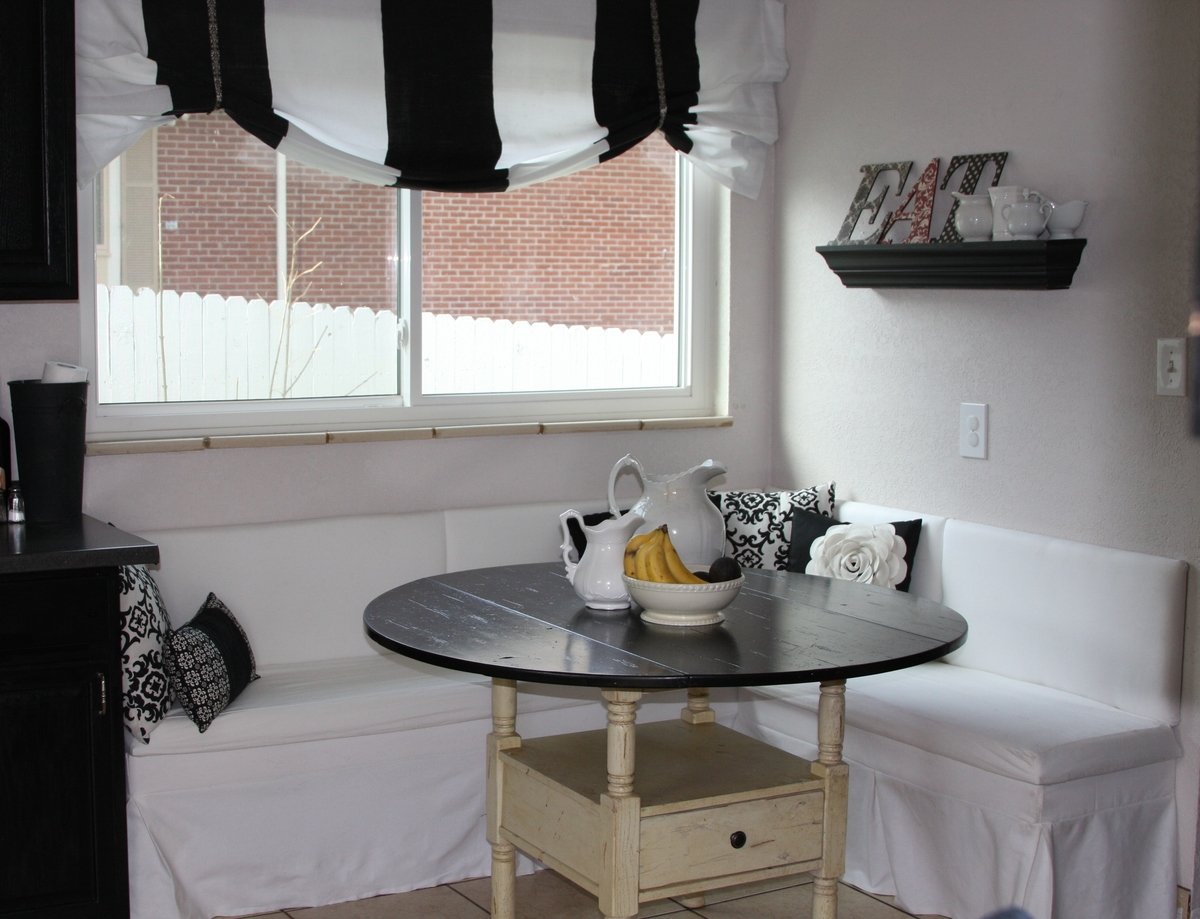
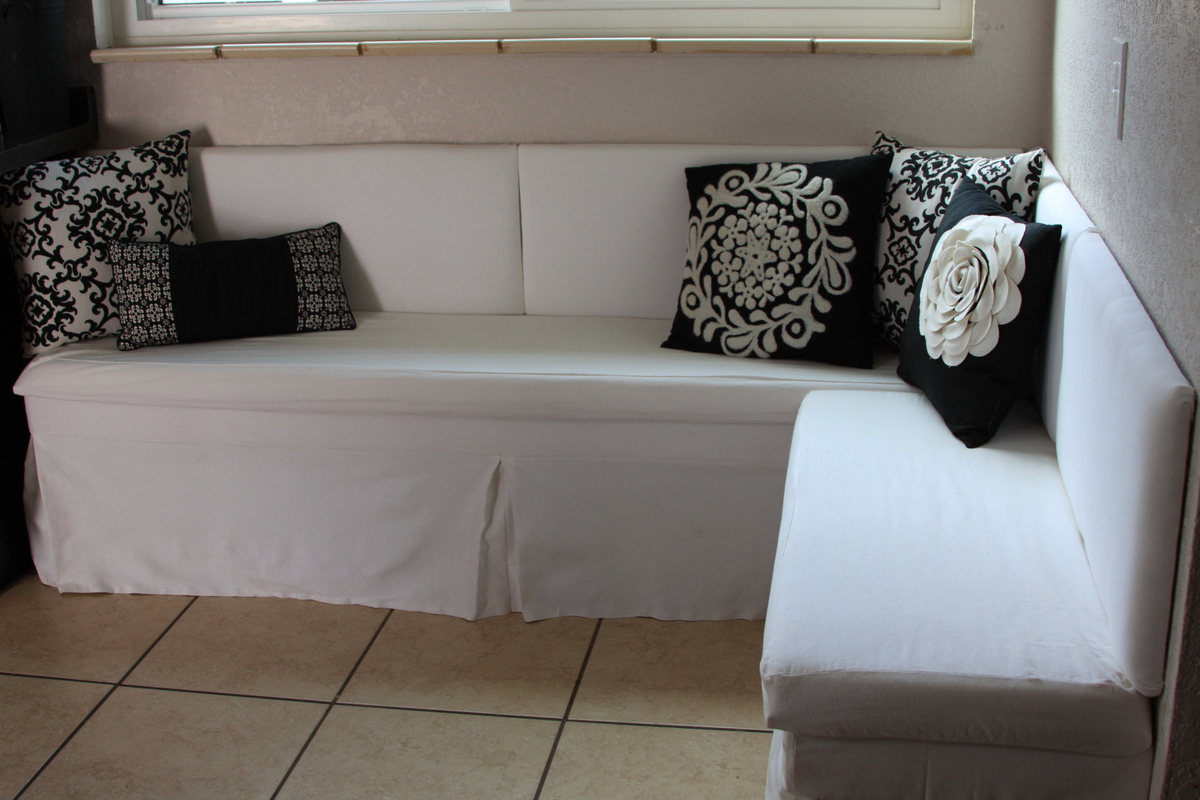
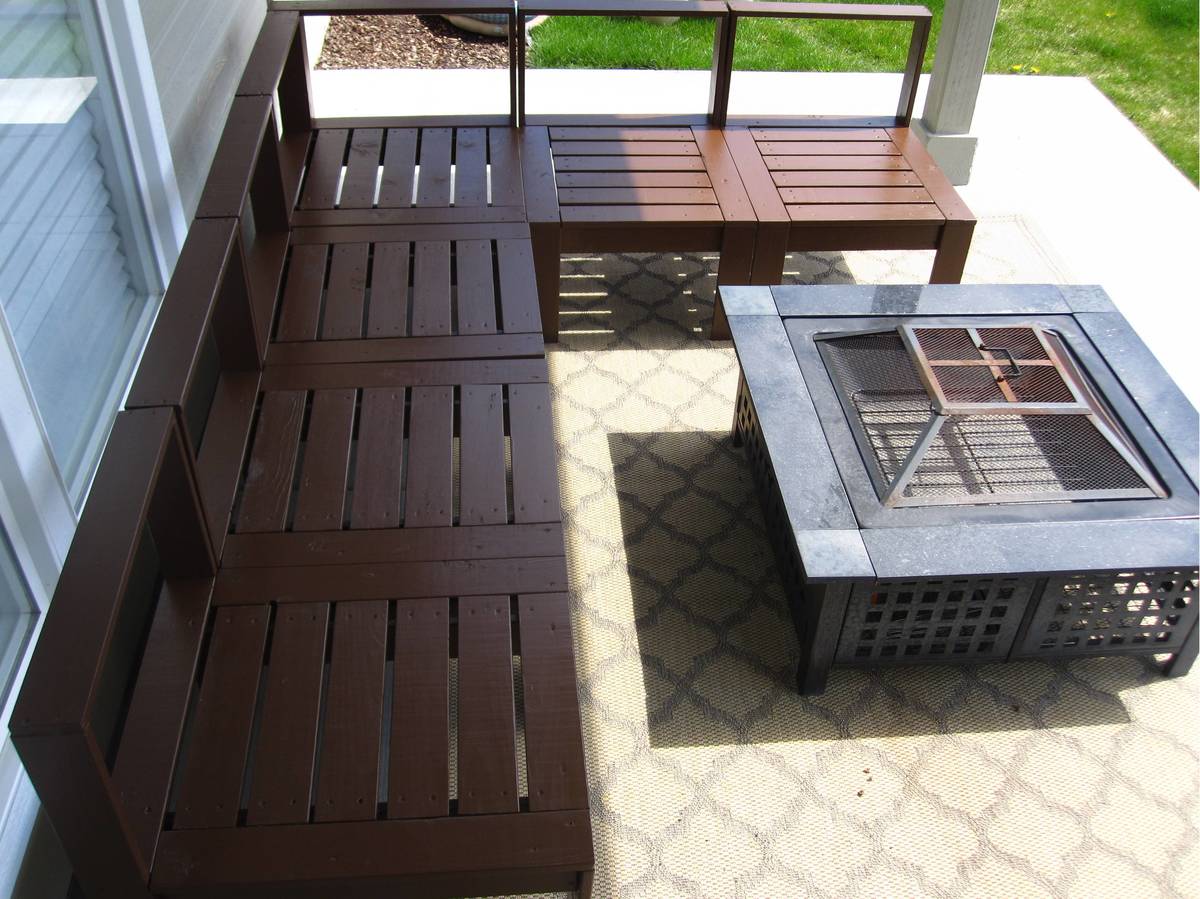
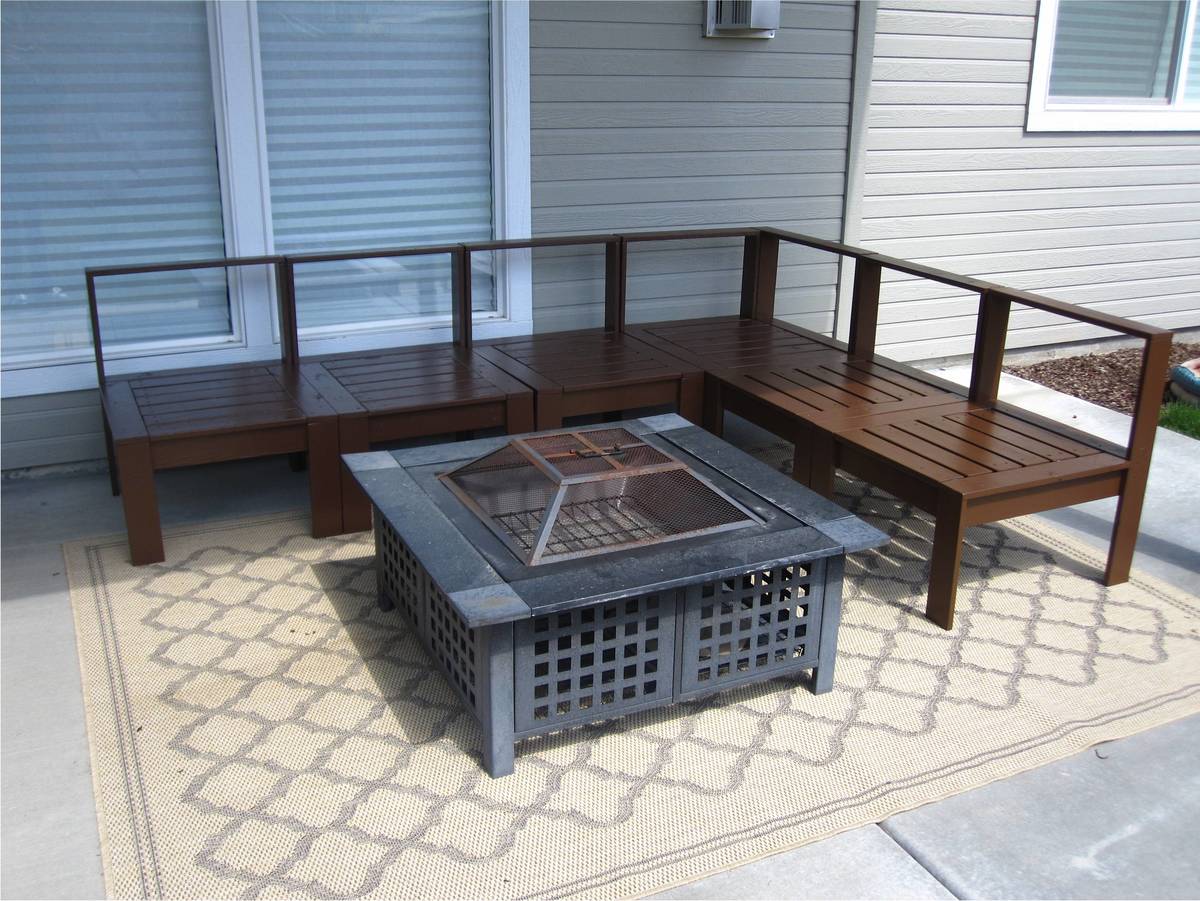
We needed furniture for our back patio and as I was searching for plans online, I stumbled across Ana-white.com. I was so excited to show my husband who built this in a day. I had thought that I would sew the cushions myself but after a few failed attempts at sewing box cushions with piping, I decided to buy the cushions. Buying them is actually a LOT cheaper as foam is very expensive in this size. I bought our cushions and back pillows from Walmart and the accent pillows from Target.
Cost: $355-cushions
$115-Wood
$25-Primer
$20-Paint
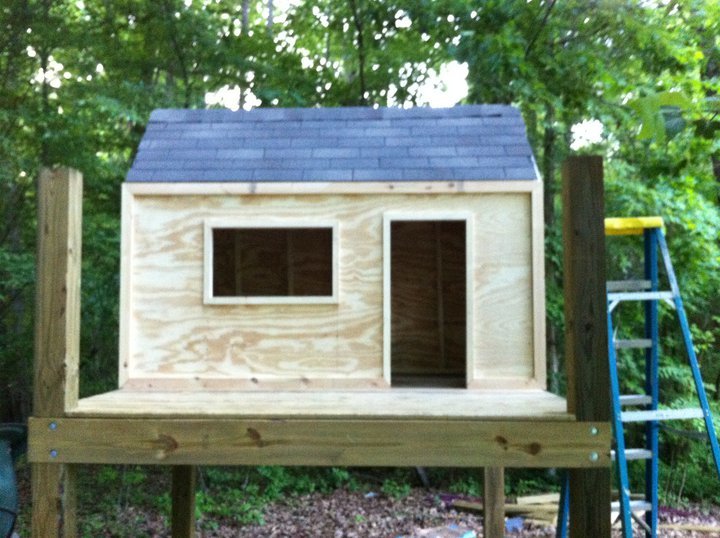
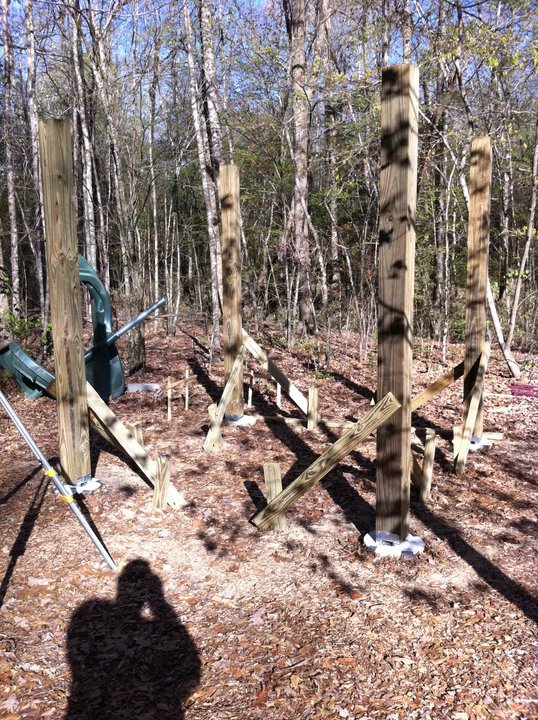
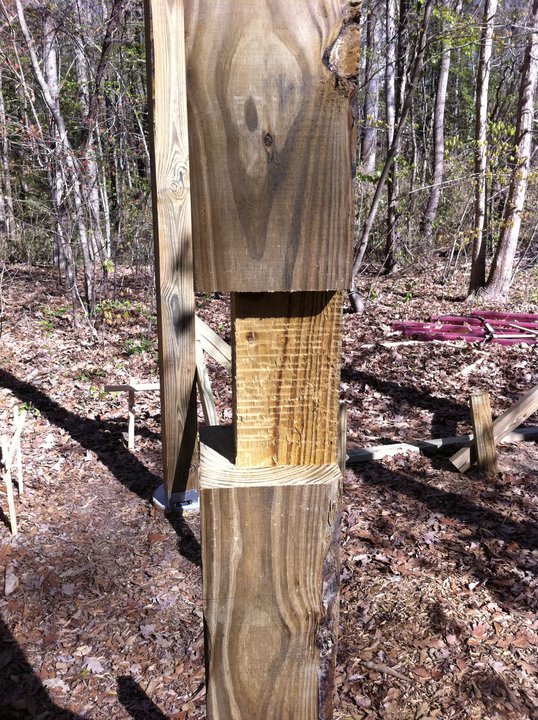
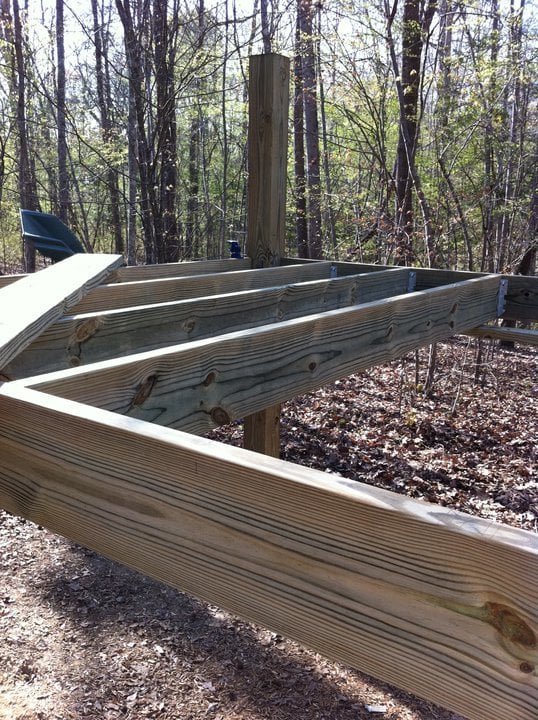
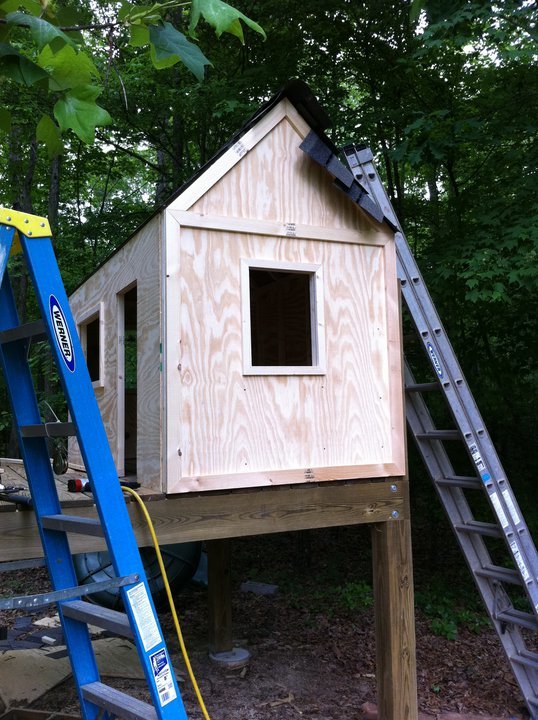
Due to rain (and horrible ability) this project has been taking a LONG time it seems. =) We had one of those "cheap" playsets from one of the warehouse clubs that would scare me to death anytime my girls got to swinging on it. So... we knocked it down and I took some liberty with the details from Ana's playset plans.


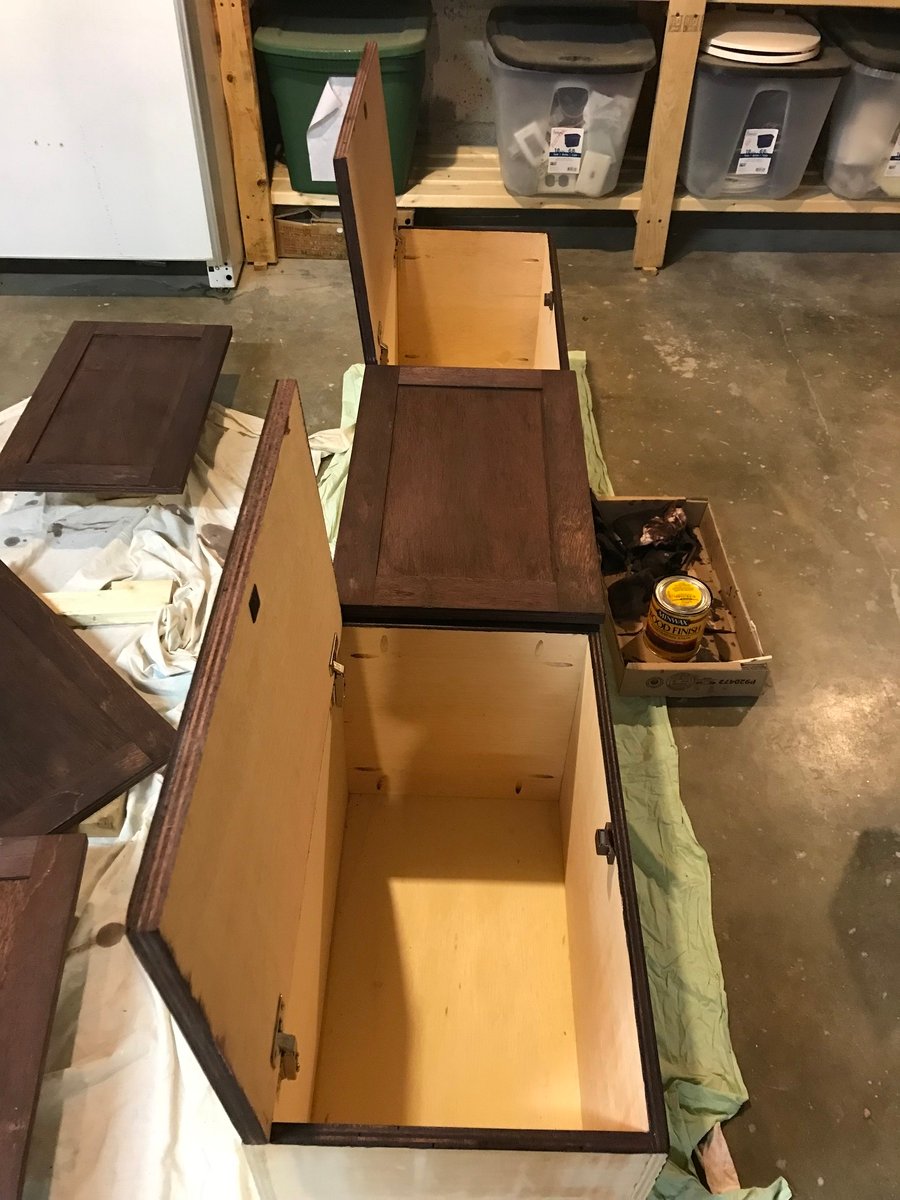
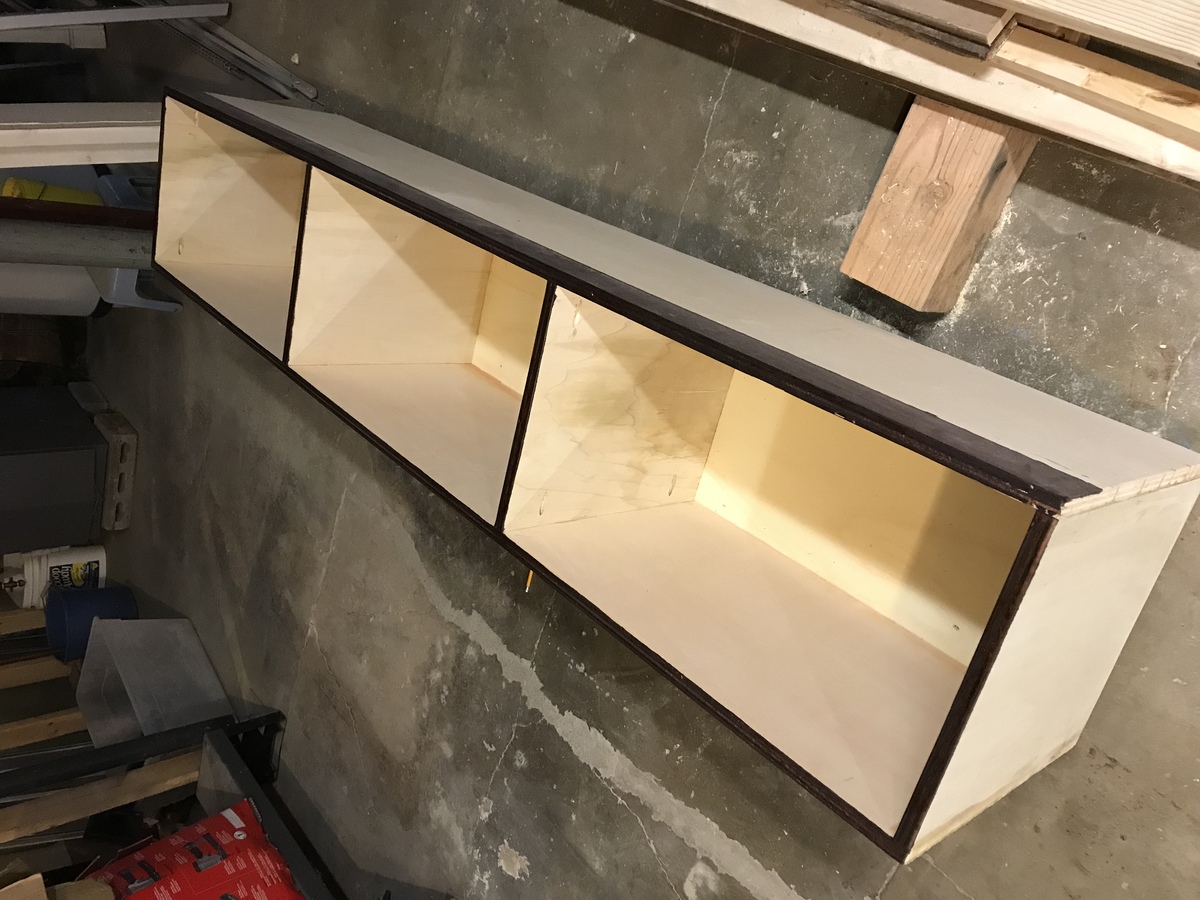
I didn't build this shoe dresser because I particularly needed one, but it looked so lovely that I couldn't resist.
- I modified the plans by building 3 bins instead of 2 so it could hold more shoes.
- I decided against the dowel stick and opted for hinges instead, which were surprisingly not too difficult to assemble. I found that I didn't even need the magnets after installing the hinges as the doors stay closed.
- I used 7" chains on both sides of each bin instead of a belt to make it extra sturdy.
- I added two back legs.
Et voila! This is the end result. I'm very pleased.
PS. Those flopping bins are a pain when you're trying to build!! An extra pair of hands is definitely recommended.


Fri, 07/05/2013 - 22:49
Pretty :) Good Job. Now if I only had the space for one thats 10 rows high :P I like the stain color too. Shanty 2 Chic always uses Rust-o-leum. I think its called dark walnut. Dont quote me though. I love the stain and spray paint combo colors they use.
~Melody
In reply to Nice Job by SoCaliforniaMel
Sat, 07/06/2013 - 20:00
Rust-o-leum, that's the one!
Yes, if only every woman could own a 10-row cabinet for all her shoes! :)
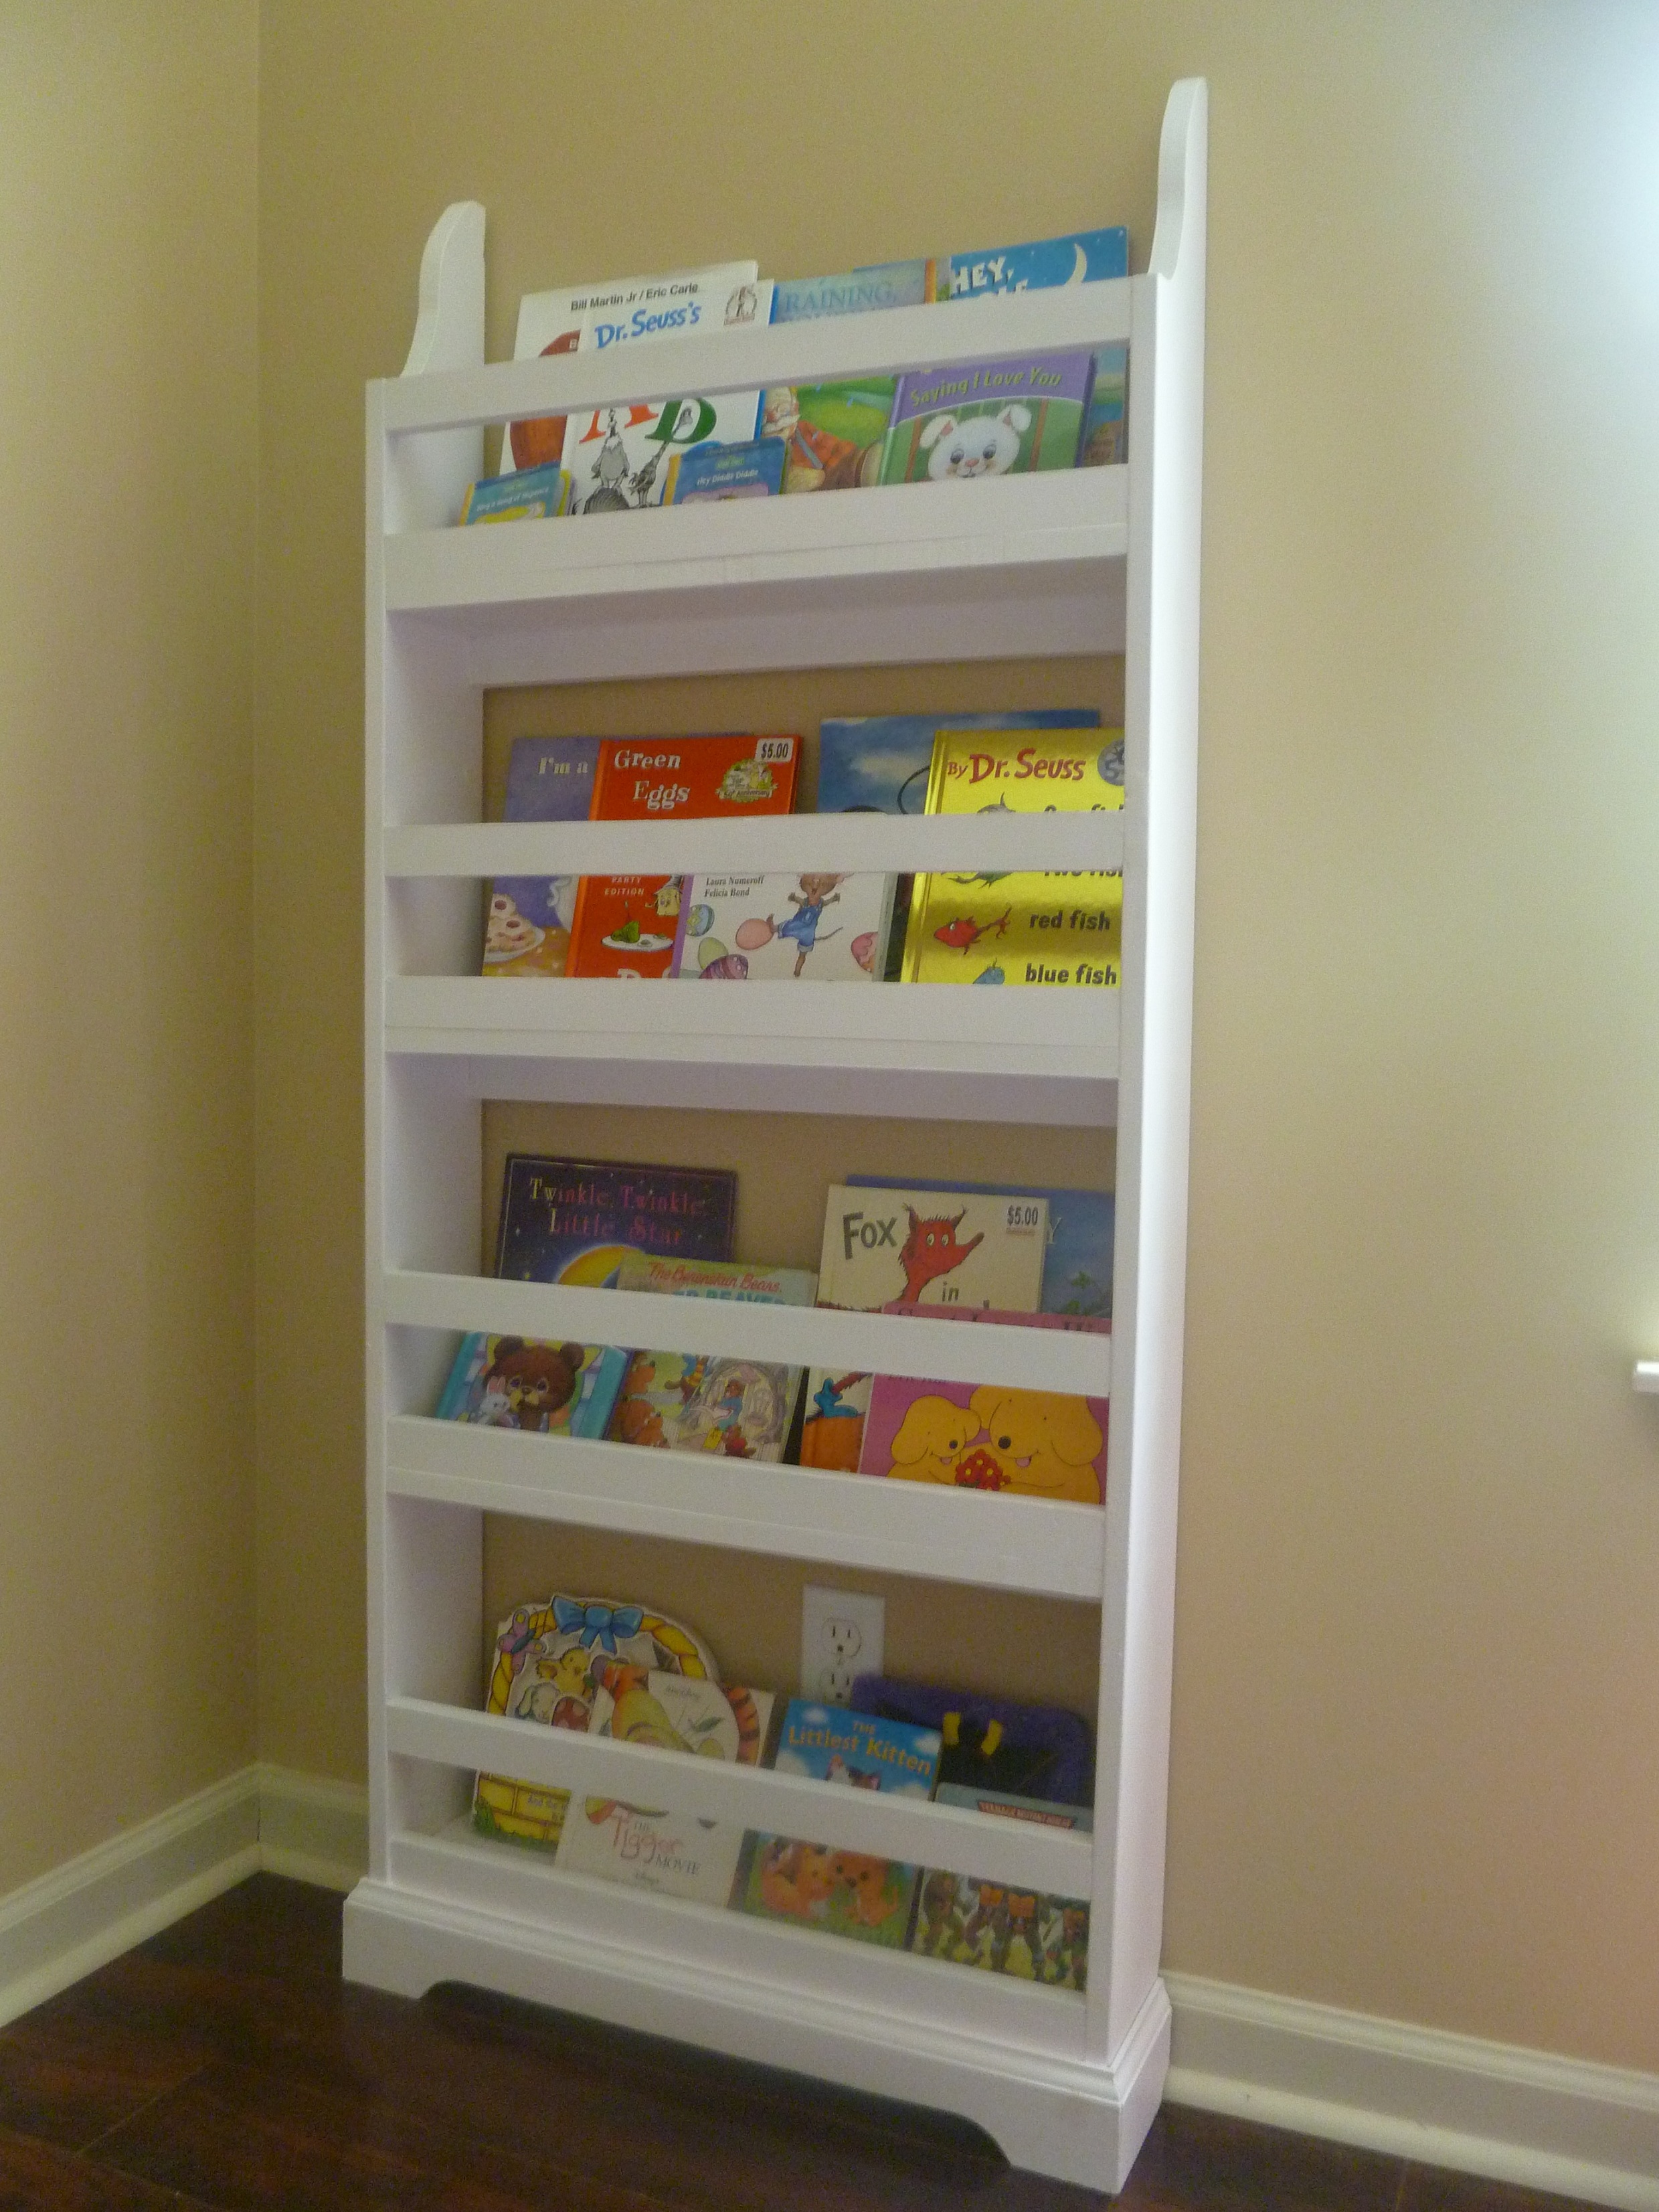
This plan was a breeze to put together (go out and buy some clamps if you don't have any!!) until I finished it, then looked at my wall and saw the baseboards. I really wanted it to be screwed/nailed into the wall, so it needed to be flush. That's where the nightmare being. Eventually (over a week later) I got that finished, however, and am loving my little one's new bookcase! I just can't decide where to put it now, in her bedroom or in her playroom. Maybe I'll make another and she'll have two! :D This plan was very simple to follow, and the materials weren't expensive, so I could definitely do that.
Still need to paint it. Perfect weekend project. Such an easy build! Thank you!


Comments
Ana White Admin
Sun, 06/06/2021 - 20:18
Amazing set!
Thank you for sharing, what an awesome space you created!