Community Brag Posts

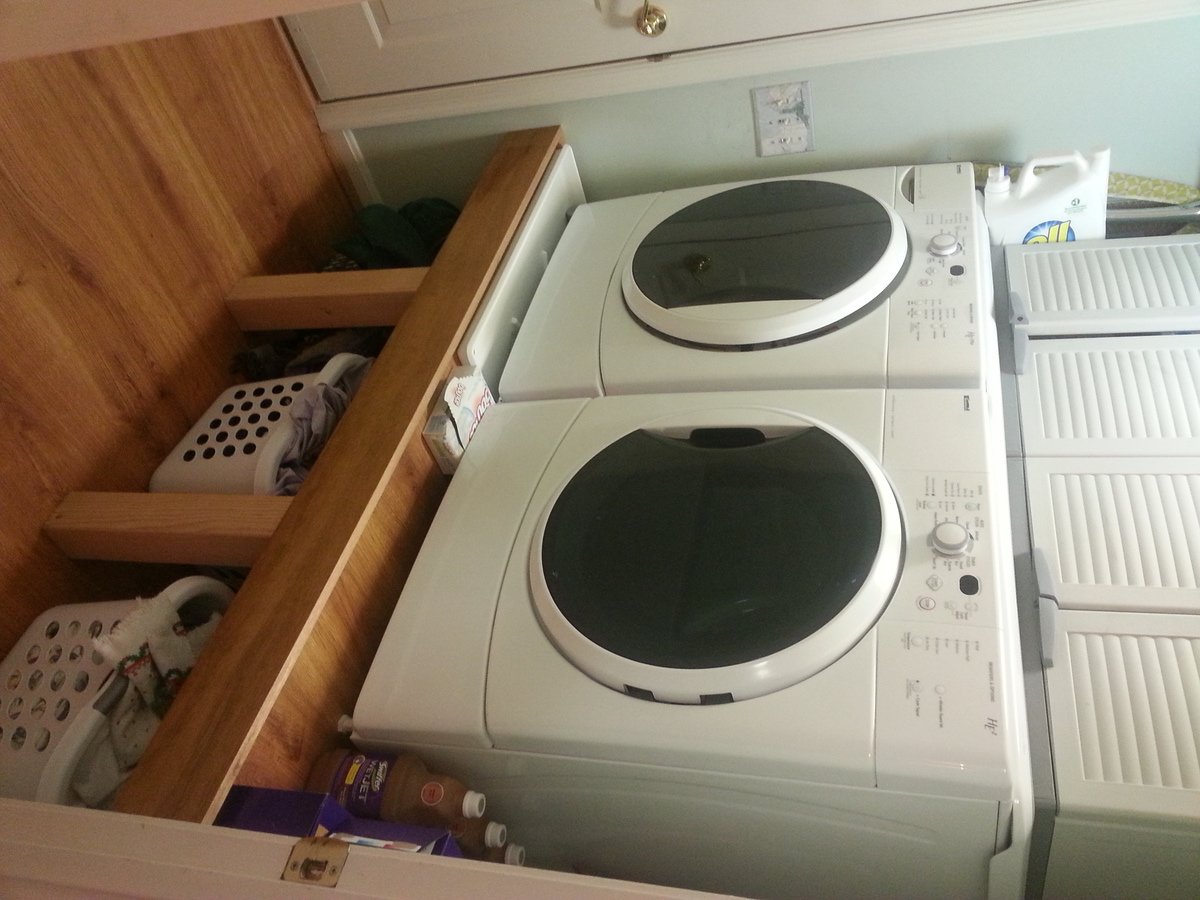
Washer/Dryer Platform Pedestal
Submitted by Dimarc67 on Fri, 04/17/2015 - 10:45


THE MOTIVATION
After a recent washer outage (that I was ultimately able to repair myself), my wife and I talked about eventually replacing our front-loading washer/dryer set.  One of the bullets I hate biting is paying the exhorbitant prices for the matching pedestals for new washer/dryer sets.

Having just bought a good set of cordless powertools, and having watched my father when I was a kid build countless household fixtures, window dressings, furniture pieces, etc., I decided to try my hand and construct a permanent platform for our current washer/dryer set, thereby eliminating the need to ever buy manufacturer pedestals again.

The existing pedestals were a standard 15" high, with a storage drawer, which we felt was still not high enough for comfort.  And, the washer pedestal drawer was entirely inaccessibl due to the 2" walls on the washer drain pan, so its drawer was totally useless, wasted space.

And, lastly, we really wanted more space for clothes baskets full of laundry, which we generally stacked (full and haphazardly) on top of the machines.


THE CHALLENGES
The largest challenges were mainly logistics, and gravity.  The washer/dryer would have to be unavailable for at least 2-3 days while they sat disconnected in the next room waiting for their new home.  So I coordinated with the family so they'd know when they needed to have their laundry done, or tough it out until I was done.

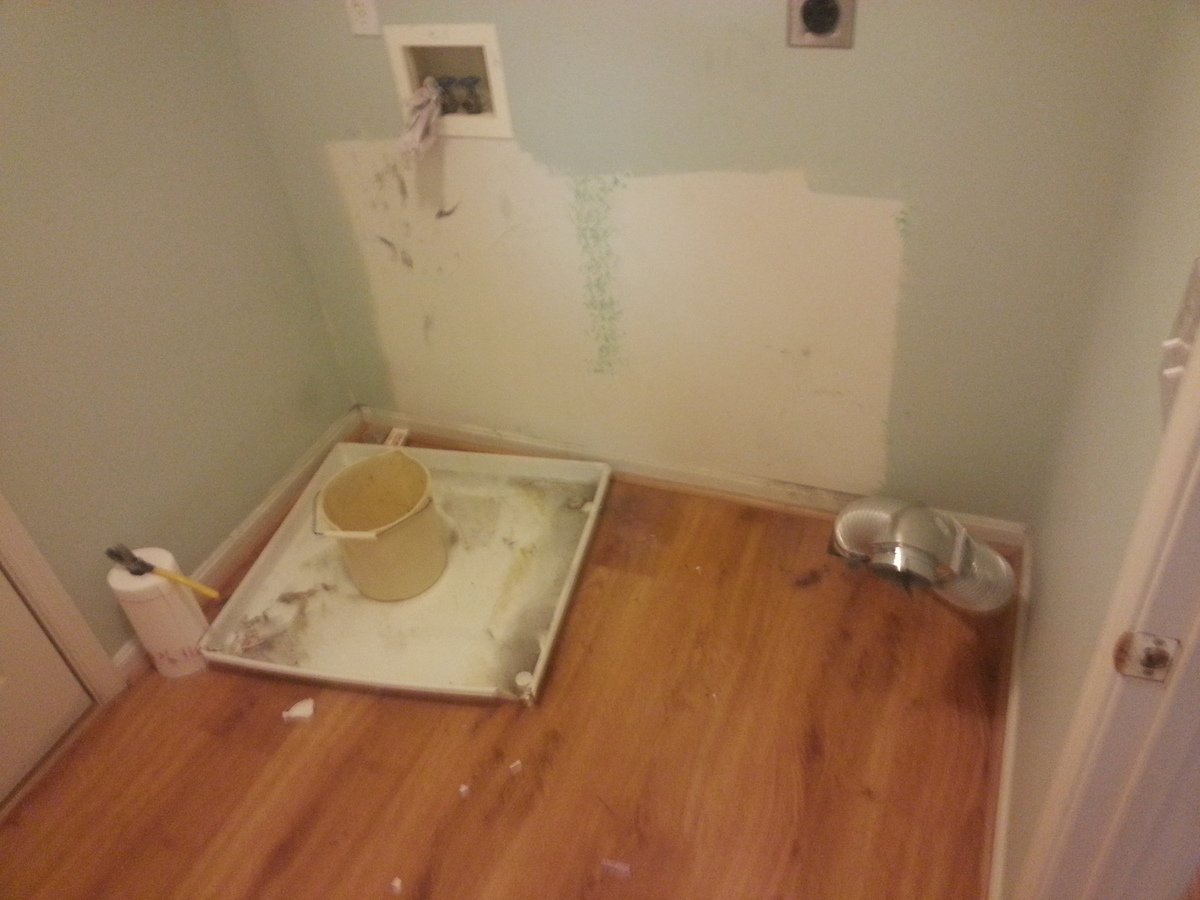
There was no way to know for sure what the drain connection for the washer pan looked like until I got the washer out.  So it was a small gamble that I'd be able to get the parts needed to extend the drain pipe up to the new platform right when I was ready for them.  Fortunately, this was no issue at all.

The biggest challenge turned out to be toward the end when it came time to lift our 230-lb. washer onto the new platform.  I seriously considered disassembling the washer to the point that I could remove its molded concrete counter-weights, but instead (and arguably stupidly) elected to use a large hydraulic car jack to raise the washer.  This ultimately worked, but I have to STRONGLY ADVISE AGAINST trying this.


THE SPACE
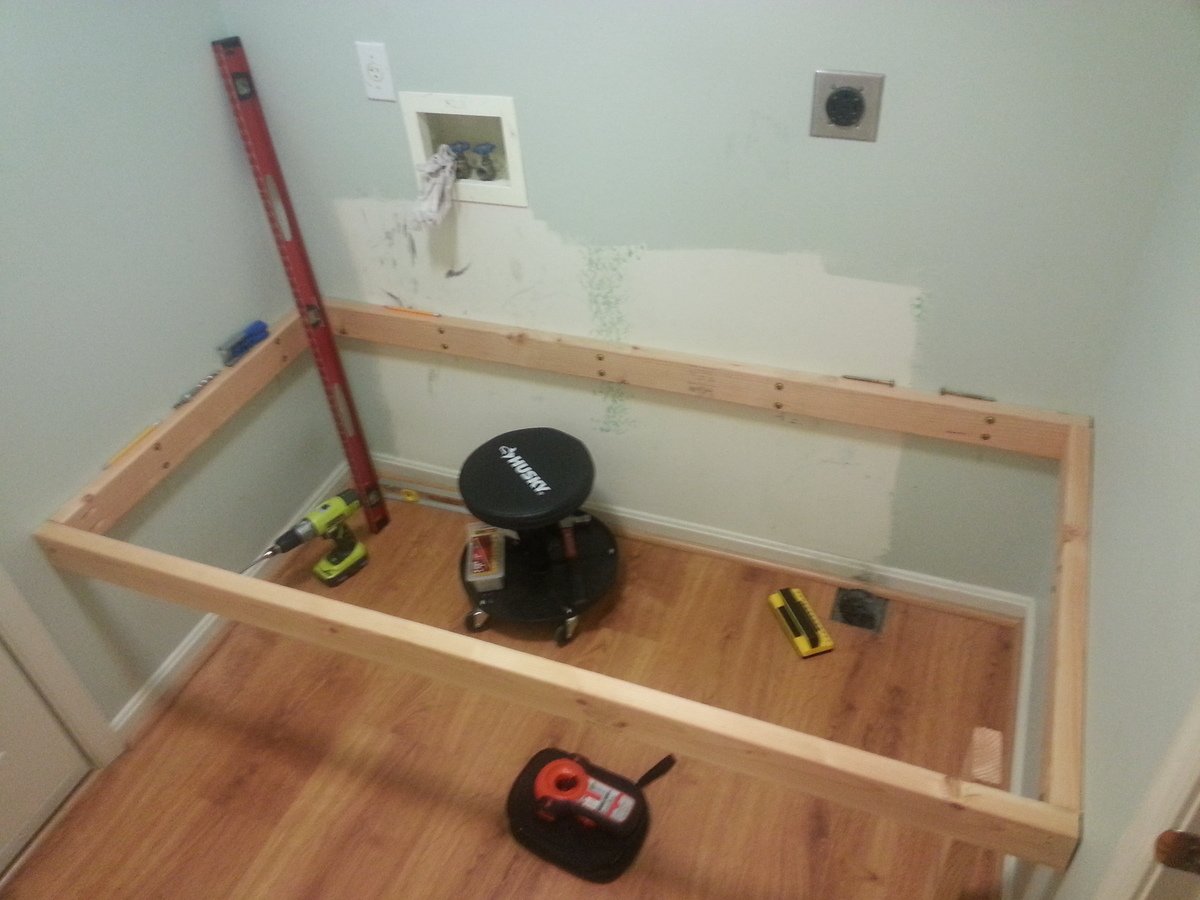
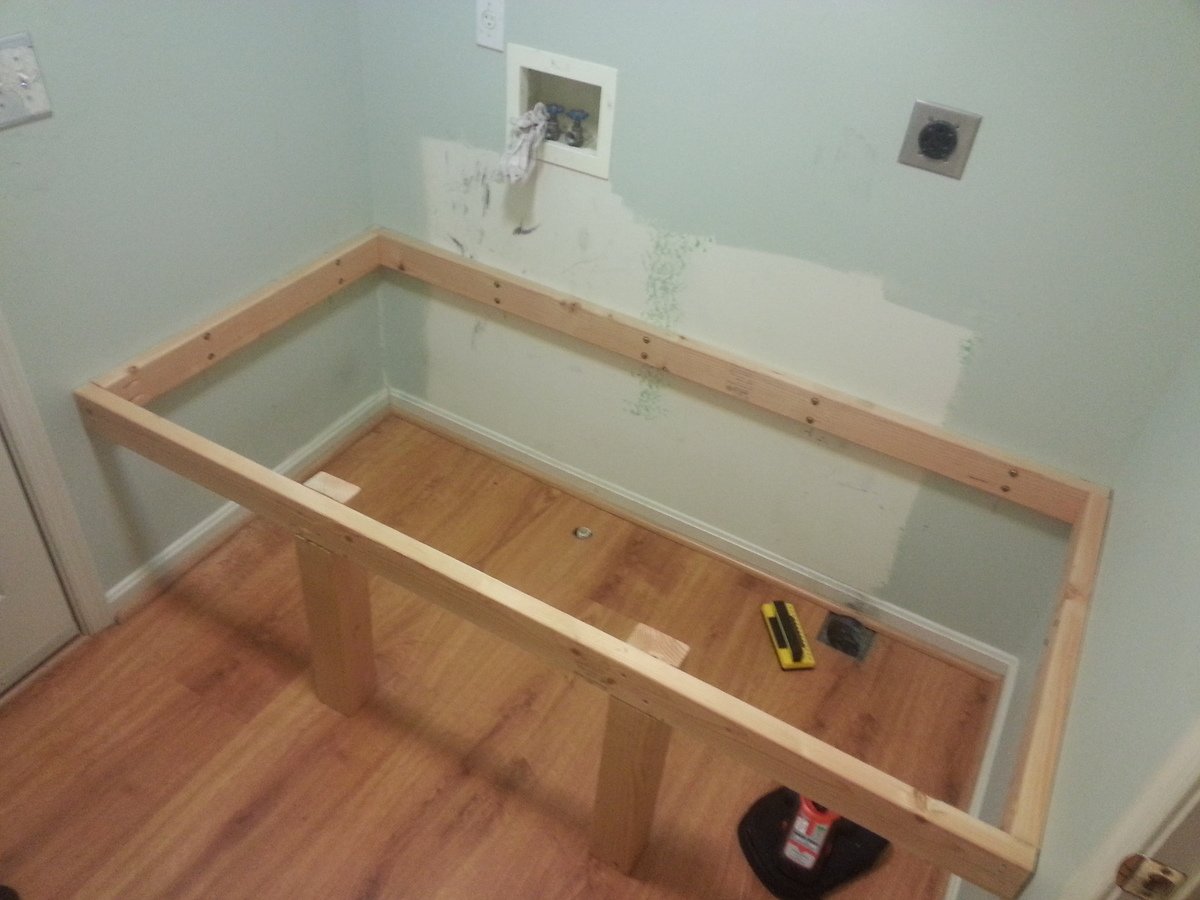
Our laundry room is also the "mud room" between our kitchen and the garage.  It is only large enough for the two machines, and the walk way between the two doors--in total, about 70.5" square.  Building the platform from wall-to-wall made the most sense, and minimized framing by fastening edge framing directly to the wall studs. 


THE PLAN
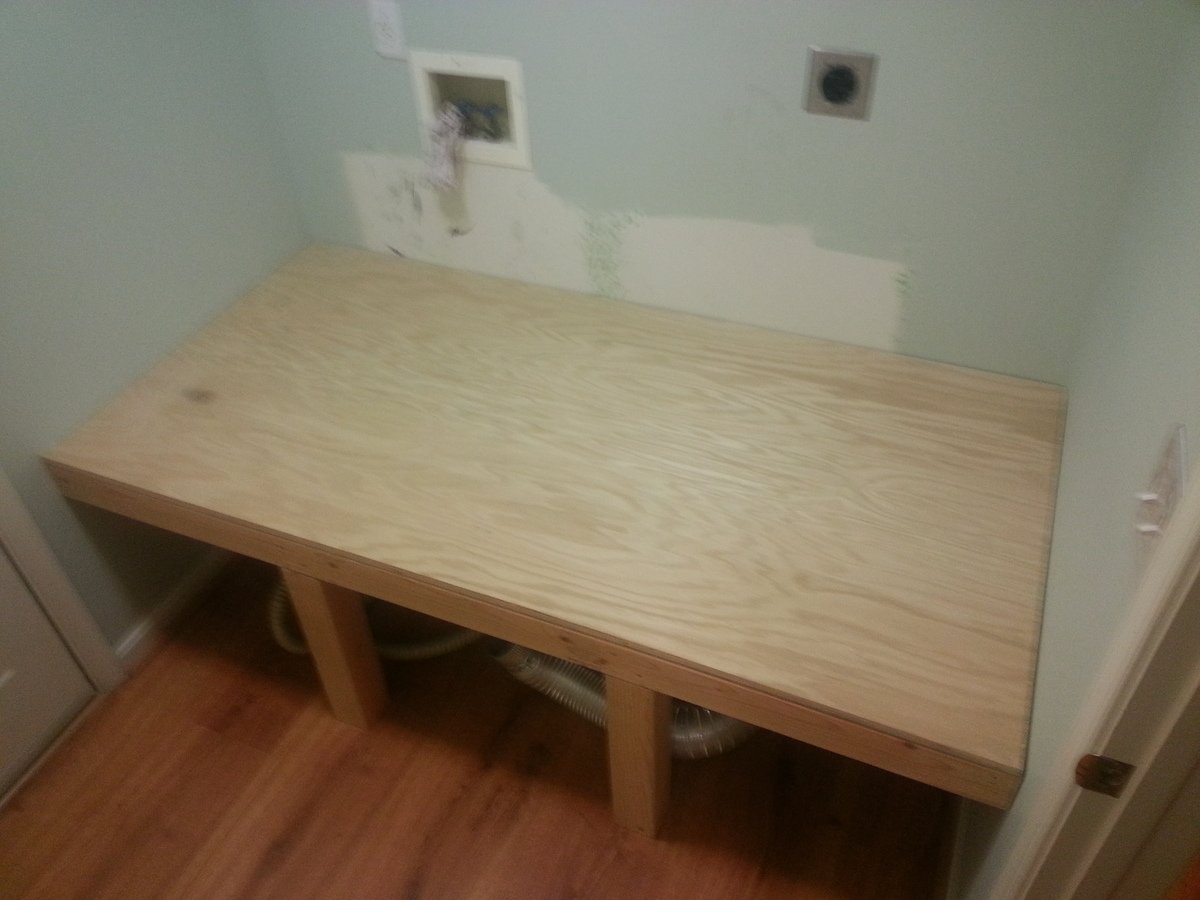
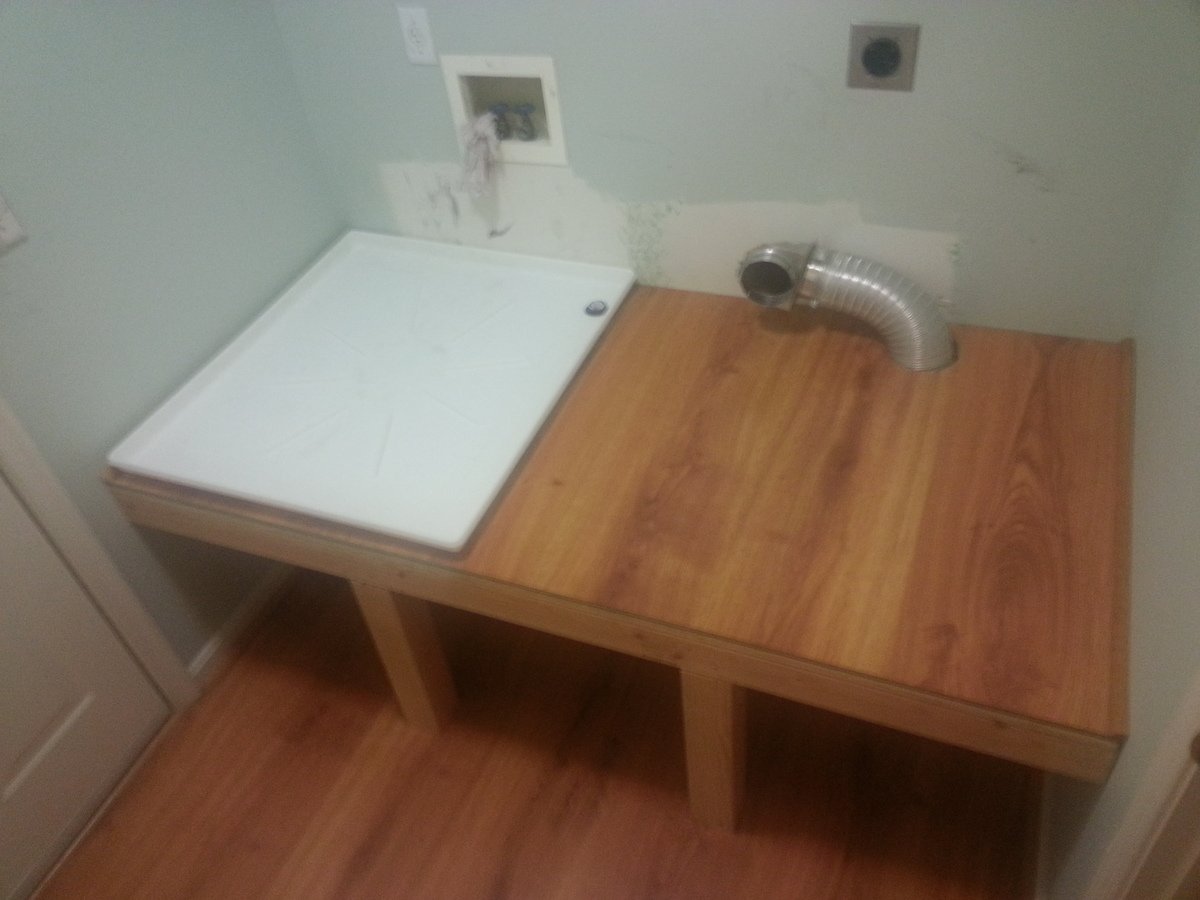
Pretty basic:  2x4's all around for the edge framing--back and sides fastened directly to the wall studs, and front 2x4 supported by two, notched 4x4 legs.  3/4" plywood for the subsurface, and 1/4" laminate faux-wood flooring on top (left over from reflooring, so it matches the floor below).  Bore holes for the washer pan drain and the dryer vent.  1" quarter-round molding on the sides, and 5.5" face piece flush with the top of the molding across the front (spare lauan I had looks perfect).  I also made a point of putting the machines on the platform before the face piece since it might have been in the way or damaged.

Anyone will tell you that it's best to at least sketch out what you want to do so you can minimize surprises, forgotten parts, etc.  I, of course, did virtually none of that, and made several course changes and corrections along the way.  For this project, I was lucky that I didn't need to backtrack at any point, and probably won't learn this lesson any time soon anyway.  However, you SHOULD.


TAKE-AWAYS
The main mistake I made was while gathering the platform dimensions for cutting the plywood.  It was only blind luck that kept me from having to do it more than once (and having to buy more than one 4x8 sheet).  I know that it's actually very unlikely that two adjacent walls are perfectly square, so I made a point to measure the width between the walls at the back and at the front--and, sure enough, found a 1/8" difference--wider at the front.  But when I measured and marked the plywood for cutting, I measured both distances from the precut edge, and then cut.  By doing this, I inadvertently assumed that one of the back corners was perfectly square. 

What I should have done was used a carpenter's square in each back corner to extend a square line from the back edge to the front, and then measured from the square lines to their respective side wall.  This would have accounted for neither back corner being square.

Fortunately, my mistake wasn't big enough to keep the plywood from fitting, but it was very, VERY close.


GIDDY
I honestly couldn't be happier with the finished project (or more smug).  We've raised the washer/dryer 9" higher than they were (24" off the floor), and we now have basket storage underneath all the way across.  I placed two 24" plastic cabinets on top, which still leaves room for the detergent right over the soap inlet on the washer.

And, most importantly, I got to use every powertool I own.  Kinda beats "the quick brown fox jumped over the lazy dog" thing, huh?
 

Estimated Cost
Most of my project made use of spare lumber and materials I've had on hand forever. The 4x8 sheet of plywood was about $30 at Home Depot.
Estimated Time Investment
Weekend Project (10-20 Hours)
Finish Used
Natural. No finishing, staining, or painting. Lauan has a natural stained oak coloring, so it was perfect for the facing. (A soft wood, Lauan--"lao-AHN", also sometimes called "Philippine Mahogany" simply for the darker color--used to be as readily available as pine, but I haven't seen it in stores for many years.)
Recommended Skill Level
Intermediate

Comments

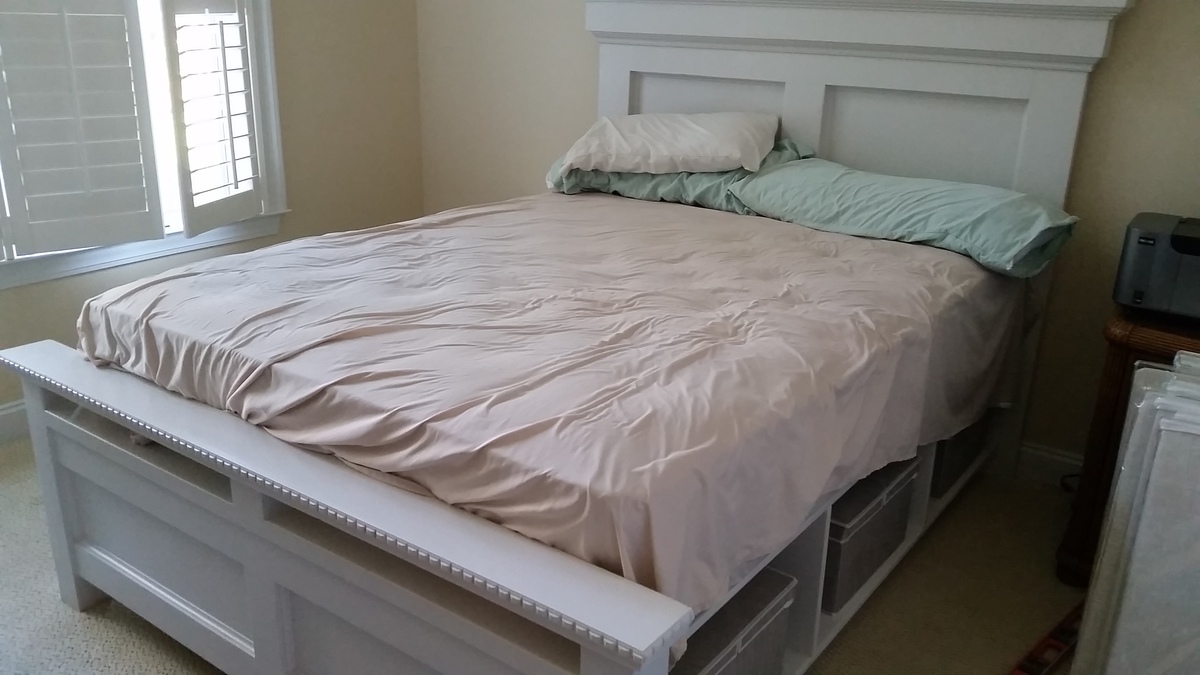
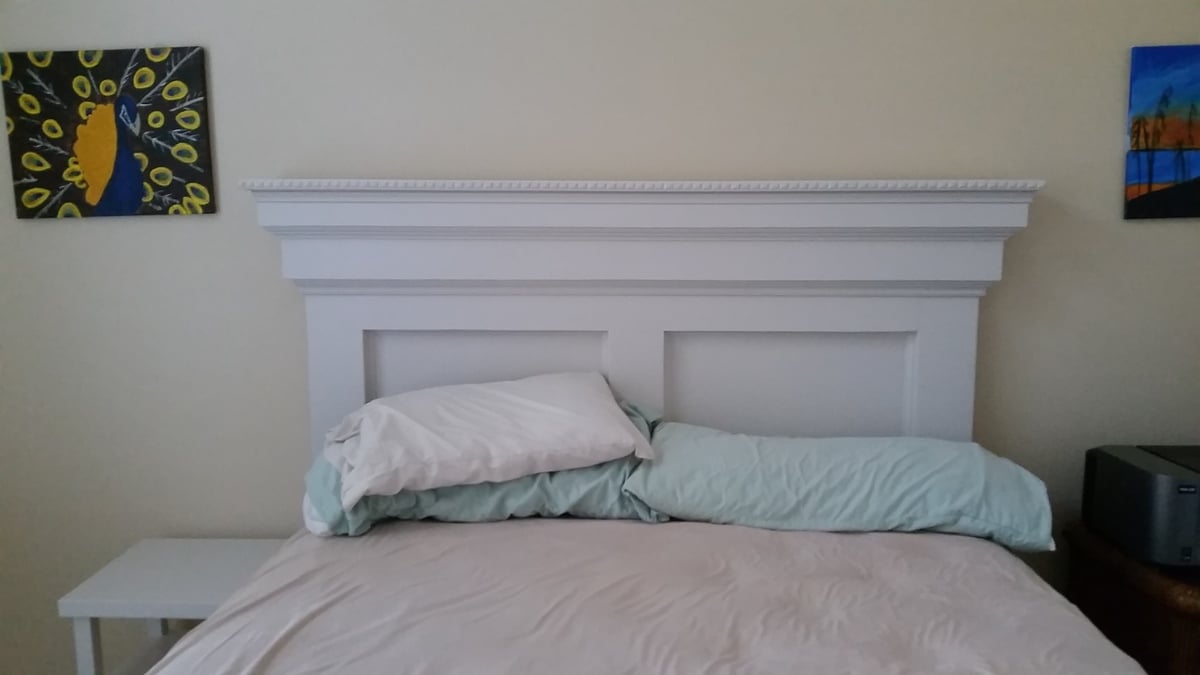
Mantel storage bed

This is a queen size mantel bed with storage as cubbies only (also Ana White).  The paint is Eider White from SW (white with grey undertones, no yellow) and water-based poly since I really didn't want any yellow in in.  

Estimated Time Investment
Week Long Project (20 Hours or More)
Finish Used
Eider White
Recommended Skill Level
Intermediate

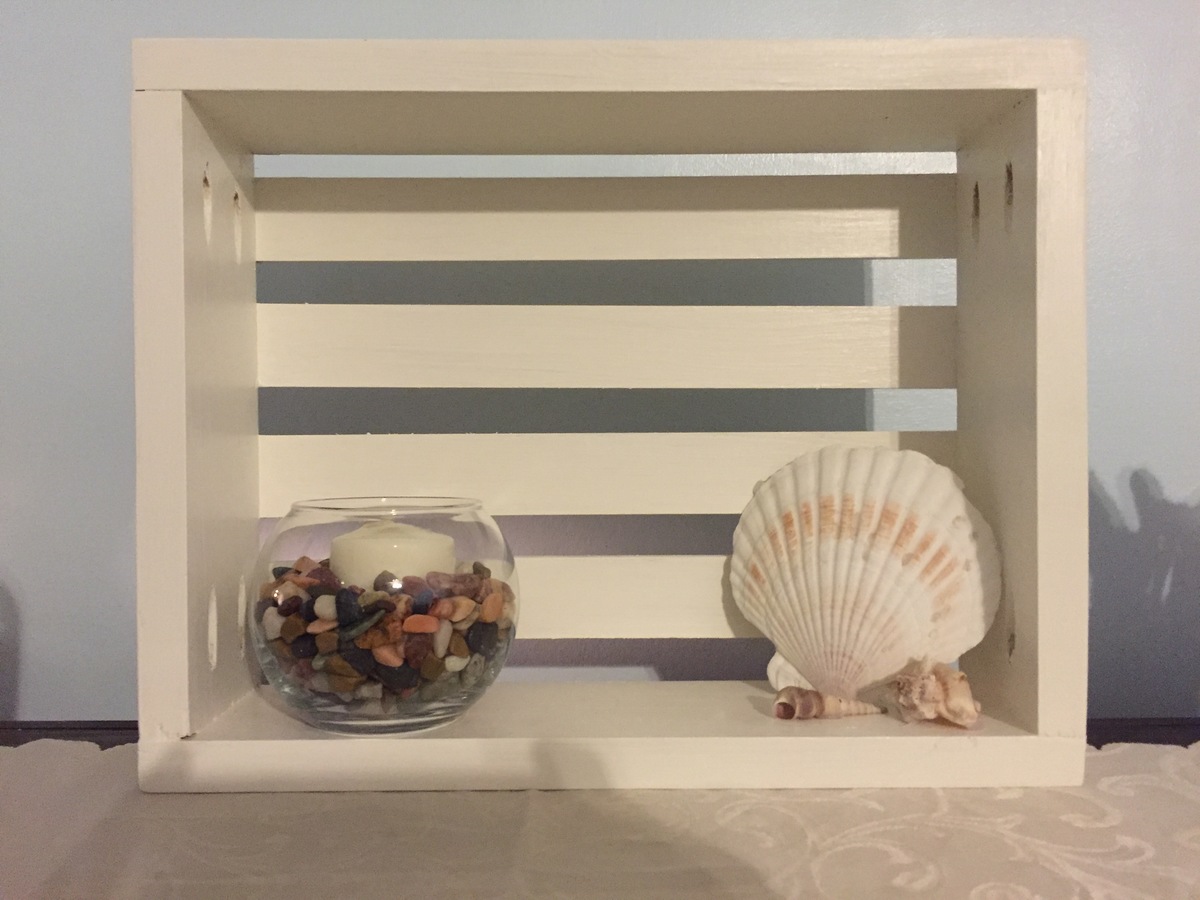
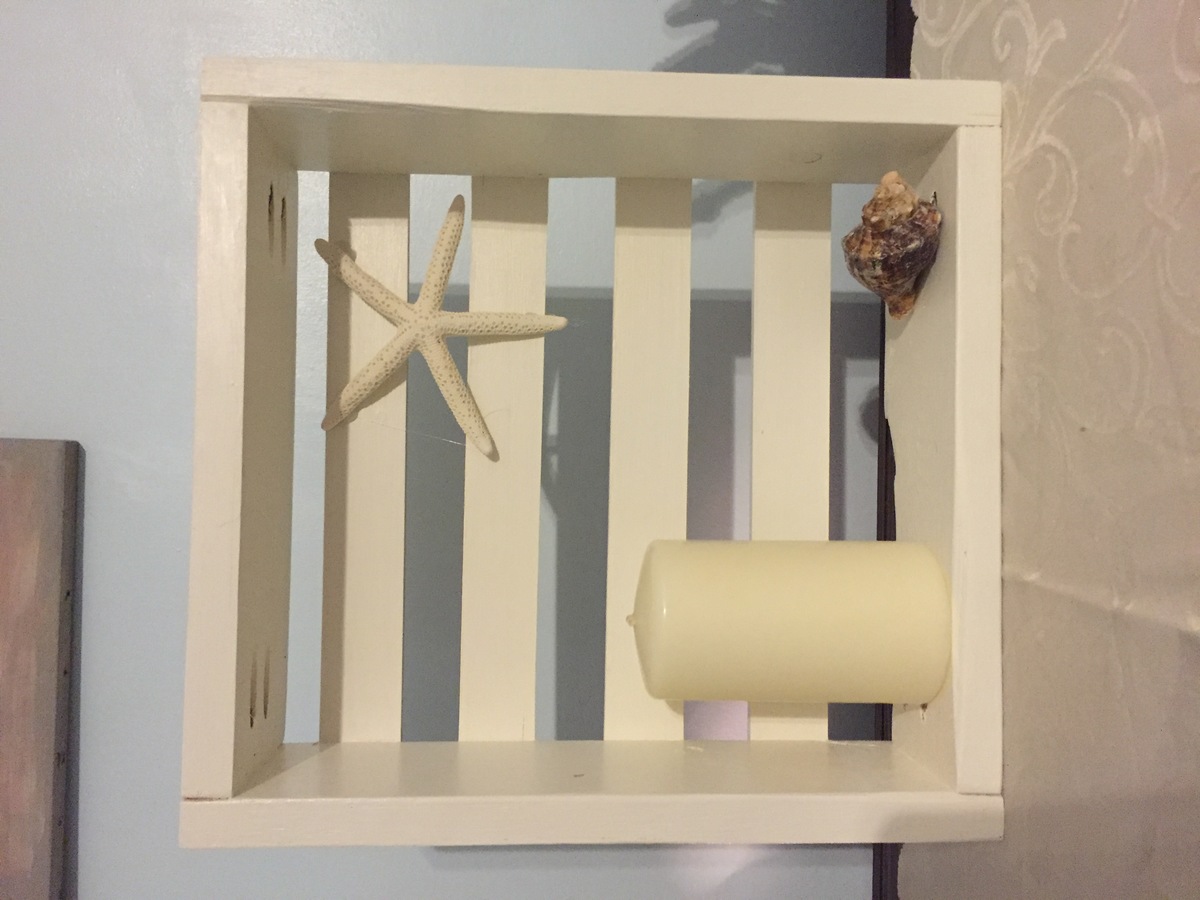
Wall Crates

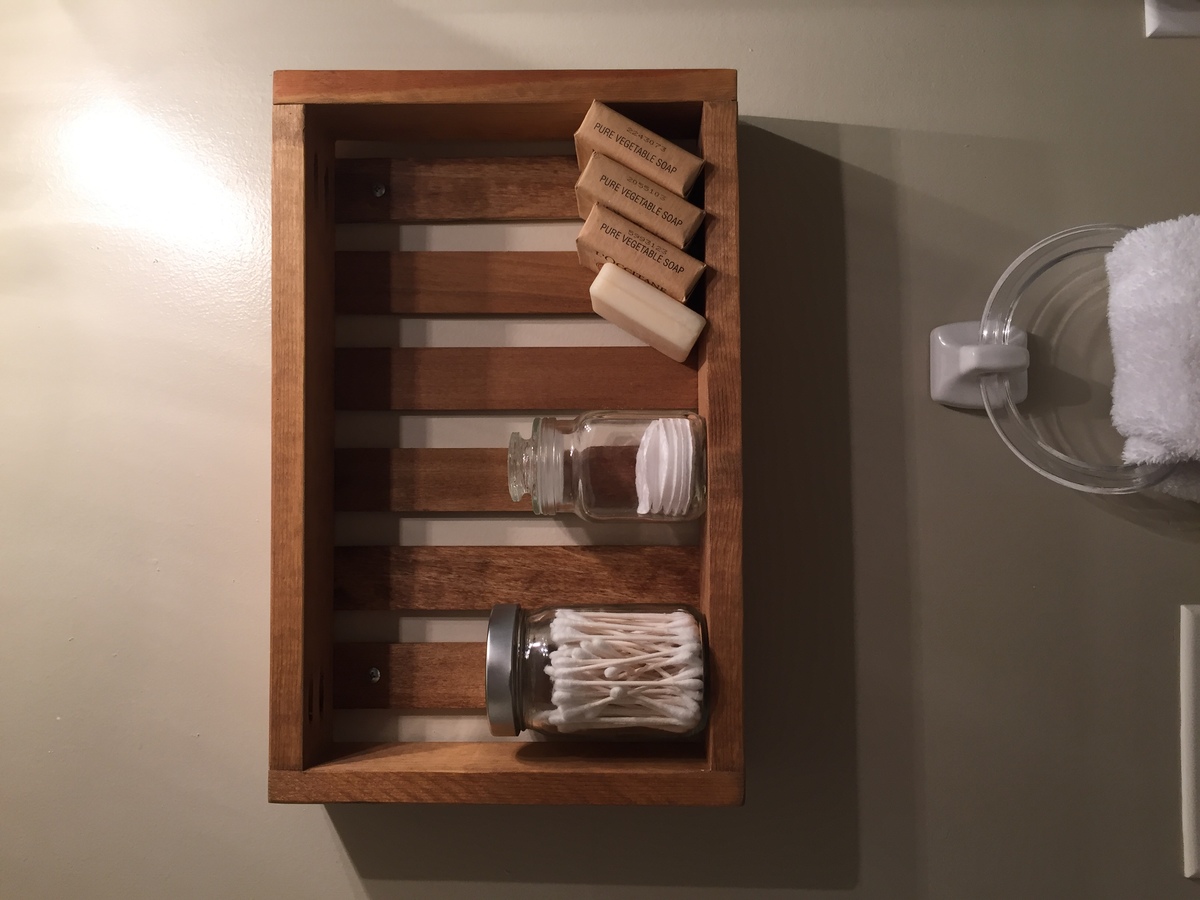
Really cute and simple project. I left one stained for the rustic bathroom and painted two white for the beach themed living room.

Built from Plan(s)
Estimated Time Investment
An Hour or Two (0-2 Hours)
Finish Used
painted two in white dove by valspar and stained one in oak with Minwax
Recommended Skill Level
Starter Project

Simple Outdoor Dining Table - Kreg Jig Version

Submitted by mstephe7 on Mon, 09/18/2017 - 10:57

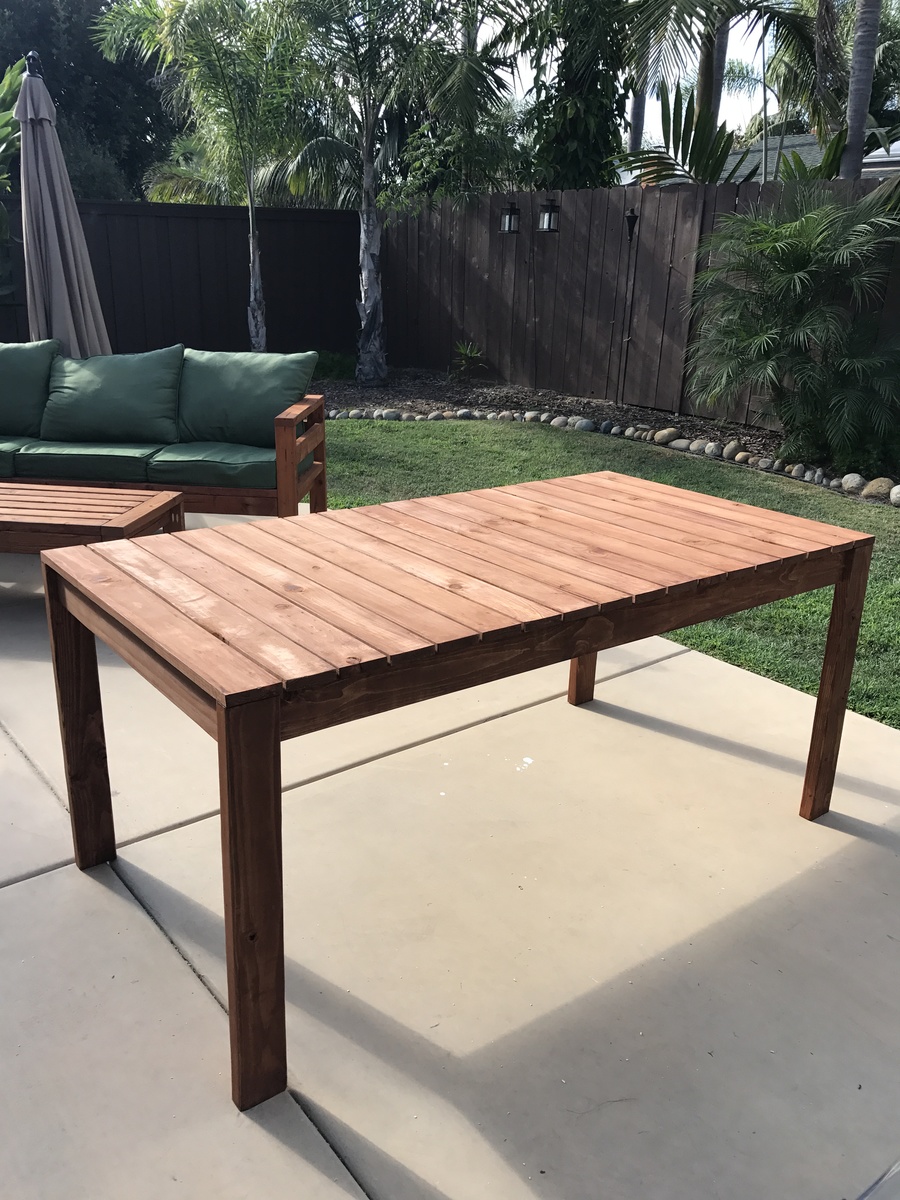
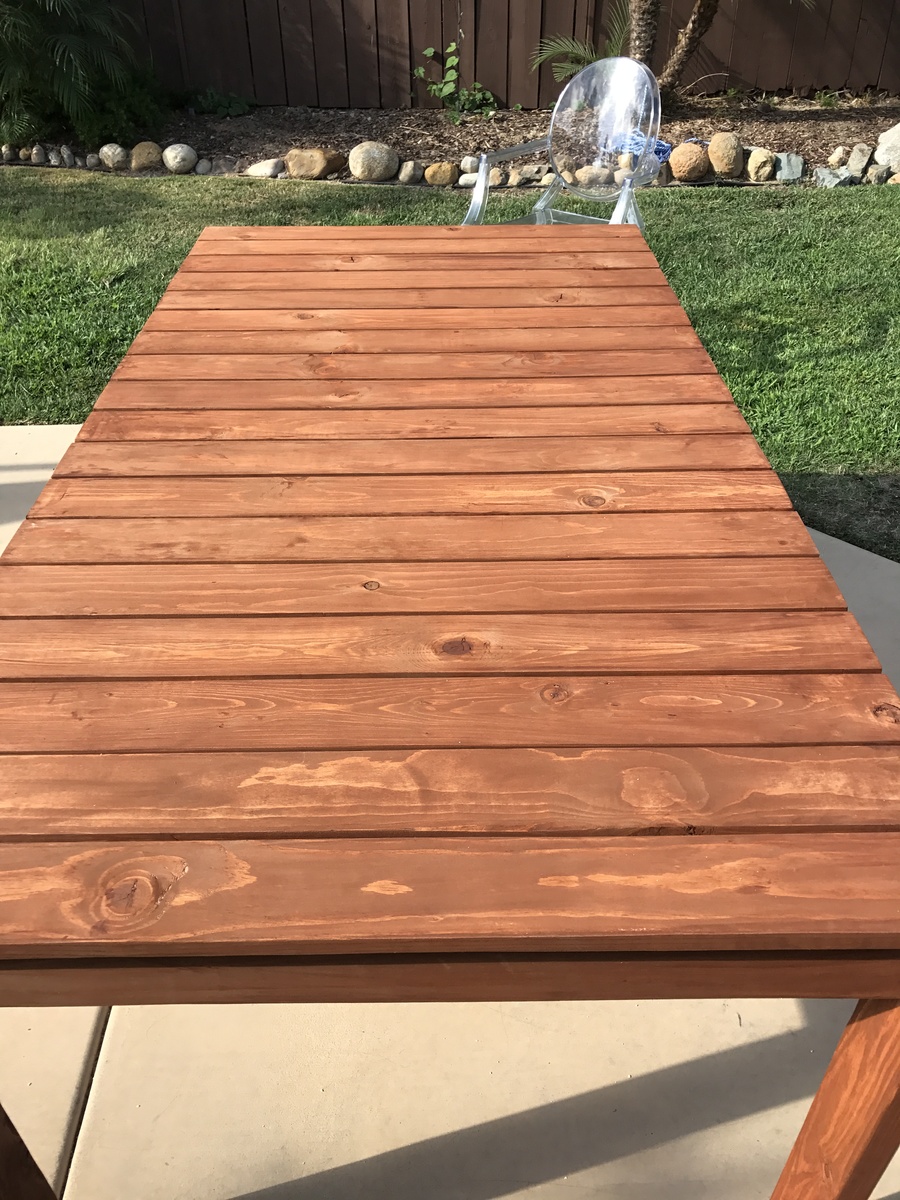
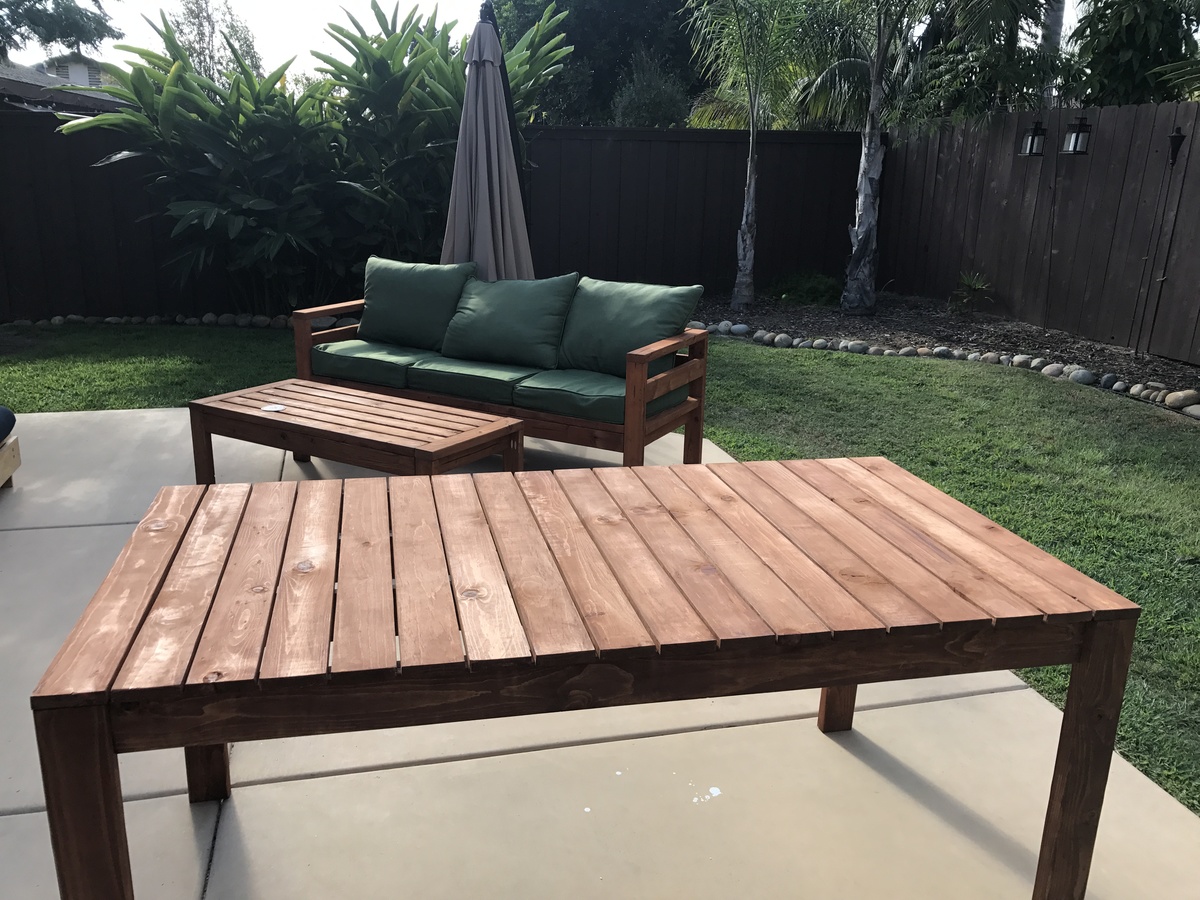
I followed the plans to the dining table with the suggested 1/4" spacing and extra slat so that this table will match the bench I will be making next.  I used the kreg jig for everything so that there are no visible screws.  This table is relatively simple to assemble and seems sturdy yet not too heavy.

Built from Plan(s)
Estimated Time Investment
Weekend Project (10-20 Hours)
Finish Used
Semi-transparent deck stain
Recommended Skill Level
Intermediate

Little Farmhouse Action

Submitted by SamWiseMan on Fri, 06/07/2013 - 21:34

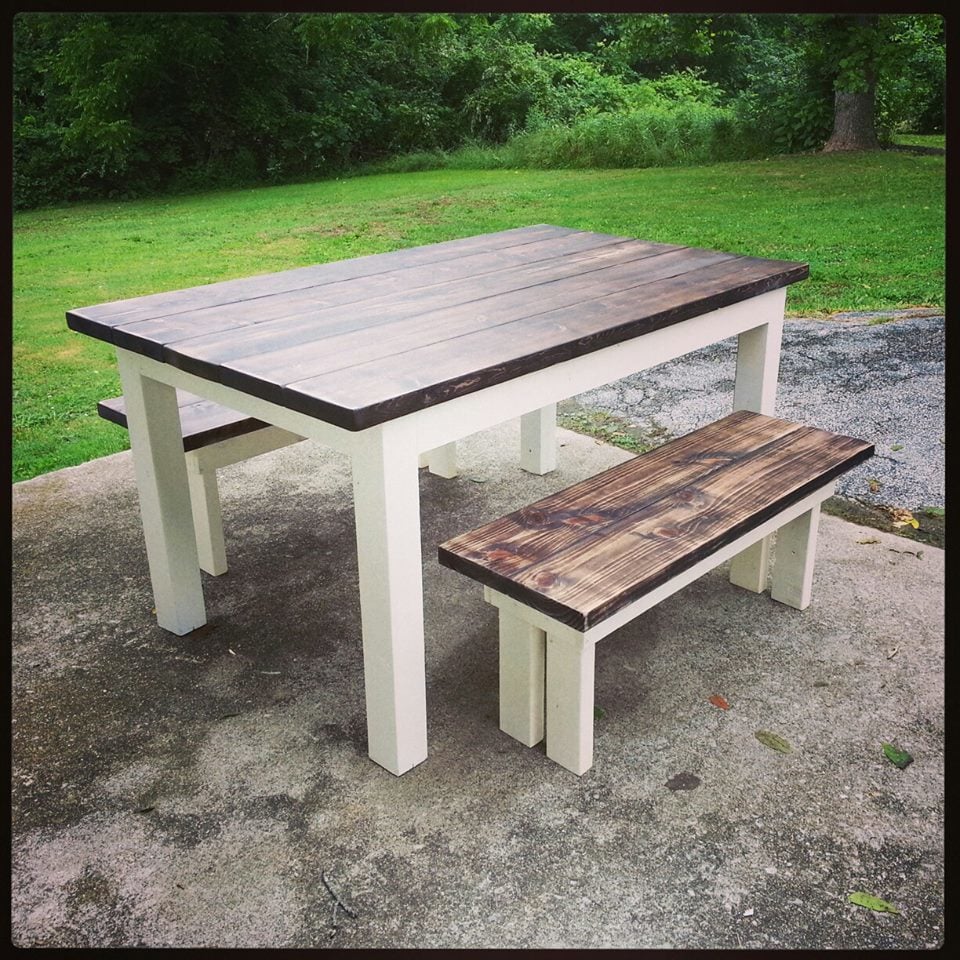
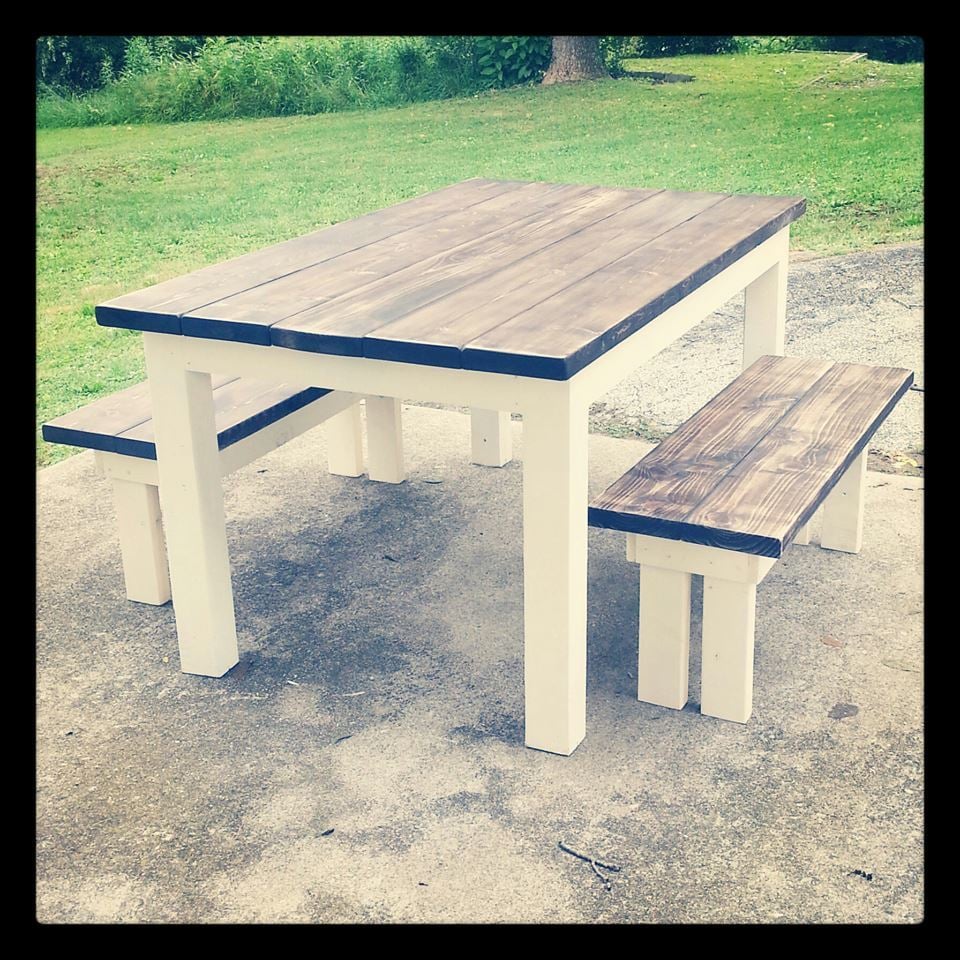
I used 2x8s for the tabletop and bench tops, with 1x4 to frame it. The legs on the table are 2x4 times 2 to look like 4x4 (can only find them treated around here). I messed up in my calculations on the benches. I intended to do the same with the legs there, but was forced to do 2x4. I don't like it as much, but they will do fine. The table is stained in Rustoleum Kona, used a wire brush to make it look rough, and then sanded it a little bit. The bottom is actually spray painted in Ivory.

Estimated Cost
$100
Estimated Time Investment
Weekend Project (10-20 Hours)
Finish Used
Rustoleum's Kona water-based stain and Rustoleum's matte finish poly. Rustoleum spray painted bottom in Ivory.
Recommended Skill Level
Beginner

Comments

basteeley

Fri, 04/08/2016 - 16:09

This is a most difficult site. I have signed in and would love to have the plan for the Little Farmhouse Action table and bench for outside use by SamWiseMan.

Weekend Project: DIY Kitchen Island

Submitted by bdel on Fri, 11/10/2017 - 11:09

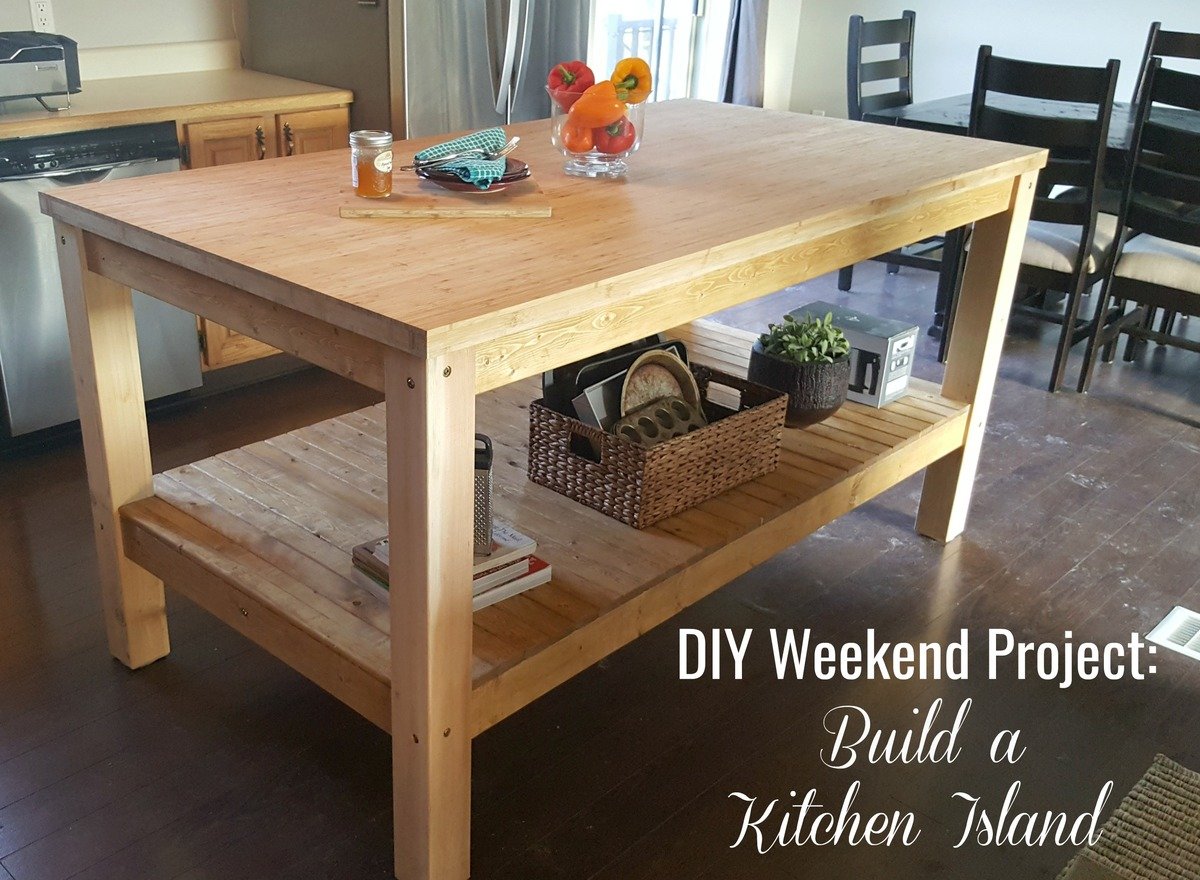
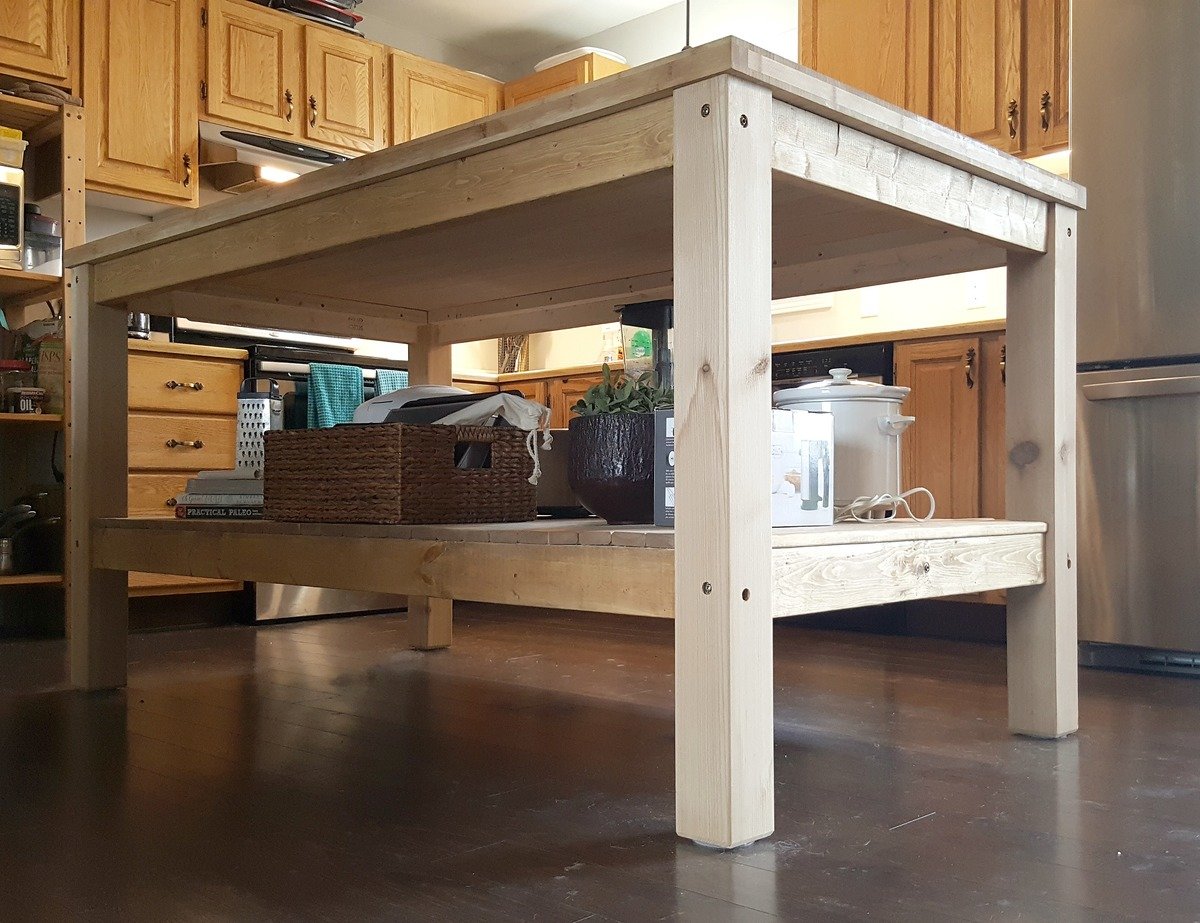
We have a limited amount of counter space in our kitchen, while also having a large open space that is unused. We've always planned on including an island once we renovate, but we didn't want to wait. We decided to build a butcher block-style island with open shelving underneath - a simple design that would give us all the counter space we needed and some additional storage space.

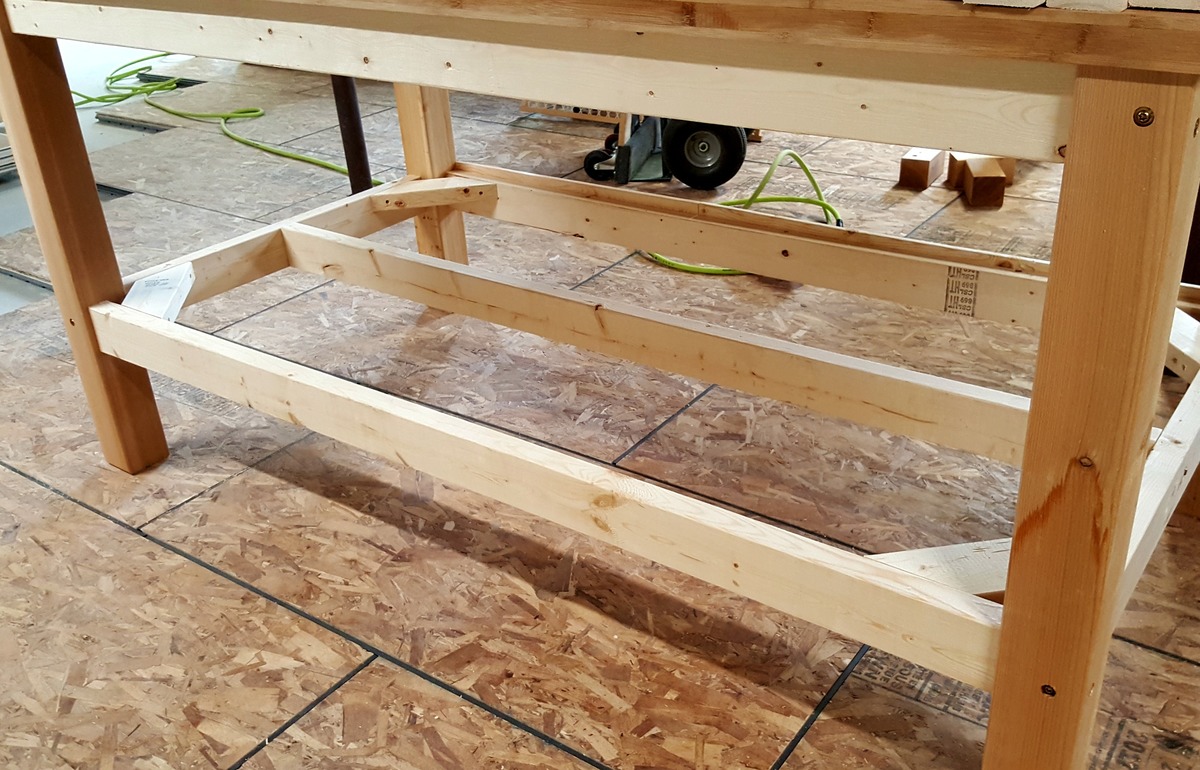
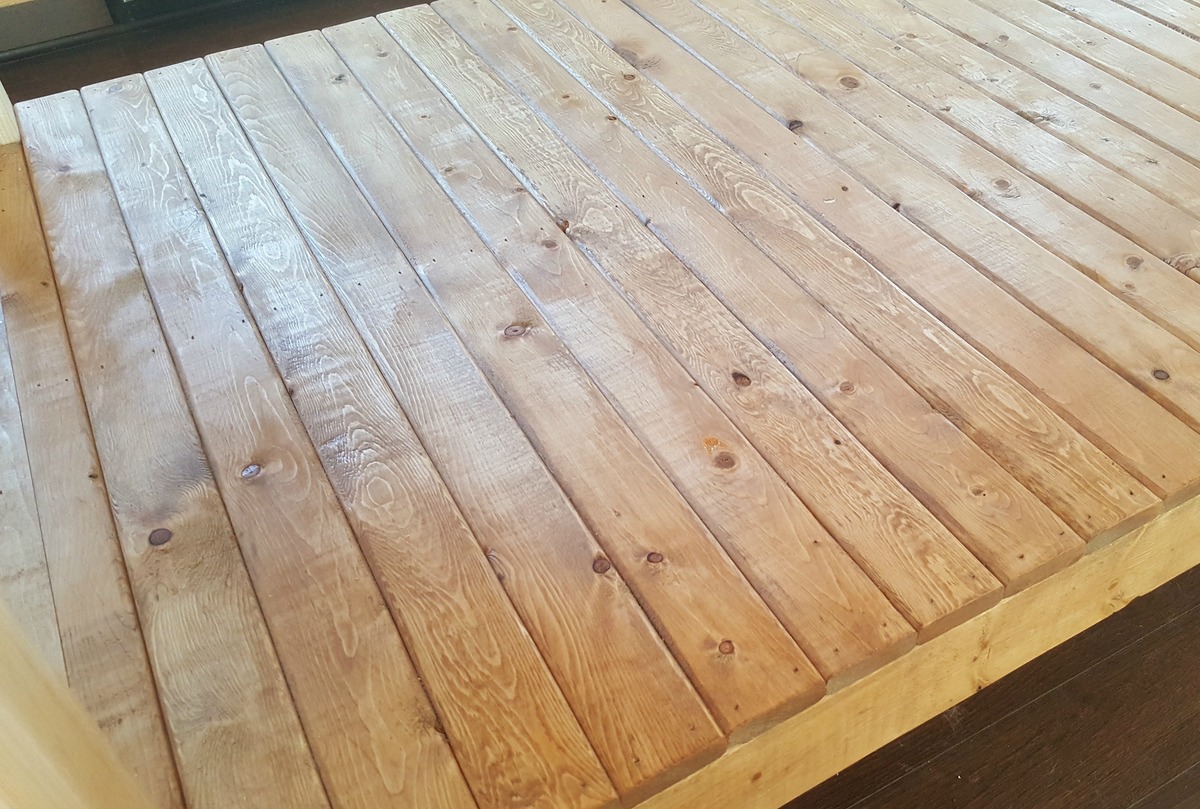
We bought a premade bamboo tabletop, as well as 4x4 cedar posts for the legs, 2x4s for the framework, and 1x2 slats for the shelf.

You can see all of the details of how we built it in the blog post, but here are a few of the features:

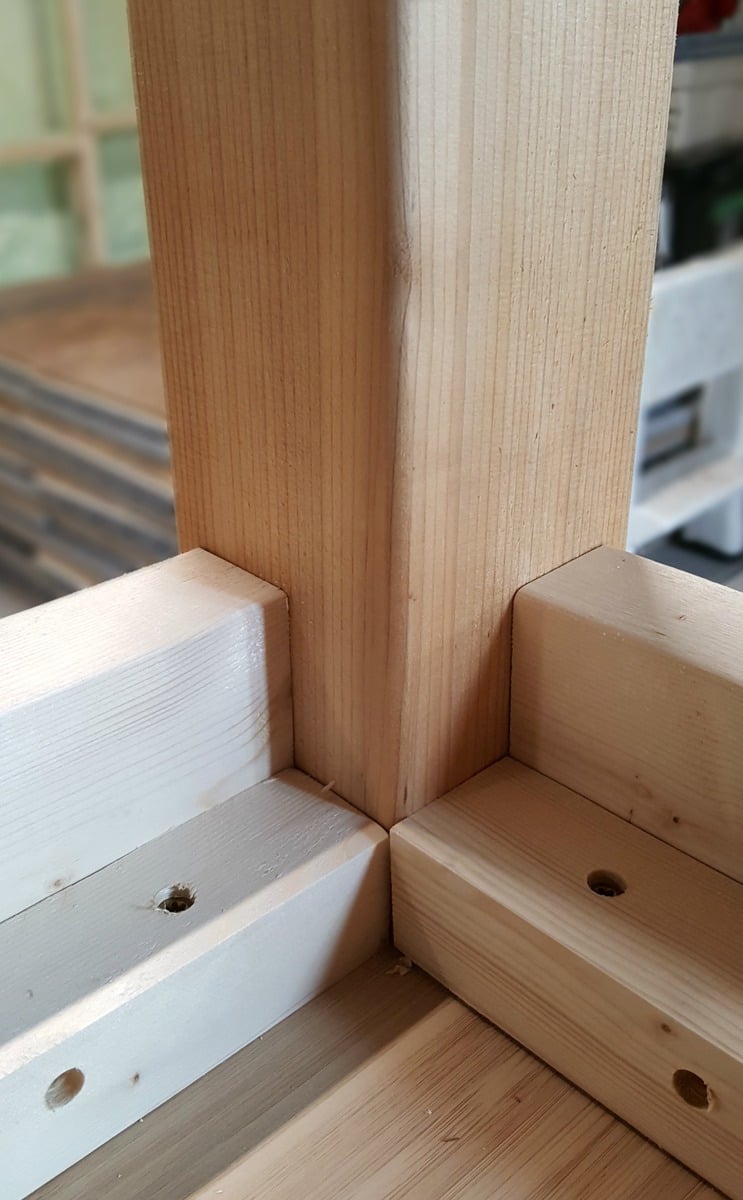
- an interior framework that connects to the tabletop and outer framework so that no screws are visible on the outside

- countersunk GRK structural screws used to attach the legs htat look like carriage bolts

-feet are angle cut so that floor is less likely to be scratched if the island is moved


We're really proud of this build and are enjoying having so much extra counter space. It's amazing what you can get done in a weekend!

Estimated Cost
$200 - $250 - pre-made top, cedar 4x4s, pine 2x4s, pine 1x2s, assorted screws, finishing nails, stain.
Estimated Time Investment
Weekend Project (10-20 Hours)
Finish Used
Minwax Provincial stain on pine (2 coats), mineral oil on bamboo top, no finish on cedar.
Recommended Skill Level
Intermediate

Girls vanity

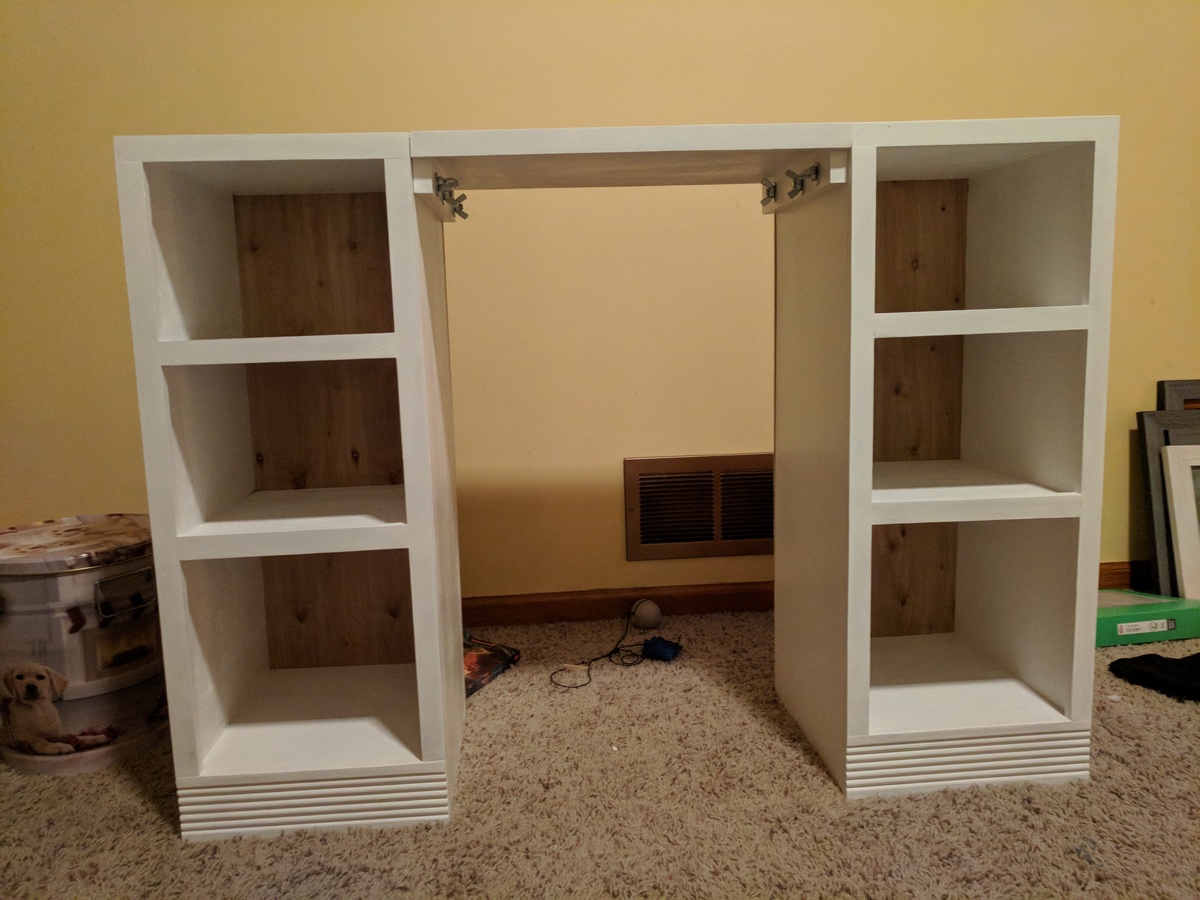
I built this off the vanity plans, but I wanted it to be larger for when my step daughter grew. The vanity height is 30". I also made the center removable so down the road she could use the 2 sides as bedside tables if she wanted. 

Built from Plan(s)
Estimated Cost
$50
Estimated Time Investment
Weekend Project (10-20 Hours)
Finish Used
White paint
Recommended Skill Level
Beginner

Entryway Bench

Submitted by jjunge08 on Mon, 01/01/2018 - 09:49

My wife wanted an entry way bench that would fit the baskets for a cube storage shelf units.  Each box is 11 1/2 square and accomidates a 10 in basket.  The bench is 50 inches long and and just shy of 19 inches tall.  The depth of the bench is approximately 12 1/2 inches.  My wife made the cushion for the top and we purchased the baskets from Lowes.  

Estimated Cost
Bench cost - $50-70


Estimated Time Investment
Weekend Project (10-20 Hours)
Finish Used
I only used white paint to match the trim in our house where the bench is placed.
Recommended Skill Level
Beginner

Storage beds (twin) with Corner unit

Submitted by Dinabu on Tue, 05/03/2011 - 08:48

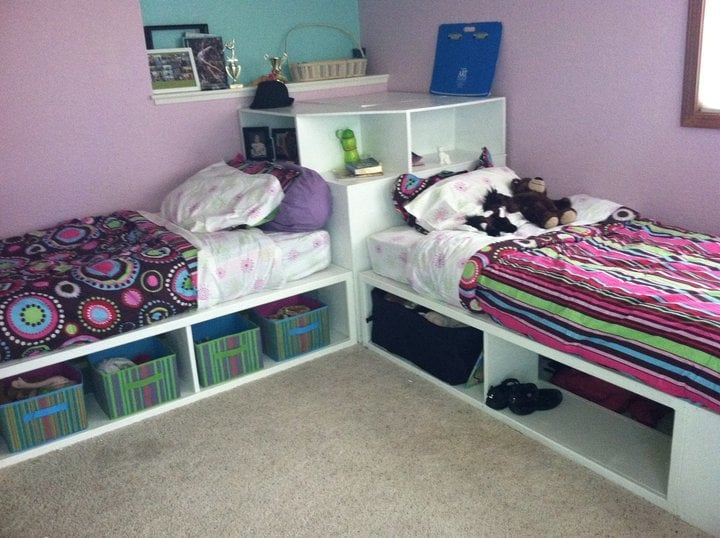
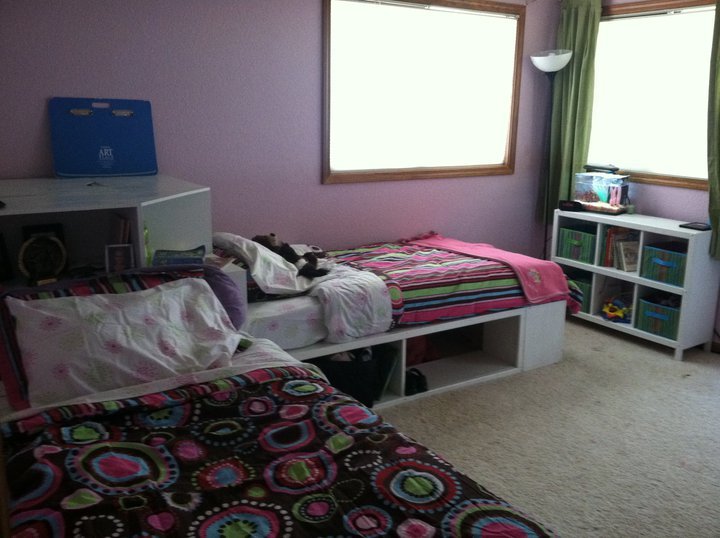
We made these beds for my daughters, who were ready to pass on the bunkbeds to their little sisters. We have 4 girls in one room, so use of space is crucial! I originally wanted the hutch as well, but as you can see in the picture, we had to work around a wall cut out, so we modified the corner unit to have a larger shelf area to fit the space. We also left the sides open to be able to slide containers in to store out of season clothes and blankets, though the ends have a backing.

Estimated Cost
$250-$300.
Estimated Time Investment
Weekend Project (10-20 Hours)
Finish Used
Gloss white paint.
Recommended Skill Level
Beginner

Kids table with chairs/storage

Submitted by Anonymous (not verified) on Mon, 12/27/2021 - 19:33

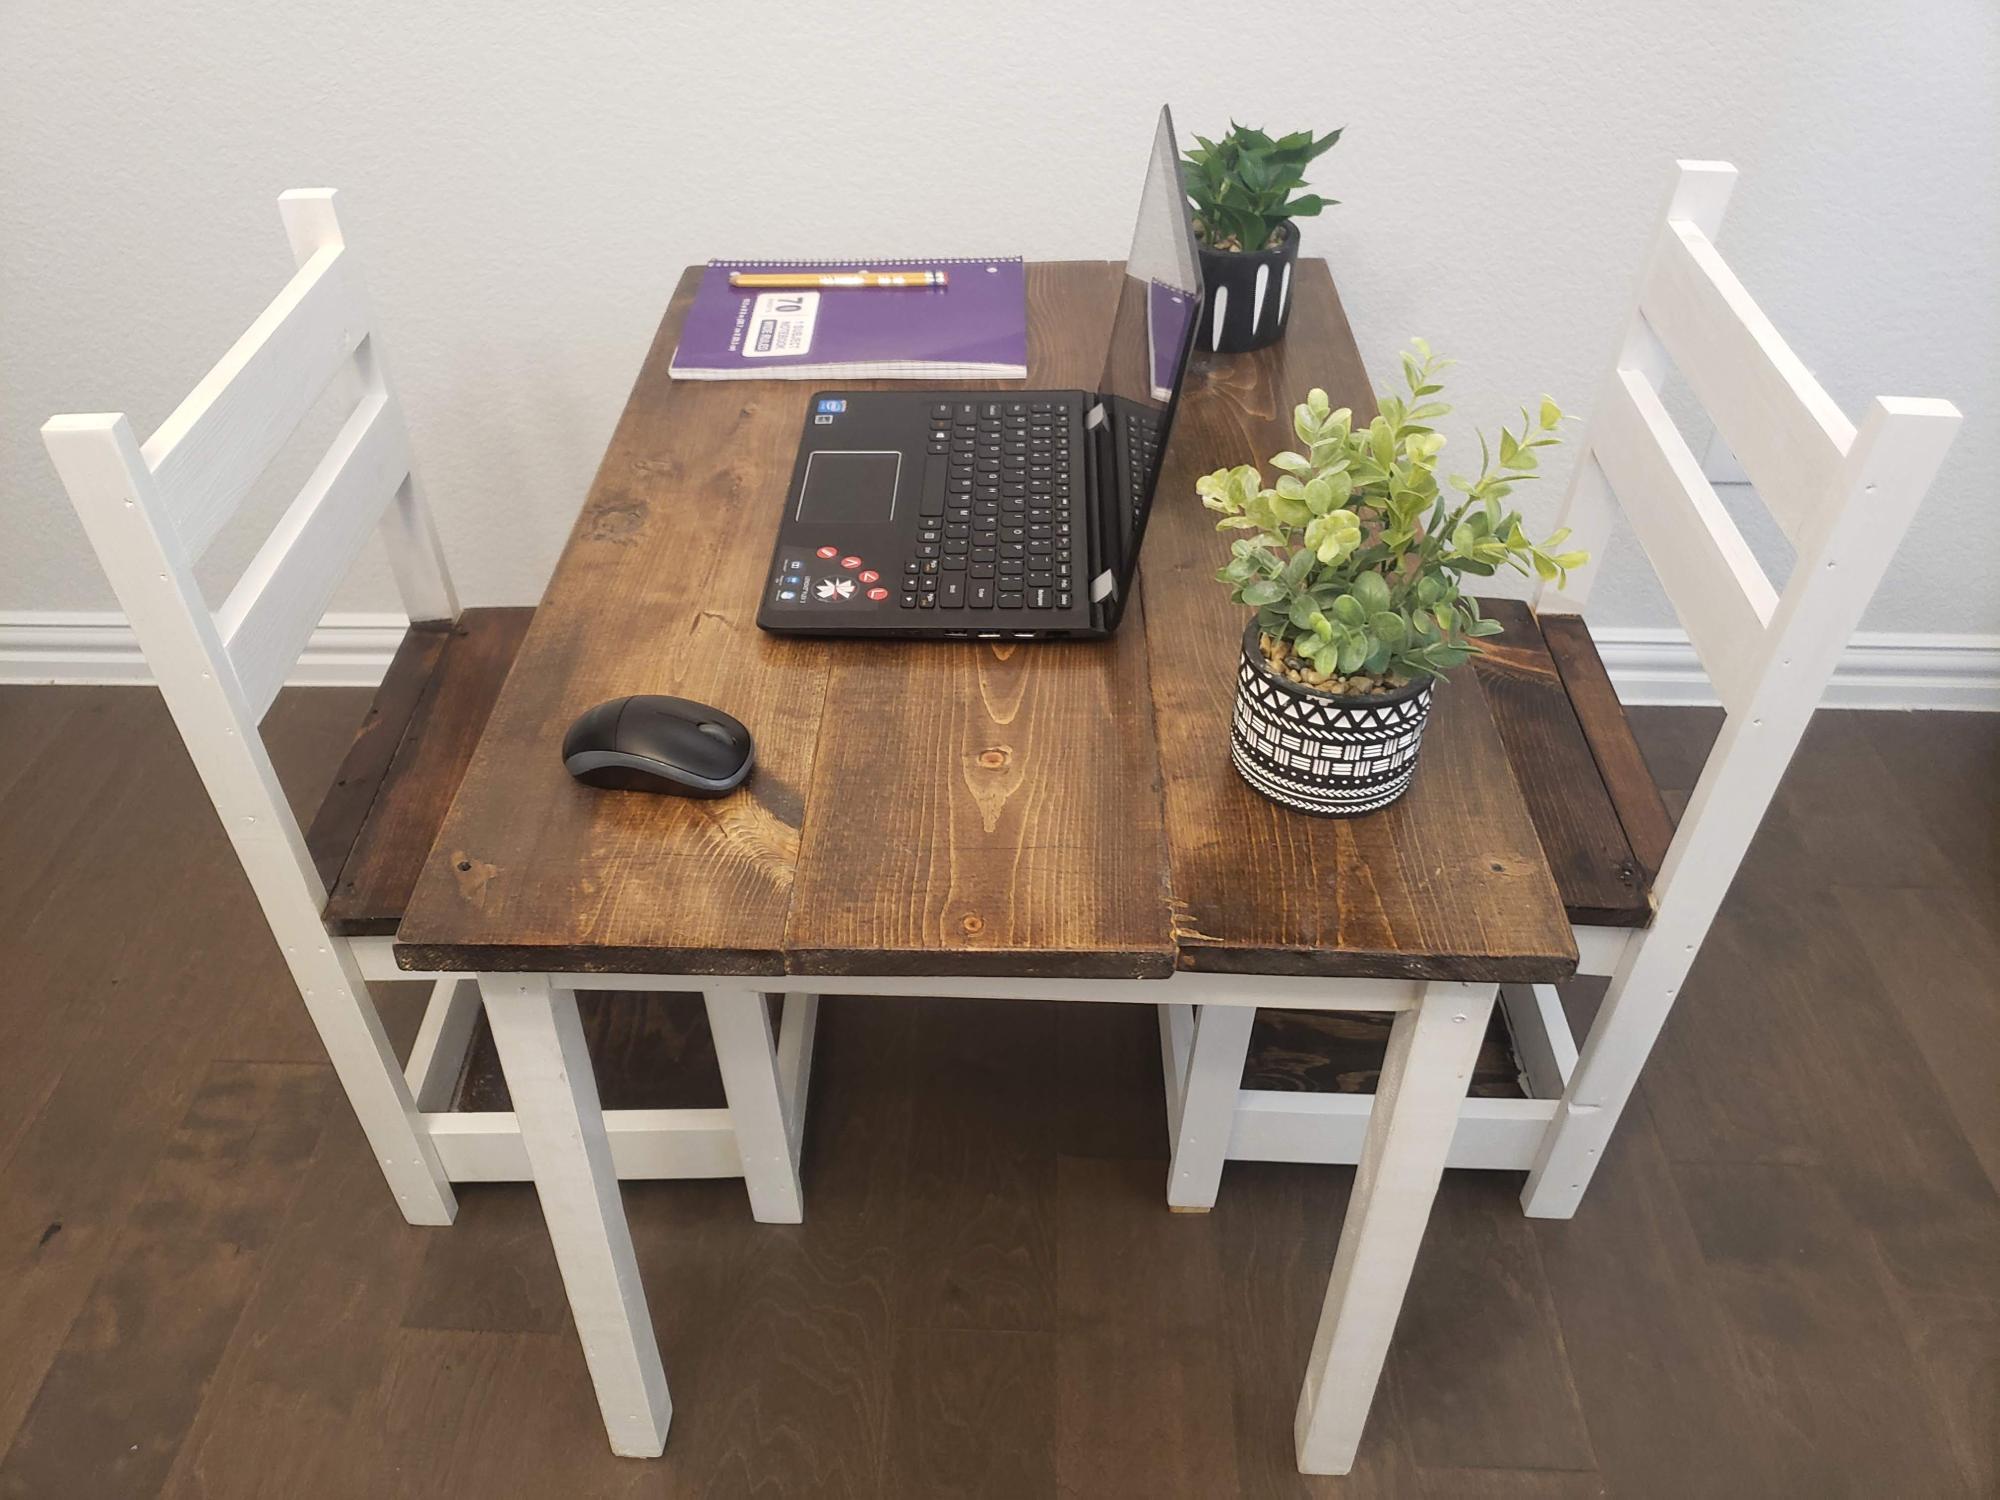
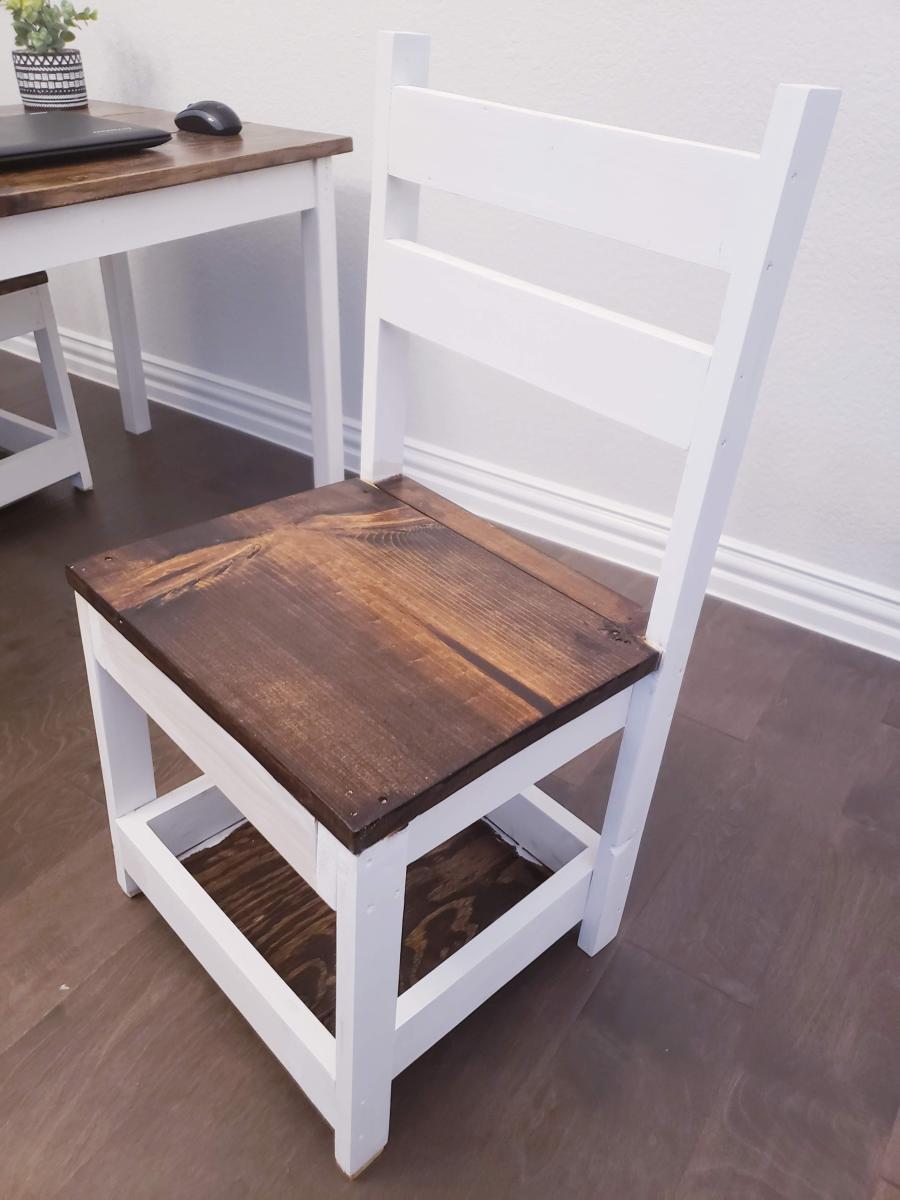
I love woodworking and trying different techniques...Thank you Ana for the detailed plans!..My niece loves it

Comments

Salvaged Wood Daybed

Submitted by kristah on Mon, 06/29/2015 - 18:44

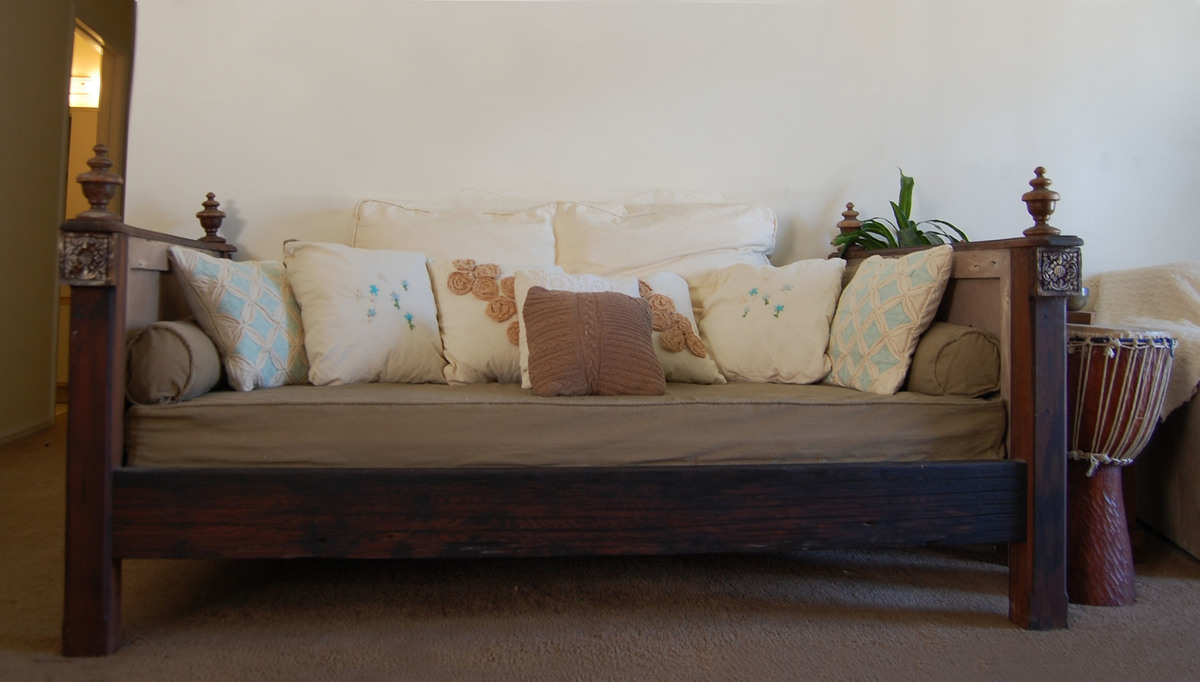
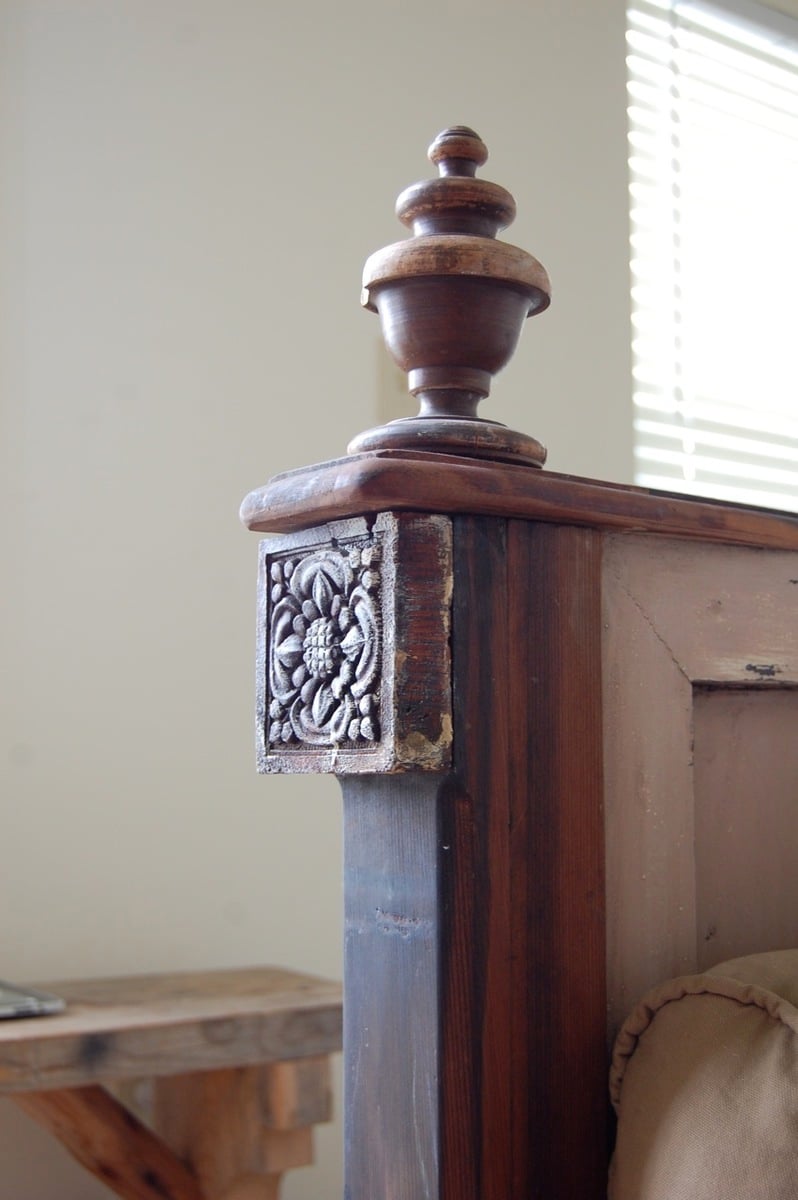
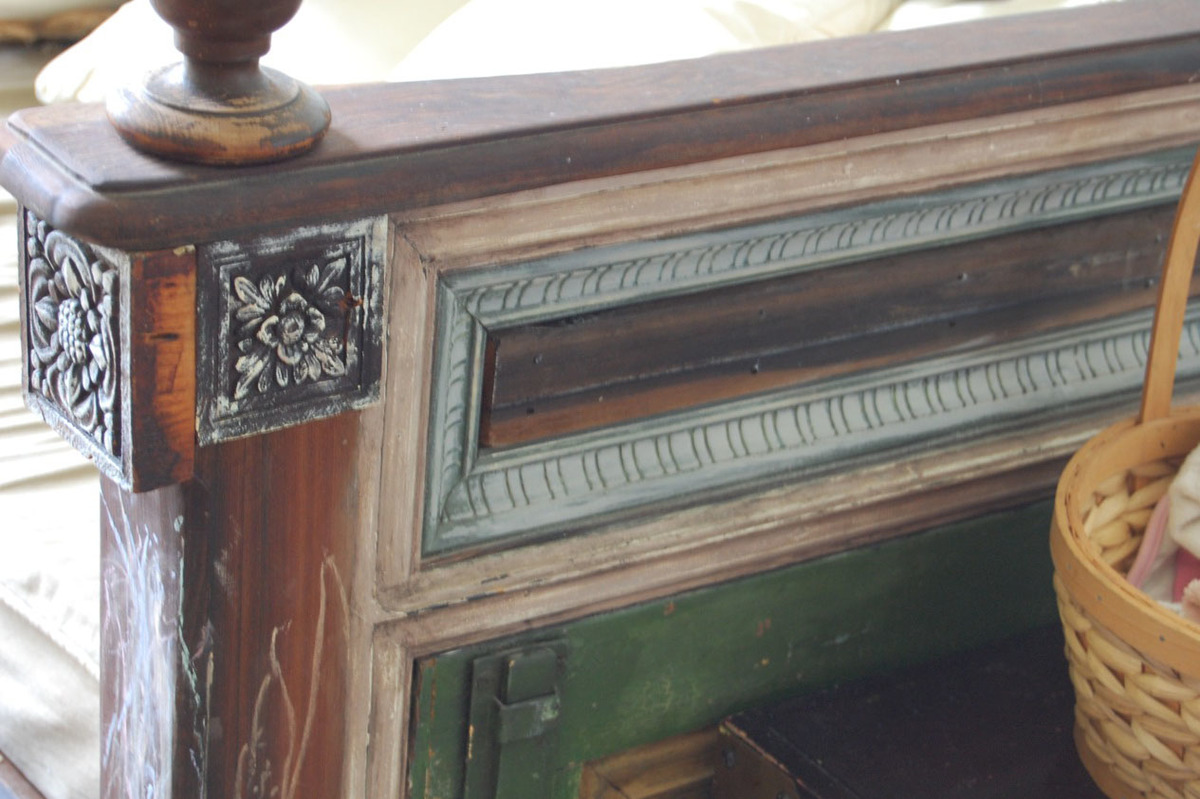
I originally planned to make the Lydia daybed as is, but we decided to make it with reclaimed materials after being inspired by redwood we found that had been salvaged from old pickle barrels. We ended up with chunkier posts for the legs (3 1/4" by 3"), and used a thick solid piece of wood for the front (2"x 7 1/2") , which did change the dimensions of our project a bit. We attached an old shutter to the plywood for the sides, and found salvaged bed post tops for the tops. We left off the scalloped edges because they seemed too delicate for the look we had going. Also, my husband had fun with his new router on the edges. We decided to use 1x8's for the slats under the bed b/c we thought it would give more support to the latex foam we had used instead of a traditional mattress. Because we move a lot, we wanted to be able to take the daybed apart if necessary. We attached the sides to the daybed with bed rail brackets. I posted more about the daybed on my blog. Sewing the cushions/pillows took much longer than making the actual daybed!

Built from Plan(s)
Estimated Time Investment
Weekend Project (10-20 Hours)
Finish Used
Tung oil on the redwood- Milk paint on everything else
Recommended Skill Level
Intermediate

Workshop Now in Session!

Submitted by Ahlinn3 on Thu, 01/25/2018 - 18:46

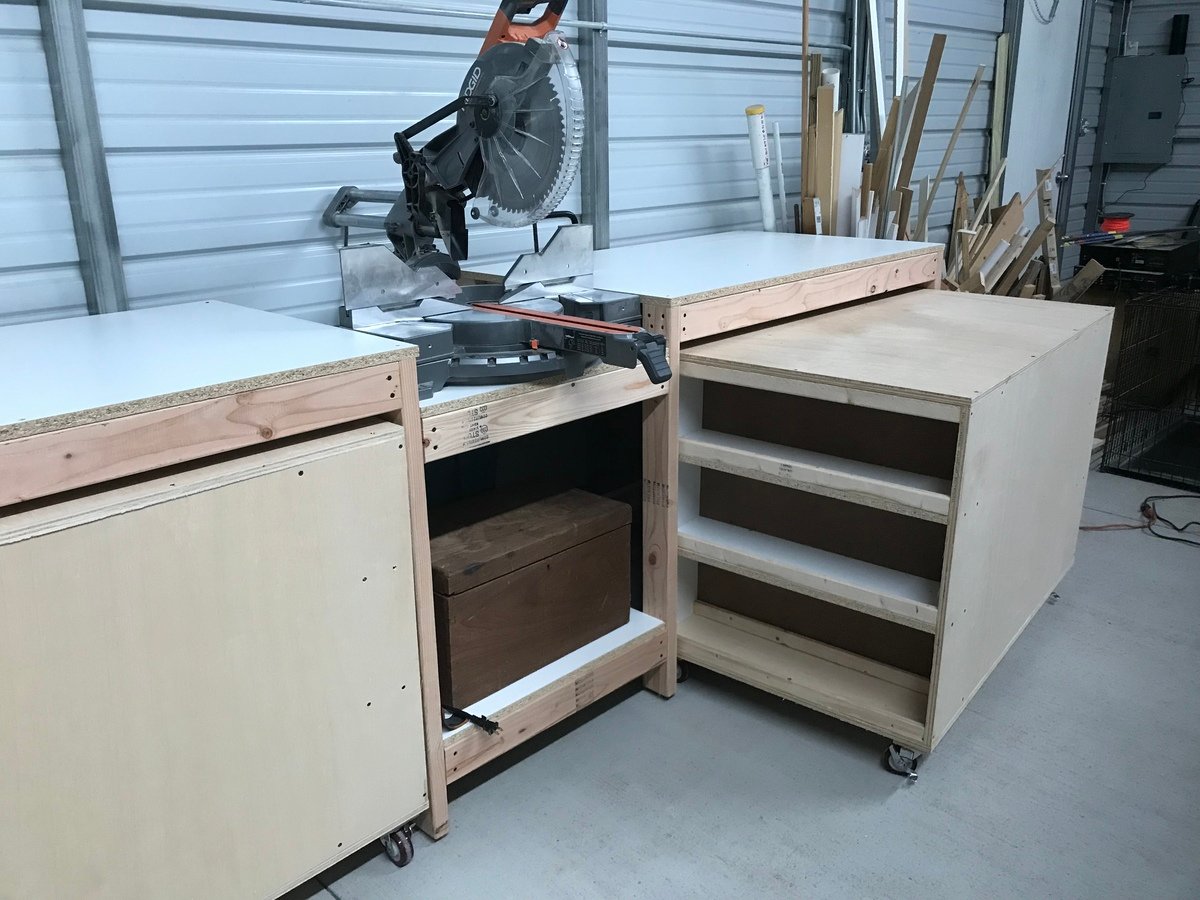
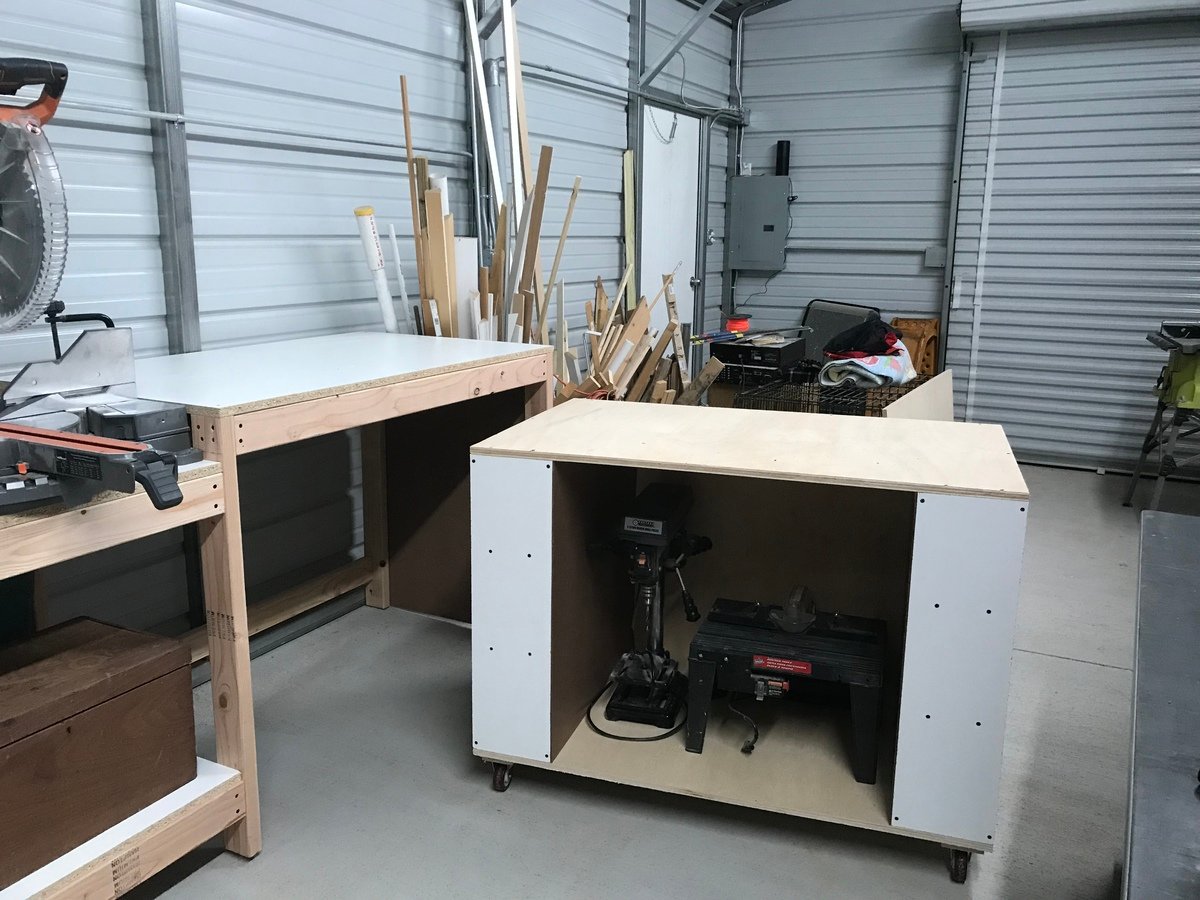
Easy instructions and simple design. One cart houses table saw, and the other I plan to make a router table. I did make a slight modification in design by adding T-nuts and 5/16” bolts for feet. (My shop floor is crowned). I also used 3/4” melamine white panels for table tops. Difficult to work with but cheaper and has a smooth surface. (Be careful using for structural parts due to glue not impregnating through melamine) 

Estimated Cost
$250
Estimated Time Investment
Weekend Project (10-20 Hours)
Recommended Skill Level
Starter Project

Comments

Pottery Barn Benches with X Table...Modified

Submitted by AJW on Thu, 05/19/2011 - 13:18

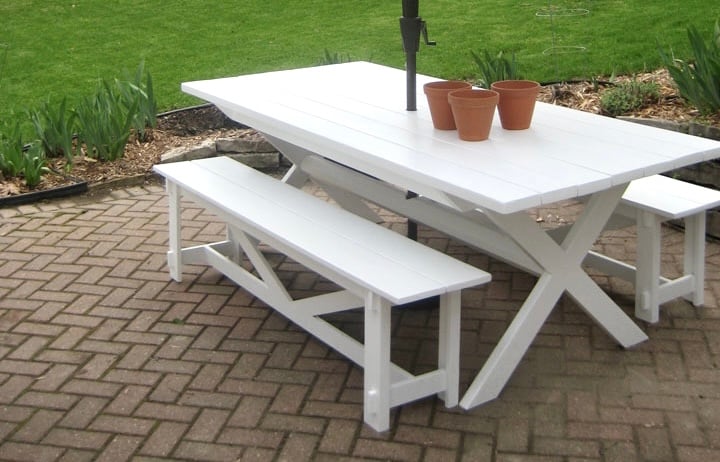
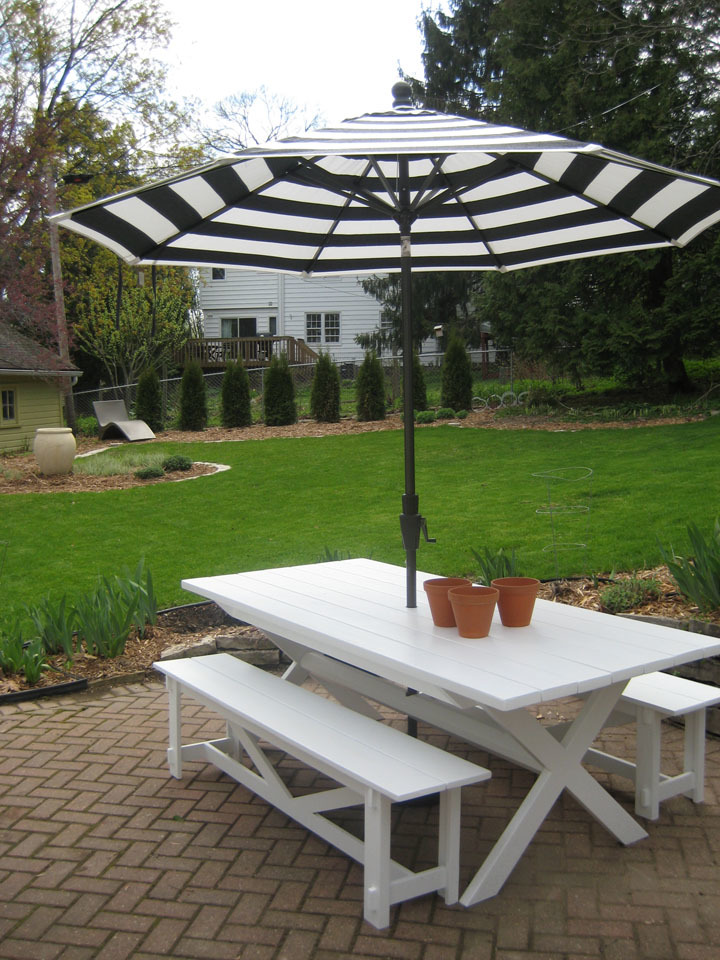
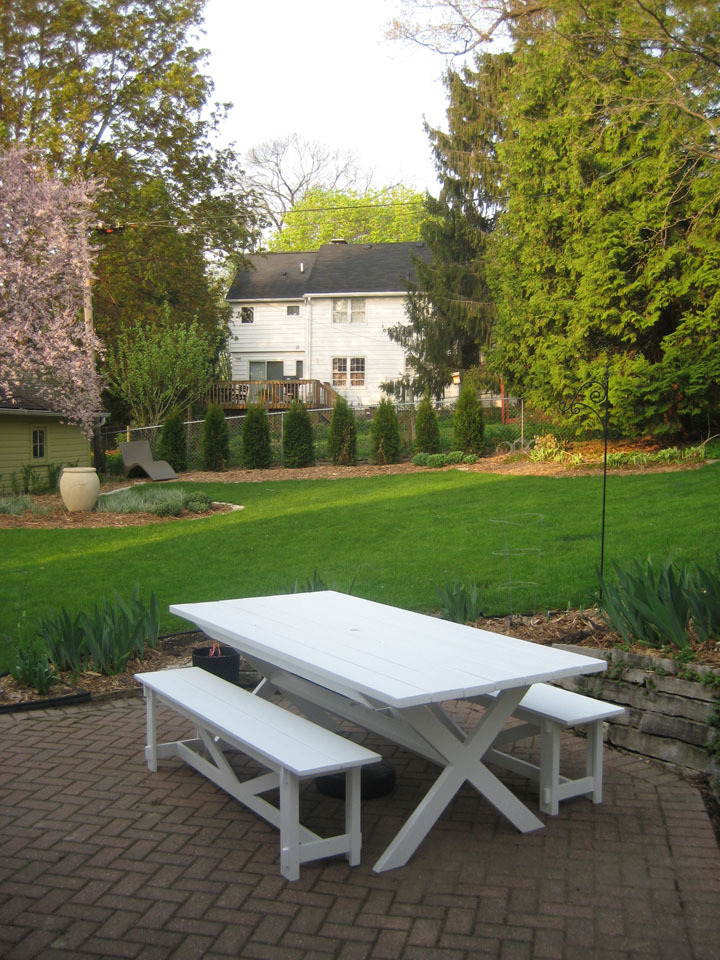
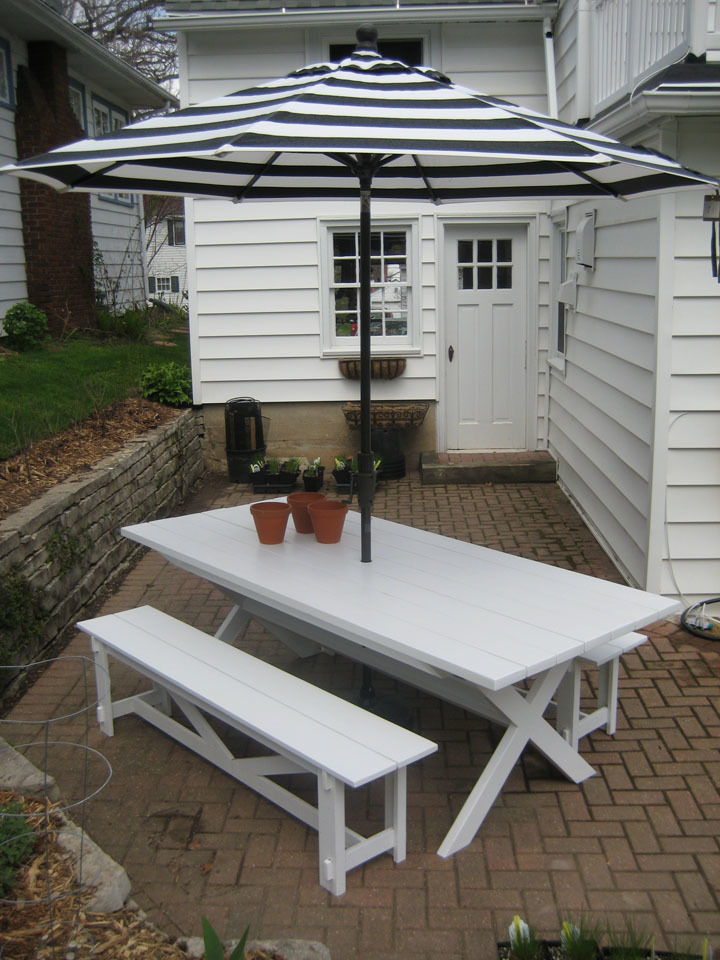
Pottery Barn Bench: Length Modified and utilized 2-1x6s for seat. X Table: Length Modified, utilized a 6x6 for the stretcher and drilled a hole through both the 1 top material and 6x6 stretcher beam. Holds the Pottery Barn umbrella real well. All made of Cedar and painted for good measure. Everything counter sunk and plugged, sanded to high heavy and ready to last.

Estimated Cost
$350
Estimated Time Investment
Week Long Project (20 Hours or More)
Finish Used
Oil based primer with 2 coats of acrylic over top.
Recommended Skill Level
Intermediate

Husky Farmhouse Table and Bench

Submitted by frmoody on Fri, 06/03/2022 - 09:23

I have built several of these tables but this was the first one with turned table legs. They were somewhat expensive but I think the final product looks great with them. I actually stained the bottom aprons and legs the same colour as the top and then put on two coats of an antique white followed by a little scuffing up with sandpaper. I also cut the aprons from 2 x 6's so they were actually 4" in width. I used MinWax Jacobean stain which I had never used before. I then applied three coats of Varathane Satin finish. Not the best photo from my garage but no way I was getting it inside my house for a better photograph. Thanks for the great plans Ana.

Built from Plan(s)

Comments

Garage shelf and work bench

Submitted by Anonymous (not verified) on Wed, 08/10/2022 - 12:29

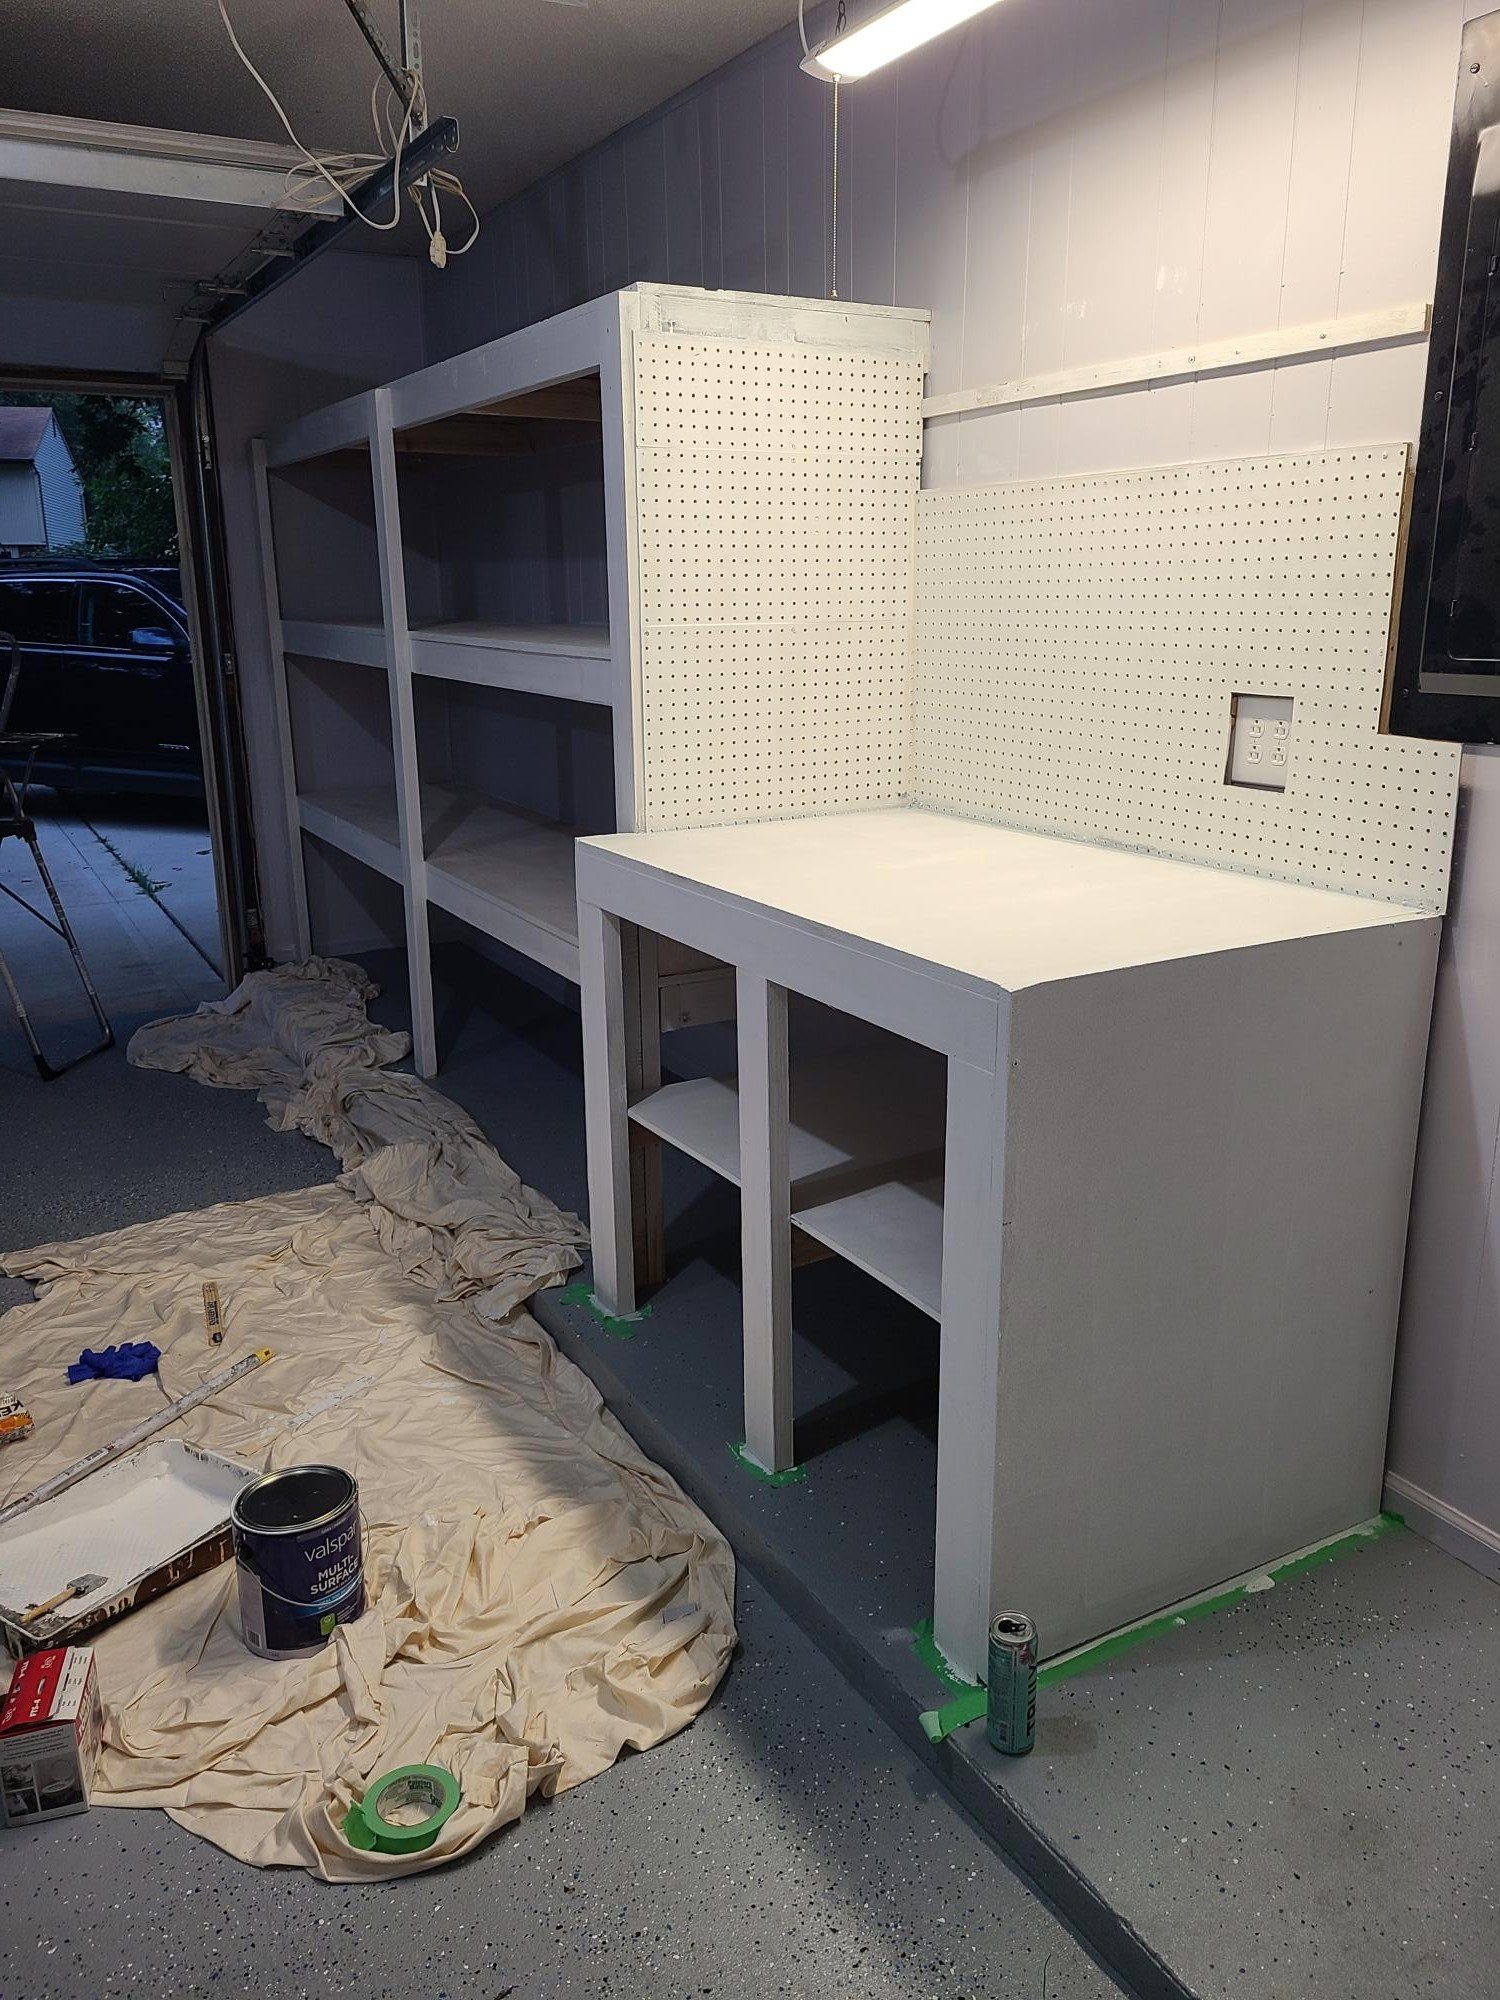
Used the plans from attached garage shelving to make a 10 ft, 24 inch wide shelf then used similar idea for workbench which I still need to put doors on. I love it! Such an easy plan!

Comments

Inspired by Julia Nightstand

Submitted by kirst1230 on Mon, 09/02/2013 - 10:03

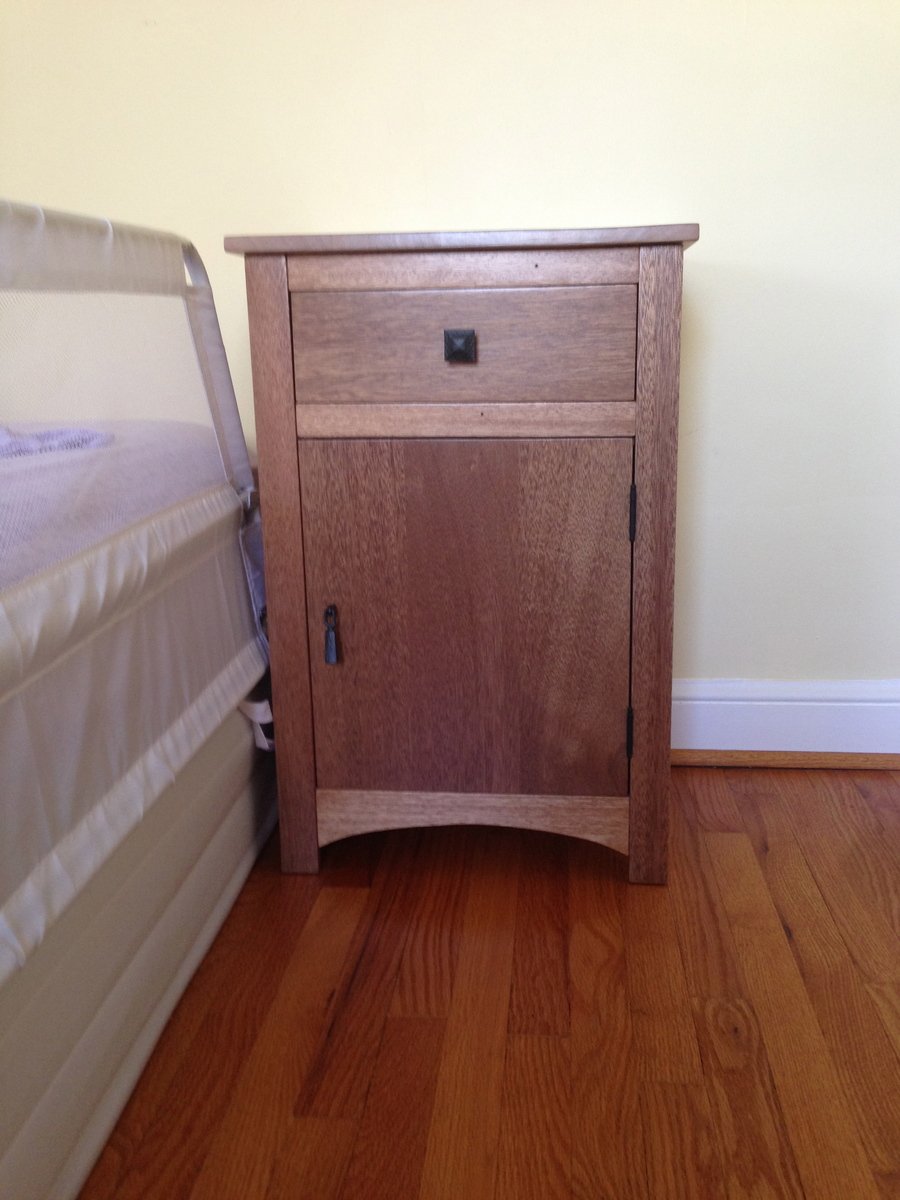
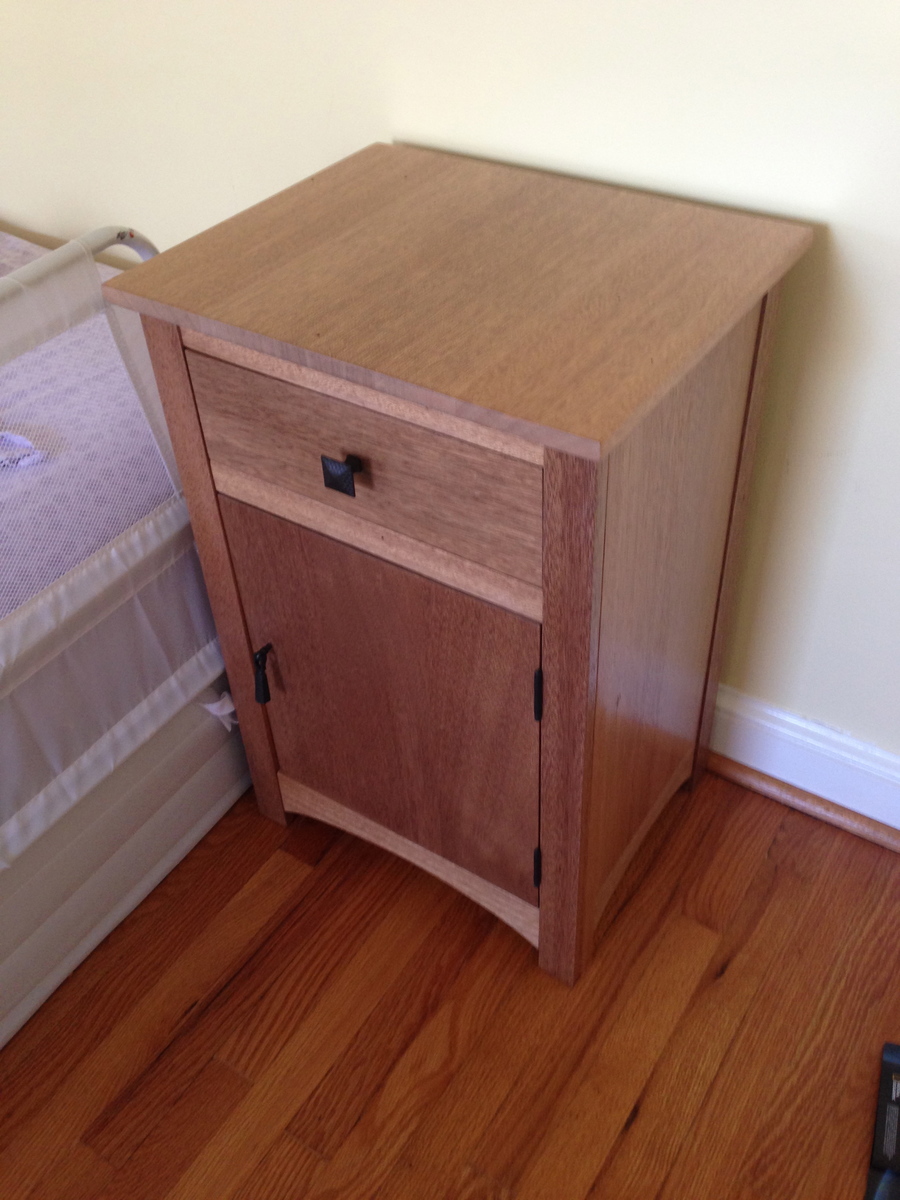
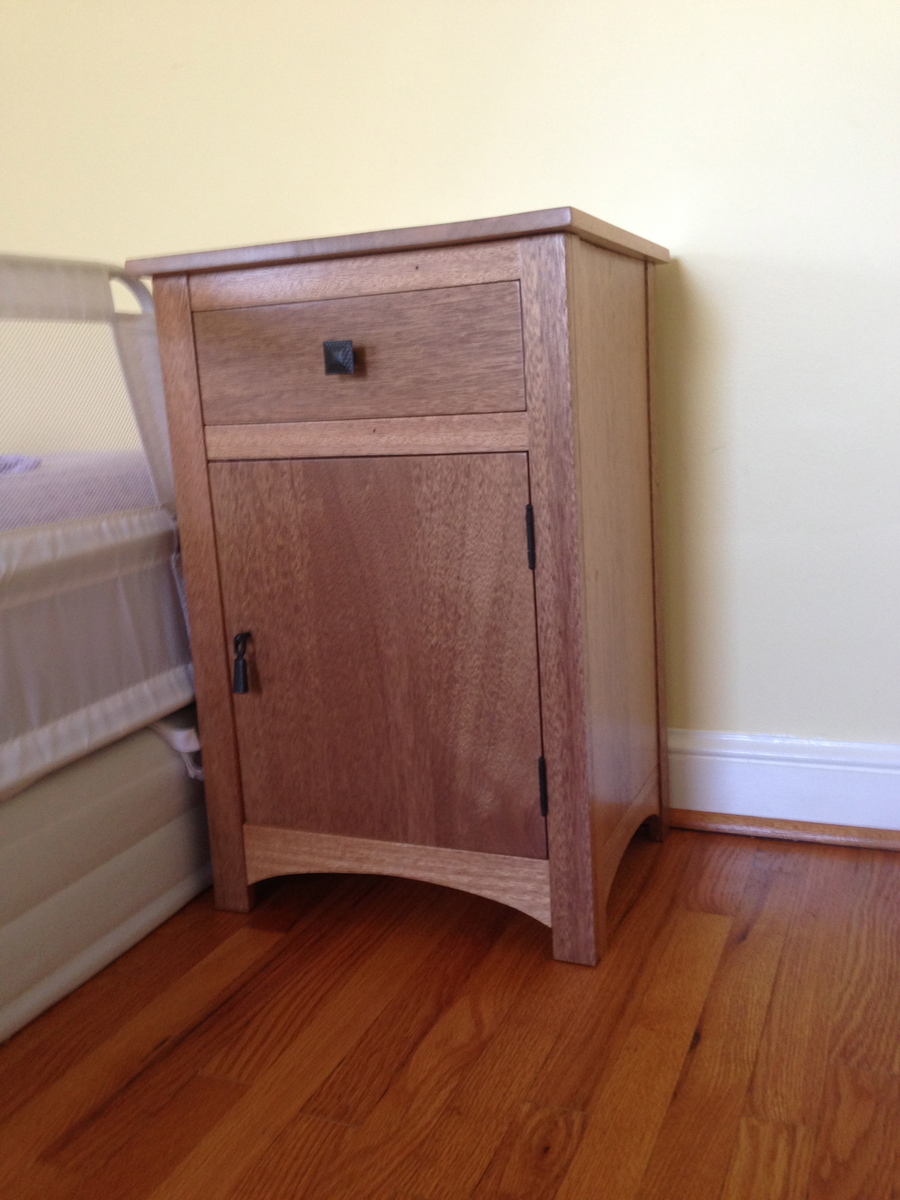
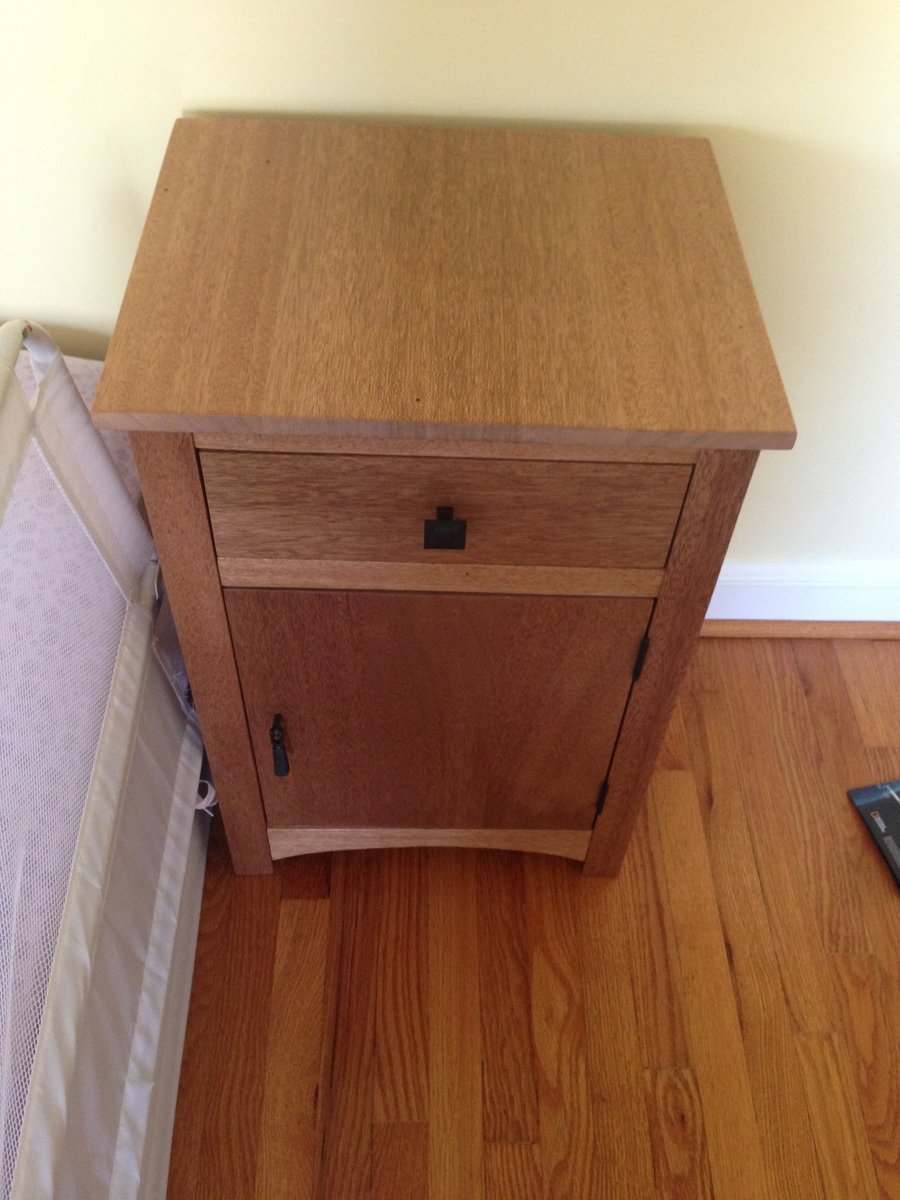
This nightstand was inspired by the Julia Nightstand. I changed a few of the measurements and added a door. The entire piece is built out of wood I salvaged when I tore out the wall paneling in my basement. The old nail holes add nice character and the color of the wood and grain are really nice. This piece does not have any stain - this is the natural color of the wood. I finished it with water based polyurethane.

Built from Plan(s)
Estimated Cost
$25
Estimated Time Investment
Week Long Project (20 Hours or More)
Finish Used
Water based polyurethane painted with synthetic hair brush. I did not use any stain. The water based polyurethane raises the grain so I sanded between the first two coats. Total of 4 coats. No odor and very easy cleanup (soap and water).
Recommended Skill Level
Intermediate

Comments

Baby Doll Crib and High Chair

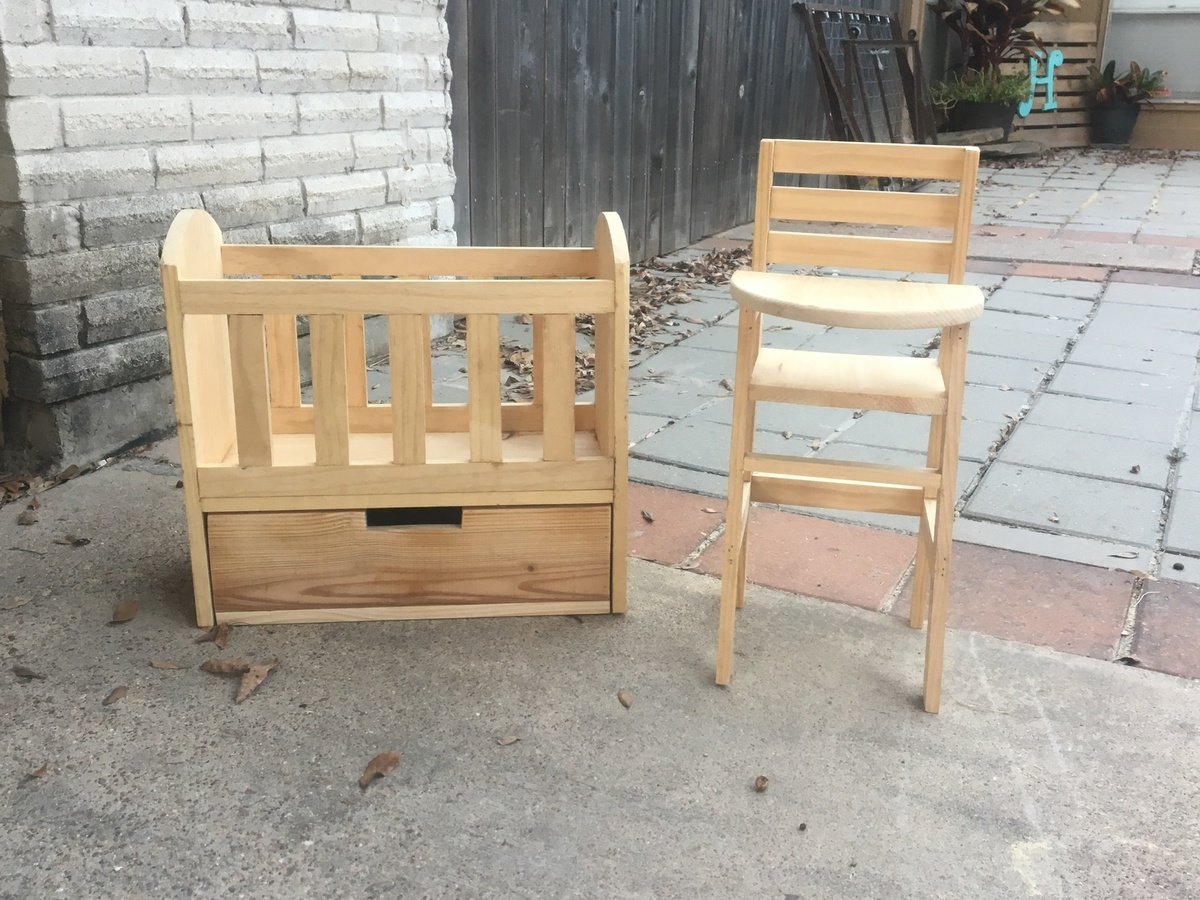
Submitted by Anonymous (not verified) on Tue, 12/25/2018 - 20:06

Love getting to watch my daughter play with stuff that i made her.

Recommended Skill Level
Intermediate

Comments

Pallet Inspired Coat Rack

Submitted by thehallway on Sat, 02/09/2019 - 15:33

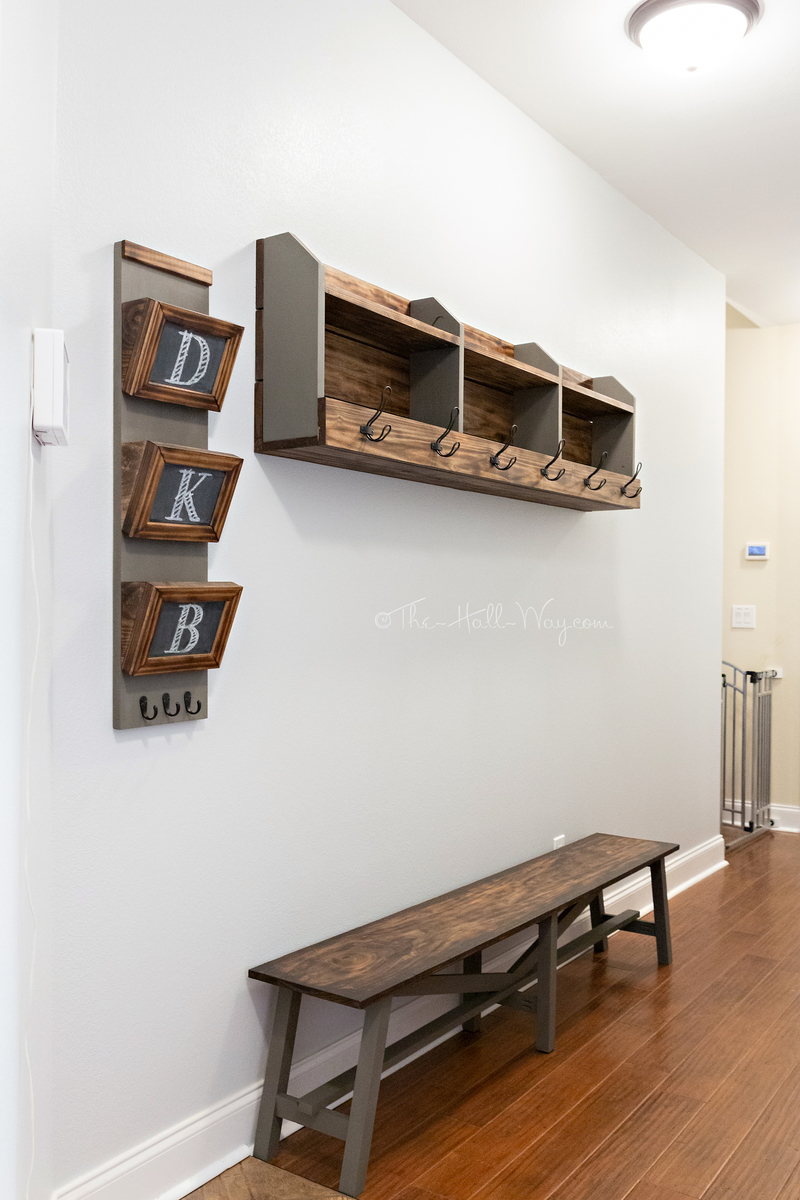
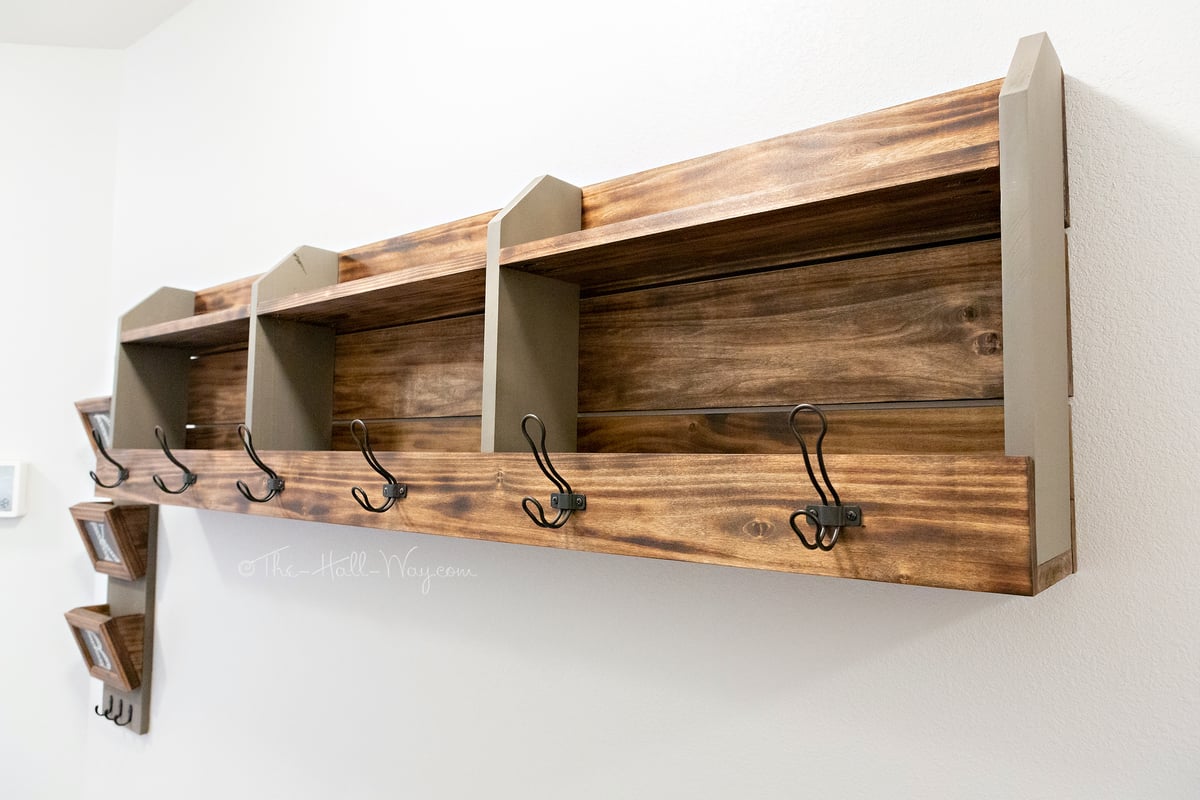
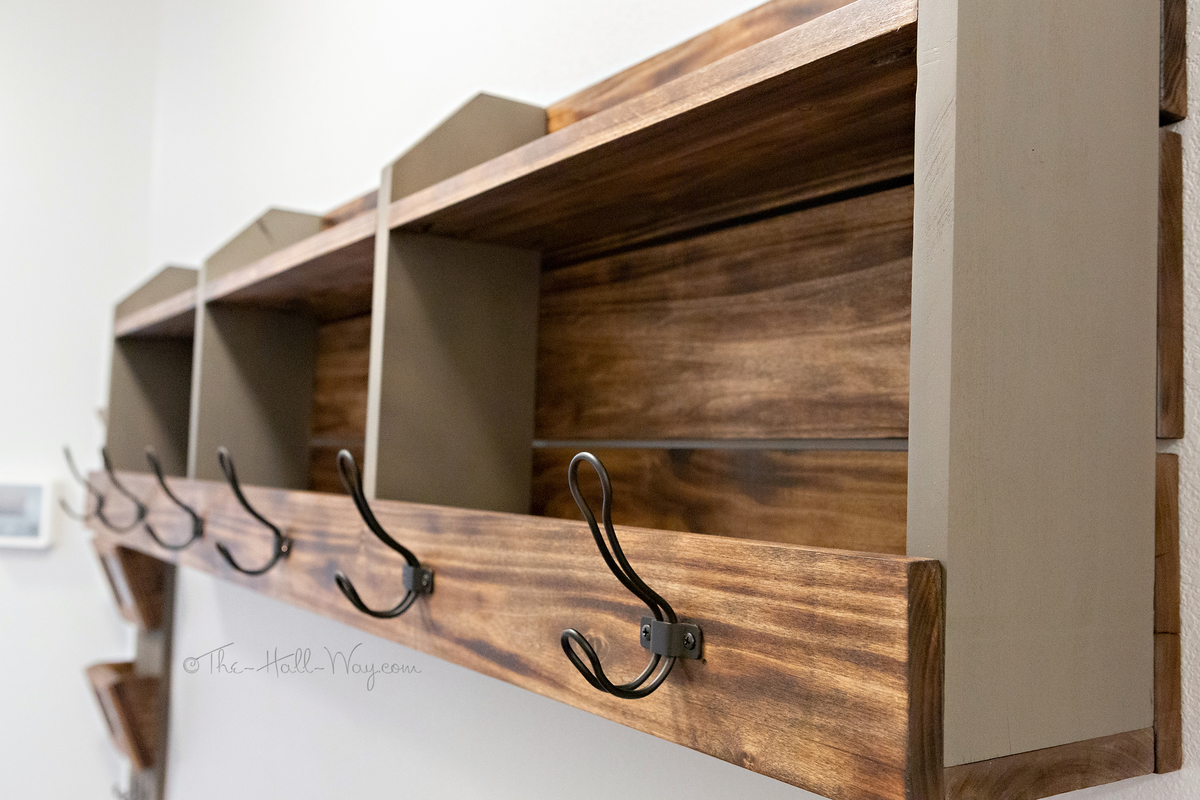
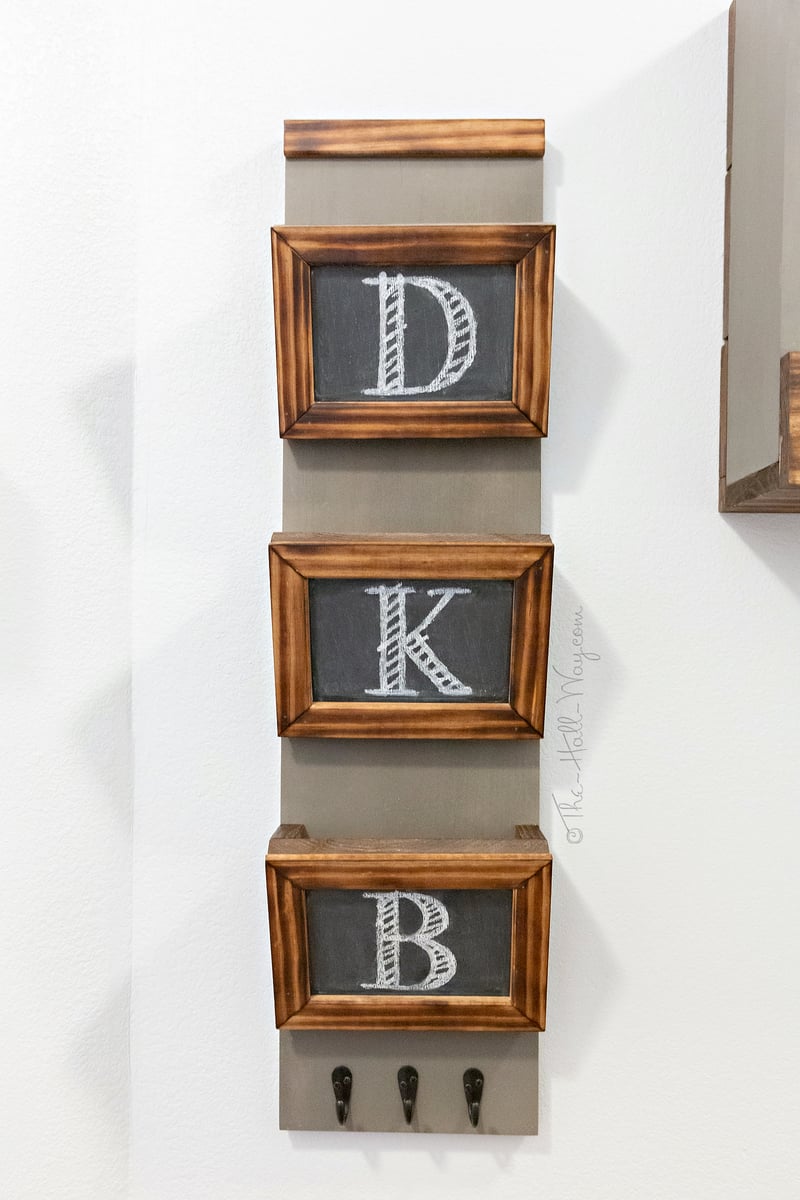
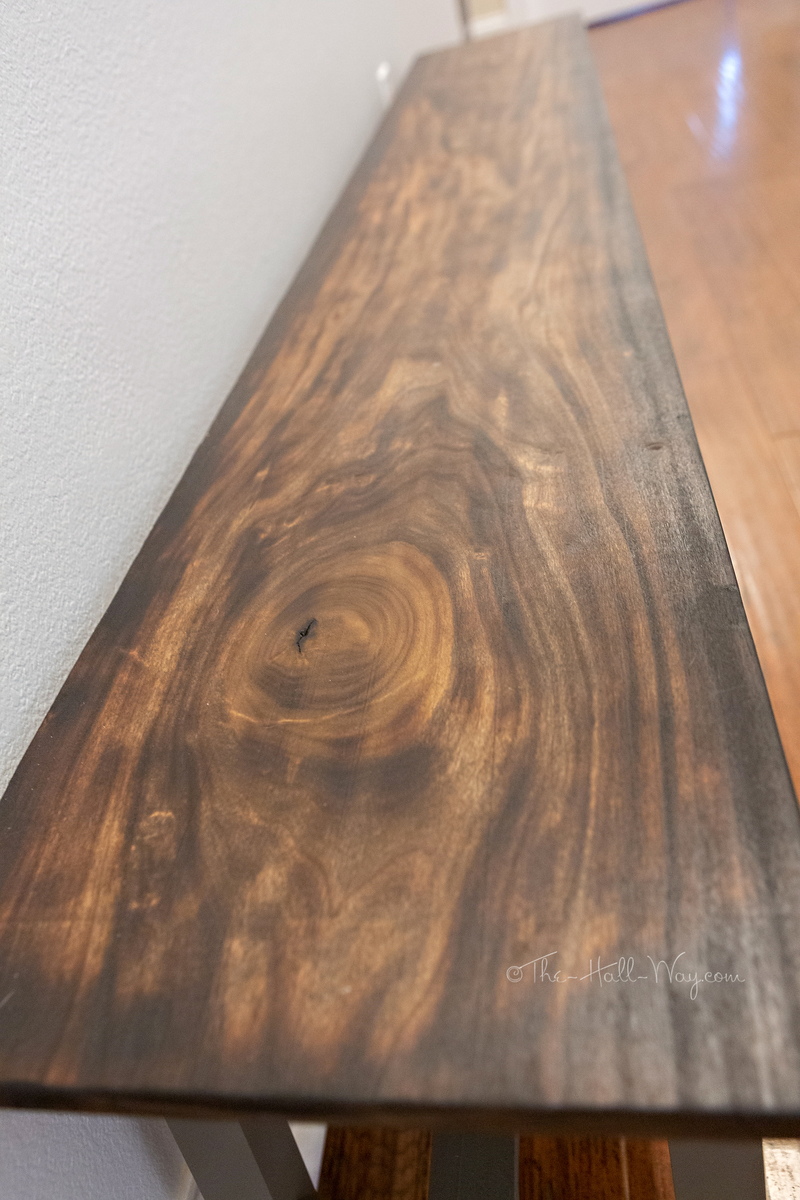
I built the coat rack along with the mail sorter and rustic bench for the long hallway to the garage since our new house doesn't have a mud room. I modified it to a length of 6'.  All but a couple pieces are made from poplar.  I burnt the stained pieces with a torch, then put a quick coat of Special Walnut on them.  The painted pieces are Rustoleum Weathered Wood.  Hooks are from Home Depot.

Estimated Cost
<$100 due to already have wood on hand
Estimated Time Investment
Weekend Project (10-20 Hours)
Finish Used
I burnt the stained pieces with a propane torch, then put a quick coat of Special Walnut on them.  The painted pieces are Rustoleum Weathered Wood. The mail sorter has Chalkboard Paint on the front pieces.
Recommended Skill Level
Beginner

Comments

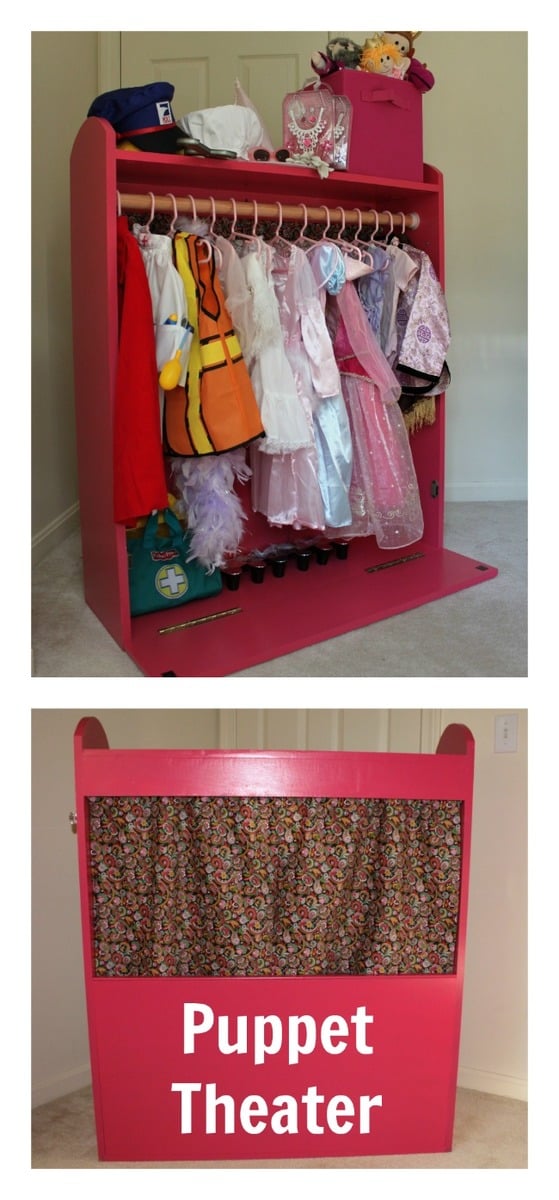
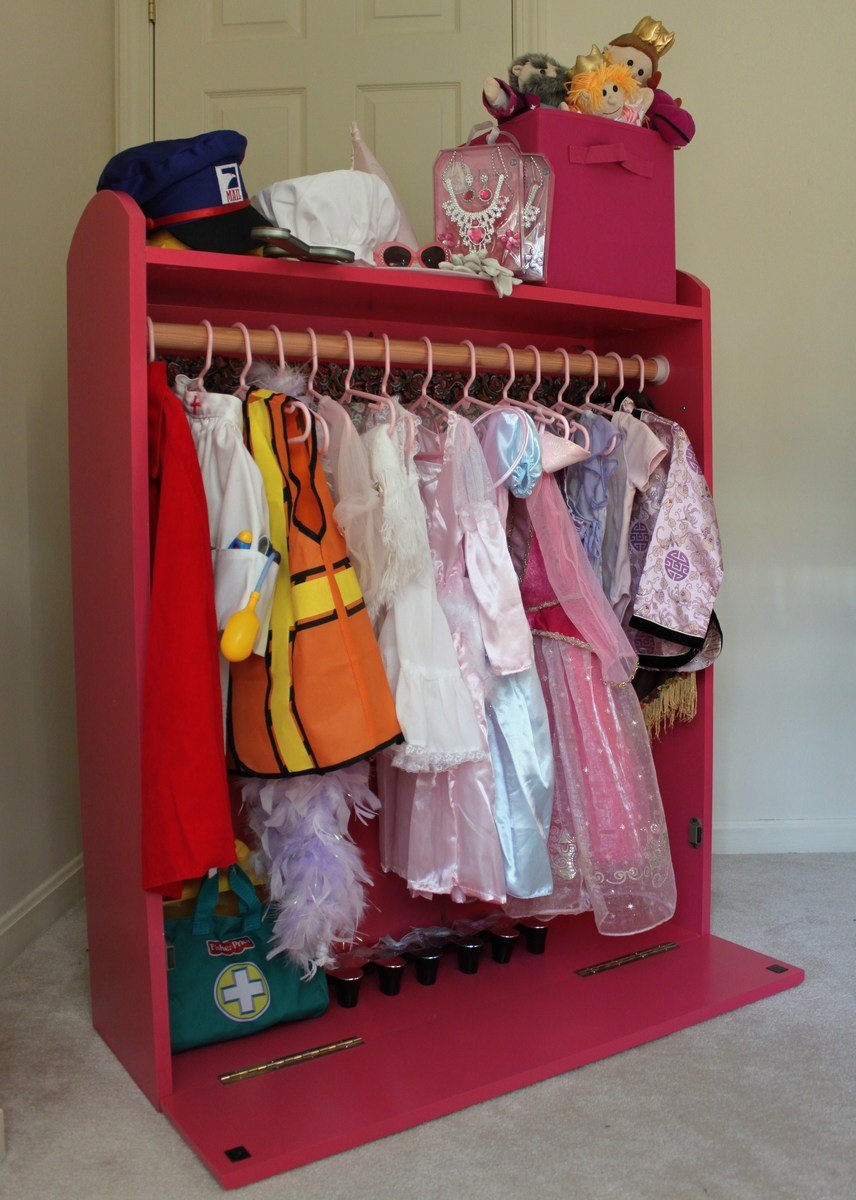
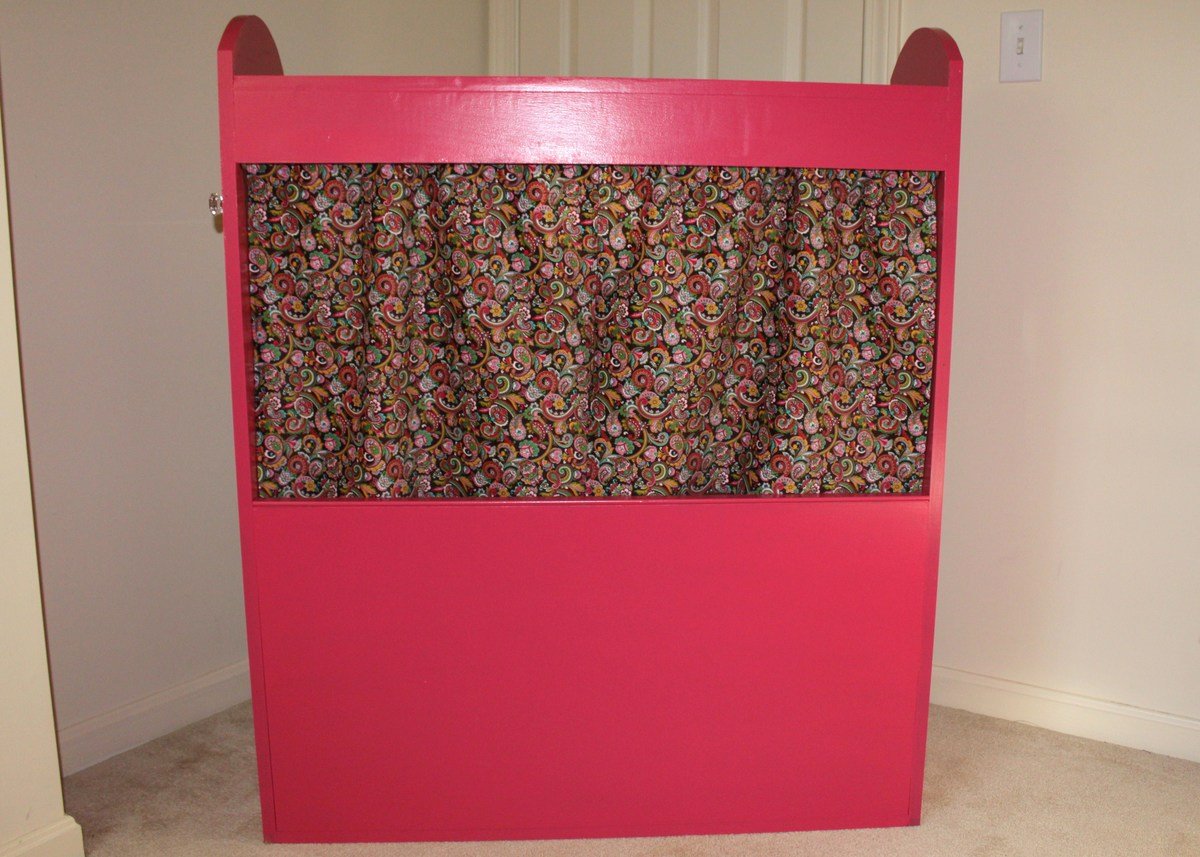
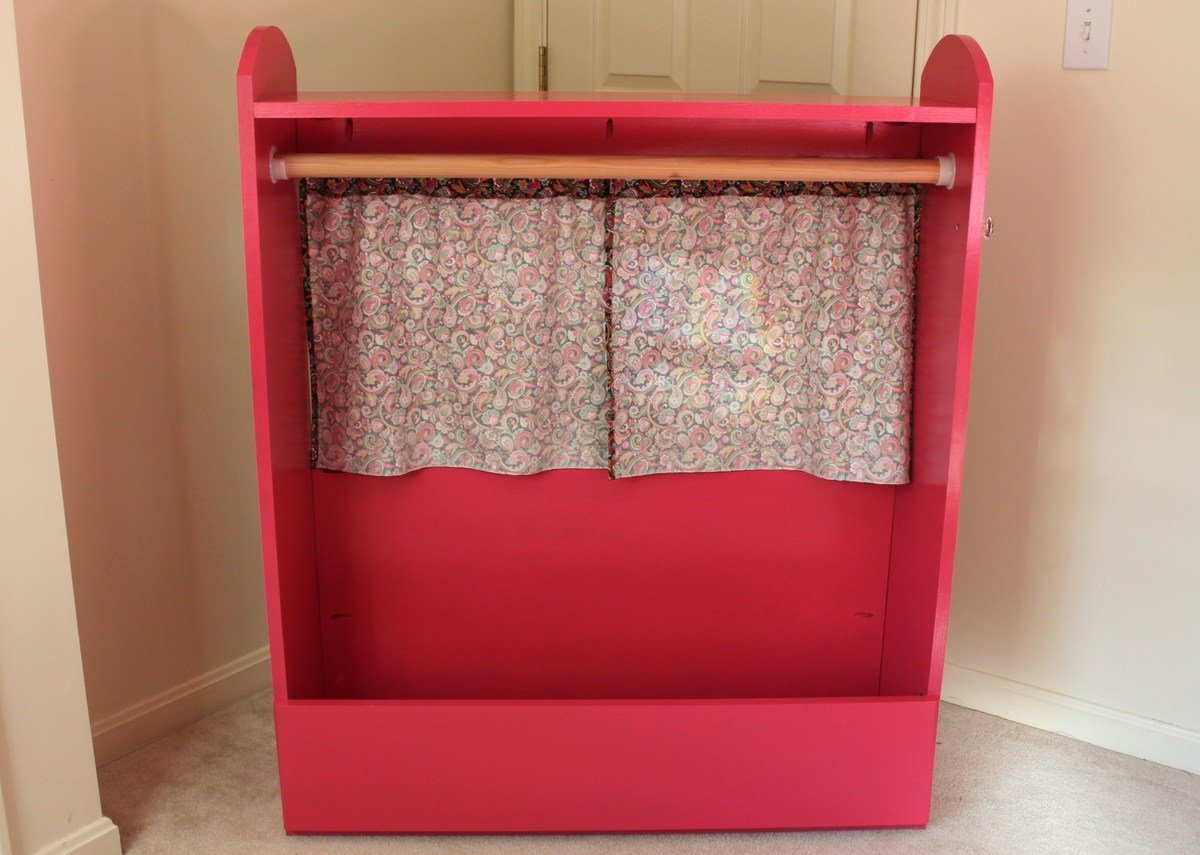
Dress Up Storage & Puppet Theater

This is a great way to double up on space & creativity! My dad and I built this dress up storage/puppet theater for my daughters using Ana White's plans with added inspiration from The Picky Apple's post about their own top shelf and theater hacks - you can view it here: http://www.thepickyapple.com/blog/2011/03/24/dress-up-storage-bin-and-p…. We added hinges and magnetic catches to the front so that the storage center can be turned around and opened to lay flat for access to the puppet theater.


Estimated Cost
$50
Estimated Time Investment
Day Project (6-9 Hours)
Finish Used
primer then two coats of Valspar semi-gloss (in some pink I can't for the life of me remember or find the chip for!)
Recommended Skill Level
Beginner

Comments

tua16273

Sun, 10/04/2015 - 12:44

Hi, I read you tweaked the plan and then did not know the dimensions of anything in the beginning. Have you gotten them since?