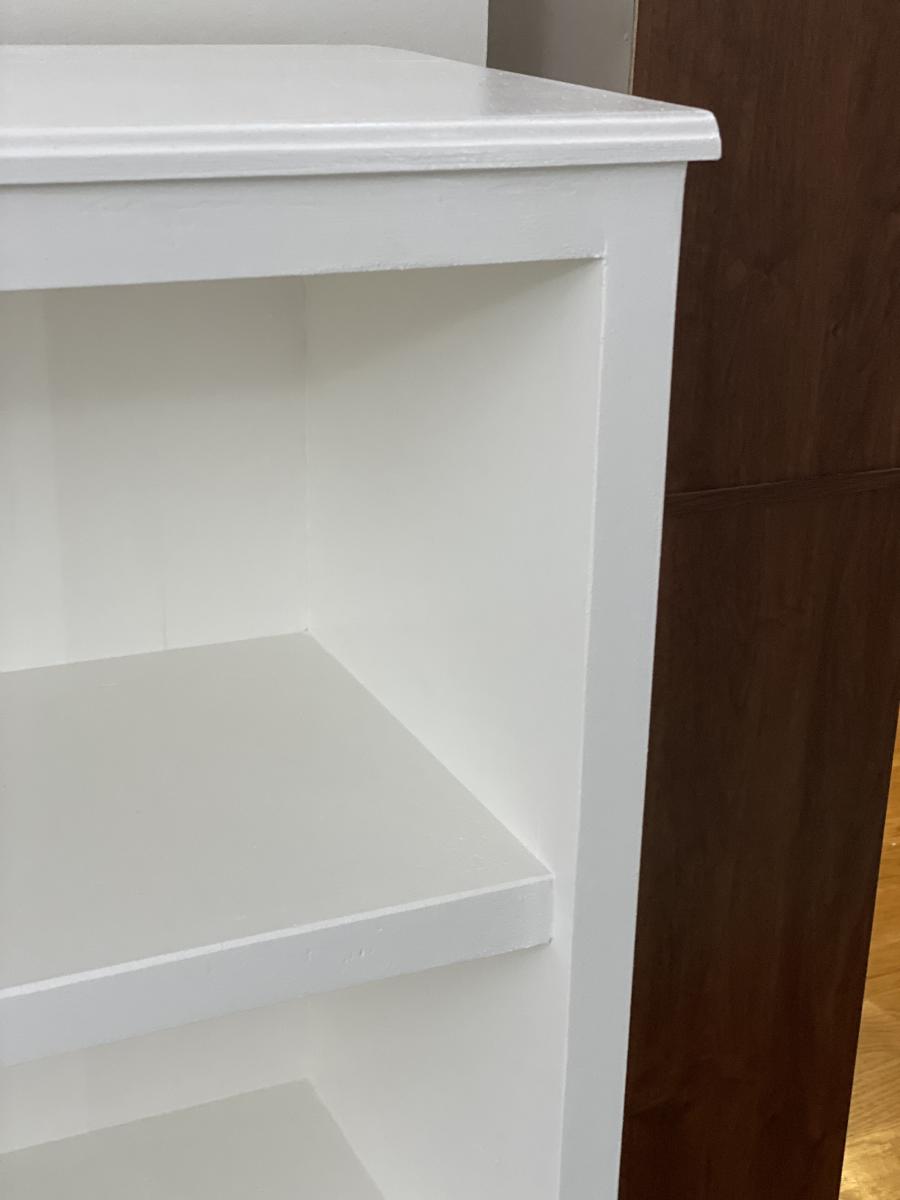
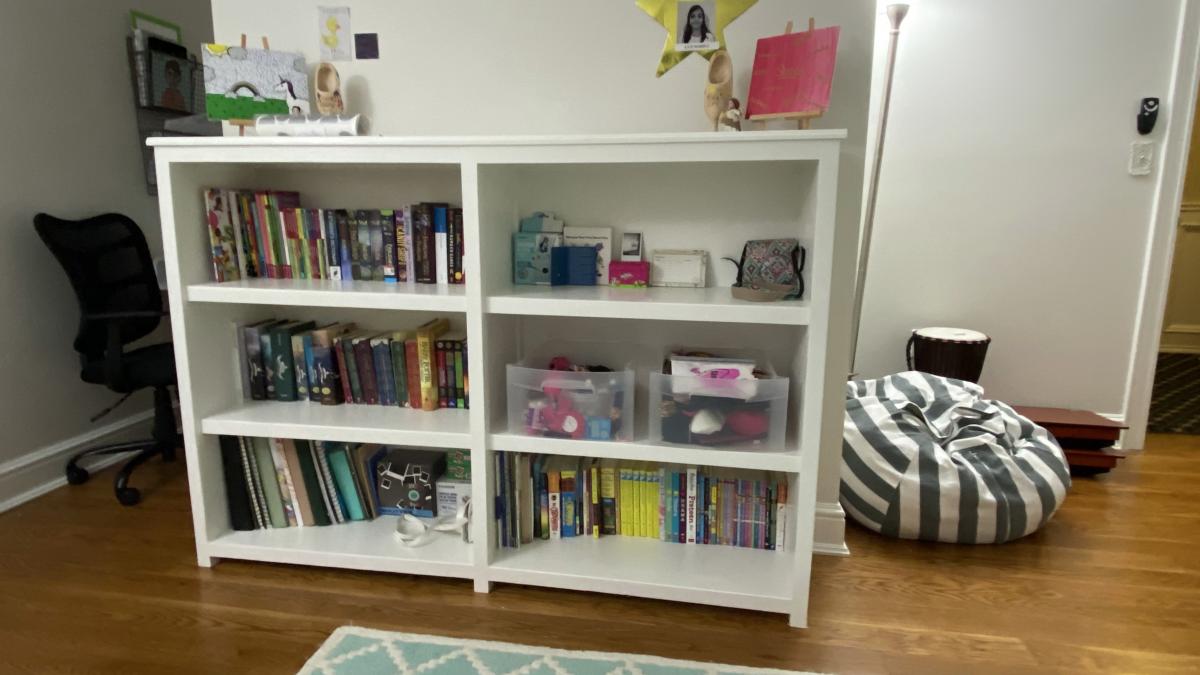
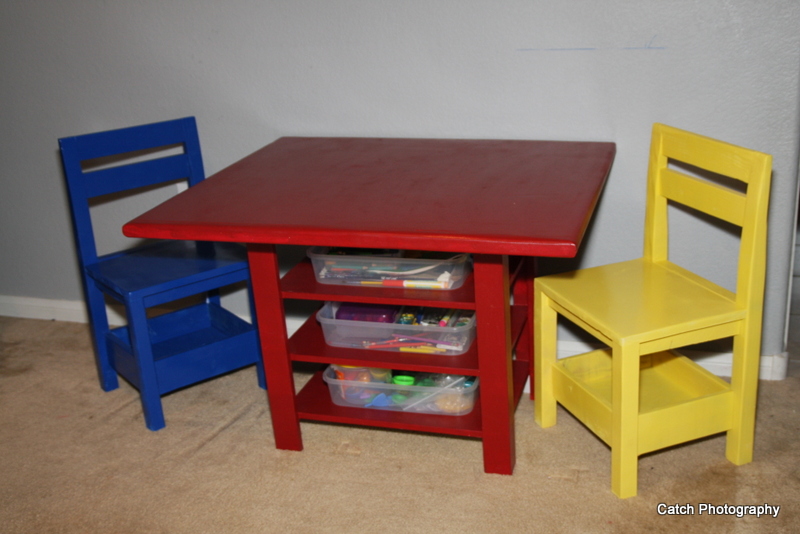
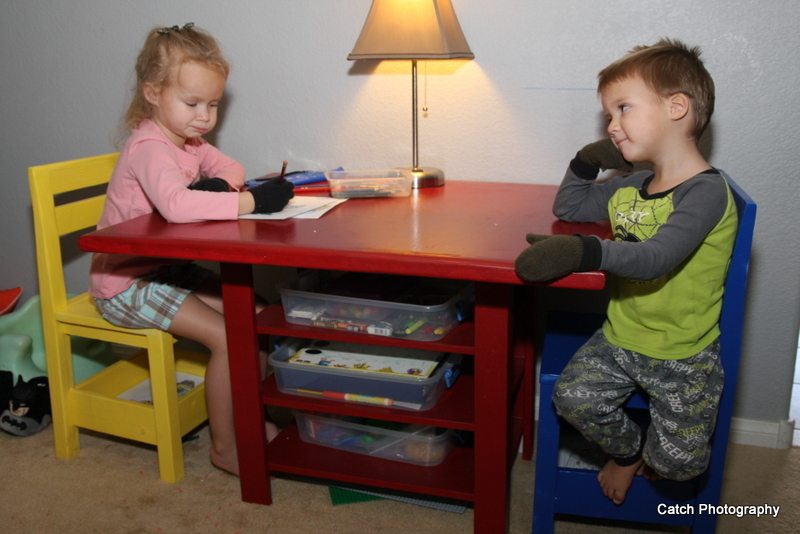
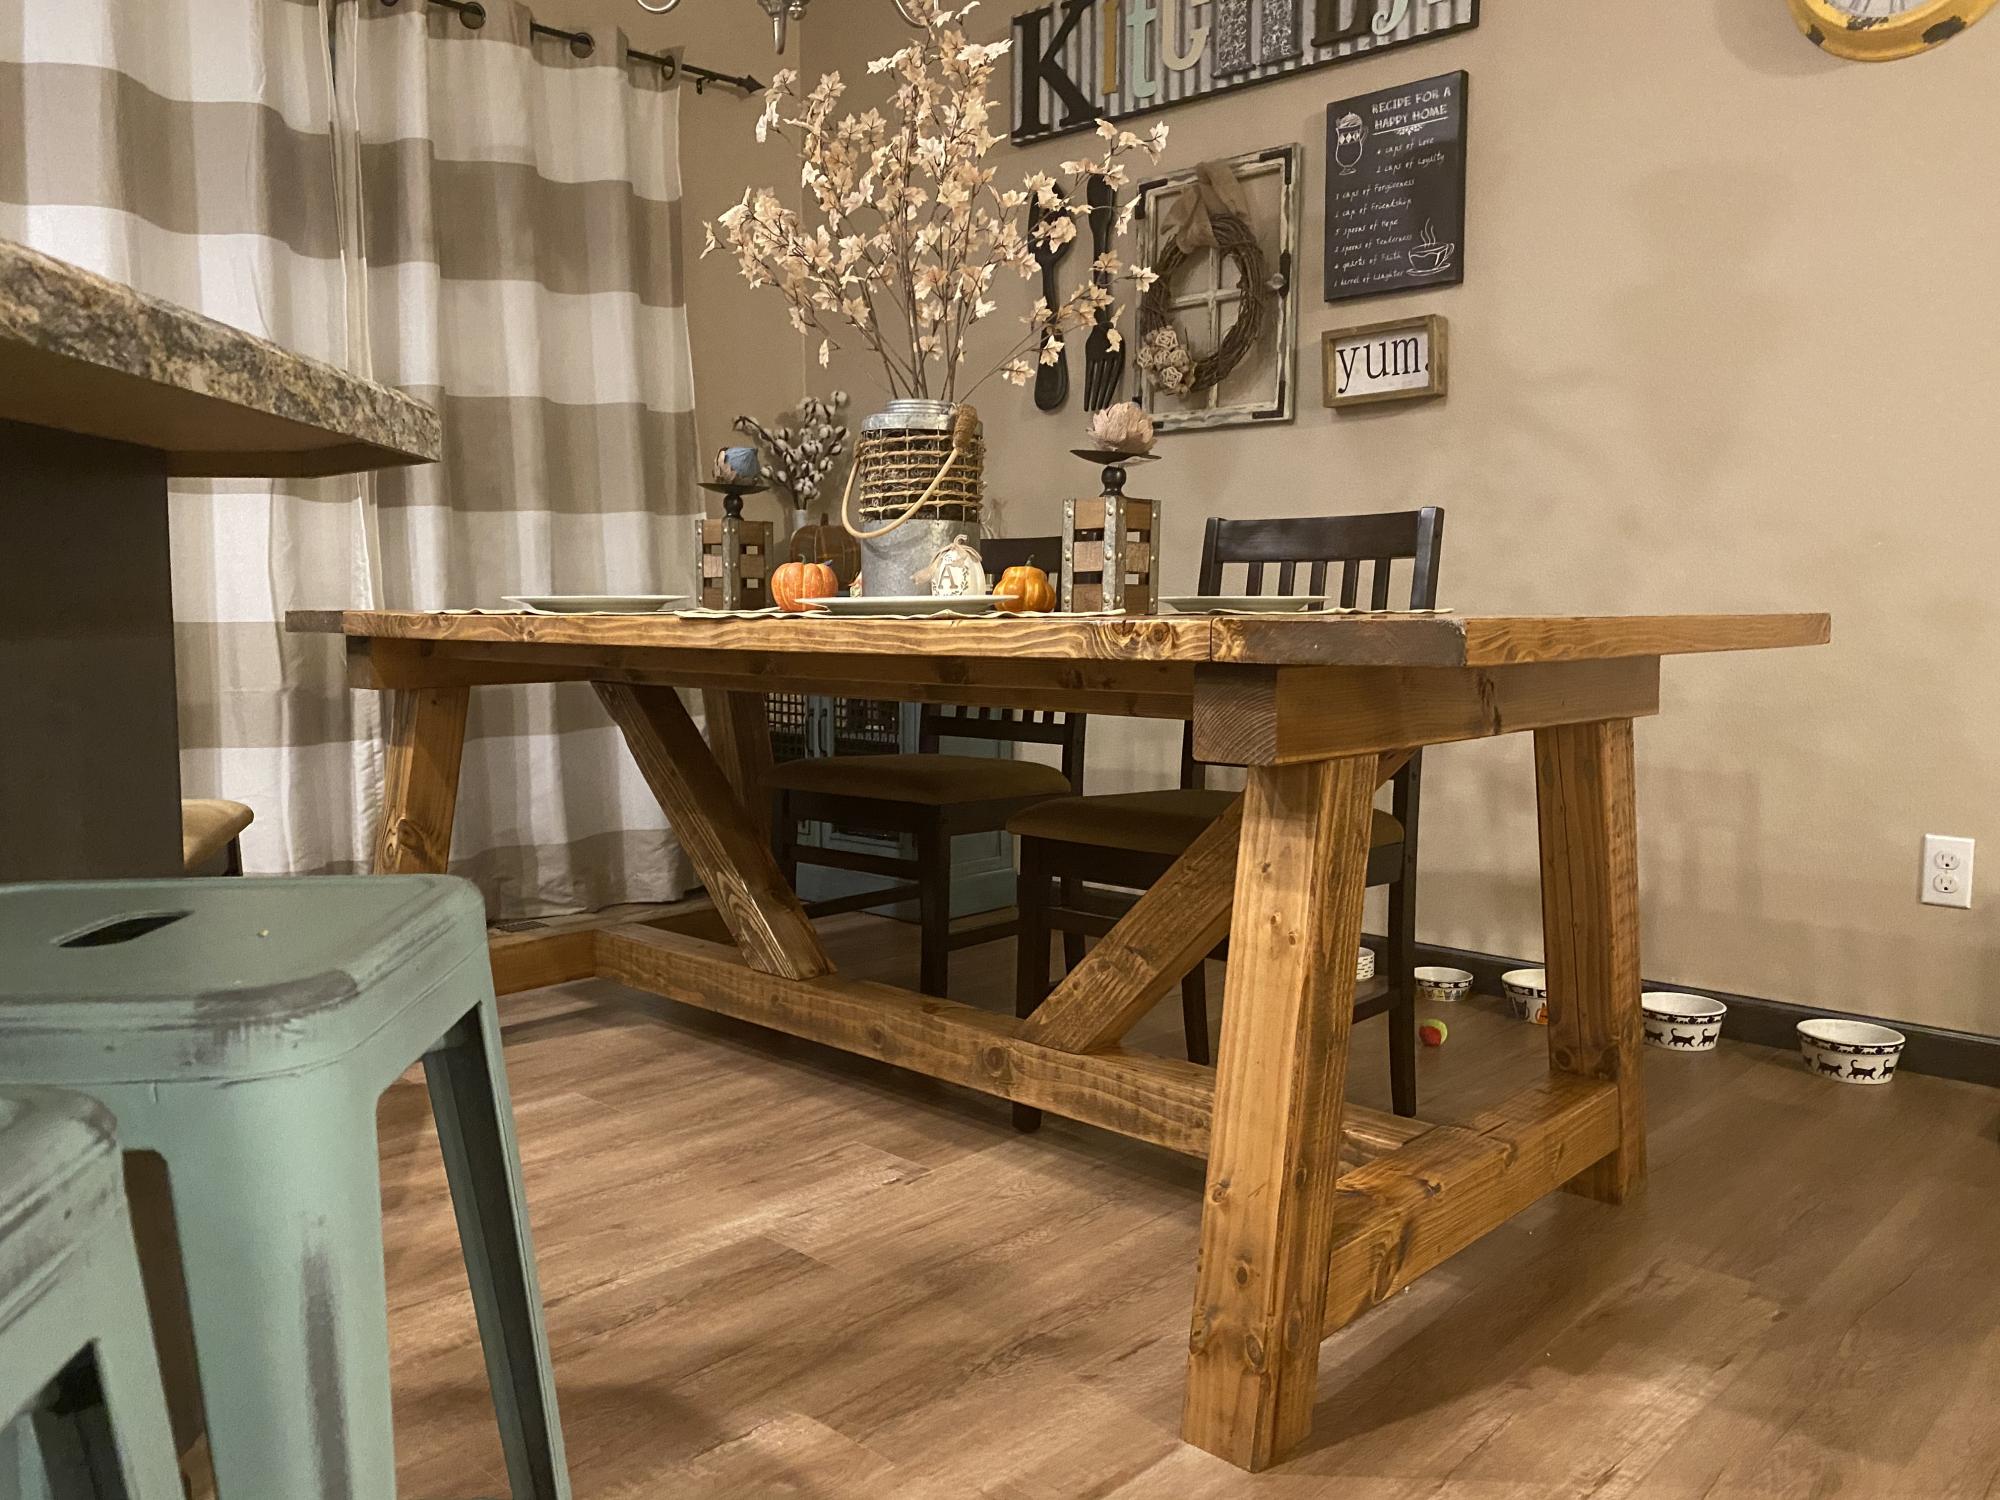
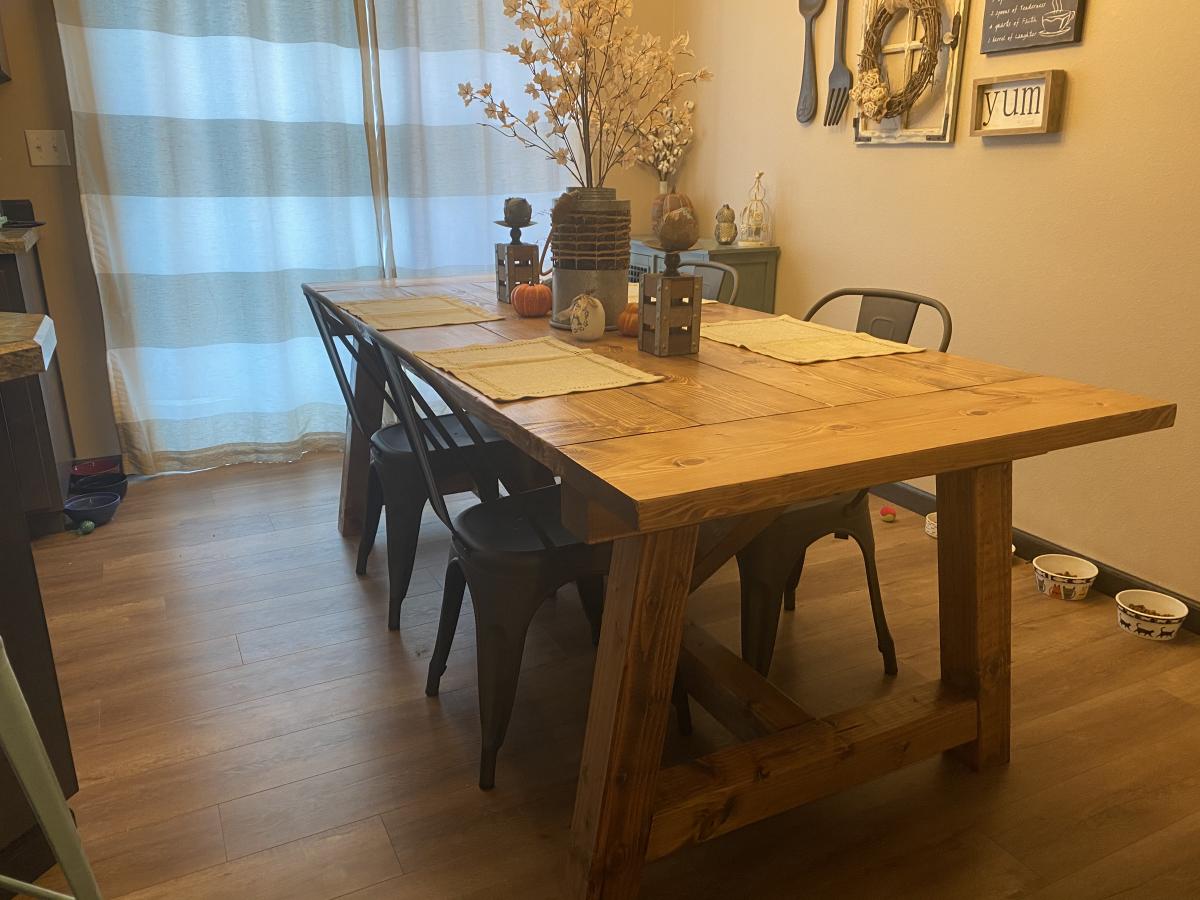
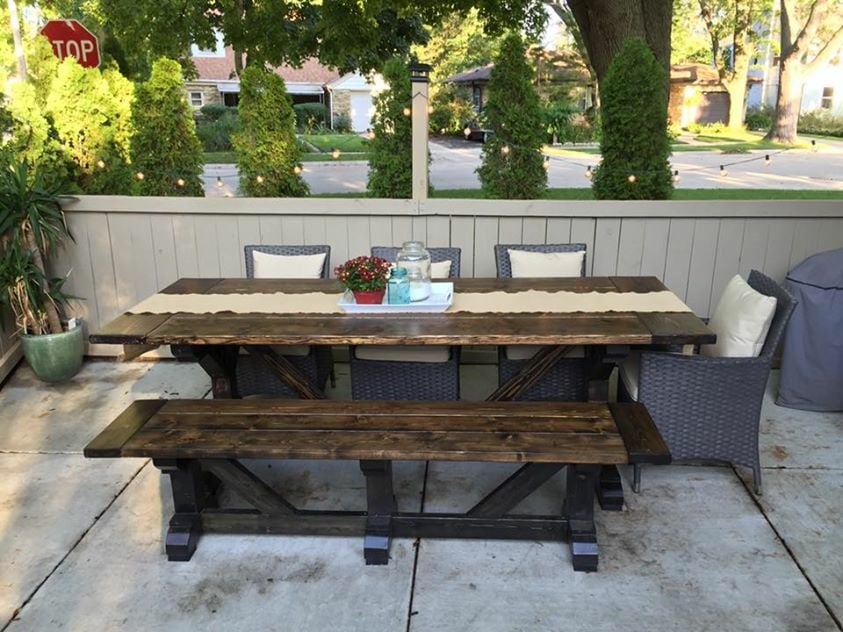
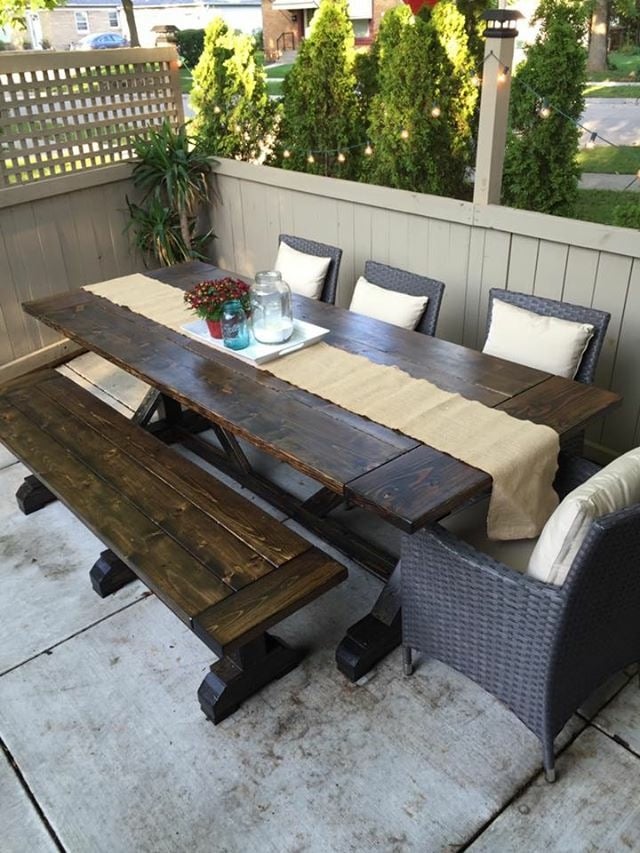
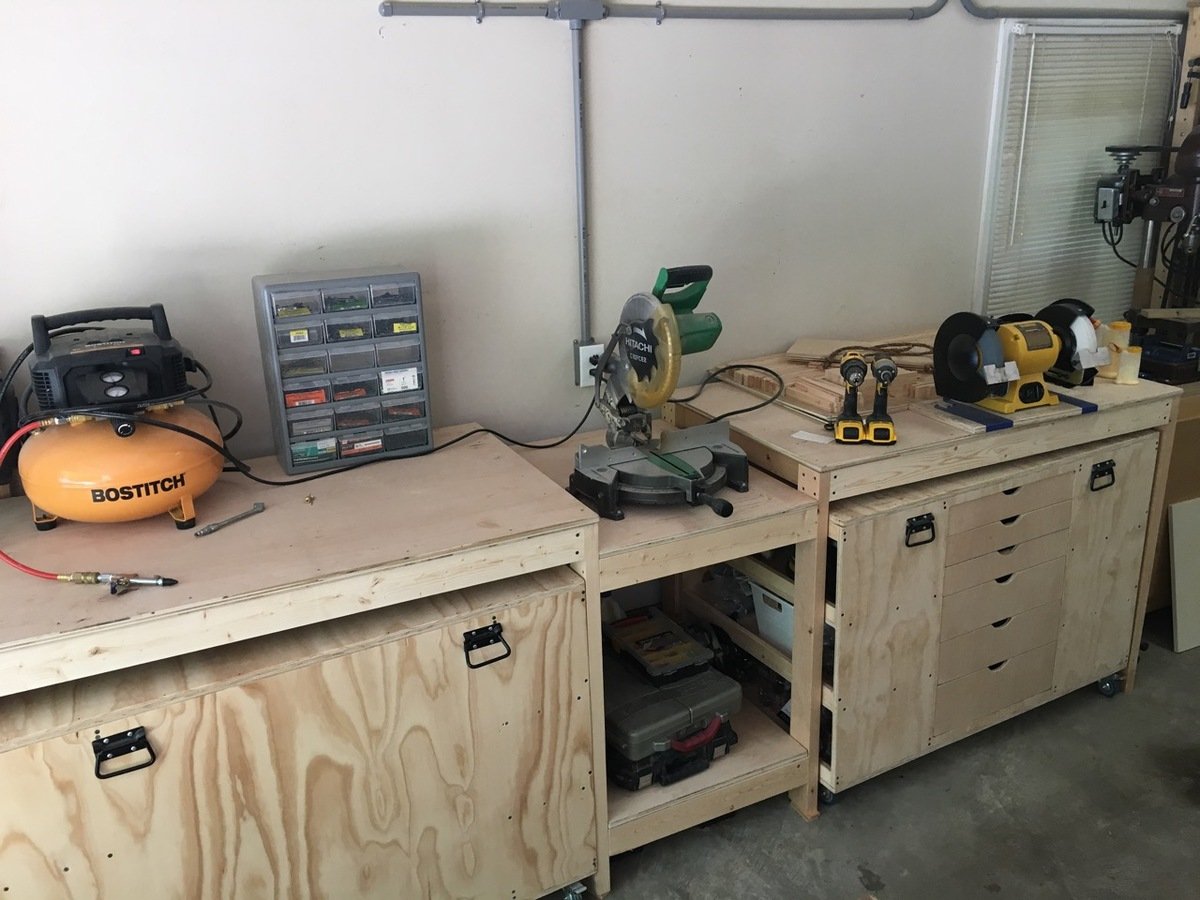
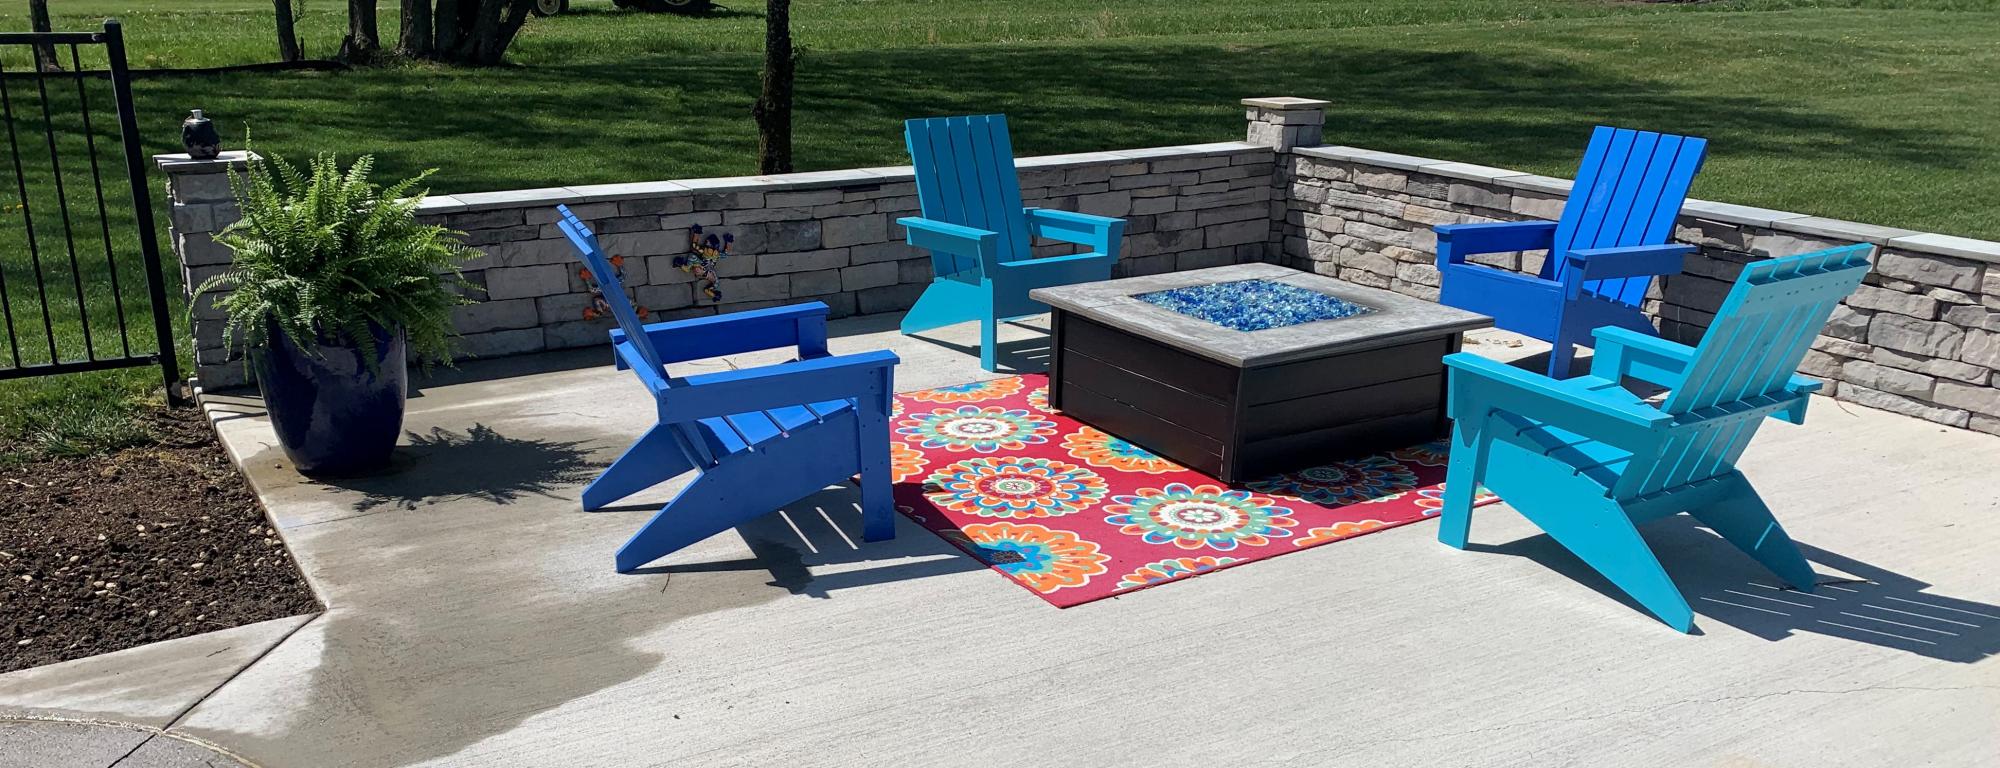
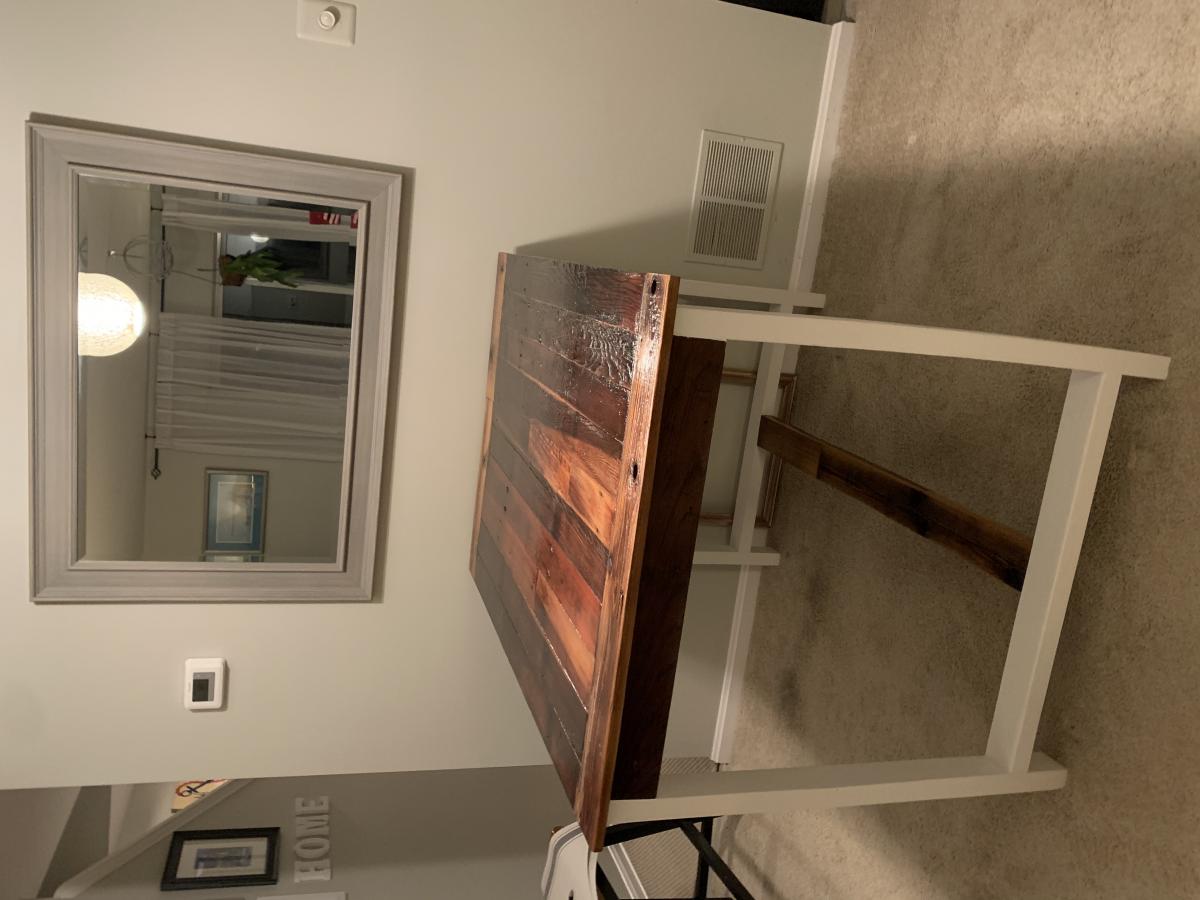
Outdoor sectional and coffee table
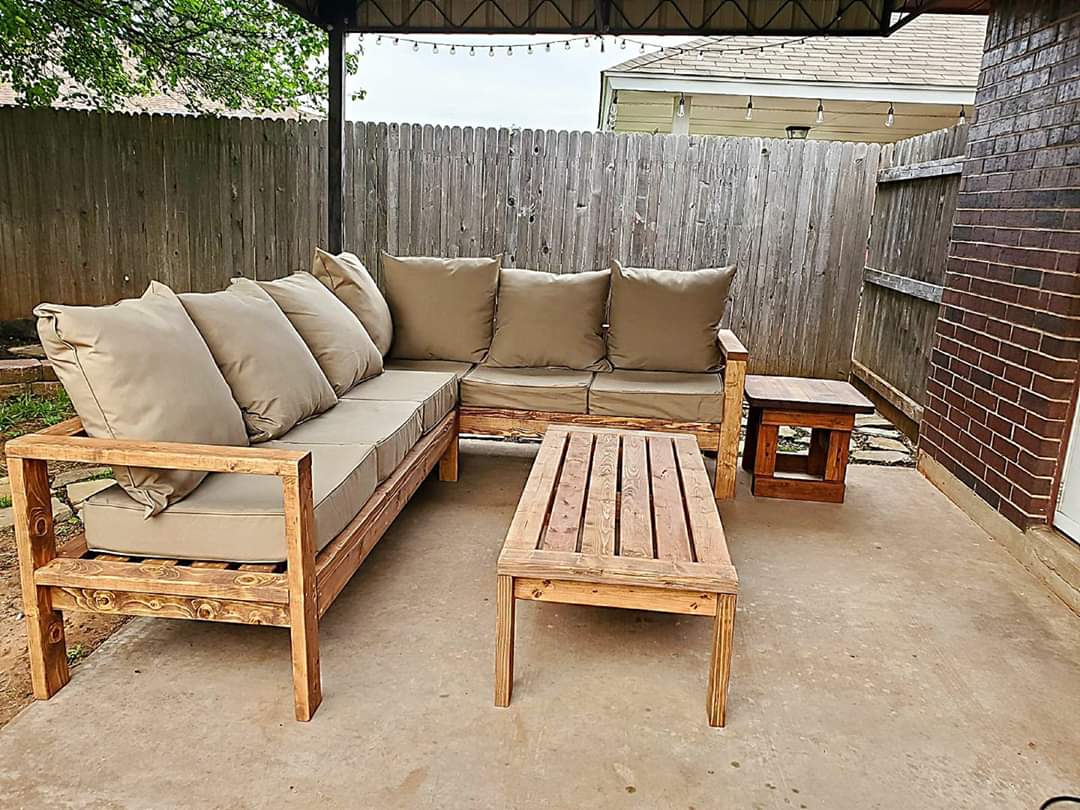
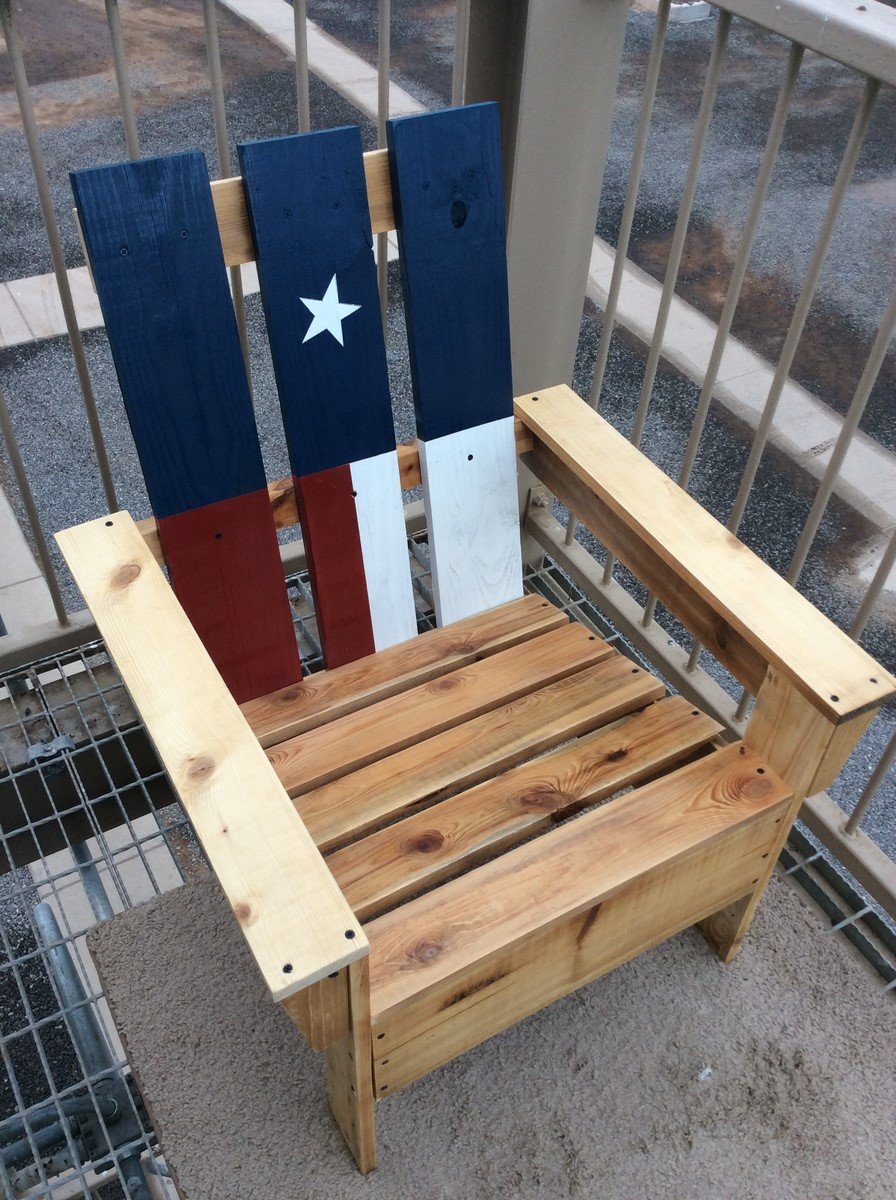
Loved these plans! Was my first project I tackled trying my hand with a new hobby of wood working to stave off quarantine craziness :-) finished project looked awesome and got me started working on other plans on the site.
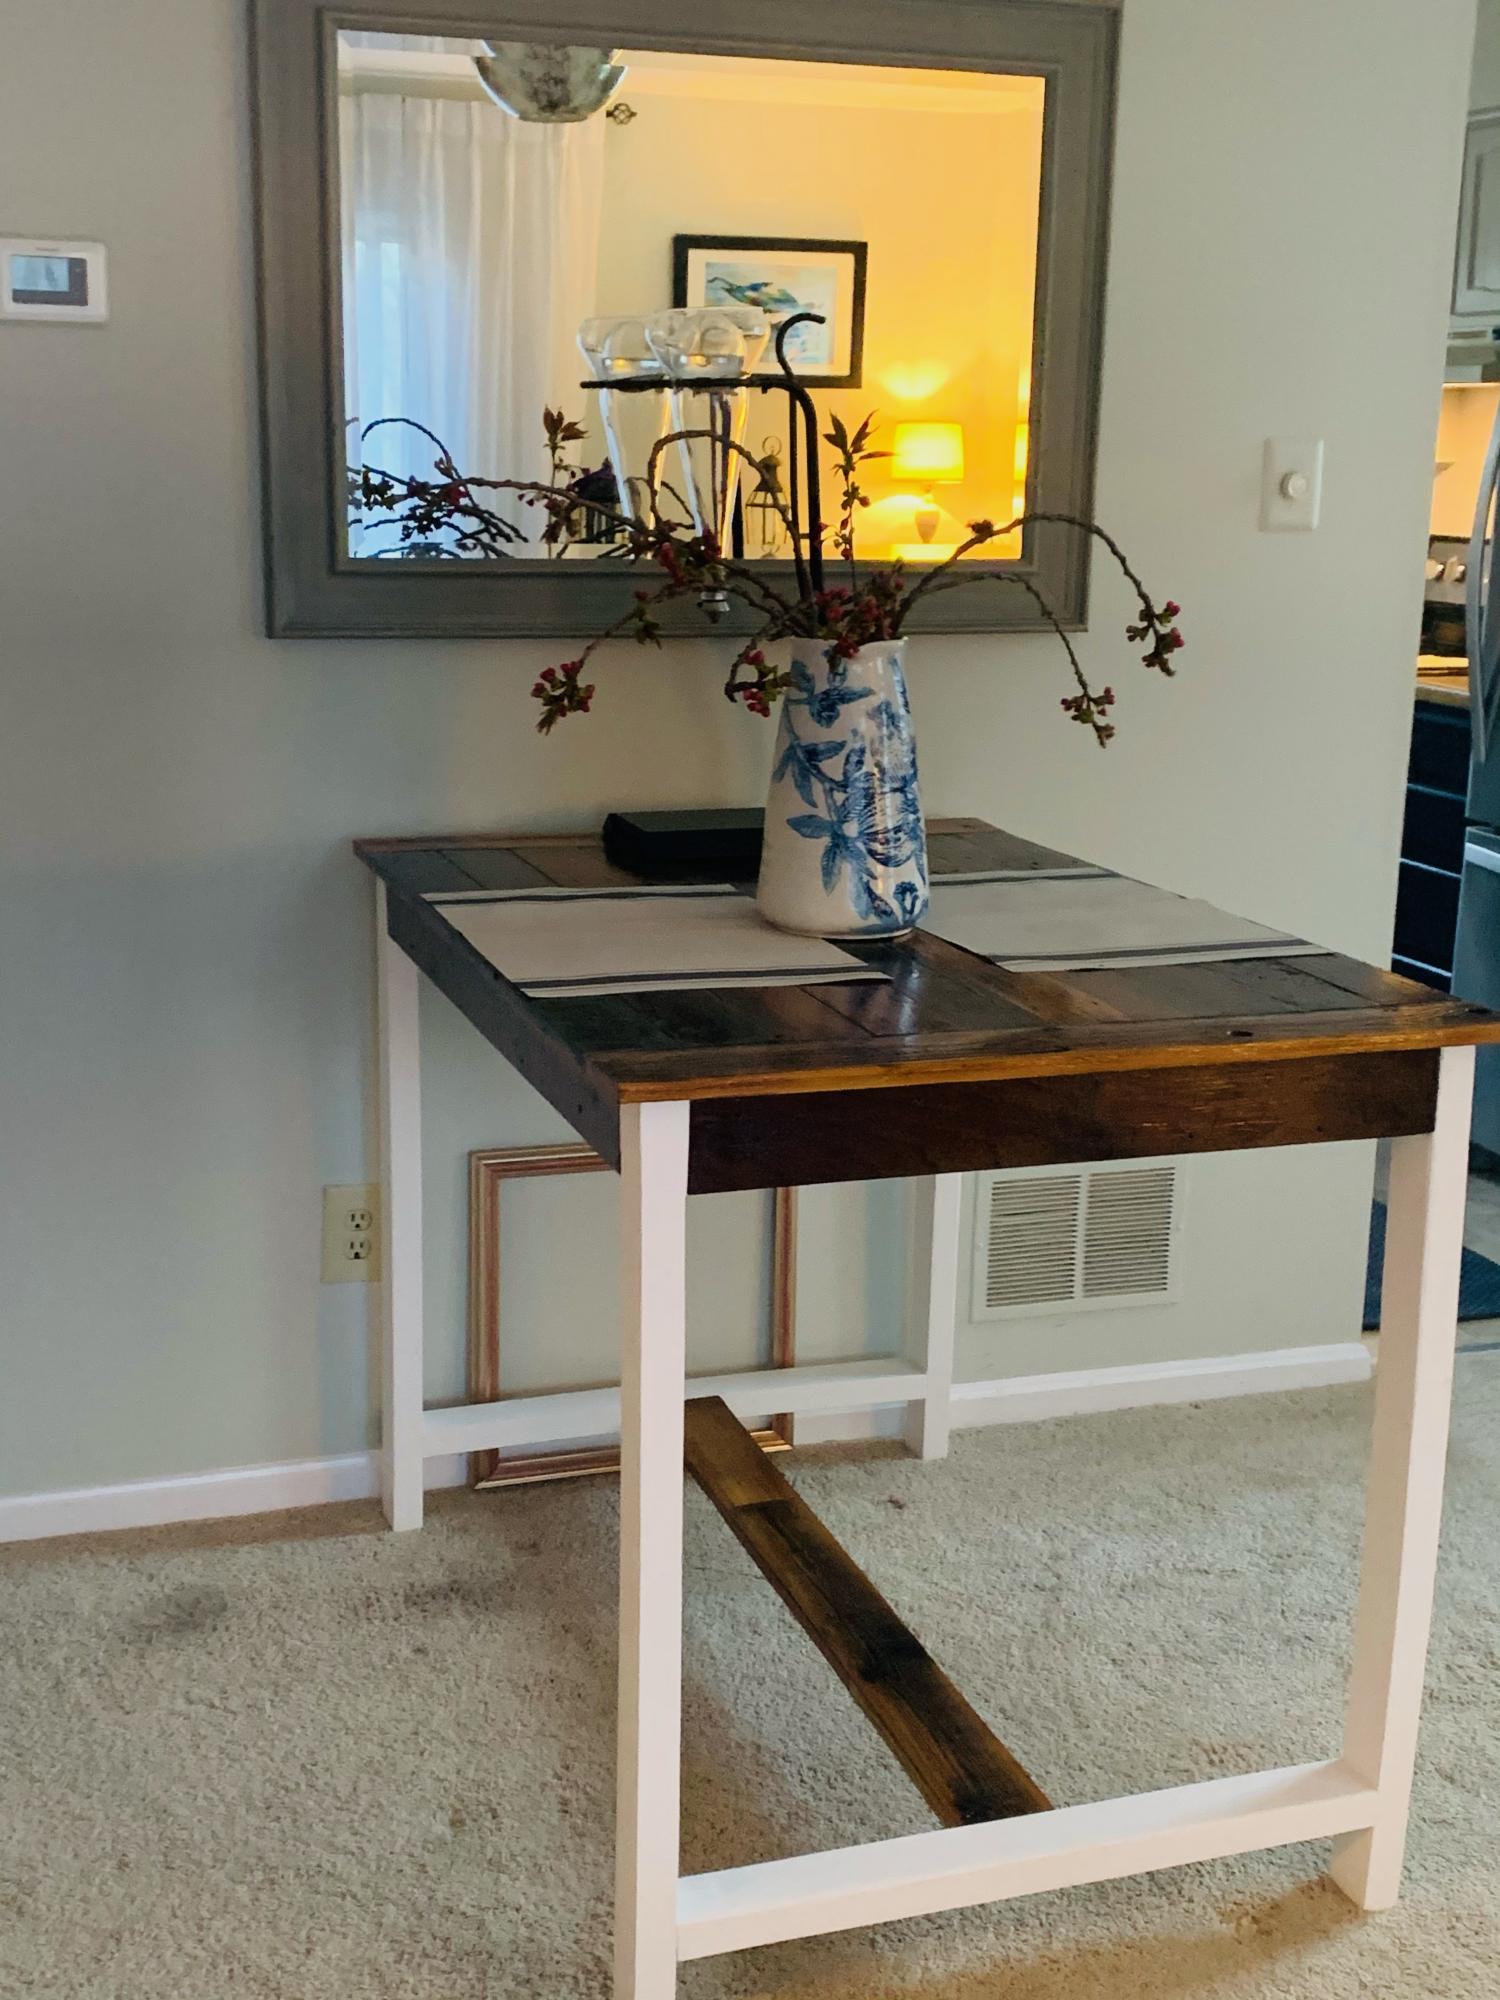
**note**
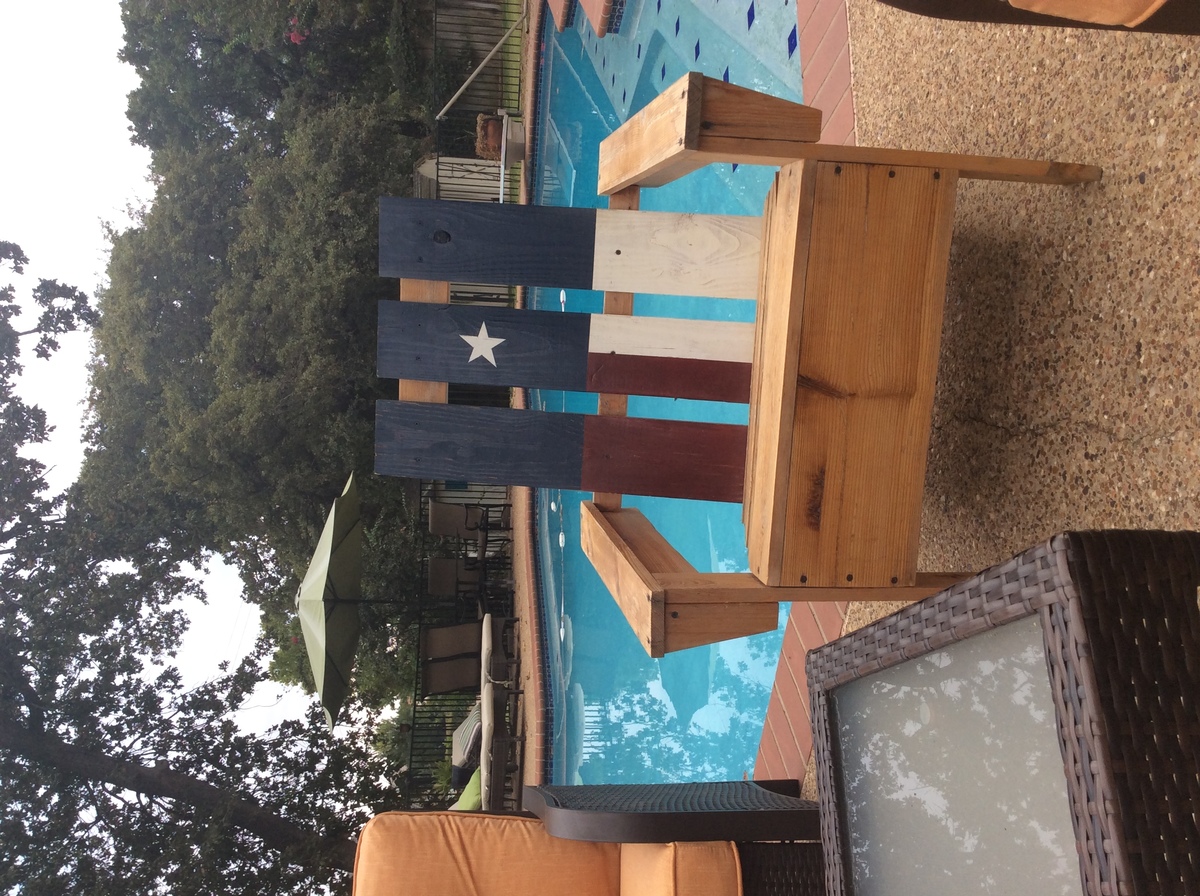
Side table was just sanded and refinished, wasn't built just tried to match.
Built from Plan(s)
Estimated Cost
400
Estimated Time Investment
Weekend Project (10-20 Hours)
Recommended Skill Level
Beginner