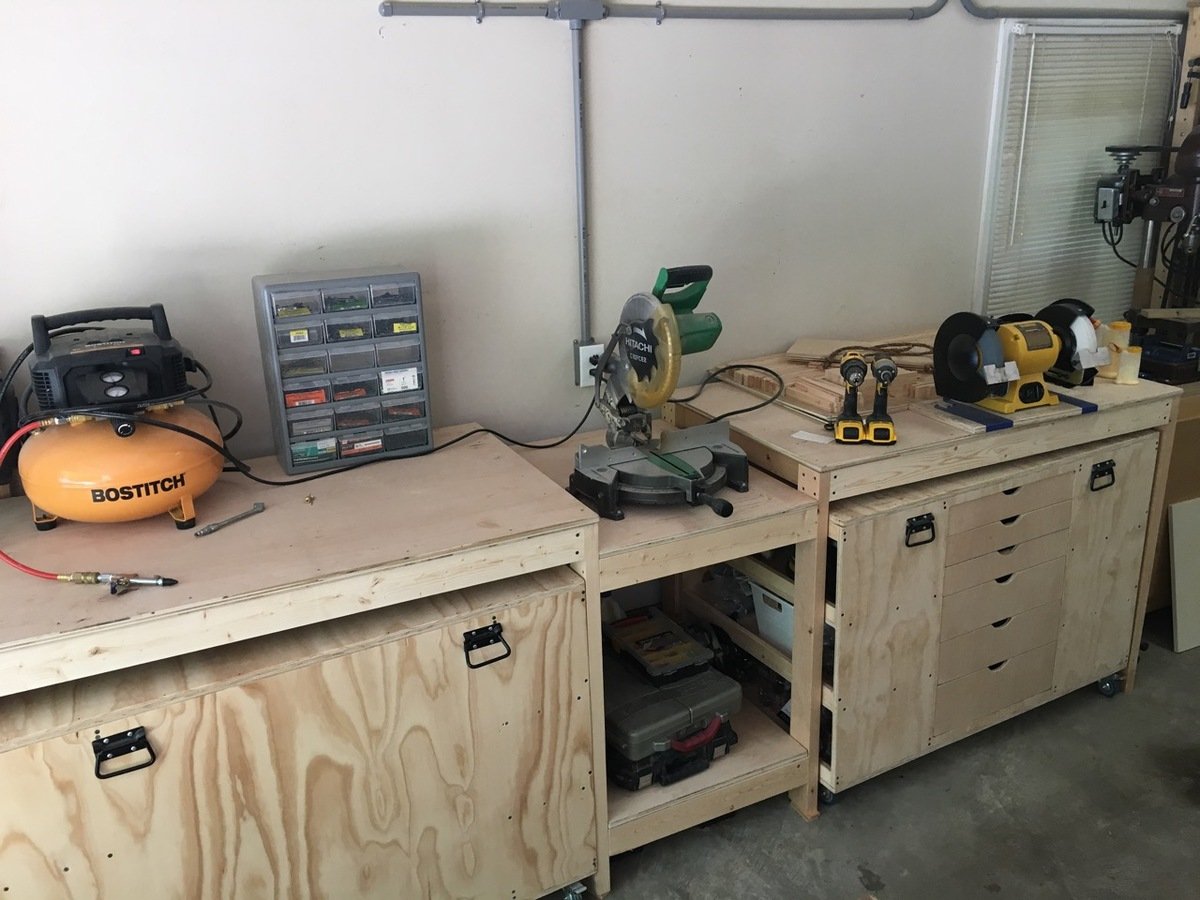
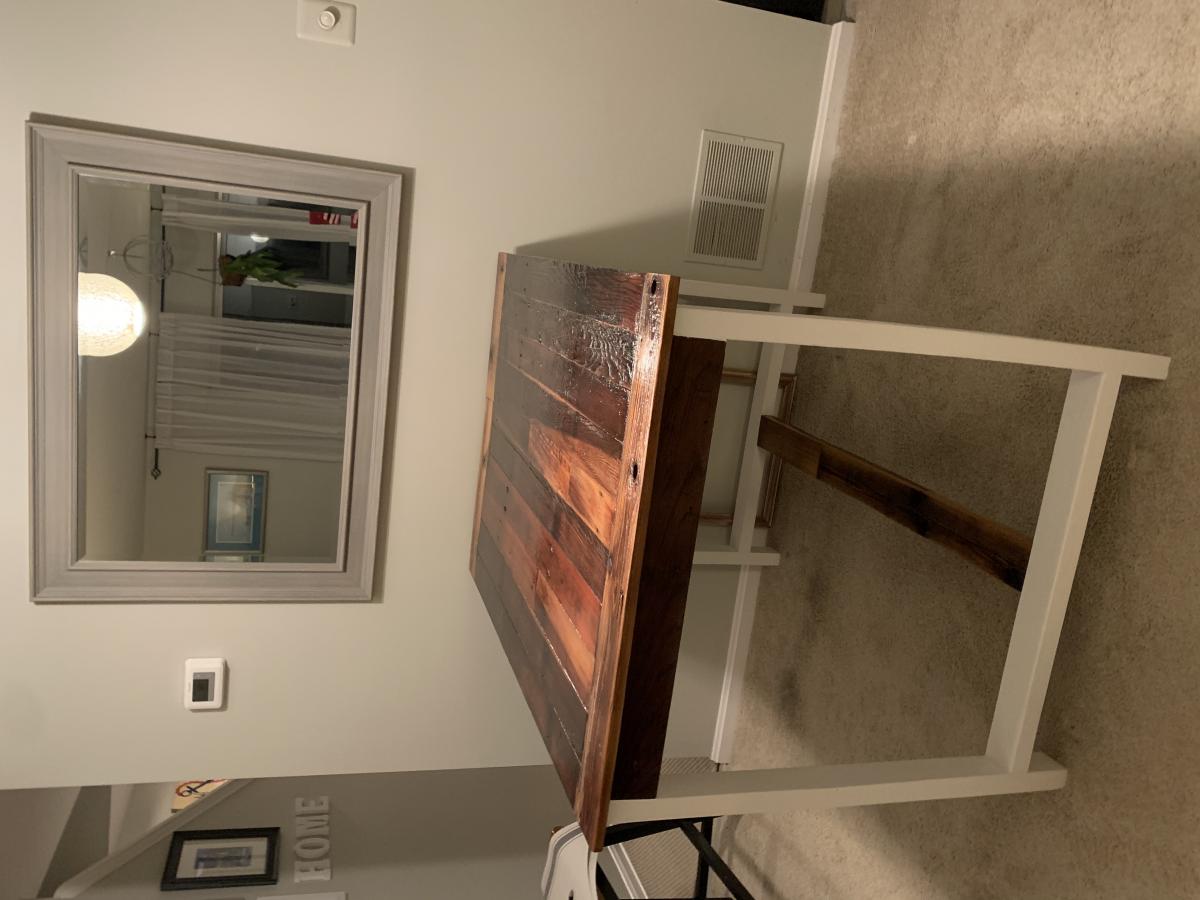
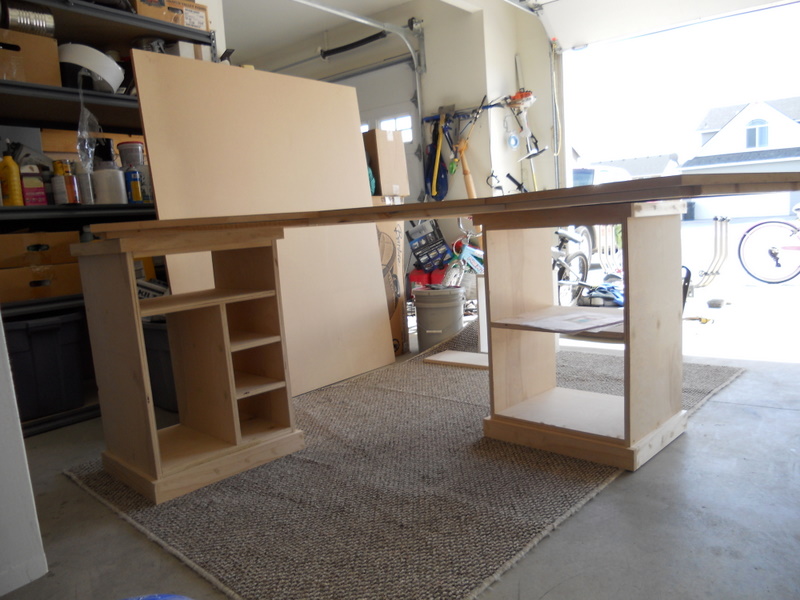
I'm so happy that I found the plans for Ana's miter stand and rolling carts! It was just what I needed for my garage shop... so everything can be organized and stored compactly but things can pull open and expand when I have a project (which is all the time, actually).
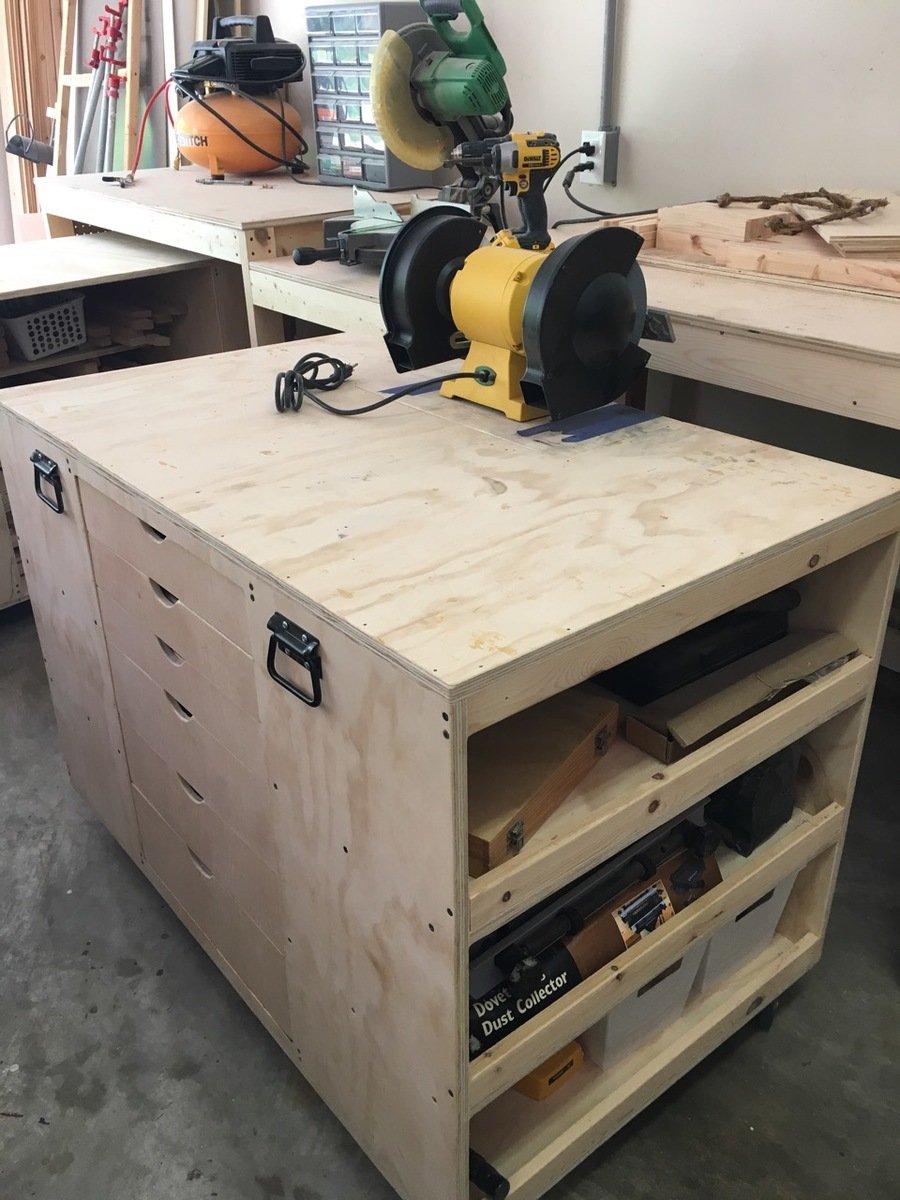
The actual miter stand was super easy to build - the carts took a few days working non-stop (when the kids permitted).
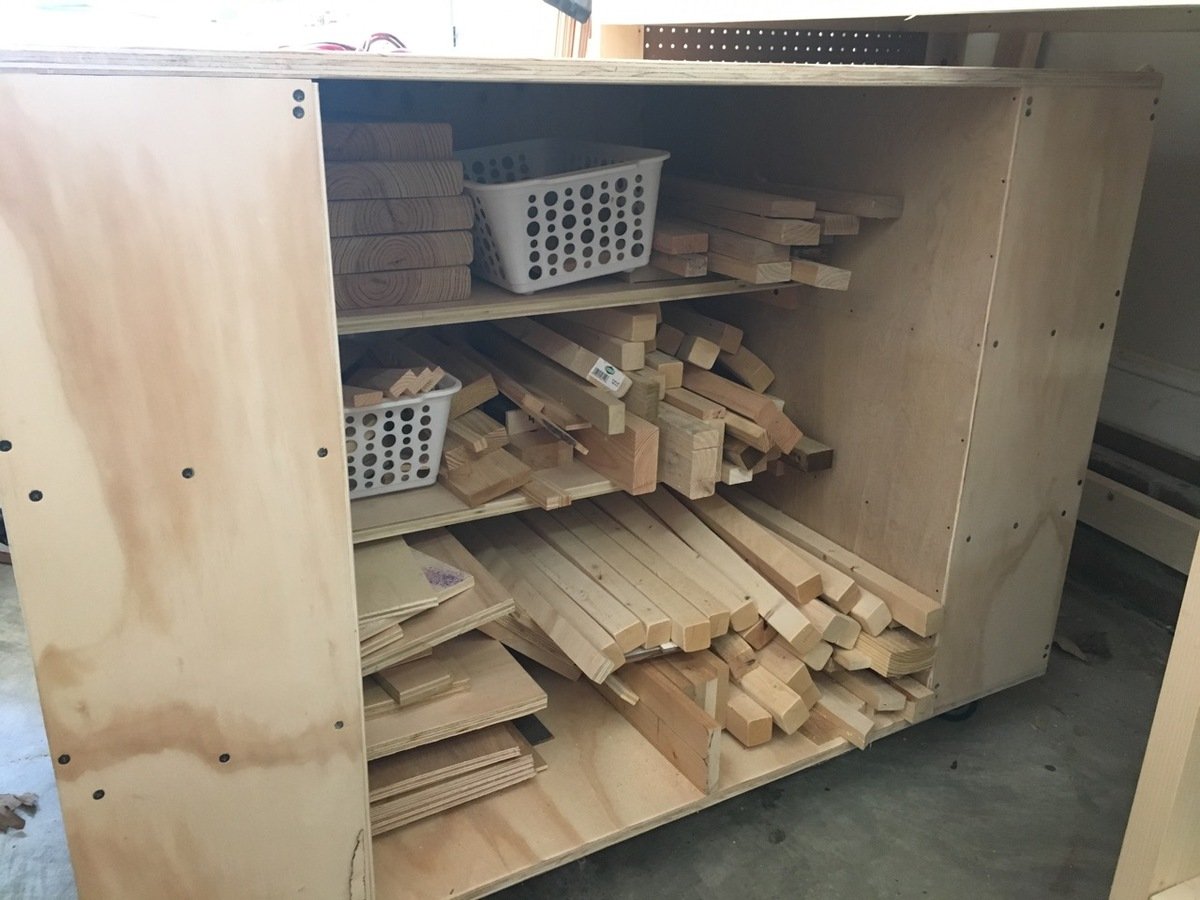
I made a few obvious changes from the plans:
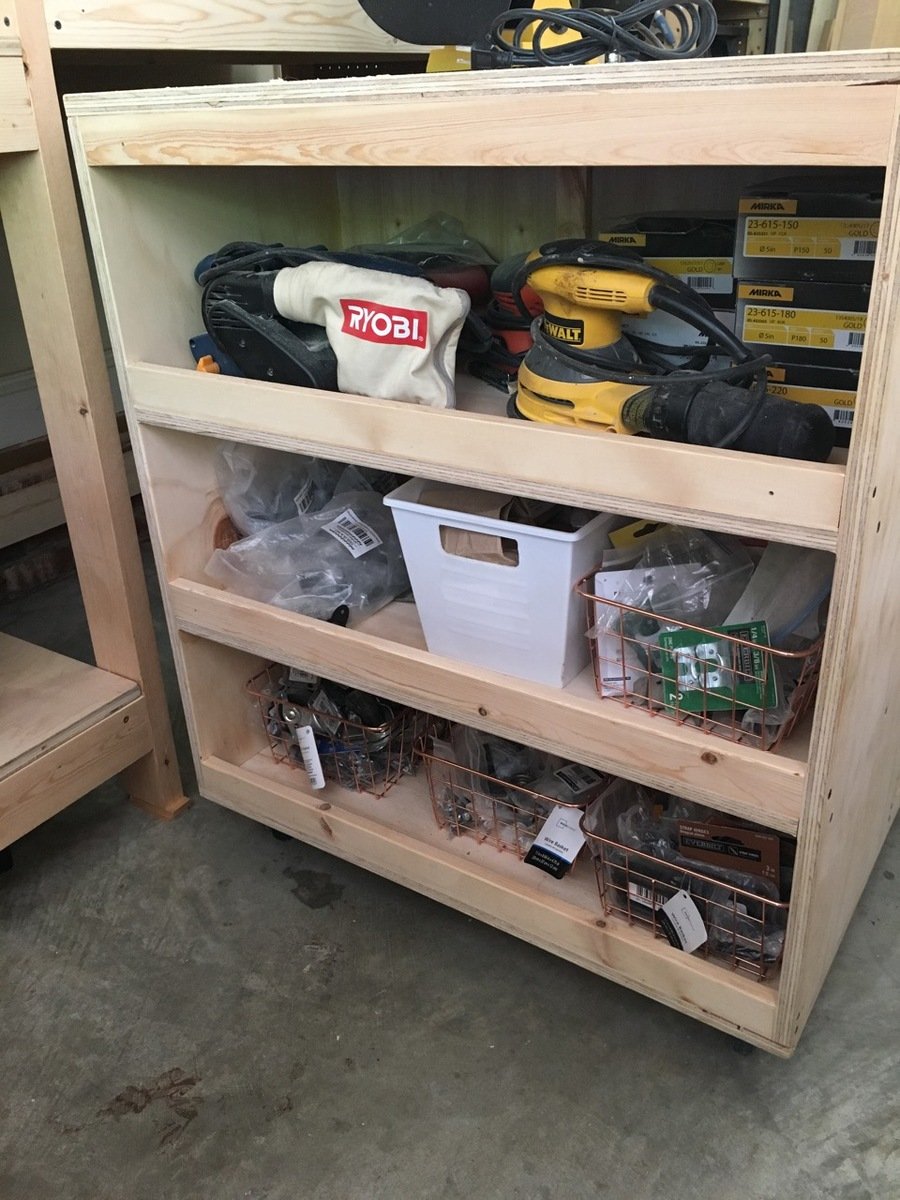
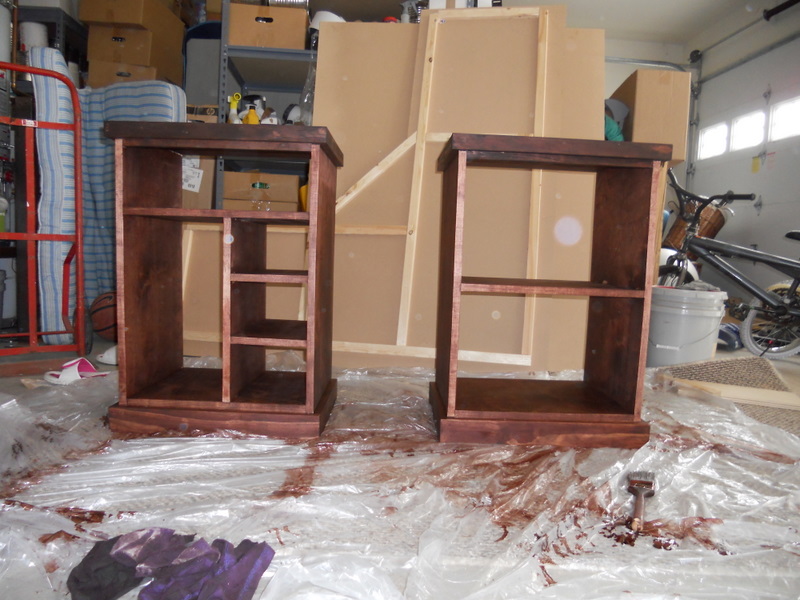
-made deeper shelves on one of the carts
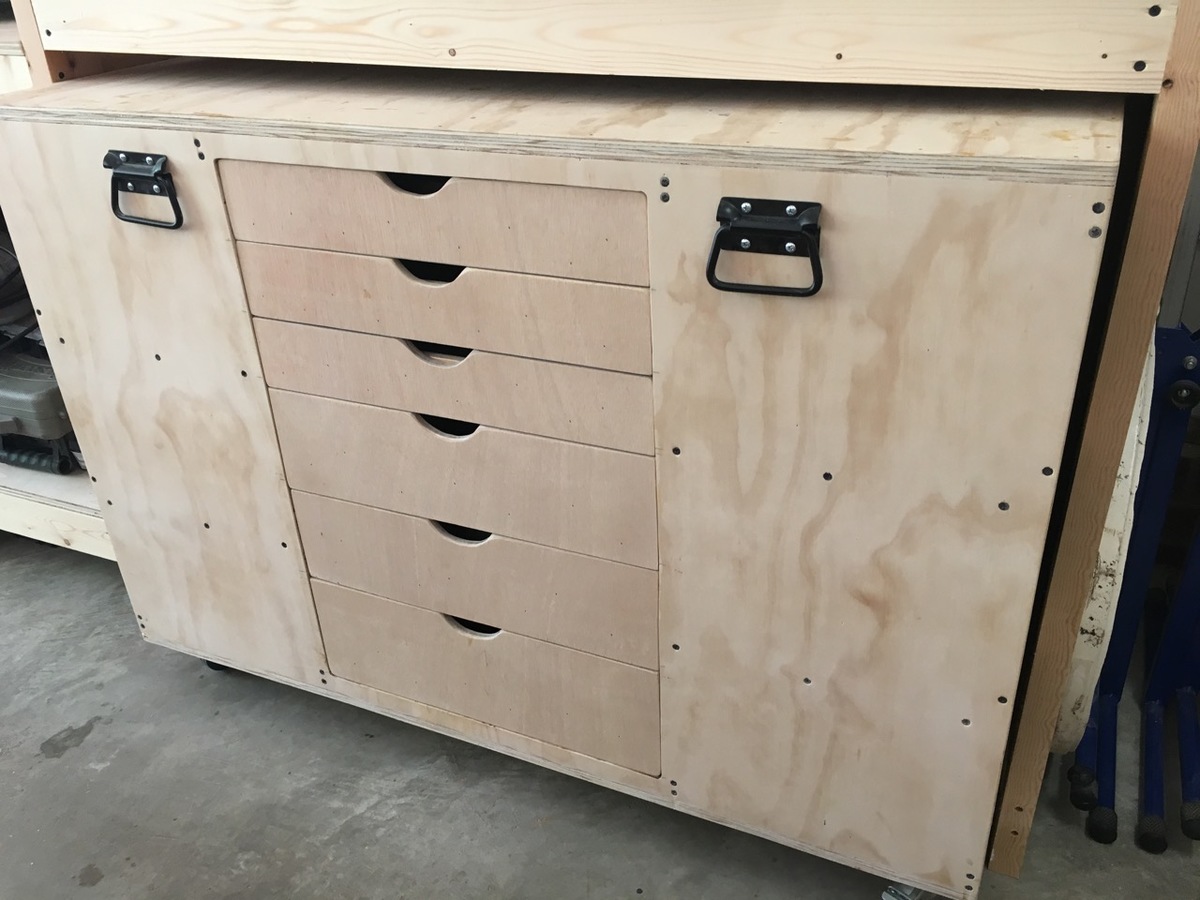
-added drawers on one of the carts
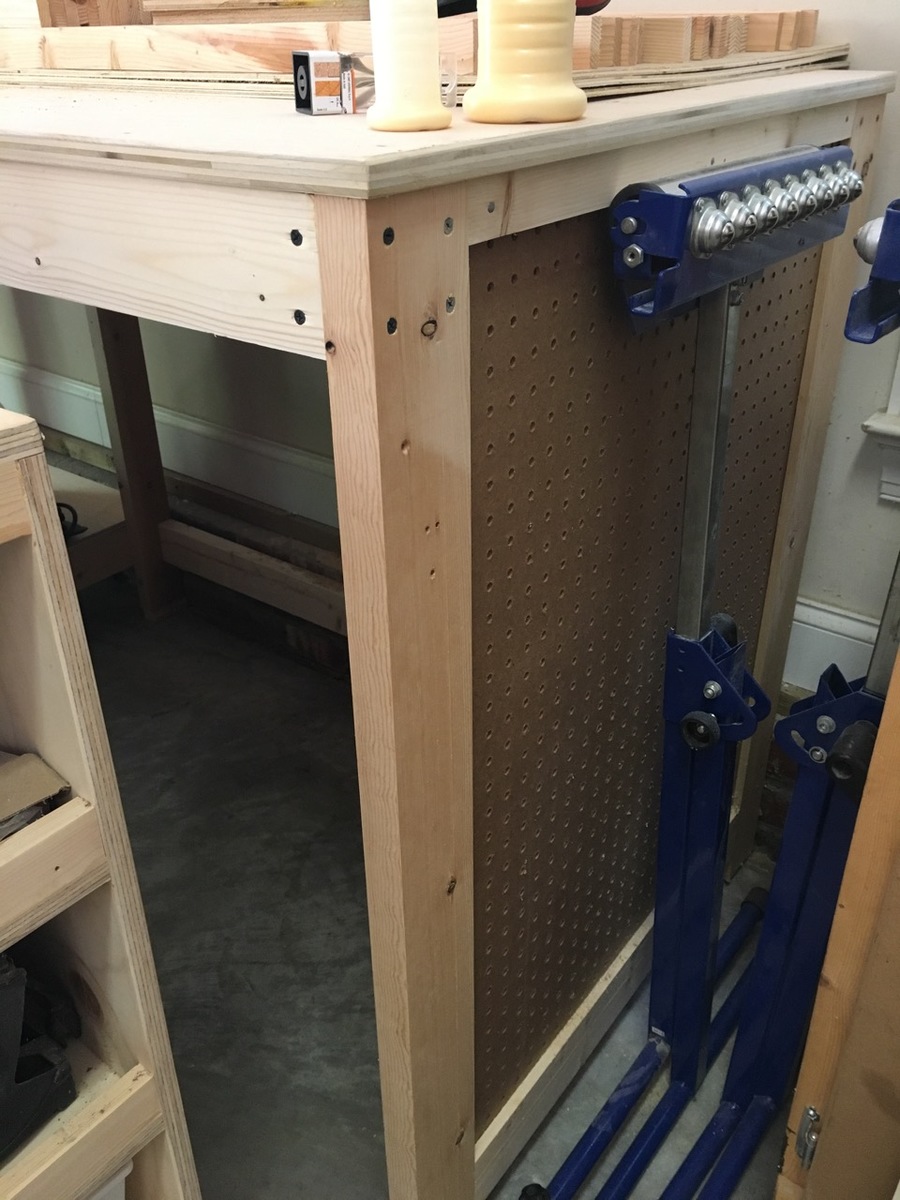
-added ped board on the end caps of miter stand
Something I didn't consider before building this was the slope of our garage floor. There's a 3" difference from one end of the legs to the other so I had to use riser blocks to get everything perfectly level. Unfortunately there's no way to level the carts as they aren't stationary but they slide in/out just fine.
I'd recommend this build to everyone! Check Home Depot clearance often for deals on plywood!


Comments
booksnotbombs
Wed, 09/03/2014 - 07:35
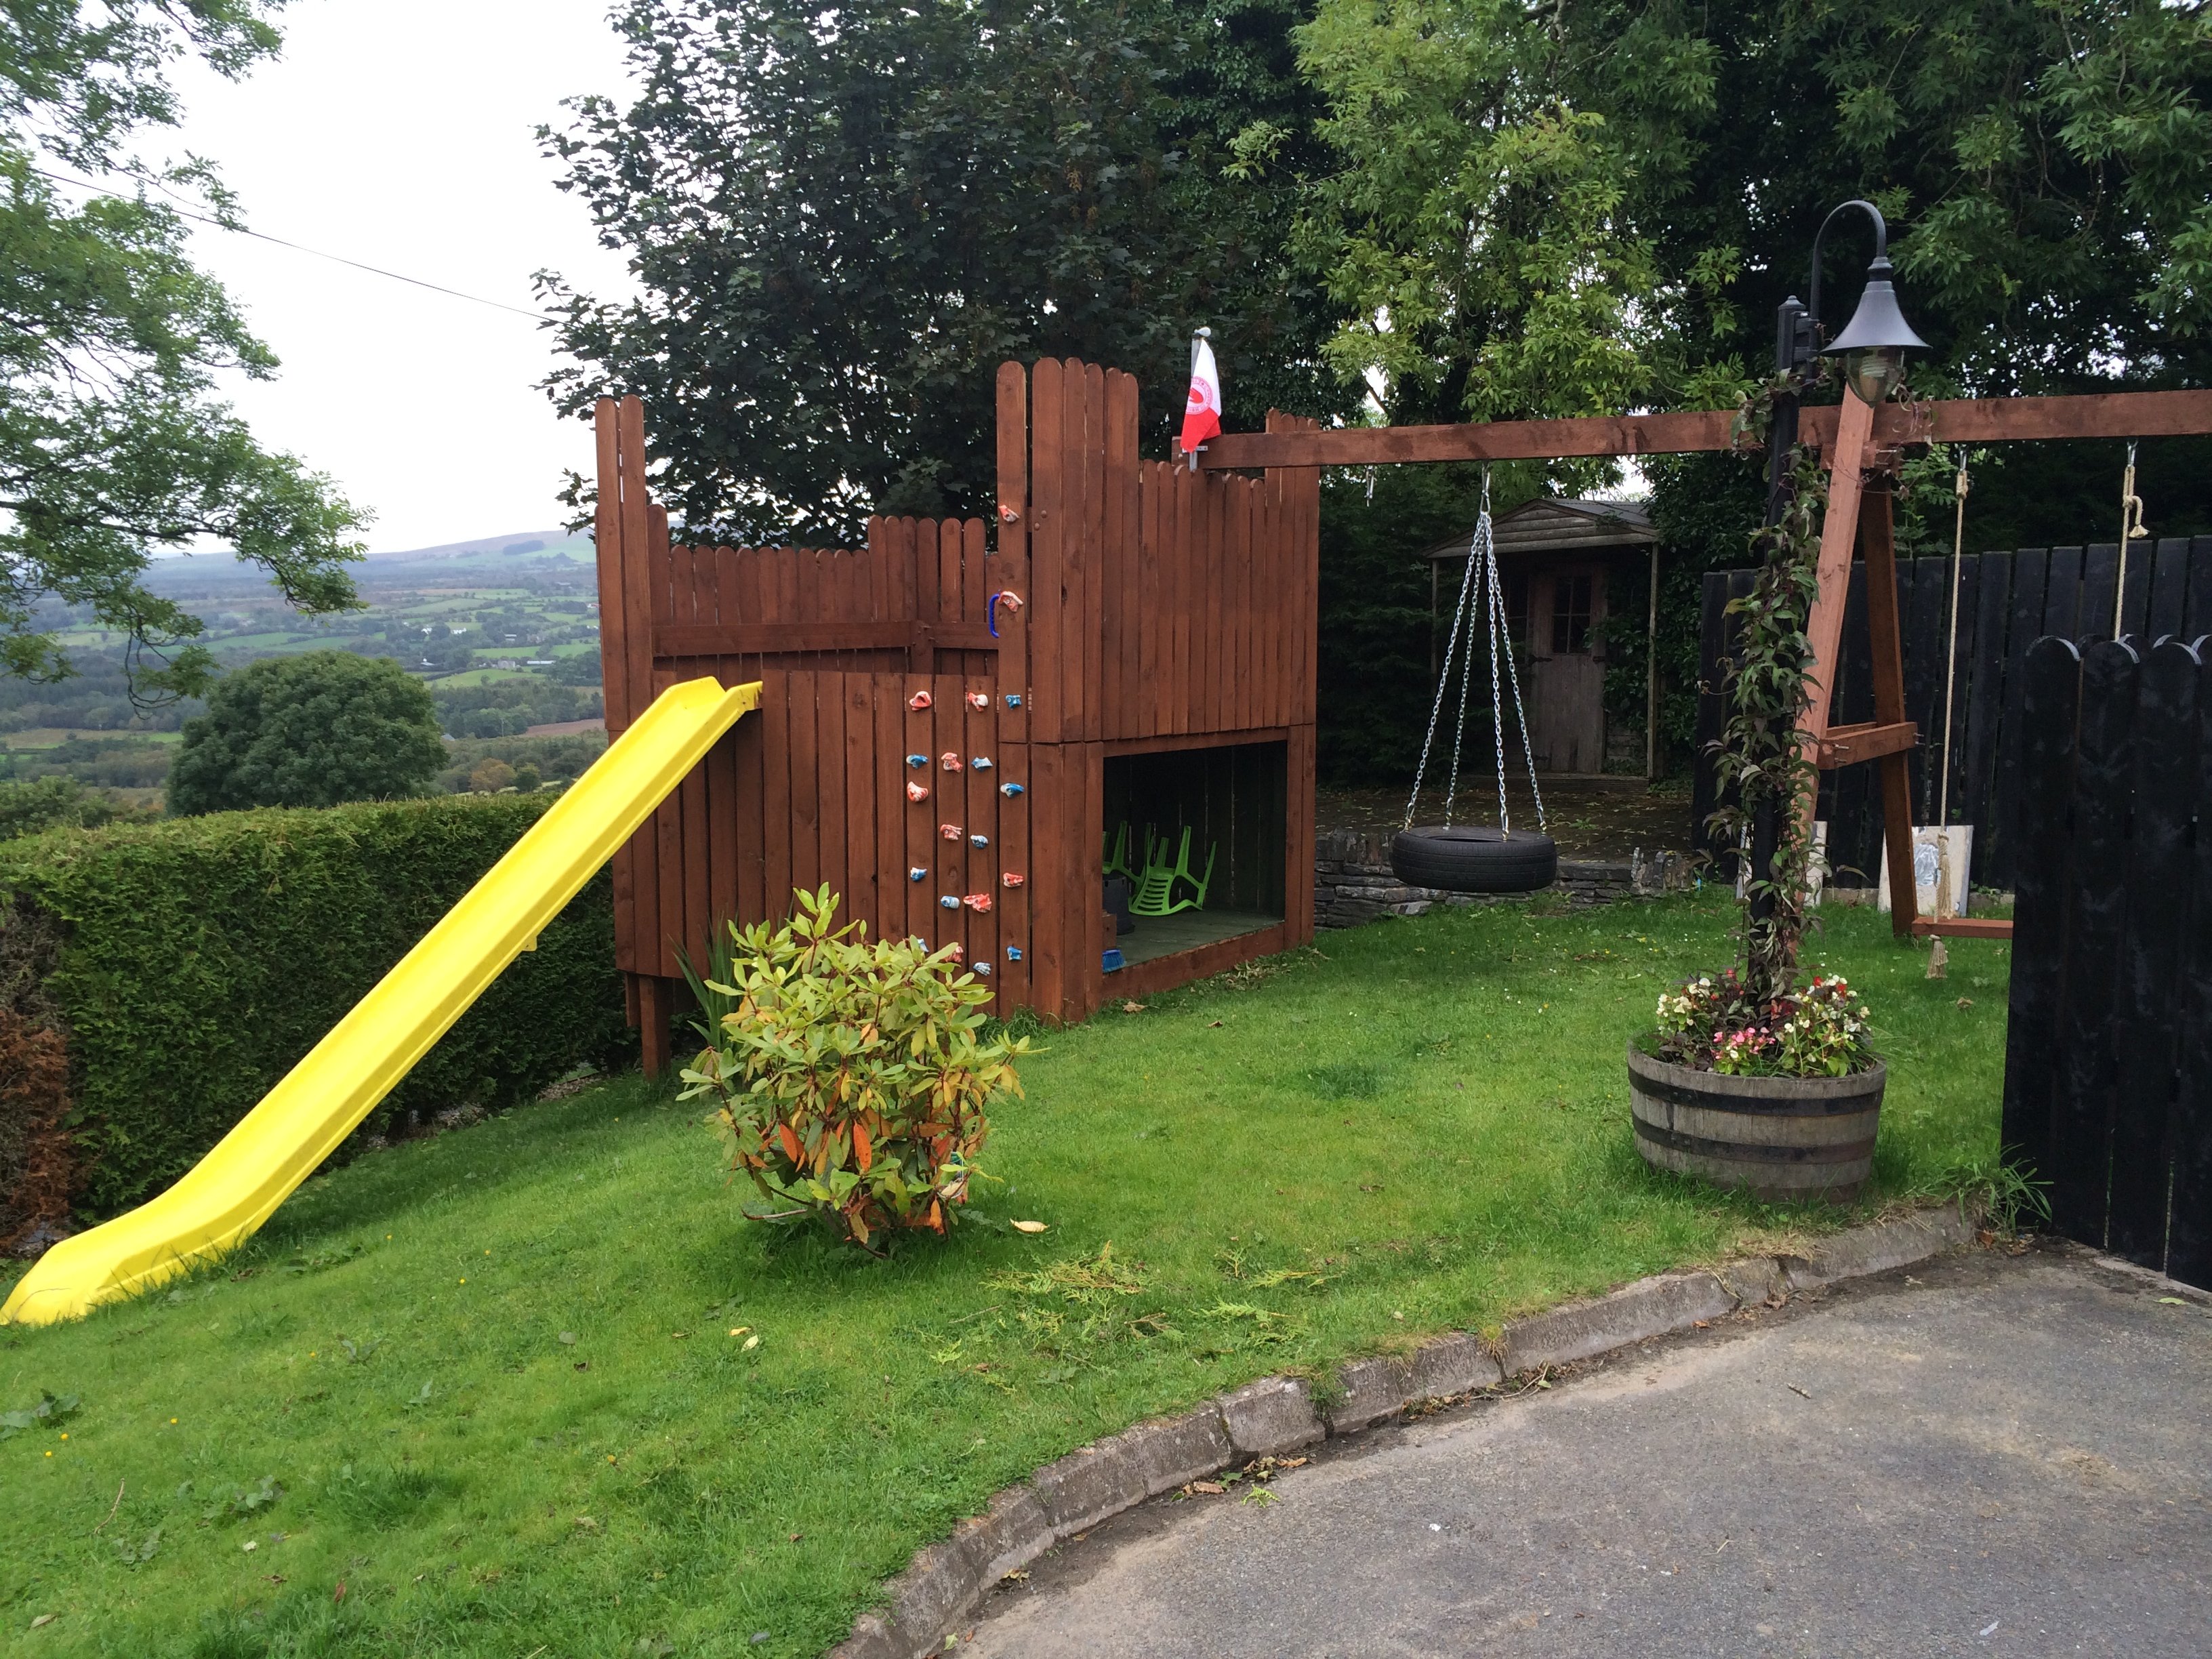
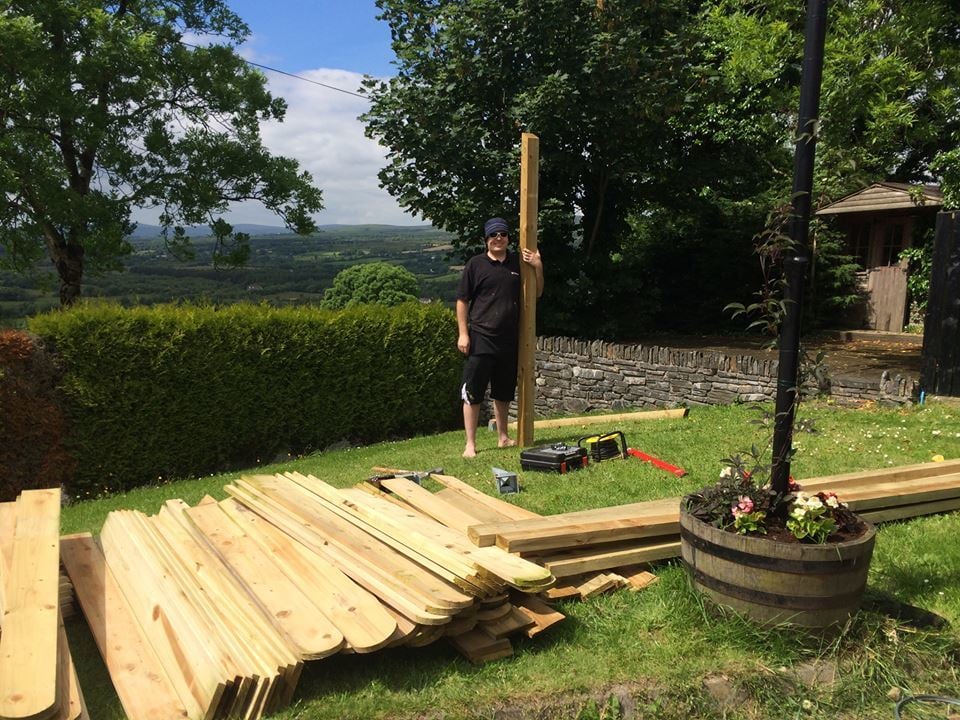
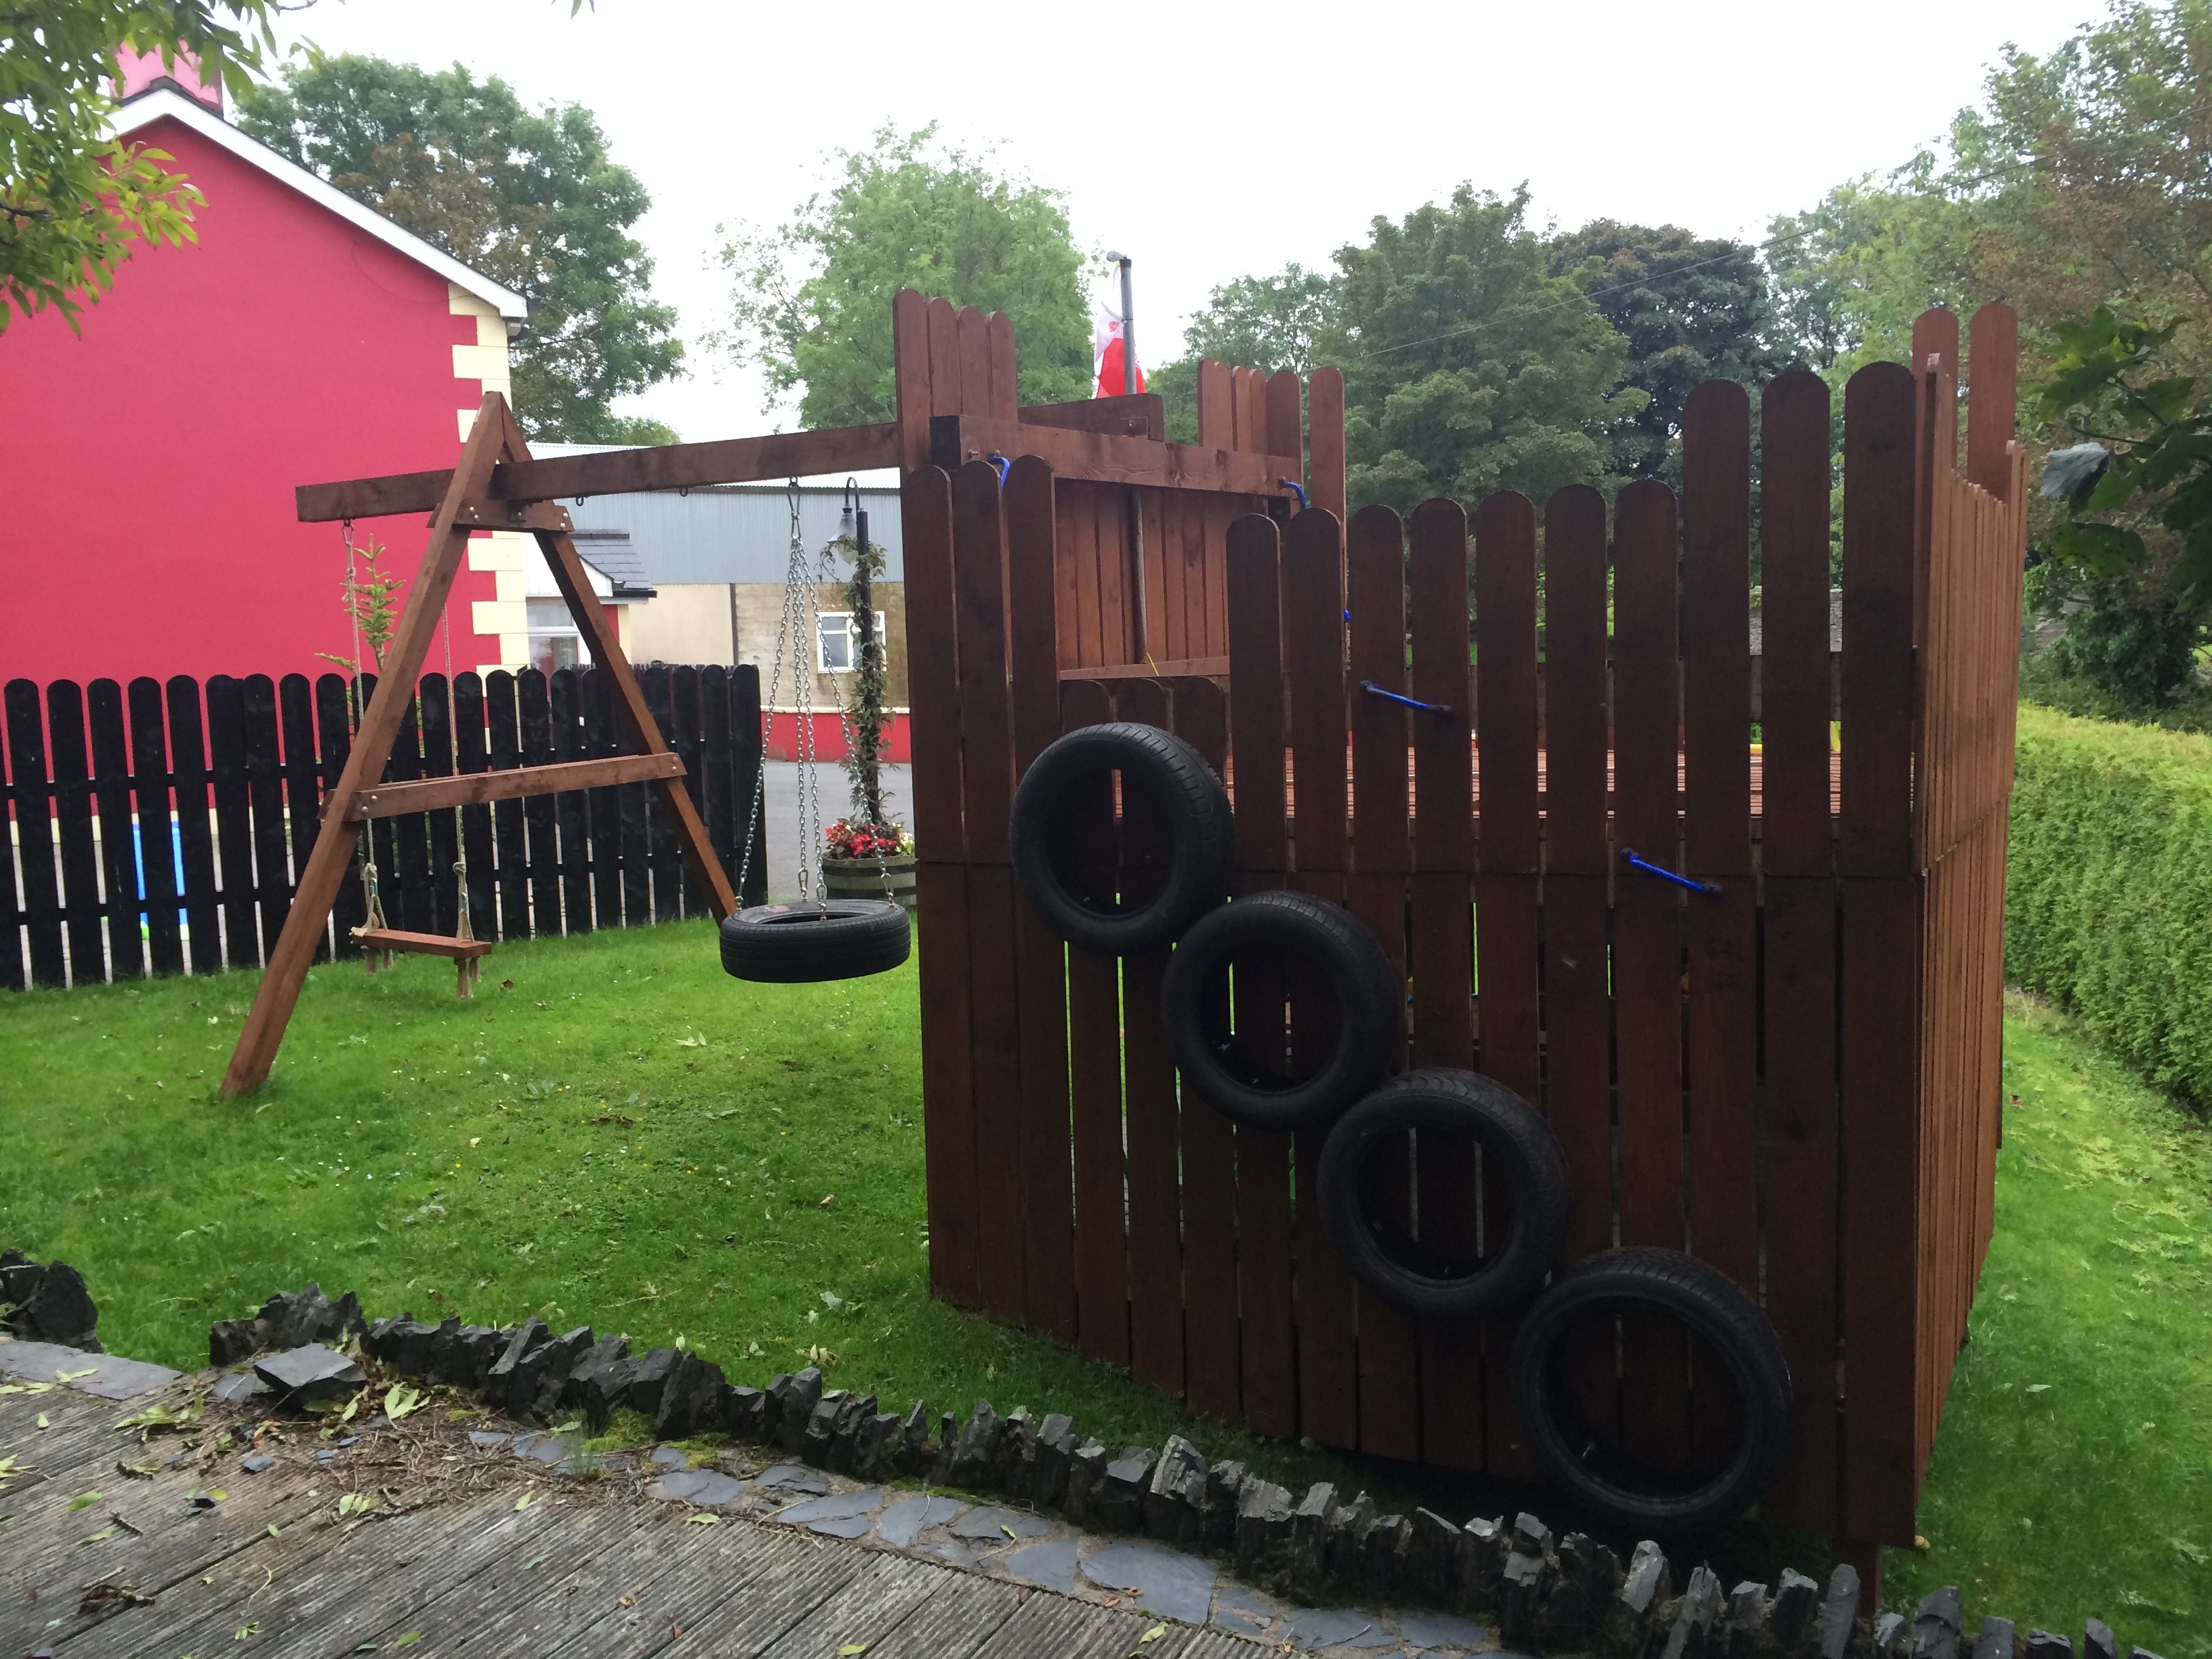
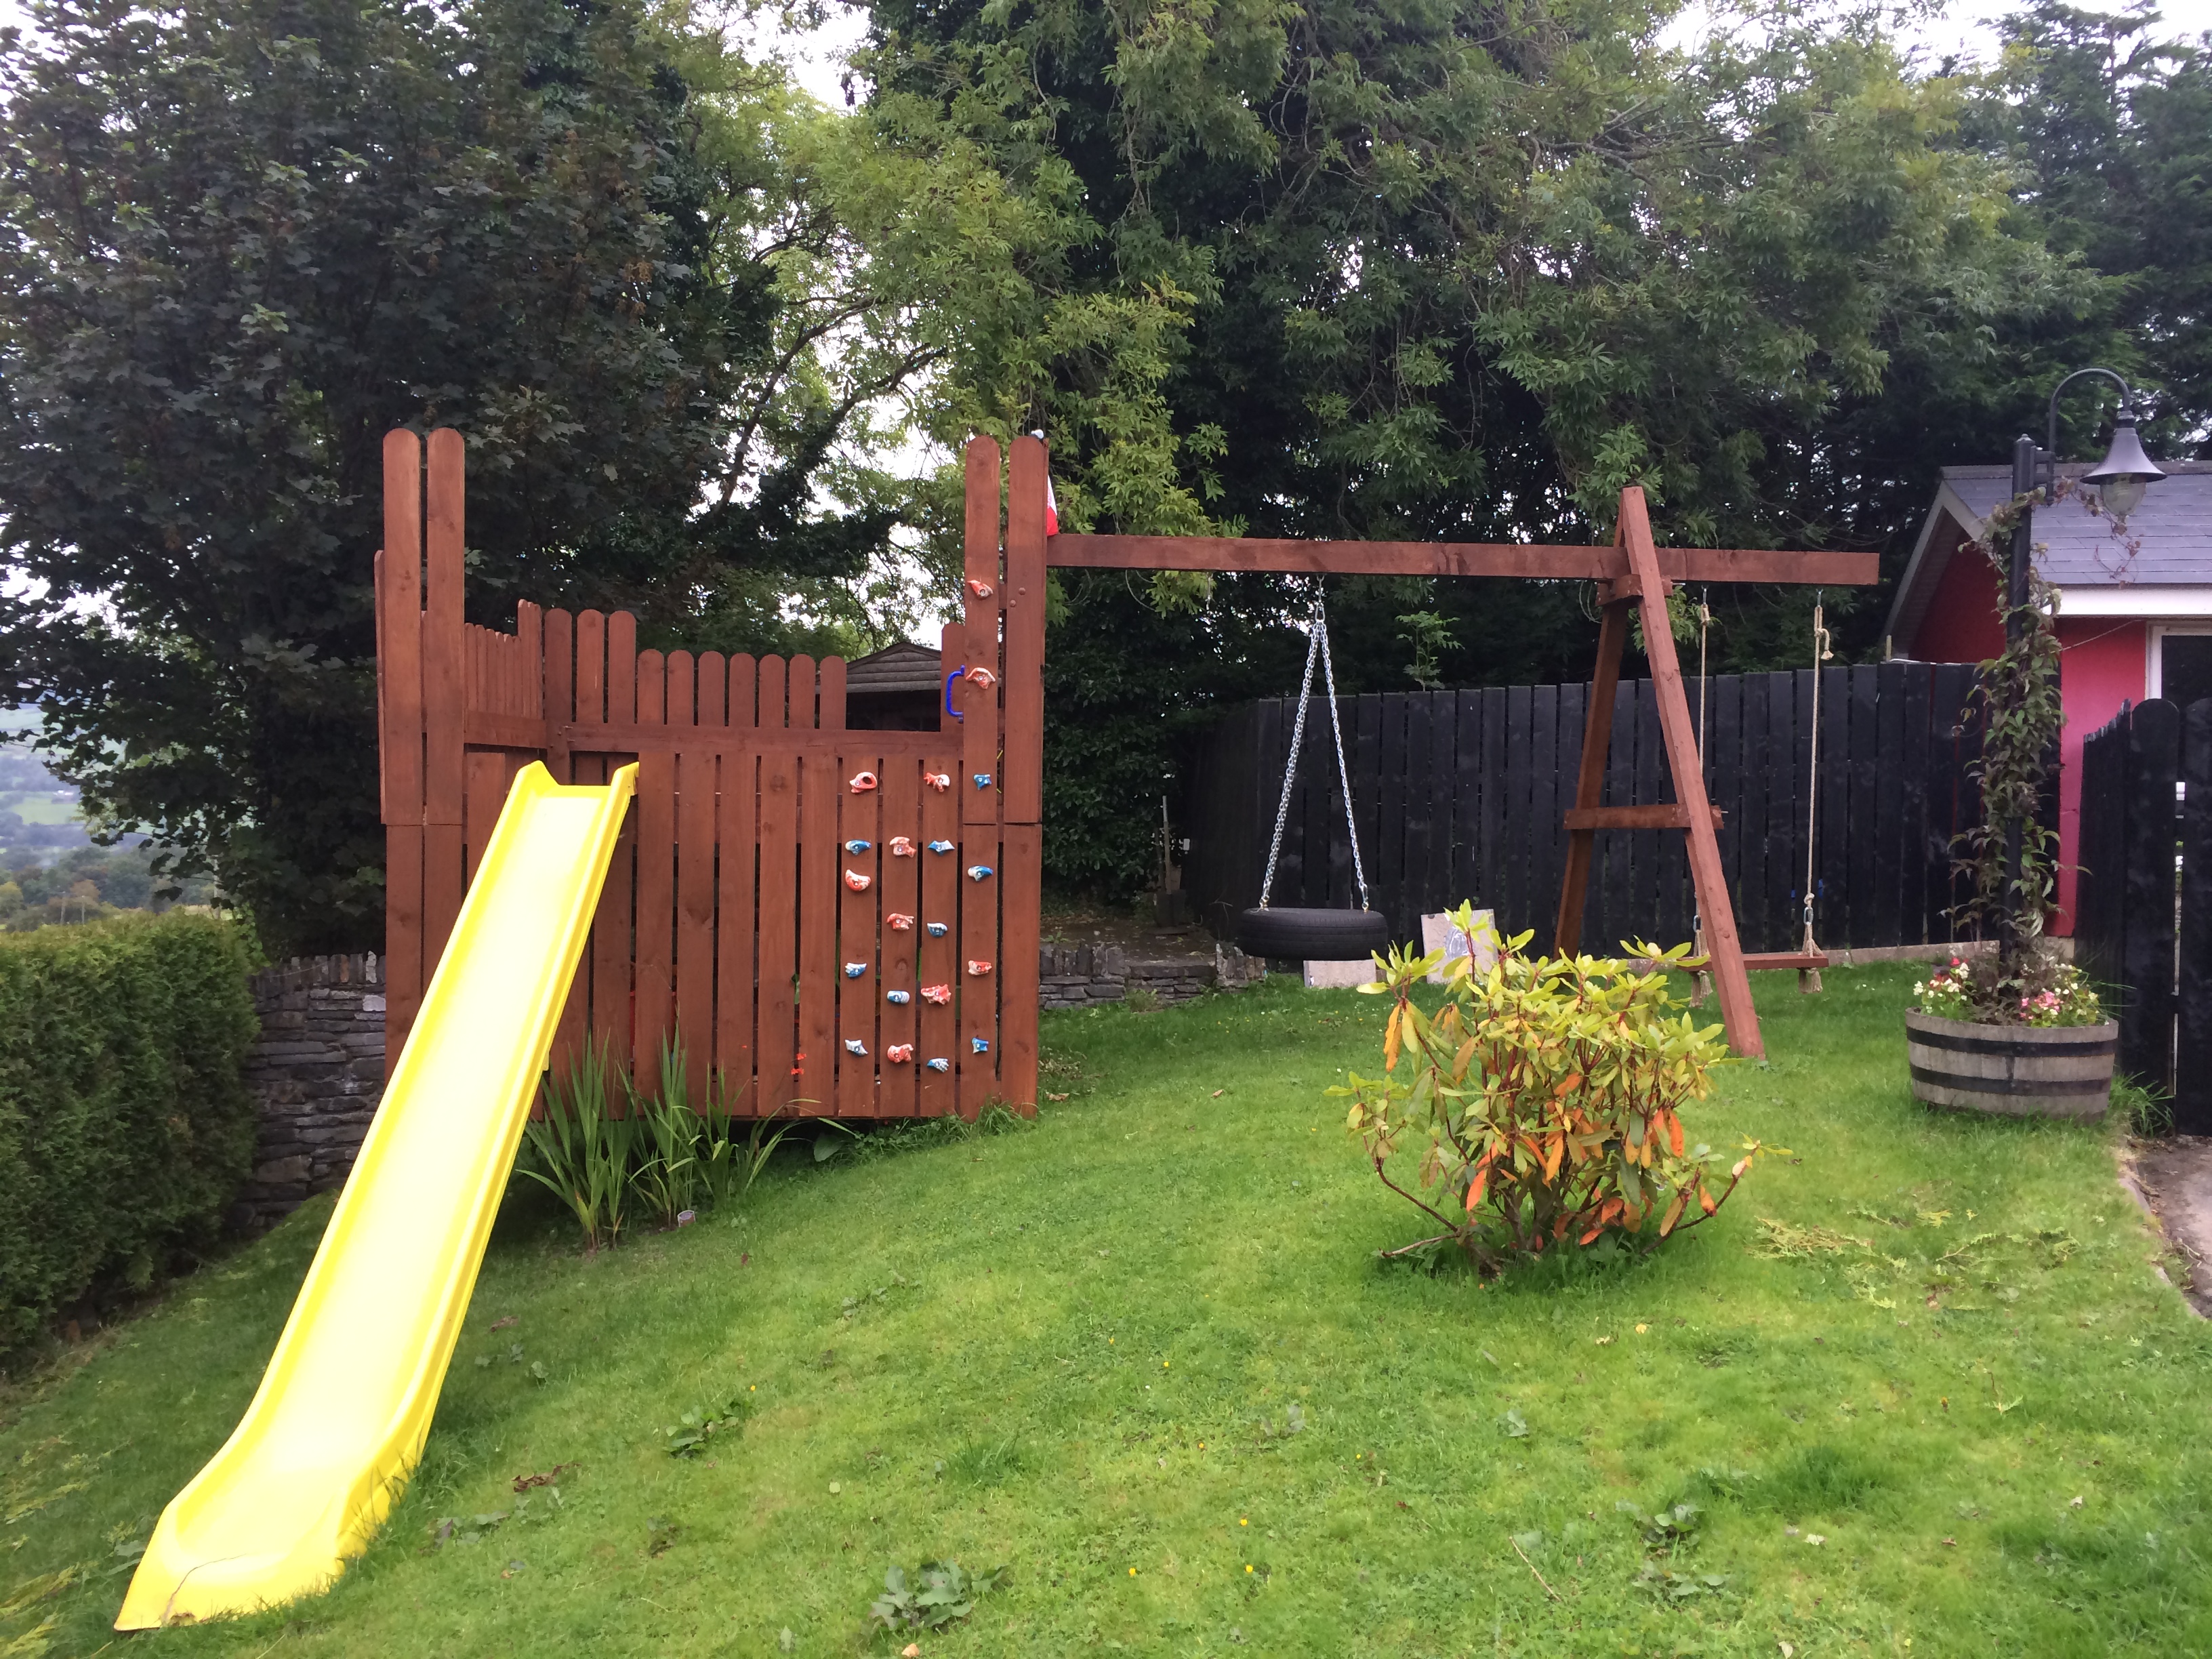
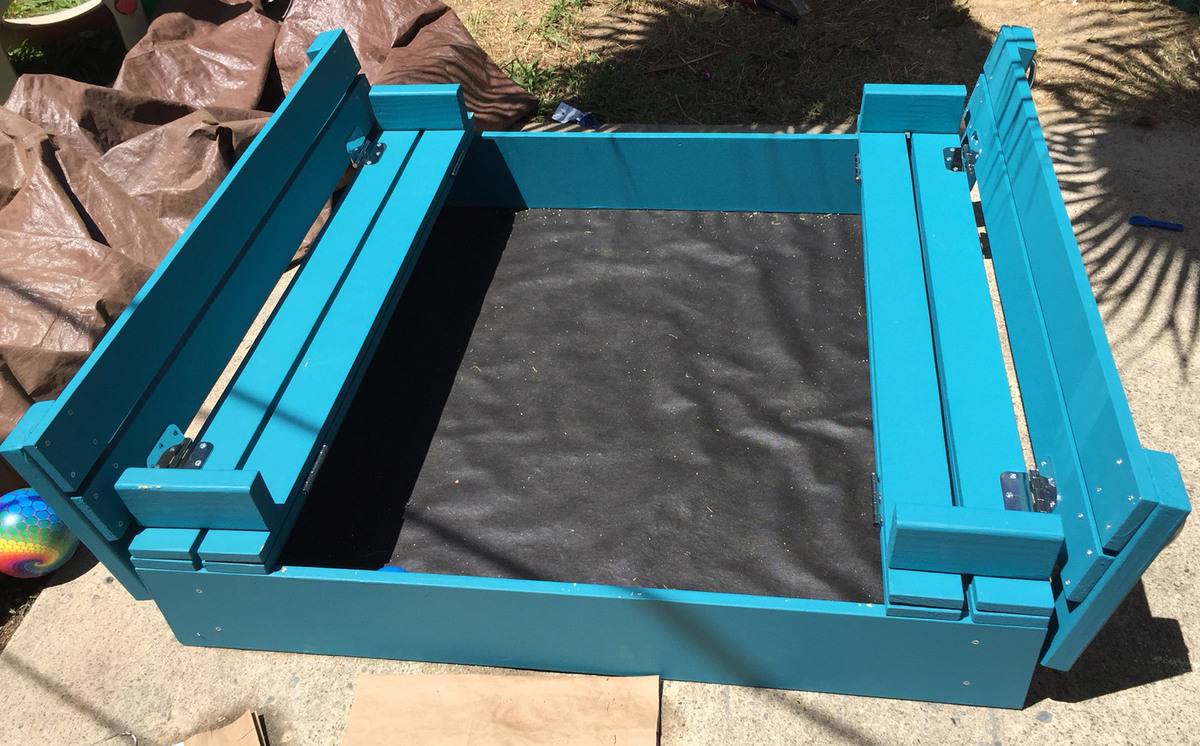
You have a BEAUTIFUL view
You have a BEAUTIFUL view from your yard! Just curious, where do you live? I assumed somewhere in Europe due to the currency. The play area looks fantastic. What lucky kiddos!
lervy
Wed, 09/03/2014 - 08:21
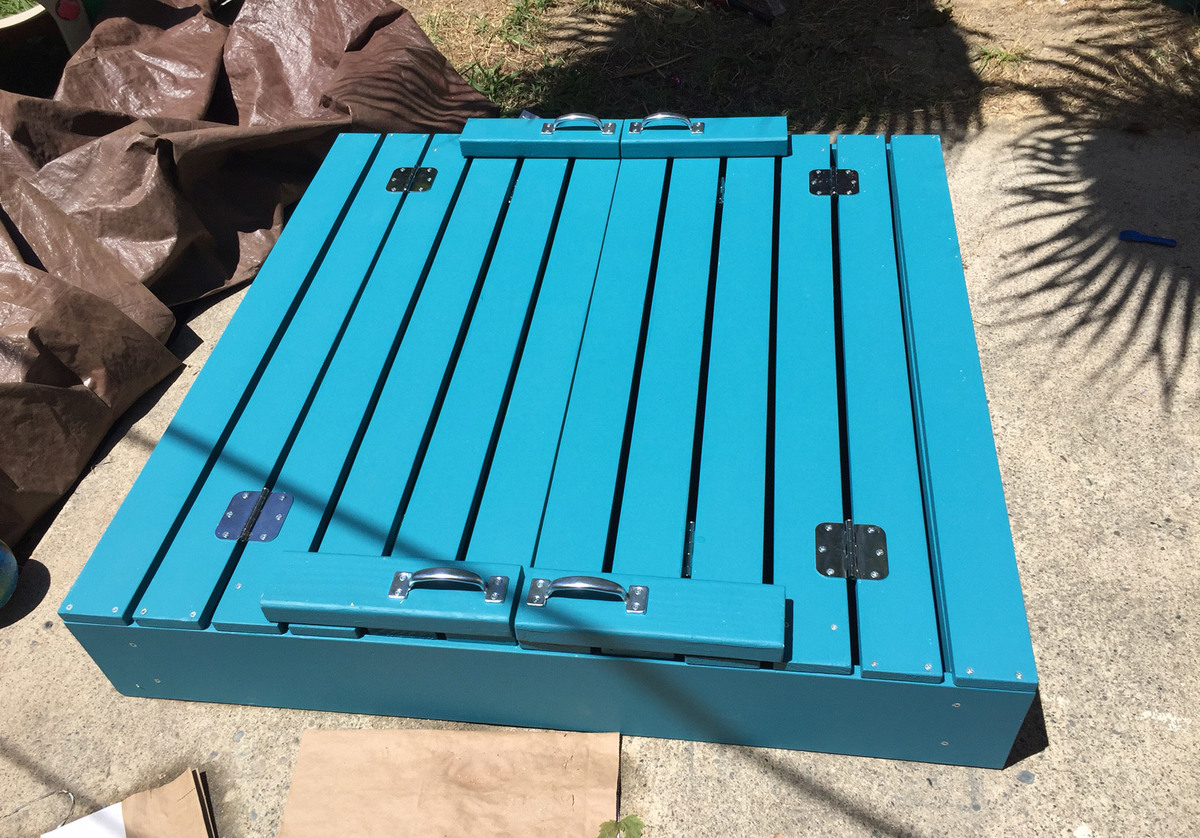
Thanks. Lovely part of the
Thanks. Lovely part of the country outside Omagh, Northern Ireland
dmcarwin
Fri, 09/05/2014 - 12:51
LOVE it!
This looks amazing! Great job!