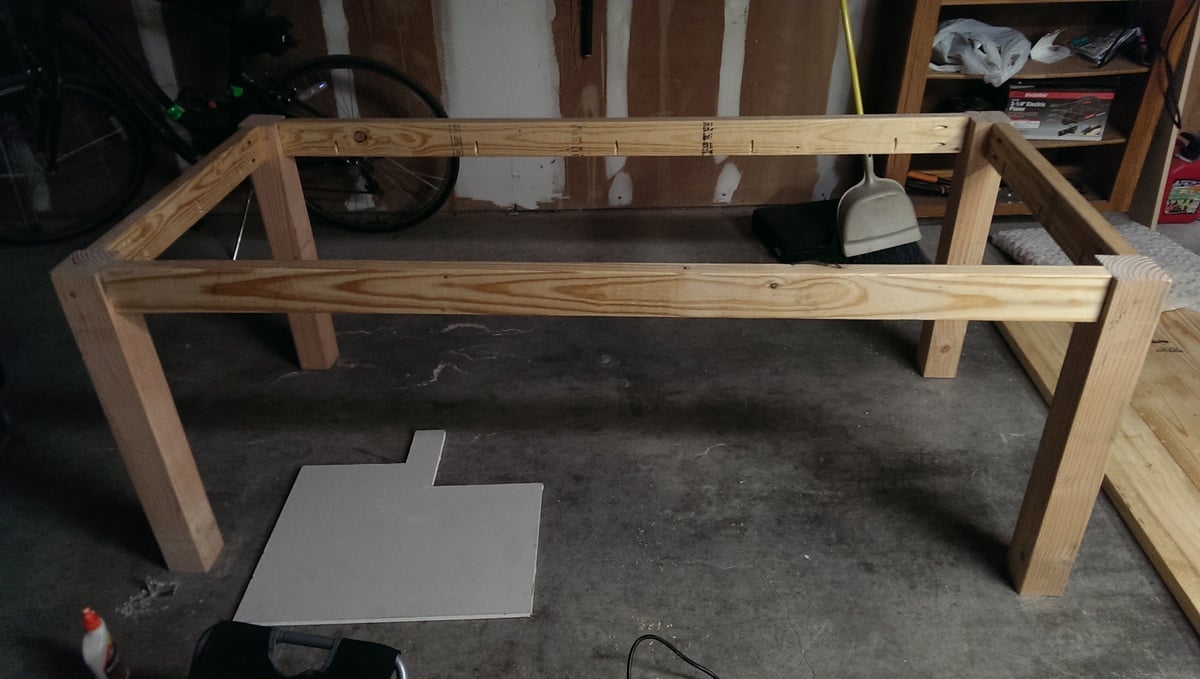
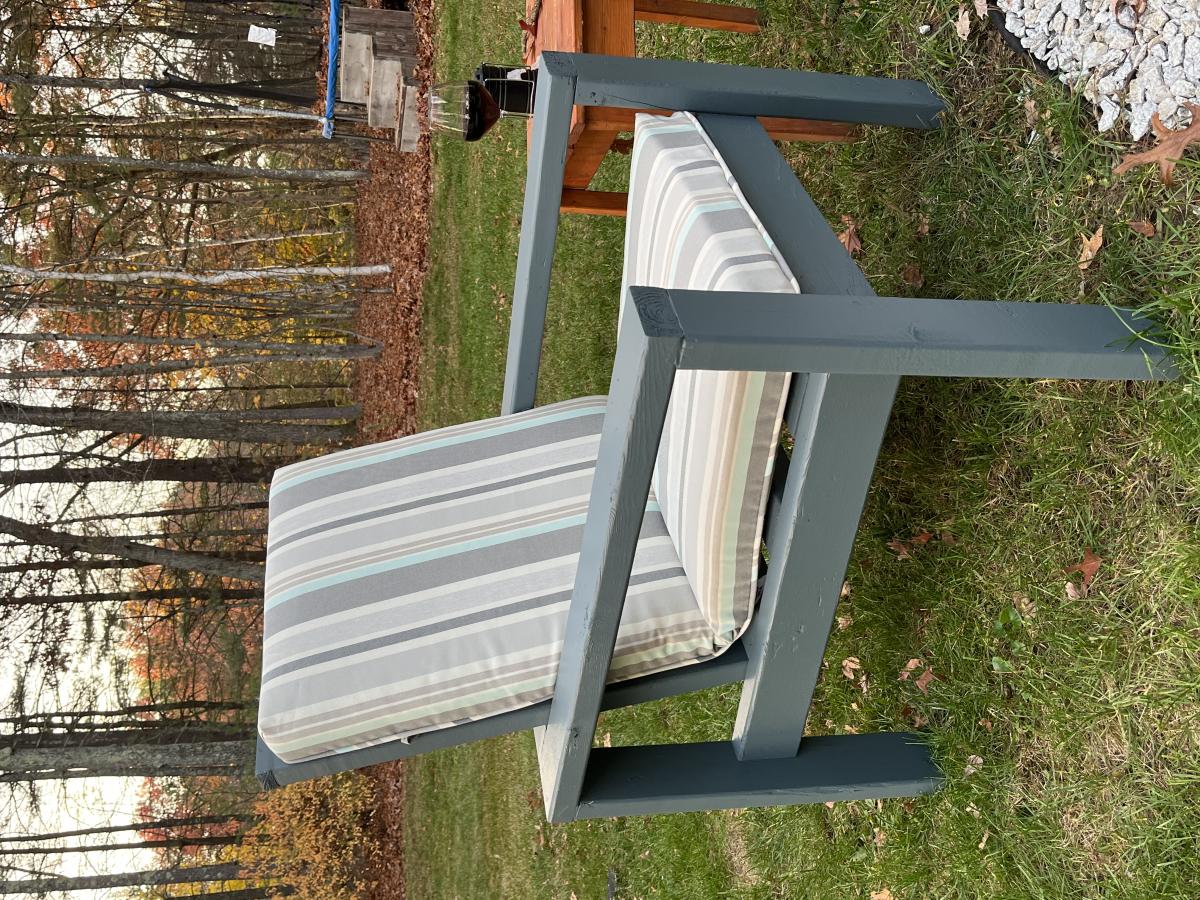
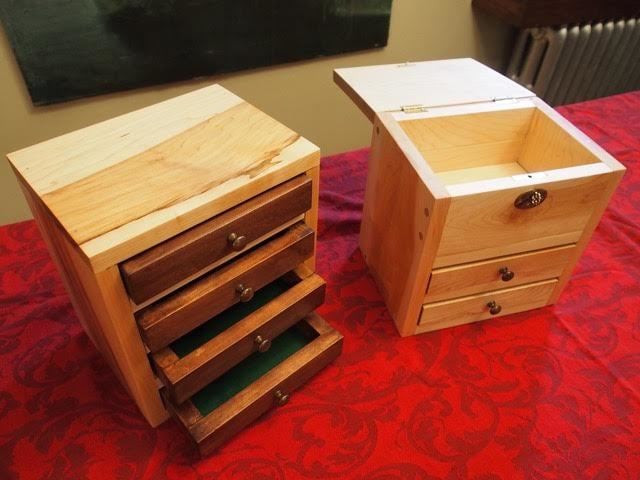
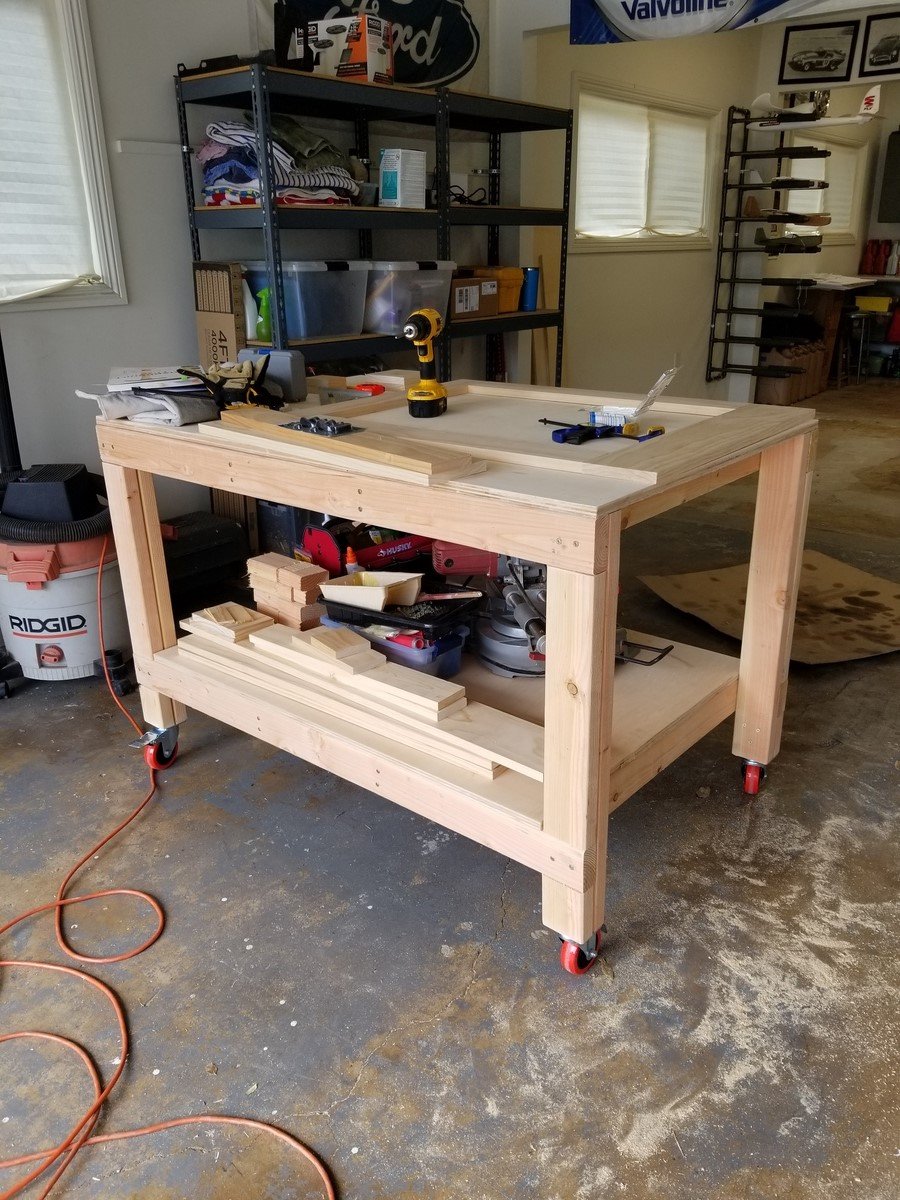
My First woodworking Project!
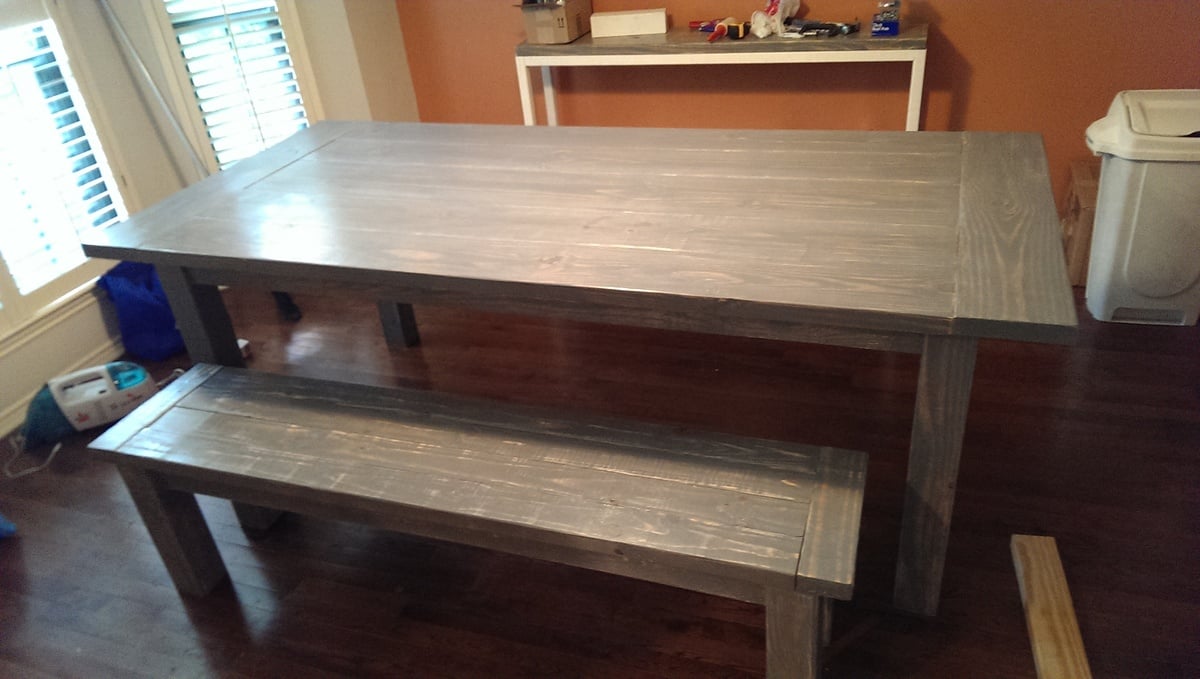
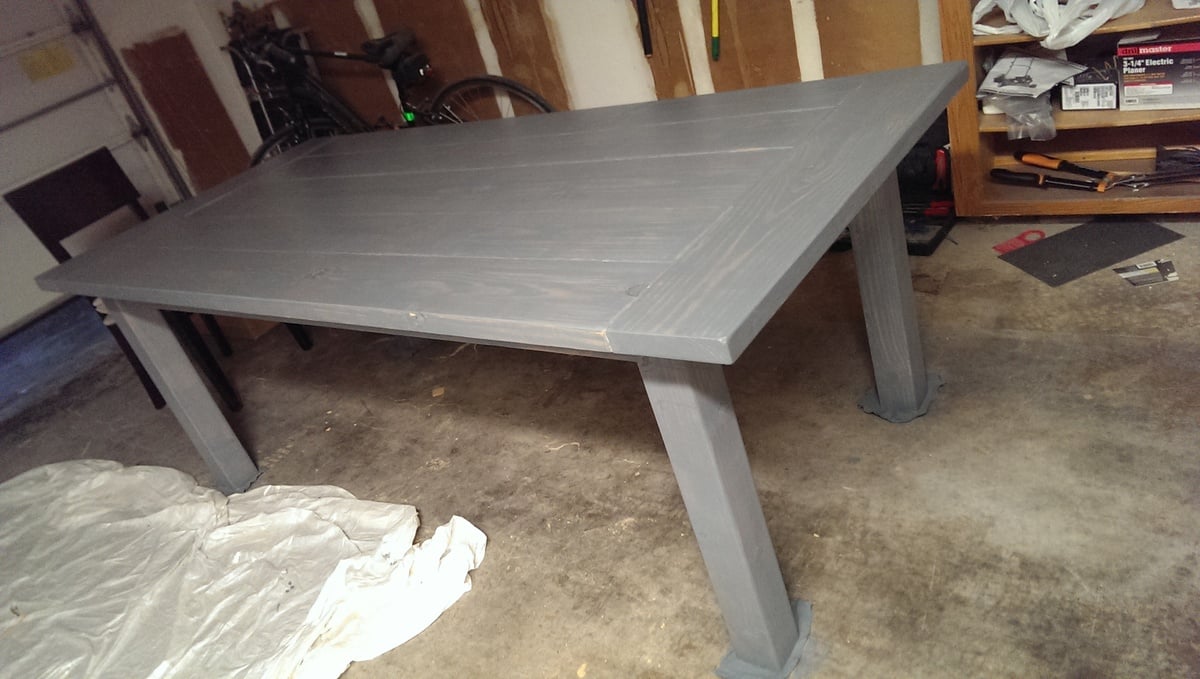
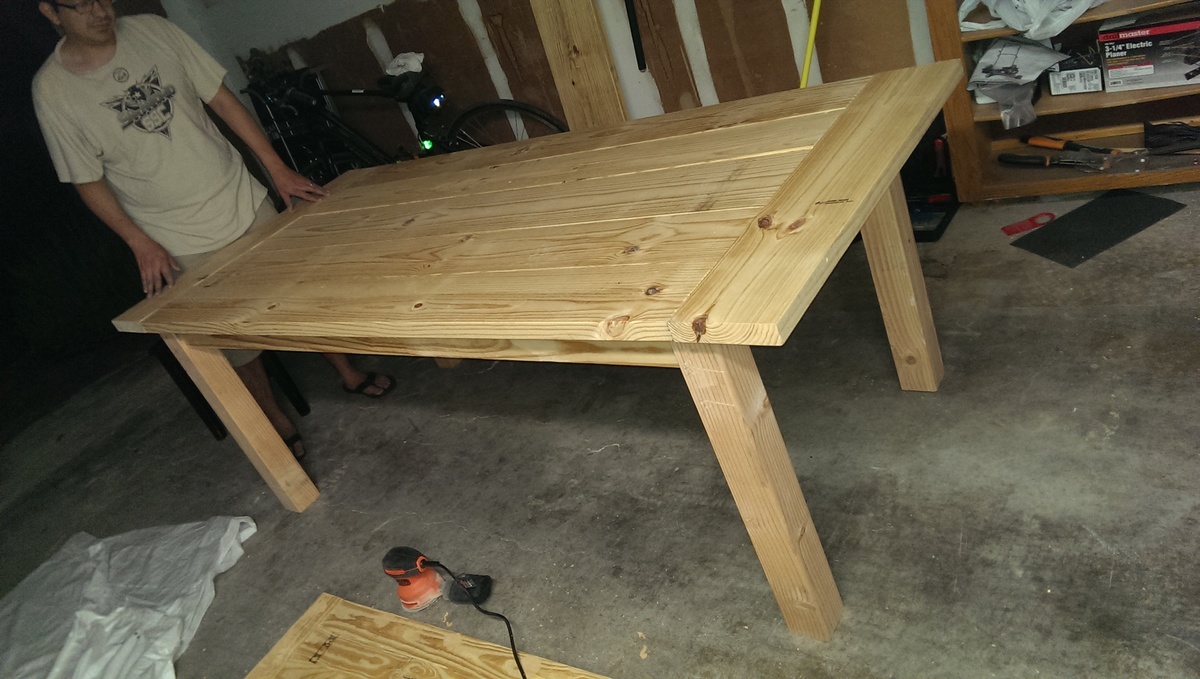
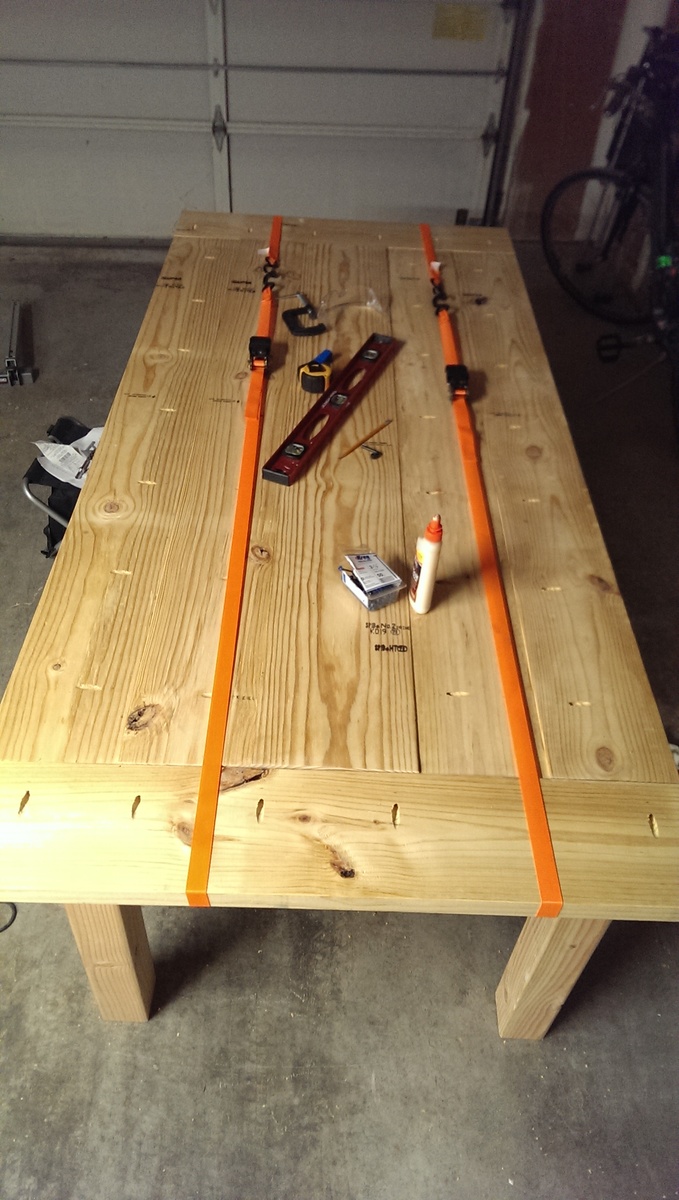
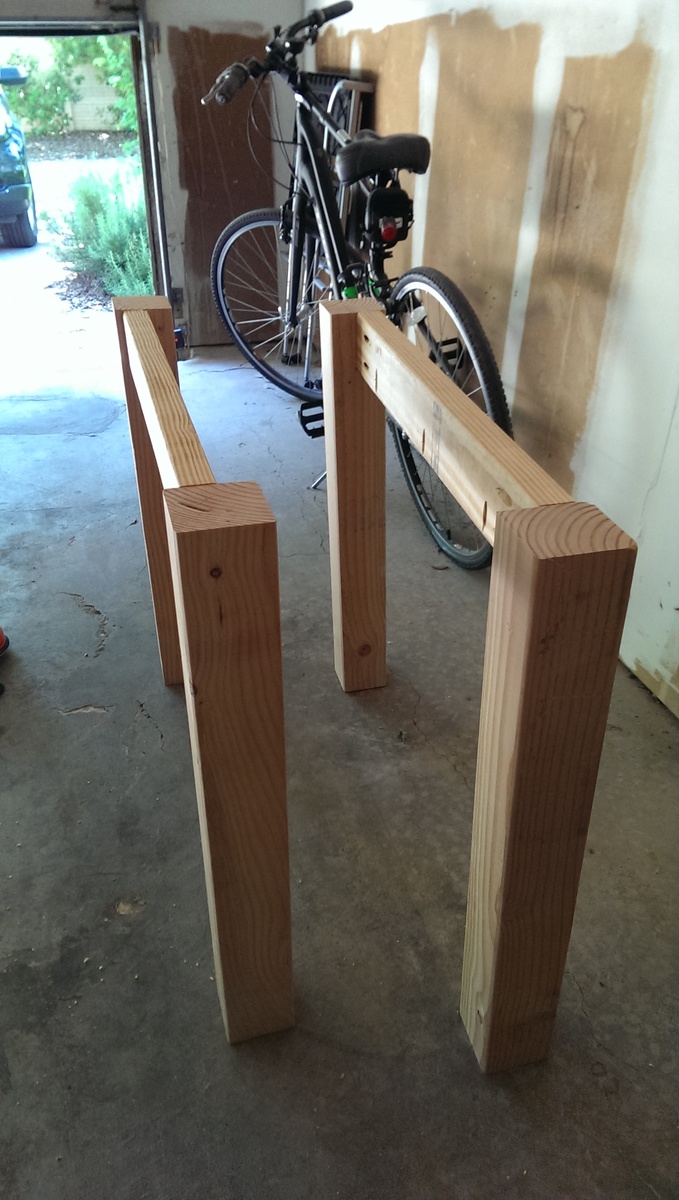
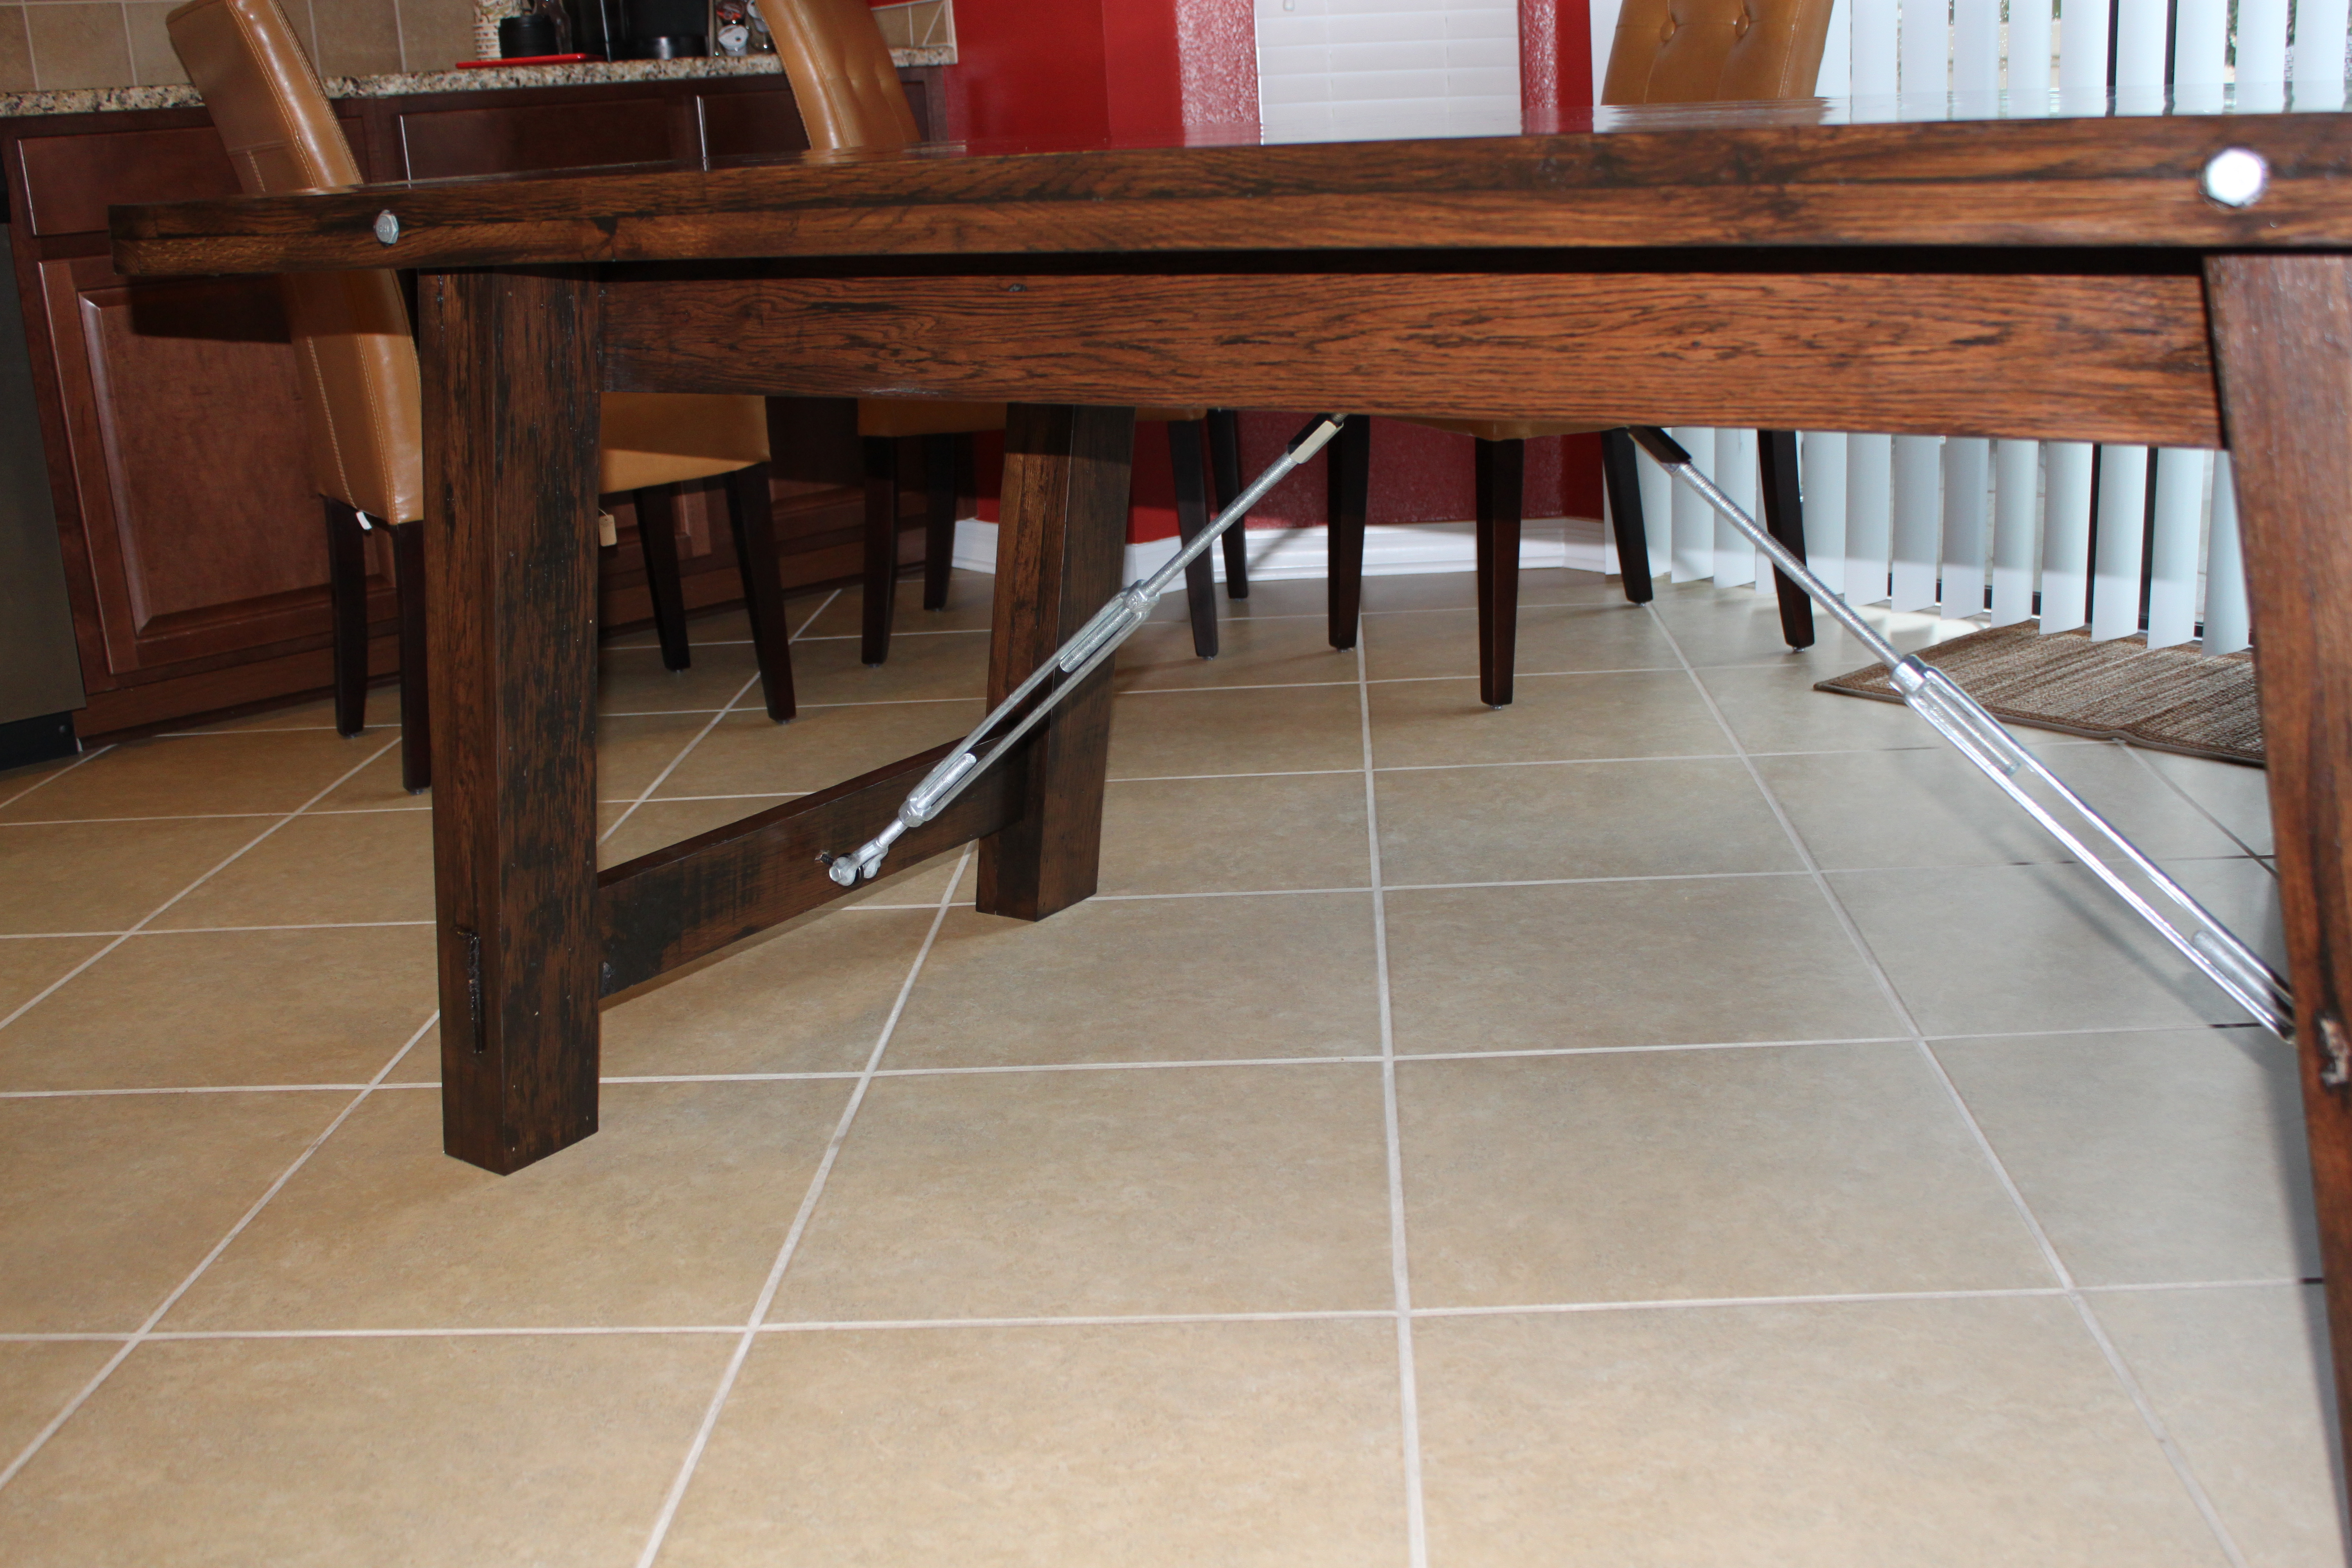
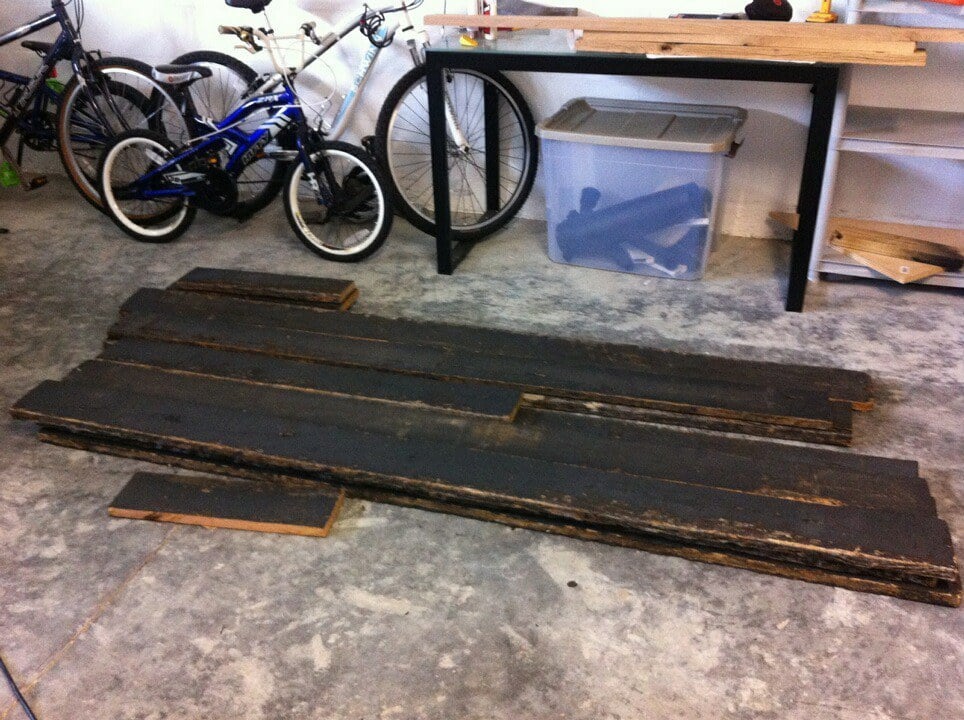
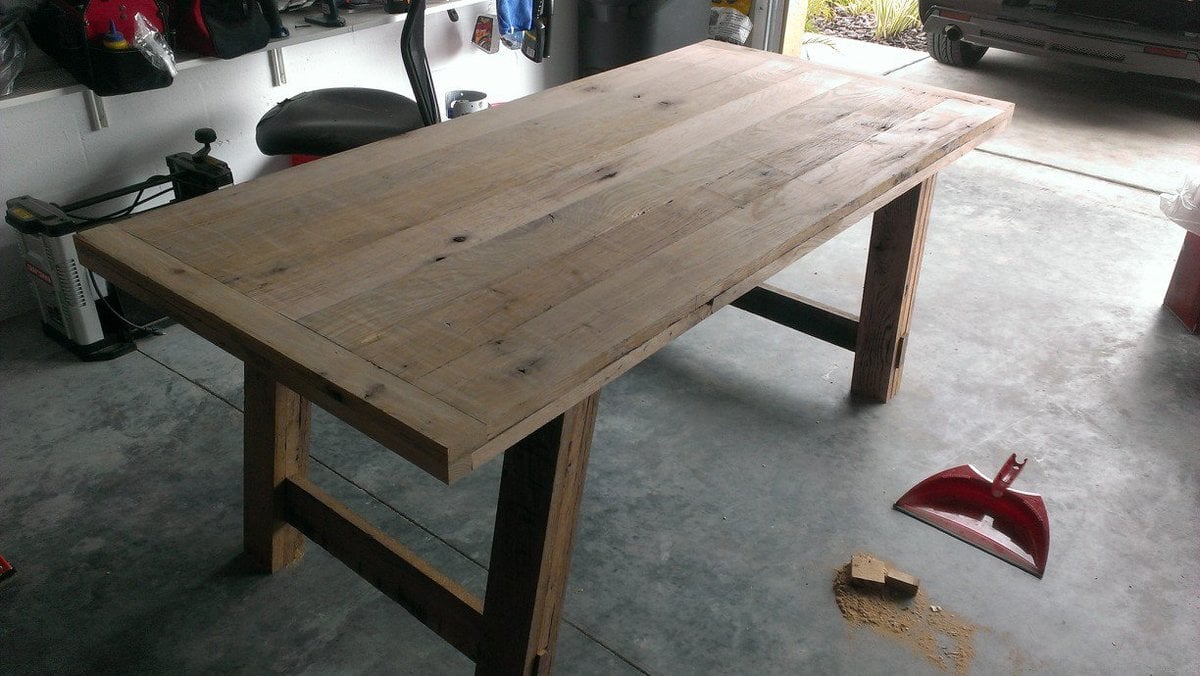
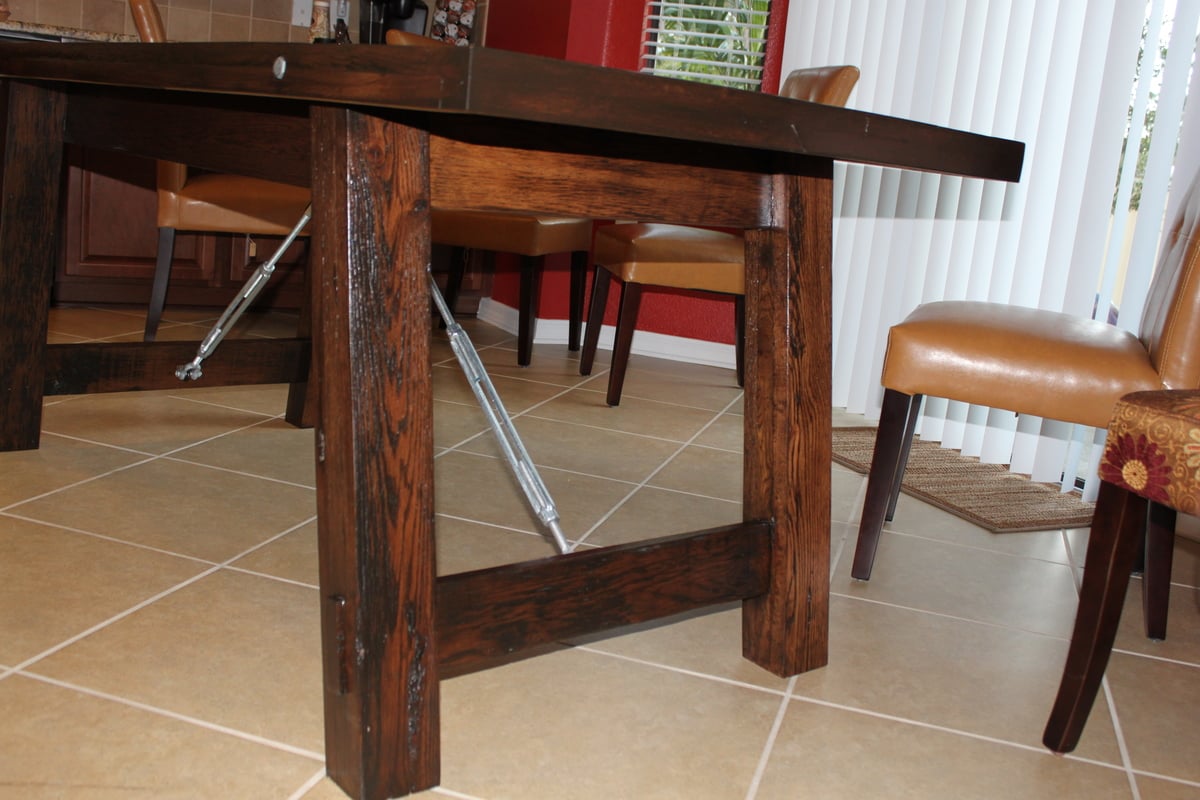
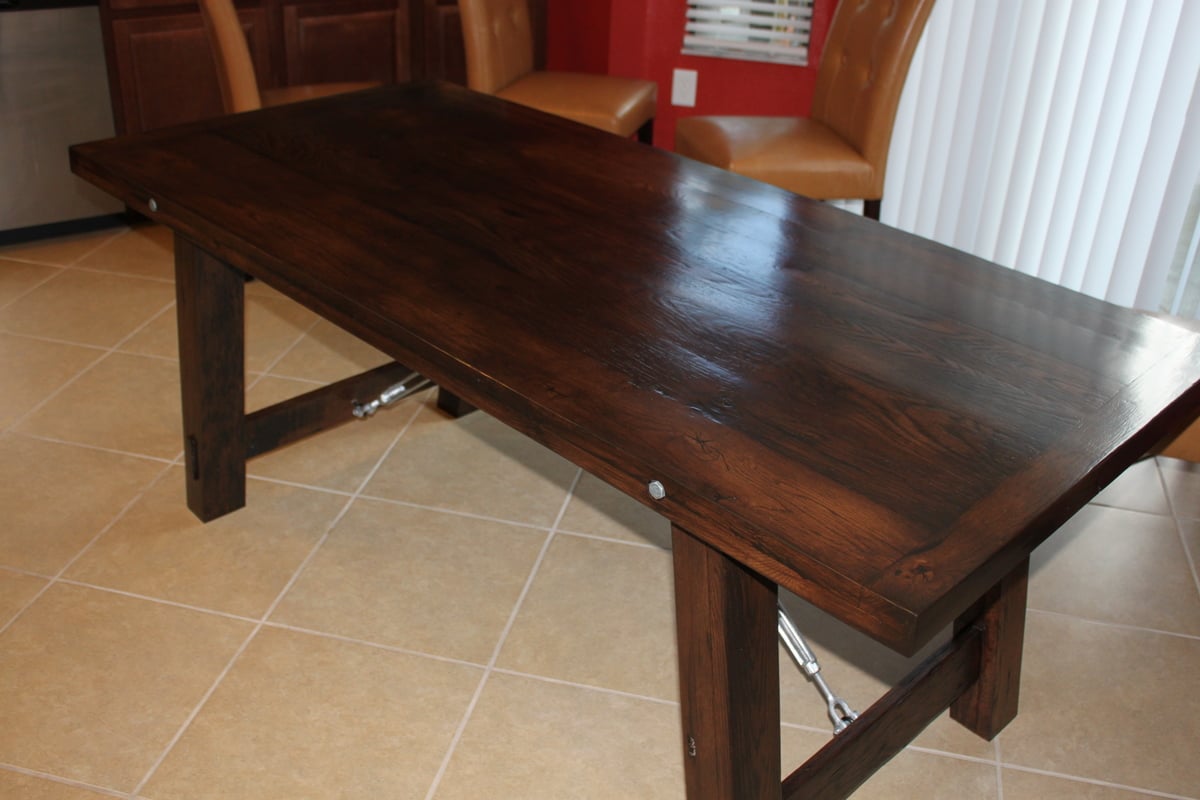
I really wanted to build something for our first home so 3 months after moving in (and 7-8 months pregnant) I started on our dining table. To fit our dining room, the measurements were modified to have a 7ft-table, with the bench just long enough to slide all the way under the table. The legs are made of 4x4s of Douglas Fir and everything else is pine. I also removed the stretchers underneath because I wanted to be able to have chairs on the ends. The table seats 8 people very comfortably. It took me a little longer than anticipated, since I couldn't do any of the lifting until my husband came home, and he stained it with 2 coats of Rustoleum Weathered Grey stain and 2 coats of poly (with my light sanding in between each coat).
Built from Plan(s)
Estimated Cost
$100
Estimated Time Investment
Week Long Project (20 Hours or More)
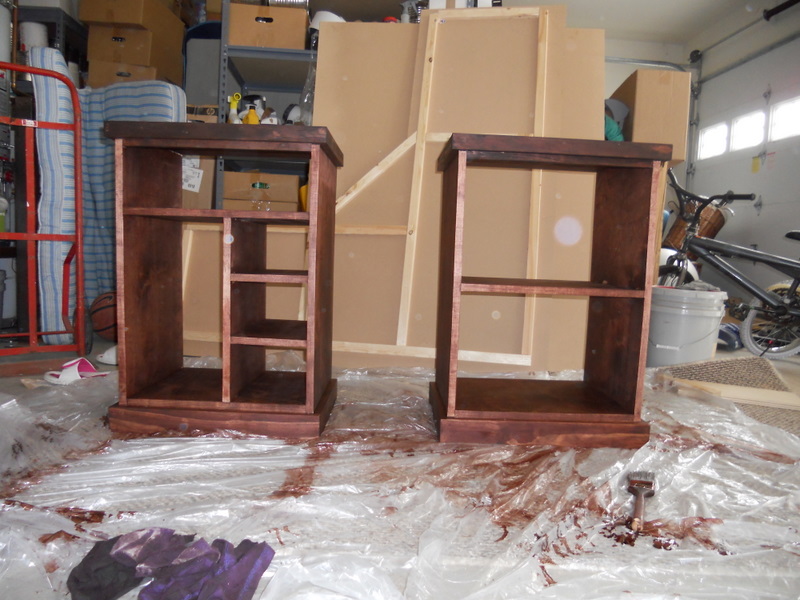
Finish Used
Rustoleum Weathered Grey Stain
Minwax Fast-Drying Semi-Gloss Polyurethane
Minwax Fast-Drying Semi-Gloss Polyurethane
Recommended Skill Level
Beginner


Comments
RenoRustic
Mon, 06/08/2015 - 14:47
Nice job!
Nice job!
tkporcel
Tue, 06/09/2015 - 13:43
Very Nice!
Love the color